• Home
  • Recipe Index
    • Recipe Index
    • Breakfast/Brunch
    • Cakes and Puddings
    • Chocolate
    • Cookies and cupcakes
    • Custard and Mousse
    • Gluten Free
    • Ice Cream
    • Mains
    • Other Sweet Treats
    • Snack/Appetizers
    • Soups and Salads
    • Tarts and Pies
    • Vegetarian
  • About
  • Cookbook
  • Portfolio
  • Store
  • Press
  • Work with Me

Sugar et al

Because Life is a blend of flavours...

Easy Hummingbird Cake

18|02|2022

I don’t know why but I have always associated Hummingbird cakes with summer. Maybe it is the use of refreshing pineapple but to be fair, this is a cake that can be enjoyed round the year.
Who knew the marriage of bananas, pineapple, coconut and spices could create such a spectacular texture and flavour? This Easy Hummingbird Cake is a testament to that!

Easy Hummingbird cake

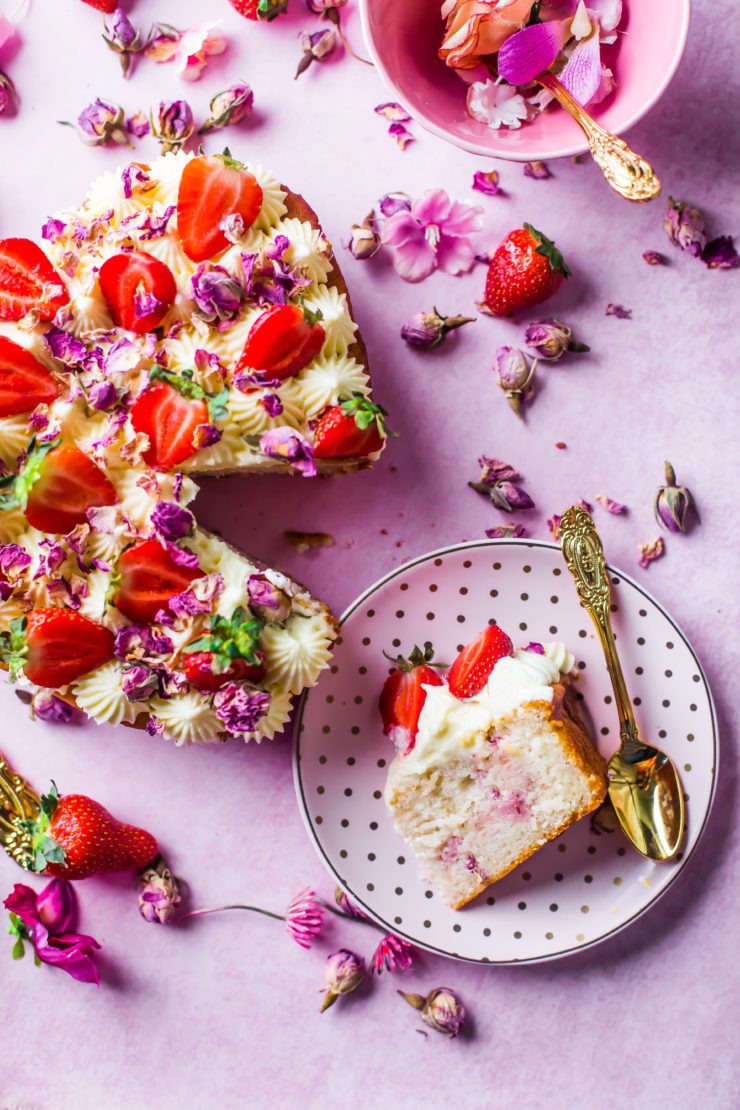
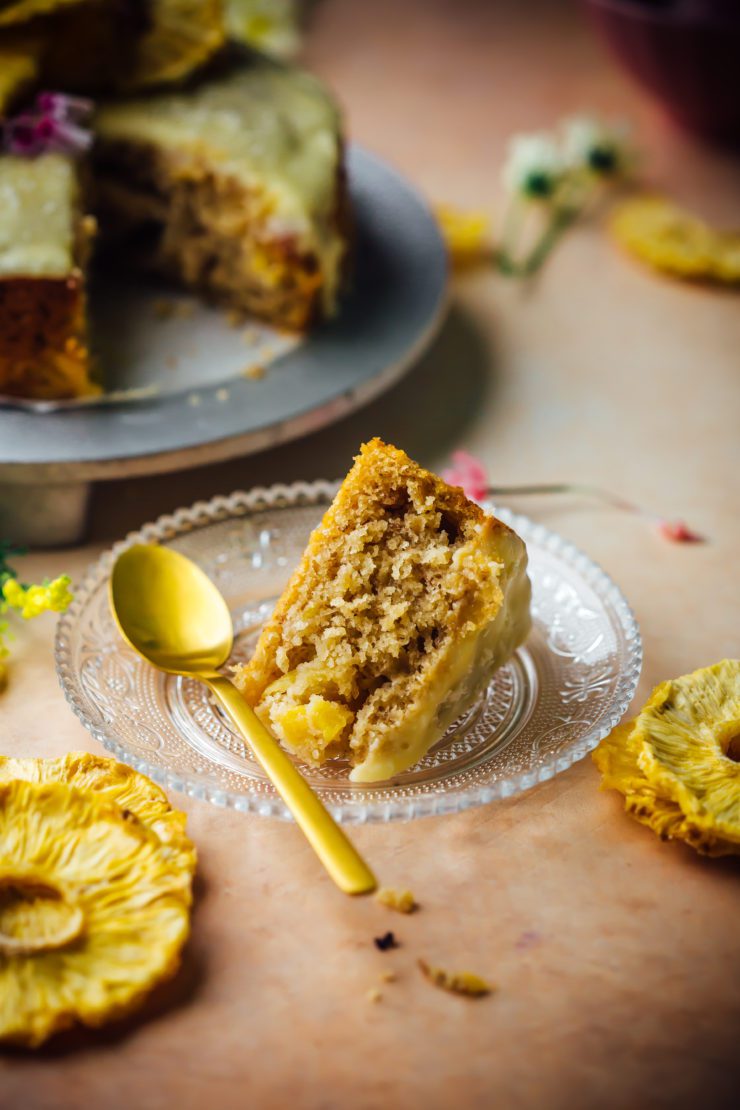
This Easy Hummingbird cake is really moist while one can taste all the different ingredients in a bite.
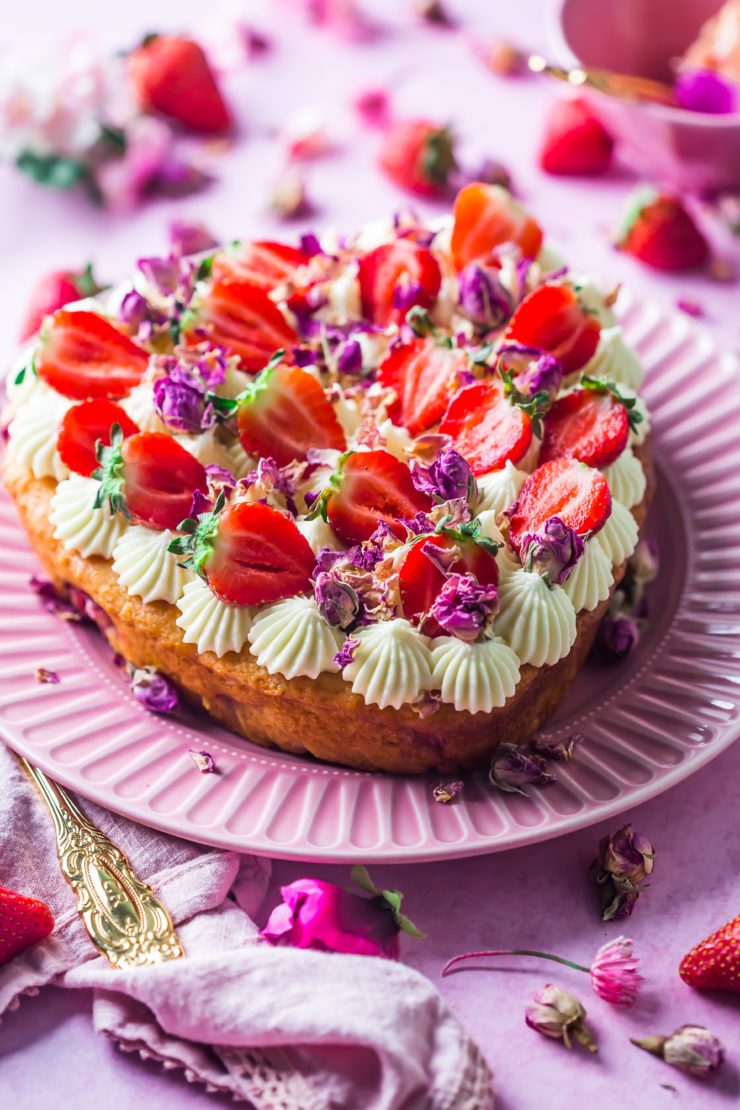
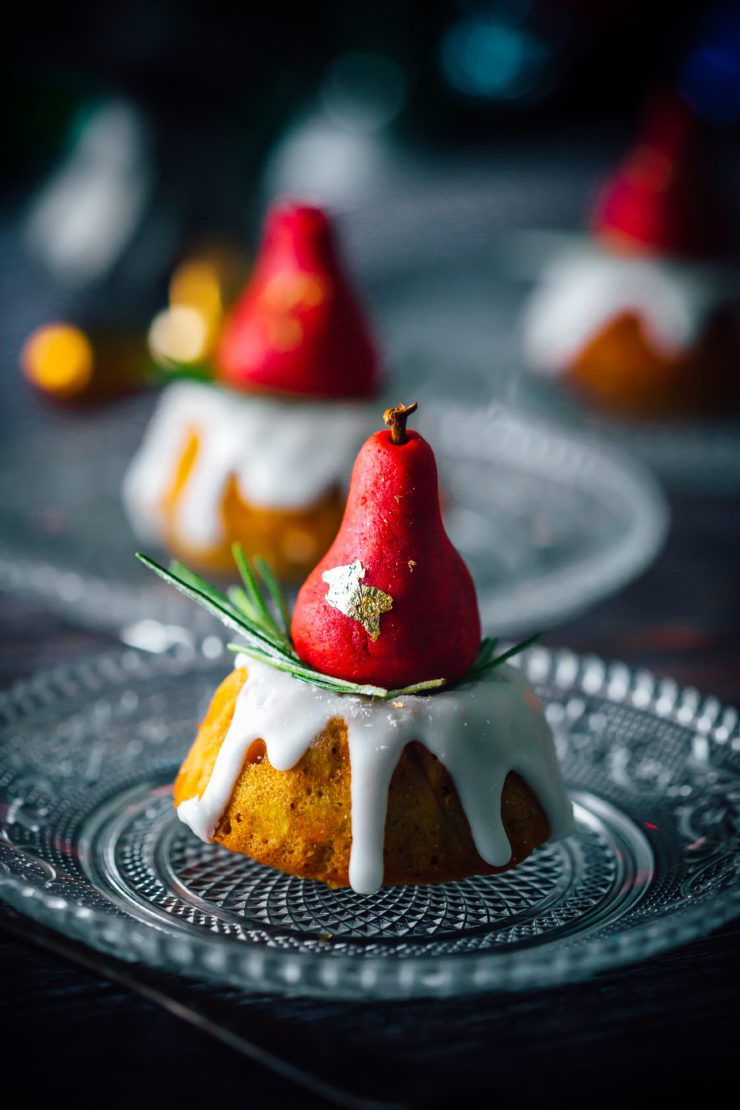
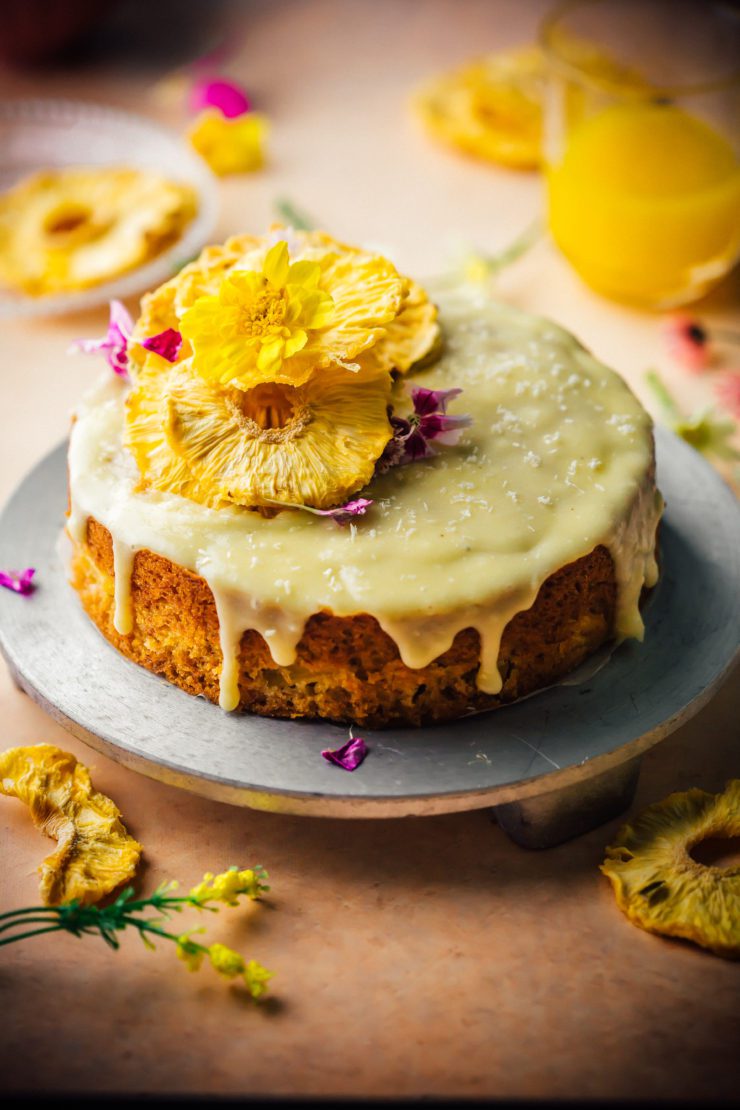
The batter is enough for a large cake so you could go with that or make two smaller cakes like I did. Here you only see one of the them. the glaze is absolutely delicious and gives the cake another level of deliciousness.

Easy Hummingbird cake

If you love pineapple cakes, dont forget to check out this White Chocolate Mud cake with Pineapple

Hummingbird cake
Makes 2, 7 inch cakes or a single 9 inch cake

2 cups self raising flour
1 tsp powdered cinnamon
1/2 cup dessicated coconut
1 and 1/4 cups brown sugar
1 can (440 g) crushed pineapple, drained
1/4 cup pineapple juice from can
2 eggs, lightly beaten
2 ripe bananas, mashed
1/2 cup walnuts, chopped
3/4 cup sunflower/vegetable oil

Cream cheese glaze
60 g cream cheese, softened
25 g unsalted butter, room temperature
1/2 cup icing sugar
1/2 tsp vanilla extract


Preheat oven to 170 degrees C. Lightly grease the base and sides of 2, 7 inch pans. Or alternatively use a single 9 inch pan. Line the bases with baking paper.

Add all the dry ingredients (flour, cconut, cinnamon) to a large bowl first. Stir to mix. Add the reamining ingredients. Stir to combine.
Divide batter between prepared pans (or single pan, if using large one). Bake for 40-45 mins or until skewer inserted in the middle comes out clean, if using two pans. Longer if using a single large pan.
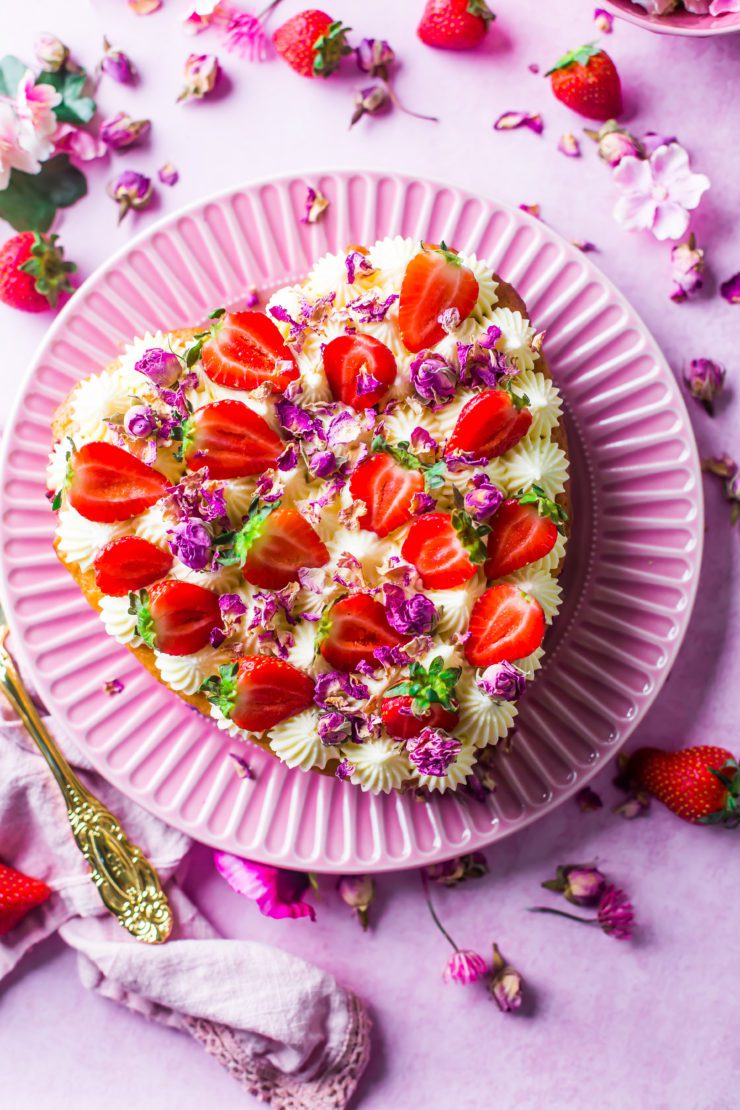
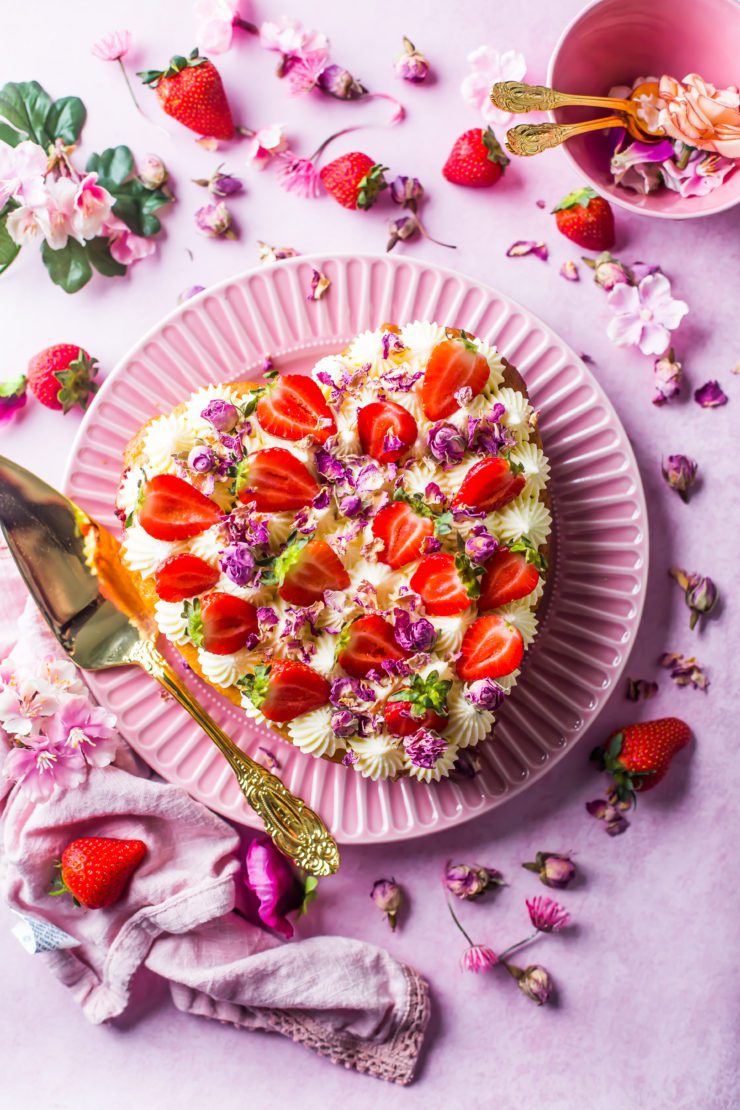
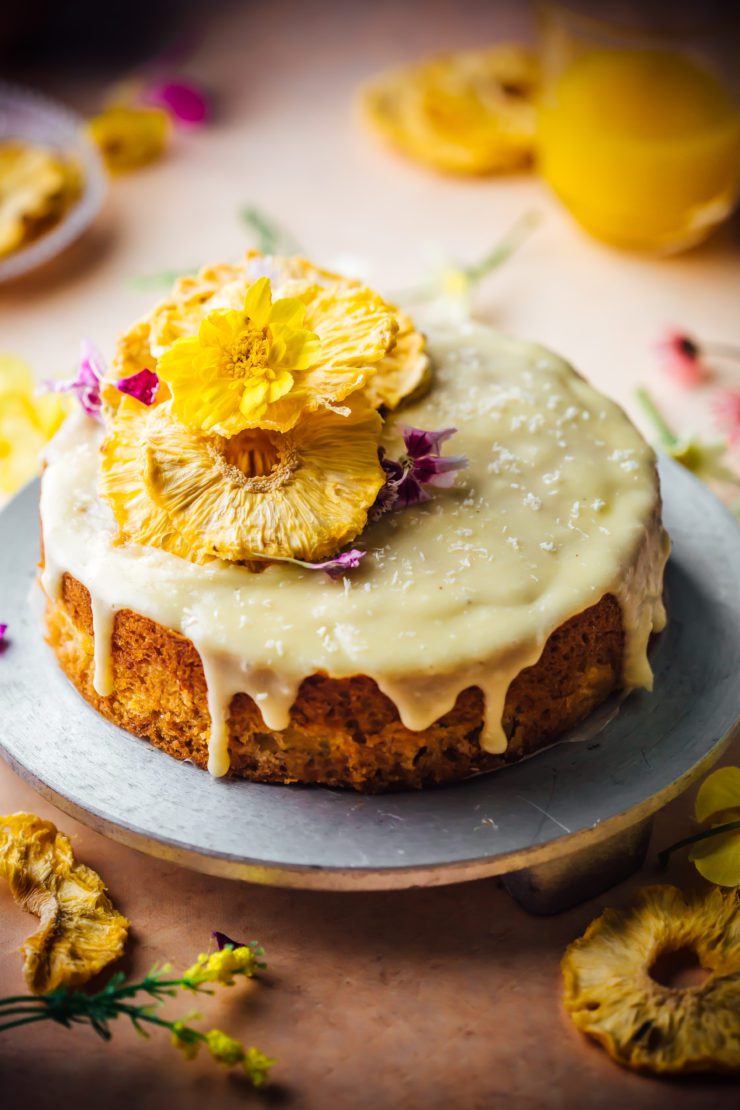
Remove from oven, leave aside for 5 mins. Turn onto a wire rack to cool. Once cooled completely, ice with cream cheese glaze. Decorate with dried pineapple flowers.

To make the cream cheese glaze, mix ingredients until smooth. Warm until pourable and allow to set before serving. 


Eggless Strawberry Cake with Rosewater

10|02|2022

Valentine’s day is around the corner so I got myself a heart shaped pan, something I have had in mind for years. I had a few recipes in mind that I wanted to give a go, with and without chocolate. This eggless strawberry cake with rosewater is super easy to make. The texture and taste are divine.

Eggless Strawberry Cake with Rosewater

The cherrry on the cake though is that it requires no eggs or involves no softening of butter. One can add any berry, nut or flavouring and it always turns out superb. This is my base recipe to a lot of cakes.

Eggless Strawberry Cake with Rosewater

For the frosting, you could go with simple vanilla or use rose again. Or you could use cardamom which is absolutely magical too. The cream cheese frosting is what makes the cake so irresistible.

If you like baking eggless cakes, you definitely want to try this Eggless Vanilla Cake
Rosewater lovers would love this Rosewater and Coconut cake

Eggless Strawberry Cake with Rosewater
Serves 8-10

1 and 1/2 cups self raising flour
3/4 cup castor sugar
1/2 tsp baking soda
1 cup greek yoghurt
1/3 cup milk
1/2 cup vegetable oil
1 tbsp rosewater
1 cup strawberries, roughly chopped
strawberries, for decoration
dried rose buds and petals, for decoration

Cream Cheese Frosting
60 g unsalted butter, room temperature
120 g cream cheese, softened
2 cups icing sugar
1 tsp vanilla extract

To make the cake Preheat oven to 180 degrees C (160 degrees C for fan forced ovens). Grease the base and sides of a 7 inch heart shaped cake pan and line the base with baking paper.

In a large bowl place the flour, sugar and baking soda and stir together to mix. In a separate bowl mix the wet ingredients, yoghurt, milk, oil and rosewater. Add the wet ingredients to the dry ingredients and fold in gently (do not over-mix). Slowly fold in the strawberries.
Pour into prepared pan. Bake for 35-40 minutes or until cooked through (a skewer inserted in the middle should come out clean). Remove from oven. Leave aside for 5 minutes. Gently loosen the sides with a blunt knife by running it around the sides. Turn the cake over onto a cooling rack.

Once cool, pipe or spread cream cheese frosting. Decorate with fresh strawberries and dried rose petals.

To make the cream cheese frosting,

Combine butter and cream cheese in a bowl and beat using a stand or an electric mixer unlit smooth. Gradually add the icing sugar in small batches until completely combined. Add the vanilla extract. Store in the fridge until needed.

Nutella Sandwich Cookies

18|12|2021

I made and shot these cookies way back in October when I bought a few cookie stamps but never got to post the recipe. What can be a better time to share cookies than the official cookie season of the year? The recipe is pretty simple and as you can see the beauty is in the stamp design. However these can be made plain without the designs and simply rolling out and cutting them in different shapes using cookie cutters. Cookie stamps can be found on Ebay, Amazon and almost all cake decorations stores.
We can never go wrong with Nutella, can we?

Nutella Sandwich cookies
Makes 12 sandwich cookies

225 g unsalted butter, room temperature
1 cup packed brown sugar
1 large egg
1 teaspoon vanilla
2 1/3 cups plain flour
1/2 cup good quality cocoa powder
1 teaspoon baking powder
3/4 cup Nutella

Beat the butter and brown sugar with electric mixer until fluffy. Beat in egg and vanilla. In a separate bowl, combine flour, cocoa powder, baking powder, and salt. Add flour mixture to the butter mixture. Mix until fully blended. Turn out dough on surface and knead until smooth. Cover and refrigerate for 2-3 hours.

Preheat oven to 170 degrees C. Line two large baking sheets with baking paper. Allow dough to sit at room temperature to soften slightly.

Dust a surface with a little flour. Roll out the dough with a regular rolling pin to just thicker than 1cm – around ½”. Press dough with cookie stamp. Cut out cookie flower shapes with a flower cookie cutter.

Place on prepared trays. Refrigerate for 15-20 mins. Bake 12-14 minutes or until cookies are crisp. Cool on a wire rack. Once cool, spread or pipe Nutella onto a cookie. Sandwich with another cookie.

Mini Gingerbread Bundt Cakes with Marzipan Pears

2|12|2021

I’m finally getting into the Christmas spirit. The last few weeks have been an absolute blur of activities since we got a new puppy. He is adorable and a little ball of joy. However, I never anticiapted the amount of work, attention and time I would have to give to this hyper active baby of mine. He actually makes me feel old since I struggle to keep up with him. To tell you the truth, managing twins wasn’t as hard as managing our baby Biscoff. I know, everyone remembers his name. The vet. doggie care, strangers…he is my dessert puppy:-)

Speaking of dessert, spices are the hero of the season. I have plenty of gingerbread recipes on my blog already so I thought I’ll create something that looks slightly different but is easy to make. Back in the day when I used to run high teas for my cafe restaurant, I worked with marzipan a lot to create sensational edible toppings. I’m not a big fan of the taste but it it such a versatile item. I like it much better than fondant.

With or without the pear decorations, the cakes are amazing. Golden syrup is indeed a beautiful ingredient. It adds a caramel-ish flavour to the cakes that goes so well with the spice. I coloured the pears red to create a wine poached effect that is so perfect for Christmas.

Mini Gingerbread Bundt cakes with Marzipan Pears (mini cake recipe adapted with variation from Taste.com)
Makes 12

125g butter, chopped
2/3 cup golden syrup
2/3 cup dark brown sugar
2/3 cup milk
1/2 tsp bicarbonate of soda
1 egg, lightly beaten
1 2/3 cups plain flour, sifted
1 tbsp ground ginger
1/2 tsp powdered cinnamon
1 tsp mixed spice

Vanilla Icing
1 cup icing sugar
1-2 tsp milk
1/2 tsp vanilla extract

Marzipan pears
1 log maripan, home made or store bought
Maroon or red food colour (I used a mix of both)
icing sugar, for dusting work surface
Cloves for the stems

Method : Preheat oven to 180 degrees C. Grease a 12 -hole mini bundt cake pan with canola spray.

Place butter, golden syrup, sugar and milk in a saucepan over medium heat. Cook, stirring, for 4 to 5 minutes or until butter has melted and sugar dissolved (do not boil). Remove from heat. Add bicarbonate of soda. Stir to combine. Set aside to cool for 10 minutes.

Add the egg. Whisk to combine. Add flour, ginger, cinnamon and mixed spice. Whisk until smooth. Spoon mixture into pan holes until half-full.
Bake for 25 minutes or until a skewer inserted in centre of 1 cake comes out clean. Cool in pan for 5 minutes. Turn out onto a wire rack to cool completely. When cooled completely ice with glaze. Allow to set. Decorate with marzipan pears.

To make the Vanilla Icing : Mix all the ingredients together in a medium bowl. Add more sugar or milk according to desired thickness. Dip the tops of the bundt cake in icing. Allow excess icing to fall back into the bowl. Place on a wire rack to set.

To make the Marzipan Pears : Divide the log into pieces depending on quantities and size. Knead colour into each piece working on the icing sugar dusted surface, to prevent sticking. Roll into a ball between your palms, then shape the top by tapering it like a pear. Insert a clove to replicate a stem. Place them on a baking paper lined tray to dry. once dried, store in ana air tight container until needed.

  • « Previous Page
  • 1
  • …
  • 11
  • 12
  • 13
  • 14
  • 15
  • …
  • 111
  • Next Page »
Hey Sugar
Cake
Link to my Facebook Page
Link to my Instagram Page
Link to my Pinterest Page
Link to my Mail Page
Subscribe to this site
Fresh Awards
2019 Aus mumpreneur
2019 aus mumpreneur
Mumbrella

Copyright © 2025 · Sugar Et Al · Designed by Smitten Blog Designs · Log in