• Home
  • Recipe Index
    • Recipe Index
    • Breakfast/Brunch
    • Cakes and Puddings
    • Chocolate
    • Cookies and cupcakes
    • Custard and Mousse
    • Gluten Free
    • Ice Cream
    • Mains
    • Other Sweet Treats
    • Snack/Appetizers
    • Soups and Salads
    • Tarts and Pies
    • Vegetarian
  • About
  • Cookbook
  • Portfolio
  • Store
  • Press
  • Work with Me

Sugar et al

Because Life is a blend of flavours...

Vanilla and Raspberry Madeleines

6|05|2024

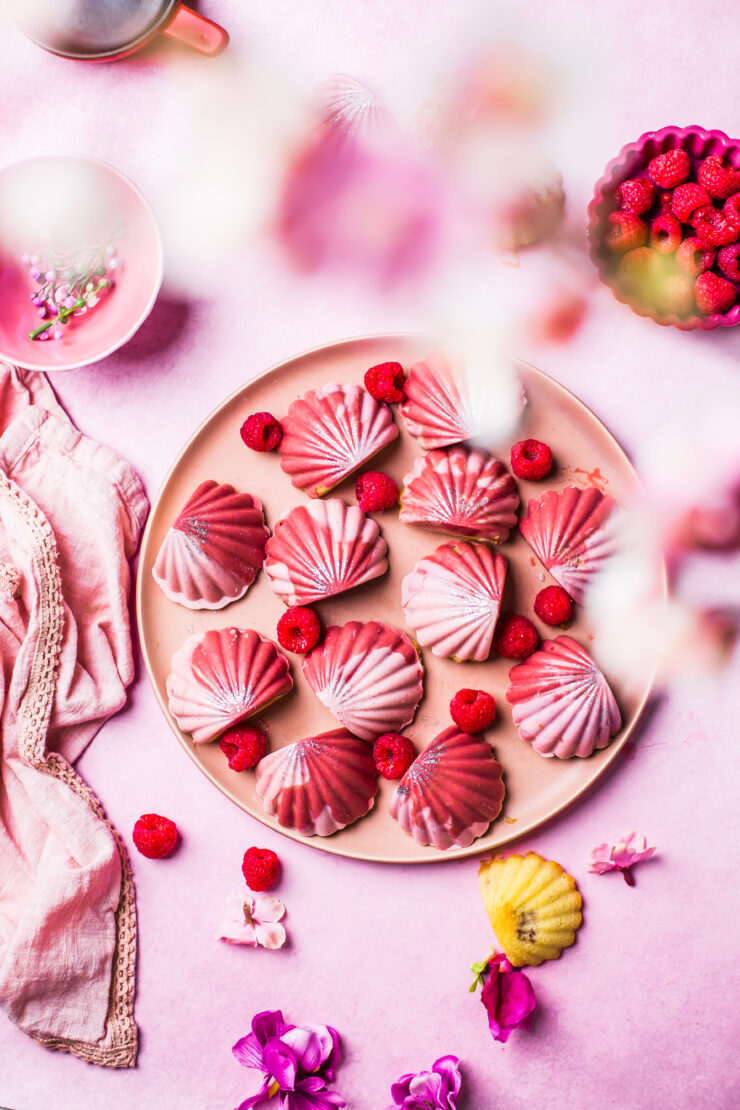
I like baking treats and gifting edible things for my Mum friends on Mother’s day. I beileve it is my favourite holiday, partly because I get to celebrate my own Mum and also feel spolit and partly because the nature of treats are dainty, pretty and precious just like Mum. Raspberry madeleines have been on my mind for a while as I wanted to create the beautiful cakes with a filling in them.

Vanilla and Raspberry Madeleines

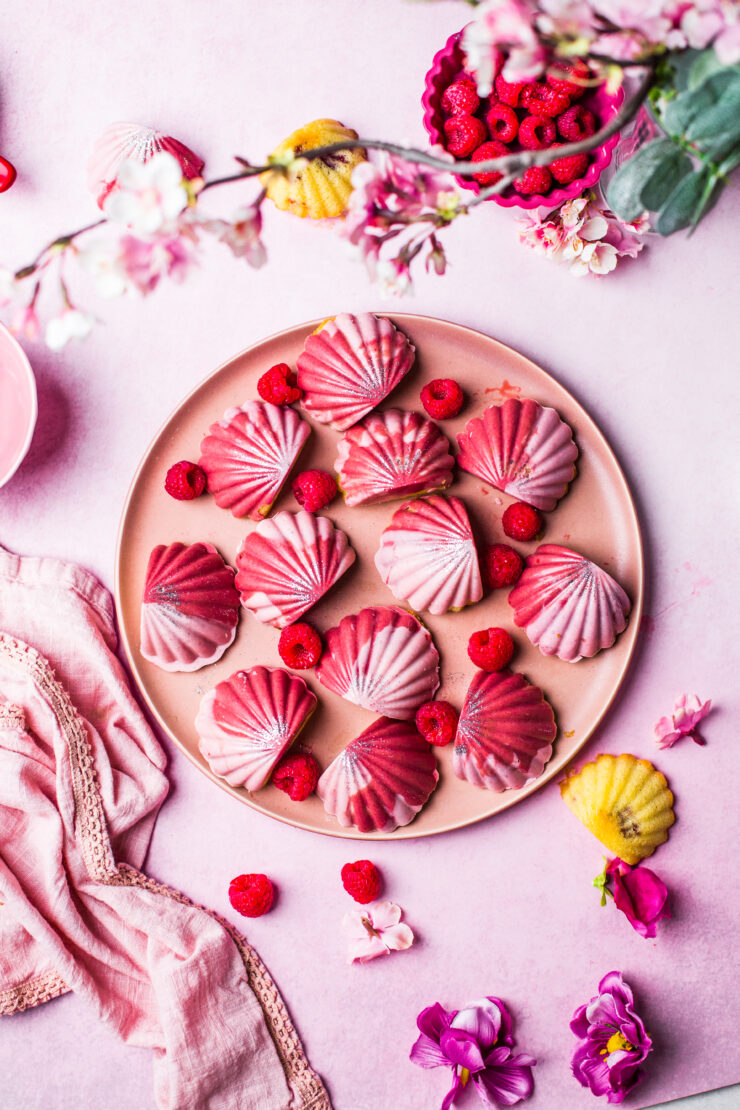
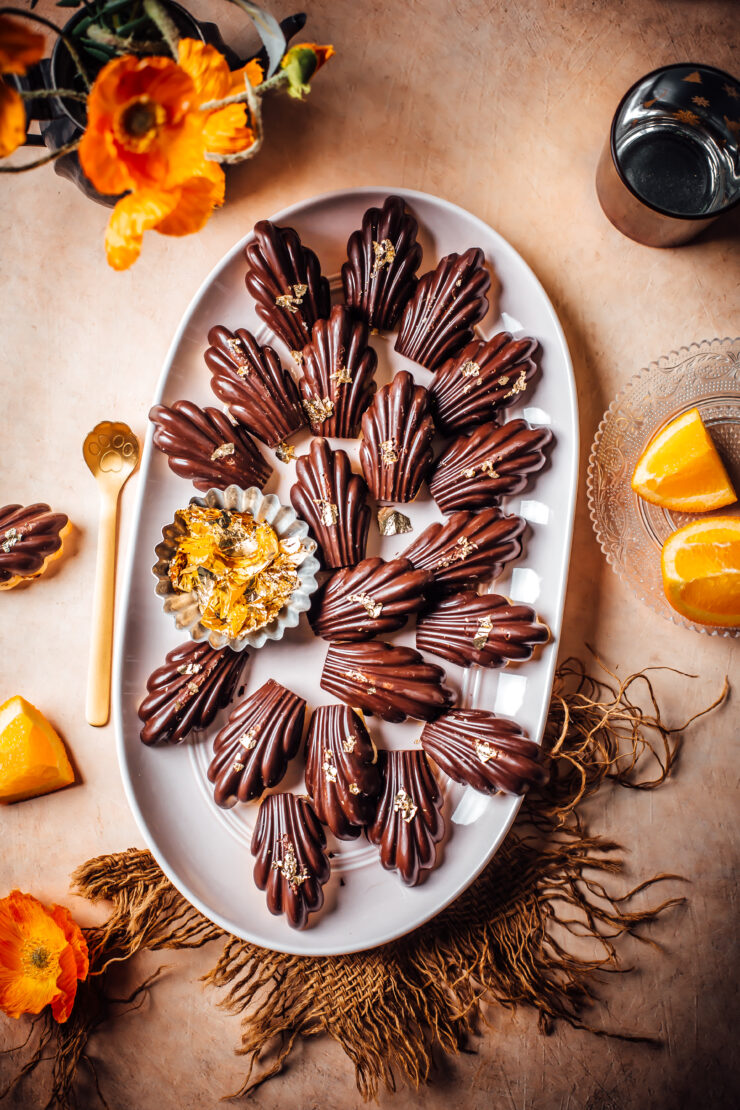
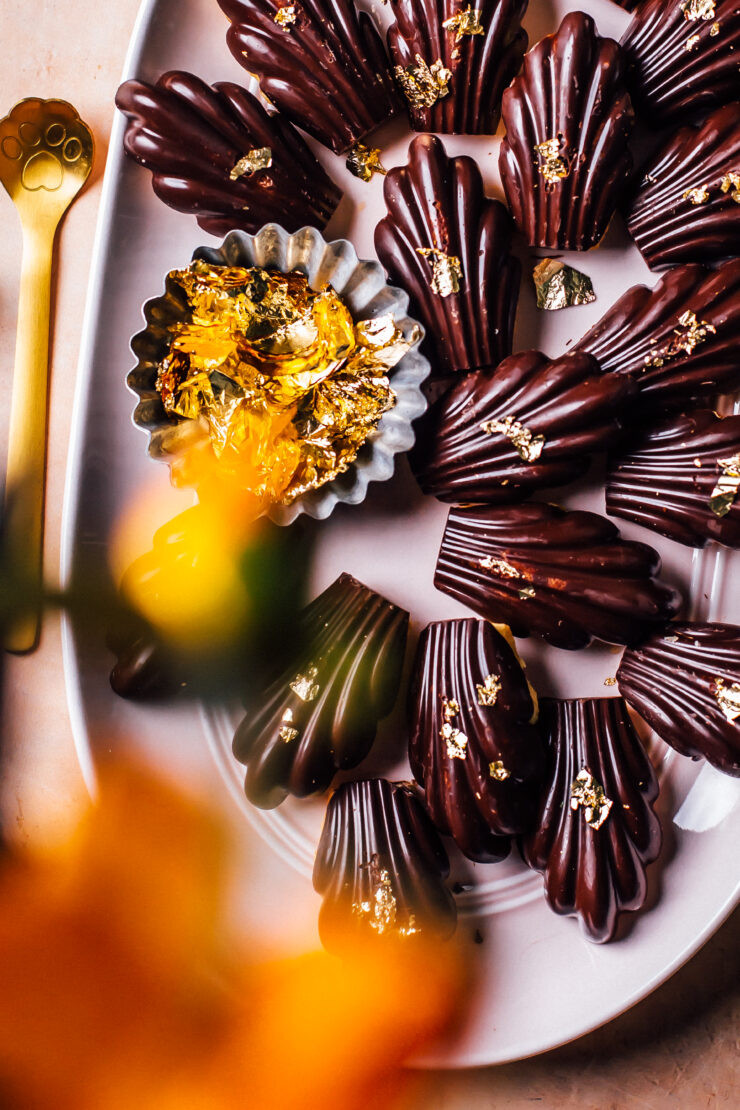
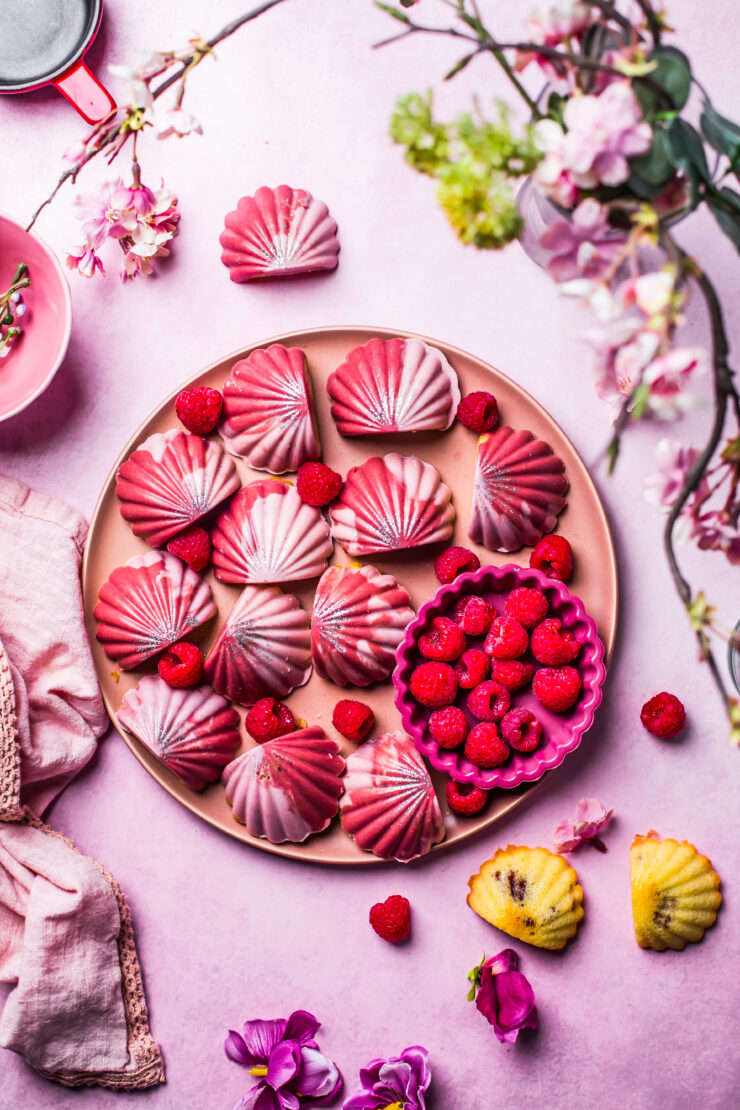
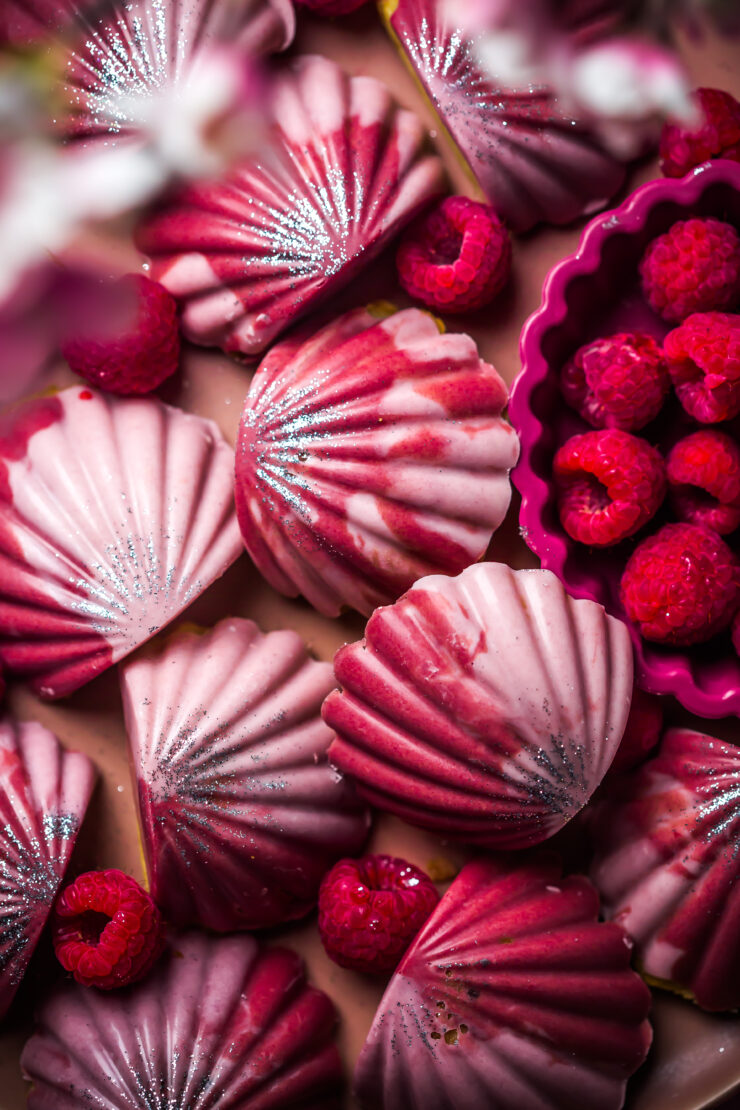
I used homemade raspberry jam within the raspberry madeleines. I also stuffed a few with fresh raspberries but I think I liked the jam ones better. The two tone effect is simply by placing white chocolate that is colored in two different shades in the hole of the madeleine mold. I used this seashell mold for the design.

I’ve been on a baking spree last week and quite happy with all the cookies and mini cakes I baked up. Stay tuned, I’ll share as many recipes as I can this week.

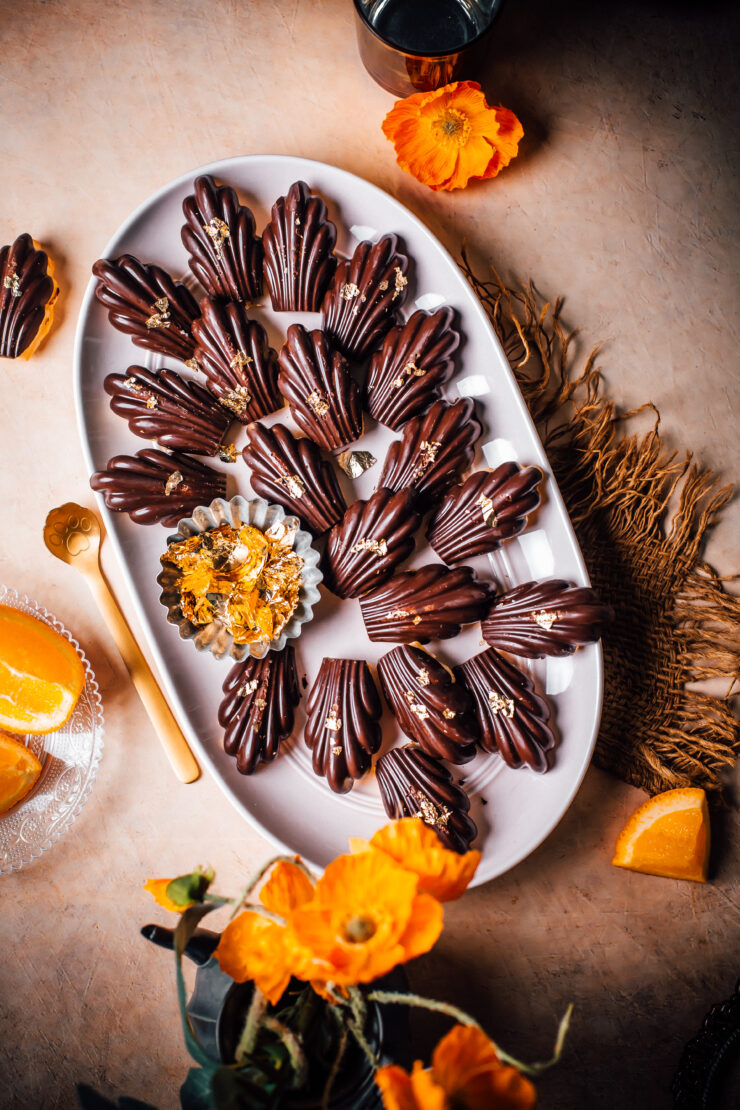
If you a Madeleine lover like me, check out these Rosewater and Cardamom Madeleines and these Chocolate-Orange ones too.

Vanilla and Raspberry Madeleines

Vanilla and Raspberry Madeleines
Makes 12 -15 madeleienes

3/4 cup (94 g)plain flour
1/4 tsp baking powder
2 eggs
1/2 cup (100 g) caster/granulated sugar
1 tsp vanilla extract
1/2 cup (114 g) unsalted butter, melted and cooled
1/4 cup raspberry jam (home made or store bought)
100 g white chocolate, melted
gel food colours of your choice

Method : Place the flour and baking powder in a medium bowl and mix to combine.

In a large bowl, place the eggs, sugar and vanilla. Using an electric mixer beat until thick, pale and doubled in volume (about 5-6 mins). Batter should fall back in a thick ribbon when beaters are lifted. Fold in the dry ingredients. Gently fold in the butter. Cover the bowl and place in the fridge for 30 mins.

Preheat oven to 200°C. Grease well, a 6 or 12-hole madeleine mold. using a spoon or piping into the mold, place half a tablespoon of batter. Place about 1/2 a tsp of raspberry jam. then cover with more batter until about 2/3rd full. Bake for 10-12 minutes or until golden and cakes spring back when pressed in the centre. Allow to remain in the mold for 1 min, then gently unmold. Place on a wire rack to cool completely.

Divide white chocolate between two small bowls. Colour the chocolate into your choice of colours using gel paste food colours. I’ve used pink and red for these madeleines. Pipe (or spoon) small amounts of melted chocolate into a clean mold. You could use both colours together for this effect (place pink on one side and red on the other) .Place madeleines over the chocolate, allowing some of it to come up the sides. Place mold tray in the fridge to set. Repeat with remaining madeleines. Madeleines should easily come off the molds. Using a brush, decorate madeleines with glitter or gold leaf. Store in an air tight container in room temperature.

Biscoff Thumbprint Cookies

1|05|2024

Biscoff thumbprint cookies are the next level treats in cookie universe. Biscoff on it’s own is a cookie spread, then imagine putting that spread on a chocolate cookie base that is rolled in Biscoff biscuits. All I can say is that this triple dose of cookie magic is every bit amazing.

Biscoff Thumbprint Cookies

I used a spiral mold for the Biscoff centres. All it requires is to pour melted Biscoff spread in the mold and freeze them. If you don’t have a mold, you can just add melted Biscoff in the indentation once the cookies are baked. My favourite part has to be the chocolatey edges covered in Biscoff crumbs and gooey middle. If you’re wondering if freezing Biscoff spread and allowing it to come to room temperature will alter the taste or texture, the answer is no. It doesn’t affect anything and the shape is retained very well.
I’m excited to try a Nutella version of these in the near future.

Biscoff Thumbprint Cookies

Love Biscoff? You’ll love this No bake Biscoff cheesecake

Biscoff Thumbprint Cookies
Yields 12-15 cookies

1/2 cup Biscoff cookie spread, melted in short bursts of 5 seconds in the microwave
1 cup (125 g) plain flour less 1 tbsp
1 tbsp (8 g) corn starch
1/4 cup ( 22 g) Dutch processed cocoa powder
a pinch salt 
1/2 cup (100 g) castor/granulated sugar
1/2 cup (114 g) unsalted butter, room temperature
1 medium egg
1 tsp vanilla extract
5-6 Biscoff biscuits, crushed

Pour melted Biscoff spread in molds. Freeze until firm (about 30-40 mins).

In a medium bowl, whisk together flour, corn starch, cocoa powder and salt.
In a large bowl, beat the butter and sugar together until combined (do not over mix). Add the egg and vanilla. Beat to combine. Add the flour mixture and beat at low speed (approx 30 seconds).

The dough is ready when you’re able to easily form balls with your hands. If it’s too sticky or dfficult to handle, place in the fridge for 15-20 mins.

Preheat oven to 180 degrees C (350 degrres F), Line two baking sheets with baking paper. Place the crushed biscoff biscuits on a shallow plate. Scoop out about 1.5 tbsp of dough into balls, roll in crushed Biscoff biscuits and place on lined trays. Using a spoon, make an indentation in the middle.
Bake for 12-15 mins or until slightly golden and set.

Remove from oven. While cookies are still warm, use the spoon again to make a wide hole in the middle, in the size of the biscoff spirals. Be careful not to go all the way through. Allow cookies to cool down, Unmold the frozen Biscoff spirals and place in the space created for them. The biscoff will stick to the cookies as it keep thawing to room temperature.

Chocolate and Orange Madeleines

28|04|2024

Who doesn’t love a madeleine? These light airy french treats, fall between a cake and a cookie. There are many madeleine recipes on my blog but the classic combination of Chocolate and Orange Madeleines has to be my favourite.

Chocolate and Orange Madeleines

Bursting with the flavour of zesty oranges while you bite into a crisp dark chocolate exterior, these chocolate and orange madeleines are not only perfect for afternoon tea or a ladies gathering, but they’re the most beautiful edible gifts that can be created in your kitchen.

As always, I’ve used sillicone molds for the beautiful shape. They are so easy to make and unmold. They don’t stick to the mold and fall out easily with a smooth shine on the surface.

If you’re a fan of madeleines dont forget to check out my Homemade madeleines with rosewater and cardamom.

Chocolate and Orange Madeleines

Chocolate and Orange Madeleines
Makes 12 -15 madeleienes

3/4 cup (94 g )plain flour
1/4 tsp baking powder
2 eggs
1/2 cup (100 g) caster sugar
1 tbsp freshly grated orange zest
1/2 cup (114 g) unsalted butter, melted and cooled
100 g dark chocolate, melted
gold leaf, for decoration

Method : Place the flour and baking powder in a medium bowl and mix to combine.

In a large bowl, place the eggs, sugar and orange zest. Using an electric mixer beat until thick, pale and doubled in volume (about 5-6 mins). Batter should fall back in a thick ribbon when beaters are lifted. Fold in the dry ingredients. Gently fold in the butter. Cover the bowl and place in the fridge for 30 mins.

Preheat oven to 200°C. Grease well, a 6 or 12-hole madeleine mold. Place tablespoons of mixture into prepared madeleine moulds. Bake for 10-12 minutes or until golden and cakes spring back when pressed in the centre. Allow to remain in the mold for 1 min, then gently unmold. Place on a wire rack to cool completely.

Pipe (or spoon) small amount of melted dark chocolate into a clean mold. Place madeleines over the chocolate, allowing some of it to come up the sides. Place mold tray in the fridge to set. Repeat with remaining madeleines. Madeleines should easily come off the molds. Using a brush, decorate madeleines with gold leaf. Store in an air tight container in room temperature.

Blueberry Friands/Financiers

19|04|2024

Blueberrry Friands

Egg whites are never wasted at my place because the quickest, easist and most delicious way to use them up is my baking friands. Blueberry friands are by far the favourite at home. If you’ve never heard of friands, they are nothing but french financiers. They are popularly known as friands in Australia. There are barely any cafes that don’t sell them in Sydney and I love having them with my coffee.

Blueberrry Friands

These blueberry friands obviously don’t look like the traditional ones that are larger in size. These are coated in white chocolate and made in special molds to create the heart shapes. You could bake them in a muffin pan too and leave out the coating if you’re after a tea cake sort of thing. The coating of course elevates the apperance and gives it a fancy high-tea look. The white chocolate layer also complements the juicy blueberries within the friands.

If you like Blueberry desserts don’t forget to checkout this Skinny Blueberry Cheesecake or these Mini Blueberry Cakes

Blueberry Friands/Financiers
Makes 10-12 small friands

3 egg whites, lightly beaten with a fork
100 g butter, melted and cooled
3/4 cup pure icing sugar
1/4 cup plain flour
75 g almond meal
1 tsp vanilla essence
1/2 cup fresh or frozen blueberries

150 g white chocolate melts, melted
purple gel food colouring

Preheat oven to 180 degrees C.  Lightly grease a madeleine mold (I used a 6 capacity mold) or any other sillicone mold.  Place the egg whites, butter, sugar, flour, almond meal, vanilla in a large bowl and beat until combined (about 1-2 mins). Fold in the blueberries.

Spoon batter into molds until 2/3rd full. Bake for 20-25 mins or until friands are golden and cooked through. Remove from oven, allow to rest for 2 mins, then gently unmold onto a wire rack to cool completely.

Colour the white chocolate with 1 drop of purple food colouring. Pipe (or spoon) small amount of melted white chocolate into a 3-4 holes of a clean mold, gently press friands over the chocolate. Refrigerate for 30 mins or until set.
Add 2 more drops of food colour to the chocolate for a darker shade (if starting to solidify, warm to melt again). Repeat with remaining friands. Friands should easily come off the molds. Store in an air tight container in room temperature.

  • « Previous Page
  • 1
  • …
  • 3
  • 4
  • 5
  • 6
  • 7
  • …
  • 111
  • Next Page »
Hey Sugar
Cake
Link to my Facebook Page
Link to my Instagram Page
Link to my Pinterest Page
Link to my Mail Page
Subscribe to this site
Fresh Awards
2019 Aus mumpreneur
2019 aus mumpreneur
Mumbrella

Copyright © 2025 · Sugar Et Al · Designed by Smitten Blog Designs · Log in