• Home
  • Recipe Index
    • Recipe Index
    • Breakfast/Brunch
    • Cakes and Puddings
    • Chocolate
    • Cookies and cupcakes
    • Custard and Mousse
    • Gluten Free
    • Ice Cream
    • Mains
    • Other Sweet Treats
    • Snack/Appetizers
    • Soups and Salads
    • Tarts and Pies
    • Vegetarian
  • About
  • Cookbook
  • Portfolio
  • Store
  • Press
  • Work with Me

Sugar et al

Because Life is a blend of flavours...

Beetroot Panzanella Salad

13|08|2014

This has been one long winter. Now that it is in its last stretch, the wait is the hardest. The last always seems like the longest, coldest and darkest to me. The length of this wait, however is not as lasting, extended and painted as the dreams and plans I have for the upcoming Spring and Summer.  There will be fresh berries. Picking, eating and adorning my cakes. There will be the colours of Spring, spilling out everywhere. There will be picnics. Planned, impromptu ones (the ones you plan in your head, then do on an impulse). A mega dose of sunshine. And a good few extra hours to photograph.

IMG_1517
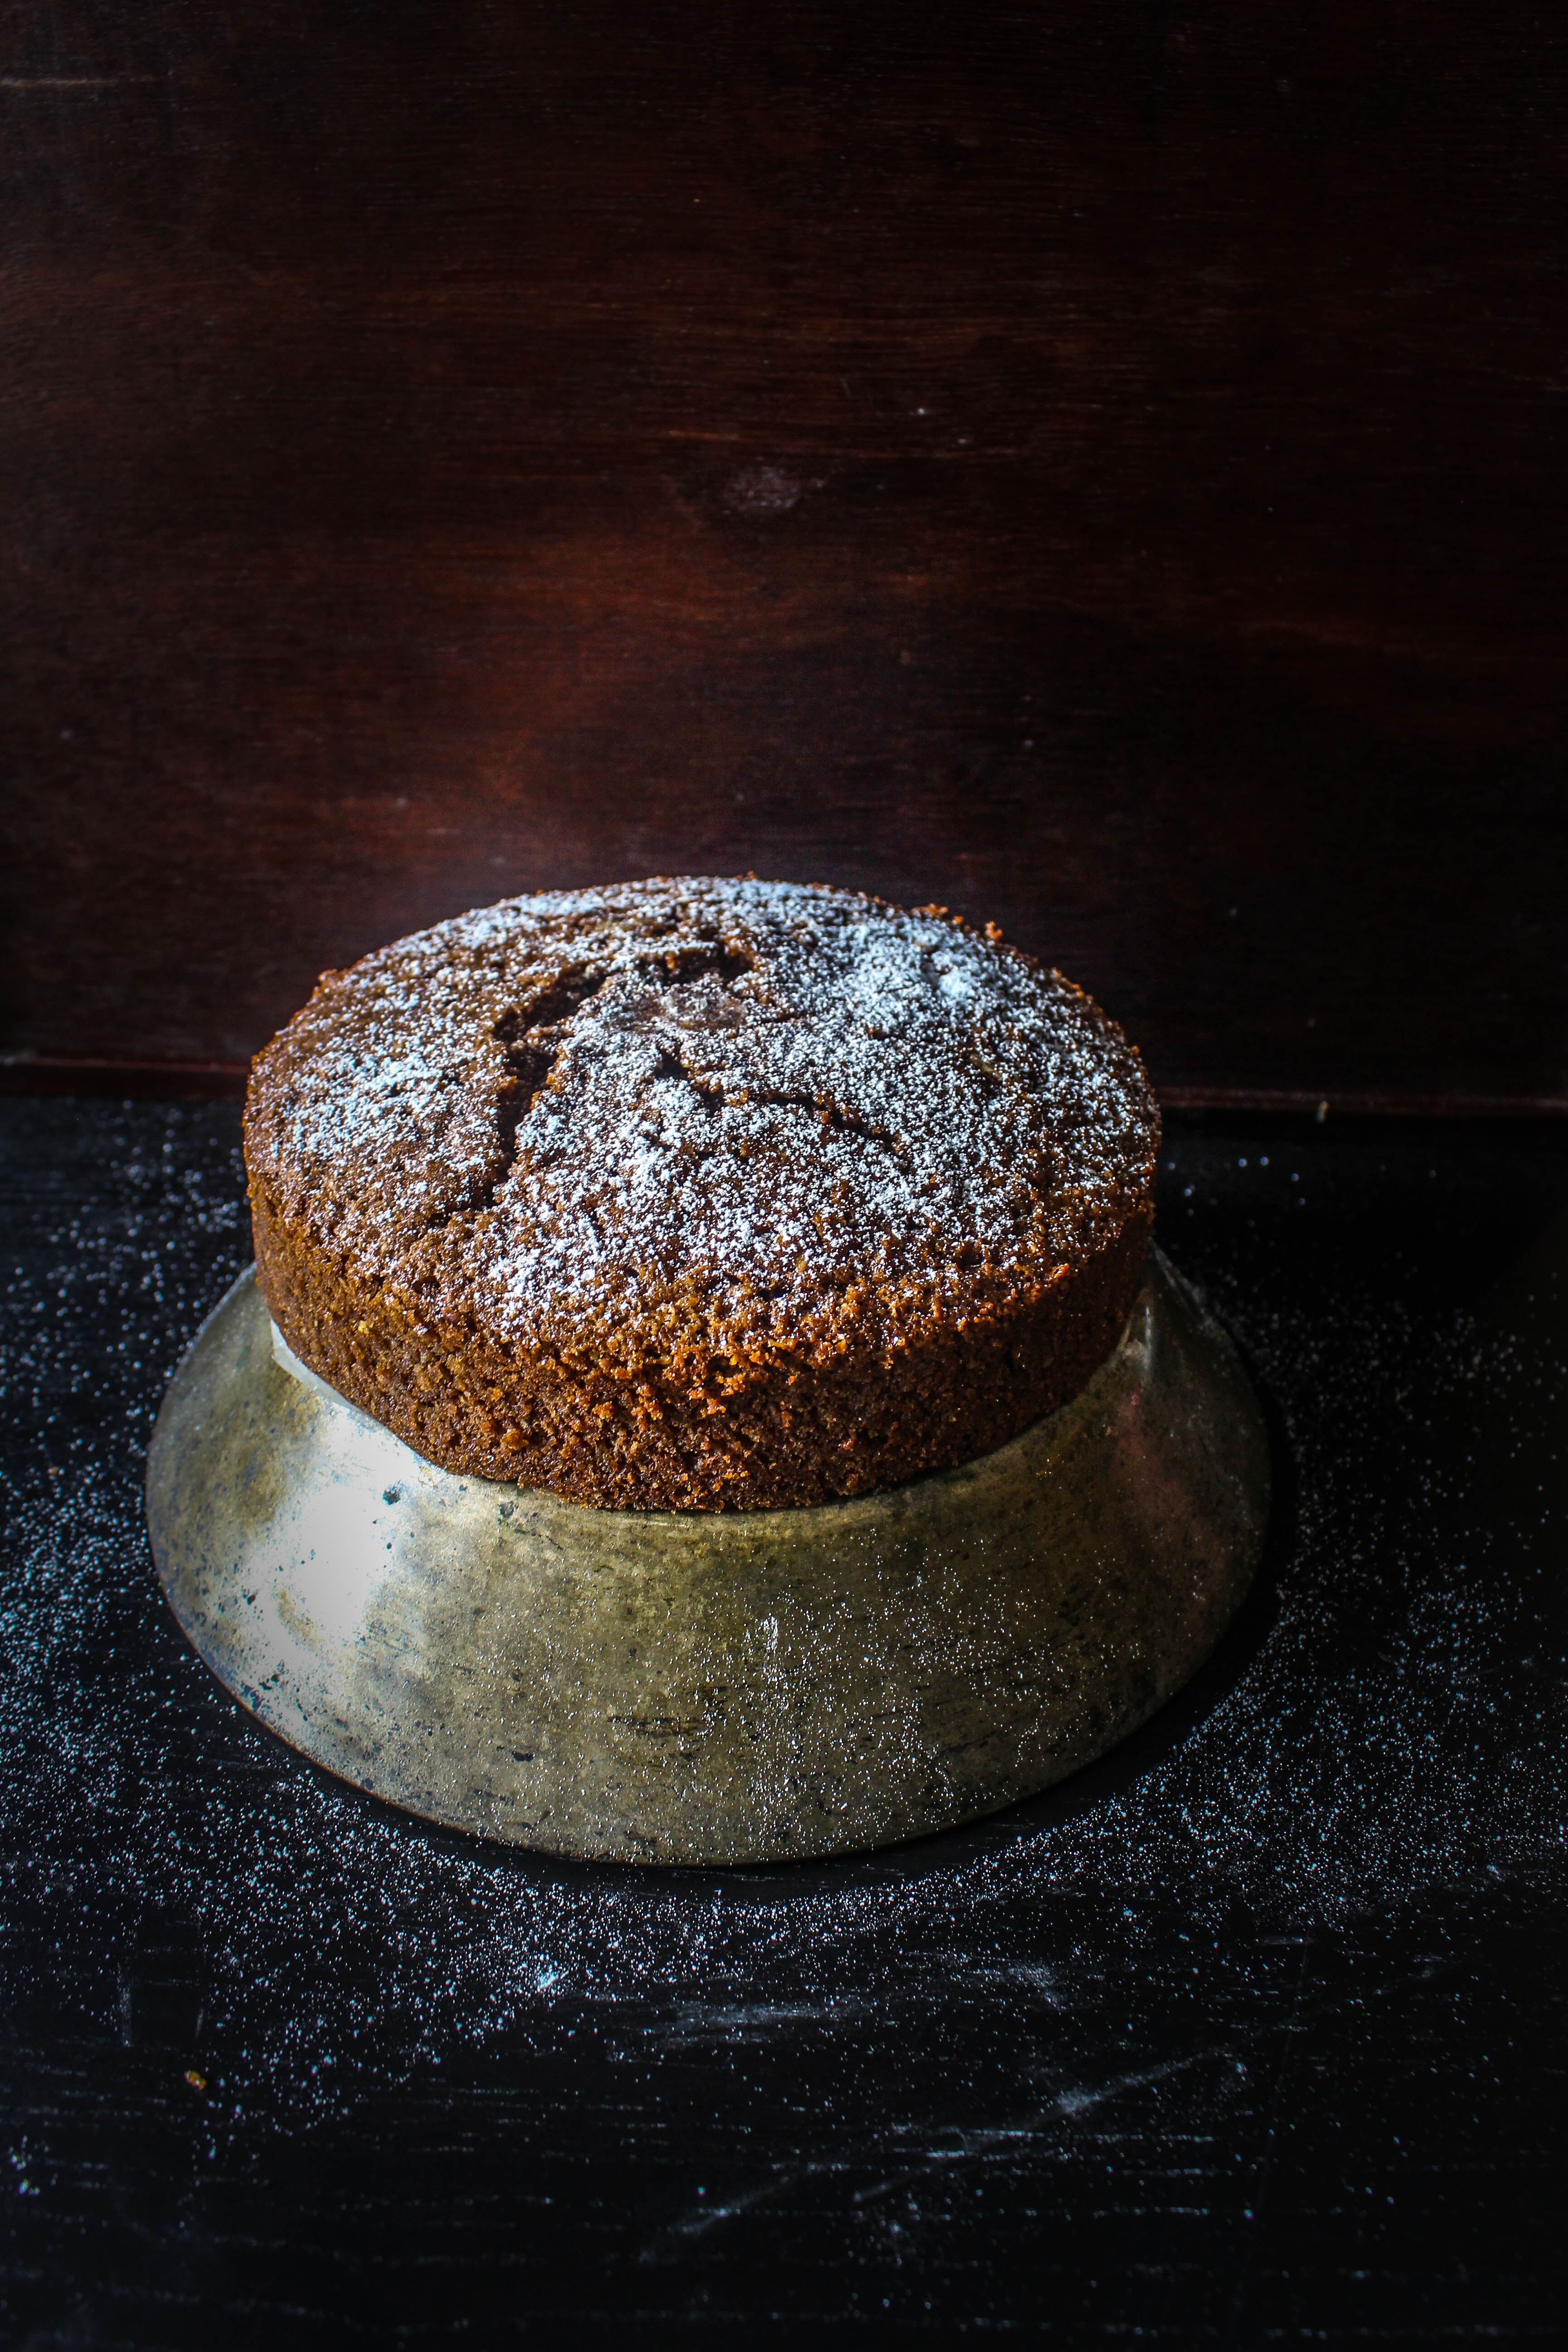
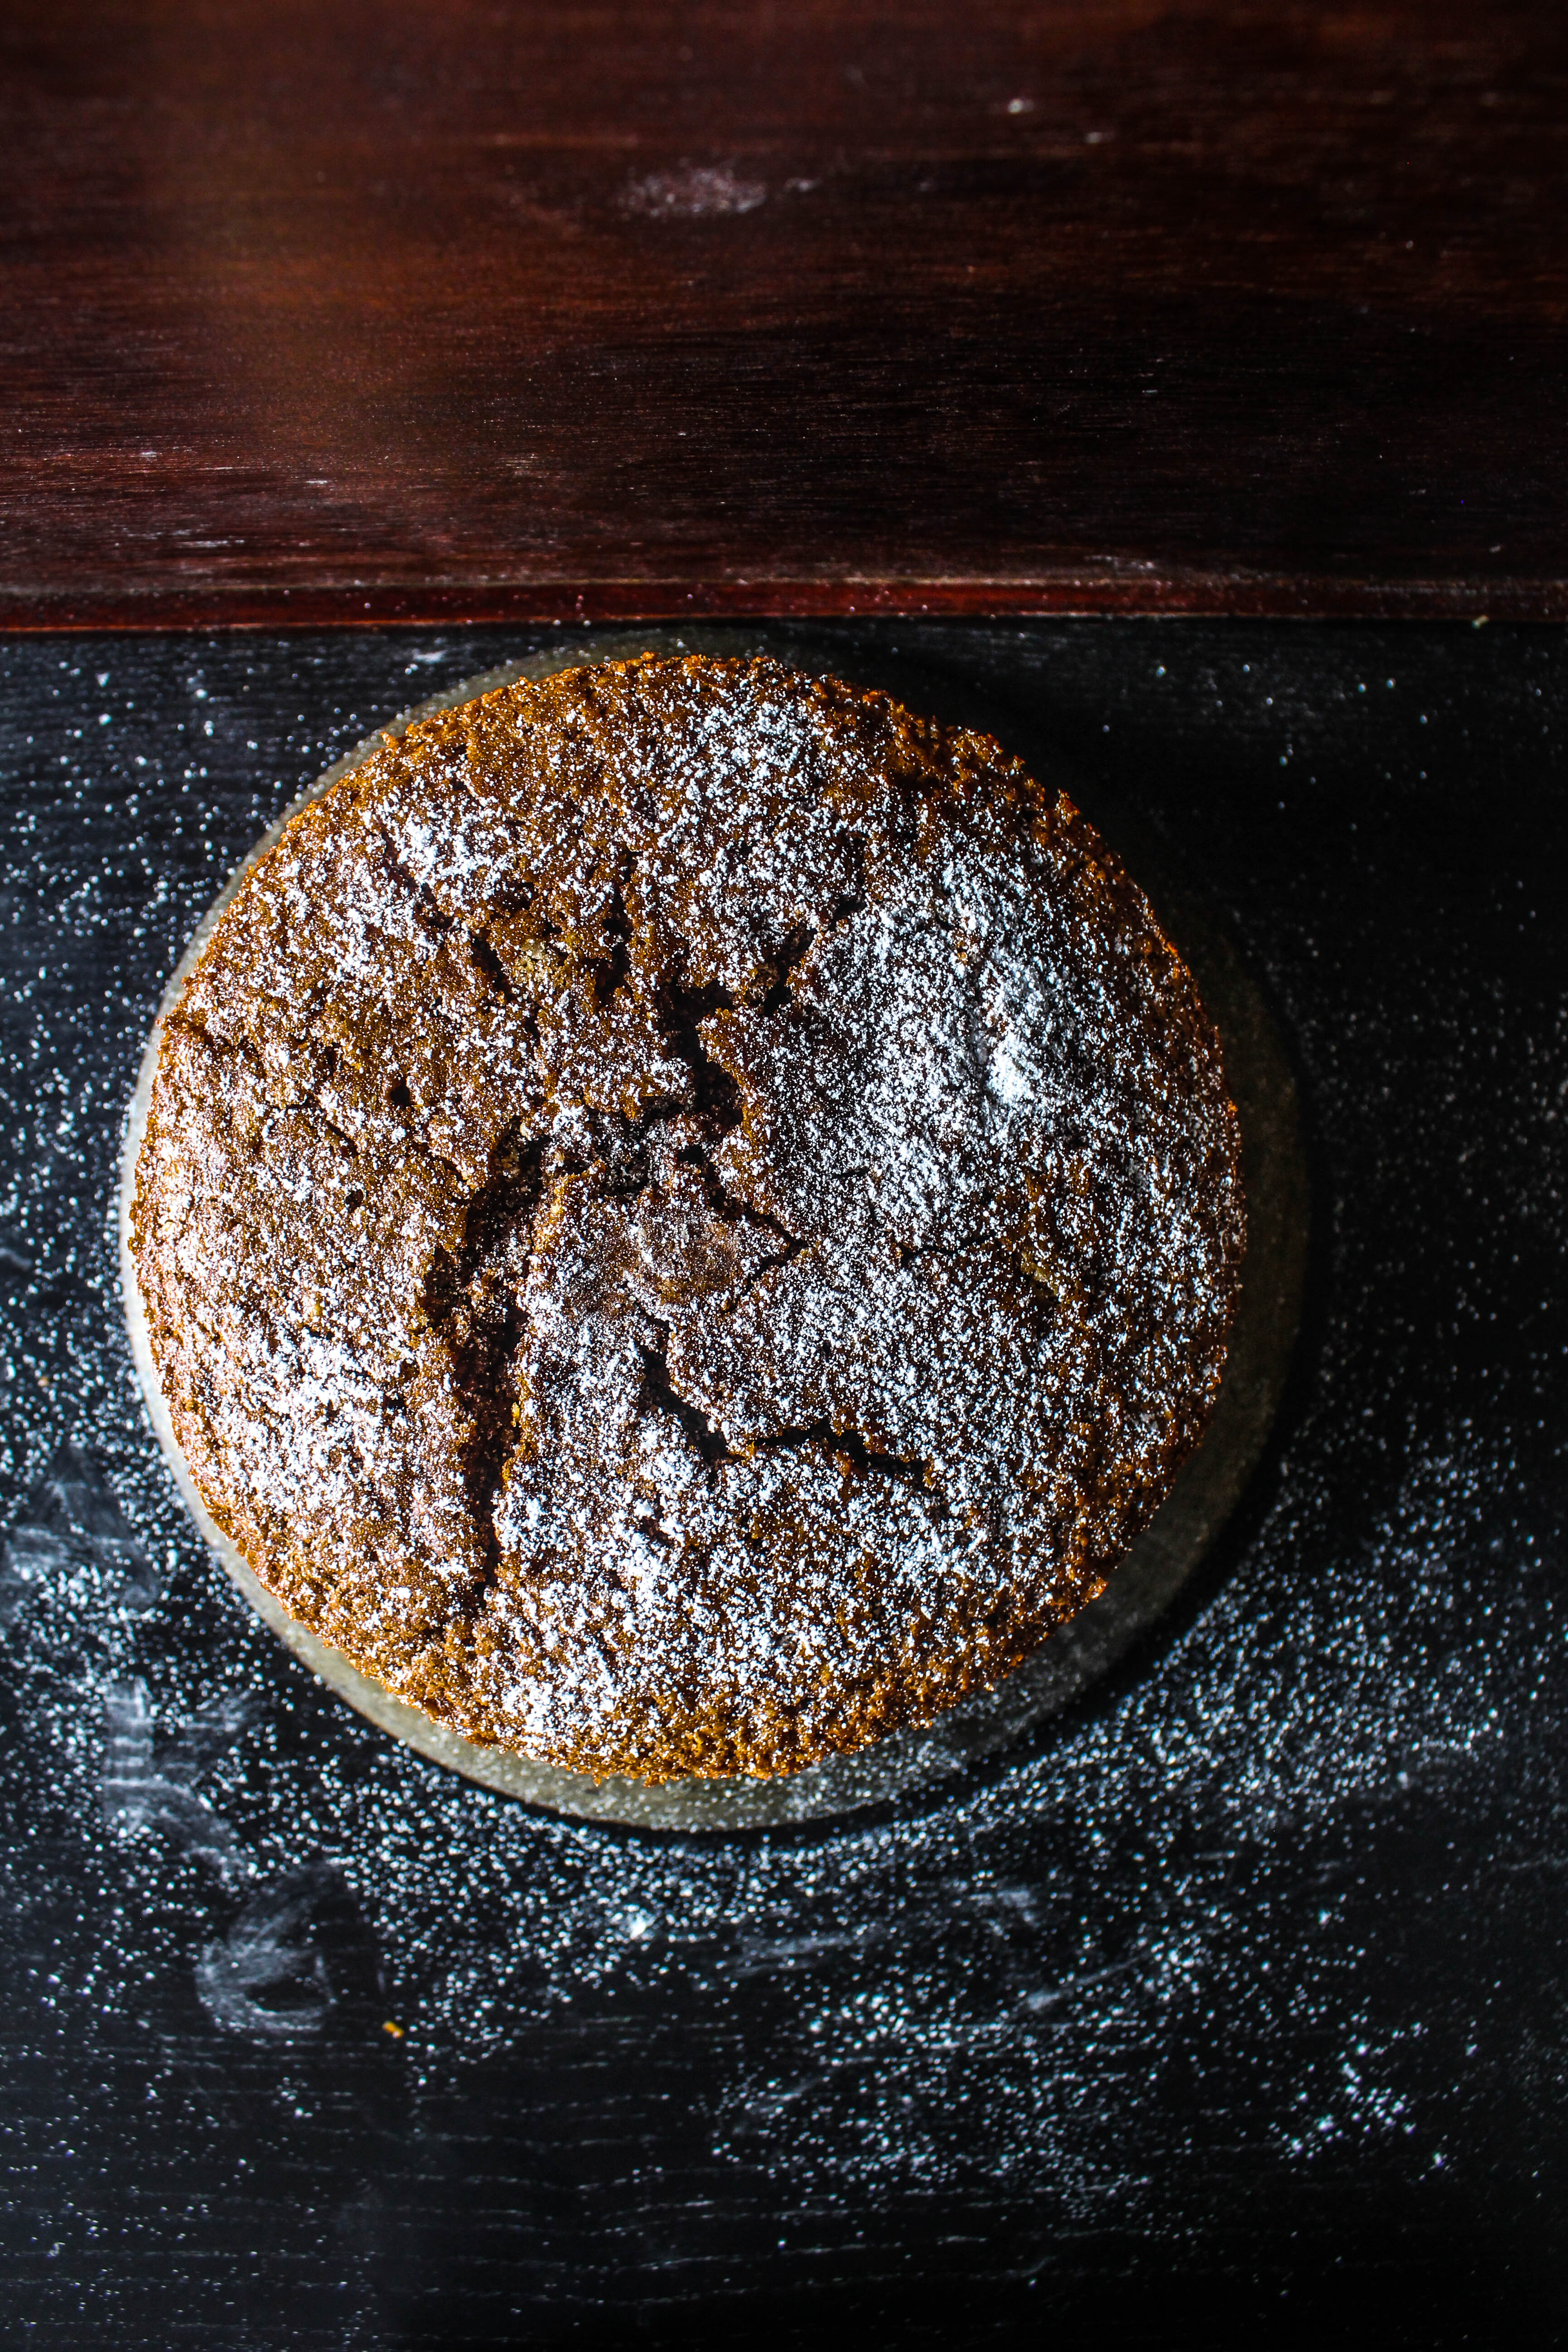
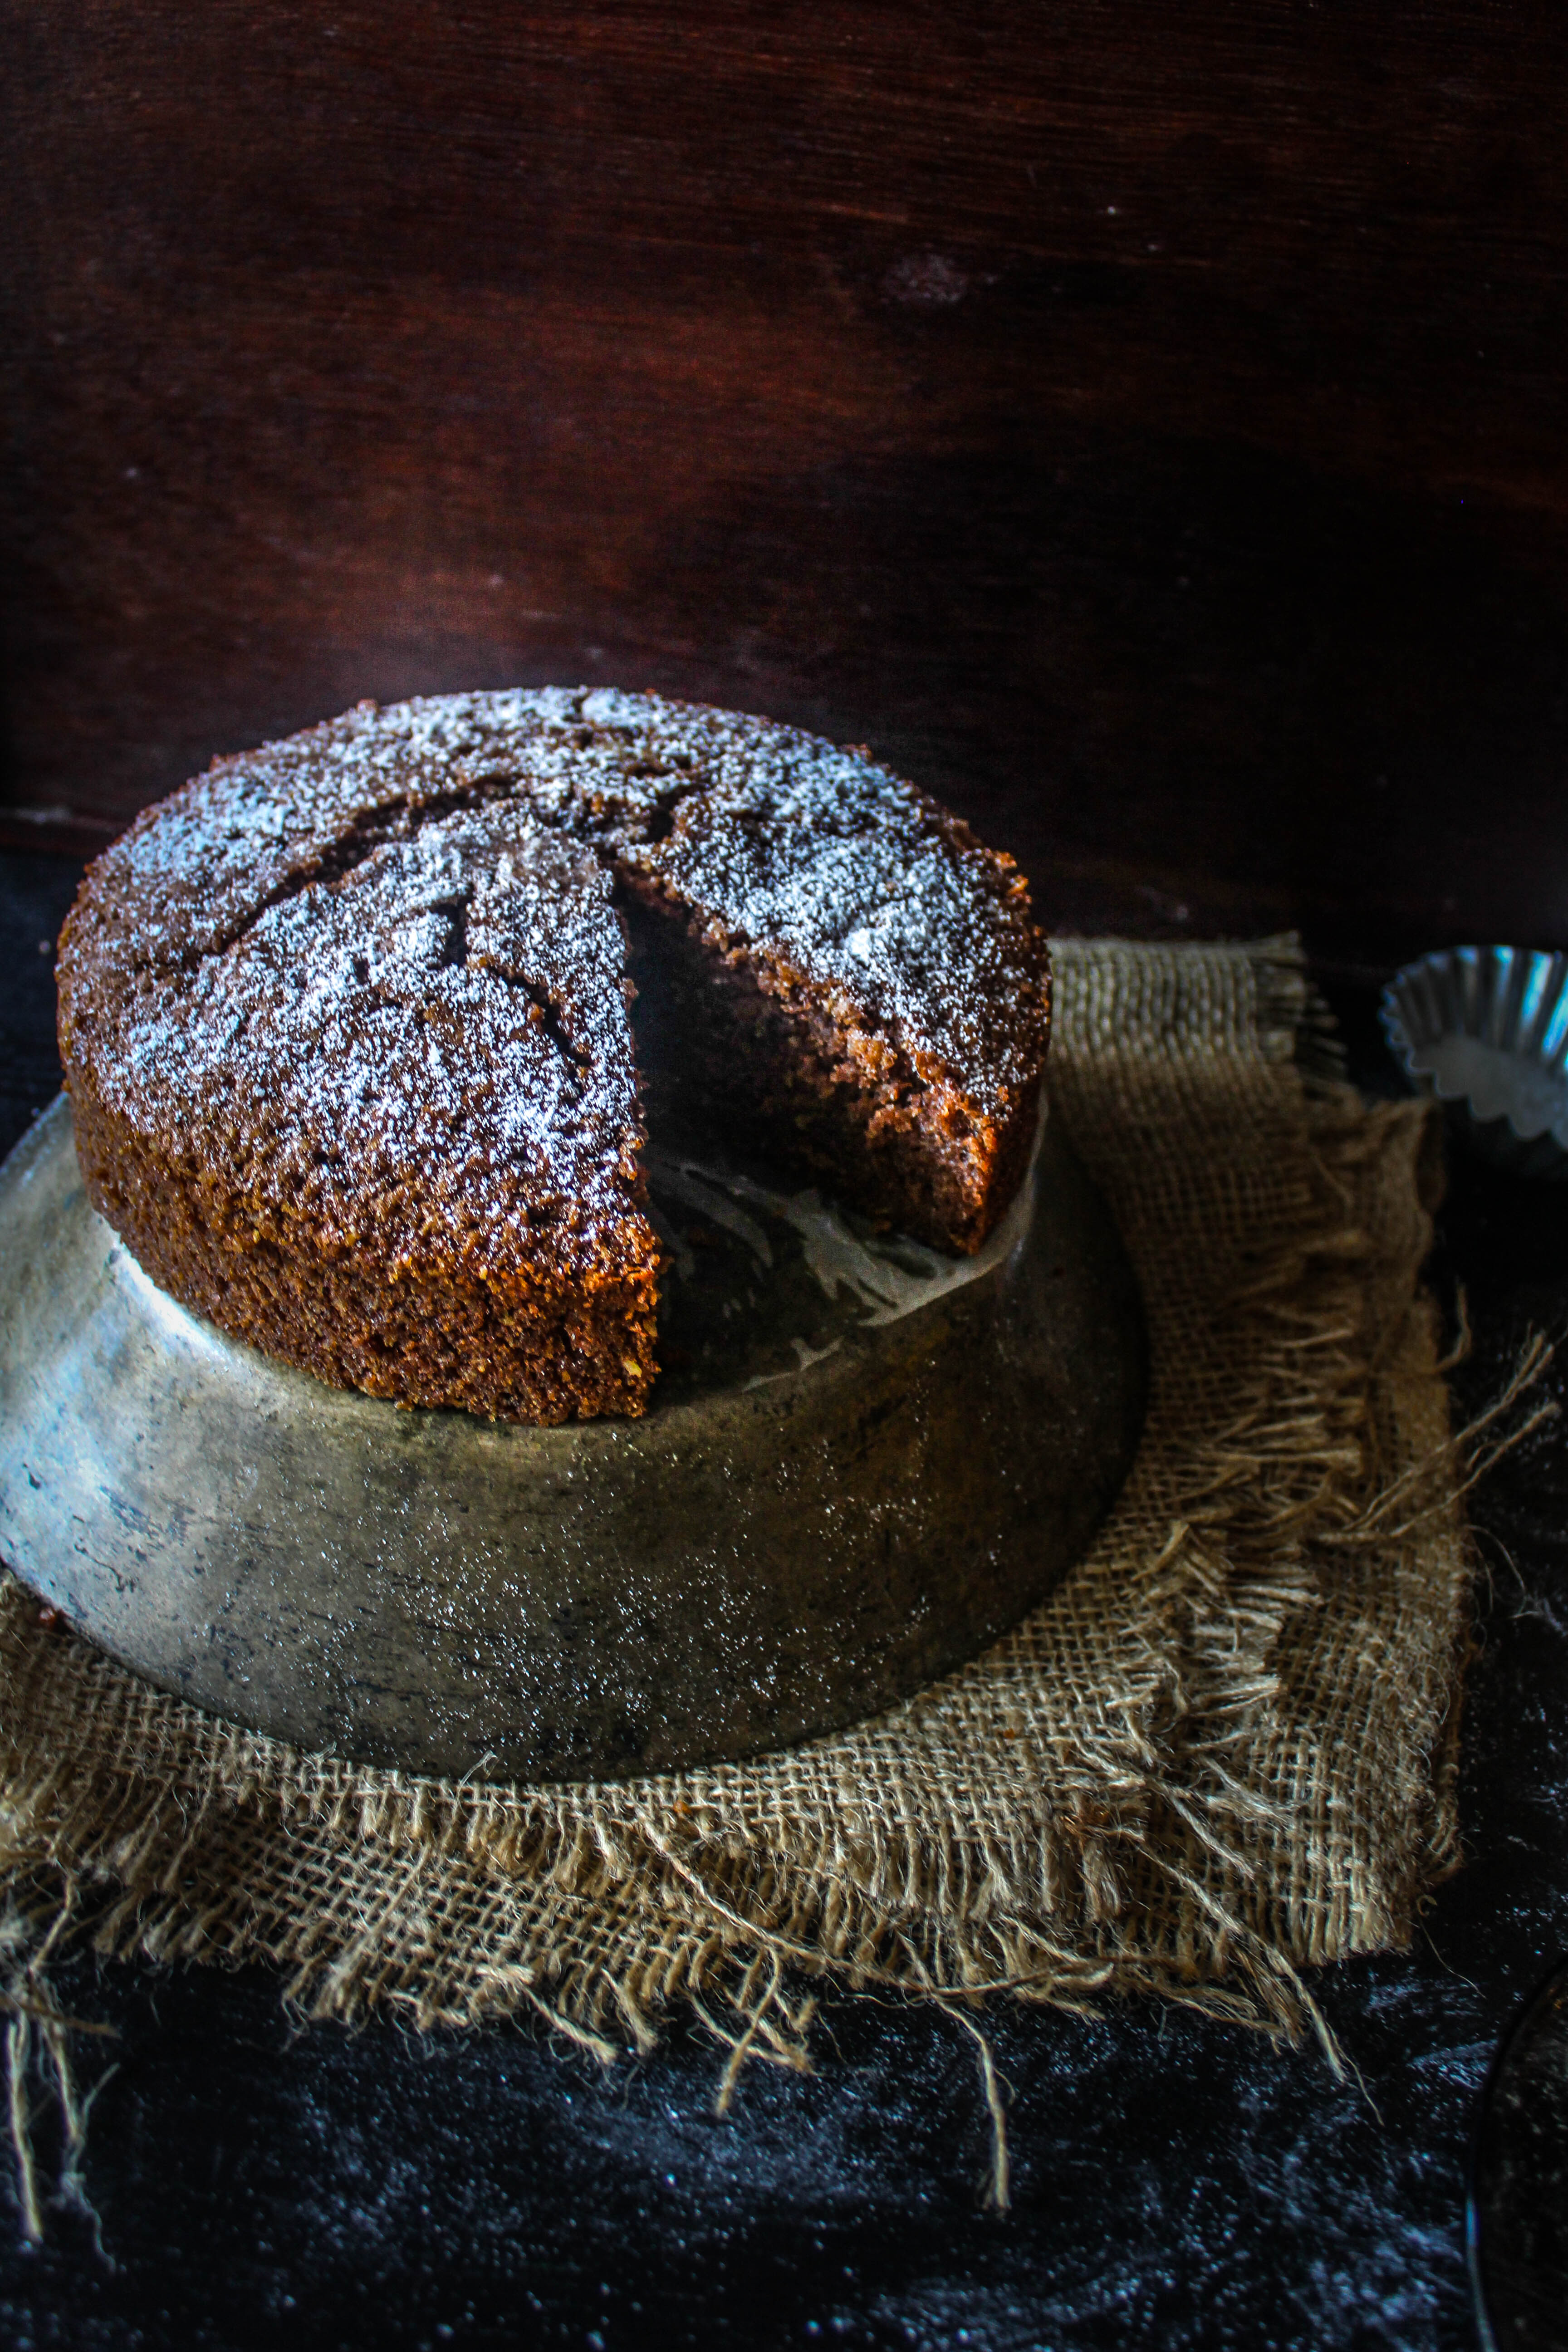
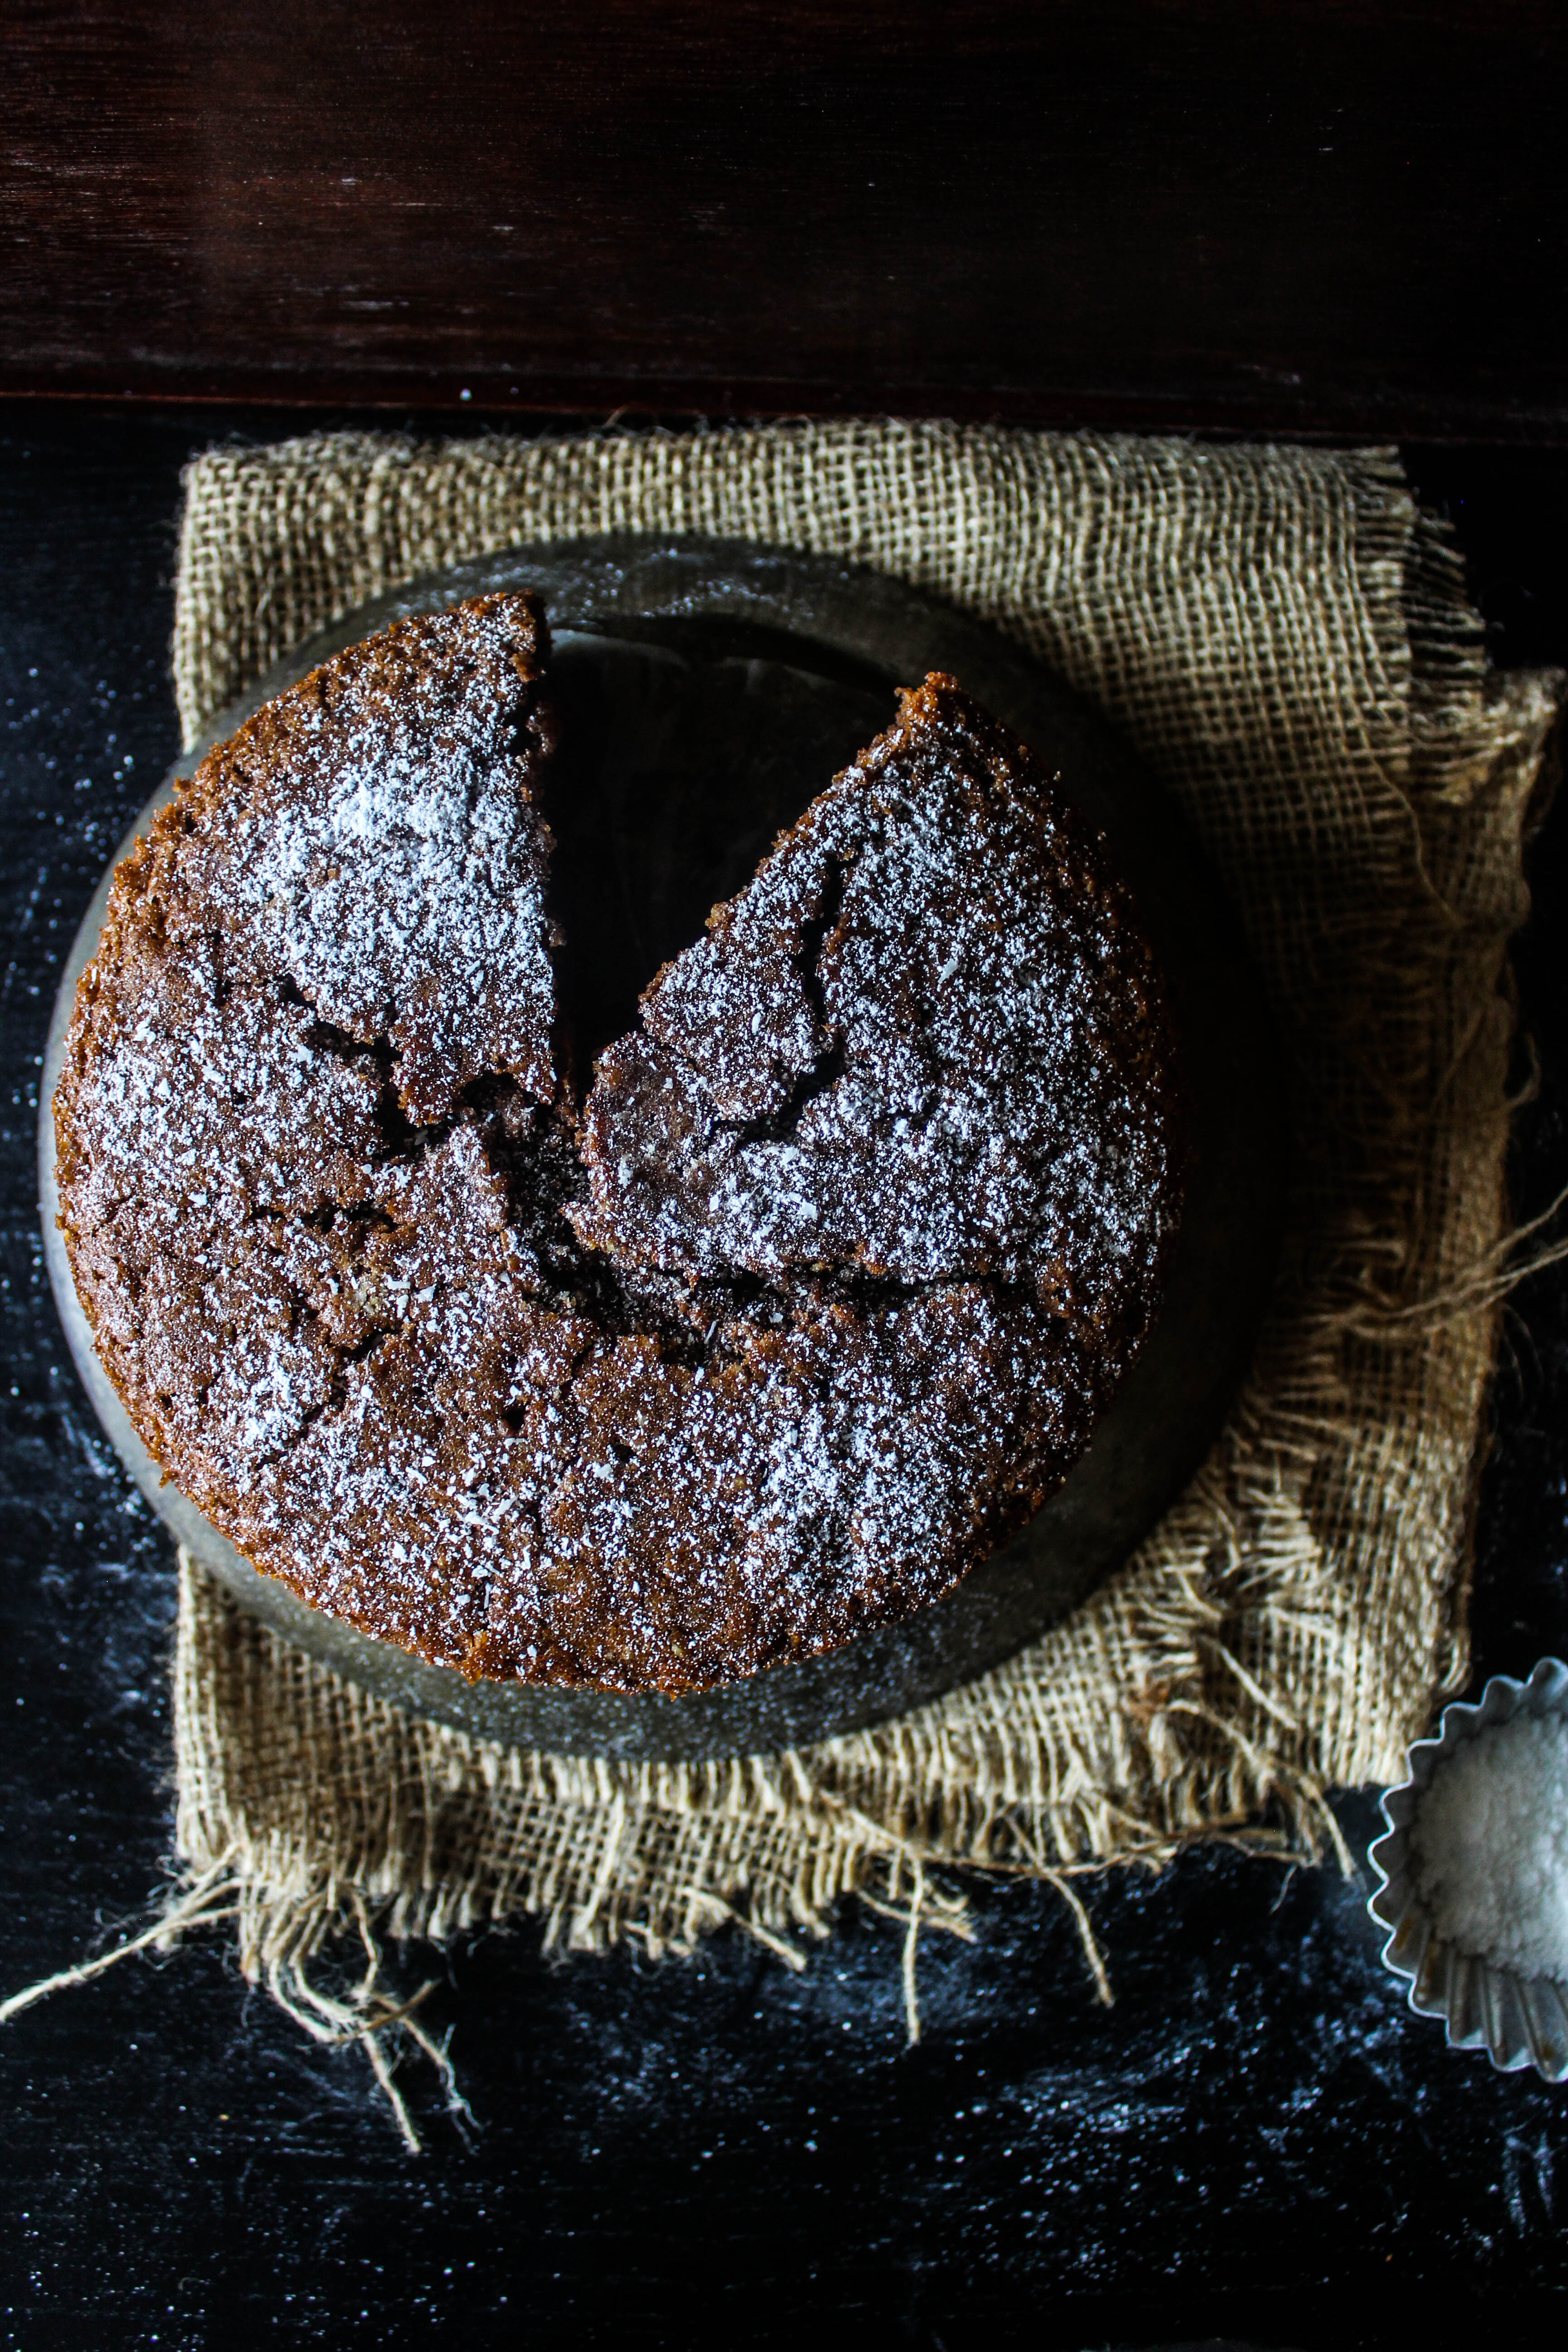
We are fortunate in Australia to have access to pretty much every fruit and vegetable, round the year. But I still tend to look at root vegetables as a winter thing particularly for their warming characteristics in food. Part of this stems from my growing up years in India when beetroot, radishes and good quality carrots were available only during the colder months. Beetroot is my favourite, which is apparent since this is the second recipe I am dedicating this season. IMG_1495-2 IMG_1527
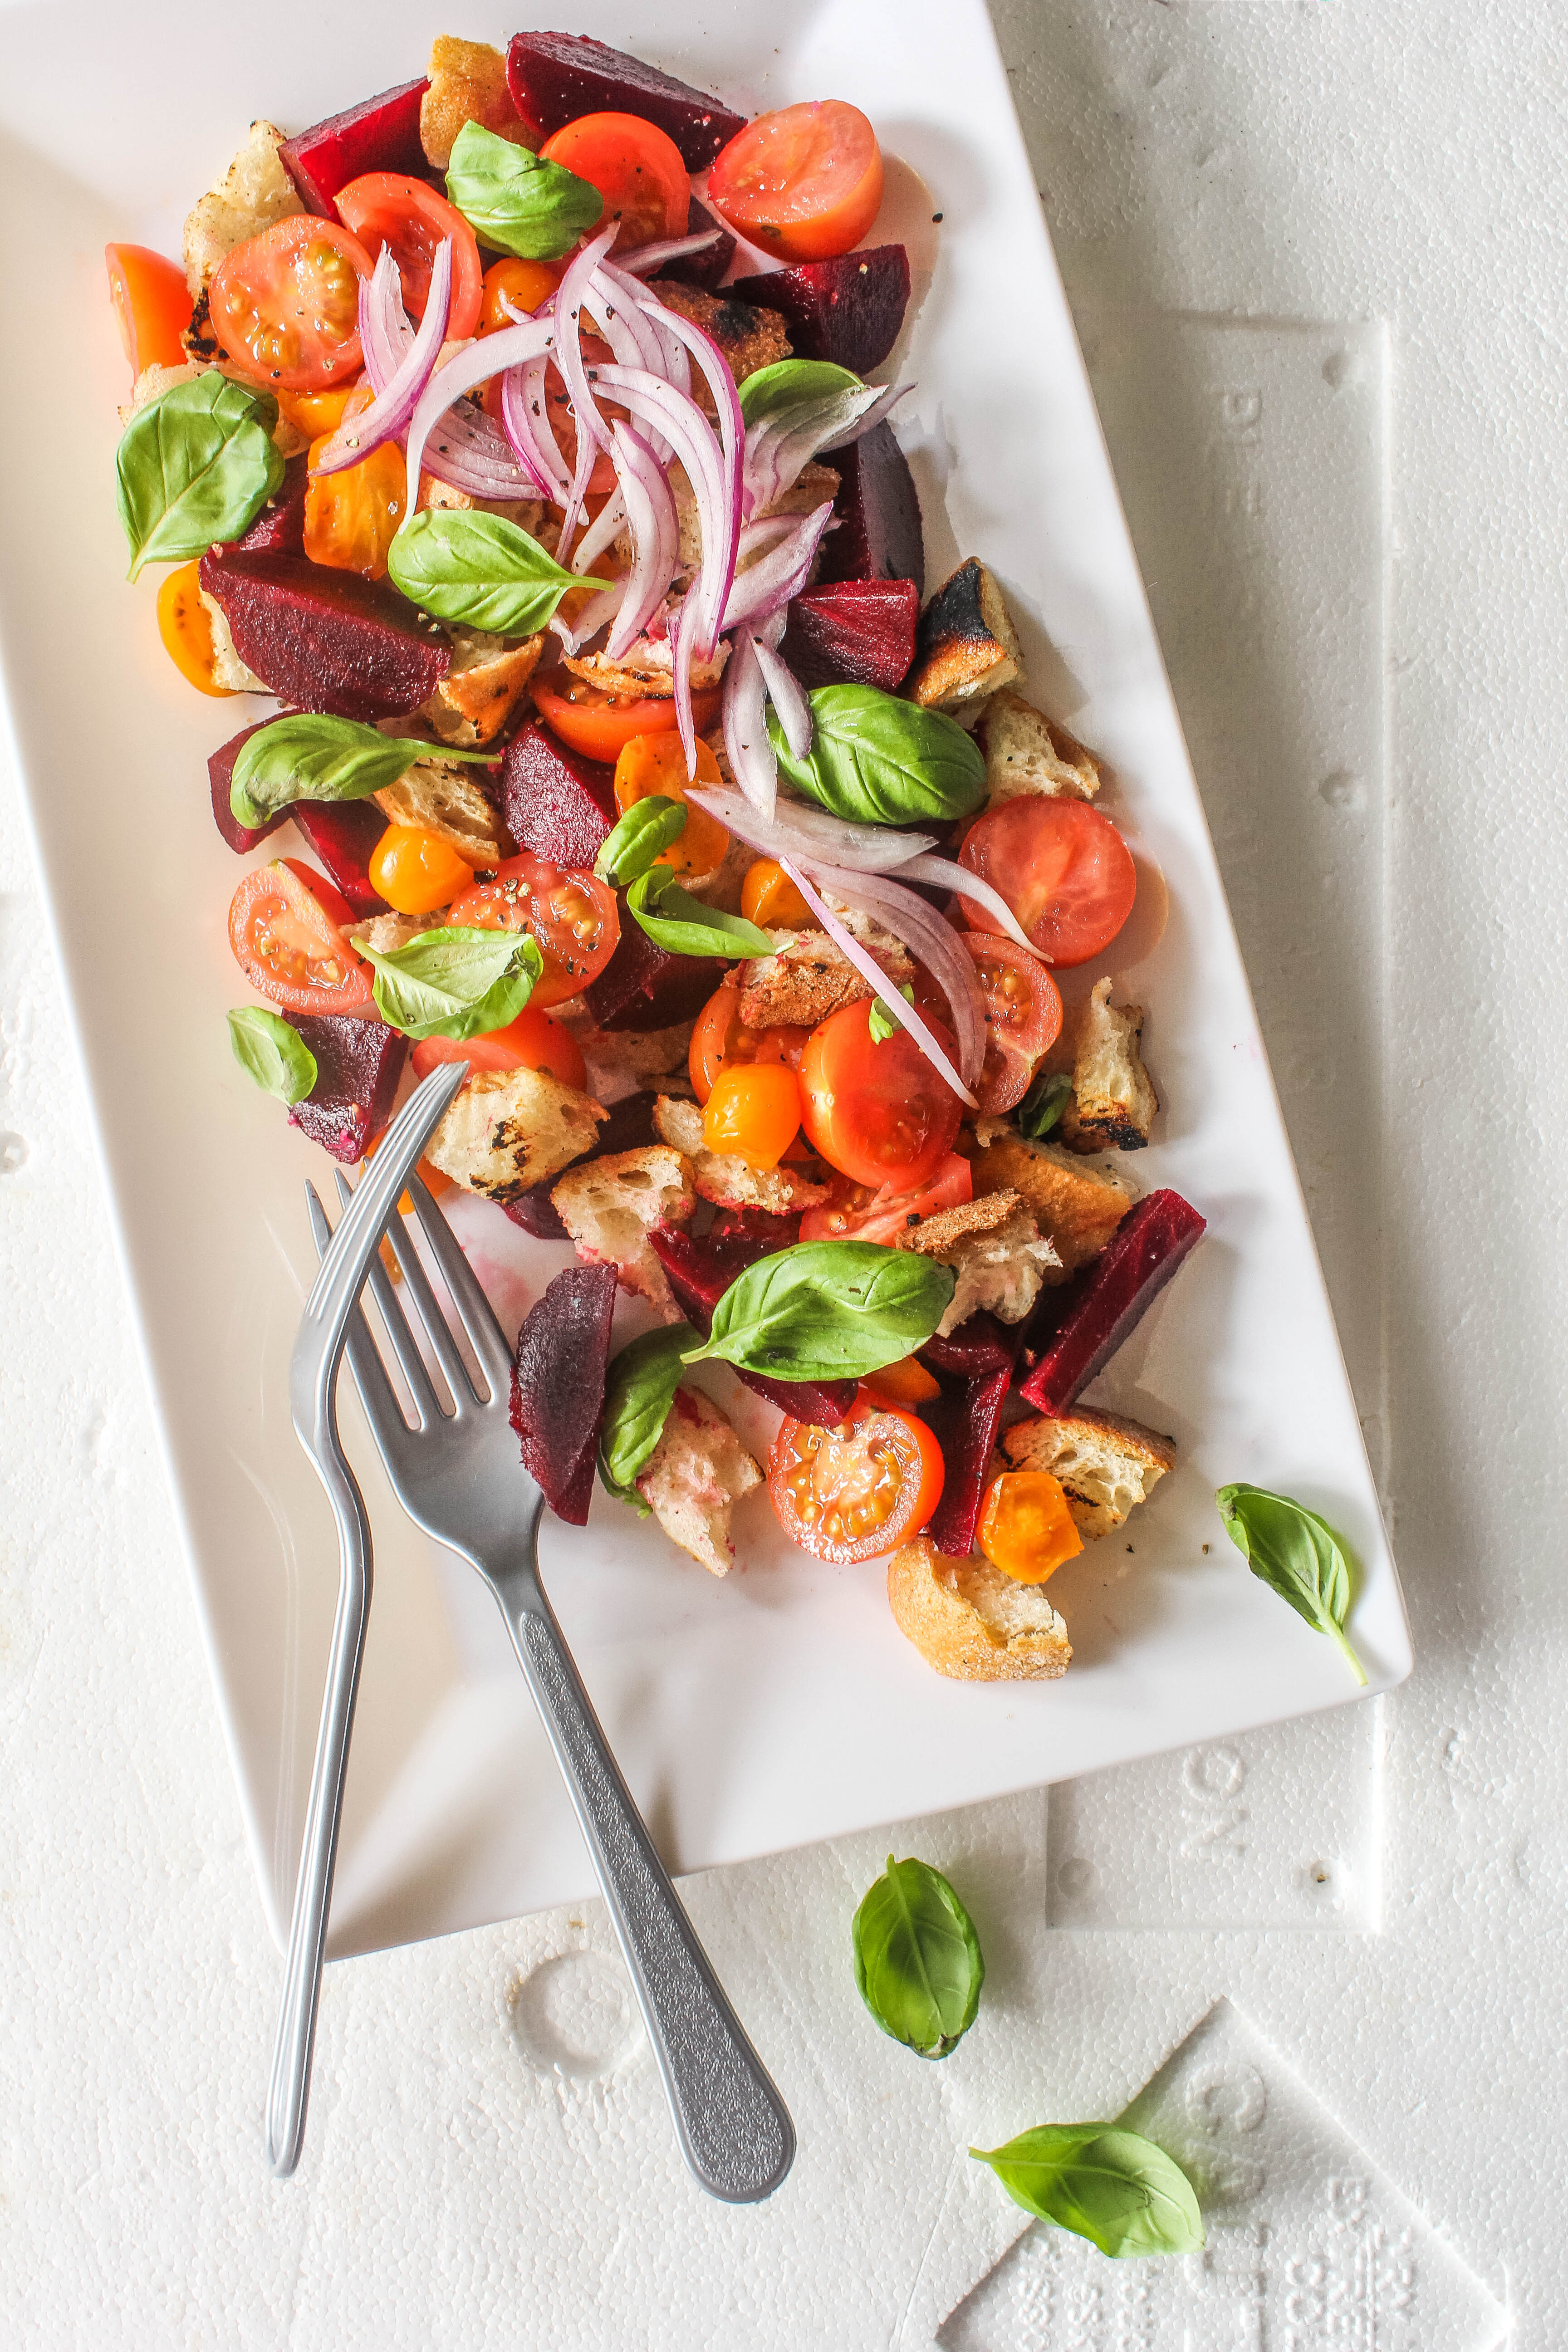
I have been making Panzanella even before I knew it was called Panzanella salad. Crusty bread, ripe tomatoes, leftover vegetables from the fridge, a good dose of extra virgin olive oil (I use a garlic infused one), a hint of vinegar and fresh basil from my garden, It is as simple as it sounds. This is one salad which is not only refreshing but can fill up your stomach while feeding your body with a whole lot of nutrition. The classic Panzanella is a celebration of juicy tomatoes, torn stale toasted bread that soaks up the tart vinaigrette and the fresh flavours of basil. More of a summertime salad. I am however happy to eat it and feed it to my pre-schoolers with the addition of sweet beetroot in winter. It provides a nice balance to the sharpness of the vinegar. It is important to use a crusty bread with body that does not become soggy in the salad. Olives, cucumber are added in some recipes. But basically, you can go ahead and make the recipe your own.

IMG_1515

Beetroot Panzanella Salad
Serves 4

200 g (about 1/3rd a loaf) sliced Sourdough bread
2 tablespoons olive oil
250 g cherry tomatoes, halved
200 g yellow tomatoes, halved
200 g baby beetroot, peeled, cooked and quartered (I use the packaged ones from Coles, Australia. Canned will also do)
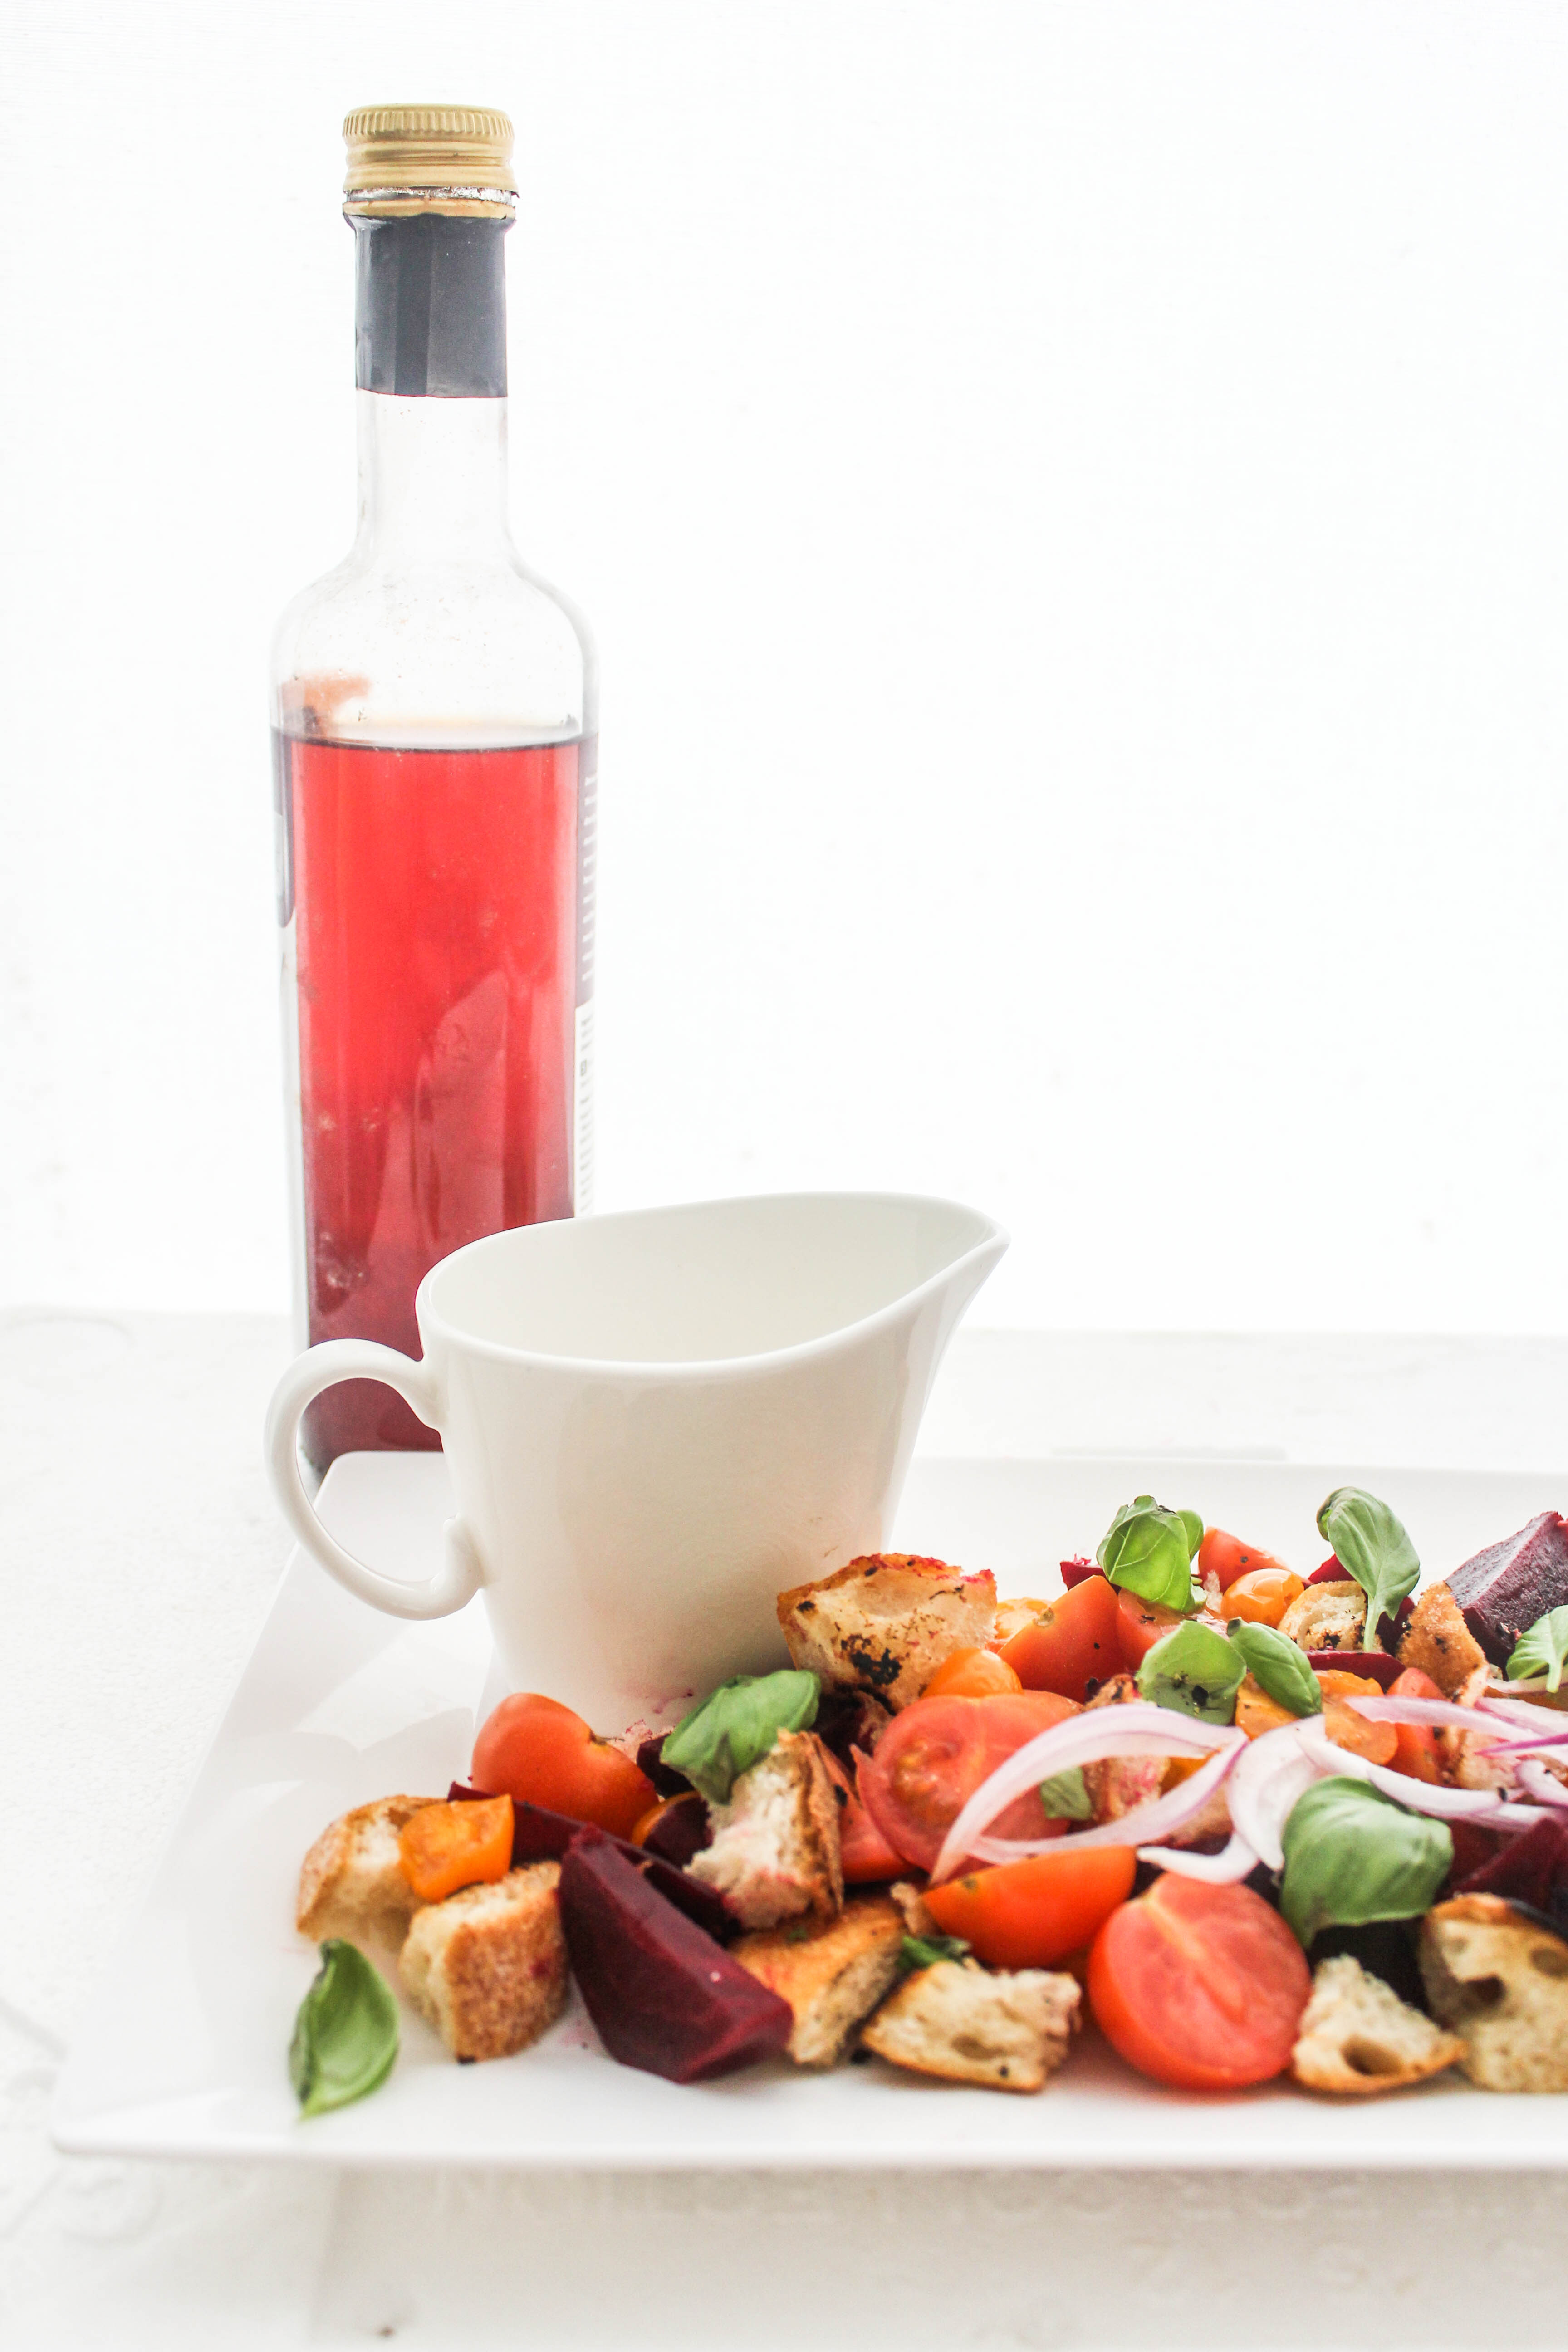
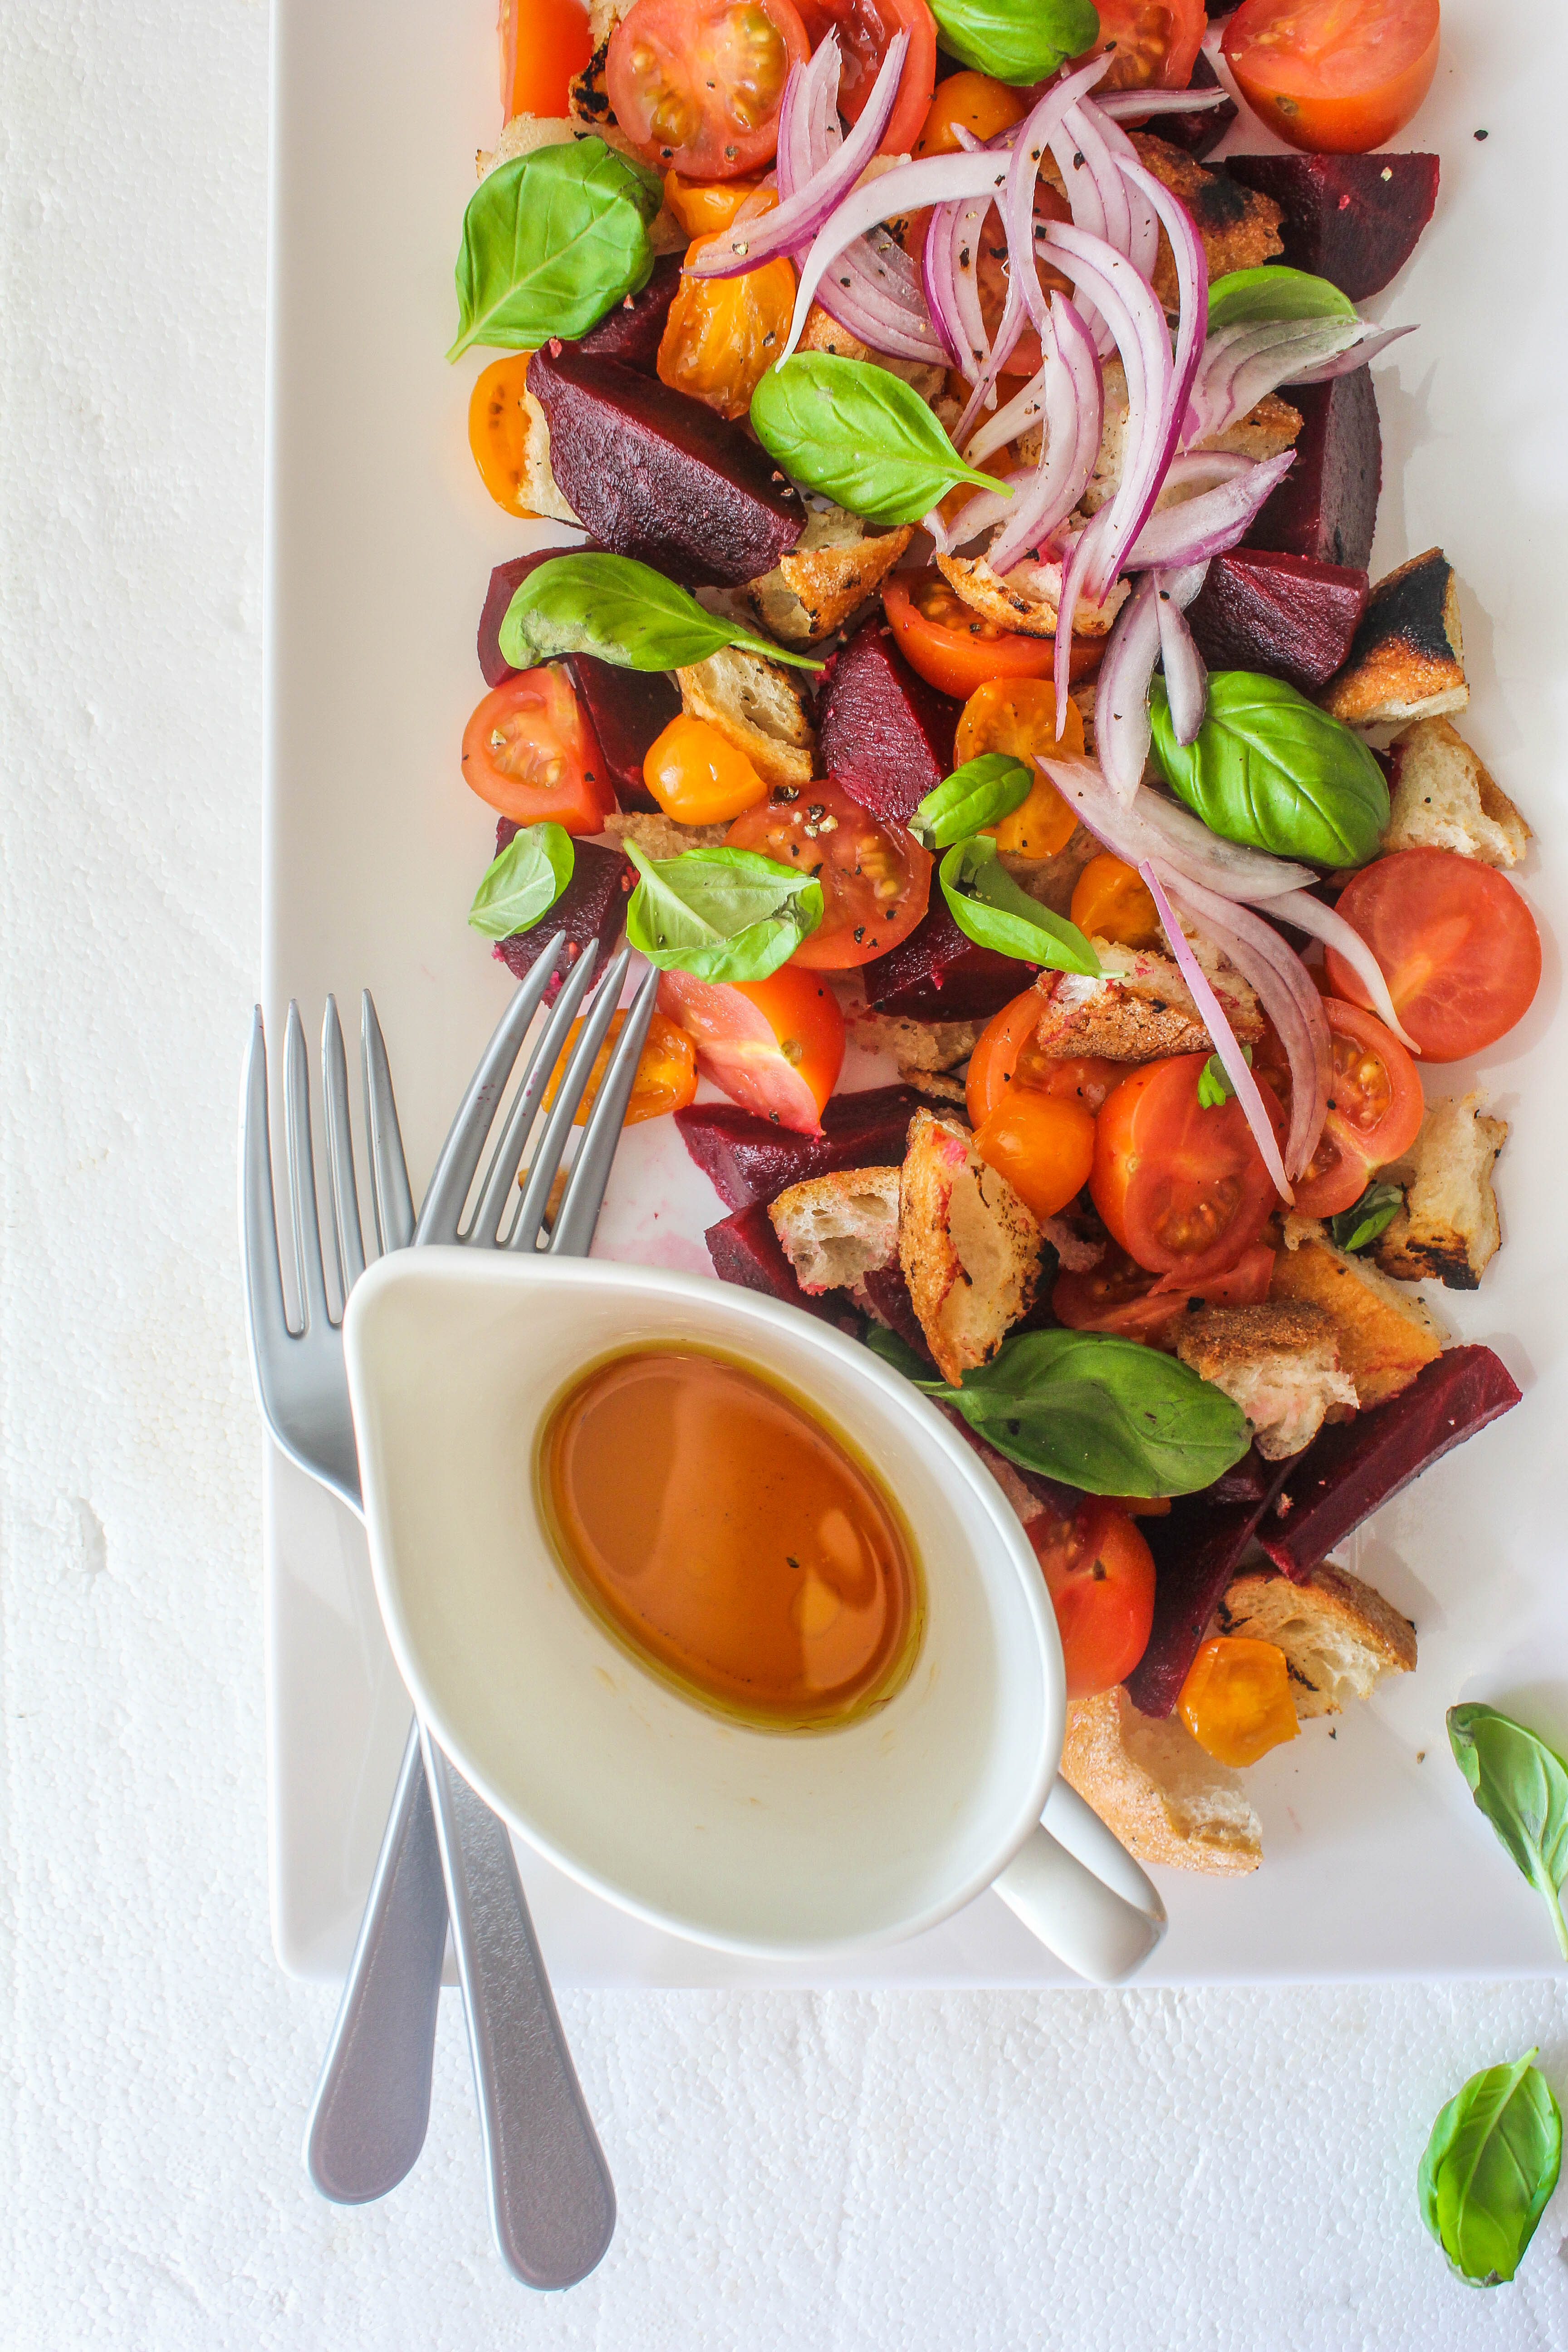
1/4 red onion, thinly sliced 2 tablespoons extra virgin olive oil (I use garlic infused extra virgin olive oil)
1 tablespoon red wine vinegar (or balsamic vinegar) 1
1 garlic clove, finely chopped (optional, not required if you are using the garlic infused variety of olive oil)
Salt & freshly ground pepper
Fresh basil, to scatter

Tear the sliced bread into rough pieces about 3-5cm in size. Heat 1 tbsp. olive oil in a large frying pan over a medium-high heat. Add half of the bread. Cook, tossing occasionally, for 4 minutes or until golden. Transfer to a large bowl. Repeat with the remaining olive oil and bread.

Place the tomatoes, beetroot, red onion and bread in a salad bowl or tray. Combine the extra virgin olive oil, red wine vinegar and garlic (if using). Add to the salad. Season with salt and pepper. Use clean hands to toss until well combined. Scatter with torn basil leaves to serve.

Chocolate Almond Coconut Cake

8|08|2014

A few days ago, I chanced upon a carton of almond milk. You can read about it here. It is no secret how much I love almonds and I use them quite often in my recipes. However, creating with almond milk was a first. I made simple and healthy banana blueberry almond popsicles to get a feel of how it would work in a recipe. The nuttiness was there and it proved to be a great dairy alternative. I was impressed. I wanted to add it to anything and everything. Most of all, I was curious to know how almond milk would work in a cake or a baked item. Would it add an element of texture? Would it take away some of the moisture that regular milk/buttermilk/sour cream contributes? Will I get a crisp crust on my cake? Anything that lends itself well to a cake is up there on my ingredient list. So I put it to the cake test.

IMG_1295-2

Chocolate and coconut are another combination that works well together. I discovered that when I made the Chocolate Coconut Slice. In bar form, when they tasted so good, I could imagine what it would do to a cake. The cake turned out just the way I wanted it to be. It was moist, it had texture from the coconut and almonds. It had the richness of cocoa and a crisp crust like a brownie. You could taste all the elements in the cake. And I loved how rustic it looked.

IMG_1297-2

IMG_1305-2

I have put my carton of almond milk to good use. Some sweet recipe and a savoury. The cake would still work if you use regular milk instead of almond milk. But if you like almonds or if you get your hands on some almond milk, it is worth a try. I like the cracked top and rustic appearance so much that I decided against adding a ganache or glaze to the cake. A generous sprinkling od icing sugar did it for me. I  kept the styling along the same lines. You could glaze it if you are looking for more chocolate in the cake.  Or even add chocolate chunks to the cake batter. In any case, this cake is going to go through a few different variations in my house. With almond milk as a constant, of course. I can’t wait to share more with you.

IMG_1314

Chocolate Almond Coconut Cake
Serves 6-8

160g butter, softened
1 cup castor sugar
1 tsp vanilla essence
2 eggs
1 cup self-raising flour
1
/4 cup cocoa powder
1/2 cup almond meal (ground almonds)
1
/2 cup desiccated coconut
1 cup almond milk
Icing sugar or dessicated coconut, for dusting

Preheat oven to 180 degree C. Grease a 18 cm round cake pan. Line with baking paper. Using an electric mixer, beat butter, sugar and vanilla essence together. Add eggs, 1 at a time, beating well after each addition

Sift the flour and the cocoa over butter mixture. Add the coconut and the almond meal. Stir to combine. Add the almond milk. Stir to combine. Pour into prepared pan. Smooth top. Bake for 55 minutes or until a skewer inserted in the centre comes out clean. Stand in pan for 10 minutes. Turn out onto a wire rack to cool. Dust with icing sugar or dessicated coconut.


Pear and Raspberry Pie

5|08|2014

I had my first real pie when I came to Australia. My excitement knew no bounds when I discovered a charming little bakery a short distance away from my new home. I went back every day. I had pie every day. For dinner, and for breakfast the next day. My kitchen ware were still in boxes so living on something that was convenient to bring back home, didn’t need too many dishes and filled up our empty stomachs while satisfying our taste buds, saved me a lot of trouble. I walked all the way to the bakery and back, convinced that it was the workout I needed to burn those pie-enriched calories. Till one day the bathroom scales told a different story!

IMG_1008

I still love pie. What is there not to love about warm meaty and fruity fillings encased in pastry! However, when making pie at home, I tend to skip the bottom layer. The deep dish ones are my current favourite. It is a like a cross between a crumble and a pie. Plus you can play around with the pastry on top. I especially get my little boys to help me with the top and it makes for a wonderful afternoon activity with kids.

IMG_1016

The pie is inspired by a slightly different recipe I had come across in Donna Hay magazine using white peaches and raspberries. The pie crust caught my eye and decided to make my own version using pears. This one is not a large one so if you plan a standard size, you may want to double the measurements.

IMG_1037

Pear and Raspberry Pie
Serves 4

For the crust
3/4 cup plain flour
60 g unsalted butter, chilled, chopped
1/4 cup icing sugar
1 egg yolk (from an extra-large egg)
1 tsp vanilla extract
1 tbsp. iced water
1 egg white
raw sugar for sprinkling

For the filling
3 ripe pears, skin removed and roughly chopped
1 cup frozen raspberries
1/3 cup castor sugar
1 tbsp. corn flour
1 tbsp. lemon juice

Place the flour, butter and icing sugar in a food processor and process in short bursts until the mixture resembles fine bread crumbs. With the motor running, add the egg yolk, vanilla and water and process until the dough just comes together. Turn the dough into a lightly floured surface and bring together to form a ball. Flatten into a disc, wrap in plastic wrap and refrigerate for an hour.

Pre heat oven to 200 degrees C. Place the pear, sugar, cornflour and lemon juice in a non stick pan over high heat till the sugar dissolves. Bring to the boil and cook for 5 minutes, stirring occasionally until thickened. Remove from heat and stir through the raspberries. Spoon the mixture into a baking dish (I used a 20 cm by 13 cm oval Pyrex dish.)

Roll the pastry out between two sheets of non-stick baking paper to a 3mm thickness. Using a 5 cm round cookie cutter, cut out circles from the dough and place on top of the filling, overlapping until the entire top is covered.  Brush the pastry with the egg white and sprinkle with raw sugar. Bake for 15-20 minutes or until the pastry is golden. If you like the top of the pie, really browned and crisp like this one, switch over your oven to the grill mode
and brown the pastry for 2-3 minute. Remove carefully from oven. Serve warm with ice cream on the side.


Spicy Thai Corn Soup with Greens

30|07|2014

If soup is synonymous with comfort in winter, I cannot get enough. The smell of a pot of deliciousness simmering away on the cooktop, makes me hungry. The thought of a bowl of fresh, steaming soup cradled within the confines of fine china warms up my insides like snuggling by a fireplace in the company of loved ones on a cold wintry evening. I wrap my hands around it. I enjoy moving my spoon in circles picking up pieces of crispy garlic croutons or chunky vegetables on the way before they plump up within the soup.

Spicy-Thai-Corn-Soup-With-Greens

Although soup has a year-round occurrence in our home, it tends to take centre stage as soon as the weather turns nippy. To turn it into a main meal, I cook it in either of the two ways. A noodle soup of broth-like consistency with Asian flavours, greens and some form of protein. Or a thick soup comprising of lentils, beans or barley cooked in a flavourful and spicy stock with vegetables. This one is somewhere in the middle. The soup is thick, spicy, filling, satisfying and tastes every bit like a Thai red curry without going through the actual process of cooking a curry. Thai curry pastes are extremely handy when you are not in the mood of making your stock from scratch. The base of a good soup lies in the stock in which it is cooked. Using a strong flavouring agent like a curry paste rules out the necessity of a stock and makes life so much easier. Plus you get all the sweet, spicy, acidic flavours that are unique to Asian cuisine. If you have not already realised, the convenience of this soup is that you are making it from few and ingredients that are tinned or canned which makes it perfect for a rainy day.

Spicy-Thai-Corn-Soup-With-Greens

I have kept the soup vegetarian. You can add your choice of protein to make it your own. The creaminess of coconut milk paired with sweet corn and heat from the curry paste makes the soup outright delicious. Adding greens like broccoli, snow peas, green beans and fresh herbs like coriander, basil or chives makes it nutritious and gives it another level of texture. I enjoy the added heat of chilli flakes in my soups so I sprinkled some on top. It can be easily left out as the soup itself is moderately hot.

Spicy-Thai-Corn-Soup-With-Greens

Spicy Thai Corn Soup with Greens
Serves 3

2 tsp Thai Red Curry paste
1 canned of corn kernels (400 g)/ frozen corn kernels
1 can coconut milk (400 g)
1/2 cup water (depending on the consistency of the soup you are after)
Salt and pepper, to season
1 tbsp. palm sugar/brown sugar
Greens- broccoli florets, green beans, snow peas
Fresh herbs- Basil, Coriander, Chives
Red Chilli flakes, for garnish (optional)

Heat the Red Curry paste in a large saucepan till aromatic (about 1 minute). Add the corn kernels, coconut milk (reserving 3 tbsp. coconut milk for serving later) and water to the saucepan. Simmer on medium heat for 15 minutes, stirring at intervals till corn is slightly tender. Remove from heat. Season. With a stick blender (or in the food processor), blend the soup into a thick somewhat smooth consistency. (You could go with a finely blended soup or slightly coarse like the one above). Put it back on the heat, add the palm sugar and vegetables. Cook for 5 minutes or till vegetables are slightly tender. Ladle into serving bowls, spoon over reserved coconut milk. Garnish with herbs and a sprinkling of chilli flakes (if using). Serve warm


  • « Previous Page
  • 1
  • …
  • 77
  • 78
  • 79
  • 80
  • 81
  • …
  • 112
  • Next Page »
Hey Sugar
Cake
Link to my Facebook Page
Link to my Instagram Page
Link to my Pinterest Page
Link to my Mail Page
Subscribe to this site
Fresh Awards
2019 Aus mumpreneur
2019 aus mumpreneur
Mumbrella

Copyright © 2025 · Sugar Et Al · Designed by Smitten Blog Designs · Log in