• Home
  • Recipe Index
    • Recipe Index
    • Breakfast/Brunch
    • Cakes and Puddings
    • Chocolate
    • Cookies and cupcakes
    • Custard and Mousse
    • Gluten Free
    • Ice Cream
    • Mains
    • Other Sweet Treats
    • Snack/Appetizers
    • Soups and Salads
    • Tarts and Pies
    • Vegetarian
  • About
  • Cookbook
  • Portfolio
  • Store
  • Press
  • Work with Me

Sugar et al

Because Life is a blend of flavours...

Chocolate Olive Oil Cake

23|01|2018

Chocolate Olive Oil Cake

This cake has been on my must-try list for years. I’ve heard as well as experienced in many occasions that oil lends a softer, moister crumb. But since I like butter too much, I’ve just been putting it off. The reason? We whip butter in most cases with sugar to get that tall, light, fluffy texture which is not possible with oil.  And of course the flavour and taste of good old butter. I’m a fan!  However, with the New Year comes new resolutions and the willingness to experiment a bit more than I would usually do the rest of the year. So I gave it a go. The first time, the the cake turned out a bit dry but nevertheless it was gone in minutes as the kids were at home and I was after all baking the first chocolate cake of the year.

Chocolate Olive Oil Cake


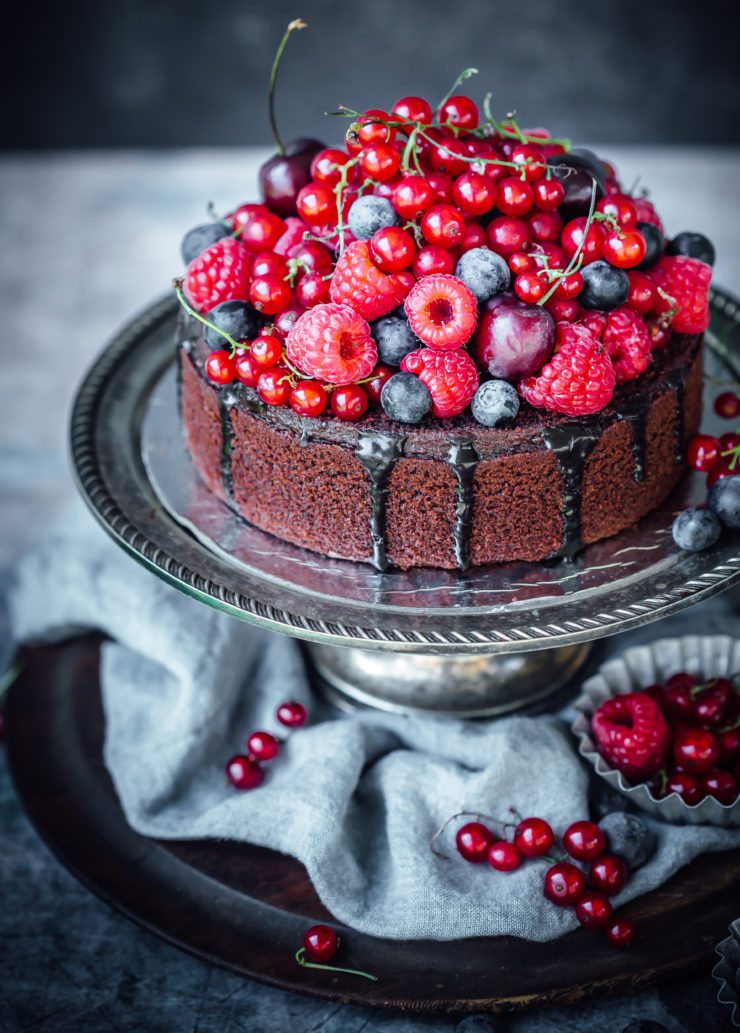
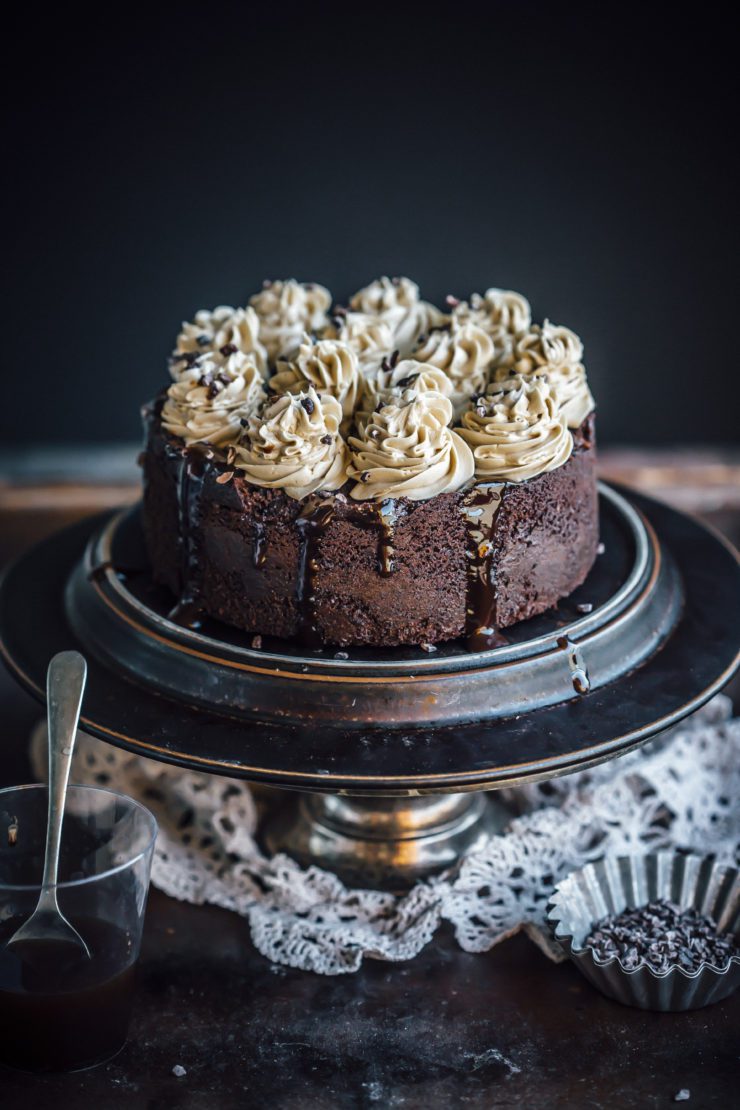
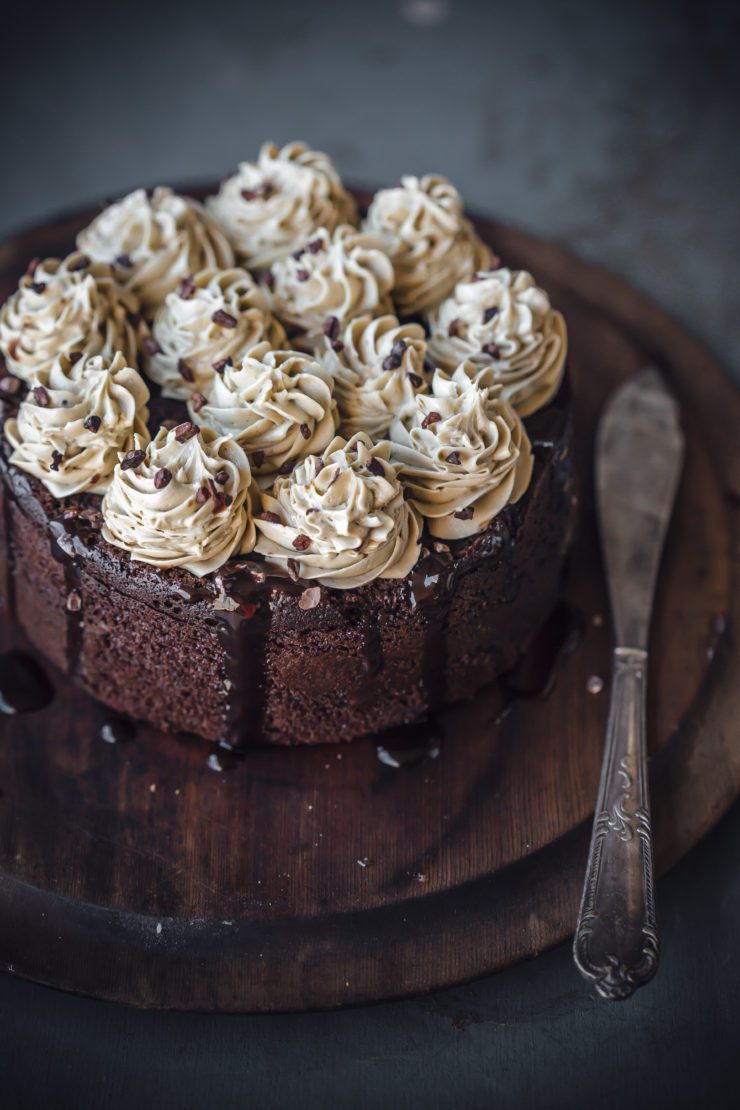
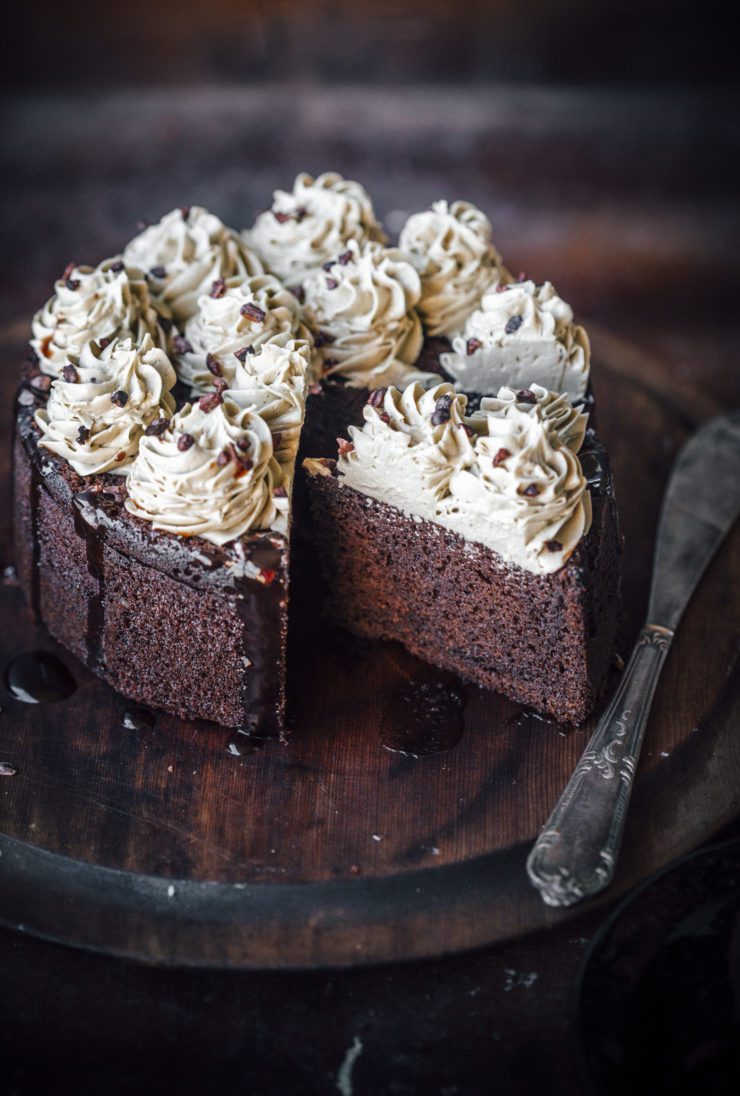
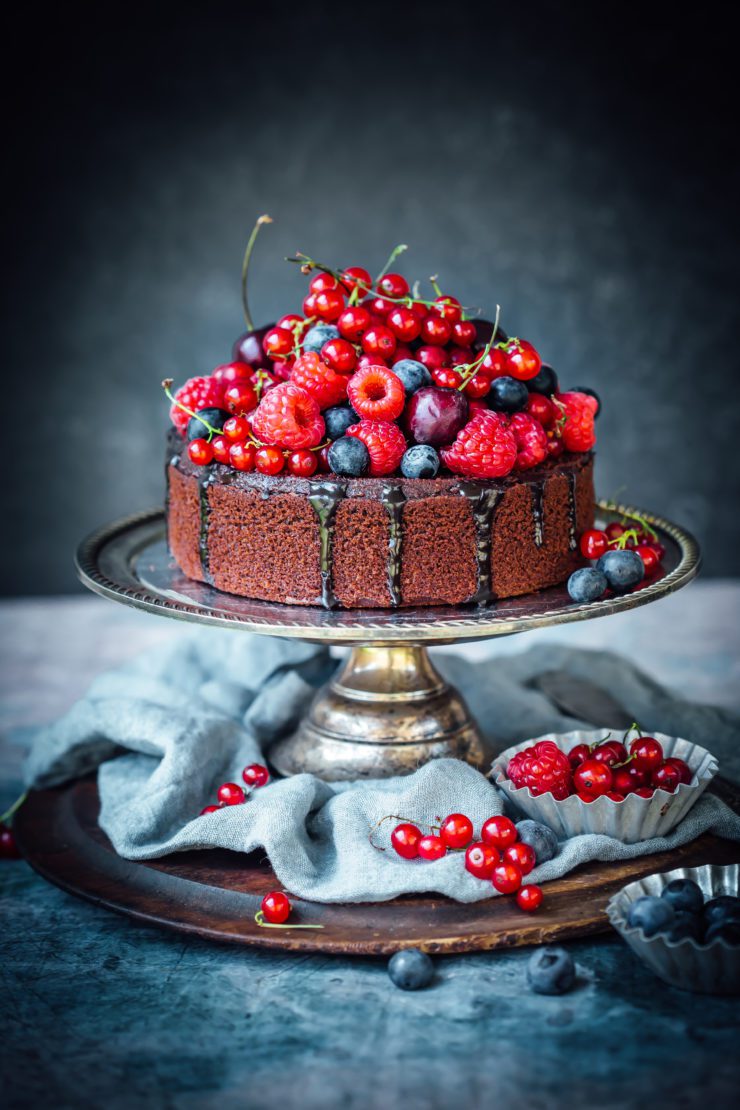
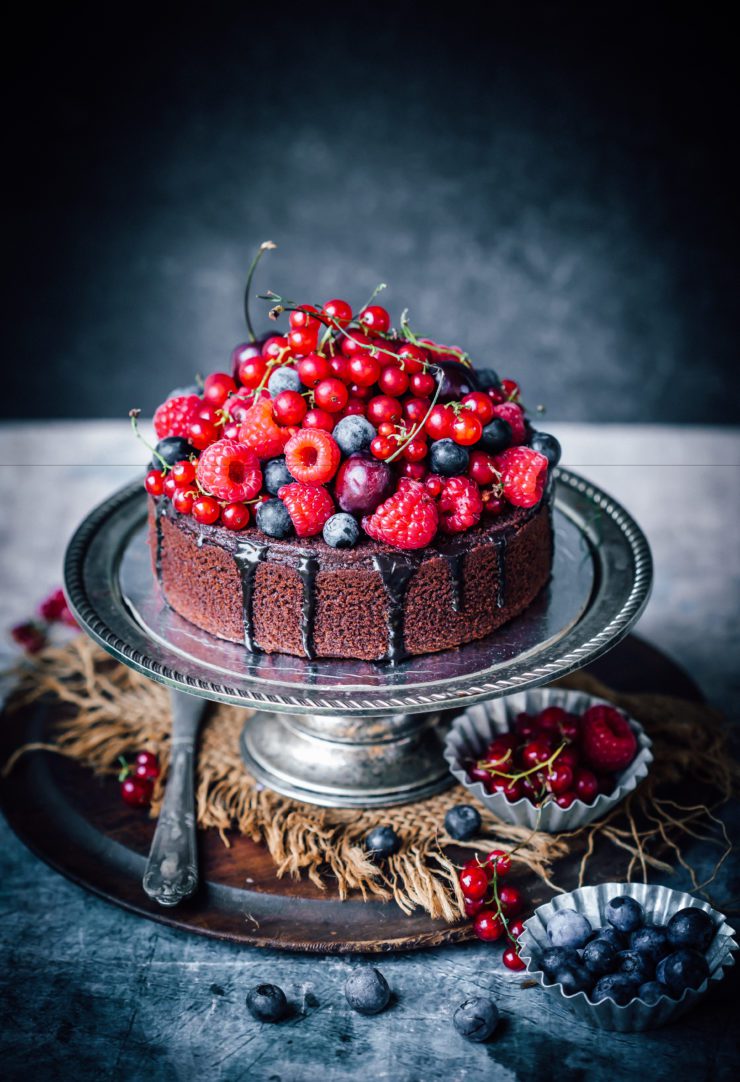
The second time I added warm water to the cocoa powder instead of adding it with my dry ingredients. It was a success. The cake was a moist, chocolatey deliciousness that tasted amazing with a chocolate ganache topping. The biggest plus is that it is such an easy cake to put together. Simple and sweet. Including olive oil and cutting out butter also makes it a bit healthier if you’re counting those calories this month.

Chocolate Olive Oil Cake

Chocolate Olive Oil Cake
Makes a 6 inch round cake

1/2 cup cocoa powder (preferably Dutch Processed)
1/2 cup warm water
1 cup castor sugar
2 large eggs
1 tsp vanilla extract
1 cup self raising flour
1/3 cup plain flour
2/3 cup olive oil
1/4 cup milk

Chocolate Ganache
150 g dark chocolate, roughly chopped
1/4 cup thickened/heavy cream

To make the cake : Preheat oven to 180 degrees C. Grease the base and sides of a 6 inch round pan and line the base with baking paper.
In a small bowl mix the cocoa powder and water together to make  a smooth paste.

Using an electric mixer or by hand in a large bowl, beat the eggs and sugar together till pale and creamy. Add the vanilla extract and beat again. Add the flours, olive oil, milk and cocoa mixture and fold till well combined.

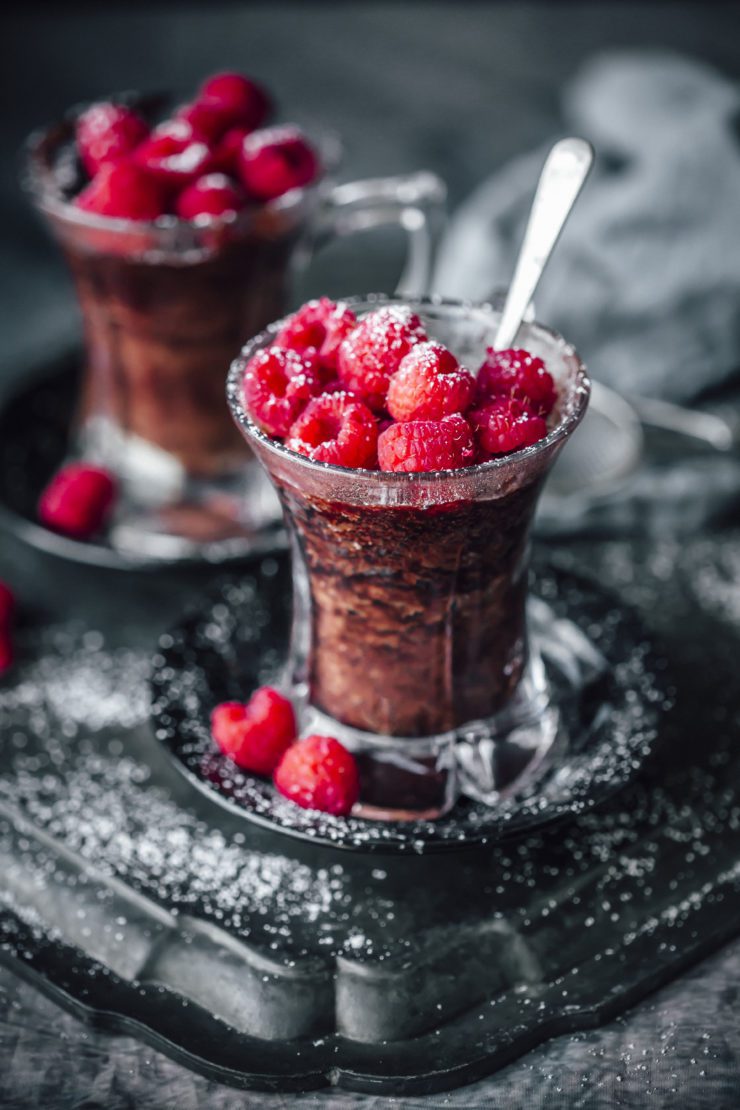
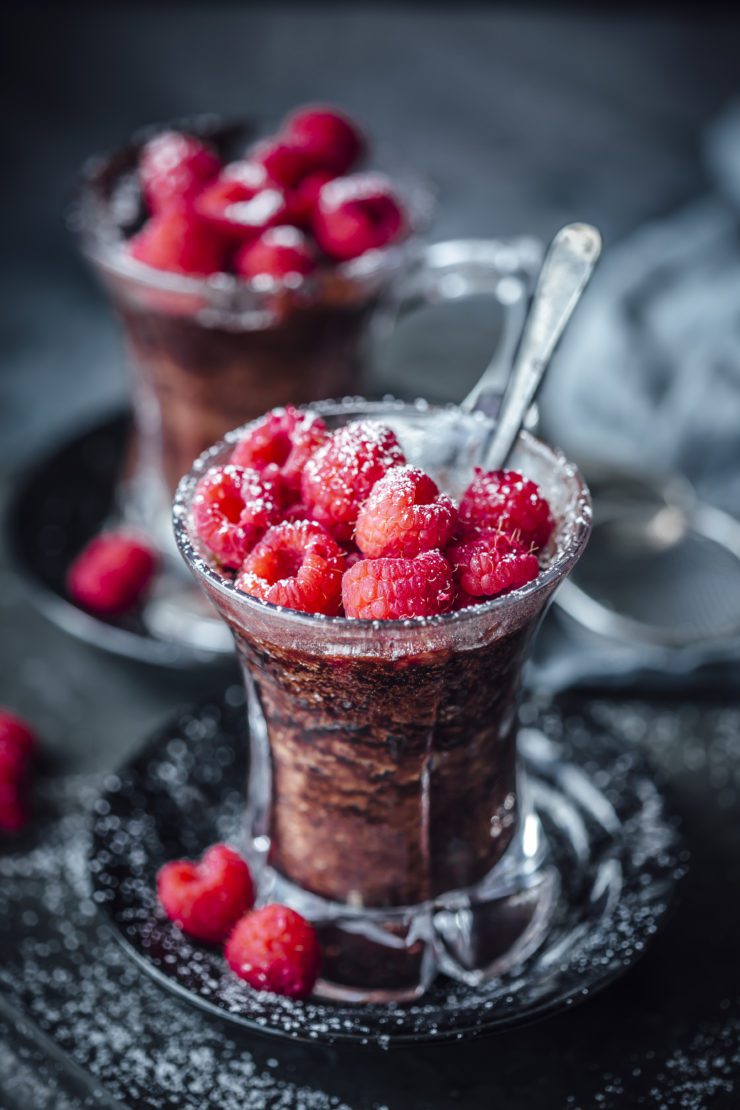
Pour into prepared pan and place in the oven. Bake for 35-40 minutes or until a skewer inserted into the middle of the cake comes out clean. Remove from oven. Leave aside for 5-10 minutes to cool slightly, then turn onto a wire rack to cool to room temperature. Once cooled completely, drizzle with chocolate ganache. Leave aside for 10 minutes for ganache to set. Top with fresh berries.

To make the ganache: Place the chocolate and cream together in a microwave safe bowl or cup. Microwave on medium in short bursts of 10-15 seconds until cream reaches boiling point (do not boil). Leave aside for 1 minute for the chocolate to melt. Stir with a spoon till well blended. Pour or drizzle over chocolate cake.


Skinny Blueberry Cheesecake

14|01|2018

Is it too late to wish you a very Happy New Year? I hope not because I’m still very much in holiday mode and I feel the year has just taken off. I’ve only just started making resolutions and setting goals for the year. Do you make resolutions? Speaking of resolutions, the one thing I think most of us have at the top of our minds, (myself included) is health and fitness. While we will continue to have naughty treats in this space, I’d also like to play around with a few healthy substitutes to regular ingredients this year. Wouldn’t it be wonderful to enjoy some luscious desserts without having to worry about calories?

The core ingredient of this cheesecake is cottage cheese which is not as popular in desserts as it’s cousin, ricotta cheese despite being creamy, highly nutritious and low in fat. It is a low calorie source of protein and calcium that is pretty versatile whether you use it in sweet or savory recipes.  I chose a gluten free almond crust for this cheesecake to make it available to a wider audience. The filling is light and delicious but naturally does not have a lot of flavour on it’s own. You have the option of having it as is or topping it with fresh fruits, grated chocolate or a compote like the one I’ve used here. Blueberries are at their seasonal best right now, so I couldn’t think of a better topping.


Skinny Blueberry Cheesecake
Makes an 8 inch round cheesecake

For the crust
11/4 cups almond meal
2 tbsp brown sugar
75 g unsalted mutter, melted

For the filling
500 g cottage cheese (preferably smooth)
1 cup Greek Yoghurt
2 large eggs, lightly whisked
1/4 cup castor sugar
2 tbsp cornflour
1 tsp vanilla bean paste (can use vanilla extract)

For the blueberry compote
150 g blueberries (fresh or frozen)
1 tbsp castor sugar
1/2 tsp fresh lemon juice

Preheat oven to 180 degrees C.  Place almond meal and sugar in a medium bowl. Add in the melted butter.  Using your fingers, press into the base of an 8 inch Springform pan that has been placed on a baking tray (for ease of movement in and out of the oven). Bake for 10 minutes. Remove from oven and cool to room temperature. Reduce the oven temperature to 160 degrees C while you make the filling.

In a food processor or using a blender, blend the cottage cheese and yogurt together until smooth. Add the eggs and sugar and blend again. lastly add the cornflour and vanilla paste and mix together until smooth and blended. Pour the filling into the pan over the crust. Bake for 1 hour 10 minutes or until cheesecake is almost set (the centre is very slightly jiggly). Remove from oven, let cool to room temperature, then refrigerate overnight (or at least for 6 hours).

When ready to serve, top with blueberry compote and fresh blueberries.

To make the blueberry compote, place blueberries, sugar and lemon juice in a small saucepan and cook stirring for 8 minutes or until syrupy and thickened slightly. Remove from heat, cool and refrigerate until needed.


Coffee Lovers Cake

30|10|2017

Coffee is definitely the solution to all my morning woes. Cake is probably the solution to ALL my woes. At least many of them! So I figured out that the best way to deal with life and its woes is to make a coffee cake. Not just any cake but a very rich, intensely coffee-ish cake. This Mocha Mud cake has been topped with Coffee Buttercream and drizzled with Mocha sauce. If you are crazy for coffee, this is your cake.

It’s Halloween tomorrow and I am just not guilty for making a creepy looking something. But everyone seems to be enjoying it and coming up with both scary and cute creations. I cannot make a single spooky treat to save my life and since I was feeling quite left out, I thought this cake was somewhat more apt to share at this time than my floral creations. Tall, dark, handsome:-) Now tell me is it freaking you out? No? Great! That was not my intention anyway. But the taste will. It is so freaking good!


Mocha Mud cake
Makes a 6 inch round cake

250g butter, chopped
200 g good-quality dark chocolate, coarsely chopped
11/4 cup freshly brewed strong coffee (or 1 tbsp instant coffee powder dissolved 11/4 cup warm water)
11/4 cup castor sugar (or more depending on the strength of the coffee you are using)
2 eggs, lightly whisked
1 cup self-raising flour
1 cup plain flour

Coffee Buttercream
125 g unsalted butter, softened
1.5 cups icing sugar
2 tbsp strongly brewed coffee (or 1tsp instant coffee powder dissolved in 2 tbsp warm water and cooled)
1 tsp vanilla essence
1 tbsp milk (if consistency is not smooth)

Mocha Sauce

100 g dark chocolate, roughly chopped
1/2 cup (125 ml) pouring cream
1 tsp instant coffee powder

Preheat oven to 160 degree C. Grease and line the base and sides of a 20 cm round cake pan with baking paper.

Place butter, chocolate and coffee in a saucepan over low heat. Cook, stirring, for 5 minutes or until chocolate melts and mixture is smooth. Remove from heat and set aside for 5 minutes to cool.

Pour chocolate mixture into a large bowl. Add sugar and egg, and use a wire balloon whisk to whisk until well combined. Sift flours over chocolate mixture and stir with the whisk until well combined. Pour into prepared pan. Bake in preheated oven for 1  1/4 hours or until crumbs cling to a skewer inserted into the centre of the cake (cover with non-stick baking paper halfway through cooking if it browns too quickly). Remove from oven and set aside to cool to room temperature.

Once cooled completely, pipe or spread coffee buttercream on the top of the cake. Drizzle with mocha sauce. Sprinkle with cocoa nibs (if using).

To make the coffee buttercream, using an electric mixer, beat the butter until soft and fluffy. Add the icing sugar, little at a time, beating after each addition until combined.
Add the coffee mixture, vanilla essence and beat till combined. If consistency of the buttercream is too thick, add milk to soften it.

To make the Mocha sauce, place the dark chocolate, thickened cream and coffee in a medium saucepan over low heat.
Use a metal spoon to stir until the chocolate melts and the mixture is smooth. Cool before use.


Chocolate Microwave Mug Cake

21|10|2017

I think everyone should have a mug cake recipe that they pull out during those intense craving moments when they just want a small portioned dessert without the wait. Of course, in their favourite mug. That makes it even more personal and comforting, right? My mug so only I can eat. I actually had several mug cake recipes printed and filed neatly in a folder many years ago when I could barely call myself a baker. It was such a life changing discovery at the time. Making cakes without an oven, that too in 5 minutes. Everyone thought I was a genius and no one even cared that most of these ‘cakes’ were nothing in taste or texture like a cake.

I was doing a spring clean the other day and found those folders. The next thing I knew was that I was looking for mugs to give them a go again. Alas! They were not the kind of stuff I would enjoy today. I had to make a few adjustments, try and make something in the same mug that I would microwave and chose to make an eggless version. That is because, it is safer to undercook them than an overcooked mug cake that feels like rubber. And the last thing one would want to do is use another bowl to mix the batter. It’s all about the convenience, if I am not wrong.

This mug cake is easy, fudgy and quite tasty. A dollop of fresh cream or a scoop of ice cream nicely completes it especially when it’s warm and goeey from the microwave.

Chocolate Microwave Mug Cake
Serves 1

2 tbsp self-raising flour
21/2 tbsp brown sugar (or 2 tbsp castor sugar)
2 tbsp cocoa powder
2 tbsp olive oil
1/2 tsp vanilla extract
1/4 cup milk
2 tbsp water
1 tbsp chocolate chips
fresh berries, to serve
icing sugar, to dust
ice cream, to serve (optional)

Add the first 3 ingredients to a microwave safe large mug and mix well. Add the remaining ingredients (preferably in the order listed) and mix well. Microwave on medium for 1 minute, then in short bursts of 10 seconds until the batter has firmed up but is till fudgy. Mine took around a minute and 20 seconds.

Serve with berries and a dusting of icing sugar and a side of freshly whipped cream or ice cream.

  • « Previous Page
  • 1
  • …
  • 16
  • 17
  • 18
  • 19
  • 20
  • …
  • 46
  • Next Page »
Hey Sugar
Cake
Link to my Facebook Page
Link to my Instagram Page
Link to my Pinterest Page
Link to my Mail Page
Subscribe to this site
Fresh Awards
2019 Aus mumpreneur
2019 aus mumpreneur
Mumbrella

Copyright © 2025 · Sugar Et Al · Designed by Smitten Blog Designs · Log in