• Home
  • Recipe Index
    • Recipe Index
    • Breakfast/Brunch
    • Cakes and Puddings
    • Chocolate
    • Cookies and cupcakes
    • Custard and Mousse
    • Gluten Free
    • Ice Cream
    • Mains
    • Other Sweet Treats
    • Snack/Appetizers
    • Soups and Salads
    • Tarts and Pies
    • Vegetarian
  • About
  • Cookbook
  • Portfolio
  • Store
  • Press
  • Work with Me

Sugar et al

Because Life is a blend of flavours...

Chocolate Chip Cake

16|11|2015

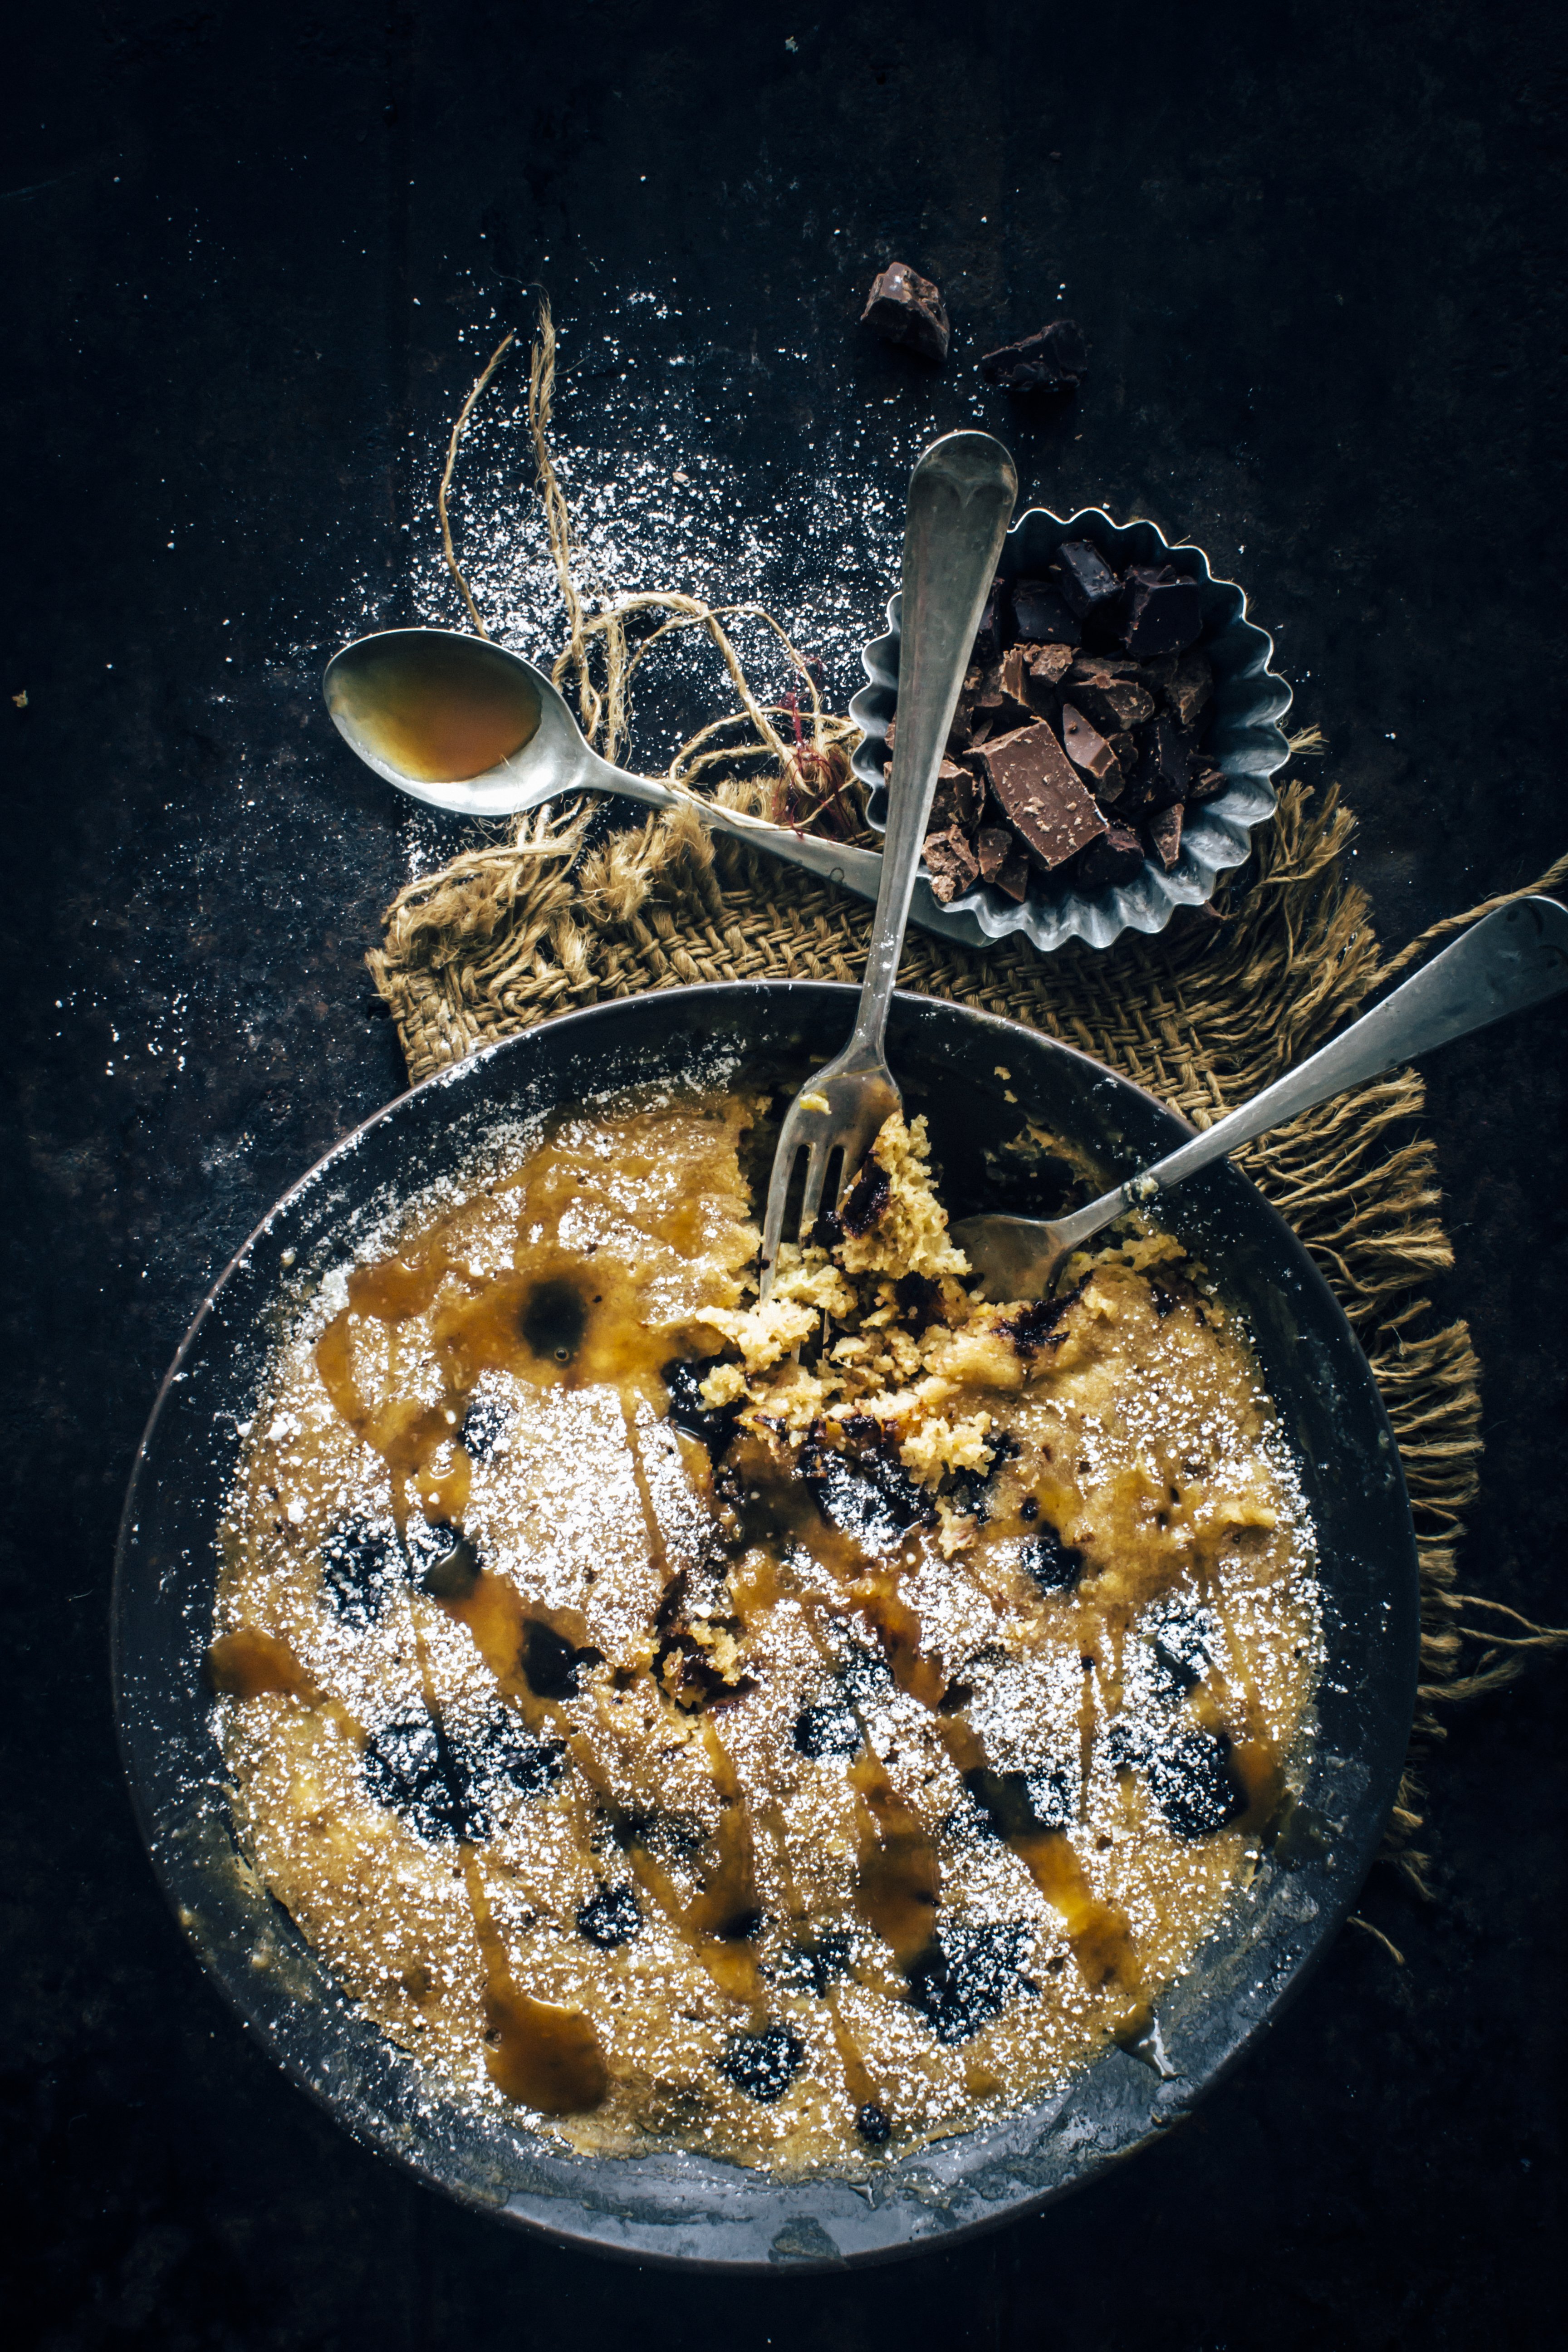
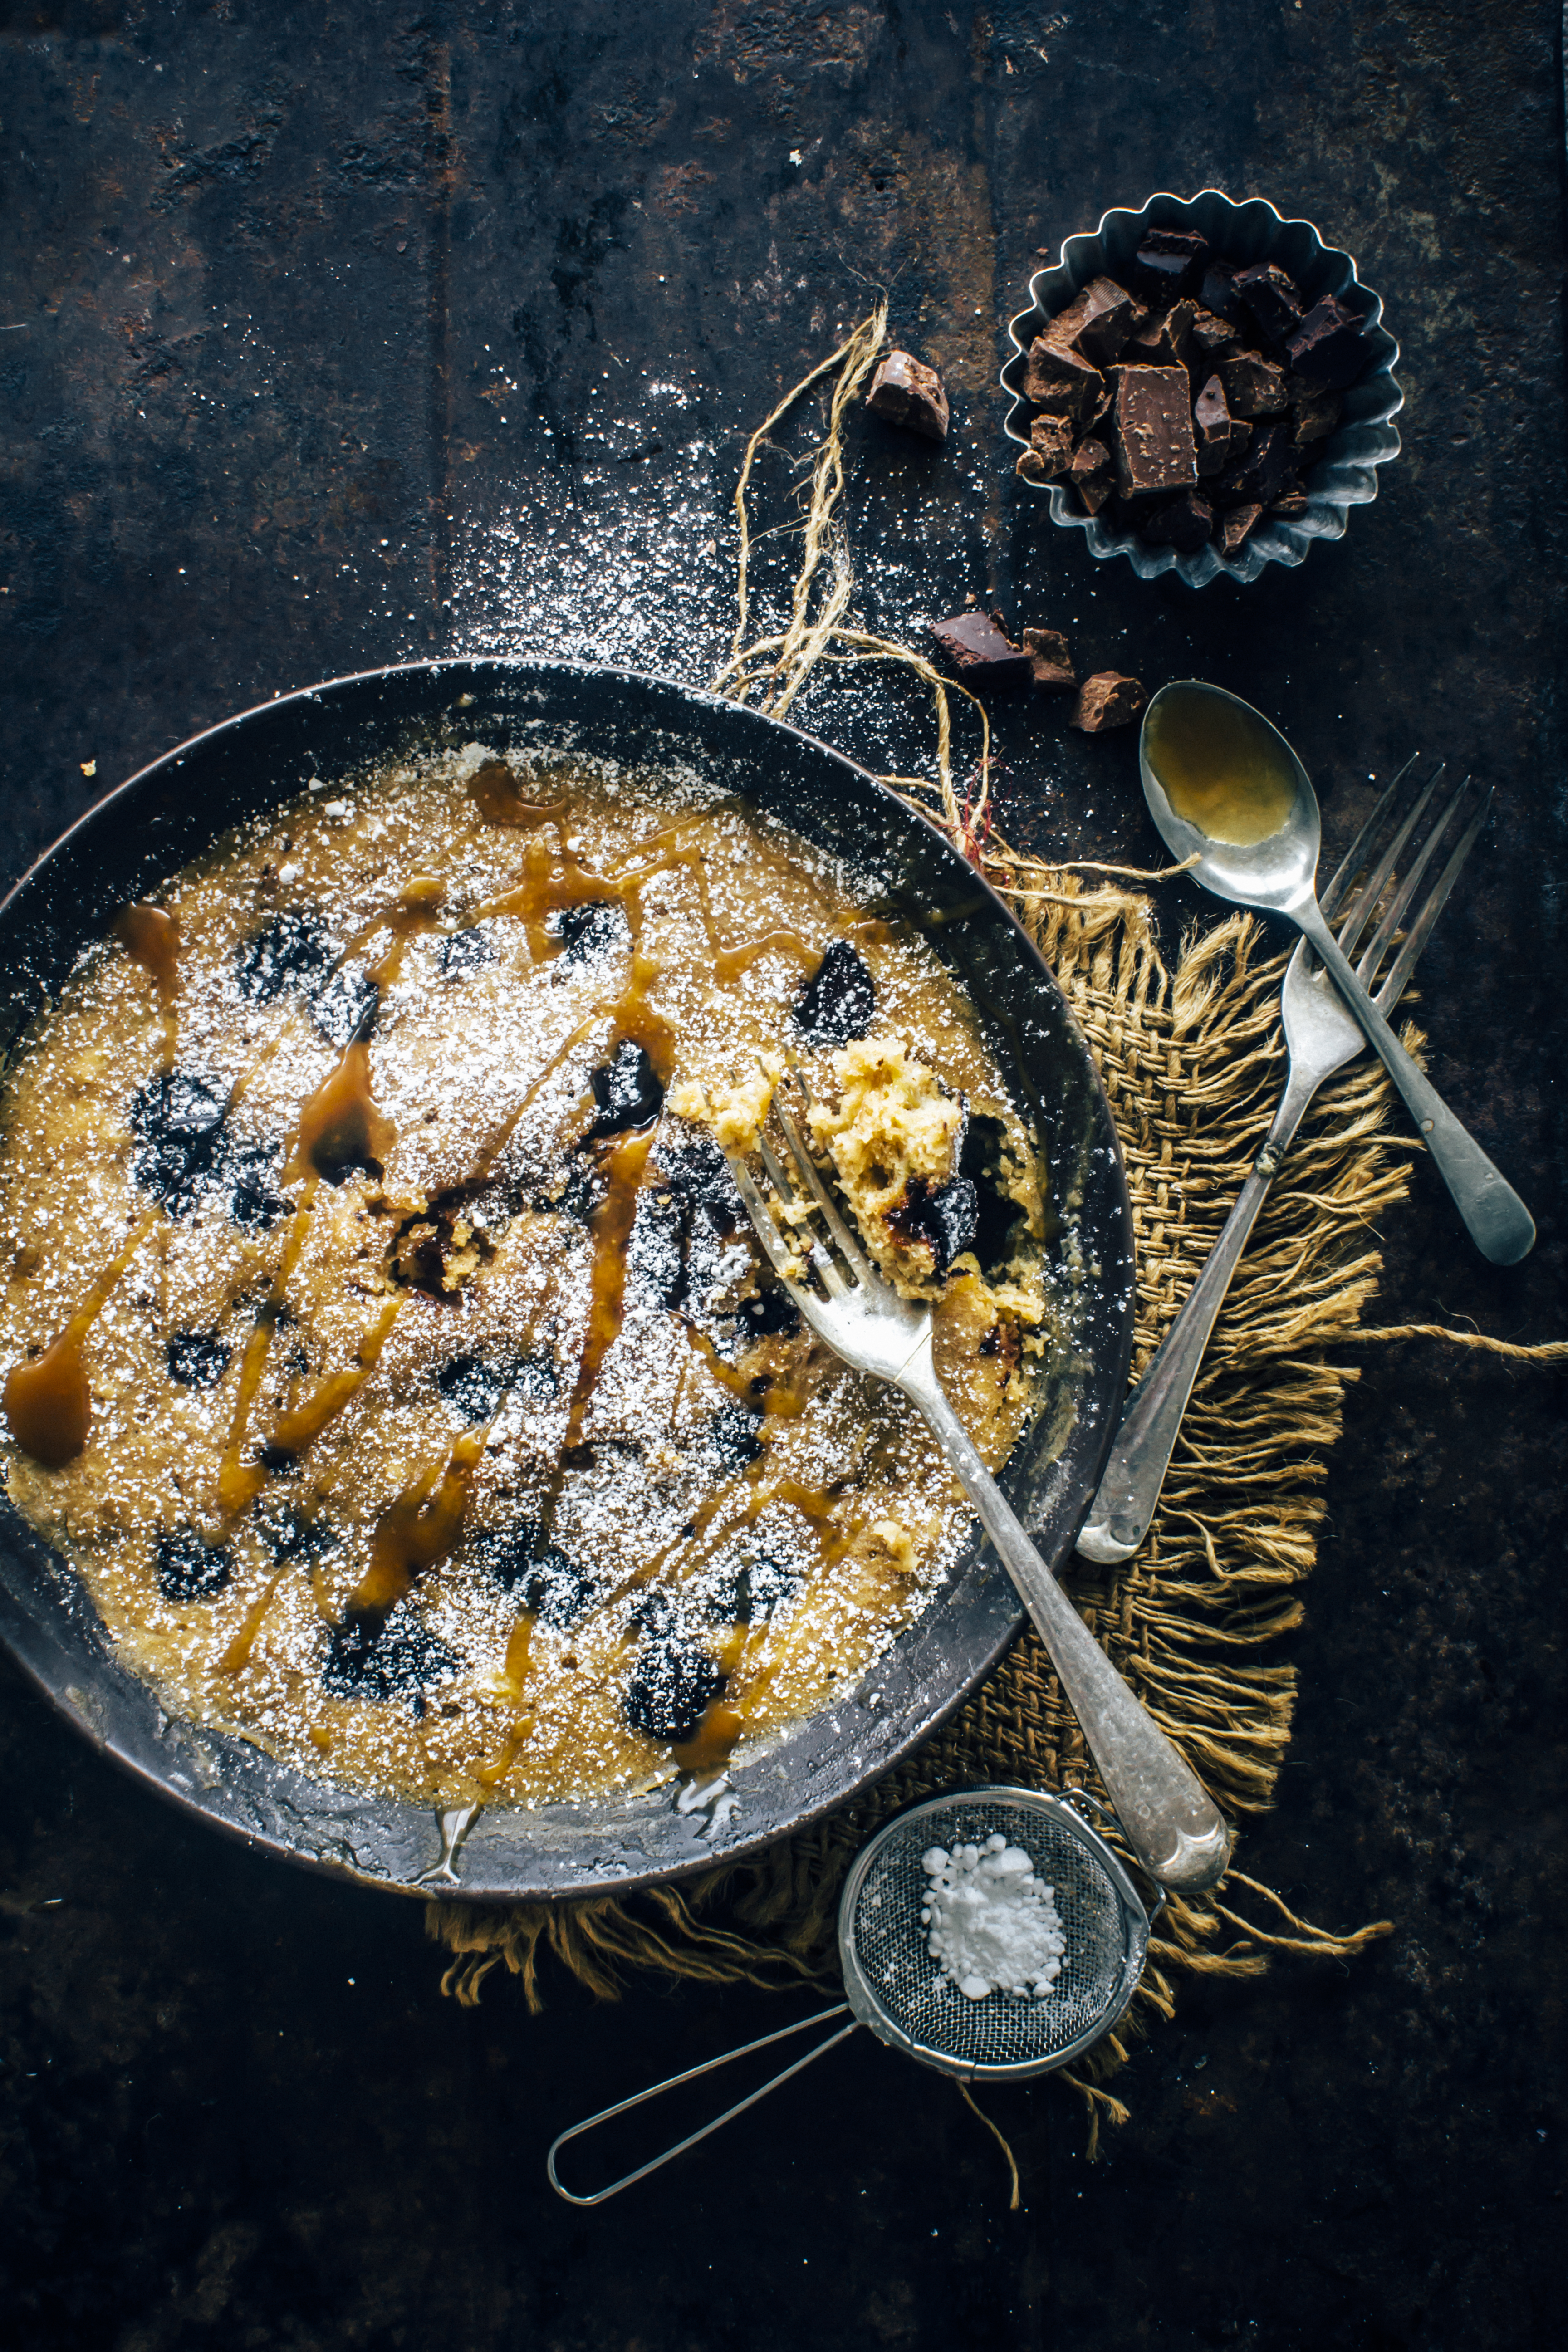
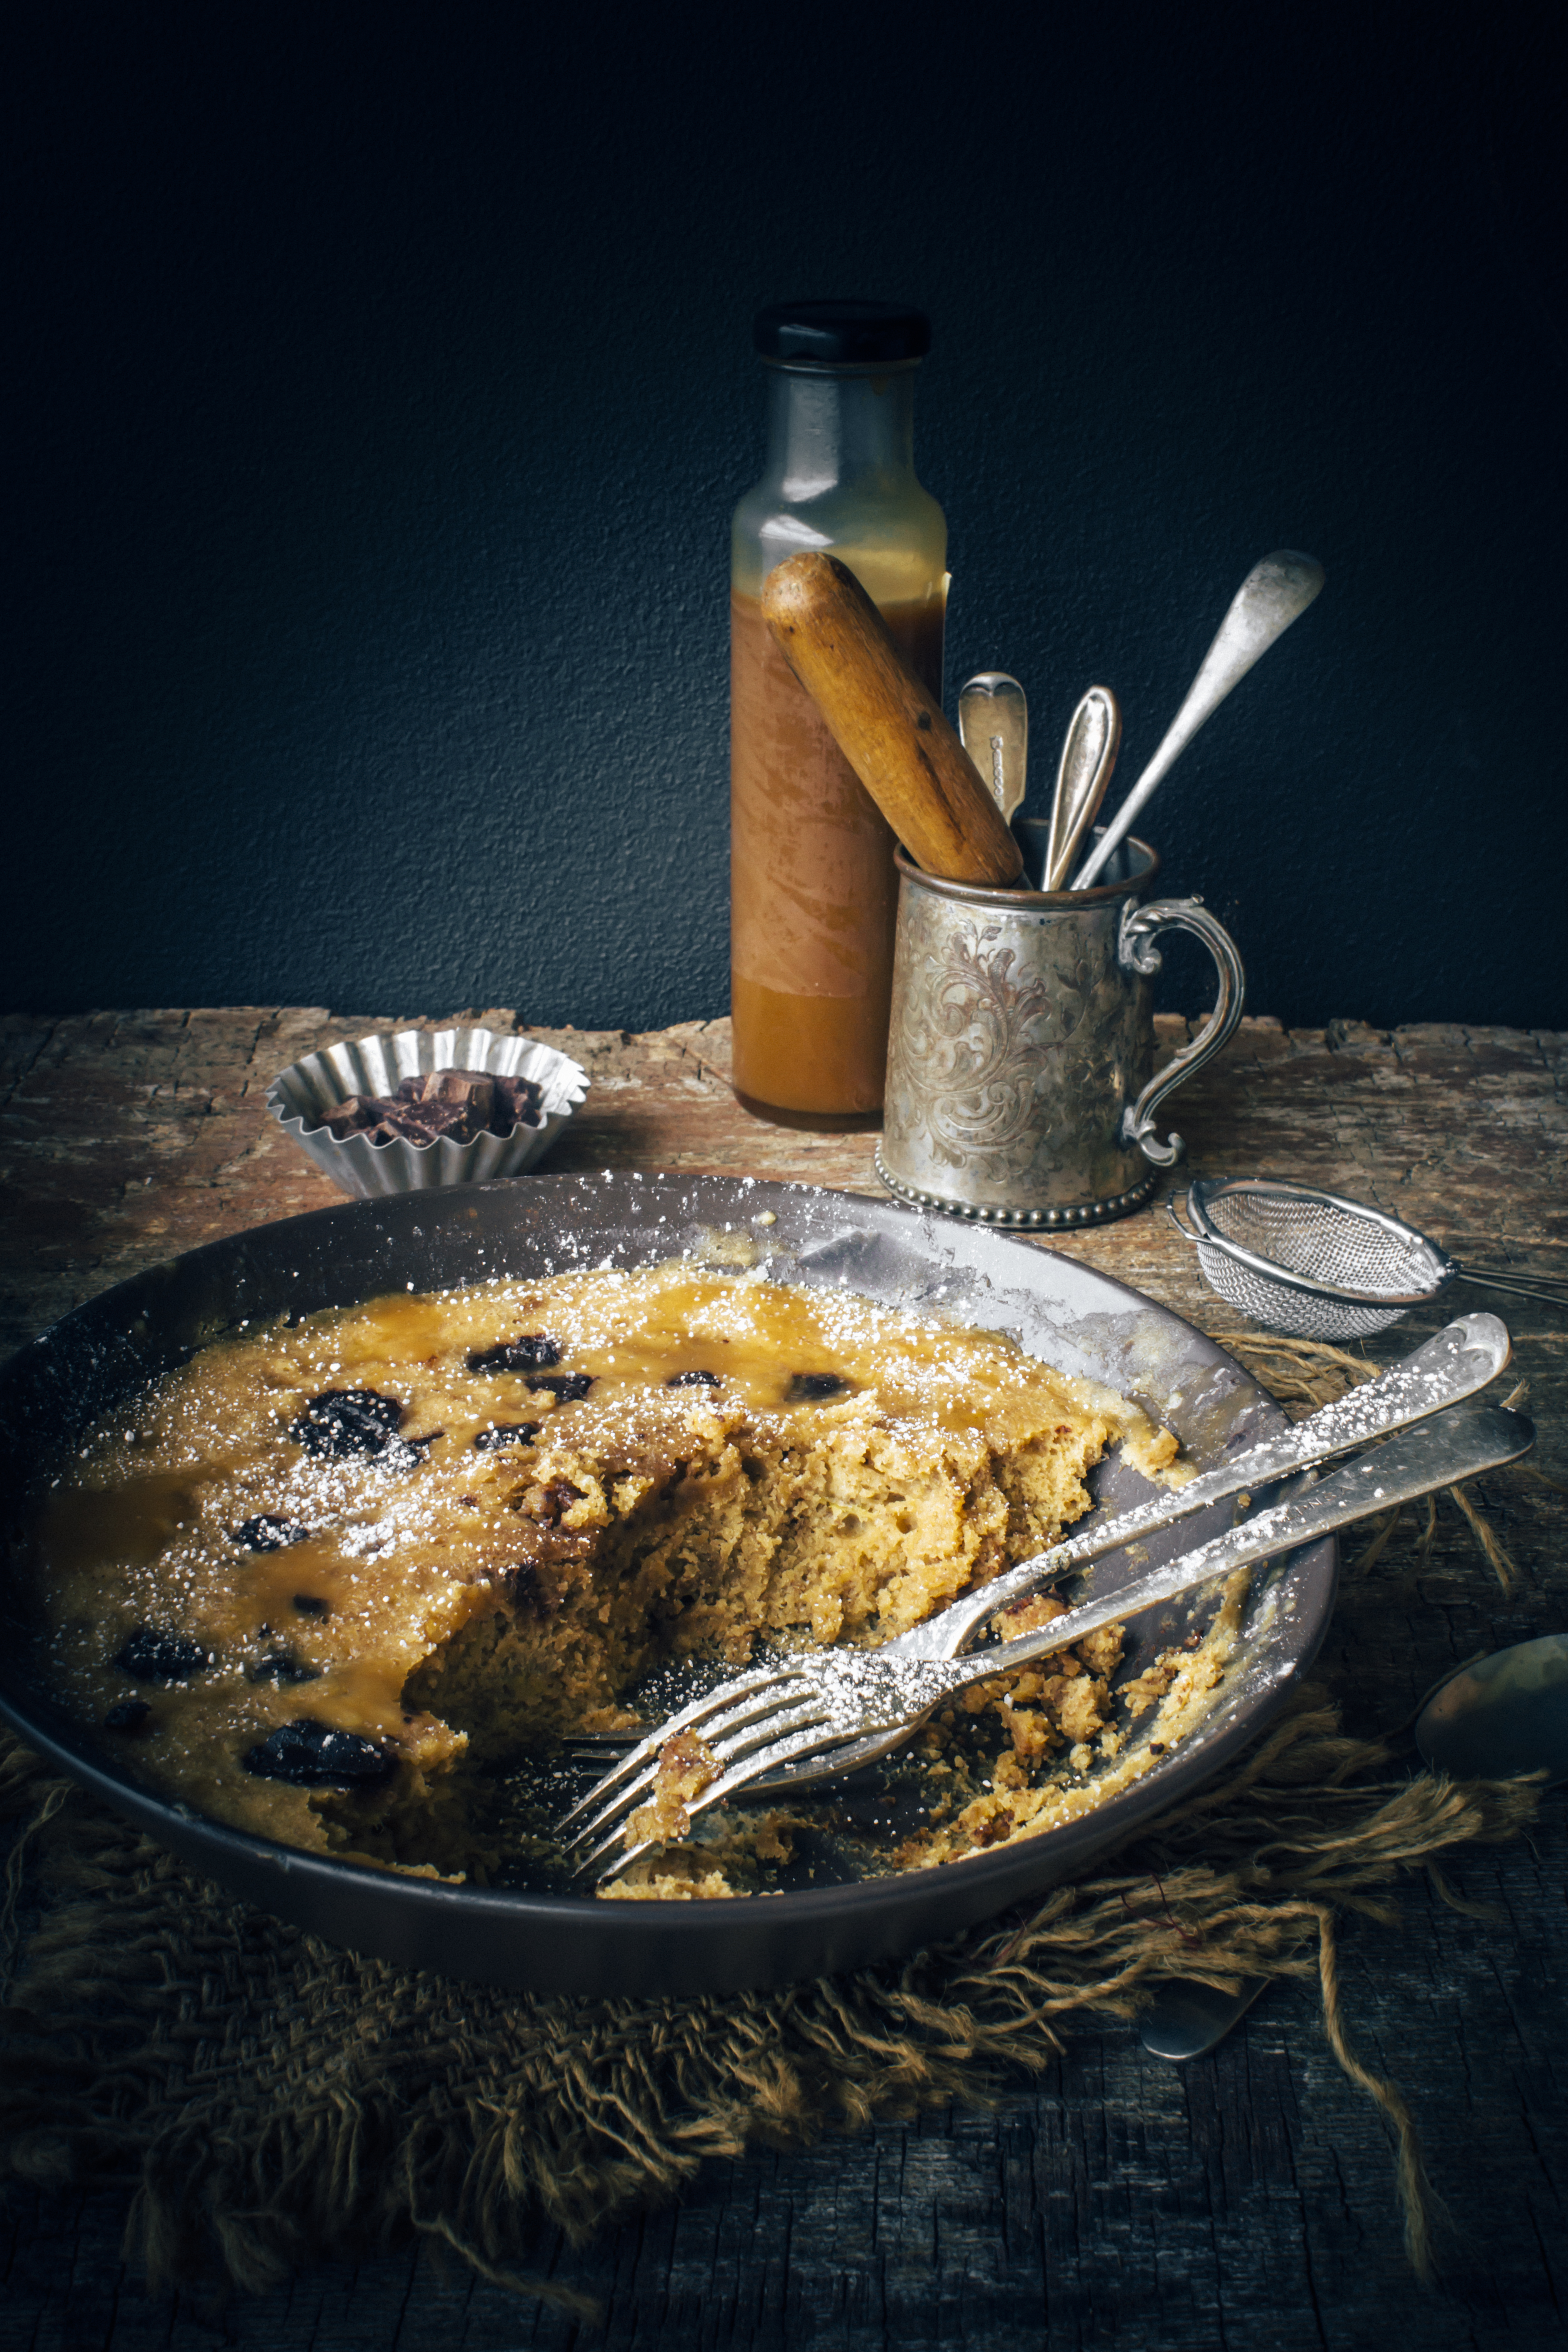
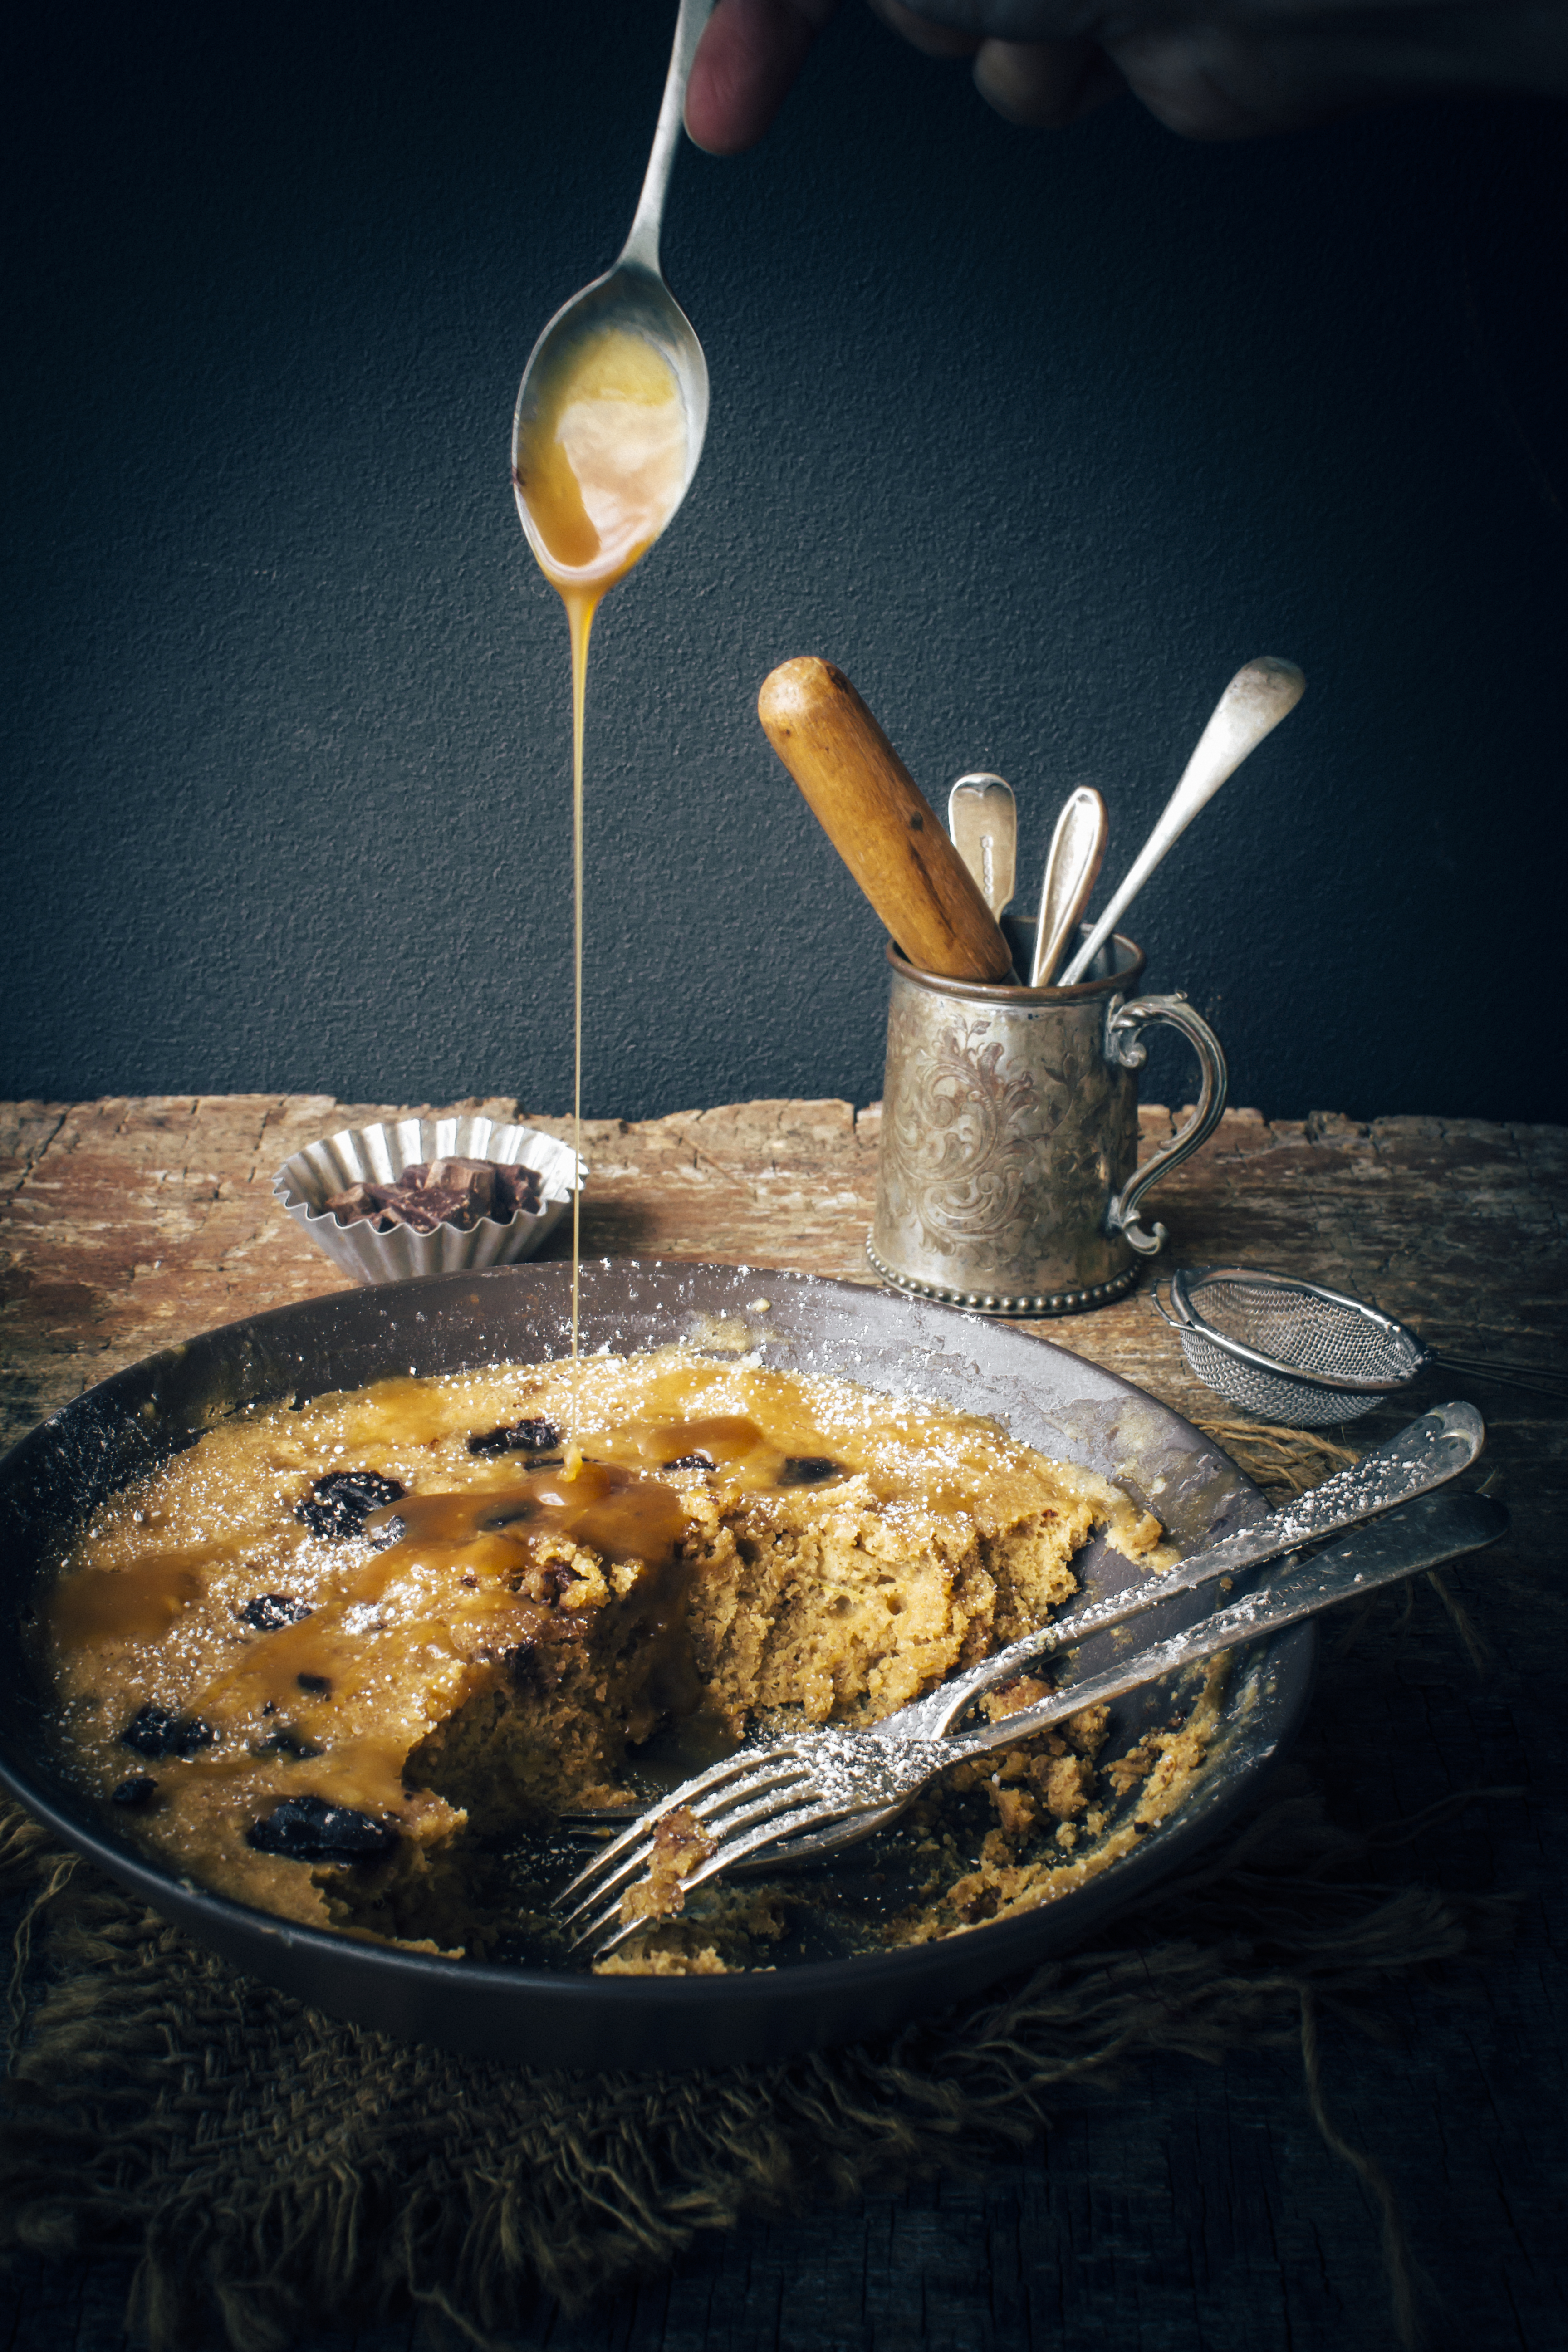
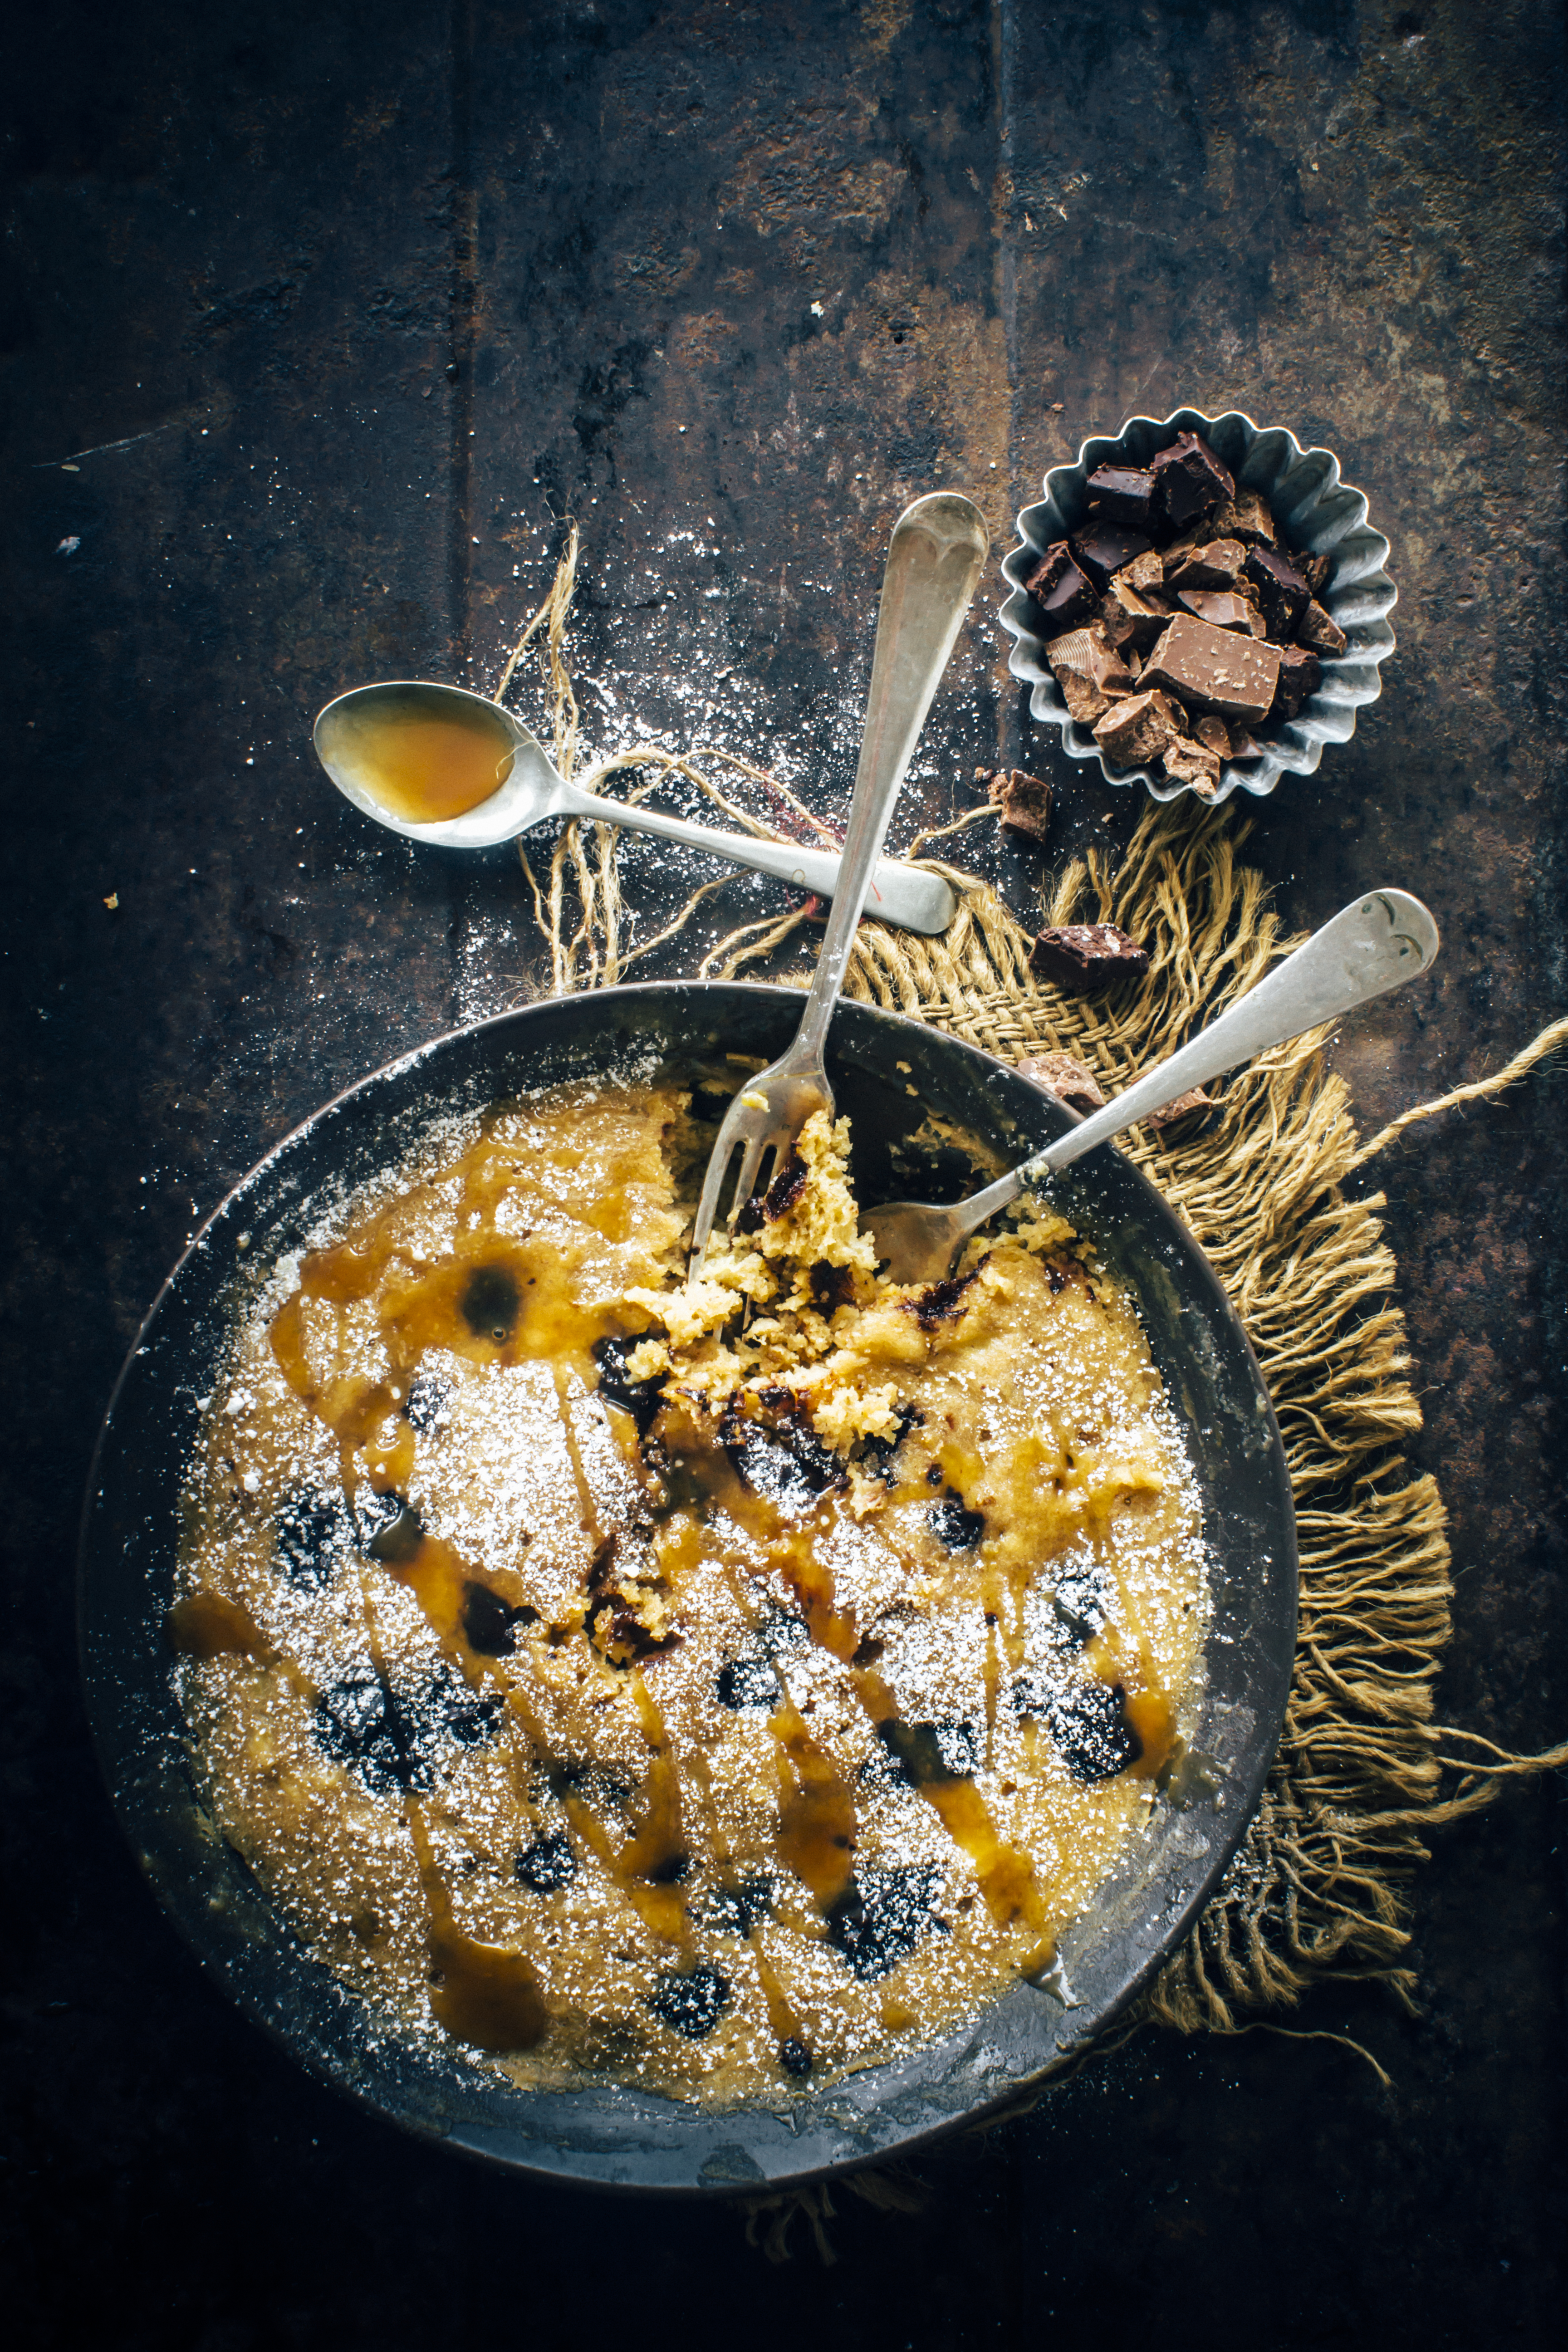
I think there are some things in life that can be solved with a chocolate chip cookie. They do help me beat stress a lot of times. So the more chocolate chips, the better? Going by the trend in Sydney in November, prices drop for all kinds of chocolate things…chips, chunks, buttons. Despite that I seem to have a constant shortage at home. Well, you know why! I’ve used two cups in this cake itself.
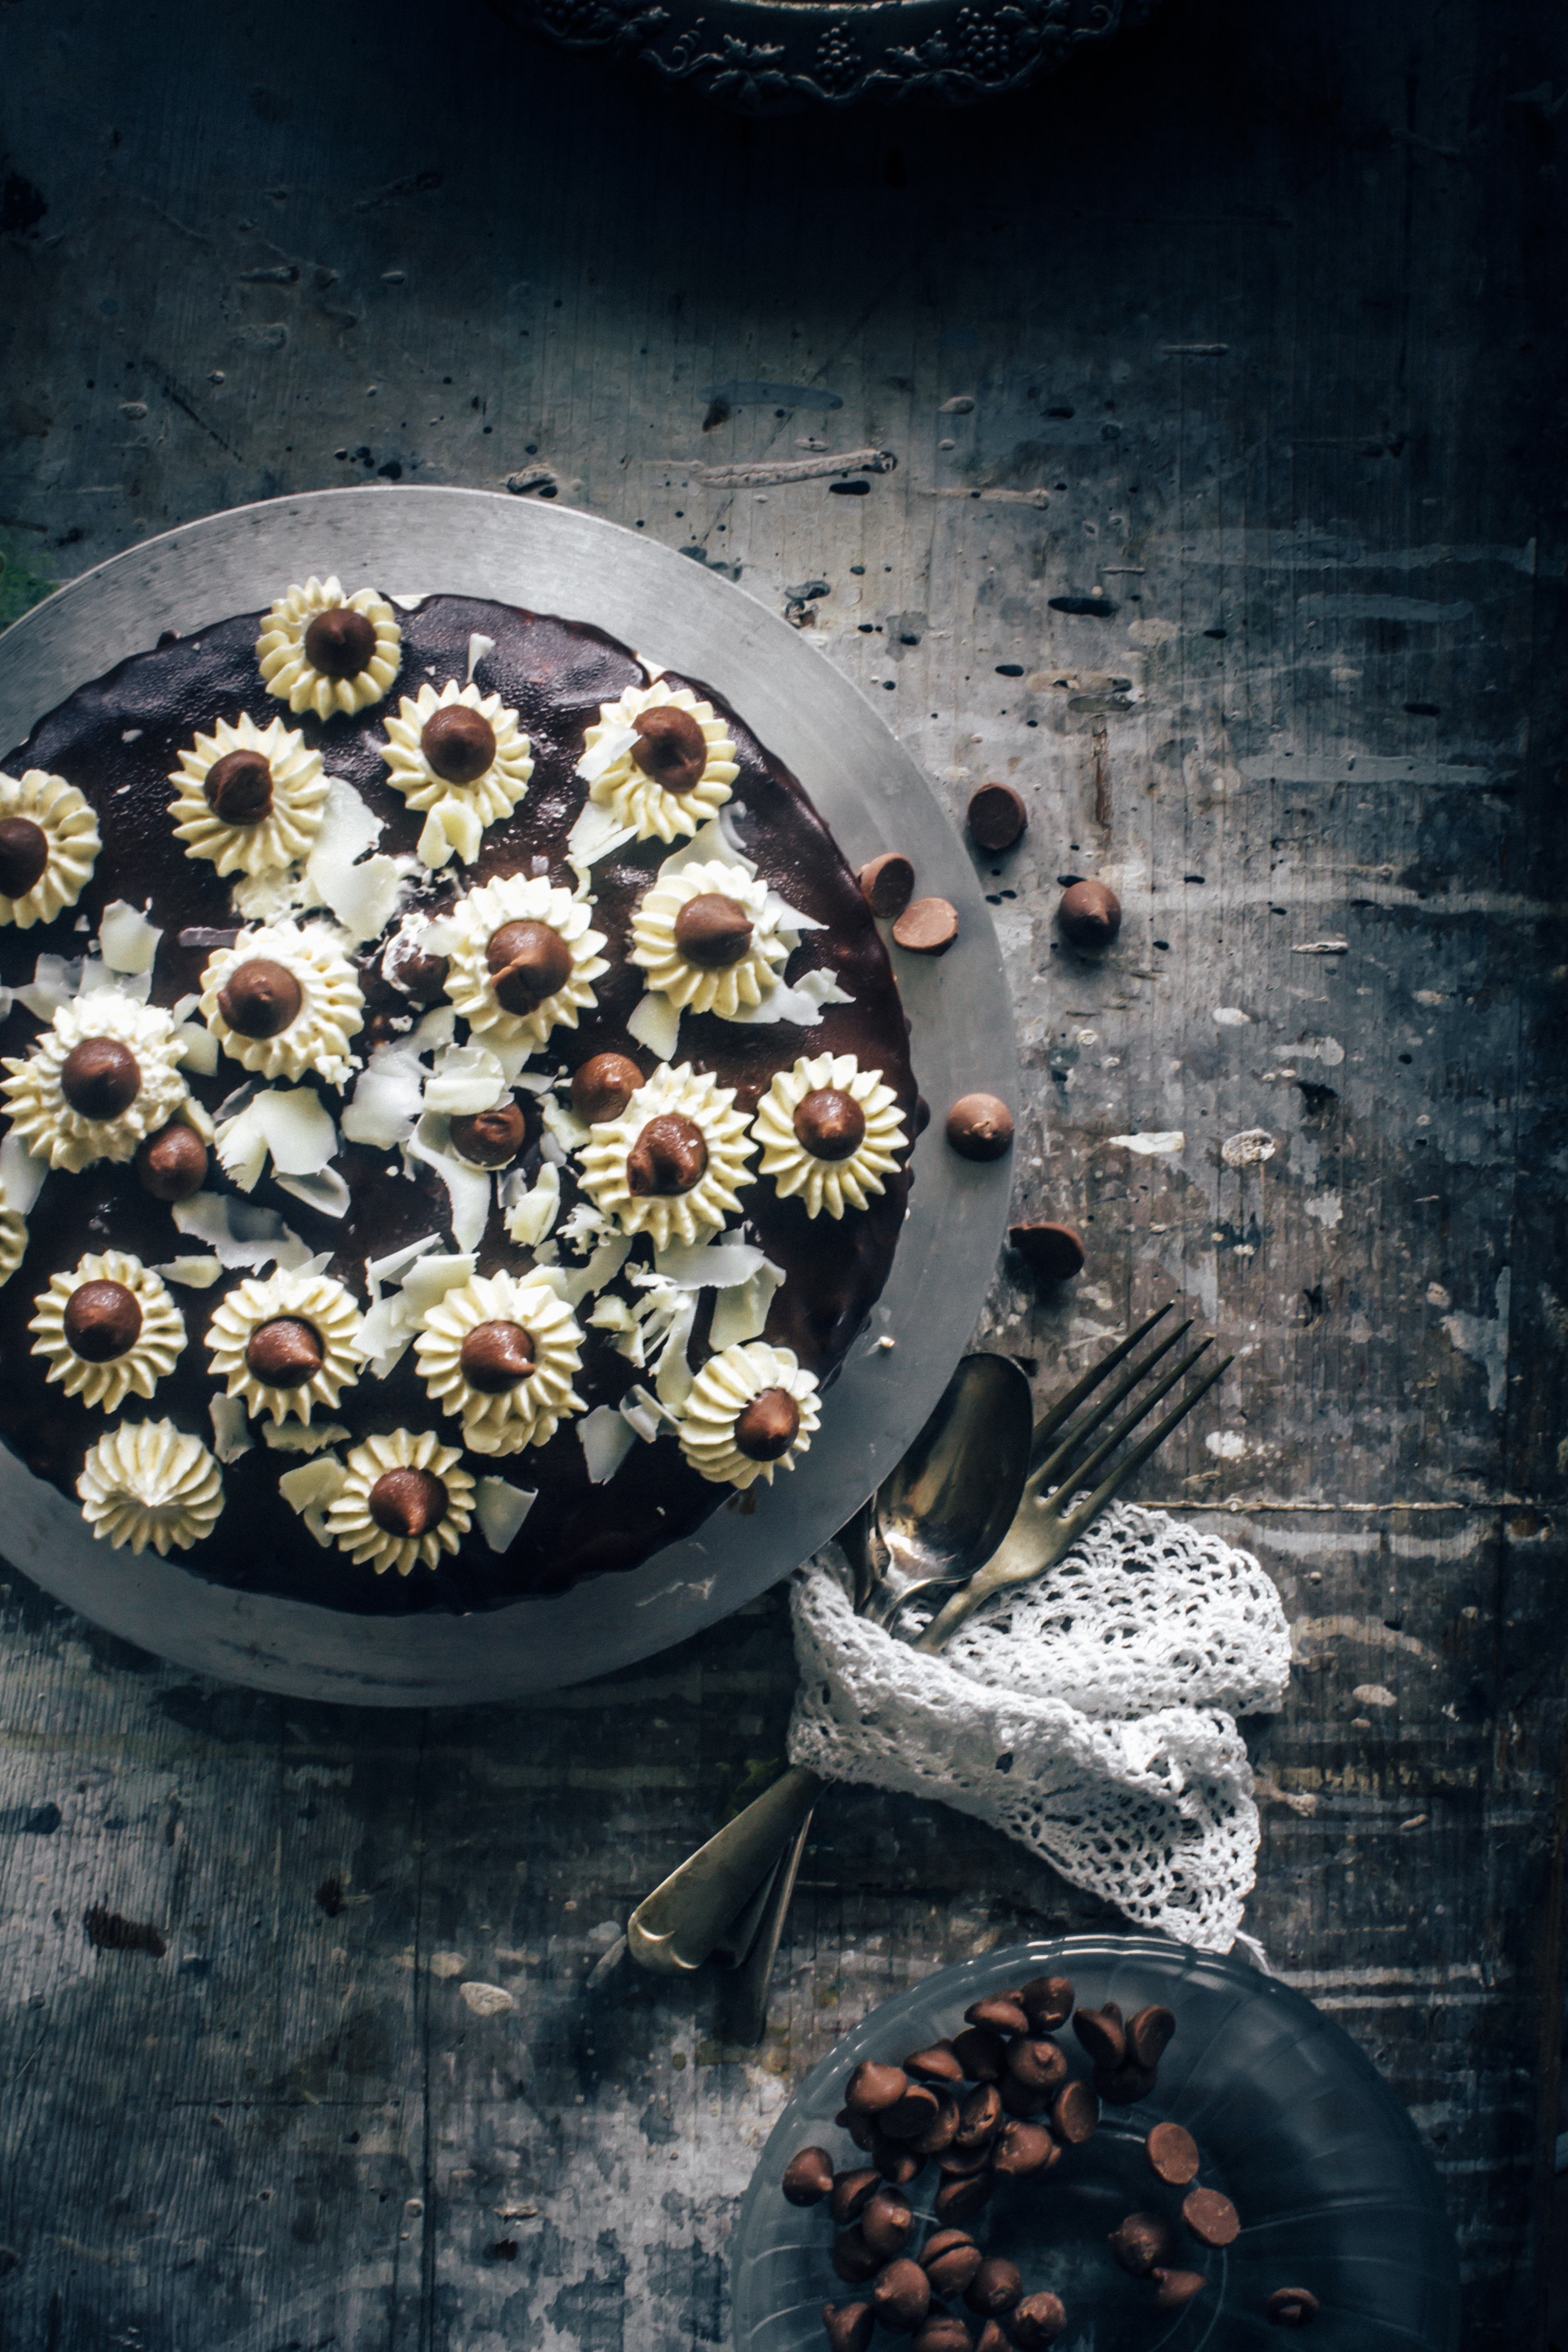
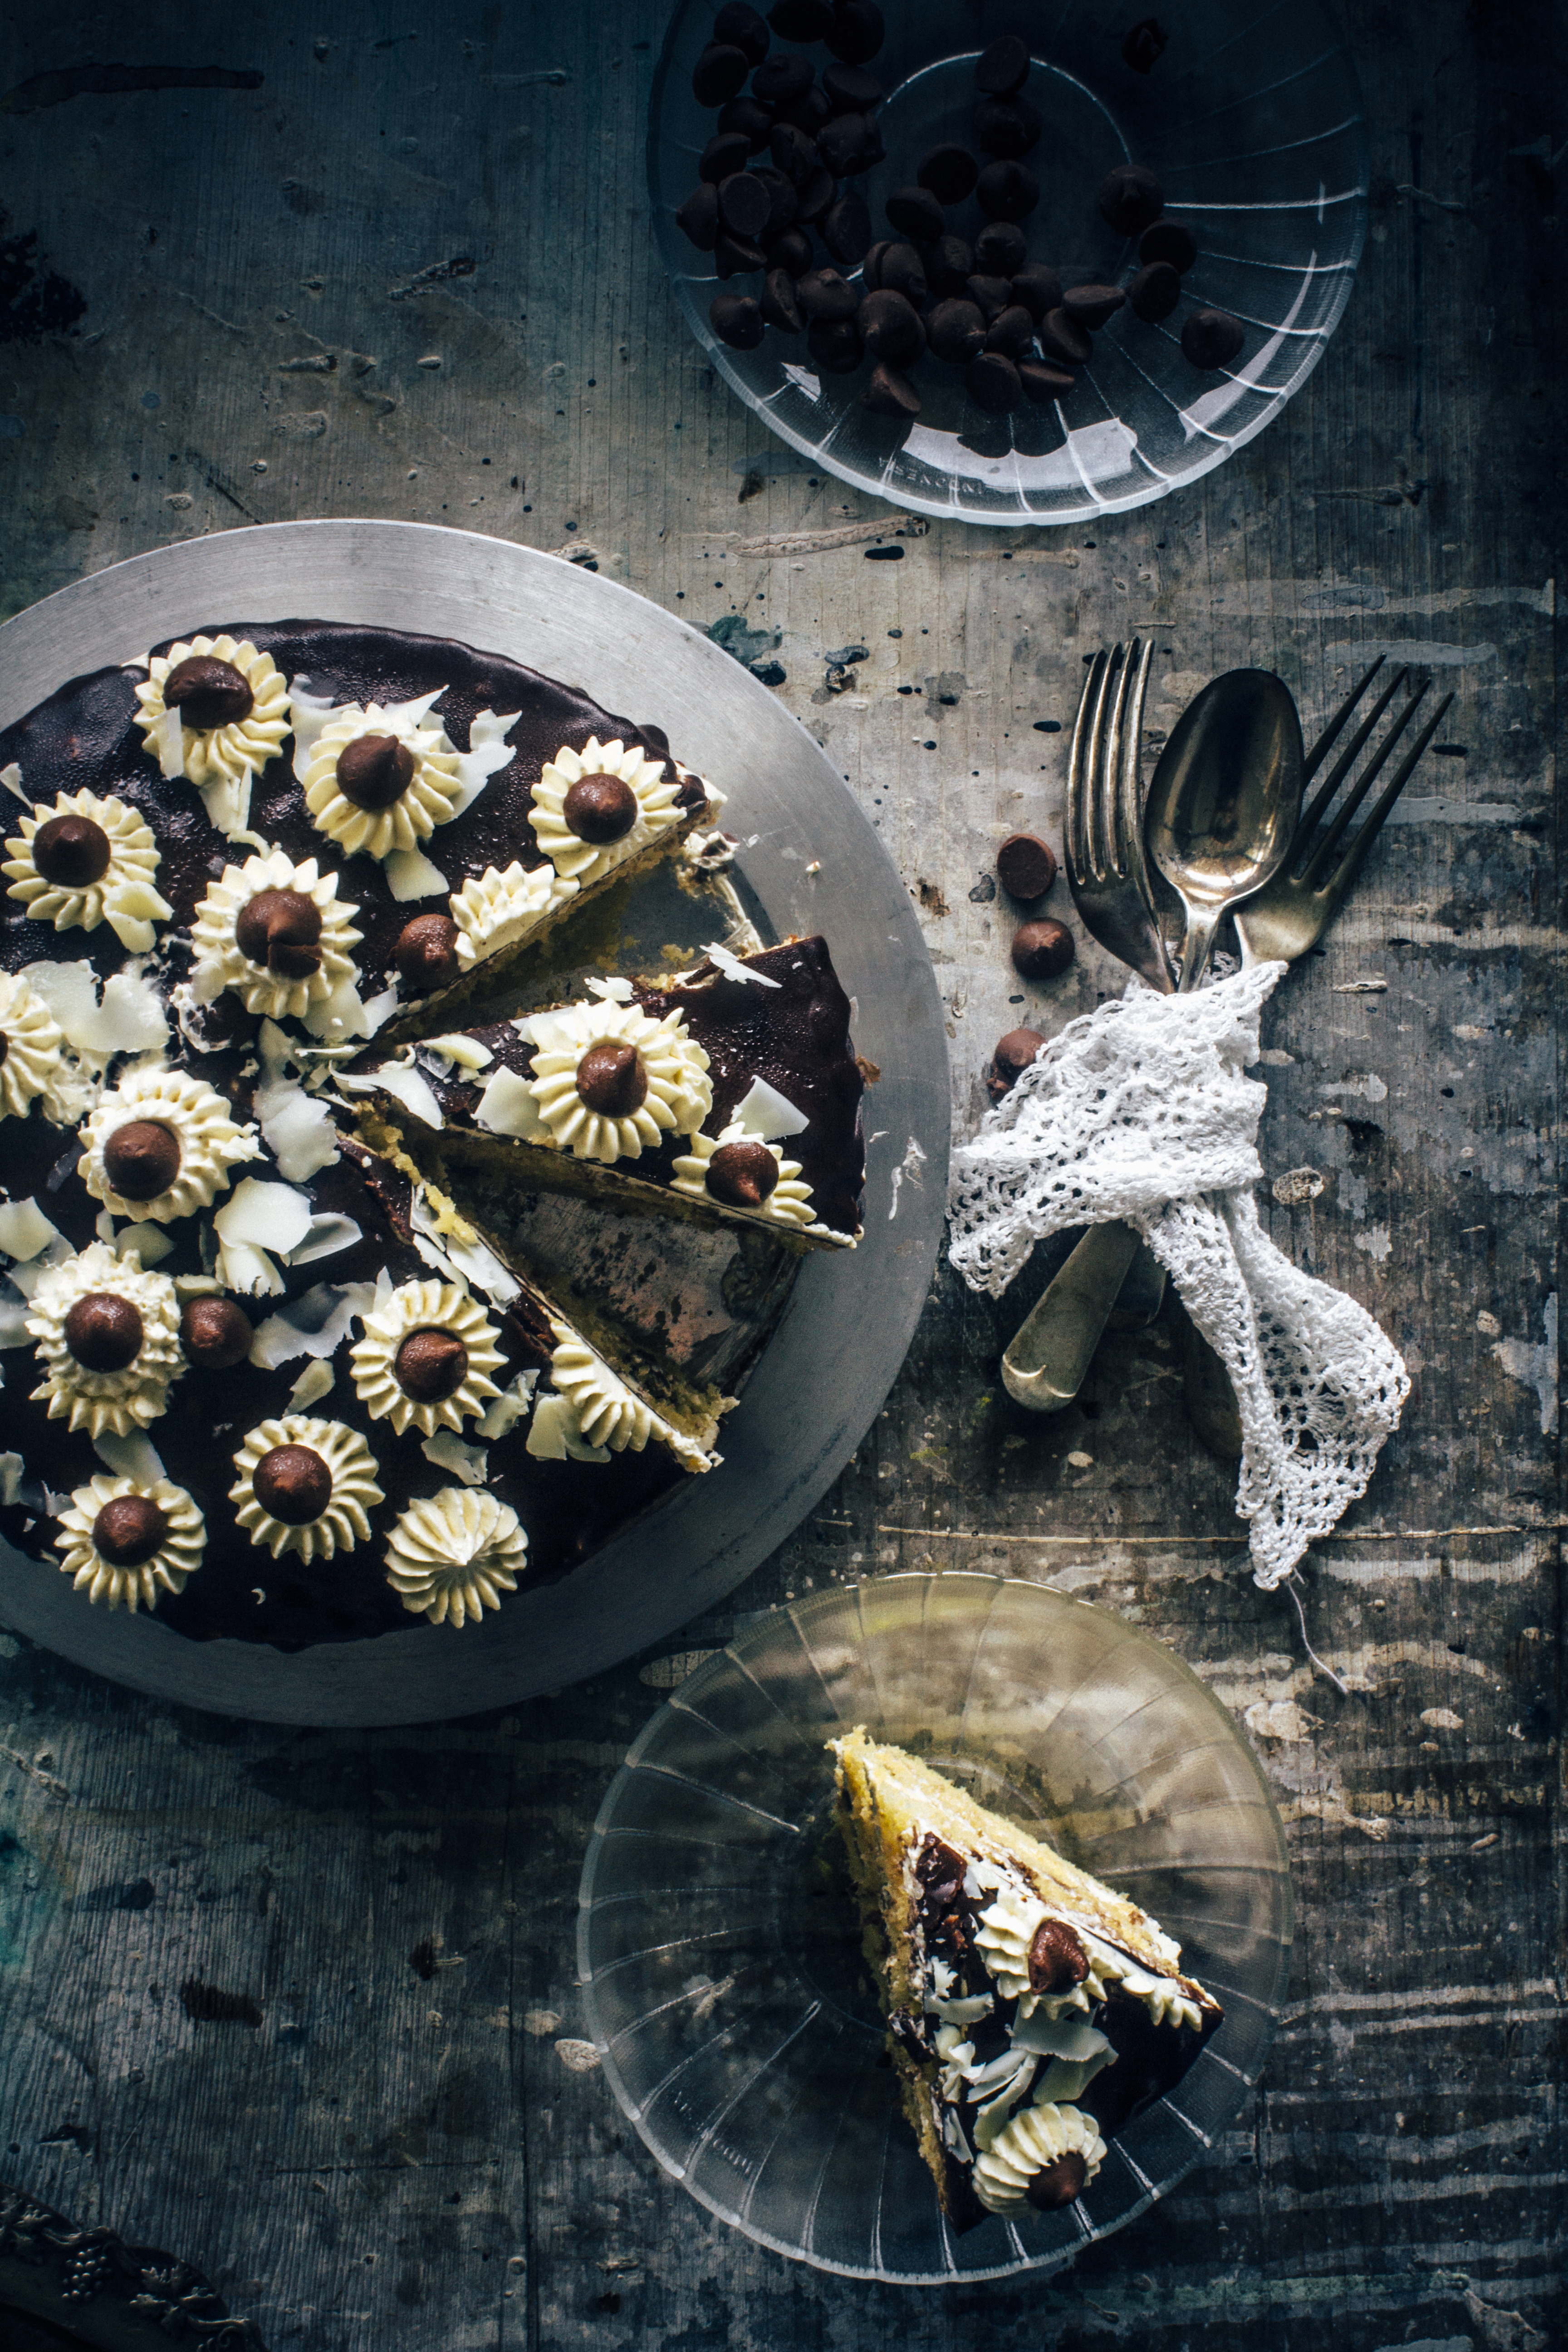
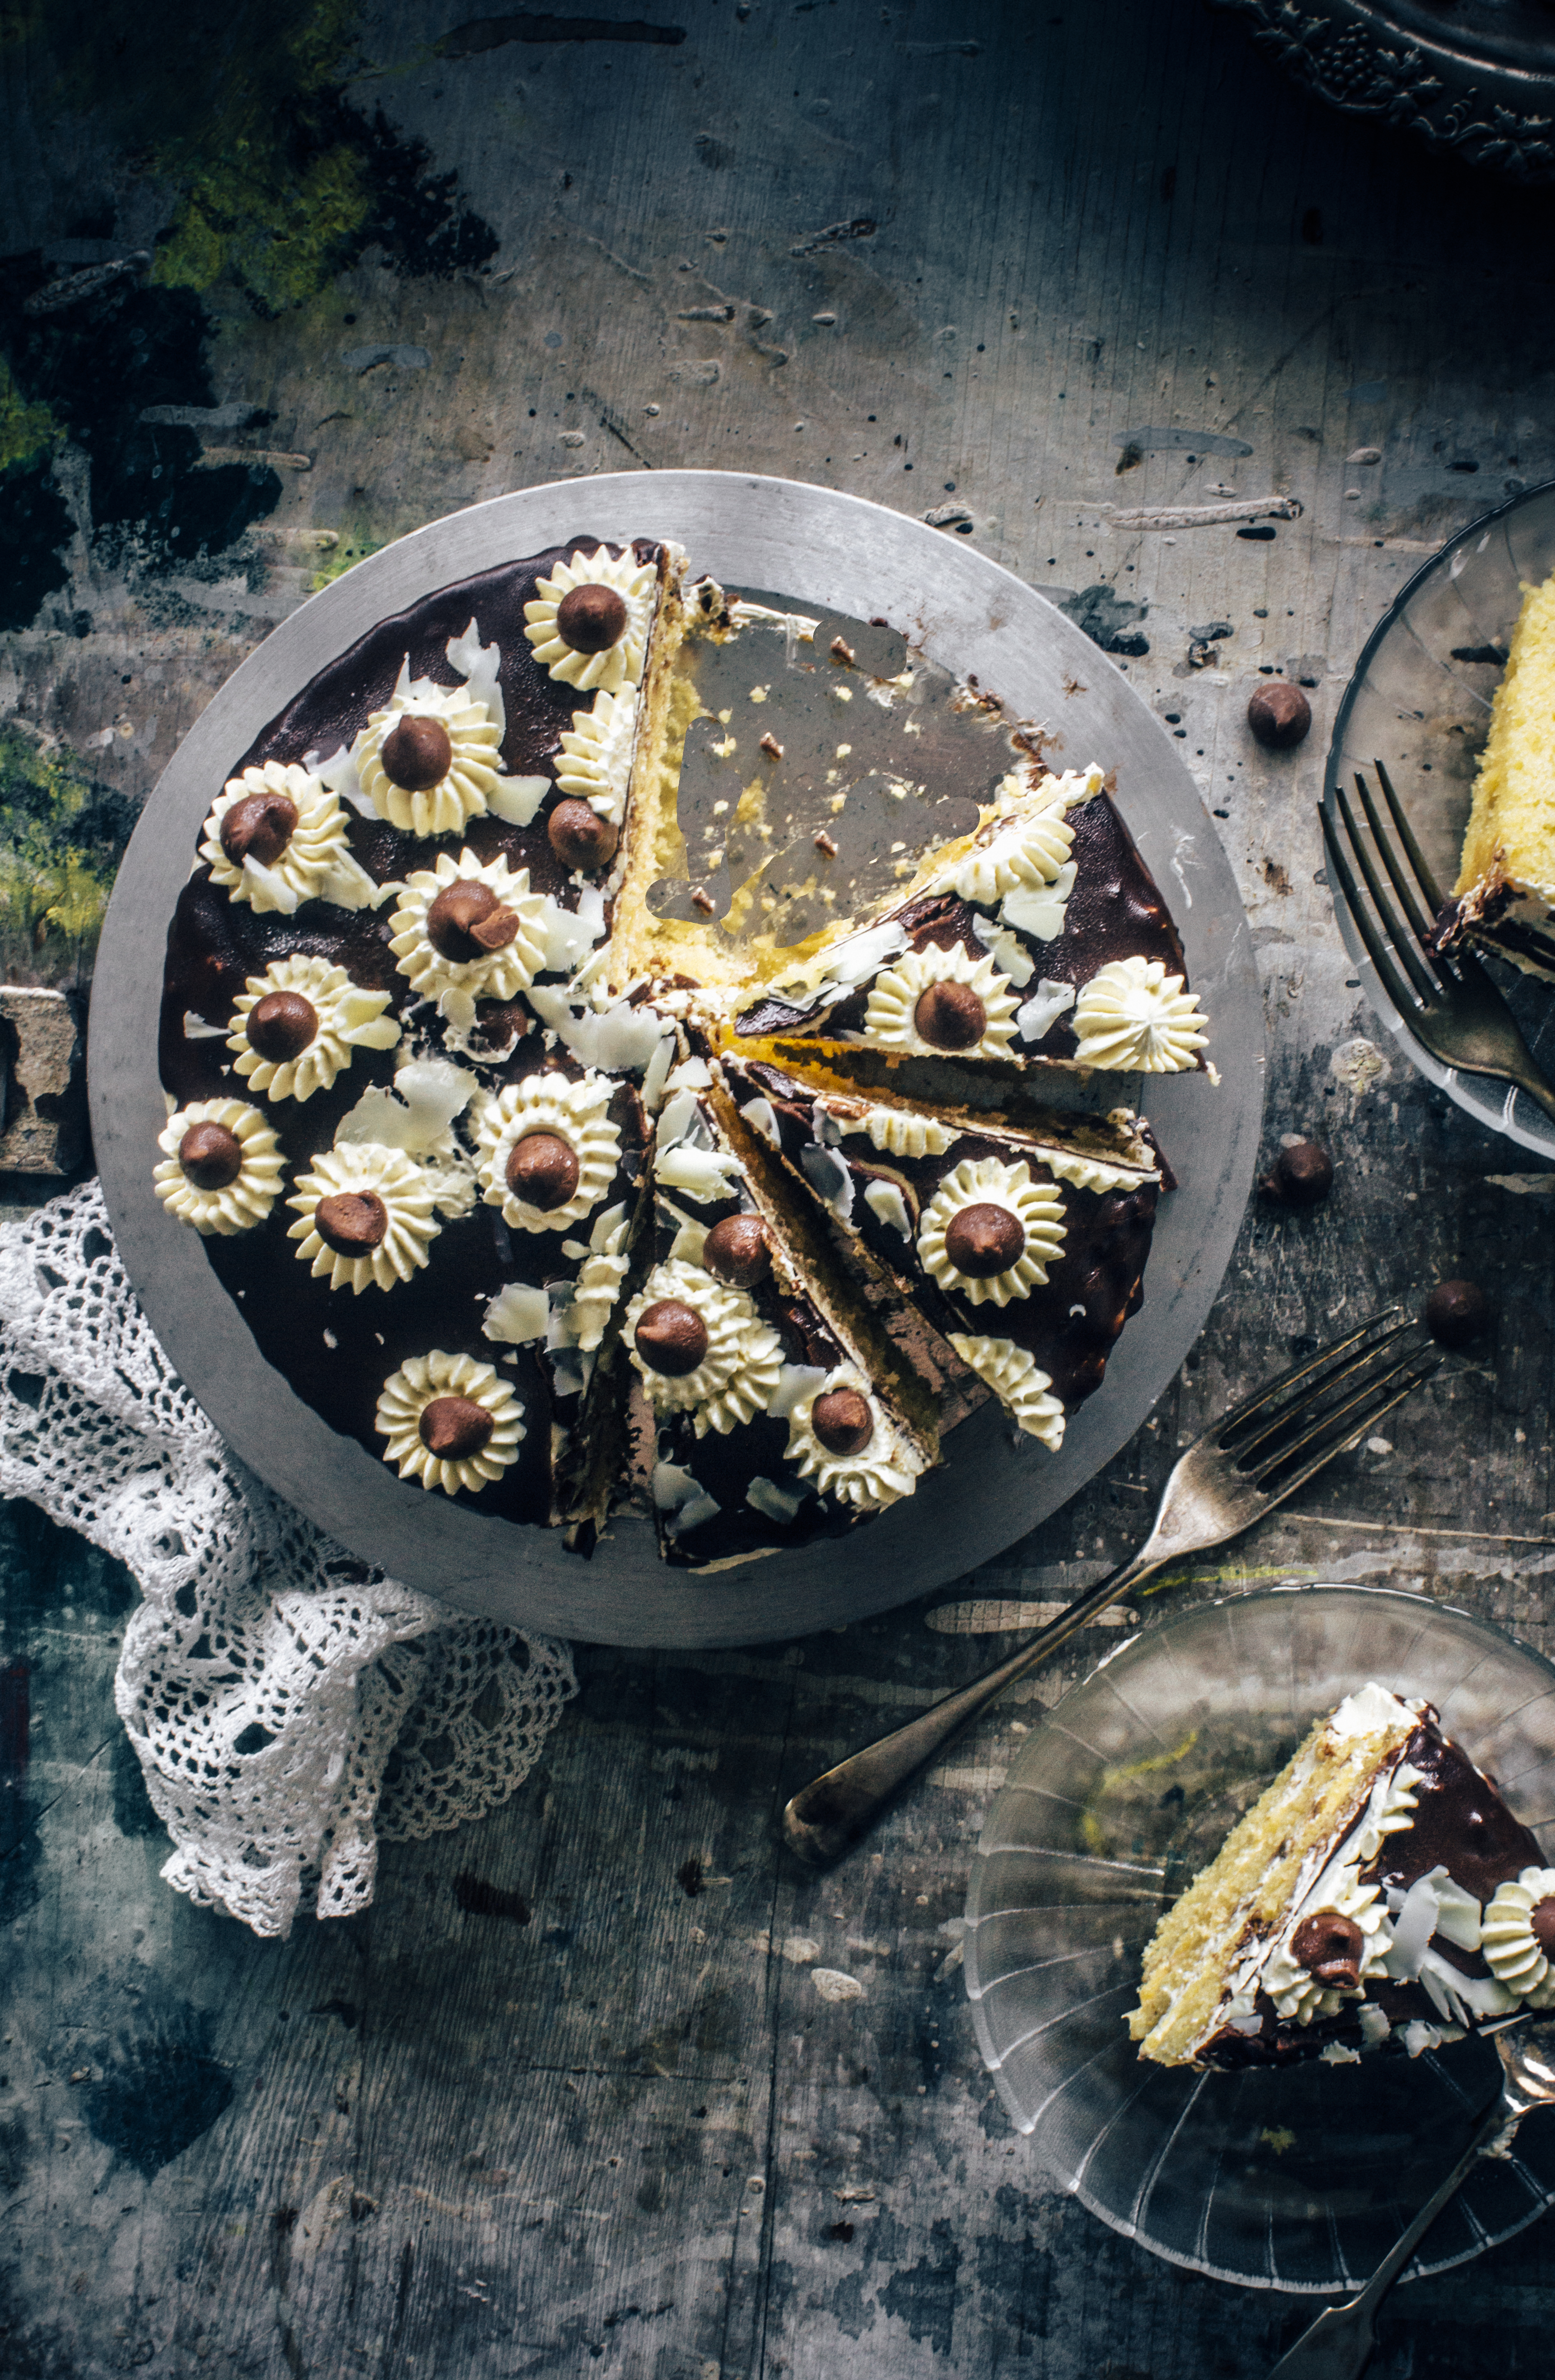
The cake is sponge-like in texture with chocolate chips in every bite. I’ve frosted it with vanilla buttercream and a chocolate glaze, Then piped some buttercream flowers with more chocolate chips in the center. Because there’s never a thing called too much chocolate, there’s a bit of grated white chocolate on top as well:-) And,…………. that’s all!
I hope you are having a great November. My calendar looks a bit scary at this time. A big to-do list and so little time!

Chocolate Chip cake


Chocolate Chip cake


Chocolate Chip cake

IMG_9874

Chocolate Chip Cake
Makes a 3 layered, 7 inch round cake

250 g butter, room temperature
3/4 cup (150 g), castor sugar
4 eggs
1 tbsp vanilla extract
250 g self-raising flour
2 cups chocolate chips, divided (leave aside 1/4 cup for decoration. I used a mix of mil and dark chocolate chips)

Vanilla Swiss Meringue Buttercream
4 egg whites
1 cup castor sugar
300 g unsalted butter, room temperature
1 tsp pure vanilla extract

Chocolate Glaze
75 g dark chocolate, roughly chopped
50 g butter

Preheat oven to 170 degrees C (150 degrees C for fan forced). Grease and line the bottom of 3, 7 inch pans with non-stick baking paper.

In an electric mixer (or by hand), whisk the butter and sugar until smooth and fluffy. Whisk in the eggs, one at a time until it is frothy and gradually incorporated in to the butter and sugar mixture.
Sieve the flour into the mixture and fold in gently until smooth. Add the vanilla extract and chocolate chips. Divide the mixture evenly between the prepared pans. (If you don’t have 3 pans, you could go with two and adjust the baking time accordingly. It will increase slightly.) Bake for 12- 15 minutes or when a skewer inserted in the middle comes out clean. Remove from oven and leave aside for 5 minutes.
Turn onto a wire rack to cool completely. Once cooled to room temperature, frost the cake starting from the layers to the sides and top of the cake. Allow to set in the fridge for 30 minutes. Pour the chocolate glaze on top of the cake and let it flow down the sides of the cake. Decorate with buttercream flowers and chocolate chips.

To make the Vanilla Buttercream, Place the egg whites and sugar in a large bowl that is placed over a saucepan of simmering water (over low heat), and whisk continuously, until the sugar has completely dissolved and the bottom of the bowl is warm to touch

Remove the bowl from the heat and whip on high speed until meringue holds stiff peaks and looks glossy. The bowl should have completely cooled by now.
Add the butter, 2 tablespoon at a time, until thick and fluffy. If it begins to look curdled, continue to whip until it comes back together, before adding in remaining butter.

When the buttercream has come together, add the vanilla extract and mix till smooth and well blended.

To make the chocolate glaze, melt the chocolate and butter together in the microwave or in a small saucepan under low heat. Stir to mix. Remove from heat and leave to cool to room temperature. Don’t let it solidify before pouring.

Vanilla And Earl Grey Cake

9|11|2015

Today’s post is special because it has been requested by a dear reader of the blog. I made this Vanilla And Earl Grey Cake a couple of months ago when I was experimenting with naked cakes and different ways of decorating them for Styling magazine. Earl Grey is an all time favourite flavour of mine. Just by infusing one or two teabags of Earl Grey tea in milk or cream you end up with a refreshingly unique flavour that is slightly citrus, slightly spicy and mildly smoky. This unique flavour in Earl Grey tea comes from the presence of Bergamot which is a citrus fruit that looks like an orange with a yellow colour. The Earl Grey infused milk/cream can be used to make amazing desserts like this Chocolate Mousse or Panna Cotta and of course, to flavour buttercream. Now that’s a great flavoring agent, don’t you think? To make the Earl Grey shine in the cake, I stuck to good old vanilla for the cake layers.

vanilla-and-earl-grey-cake

I decorated the same cake in two ways and shot them twice. For the first one, I left the Earl Grey buttercream as is (white) and piped roses on one side of the cake. Then I removed the buttercream, tinted it pink with food colour and piped pink roses on the cake. To be honest, I didn’t think I would be posting this recipe or I would have shot a few different angles. But since you guys liked it (going by your requests and response on IG and FB)…it’s all yours!  The magazine chose the first one, though I’ll confess I like this one a teeny bit more. You can see the first one in the current issue of Styling Magazine if interested. A cake is like a blank canvas for me…pick up your tools, choose your colours, settle on your garnishes and the sky is the limit!

IMG_9224

vanilla and earl grey cake

Vanilla And Earl Grey Cake
Makes a 7 inch, 3 layered round cake

Earl Grey Buttercream
3 tbsp milk
2 Earl Grey tea bags
4 egg whites
1 cup castor sugar
300 g unsalted butter, room temperature

Preheat oven to 140°C. Grease 3 round 7 inch cake pans with melted butter and line the bases with non-stick baking paper.

Place the self-raising flour, plain flour, sugar, butter, milk, eggs and vanilla essence in a large mixing bowl. Use an electric beater to beat on low speed for 30 seconds or until just combined. Increase the speed to high and beat for 1-2 minutes or until the mixture is thick and all the butter is incorporated. Divide the mixture into the prepared pans and smooth the surface with the back of a spoon.

Bake in the oven for 50-60 minutes or until a skewer inserted into the centre of the cake comes out clean. Remove from oven and set aside for 10 minutes. Turn onto a wire rack until completely cool.

Once cooled completely, frost the cake. Place one layer on a cake stand or plate. Spread about half cup of frosting (recipe below). Place the second layer and repeat. Frost the top and sides of the cake.

To make the buttercream: Place the tea bags in a small heat proof bowl. In a small saucepan or a microwave, warm the milk until it reaches boiling point. Remove from heat and pour the hot milk over the tea bags. Let steep for 10 minutes. Squeeze out liquid from the tea bags (don’t over steep or the resulting flavour will be bitter). Cool to room temperature.

Place the egg whites and sugar in a large bowl that is placed over a saucepan of simmering water (over low heat), and whisk continuously, until the sugar has completely dissolved and the bottom of the bowl is warm to touch

Remove the bowl from the heat and whip on high speed until meringue holds stiff peaks and looks glossy. The bowl should have completely cooled by now.
Add the butter, 2 tablespoon at a time, until thick and fluffy. If it begins to look curdled, continue to whip until it comes back together, before adding in remaining butter.

When the buttercream has come together, add the Earl Grey infused milk and blend into the buttercream.


Lavender Cake Minis With Chocolate

4|11|2015

Lavender cake minis made with a dark chocolate base a super easy lavender glaze that looks and tastes delicious. Makes a pretty gift or an impressive wedding dessert table item.

I can’t describe in words what draws me to Lavender but I am simply smitten by it. It could be the colour (I do have my fair share of purple photos on the blog:-)) or the scent  or just the way you could wrap your fingers around the stalks and bring them close to your nose and experience a moment in paradise. I met a wonderful lady called Mrs Lavender  at the children’s school library the other day and I instantly liked her. She had the loveliest smile and knew the books by heart. So maybe I like the name too. La-ven-der! Anyway, I dream of growing them..heaps of them in my own garden soon.

lavender cake minis with a dark chocolate base

lavender cake mins with a dark chocolate base

2 years ago when I had just started blogging, I would have a list of fresh produce farms to visit on the weekends. I enjoyed it so much that I would kook forward to Sundays and our outings so much. A picnic basket, camera and we would set out. Sydney was new to me and I was falling in love with every inch of it. I had a berry farm in mind for weeks but on the day we were hoping to go picking, it poured and visits were cancelled. We ended up visiting a Lavender farm. What an amazing day it was! The owner had celebrated her 75th birthday the previous day and she had a few of her best friends over. There were no other visitors that day due to bad weather and we had the fields and the beautiful ladies to ourselves. My little boys enjoyed a tractor ride through the dreamy fields and we gorged on baked treats the ladies had prepared. The pride and passion I sensed in the owner’s voice was powerful. The stories were touching. To own something so beautiful, can only be a blessing. I have to go back soon, I keep telling myself.

lavender cake minis with a dark chocolate base

lavender cake minis with a dark chocolate base

Although there are quite a few varieties of fresh lavender that are edible, I prefer to use culinary lavender because it is ready for use and can be stored for a long time. The lavender in the glaze is mild and pairs well with dark chocolate. I used  a chocolate cupcake recipe to make the cakes. If you are using a mini bundt cake pan like mine, do make sure you grease it well or the lavender cake minis might stick to the bottom and sides. I had a few of them sticking to the pan but the glaze covered up the flaws.

lavender cake minis with a dark chocolate base


lavender cake minis with a dark chocolate base


Lavender Cake Minis With Chocolate Base And Lavender Glaze
Makes 12-14

Lavender Glaze
1 tsp dried culinary lavender
1/3 cup milk
1 cup icing sugar
1-2 drops violet food color (optional)

Preheat oven to 160°C. Grease a 12 hole mini bundt pan generously. Alternately you could use a muffin pan.

Combine the chocolate and water in a small saucepan over low heat. Cook, stirring, for 5 minutes or until chocolate melts and mixture is smooth. Remove from heat and set aside to coo

Use an electric mixer to beat the butter and sugar until pale and creamy. Add the eggs, one at a time, beating well between each addition, until just combined. Add the flours and cocoa powder and stir until just combined. Add the melted chocolate mixture and stir to combine. Spoon evenly among the greased pans. Bake in preheated oven for 15-20 minutes or until a skewer inserted in the centre comes out clean. Remove from oven and transfer to a wire rack to cool. Once cooled, dip the tops of the cakes into the glaze and leave to set. Alternately, you can use a spoon to drizzle the glaze the over the tops of the cakes.

To make the glaze, gently heat the milk and culinary lavender in a small saucepan. As soon as it begins to boil, remove from heat and leave aside. Let the mixture steep for 15 minutes, then strain. Add the icing sugar and mix until smooth. Add the food color if using and blend into the glaze.


Easy Microwave Banana And Chocolate Chunk Pudding

29|10|2015

I don’t know about you but I cannot imagine my kitchen without a microwave. While moving houses in the recent past (4 times in 3 years) I made sure that it is the first of the electronic items to get plugged in…even before my beloved mixer and food processor. But coming to think of it, have I done anything with it other than reheating and defrosting food? Nope! Okay, maybe precook potatoes. Yet, it is an indispensable item that saves you time and a lot of dishes. I had 3 ripe bananas and no intention of making muffins, pancakes or even banana bread. So I did a Google search and came across this fabulous recipe.

IMG_9829-2I made it twice this week. The first time I was unsure how it would turn out so I halved the recipe and just threw everything casually into a microwave safe bowl. Voila! It was done in 4 minutes. It was golden, sweet, soft, smelling of brown sugar and butter (you know, the one) spongy, gooey in some places and very slightly crusty on the sides. In other words, it was enlightenment! ‘Don’t underestimate the power of your microwave!’ The boys came back form school and finished it in one go with a scoop of vanilla ice cream.
I just had to share this recipe so I made it again and added a cup of dark chocolate chunks. And salted caramel sauce to serve! The original recipe calls for sliced bananas on top but I chose to mash up the entire banana for the pudding. You could go either ways. If you do not have a one-liter microwave safe dish, use two smaller ones like I did. Please excuse the photos..I’ve shot them in a jiffy as I had something else going on.

IMG_9824

IMG_9837

All I’d say is please make it. It’s too easy, not to give it a try and too delicious for words. Make it to believe it!

IMG_9840

IMG_9831

Microwave Banana And Chocolate Chunk Pudding (adapted with variation from BBC Goodfood)
Serves 6

100 g butter, softened, plus extra for greasing
2 ripe bananas
100 g light muscovado sugar (brown sugar will work as well)
100 g self-raising flour
2 tsp ground cinnamon
2 eggs
2 tbsp milk
1 cup dark chocolate, roughly chopped into big and small chunks (or chocolate chips)
Salted Caramel sauce (store bought or home made)

Put the butter in a 1-litre baking dish and microwave on High for 30 secs-1 min until melted. Add bananas, mash into the melted butter, then add the sugar, flour, cinnamon, eggs and milk. Mix together well. Add the chocolate chunks and give it a stir to distribute evenly in the batter.

Cook on high for 6 mins until cooked through and risen. Check with a fork or a wooden skewer and microwave for a couple of minutes more if not ready. Serve warm, dusted with icing sugar, if you like, with a drizzle of salted caramel sauce and a scoop of ice cream.


  • « Previous Page
  • 1
  • …
  • 26
  • 27
  • 28
  • 29
  • 30
  • …
  • 46
  • Next Page »
Hey Sugar
Cake
Link to my Facebook Page
Link to my Instagram Page
Link to my Pinterest Page
Link to my Mail Page
Subscribe to this site
Fresh Awards
2019 Aus mumpreneur
2019 aus mumpreneur
Mumbrella

Copyright © 2025 · Sugar Et Al · Designed by Smitten Blog Designs · Log in