• Home
  • Recipe Index
    • Recipe Index
    • Breakfast/Brunch
    • Cakes and Puddings
    • Chocolate
    • Cookies and cupcakes
    • Custard and Mousse
    • Gluten Free
    • Ice Cream
    • Mains
    • Other Sweet Treats
    • Snack/Appetizers
    • Soups and Salads
    • Tarts and Pies
    • Vegetarian
  • About
  • Cookbook
  • Portfolio
  • Store
  • Press
  • Work with Me

Sugar et al

Because Life is a blend of flavours...

Peanut Butter Mousse And Raspberry Chia Jelly Trifle

16|06|2016

Peanut Butter and Jelly!! I know you, you and you do it but in my defence, I have not grown up eating peanut butter nor is it very popular in my side of the world. But though I discovered this totally mind blowing, delicious and addictive combo late in life, I just feel now that I should compensate by putting it into everything I am making. I have a silly logic that anything that tastes great should be turned into mousse. So that’s what I did! I did not use eggs in the recipe as the peanut butter and cream whipped together are fluffy and intense enough to hold together with no compromise on taste.

Peanut Butter Mousse And Raspberry Chia Jelly Trifle

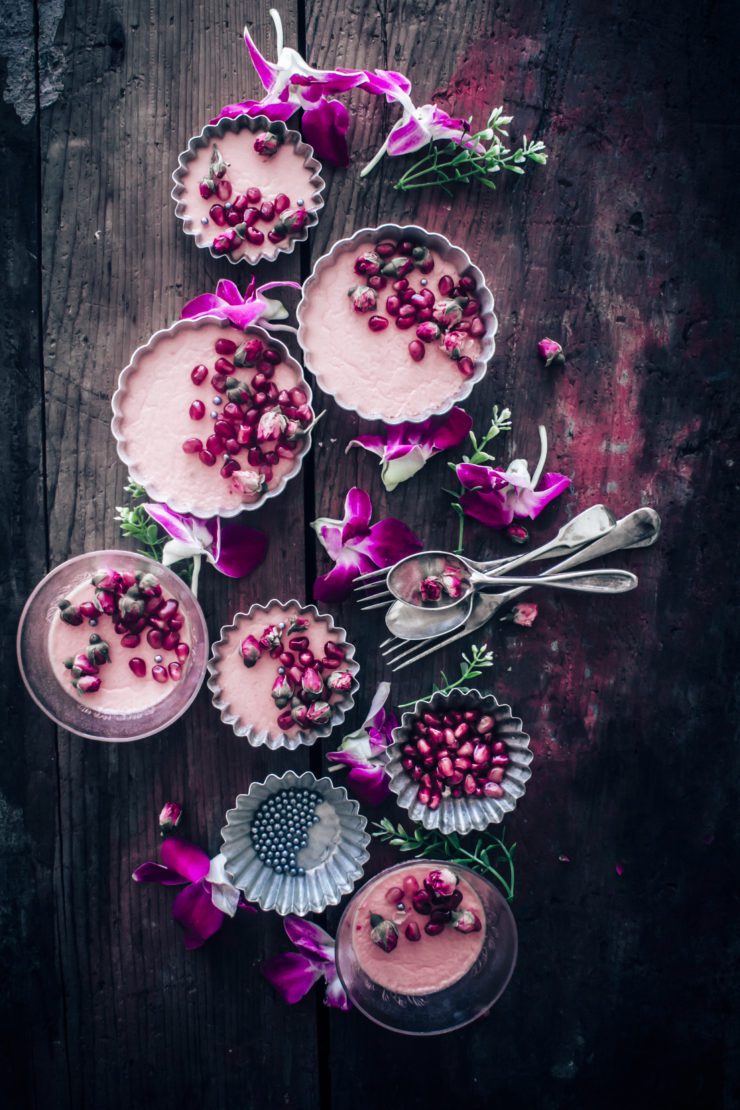
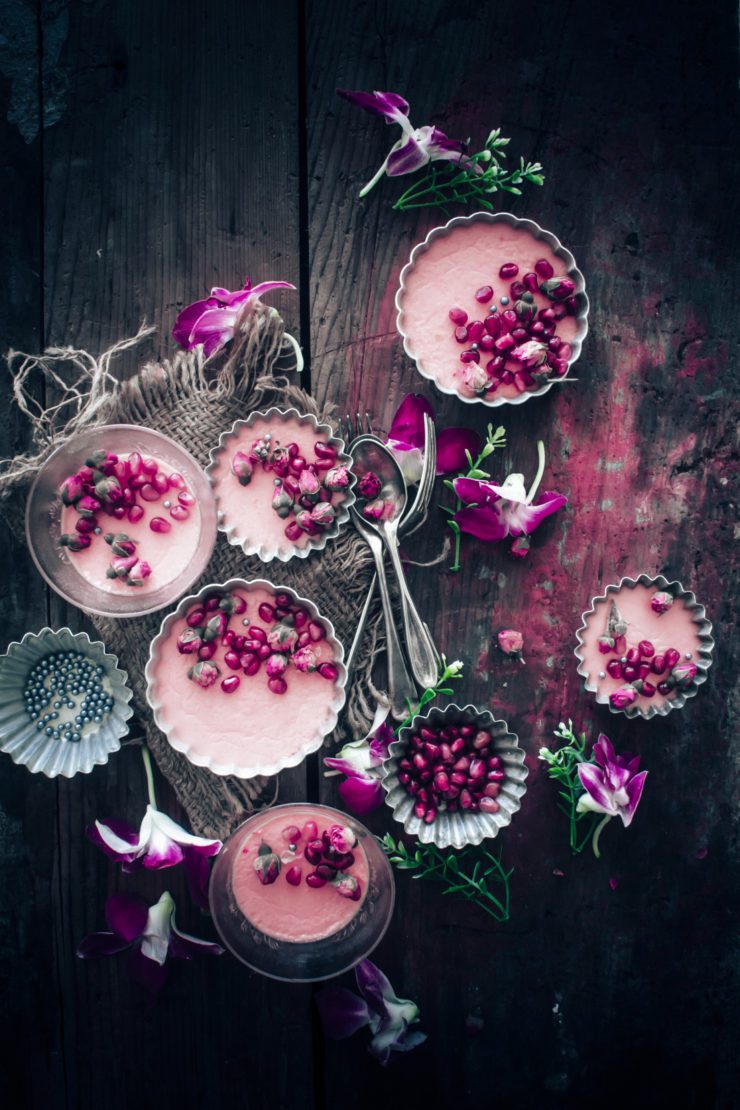
My boy’s school does not allow for nuts or nut based food to be taken to school so peanut butter is making it’s way into their afternoon snack when they get home. My favourite part is the texture of the jelly on account of the chia seeds. It’s amazing! Chia seeds are great for everyone and this is a good way of including them in your diet. I have substituted the sugar in the jelly with maple syrup to make it a bit healthy. You could replace it in the mousse as well if you like. The jelly is such a versatile thing that I can think of so many amazing combinations to go with peanut butter. Pomegranate comes to my mind first. What are your favourite jelly flavours with peanut butter?

Peanut Butter Mousse And Raspberry Chia Jelly Trifle

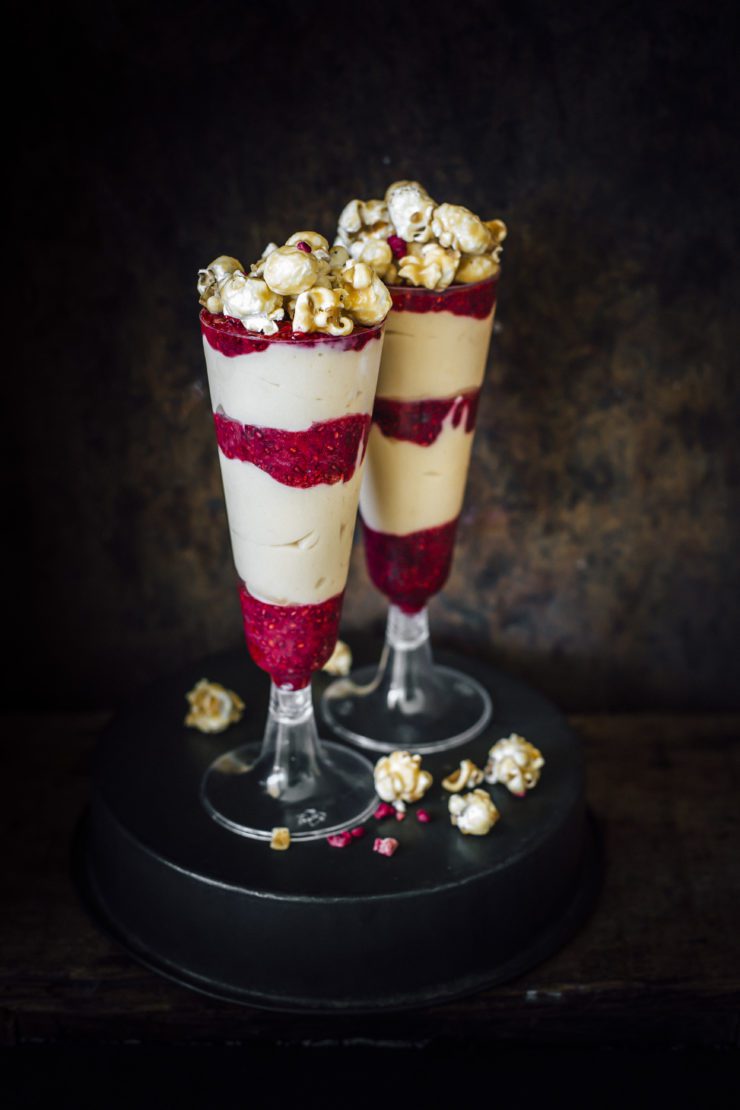
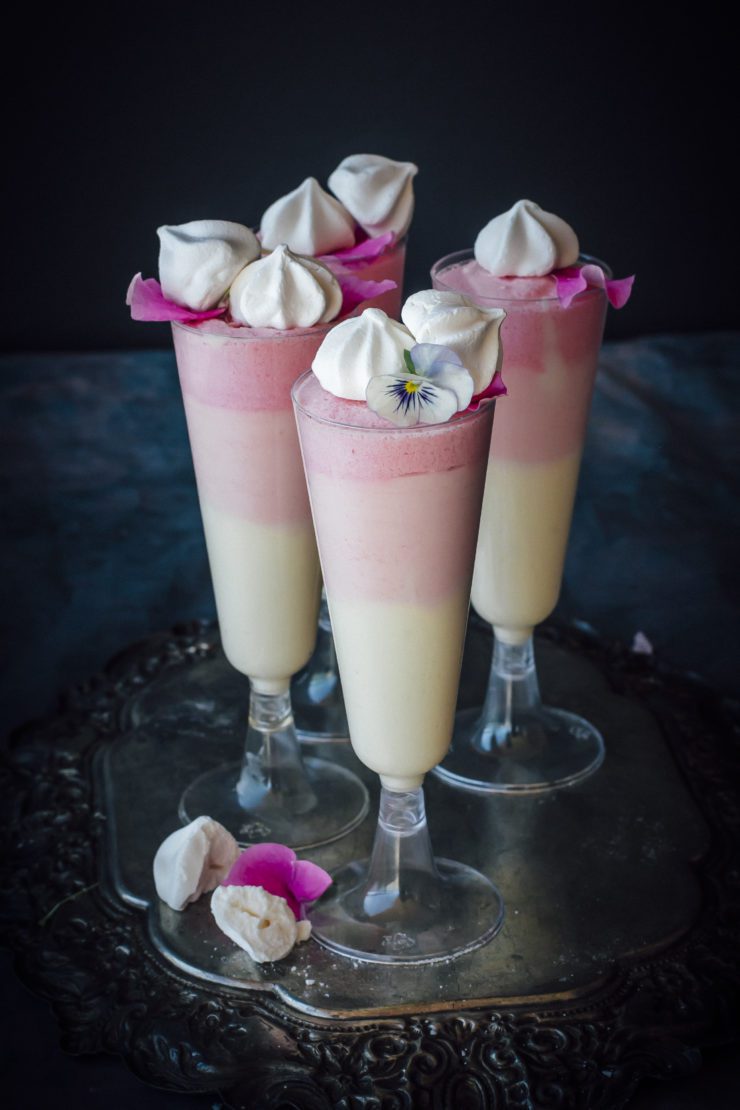
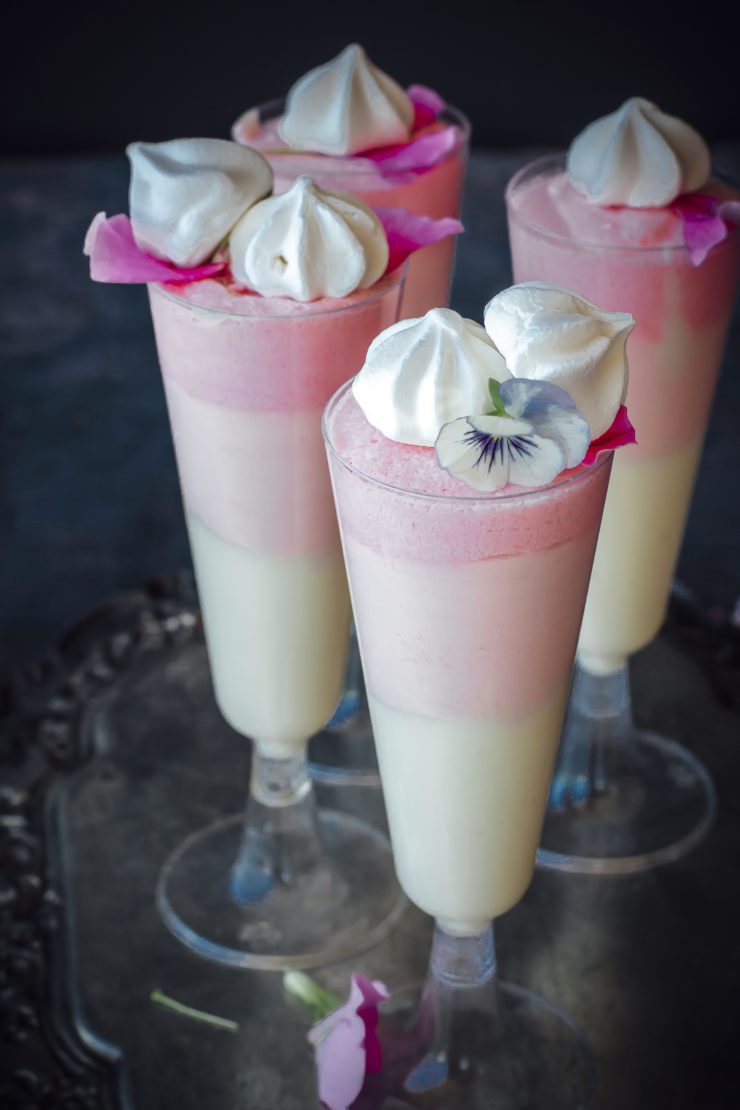
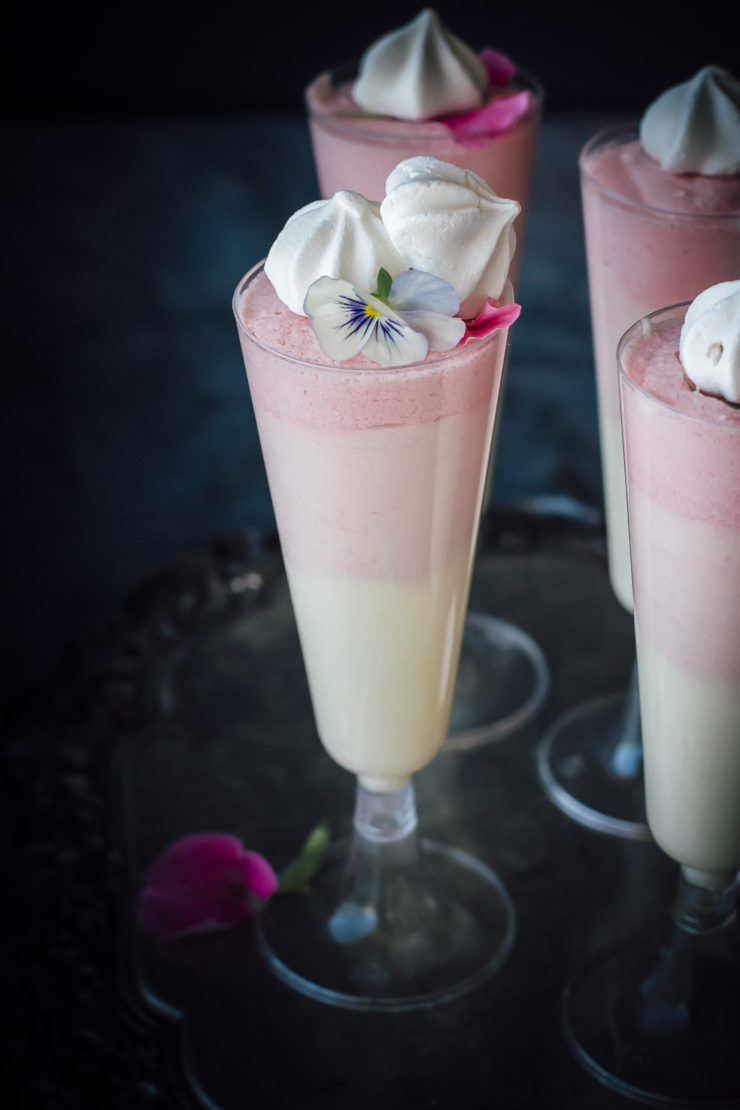
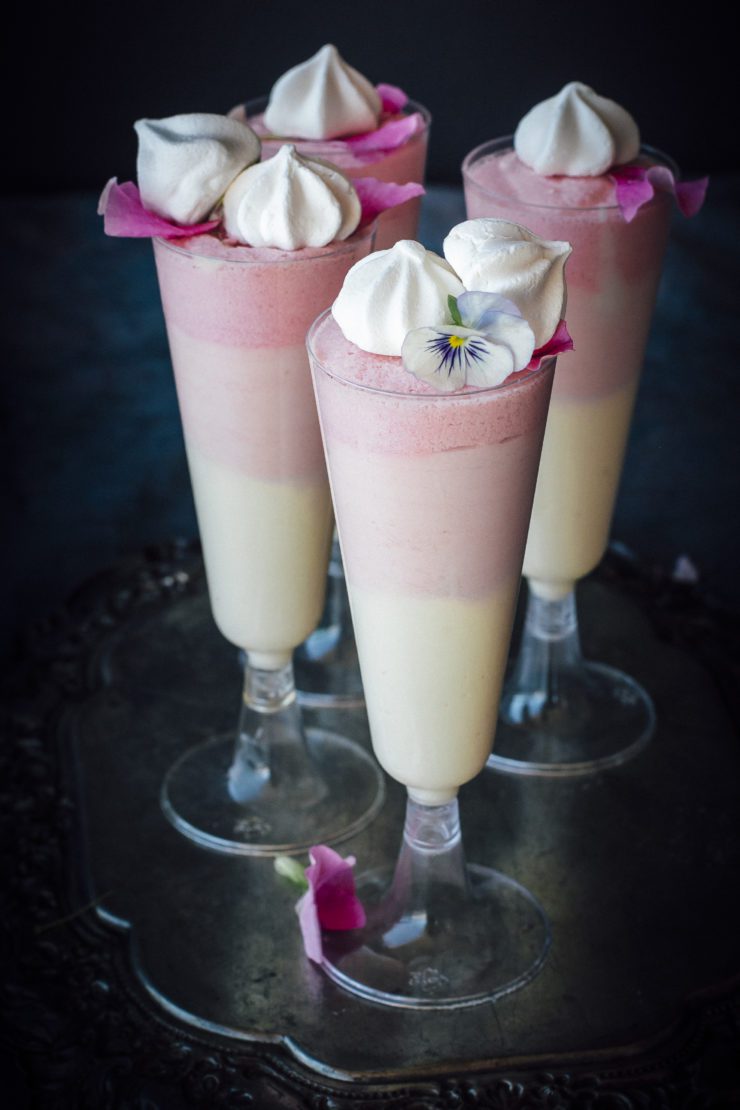
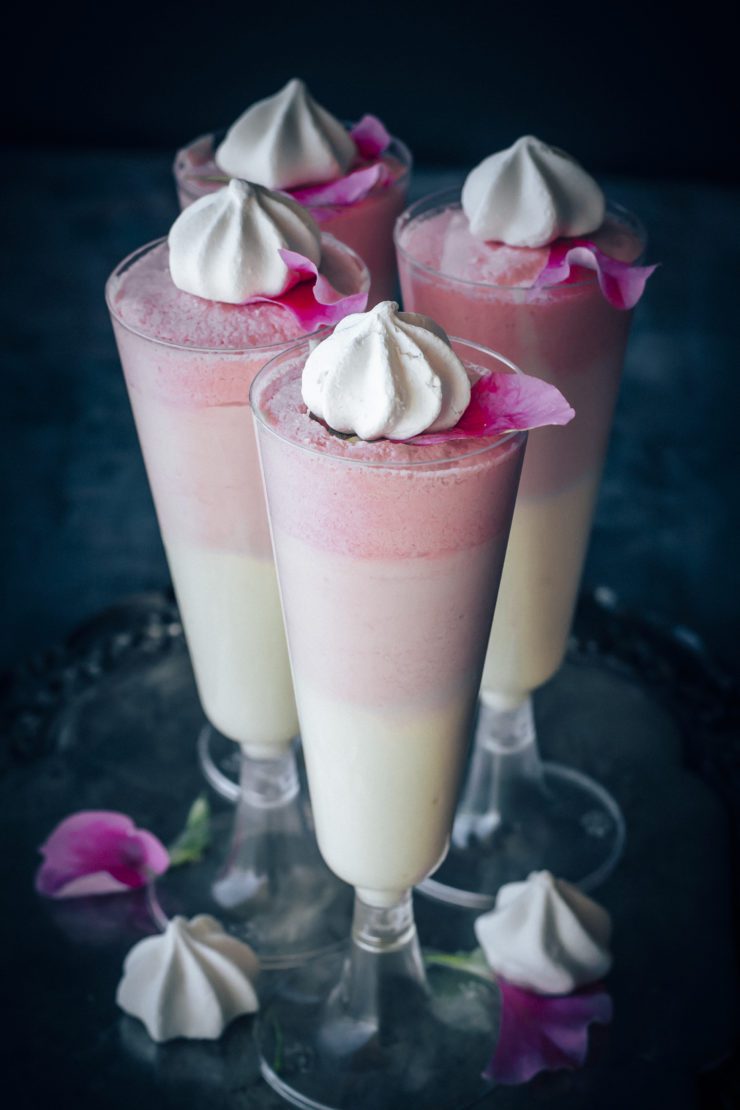
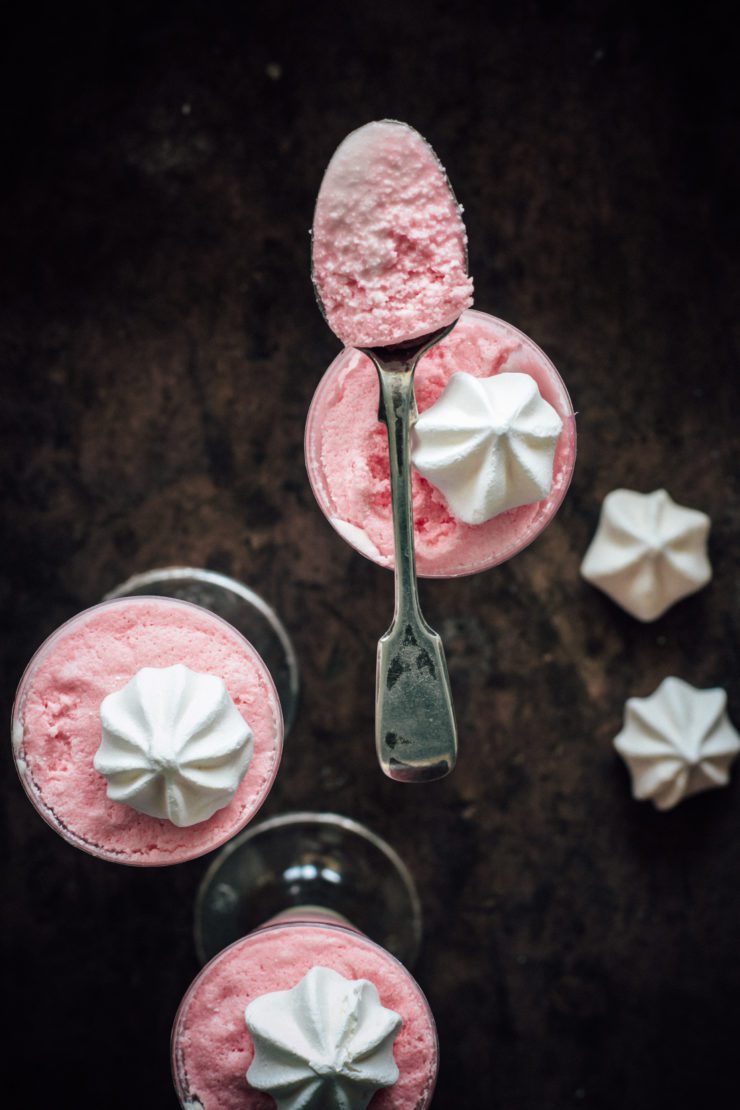
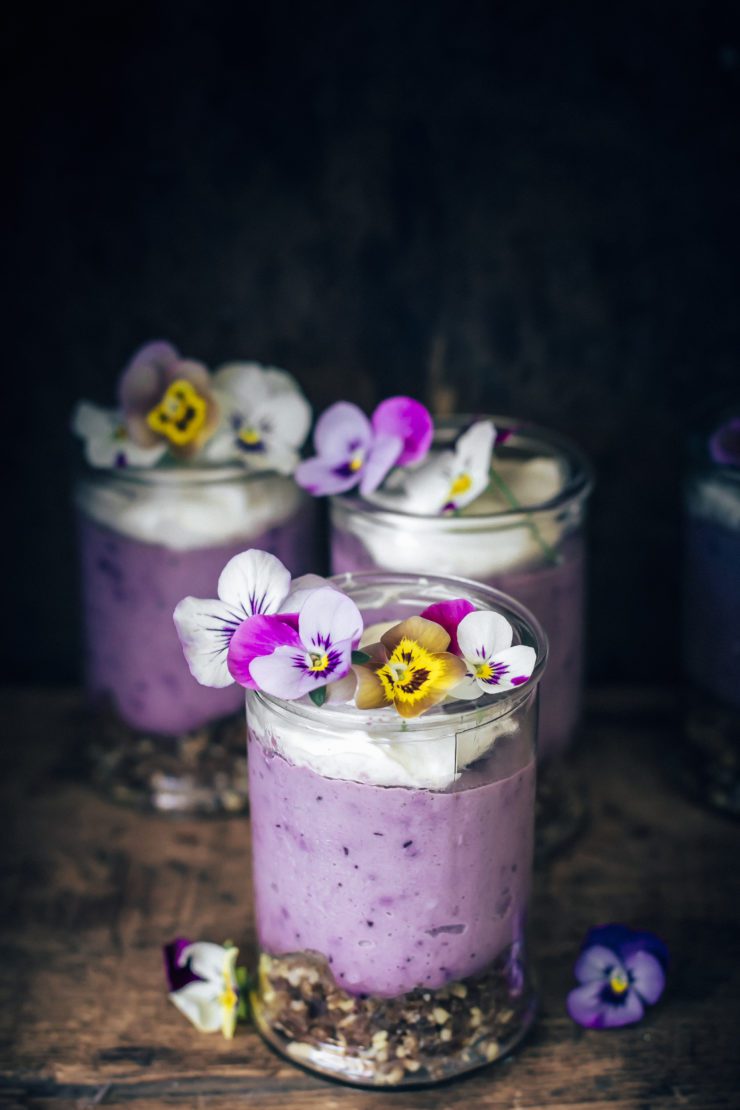
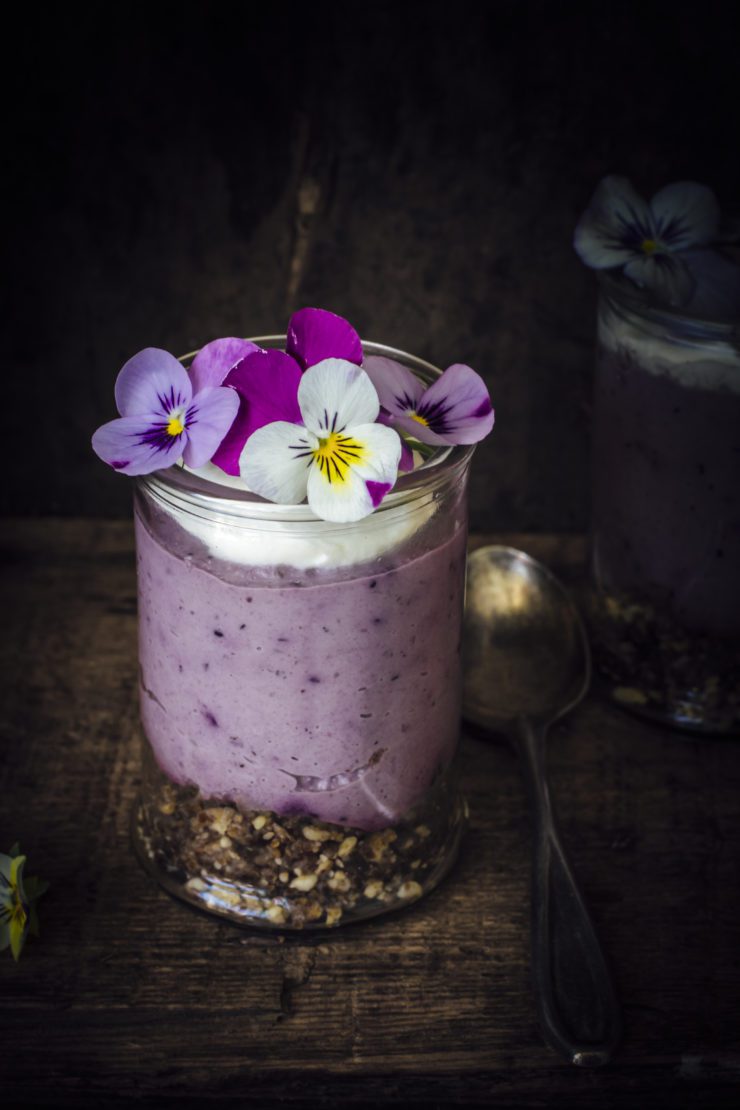
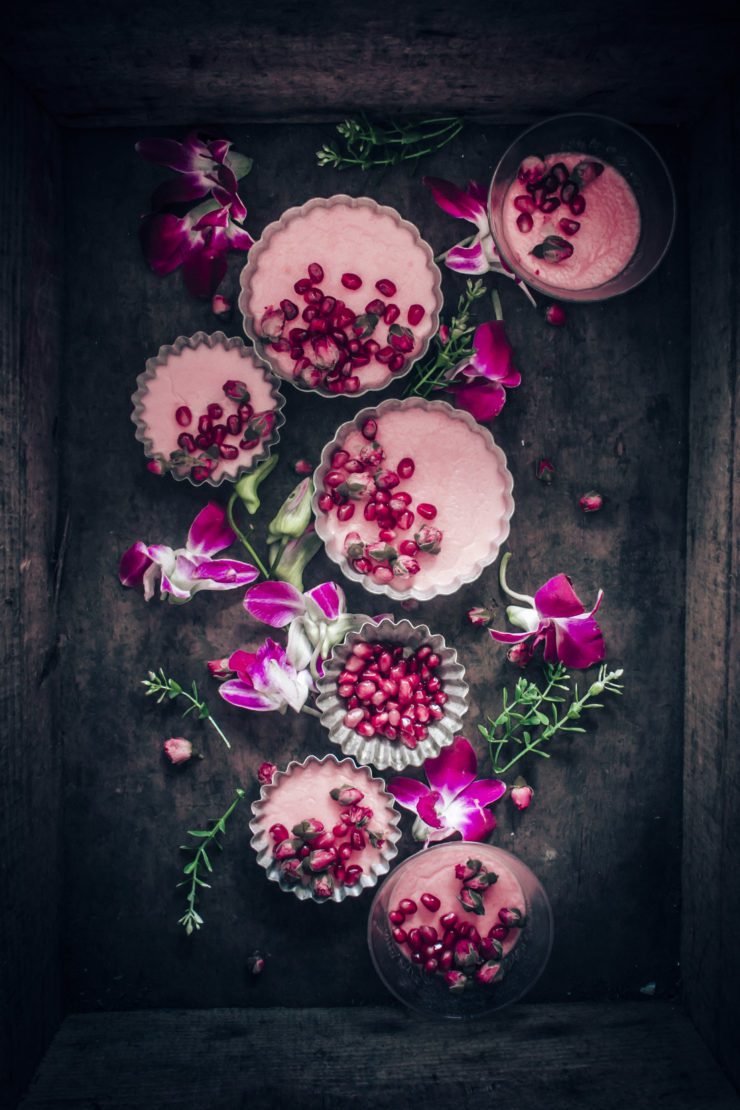
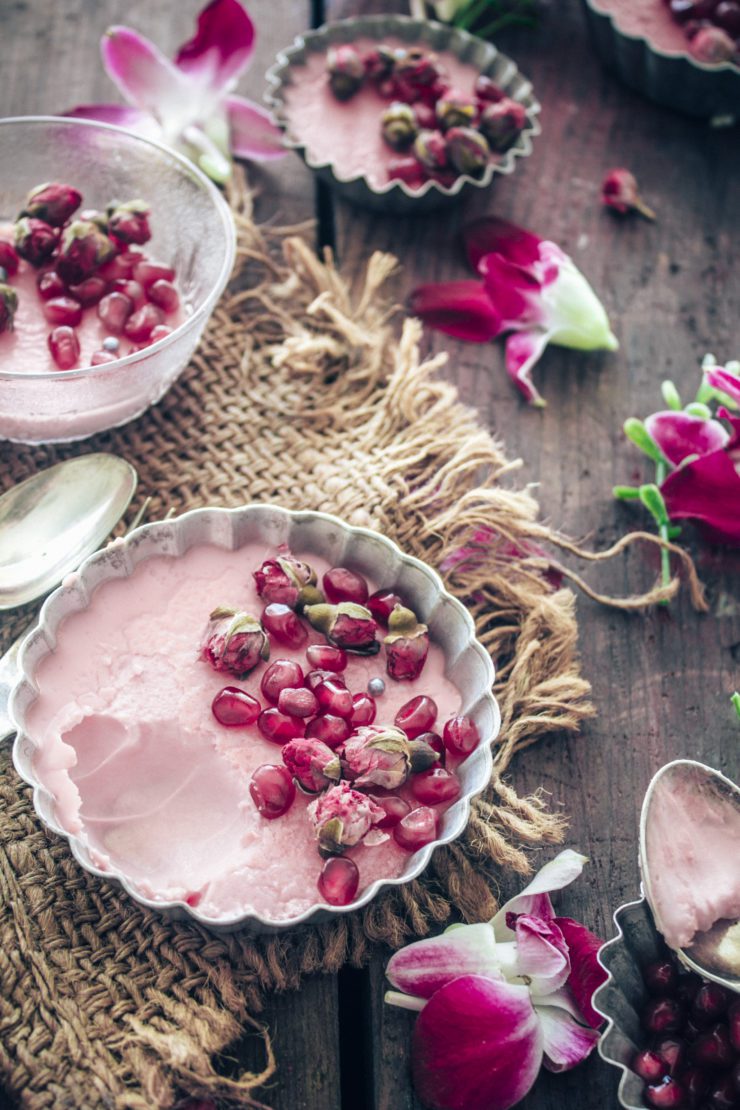
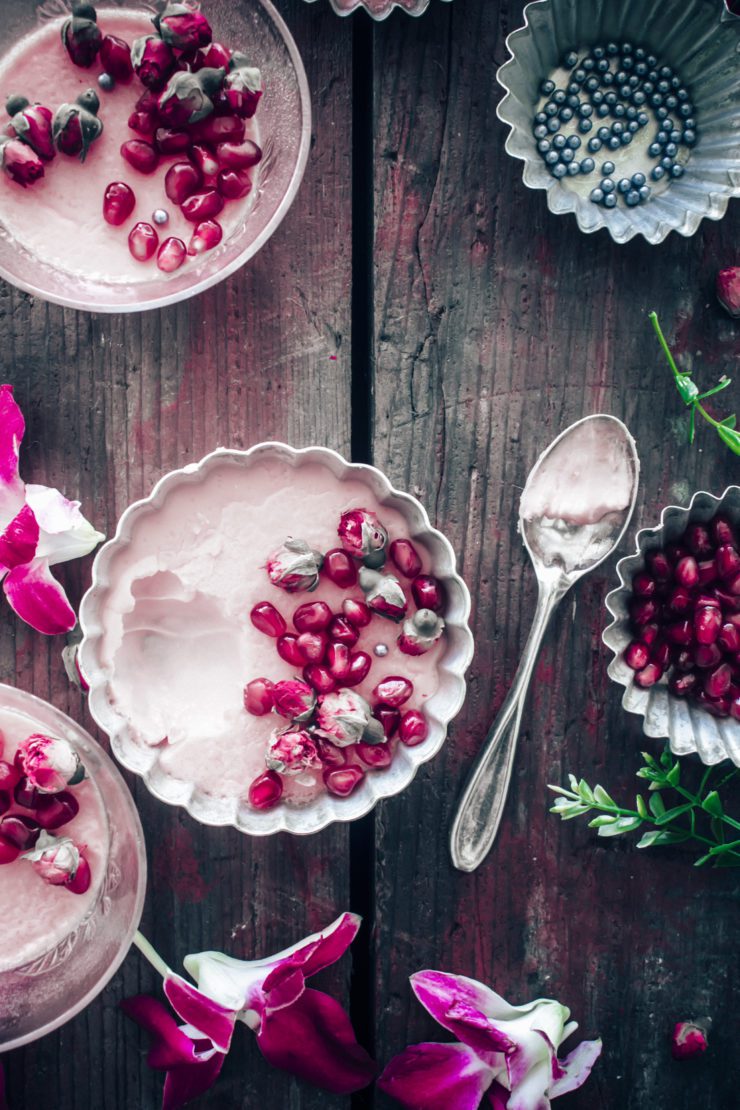
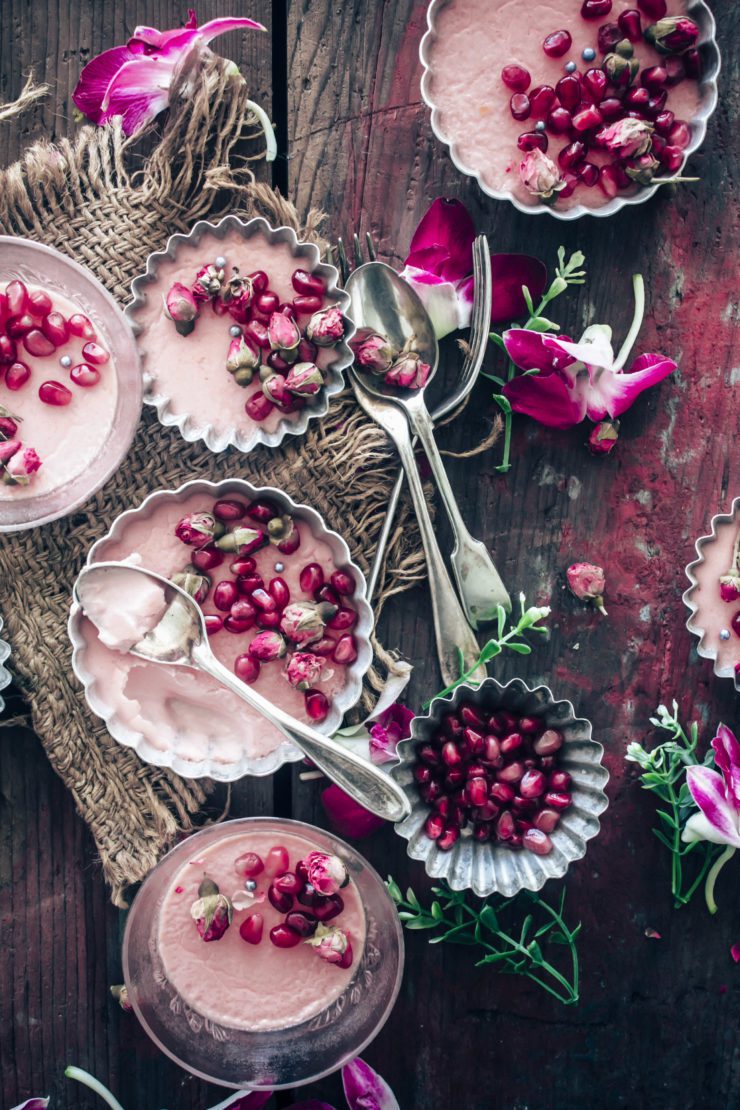
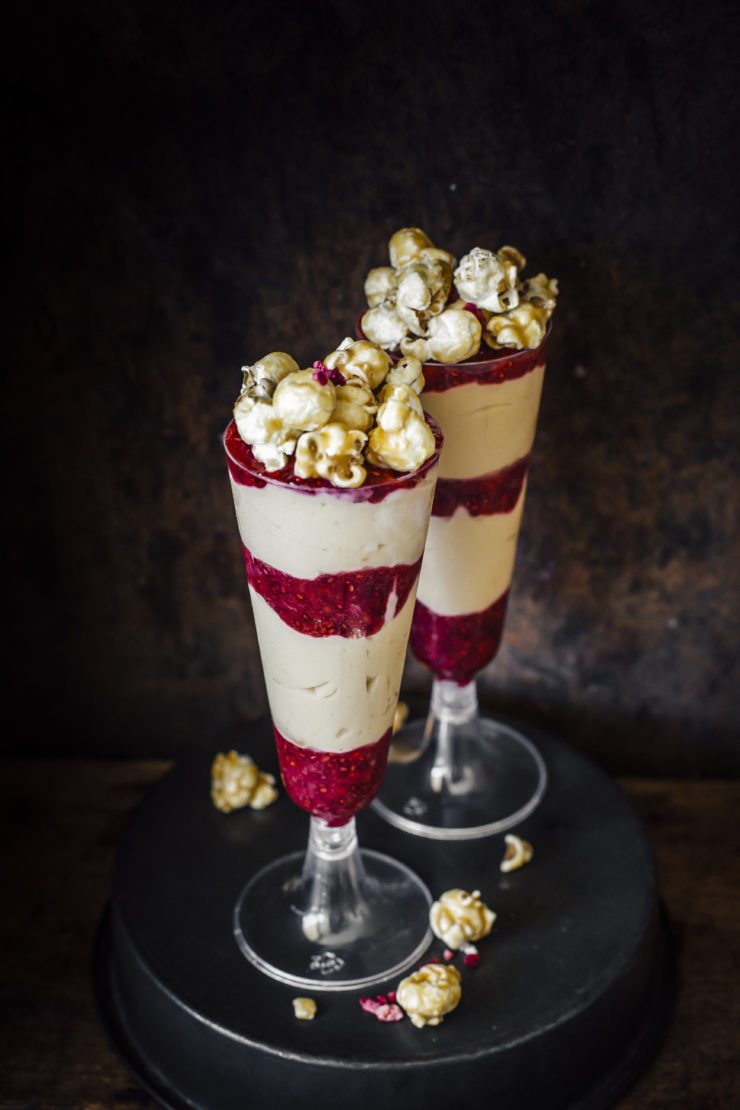
Peanut Butter Mousse and Raspberry Jam Trifle

Makes 2-3

Peanut Butter Mousse

1/2 cup smooth peanut butter
3/4 cup heavy/thickened cream
1/4 cup castor sugar (more if you like it sweeter)

Raspberry Chia Jelly

1 cup raspberries(I used frozen)
2 tbsp water
1 tbsp chia seeds
2 tbsp maple syrup (or honey)

To make the Peanut Butter Mousse In the bowl of your stand mixer or with an electric hand mixer, whip the cream and sugar until thickened and just about to form stiff peaks. Add the peanut butter and whip again at low speed for a few seconds till no white streaks appear and the mixture has blended well.

To make the Raspberry Chia Jelly :Place all the ingredients into a medium saucepan over low heat. Bring to a boil. Add a little more water if required. Once the mixture starts bubbling, whisk constantly till mixture is thickened. Remove from heat and let cool completely. The jelly will thicken further upon cooling.

To assemble: Layer the peanut butter mousse and raspberry chia jelly in serving glasses (as shown in the photos) alternating with each other. Serve with caramel popcorn or shaved chocolate or fresh raspberries.

Rose And White Chocolate Mousse

21|05|2016

There are few things in life as exquisite as a tall glass of luscious chocolate mousse. It is one of those things that may not really be hard to whip up, but not many would do it at home. Nothing makes my friends more happy than the mention of mousse for dessert. Many years ago I used to dream of owning a mousse shop that would sell every flavour of mousse under the sun. I also set out to test recipes and flavors. The testing continued even as of today but the mousse shop of my dreams was long forgotten. Much the same way the cupcake shop, a cake shop, a handmade chocolate shop, candles,  flowers, a store all about cake decorating tools came about existing and then disappeared. In my dreams:-) Who said life doesn’t give you options! There are so many to choose from. I tell my husband that maybe some day I’ll bundle everything together and open up a store. Even if it doesn’t have all of it, mousse is definitely going to be there. Rose flavoured mousse will be on top of my list.

Rose And White Chocolate Mousse

If you have been following me on Instagram, you might have heard me ranting all the time about my obsession with rosewater. That bottle occupies a place on the top rack of my cupboard at eye level. The only others that share that space are milk and white chocolate, orange blossom water, culinary lavender, gold dust and some cupcake decorating items. So basically these are my absolute favorite things.  I have quite a few mousse recipes on the blog but not with white chocolate. Also, all my recipes until now are egg yolk based as I am a fan of the rich, decadent mousse variety. This one is different. This chocolate mousse is actually easier to make and uses egg whites only. The rest is just cream, white chocolate, rosewater and sugar.

Rose And White Chocolate Mousse

Rose And White Chocolate Mousse

To get the ombre effect, once I whipped up the mousse, I divided them into 3 bowls and tinted them with pink food colour. I think the appearance of the mousse takes it to a different level. If you are not fond of white chocolate, I would recommend adding a bit of orange zest or orange liquor (or even lemon) or fresh berries or anything tart to cut down the sweetness. This is one dessert that is really sweet (typical of white chocolate). If you are fond of white chocolate, you are in for the biggest treat of your life!

Rose And White Chocolate Mousse

Rose And White Chocolate Mousse

Rose And White Chocolate Mousse

Rose And White Chocolate Mousse 
Serves 4 

Place the chocolate in a heatproof bowl over a saucepan half-filled with simmering water (make sure the bowl doesn’t touch the water). Use a metal spoon to stir for 3-4 minutes or until the chocolate melts. Remove from heat.

Use an electric beater to beat the egg whites in a medium, clean, dry bowl until firm peaks form. Add half the sugar and beat until the sugar dissolves. Add the remaining sugar and beat until glossy. Add the cream and beat until the mixture thickens. Add the white chocolate and rosewater and use a metal spoon to fold until just combined.

Divide the mixture between two or 3 bowls and tint with a desired shade of food colour (preferably pink since we are using rose). Layer them in serving glasses pouring each layer gently so as not to deflate the mousse. Place in the refrigerator to set for about 3-4 hours.

Serve with shaved white chocolate, candied rose petals or meringues.


Raw Berry Cheesecake

17|05|2016

raw berry cheesecake

Let me tell you at the beginning that I am not vegan or following any sort of diet. I have only recently stepped into the world of raw desserts and I am hooked. If you haven’t eaten a raw dessert or new to the term, these are basically desserts made out of raw, unprocessed ingredients like nuts, fruits and dried fruits. They are mostly vegan, gluten free and do not require baking. Sugar is replaced by natural sweeteners so they are extremely healthy.Yes, you would need to arm your pantry with a few ingredients which are pretty much standard for these kind of treats but I would say they are worth it. So does a raw cheesecake (which is basically without the cream cheese) taste like a regular cheesecake? My honest answer is no! Not to me, a big fan of baked and no-bake cheesecakes. But they taste great! The use of wonderful ingredients would obviously create something delicious. I especially love the textural quality of what a handful of raw ingredients create together.  These raw berry cheesecakes are pretty easy to whip up. Plus I made them in little glass jars so they made for a lovely treat on the go.

raw berry cheesecake

In other news, my horrid tooth is out. Hurray! A visit to the dentist had always seemed daunting to me even since I was a child. My Mum has horror stories to share with my children about how much I hated the whole experience.  But this time, I obviously had no choice. I had put up with that painful wisdom tooth for a very long time and what a relief it was when the wonderful surgeon announced to me that it was gone. Gone and done away with for good! Actually he was amazing! He made me laugh during the entire procedure with his terrible jokes. This experience was like a lesson to me in believing that most of our fears are in our head. They may not even exist or seem as bad when you gather up the courage to face them. You just need to take the first few steps. The rest will follow.

You know what is the best part? I can eat raw cheesecakes and all kinds of nutty things without worry of triggering off that pain in my mouth.
My edible pansies and violas were in full bloom so I had to show them off as well. So many reasons to celebrate! Without feeling guilty:-)

raw berry cheesecake

raw berry cheesecake

Raw Berry Cheesecakes
Serves 6

For the crust
1 cup almonds
4 dates, pitted
2 tbsp coconut oil, liquified
pinch of salt

For the cheesecake filling
2 cups raw cashews, soaked in water for 4-6 hours (preferably overnight)
1 cup frozen mixed berries (if you do not like the seeds in raspberries or blackberries, go for only blueberries and/or strawberries)
juice of 1 lemon
1/3 cup coconut oil, liquified
1/3 cup pure maple syrup
1/3 cup coconut cream (or milk)

For the coconut cream
1 can coconut cream
2 tbsp pure maple syrup (or as per desired sweetness)

To make the crust: process all the ingredients together until the nuts have become crumbs and the mixture sticks together when you press it. Press into the bottom of 6 serving glasses or jars and place in the fridge.

To make the cheesecake filling : Blend all he ingredients in your high speed blender or food processor and blend until very smooth. Spoon the filling uniformly between the 6 serving glasses on top of the nut-date crust. Place in the refrigerator to set.

To make the whipped coconut cream, use this link. The process is explained really well.


Pots de Creme with Rose and Pomegranate

4|02|2016


Rose flavoured desserts were a big part of my childhood. While flavoring milk, cardamom, saffron and rose would take precedence over chocolate and vanilla. Even before I tasted anything with rose, the colour of the dessert/drink would catch my eye. Rose pink as they call it. Such a soothing colour and such a refreshing flavour!

IMG_0714-5


IMG_0715-2

Pots de creme is another favorite in our house. The tastiest and easiest way to use up those egg yolks. Can you believe that a few egg yolks and cream can whip up something so delicate and spectacular? The flavours you can play with are endless and some are right there sitting in your pantry. Like lemon or orange (a tsp of zest does it), cinnamon, maple syrup, honey, coffee, chocolate or plain vanilla. Want something more creative, use ginger, berries, nuts, caramel, lavender,coconut, saffron and the list goes on.
The addition of rosewater in this dessert reminds me of warm summer days back home and chilled glasses of rose milk that my Aunt served up after a tiring game of catch with my cousin at the park during school holidays. ‘Did you wash your hands?’ she would look at us questioningly.  All I could think of was that glass in front of me. So pink, so delicious!

IMG_0704

IMG_0721

Not much has changed after 3 decades! I could not wait for these to chill. And I could not stop myself from eating them.
They are sure to impress your Valentine!

IMG_0724


IMG_0718-2

Notes : If you are using farm fresh eggs that have deep yellow or orange yolks, the colour of your custard might differ slightly. I generally use the grocery store eggs for making this dessert especially if I am using color. I’ve learnt it from experience!
You could use other fruits instead of pomegranates. Raspberry, strawberries and cherries make a good substitute.
The pomegranate seeds could be placed on the bowl before the custard is poured for a surprise element when one is eating or you could serve them as a topping like this one.

Pots de Creme With Rose and Pomegranate
Serves 5-6

1/2 cup milk
11/2 cup heavy/thickened cream
1 tbsp rosewater
4 egg yolks
1/4 cup castor sugar
1-2 drops pink food coloring
Pomegranate seeds, to serve

Preheat oven to 160 degrees C ( 140 degrees for fan-forced ovens) .Combine cream and milk in a saucepan over medium heat. Cook, stirring constantly, for 5 minutes or until hot (do not allow to boil). Remove saucepan from heat. Add the rosewater, mix and keep aside.

Whisk egg yolks and sugar in a heatproof bowl until well combined. Pour the warm cream mixture over the egg yolk mixture, little at a time whisking constantly until smooth. Take care not to add the entire cream to the eggs together as it can overcook the eggs resulting in scrambled eggs.  Mix in the food color and strain the mixture into a pouring jug.

Divide the custard into five or 6 lightly-greased, ramekins or ovenproof cups. Place in a deep baking tray. Pour boiling water into baking tray until halfway up sides of ramekins.

Bake custards, uncovered, for 45 minutes or until just set (while the centres are slightly jiggly when shaken). Remove from the oven and take the ramekins out of the water bath. Leave to cool to room temperature. Refrigerate for at least 2 hours. Serve with pomegranate seeds, silver cachous or grated white chocolate. You could decorate with edible, dried rosebuds or petals.

  • « Previous Page
  • 1
  • …
  • 3
  • 4
  • 5
  • 6
  • 7
  • …
  • 11
  • Next Page »
Hey Sugar
Cake
Link to my Facebook Page
Link to my Instagram Page
Link to my Pinterest Page
Link to my Mail Page
Subscribe to this site
Fresh Awards
2019 Aus mumpreneur
2019 aus mumpreneur
Mumbrella

Copyright © 2025 · Sugar Et Al · Designed by Smitten Blog Designs · Log in