• Home
  • Recipe Index
    • Recipe Index
    • Breakfast/Brunch
    • Cakes and Puddings
    • Chocolate
    • Cookies and cupcakes
    • Custard and Mousse
    • Gluten Free
    • Ice Cream
    • Mains
    • Other Sweet Treats
    • Snack/Appetizers
    • Soups and Salads
    • Tarts and Pies
    • Vegetarian
  • About
  • Cookbook
  • Portfolio
  • Store
  • Press
  • Work with Me

Sugar et al

Because Life is a blend of flavours...

Mixed Berry and Cardamom Kulfi (Ice Cream) Popsicle

28|08|2013

Ever since I came back from my trip to India I have been craving more and more Indian food…the spicy curries, the mouth-watering street food and most of all the sweet treats. The part of India where I have lived for the most part of my life is famous for its sweet shops that fill up every nook and corner of the city. The variety is immense and choices unlimited. Perhaps, that is where my fascination for dessert stems from. I hope to try and recreate as many as I can.
IMG_4799 (1)

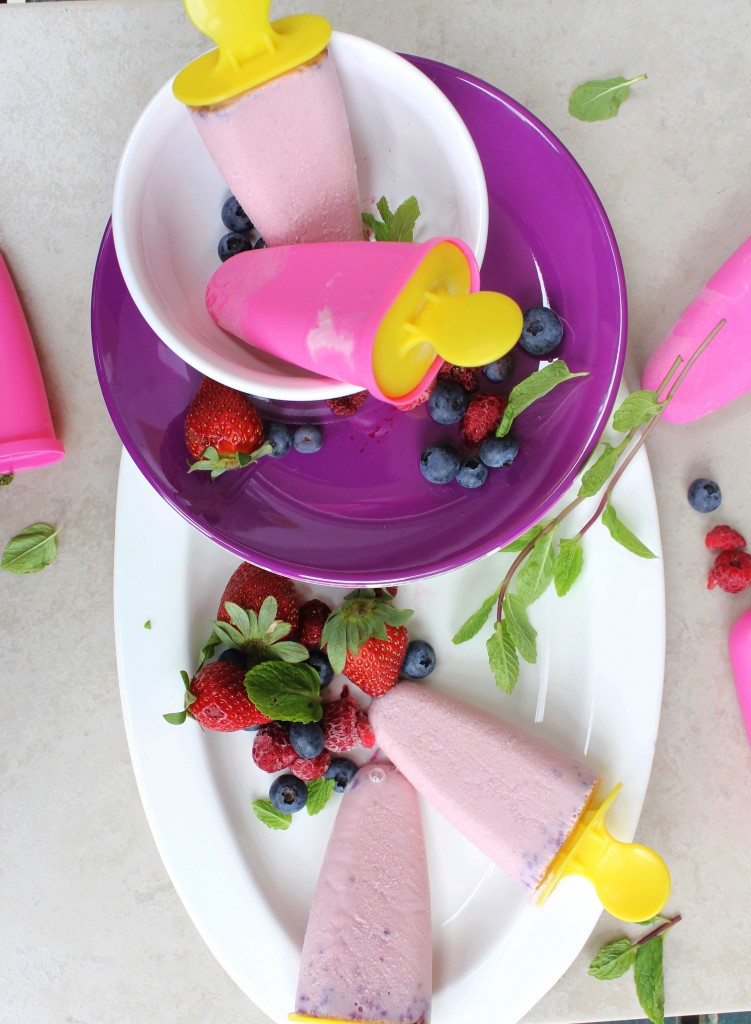
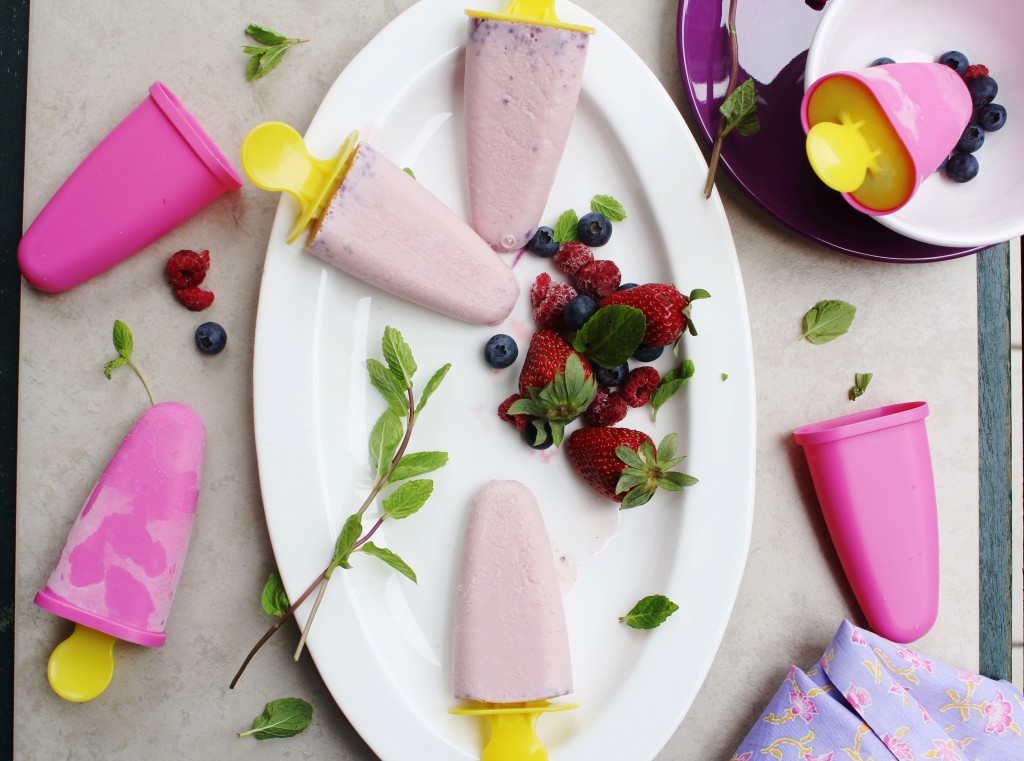
To be honest, I have never enjoyed Indian summers as it tends to be humid and sticky and makes you feel tired easily. But there are some delicious ways to beat the heat and that makes up for everything. Kulfi is a frozen dairy dessert, popularly known as an Indian ice cream. It is very simple to make and does not require an ice cream maker. Traditionally Kulfis are flavoured with spices and/or nuts which makes them aromatic and downright delicious. A lot of people make them at home but the best way to enjoy them is from the street vendors who make them look all the more vibrant with different coloured syrups and condiments.
IMG_4796 (1)

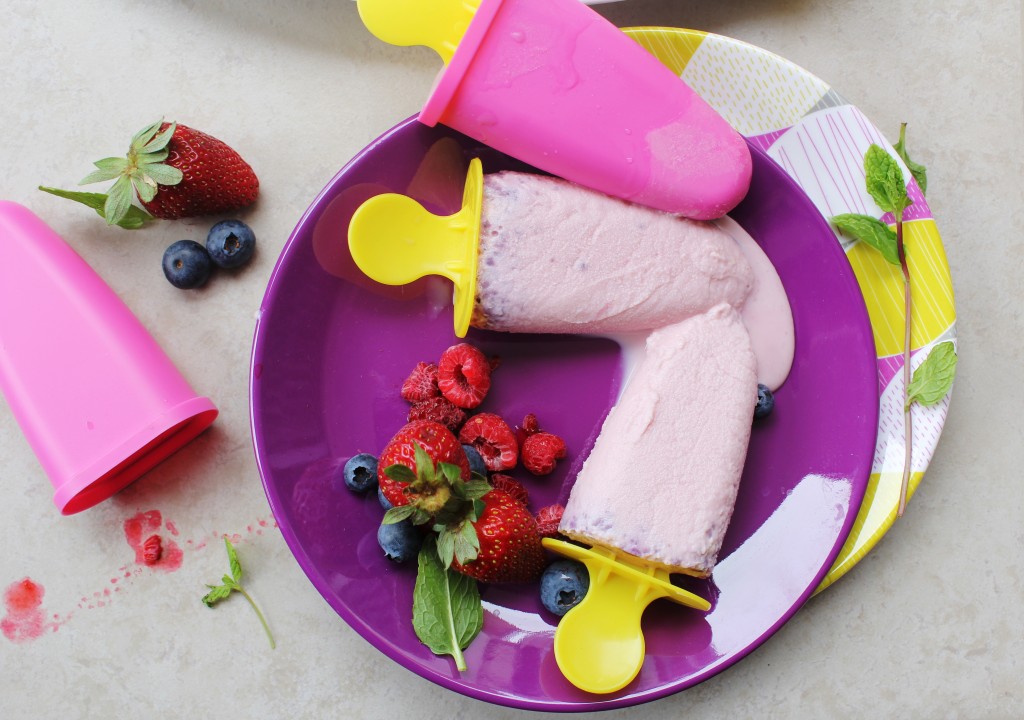
During the trip, I enjoyed the street side Kulfi as much as I could, eating two or three at a time but I don’t think that I’ve had enough of them. I made them the very next day I arrived in Sydney. But with a berry twist (Spring, I embrace you with open arms)! Cardamom powder is an integral part of Indian sweets. If you do not have access to it, you can easily make it at home by cracking the pods open and passing the seeds through a food processor. The skins can be added to tea to get a wonderful flavour and aroma.
IMG_4800 (2)

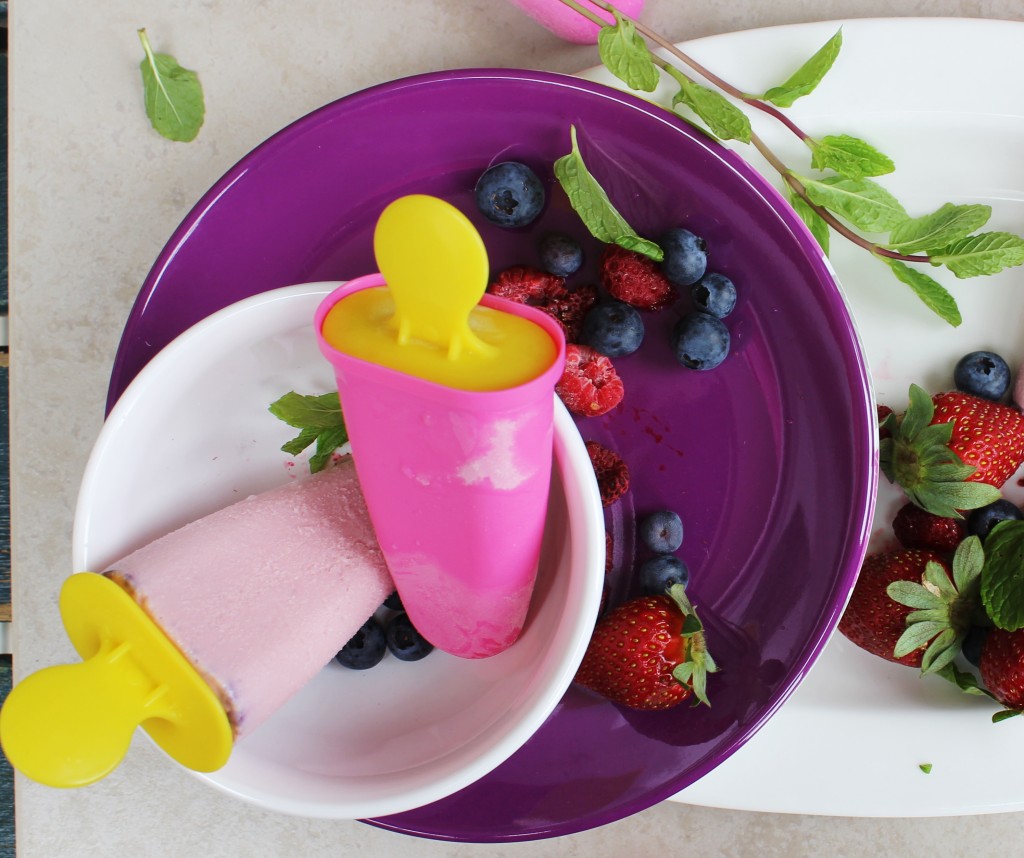
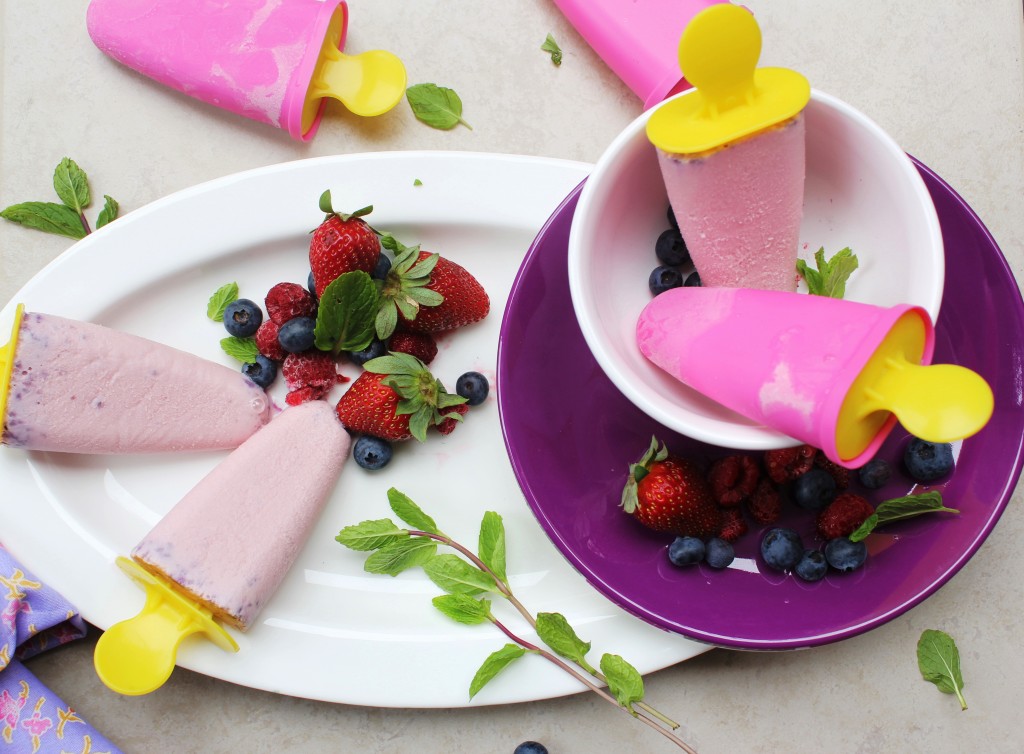
IMG_4807 (2)I personally loved the pairing. I was careful not to overpower the authentic flavours of the Kulfi by adding too much berries. As soon as you remove the moulds you can smell the cardamom. One bite into the dessert you can taste the raspberries and blueberries along with the smooth, creamy milk. And you will want to go back for it..over and over again!

IMG_4803 (1)

Mixed Berry and Cardamom Kulfi Ice Cream Popsicle
Makes 8 popsicles

500 ml full fat milk
1/2 cup condensed milk
1 tsp cardamom powder
1 cup mixed berries (strawberries, raspberries, blueberries)
1 tbsp sugar

In a heavy bottomed, shallow pan heat the milk and bring it to a simmer (on medium heat). Stir the milk from time to time to avoid burning. Simmer the milk till it is reduced to half its volume and turns a beige color. Add the condensed milk and simmer for 5 more minutes. Remove from heat and add the cardamom powder. Let the mixture cool to room temperature.
Meanwhile, process the berries and sugar in a food processor till completely pureed. Add the puree to the cooled milk mixture and process to blend together. You can use a stick blender or a food processor. Strain to remove seeds (optional). Pour into popsicle moulds and freeze for at least 4 hours, preferably overnight.
Mocha Mousse with Coffee Glazed Hazelnuts and Cocoa Tuile

5|08|2013

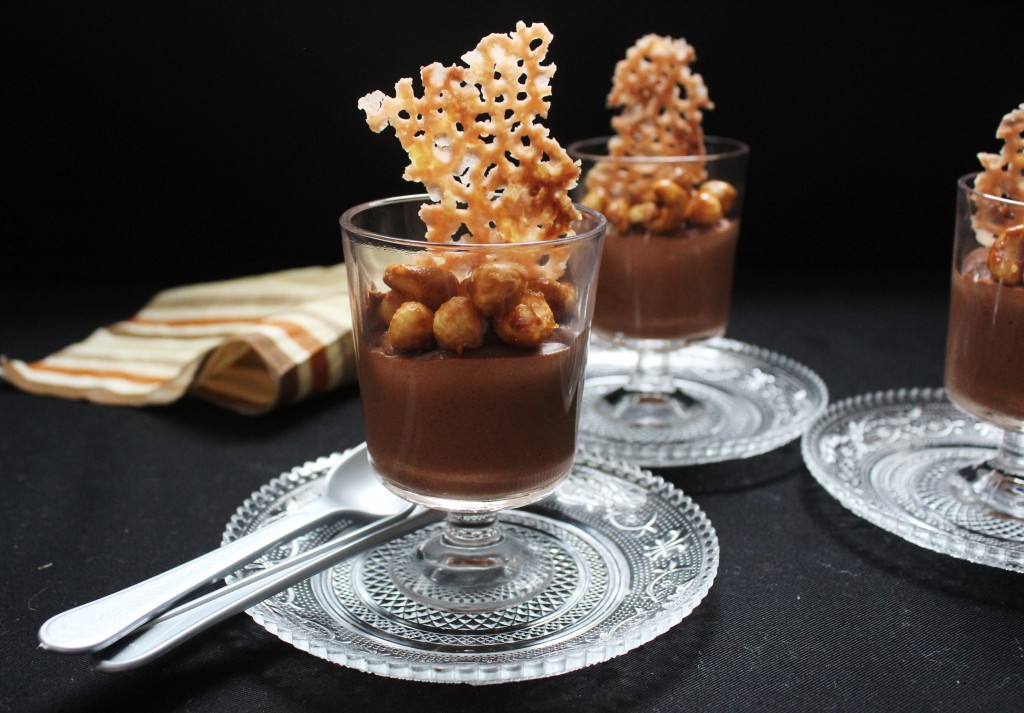
Isn’t it ironical that I am posting about coffee when my morning coffee has just been replaced by a cup of masala chai (spiced tea)! Life has been wonderful. Despite travelling 5000 miles over, I am anything but jet lagged and loving every bit of my break. So have I been missing coffee? Well, not really. I did make sure I had loads of it in my dessert, before I left.

IMG_4513 (1)

This is the first time I am contributing to the Chocolate Party hosted by Roxana’s Home Baking and I couldn’t be more excited. Chocolate is one word that is probably scribbled all over my blog and has the most number of recipes dedicated to it. When I learnt the secret ingredient for August was coffee, I didn’t want to miss it though I knew it would be a little early on a vacation to open my laptop and think ‘blog’. So I prepared my dessert and photographed it well ahead in time.

IMG_4504 (1)

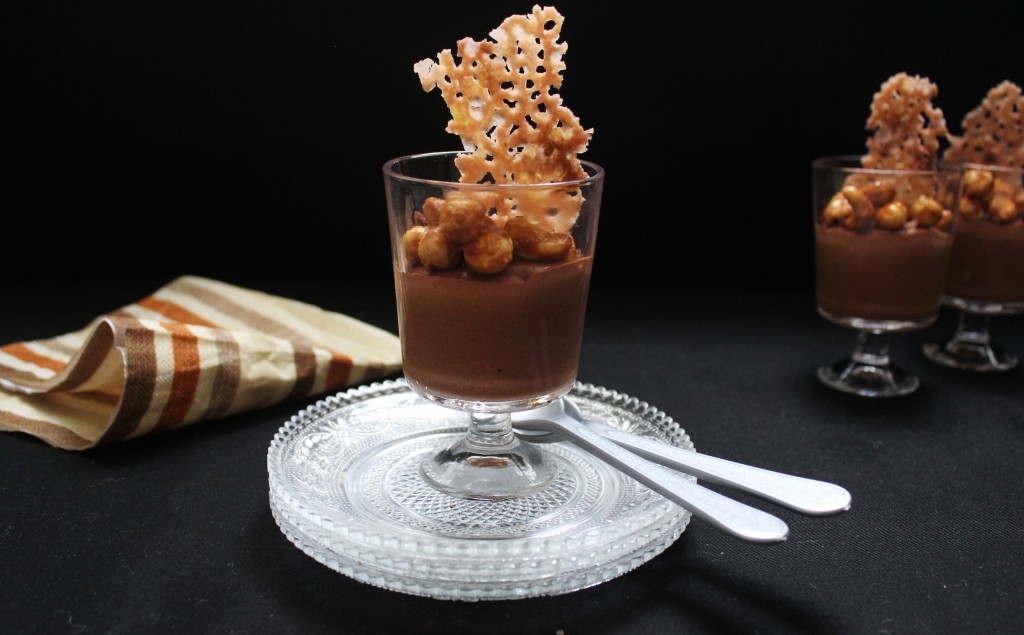
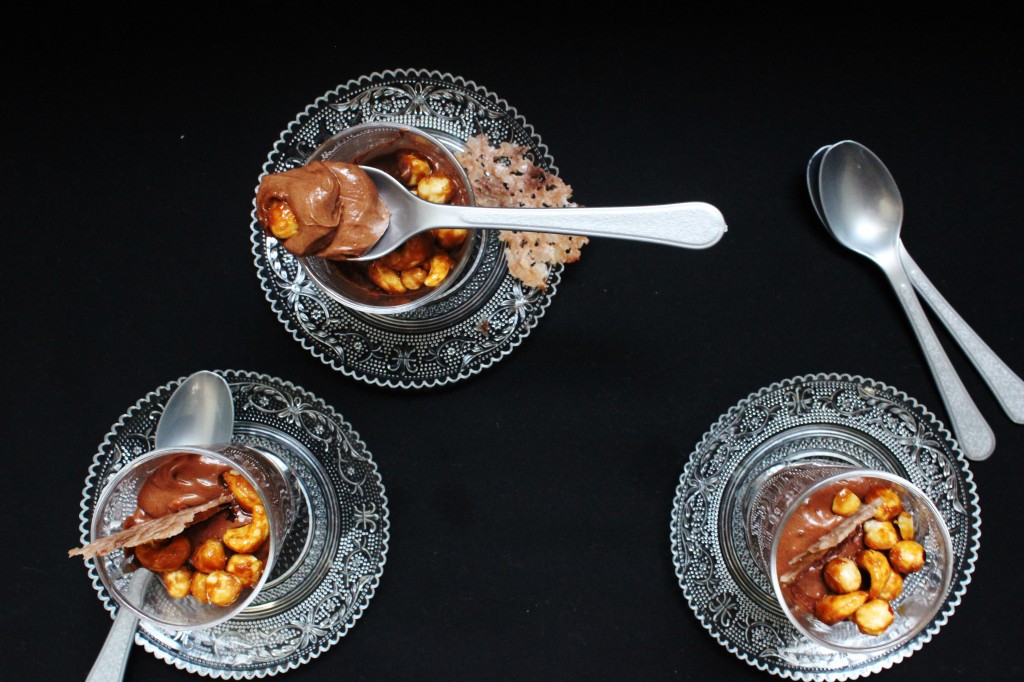
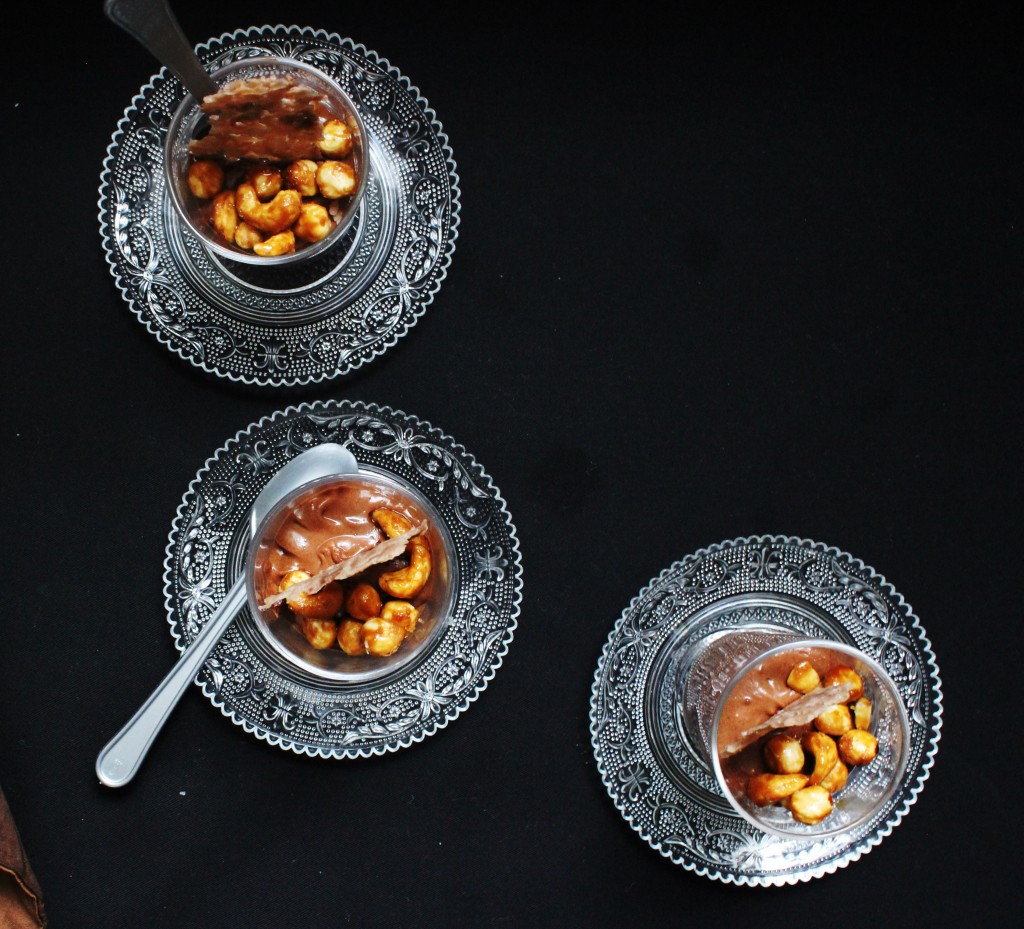
I love this pairing! Needless to say it’s a decadent, rich mousse, heady with the triple dose of coffee. If you love coffee, this is the dessert for you. To make it totally coffee-ish I glazed the hazelnuts (along with a few cashew nuts) with a bitter-sweet coating of coffee and baked them to crispness. One spoonful of this and it takes all your willpower to stop. The tuile makes the dessert look stunning though you can leave it out if you think it’s a hassle. I added it because I wanted to give equal weightage to both the ingredients.

IMG_4522 (1)

IMG_4518 (1)


Mocha Mousse with Coffee Glazed Hazelnuts and  Cocoa Tuile
Serves 4

Mocha Mousse
½ Cup heavy cream for the custard (Crème Anglaise)
1 tsp instant coffee powder
4 Egg Yolks
¼ Cup Sugar(or to taste)
3/4 cup Dark Chocolate, chopped
1/2 Cup Heavy Cream for whipping
1 Tablespoon Coffee Liquor, optional (I used Kahlua)

Heat the ½ cup cream over medium heat in a saucepan. Add the instant coffee powder and stir to dissolve. Beat the egg yolks and sugar together in a bowl. When the cream reaches boiling point take it off the heat, add 2 tsp of the coffee cream mixture into the egg mixture and whisk. Gradually pour the remaining cream over the egg mixture whisking constantly till combined. (This is done gradually so as to ensure that the eggs don’t scramble) Return the egg-cream mixture to the pan.

Heat the mixture under a medium-low flame, whisking constantly till the mixture thickens enough to coat the back of a spoon. This is called a Creme anglaise/custard.

Place the dark chocolate in a bowl. Remove the custard from heat and pass it through a sieve into the bowl of chocolate. Let the mixture remain undisturbed for a while. Stir to smoothen out the chocolate. Cool to room temperature. While the custard is cooling, whip the remaining 1/2 cup cream to stiff peaks. Add the coffee liquor if using and stir slowly to combine. Store in the refrigerator till needed.

When the chocolate mixture has cooled down completely add it to the whipped cream little at a time & fold in till no white streaks appear. Pour into serving glasses. Refrigerate till set, about 4 hours or preferably overnight.

Coffee Glazed Hazelnuts

1 tbsp water
1/2 tsp instant coffee powder
2 tbsp castor sugar
1 tbsp golden syrup or light corn syrup
1 cup hazelnuts

Preheat oven to 180 degree C. Line a baking tray with aluminium foil.
Add all the ingredients except the hazelnuts to a medium saucepan and place over medium heat. Bring to a boil stirring constantly till the mixture has blended completely and looks dark brown. Remove from heat and add in the nuts and mix till evenly coated. Spread on the baking tray in a single layer. Bake for 10 minutes, stirring once in between. Remove from the oven and cool completely. Break into pieces and store till needed.

Cocoa Tuile
20 g all-purpose flour
20 g butter, room temperature
20 ml water
20 g cocoa powder
70 g icing sugar
Preheat oven to 180 degree C. Line a baking tray with baking paper.
Mix all the ingredients together in a bowl till a smooth paste forms. Spread evenly in a thin layer on the baking sheet. Bake for 10 minutes or until the edges turn golden brown. Remove from the oven and allow to cool for about a minute. Break into desired shapes and let harden for about 2 mins.

[inlinkz_linkup id=301410]

No Bake Oreo Cheesecake Strawberry Mousse Duo

27|07|2013

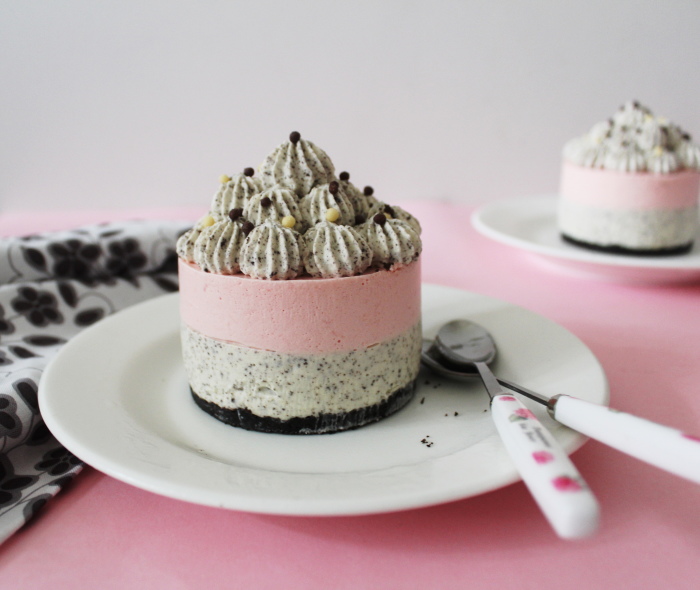
If you have been with me for a while now, you would know how much I like dressing up my desserts. Layers, swirls, drizzles, sprinkles…I can go on adding elements as long as they balance each other out. It’s like my favourite playtime fun as a little girl…dressing up my dolls in pink,with lace and frills, matching hairclips and shoes and so. I come up with ideas and love watching it all come together. Some turn out as I visualised, some don’t but there’s always a learning somewhere.

strawberry mousse and oreo cheesecake duo

Till about a couple of years ago my desserts would never go below 4 layers. I had the time and the patience. It’s a different situation now with two little heads constantly peeping into the refrigerator and wanting to know when they can eat. The refrigerator door is opened and re-opened at frequent intervals. The reason.. ‘ I’m checking if it has set’. I am loving the latest additions to the vocabulary. However, the more important reason is that I have ‘borrowed’ Oreo cookies for my dessert. So you understand, everybody has an equal claim to it.

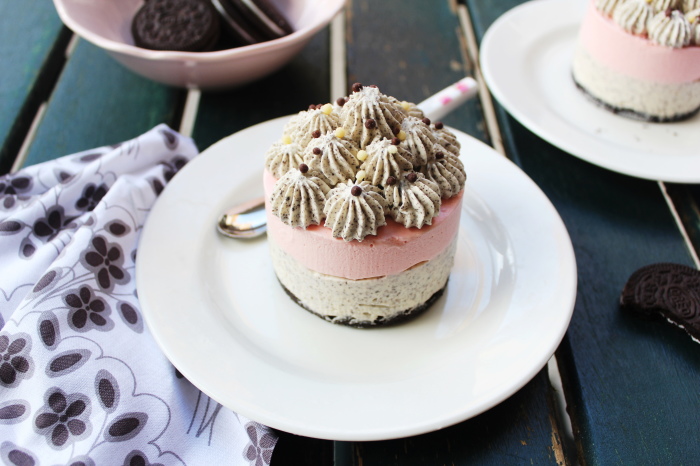
strawberry mousse and oreo cheesecake duo

This is a big dessert but not really heavy. The cheesecake is on the richer side on account of the cream cheese so I decided to go with a lighter mousse. I have not used my usual egg-cream mousse recipe here, though personally I prefer that one. You can easily leave out the top layer and serve it with some fresh strawberries instead. Oreos are great even when they are crushed and they add a lovely texture to the cheesecake. The different layers can be made simultaneously and refrigerated to be assembled later or they can be made as and when the layer below is setting.

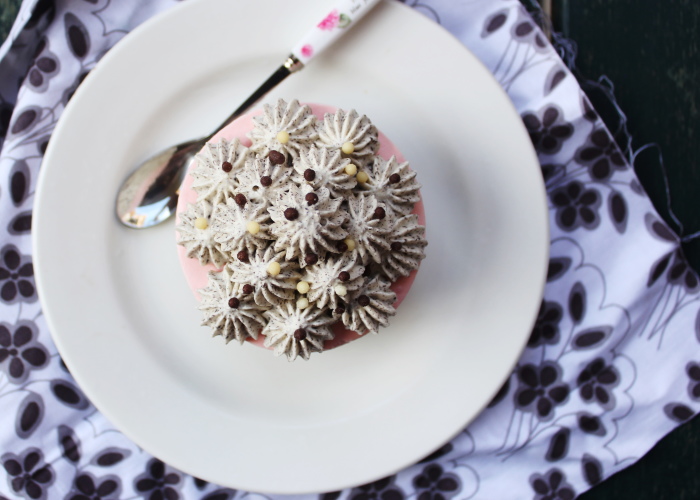
strawberry mousse and oreo cheesecake duo

No Bake Oreo Cheesecake Strawberry Mousse Duo
Yields 4

For the Oreo crust
150 g Oreo biscuits, divided (half to be used for the crust and half for the cheesecake)
40 g butter, melted

For the cheesecake
200 g cream cheese, room temperature
2 tbsp castor sugar
1/2 cup heavy/whipping cream, whipped to soft peaks
1 tsp powdered gelatine
1 tbsp warm water

For the strawberry mousse
1 cup strawberries, hulled and chopped
3 tbsp castor sugar
1 tsp powdered gelatine
1 tbsp warm water
1 cup whipping cream, whipped to soft peaks
2 drops pink food colouring

Process biscuits until they resemble fine breadcrumbs. Remove half the mixture and keep aside. To the remaining half, add the melted butter and process to combine. Place 3 ring moulds on a baking tray. Divide the mixture between the ring moulds and press against the base and edge to form the crust. Refrigerate for 30 mins or until firm

Meanwhile, make the Oreo cheesecake. Soak the gelatine in warm water and microwave for 10 seconds for it to dissolve completely. With an electric mixer, beat the cream cheese and sugar until smooth. Fold in the cream and the biscuit crumbs. Add the gelatine and mix to combine. Pour the mixture into the ring moulds on top of the crust till half filled. Refrigerate for 3 hours or until set. Reserve (refrigerate) the rest for top layer to pipe onto the strawberry mousse.

For the strawberry mousse, process strawberries and sugar to a smooth pulp. Strain and keep aside. Dissolve gelatine in warm water and microwave fo 10 seconds to dissolve completely. Cool and add to strawberry pulp. Fold the strawberry pulp slowly into the whipped cream. Add 2 drops of food coloring and mix well till colour is uniform. Pour over the chilled Oreo cheesecake. Refrigerate till set, about 3-4 hours.

To serve: Release the dessert by gently lifting the ring moulds and applying gentle pressure from below. Fill up a piping bag with the reserved Oreo cheesecake. Pipe onto the strawberry mousse and decorate with sprinkles. Refrigerate till set.

Note: If you do not have ring moulds or mousse rings at home, you can layer the dessert in serving glasses.


I will…I can ! Earl Grey-Milk Chocolate and Lemon Mousse Duo

22|03|2013

‘As I see it. . . .
I can and I will
Everyday I tell myself that I can and I will.
I find the reasons why I can and why I will succeed.
I paint the vision of my future in my mind and I can see myself standing in the winners circle.
My success starts in my mind and I make it happen as I see it in my visions.’
-Lou Ludwig
That was my healthy dose of optimism for you!

earl grey lemon mousse

There are days when I rely heavily on some borrowed positivity to get my act together. For a person who once took pride in being determined, planned and organised with everything, life is anything but ‘organised’ at the moment. Life with two young kids can be demanding. And leave you exhausted.

On reminiscing I often wonder where all the “I wills’ of my willpower have disappeared. Funny how situations can transform you. How easy is it for any of us to get knocked down by life at times? But the good news is that I am not done with them yet. The ‘I will-s’ have been replaced with “I can-s’.

earl grey lemon mousse

Those who have been reading my posts would know by now my weakness for desserts especially cold ones. Mousse comes right at the top of my list of ‘things that make my day’. And this duo has been on my mind for days. I have made them many times individually or in a combination with other flavours. Chocolate and lemon admittedly are not my ‘to die for’ combo. But the addition of Bergamot from the Earl Grey balances it out beautifully. Dark chocolate could be overpowering so I used milk chocolate.

earl grey lemon mousse

In other news, the kids are excited. Daddy is back tomorrow after a long travel. A huge relief for the family. All are going to benefit from this including you. Maybe I can throw in a few more sweet treats for you here and there.

I can…I can..I CAN!

What that means is i am still somewhere on that track. If i am not running, I am still walking.

Hey…’I can’ rocks!

earl grey lemon mousse


Earl Grey- Milk Chocolate and Lemon Mousse


Serves 4


Earl Grey-Milk Chocolate Mousse


3 Egg Yolks


¼ Cup Sugar(or to taste)

1 teaspoon vanilla extract

½ Cup heavy cream for the custard (Crème Anglaise)

1 Earl Grey tea bag
1/2 Cup Milk chocolate chopped or broken into cubes

2 teaspoons powdered gelatine

¾ Cup Heavy Cream for whipping


Heat the ½ cup cream with the Earl Grey teabag in a saucepan. Beat the egg yolks,sugar and vanilla extract together in a bowl. When the cream reaches boiling point take it off the heat and let the flavours infuse for 15 minutes. Remove the tea bag, add the gelatine, reheat the cream till warm and slowly pour it over the egg mixture whisking constantly. Return the egg-cream mixture to the pan.
Heat the mixture under a medium-low flame, whisking constantly till the mixture thickens enough to coat the back of a spoon.
Place the milk chocolate in a bowl. Remove the custard from heat and pass it through a sieve into the bowl of chocolate. Let the mixture remain undisturbed for a while. Stir to smoothen out the chocolate. Cool to room temperature.
While the custard is cooling, whip the remaining ¾ cup cream to stiff peaks. Store in the refrigerator till needed.
When the chocolate mixture has cooled down completely add it to the whipped cream gradually & fold in till no white streaks appear. Pour into serving glasses till half full. Refrigerate till set, about 4 hours or longer.
Lemon Mousse
3/4 cup lemon curd, cold (recipe below)
1/4 cup sugar
1 Cup whipping cream
Whisk the cream and sugar together till you reach soft peaks. Fold in the lemon curd slowly. Pour into the serving glasses on top of the Earl grey-milk chocolate mousse. Refrigerate till set, about 4 hours.
Note: to get a stronger flavour of lemon mousse increase the lemon curd by half a cup more. I did not want the lemon flavour to be too strong in the mousse.
Lemon Curd
3 large eggs
3/4 cup (150gms) granulated white sugar
1/3 cup (80 ml) fresh lemon juice (2-3 lemons)
4 tablespoons (56 grams) unsalted butter, at room temperature
1 tablespoon (4 gms) finely shredded lemon zest
In a stainless steel bowl placed over a saucepan of simmering water, whisk together the eggs, sugar and lemon juice until blended. Cook stirring constantly (to prevent it from curdling), until the mixture becomes thick (like sour cream or a hollandaise sauce). This will take approximately 10 minutes. Remove from heat and immediately pour through a fine strainer to remove any lumps. Cut the butter into small pieces and whisk into mixture until the butter has melted. Add the lemon zest and let cool. The lemon curd will continue to thicken as it cools. Cover immediately (so a skin doesn’t form) and refrigerate for up to a week.
To serve: Decorate with meringue and/or piped chocolate or a dusting of cocoa powder.


  • 1
  • 2
  • Next Page »
Hey Sugar
Cake
Link to my Facebook Page
Link to my Instagram Page
Link to my Pinterest Page
Link to my Mail Page
Subscribe to this site
Fresh Awards
2019 Aus mumpreneur
2019 aus mumpreneur
Mumbrella

Copyright © 2025 · Sugar Et Al · Designed by Smitten Blog Designs · Log in