There goes an entire month. It’s no longer a New year! Our boys enjoyed an almost two month vacation and will be finally back to school next week. These two months seem the longest to me. From the time vacations kick off to the onset of the new class, (which is basically 2/3 of an Australian summer) there is non-stop action on the home front and work turns out to a bit of a struggle. When your home and office are located in the confines of the same space, time is no longer the factor that determines when you switch off and when you resume. It is you who decides. If you’re like me, you won’t stop. You go on and on. You push your limits till you reach the absolute brink of exhaustion. With young kids around, the distraction is crazy. And to make up for that, the hours in the night are precious. Sleep takes a backseat. You are low on energy and the creative juices stop flowing. Ha! All this rant to tell you that when you can’t think of anything new, you turn to your favourites. Good old chocolate and Earl Grey. Always a hit! Always delicious. Always.
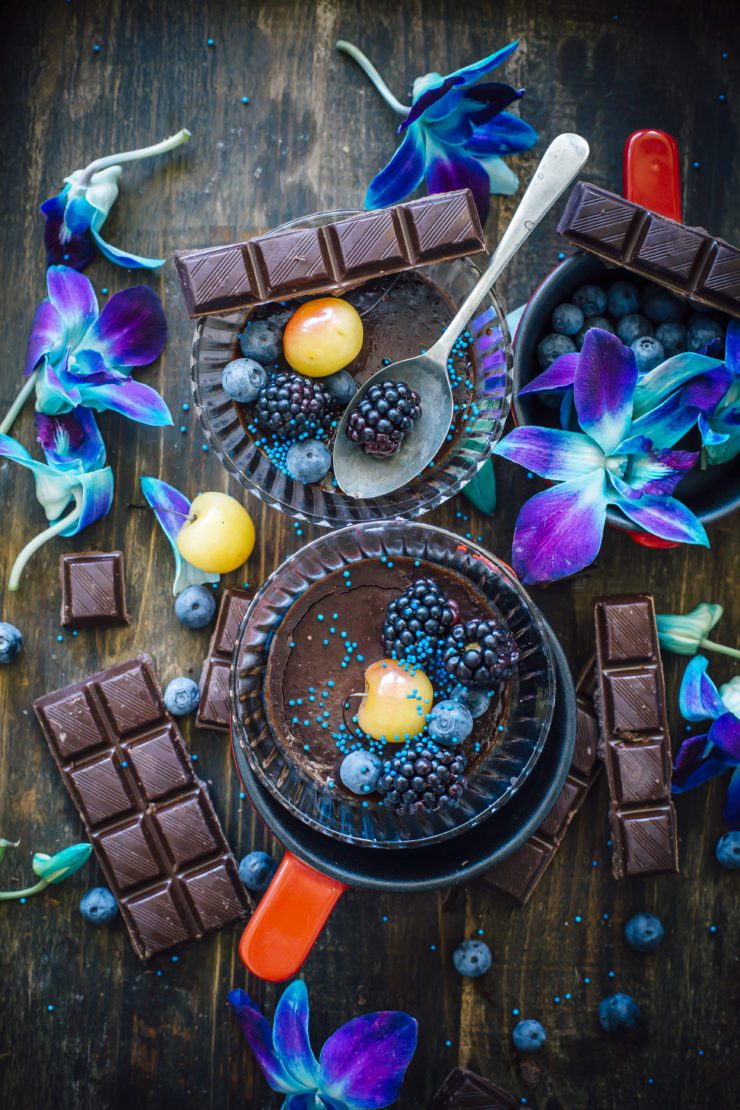
Pots de creme is like a feel-good dish for me. Lesser steps than a mousse but pretty much similar in taste. Slightly more intense, but that’s what you need sometimes. Less fuss and more decadence. Chocolate, tea, cream (I love cream), sprinkles and berries. What is not to love about this?
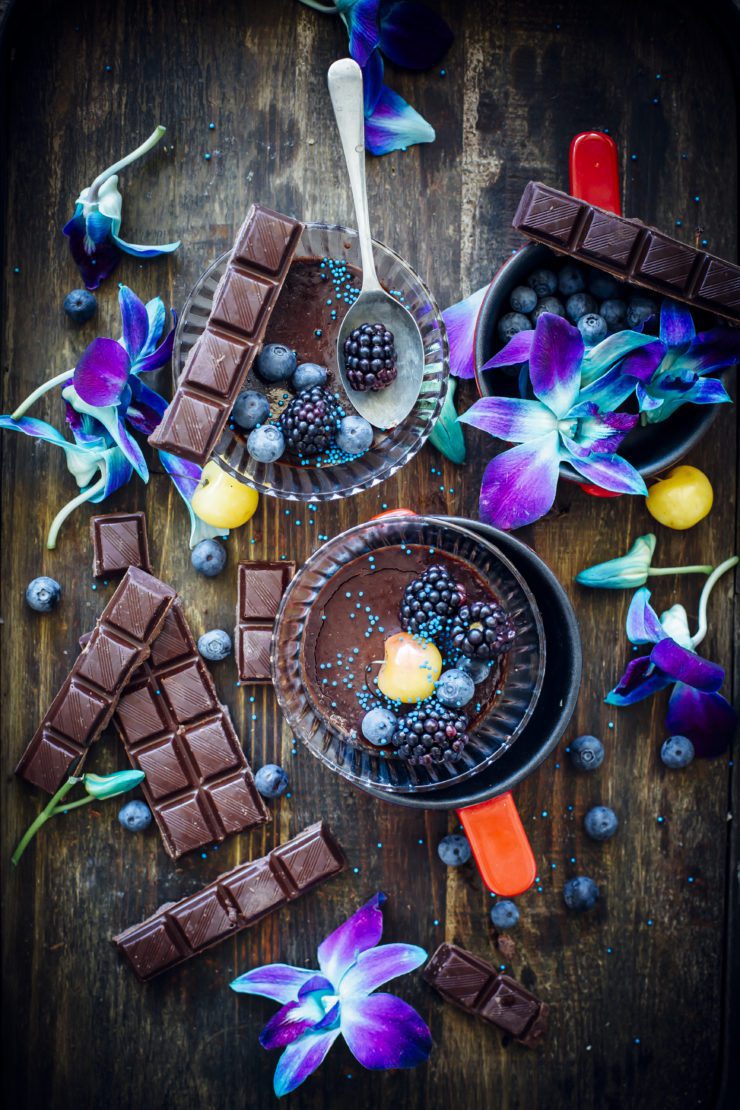
Chocolate And Earl Grey Pots De Creme
Serves 4
1/2 cups heavy cream
1/2 cup milk
2 Earl Grey tea bags
100g good-quality milk chocolate, roughly chopped
4 egg yolks
2 tbsp. castor sugar (more if you require it sweeter)
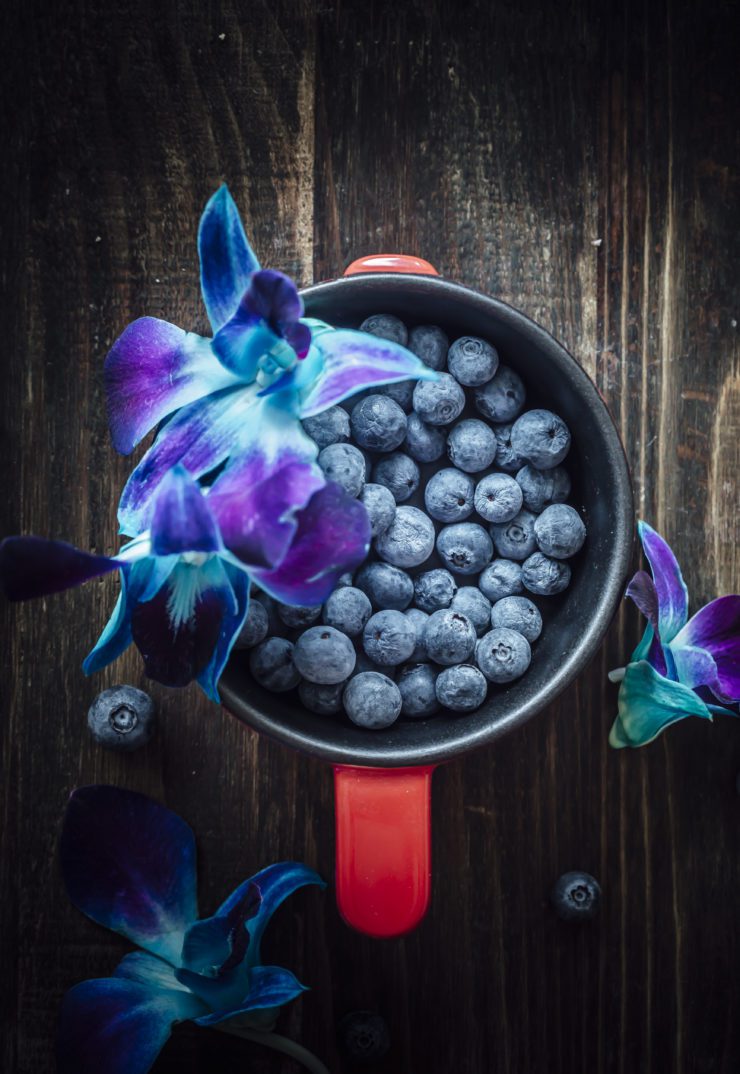
Berries to serve
Slowly heat the cream and milk in a saucepan until very hot, but not boiling. Remove from heat and add the tea bags. Let steep for 30 minutes. Press down with the back of a spoon to extract more flavour. Discard tea bags and warm the cream-milk mixture gently to a slight boil (do not boil). Remove from heat and add the chocolate. Leave undisturbed for 5 minutes. Stir until smooth.
Preheat oven to 160 degrees C. Meanwhile, whisk egg yolks and sugar in a heatproof bowl until well combined. Pour the warm cream-chocolate mixture over the egg yolk mixture, little at a time whisking constantly until smooth. Take care not to add the entire cream to the eggs together as it can overcook the eggs resulting in scrambled eggs.
Divide the custard into four lightly-greased, ramekins or ovenproof cups. Place in a deep baking tray. Pour boiling water into baking tray until halfway up sides of ramekins.
Bake custards, uncovered, for 45 minutes or until just set (while the centres are slightly jiggly when shaken). Remove from the oven and take the ramekins out of the water bath. Leave to cool to room temperature. Refrigerate for at least 2 hours. Serve with berries or fruit of choice.