• Home
  • Recipe Index
    • Recipe Index
    • Breakfast/Brunch
    • Cakes and Puddings
    • Chocolate
    • Cookies and cupcakes
    • Custard and Mousse
    • Gluten Free
    • Ice Cream
    • Mains
    • Other Sweet Treats
    • Snack/Appetizers
    • Soups and Salads
    • Tarts and Pies
    • Vegetarian
  • About
  • Cookbook
  • Portfolio
  • Store
  • Press
  • Work with Me

Sugar et al

Because Life is a blend of flavours...

Orange Loaf With Fresh Cream And Pineapple Curd

23|04|2015

What a thrill it was to wake up to the sun this morning! After three days of incessant rains and stormy weather, we got a glimpse of the gorgeous sunlight. The boys resumed school but the excitement went down as soon as they realized that there was no outdoor activity at the moment. The wet sand-pit dampened their spirits at first glance. The droopy wet flowers around the flower gardens weren’t as welcoming to them as they always did. But a hug from a friend made them squeal with delight. Childhood! So pure…simple..free! Can I have mine back?

IMG_6904

Involuntarily locked up at home with no kids to tend to, I decided to clean and rearrange my kitchen and props cupboards. I thought I might find some inspiration tucked away at the far end somewhere. Within minutes, I was baking! Cleaning was postponed as soon as I spotted my loaf pans.

IMG_6932

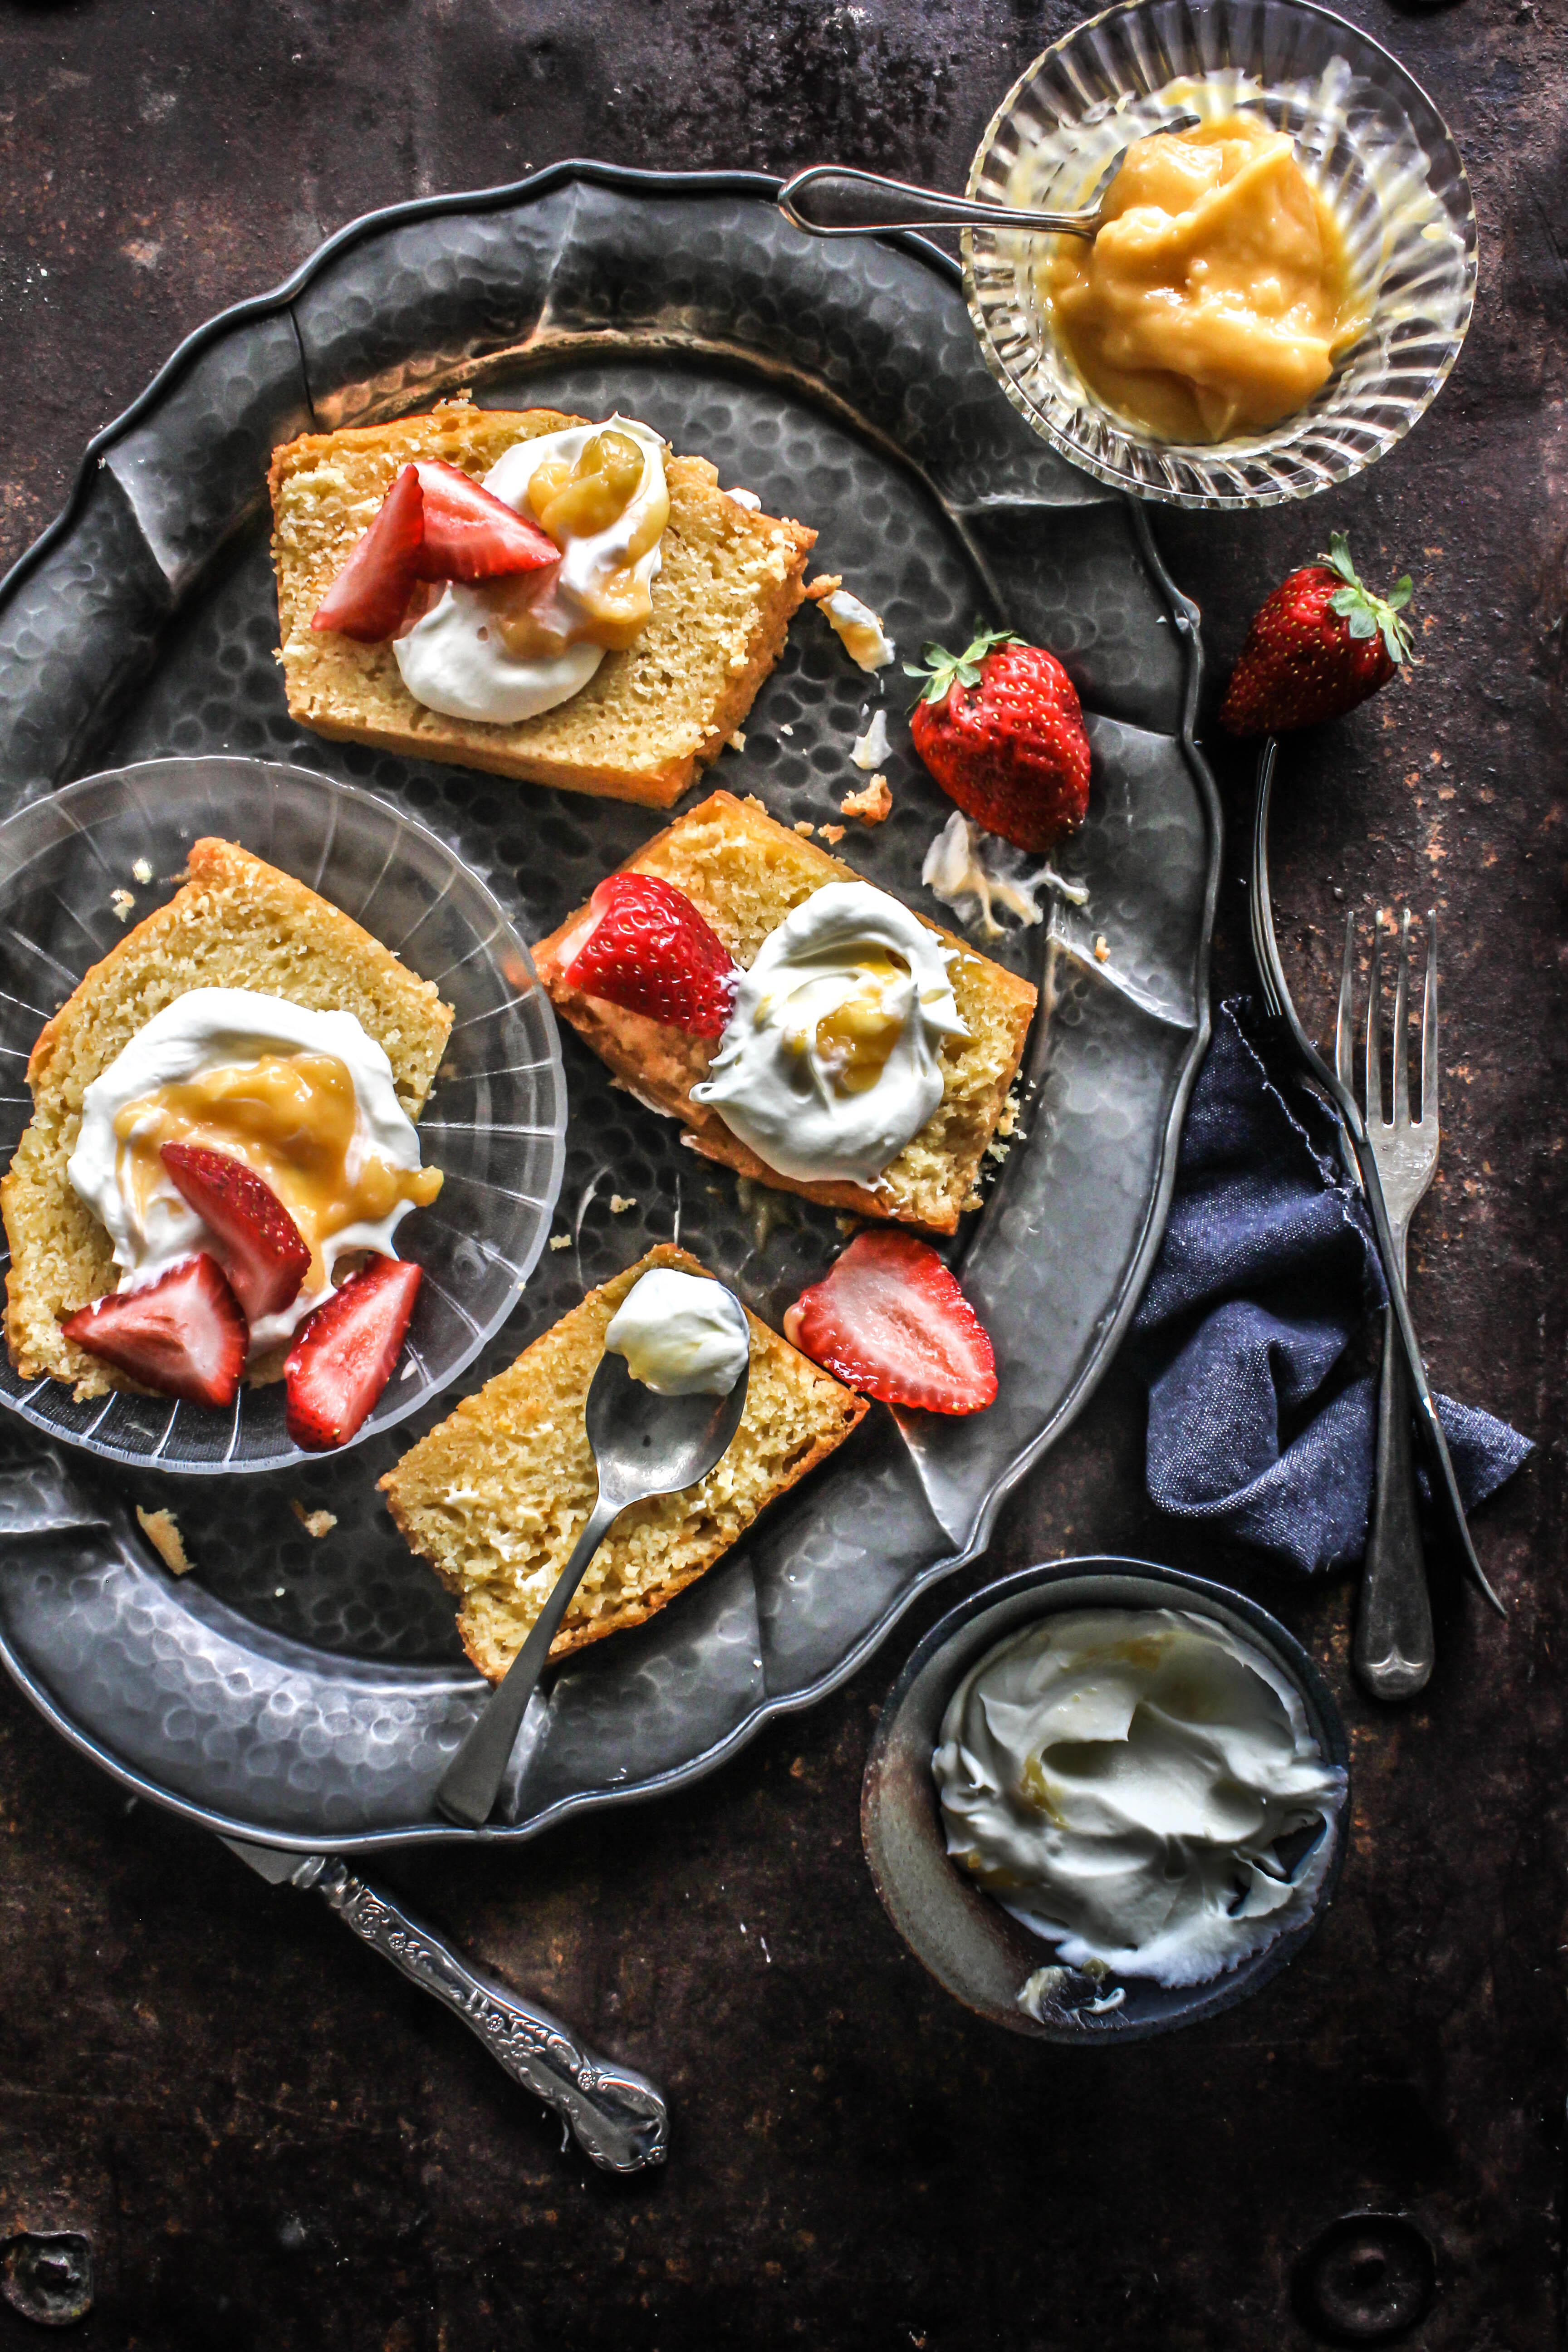
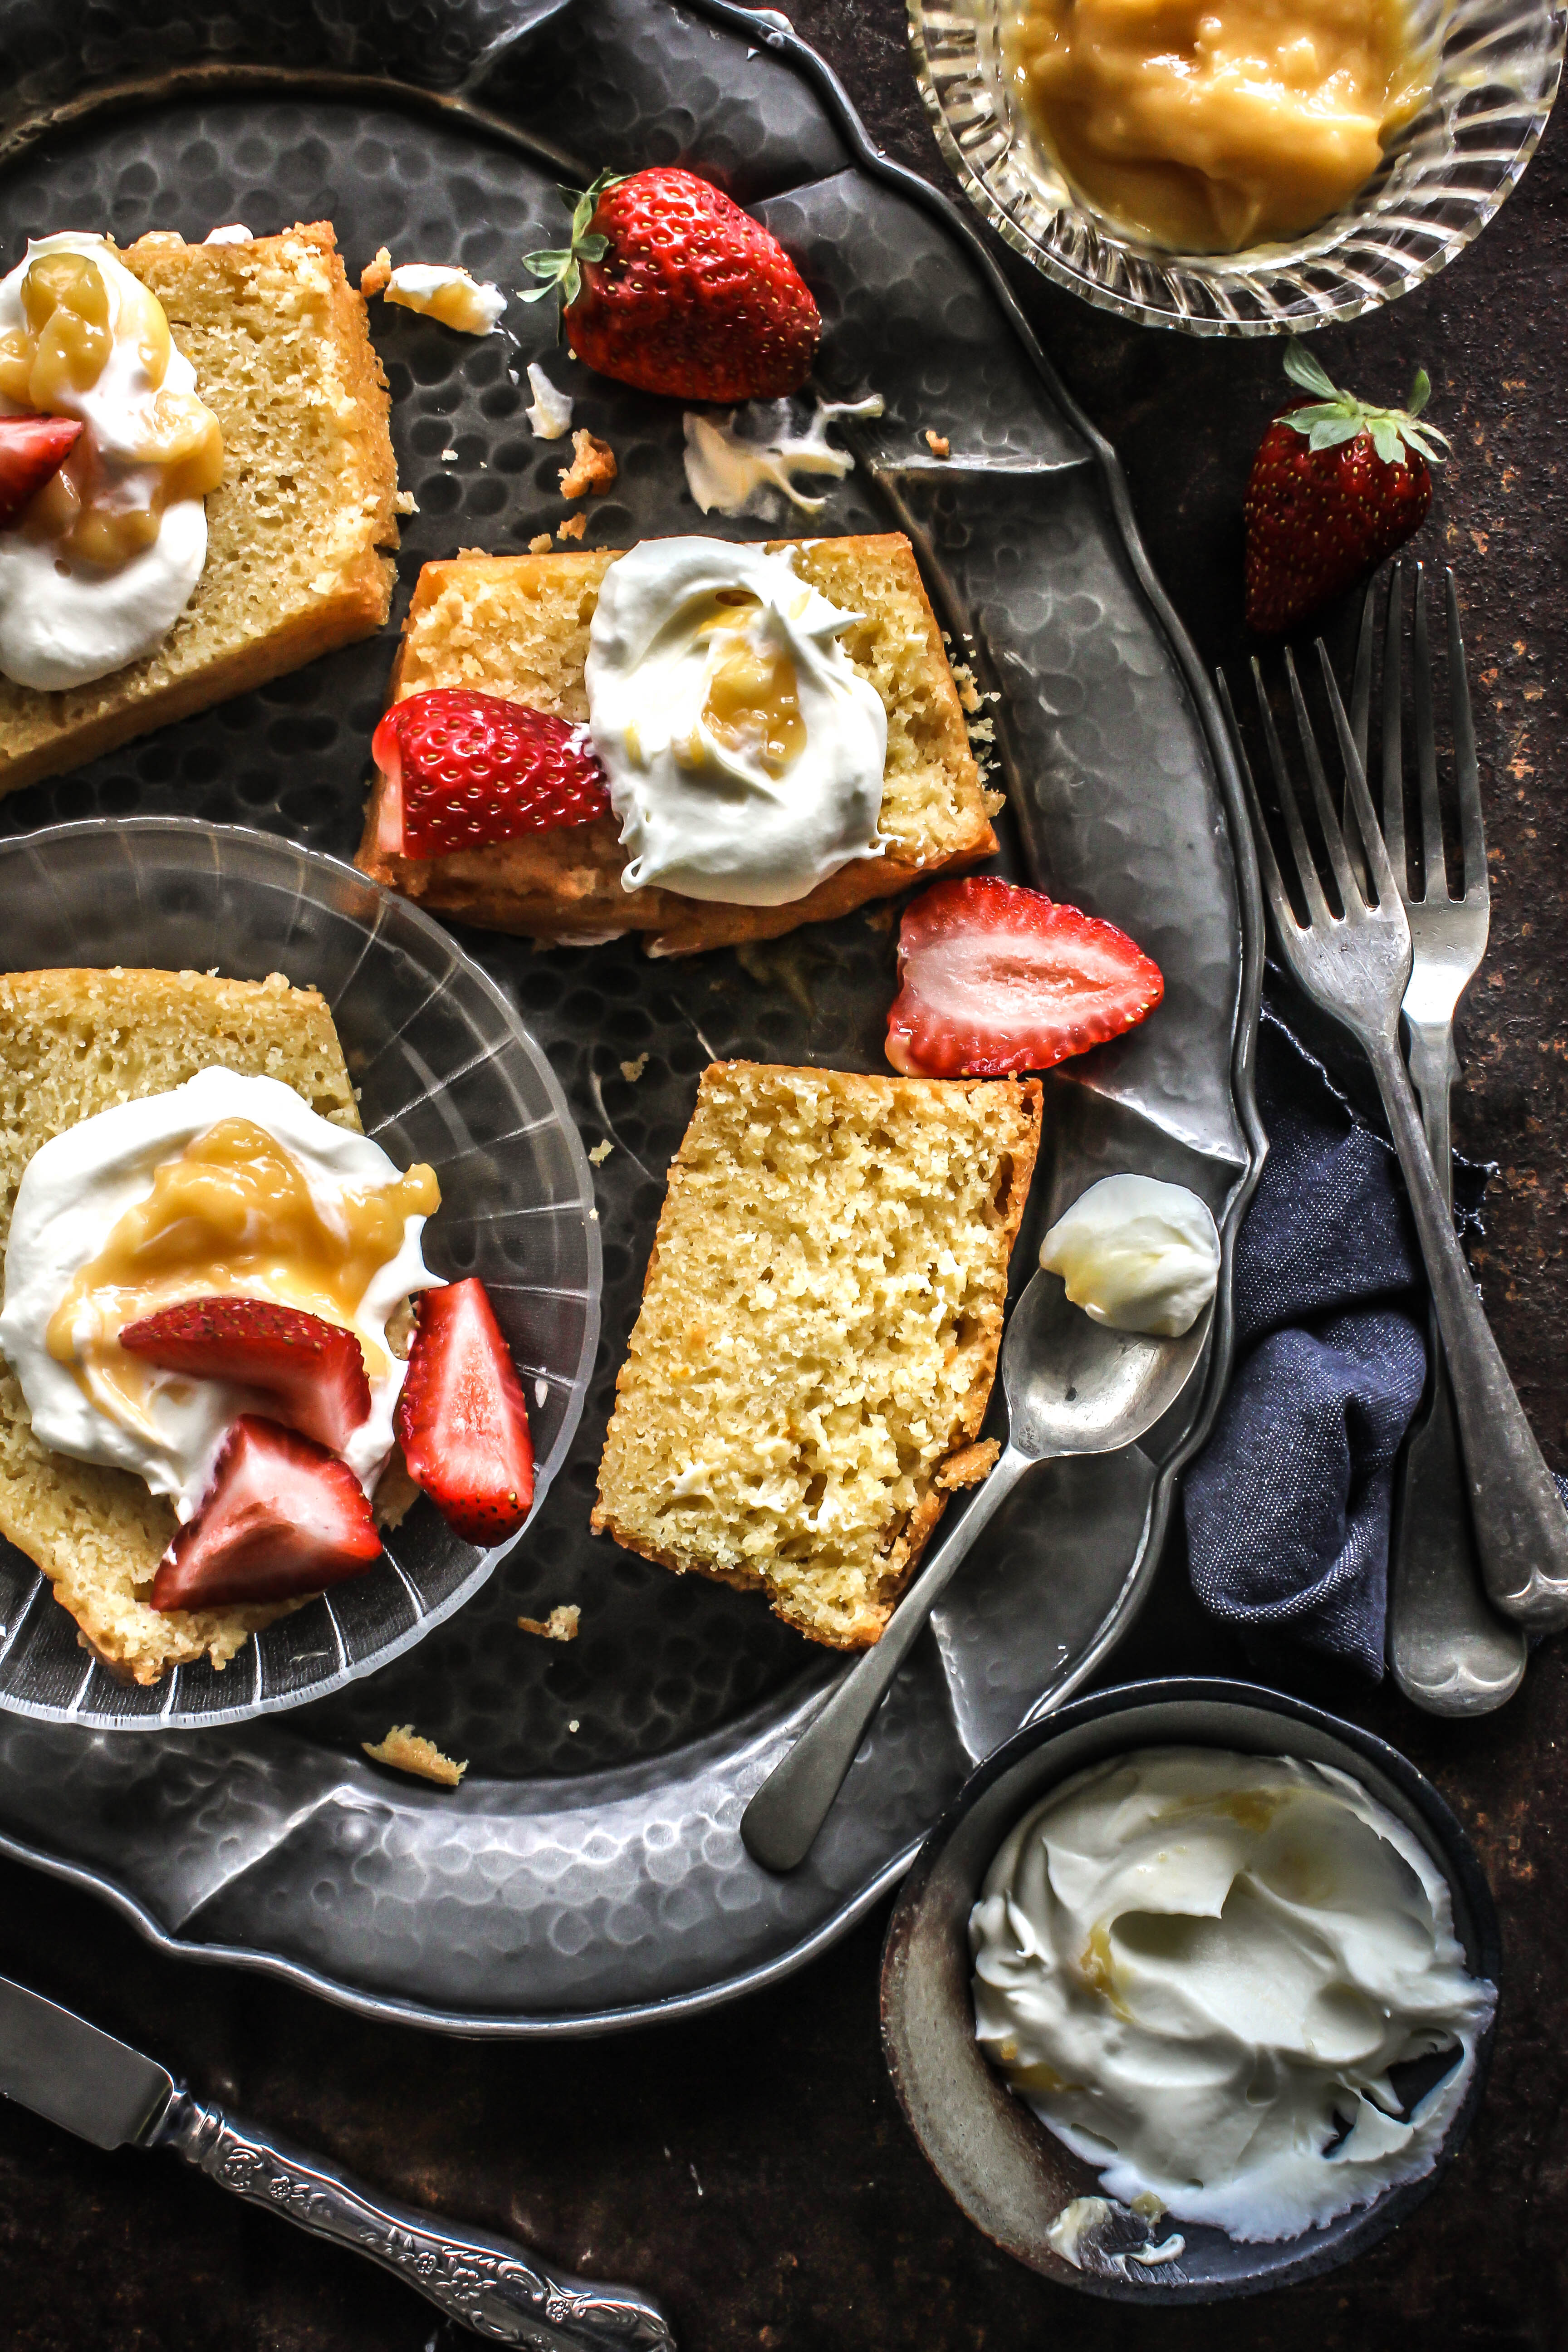
With a limited window to complete baking and photographing, I resisted the urge to bake a yeasty bread. With heaps of citrus at home, it was easy to settle on a simple orange flavoured loaf. To go with the loaf, I quickly whipped up this pineapple curd. Fortunately, I had pineapple juice at home otherwise I would have gone with lime curd perhaps.

IMG_6907

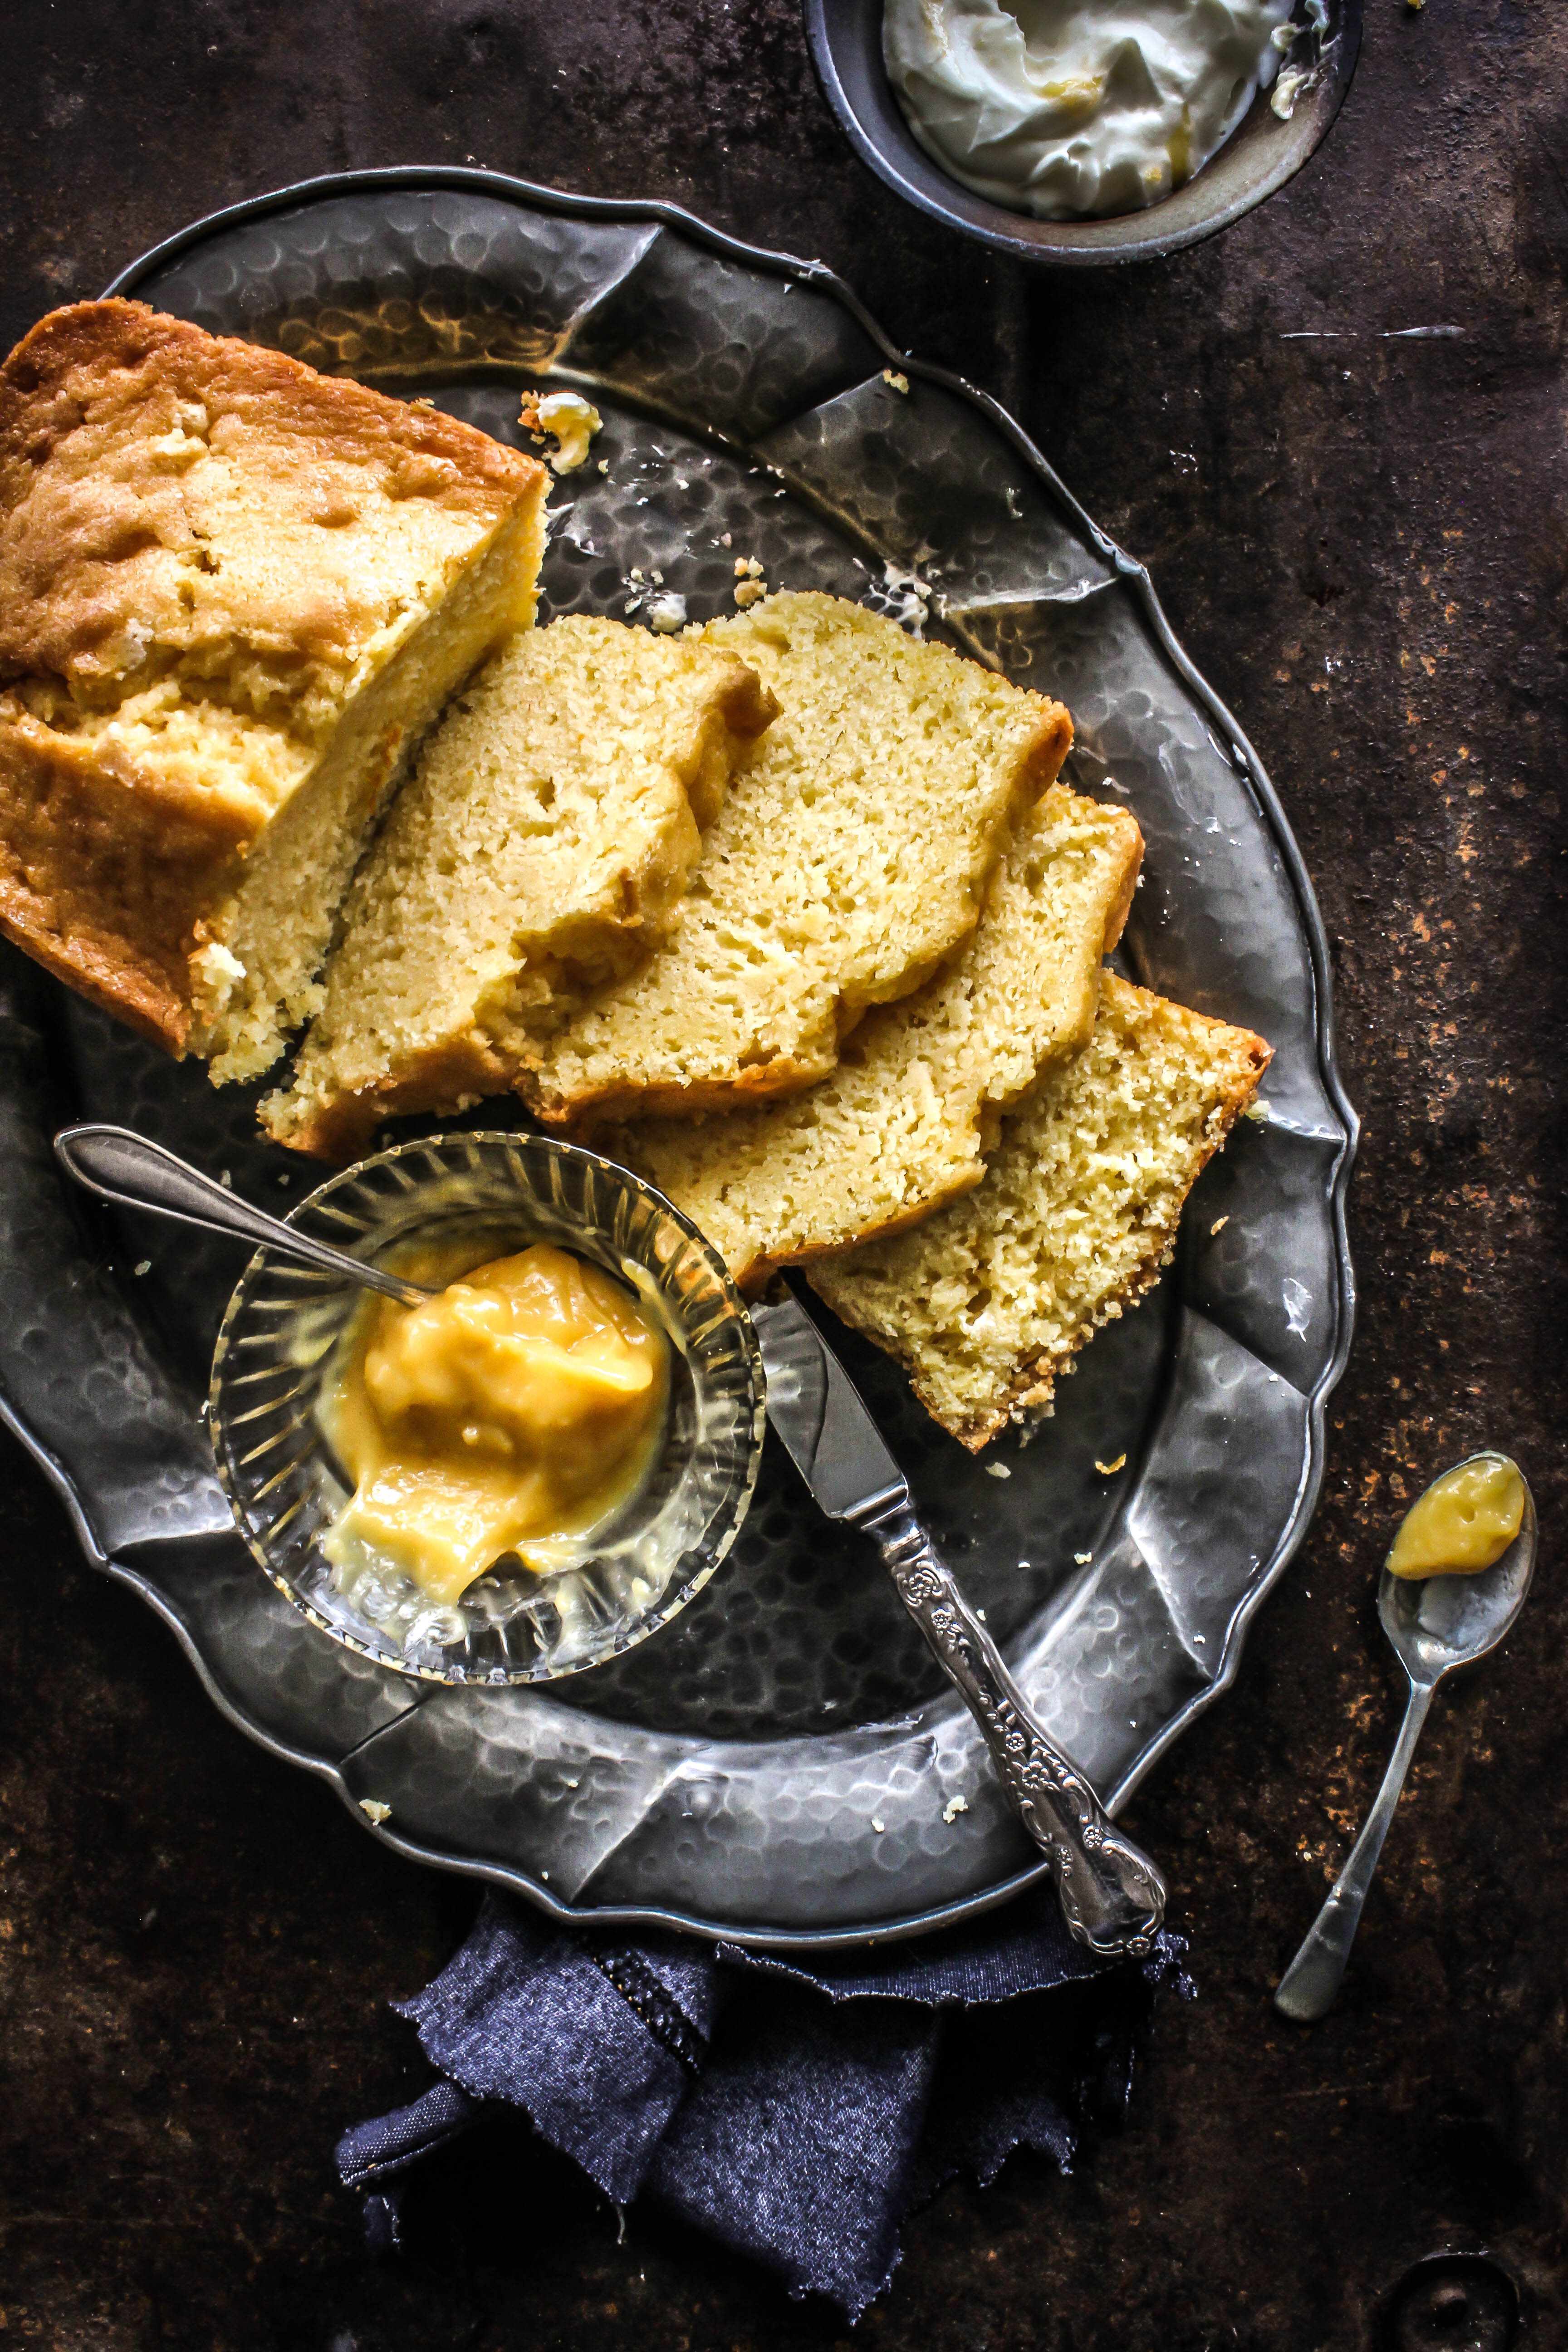
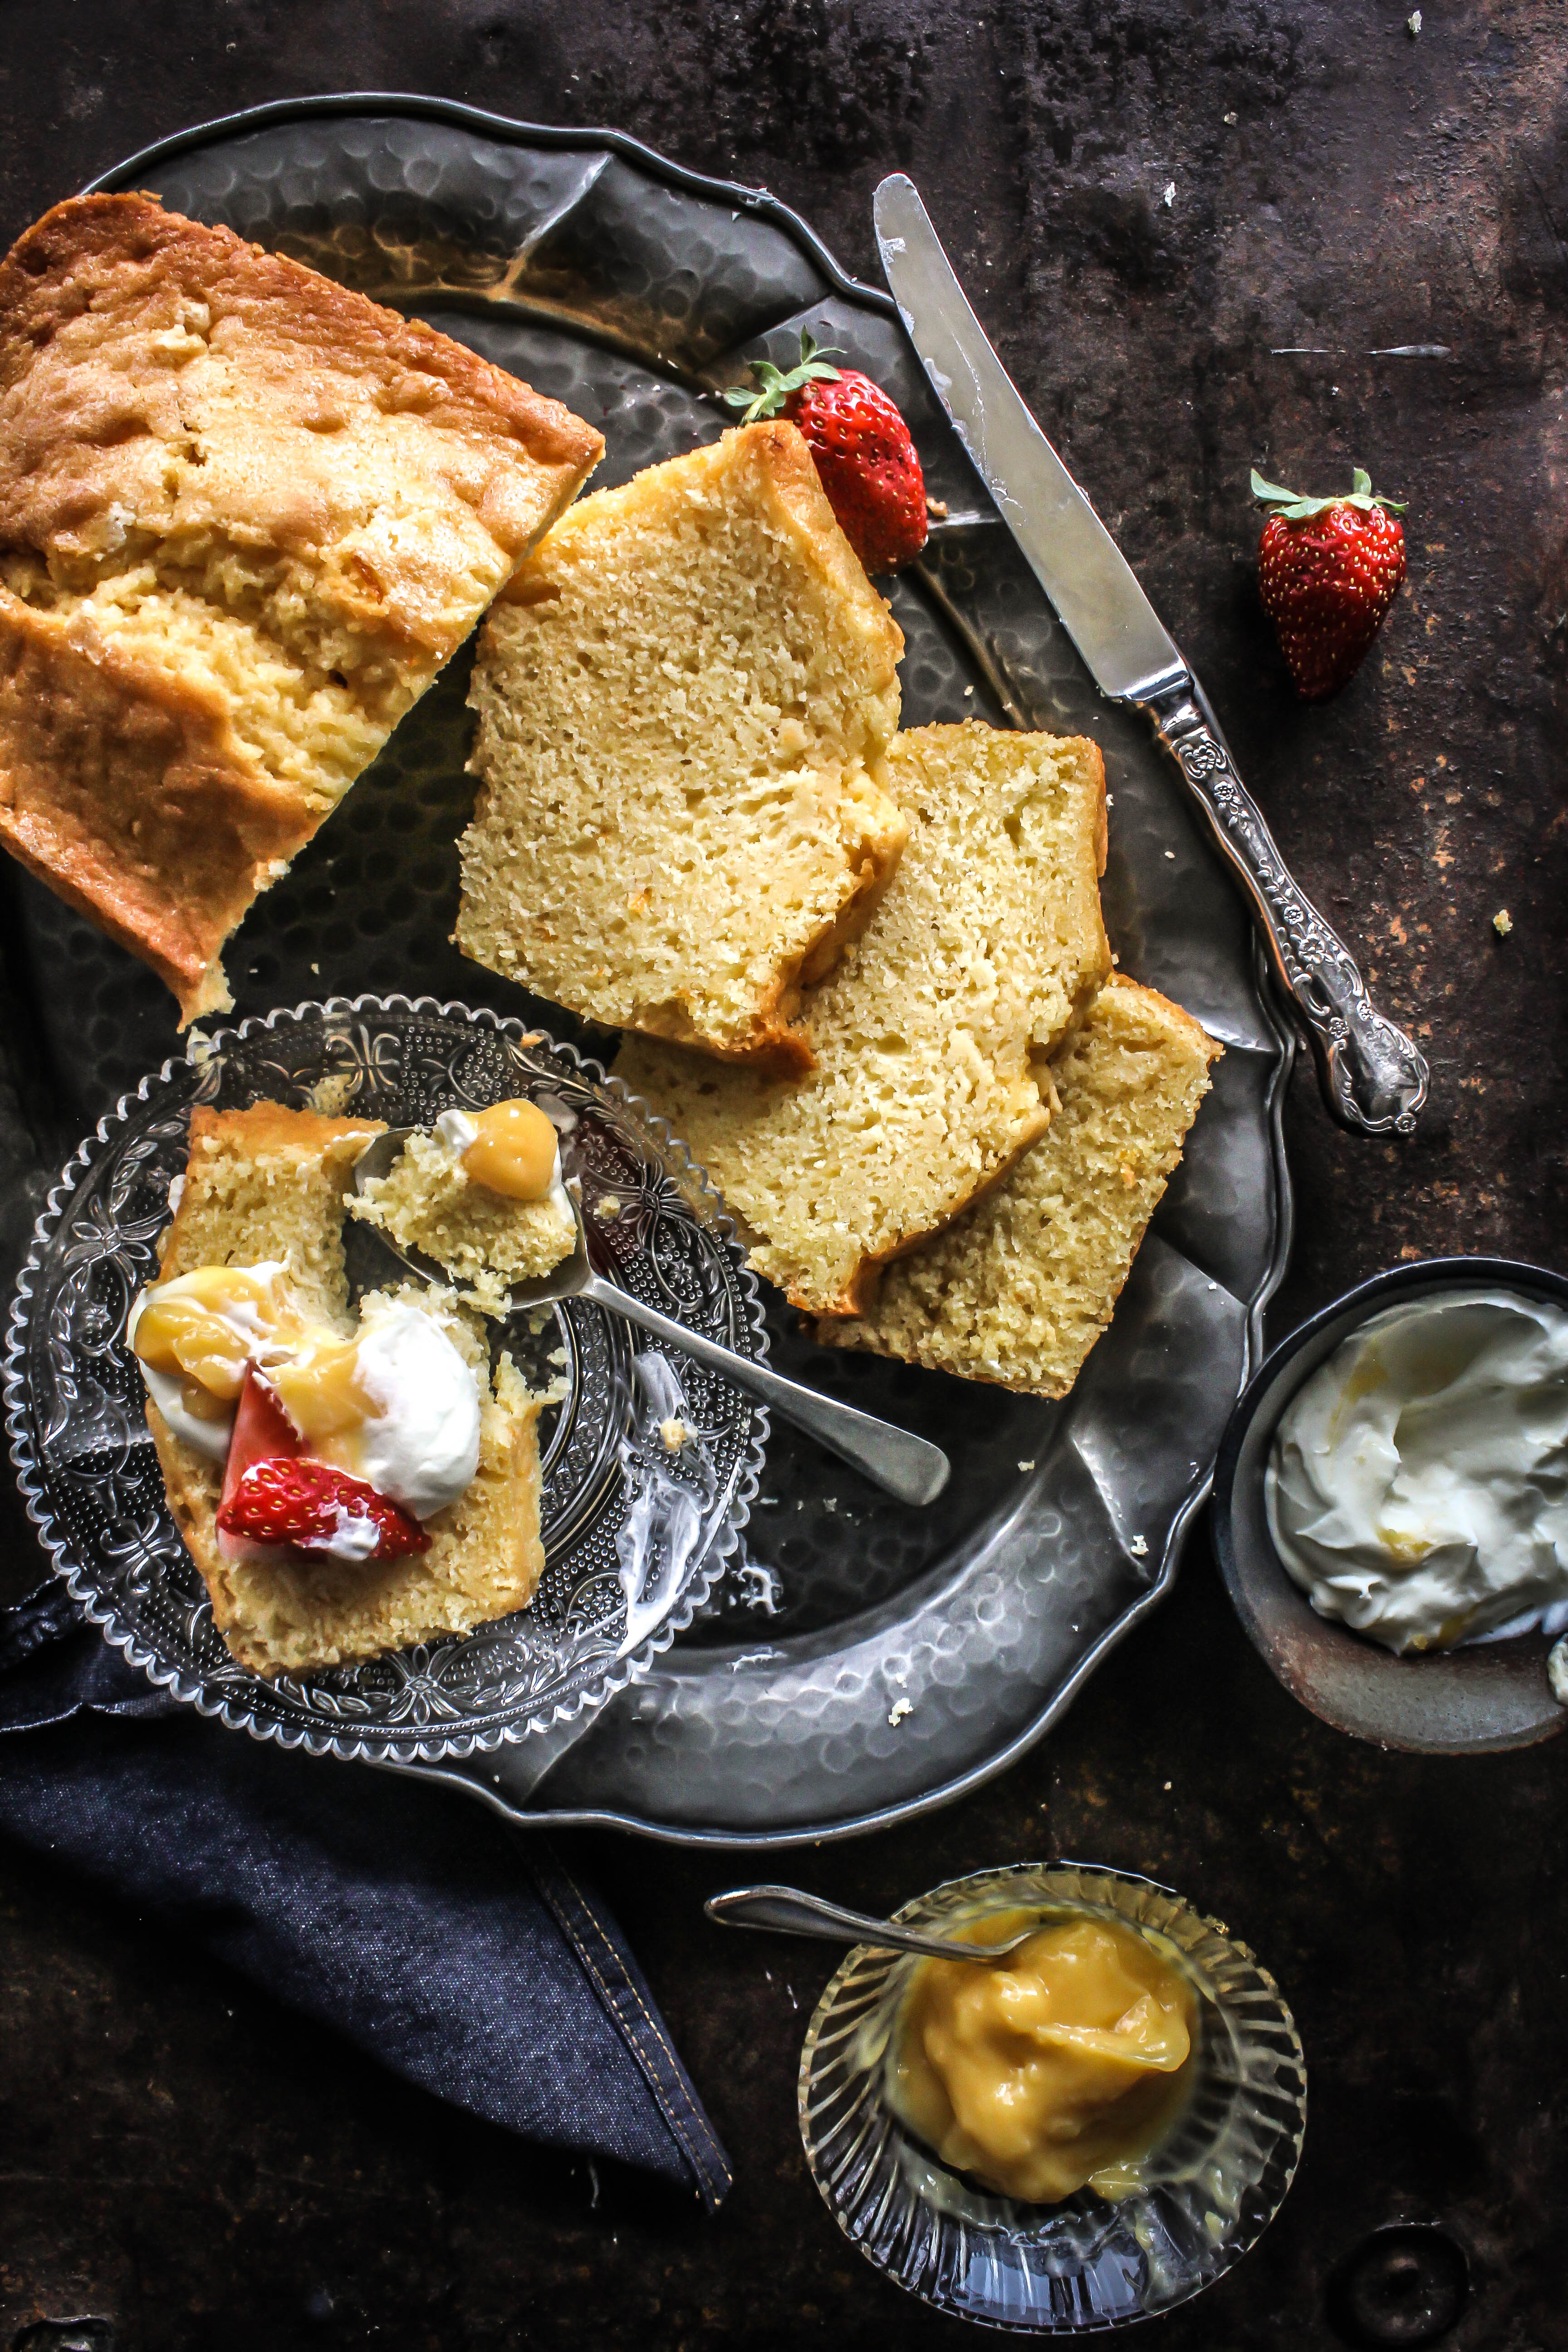
The original recipe uses simple pantry ingredients except creme fraiche. I did not have any so I substituted with sour cream which always works a breeze. The loaf is sturdy with a soft texture within and thoroughly tasting of oranges. It is a great lunchbox option as well since it is easy to store and carry.
The pineapple curd is very easy to make and can be stored up to a week in the refrigerator.

IMG_6924

IMG_6897

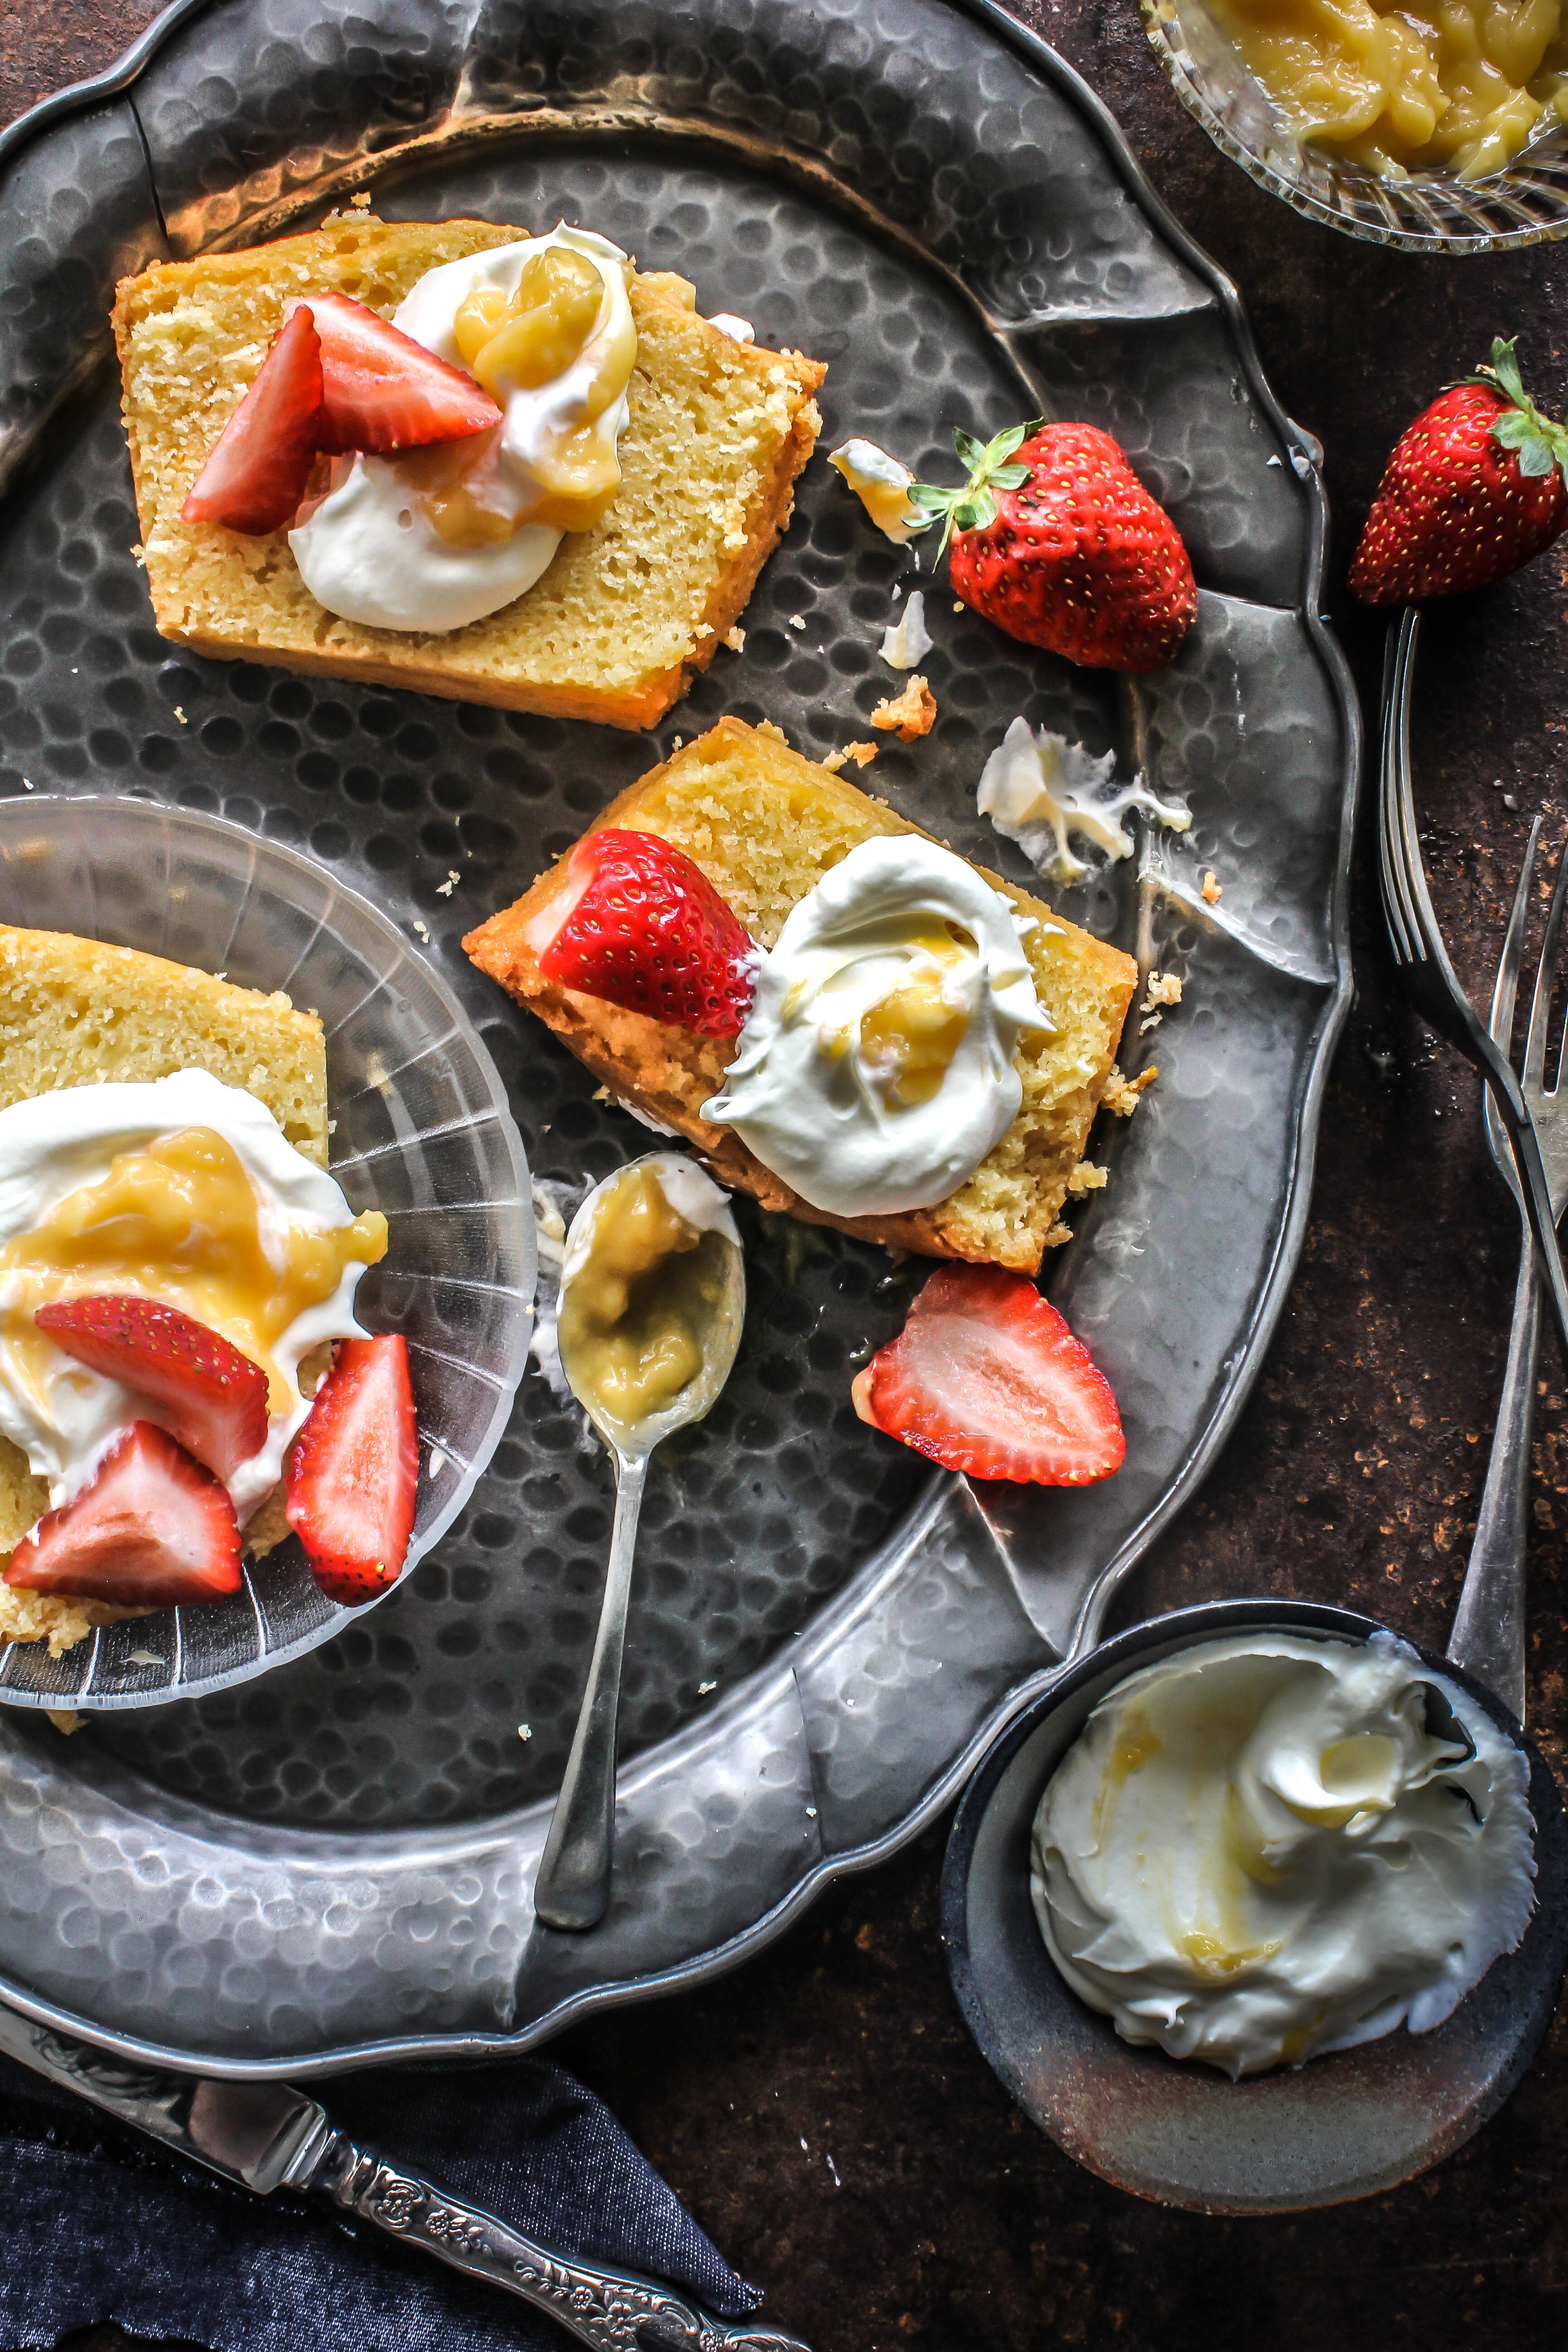
Orange Loaf With Fresh Cream And Pineapple Curd (orange loaf adapted with variation from here)
Serves 8-10

185 g butter, softened
1 cup caster sugar
2 tablespoons finely grated orange zest
3 eggs
2 cups self-raising flour, sifted
1/4 cup orange juice
1/2 cup sour cream

Preheat oven to 180 degrees C (160 degrees C  fan-forced) Grease a 7 cm-deep, 11 cm x 21 cm (base) loaf pan.

Using an electric mixer,beat butter, sugar and orange zest until light and fluffy. Add eggs, 1 at a time, beating after each addition. Stir in flour, orange juice and 1/2 cup sour cream.

Pour the mixture into prepared pan. Smooth surface. Bake for 1 hour to 1 hour 10 minutes or until a skewer inserted in centre of loaf comes out clean (cover loosely with foil if over-browning during cooking). Stand in pan for 10 minutes. Turn out onto a wire rack to cool completely.

When serving, cut into slices, top with fresh cream and pineapple curd.

Pineapple Curd
3 large egg yolks
1 cup pineapple juice
1/3 cup caster sugar
21/2 tbsp cornstarch
a pinch, salt

Place all the ingredients together in a saucepan over low-medium heat. Cook for about 7-8 minutes, whisking constantly till mixture thickens and looks glossy. Remove from heat. Cool to room temperature. Store in the refrigerator.


Coffee Caramel Creme Brulee

17|04|2015

The Google searches initiated from my laptop, which are normally recipe oriented, since Easter are looking a bit like this ‘how to keep kids busy during school holidays?’ ‘ Apps for young children’ ‘ways to entertain kids’ and so on. Yes, I almost feel guilty having to kook them up  but these vacations are a whole new thing for me. Google came up with 15,800,000 results. Yay! So, I am not alone! There are Pinterest boards on that topic too. I am finding comfort in solidarity!

IMG_6673-2


Despite cooking many new dishes, I hardly got around to photographing anything. I just didn’t have the heart to make the boys wait for food while it was being dressed up and photos taken. I have done that before but now it just didn’t seem fair. It’s been awesome having them around and cooking warm lunches for them but keeping them busy whilst managing my own to-do list is an art that I am yet to master.

IMG_6662

These Creme Brulees are perfect little treats for a busy scenario because they are so easy to make. Keep them in the refrigerator and grab one when you have a sweet craving or need a small feel-good after the kids have gone to bed. I love coffee in desserts and this one is addictive.
If you do not own a blow torch, just place the custard under a preheated grill for 2-3 minutes. However, don’t let it sit there for too long as it might overcook the custard.

IMG_6694

Coffee Caramel Creme Brulee

2 1/2 cups single/pouring/thin cream
21/2 tsp instant coffee granules
7 egg yolks,

Preheat oven to 150 degrees C.  Place six ramekins in a large baking tray or roasting pan.
Place the cream in a small saucepan and heat, over medium heat for 4-5 minutes or until warmed through (don’t let the cream boil). Remove from heat. Add the coffee and stir till blended.

Meanwhile: place the egg yolks and brown sugar in a medium heatproof bowl. Whisk until well combined.
Gradually add in the warm coffee-cream mixture while stirring constantly with a fork. Pour the mixture through a fine strainer into a large jug, then pour the mixture evenly into the ramekins.

Pour enough hot water into the roasting pan to reach half of the way up the sides of the ramekins. Bake in preheated oven for 30-35 minutes or until mixture is just set. Carefully remove the ramekins from the baking tray. Cool to room temperature, then cover with plastic wrap and place in the fridge for 3-4 hours or until chilled.

When ready to serve, divide caster sugar evenly over the top of the custard in the ramekins. Using a blowtorch, caramelize the sugar till golden brown.

Strawberry Panna Cotta With Earl Grey

2|04|2015

Strawberry Panna Cotta with strawberry puree and hints of earl grey tea to make the perfect cold dessert that requires no baking.

Autumn may not be my favorite season but there are a few things  I associate with this time of the year that I absolutely love and look forward to. When I first moved to Sydney, the things that charmed me most were the farms and the farmer’s markets. Which is funny considering Sydney has so so much to offer. I had lived a city life before that and I was moving to another happening city. As I gradually explored around the city I found myself being more drawn to the country side, the lush green fields and the fresh produce farms. That way Sydney offers the best of both worlds. A modern city with glamorous beaches and a beautiful country side. On weekends, visiting farms to pick fruits and going to a different farmers’ market became a ritual. Something I can never grow tired of. A habit that my boys have embraced with open arms. The apple orchards are my favorite and I was thrilled when I got the opportunity to adopt a little tree a couple of years back. We picked car loads of apples and for months I did not buy a single apple from the shops. Now, it’s apple season. Time to go back and the boys are already counting down till the long weekend.

strawberry panna cotta with earl grey


strawberry panna cotta with earl grey

This time we will be accompanied by friends and picnic gear. We hope to spend the day picking apples and peaches and having lunch under the color changing leaves of Mount Wilson. I am planning on baking a large cake or maybe cakes to take to the picnic but I also wanted to make a simple dessert to keep at home for guests. Panna Cotta is a perfect dessert to make ahead with a few ingredients and not much effort. The beauty of this dessert is that it can be flavored with literally anything and the choices are endless. I infused the cream here with an earl grey teabag and blended it with freshly pureed strawberries. Along with a slight hint of bergamot from the tea, the strawberry panna cotta dessert tastes like a creamy strawberry mousse with subtle citrus notes. Except that it has no eggs and is certainly not rich like mousse.

strawberry panna cotta with earl grey

strawberry panna cotta with earl grey

I hope you guys have a fun and delicious Easter. I can’t wait to share my apple picking adventures with you over the weekend.

strawberry panna cotta with earl grey

Strawberry Panna Cotta With Earl Grey
Serves 3

1 cup thickened cream
1 cup + 1/4 cup +2 tbsp milk
1 earl grey tea bag
21/2 tsp powdered gelatine
400 g fresh strawberries, hulled and roughly chopped
6 tbsp castor sugar
whipped cream, to serve

Soak gelatine in 2 tbsp milk to bloom. Warm the cream and 1 cup milk together with the Earl Grey teabag. Once the mixture comes to a a boil, remove from heat and leave aside for 20 minutes to infuse the flavor.
Place the strawberries, sugar and 1/4 cup milk in the bowl of your food processor. Process till smooth. Keep aside.

Remove the tea bag. Warm the milk-cream mixture just slightly, add the bloomed gelatine and mix.  Add the strawberry puree and mix till smooth. Pour the mixture into serving glasses. Refrigerate for at least 4 hours or until set.

Serve with whipped cream and finely ground pistachios.


Dark Chocolate Cheesecake Tart With Summer Fruits

28|03|2015

So, we are well into Autumn! There are no color changing maple leaves where I live. The sun hasn’t started to set earlier either. There is a very slight chill in the morning. But it is still Autumn. Because it is no longer summer. Because the beautiful raspberries, nectarines and plums are getting replaced with apples and oranges. I will be waiting a long wait before I play with them again. The change of the seasons, more specifically the end of summer does have a slight depressing effect on  me. It could have something to do with my love for colors and my need for sunshine. It could also have to do with the other side of the world, where nature is presenting itself in the form of my favorite produce.

IMG_5987-2

IMG_5991

This cheesecake tart is once again one of those excuses for me to get hold of the last summer produce and lay them out generously on the top. I wanted a nice crumbly chocolate-y crust and a rich filling to complement the fruits. I fully baked the shell till it was nice and crisp and then added the cheesecake filling. Once the filling was set, I poured chocolate ganache on top for another layer of chocolate indulgence. So, three layers of chocolate and some gorgeous berries, grapes and figs and you have an impressive dessert.

IMG_6001

IMG_6033

Dark Chocolate Cheesecake Tart With Summer Fruits
Serves 8-10

For the Tart Shell (adapted from here)
125 g chilled butter
1 cup (150 g) plain flour
1/4 cup (30 g) almond meal
1/4 cup (30 g) cocoa powder
1 egg yolk

For the Chocolate Cheesecake Filling
250 g dark chocolate, melted and cooled
400 g cream cheese, softened
1/2 cup castor sugar
125 ml heavy cream, whipped to stiff peaks

Chocolate Ganache
200 g dark chocolate
1/4 cup heavy cream

Make the tart shell: Place the butter, flour, icing sugar, almond meal and cocoa powder in the bowl of a food processor and process until mixture resembles fine breadcrumbs. Add the egg yolk and process until mixture just comes together. Turn onto a lightly floured surface and gently knead until almost smooth. Shape into a disc. Cover with plastic wrap and place in the fridge for 30 minutes to rest.

Preheat oven to 200°C. Roll pastry on a lightly floured surface to a 4mm-thick disc. Line the base and side of a 20cm (base measurement) round, fluted tart tin with removable base. Use a sharp knife to trim the edges. Place in the fridge for 15 minutes to rest.

Place the tart tin on an baking tray. Line the pastry with baking paper and fill with rice or beans. Bake in preheated oven for 10 minutes. Reduce temperature to 180 degrees C. Remove the rice or beans and bake for a further 15-20 minutes or until pastry is perfectly cooked through. Remove from oven and set aside to cool (do not remove from tart pan).

Meanwhile make the cheesecake filling : Melt chocolate in a double-boiler over medium heat. Leave to cool.  You can also use a microwave, just follow the instructions on the chocolate packet.

Whip cream cheese and sugar until smooth and creamy.  Add the whipped cream and mix till smooth. Stir in melted chocolate until mixture is smooth and well blended.

Pour mixture onto the tart shell. Level out the surface with the back of a spoon. Chill for at least 5 hours.  Remove from refrigerator and pour over chocolate ganache. Allow to set in the fridge for 15 minutes. Decorate with fresh fruits, just before serving.

To make the chocolate ganache, heat the heavy cream in a small saucepan. Before it reaches boiling point, remove from heat, add the chocolate. Leave aside for 10 minutes. Mix till chocolate is well blended and smooth. Alternately, you could place the cream and chocolate together in a microwave safe bowl and microwave for a few seconds.

  • « Previous Page
  • 1
  • …
  • 33
  • 34
  • 35
  • 36
  • 37
  • …
  • 57
  • Next Page »
Hey Sugar
Cake
Link to my Facebook Page
Link to my Instagram Page
Link to my Pinterest Page
Link to my Mail Page
Subscribe to this site
Fresh Awards
2019 Aus mumpreneur
2019 aus mumpreneur
Mumbrella

Copyright © 2025 · Sugar Et Al · Designed by Smitten Blog Designs · Log in