• Home
  • Recipe Index
    • Recipe Index
    • Breakfast/Brunch
    • Cakes and Puddings
    • Chocolate
    • Cookies and cupcakes
    • Custard and Mousse
    • Gluten Free
    • Ice Cream
    • Mains
    • Other Sweet Treats
    • Snack/Appetizers
    • Soups and Salads
    • Tarts and Pies
    • Vegetarian
  • About
  • Cookbook
  • Portfolio
  • Store
  • Press
  • Work with Me

Sugar et al

Because Life is a blend of flavours...

Layered Strawberry Cake

18|11|2016

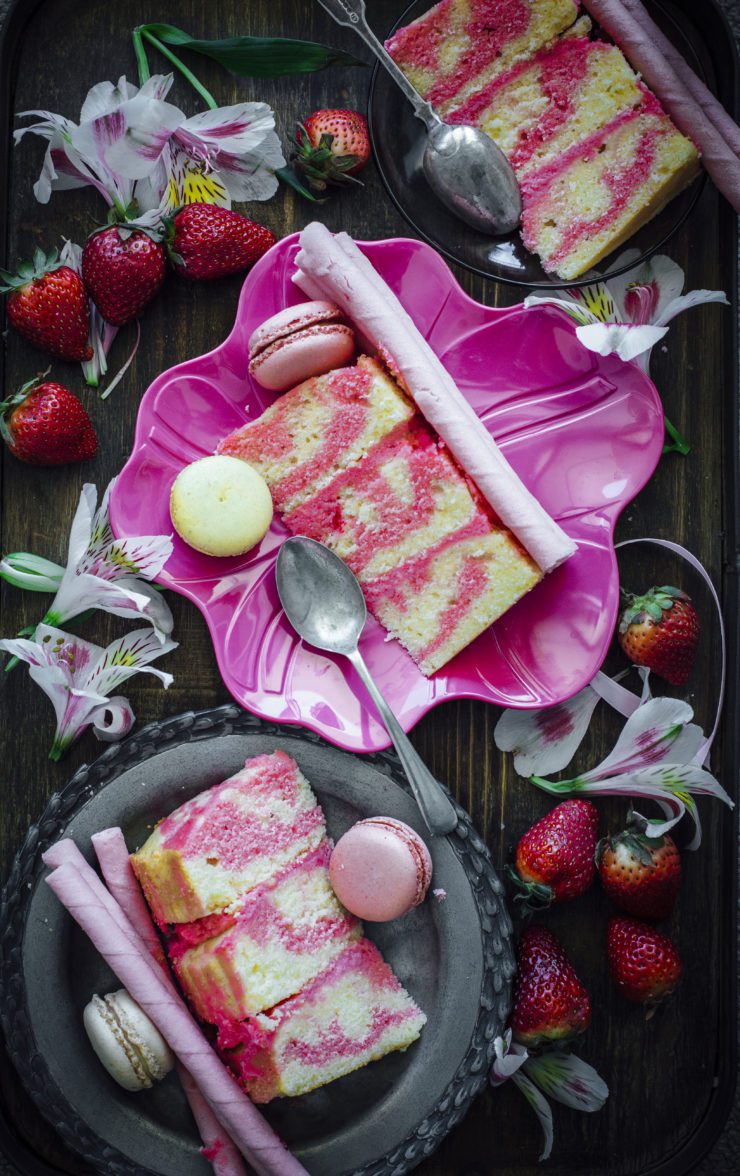
Sydney is so hot at the moment! Even as I write this, I can’t bear to look at the window facing me which is ablaze with the bright sun rays literally blinding my eyes. It’s still Spring technically but every bit like summer. I am still waiting for the stone fruits to arrive, meanwhile there are strawberries. There are always strawberries, whatever the season in Australia which makes life easier for me. Because, who does not love strawberries? Healthy or indulgent..there are a zillion ways of eating them. So this Layered Strawberry Cake aka Strawberry Lovers Cake (because it has all things strawberry in it) is made of a layered strawberry-vanilla marble cake, strawberry mousse, fresh strawberries and strawberry wafers. Besides tasting delicious, it smells so amazing!
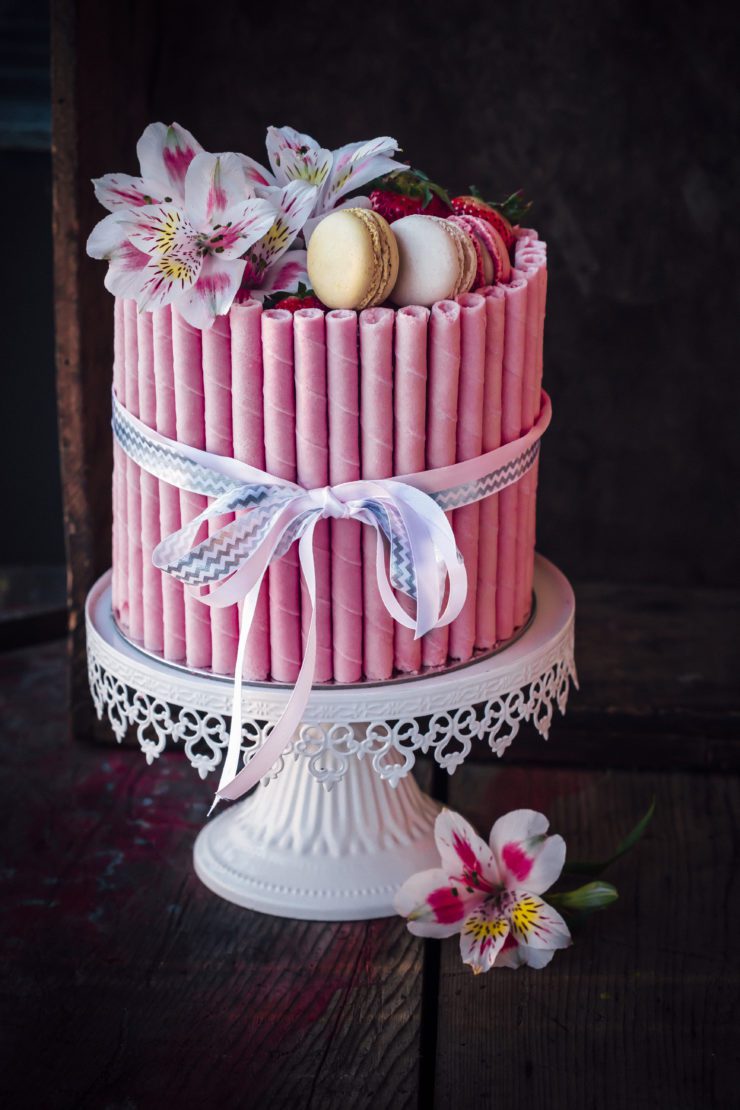
Layered Strawberry cake

For a long time I was intending to make a Charlotte. There is something very delicate about the way different layers of cream/custard, sponge and fruit are encased between a circle of ladyfinger biscuits. Yes, that was the initial intention but as always I got swayed and so much that it just turned out to be another cake with a different kind of filling. These long, thin strawberry wafers  usually arrive during Christmas every year along with all the colourful candies. They were a tad bit too tall for the height of my cakes but filling the top with fresh strawberries made them just the right size for a cake like this. If you are planning on making the Layered Strawberry cake and can’t find the exact wafers, you could use regular wafers as well, but a two-tiered cake would be more suitable.
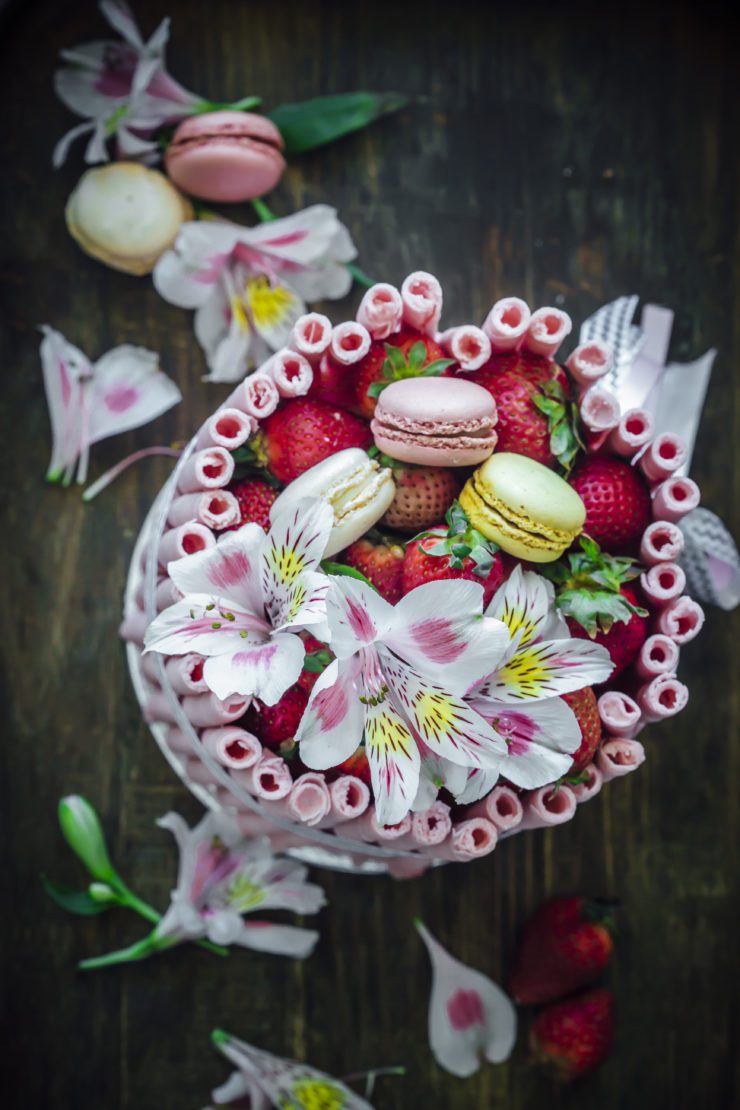
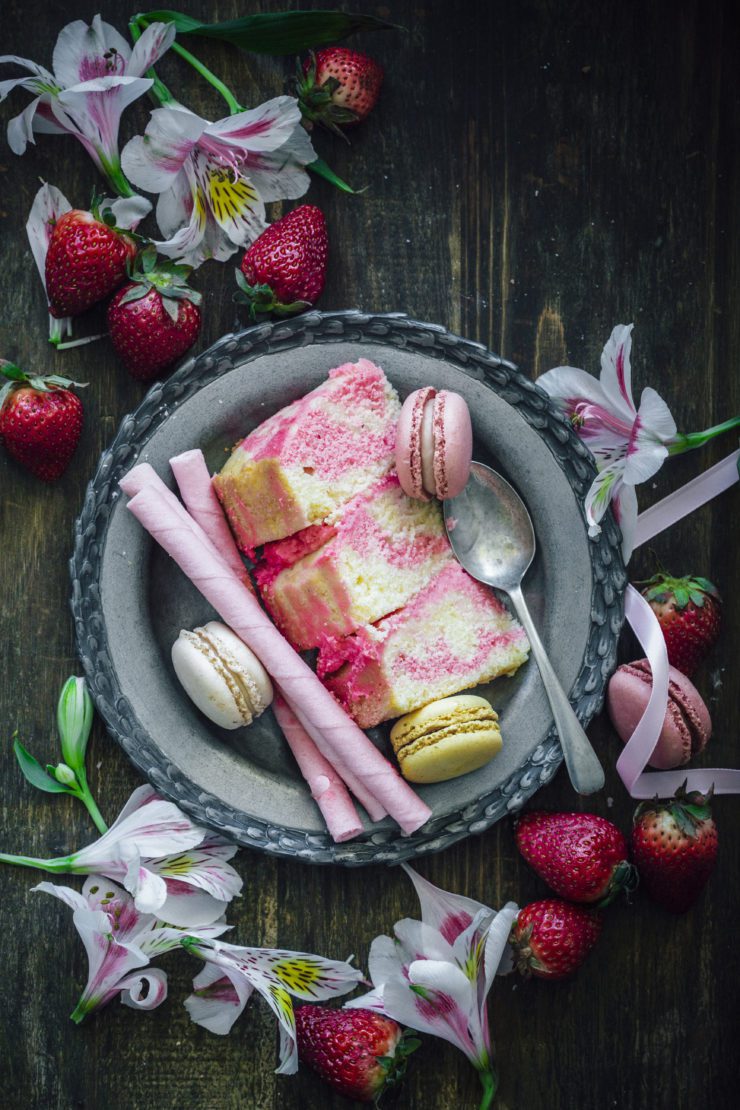
Layered Strawberry cake

Layered Strawberry cake

It is best that the layers are made ahead and assembled on the day of serving the cake. The mousse will hold up at room temperature for a couple of hours only. The other option is to refrigerate the assembled cake but in that case, it’s best to sprinkle the cake layers with some strawberry infused simple syrup to prevent them from drying out. Simple syrup is made by heating equal parts of water and sugar till sugar dissolves completely. The cooled syrup is great for sponge cakes and such when you want them to remain moist for days, especially while refrigerating.
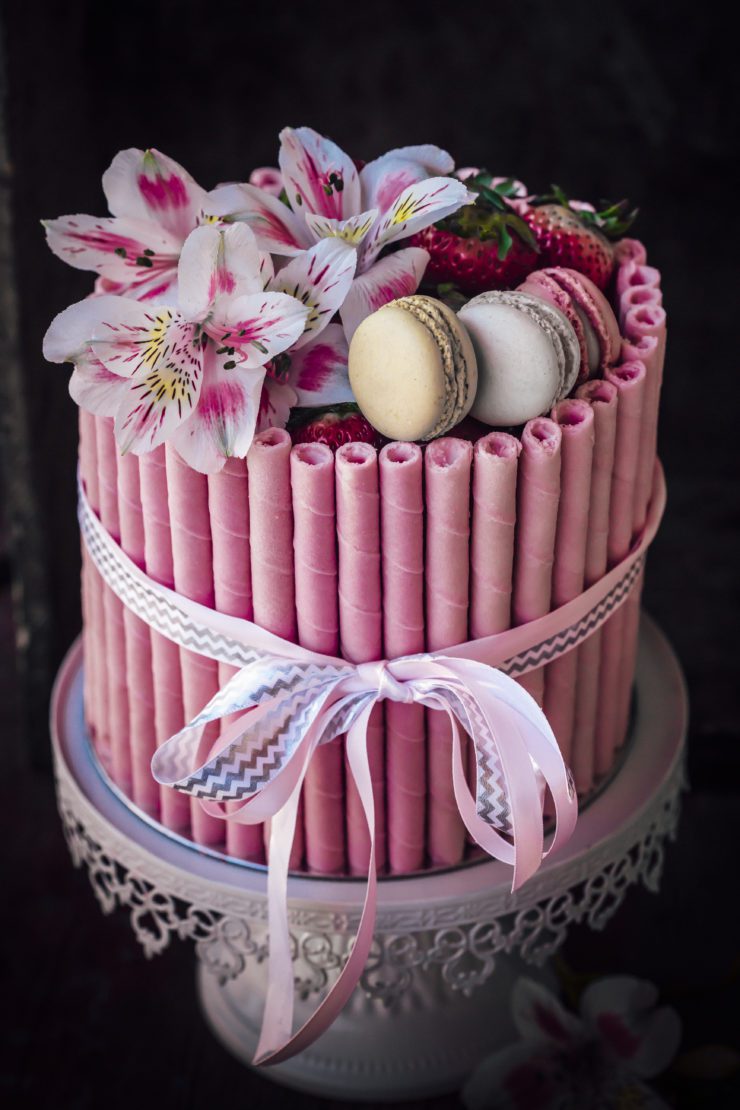
Layered Strawberry cake

Layered Strawberry cake

Layered Strawberry Cake
Makes a 3 layered 6 inch round cake

Strawberry-Vanilla Marble Cake (adapted with slight variation from this recipe)

250 unsalted butter, softened, plus extra for greasing
250 g caster sugar
5 large egg , lightly whisked
2/3 cups (approx 85 g) plain flour
100 g full-fat Greek yogurt
2 cups (approx 250 g) self-raising flour
1/4 cup milk
1 tsp pure vanilla extract
1 tsp strawberry extract
few drops pink food colour

Pre-heat oven to 160 degrees C (140 degrees C for fan forced ovens). Grease 3  round, 6 inch cake tins and line the bases with non-stick baking paper.

Using electric beaters or a tabletop mixer, beat the butter, sugar and ¼ tsp salt together until pale and fluffy, then pour in the eggs, one at a time, giving the mix a really good beating before adding the next. Add 1 tbsp of the plain flour if the mix starts to look slimy rather than fluffy. Beat in the yogurt.

Mix the flours; then, using a large metal spoon, fold them into the batter, followed by the milk. Remove half the mixture into a different bowl. To the existing bowl of batter add the vanilla extract. To the second bowl add the pink food coloring and strawberry extract and mix till blended. Spoon and divide the mixtures equally among the three tins and swirl with a long wooden skewer to create the marble effect. Bake the batter for 30-40 mins or until well risen and golden – a skewer inserted into the middle should come out clean.

Cool the cakes for 15 minutes in the tin. Then turn onto a wire rack to cool completely. Spread a think layer of mousse between the cake layers. Lightly frost the outside of the cake with the mousse and quickly place the wafers around it for them to stick to the cake. Top with fresh strawberries. Decorate with flowers and macarons.

Strawberry Mousse (adapted from here)
1 sachet (7 g) unflavored gelatin
2 cups fresh strawberries, sliced
1/4 cup castor sugar
1 cup whipping cream

Sprinkle gelatin over 1/4 cup water in a small bowl; let stand 5 minutes. Process 2 cups sliced strawberries and 1/4 cup granulated sugar in a blender or food processor until smooth, stopping to scrape down sides as needed. Transfer strawberry mixture to a small saucepan; bring to a boil over medium-high heat. Remove from heat. Add gelatin to strawberry mixture, stirring constantly until gelatin dissolves. Cover and chill until consistency of unbeaten egg whites, stirring occasionally (about 30 minutes).

Beat cream at low speed until foamy; increase speed to medium-high, and beat until soft peaks form. Fold whipped cream into strawberry mixture until well blended. Cover and chill 30 minutes or just until mixture is thick enough to hold its shape when mounded.
Kirsten Tibballs’ Milk Chocolate Mousse Cups

10|08|2016

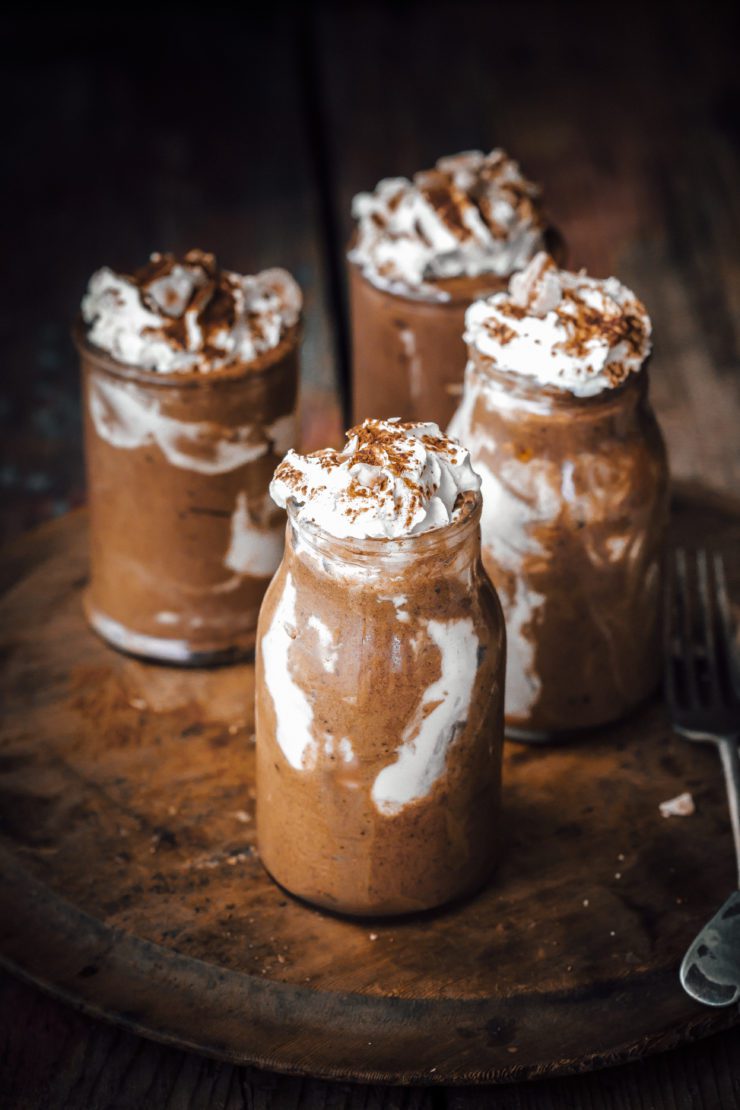
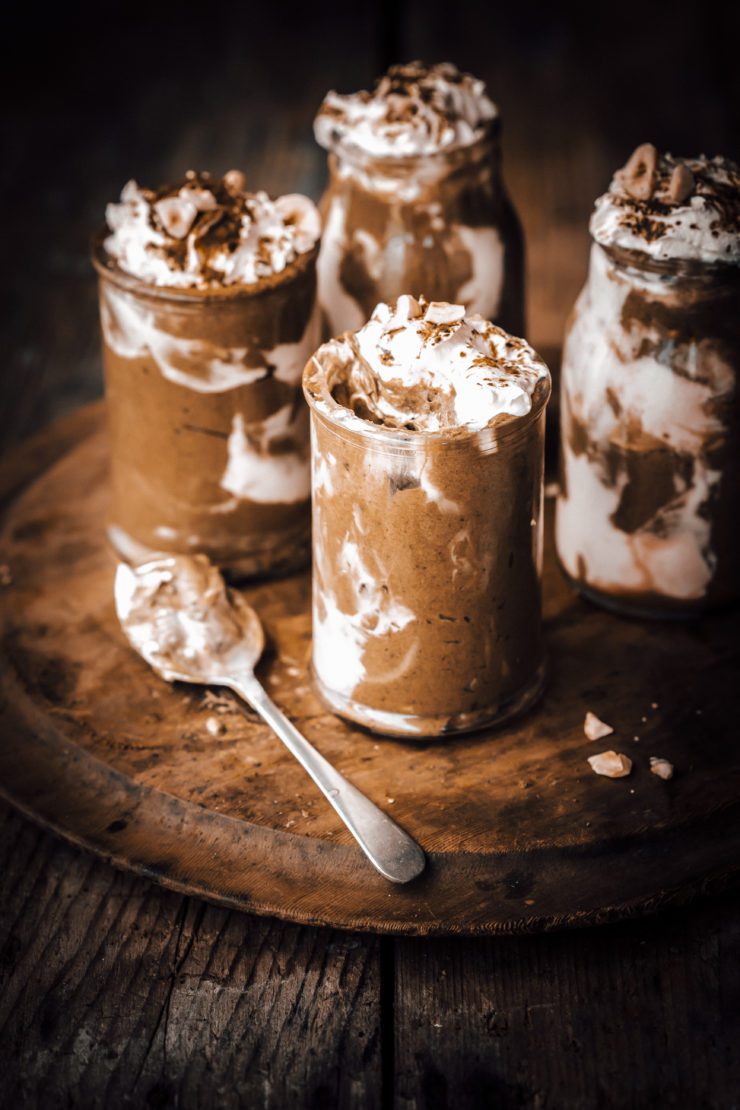
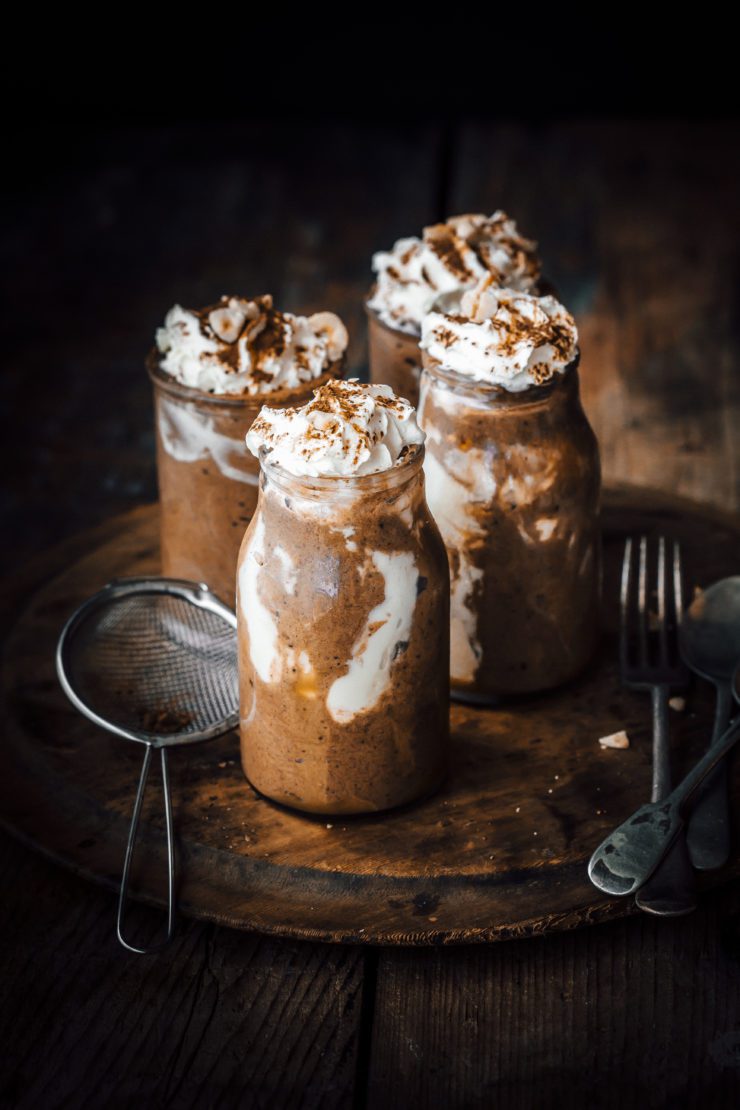
Jars of milk chocolate mousse, roasted hazelnuts, layers of caramel and dollop cream. Recipe by Kirsten Tibballs. 

589A2529

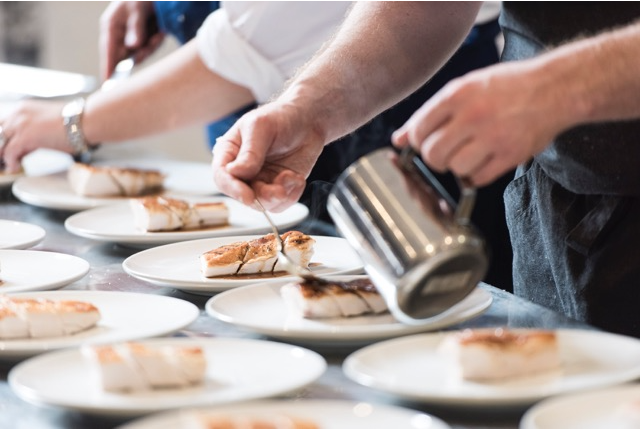
A few weeks ago, I had the incredible pleasure of meeting one of my favourite food heroes, Kirsten Tibballs at the Bulla Chef’s table. The event was hosted and organised by Bulla Dairy foods, a major Australian dairy company to celebrate their award winning chef ambassadors Guillaume Brahimi, George Calombaris and Kirsten Tibballs. I had the wonderful opportunity of meeting them alongside other food industry personalities and dining with them. The menu was created by the chefs inspired by their favourite Bulla cream. The entire setup was gorgeous, the menu, exquisite but the highlight of the day for me was to discover that my seat was right next to Kirsten Tibballs. Oh my God (insert face with open mouth emoji)! I got to chat with her about different aspects of the pastry world and she was just wonderful!

Elston Room 2

Barossa Valley chicken

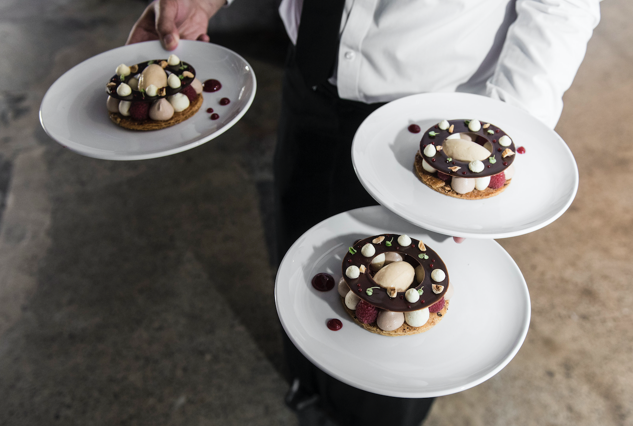
chocolate. raspberry & cream mille feuille

Chef ambassadors & Bulla representatives

Kirsten Tibballs, as you might already know is popularly referred to as the ‘queen of chocolate’. She is one of Australia’s most celebrated and internationally respected pastry chefs and chocolatiers. She was in fact, recognized as the best in the world for her handmade chocolates at the World Pastry championships in Las Vegas. That was just another addition to the innumerable accolades she has won around the world. Have a look at her renowned pastry school Savour, and you will know what I mean. Well, lucky me and now, lucky you that she has generously shared her decadent, outright delicious yet simple to make Milk Chocolate Mousse Cups recipe exclusively for Sugar et al. readers. I had requested for a simple yet decadent chocolate recipe to share with you guys and I was thrilled with this one.

589A2532

Chocolate Mousse is loved around the world but many find it tricky to make at home as it involves separating egg, making custard or use of gelatine. This recipe has no eggs or gelatine in it. It is as simple as whipping and mixing. The taste is to-die-for! Seriously, so little effort and such an impressive dessert! What can go wrong with chocolate, cream, caramel and hazelnuts? Make it and you can thank Kirsten later:-)

589A2537

Sugar et al would like to thank Bulla Dairy Foods and Mkt Communications for the invite and excellent hospitality, La Tessa Photography for the images at the event and Kirsten Tibballs for her fabulous recipe. As always, all opinions expressed in this post are entirely my own.

Kirsten Tibballs’ Milk Chocolate Mousse Cups

Makes 6-7 mousse cups

Caramel

Ingredients:
120 ml Bulla Thickened Cream
200 g brown sugar
70 g unsalted Butter
Pinch of salt

Method
1. Boil the cream and sugar for approximately 5 minutes, stirring regularly
2. Then add in the butter and salt

Roasted Hazelnuts

Ingredients:
60 g Hazelnuts

Method:
1. Pre-heat oven to 160°C
2. Roast the hazelnuts in the oven for approximately 15 minutes or until golden brown
3. Remove the skins if necessary and roughly chop them

Milk Chocolate Mousse

Ingredients:
100 ml water
100 g caster sugar
2 tbsp of honey
300 g milk chocolate
200 ml Bulla Thickened Cream

Method:
1. Boil the water, caster sugar and honey together then pour over the roughly chopped milk chocolate and whisk to combine
2. Cool the ganache slightly until it is no longer warm when you touch the bowl.
3. Place the Bulla Thickened Cream into a bowl and semi-whip it until it has some body but still collapses.
4. Fold the semi-whipped cream through the chocolate base with a spoon until combined.

Assembly

Ingredients:
2 tubs of Bulla Dollop Cream

Method:

1. Pipe chocolate mousse into the base of the cups about one third of the way.
2. Cover with a spoon of dollop cream, sprinkle with roasted hazelnuts and drizzle with caramel.
3. Repeat the process until the jar is full
4. Finish with Dollop cream, chopped hazelnuts and drizzled caramel.


Peanut Butter Mousse And Raspberry Chia Jelly Trifle

16|06|2016

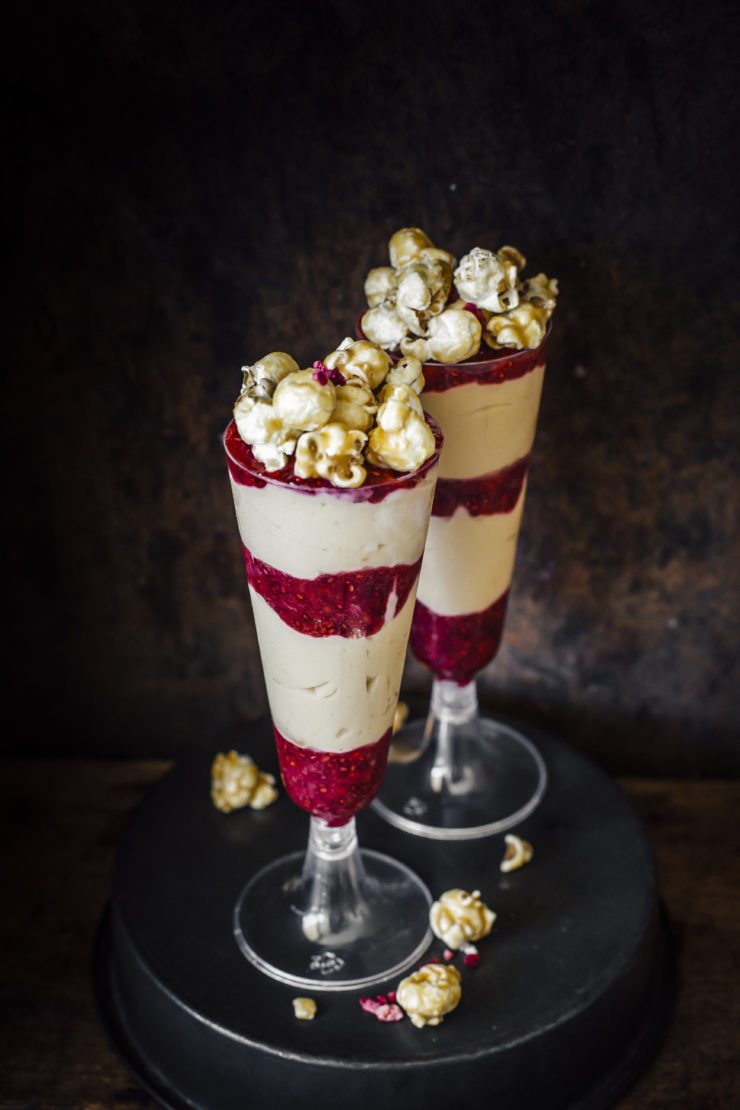
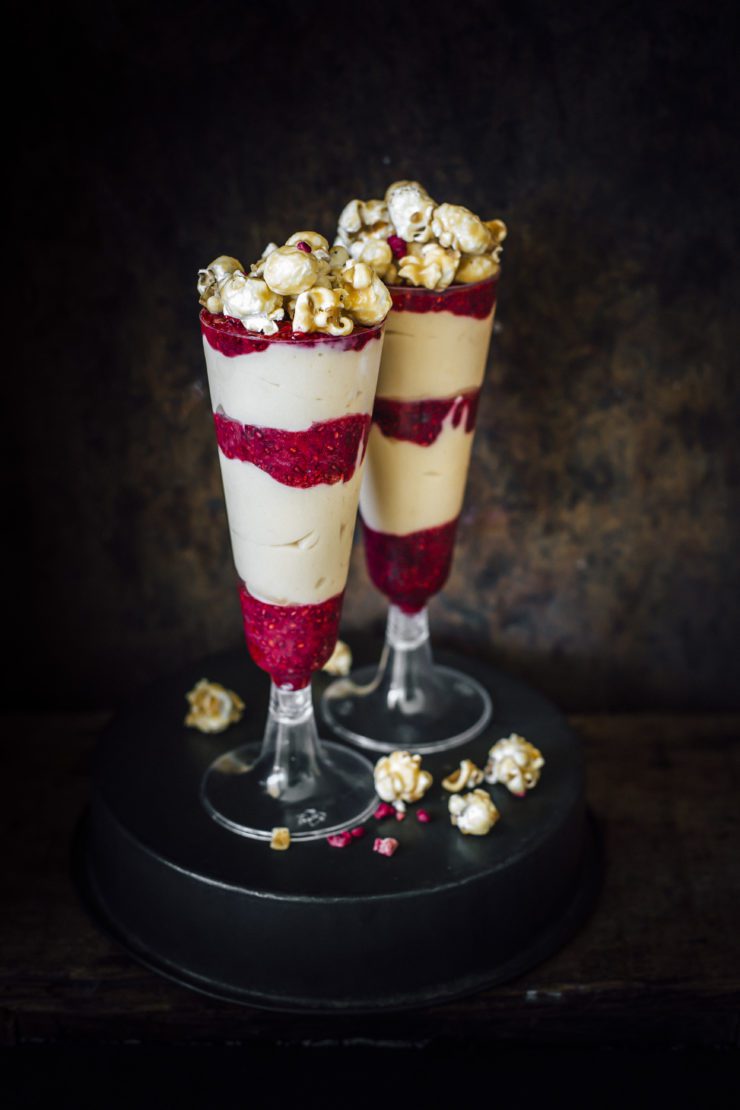
Peanut Butter and Jelly!! I know you, you and you do it but in my defence, I have not grown up eating peanut butter nor is it very popular in my side of the world. But though I discovered this totally mind blowing, delicious and addictive combo late in life, I just feel now that I should compensate by putting it into everything I am making. I have a silly logic that anything that tastes great should be turned into mousse. So that’s what I did! I did not use eggs in the recipe as the peanut butter and cream whipped together are fluffy and intense enough to hold together with no compromise on taste.

Peanut Butter Mousse And Raspberry Chia Jelly Trifle

My boy’s school does not allow for nuts or nut based food to be taken to school so peanut butter is making it’s way into their afternoon snack when they get home. My favourite part is the texture of the jelly on account of the chia seeds. It’s amazing! Chia seeds are great for everyone and this is a good way of including them in your diet. I have substituted the sugar in the jelly with maple syrup to make it a bit healthy. You could replace it in the mousse as well if you like. The jelly is such a versatile thing that I can think of so many amazing combinations to go with peanut butter. Pomegranate comes to my mind first. What are your favourite jelly flavours with peanut butter?

Peanut Butter Mousse And Raspberry Chia Jelly Trifle

Peanut Butter Mousse and Raspberry Jam Trifle

Makes 2-3

Peanut Butter Mousse

1/2 cup smooth peanut butter
3/4 cup heavy/thickened cream
1/4 cup castor sugar (more if you like it sweeter)

Raspberry Chia Jelly

1 cup raspberries(I used frozen)
2 tbsp water
1 tbsp chia seeds
2 tbsp maple syrup (or honey)

To make the Peanut Butter Mousse In the bowl of your stand mixer or with an electric hand mixer, whip the cream and sugar until thickened and just about to form stiff peaks. Add the peanut butter and whip again at low speed for a few seconds till no white streaks appear and the mixture has blended well.

To make the Raspberry Chia Jelly :Place all the ingredients into a medium saucepan over low heat. Bring to a boil. Add a little more water if required. Once the mixture starts bubbling, whisk constantly till mixture is thickened. Remove from heat and let cool completely. The jelly will thicken further upon cooling.

To assemble: Layer the peanut butter mousse and raspberry chia jelly in serving glasses (as shown in the photos) alternating with each other. Serve with caramel popcorn or shaved chocolate or fresh raspberries.

Rose And White Chocolate Mousse

21|05|2016

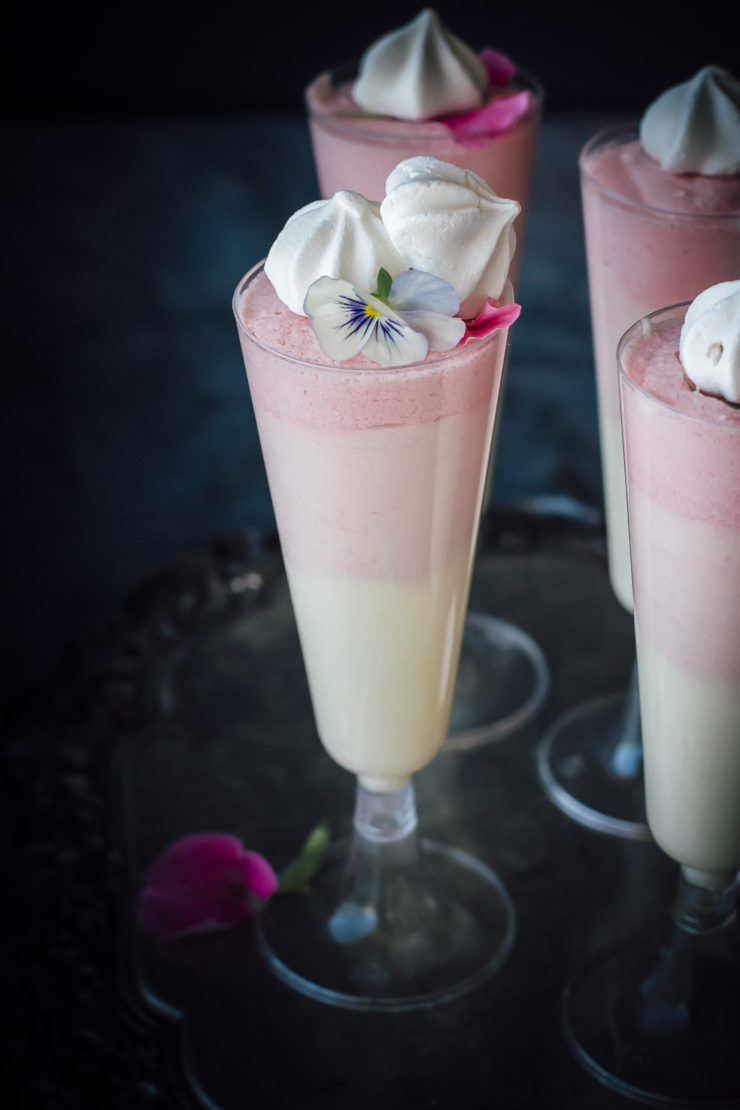
There are few things in life as exquisite as a tall glass of luscious chocolate mousse. It is one of those things that may not really be hard to whip up, but not many would do it at home. Nothing makes my friends more happy than the mention of mousse for dessert. Many years ago I used to dream of owning a mousse shop that would sell every flavour of mousse under the sun. I also set out to test recipes and flavors. The testing continued even as of today but the mousse shop of my dreams was long forgotten. Much the same way the cupcake shop, a cake shop, a handmade chocolate shop, candles,  flowers, a store all about cake decorating tools came about existing and then disappeared. In my dreams:-) Who said life doesn’t give you options! There are so many to choose from. I tell my husband that maybe some day I’ll bundle everything together and open up a store. Even if it doesn’t have all of it, mousse is definitely going to be there. Rose flavoured mousse will be on top of my list.

Rose And White Chocolate Mousse

If you have been following me on Instagram, you might have heard me ranting all the time about my obsession with rosewater. That bottle occupies a place on the top rack of my cupboard at eye level. The only others that share that space are milk and white chocolate, orange blossom water, culinary lavender, gold dust and some cupcake decorating items. So basically these are my absolute favorite things.  I have quite a few mousse recipes on the blog but not with white chocolate. Also, all my recipes until now are egg yolk based as I am a fan of the rich, decadent mousse variety. This one is different. This chocolate mousse is actually easier to make and uses egg whites only. The rest is just cream, white chocolate, rosewater and sugar.

Rose And White Chocolate Mousse

Rose And White Chocolate Mousse

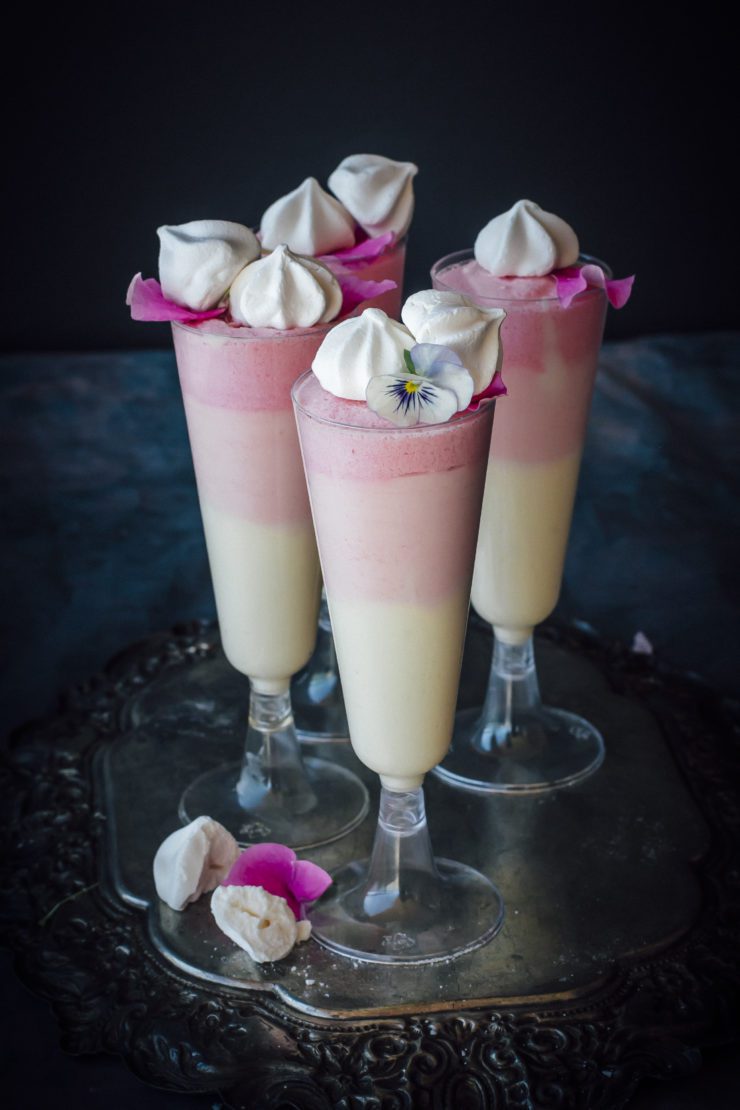
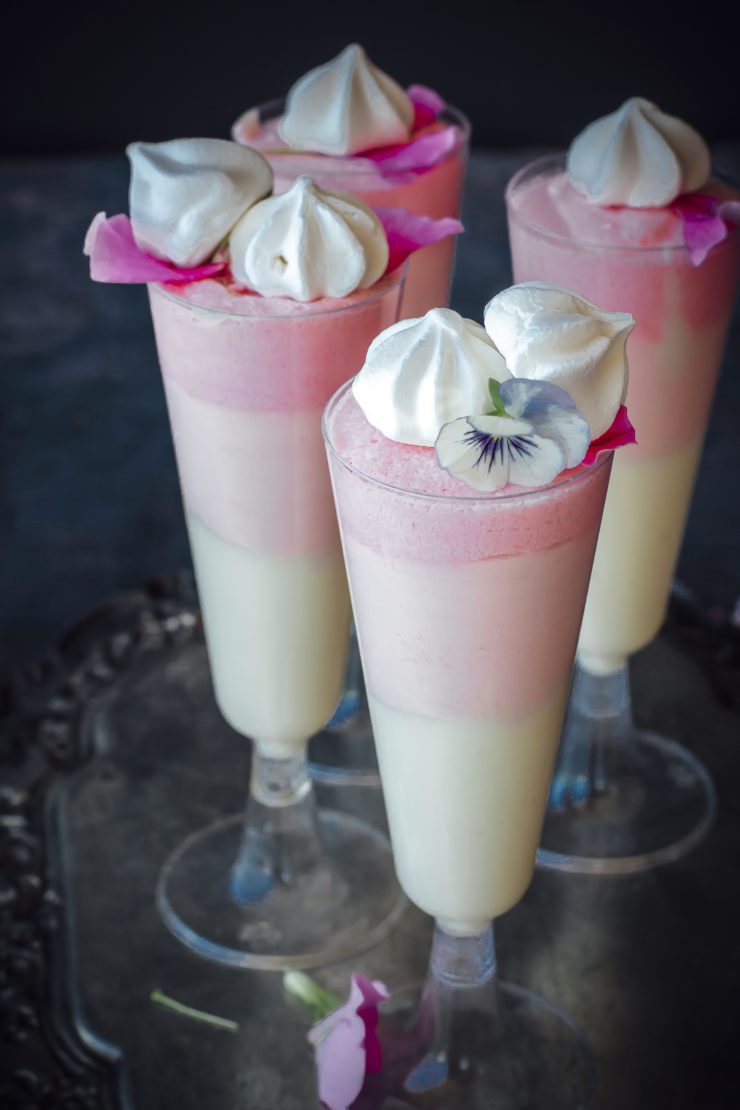
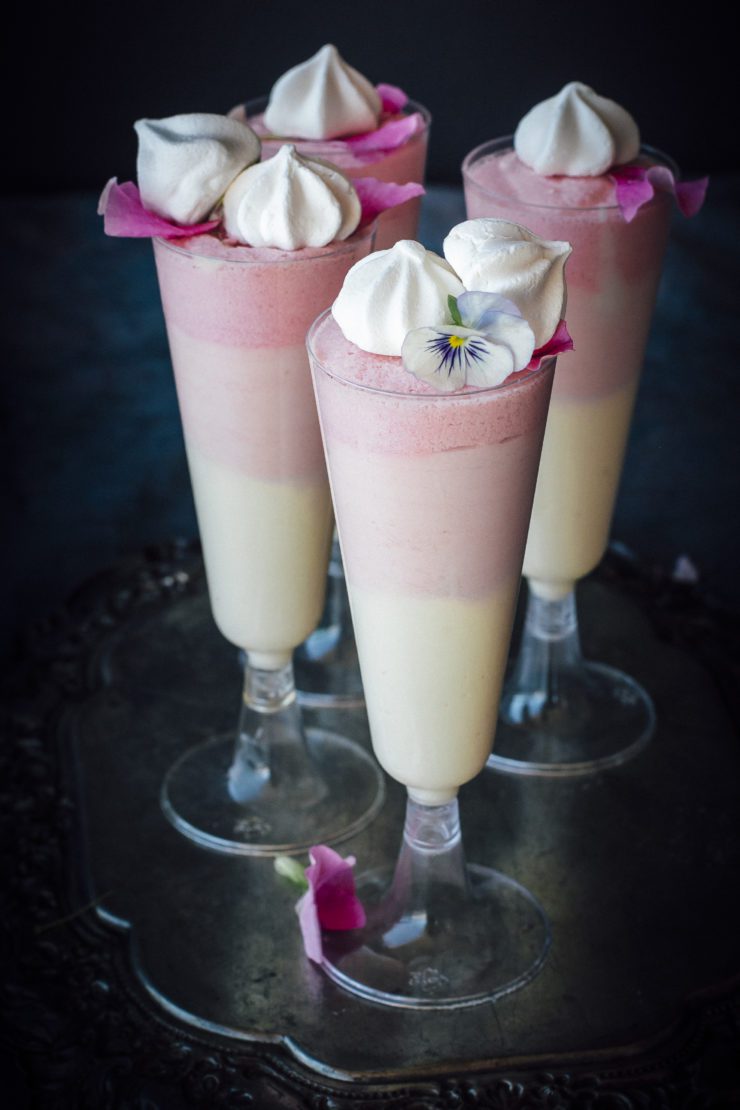
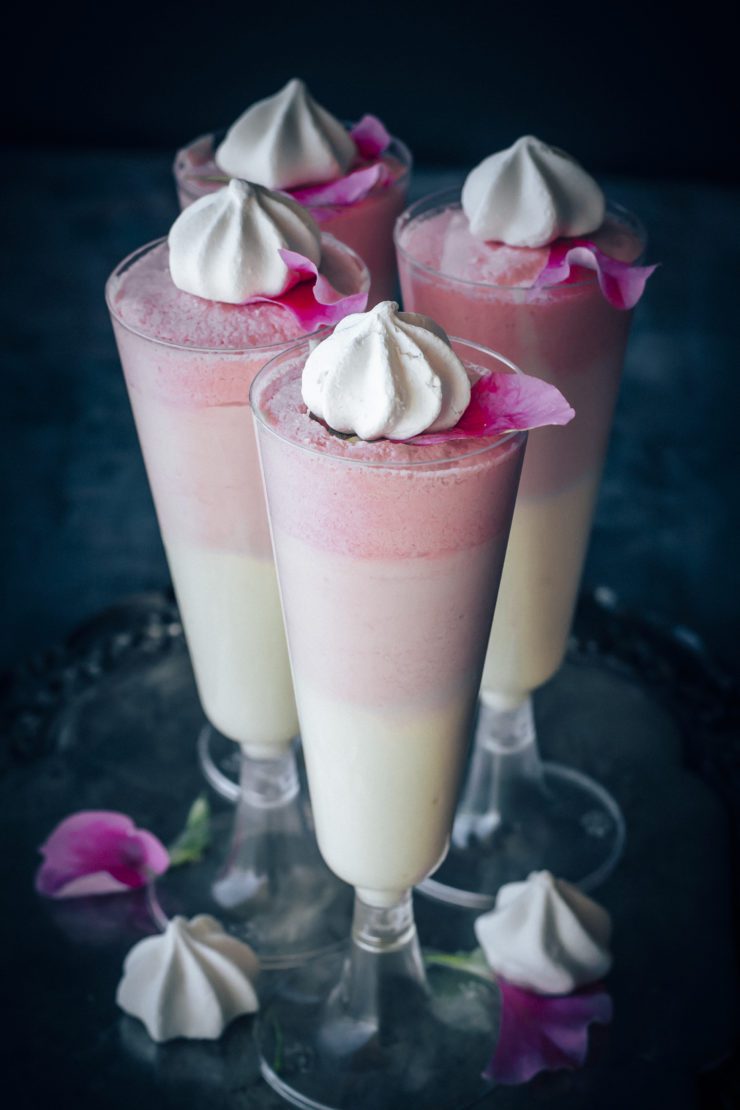
To get the ombre effect, once I whipped up the mousse, I divided them into 3 bowls and tinted them with pink food colour. I think the appearance of the mousse takes it to a different level. If you are not fond of white chocolate, I would recommend adding a bit of orange zest or orange liquor (or even lemon) or fresh berries or anything tart to cut down the sweetness. This is one dessert that is really sweet (typical of white chocolate). If you are fond of white chocolate, you are in for the biggest treat of your life!

Rose And White Chocolate Mousse

Rose And White Chocolate Mousse

Rose And White Chocolate Mousse

Rose And White Chocolate Mousse 
Serves 4 

Place the chocolate in a heatproof bowl over a saucepan half-filled with simmering water (make sure the bowl doesn’t touch the water). Use a metal spoon to stir for 3-4 minutes or until the chocolate melts. Remove from heat.

Use an electric beater to beat the egg whites in a medium, clean, dry bowl until firm peaks form. Add half the sugar and beat until the sugar dissolves. Add the remaining sugar and beat until glossy. Add the cream and beat until the mixture thickens. Add the white chocolate and rosewater and use a metal spoon to fold until just combined.

Divide the mixture between two or 3 bowls and tint with a desired shade of food colour (preferably pink since we are using rose). Layer them in serving glasses pouring each layer gently so as not to deflate the mousse. Place in the refrigerator to set for about 3-4 hours.

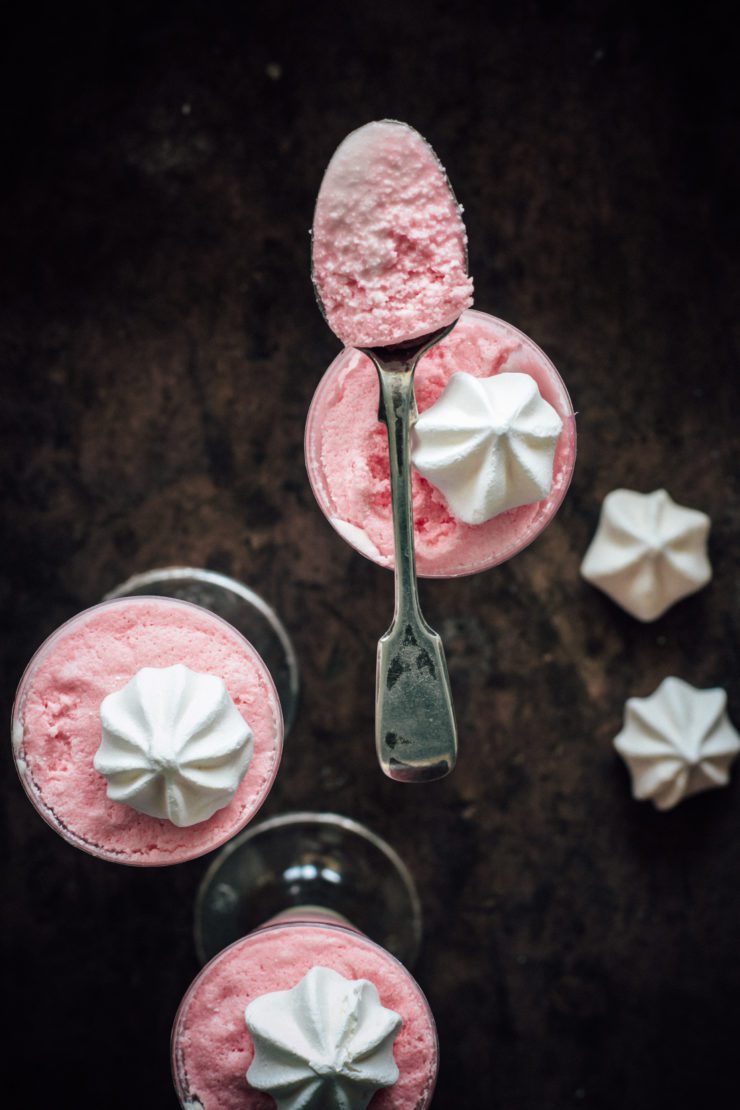
Serve with shaved white chocolate, candied rose petals or meringues.


  • « Previous Page
  • 1
  • 2
  • 3
  • 4
  • 5
  • Next Page »
Hey Sugar
Cake
Link to my Facebook Page
Link to my Instagram Page
Link to my Pinterest Page
Link to my Mail Page
Subscribe to this site
Fresh Awards
2019 Aus mumpreneur
2019 aus mumpreneur
Mumbrella

Copyright © 2025 · Sugar Et Al · Designed by Smitten Blog Designs · Log in