So, we are well into Autumn! There are no color changing maple leaves where I live. The sun hasn’t started to set earlier either. There is a very slight chill in the morning. But it is still Autumn. Because it is no longer summer. Because the beautiful raspberries, nectarines and plums are getting replaced with apples and oranges. I will be waiting a long wait before I play with them again. The change of the seasons, more specifically the end of summer does have a slight depressing effect on me. It could have something to do with my love for colors and my need for sunshine. It could also have to do with the other side of the world, where nature is presenting itself in the form of my favorite produce.
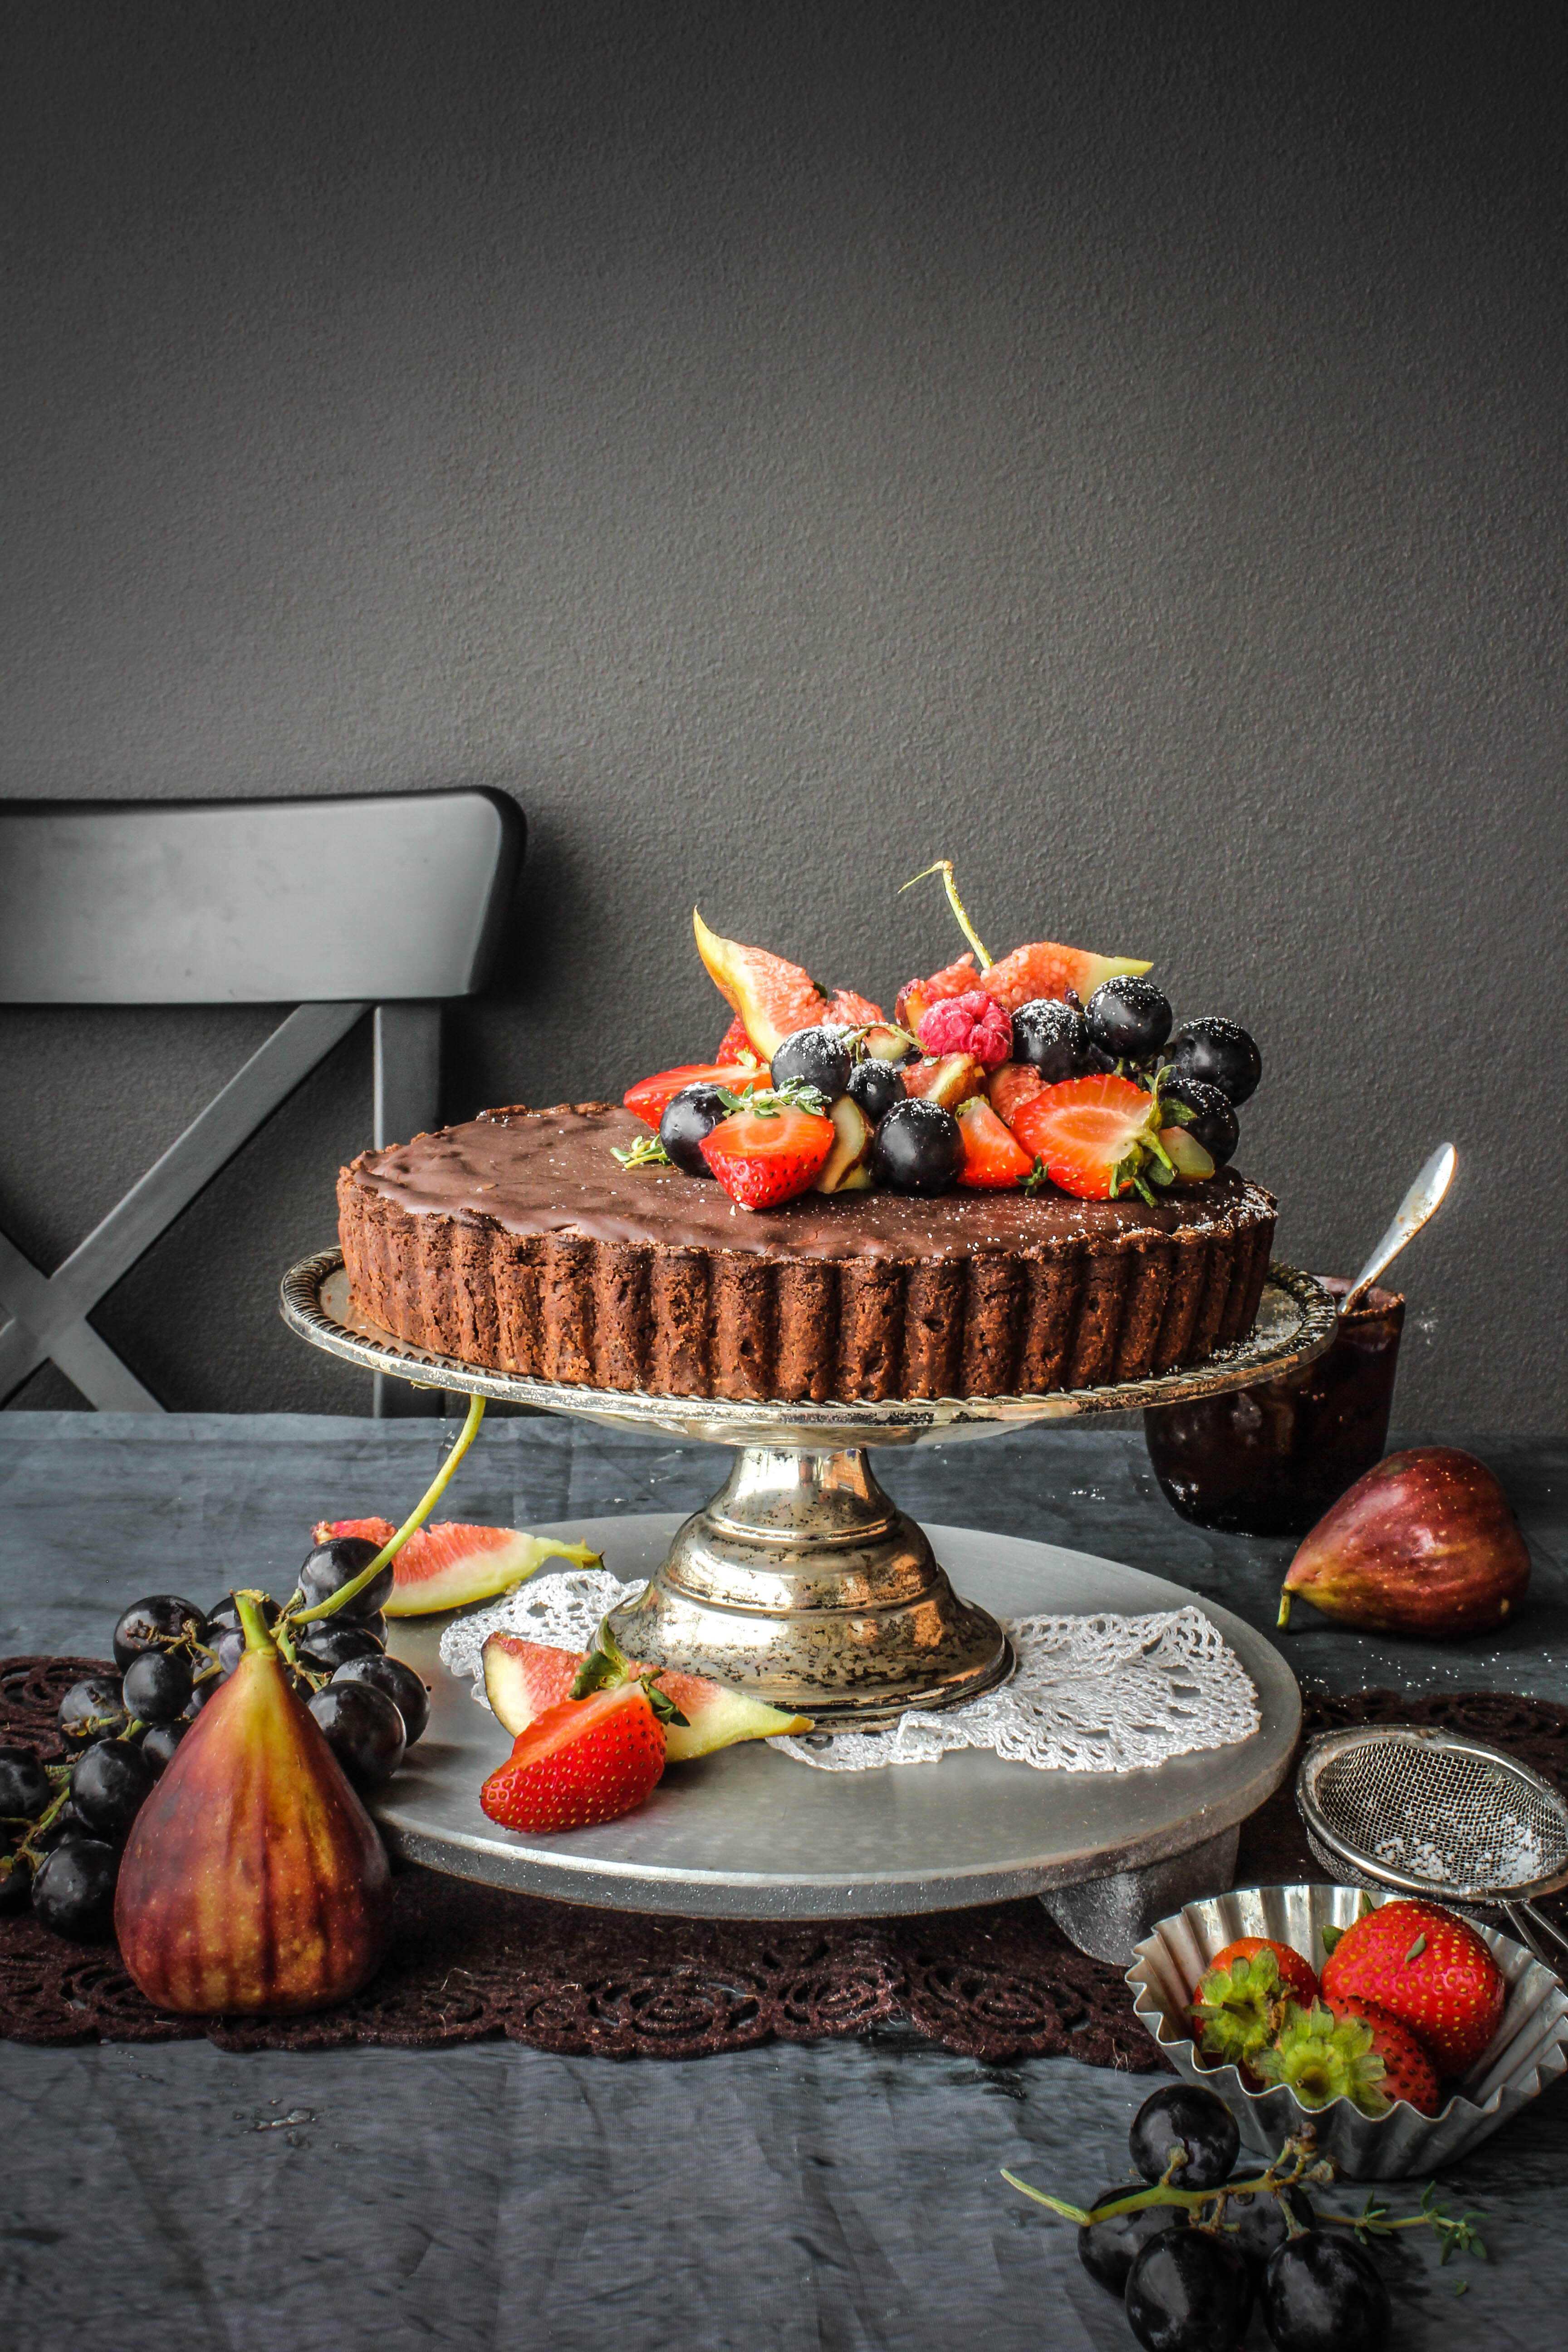
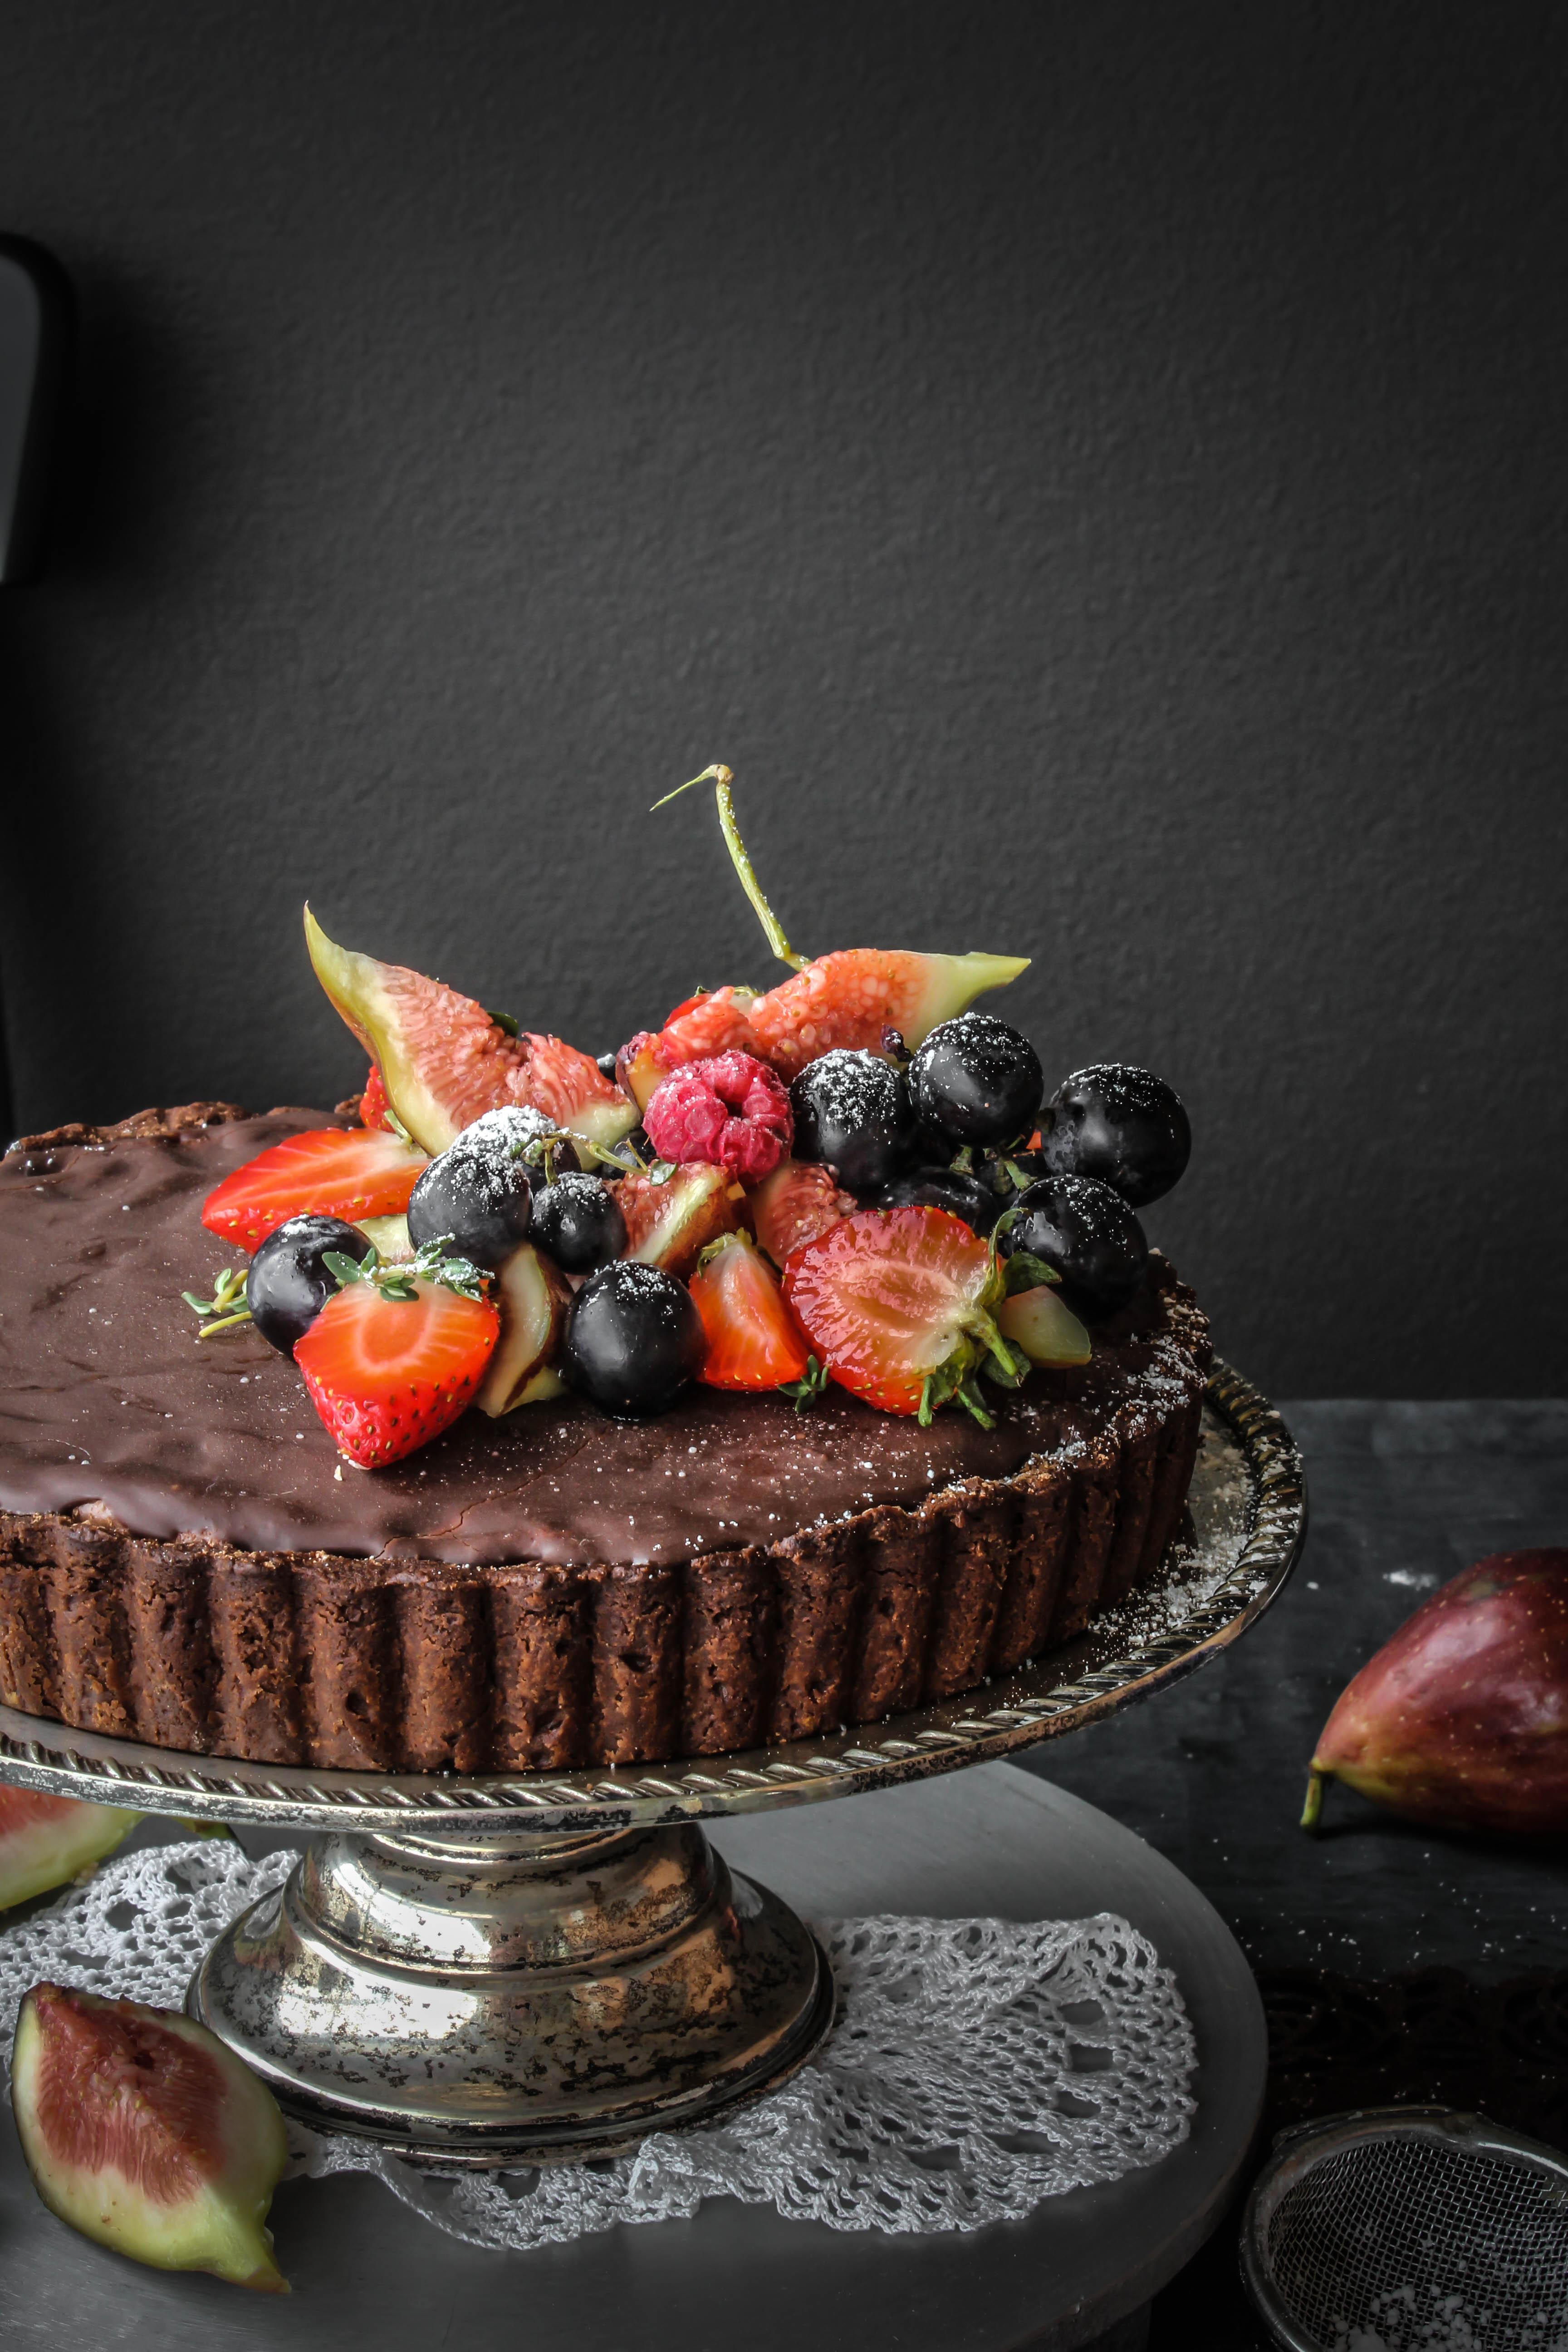
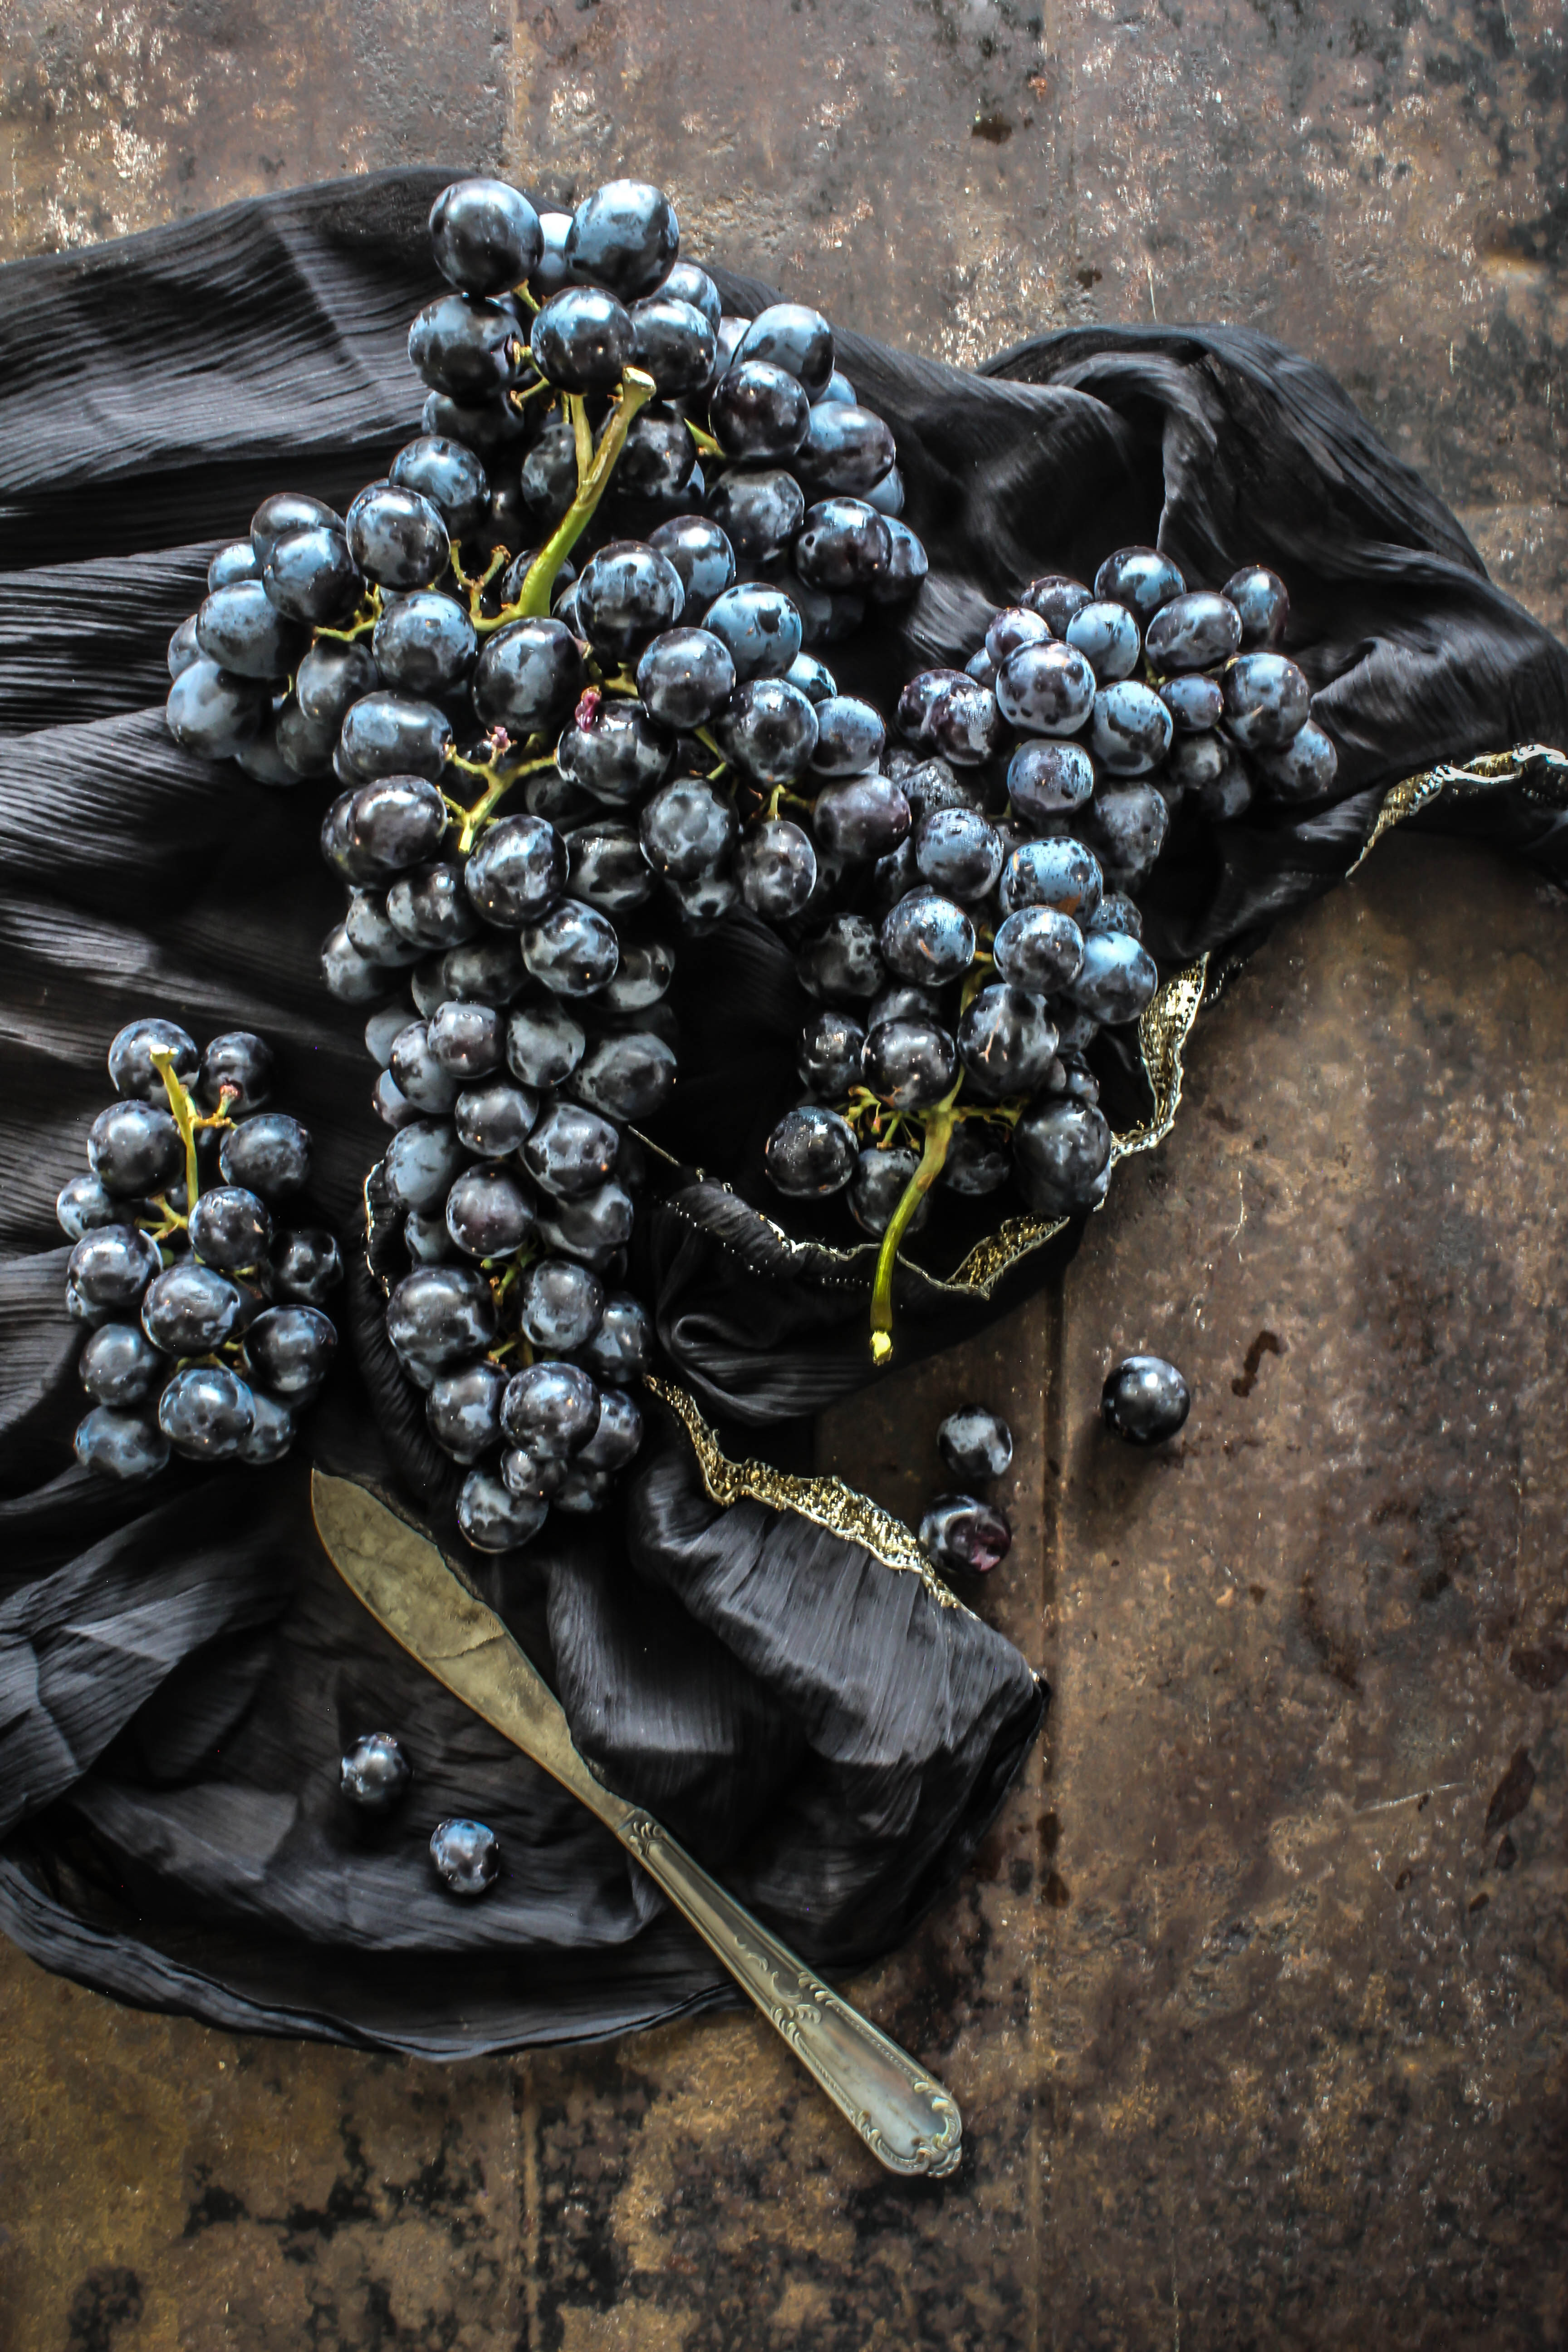
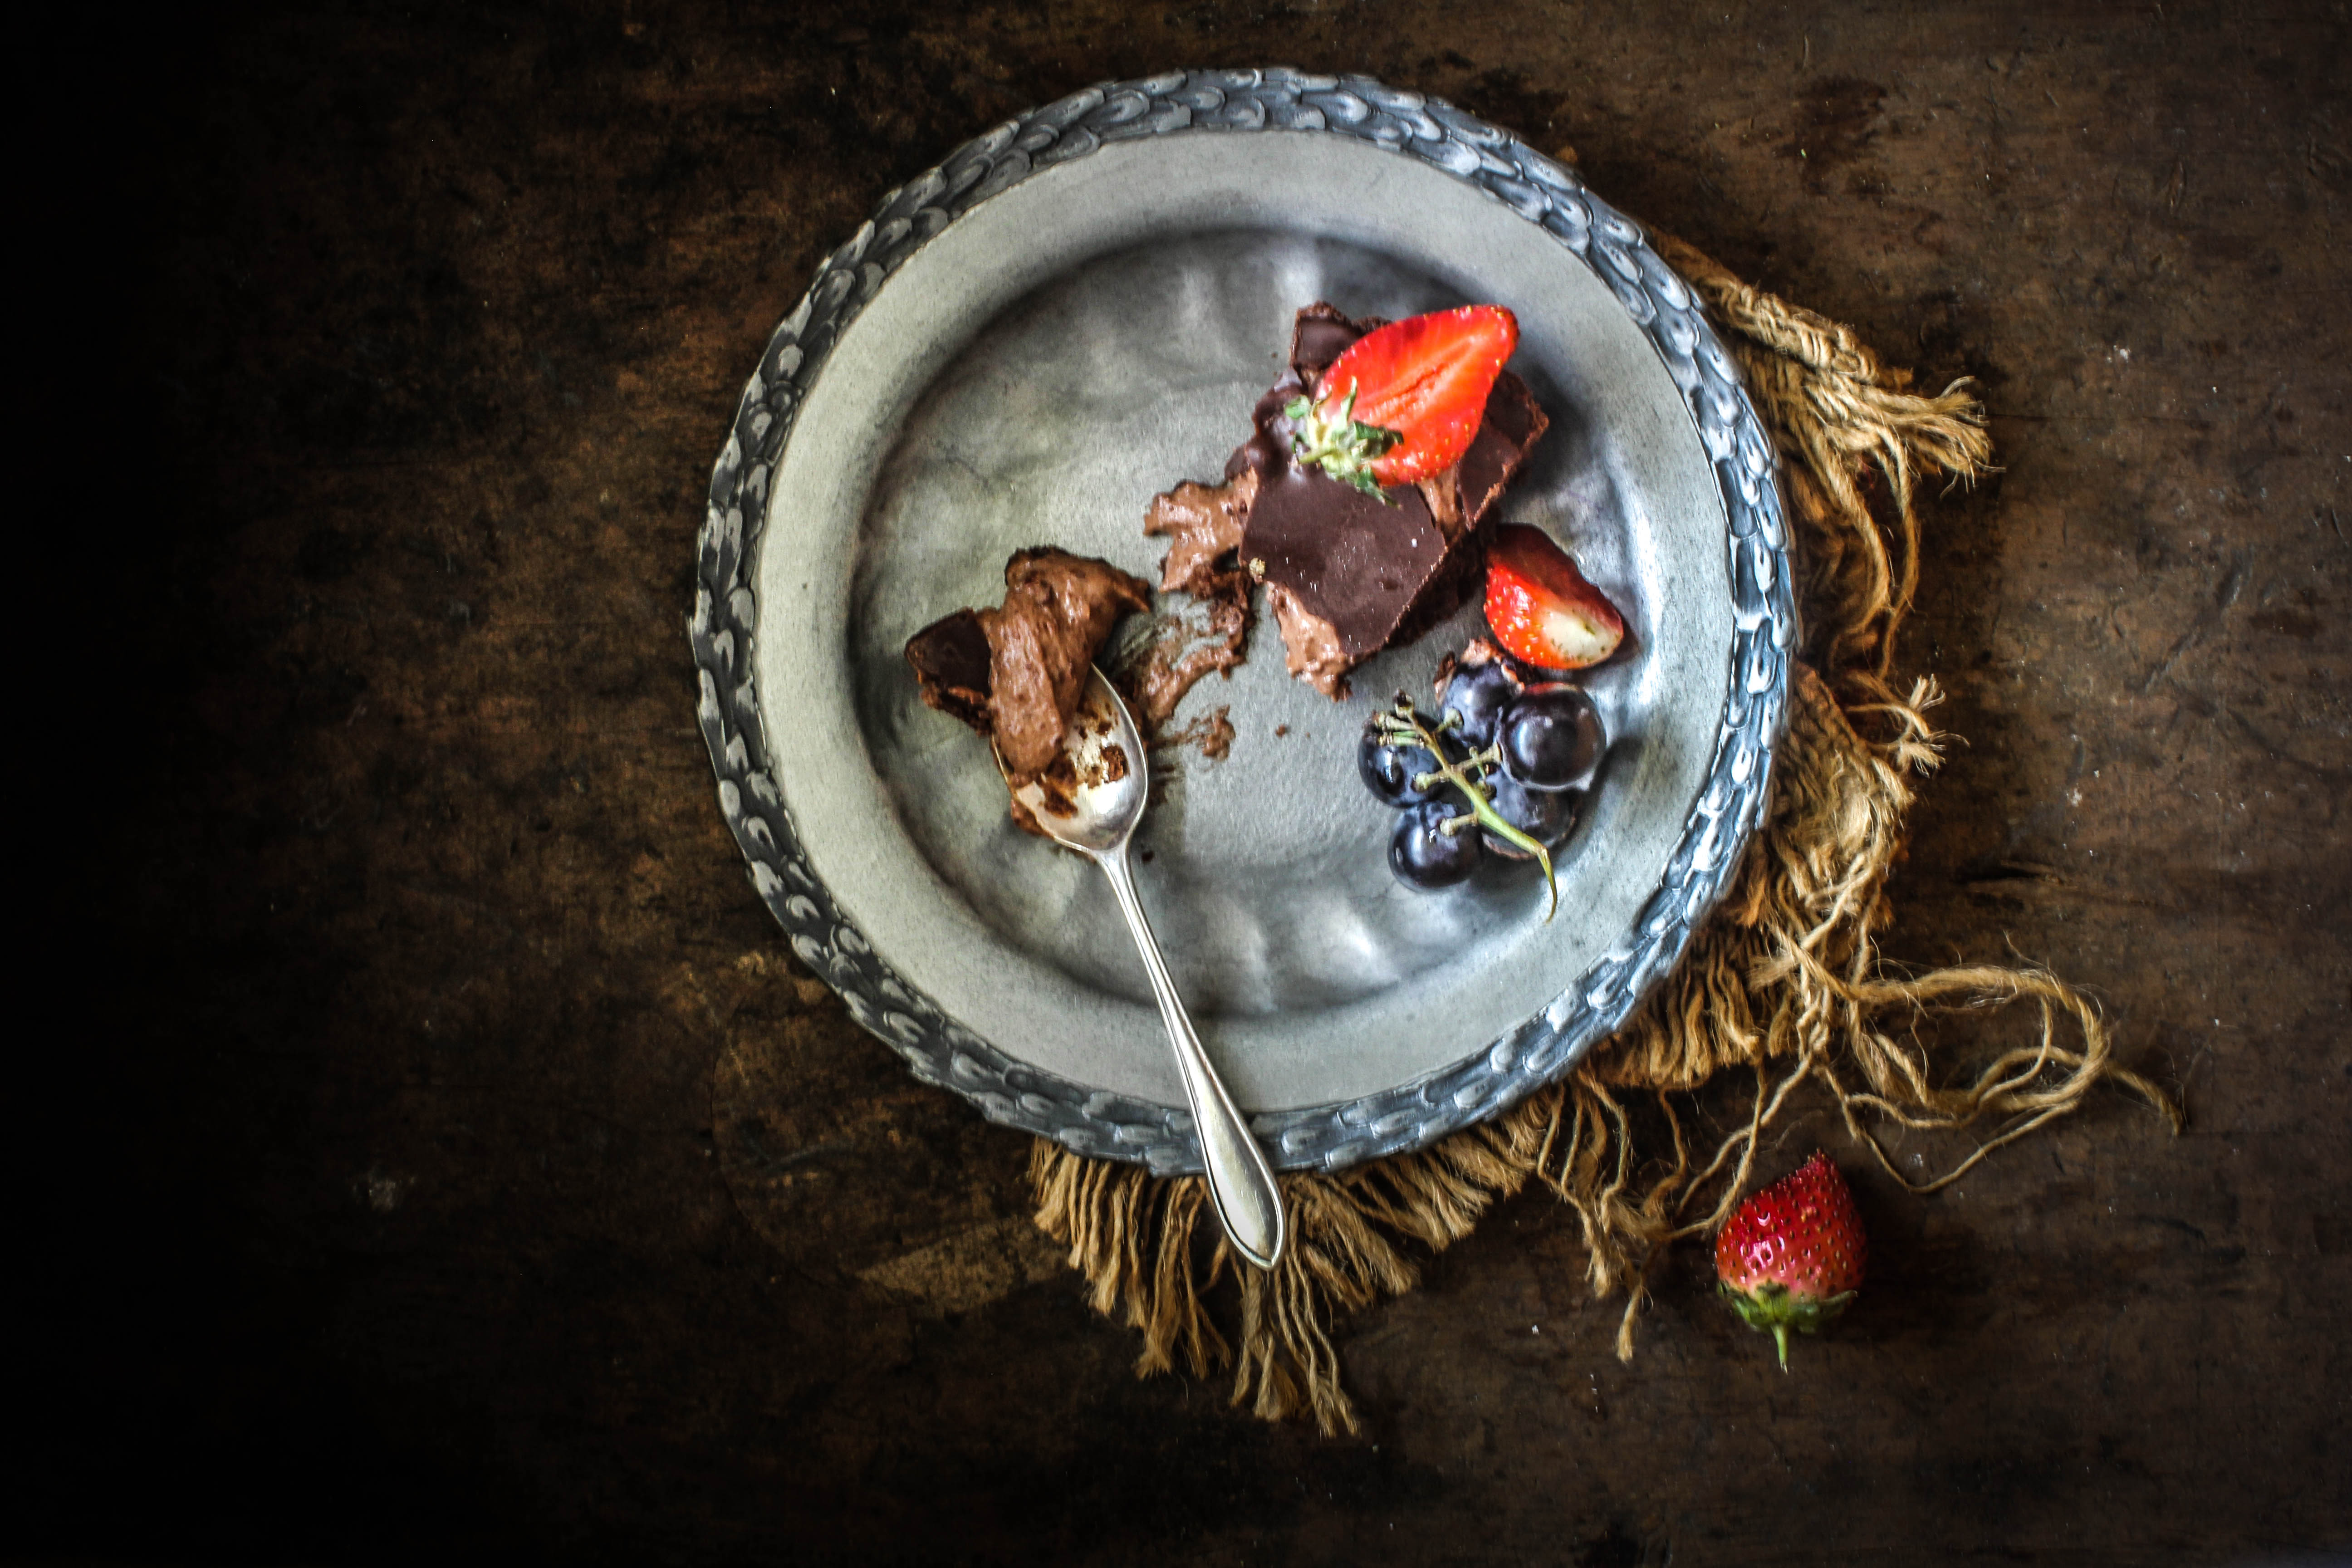
This cheesecake tart is once again one of those excuses for me to get hold of the last summer produce and lay them out generously on the top. I wanted a nice crumbly chocolate-y crust and a rich filling to complement the fruits. I fully baked the shell till it was nice and crisp and then added the cheesecake filling. Once the filling was set, I poured chocolate ganache on top for another layer of chocolate indulgence. So, three layers of chocolate and some gorgeous berries, grapes and figs and you have an impressive dessert.
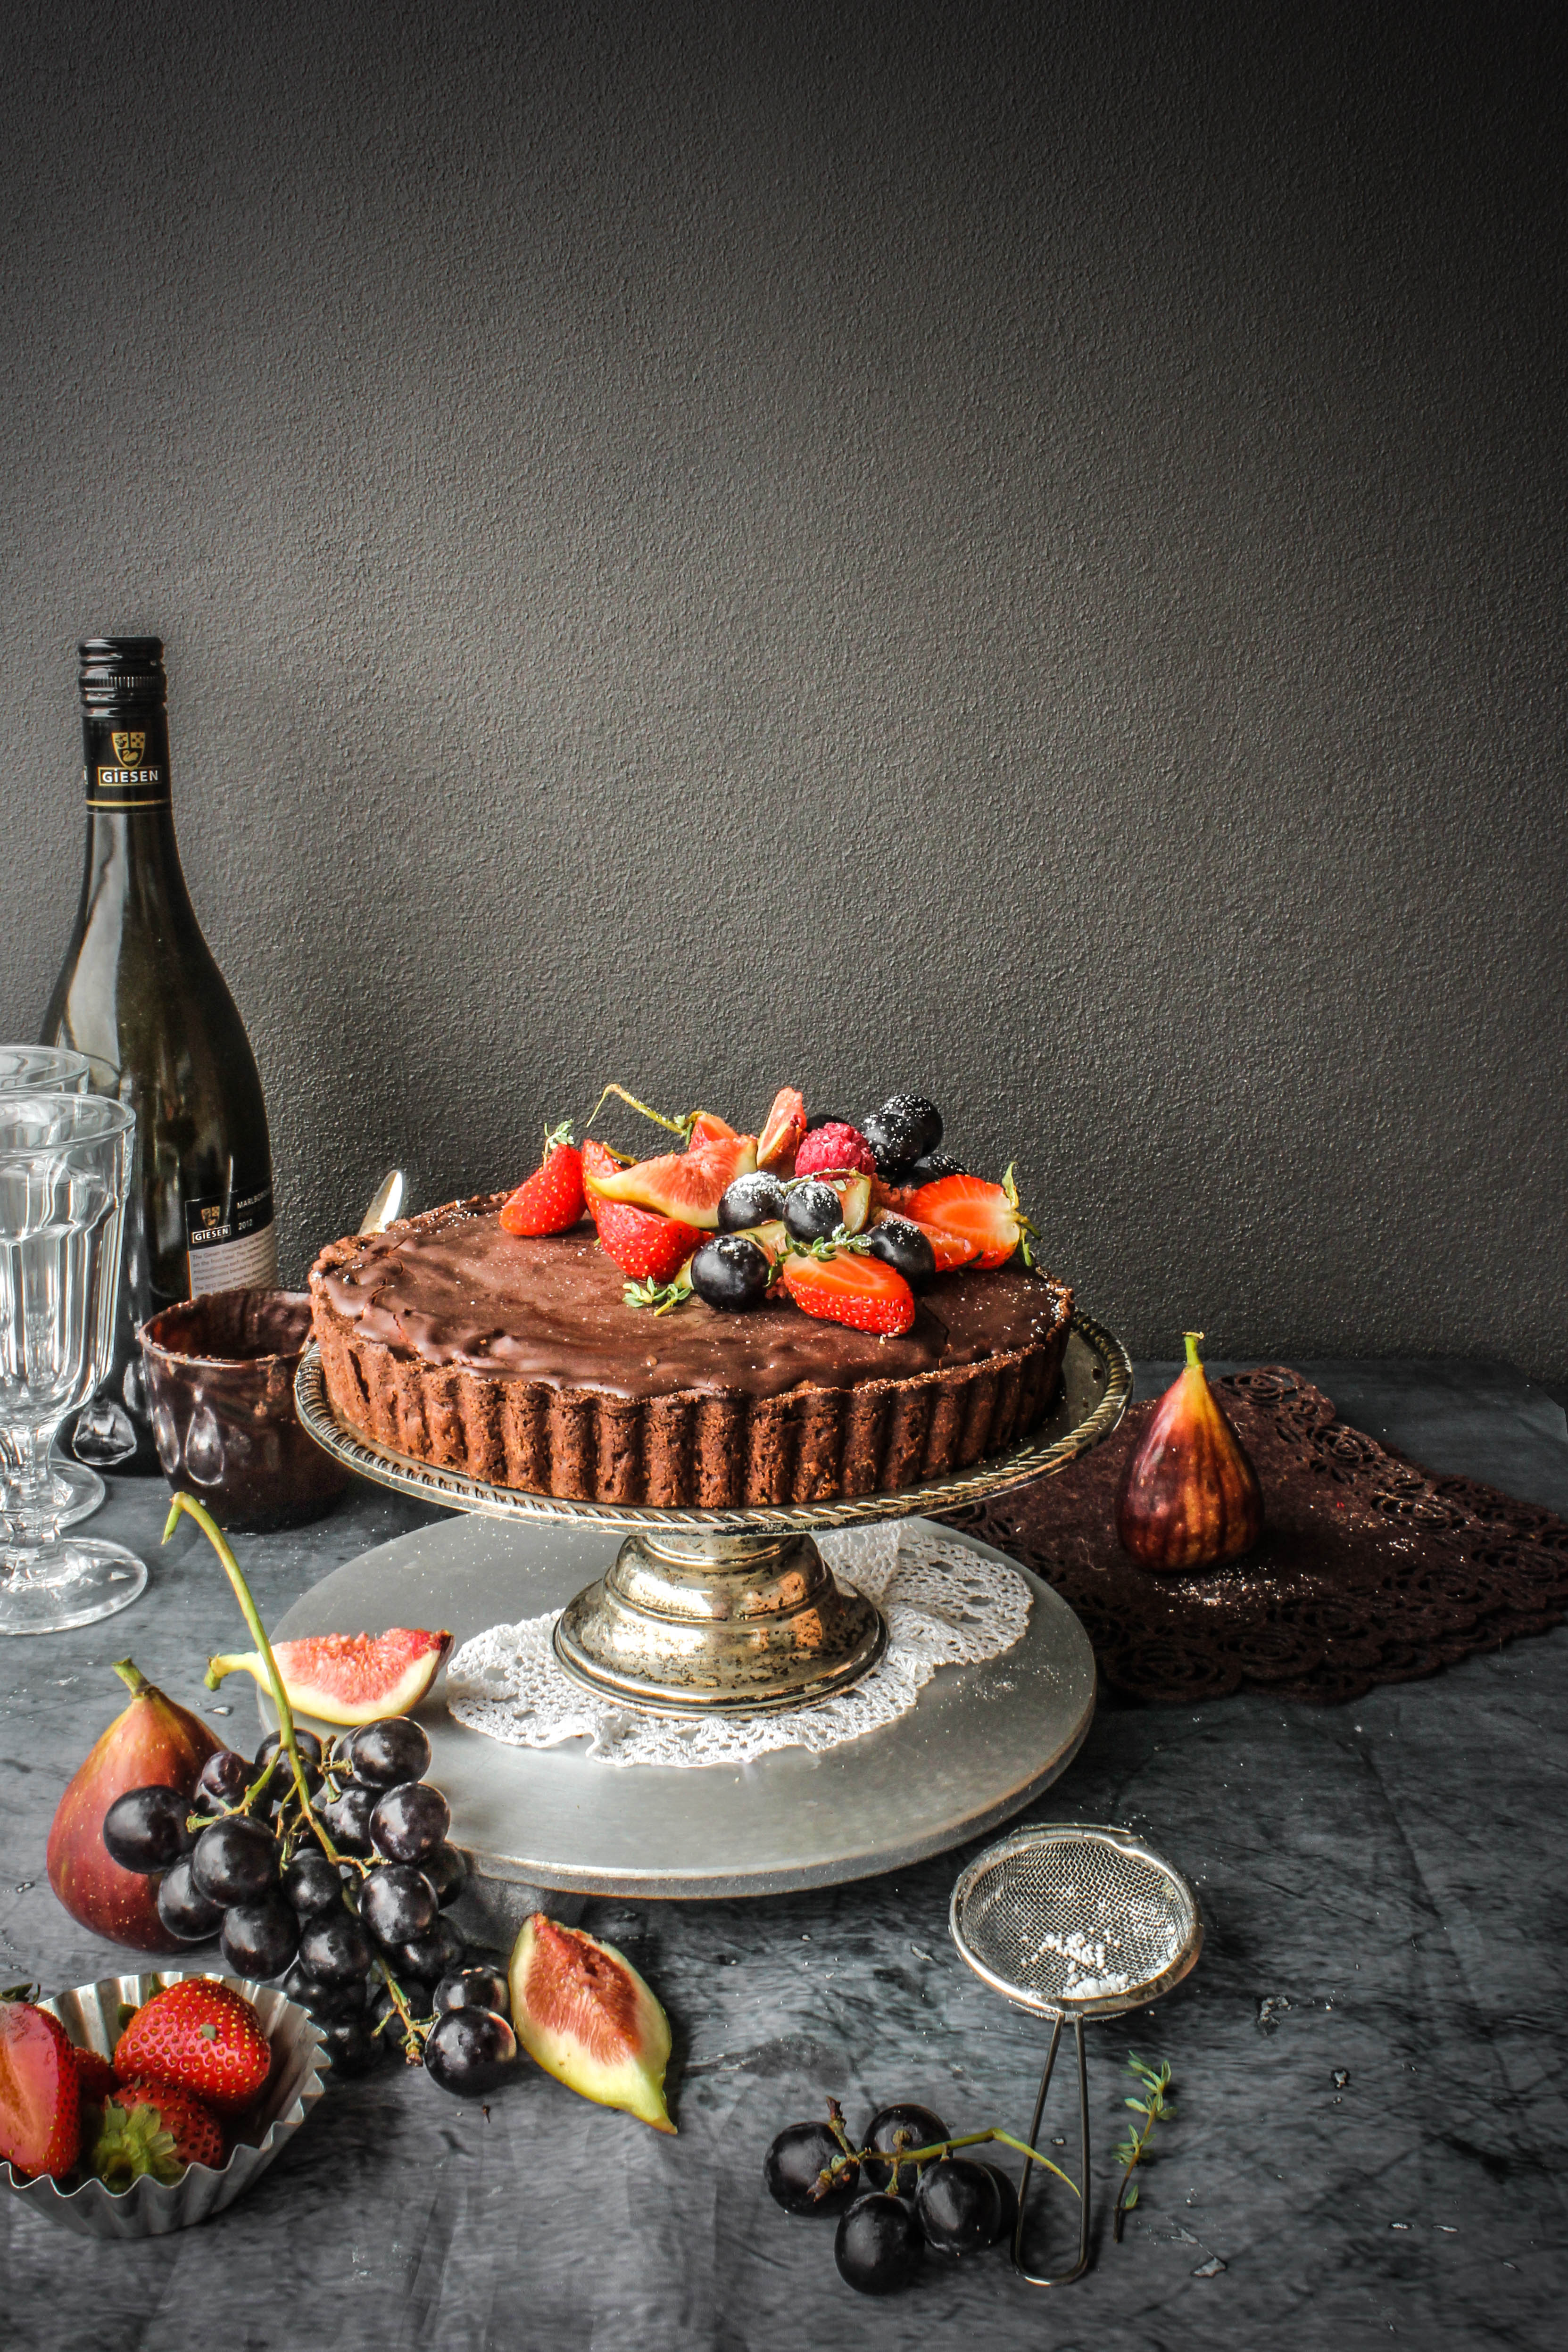
Dark Chocolate Cheesecake Tart With Summer Fruits
Serves 8-10
For the Tart Shell (adapted from here)
125 g chilled butter
1 cup (150 g) plain flour
1/4 cup (30 g) almond meal
1/4 cup (30 g) cocoa powder
1 egg yolk
For the Chocolate Cheesecake Filling
250 g dark chocolate, melted and cooled
400 g cream cheese, softened
1/2 cup castor sugar
125 ml heavy cream, whipped to stiff peaks
Chocolate Ganache
200 g dark chocolate
1/4 cup heavy cream
Make the tart shell: Place the butter, flour, icing sugar, almond meal and cocoa powder in the bowl of a food processor and process until mixture resembles fine breadcrumbs. Add the egg yolk and process until mixture just comes together. Turn onto a lightly floured surface and gently knead until almost smooth. Shape into a disc. Cover with plastic wrap and place in the fridge for 30 minutes to rest.
Preheat oven to 200°C. Roll pastry on a lightly floured surface to a 4mm-thick disc. Line the base and side of a 20cm (base measurement) round, fluted tart tin with removable base. Use a sharp knife to trim the edges. Place in the fridge for 15 minutes to rest.
Place the tart tin on an baking tray. Line the pastry with baking paper and fill with rice or beans. Bake in preheated oven for 10 minutes. Reduce temperature to 180 degrees C. Remove the rice or beans and bake for a further 15-20 minutes or until pastry is perfectly cooked through. Remove from oven and set aside to cool (do not remove from tart pan).
Meanwhile make the cheesecake filling : Melt chocolate in a double-boiler over medium heat. Leave to cool. You can also use a microwave, just follow the instructions on the chocolate packet.
Whip cream cheese and sugar until smooth and creamy. Add the whipped cream and mix till smooth. Stir in melted chocolate until mixture is smooth and well blended.
Pour mixture onto the tart shell. Level out the surface with the back of a spoon. Chill for at least 5 hours. Remove from refrigerator and pour over chocolate ganache. Allow to set in the fridge for 15 minutes. Decorate with fresh fruits, just before serving.
To make the chocolate ganache, heat the heavy cream in a small saucepan. Before it reaches boiling point, remove from heat, add the chocolate. Leave aside for 10 minutes. Mix till chocolate is well blended and smooth. Alternately, you could place the cream and chocolate together in a microwave safe bowl and microwave for a few seconds.