Mangoes were considered the ‘queen of fruits’ where I grew up. They still are. Everything about them screams summer. The vibrant sunny appearance or the sweet succulent refreshing interior. We owned a large orchard and summer time meant eating tonnes of fruit. The green unripe ones would be used for cooking and the ripe ones would make their way into every corner of the house. Boxes and baskets of fruit to be given away to friends and neighbours. The air subtly scented with smell of sweet mangoes. Meal times made special with platefuls of peeled, cut mangoes to finish off. The varieties endless and names so many that it was hard for one to remember.
Alas! A glut of mangoes today, is something that exists only in my memory or possibly in my dreams. In the part of the world where I live now mangoes can be expensive. And make a fleeting appearance. So, it’s case of ‘enjoy while it lasts!’ However, thanks to technology there are options. Like canned mangoes and mango juice. No substitute to the fresh ones in my opinion but okay when you crave for a taste of the glorious fruit.
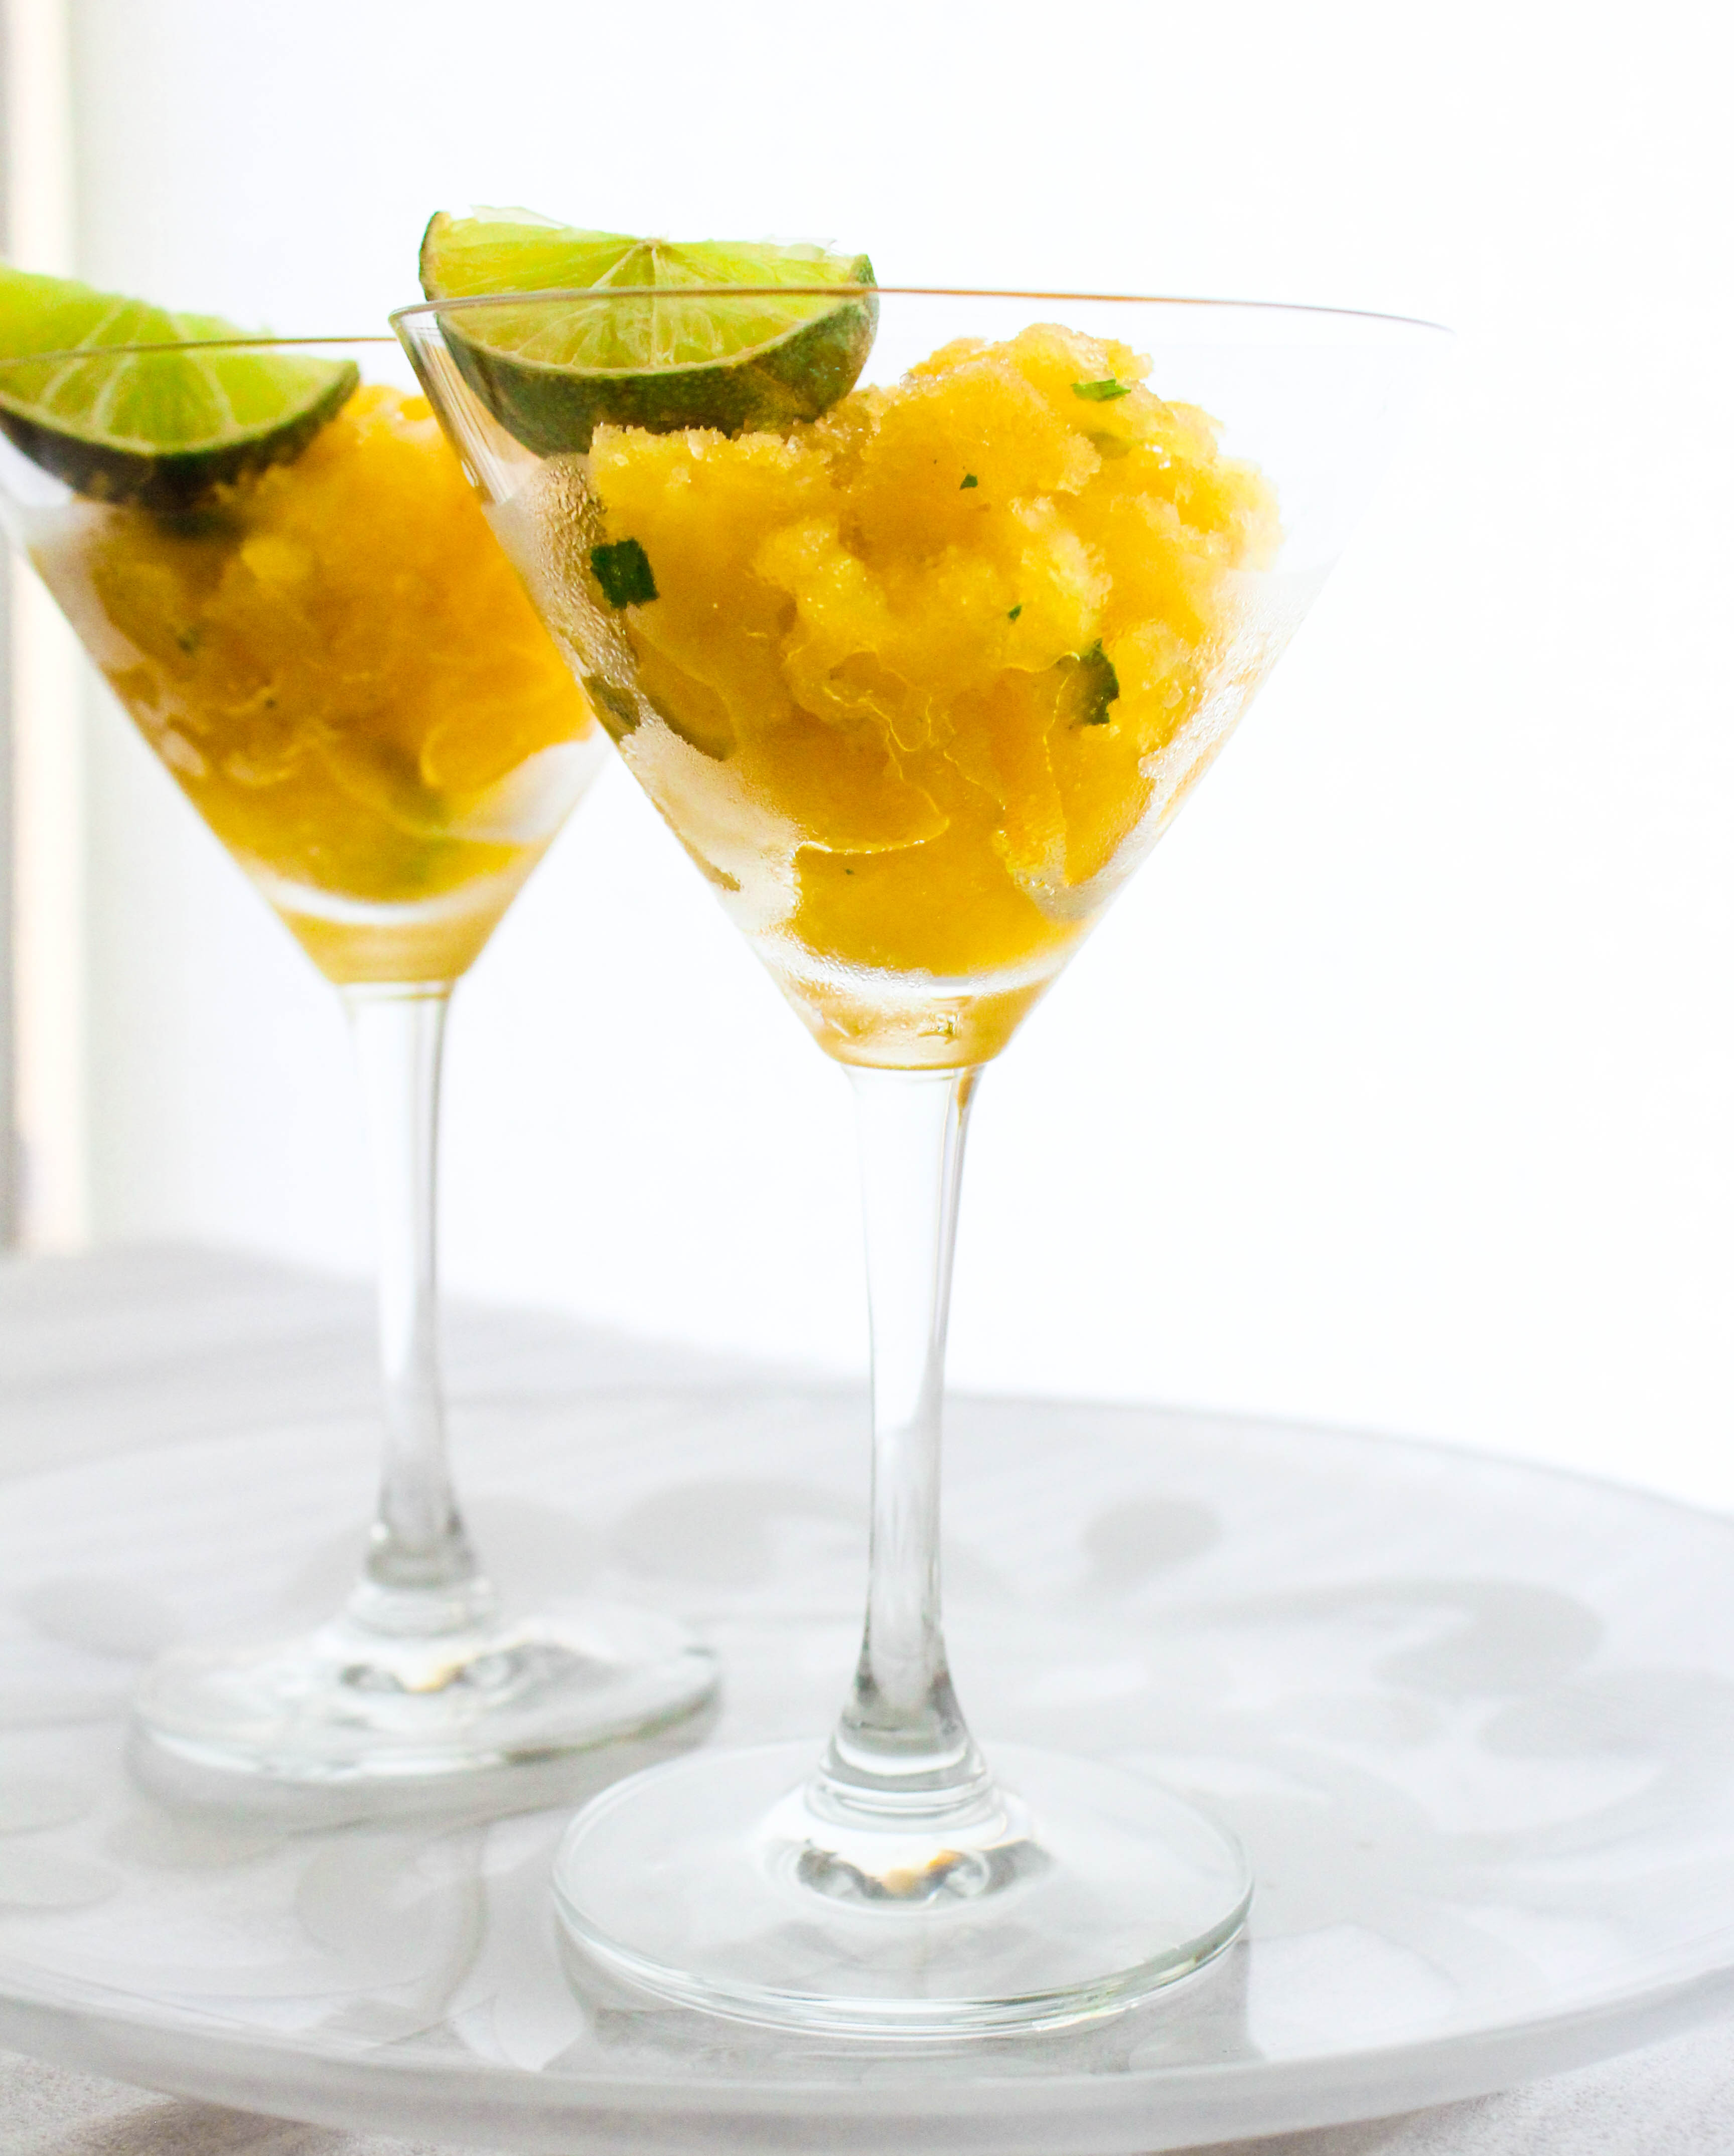
If mangoes stand for summer, so does ice. While I’ve thoroughly enjoyed my share of ice creams and popsicles this summer, my freezer has been packed with trays of Granita. Using both fresh fruit and store bought juice. They are so fun to make with a bit of this and that. The best part is shaving the ice. You can do it over and over again. Melt, freeze, shave. It’s a great way of adding life into store bought juices. And one can enjoy them even when fruits are not in season.

The flavours of this Granita are sensational. You have to taste to know. Mint and lime add a burst of freshness in your mouth which balances the sweetness of the mangoes.
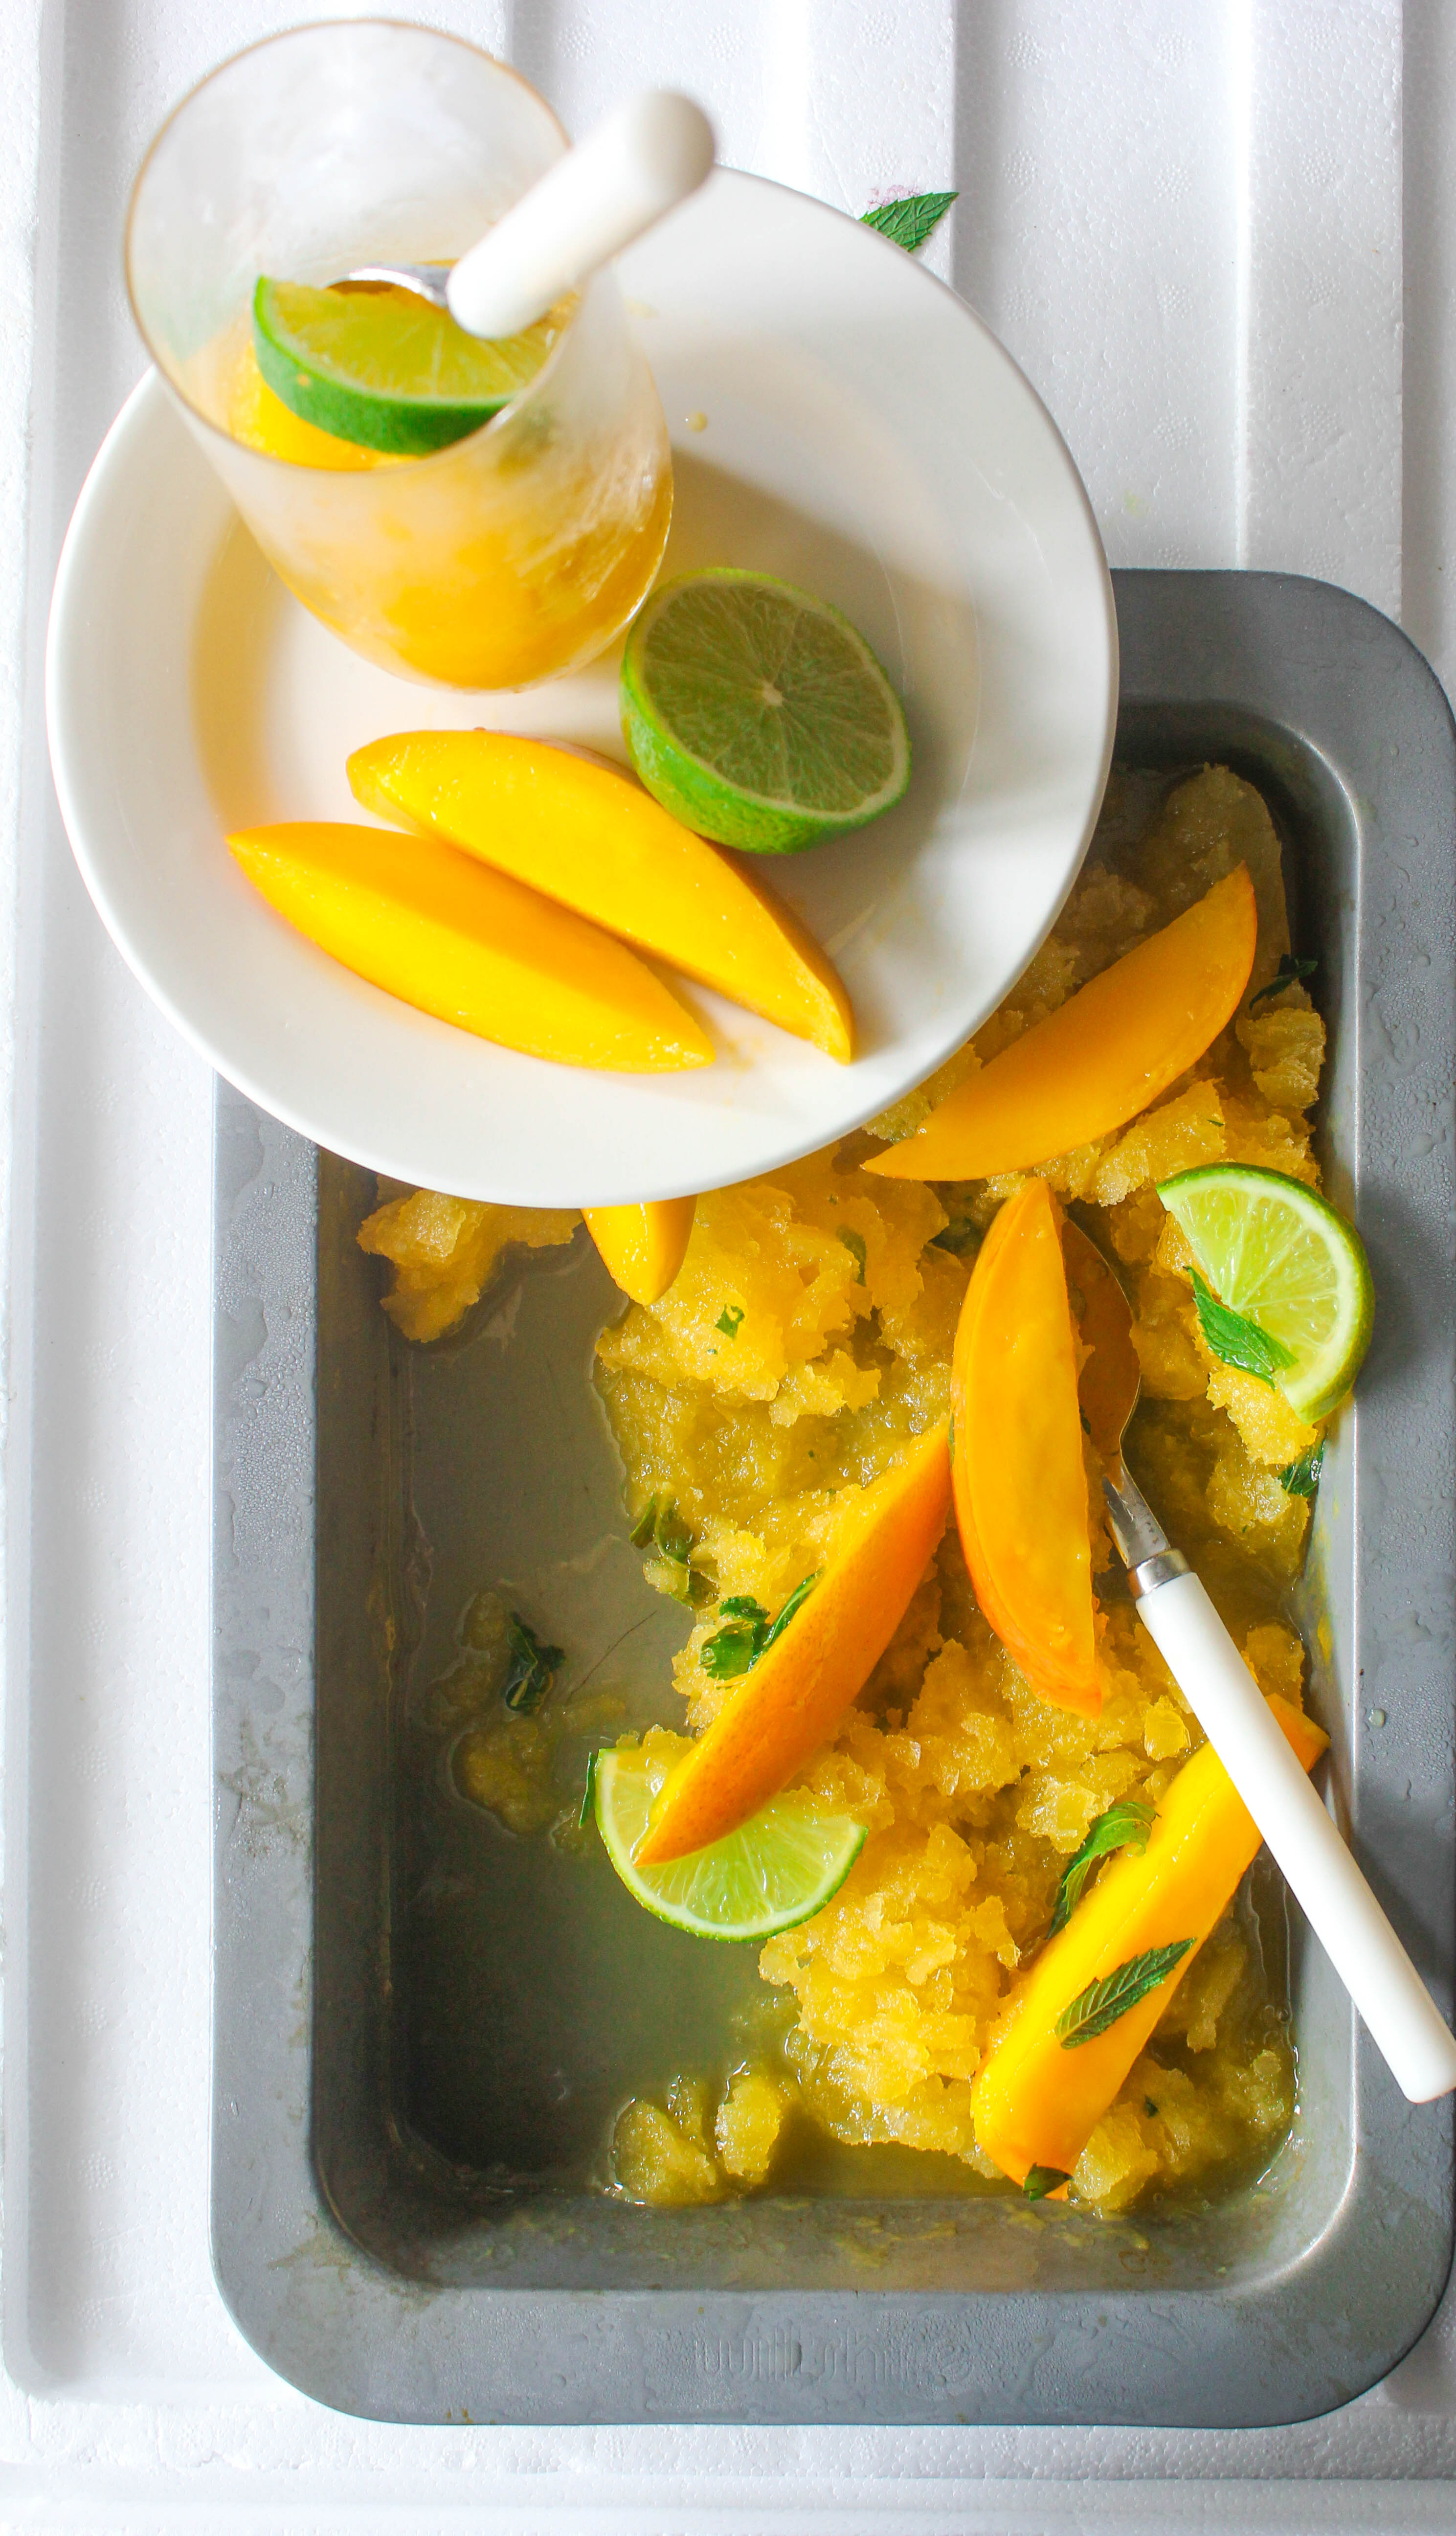
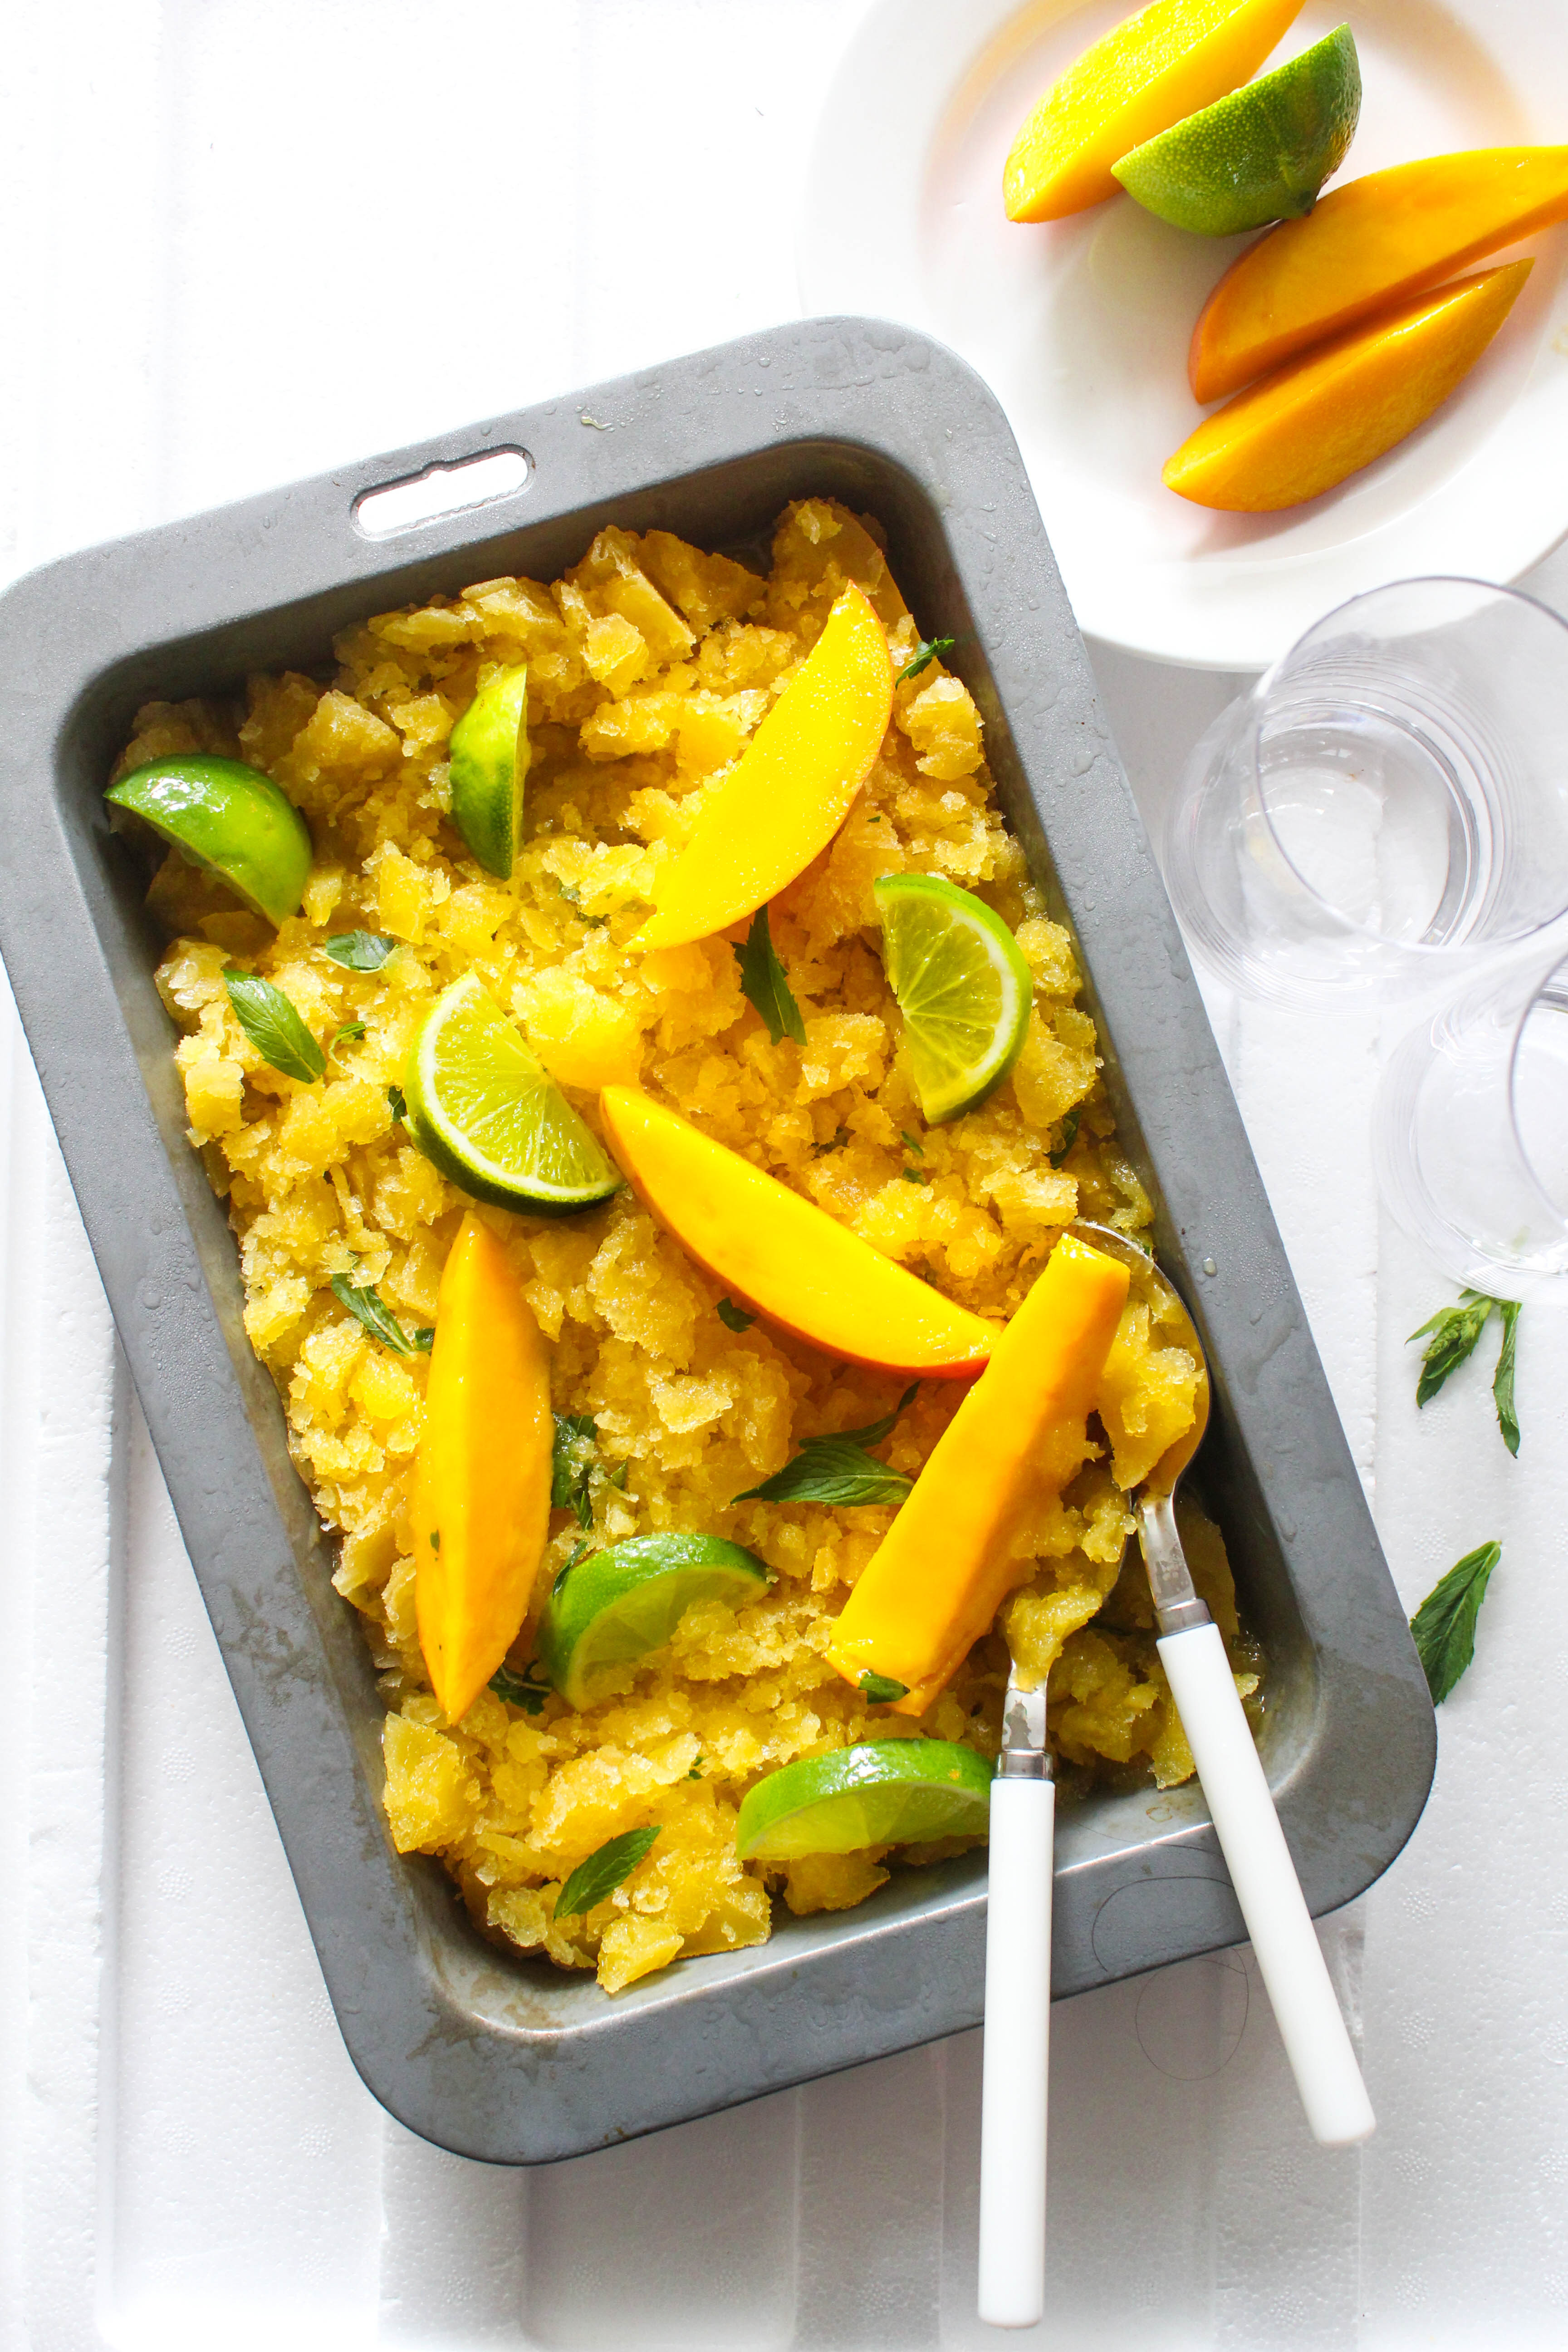
There are no hard and fast rules while making a Granita. One adds flavours of choice, sweetness as per taste. It can be served with fresh fruit, a fruit sauce or even yoghurt or cream. Store bought juices vary in sweetness, so the sugar may need adjustment.
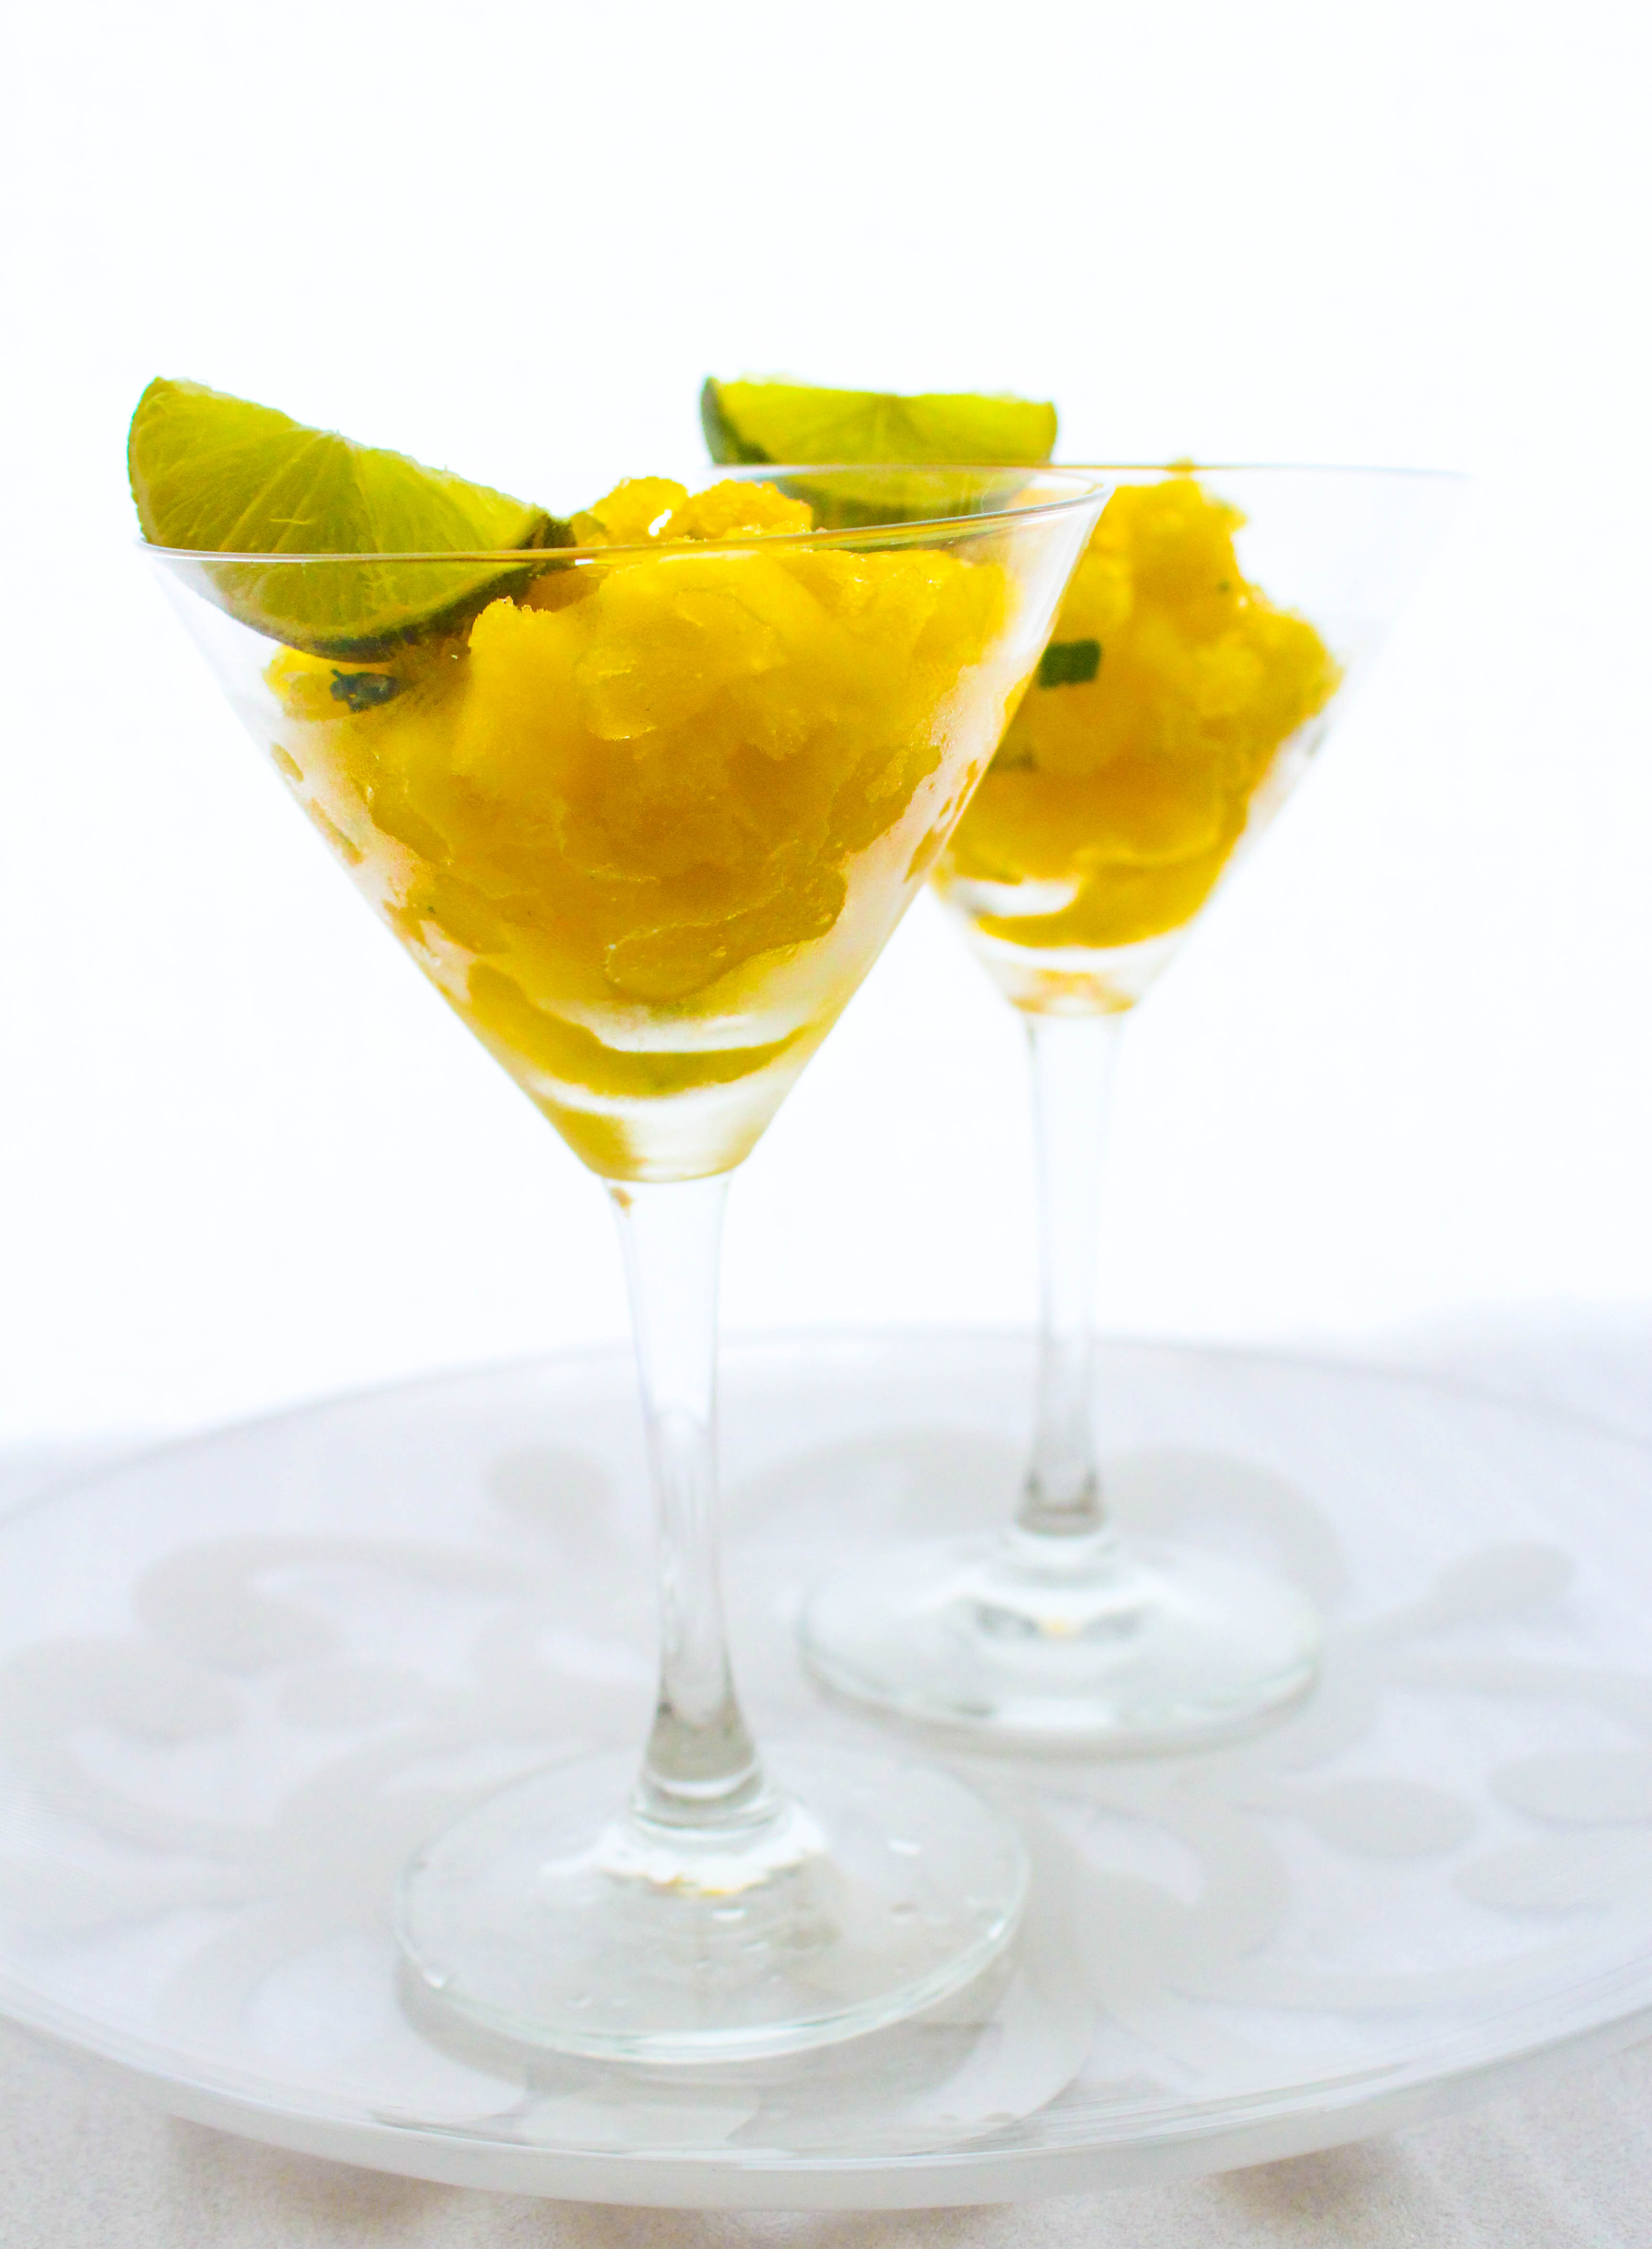
Mango, Mint and Lime Granita
Serves 6-8
500 ml store bought mango juice
1/4 cup sugar (or as per taste)
1/4 cup fresh mint leaves
Juice of 2 limes
Place the juice and sugar in a large saucepan over medium heat. Stir till sugar dissolves. Remove from heat. Cool slightly and add the mint leaves and lime juice. Pour into a shallow baking tray and cool to room temperature. Don’t discard the mint leaves. They get shredded and distributed during the process of shaving the Granita.
Carefully, transfer the tray into your freezer. Scrape at hourly intervals to form crystals until frozen (4-6 hours)