• Home
  • Recipe Index
    • Recipe Index
    • Breakfast/Brunch
    • Cakes and Puddings
    • Chocolate
    • Cookies and cupcakes
    • Custard and Mousse
    • Gluten Free
    • Ice Cream
    • Mains
    • Other Sweet Treats
    • Snack/Appetizers
    • Soups and Salads
    • Tarts and Pies
    • Vegetarian
  • About
  • Cookbook
  • Portfolio
  • Store
  • Press
  • Work with Me

Sugar et al

Because Life is a blend of flavours...

Eggless Chocolate and Coconut Cake

26|11|2019

An eggless chocolate and coconut cake that can be easily made vegan and dairy- free by swapping with vegan chocolate. Easy to make and delicious.

eggless chocolate and coconut cake

I get a lot of requests for egg-less and dairy free recipes so I was really keen to come up with one. Well, if you’re able to swap the chocolate with dairy free chocolate in this recipe, then this cake can be made entirely dairy free as well.

eggless chocolate and coconut cake

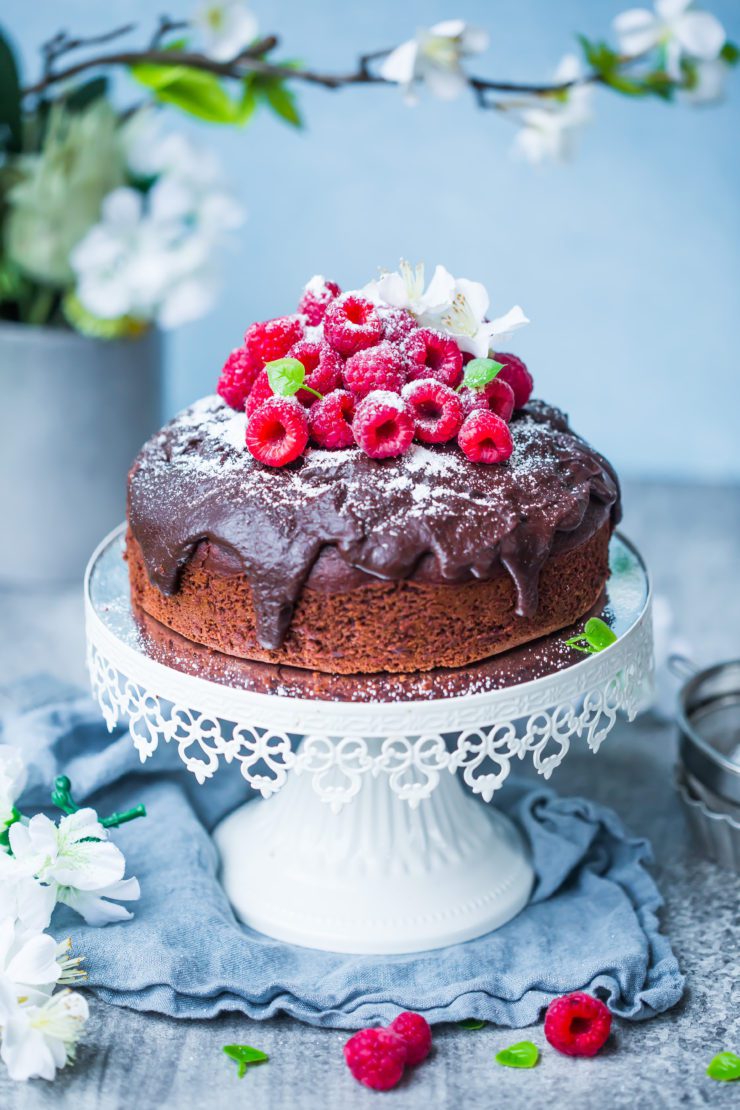
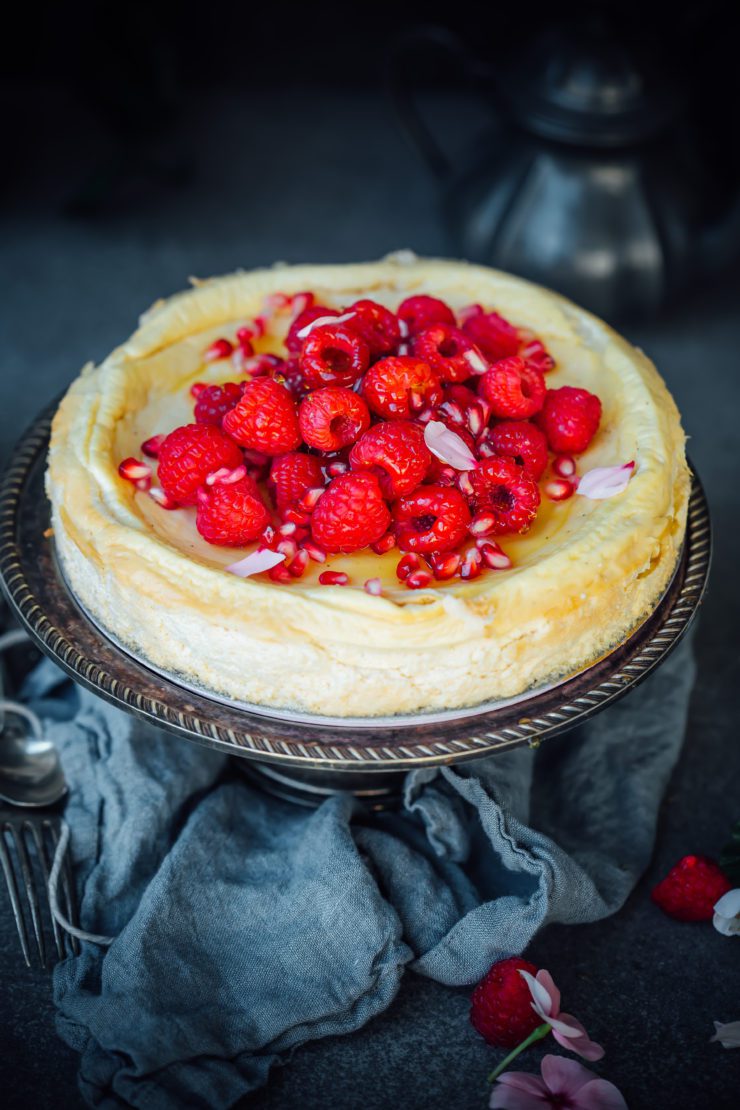
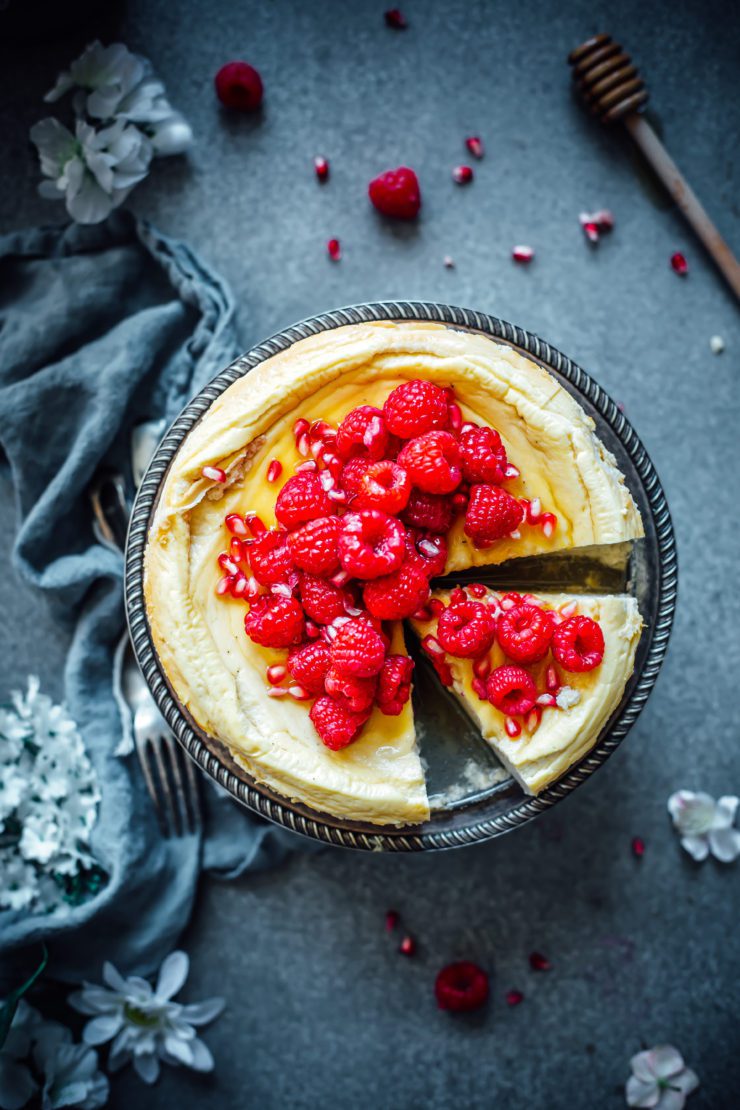
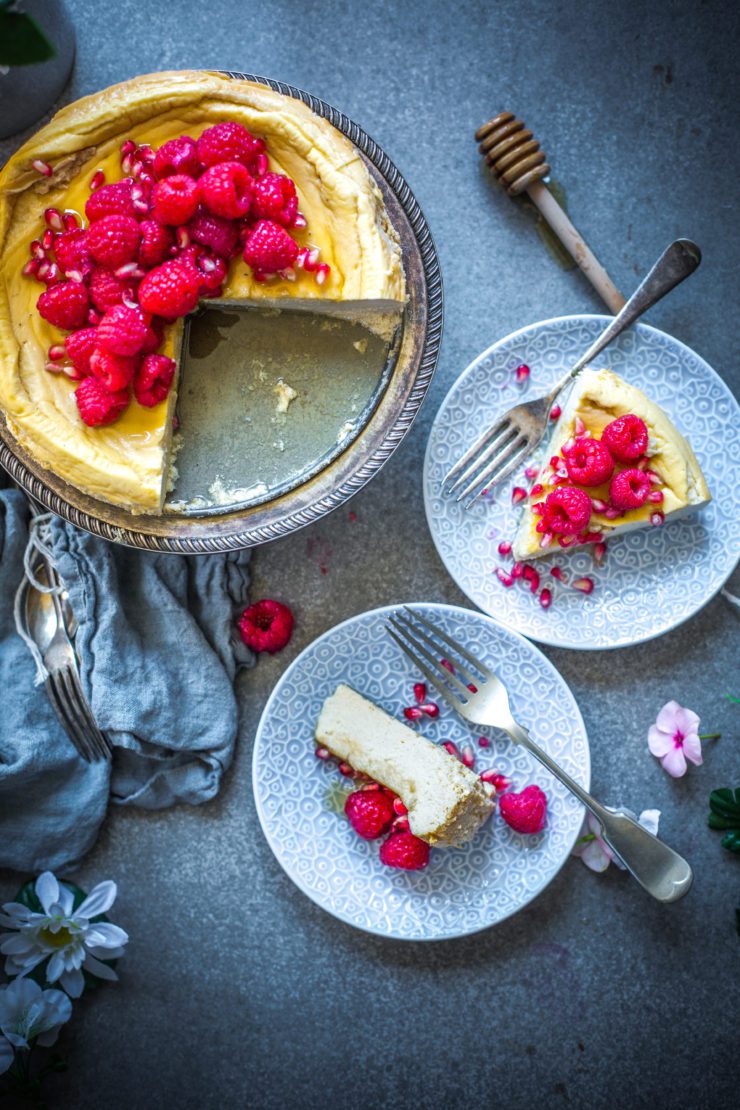
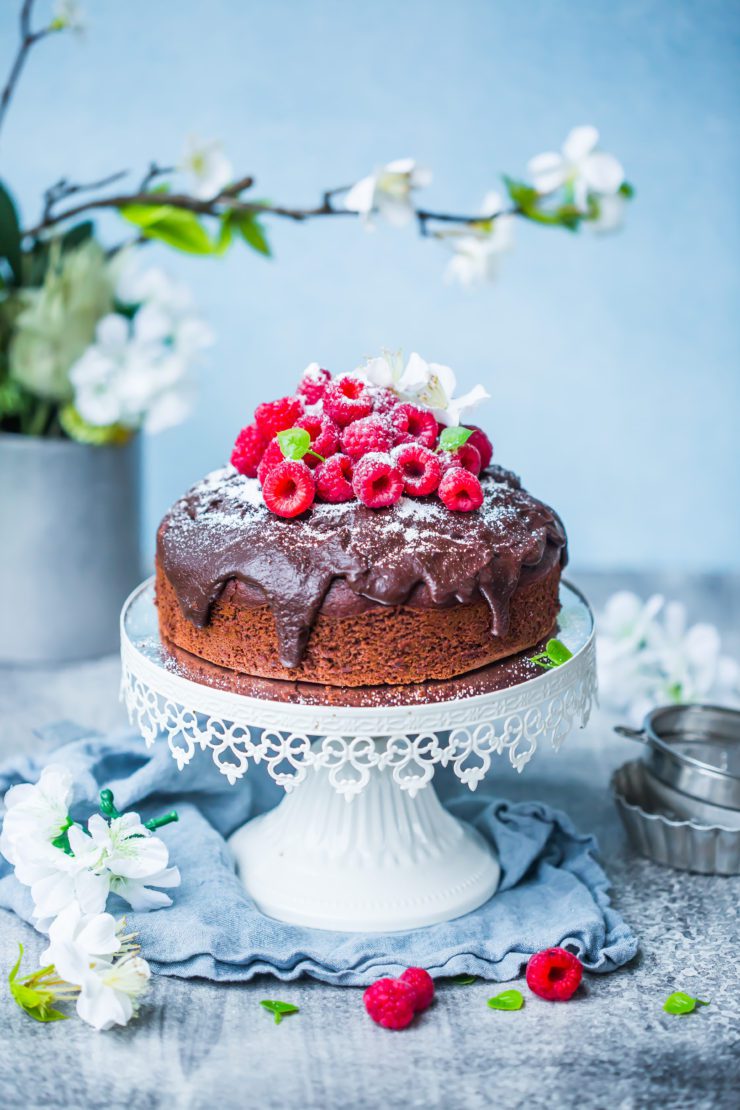
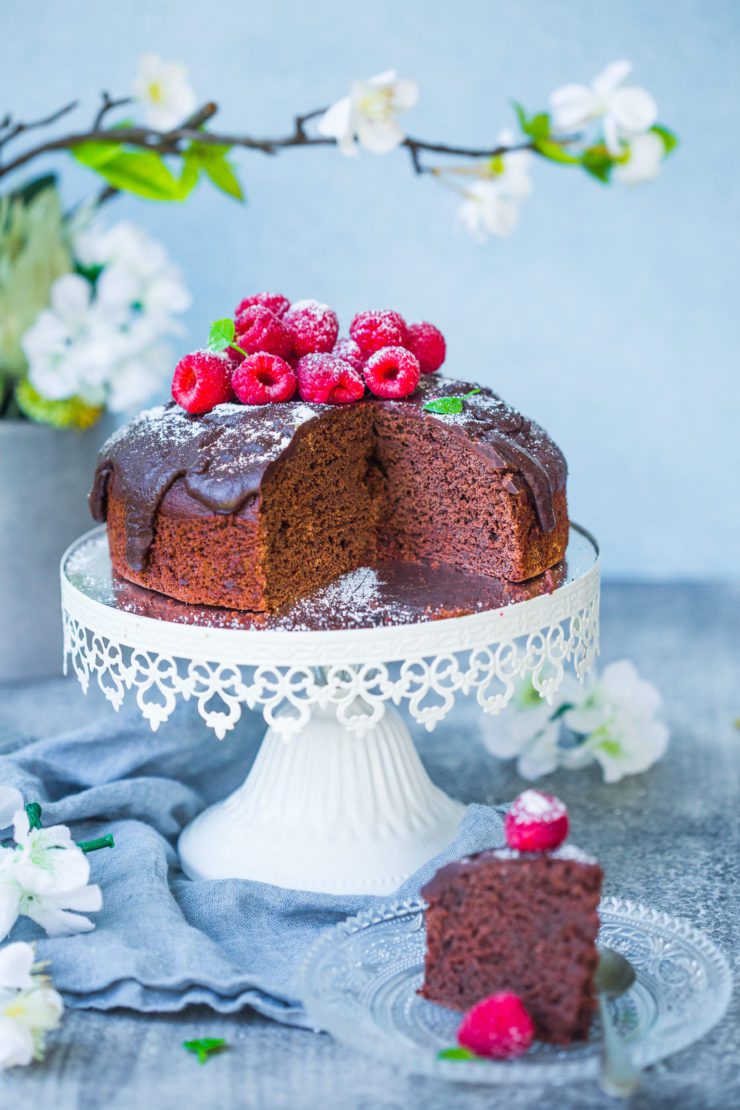
It has a soft, moist crumb and subtle taste of coconut. Very delicious if I can say so! The ganache is simple too and I don’t recommend you skip it because it gives the otherwise light cake a rich finish which is what we all want in a chocolate cake. Or is it just me?
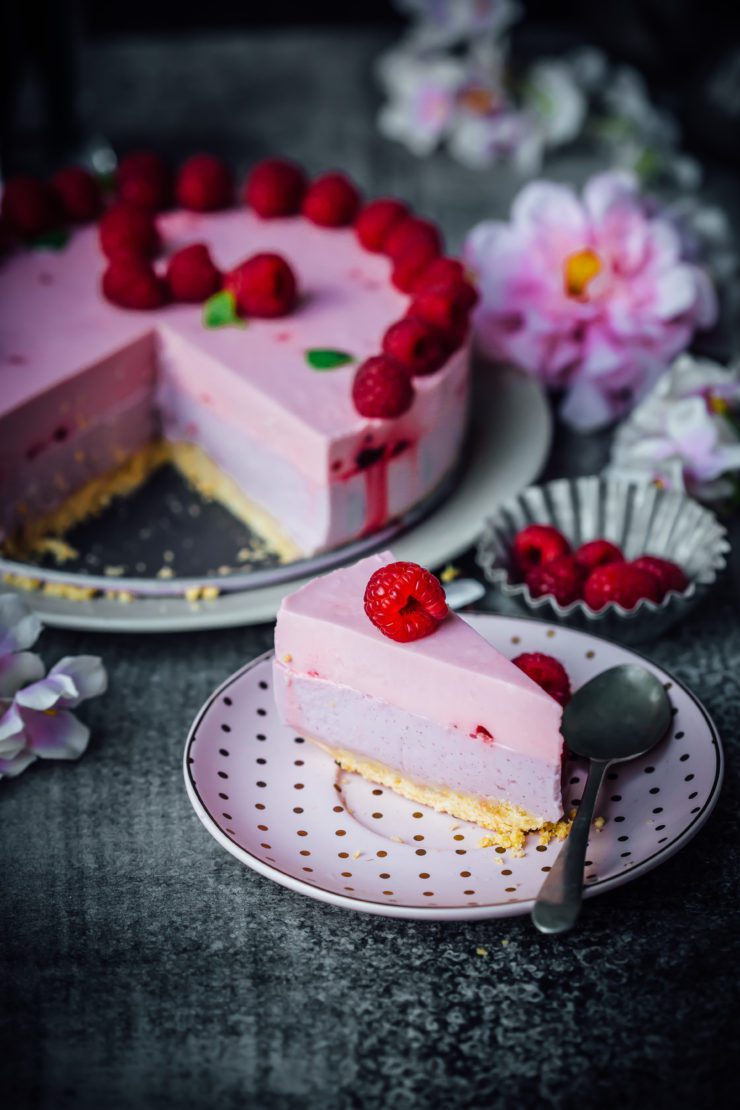
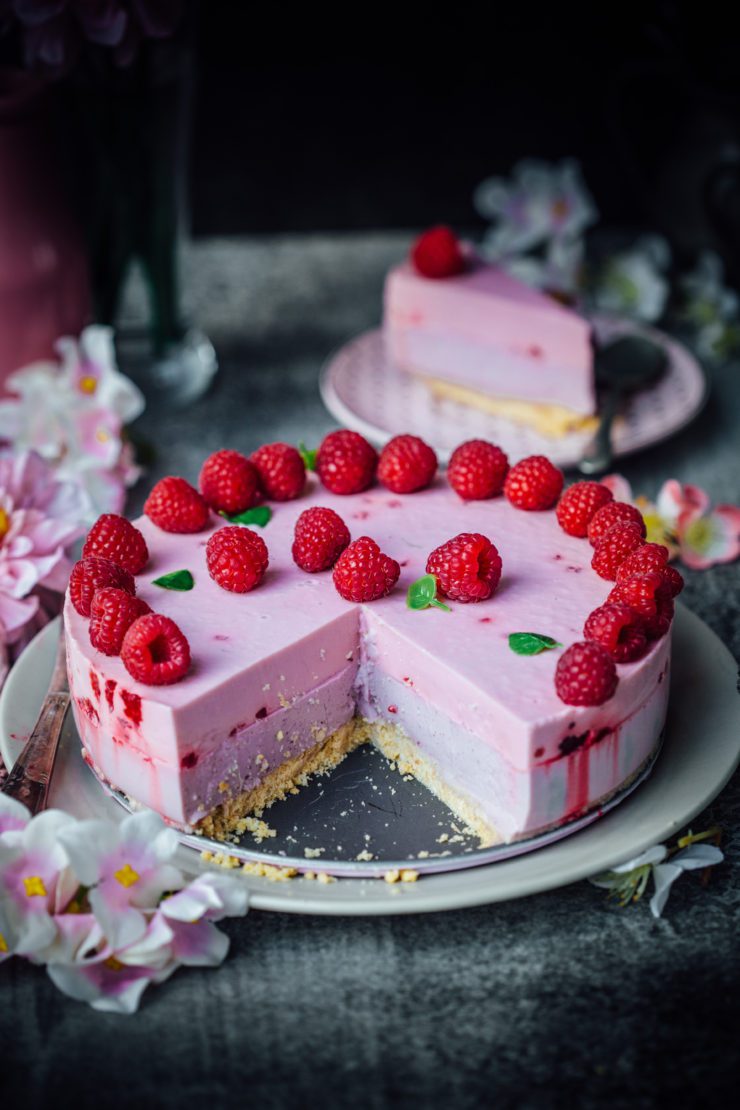
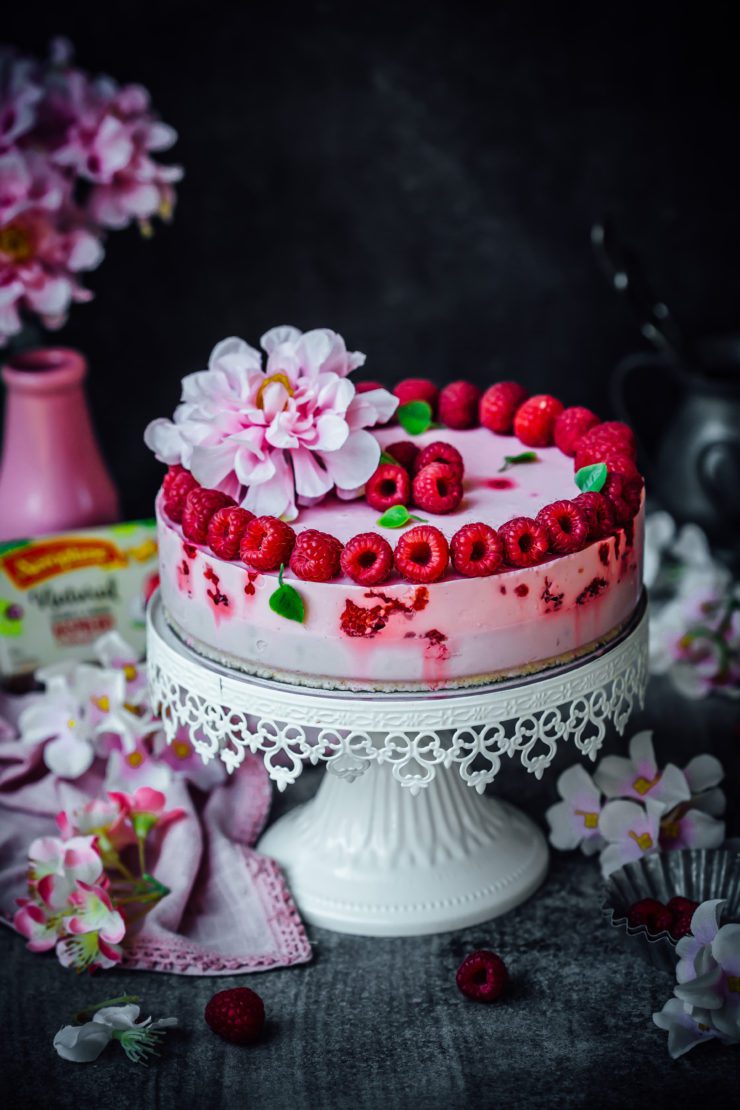
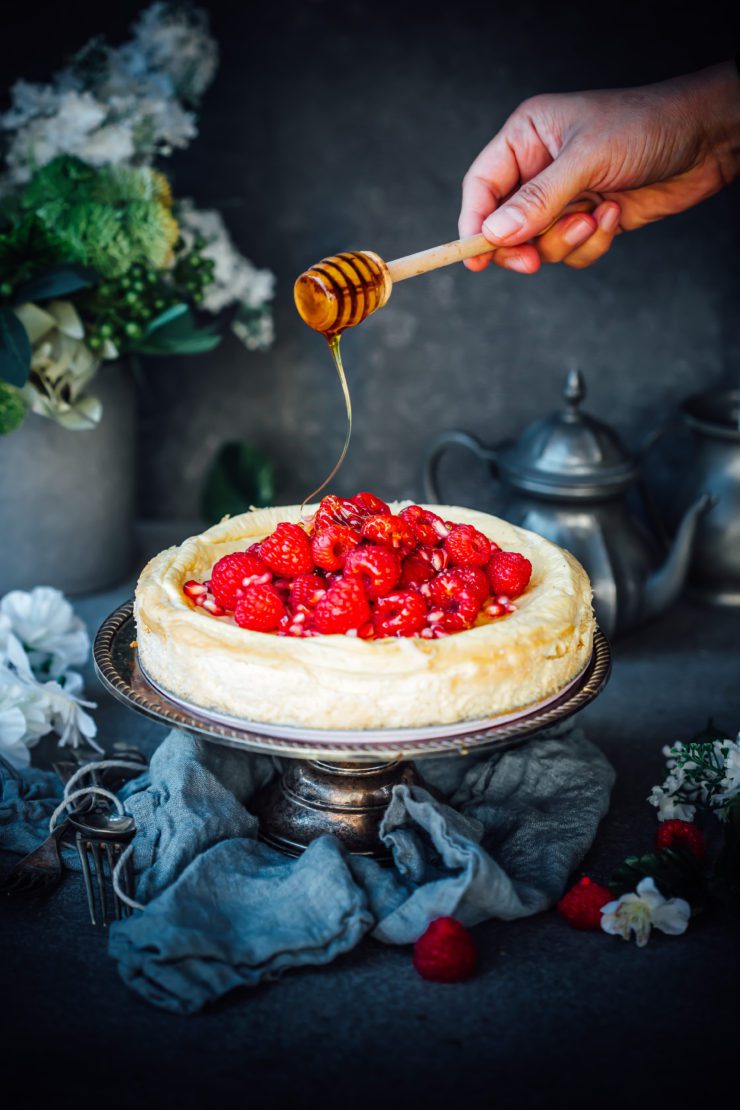
Top it with the freshest berries and you have a perfect summer treat!

If you like cakes like these you can also check out my eggless chocolate ricotta cake.

Chocolate Coconut Cake
Makes an 8 inch round cake

150 g dark chocolate, roughly chopped
2 and 1/2 cups unsweetened coconut milk
1 tsp vanilla extract
1 cup brown sugar
2 and 1/4 cups self raising flour
1/4 cup fine desiccated coconut
2 tsp baking powder
1 tbsp cocoa powder

For the ganache frosting
100 g dark chocolate
1/4 cup coconut milk

Preheat oven to 200 degrees C. Grease the base and sides of an 8 inch baking pan and line the base with baking paper.
In a medium saucepan over low heat melt the chocolate with coconut milk and vanilla extract. Continue to stir until smooth. Remove from heat and leave aside. When the mixture cools slightly (just warm to touch) add the sugar and mix,
In a separate bowl, mix together flour, coconut, baking powder and cocoa powder. Add the dry ingredients to the saucepan and mix well until batter is smooth.
Pour into prepared pan. Bake for 40-50 mins or until a skewer inserted in the middle comes out clean. Remove from oven. Lightly loosened the edges with a blunt knife, then turn onto a wire rack to cool completely.
Once cooled, drizzle with chocolate ganache. Top with fresh raspberries. Add an extra drizzle of icing sugar.
To make the ganache, in a microwaveable cup or bowl, place the chocolate and coconut milk and cook in short bursts until chocolate starts to melt. Stir until smooth.

Raspberry- Blackcurrant Bavarian Cake

10|11|2019

Disclaimer : This post is brought to you by Aeroplane Jelly. All opinions and thoughts expressed in this post are entirely my own.

raspberry blackcurrant bavarian cake

Before spring slips away and we get busy with holiday season, I thought I’d share a really lovely recipe of this easy peasy bavarian Cake. Fresh and light with delicious fruity flavours and an element of fun. ‘Can a bavarian cake be made eggless?’ I’ve been asked many times over. Why not? In fact it can be made with something which is most probably right there in your pantry. Aeroplane Jelly!

raspberry blackcurrant bavarian cake

Aeroplane Jelly has been everyone’s favourite party treat since they were children. But did you know that they come in so many different varieties from Original to Jelly Lite and even Natural flavours that have 30% less sugar than the Original varieties. And of course they are extremely versatile so you can whip up your favourite treats in minutes with the help of Aeroplane Jelly. They not only help cut down on a few steps in the process of making a traditional dessert but also reduces the number of ingredients because they’re perfectly portioned, sweetened and flavoured.

raspberry blackcurrant bavarian cake

I’ve used two of my favourite flavours Raspberry and Blackcurrant to make this bavarian Cake but feel free to play around with flavours. Example Mango and Lime for a summery twist? The great thing about this cake is that it can be made ahead so if you’re going to entertain guests during spring, summer or Christmas, you want your dessert ready in the fridge while you can focus on other things. Folks, this is why we all need Aeroplane Jelly in our busy lives and in our cupboards. Your guests are going to think that you’ve spent hours to create this cake but this one is so so, so easy!

raspberry blackcurrant bavarian cake

I made this cake for a girlfriend’s birthday so I further hastened up things by cooling this Bavarian in the freezer. Freezing also makes it easier to get the Bavarian out of the spring form pan whilst keeping the layers neat and intact. You could refrigerate instead and it would still work.

raspberry blackcurrant bavarian cake

Raspberry- Blackcurrant Bavarian Cake
Makes an 8 inch round two layered cake

Crust
200 g digestive biscuits or biscuit of your choice
75 g unsalted butter, melted

Blackcurrant layer
1 X 85 g pack Aeroplane Natural Black Currant Flavoured Jelly
1 cup (250 ml) boiling water
200 ml cold pure/pouring cream

Raspberry Layer
1 x 85 g pack Aeroplane Natural Raspberry Flavoured Jelly
1 cup (250 ml) boiling water
200 ml cold pure/pouring cream
fresh or frozen raspberries

Fresh raspberries, to serve
micro basil (optional), to serve
flower decorations (optional)

Lightly grease the base and sides of an 8 inch spring form pan. Place the spring form pan over a baking tray. This will ease the process of removing the pan into and out of the freezer.
Place biscuits in a food processor until they resemble fine crumbs. Add the melted butter and mix to combine. Using the back of a spoon, press the mixture on the base of the spring form pan. Freeze for 30 mins or until firm.

Make the first layer. Place the contents of Aeroplane Natural Blackcurrant Flavoured Jelly in a medium bowl. Add 250 ml boiling water, whilst stirring to dissolve. Add 200 ml of cold pure cream and stir until mixture is uniform. Cool to room temperature. Pour the black currant mixture over the prepared crust. Place in the freezer for approx. 2 hours or until set.

While the first layer is setting, make the 2nd layer. Place the contents of Aeroplane Natural Raspberry Flavoured Jelly in a medium bowl. Add 250 ml boiling water, whilst stirring to dissolve. Add 200 ml of cold pure cream and stir until mixture is uniform. Cool to room temperature. Fold in fresh or frozen raspberries. Pour the raspberry mixture over the black currant layer. Place into the freezer for approx. 2 hours or until layer has set.

The Bavarian cake will need to be removed from the freezer an hour before you plan to serve. Gently release the sides of the spring form pan, top with fresh raspberries, herbs and flowers, slice and serve!

3-Ingredient Manuka Honey Cheesecake

28|07|2019

Have you heard the saying that for a great chocolate dessert, one needs to use a superior quality chocolate? Its a no-brainier of course! Same goes with honey. The taste and quality of honey greatly determines the flavour of your honey based dessert.


I’m a Manuka honey fan, though I have to admit it is expensive. Especially the ones with a higher grading. It is also regarded as a superfood with great medicinal properties. I am more interested in the flavour though which is so uniquely delicious. It is more intense than regular honey, almost close to the taste of caramel. And it’s so worth it!
You are welcome to try this out with regular honey is you don’t have access to Manuka honey but the flavour would be a lot subtle in that case.

And now for some exciting news! Did you see the new badges on my website’s sidebar? Guys, I am a finalist for the AusMumpreneur Awards in both the Judge’s as well as the People’s Choice categories for which most of you had voted. Thank you so very much. I couldn’t believe it when I saw the email from AusMumpreneur. My blog means everything to me and for it to turn into a full fledged business over the years was a dream come true. But it wasn’t easy! All the blood, sweat, tears, hours of baking in the kitchen, practicing photography till my eyes and back hurt finally paid off. You can read about my journey here
Voting is on NOW for the 2nd and final round to decide the top 3. If you like my work and want to support me in my journey, please do vote for me on this link. You will find my name, Sonali Ghosh under the Influencer Award (no 4). I’m truely grateful for all the love you have showered on me so far.

Have a wonderful week friends. I have more wonderful news coming up for you. Stay tuned X

3-Ingredient Manuka Honey Cheesecake
Makes an 8 inch round cheesecake

2 tubs (750 g)smooth ricotta cheese
3 tbsps Manuka honey (more to drizzle)
4 eggs, lightly beaten

Preheat oven to 170 degrees C. (150 degrees C for fan forced ovens). Grease the base and sides of an 8 inch springform pan.

With an electric mixer or a hand mixer, beat the ricotta cheese and Manuka honey together unti smooth. add the eggs, a little at a time and continue to beat until fully blended.

pour the mixture into the prepared pan. Smooth the top and tap gently a few times to get rid of air bubbles.

Bake for 50-60 mins or until a crust starts to form around the cheesecake and the centre is almost set. Turn off oven, leave door ajar, and let the cheesecake cool completely before releasing the sides.

Refrigerate before serving. When ready to serve, top with your favourite fruits and drizzle with more Manuka honey.

Orange and Chocolate Bundt Cake

5|07|2019

Guys, June was such a roller coaster of a month for me, On one hand I was trying to finish projects and embrace the end of financial year plus school holidays like a whizz (talk about balancing motherhood with work), on the other hand I had exciting news to share.


I have been nominated for an AusMumpreneur award that celebrates Australian Mums in business. While I’m being evaluated in the Judges’s category, I need YOUR votes for the People’s Choice awards.
When I started my blog in 2013, only a few months after I came to Australia little did I know that one day this would become my greatest happiness and my source of earning a living. With two sleeping toddlers and 9 pieces of luggage we came to this beautiful country to start a life from scratch. From a life of comfort to a new life filled with uncertainty and adventure. Prior to that I was heading an unit in a multinational bank where I had worked for 7 years. Needless to say, the initial years were tough, trying to adjust to a new lifestyle while balancing parenting with no help. Sugar et al. became my personal fight for survival, my medium of creative expression, my hope of financial independence. When my twins slept, I baked. Before they woke up, I would practice photography. I would watch videos on YouTube and read books when I could find time and try to apply them until I had good grasp over it. I didn’t even realize when I fell in love with food styling and photography.


Soon my humble blog started to get recognition from he media, brands and publications and I started to get paid opportunities for photography. My blog is my labour of love but most importantly it stands for something that I’d like to share with everyone. Hope! Never to give up when life throws challenges at you. And over and above everything never underestimate yourself. Often, we don’t believe in our own capabilities but when we do, magic happens!
If you like my work and believe in my journey, please click here and vote for me. You will find my name (Sonali Ghosh) under the Influencer Award (no 4). It would mean a lot to me.

Regarding this awesome cake, I was cleaning my cupboard and found my old bundt cake pan that was gathering dust for a few years. With citrus season in full swing in Australia it was not hard to pick flavours for the cake. My favourite part though is the glaze. So silky and delicious!
My pan is a large one so my cake turned out to be shorter in height than I would expect. But it still looked impressive and tasted amazing.

Orange and Chocolate Bundt Cake
Serves 10-12

225 g unsalted butter
1/3 cup Dutch processed cocoa
1 cup water
2 cups plain flour
1 and 3/4 cup caster sugar
1 and 1/2 tbsp baking soda
2 large eggs
1/2 cup sour cream
2 tbsp finely grated orange zest
2 tbsp orange liqour (optional)

Orange Sour Cream Glaze
1 and 1/2 cups icing sugar
1/4 cup sour cream
1 tbsp freshly squeezed orange juice
orange food colour (as per your desired shade)

Preheat oven to 180 degrees C (160 degrees C for fan forced ovens)
Grease the inside of the bundt cake pan really well. You may want to flour it as well (I did not need to do this as my pan is of a great non-stick quality)
In a medium saucepan, place the butter, cocoa and water together and warm over low heat until butter is melt. Stir and remove from heat to cool to room temperature.
In a separate bowl, place the flour, sugar and baking soda. Mix to combine. Add the melted butter mixture gradually while whisking to combine. Add the eggs, one at a time and whisk till blended. Add the sour cream, orange zest and orange liquor (if using) and whisk until smooth.
Pour the batter into the prepared pan. Bake for 45-50 minutes (depending on the size of your pan) or until a skewer inserted in the middle of the cake come out clean. Cool the cake in the pan for 10 minutes, then slightly loosen the sides and the centre with a blunt knife. Turn onto a wire rack to cool completely. Once cooled, glaze with orange sour cream glaze.

To make the sour cream glaze, sift icing sugar into a bowl. Add sour cream and orange juice. Stir until well combined. Add the food colour and mix till fully blended.


  • « Previous Page
  • 1
  • …
  • 4
  • 5
  • 6
  • 7
  • 8
  • …
  • 10
  • Next Page »
Hey Sugar
Cake
Link to my Facebook Page
Link to my Instagram Page
Link to my Pinterest Page
Link to my Mail Page
Subscribe to this site
Fresh Awards
2019 Aus mumpreneur
2019 aus mumpreneur
Mumbrella

Copyright © 2025 · Sugar Et Al · Designed by Smitten Blog Designs · Log in