• Home
  • Recipe Index
    • Recipe Index
    • Breakfast/Brunch
    • Cakes and Puddings
    • Chocolate
    • Cookies and cupcakes
    • Custard and Mousse
    • Gluten Free
    • Ice Cream
    • Mains
    • Other Sweet Treats
    • Snack/Appetizers
    • Soups and Salads
    • Tarts and Pies
    • Vegetarian
  • About
  • Cookbook
  • Portfolio
  • Store
  • Press
  • Work with Me

Sugar et al

Because Life is a blend of flavours...

Orange and Lavender Cake

7|09|2025

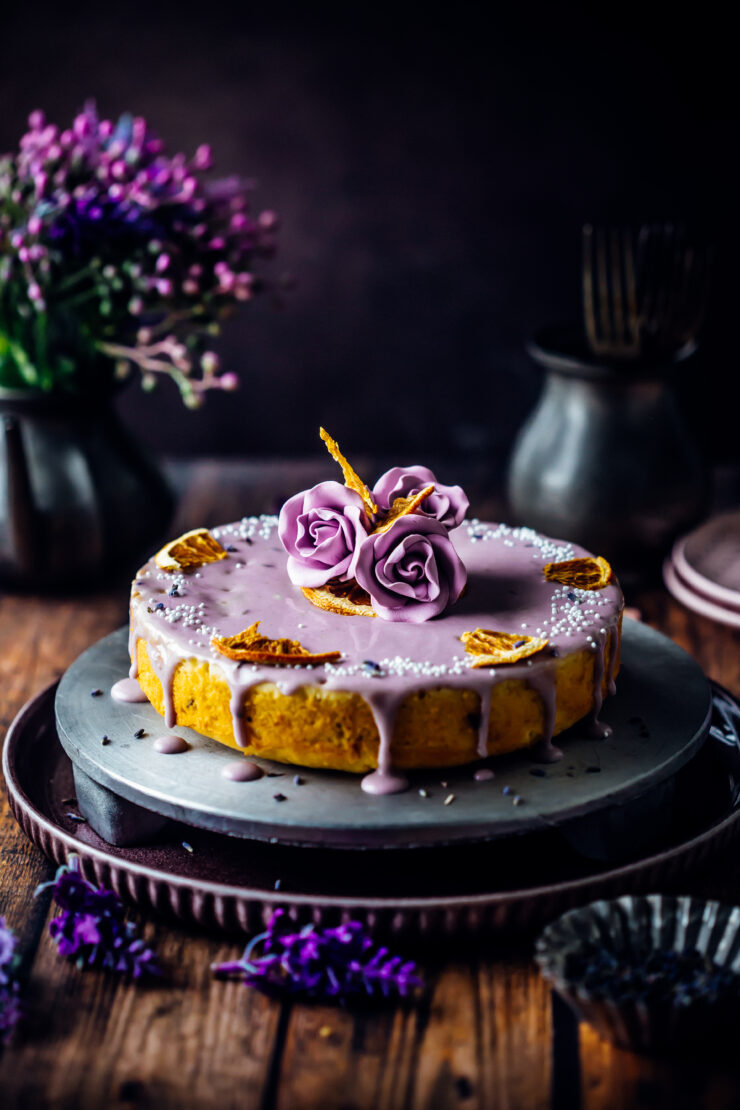
Some cakes are more than just dessert—they’re an experience. This Orange & Lavender Cake is exactly that. Bright, fragrant, and delicate, with just enough floral whisper to make every bite feel like spring. Topped with a creamy lavender-infused sour cream glaze, each slice is unforgettable.
Orange and Lavender cake

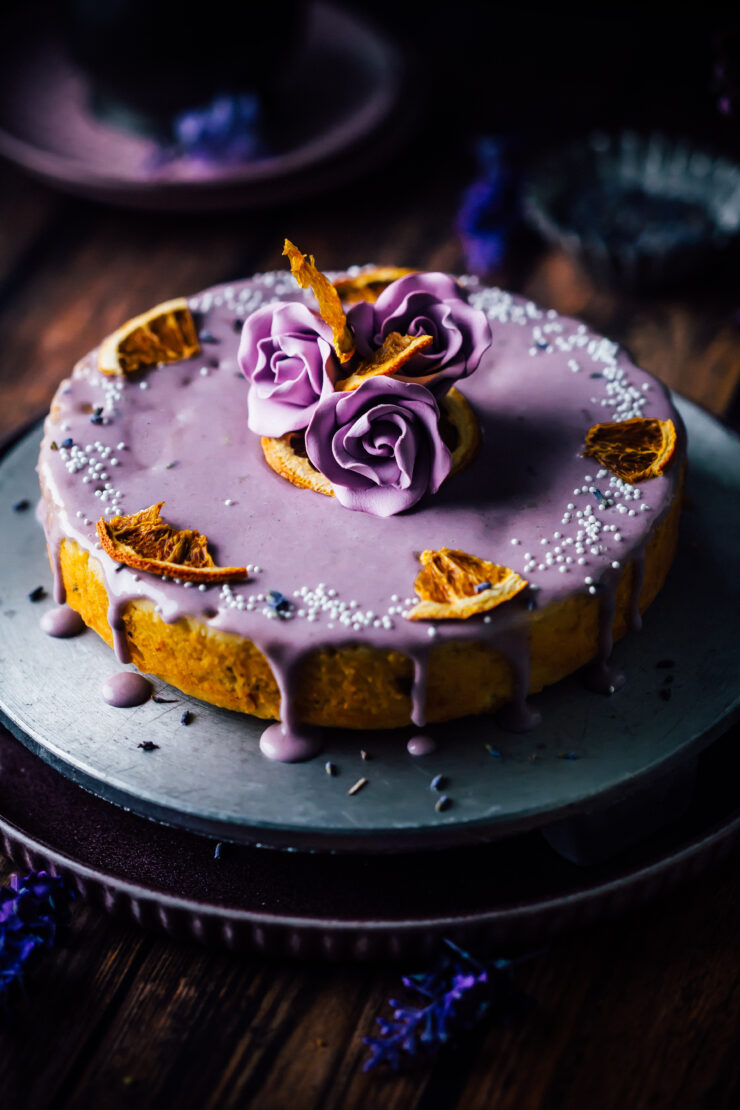
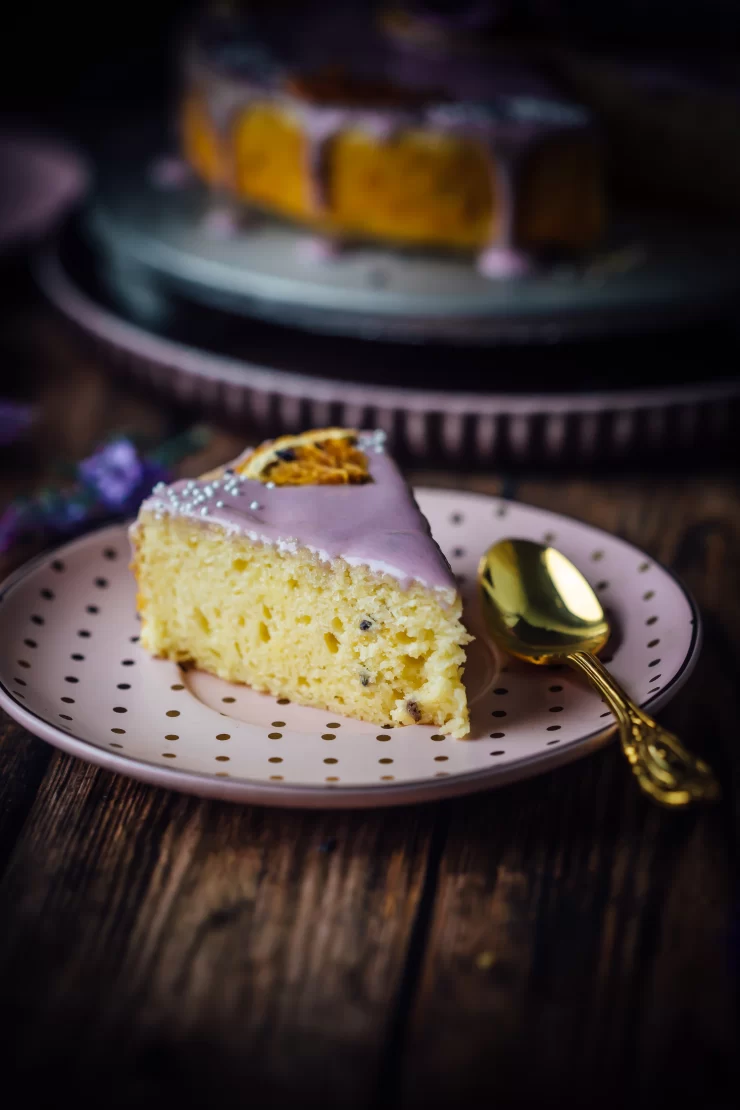
The cake is light, moist with a lovely texture as with yoghurt based cakes. Fresh orange zest brings a sunny, uplifting flavour while culinary lavender adds a hint of sophistication. I love sour ceam glazes as they are never too sweet and easy to infuse with flavour.
Orange and Lavender cake

Citrus and lavender go hand in hand. You could flavour the cake with lemon zest instead of orange if you wanted to. Culinary lavender can be purchased on Amazon.
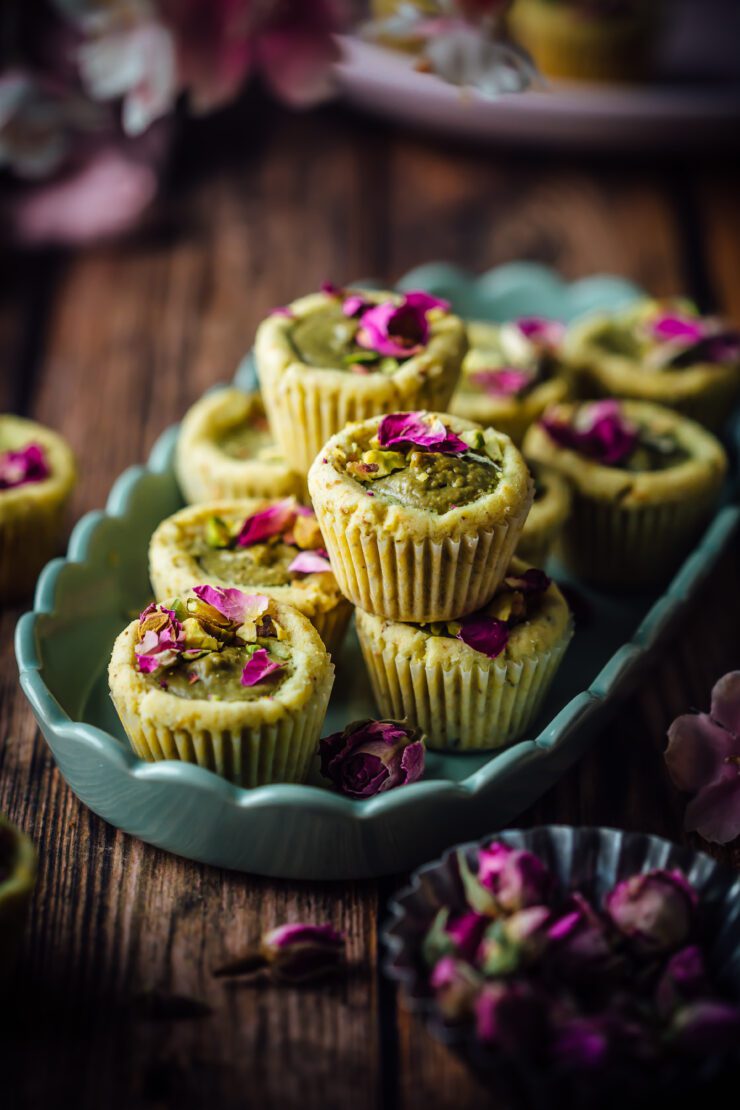
If you like floral cakes you will love this Rosewater and Coconut cake
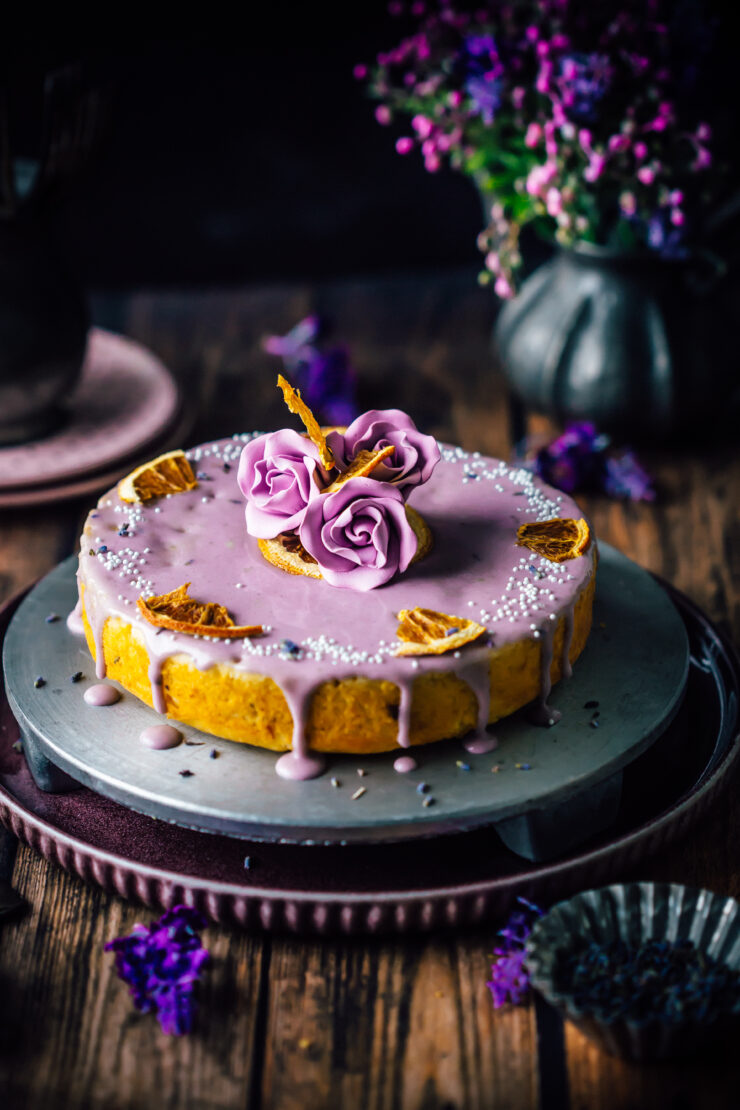
Orange and Lavender cake

Orange and Lavender Cake
Make a 7 inch round cake

100 g unsalted butter, softened
1/2 cup (100 g) granulated/castor sugar
2 eggs
1 tbsp orange zest
2/3 (160 g) cup greek yoghurt
1 and 1/2 cups (188 g) self raising flour
1 tbsp culinary lavender

Lavender glaze
1 and 1/2 cups (180 g) icing/powdered sugar
1/4 cup (60 g) sour cream
1 tsp culinary lavender
1 tsp orange juice
mauve food colouring

To make the cake : Preheat oven to 180°C. Grease the base and sides of an 8 inch round pan and line the base with baking paper.

In a large bowl, place the butter and sugar. Beat until pale and fluffy. Add the eggs one at a time, beating well after each addition. Gently, fold in the flour and yoghurt until well combined. Fold in the culinary lavender.

Pour the batter into the prepared pan. Bake for 40-45 minutes or until a skewer inserted into the middle of the cake comes out clean.

Remove the cake from the oven. Leave it aside for 5 minutes, then carefully turn it onto a wire rack. Once cool drizzle with lavender sour cream glaze. Decorate with dehydrated orange slices.

To make the glaze :sift icing sugar into a bowl. Add sour cream and orange juice. Stir until well combined. Add the lavender and food colour and mix till fully blended.
Mini Passionfruit Cakes

9|08|2025

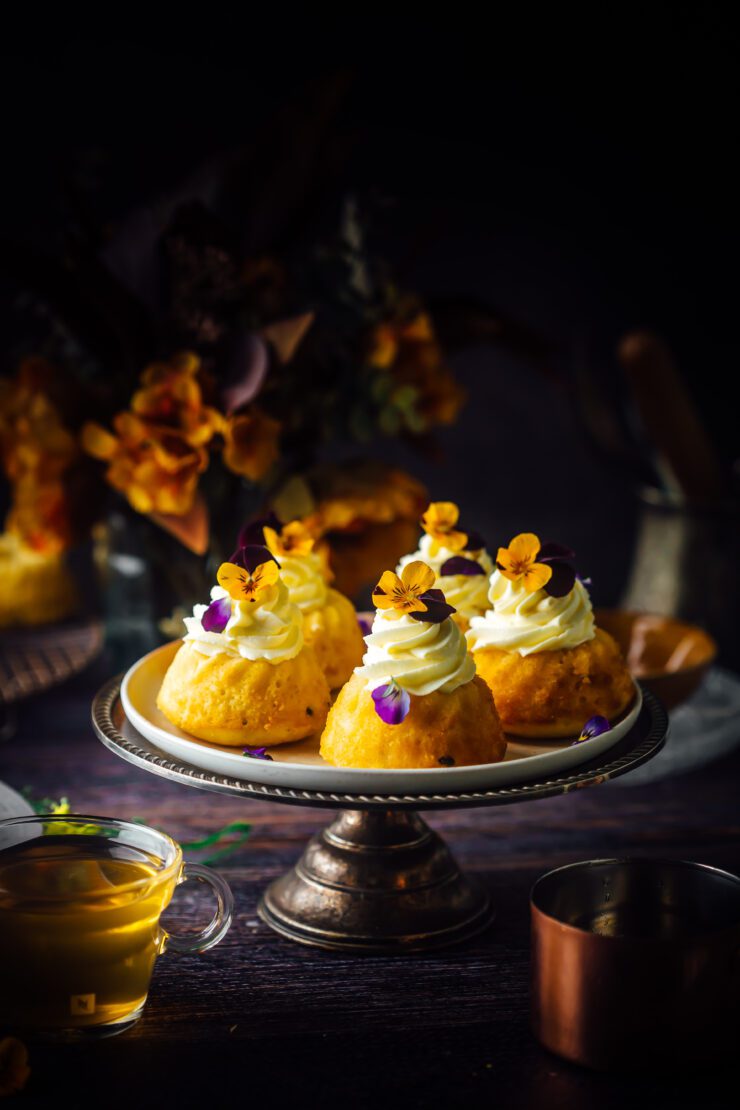
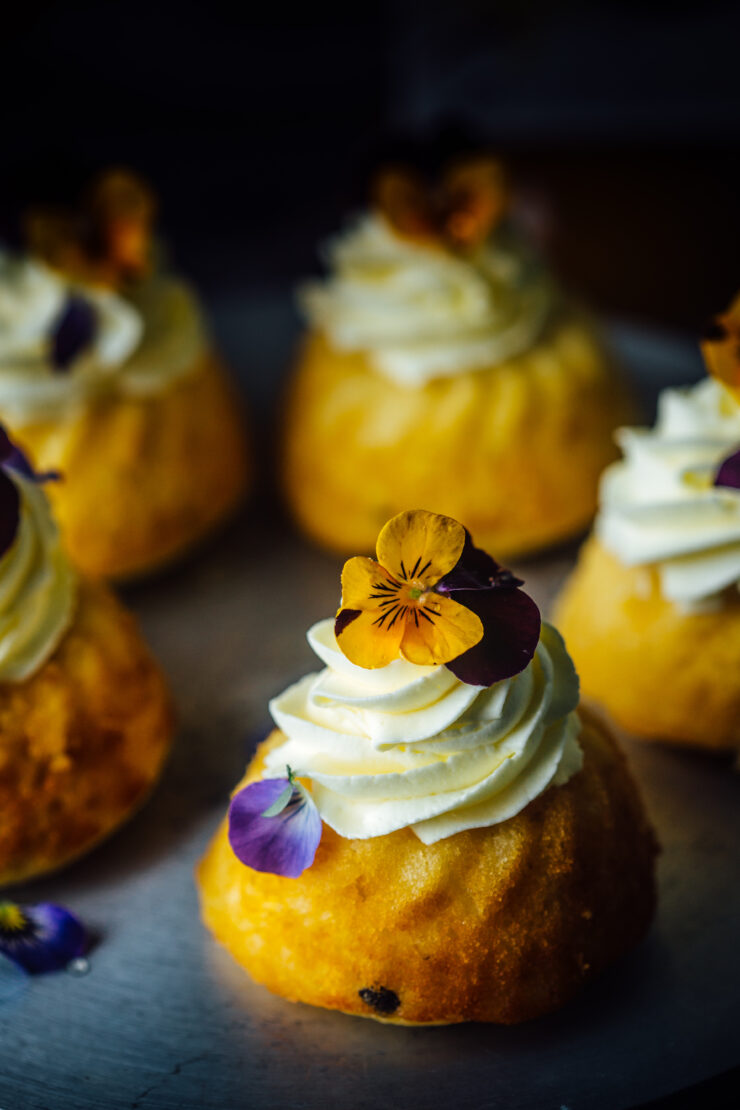
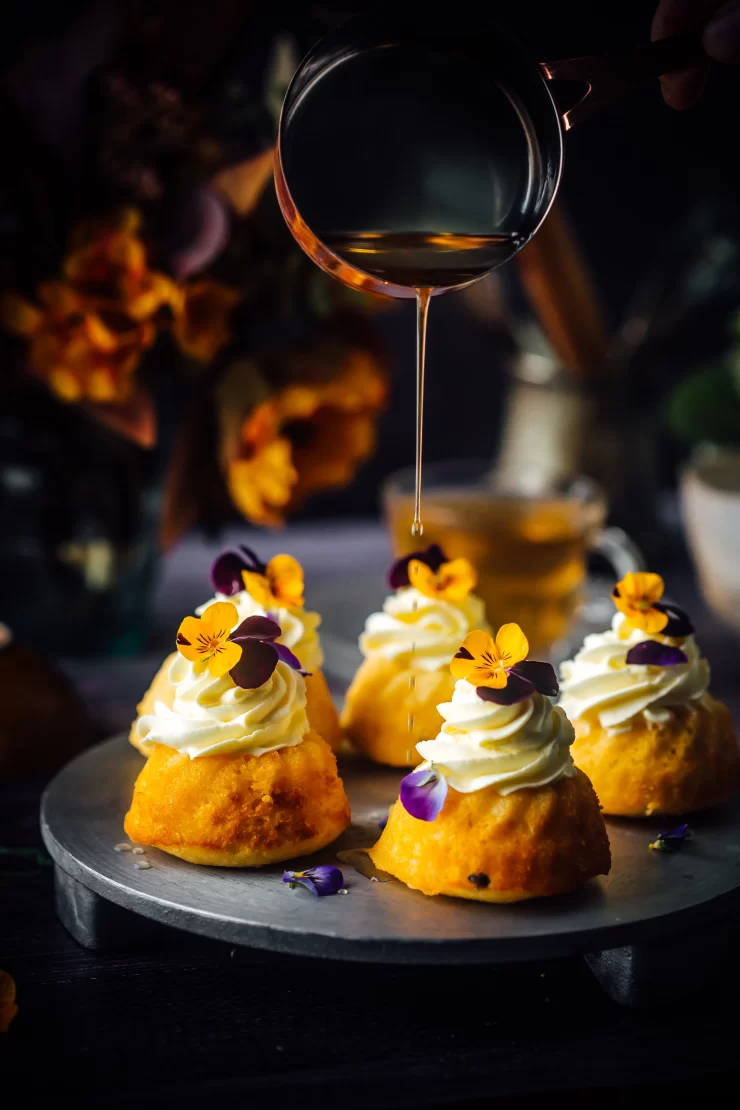
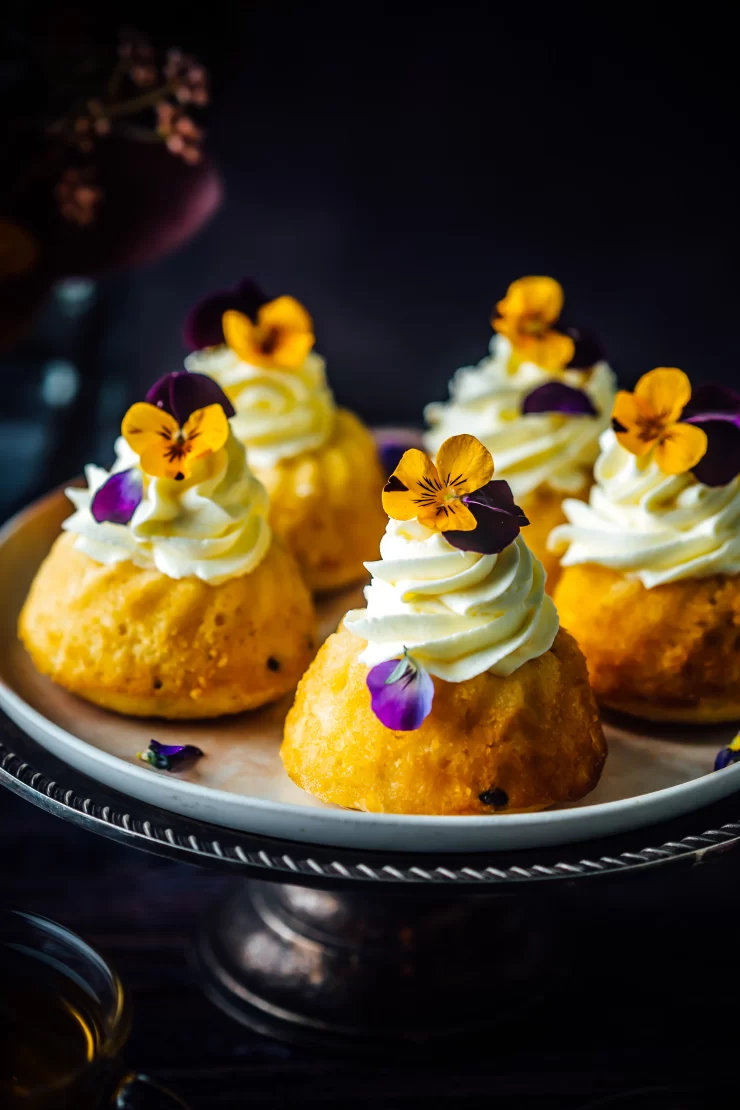
There’s something about passionfruit that instantly feels like summer. The tangy-sweet flavour, the vibrant golden pulp and that delicate floral aroma, it’s sunshine in edible form. And when you pair it with tender little cakes soaked in a fragrant syrup, you get a dessert that’s light, luscious, and downright irresistible. These mini passionfruit cakes with syrup are perfect for afternoon tea, a dinner party finale, or simply as a treat to brighten a rainy day. Served warm or at room temperature, they’re dainty enough to feel special, yet easy enough to whip up on a lazy weekend.

Mini Passionfruit Cakes

Mini cakes have an undeniable charm. They’re individually portioned (no awkward slicing), they bake faster, and they present beautifully on a platter. Plus, each one gets its own drizzle of glossy passionfruit syrup and whipped cream topping, so no one has to fight for the “good bit” that soaked in all the sauce.

If mini cakes are your thing, you will love these Flourless Chocolate Hazelnut Mini Cakes and these Mini Blueberry Cakes

Mini Passionfruit Cakes
Yields 6-8

3/4 cup self raising flour
1/4 cup dessicated coconut
1/2 cup castor/granulated sugar
60 g unsalted butter, melted 
1/2 cup milk
1 egg, lightly beaten
Pulp from 1 passionfruit

Passionfruit syrup
3/4 cup water
1/2 cup caster sugar
Pulp from 4 passionfruits, strained to remove seeds
1 tbsp lemon juice

Preheat oven to 180 degrees C. Grease a 12 hole mini bundt pan. 

In a large bowl, combine flour, coconut and sugar. Add melted butter, milk, eggs and passionfruit pulp. Beat until just combined.

Pour into prepared pan so that each hole is 2/3 filled. Bake for 15-20 mins or until cooked through. Remove from oven, leave aside for 5 mins, then gently take them out. Place on a wire rack. Pour warm syrup over the cakes. Allow to cool. When ready to serve, decorate with whipped cream. 

To make the syrup,  combine all ingredients in a small saucepan. Stir over a low heat without until the sugar dissolves. Bring to boil on high. Reduce heat to medium and simmer for 5-10 mins, until syrup is slightly thickened.

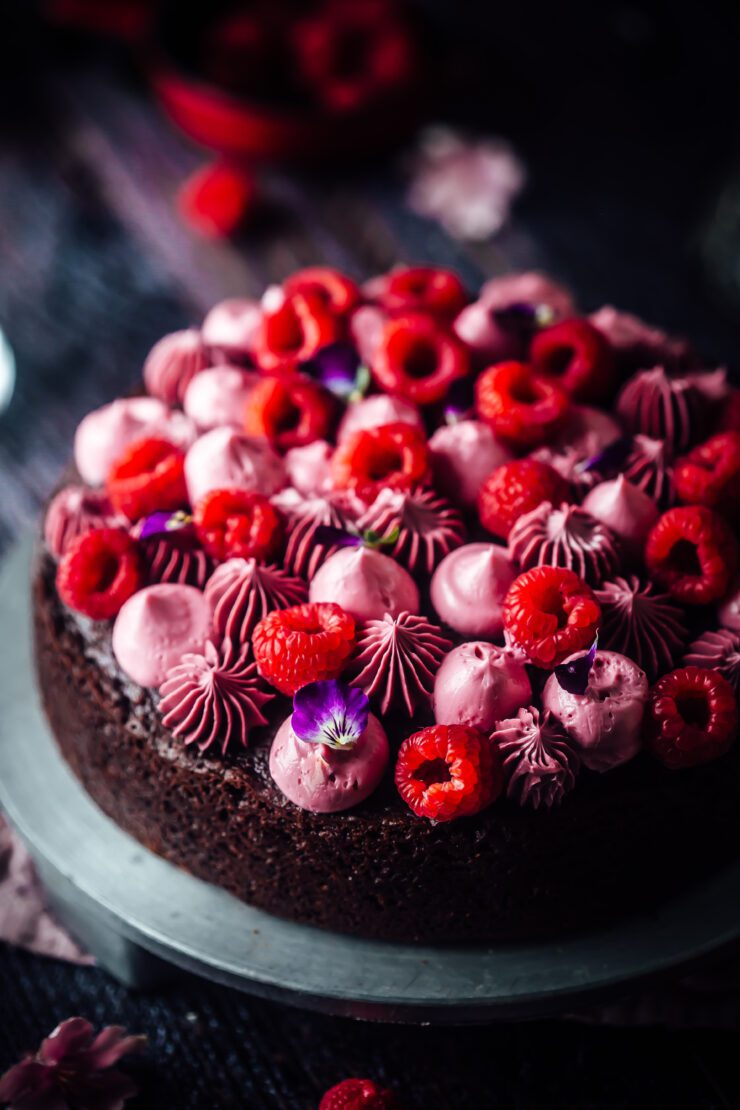
Chocolate Hazelnut and Raspberry Cake

29|06|2025

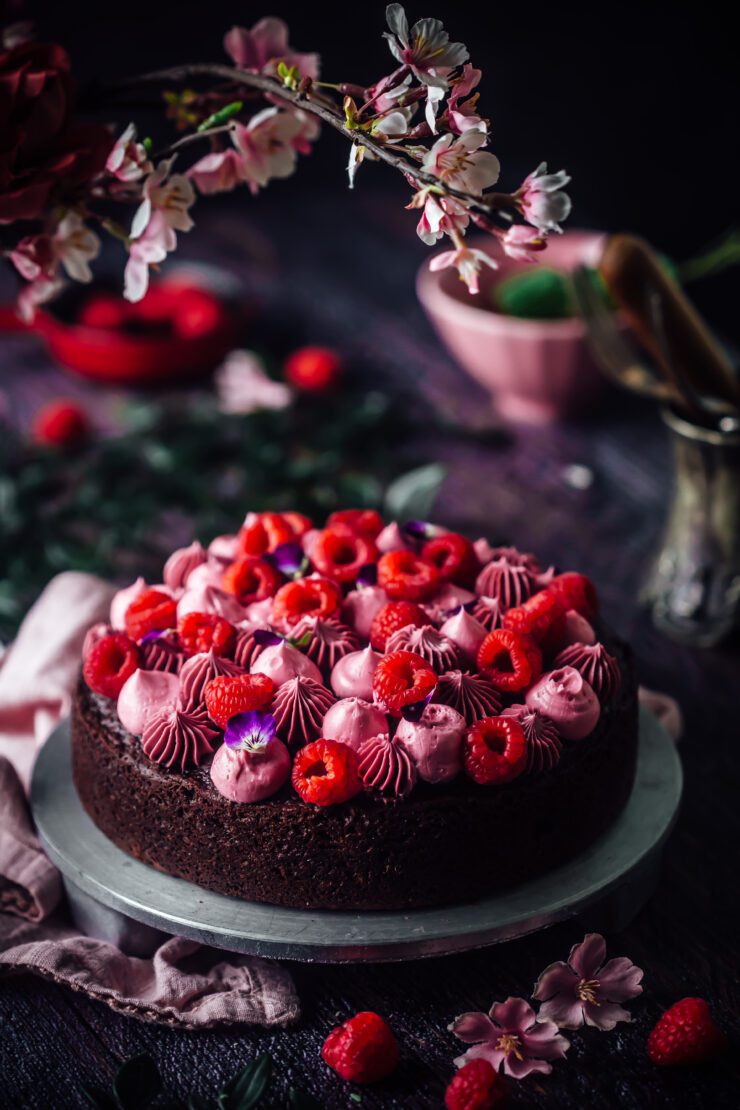
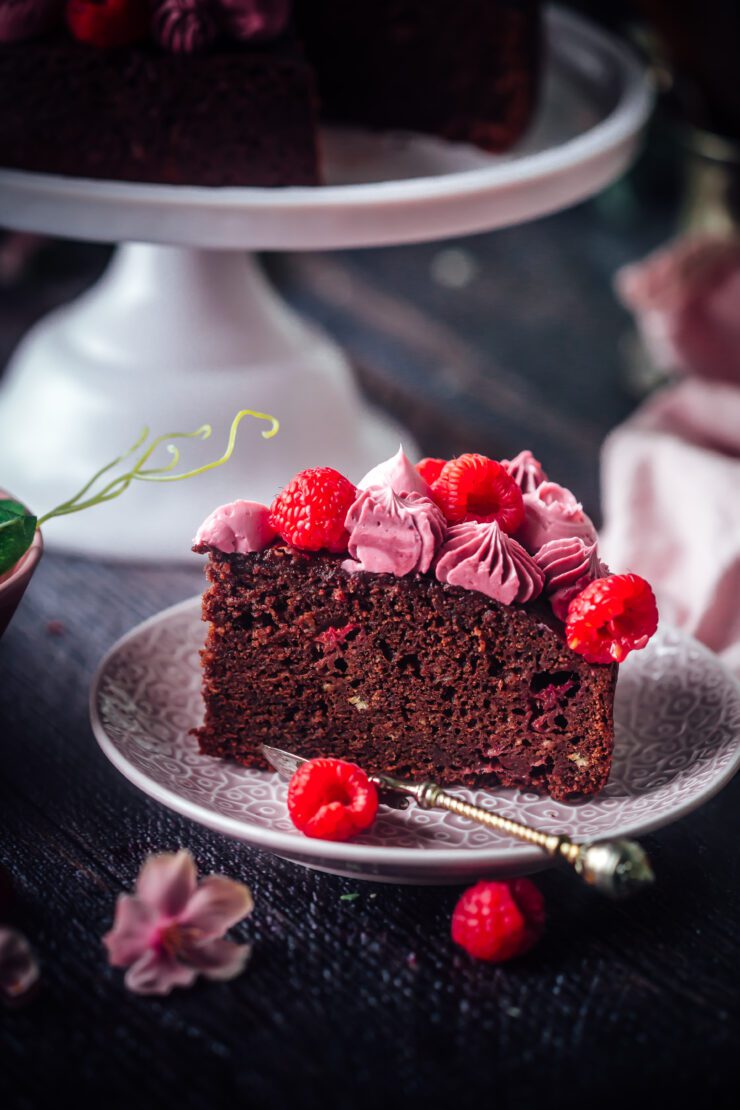
There are cakes that feel like celebration, and then there are cakes that feel like home. This Chocolate Hazelnut and Raspberry Cake manages to be both. It’s rich and decadent, yet soft and familiar — the kind of cake that turns a simple afternoon into something a little special.

Chocolate Hazelnut and Raspberry Cake

Hazelnuts and chocolate are already best friends in the baking world, but bring raspberries to the party, and suddenly you have something complex, bright, and completely irresistible. The raspberries cut through the richness, adding little bursts of tartness that make each bite sing. I did contemplate if the cake would taste better with a chocolate or a vanilla frosting. Just so I could add a pop of colour (or two) with the vanilla version, I went with that.

Chocolate Hazelnut and Raspberry Cake

This is the cake I bake when I want to feel creative — when I miss the sound of spoons scraping against mixing bowls or the smell of something nutty and chocolatey drifting from the oven. It’s a cake that invites conversation, quiet moments, and maybe just one more slice.

It’s also endlessly giftable — whether for a friend going through a tough week or a neighbour who deserves something sweet. Simple ingredients, thoughtfully combined — that’s the kind of comfort we all need more of.

If you enjoy baking hazelnut cakes, you will love my Flourless Chocolate Hazelnut Mini Cakes

Chocolate Hazelnut and Raspberry Cake

Chocolate Hazelnut and Raspberry Cake
Makes an 8 inch (20 cm) round cake

Chocolate, Hazelnut and Raspberry Cake
3/4 cup (170 g) unsalted butter, room temperature
11/2 cups (330 g) brown sugar
3/4 cup (180 ml) milk
1/2 cup (44 g) cocoa powder
1/2 tsp bicarbonate soda
1 cup 125 g) self-rising flour
1/4 cup (51 g) hazelnut meal (ground hazelnuts)
3 eggs, lightly whisked
½ cup (62 g) raspberries, fresh or frozen
extra raspberries, for decoration
edible flowers, for decoration (optional)

Vanilla Buttercream
1/2 cup (114 g) unsalted butter, room temperature
2 cups (240 g) icing/powdered sugar
1 tsp vanilla extract
1 tbsp milk

Make the chocolate, hazelnut and raspberry cake: Preheat the oven to 350°F (177°C). Grease the base and sides of a 8-inch (20 cm) round pan with 3-inch (8-cm) height and line the base with baking paper.

In a large saucepan, place the butter, sugar, milk, cocoa powder and bicarbonate soda and cook over low heat until butter has melted and mixture is smooth. Remove the pan from the heat and leave it aside for 15 minutes to cool.

Fold in the flour and hazelnut meal. Mix. Add the eggs and mix till incorporated. Fold in the raspberries.

Pour the mixture into the prepared pan. Bake for 45-55 mins or until a skewer inserted in the middle of a cake comes out clean. 
Remove the cake from the oven. Leave it aside for 10 minutes, then gently run a blunt knife around the edges to loosen the cake. Carefully turn it onto a wire rack to cool completely.

Make the vanilla buttercream : In a large bowl, using an electric mixer beat the butter until light and fluffy, about 4-5 minutes. Add the powdered sugar, a little at a time beating continuously until well combined. Scrape down the sides of the bowl as and when required. Add the vanilla extract and milk and beat until smooth. Divide the butterceam between two bowls. Add 1-2 drops of gel food colouring of your choice in each bowl. Mix till smooth.

Assemble: Place the cooled cake on a serving plate or cake stand. Using two piping bags, one fitted with a closed star tip, and the other with a plain round tip, pipe kisses on the top of the cake leaving spaces in between for the raspberries. Decorate with raspberries.


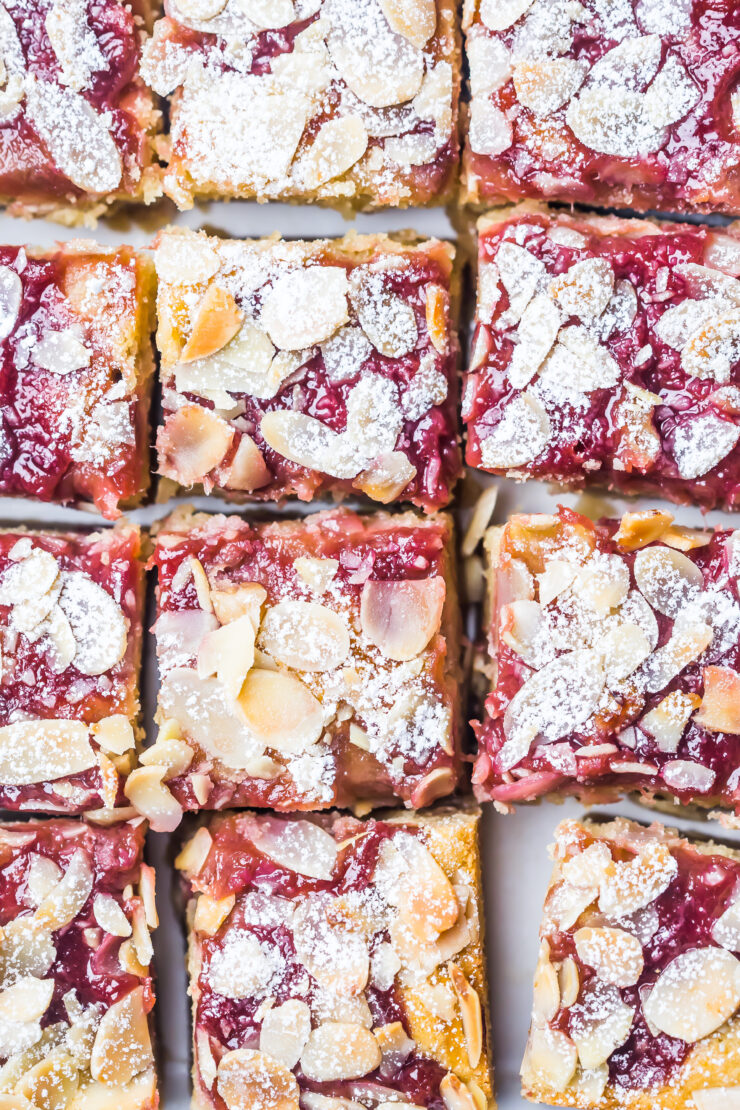
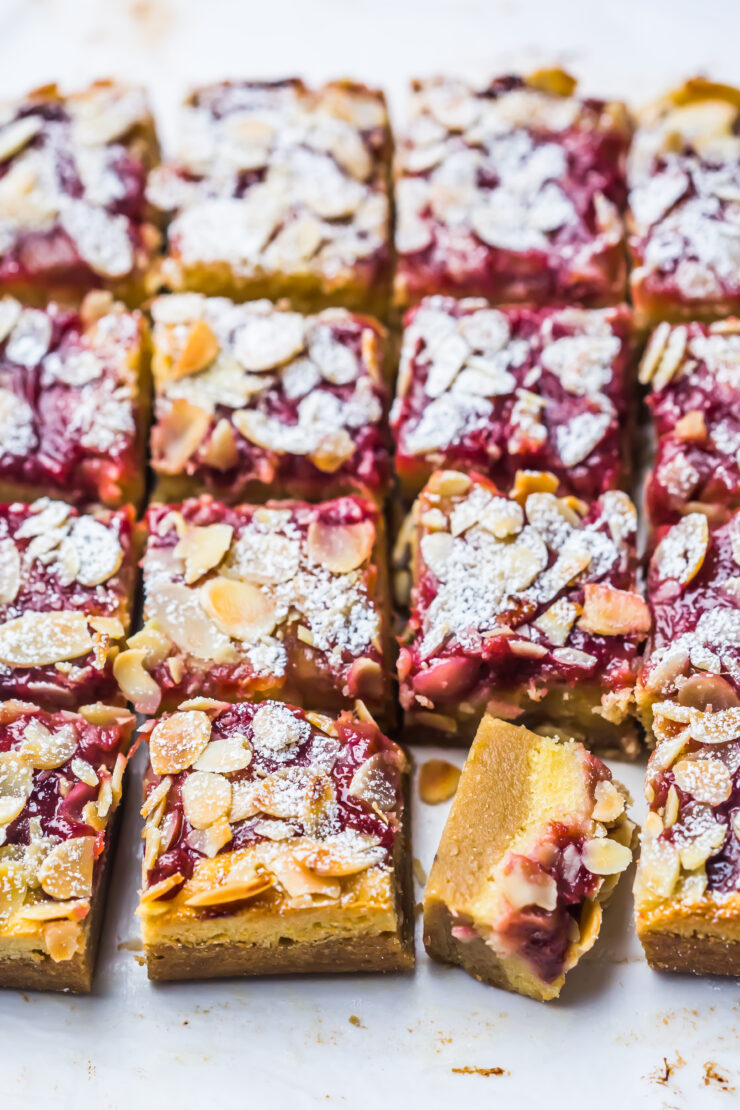
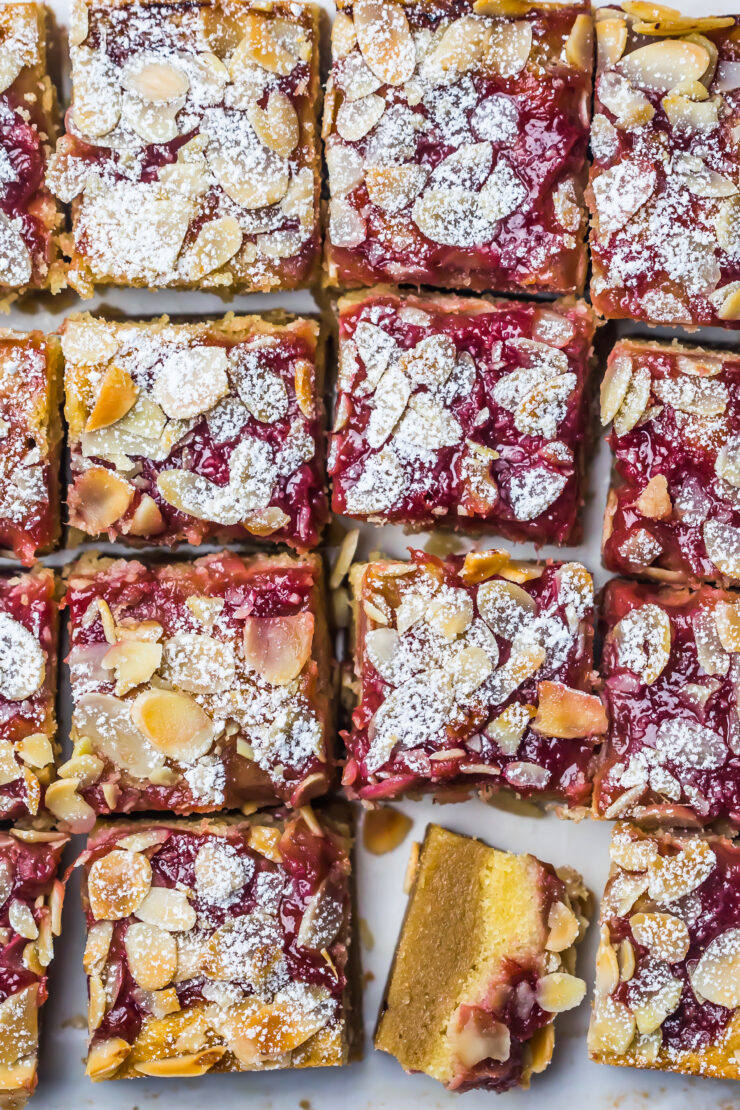
Almond and Rhubarb Bars

22|06|2025

Almond and Rhubarb bars

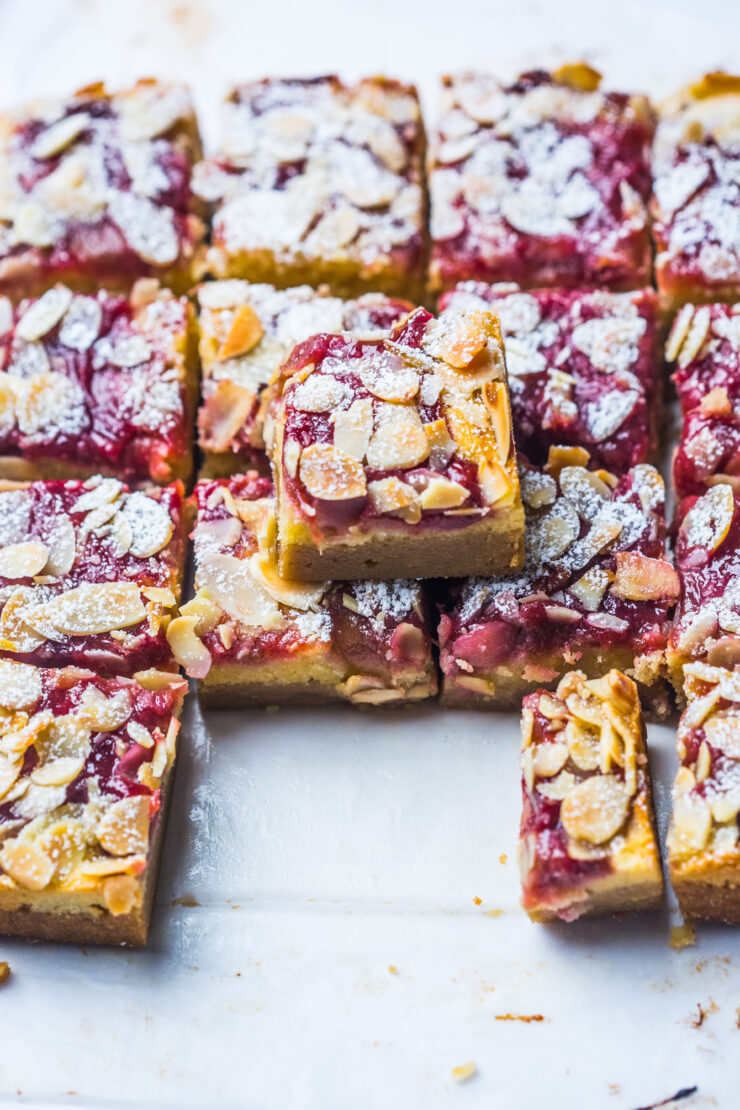
These Almond and Rhubarb Bars are everything I love in a traybake: unfussy to prepare, beautiful to serve, and irresistibly moreish. The base is crumbly and melt in your mouth, the almond frangipane layer is smooth and nutty, and the rhubarb on top turns jammy and jewel-like in the oven. It’s the kind of treat you bring out with tea on a sunny afternoon, or sneak from the fridge with a fork when no one’s looking.

Almond and Rhubarb bars

There’s something delightfully nostalgic about rhubarb — that vibrant pink stalk, the tart snap of its flavour, and the way it melts into something silky and mellow when baked just right. The sweet-tart flavour balances the richness of the almonds beautifully. Slice up and freeze if you want to. Perfect for make-ahead picnics or brunches too

Almond and Rhubarb bars

If you love Rhubarb recipes you will love my Chocolate and Rhubarb Tartlets

Almond and Rhubarb Bars
Makes 16

Rhubarb Compote
8 stems (approx. 10 oz, 300 g) rhubarb, trimmed, chopped
½ cup (120 ml) water
1/2 cup (100 g) granulated sugar
1 tsp vanilla extract

Base
114 g unsalted butter, melted and cooled
1 cup packed brown sugar
1 large egg
1 teaspoon vanilla extract
a pinch salt
1 1/4 cups all-purpose flour
1/2 teaspoon baking powder

Frangipane layer
170 g (3/4 stick) unsalted butter, at room temperature
1/3 cup castor/granulated sugar
1 teaspoon vanilla extract
2 large eggs
1 1/4 cups almond meal (ground almonds)

1/2 cup flaked alomds
Icing sugar, to dust

Make the Rhubarb Compote : Combine the rhubarb, water and sugar in a medium saucepan. Cook the mixture on medium high until rhubarb breaks down and mixture is thick, about 7-8 minutes.

Remove the saucepan from heat. Add the vanilla extract. Stir and allow the mixture to cool to room temperature. Store in the refrigerator until needed.

Make the base : Preheat the oven to 177 degrees C (350°F). Line the base of a 8×8-inch baking pan with 2 sheets of parchment paper, positioning them perpendicular to each other so that the parchment hangs about 2 inches over all 4 sides of the pan to form a sling.

In a large bowl, place the melted butter, brown sugar, egg, vanilla extract and salt together and stir until smooth and glossy.

Stir in the plain flour and baking powder until a thick batter forms. Transfer to the pan and spread into an even layer.

Make the frangipane layer : In a large bowl, beat the butter and sugar until pale and fluffy 1 to 2 minutes. Scrape down the sides of the bowl.

Add the vanilla extract, Beat in 2 large eggs one at a time, waiting until the first is completely incorporated before adding the second (the mixture will look curdled). Scrape down the sides of the bowl again.

Fold in the almond meal until just combined and smooth. Spread the mixture over the base in an even layer. 

Assemble : Spread the rhubarb compote evenly over the frangipane layer. Sprinkle flaked almonds evenly over the top. Bake for 40-45 minutes or until golden brown. Remove from oven, allow to cool to room temperature, then refrigerate for 1-2 hours. Lift the almond slab onto a cutting board and slice into 16 pieces.

Eggless Pistachio Brownies

1|06|2025

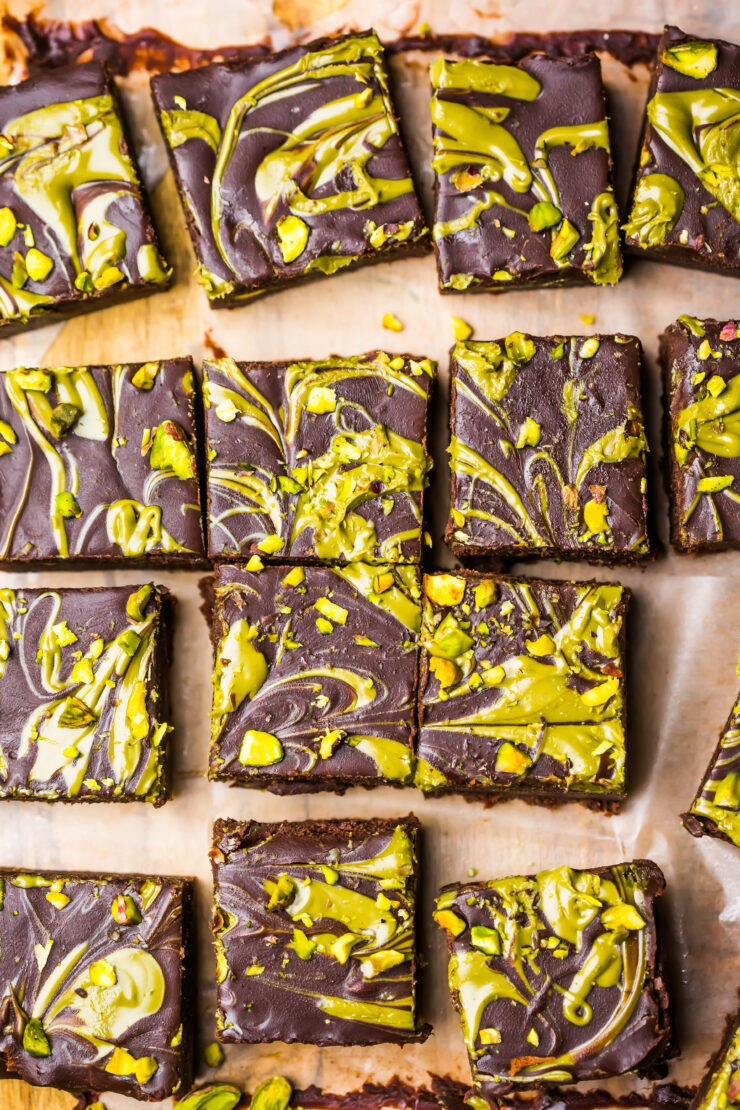
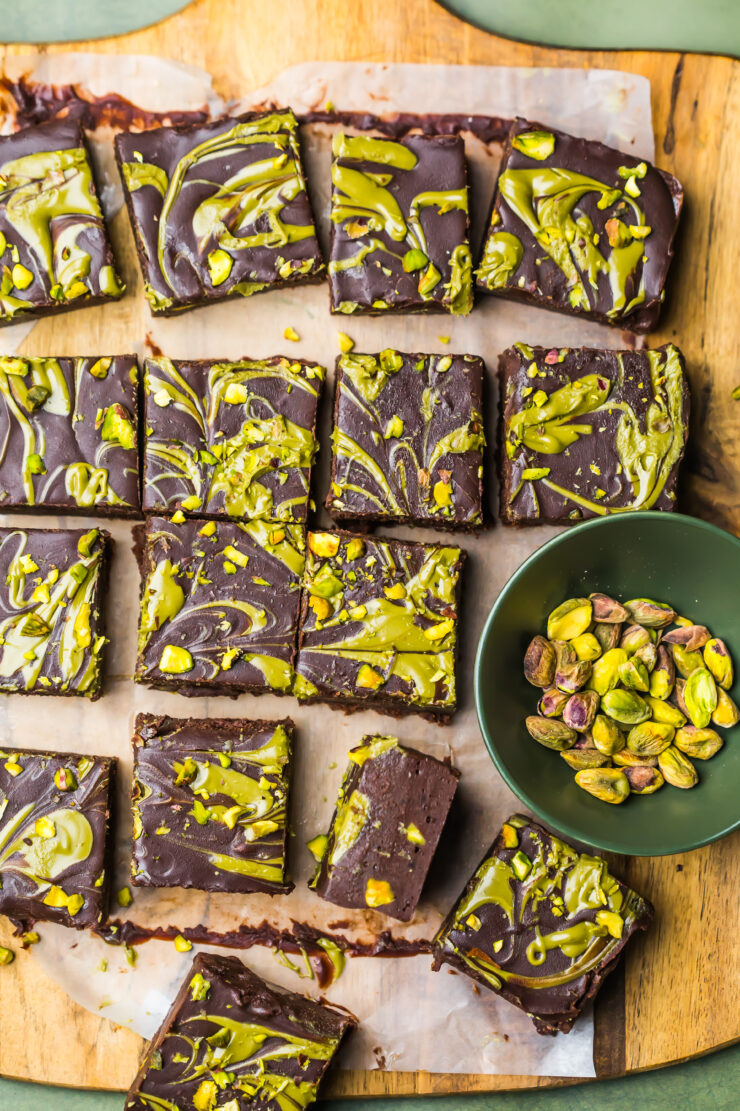
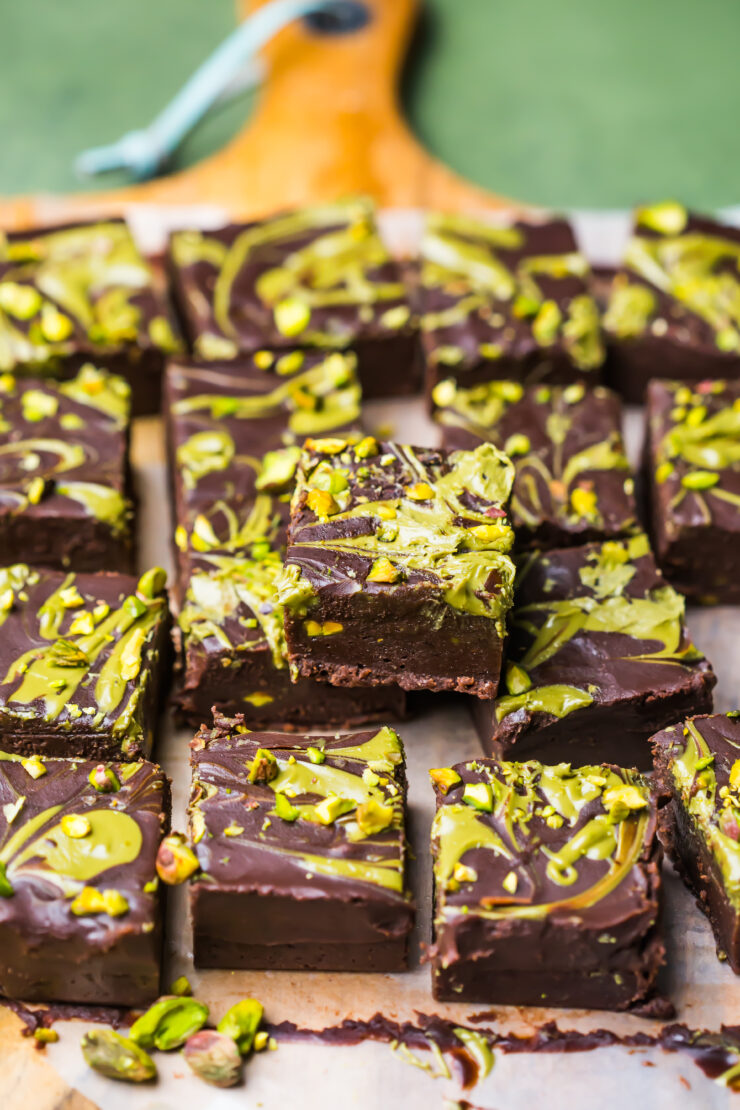
If you’ve been hanging around here long enough, you know I’m a sucker for two things: anything pistachio, and a good brownie. So naturally, these Eggless Pistachio Brownies were bound to happen. Going by the love you guys showed for my Eggless chocolate brownies, I decided it was time to step up the brownie game to a double chocolate, extremely fudgy, extremely indulgent chocolate pistachio number.

Eggless Pistachio Brownies

This original brownie recipe was born on one of those “oops, no eggs in the fridge” days. Then I fell in love with the outcome, so much so that, this became my go to brownie recipe. I needed something. No eggs. No fuss. Just pure indulgence.

Eggless Pistachio Brownies

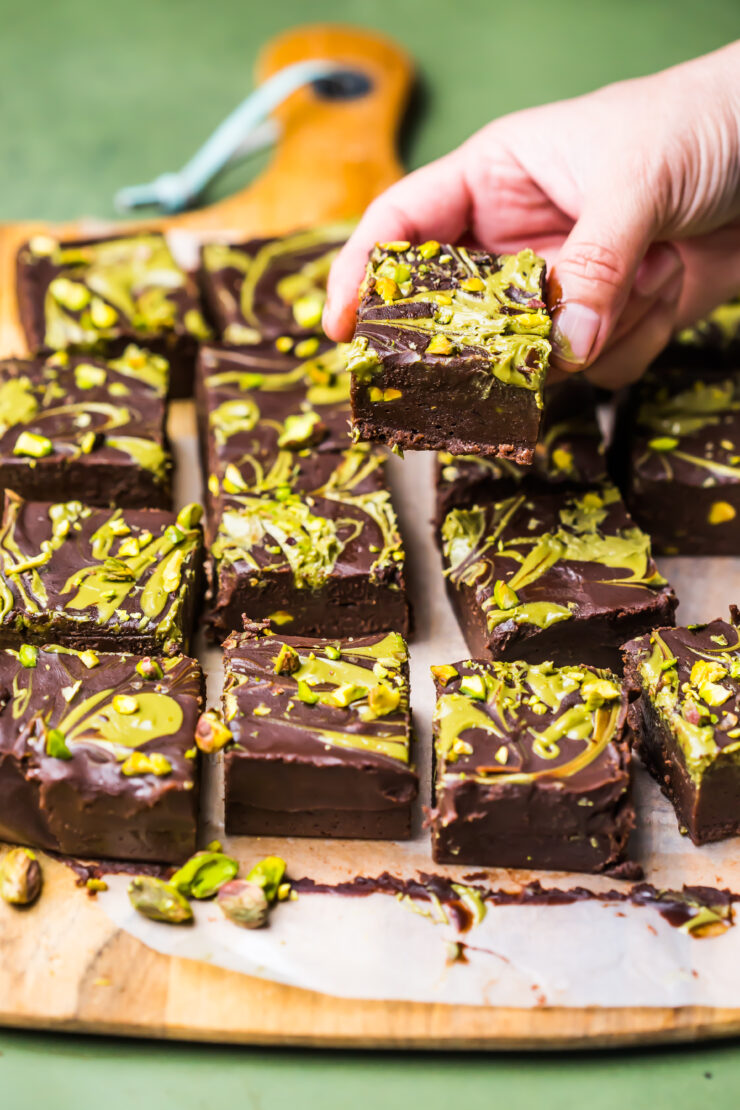
Pistachios are so underrated in baking. They’re not just for fancy gelato or Diwali sweets — they bring this buttery, subtle sweetness and gorgeous green pop that makes these Pistachio brownies feel just a little bit elevated. Plus, the crunch? Absolutely essential.

Eggless Pistachio Brownies

Whether you’re egg-free by choice, allergy, or you just ran out (we’ve all been there), these brownies don’t compromise. They are just as fudgy, deeply flavorful, and utterly addictive. I know I’ve said this before, the Pistachio Cream is magical. So many ways to use them. I bought it from Costco but it’s also available on Amazon. Of course, you can make your own or simply skip that step and cover the brownie with generous amounts of chopped roasted pistachios.

Eggless Pistachio Brownies
Makes 16 brownies

Brownie Layer
1 can (397 g) condensed milk 
3/4 cup (170 g) unsalted butter softened 
1/2 cup (110 g) brown sugar, packed
1 tsp vanilla essence
1/3 cup (35 g) Dutch processed cocoa 
1 cup (125 g) plain flour 
1 tsp baking powder 
1/2 cup roasted pistachios, coarsely chopped 

Chocolate Pistachio Swirl Layer
1/2 cup (120 ml) thickened/heavy cream
6 oz (170 g) dark chocolate, roughly chopped
2 tbsp (28 g) unsalted butter
3/4 cup pistachio cream, warmed in the microwave
Extra pistachios, for sprinkling

Make the brownie layer : Preheat the oven to 350°F (177°C). Lightly grease the base and sides of an 8-inch (20-cm) square pan with 3-inch (8-cm) height. Line the base and sides with baking paper leaving a small overhang for ease of taking the brownies out.

In a medium saucepan under low heat, warm the condensed milk, butter, brown sugar and vanilla until melted and mixture is smooth. Do not boil. Allow to cool to room temperature 

Fold in sifted flour, baking powder and cocoa powder. Mix until smooth. Fold in half the chopped walnuts. Pour into prepared pan. Sprinkle remaining chopped pistachios. 

Bake for 25-30 minutes until edges start to pull away slightly and the centre is still a little undercooked. The top should have crinkled. The brownies will continue to set upon cooling.

Make the chocolate pistachio swirl layer : While the brownies are cooling, make the second layer. Warm the cream in a medium saucepan over low heat until about to boil (do not boil). Remove from heat, add the chocolate. Leave aside whilst stirring intermittently until chocolate has melted and mixture is smooth. Add the butter, stir until melted. Set aside until cooled to room temperature.

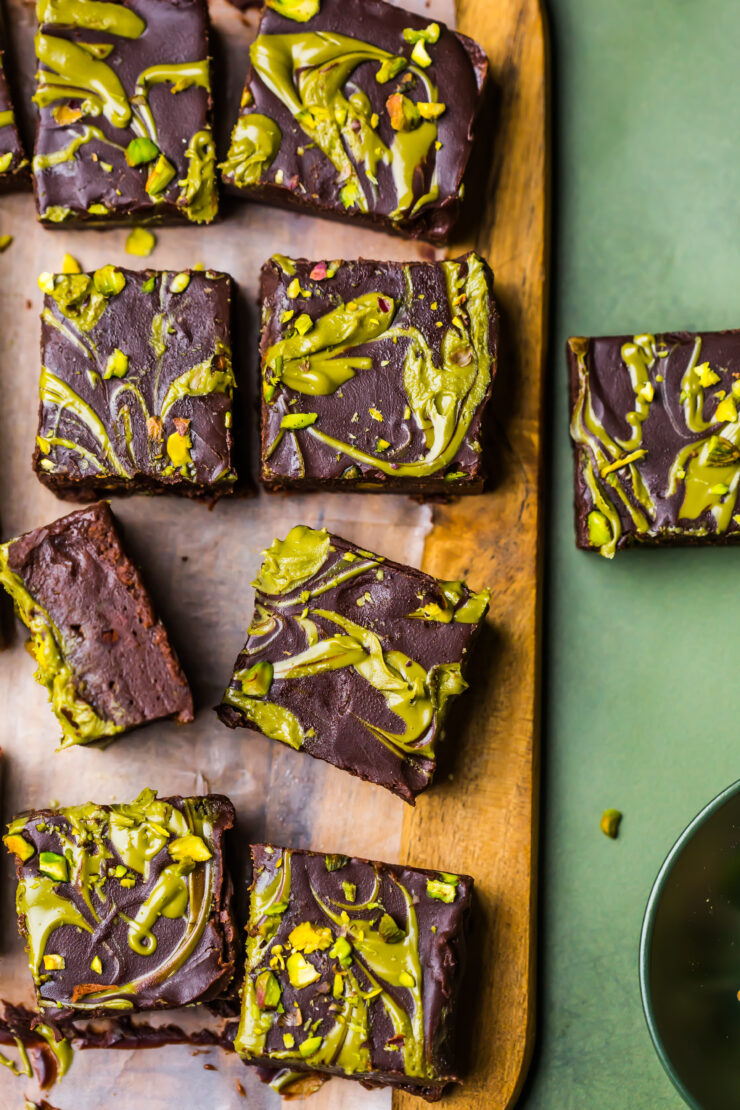
Assemble : Once cooled, pour the chocolate ganache onto the brownie base. Spread evenly with an offset spatula.Drop spoonfuls of pistachio cream over the chocolate. Using a skewer or the tip of a knife, make swirls on the chocolate in a few places. Sprinkle with pistachios. Refrigerate until set.

Banana and Pistachio Cake

18|05|2025

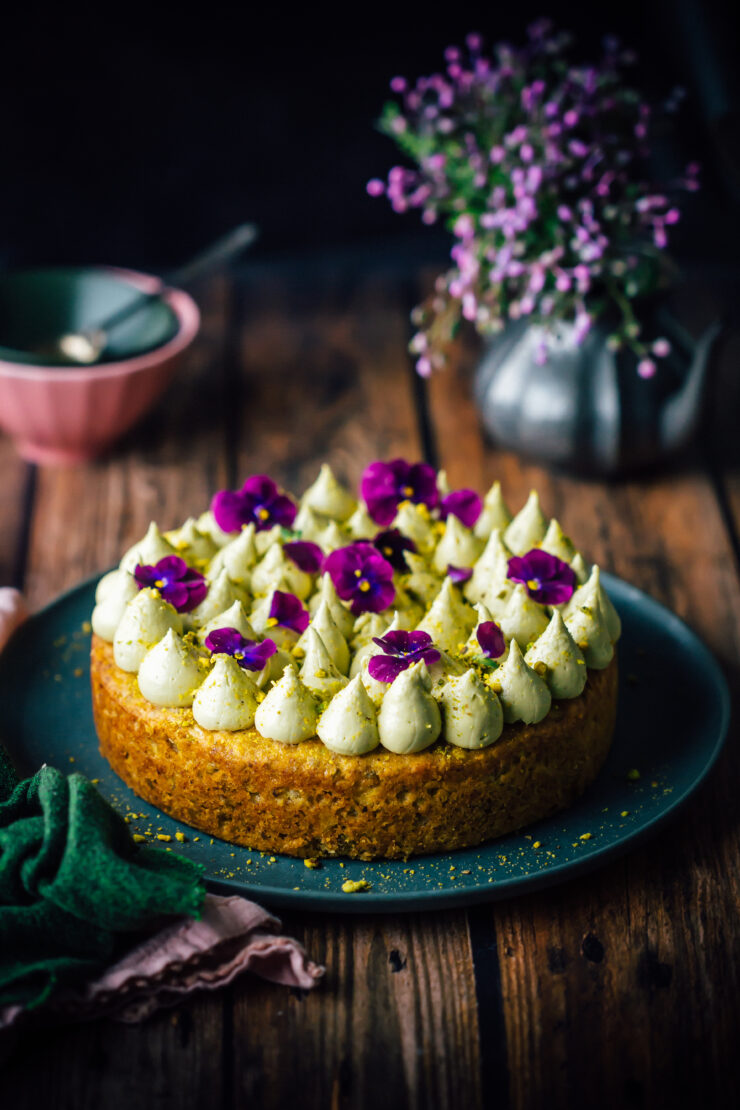
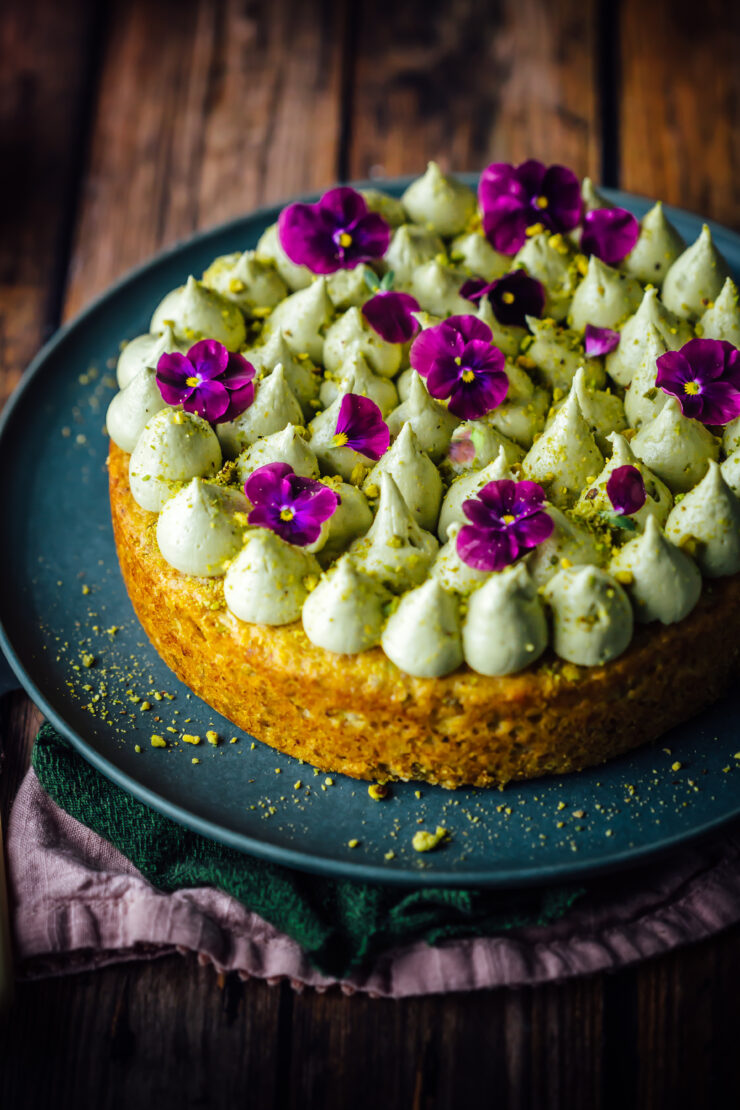
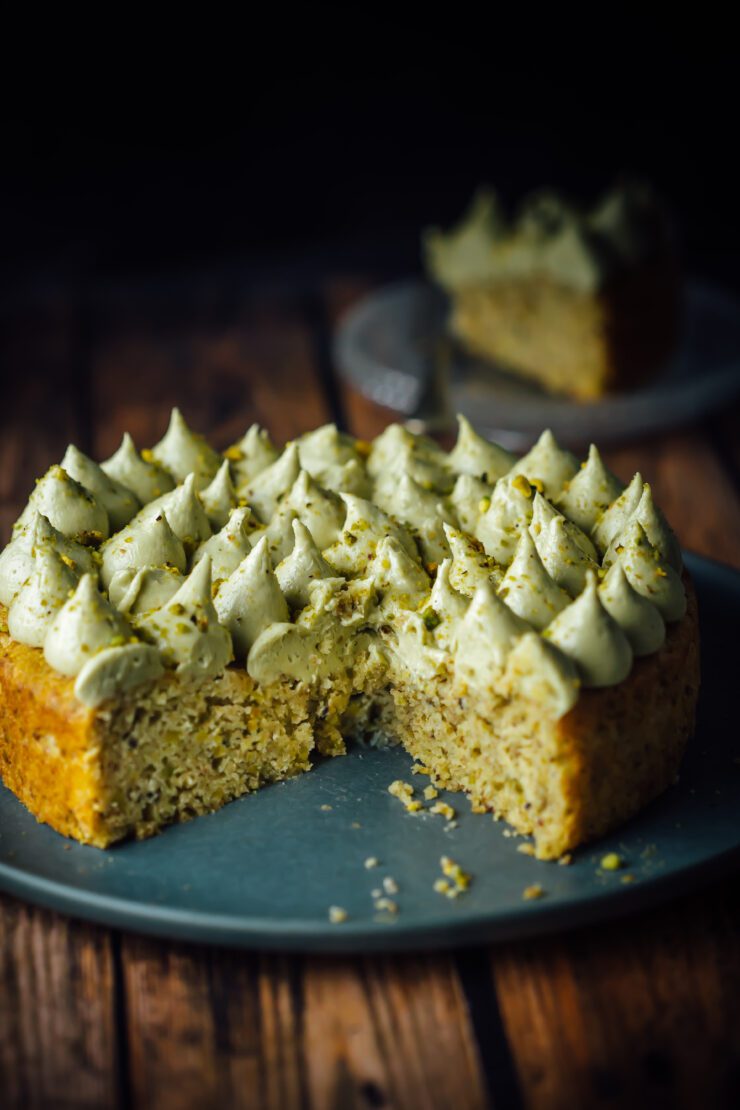
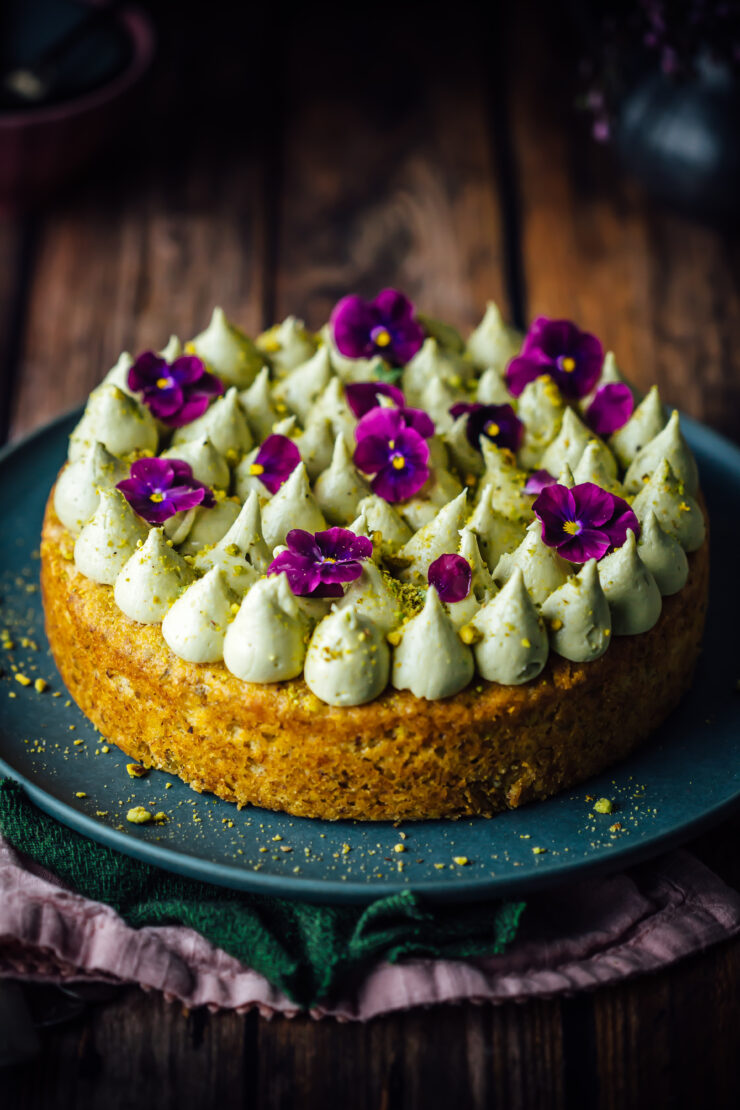
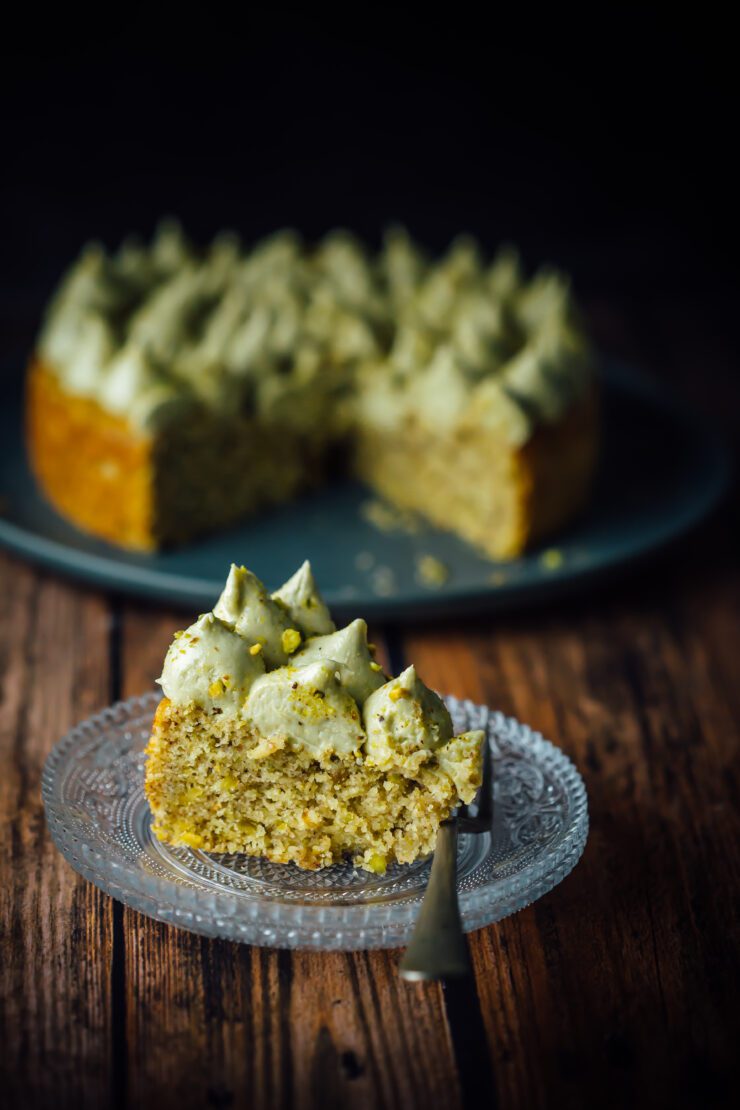
This Banana and Pistachio Cake is a simple twist on a classic recipe that feels special without being fussy. If you’re a fan of banana bread but want something a little more elevated and indulgent, this Banana and Pistachio Cake is the perfect bake for you

Banana and Pistachio Cake

This cake is heavenly with a cup of coffee or tea. It’s sweet enough to be a dessert, but not too rich to enjoy as a breakfast treat. Bananas bring sweetness, moisture, and a natural richness to cakes without needing excessive sugar or fat. Pistachios, on the other hand, add a delicate nuttiness and texture that perfectly complements the softness of banana. Topped with the most luscious pistachio cream cheese frosting, it’s a treat to remember.

Banana and Pistachio Cake

Whether you’re baking for a birthday, brunch, or just a cozy night in, this cake feels comforting and classy — and it tastes even better the next day (if it lasts that long). And it’s very simple to make.

If you love banana cakes, you will love my Banana Cake with Tahini Frosting For pistachio lovers, here are my Pistachio Mini Cheesecakes

Banana and Pistachio Cake

Banana and Pistachio Cake
Makes a 7 inch (18 cm) round cake

2/3 cup (150g) unsalted butter, at room temperature
2/3 cup (132 g) granulated/caster sugar
2 large eggs
1 cup mashed banana (about 2 large, ripe bananas)
2 tbsp hulled tahini
1 cup (125 g) self-raising flour, sifted
2/3 cup ground pistachios
1/3 cup (80 ml) milk
2 tbsp chopped pistachios, for decorating

Pistachio Cream Cheese frosting
4 oz (115 g) cream cheese (not low-fat), at room temperature
¼ cup (57 g/½ stick) unsalted butter, at room temperature
1¼ cups (150 g) powdered sugar
1/4 cup pistachio cream or spread

Make the cake : Preheat oven to 180°C (160°C fan forced) or 350 °F. Grease the base and sides of a 7 inch round pan and line the base with baking paper.

In a large bowl, Beat the butter and sugar in a bowl until pale and creamy. Beat in the eggs until combined. Beat in the banana until well combined. Fold in the flour and ground pistachios, then the milk using a large metal spoon until just combined. Pour the cake mixture into the prepared pan.

Bake for 55-65 minutes or until a skewer inserted in the centre of cake comes out clean. Set aside for 10 minutes, then loosen the edges using a blunt knife. Transfer the cake onto a cooling rack to cool completely.

Make the pistachio cream cheese frosting : In a medium-sized bowl, beat together the cream cheese and butter until smooth, about 2 minutes. Using a rubber spatula, scrape down the sides of the bowl to ensure that the mixture is evenly mixed. Beat in the powdered sugar, a little at a time, until well incorporated. Add the pistachio cream. Mix until combined.

Assemble : Once the cake has cooled to room temperature, using a round tip and a piping bag, pipe onto the top of the cake. Decorate with chopped pistachios and edible flowers. Enjoy!

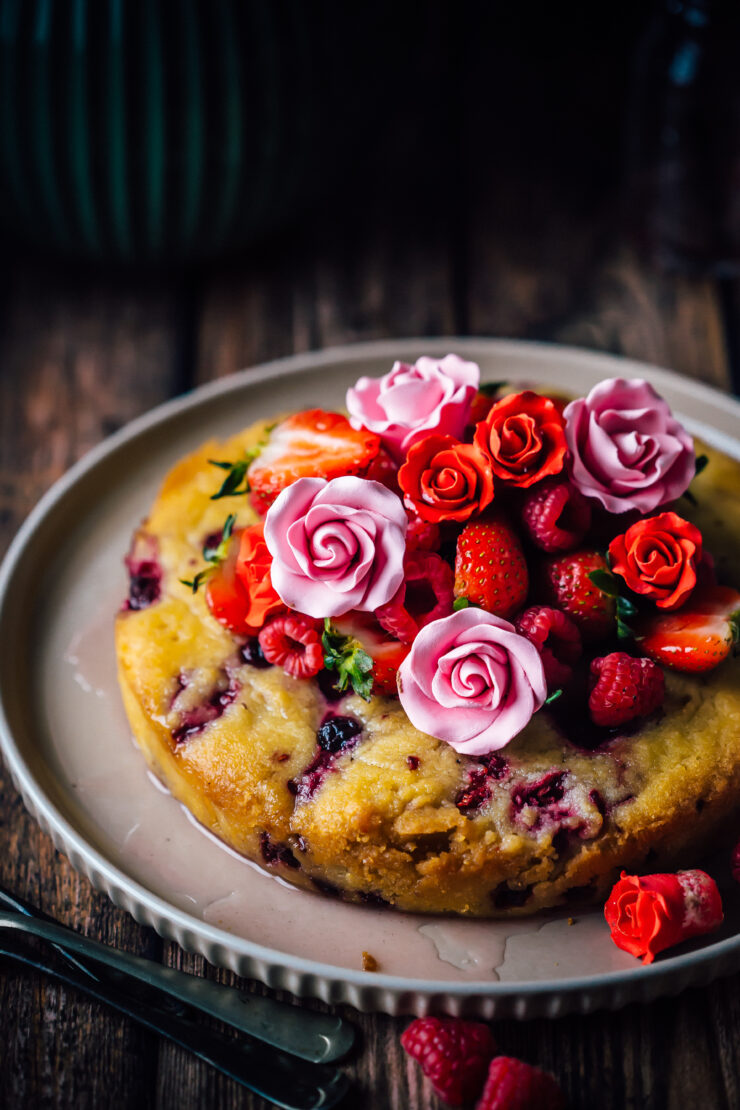
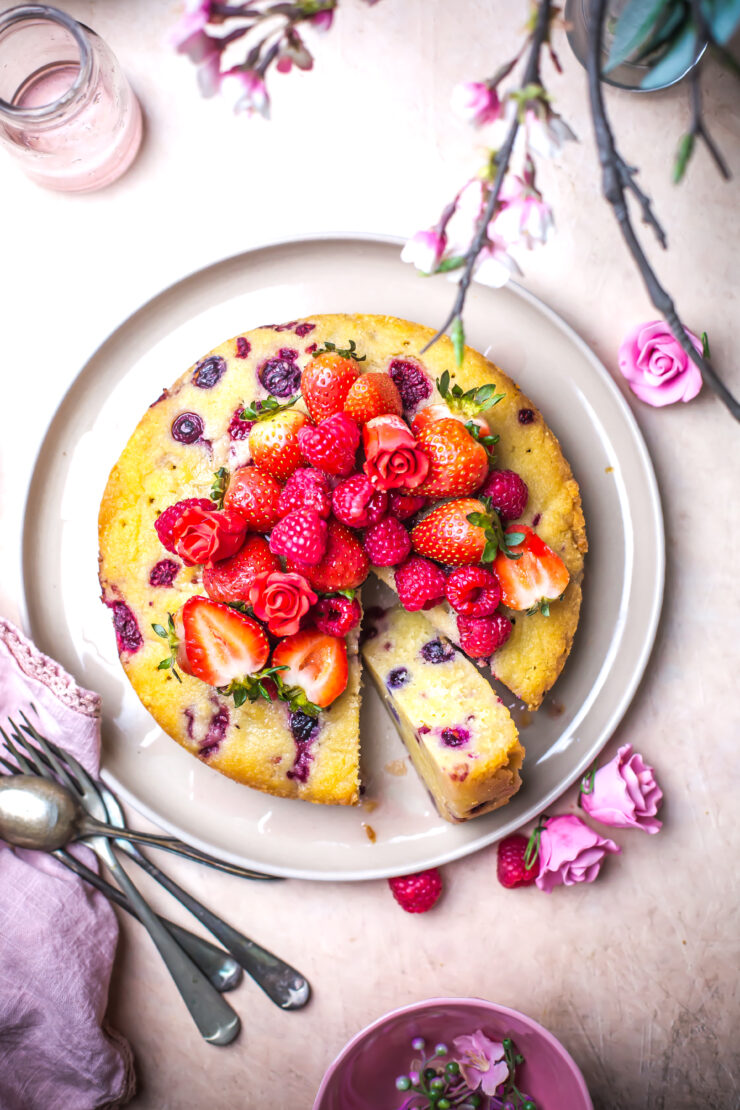
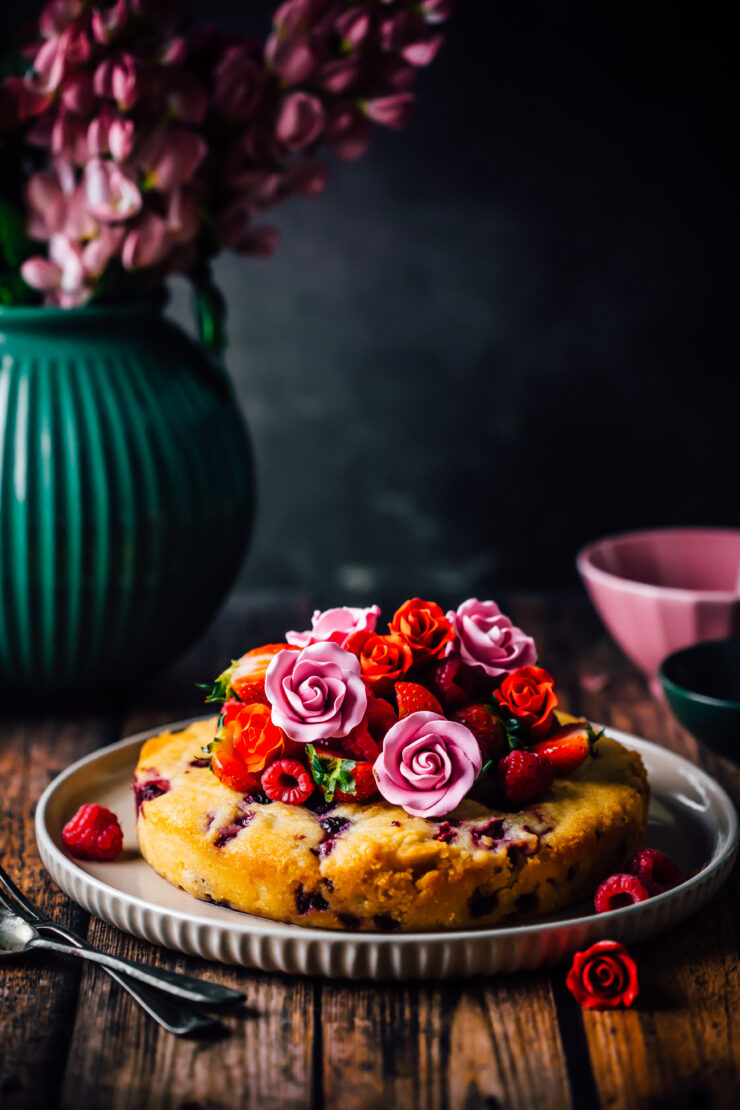
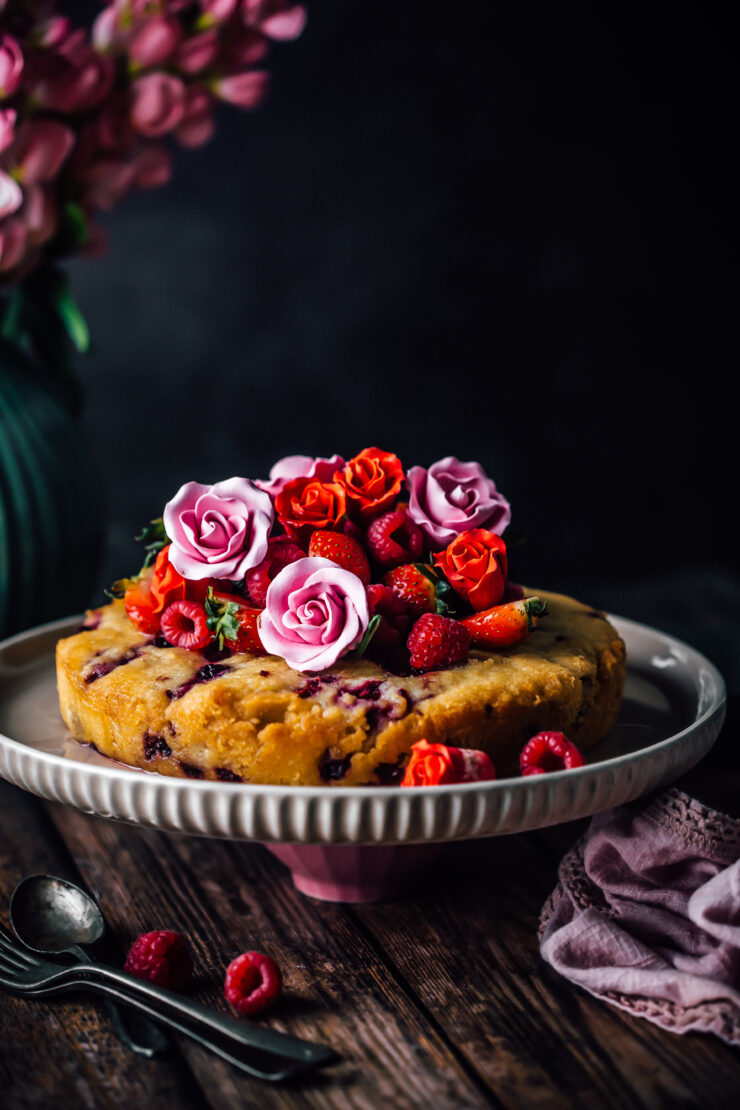
Moscato Syrup and Berry Cake

4|05|2025

Moscato Syrup and Bery Cake

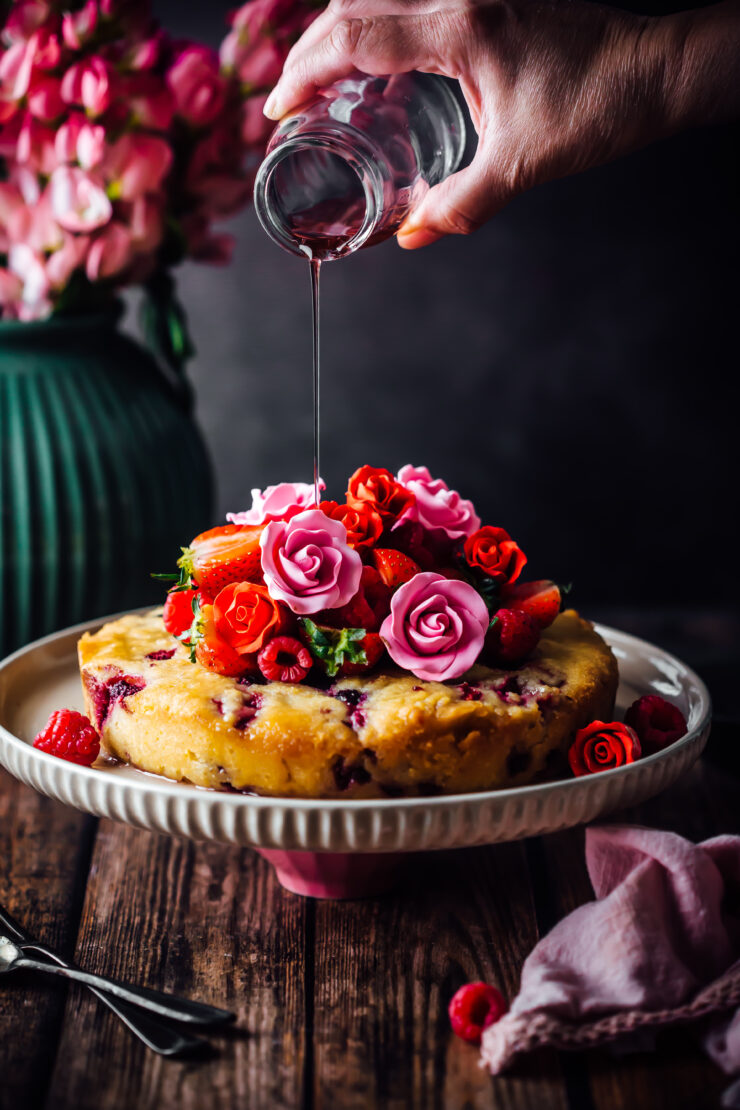
Mother’s Day is a celebration of love, strength, and all the little things that make moms so extraordinary. This year, honour her with something heartfelt and homemade, a berry cake with Moscato that’s as beautiful and unique as she is.

Moscato Syrup and Bery Cake

This cake is the perfect blend of elegance and comfort. Soft, almond cake is studded with juicy berries and soaked in a delicate Moscato wine syrup, creating a dessert that’s bursting with flavor and love. Whether you’re serving it at brunch, tea, or dessert, it’s a centerpiece worthy of your Mother’s Day table.

Moscato Syrup and Bery Cake

The richness of almond pairs beautifully with the light, floral notes of Moscato wine. Fresh or frozen berries (think raspberries, blueberries, or strawberries) add pops of color and a tart-sweet contrast that cuts through the sweetness of the syrup. The Moscato and berry cake does not taste too strongly of moscato but enough to uplift it. The result is a cake that feels indulgent, but still light. No frosting is required. It tastes best with a serving of whipped cream or vanilla ice cream on the side.

If you love boozy cakes, don’t forget to checout my Shiraz Chocolate Cake

Moscato Syrup and Berry Cake
Makes an 8 inch (20 cm) round cake

150 g unsalted butter
2/3 cup castor/ganulated sugar
3 eggs
1 tsp vanilla extract
1/2 cup plain flour
1/4 tsp baking powder
2 cups almond meal
3 tbsp milk
3/4 cup mixed berries (fresh or frozen)
Fresh berries, to decorate
Edible/sugar flowers, to decorate

Moscato Syrup
3/4 cup Moscato syrup
1/4 cup castor sugar
1 tsp rosewater or lemon juice (optional)

Make the berry and almond cake: Preheat the oven to 350°F (177°C). Grease the base and sides of an 8-inch (20-cm) round pan with 3-inch (8-cm) height and line the base with baking paper.

In a large bowl, using an electric mixer or by hand, beat the butter and castor sugar on medium speed until light and creamy. Add the eggs one at a time, beating well after each addition. Add the vanilla. Fold in the flour, baking powder and almond meal alternating with the milk until just combined. Fold in the berries.

Transfer the batter to the prepared cake pan. Bake for 45-55 minutes or unto; a skewer inserted into the middle of the loaf comes out clean.

Remove the loaf from the oven. Leave it aside for 5 minutes, then carefully turn it onto a wire rack. Poke holes in the cake while still warm. Pour the warm Moscato syrup over the cake. Allow the cake to cool before decorating and slicing.

Make the Moscato syrup : In a medium saucepan, combine moscato wine, suagr and rosewater (if using). Cook the mixture over medium heat until it comes to a boil. Reduce the heat and simmer for 5-7 minutes or until the mixture has thickened slightly.

Hazelnut ShortBread Bites

26|04|2025

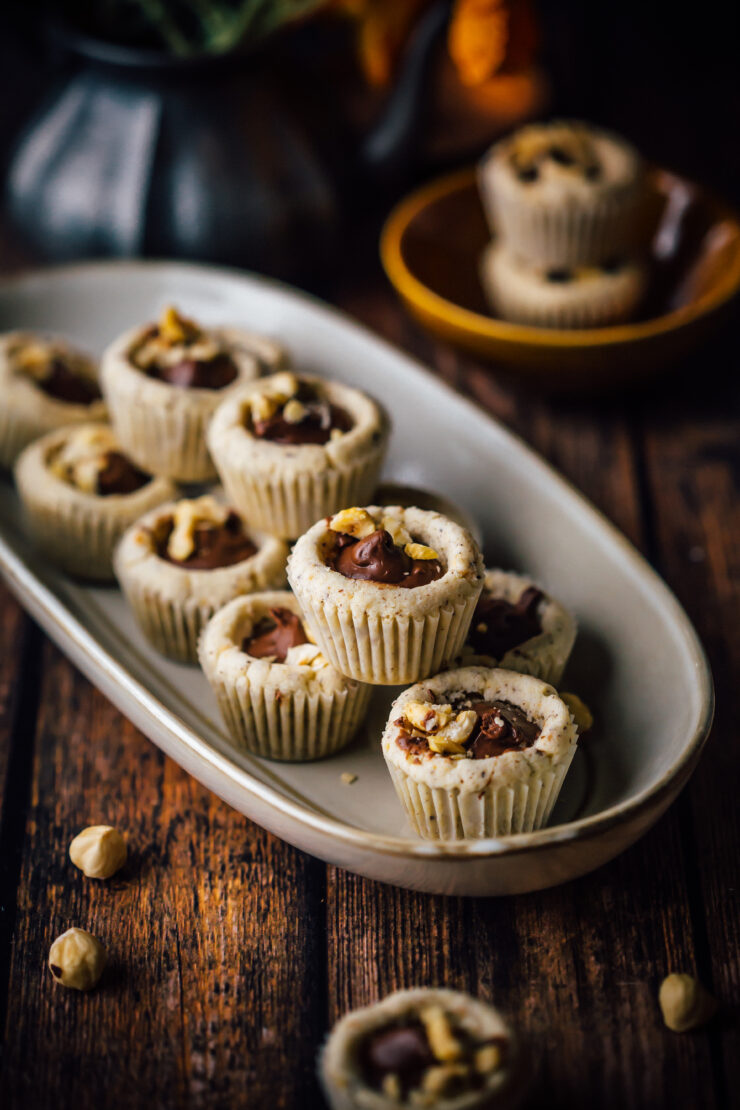
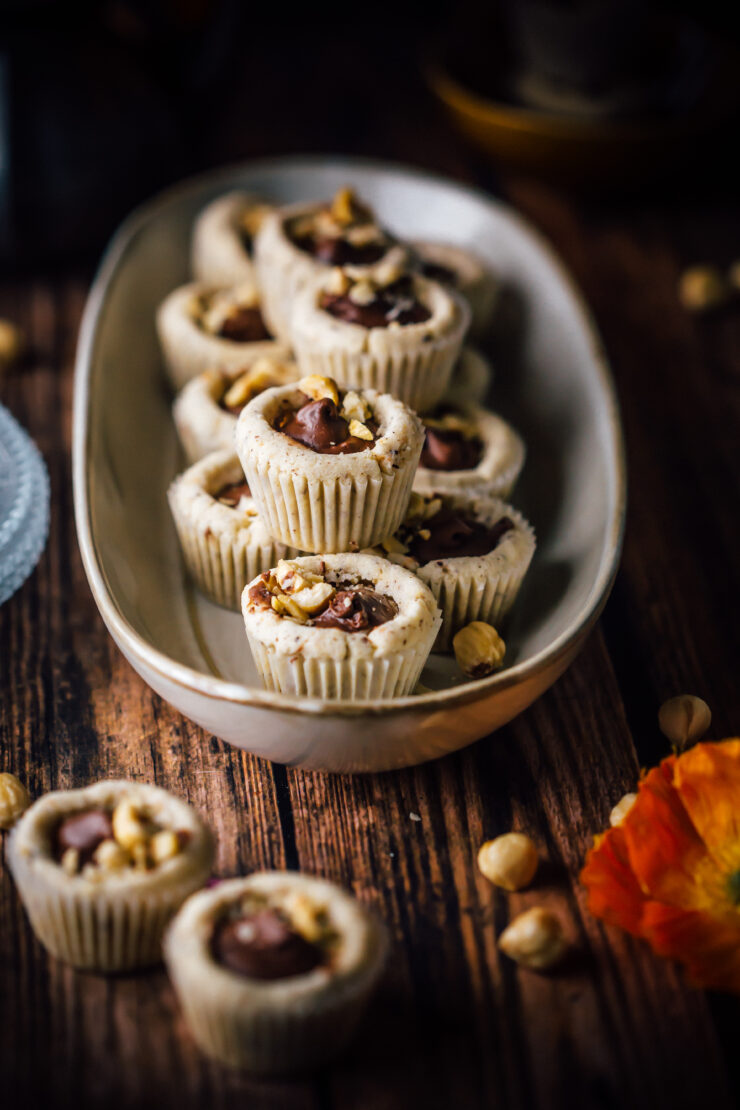
When it comes to baking, I’m always looking for ways to make recipes simpler and prettier — and these Hazelnut Shortbread Bites made in a mini muffin pan are just that. They’re buttery, nutty and practically foolproof, with perfect little edges thanks to the magic of a mini muffin tin. Being eggless makes them accessible to all your vegetarian friends.

Hazelnut Shortbread Bites

If you’re ready for an easy, elegant treat that looks like it came from a bakery, you’re going to love this one. After the popularity of my Pistachio Shortbread Bites, I knew I wanted to create a hazelnut chocolate version.

Hazelnut Shortbread Bites

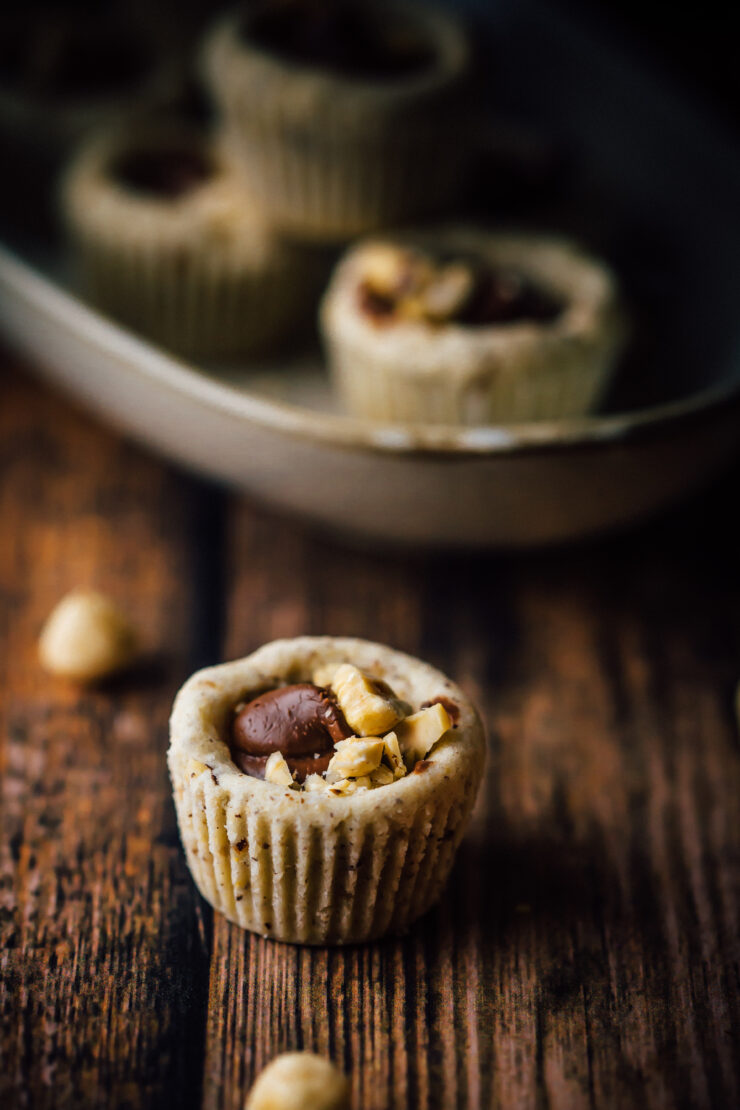
These Nutella-Filled Hazelnut Shortbread Bites are little pockets of joy —easy and oozing with chocolatey goodness. One bite, and you’ll understand why making cookies in a muffin pan and filling them with Nutella might just be the best idea ever.

Hazelnut Shortbread Bites

Are you ready to impress yourself and everyone you know? Because these bites will disappear fast!

Hazelnut Shortbread Bites
Yields 14-16

1 cup (125 g) plain flour
1/2 cup (75 g) hazelnut meal/ground hazelnuts
1/3 (66 g) cup castor/granulated sugar
1/4 tsp baking powder
1/2 cup (114 g) unsalted butter, softened, cubed
1 tsp vanilla extract or rosewater
1/2 cup Nutella or any chocolate hazelnut spread (or your favourite preserve)
chopped hazelnut, to decorate
edible rose petals, to decorate (optional)

Make the Hazelnut shortbread bites : Preheat the oven to 350°F (177°C). Line a mini muffin pan with paper liners.

In a food processor or in a large bowl, combine the plain flour, hazelnut meal, sugar and baking powder To this mixture, add the butter along with the vanilla extract. Pulse the mixture in short bursts until it comes together to form a dough. If you’re doing it by hand, gently rub the butter into the mixture until it all comes together.

Knead until it forms a smooth dough that can be scooped and rolled into balls easily. Using a small cookies scoop, scoop out dough balls, rolling them in the palms of your hands.  Place the dough balls in the muffin liners.

Using the blunt end of a wooden spoon create an indent on the top of each dough ball about 1/4 inch to make room for Nutella or preserves if you’re using them.

Melt Nutella in the microwave so it is of a pourable consistency, about 25-30 seconds. Spoon the Nutella into the indents so it creates a filling. Do not over fill. Sprinkle chopped hazelnuts over the filling.

Place the muffin pan in the oven and bake for 15-20 minutes or until golden brown and cooked through.

Remove pan from oven, leave aside to cool shortbreads in the pan. They will be crumbly at this stage so allow it to fully cool down. Enjoy!

Mini Pistachio Cheesecake

22|03|2025

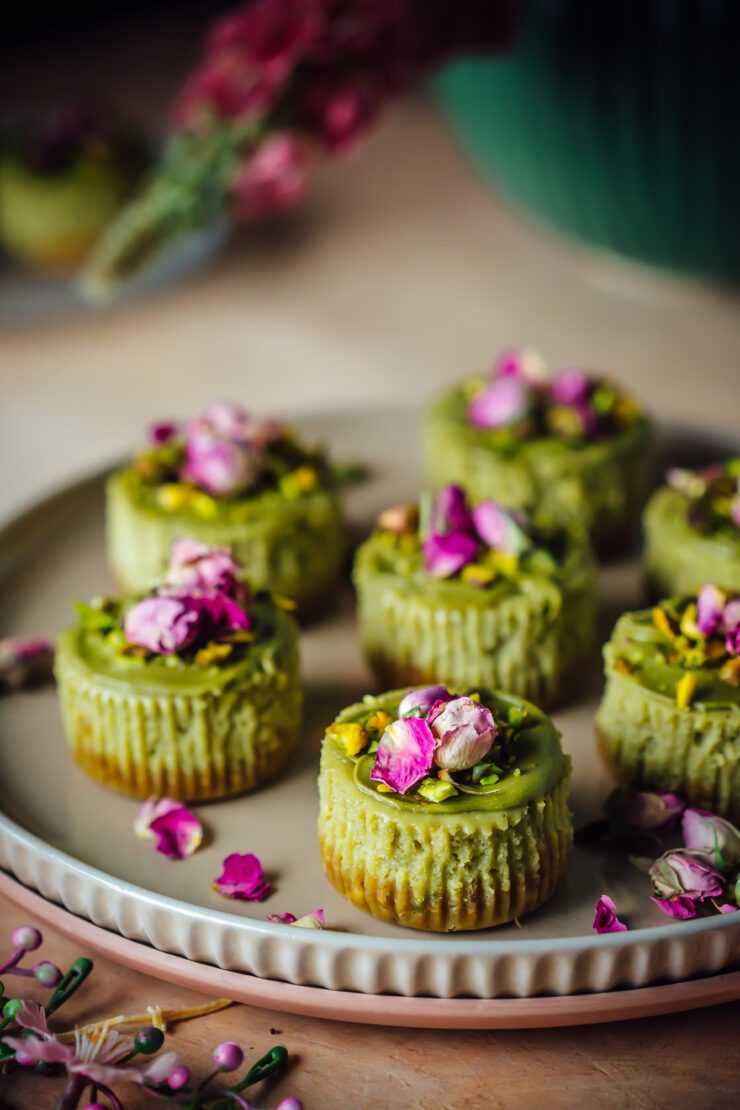
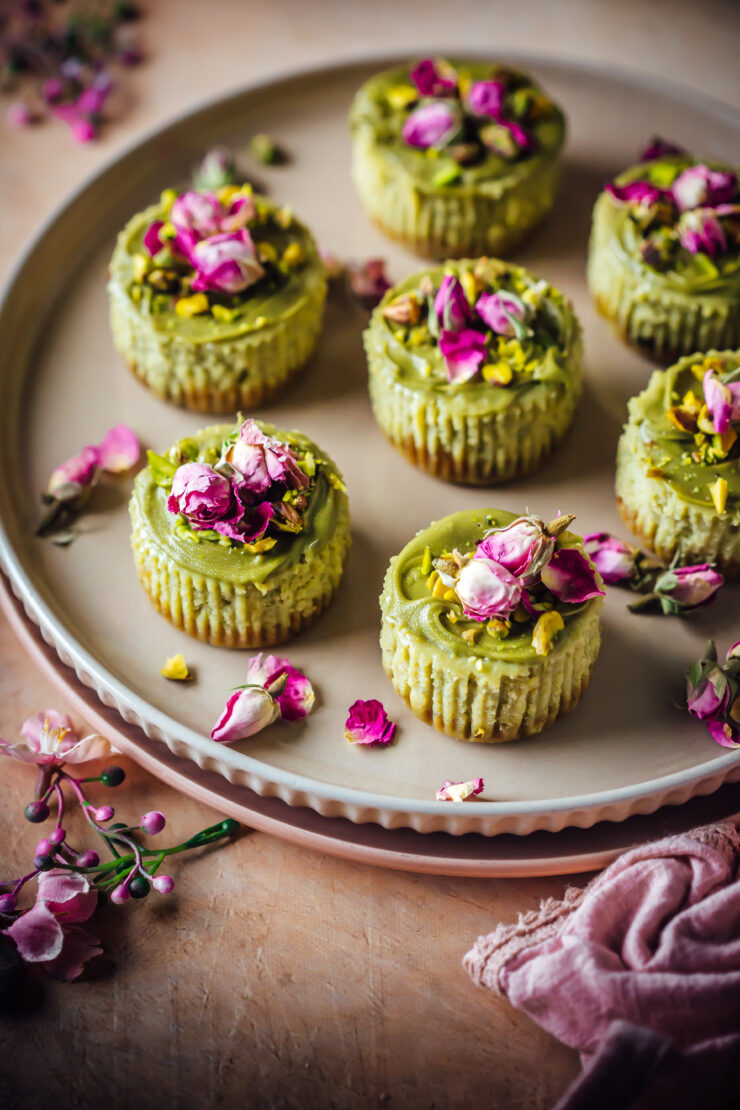
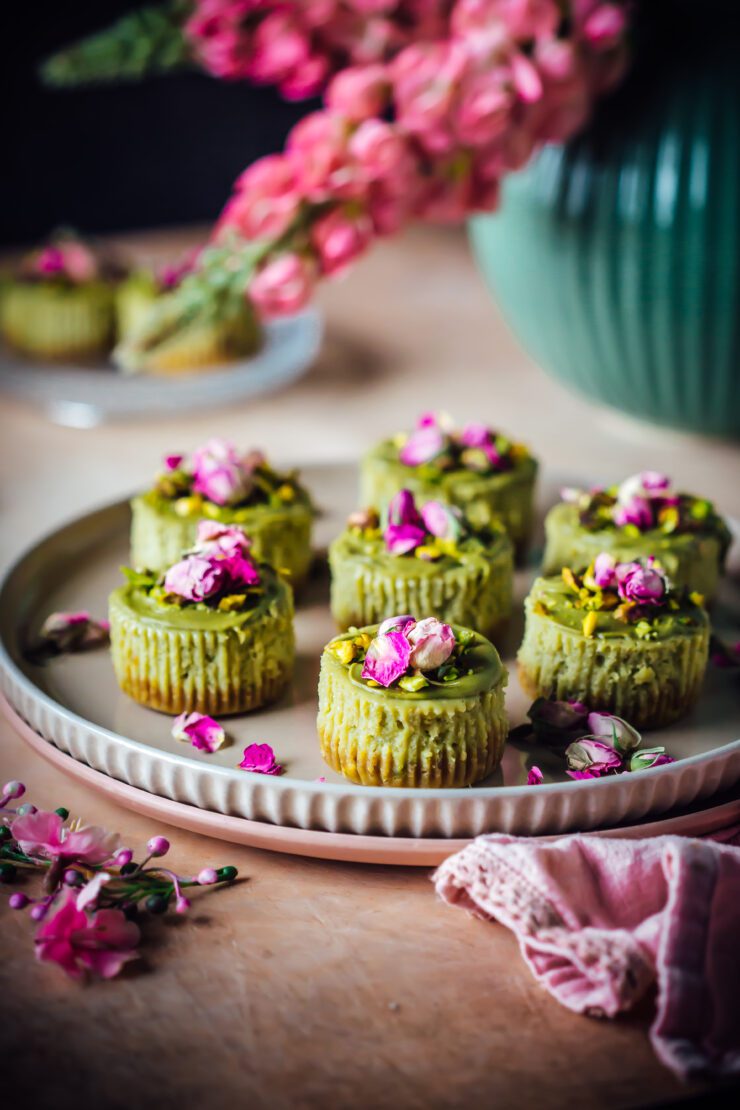
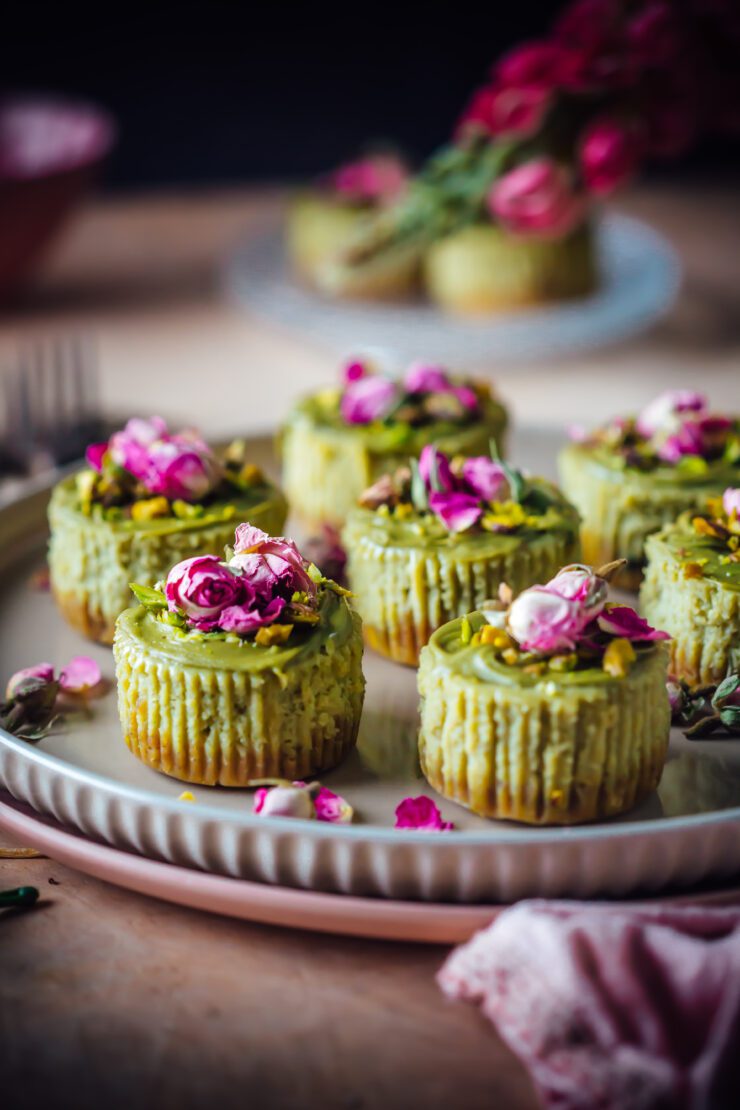
Pistachios are certainly having their moment of fame on the internet. I love that because they are not only nostalgia for me but my absolute favourite ingredient for sweet and savoury recipes. When it comes to indulgent yet elegant desserts, mini cheesecakes are an irresistible option. These creamy, nutty pistachio cheesecake treats offer a balance of rich flavors and light textures — perfect for a dinner party, afternoon tea, or even as a sweet snack to brighten your day.

Mini pistachio Cheesecake

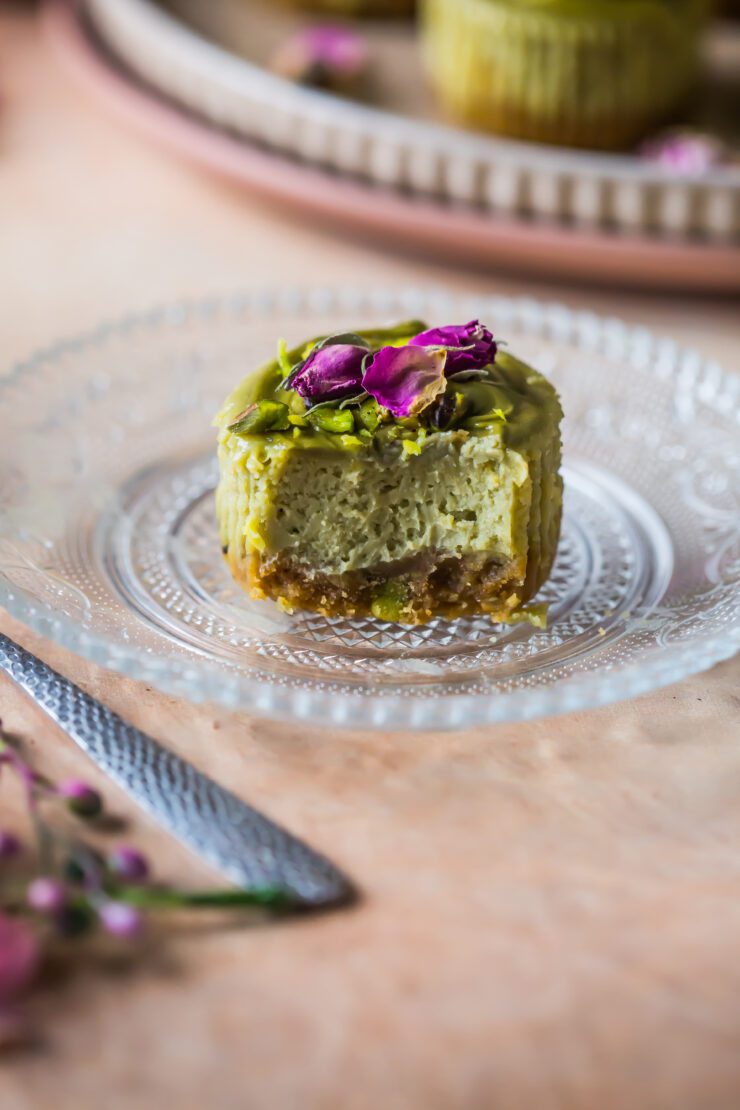
A good cheesecake starts with the right crust. For these mini delights, a buttery biscuit base along with chopped pistachios works wonders. The heart of these cheesecakes is a luscious pistachio cream-infused cream cheese filling. If you haven’t got your hands on pistachio cream/spread/paste as yet, please do. I use this one and rank it above Nutella or even Biscoff spread. If you buy it from Costco, it costs half the price. You can of course make your own, which works very well too. I like this recipe.

No mini cheesecake is complete without a stunning garnish. For pistachio cheesecake, a dollop of pistachio cream, crushed pistachios and a sprinkle of edible rose petals create an elegant finish. Fresh raspberries can also elevate the presentation.

If you love pistachios, you will love my Mini Pistachio cakes

Mini Pistachio Cheesecake
Makes 10

7-8 digestive biscuits (120 g)
1/4 cup pistachios
75 g unsalted butter, melted
250 g cream cheese, room temperature 
1/2 cup granulated/castor sugar
2 eggs, room temperature
1/4 cup sour cream/greek yoghurt
1/2 cup pistachio cream, home made or store bought
Extra pistcahio cream, to top
Edible Rose buds or petals, to decorate
Chopped pistachios, to decorate

Preheat oven to 160 degrees C. Line a 12 hole muffin pan with muffin liners.

Place the biscuits and pistachios in a food processor and process until they resemble a mix of fine and coarse crumbs. Add the melted butter. Mix to combine. 
Divide amongst the muffin liners, pressing the crumbs with the back of a spoon to form a crust. Refrigerate until needed.

With an electric mixer or by hand, beat the cream cheese and sugar till light and fluffy. Add the eggs, beating well after each addition. Fold in the sour cream and pistachio cream and mix until blended. 
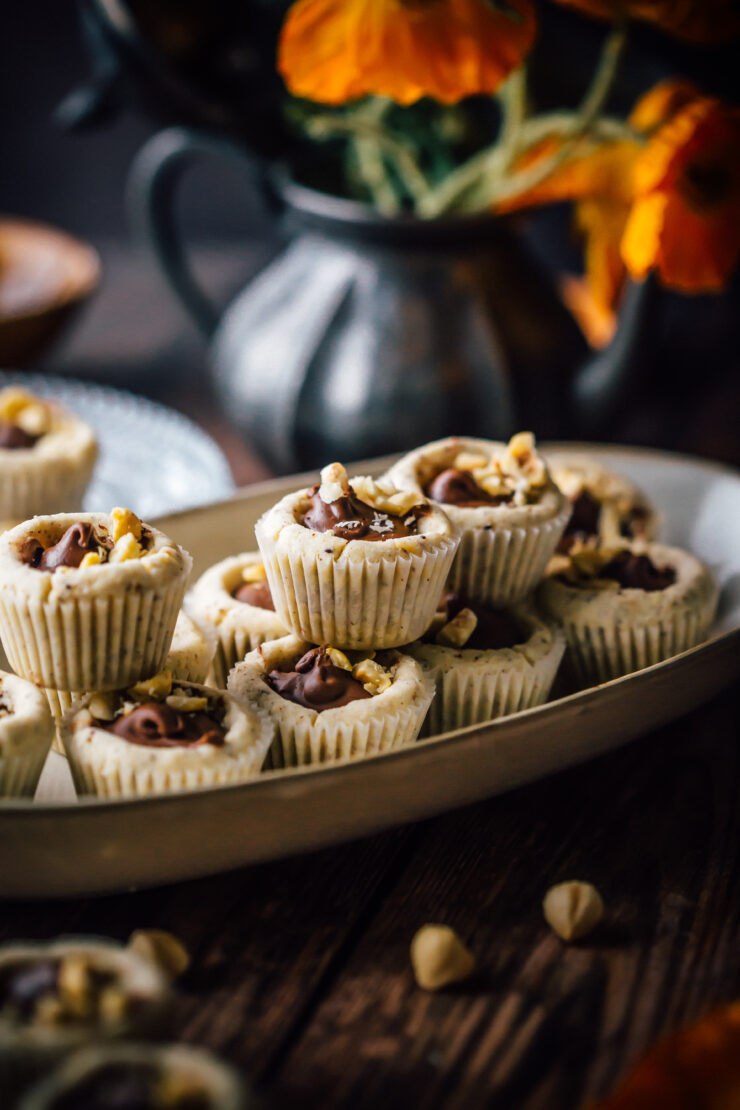
Spoon into prepared muffin liners about 9/10th of the way (they wont have much of a rise ). Bake for 20-25 minutes or until just set (centre is still jiggly). Remove from the oven, place cheesecakes on a cooling rack to allow to cool to room temperature. Refrigerate for 3-4 hours. 
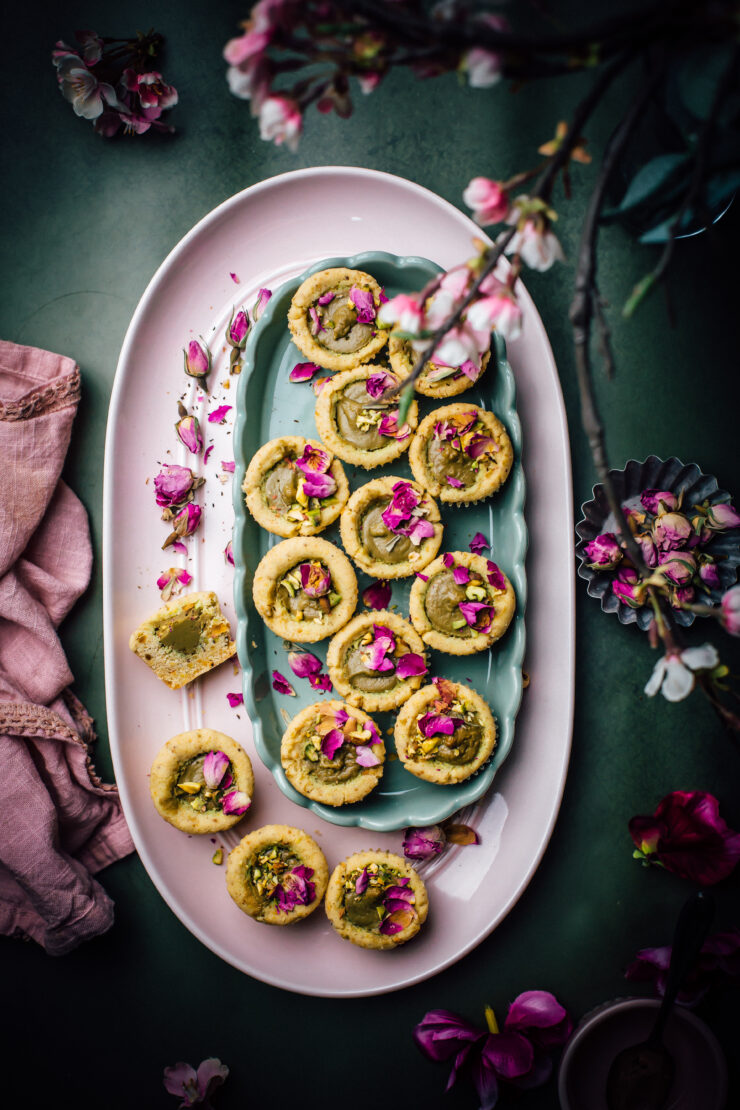
When ready to serve, place pistcahio cream in a small microwaveable bowl and microwave in short bursts stirring from time to time, for 20-25 seconds. Top cheesecakes with melted pistachio cream. Decorate with rose petals and chopped pistachios.

Pistachio Shortbread Bites

7|02|2025

Pistachio shortbread bites

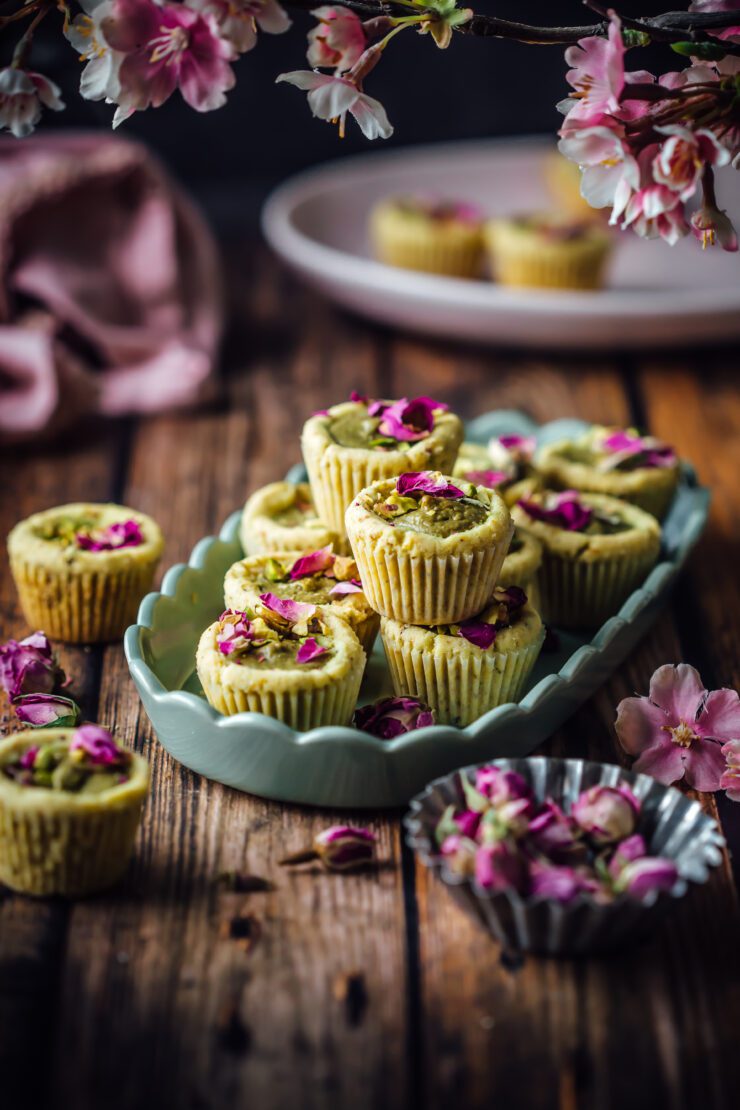
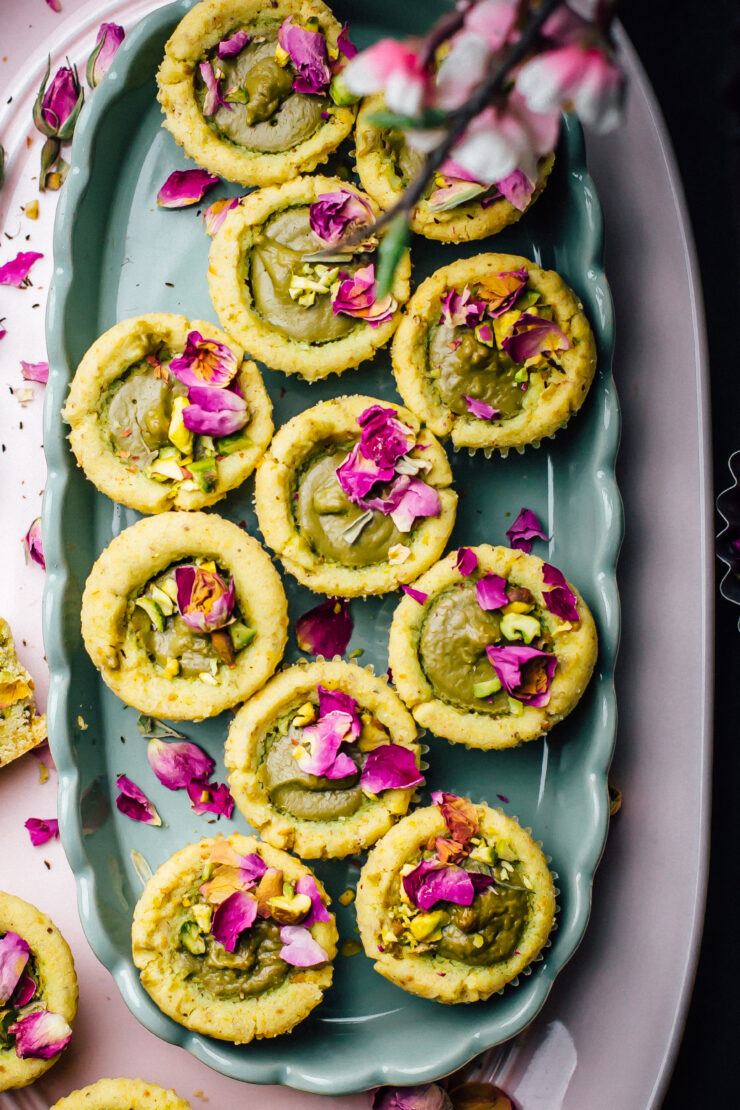
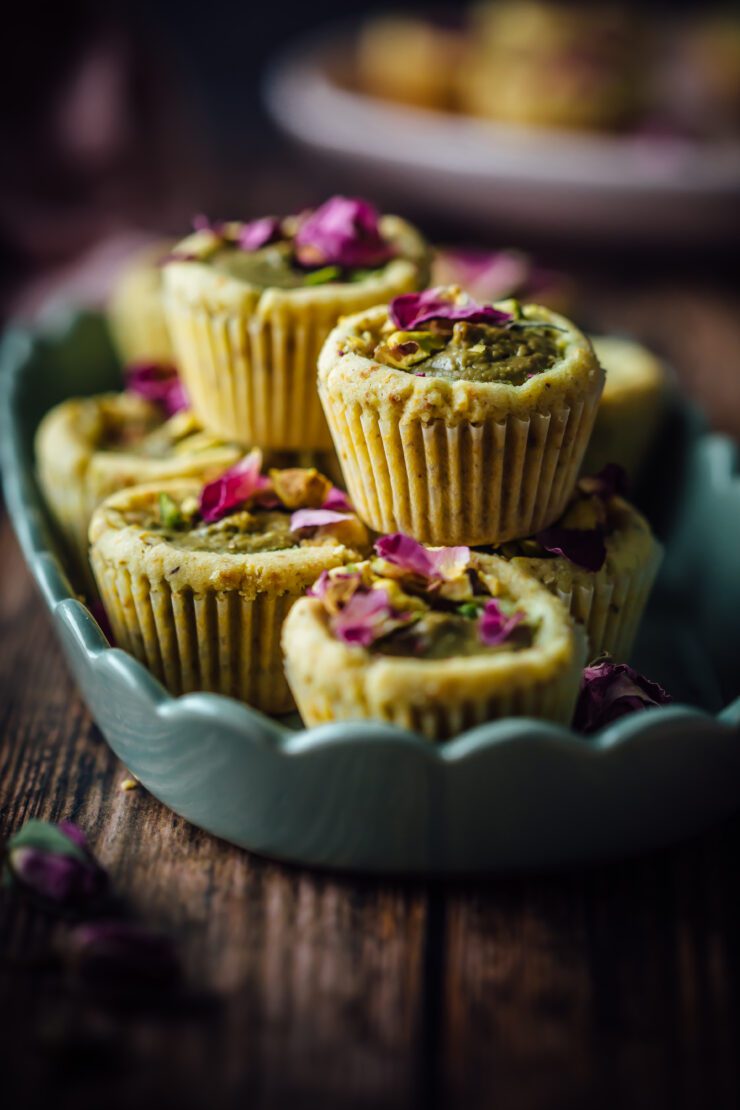
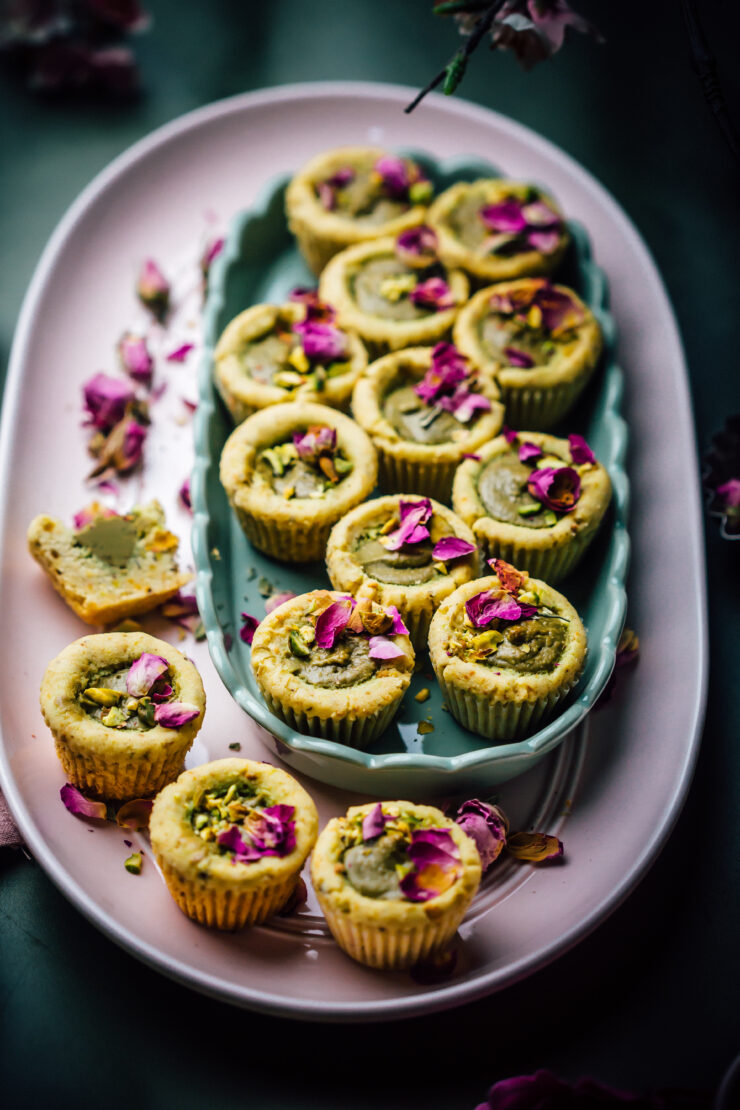
Looking for a special, yet simple treat to share with your loved one this Valentine’s Day? These Pistachio Shortbread Bites are the perfect balance of indulgent and elegant. With their buttery richness, nutty pistachio flavor, delicate texture and an irresistible filling, these little bites will melt in your mouth and are the perfect way to show someone you care. Plus, these are eggless!

Pistachio shortbread bites

I don’t know about you but bite sized desserts are my love language since last year. They are easy to share and the portion-control means that everyone can sample a variety of treats without feeling guilty or overindulging. Perfect for keeping those sweet cravings in check.

Pistachios add a touch of sophistication to this classic shortbread, showing you’ve put a little extra love into your baking. The rose petals are a wonderful addition as not only do they make the shortbread bites aromatic, but add a romantic flair to the whole thing.
Happy Valentine’s Day! What’s your favorite treat to share on this day of love?

If you love pistachios as much as i do, don’t forget to check out my Pistachio nankhatai Biscuits and this Easy Pistachio cake

Pistachio Shortbread Bites
Yields 14-16

1 cup (125 g) plain flour
1/2 cup (75 g) pistachios, ground in a processor to resemble crumbs
1/3 (66 g) cup castor/granulated sugar
1/4 tsp baking powder
1/2 cup (114 g) unsalted butter, softened, cubed
1 tsp vanilla extract or rosewater
1/2 cup pistachio cream or your favourite preserve ( I used this one)
chopped pistachios, to decorate
edible rose petals, to decorate (optional)

Make the Pistachio shortbread bites : Preheat the oven to 350°F (177°C). Line a mini muffin pan with paper liners.

In a food processor or in a large bowl, combine the plain flour, ground pistachios, sugar and baking powder To this mixture, add the butter along with the vanilla extract. Pulse the mixture in short bursts until it comes together to form a dough. If you’re doing it by hand, gently rub the butter into the mixture until it all comes together.

Knead until it forms a smooth dough that can be scooped and rolled into balls easily. Using a small cookies scoop, scoop out dough balls, rolling them in the palms of your hands.  Place the dough balls in the muffin liners.

Using the blunt end of a wooden spoon create an indent on the top of each dough ball about 1/4 inch to make room for the pistachio cream or preserves if you’re using them.

Melt the pistachio cream in the microwave so it is of a pourable consistency, about 25-30 seconds. Spoon the pistachio cream into the indents so it creates a filling. Do not over fill. Sprinkle chopped pistachios over the filling.

Place the muffin pan in the oven and bake for 15-20 minutes or until golden brown and cooked through.

Remove pan from oven, leave aside to cool shortbreads in the pan. They will be crumbly at this stage so patience is virtue. When ready to serve, decorate with edible rose petals.


  • 1
  • 2
  • 3
  • …
  • 45
  • Next Page »
Hey Sugar
Cake
Link to my Facebook Page
Link to my Instagram Page
Link to my Pinterest Page
Link to my Mail Page
Subscribe to this site
Fresh Awards
2019 Aus mumpreneur
2019 aus mumpreneur
Mumbrella

Copyright © 2026 · Sugar Et Al · Designed by Smitten Blog Designs · Log in