• Home
  • Recipe Index
    • Recipe Index
    • Breakfast/Brunch
    • Cakes and Puddings
    • Chocolate
    • Cookies and cupcakes
    • Custard and Mousse
    • Gluten Free
    • Ice Cream
    • Mains
    • Other Sweet Treats
    • Snack/Appetizers
    • Soups and Salads
    • Tarts and Pies
    • Vegetarian
  • About
  • Cookbook
  • Portfolio
  • Store
  • Press
  • Work with Me

Sugar et al

Because Life is a blend of flavours...

Banana Tiramisu Cake

26|01|2025

There are a very few people on this planet who woudn’t have tasted a Tiramisu. But I’m not sure how many people would have tasted it this way. Well, a banana tiramisu cake is the best of both worlds. A moist, delicious banana cake topped with coffee soaked sponge fingers, slathered with a creamy mascarpone frosting and generous dusting of cocoa powder. And believe me, it works like magic!
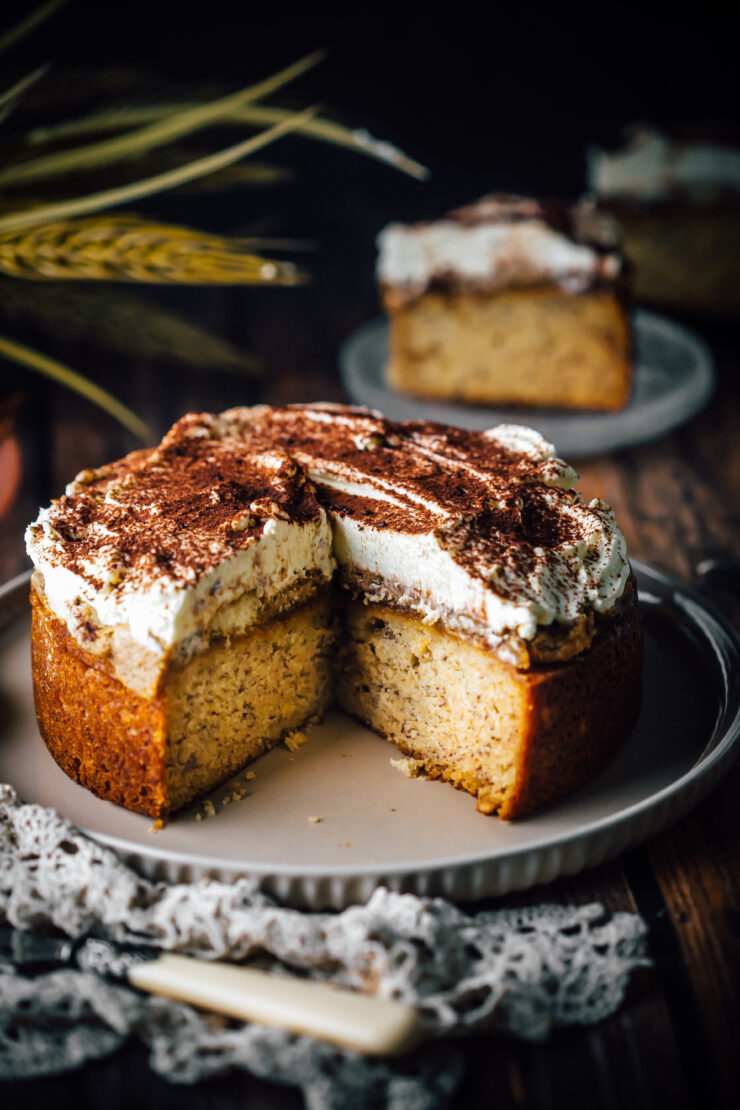
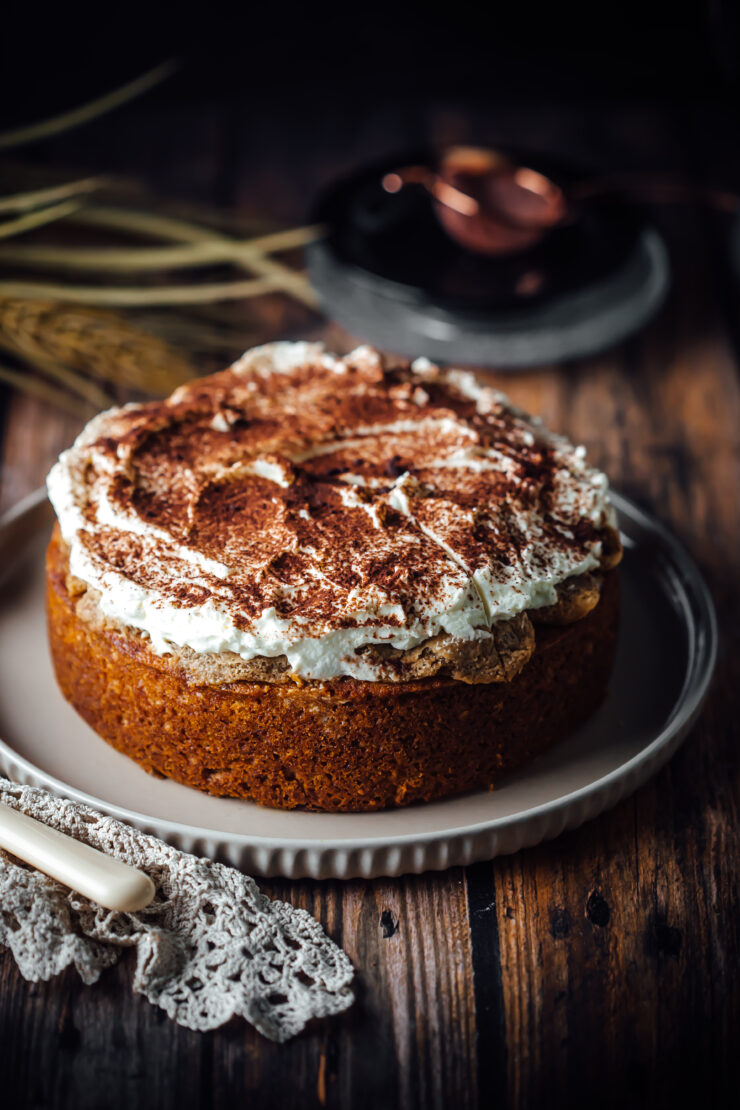
Banana Tiramisu Cake

I find it a genius idea to make an entire layer out of just sponge finger biscuits without the hassle of having to bake. To be honest, I think this technique can be replicated with any cake as the base. I would love to try a chocolate one. If you avoid eggs in your baked goods, an egg free cake would be a perfect base.
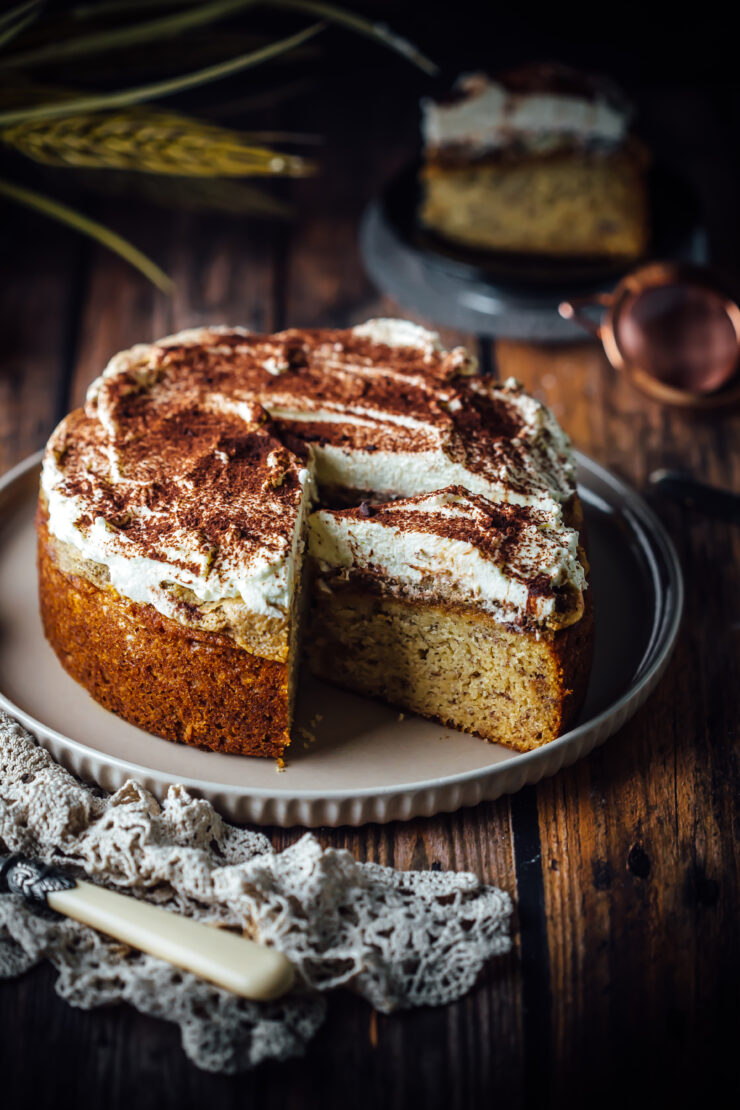
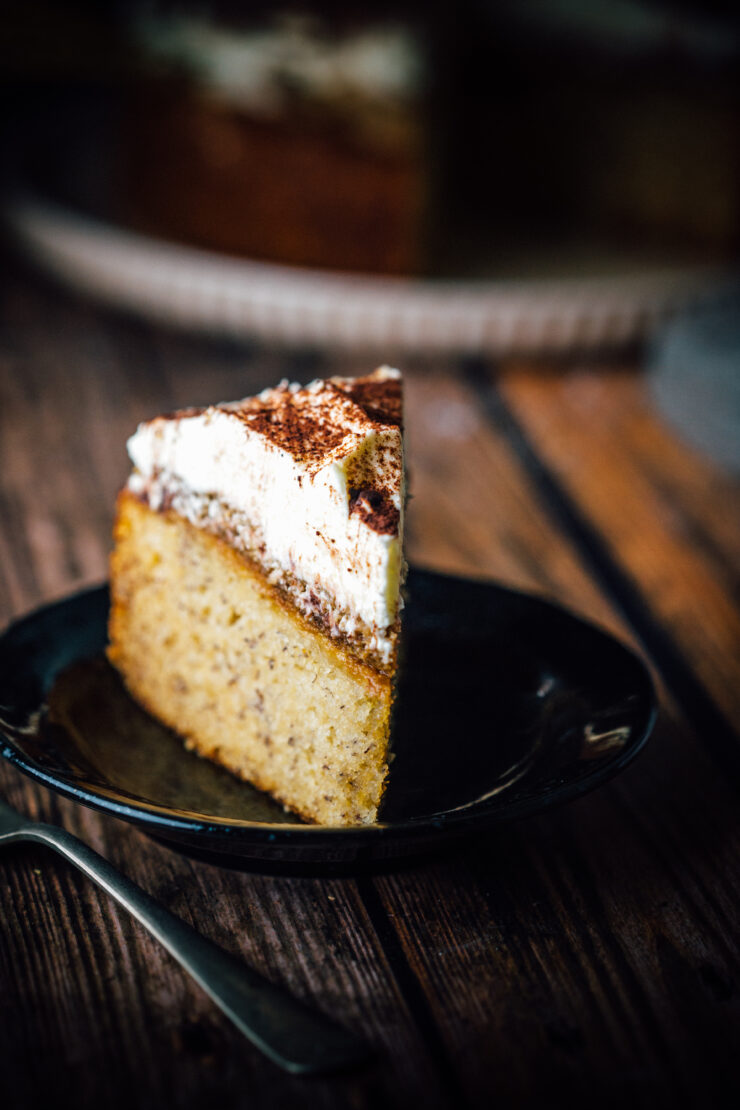
Banana Tiramisu Cake

If you love cakes with bananas, you will love my Easy Banana Cake with Tahini Frosting or my Banoffee Pie with Nutella Mousse

Banana Tiramisu Cake
Makes an 8 inch round cake

Banana Cake
125 g butter, melted
3/4 cup (150 g)castor/granulated sugar
3/4 cup (165 g) brown sugar
2 large ripe bananas (about 1 and 1/4), mashed
2 eggs
1 tsp vanilla extract
1/2 cup (120 ml) buttermilk
1 and 1/2 cups (183 g) self-raising flour
1/2 tsp soda bicarbonate

Coffee Layer
2 tsp instant coffee powder
3/4 cup (180 ml )water
1/4 cup (55 g) brown sugar
8-10 sponge finger biscuits

Mascarpone layer
250 g tub mascarpone
1/2 cup (120 ml) thickened cream/ heavy cream
2 tbsp (30 g) castor/granulated sugar
1 tsp vanilla extract
Cocoa powder, to dust

To make the banana cake : Preheat the oven to 350°F (177°C). Grease the base and sides of an 8-inch (20-cm) round pan with 3-inch (8-cm) height and line the base with baking paper.

Place the butter, sugars, banana, eggs and vanilla in a large bowl and whisk until well blended and smooth. Add the buttermilk and whisk again. Fold in the self raising flour and bicarbonate soda until just combined. Do not over mix.

Transfer the mixture into the prepared pan. Bake for 50-60 minutes or until a skewer inserted into the centre comes out clean. Remove the cake from the oven. Run a blunt knife around the edges to loosen but leave aside in the pan for 10 minutes to cool slightly. Turn onto a wire rack to cool completely. Using a skewer, poke holes into the cake.

To make the tiramisu layer– Combine the coffee, water and sugar in a medium saucepan and warm over low heat. Bring to a simmer. Remove from heat and allow to cool slightly, about 10 minutes.

Use an electric mixer to whisk the mascarpone and cream in a bowl. Add the sugar and vanilla and whisk until soft peaks form.

Dip sponge finger biscuits, 1 at a time, in coffee mixture. Arrange over the cooled banana cake trimming to fit if necessary.  Spread the mascarpone mixture over the sponge fingers. Dust with cocoa powder.
Eggless Brownies

17|01|2025

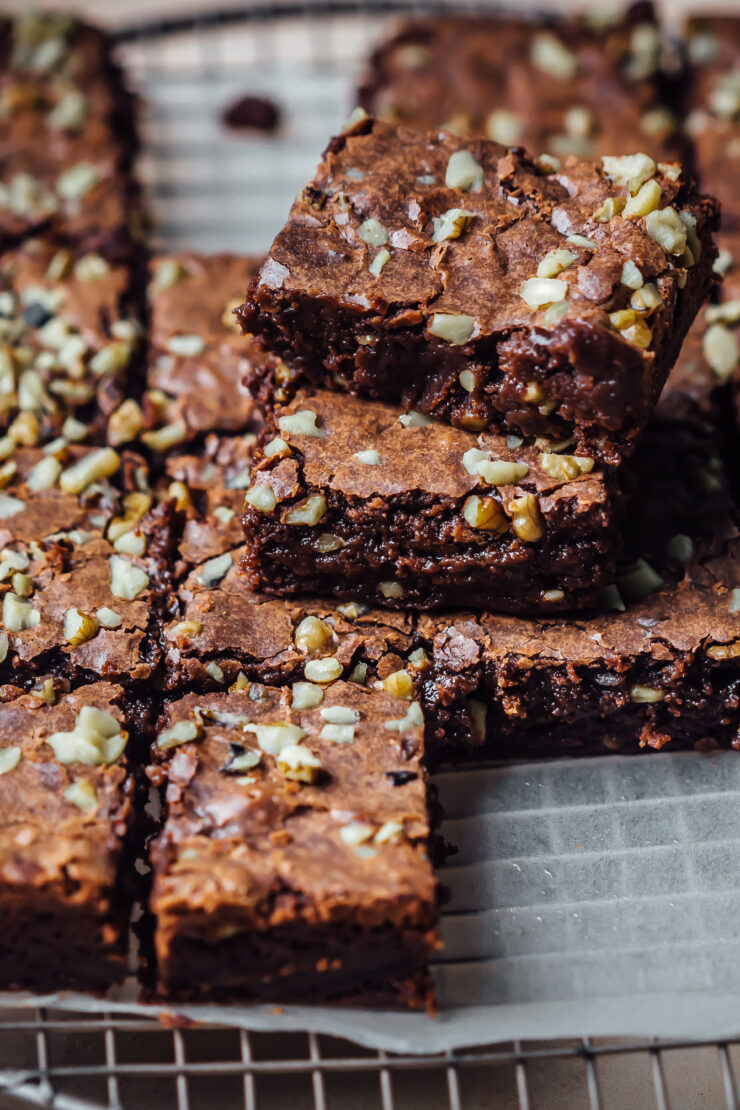
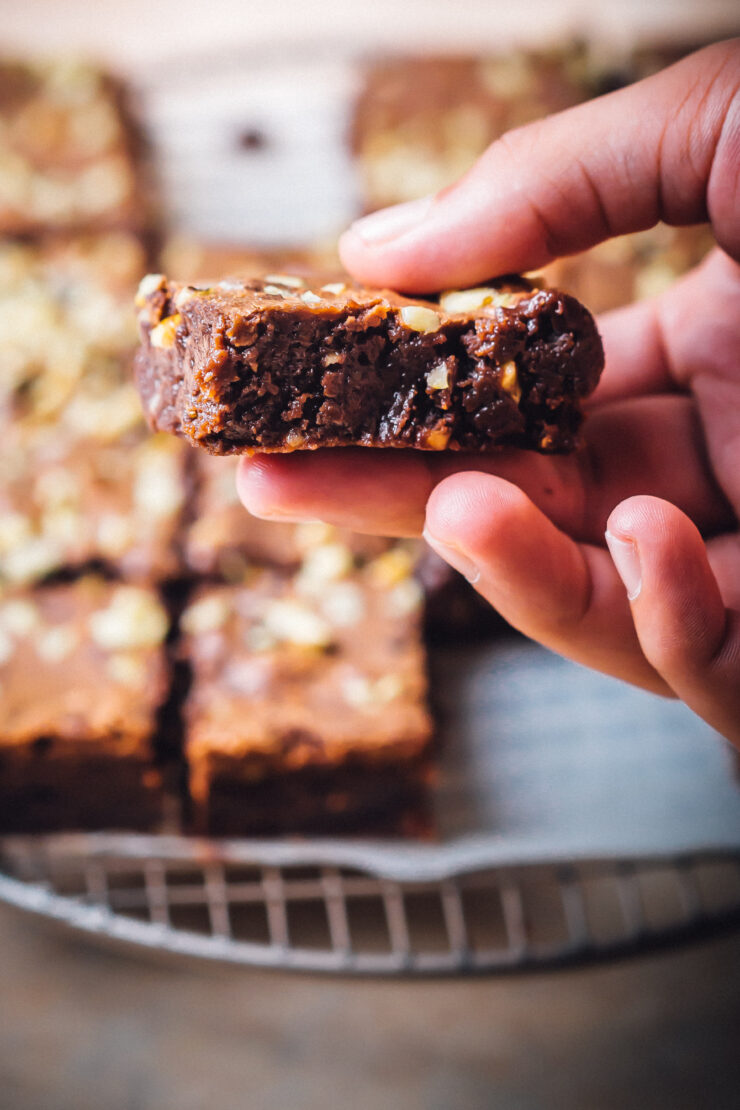
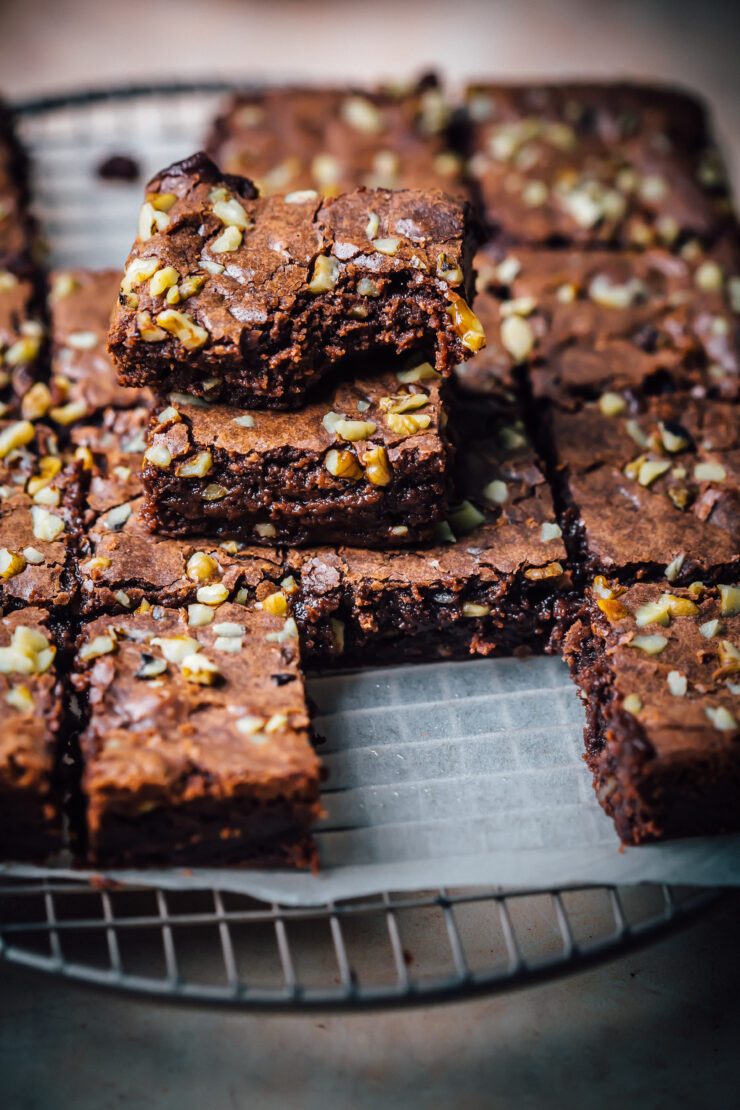
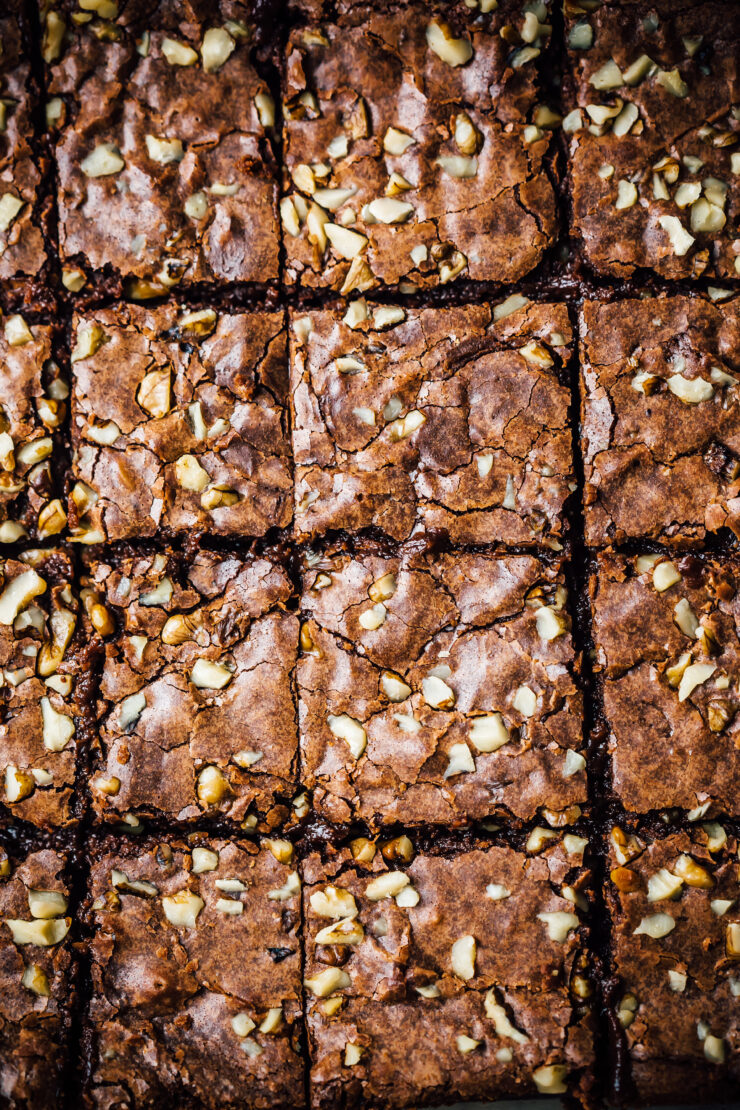
The fudgiest, easiest and most decadent eggless brownies ever. Don’t know if it’s the shortage of eggs in Sydney at the moment or the temptation to create some diet oriented recipes, I’ve been meaning to make these for a long time. After a few failed egg free brownie recipes in the past, I was excited when I took these out of the oven. The texture was a huge tick but then came the wait to taste them. Now I can report back that these eggless brownies are simply divine.

Eggless Brownies

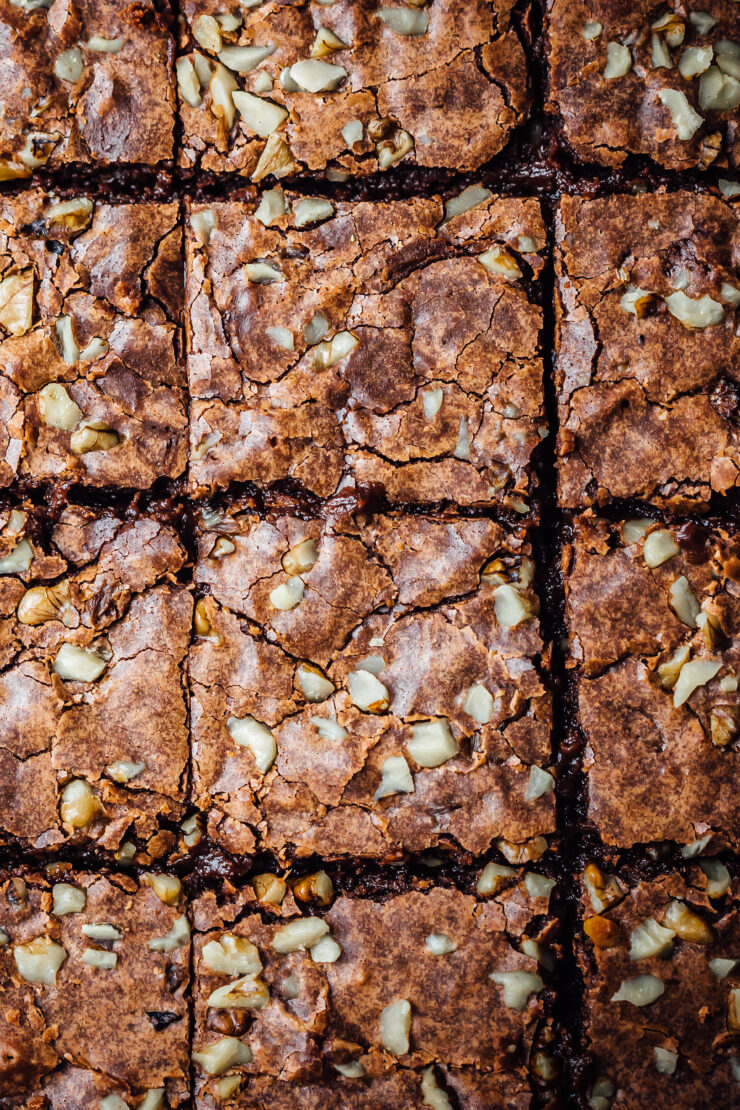
What makes them a hit in my books is that they can be literally put together in one saucepan. No melting chocolate involved. Quick and hassle free! Whether you’re allergic to eggs or love eggs in your baked goods, you will love these irrespective. The secret ingredient for that fudgy finish is condensed milk that keeps the brownies moist and gooey. I’ve added walnuts to them but you can go with any nuts of your choice or even skip them altogether and add chocolate chips/chunks.

Eggless Brownies

The secret to a great brownie is keeping it slighly undercooked. It continues to cook as it cools down in the pan creating that beautiful, fudgy, gooey centre.
If you love egg free recipes, you will love my Eggless Vanilla Cake

Eggless Brownies
Makes 16 medium brownies

1 can (397 g) condensed milk 
3/4 cup (170 g) unsalted butter softened 
1/2 cup (110 g) brown sugar, packed
1 tsp vanilla essence
1/3 cup (35 g) Dutch processed cocoa 
1 cup (125 g) plain flour 
1 tsp baking powder 
1/2 cup toasted walnuts, coarsely chopped 

Preheat the oven to 350°F (177°C). Lightly grease the base and sides of an 8-inch (20-cm) square pan with 3-inch (8-cm) height. Line the base and sides with baking paper leaving a small overhang for ease of taking the brownies out.

In a medium saucepan under low heat, warm the condensed milk, butter, brown sugar and vanilla until melted and mixture is smooth. Do not boil. Allow to cool to room temperature 

Fold in sifted flour, baking powder and cocoa powder. Mix until smooth. Fold in half the chopped walnuts. Pour into prepared pan. Sprinkle remaining walnuts. 
Bake for 25-30 minutes until edges start to pull away slightly and the centre is still a little undercooked. The top should have crinkled. The brownies will continue to set upon cooling.

Flourless Chocolate Hazelnut Mini Cakes

2|01|2025

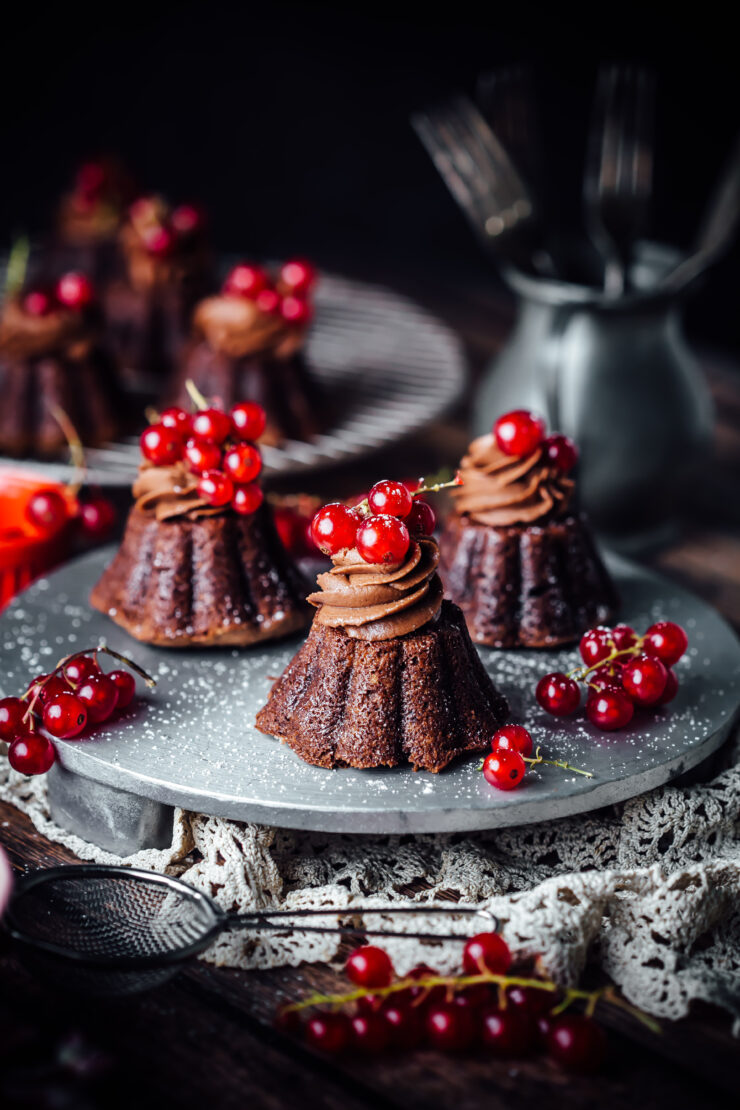
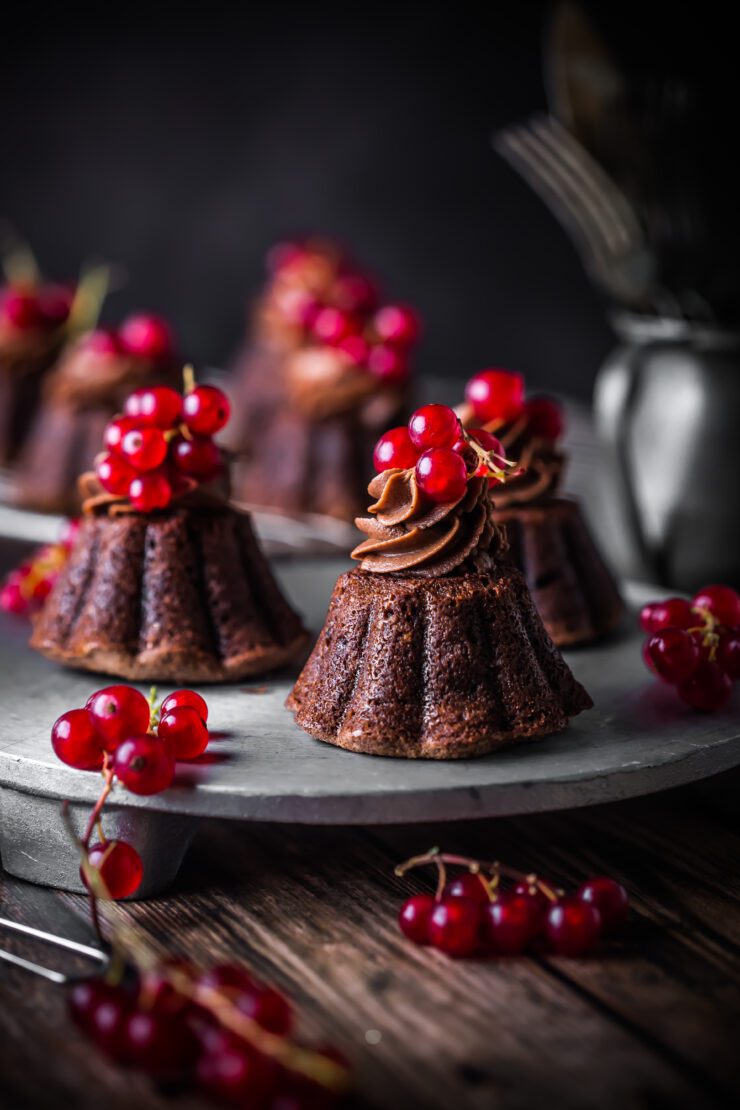
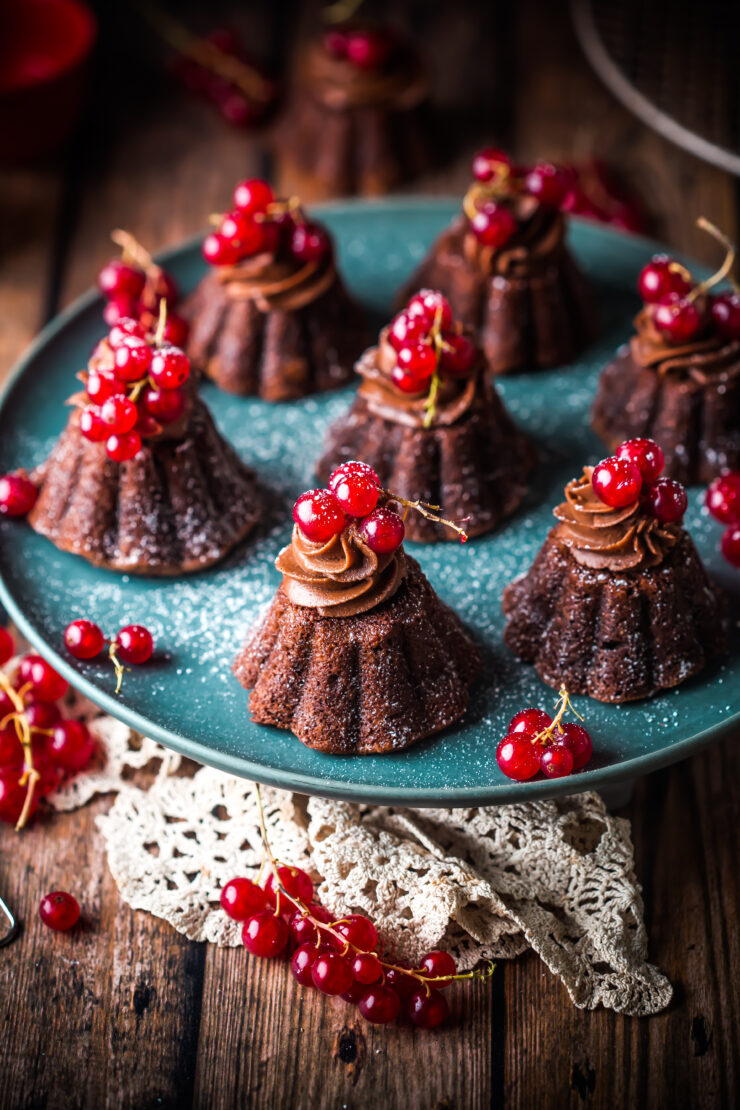
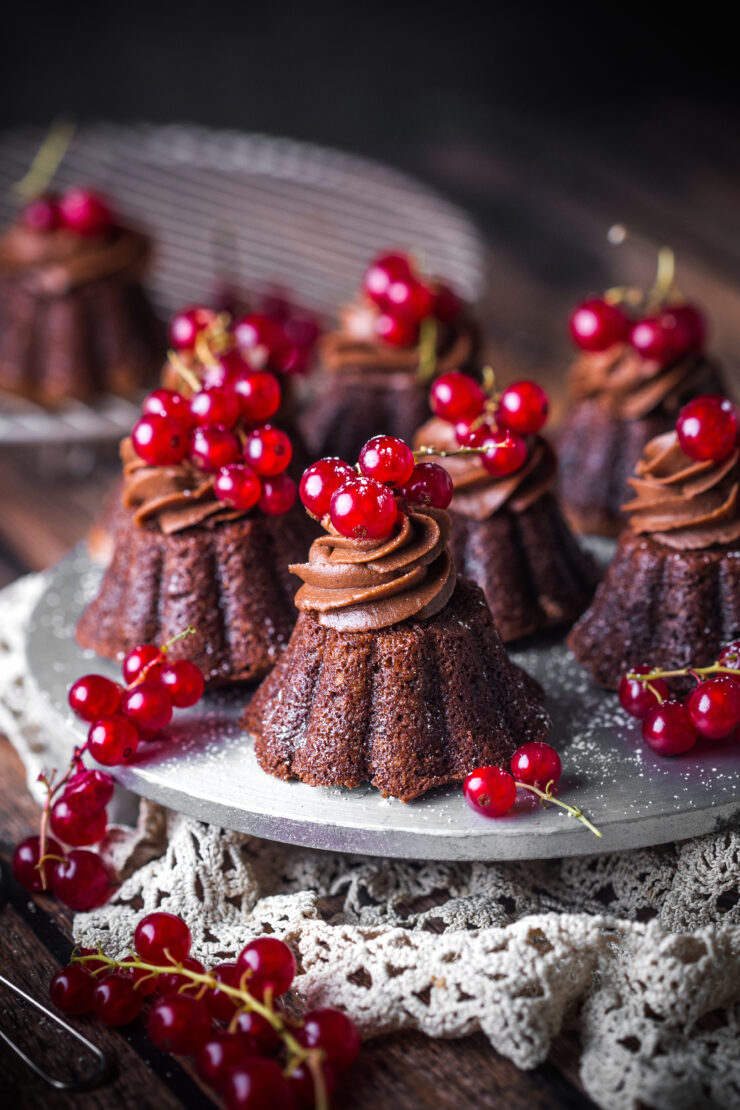
Flourless Chocolate hazelnut cake

This was meant to be the last post for 2024. Due to some technical issues on the website I coudn’t publish it (my apologies) but on the positive side, it’s the very first post for 2025. These flourless chocolate hazelnut cakes are the most irresistible dessert one can have plus they are are flourless and great for your gluten free guests. I love the taste and texture of hazelnuts but ground almonds or walnuts are amazing too.

Flourless Chocolate Hazelnut Cakes

We only have red currants available to us for a very short time in December. Most of my New Year’s or rather December is spent back home with family in India. So this year since I had the opportunity to get hold of these gorgeous red currants and the best pairing has to be chocolate.

My Chocolate cream cheese is not too sweet, creamy and works beautifully with these indulgent mini cakes.

I’m tempted to double up the recipe for these flourless chocolate hazelnut cakes into a single individual cake. I think, topped with cream and berries it would make the perfect cake for a chocolate lover. It’s rich so a mini version or a small slice is enough to satisfy those chocolate cravings

Happy New Year to you and your loved ones. Hope 2025 is everything you desire it to be.

If you’re a fan of mini desserts and cakes, you will love these Mini Pistachio Cakes

Flourless Chocolate Hazelnut Mini Cakes
Makes 7-8 mini cakes

Chocolate Hazelnut Mini Cakes
100 g unsalted butter, roughly chopped
100 g dark chocolate, roughly chopped
1 tbsp Dutch processed cocoa powder
2 tbsp water
2 eggs, separated
1/2 cup granulated/castor sugar
1 cups hazelnut meal (ground hazlnuts)

Chocolate Cream Cheese Frosting
¼ cup (57 g) unsalted butter, room temperature
4 oz (115 g) cream cheese, room temperature
1 ½ cups (180 g) powdered sugar
2 tbsp (11 g) Dutch processed cocoa powder

To make the mini cakes : Preheat oven to 180 degrees C (160 derees C for fan forced ovens). Lighly grease the holes of a 6 cavity mold or muffin pan.

In a medium saucepan, over low heat warm the butter, chocolate, cocoa powder and water until melted and smooth. Remove from heat and set aside to cool down.

In a separate bowl beat the egg yolks and sugar until pale and thick (about 4-5 mins). Add the chocolate mixture and hazelnut meal and mix well to combine. In a third bowl, beat the egg whites untl almost stiff peaks form. Fold into the chocolate-egg yolk mixture little at a time so as to keep the mixture light and airy.

Spoon batter into the molds upto three quarters of the mold. These cakes don’t have a great rise and will fall back a bit as they cool. Bake for 30-35 mins or until a skewer inserted into the middle comes out with a few moist crumbs. We don’t want to overcook them or they will turn out try.

Allow the cakes to cool in the pan for 10-15 mins, slightly loosen the edges with a blund knife, then turn onto a wire rack to cool completely. Once cooled to room temperature, pipe or dollop chocolate cream cheese frosting. Decorate with fresh red currants or raspberries.

To make the Chocolate Cream Cheese Frosting : Using a hand mixer or an electric mixer, beat the cream cheese and the butter together until smooth and creamy. Add the sugar, ½ cup at a time, beating after each addition until smooth. Add the cocoa powder and beat till well blended.

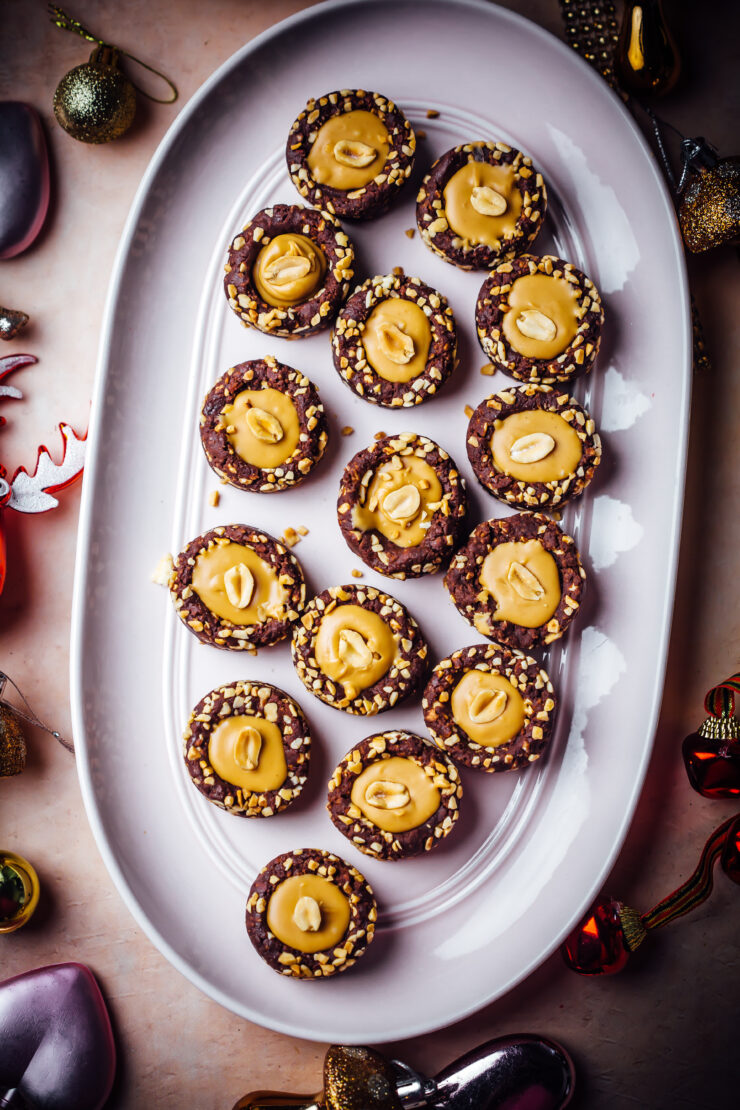
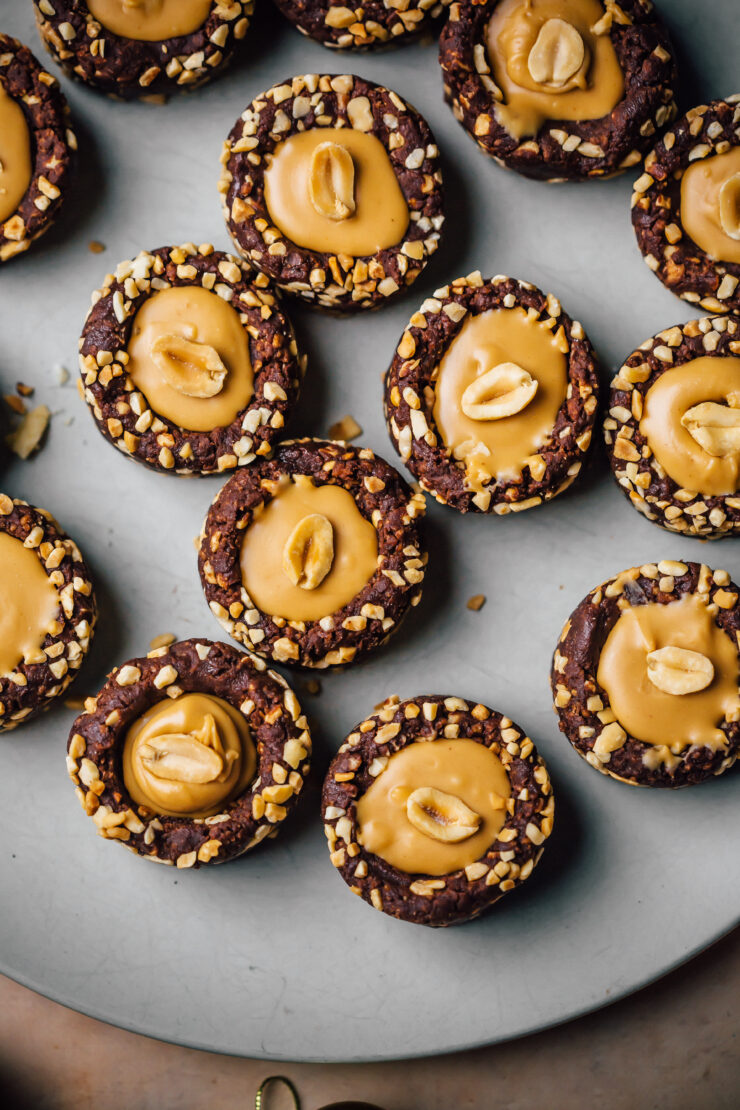
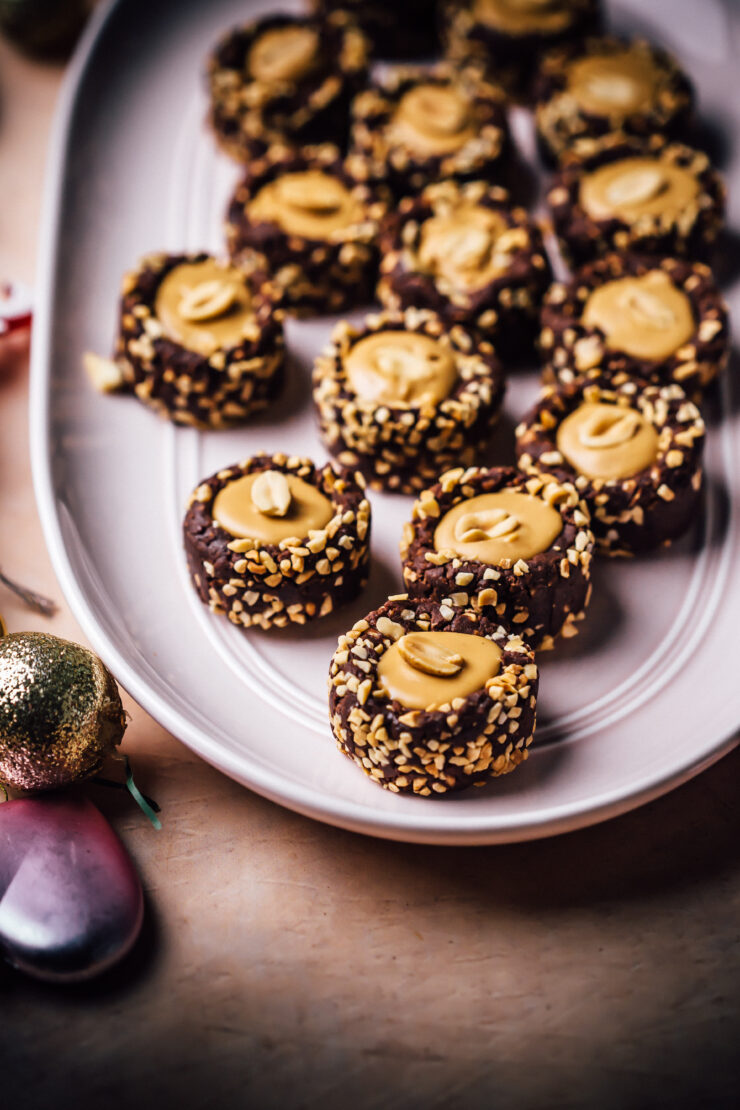
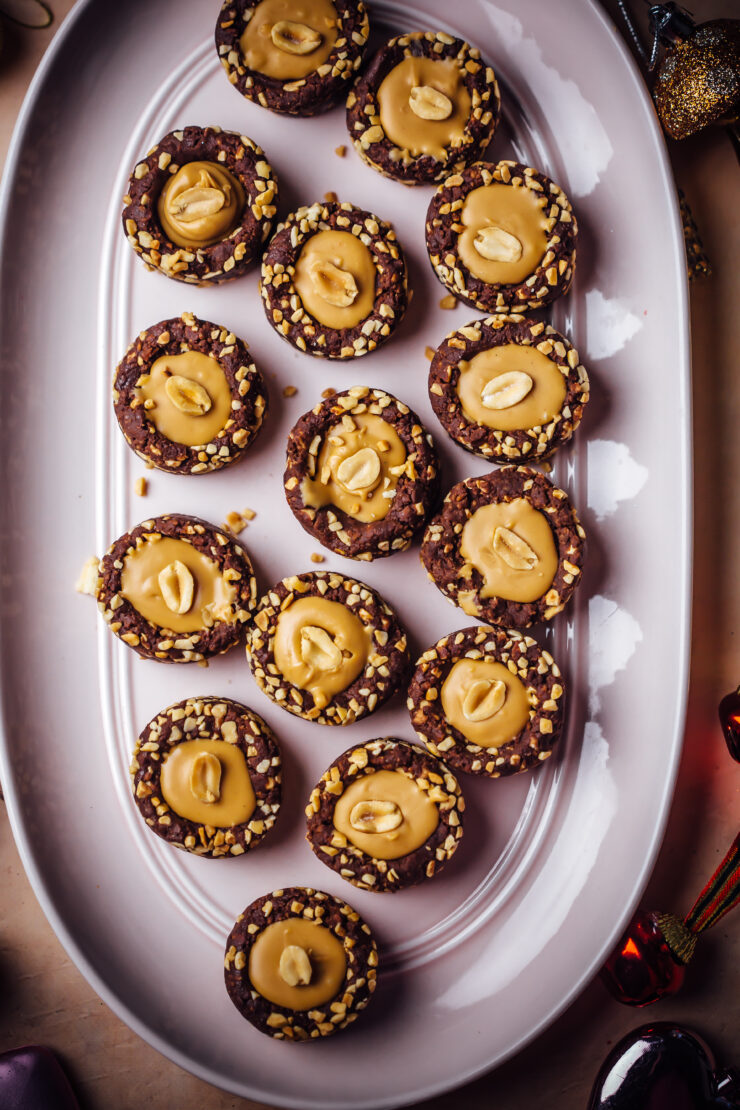
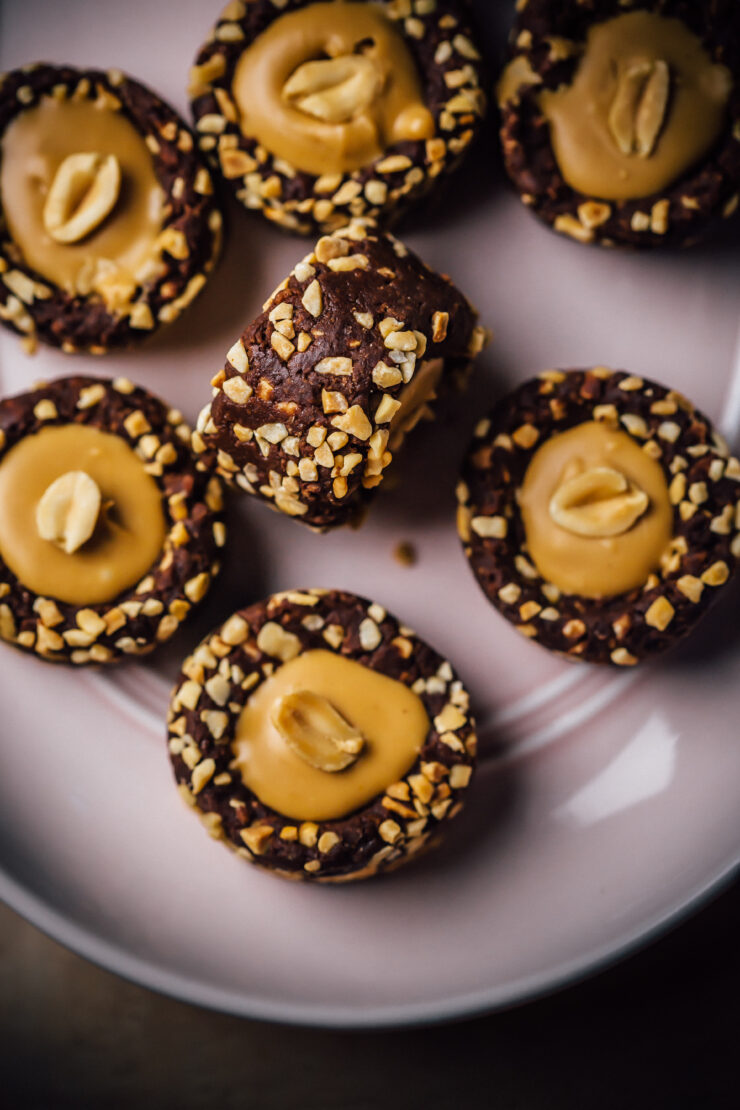
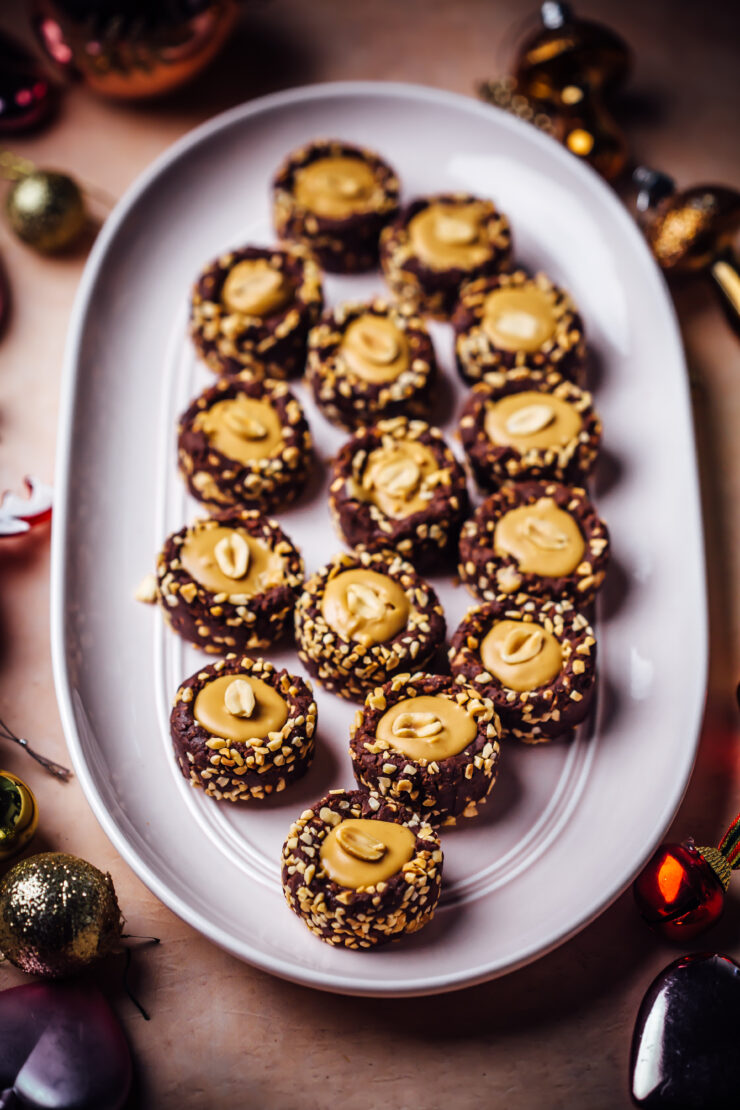
No Bake Chocolate Peanut Butter Cookies

13|12|2024

Chocolate Peanut Butter Cookies

It’s been a really hot summer right from the beginning and I don’t feel motivated to switch on my oven. If you’re in the northern hemisphere and wondering, in Australia our seasons are exactly oppsite of yours. I was on the look-out for no bake cookies and got the inspiration from Pinterest to create cookies with fillings in them. These chocolate peanut butter cookies are the easiest cookies ever.

Chocolate Peanut Butter Cookies

These are similar to truffles but a have a lot more texure and very delicious. You simply make a chocolate ganache and fold a combination of biscuit crumbs and nuts through it. Then just shape them and fill. You could experiment with a variety of nuts and fillings example, Biscoff, Nutella, white chocolate, jam and so on. I used melted peanut butter that I sweetened to add to the Chocolate Peanut Butter Cookies. These are ridiculously addictive and would impress any nut or chocolate lover.

If you love peanut butter, you will love my Banana & Peanut Butter Loaf

Chocolate Peanut Butter Cookies

No Bake Chocolate Peanut Butter Cookies
12-14 Cookies

250 g dark chocolate chopped
150 ml thickened cream/double cream
200 g digestive cookies, roughly broken
75g chopped peanuts
5g cocoa powder
Chopped toasted peanuts for coating
1/2 cup peanut butter
2 tbsp icing sugar

Combine dark chocolate and cream in a heatproof bowl over a saucepan of simmering water. Stir with a metal spoon until smooth. Remove bowl from heat. Set aside at room temperature to cool slightly.

Meanwhile, process the digestive biscuits in a food processor until crumbs are formed. Add the chopped peanuts and cocoa powder and mix to combine. Add the dry mixture to the chocolate mixture. Mix until thoroughly combined and forms a dough. place dough in the fridge for 15-20 minutes.

Place chopped toasted peanuts in a shallow plate. Roll the dough between the palm of your hands to shape them into balls. Roll each ball in the plate of toasted peanuts. Using a cookie ring, place the ball in the centre and press in the middle using the back of a spoon to create an indent while giving the cookies a cylinder shape. Alternatively, you could make an indent with your thumb. Place cookies on a baking sheet or plate and refrigerate until firm. About 1-2 hours.

To make the filling, place the peanut butter and icing sugar in a microwave safe bowl and microwave for 15-20 seconds or until melted. Stir.

Spoon the filling in the centre of the cookies. Allow to set, about 10 minutes. Enjoy!

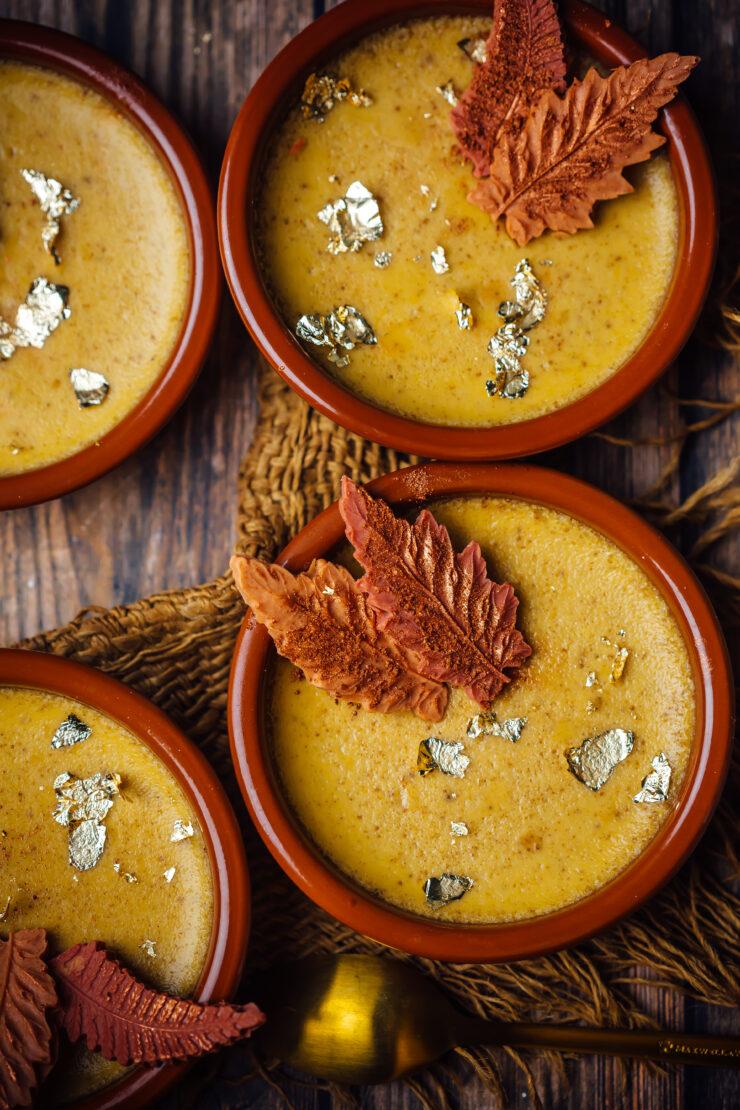
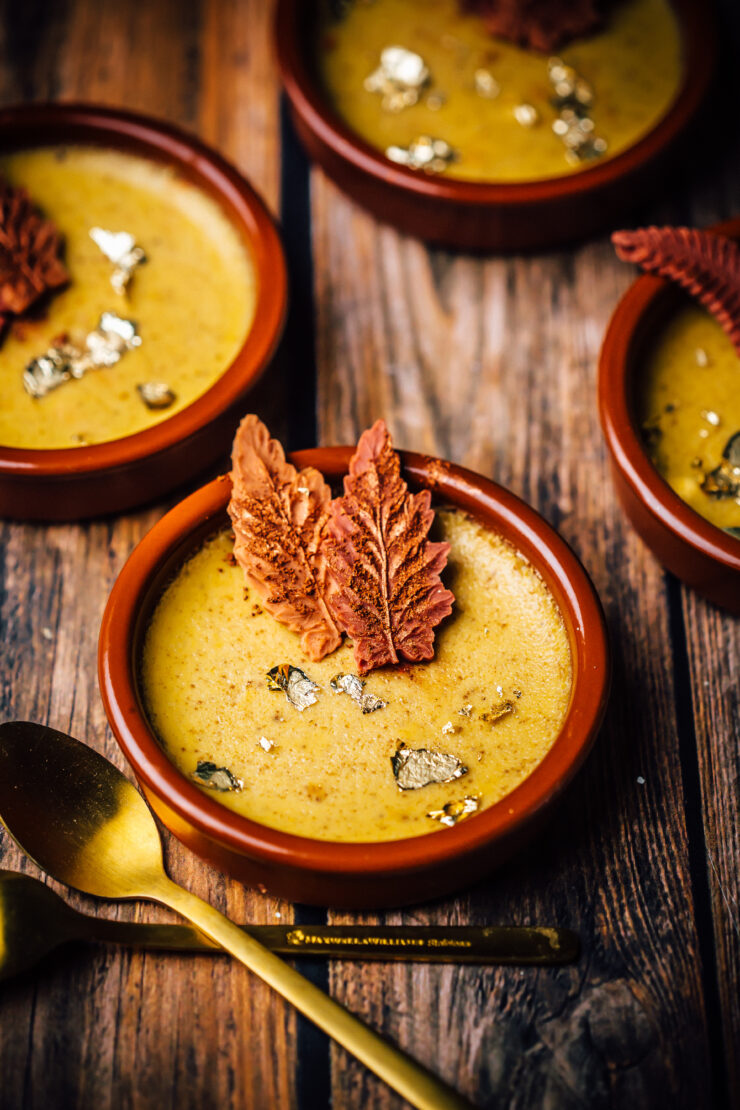
Pumpkin Pots de Creme

3|11|2024

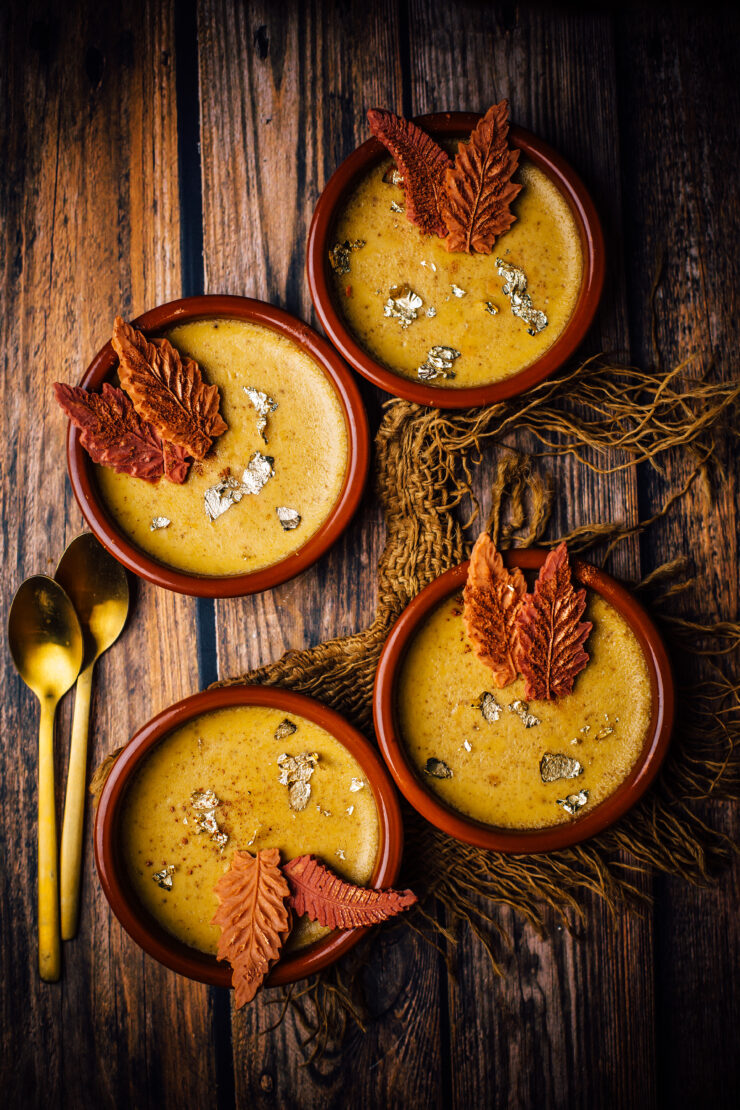
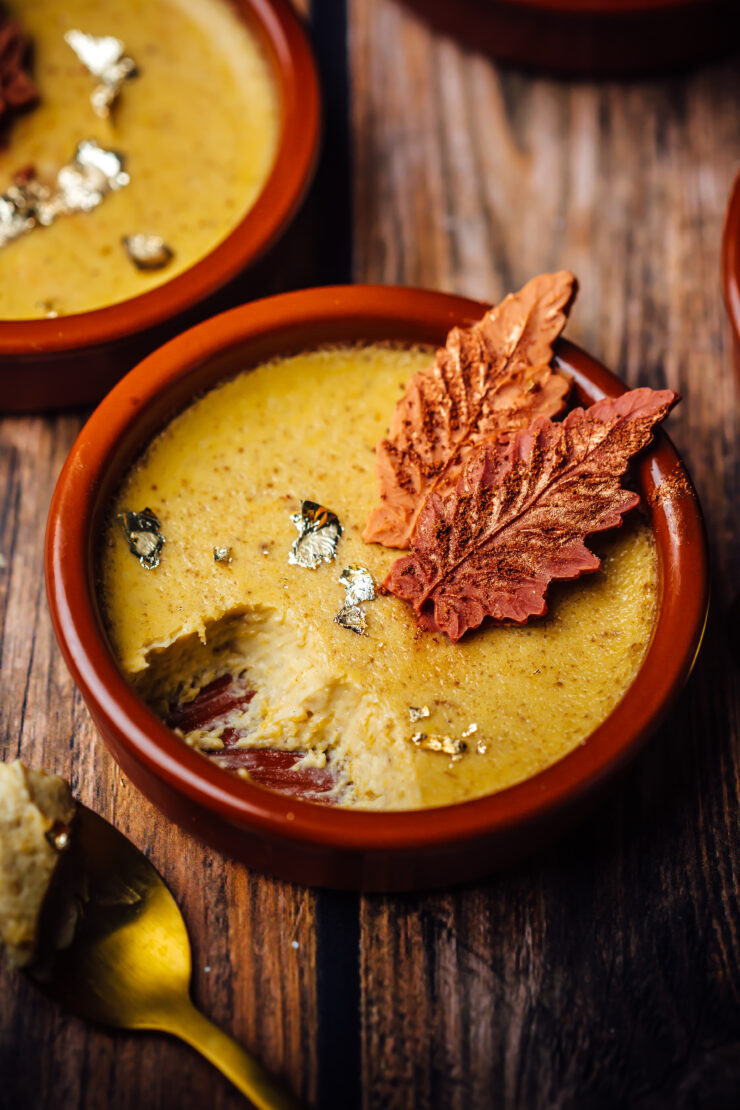
Gooey, creamy, rich, spicy and simply delicious, these pumpkin pots de creme are an easy dessert that can be made ahead for a crowd or even for a weekend indulgence. You could say, they are like digging into a divine pumpkin mousse.

Pumpkin Pots de Creme

Funny, but its’s spring in the southern hemisphere. There are a variety of fruits to choose from, yet inspired by pumpkin recipes all over my socials, I made not one but two pumpkin desserts on the same day. We don’t get store bought pumpkin puree in Australia so when I made a huge batch of puree, I wanted to put it to good use. Besides, pumpkin pots de creme is made using egg yolks for the rich texture. The egg whites were perfect to make pumpkin financiers/friands. I’ll share the recipe next.

I decorated the pumpkin pots de creme by melting and coloring white chocolate into leaf molds for the autumn feels. Feel free to serve with candied pecans, grated dark chocolate or even crushed honeycomb.

Pumpkin Pots de Creme

If you love pumpkin desserts, don’t forget to check out this Pumpkin Creme Caramel and this Pumpkin Cake.

Pumpkin Pots de Creme
Makes 5-6 depending on the size of your cup

1/2 cup milk
11/2 cup heavy/thickened cream
4 egg yolks
1/2 cup firmly packed brown sugar
1/2 cup home made (or store bought) pumpkin puree
1/4 tsp powdered cinnamon
1/4 tsp powdered ginger
1/4 tsp ground nutmeg
white chocolate leaves, to decorate

Preheat oven to 160 degrees C ( 140 degrees for fan-forced ovens) .Combine cream and milk in a saucepan over medium heat. Cook, stirring constantly, for 5 minutes or until hot (do not allow to boil). Remove saucepan from heat.

Whisk egg yolks and sugar in a heatproof bowl until well combined. Add the pumpkin puree and spices and mix till blended. Pour the warm cream mixture over the egg yolk mixture, little at a time whisking constantly until smooth. Take care not to add the entire cream to the eggs together as it can overcook the eggs resulting in scrambled eggs.

Divide the custard into five or 6 lightly-greased, ramekins or ovenproof cups. Place in a deep baking tray. Pour boiling water into baking tray until halfway up sides of ramekins.

Bake custards, uncovered, for 30-40 minutes or until just set (while the centers are slightly jiggly when shaken). Remove from the oven and take the ramekins out of the water bath. Leave to cool to room temperature. Refrigerate for at least 2 hours or until set.

Pistachio Nankhatai Biscuits (Eggless)

24|10|2024

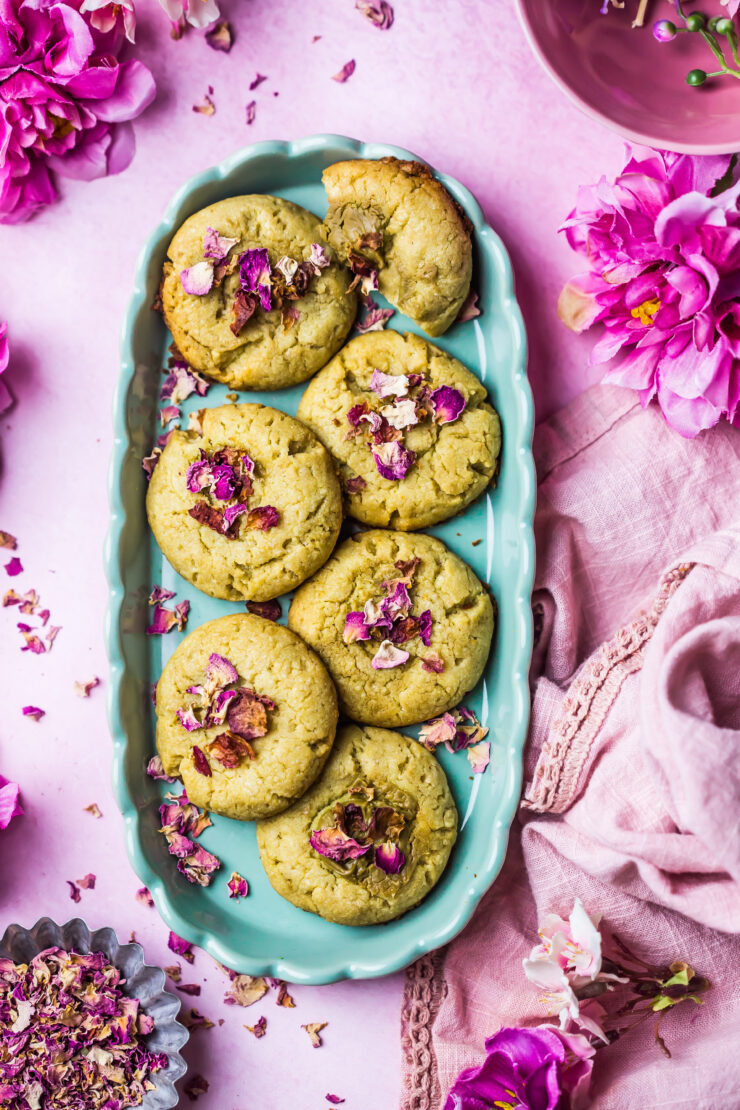
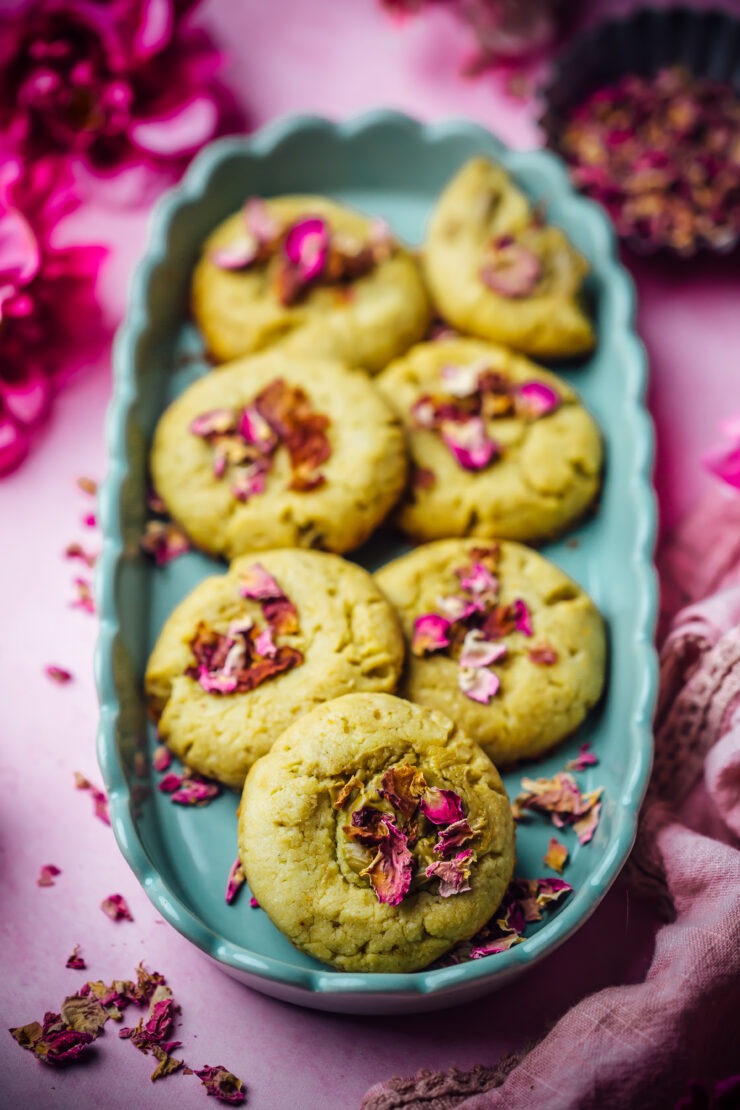
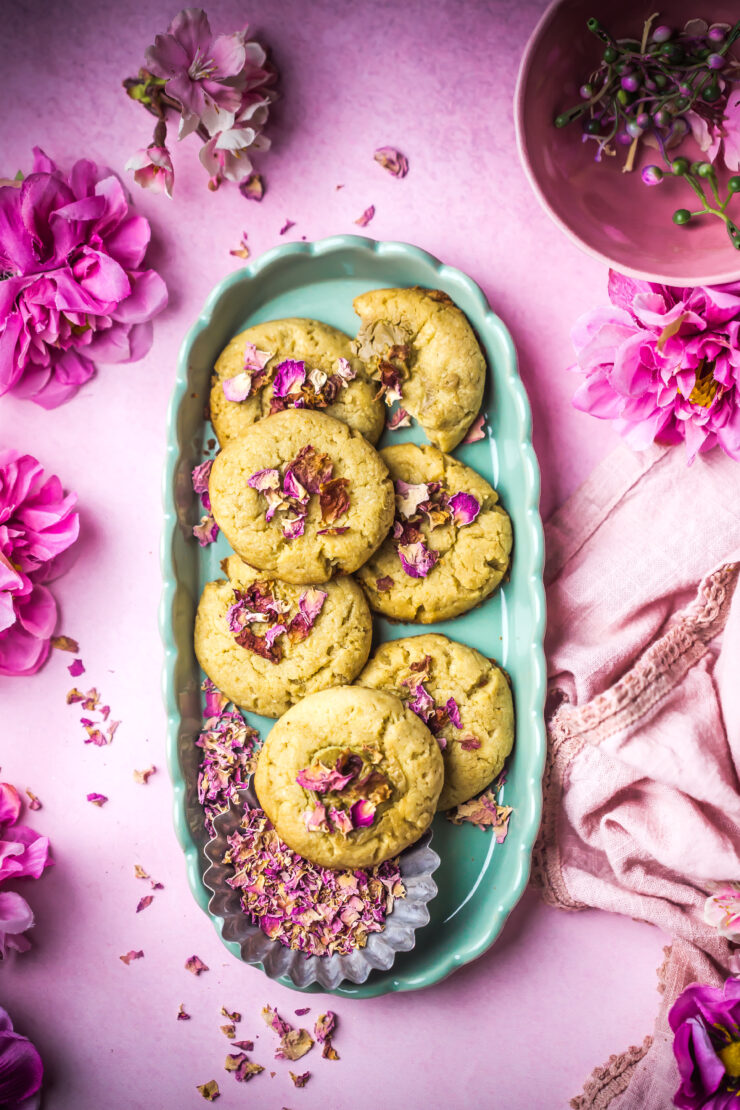
If you haven’t heard of Nankhatai biscuits before this, they are shortbread biscuits popular in India. The fact that they require only a few ingredients, are eggless and flavoured with spices and/or nuts makes them irrestible.

Pistachio Nankhatai Biscuits

The chickpea flour and semolina add to the bite and melt in your mouth texture of the Nankhatai biscuits but you are free to use plain flour instead. To keep them authentic, I’ve used ghee but unsalted butter is a great substitute. Giving in to the craziness of pistachio and pistachio based treats, I got my hands on some pistachio paste that I knew instantly I wanted to use in these biscuits. I used this one but i’ve heard that the same brand is cheaper at Costco. If you want to make your own, the Internet is flooded with recipes of pistachio paste.

The unique taste of pistachios paired with a hint of rose and cardamom not only makes them perfect for those who celebrate Diwali but with the upcomng holidays, they would make lovely edible gifts or the most beautiful treats to share with friends and family.

If you love pistachio recipes, you will love these Mini pistachio cakes

Pistachio Nankhatai Biscuits
Makes 18-20 biscuits

1 cup plain flour 
3/4 cup chickpea flour/besan (or use plain flour)
1/4 cup semolina
1/2 teaspoon powdered cardamom
1/2 cup ghee (or unsalted butter)
3/4 cup icing sugar
2 tablespoon milk (more if needed)
1/2 cup pistachio paste (home made or store bought)
Extra pistachio paste, to top
Dried rose petals, for garnish

Method : Place the plain flour, chickpea flour, semolina nd cardamom in a medium bowl. In a large bowl, beat the ghee and sugar until the mixture is smooth.

Add the dry ingredients. Mix well. Add milk and pistachio paste and mix well to bring the dough together. Cover the bowl and refrigerate for 15-20 minutes.

Preheat oven to 180 degrees C. Line two baking sheets with baking paper.
Roll out uniform sized balls, place them on the tray I cm apart. Slightly flatten them with your hands and top them with the extra pistachio paste (about a tsp), if using.

Place tray in the oven and bake for 20 mins or until the base of each biscuit starts to brown. Remove from the oven, allow to cool. Decorate with rose petals. Once cooled completely, store in an airtight container for up to a week.

Chocolate and Hazelnut Cookies

22|09|2024

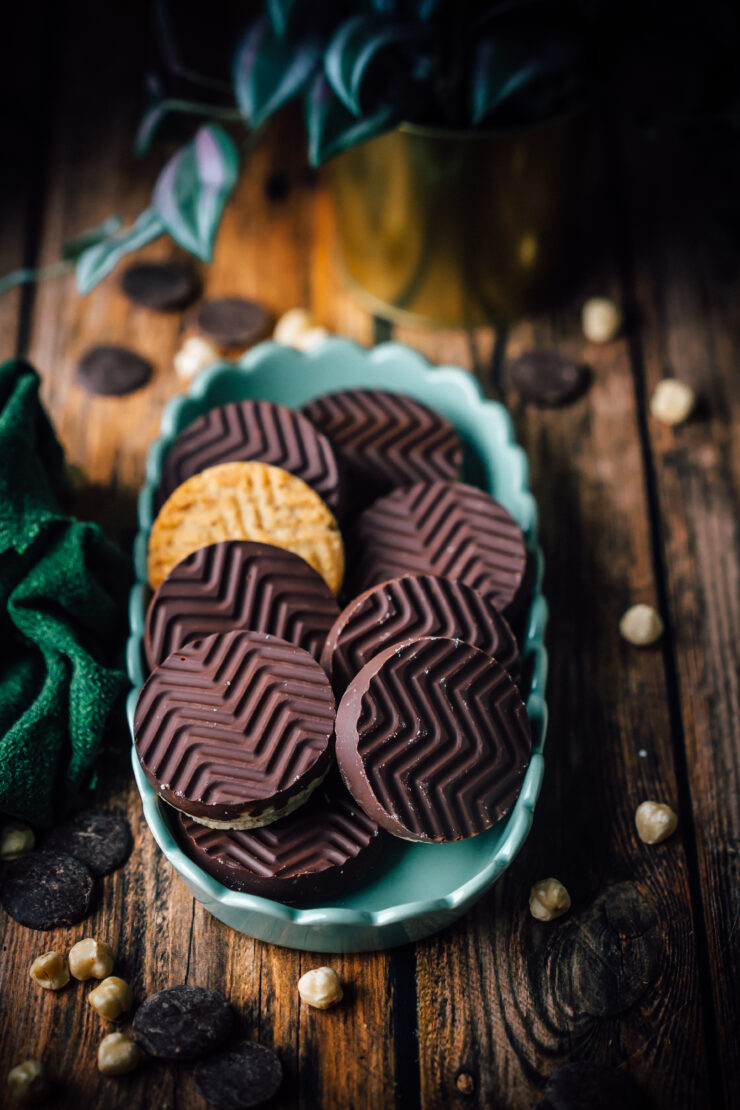
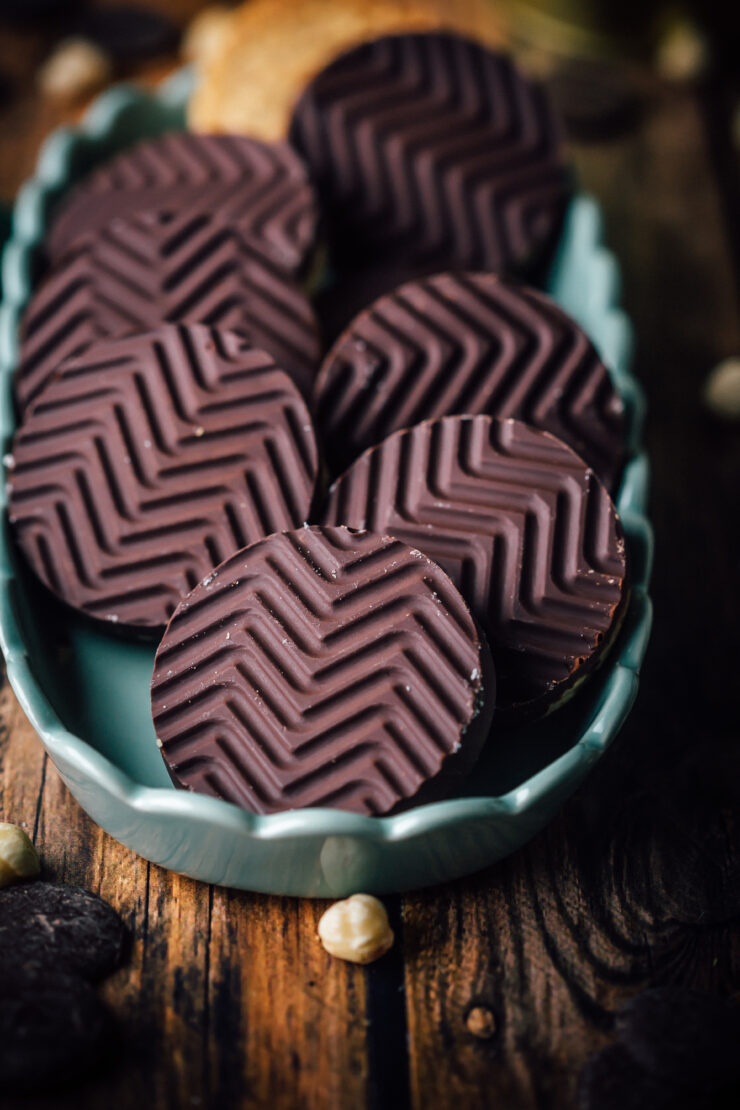
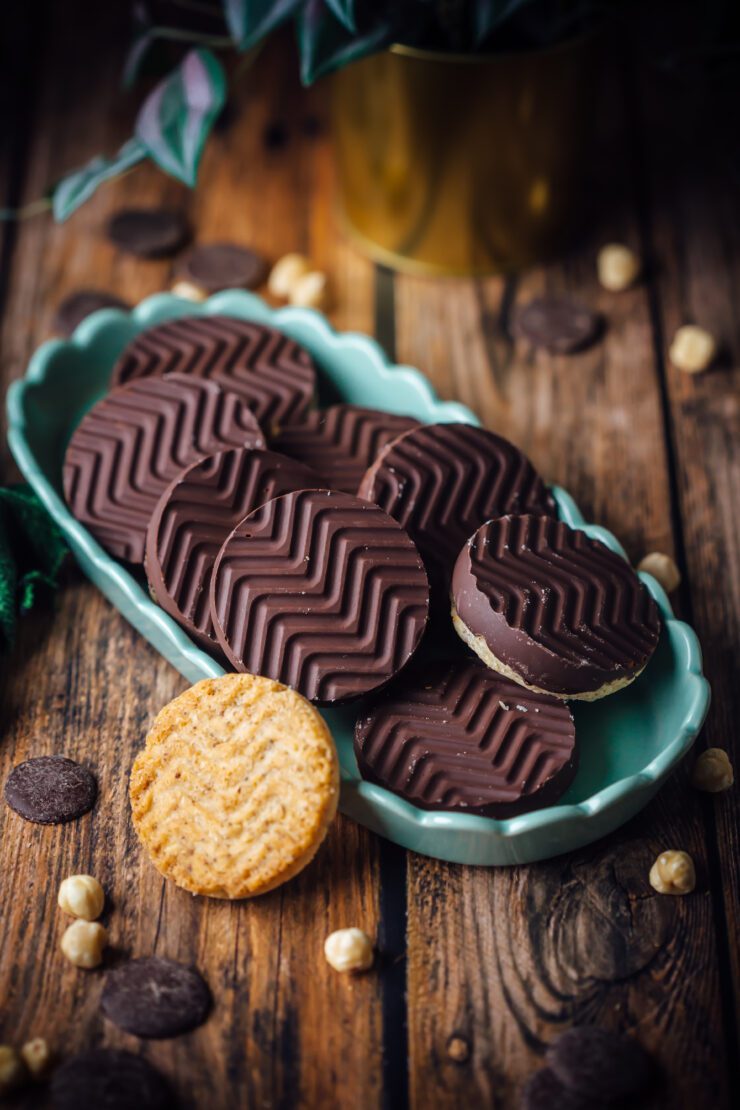
Chocolate and Hazelnut Cookies

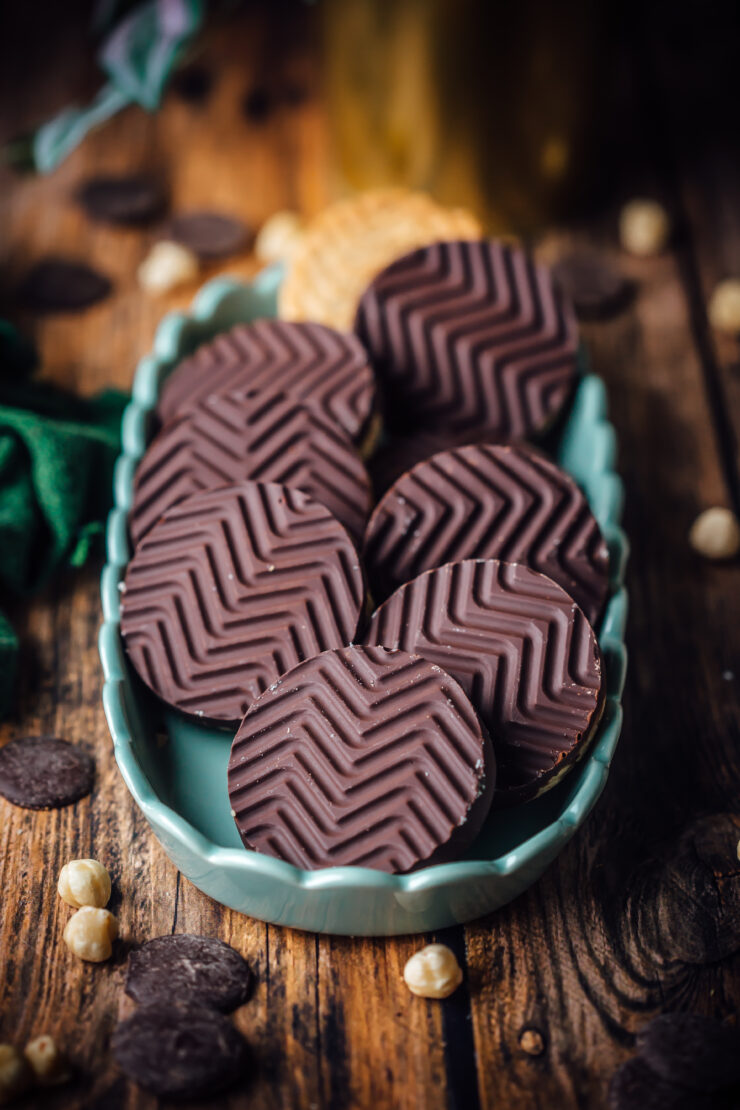
I started my cookie baking for the festive season early, this year. Almost every year I end up with a bunch of recipes that I worked on but are too late to post as it’s almost January by the time I can get to it. These Chocolate and Hazelnut Cookies are simply amazing. Not only do they come together in minutes, they are egg free, require no chilling of the dough or any rolling out and so on. They are extremely addictive due to the nuttiness of the hazelnuts that are complemented by dark chocolate.

I have used molds to create the design but if you don’t have a mold, use could use a sillicone muffin pan or simply bake the biscuits and then dip them in chocolate. Or you could create thumbprint cookies by filling the centres with chocolate. The possibilities are endless with these Chocolate and Hazelnut Cookies.

Chocolate and Hazelnut Cookies

Chocolate and Hazelnut Cookies
Makes 10-12 cookies

125 g (approx 1/2 cup +1 tbsp) unsalted butter, room temperature
1/2 cup (60 g) icing/powdered sugar
1/2 cup hazelnut meal
3/4 cup (94 g) plain flour

Preheat oven to 180 degrees C. Spray your cookie mold with non stick spray. Alternately, line a baking sheet with baking paper.

In a large bowl, beat the butter and sugar until light and fluffy. Fold in the hazelnut meal and flour until combined and a dough is formed that is almost firm and can be rolled into balls easily. Add a little more flour if required.

Scoop 1 tbsp of dough and place in the hole of each mold. Using the back of a spoon or with your fingers, press the dough lightly to take the shape of the mold. You don’t have to be perfect as the dough will rise and spread slightly to fit the molds. If not using a mold, simply roll the dough into balls and place on the baking sheet 1 cm apart. Make a small dent in the middle with the back of a spoon.

Bake for 25-30 minutes or until cookies are lightly browned and feel firm to touch. Remove from oven, allow to cool in mold for 15-20 mins, then gently turn the mold tray over for the cookies to slide out. Allow to cool completely before coating with chocolate. If you’re baking the cookies on a sheet, allow to cool and fill up with melted chocolate or ganache.

Pipe (or spoon) small amount of melted dark chocolate into a clean mold. Place cookies over the chocolate, allowing some of it to come up the sides. Place mold tray in the fridge to set. Repeat with remaining cookies. Cookies should easily come off the molds.

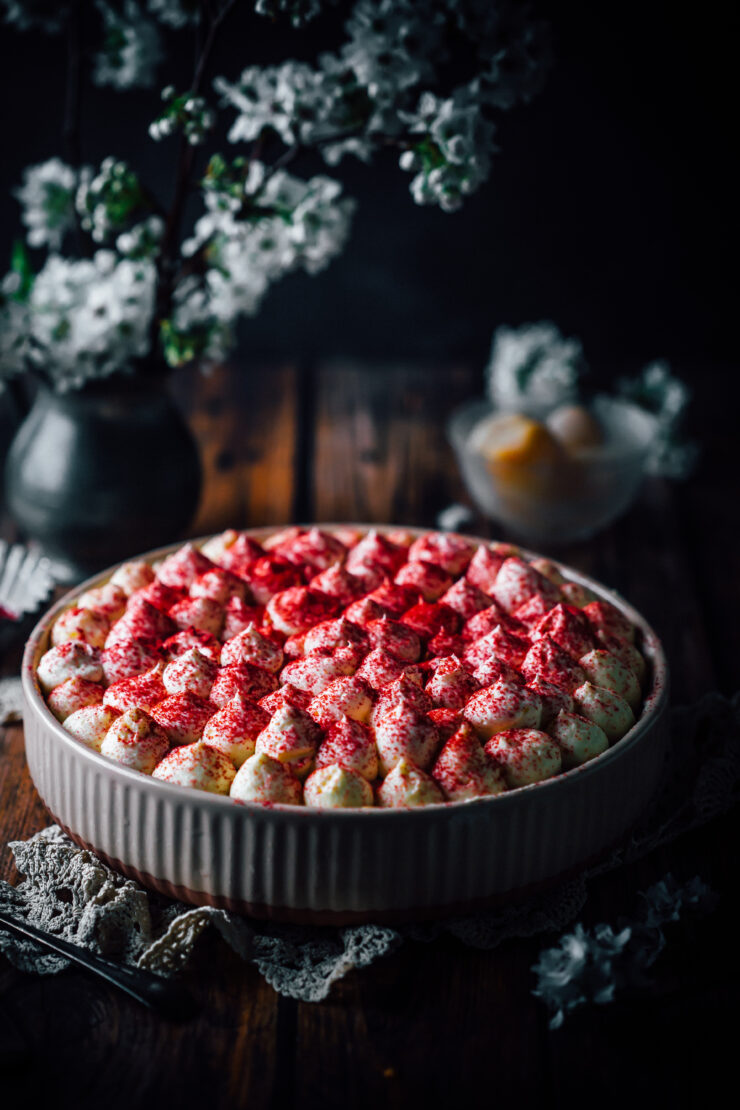
Lychee & Raspberry Tiramisu

31|08|2024

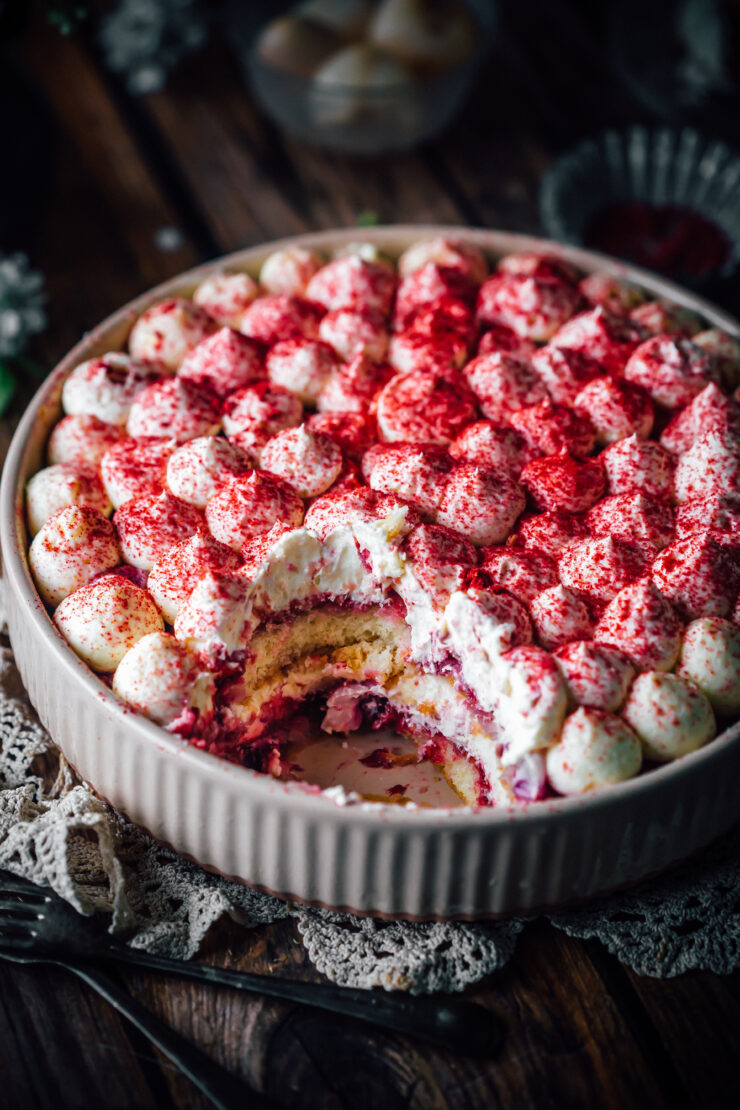
Lychee & Raspberry Tiramisu

Since you guys loved my Lychee & Raspberry Cheesecake so much, I decided to create the same flavour magic in a Lychee & Raspberry Tiramisu. After all it is such a delicate and beautiful combo. the best part about this Tiramisu is that it does not require you to add eggs other than the store bought ladyfinger biscuits that may have eggs in them.

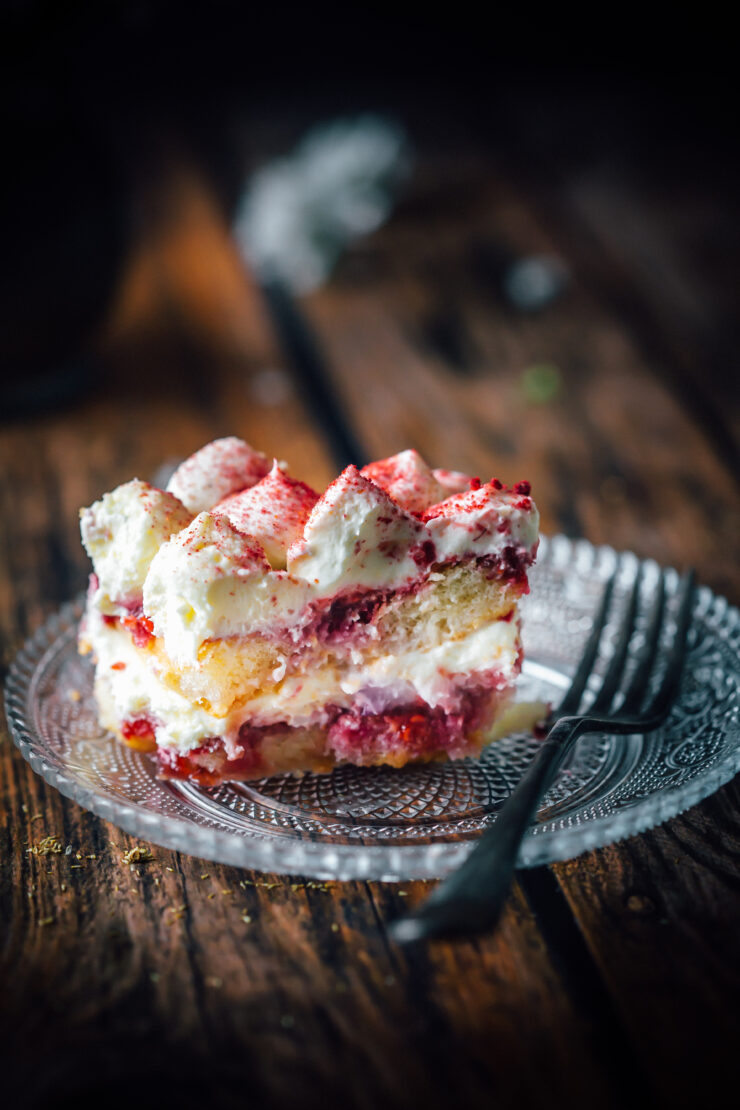
To get a strong lychee flavour, the spongefingers are dipped in the lychee syrup from the can of lychees. How convenient is that! There is no wastage and saves you the time to make a syrup from scratch. The raspberry puree in the Lychee and Raspberry Tiramisu is a wonderful contrast to the creamy mascarpone and sweet lychee soaked biscuits.

Overall it is an elegant dessert, a delicious twist to a classic Tiramisu and very easy to put together. It can be made ahead and perfect for a crowd.

Lychee & Raspberry Tiramisu
Makes a 9 inch dessert (if round)

18-20 Ladyfinger biscuits, depending on the size of your pan
1 can pitted lychees in syrup (560 g)
1 tbsp frreze dried powdered raspberries
Raspberry Puree Layer (recipe below)
Mascapone Layer (recipe below)

Raspberry Puree
1 cup frozen raspberries (can use fresh too)
1/4 cup castor/granulated sugar
2 tbsp lychee syrup from the can

Mascapone filling
250 g mascapone cheese (or use cream cheese if mascarpone is not available)
1/3 cup (66 g) castor/granulated sugar
1 cup (240 ml) cold thickened cream/heavy cream
1 tsp vanilla extract

Prepare the lychees and lychee syrup : Place the syrup from the can in a shallow dish, reserving 2 tbsp for making the raspberry puree. Chop lychees into quarters. Set aside.

Make the raspberry puree : In a medium saucepan, place the raspberries, sugar and lychee syrup. Over low-medium heat, cook until raspberries break down and mixture has thickened. Approx 10-12 mins. Remove from heat, allow to cool down.

Make the mascarpone layer : With an electric mixer or by hand, beat the mascarpone and sugar until light (about 2 min). Pour the heavy cream and vanilla and beat until almost stiff peaks are formed. Cover bowl with cling wrap and store in the fridge until needed.

Assemble : You could use a 9 inch cake pan or pie dish or an 8×8 square cake pan. Working one at a time, dip about half the quantity of ladyfinger biscuits in the lychee syrup and place in a single layer in the bottom of pan. Make sure to do it quickly, not letting them soak too long or they may fall apart. Break ladfingers in half and quarters if needed to fill up gams until you have an even layer.

Spoon half the raspberry puree and spread evenly with an offset spatula. Scatter half the chopped lychees over the raspberry layer.
Dollop about one-thirds of the mascarpone filling over the lychees and even out with an offset spatula.
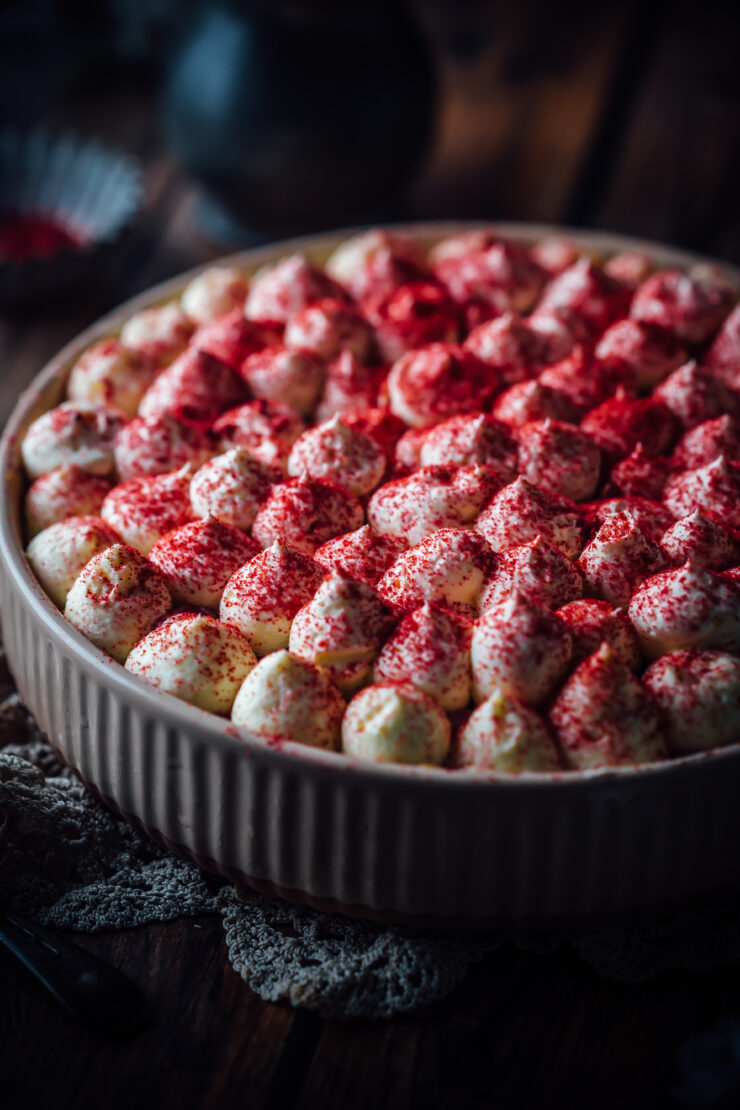
Repeat the process with the remaining ladyfingers, raspberry puree and lychees. For the last layer, place the mascrpone filling into a piping bag and pipe kisses or you could just spread it with a spatula if you don’t want to use a piping bag.

Dust with raspberry powder. Cover the dish with cling wrap taking care not to smudge the piped mascarpone. Refrigerate for 4-6 hours, preferably overnight.
Raspberry and Chamomile Cake

18|08|2024

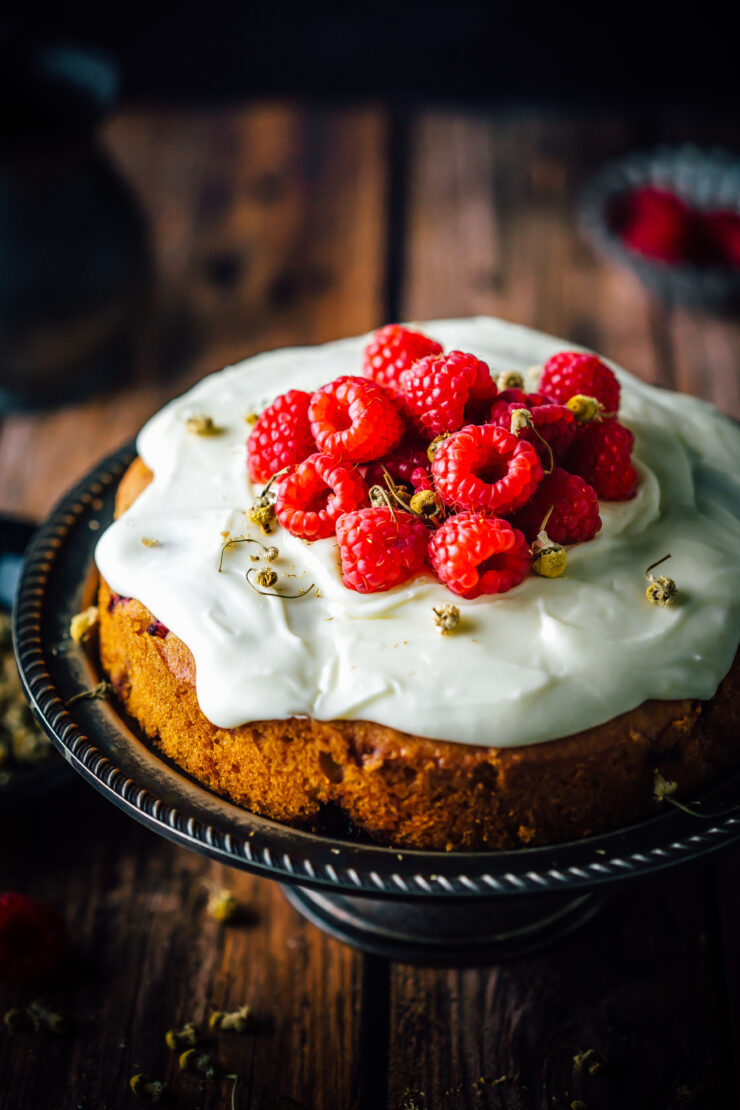
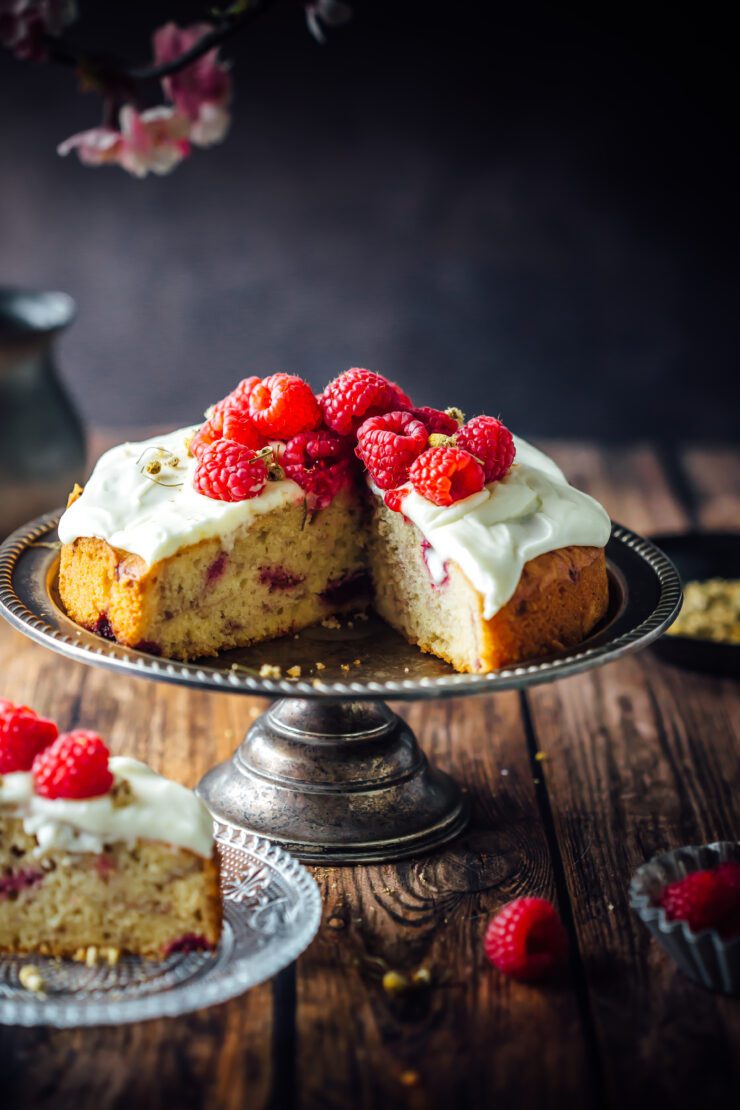
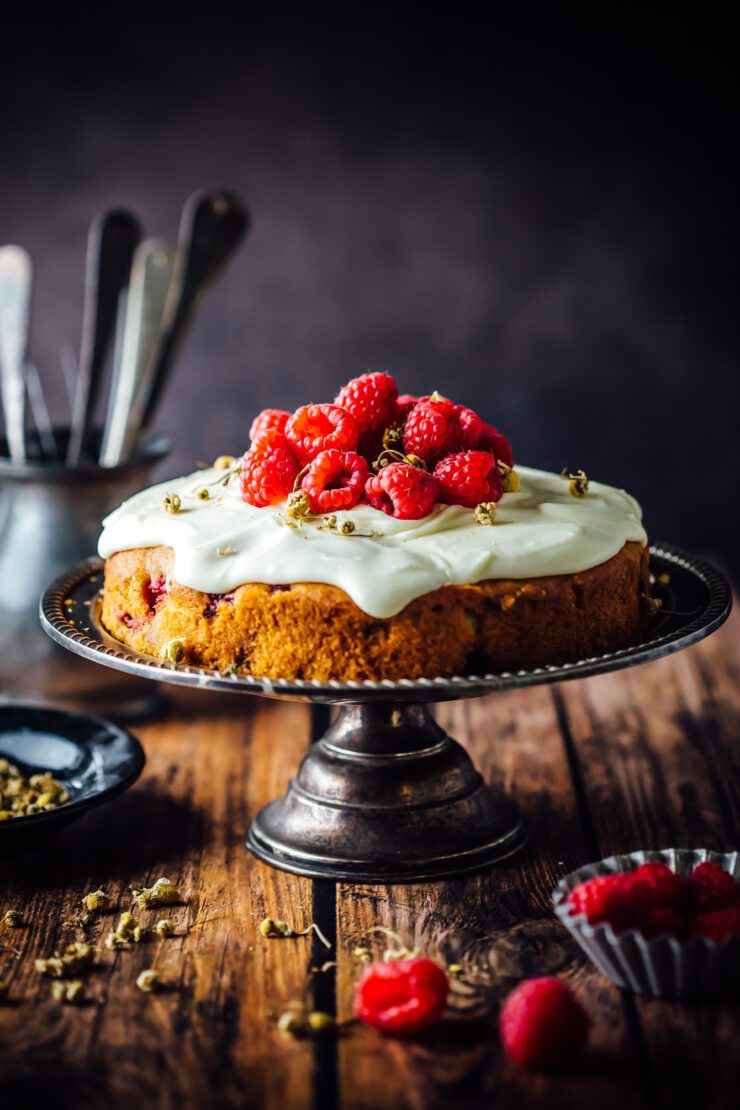
If you thought tea was just an aromatic beverage that made your mornings and afternoons and sometimes nights better, you have to try them in baked goods. I’m not just referring to Chai and Earl Grey or the populat matcha tea. I’m talking about the delicate, floral flavour of chamomile tea. Who knew a couple of tea bags steeped in milk could pack so much flavour into this Chamomile Cake.

Raspberry and Chamomile Cake

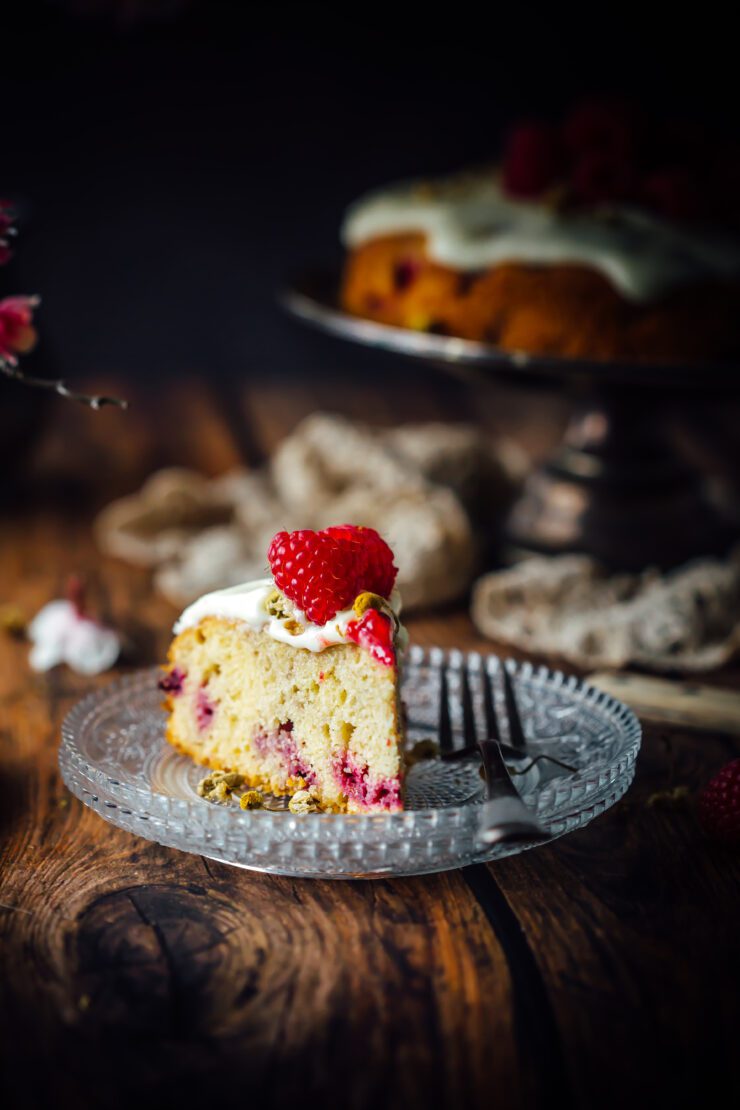
If like me, you’re a little tired of the same old flavours in cake and have made enough Biscoff and cookie dough treats, it’s time to try out this new sweet tea infused number that will blow you away with it’s elegant simplicity. The raspberries lend a gogeous colour as well as a taste punch in every mouthful. The ground almonds provide a delicious nutty texture while the sour cream icing ties them all together. This Raspberry and Chamomile Cake comes together very quickly, yet with an impressive outcome.
Raspberry and Chamomile Cake

If you’re a fan of raspberry cakes, check out this Raspberry and Yoghurt Cake or this No bake Raspberry and Lychee Cheesecake

Raspberry and Chamomile Cake
Makes a 7 inch round cake

½ cup (120 ml) milk
2 teabags, chamomile tea
1/3 cup (75 g) unsalted butter, room temperature
1/3 cup + 1 tbsp (81 g) granulated/castor sugar
2 eggs
3/4 cup (94 g) self-rising flour
1/2 cup (51 g) almond meal (ground almonds)
1/2 cup raspberries (fresh or frozen), extra for decoration

Sour cream icing
2/3 cup (79 g) powdered sugar
2 tbsp (30 ml) sour cream
1 tsp vanilla essence

Make the cake: In a small saucepan, over low, warm the milk. Remove the saucepan from heat and place the tea bags into the milk. Allow to infuse for 30 minutes. Press the tea bags with the back of a spoon to extract more flavour from the tea bags. Discard the tea bags and set the milk aside to cool to room temperature

Preheat the oven to 350°F (177°C). Grease the base and sides of a 7-inch round pan and line the base with baking paper.
In a large bowl, beat the butter and sugar mixture until pale and fluffy. Add the eggs one at a time, beating well after each addition. Fold in the flour and the almond meal alternating with the milk until just combined. Fold in the raspberries. Transfer the batter to the prepared cake pan. Smooth the surface with the back of a spoon.
Bake for 40-45 minutes or until a skewer inserted in the middle of a cake comes out clean. 
Remove the cake from the oven. Leave aside, then gently run a blunt knife around the edges to loosen the cake. Carefully turn it onto a wire rack to cool completely. Once cooled down, pour the sour cream icing over the sides and the top of the cake. Top with fresh raspberries and decorate with dried chamomile flowers.

To make the sour cream icing: In a small bowl, sift the powdered sugar. Add the sour cream and vanilla essence. Stir the mixture with a spoon until well combined.

Pear and Raspberry Cake

9|08|2024

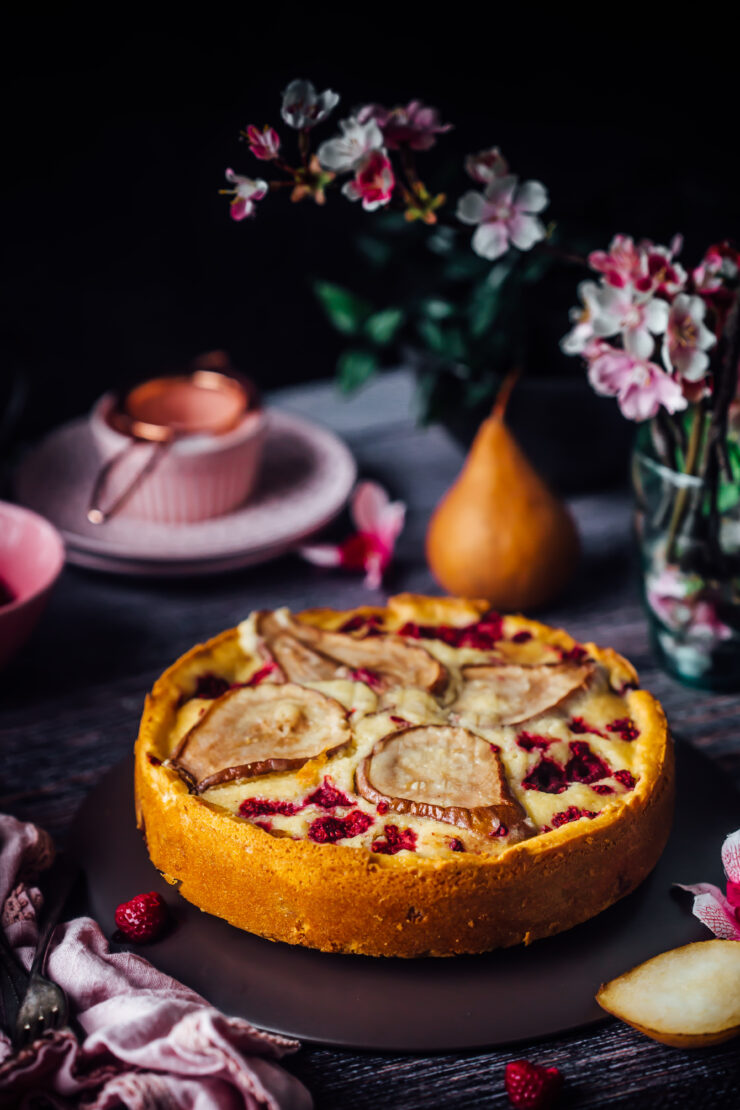
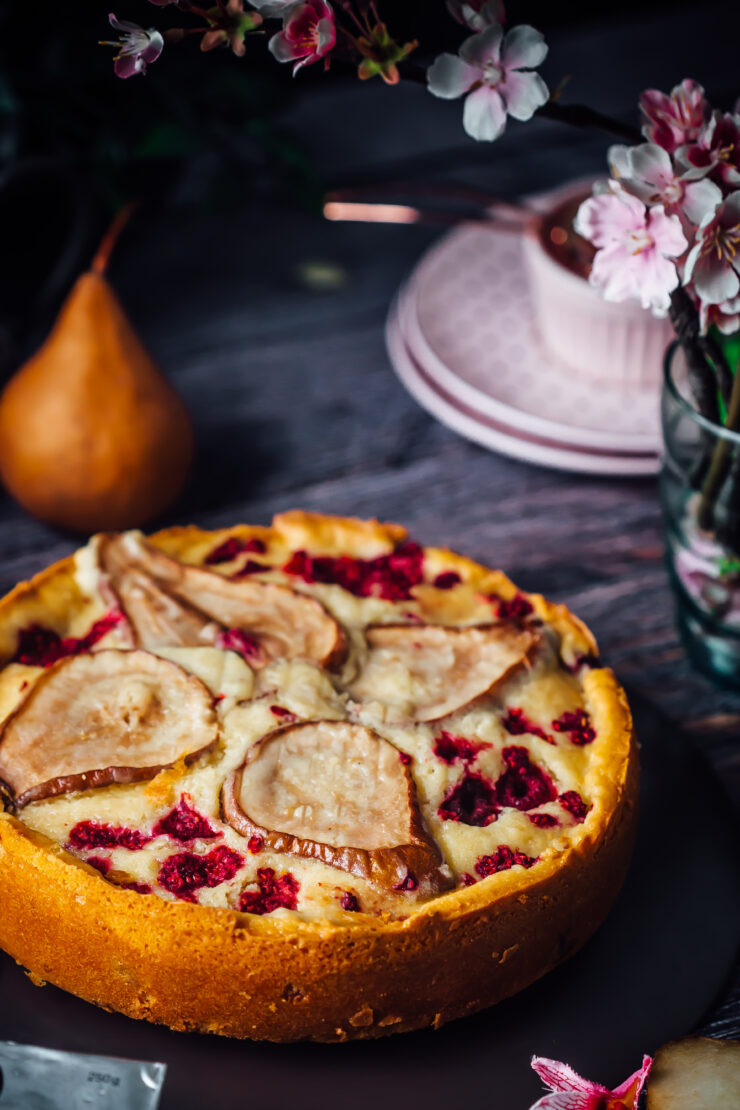
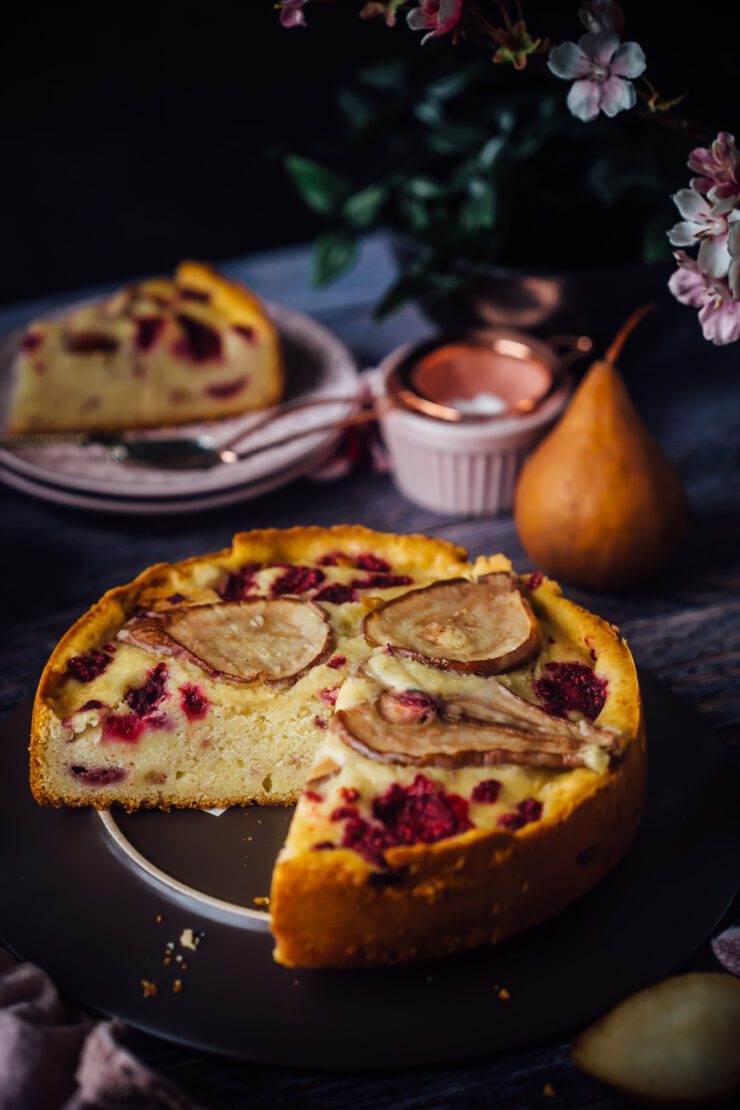
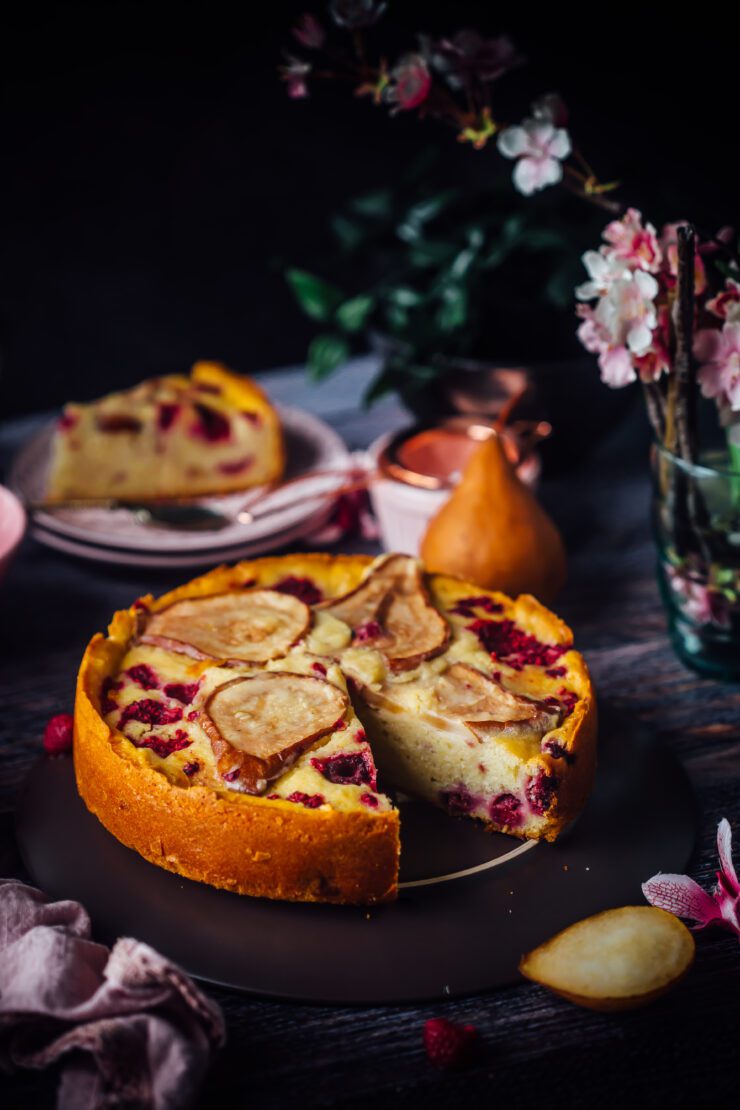
The lead up to Spring is one of my favourite times in the year. The cherry blosoms start blooming, pears are in abundance while berries became slightly more affordable. This pear and raspberry cake is a delicious combination of what August has to offer.

Pear and Raspberry cake


Bosc pears are perfect with their slender necks and soft. juicy interiors. The sweetness goes well with tart raspberries. The pear and raspberry cake is such a great accompaniment to tea or coffee, like a great tea cake should be like. Not overly sweet and with a tender crumb.


Now that spring is almost here, I’m thinking of blood oranges, lemon, rhubarb, blueberries and so many fruits to bake with. What kind of cakes or desserts do you want me see here? Any fruit that you’d like me to bake with? Let me know!

Pear and Raspberry cake


If you enjoy pears in cake you will love this Ginger Cake with Salted Caramel poached Pears or this Shiraz Chocolate Cake with Shiraz Pears

Pear and Raspberry Cake
Makes an 8 inch round cake

125 g unsalted butter, softened
1 cup castor/granulated sugar
3 larg eggs
1 tsp vanilla extract
1 and 1/2 cups self raising flour
3/4 cup greek yoghurt
1 cup raspberries, I used frozen

1 Pear, thinly sliced lengthwise (I used a Bosc pear)
Icing sugar, to dust (optional)

Preheat oven to 180 degrees C (160 degrees C for fan forced). Grease the base and sides of an 8 inch round cake pan and line the base with baking paper.
Beat the butter and sugar until pale and fluffy. Add the eggs one at a time, beating well after each addition.
Gently fold in the flour and yoghurt until well combined. Fold in a quarter of the raspberries.
Pour the batter onto the prepared pan. Dot the remaining raspberries over the top of the batter. Bake for 25 mins, then gently arrange the pears on the top of the cake. Bake for another 15-20 mins or until a skewer inserted in the middle of the cake comes out clean.
Remove from the oven. Leave in pan for 5 minutes, gently turn on to a wire rack. Enjoy warm or at room temperature with a side of whipped cream or vanilla ice cream.

  • « Previous Page
  • 1
  • 2
  • 3
  • 4
  • …
  • 45
  • Next Page »
Hey Sugar
Cake
Link to my Facebook Page
Link to my Instagram Page
Link to my Pinterest Page
Link to my Mail Page
Subscribe to this site
Fresh Awards
2019 Aus mumpreneur
2019 aus mumpreneur
Mumbrella

Copyright © 2026 · Sugar Et Al · Designed by Smitten Blog Designs · Log in