• Home
  • Recipe Index
    • Recipe Index
    • Breakfast/Brunch
    • Cakes and Puddings
    • Chocolate
    • Cookies and cupcakes
    • Custard and Mousse
    • Gluten Free
    • Ice Cream
    • Mains
    • Other Sweet Treats
    • Snack/Appetizers
    • Soups and Salads
    • Tarts and Pies
    • Vegetarian
  • About
  • Cookbook
  • Portfolio
  • Store
  • Press
  • Work with Me

Sugar et al

Because Life is a blend of flavours...

Raspberry and Lychee Cheesecake (No bake)

11|02|2024

raspberry and lychee cheesecake

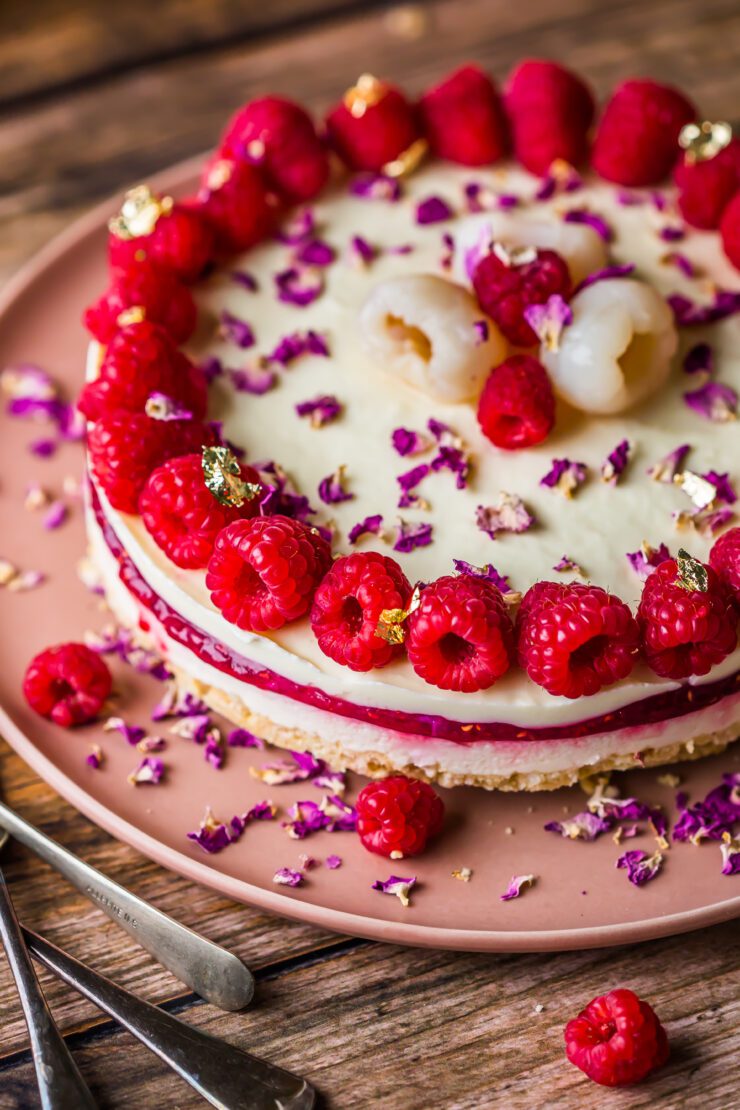
If I had to choose one fruit for a special Valentine’s day dessert, it would be lychees. The smell, the taste, the sweetness and freshness is equal to none. Paired with sweet-tart raspberries this raspberry and lychee cheesecake is a flavour bomb.
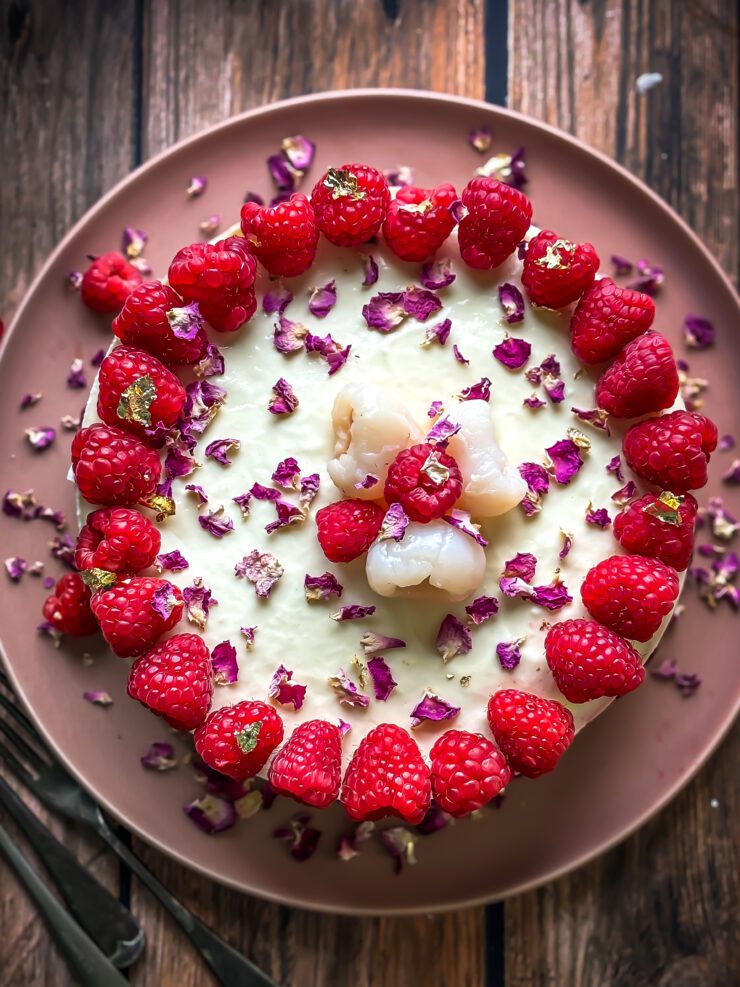
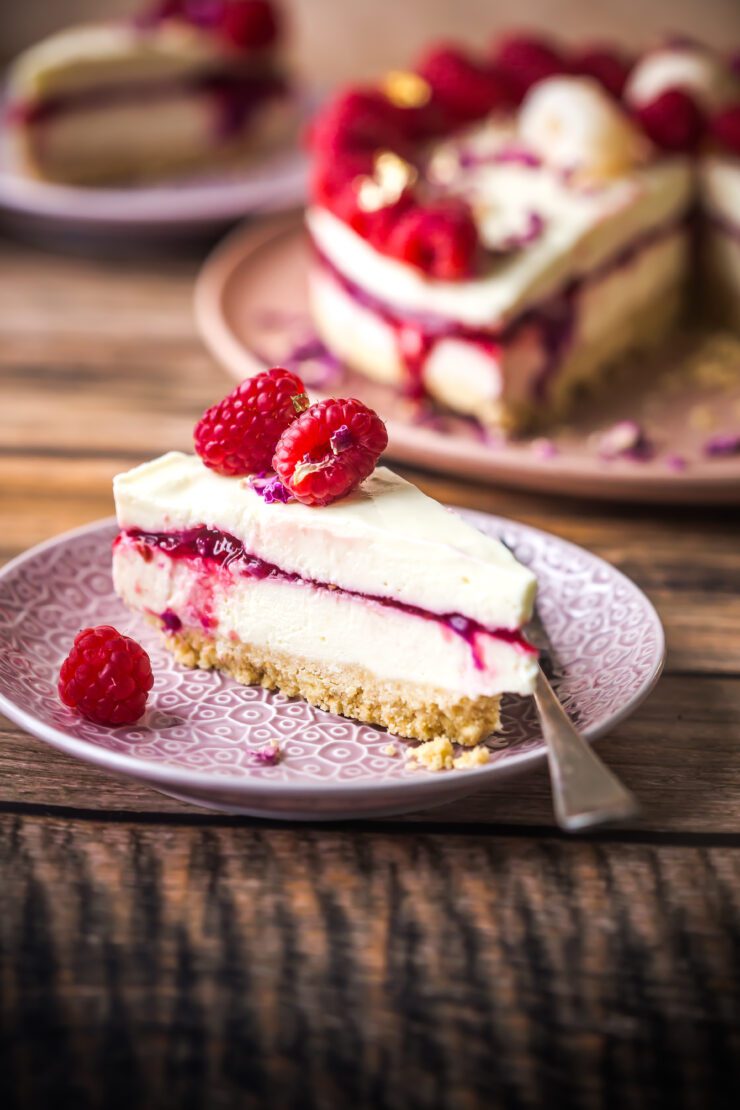
To enjoy the sweet combo, I created a compote becomes a delicious layer sandwiched between two layers of vanilla cheesecake filling. I used canned lychess that are so eay to use because they’re already pitted and cleaned. By all means, use fresh ones if you’d like to.
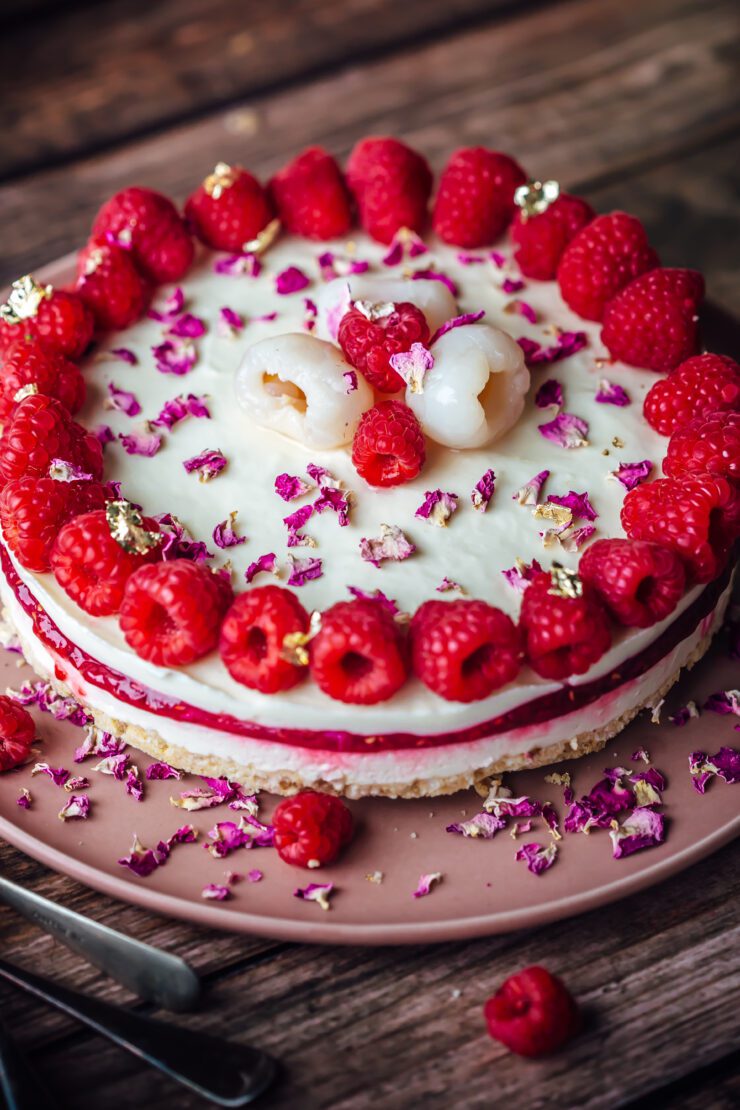
Decorate the raspberry and Lychee cheesecake with fresh raspberries, lychees and a sprinkle of rose petals and you have a cake dressed to kill. It’s honestly such a easy to create treat with a totally impressive outcome.

If you’re looking for more Vday desserts, dont forget to check out this Persian Love Cake.
raspberry and lychee cheesecake

Raspberry and Lychee Cheesecake (No bake)
Makes a 8 inch (20 cm) round cake

Cheesecake Crust
5.3 oz (150 g) digestive biscuits
1/3 cup (75 g) unsalted butter

Raspberry Lychee Compote
2 tsp powdered gelatine
1 tbsp water
1 cup fresh or frozen rapberries
8-10 lychess, pitted (I used canned), chopped
2-3 tbsp lychee juice from the can ( water is alos fine)
1/4 cup (50 g) castor/granulated sugar

Cheesecake filling
½ cup (120 ml) milk
3 tsp (9.4 g) powdered gelatine
11 oz (312 g) cream cheese, room temperature
3/4 cup (150 g) granulated sugar
1 cup (240 ml) double cream
1 tsp vanilla extract

Make the cheesecake crust: Grease the base and sides of an 8 inch (20 cm) spring form pan with 3 inch (8 cm) height and line the base with baking paper. Place the spring form pan on a baking sheet for ease of movement, in and out of the fridge.

Place the biscuits in a food processor and process until they resemble fine crumbs. Add the butter and process briefly until combined. Press the biscuit mixture evenly over the base of the prepared pan. Place the pan in the fridge for 30 minutes to chill.

Make the raspberry Lychee compote : In a small bowl, place the water and gelatine together, Allow the gelatine to bloom. Place the remaining ingredients in a medium saucepan over low heat and gently bring to a boil. Simmer for 8-10 minutes or until raspberries and lychees have almost collapsed and mixture has thickened. Remove from heat, add the gelatine mixture and stir until fully dissolved.

Make the cheesecake filling: In a small saucepan place the milk and sprinkle the gelatine over it. Allow the gelatine to bloom for 5 minutes. Cook the milk over low heat, stirring continuously until the gelatine dissolves (do not boil the milk). Remove from the heat and allow to cool to room temperature. In a large bowl, beat the cream cheese and sugar until the mixture is smooth and creamy. Add the double cream and vanilla extract, continue to beat until well blended and fluffy. Add the gelatine-milk mixture and beat until just combined. Pour the filling over the biscuit crust.

Place the cheesecake in the fridge for 30 minutes. Spoon the compote over the cheesecake layer. Place in the fridge for 20 minutes or until almost set. Pour the reamining cheesecake filling on top of the compote. Place in the fridge again to set.

When ready to serve, remove the cheesecake from the pan. Arrange raspberries and lychees over the top and sprinkle with dried rose petals. Slice and enjoy!
Persian Love Cake

2|02|2024

Persian Love cake

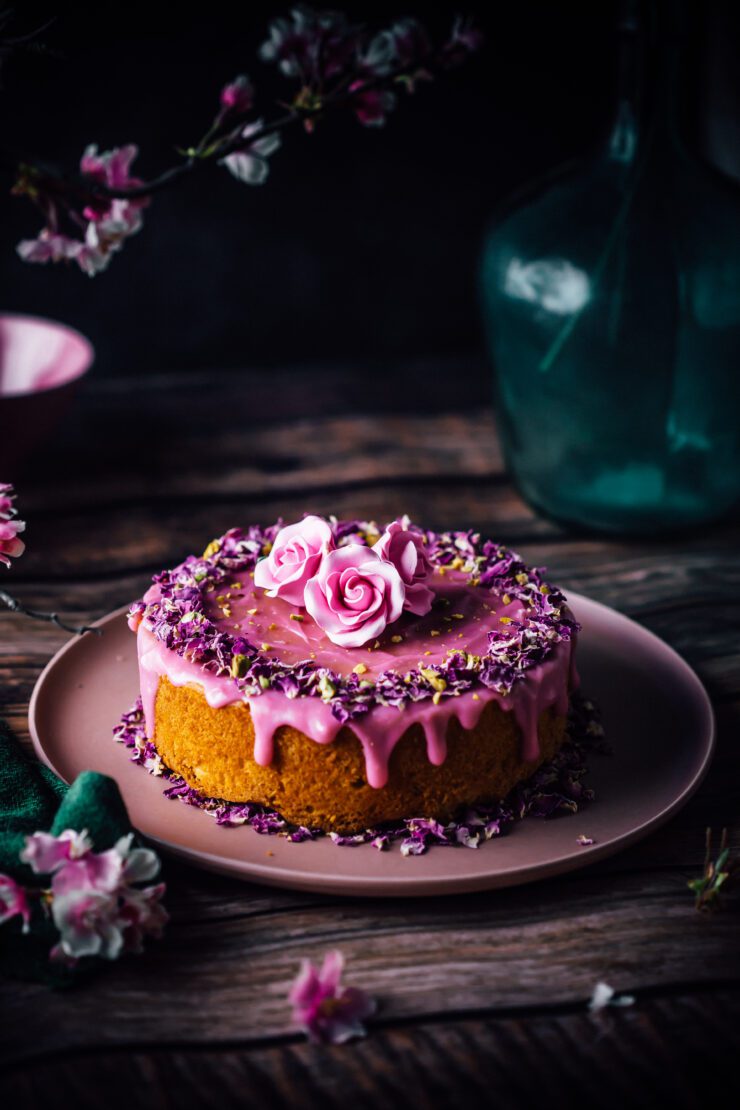
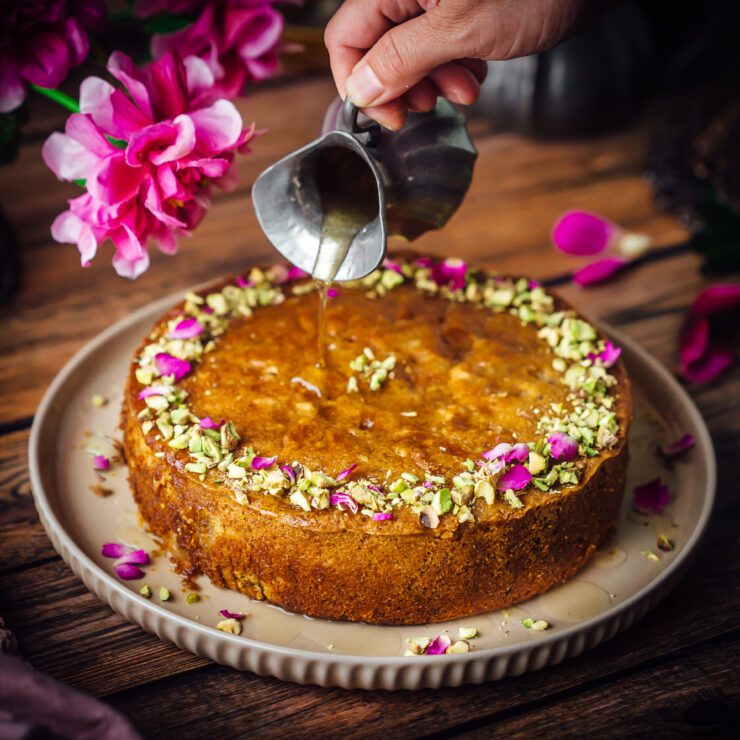
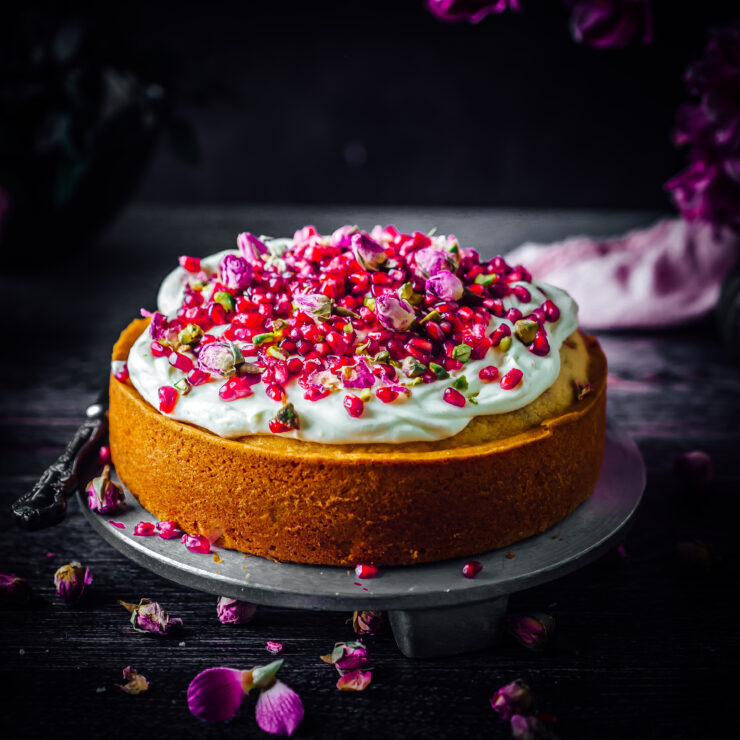
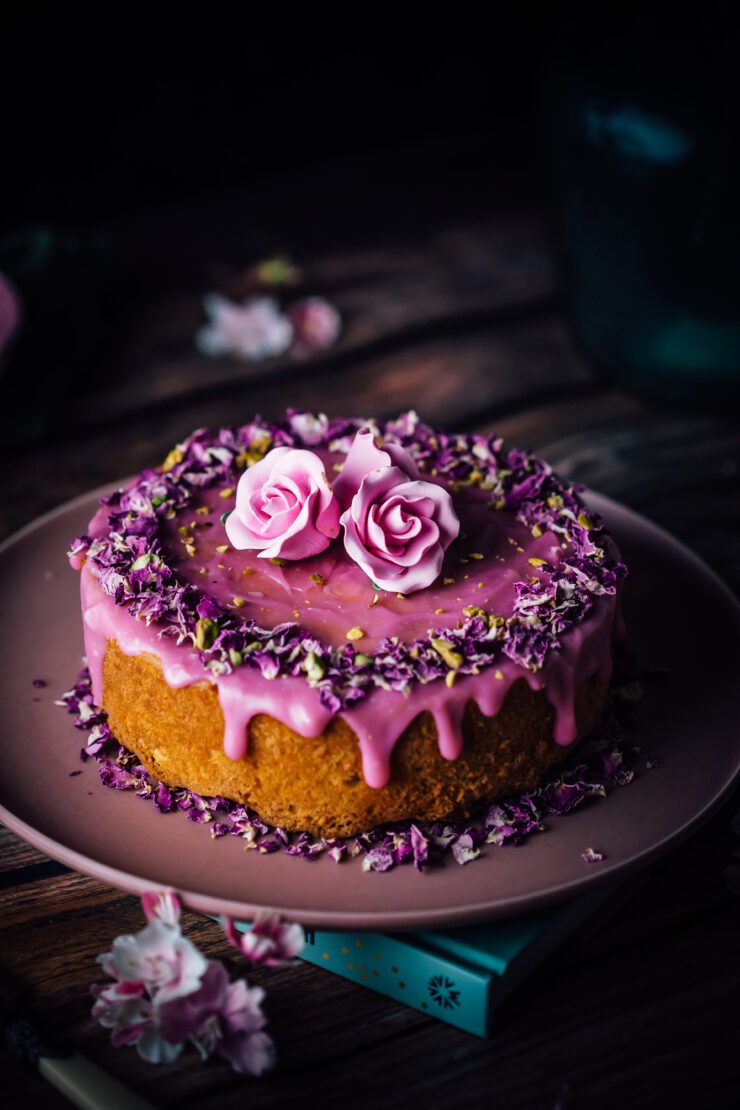
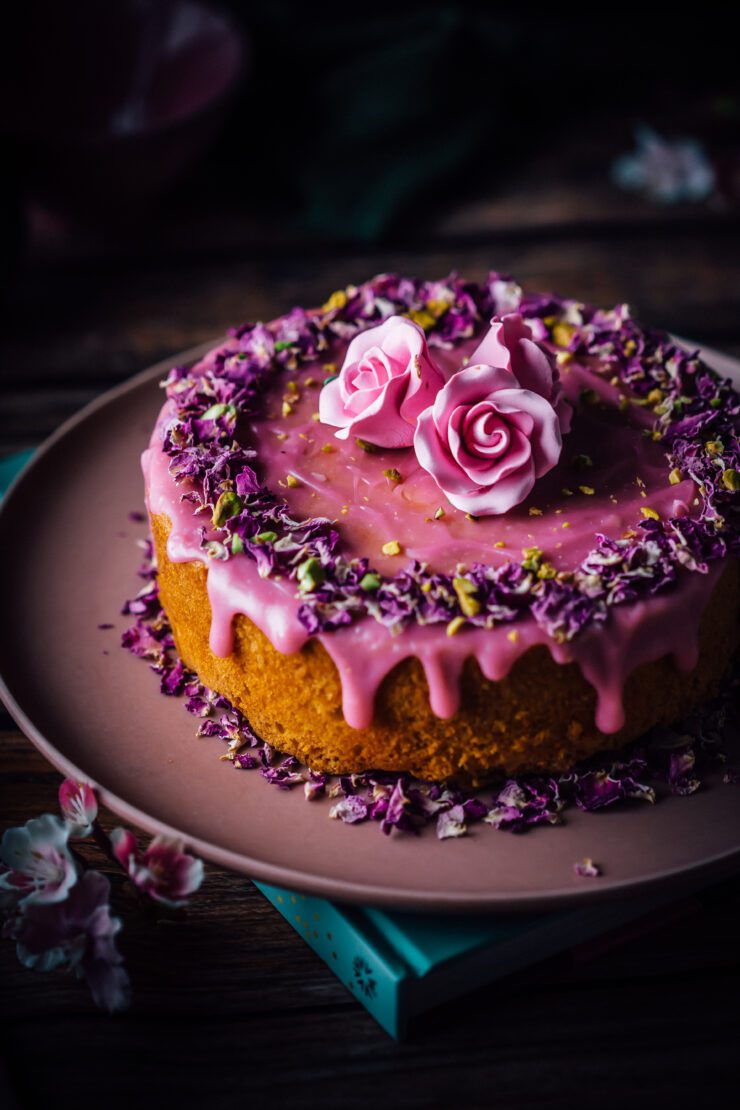
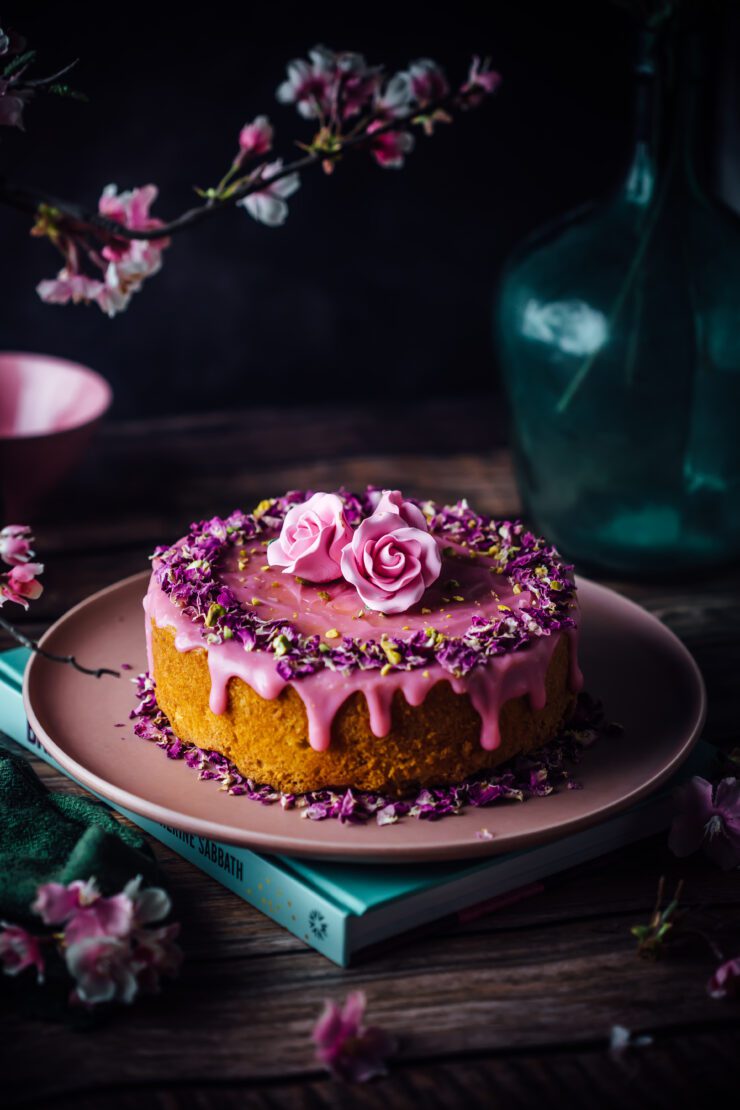
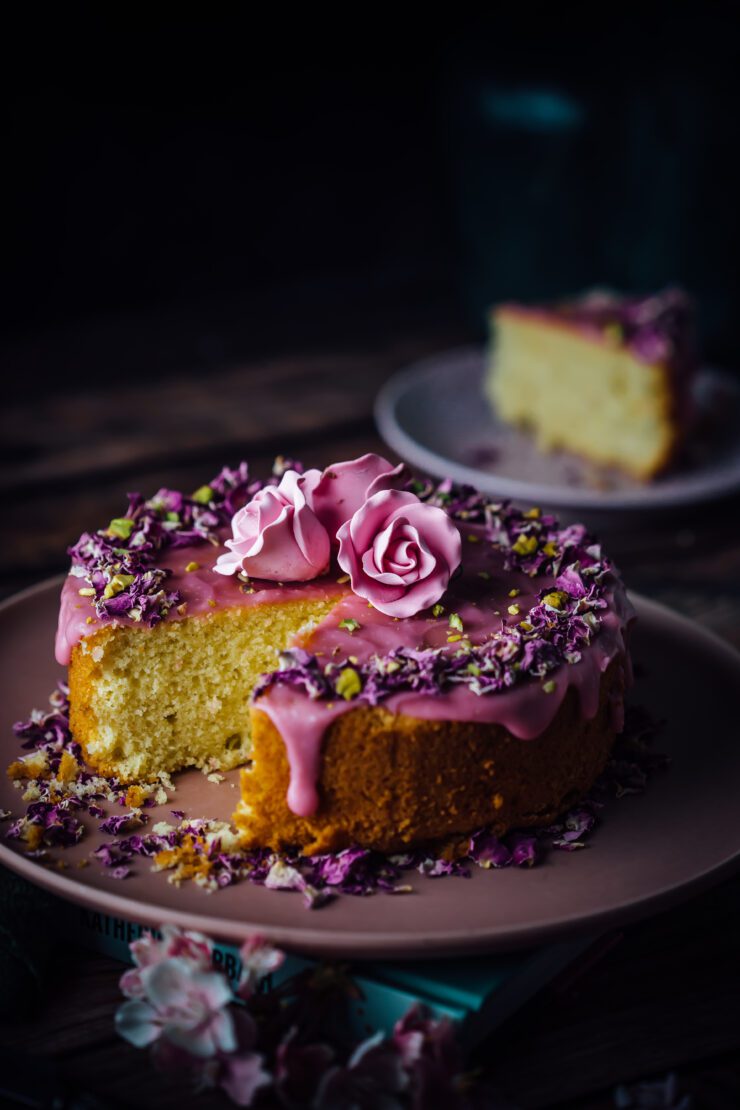
There are so many stunning versions of the Persian Love Cake with different ingredients and presented in various different styles floating around the Internet. My version is simple, delicious, fragrant of rose and cardamom and looks like the the perfect valentine’s day celebration cake. By that what I mean is, it will steal the heart of the taster. How pretty is that double shade of pink!

I’ve used almond meal in the batter to keep things simple. By all means use a mix of pistachio and almond meal if you’d like. The flowers on top of the cake are a mix of fondant and gum paste. Fresh rose flowers can be used instead, just make sure to cover the stems with baking paper or foil before placing them onto the cake.

I was meant to post this recipe last week but I had a mishap with my phone and lost the recipe that was stored in my ‘Notes’. All is well now though I had to purchase another Iphone as the earlier one coudn’t be revived. Utterly thankful to icloud for having most of my data intact. I have learnt that you just can’t take your mobile phone for granted like I did. I mean, can you imagine not having it for a day!! Besides the social apps, messages etc I coudn’t set an alarm, look at the weather (if you lived in Sydney, you get what I mean) can’t see your doggie camera, can’t track your kids. I could go on!

The great thing is my Iphone looks a lot like the Persian Love Cake. So perfect for the season 🙂

I’m a huge fan of rosewater so you’ll find many recipes on the blog like the Rosewater Coconut Cake.
If you’re a fan of these flavours my new Cookbook also has many easy one-layer cakes with these ingredients.

Persian Love cake

Persian Love Cake
Makes a 7 inch round cake

Cake
1 cup (125 g) self raising flour
1/2 cup (51 g) almond meal
1 tsp powdered cardamom
½ cup (114 g) unsalted butter, room temperature, roughly chopped
3/4 cup (150 g) castor/granulated sugar
2 eggs
1 tbsp rosewater
1/4 cup (60 ml) Greek yoghurt
1/4 cup)60 ml) milk

Rose cream cheese glaze
4 oz (113 g) cream cheese, room temperature
1/4 (57 g) cup unsalted butter, room temperature
1 tsp rosewater
1 cup (120 g) icing/confectioner’s sugar
Tiny hint of pink food gel colouring

Garnish
Edible dried rose petals
7-8 Chopped pistachios
Fresh or sugar rose flowers

Make the cake : Preheat the oven to 325°F (163°C). Grease the base and sides of an 7-inch (20-cm) round pan with 3-inch (8-cm) height and line the base with baking paper.

In a medium bowl place the mix together flour, almond meal and cardamom.

In a large bowl, beat the butter and sugar until pale and fluffy. Add the eggs one at a time, beating well after each addition. Gently fold in the flour mixture, rosewater, yoghurt and milk until well combined.

Pour the batter into the prepared pan. Bake for 50-60 mins or until a skewer inserted in the middle comes out clean. Remove the pan from the oven. Leave it aside for 10 minutes, then gently run a blunt knife around the edges to loosen the cake. Carefully turn it onto a wire rack to cool completely.

Make the cream cheese glaze, while the cake is cooling : Place the first 4 ingredients into a small bowl and mix until smooth and the glaze is flowing. If it’s too thick, add a few drops of milk. If too thin, add more sugar. Once you have the desired consistency, add the food colour and mix until well blended.

Assemble : Once the cake has cooled, drizzle with glaze allowing some of it to fall down the edges. Leave the cake aside for 15-20 minutes for the icing to set. Once the icing has become firm, decorate with edible rose petals and pistachios.


Eggless Chocolate Cake

24|01|2024

Eggless chocolate cake

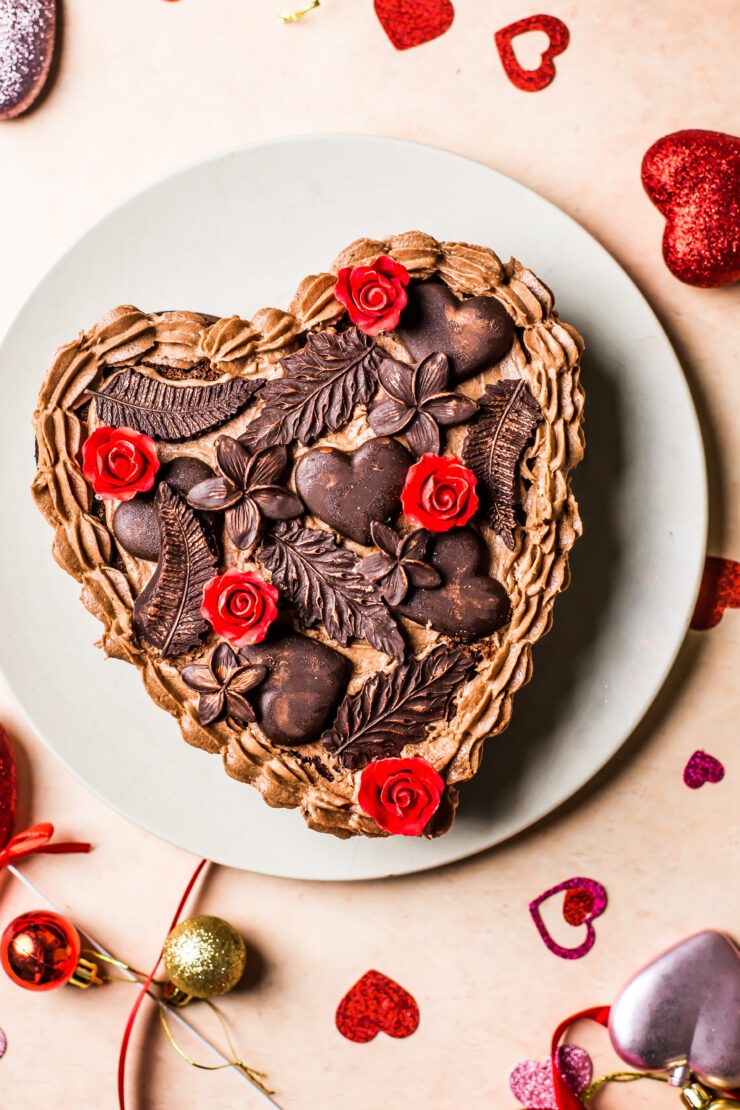
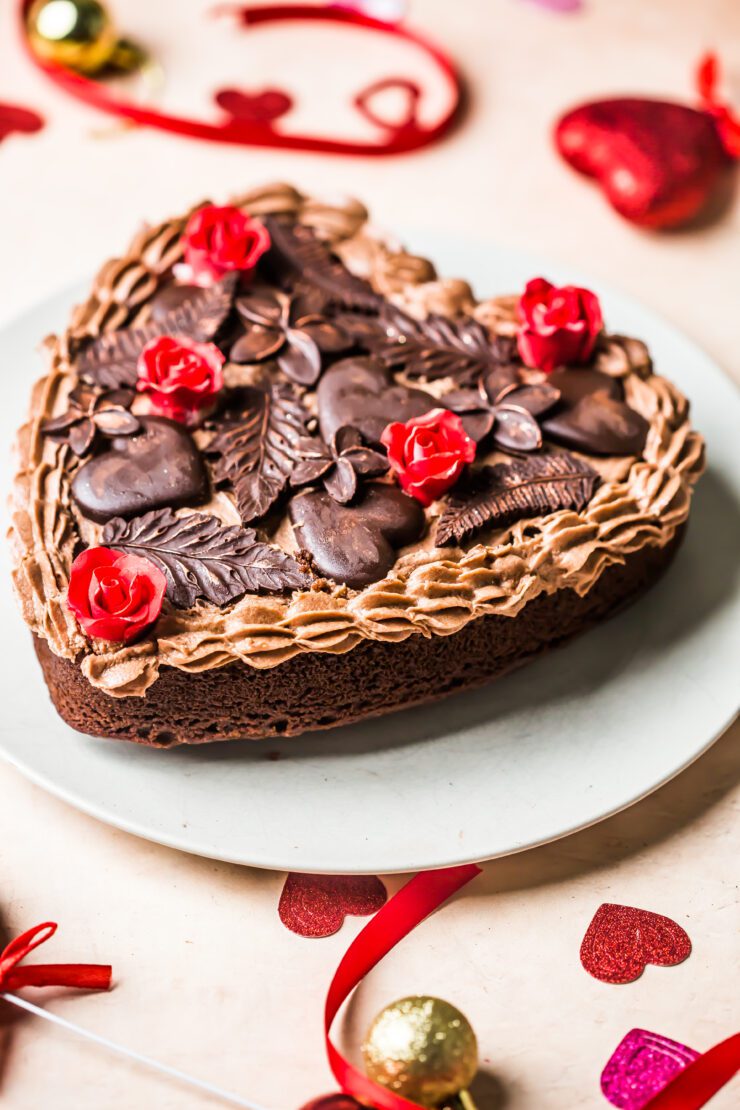
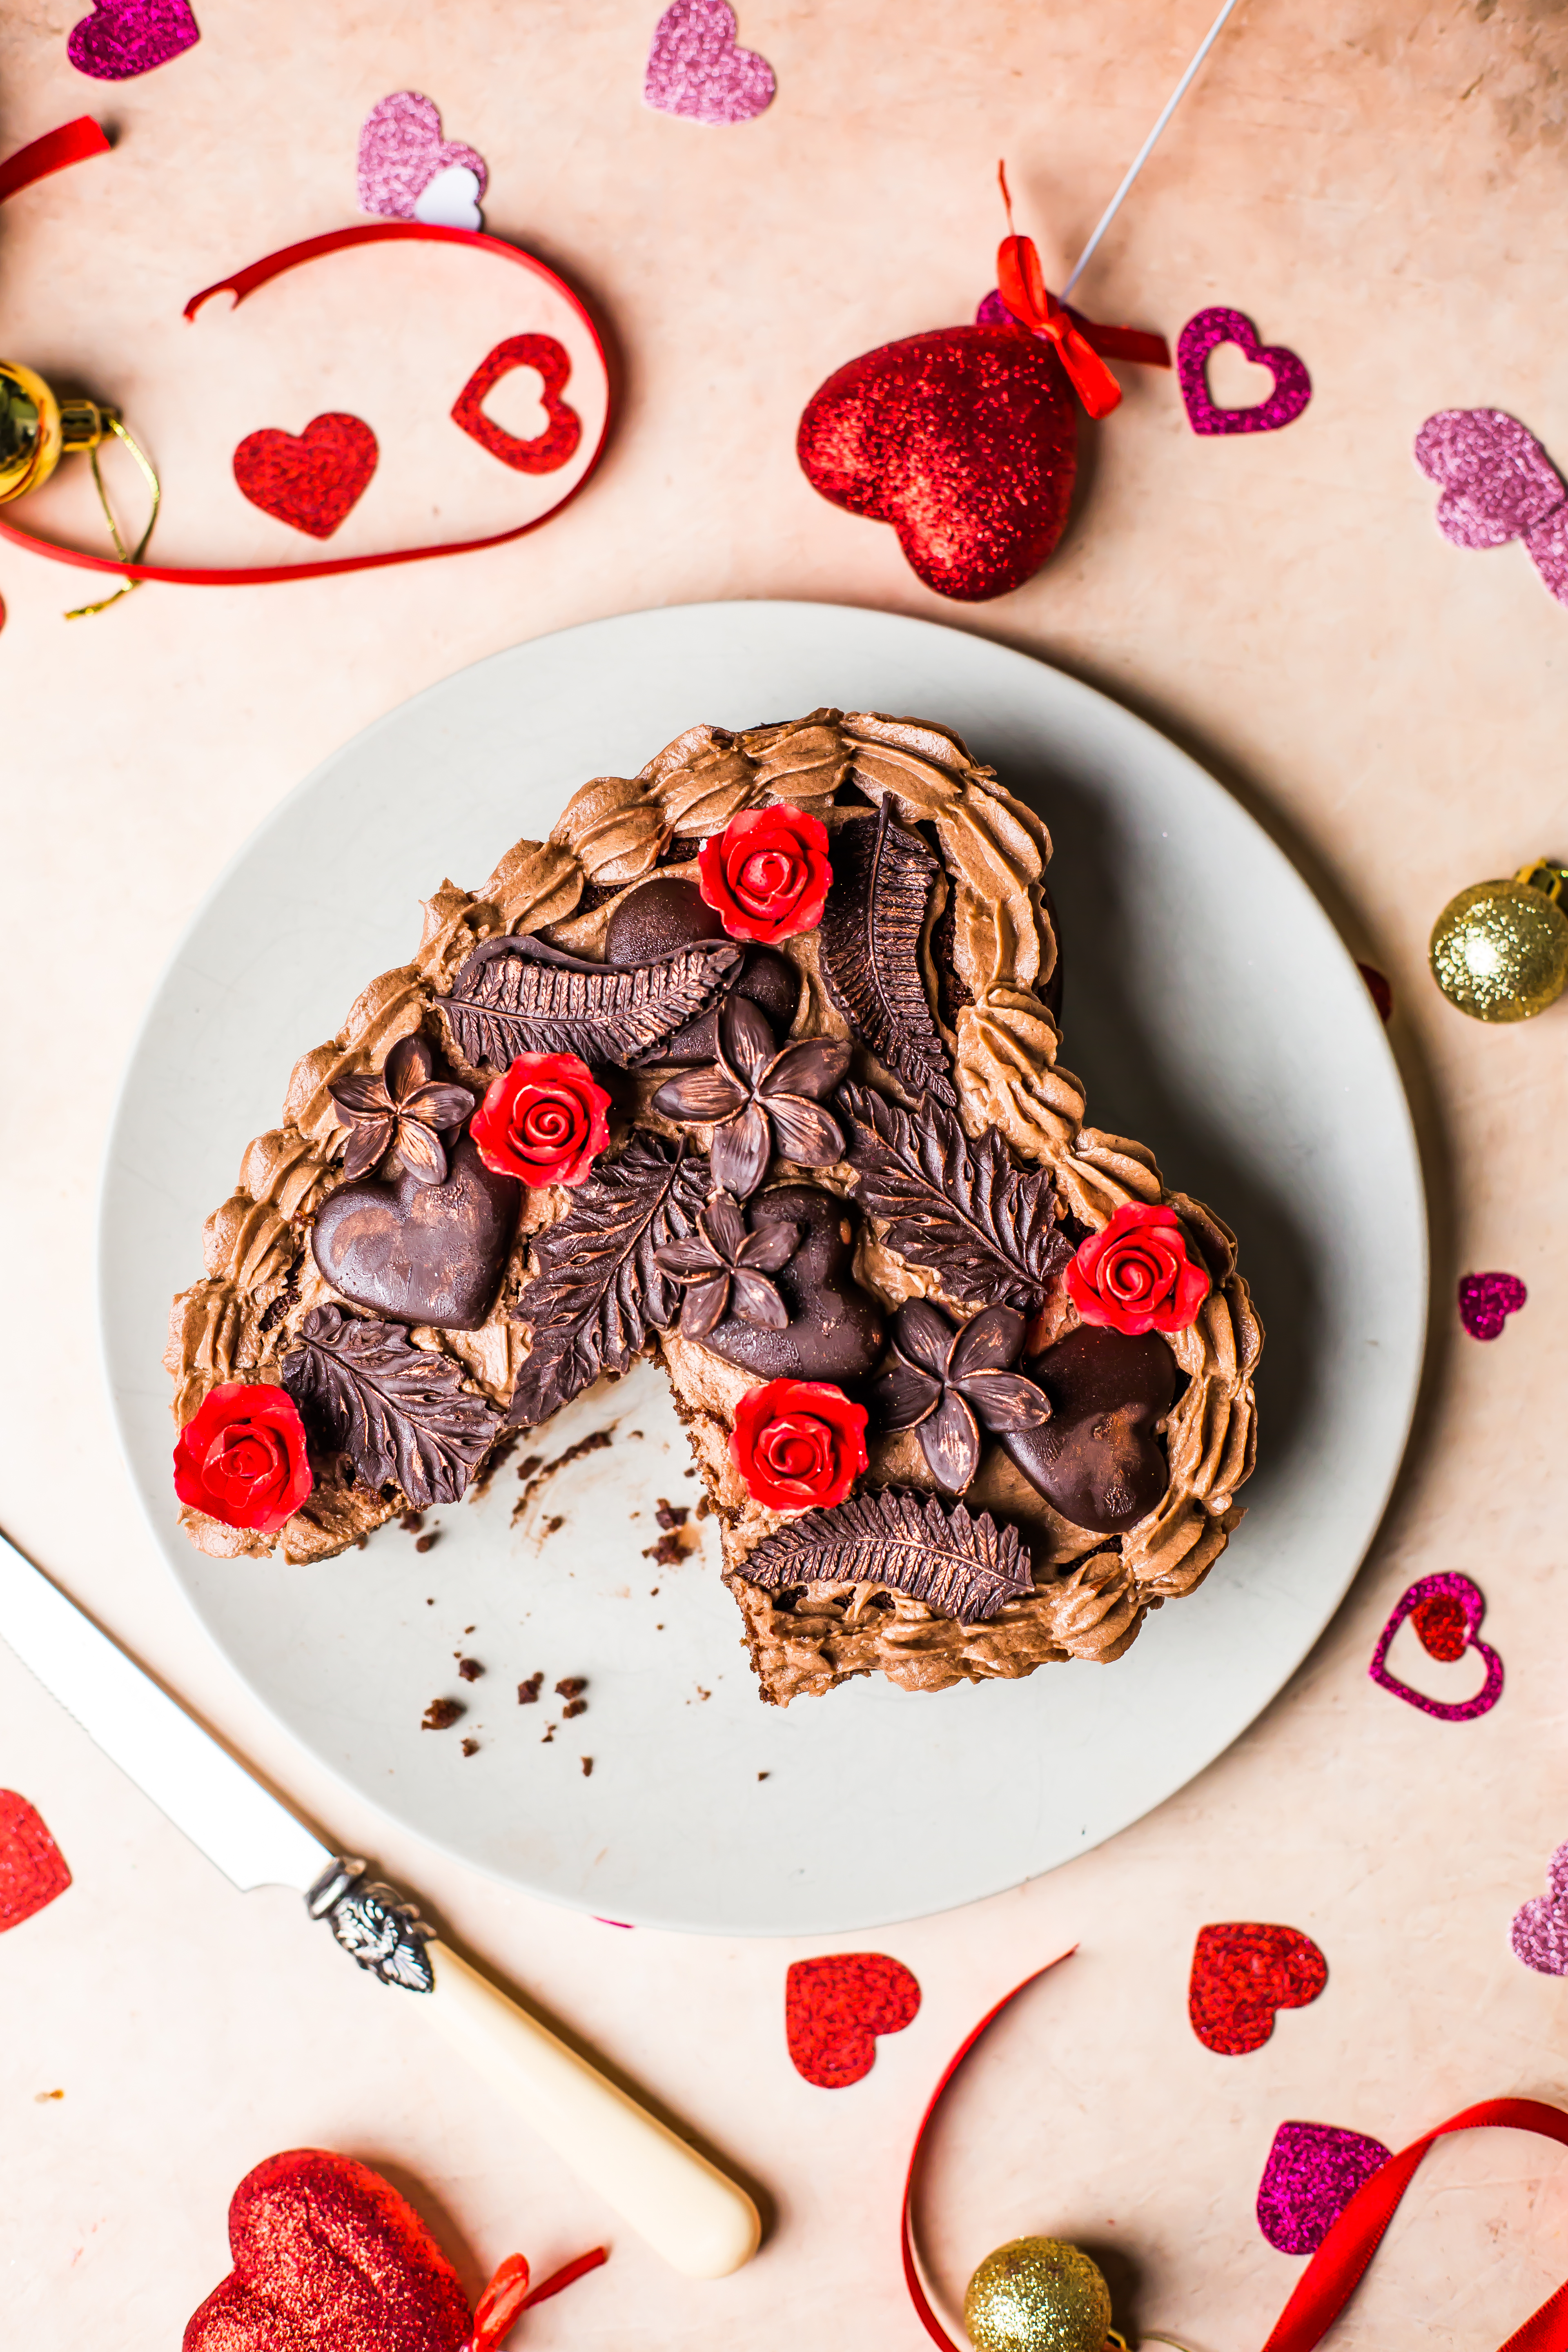
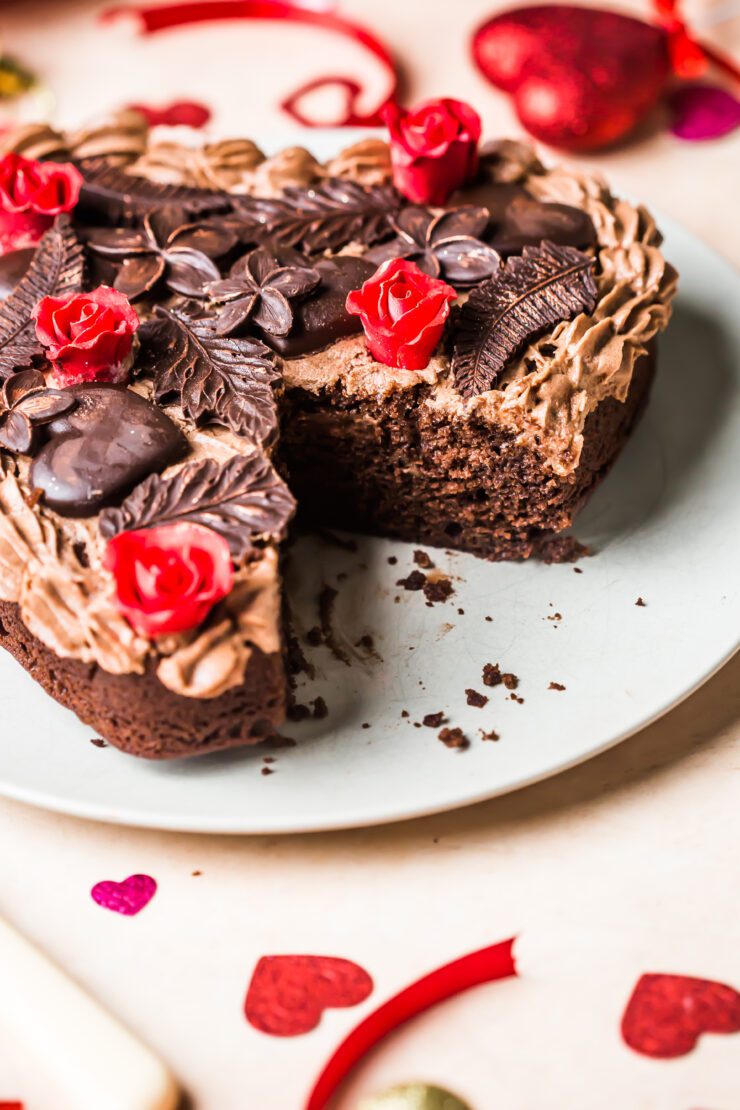
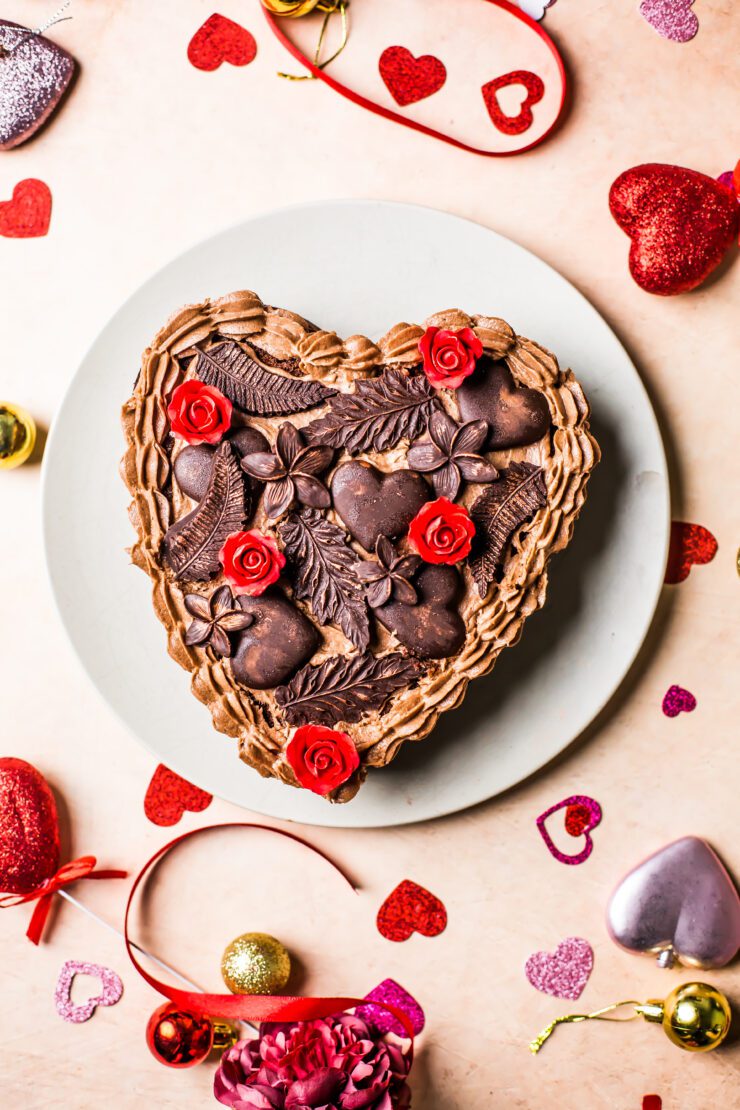
This is the most delicious, moist and easy eggless chocolate cake recipe that is made basically by throwing in all the ingredients into a bowl. The chocolate decorations may look complex and seem like a lot of work but actually they’re just melted chocolate made to set in different molds. I used these.

Eggless chocolate cake

With valentine’s day around the corner, I was looking for an excuse to use my heart shaped cake pan that was gathering dust. If you don’t have one, just use a 7 inch round cake pan. If you want to keep things simple, feel free to top the cake with raspberries or strawberries. The cake underneath is so rich and divine, it could be eaten on it’s own.

Eggless Chocolate Cake
Makes a 7 inch round cake

1 cup (125 g) self raising 
3/4 cup (150 g) castor/granulated sugar
1/4 cup (22g) dutch processed cocoa
1/2 tsp baking soda 
1/2 cup (120 ml) oil 
1/2 cup (120 ml) water 
1/4 cup (60 ml/g) Greek yoghurt 
1/4 cup (60 ml) milk 

Chocolate Cream Cheese Frosting
1/4 cup (57 g) unsalted butter, room temperature
4 oz (115 g) cream cheese, room temperature
1½ cups (180 g) powdered sugar
2 tbsp (11 g) Dutch-processed cocoa

Make the cake : Preheat the oven to 350°F (177°C). Grease the base and sides of a 7-inch (18-cm) heart shaped pan and line the base with baking paper.

In a medium bowl, place the self-rising flour, baking soda, sugar and cocoa. Mix together to combine. Make a well in the centre and add the oil, water, yoghurt and milk. Fold until combined (don’t over mix).

Transfer the batter to the prepared cake pan. Bake for 60-65 minutes or until a skewer inserted in the middle of a cake comes out clean. 
Remove the cake from the oven. Leave it aside for 10 minutes, then gently run a blunt knife around the edges to loosen the cake. Carefully turn it onto a wire rack to cool completely.

Make the cream cheese frosting: Using a hand mixer or an electric mixer, beat the cream cheese and the butter together until smooth and creamy. Add the sugar, 1/2 cup (60 g) at a time, beating after each addition until smooth. Add the cocoa powder and beat till well blended.

Assemble : Place the cooled cake on a cake stand or plate. Spread the cream cheese frosting over the top of the cake. Fill up a piping bag fitted with a star tip with the frosting. Pipe swirls to form a border around the cake. Decorate with chocolate decorations or berries.

If you like rich chocolate desserts check out this Chocolate Tart

Indulgent Cakes- Drip, Drizzle, Pour from my cookbook Elegant One Pan Cakes

17|09|2023

When it comes to indulging your sweet tooth, syrup cakes offer a delectable option.
Syrup cakes, with their rich history and diverse flavors, have earned their place in the world of desserts. Whether you’re a fan of the rich taste of honey or the gentle freshness of lemongrass, there’s a syrup cake out there to satisfy your cravings.

When deciding which chapters to include in my cookbook Elegant One Pan Cakes that will be released on November 14th this year, I thought about cakes that were easy to put togther however generated a excited reaction when served. Surely there had to be a chapter dedicated to cakes that were soaked in exotic syrups, drizzled with rich sauces and devilishly bathed in beautul glazes.

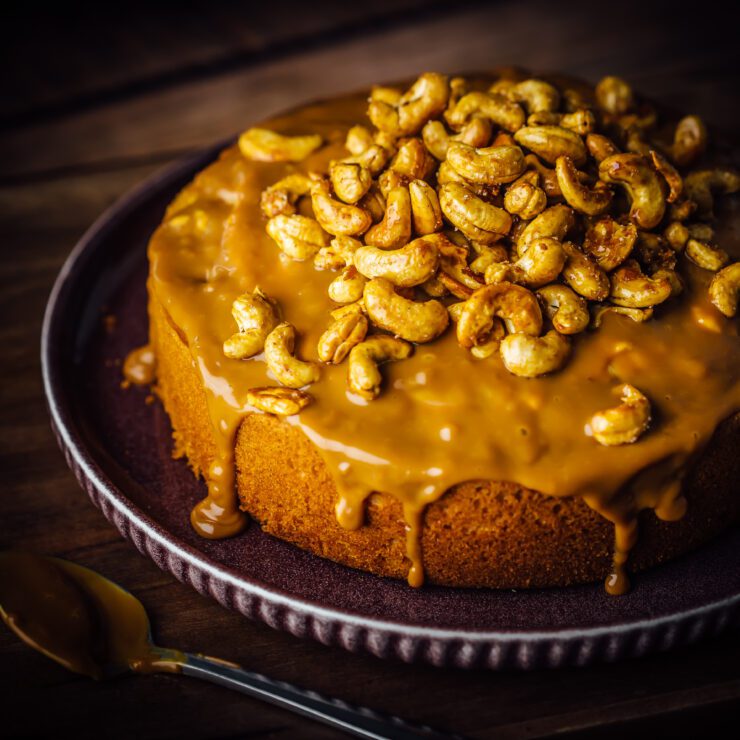
I grew up in country which loves its spice infused, syrup drenched sweets. It’s also a baker’s secret to creating moist and unforgettable cakes and desserts. I’ve used ideas and inspiration from around the world. From the decadent Baklava cake that is a breeze to make because the syrup does all the work for you to a beautiful Bluberry Poke Cake. A moreish Dulce de Leche Cake with Coffee Glazed Cashews and my all time favourite, a rose and pistachio infused Tres Leches Cake.

Elegant One Pan Cakes is available to preorder here. The book has 60 recipes all created from the heart and for bakers of all levels. It’s a cookbook that will inpire you to bake because they are simple yet eye catching. Have you ordered your copy yet?

Hazelnut Cake with Cinnamon

30|07|2023

Hazelnut cake with Cinnamon

I may have decorated the cake a bit much but it’s really a divine tasting hazelnut cake insfused with powdered cnnamon and decorated with a cinnamon buttercream. The colours are misleading but aren’t they eye catching? One would associate browns and creams with this sort of cake but I love surprises and thought of this cake as a delicious surprise.

Hazelnut cake with Cinnamon

The buttercream can be skipped altogether and the cake can be drizzled with chocolate ganache or a dusting of cinnamon sugar. I think the nuttiness and coarse texture of a hazelnut cake and the smell of cinnamon is a mind blowing combination.

Hazelnut cake with Cinnamon

Do you like your cakes to look classic and indicative of the ingredients or do you like to play around with the appearance?

If you love cinnamon flavoured cakes, dont forget to check out this Cinnamon cake with apple rosemary buttercream.

Hazelnut Cake with Cinnamon
Makes a 7 inch (18 cm) round cake

½ cup (114 g/1 stick) unsalted butter
1 cup (220 g) light or dark brown sugar
2 eggs
½ cup (51 g) hazelnut meal
1 cup (125 g) self-rising flour
1 tbsp (8 g) powered cinnamon
½ cup (120 ml) milk

Cinnamon Buttercream
1/4 cup (114 g) unsalted butter, at room temperature
2 cups (240 g) icing/powdered sugar
1 tsp powdered cinnamon
1 tbsp (15 ml) milk
1-2 drops teal gel food coloring

Make the hazelnut cake: Preheat the oven to 350°F (177°C). Spray the base and sides of a 7-inch (18-cm) round cake pan and line the base with baking paper.

In a large bowl, beat together the butter and brown sugar until pale and fluffy. Add the eggs, one at a time, beating well after each addition.

Fold in the hazelnut meal, flour, cnnamon and milk in alternating batches, until combined. Transfer the batter to the prepared pan and smooth out the surface with a spatula.

Bake for 55 to 65 minutes, or until a skewer inserted into the middle of the cake comes out clean. Remove the pan from the oven. Set it aside for 10 minutes, then gently run a blunt knife around the edges to loosen the cake. Carefully turn it out onto a wire rack to cool completely.

Make the cinnamon buttercream: In a large bowl, using an electric mixer, beat the butter until light and fluffy, 2 to 3 minutes. Add the powdered sugar, a little at a time, beating constantly until well combined, scraping down the sides of the bowl as and when required. Add the cinnamon and milk, and beat until smooth

Assemble : Place the cake on a cake stand or serving plate. Using a piping bag fitted with an open star nozzle, pipe a border of the buttercream onto the top of the cake. Decorate with sugar or fresh edible flowers.

I wrote my First Cookbook

23|07|2023

I am beyond excited to share with you a secret that I’ve been holding on to for more than a year. I’ve been missing on and off from this space and now I can reveal to you what I’ve been really upto. I wrote a cookbook! It’s really emotional not only because I completed 10 years of my blogging and baking journey this year but also because this book is the a great testament that one can achieve anything when they set their heart upon it.

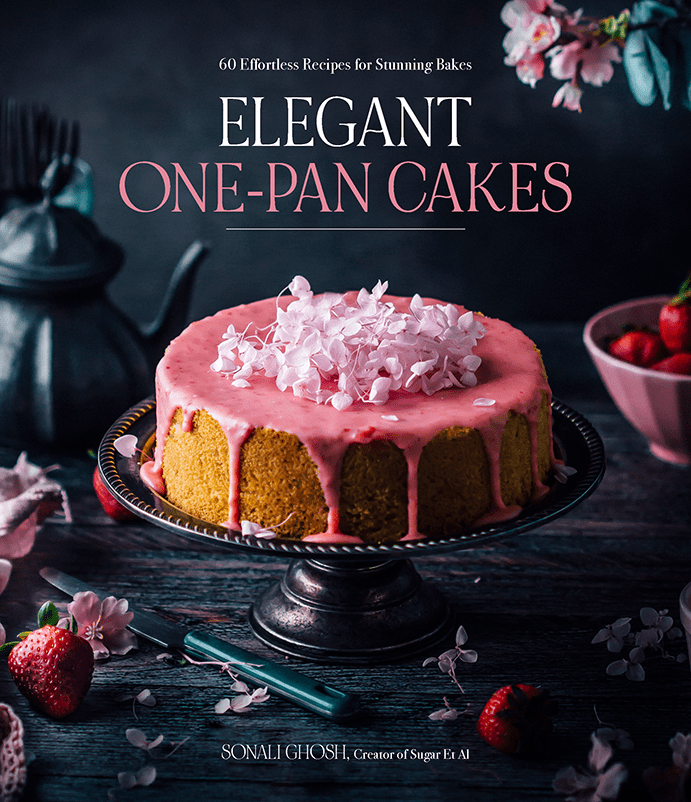
Elegant One-Pan Cakes

When I moved to Australia, my twin boys were toddlers, they were my priority. We could only carry so much and left behind a lifetime of belongings behind in our home country, India. The only baking pan I carried with me changed my life. In the first few months in a new country I baked to survive the lonliness and the exhaustion using that pan. My one pan cakes became a signature of my blog. And so there was no better subject to write on than something that makes me happy every single day and has delighted many of my followers based on the love and feedback I have received over the years.

A simple, beautiful one layered cake is more diverse than you can imagine. Drizzle them with syrups, frost them, glaze them, booze them up, decorate them with a variety of ingredients, top them with interesting combinations of crumbles, poached fruit or flowers. The sky is the limit! This book consistes of 60 recipes including cakes, cheesecakes, bavarians, loaf cakes, and dessert accessories. There is a chapter on botanicals – herbs and flowers that is my very favourite besides an entire chapter dedicated to alcohol based cakes. If you love cocktails, you will love my cake-tails (cocktails in cake form). There is a lot more but I will share them in the next few weeks.

Elegant One-Pan Cakes

My cookbook, Elegant One-Pan Cakes is releasing in USA and Canada on November 14th through Page Street Publishing and distributed by Macmillan publishers. You can preorder the book through my Cookbook Page here or the Cookbook option on the menubar on the top. It’s available on Amazon and most onilne bookstores and will be on display in stores on November 14th . It’s due to release in the UK and Australia a few weeks from then but preorders can be done now.
My friends and readers in the USA, I will rely on you to share your feedback and stories with me while I wait to view the action in person In Australia.

This book is truly a labour of love and I am confident that you will feel the love when you browse through pages and make these cakes for your loved ones.

Banana and Peanut Butter Loaf with Raspberries

16|05|2023

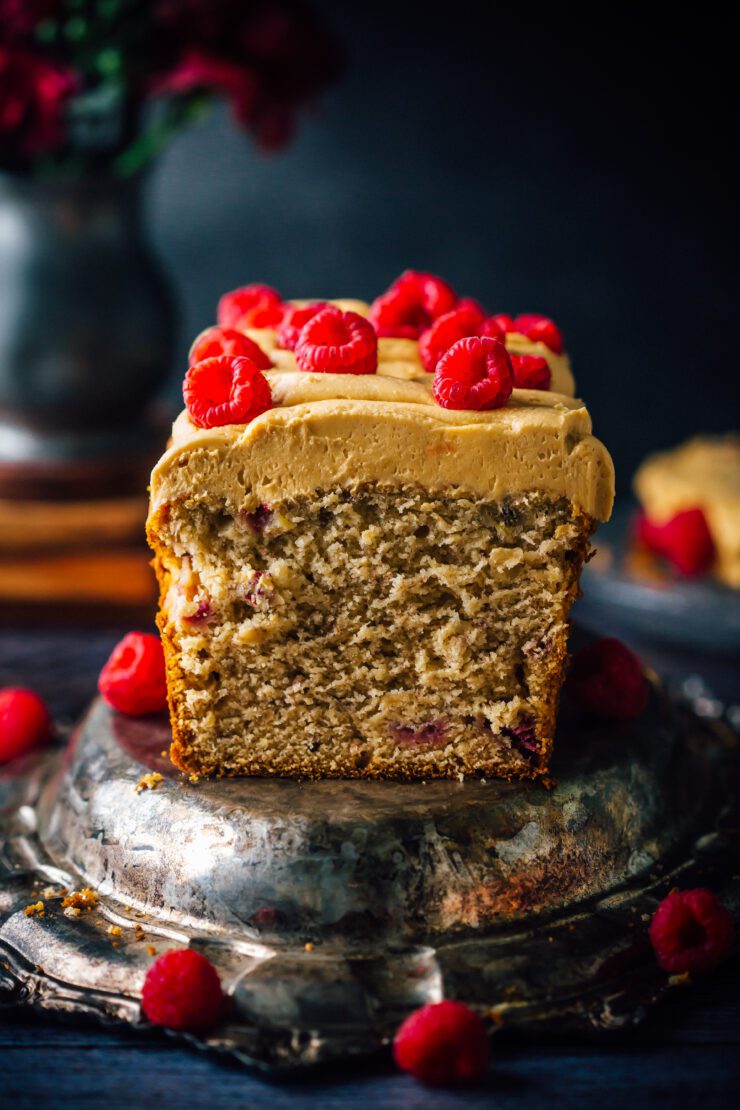
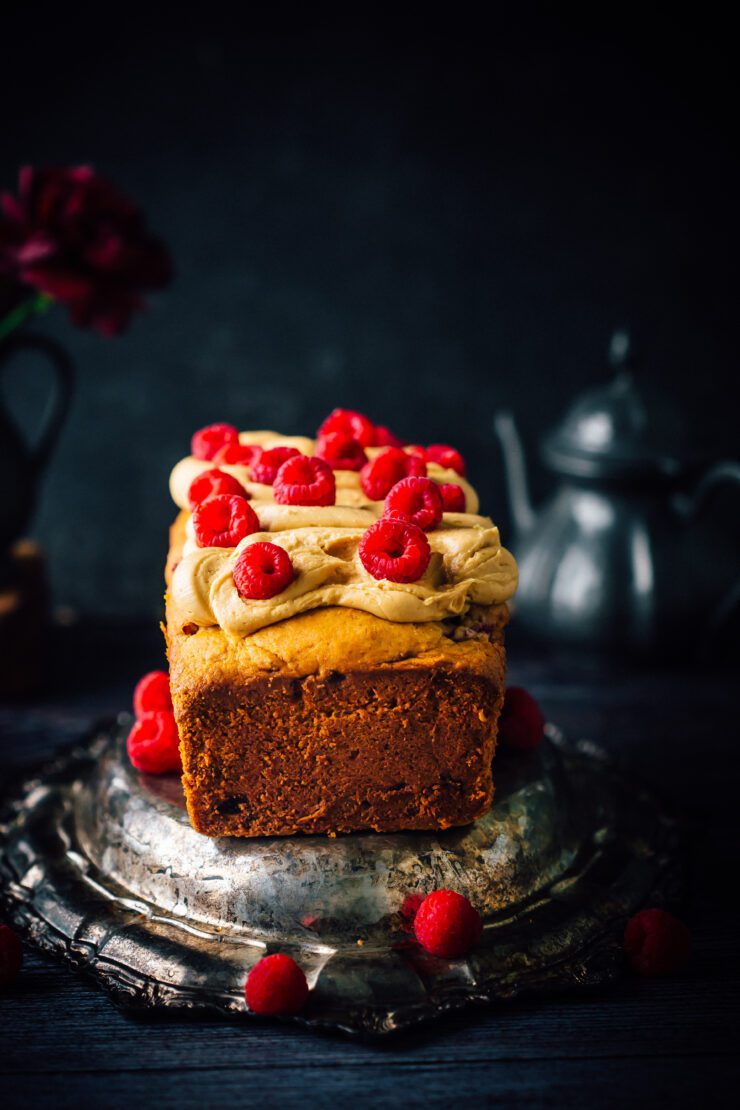
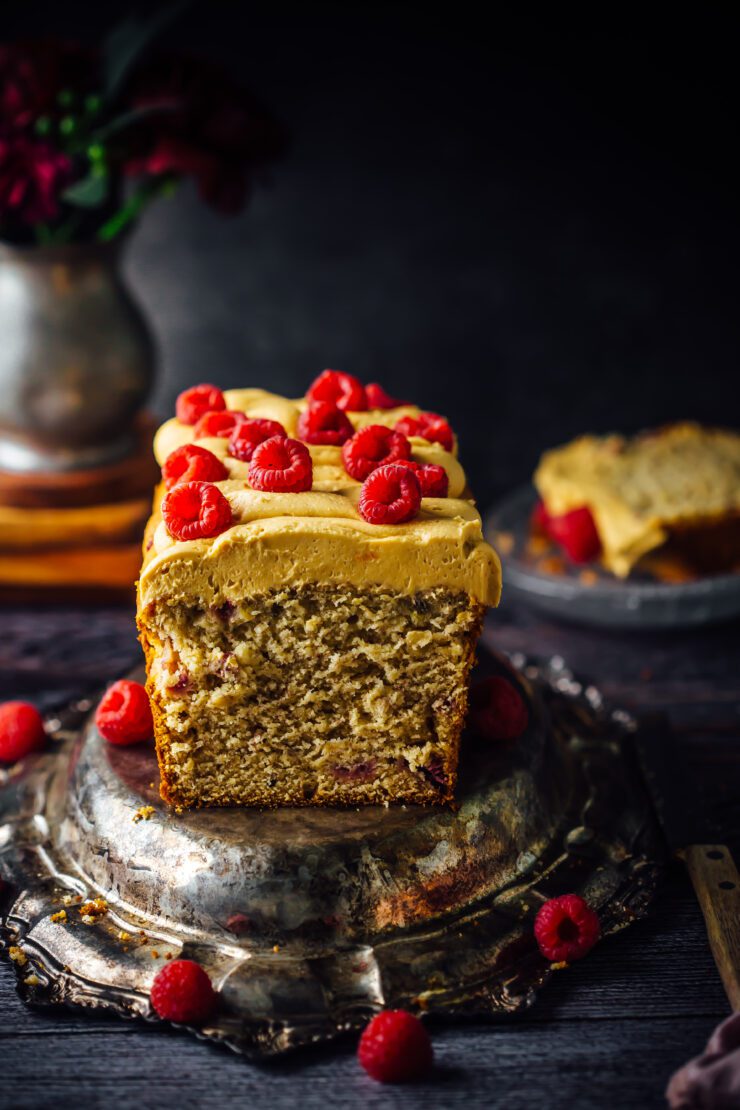
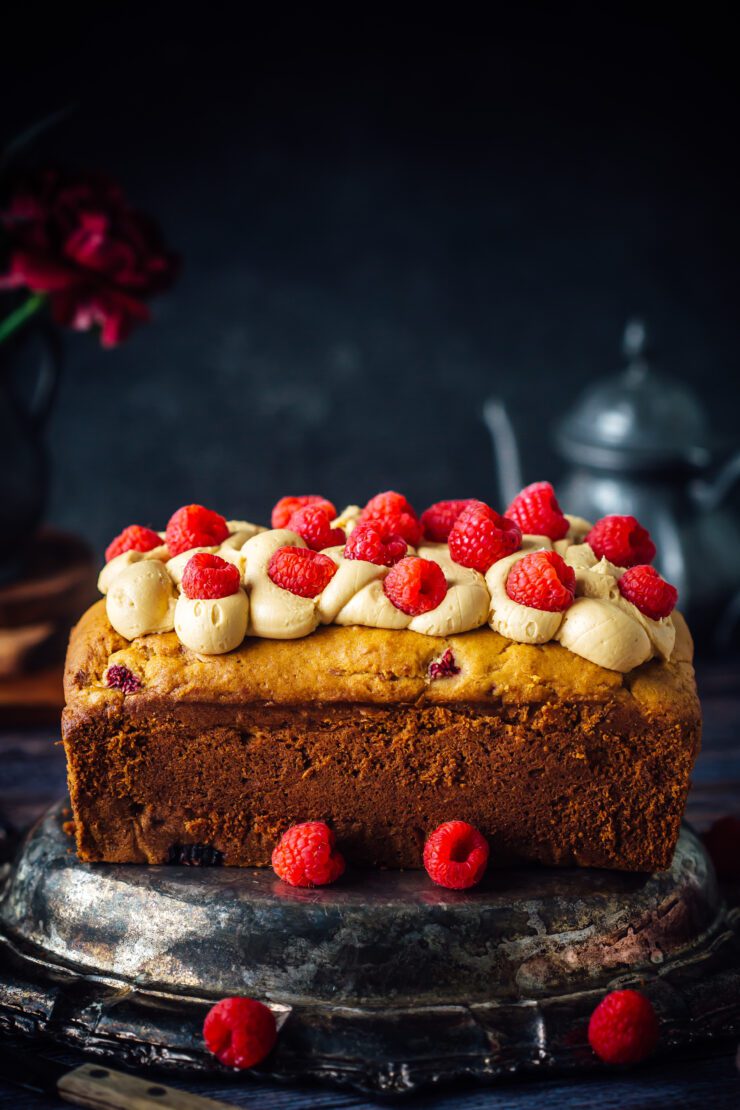
Banana and peanut butter are a classic flavor combination that just works. Whether it’s in a smoothie, on toast, or in a sandwich, the two ingredients complement each other perfectly. But have you ever tried them in a loaf of bread? If not, then you’re in for a treat!

Banana and Peanut Butter Loaf

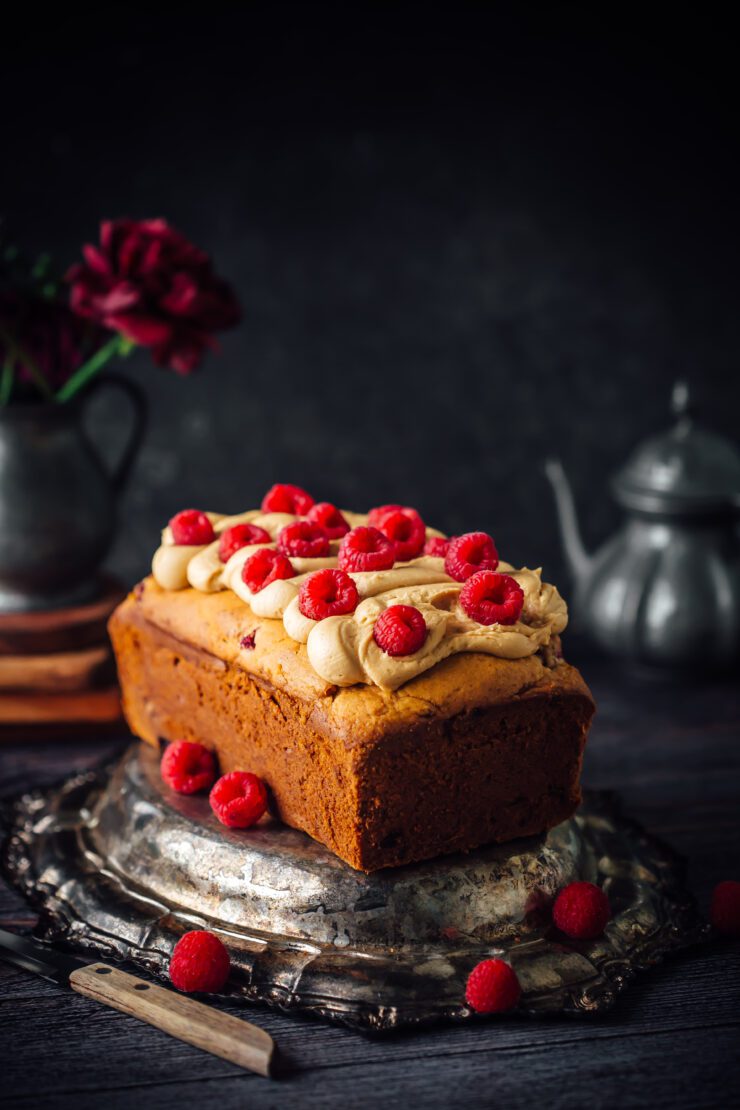
The peanut butter adds a rich, nutty flavor that complements the sweetness of the bananas. The banana and peanut butter loaf or bread is moist and tender, with a slightly dense texture that is perfect for toasting and slathering with butter, if you wanted to skip the frosting. The juicy raspberries add a lovely contrast that is a delight to eat.

The frosting is rich and smells so good because it’s mostly peanut butter.

Banana and Peanut Butter Loaf

The banana and peanut butter loaf is a must-try for anyone who loves this classic flavor combination. It’s easy to make, satisfying, and downright delicious. So next time you have some ripe bananas on hand, give this recipe a try and enjoy the sweet, nutty goodness of home made banana bread.

Banana and Peanut Butter Loaf

If you love loaf recipes, don’t forget to checkout this Orange Loaf with fresh cream and pineapple curd.

Banana and Peanut Butter Loaf with Raspberries
Makes an 8 by 4 inch loaf

1/2 cup (114) g unsalted butter, softened
1/2 cup peanut butter (I used smooth)
3/4 cup (150 g) granulated/caster sugar
2 eggs
4 medium over-ripe bananas  mashed
1 tsp vanilla extract
1/2 (120 ml) cup milk
2 cups (250 g) self-raising flour
1/2 cup (62 g) raspberries (fresh or frozen)
1/2 cup (62 g) fresh raspberries, to decorate

Peanut butter frosting

1/4 cup (57 g) unsalted butter
1/2 cup (120 g) smooth peanut butter
1 cup (200 g) powdered/icing sugar
1 tbsp (15 ml) milk (more if required)

Method : Preheat the oven to 350°F (177°C). Grease the base and sides of an 8 x 4 inch rectangluar loaf pan that is 3 inch deep and line the base with baking paper.

In a large bowl, beat together the unsalted butter, peanut butter and granulated sugar until pale and fluffy. Add the eggs, one at a time, beating well after each addition. Beat in the mashed banana and vanilla extract. lemon zest and passion fruit puree. Alternately fold in the flour and the milk, and stir until just combined. Fold in the raspberries.

Transfer the mixture to the prepared pan. Bake for 65 to 75 minutes, or until a skewer inserted into the middle of the loaf comes out clean.

Remove the loaf from the oven. Set it aside for 5 minutes, then carefully turn it out onto a wire rack to cool completely.

Make the peanut butter frosting : In a medium-sized bowl, beat together the butterand peanut butter until smooth, about 2 minutes. Using a rubber spatula, scrape down the sides of the bowl to ensure that the mixture is evenly mixed. Beat in the powdered sugar, a little at a time, until well incorporated. Add the milk and beat until you have a smooth frosting.

Assemble : Once the loaf has cooled down to room temperature, pipe or spread peanut butter frosting over the top. Decorate with fresh raspberries.

Easy Banana Cake With Tahini Frosting

26|04|2023

How many banana bread/cake recipes do you think exist in the world? A few thousands, a million perhaps! In fact people can be quite senstive to the topic of banana bread because everyone thinks they have the best one, the moistest, easiest and definitely the most reliable one under their belt. My easy banana cake is simple and delicious but the reason I wanted to share is because the addition of one ingredient, tahini, can make such a lovely difference to a recipe.

Easy Banana Cake

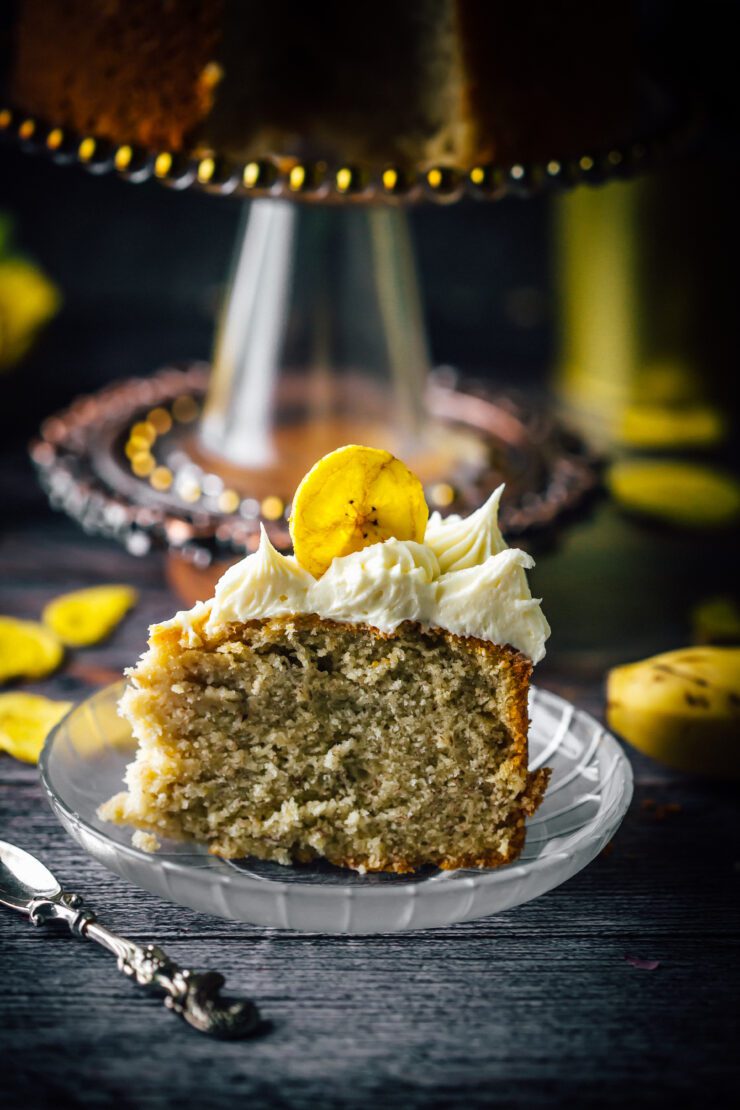
If you haven’t tried out tahini before this, it’s nothing but ground, hulled sesame seeds. The flavour is unique and nutty. If you are avoiding nuts for any reason in a recipe, a great alternative is tahini. Since it’s a paste and comes in jars, it’s as simple as using a spoon to take it out like peanut butter or Nutella and it’s also healthy.

Easy Banana Cake

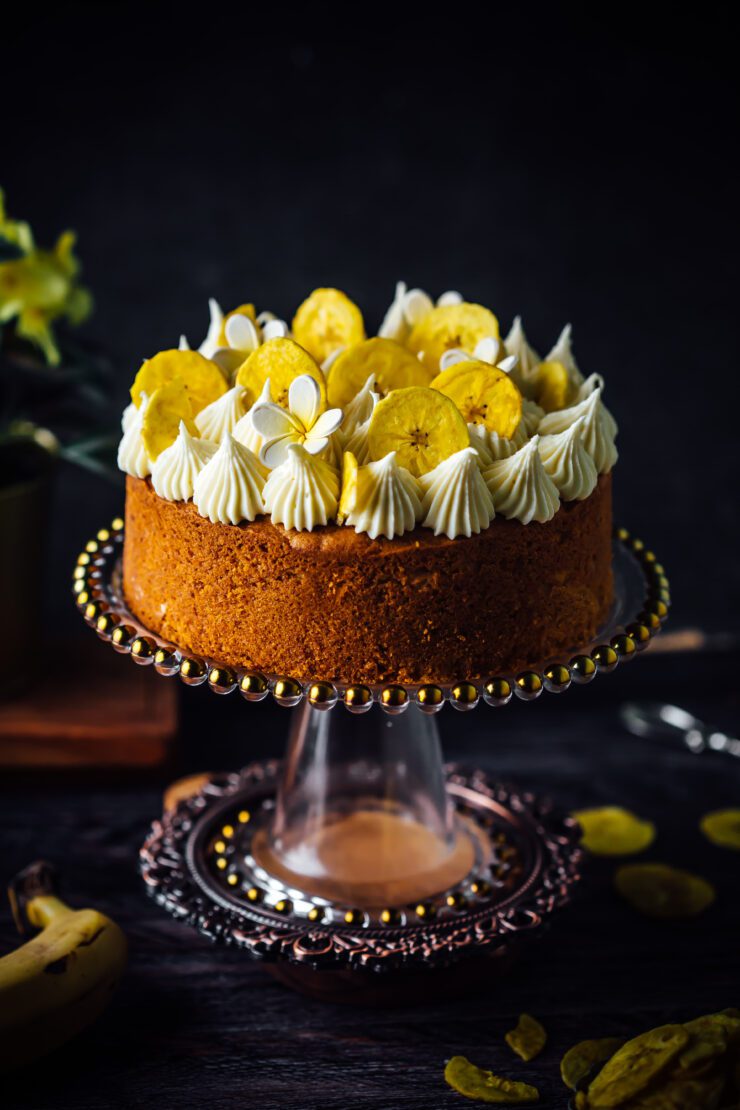
This easy banana cake has tahini mixed in the cake batter as well as the frosting. A cream cheese frosting is probably the most heavenly frosting that can be added to a banana bread or cake. With the inclusion of tahini, it’s unforgettable. You will want to eat it by the spoon, trust me!

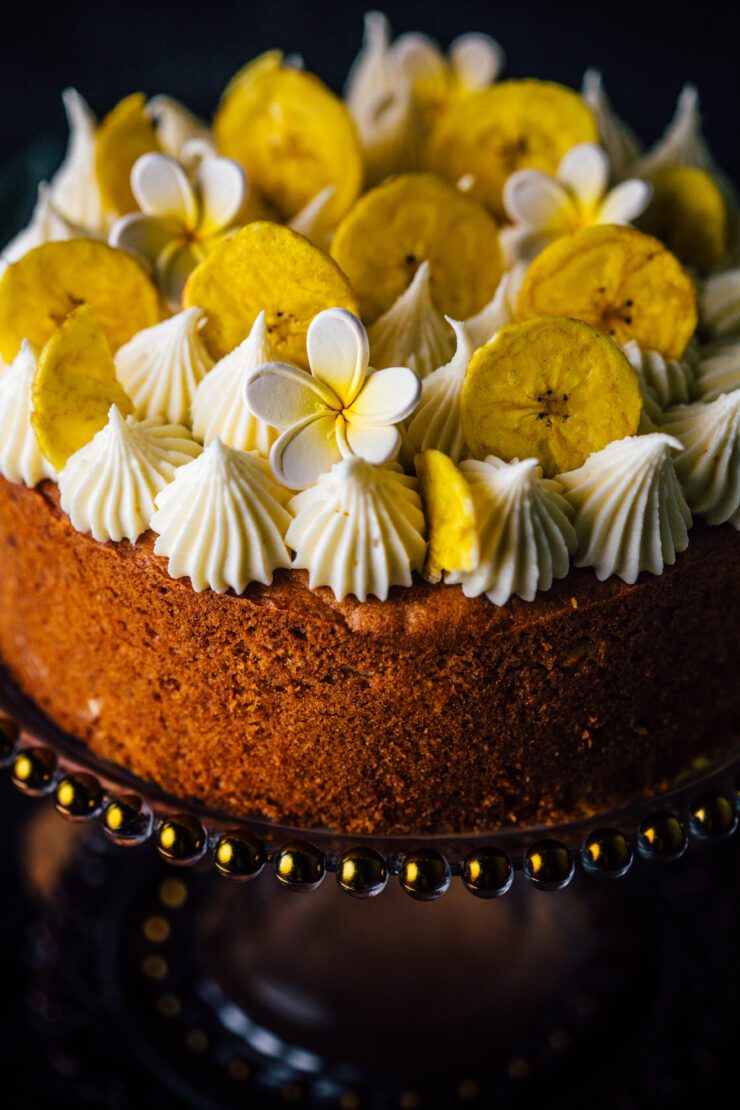
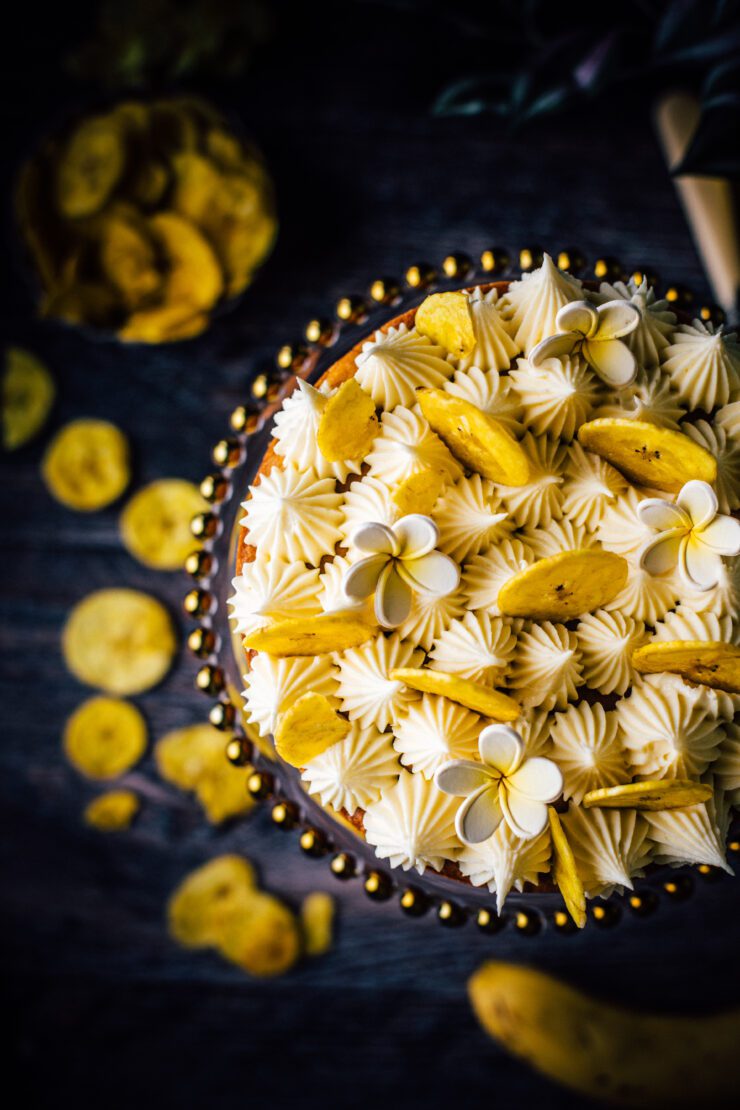
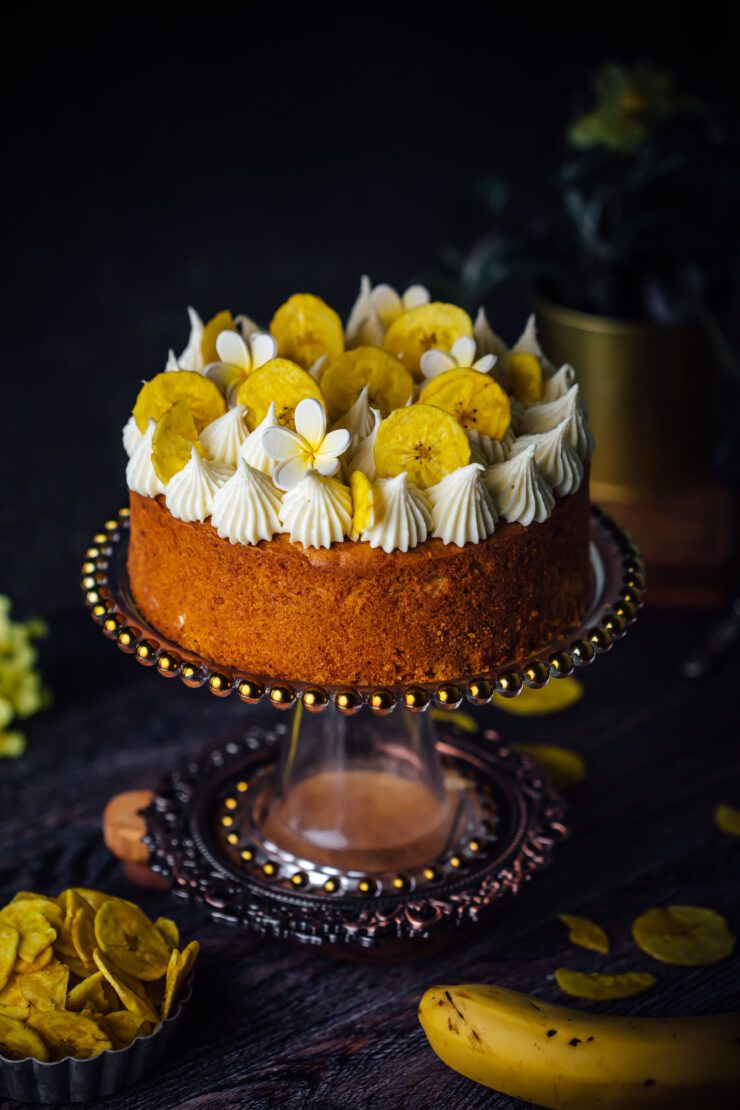
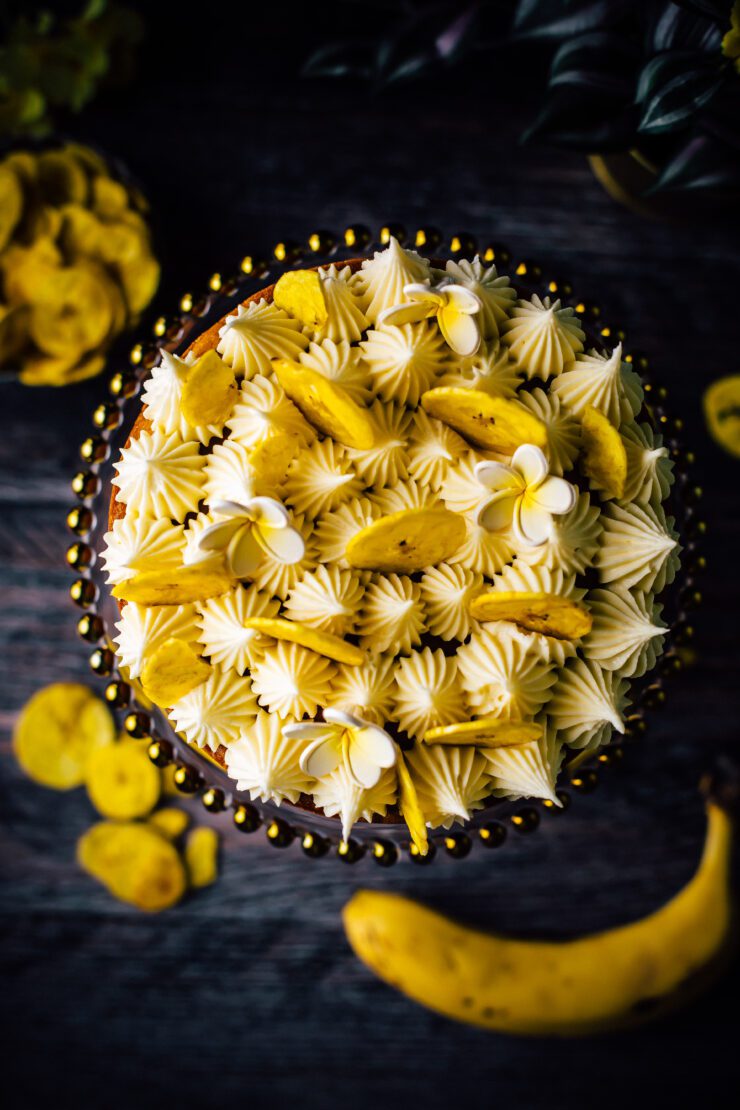
I decorated the cake with banana chips that I bought from my local supermarket. They add colour and a nice crunch to the cake. By all means, make your own banana chips if you can at home. I wanted to keep it really simple.

Easy Banana Cake

If you love banana breads, you will love this Banana Raspberry bread or this Banana and Date Cake

Easy Banana Cake with Tahini Frosting
Makes a 7 inch (18 cm) round cake

2/3 cup (150g) unsalted butter, at room temperature
2/3 cup (132 g) granulated/caster sugar
2 large eggs
1 cup mashed banana (about 2 large, ripe bananas)
2 tbsp hulled tahini
1 & 2/3 cups (208 g) self-raising flour, sifted
1/3 cup (80 ml) milk
Banana chips (store bought), to decorate

Tahini Cream Cheese frosting
4 oz (115 g) cream cheese (not low-fat), at room temperature
¼ cup (57 g/½ stick) unsalted butter, at room temperature
1¼ cups (150 g) powdered sugar
1 tbsp tahini

Make the cake : Preheat oven to 180°C (160°C fan forced) or 350 °F. Grease the base and sides of a 7 inch round pan and line the base with baking paper.

In a large bowl, Beat the butter and sugar in a bowl until pale and creamy. Beat in the eggs until combined. Beat in the banana and tahini until well combined. Fold in the flour, then the milk using a large metal spoon until just combined. Pour the cake mixture into the prepared pan.

Bake for 55-65 minutes or until a skewer inserted in the centre of cake comes out clean. Set aside for 10 minutes, then loosen the edges using a blunt knife. Transfer the cake onto a cooling rack to cool completely.

Make the tahini cream cheese frosting : In a medium-sized bowl, beat together the cream cheese and butter until smooth, about 2 minutes. Using a rubber spatula, scrape down the sides of the bowl to ensure that the mixture is evenly mixed. Beat in the powdered sugar, a little at a time, until well incorporated. Add the tahini. Mix until combined.

Assemble : Once the cake has cooled to room temperature, using an open star tip and a piping bag, pipe onto the top of the cake. Decorate with banana chips and sugar flowers. Enjoy!

Easy Chocolate Tart

18|04|2023

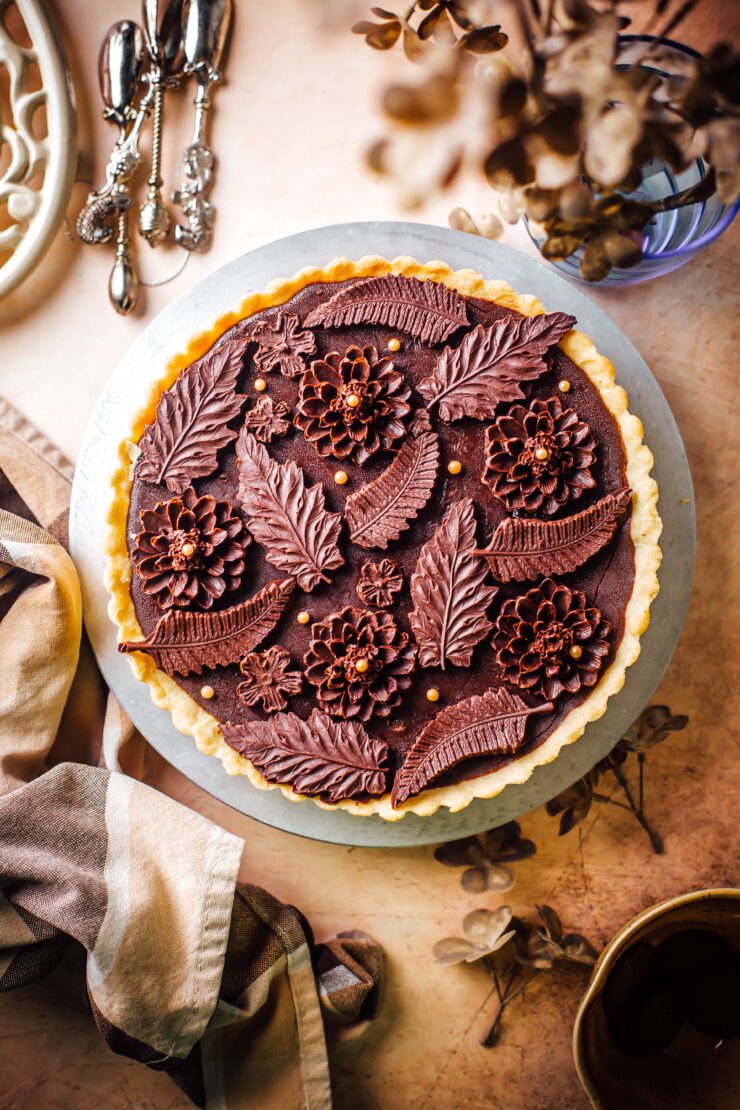
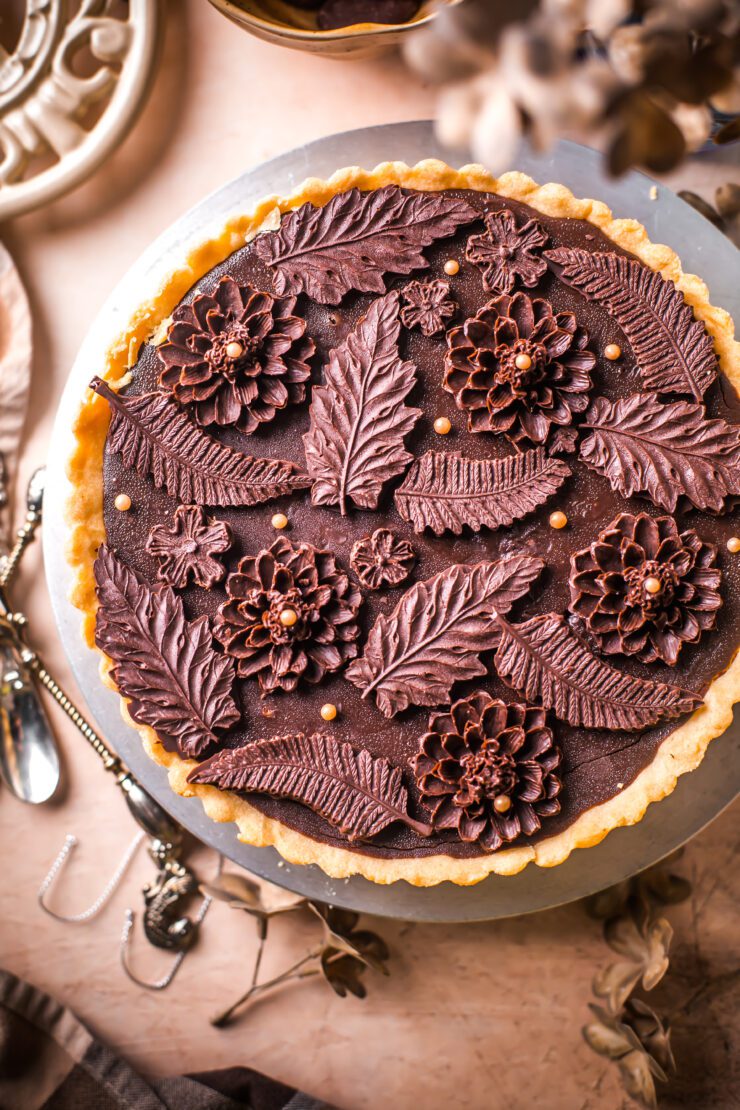
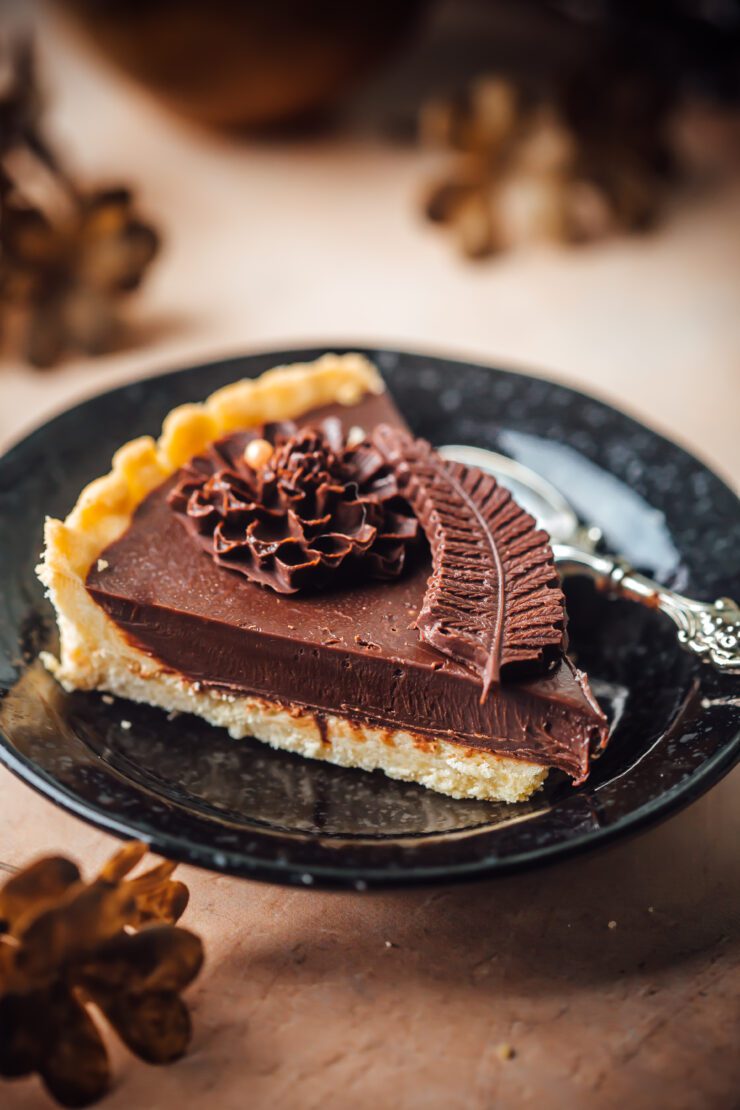
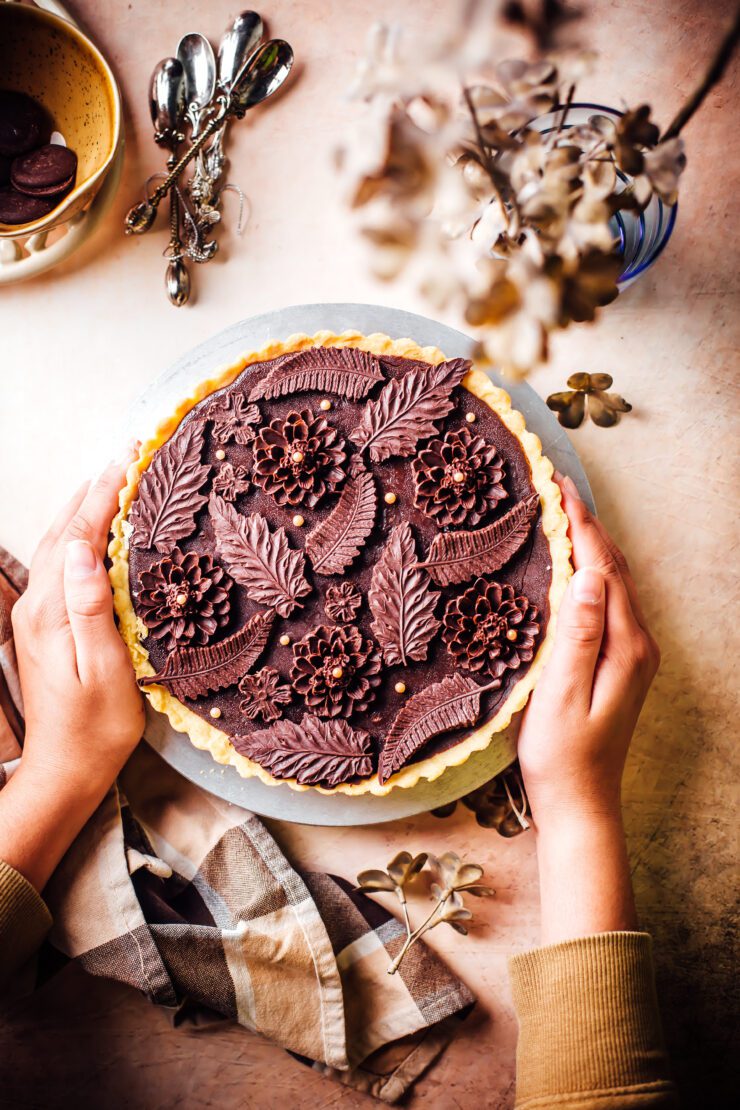
Your weekly chocolate fix in the form of an easy chocolate tart is right here. It stays for days in the fridge, not that it will actually last that long. The simple ganache filling is elevated to an untimate showstopper standard by the addition of dark chocolate decorations which are nothing but melted chocolate, set in beautiful molds.

The easy chocolate tart is simpler than it looks and tastier than it sounds. A slice of this tart is the perfect treat you gift to yourself after a hard week of labour. You deserve it!

Easy Chocolate Tart
Easy Chocolate Tart

The filling can be customised to your taste by a variety of options. Add orange zest or lemon zest for a citrus-y finish, a tsp of instant coffee powder for a mocha twist, fold in nuts or berries for a delicious bite. It’s totally left to your imagination. If you’d like a no-bake tart, you could use a biscuit crust for the base instead of a baked crust. A store bought ready crust is also fine.
For the decorations, you could use white or milk chocolate as well or a combination.

If you love chocolate as much as I do, you should check out this Chocolate, almond and strawberry cake or this Chocolate Mousse Cake

Easy Chocolate Tart
Makes an 8 inch round tart

For the pastry
1 cup (125 g) plain/all purpose flour
1/4 cup, icing sugar mixture
1/2 cup (114 g) chilled butter, roughly chopped
1 egg yolk

Chocolate ganache filling
1 cup (240 ml) thickened cream
12 oz (340 g) dark chocolate, roughly chopped
1/4 cup (57 g) unsalted butter
1 tbsp orange zest (optional)

Chocolate Designs

7 0z (200 g) dark chocolate, roughly chopped

Make the pastry: process the flour, icing sugar and butter in a food processor until mixture resembles fine breadcrumbs. Add the egg yolk and process until mixture just comes together. Gently knead on a lightly floured surface until smooth. Shape into a disc. Cover with plastic wrap and place in the fridge for 15 minutes to rest.

Roll the dough on a lightly floured surface to a 3 mm-thick disc. Line an 8 inch fluted tart pan with a removable base with the pastry. Trim edges. Place in the fridge for 30 minutes to rest.

Preheat oven to 200 degrees C (180 degrees C fan-forced). Place the tart pan on an baking tray. Line with baking paper and fill with pastry weights or dried rice or beans. Bake in preheated oven for 15 minutes. Remove paper and weights and bake for a further 15-18 minutes or until pastry is golden and completely cooked. Remove from oven. Allow to cool completely.

Make the chocolate filling : While the tart crust is cooling, make the filling.  Warm the cream in a medium saucepan over low heat until about to boil (do not boil). Remove from heat, add the chocolate. Leave aside whilst stirring intermittently until chocolate has melted and mixture is smooth. Add the butter, mix. Add the orange zest, if using and stir.

Allow the mixture to cool down to room temperature. Pour carefully into the baked crust. Place the tart into the fridge and allow to set, about 4-6 hours, preferably overnight.

Make the chocolate decorations: In a microwave-safe bowl, microwave the dark chocolate pieces on low for 20 seconds, then remove and stir. Return the bowl to the microwave and repeat the process until all the chocolate has melted and has turned into a smooth liquid. Alternatively, the chocolate can be melted in a heatproof bowl that is placed over a saucepan of simmering water (make sure the bottom of the bowl doesn’t touch the water).

Spoon or pipe the chocolate carefully into silicone molds that is placed on a small baking sheet or plate for ease of movement into the fridge. For the leaves I used the 3 leaf mold and for the flowers, I used the crysanthemum mold. Both are from my store on the tab in the menu above. Chill in the fridge to set, about 30 minutes. Then, gently unmold and store in an airtight container in the fridge until needed.

To assemble : Once the chocolate ganache filling has set, place the chocolate decorations on top. Keep the tart in the fridge until ready to serve. Place it on a serving plate at room temperature for 30 minutes prior to serving. Slice and enjoy!
Coffee Mousse Cake

2|04|2023

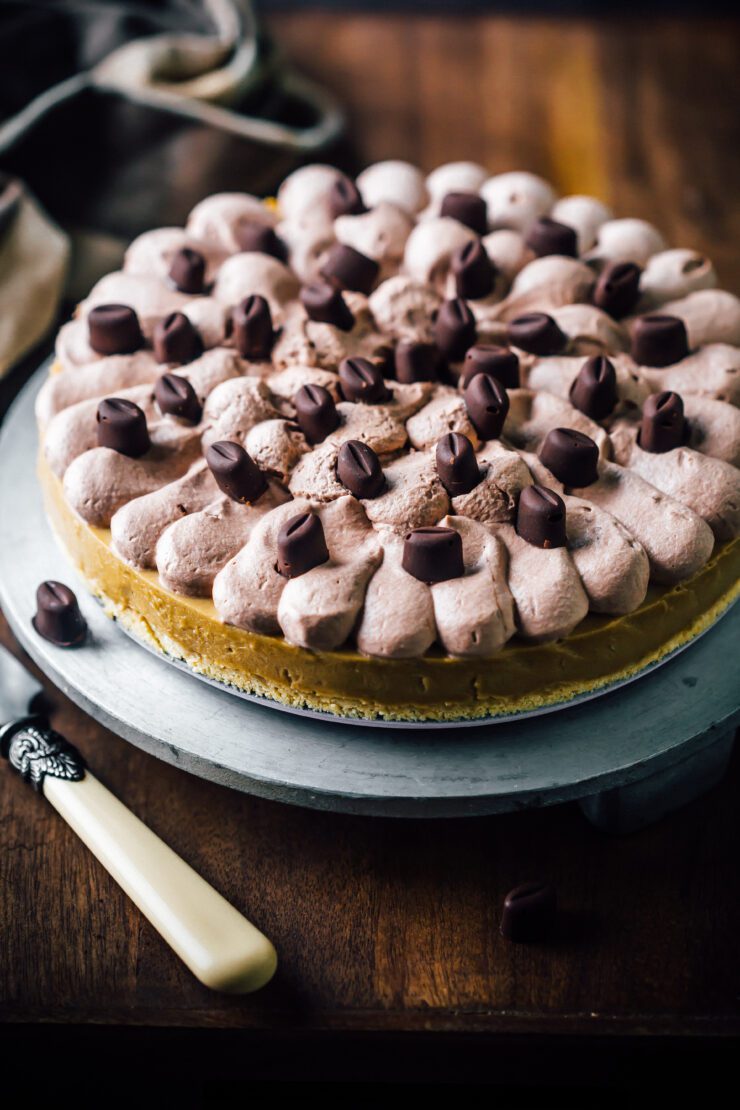
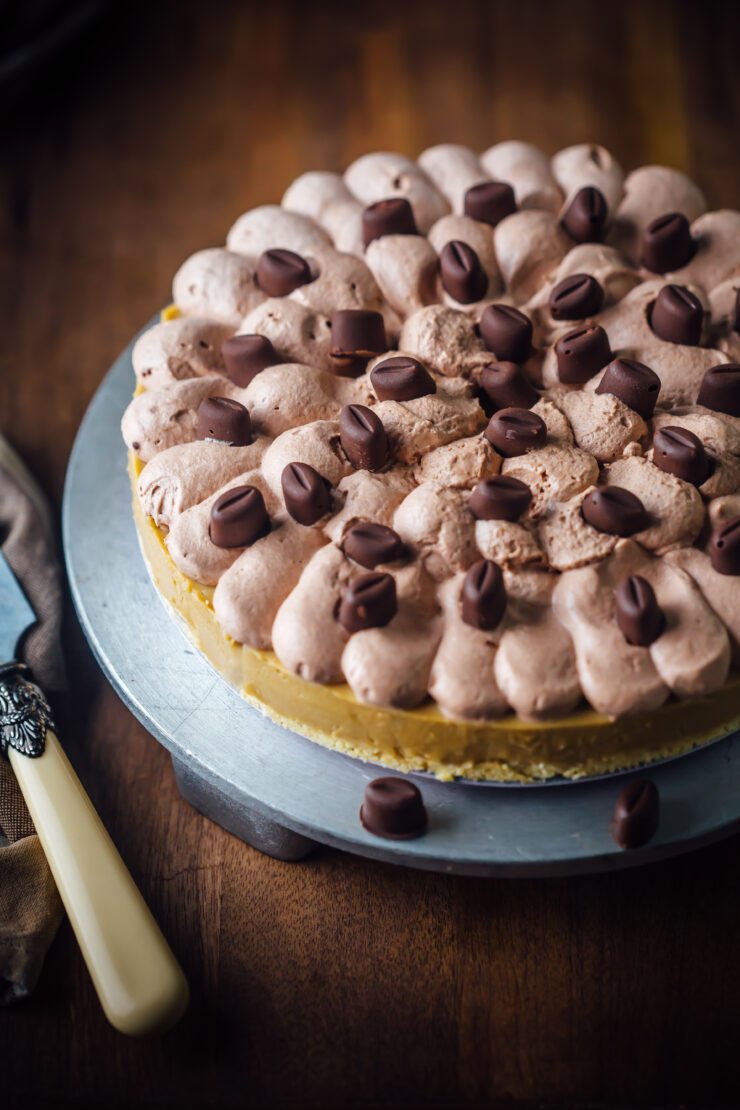
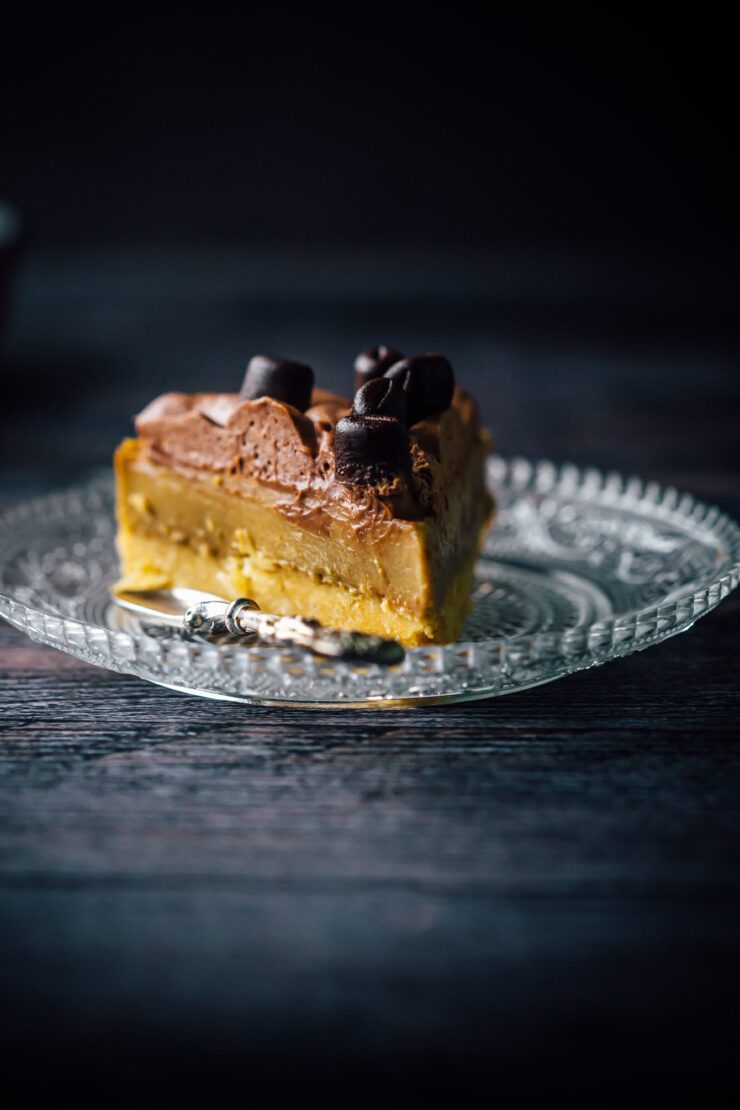
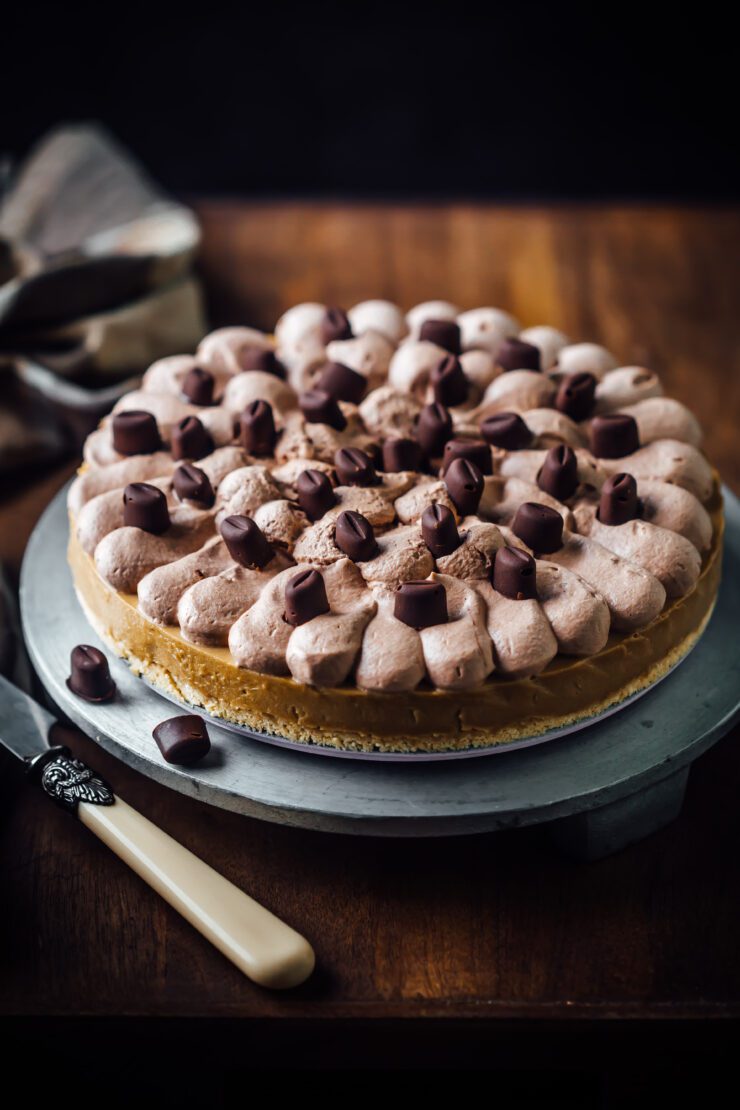
How much do you love coffee? Would you be willing to replace your morning espresso with a slice of this decadent Coffee Mousse cake? Because where a rich, creamy mousse is involved, it’s hard to say no. To sweeten the pot, the coffee mousse cake is topped with a fluffy cocoa spiked whipped cream and coffee bean chocolates that are also made at home.

Coffee Mousse Cake

The coffee mousse cake involves no baking and is pretty easy to put together. You just have to pay attention the first time when you’re making a mousse. After that it gets easier because you know exactly what to expect at every step. The coffee bean shaped chocolate mold is by far the most popular item in my store ( on the menubar) at the moment. Don’t they look real? And it’s just plain dark chocolate.

It’s finally started to feel like Autumn in Sydney. Until 3 days ago, we were complaning about the extreme heat during the day but now with school holidays, we will finally get to visit the locations with colour changing leaves. I know a lot of you are in fact experiencing spring on the other side. The great thing though is that a coffee mousse cake can be made and enjoyed irrespective of the seasons or the weather. Coffee is always a good idea!
Coffee Mousse Cake

If love a good coffee dessert don’t forget to check out this Coffee Cake or these Easy Tiramisu Cups.

Coffee Mousse Cake
Makes an 8 inch round cake

Biscuit Crust
200 g (7 oz) digestive biscuits
½ cup (114 g) unsalted butter, melted

Coffee Mousse Filling
5 tsps (16 g) powdered gelatine
2 tbsp (30 ml) water
4 egg yolks
¾ cup (150 g) granulated sugar
2 tbsp (16 g) cornstarch
½ cup (120 ml) full cream milk
1 tsp vanilla extract
1 ½ cups (360 ml) double cream (divided)
1 tsp instant coffee powder

Cocoa whipped cream
½ cup (120 ml) whipping cream, whipped to stiff peaks with 1 tsp sugar and 1 tsp of Dutch processed cocoa

Coffee Bean Shaped chocolate
3.5 oz (100 g) dark chocolate, melted

Make the biscuit crust: Grease the base and sides of an 8 inch (20 cm) spring form pan with 3 inch (8 cm) height and line the base with baking paper. Place the biscuits in a food processor and process until they resemble fine crumbs. Add the butter and process briefly until combined. Press the biscuit mixture evenly over the base of the prepared pan. Place in the fridge for 30 minutes to chill.

Make the coffee mousse filling: In a small bowl, combine the gelatine and water. Leave the mixture aside to bloom.

In a heavy bottomed saucepan, combine the egg yolks, sugar, cornstarch, milk and vanilla extract. Beat with a whisk. The mixture will initially appear a bit dry bit will become smooth upon whisking. Add ½ cup (120 ml) of the cream and whisk until smooth.

Place the saucepan over low heat and cook whisking continuously until the mixture starts to thicken, about 6-7 minutes. It is important to do this slowly and steadily so the eggs don’t scramble and the cornstarch cooks evenly. The mixture is ready when it resembles custard and is thick enough to coat the back of a spoon.

Remove the saucepan from heat. Add the gelatine mixture and the instant coffee. Mix until all the gelatine is dissolved.  The heat from the custard should be enough to cook the gelatine. Strain the mixture into a large bowl. Set aside to cool to room temperature.

In a separate bowl beat the remained whipped cream (240 ml) to soft peaks. The cream should be thick enough to form soft shapes and just firm enough to hold briefly as you lift the whisk, then fall back into the cream. Fold the cream gently into the custard mixture until well combined.

Transfer the filling into the prepared pan over the biscuit base. Place in the fridge for a minimum 4 hours, preferable overnight.

Make the coffee bean shaped chocolate : Pipe the melted chocolate into a coffee bean shaped mold. Allow to set in the fridge. Unmold and keep refrigerated until needed.

When ready to serve, decorate with cocoa whipped cream. Decorate with coffee bean shaped chocolate. Slice and enjoy cold.

  • « Previous Page
  • 1
  • 2
  • 3
  • 4
  • 5
  • 6
  • …
  • 45
  • Next Page »
Hey Sugar
Cake
Link to my Facebook Page
Link to my Instagram Page
Link to my Pinterest Page
Link to my Mail Page
Subscribe to this site
Fresh Awards
2019 Aus mumpreneur
2019 aus mumpreneur
Mumbrella

Copyright © 2026 · Sugar Et Al · Designed by Smitten Blog Designs · Log in