• Home
  • Recipe Index
    • Recipe Index
    • Breakfast/Brunch
    • Cakes and Puddings
    • Chocolate
    • Cookies and cupcakes
    • Custard and Mousse
    • Gluten Free
    • Ice Cream
    • Mains
    • Other Sweet Treats
    • Snack/Appetizers
    • Soups and Salads
    • Tarts and Pies
    • Vegetarian
  • About
  • Cookbook
  • Portfolio
  • Store
  • Press
  • Work with Me

Sugar et al

Because Life is a blend of flavours...

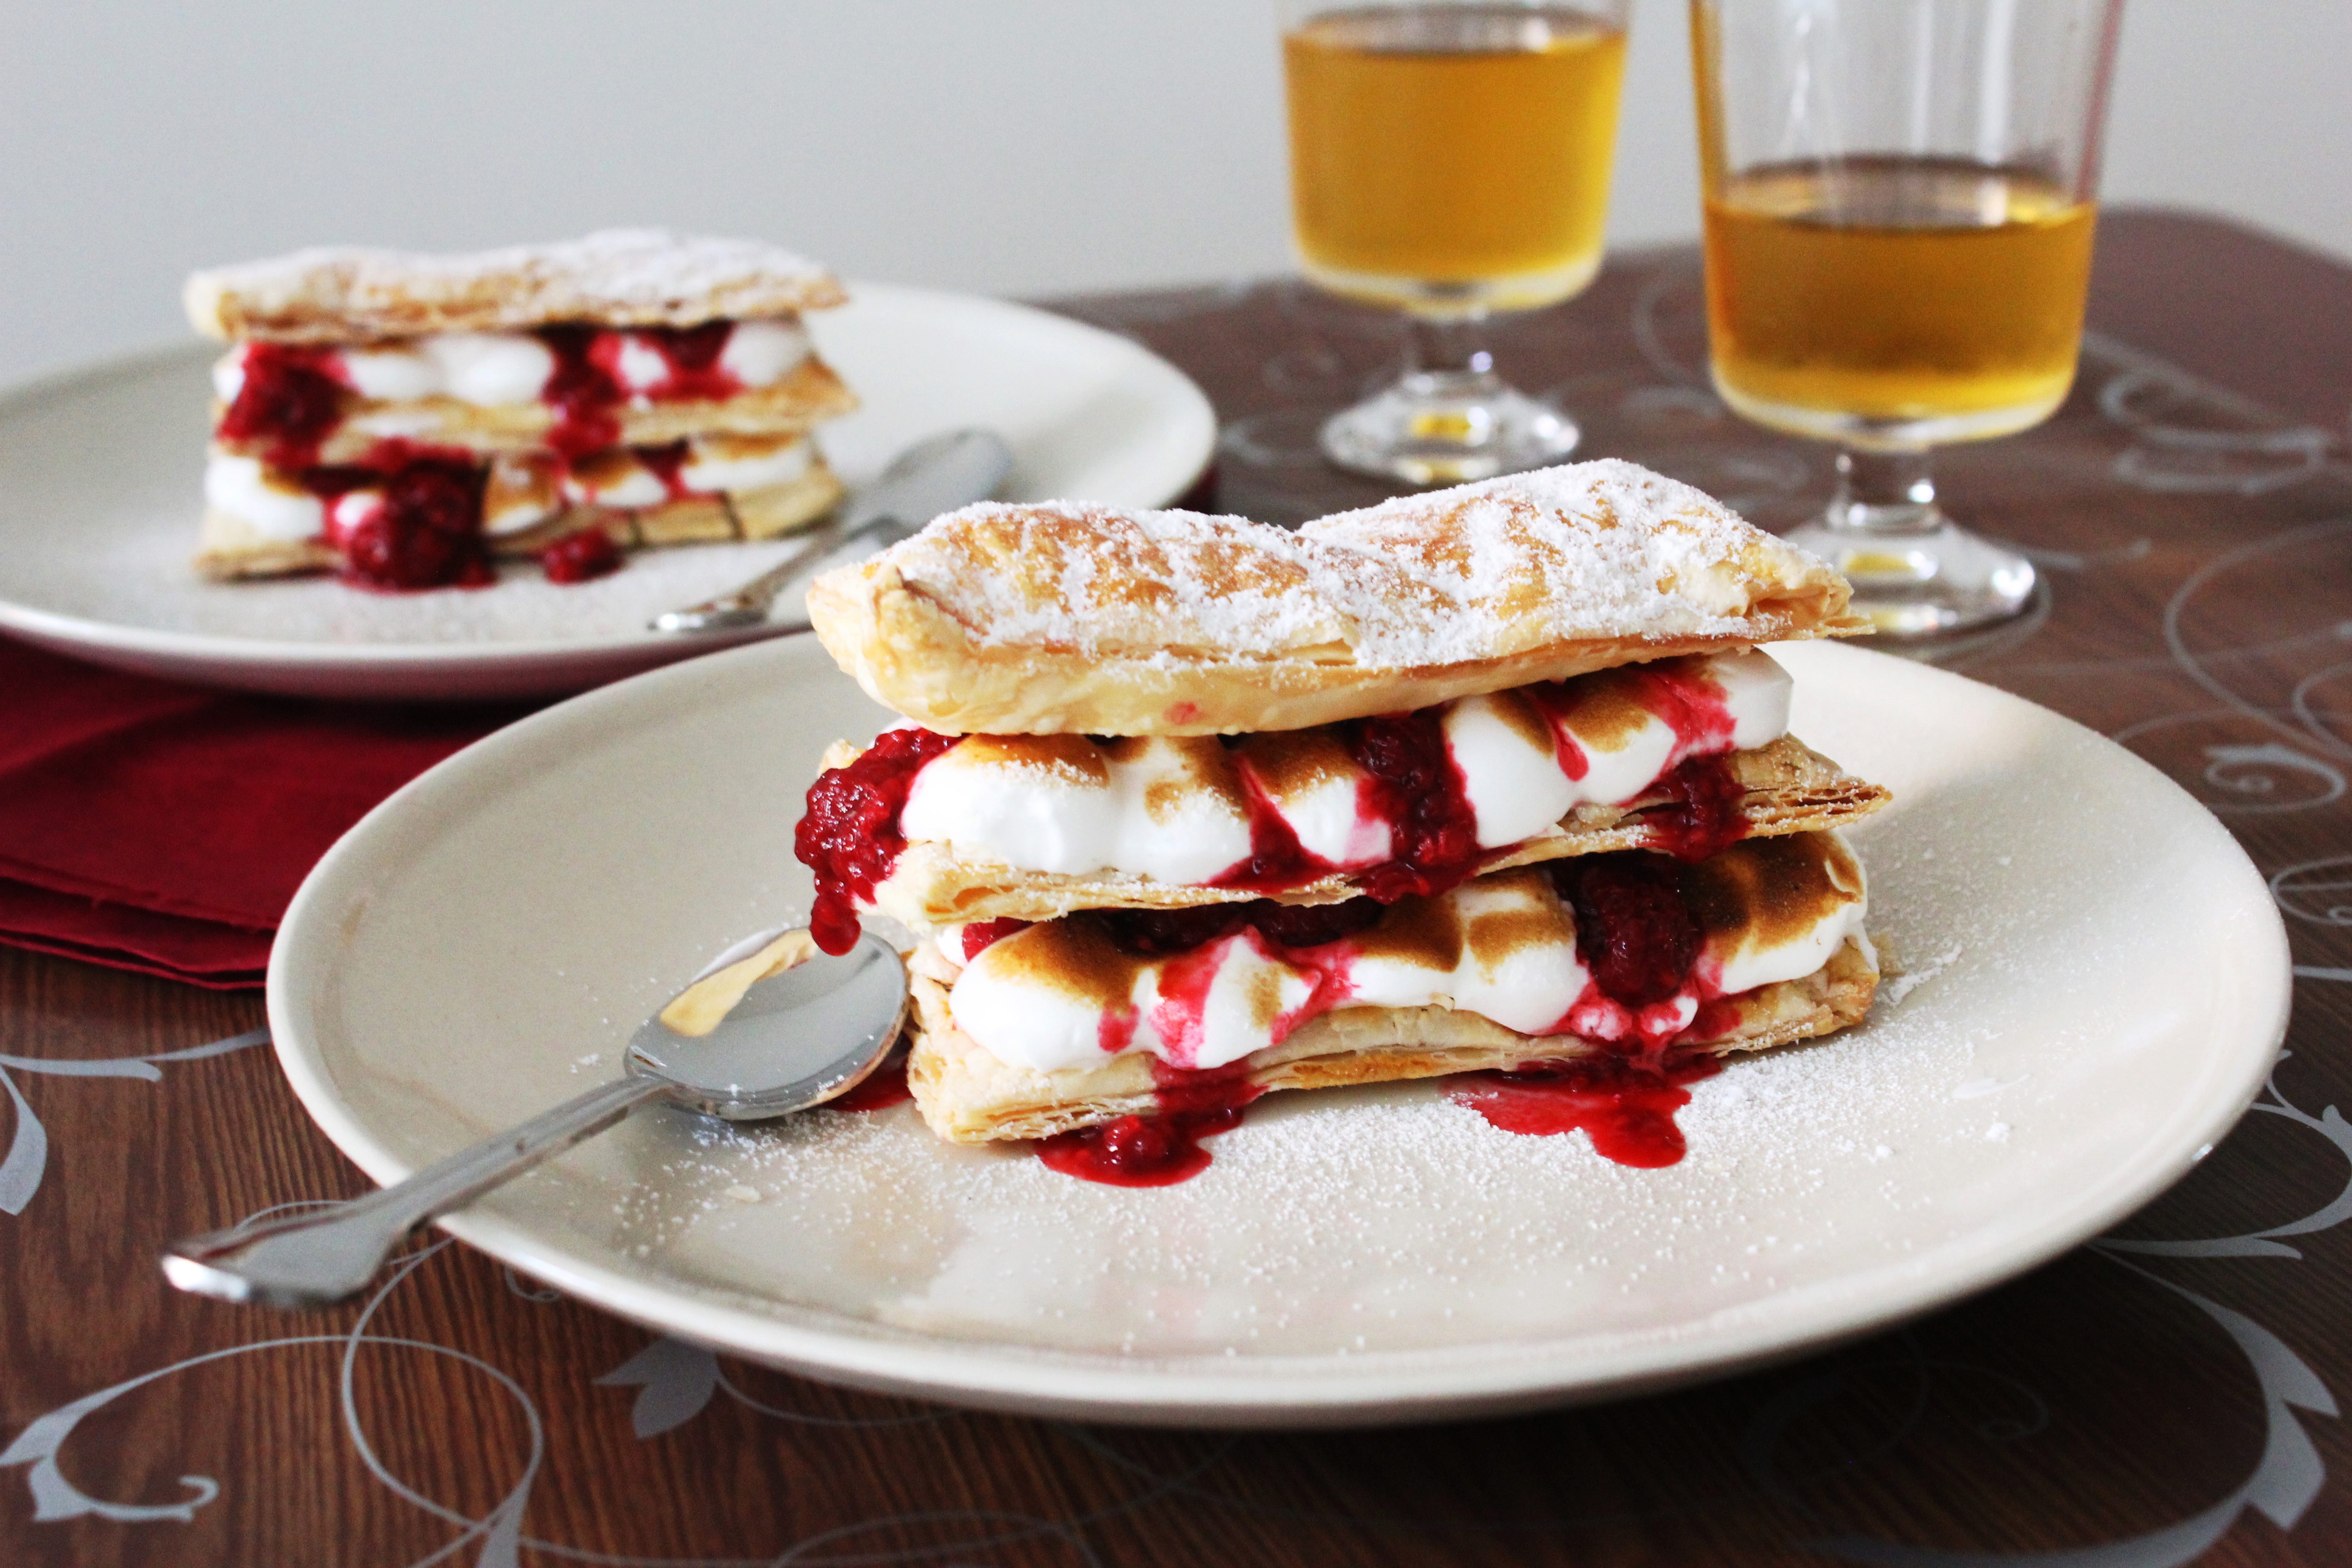
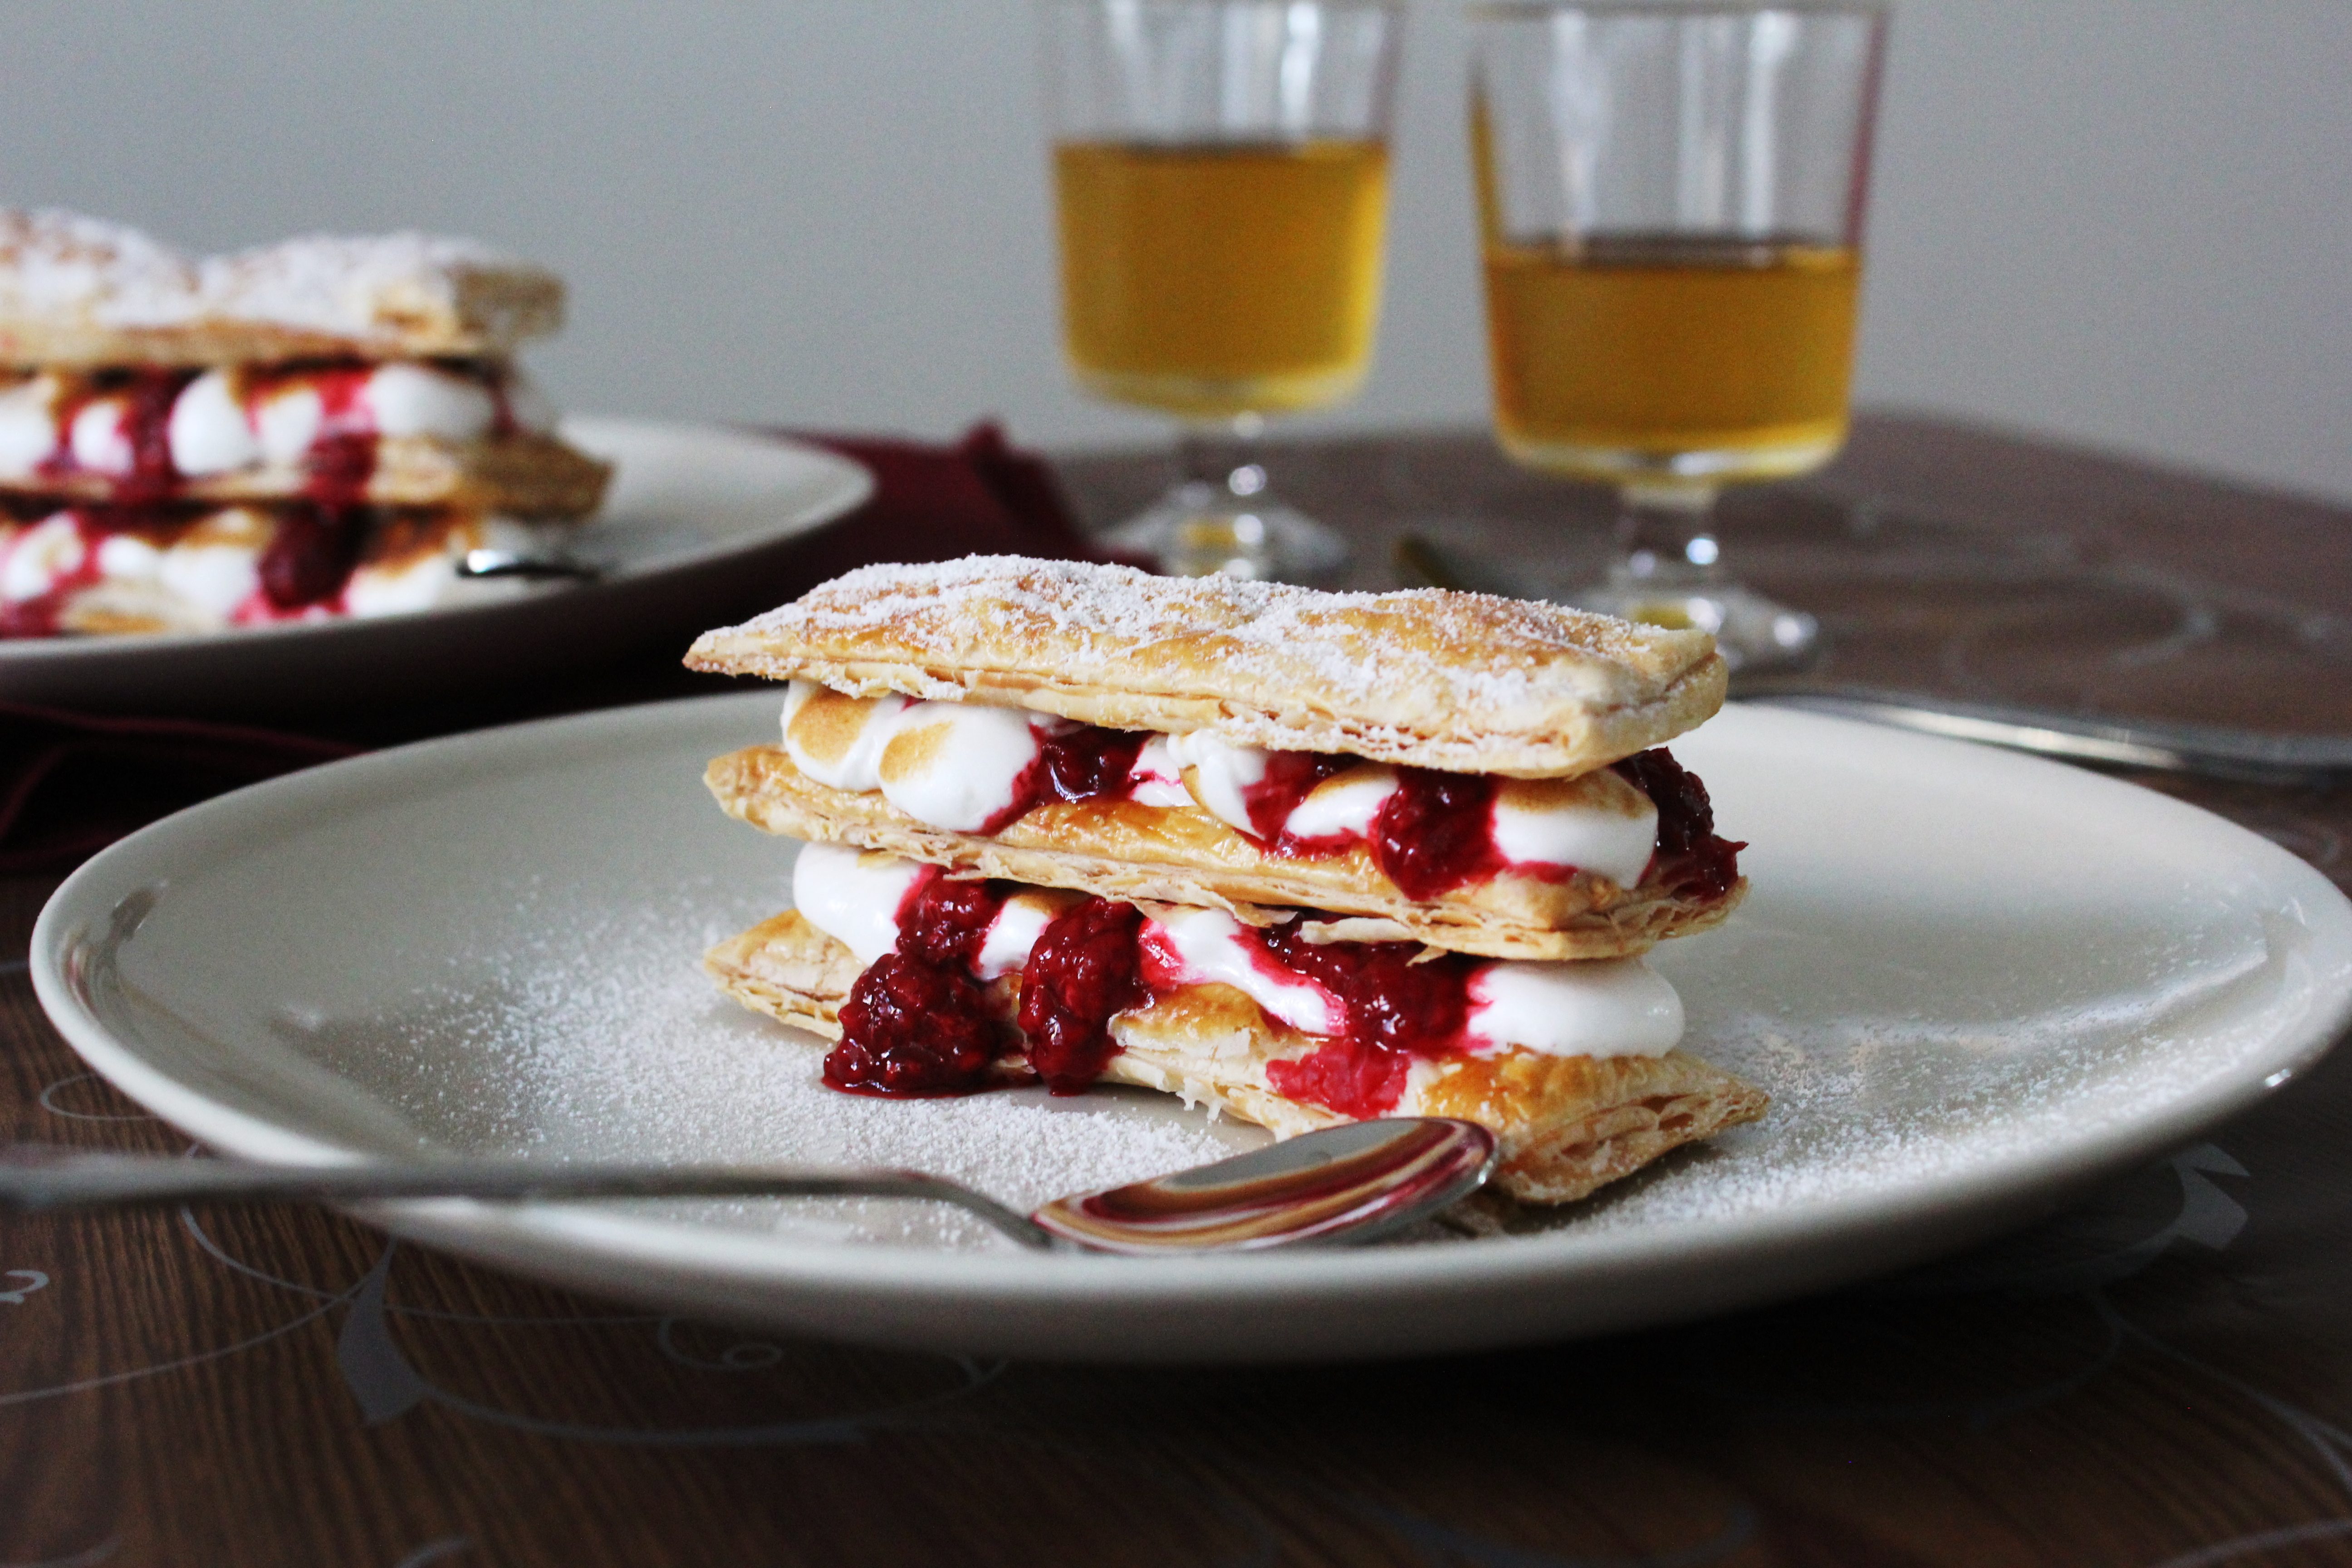
Raspberry Meringue Mille-feuille

19|09|2013

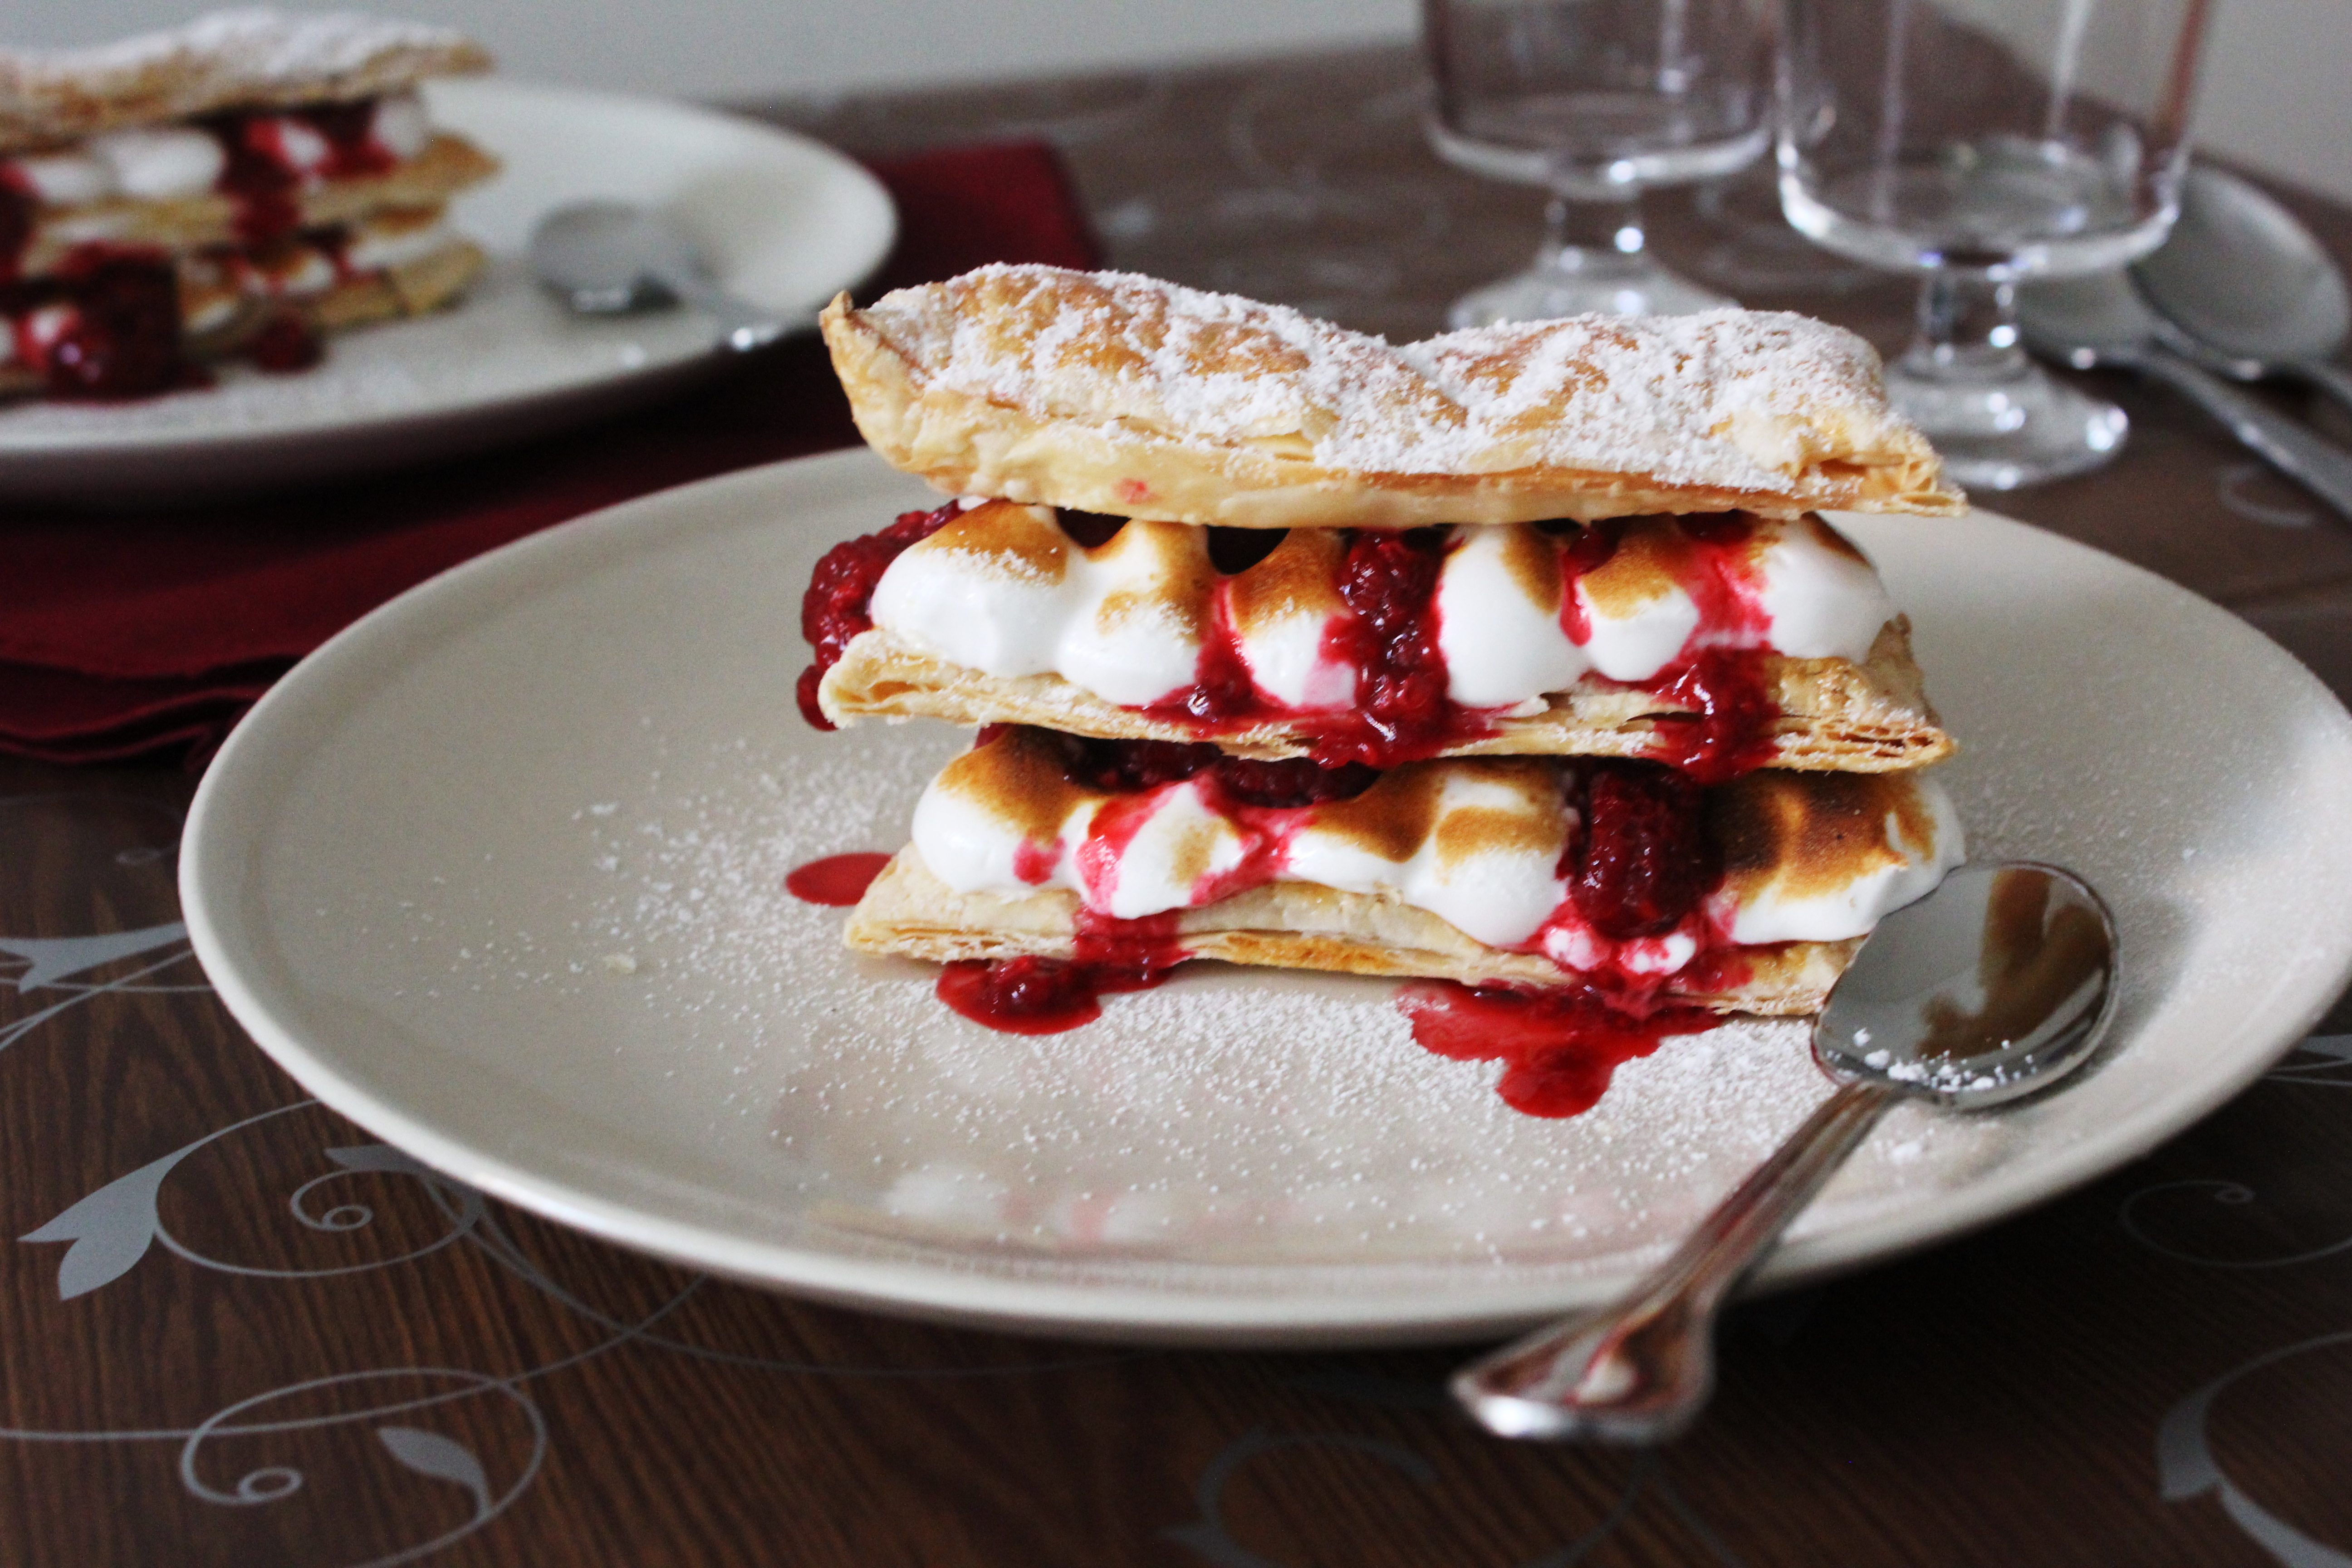
The first time I saw Mille-feuille on a cooking show on television, I was head over heels in love with them. Layers of creme patissiere (pastry cream) and fruit sandwiched between crisp layers of puff pastry. There are many adaptations that exist today and they are also known as Napoleon, Vanilla Slice, Custard Slice. Mille-feuille is french for a ‘thousand leaves’ which refers to the thousands of layers in puff pastry. If you have made puff pastry at home, you know what I mean. In fact this beautiful dessert was the reason I learnt to make my own puff pastry. Making it at home is not difficult but painstakingly time-consuming. I enjoy making things from scratch but this time around I was forced to use a store-bought one.
IMG_5174 (2)I had a late realisation that it was Sweet Adventures Blog Hop Time. When I found out about the theme there was no missing it. Meringue Mania! I am a self-confessed meringue maniac and my regular readers would know how much I use it..torte, cookie, crumble, decorations and so on. So this one was another opportunity to whip up some egg whites. This month’s hostess is Claire from Claire K Creations.
IMG_5168 (1)IMG_5171 (1)

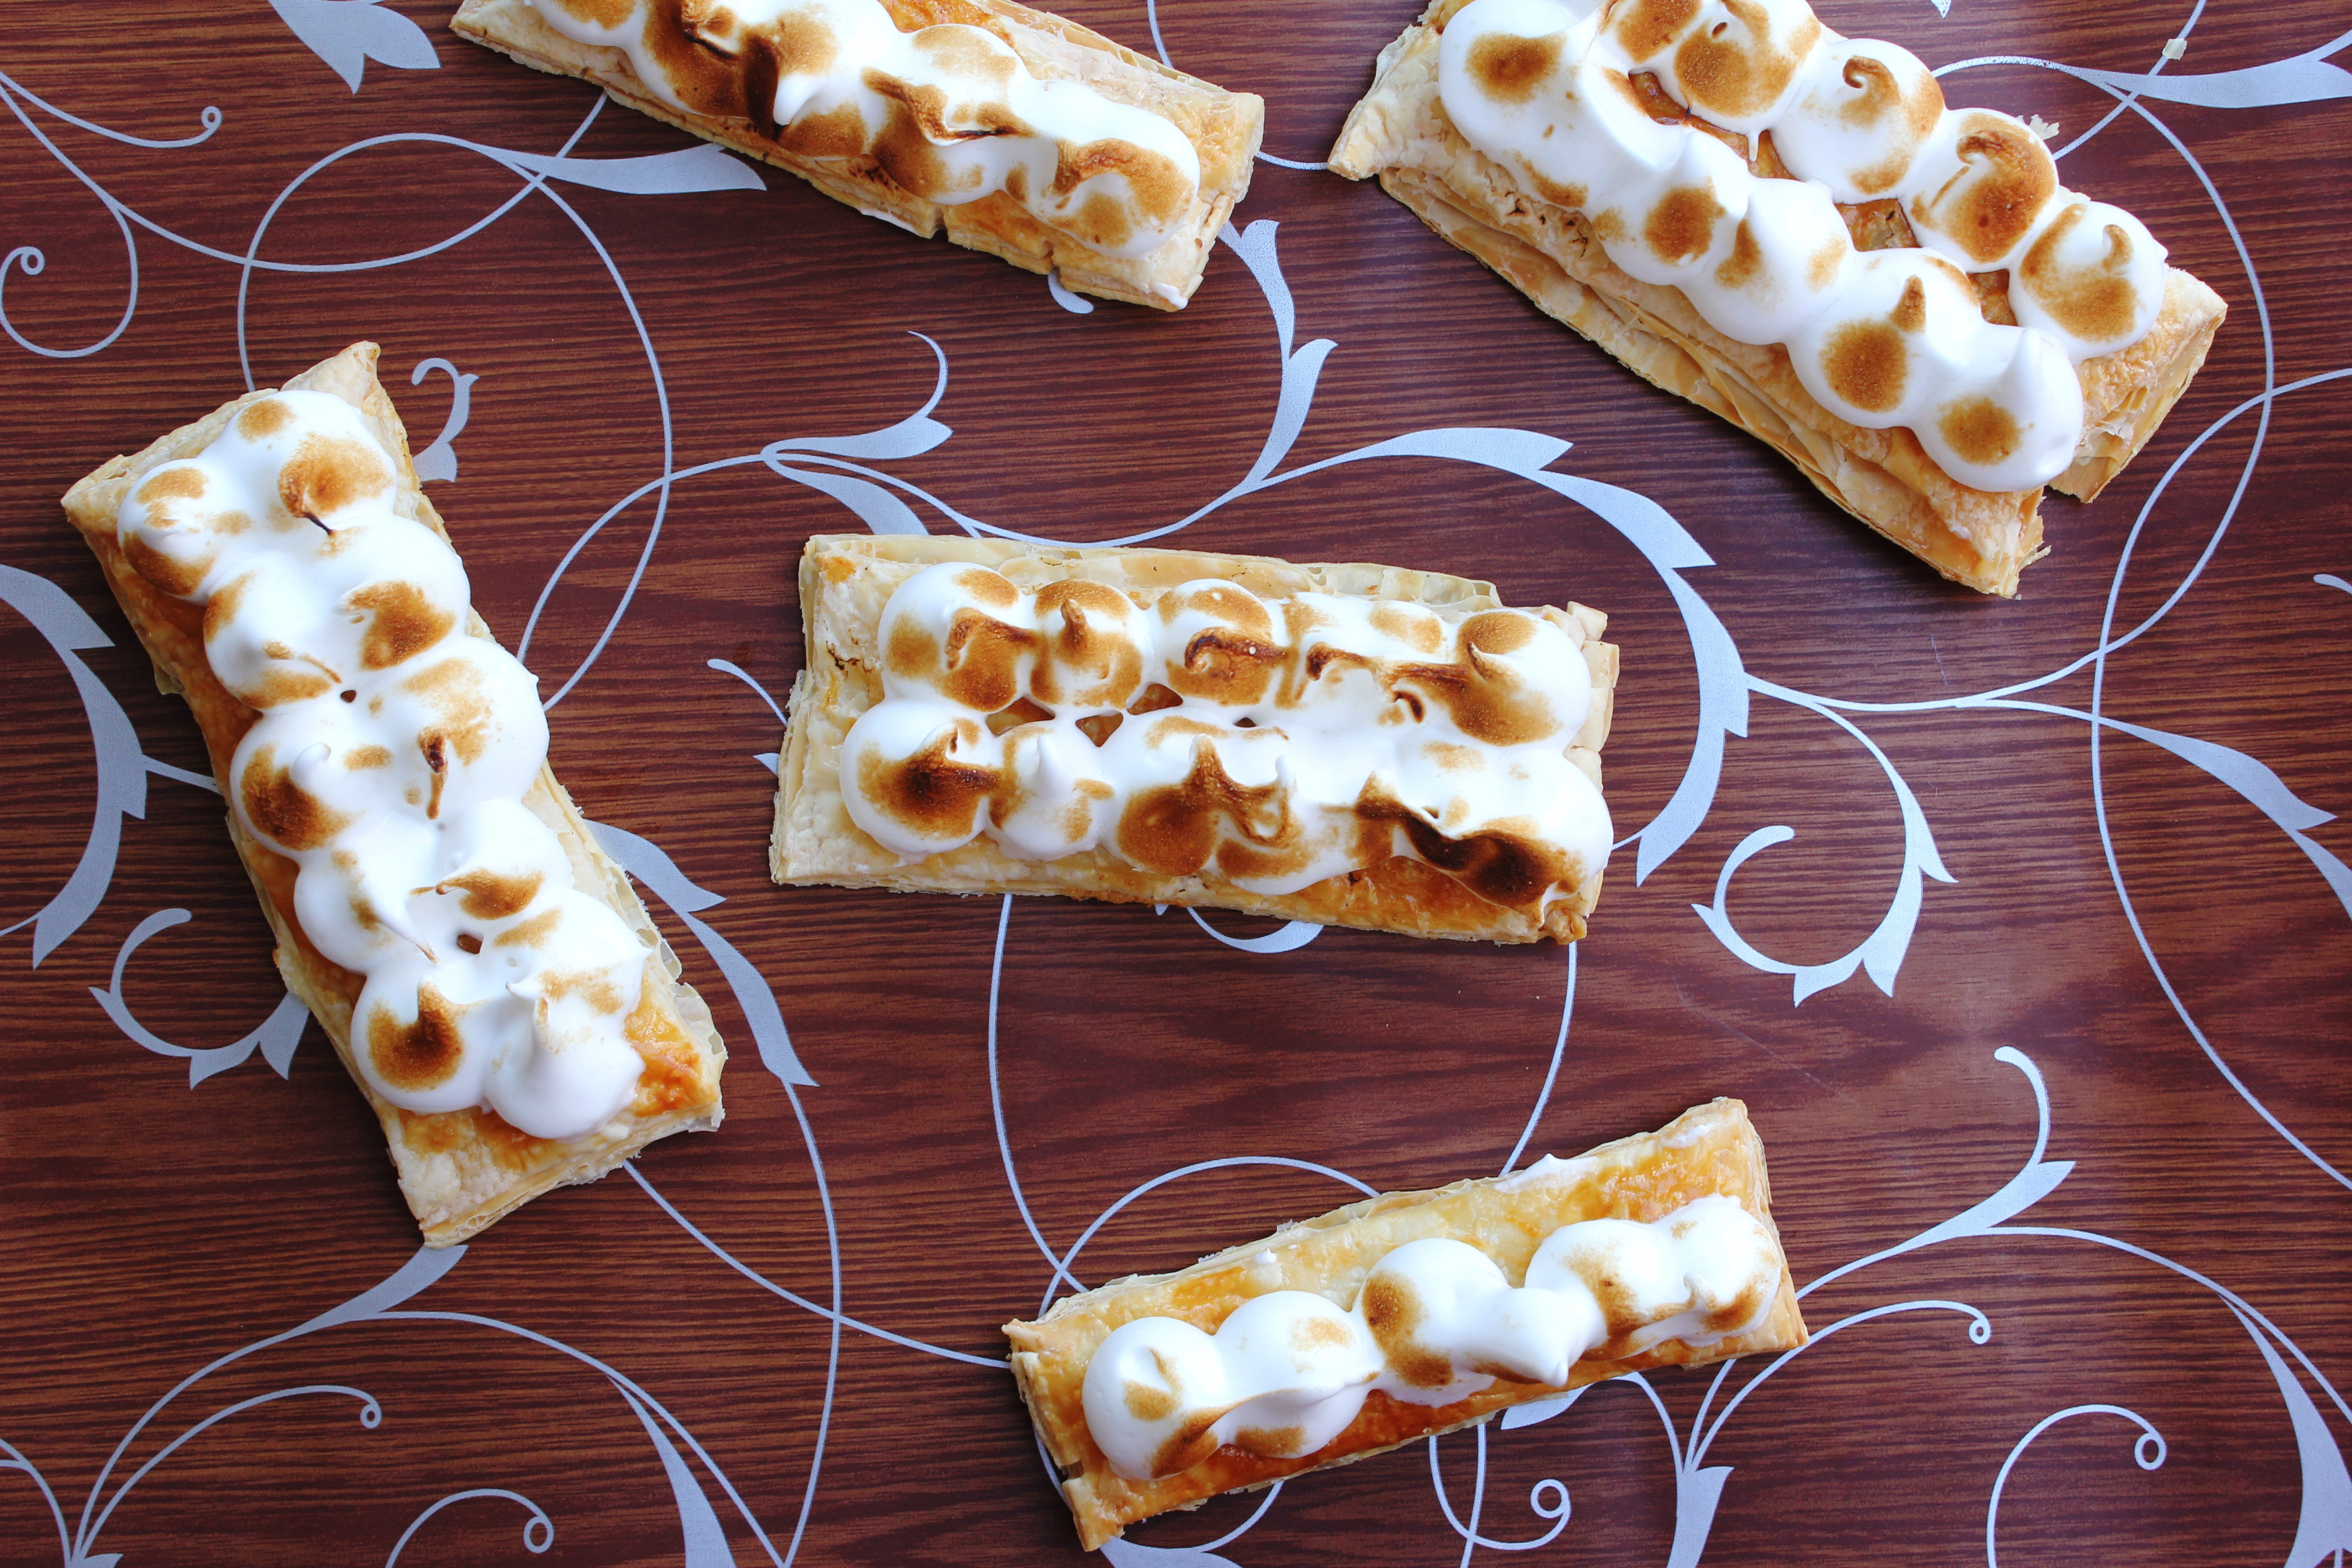
I wanted to do something different so instead of the pastry cream I used toasted meringue! I was pleasantly surprised how delicious it turned out. Initially I thought of making raspberry curd to go with it ,then on second thoughts settled for a raspberry compote. Some things are best left simple. This would actually make a great dessert when you are entertaining a crowd or want to make something elegant for those unexpected guests. You can easily replace the meringue with whipped cream. I have made this in the past with lemon curd, chocolate mousse, whipped cream with different fruit and berry combinations. The bottom line is that it is a very versatile yet forgiving recipe.
IMG_5184 (1)


Raspberry Meringue Millefeuille
Makes 5

For the Pastry layers
2 sheets store-bought frozen puff pastry(75% thawed)
Icing sugar for dusting

For the Raspberry Compote
1 cup frozen raspberries (or fresh raspberries)
2 tbsp Castor Sugar

For the Swiss Meringue
2 egg whites
1/2 cup icing sugar
1/4 tsp cream of tartar (optional but helps to hold peaks)

Preheat the oven to 200 degree C. Line a baking tray with grease-proof paper. Cut out rectangles of approx 9 cm long and 5 cm wide from the puff pastry sheets. The easiest thing to do is fold the sheet in half and then quarters and follow the lines with a pizza cutter to get 8 rectangles. (Measurements will vary depending on the size of the sheets but it does not matter as long as the size of the rectangles are same. From 2 sheets you will get 16 rectangles but you will need only 15). Dust the rectangles with icing sugar and place them on the baking tray in a single layer. Bake for 10-15 mins or till pastry is crisp and golden brown in colour. Remove from the own and keep aside.

When the puff pastry is baking, place the raspberries and sugar in a saucepan and bring to a boil. If you are using fresh raspberries, you may need to add a 2 tbsp water. Simmer for a few minutes till raspberries break down and the mixture turns into a thick sauce like consistency. Keep aside to cool.

Make the meringue: Place egg whites, sugar and cream of tartar (if using) in a large steel bowl over a pot of simmering watering. Take care to avoid the bottom of the bowl from touching the water. Whisk lightly till the sugar dissolves. At this stage, the bottom of the bowl will be warm to touch. Take it off the heat. Using the whisk attachment of a stand mixer or with a hand mixer slowly beat the egg whites. Gradually increase the speed of the mixer and continue beating till almost stiff peaks are reached.
Transfer the mixture to a piping bag and pipe meringue dots or swirls on 10 of the cooled puff pastry rectangles. (The remaining rectangles will make the tops of the mille-feuille. Using a blow torch lightly toast the meringue.

To assemble : Place a meringue topped pastry rectangle on the centre of the plate. Drizzle generously with raspberry sauce. Place another meringue topped rectangle on top and drizzle with more raspberry sauce. Place a plain pastry rectangle on top. Drizzle with icing sugar. Repeat with the remaining rectangles.
Apple and Cinnamon Beignets with Cinnamon Sugar and Butterscotch Sauce

17|09|2013

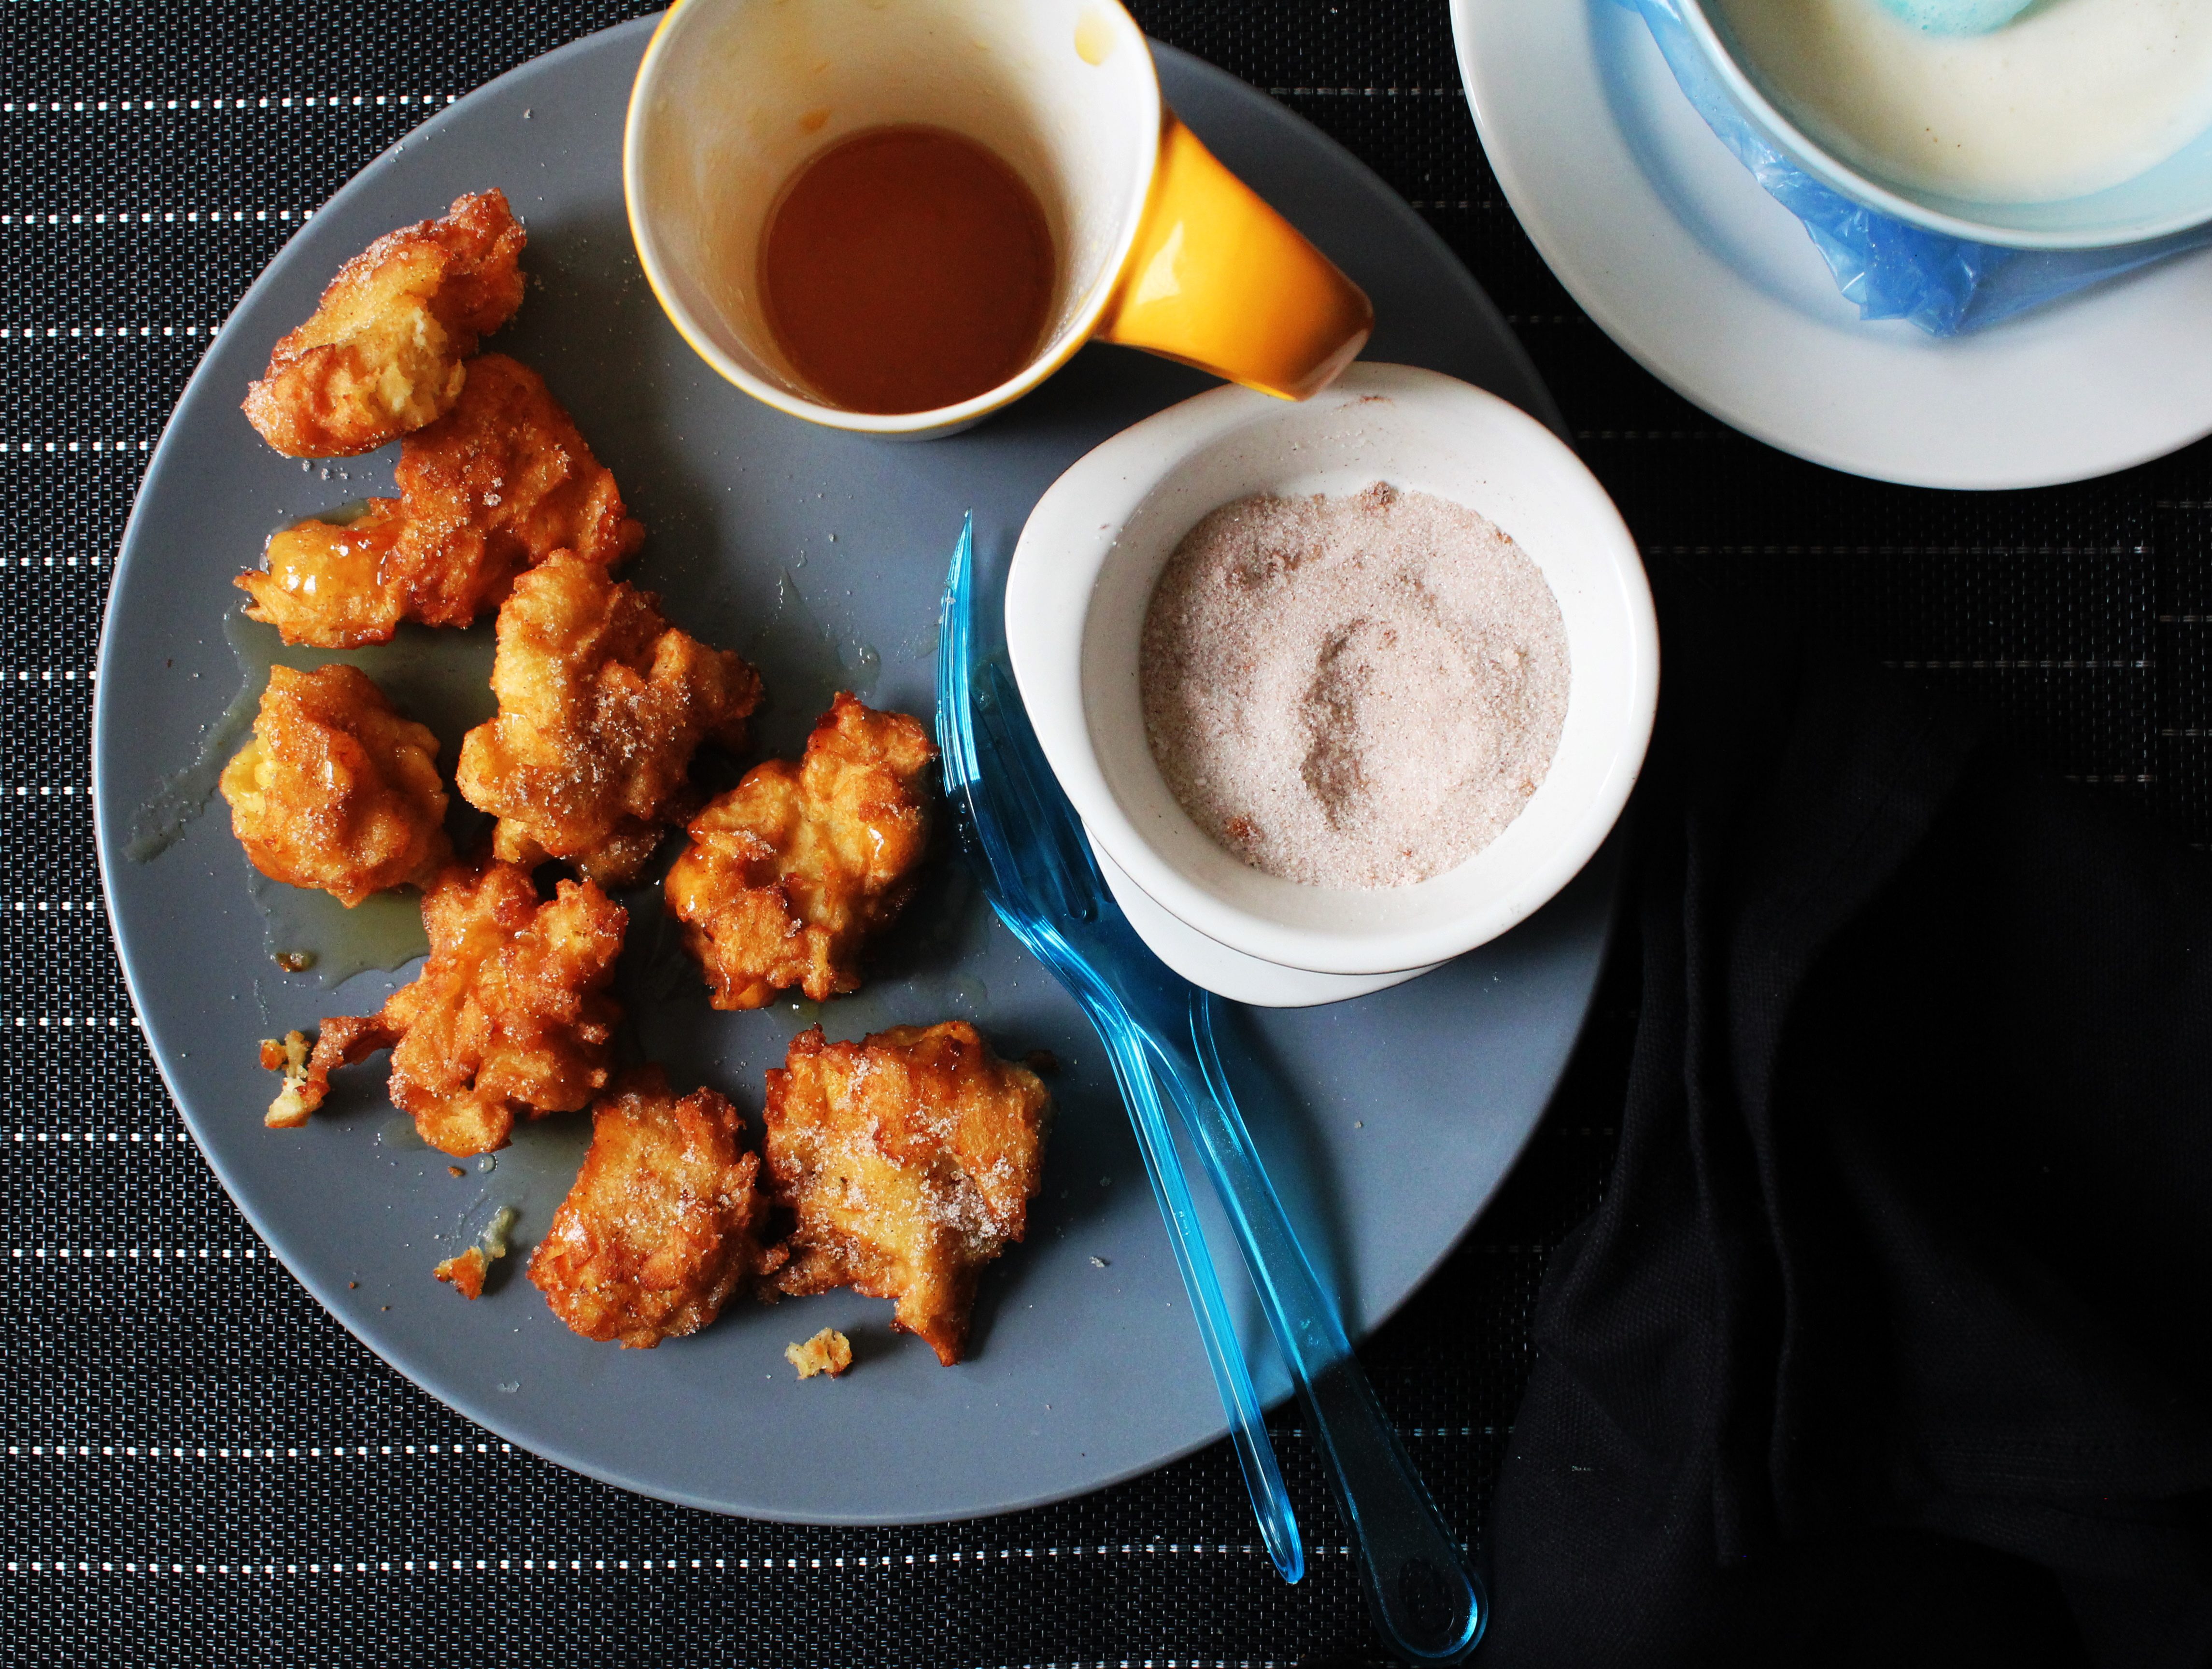
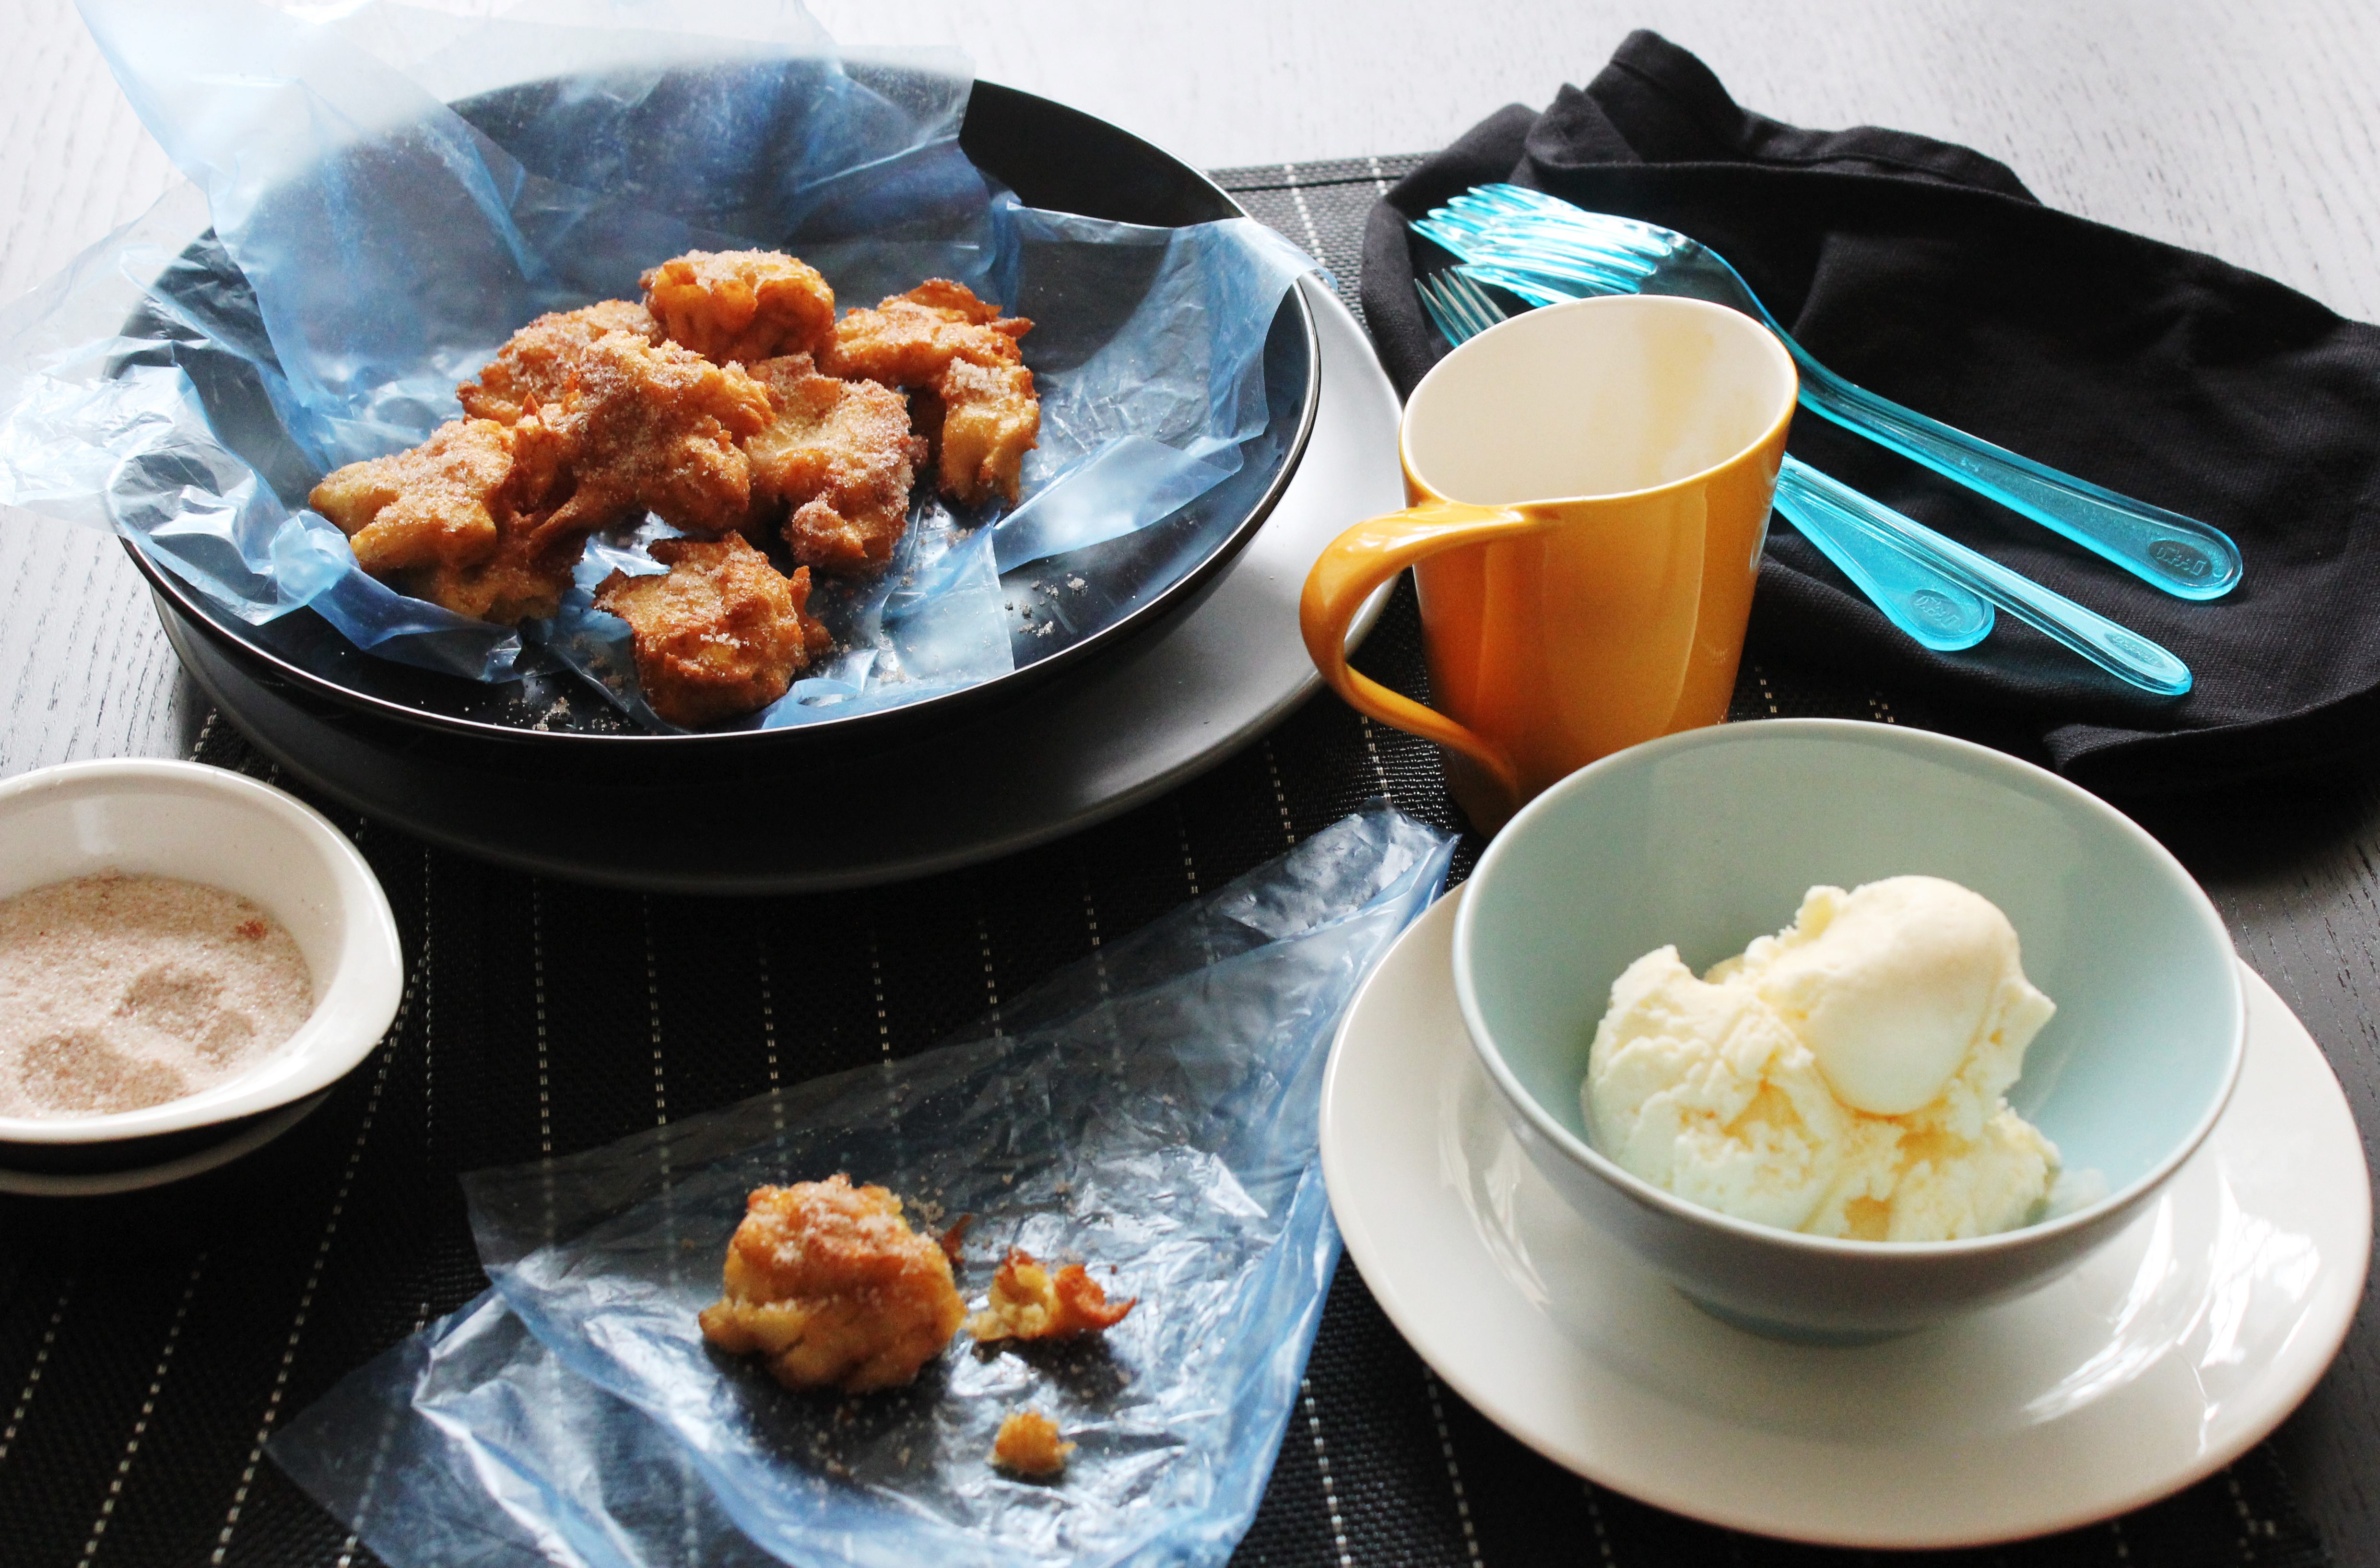
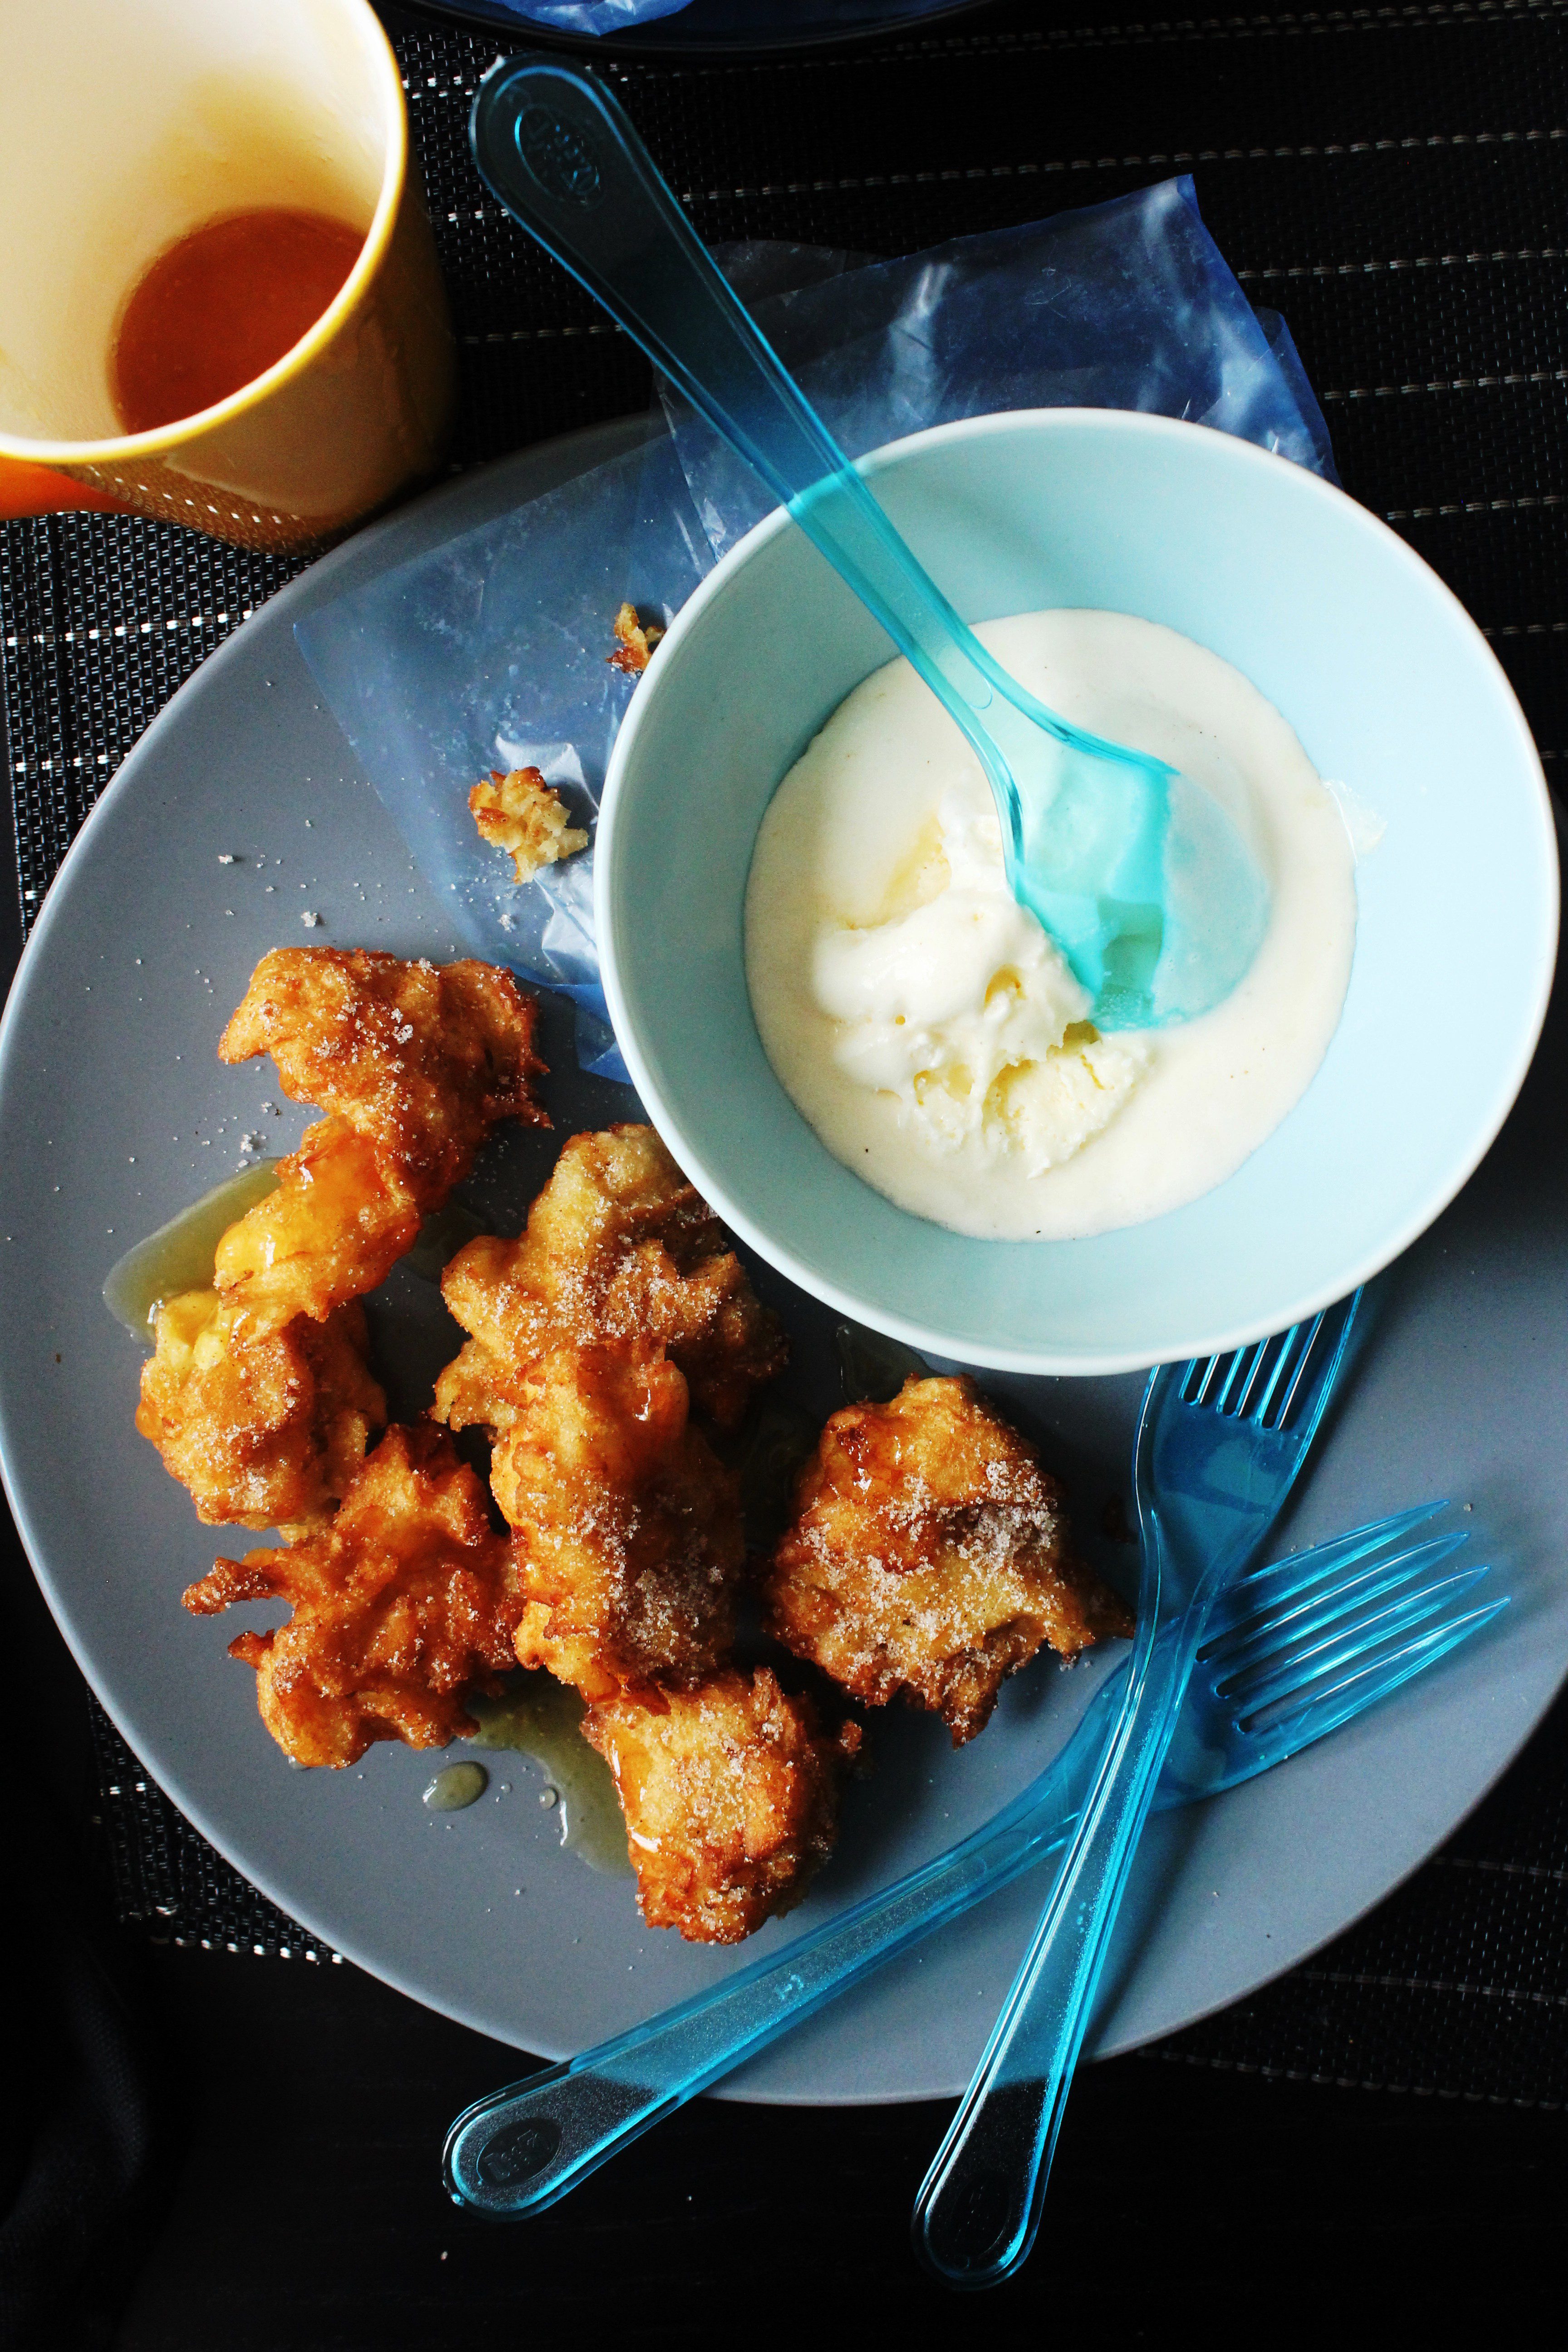
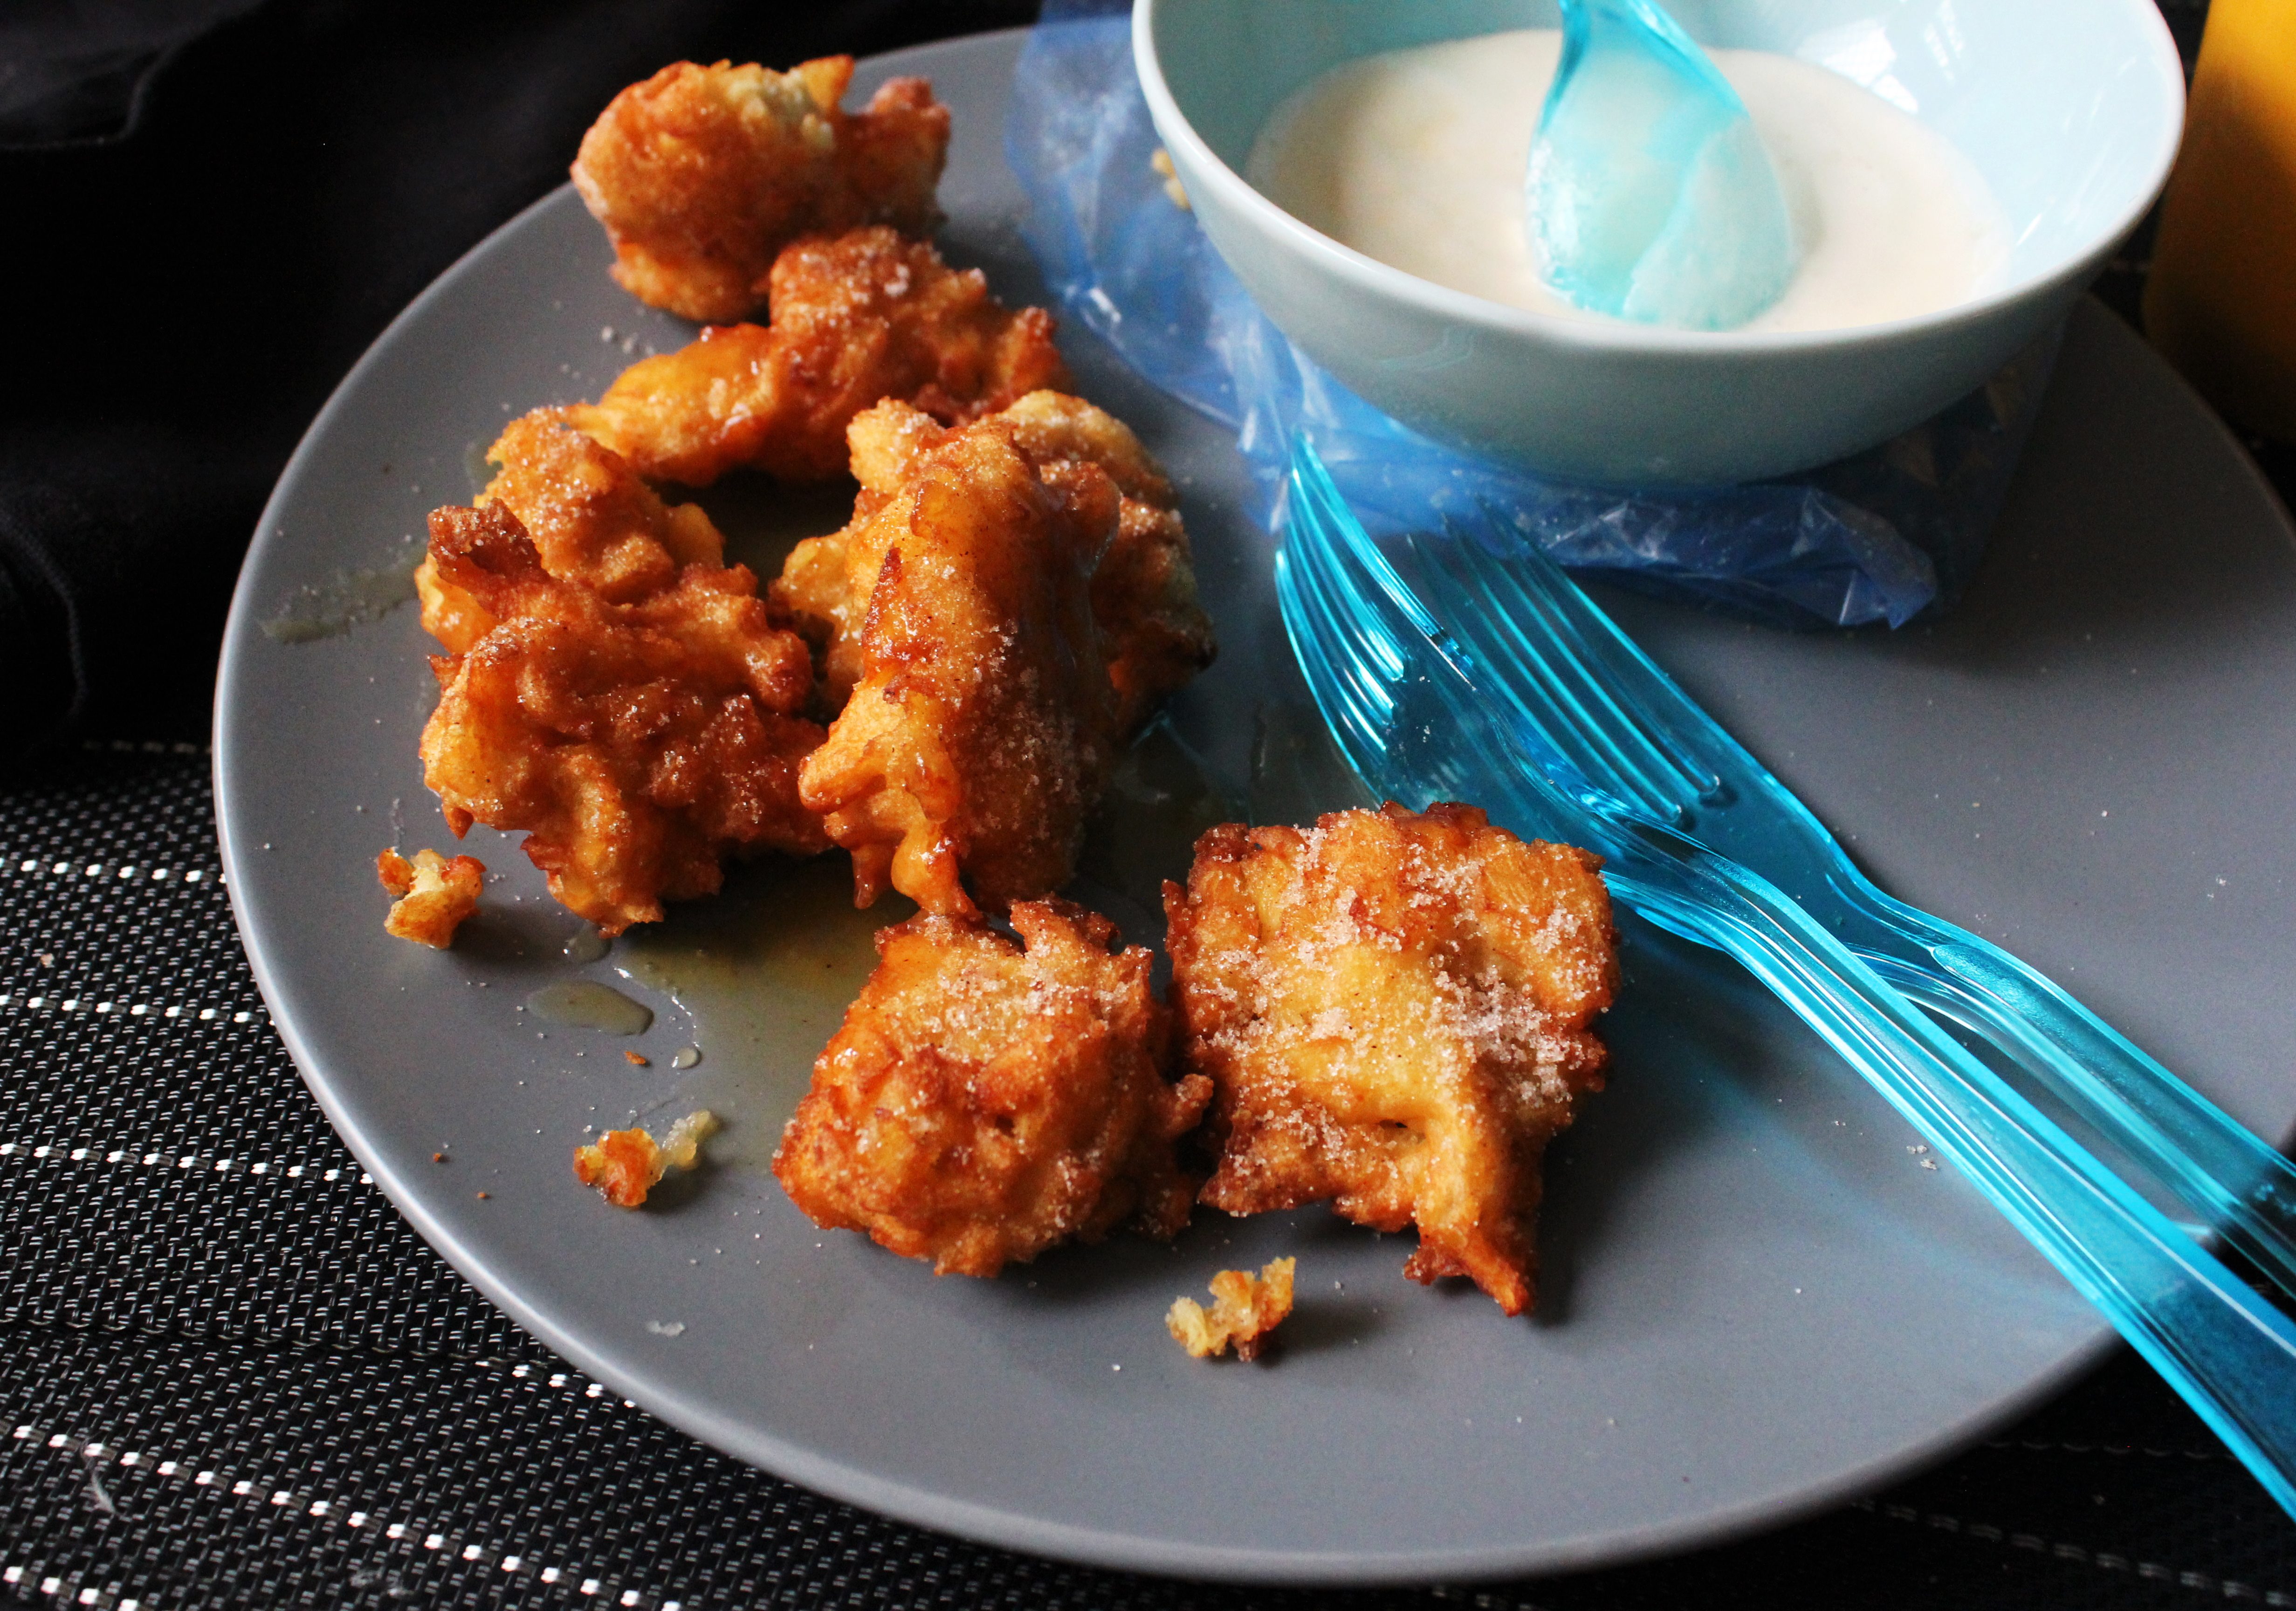
For as long as I can remember, I have associated rains with comfort food. And comfort for me means warm, crispy on the outside and soft on the inside, deep-fried, with a hint of spice…that kind of food. The category of food that best fits this kind of craving would be fritters, beignets or pakoras as they are called in India. And, that’s not all! You did know about my little sweet tooth, didn’t you..? So, I next visualise the deep-fried fritters tossed in sugar and spice and then drizzled with honey or some kind of a rich sauce and then served with ice cream on the side. Oh…why am I so obsessed with sweet things!

IMG_5240 (1)

Apples and bananas are fruits that I generally have at home. So when the craving struck, I was instantly chopping, mixing, frying, humming to myself…while the rain flooded my balcony and my mind with memories. I chose to make a choux batter as I love the way they turn out..puffed up, airy, crunchy little beignets. They tend to be lighter than a normal fritter. If it helps to make you feel a bit less guilty about eating this, you do give your arm a little workout when you whisk vigorously while blending the ingredients together.

IMG_5250 (1)

IMG_5255 (1)

I also made 4 eclairs out of the batter before mixing in the apples. They were puffing up in the oven while I was frying the beignets. I ate several before I was convinced to remove a few for photographs. It was comforting indeed watching the rain with a plate of these addictive little pastry puffs and thinking about flavour pairings for the eclairs. What did I tell you! I am so very…TOTALLY obsessed with desserts!
IMG_5224 (1)


Apple and Cinnamon Beignets with Cinnamon Sugar and Butterscotch Sauce (adapted with variation from Taste.com)
Yields 18 small Beignets

1 granny smith or any tart-sweet apple, peeled, cored and finely chopped
1/2 tsp ground cinnamon
vegetable oil for frying

For the choux batter
60g butter, chopped
2/3 cup water
2/3 cup plain flour
3 eggs, lightly beaten

Cinnamon sugar
1/2 cup castor sugar
1 teaspoon ground cinnamon

Butterscotch Sauce: Use this recipe.

Make the cinnamon sugar: Combine sugar and cinnamon in a bowl.

Make choux pastry: Combine butter and 2/3 cup cold water in a saucepan over medium heat. Cook for 3 to 4 minutes or until butter has melted and mixture just starts to boil. Reduce heat to low. Add flour. Cook, stirring, for 2 to 3 minutes or until mixture comes away from side of pan and forms a ball. Set aside for 5 minutes to cool slightly. Using a wooden spoon, gradually beat in eggs until well combined and dough is glossy. Stir in apple and cinnamon.

Heat oil in a deep frying pan over medium-high heat. Drop 1 level tablespoon mixture into pan. Repeat, making 6 fritters. Cook for 2 to 3 minutes each side or until golden and cooked through. Using a slotted spoon, transfer beignets to cinnamon sugar. Toss to coat. Transfer to a plate. Repeat with remaining dough. Serve drizzled with butterscotch sauce and with vanilla ice cream or whipped cream.


Smoked Salmon Scotch Eggs with Orange Radicchio Salad

11|09|2013

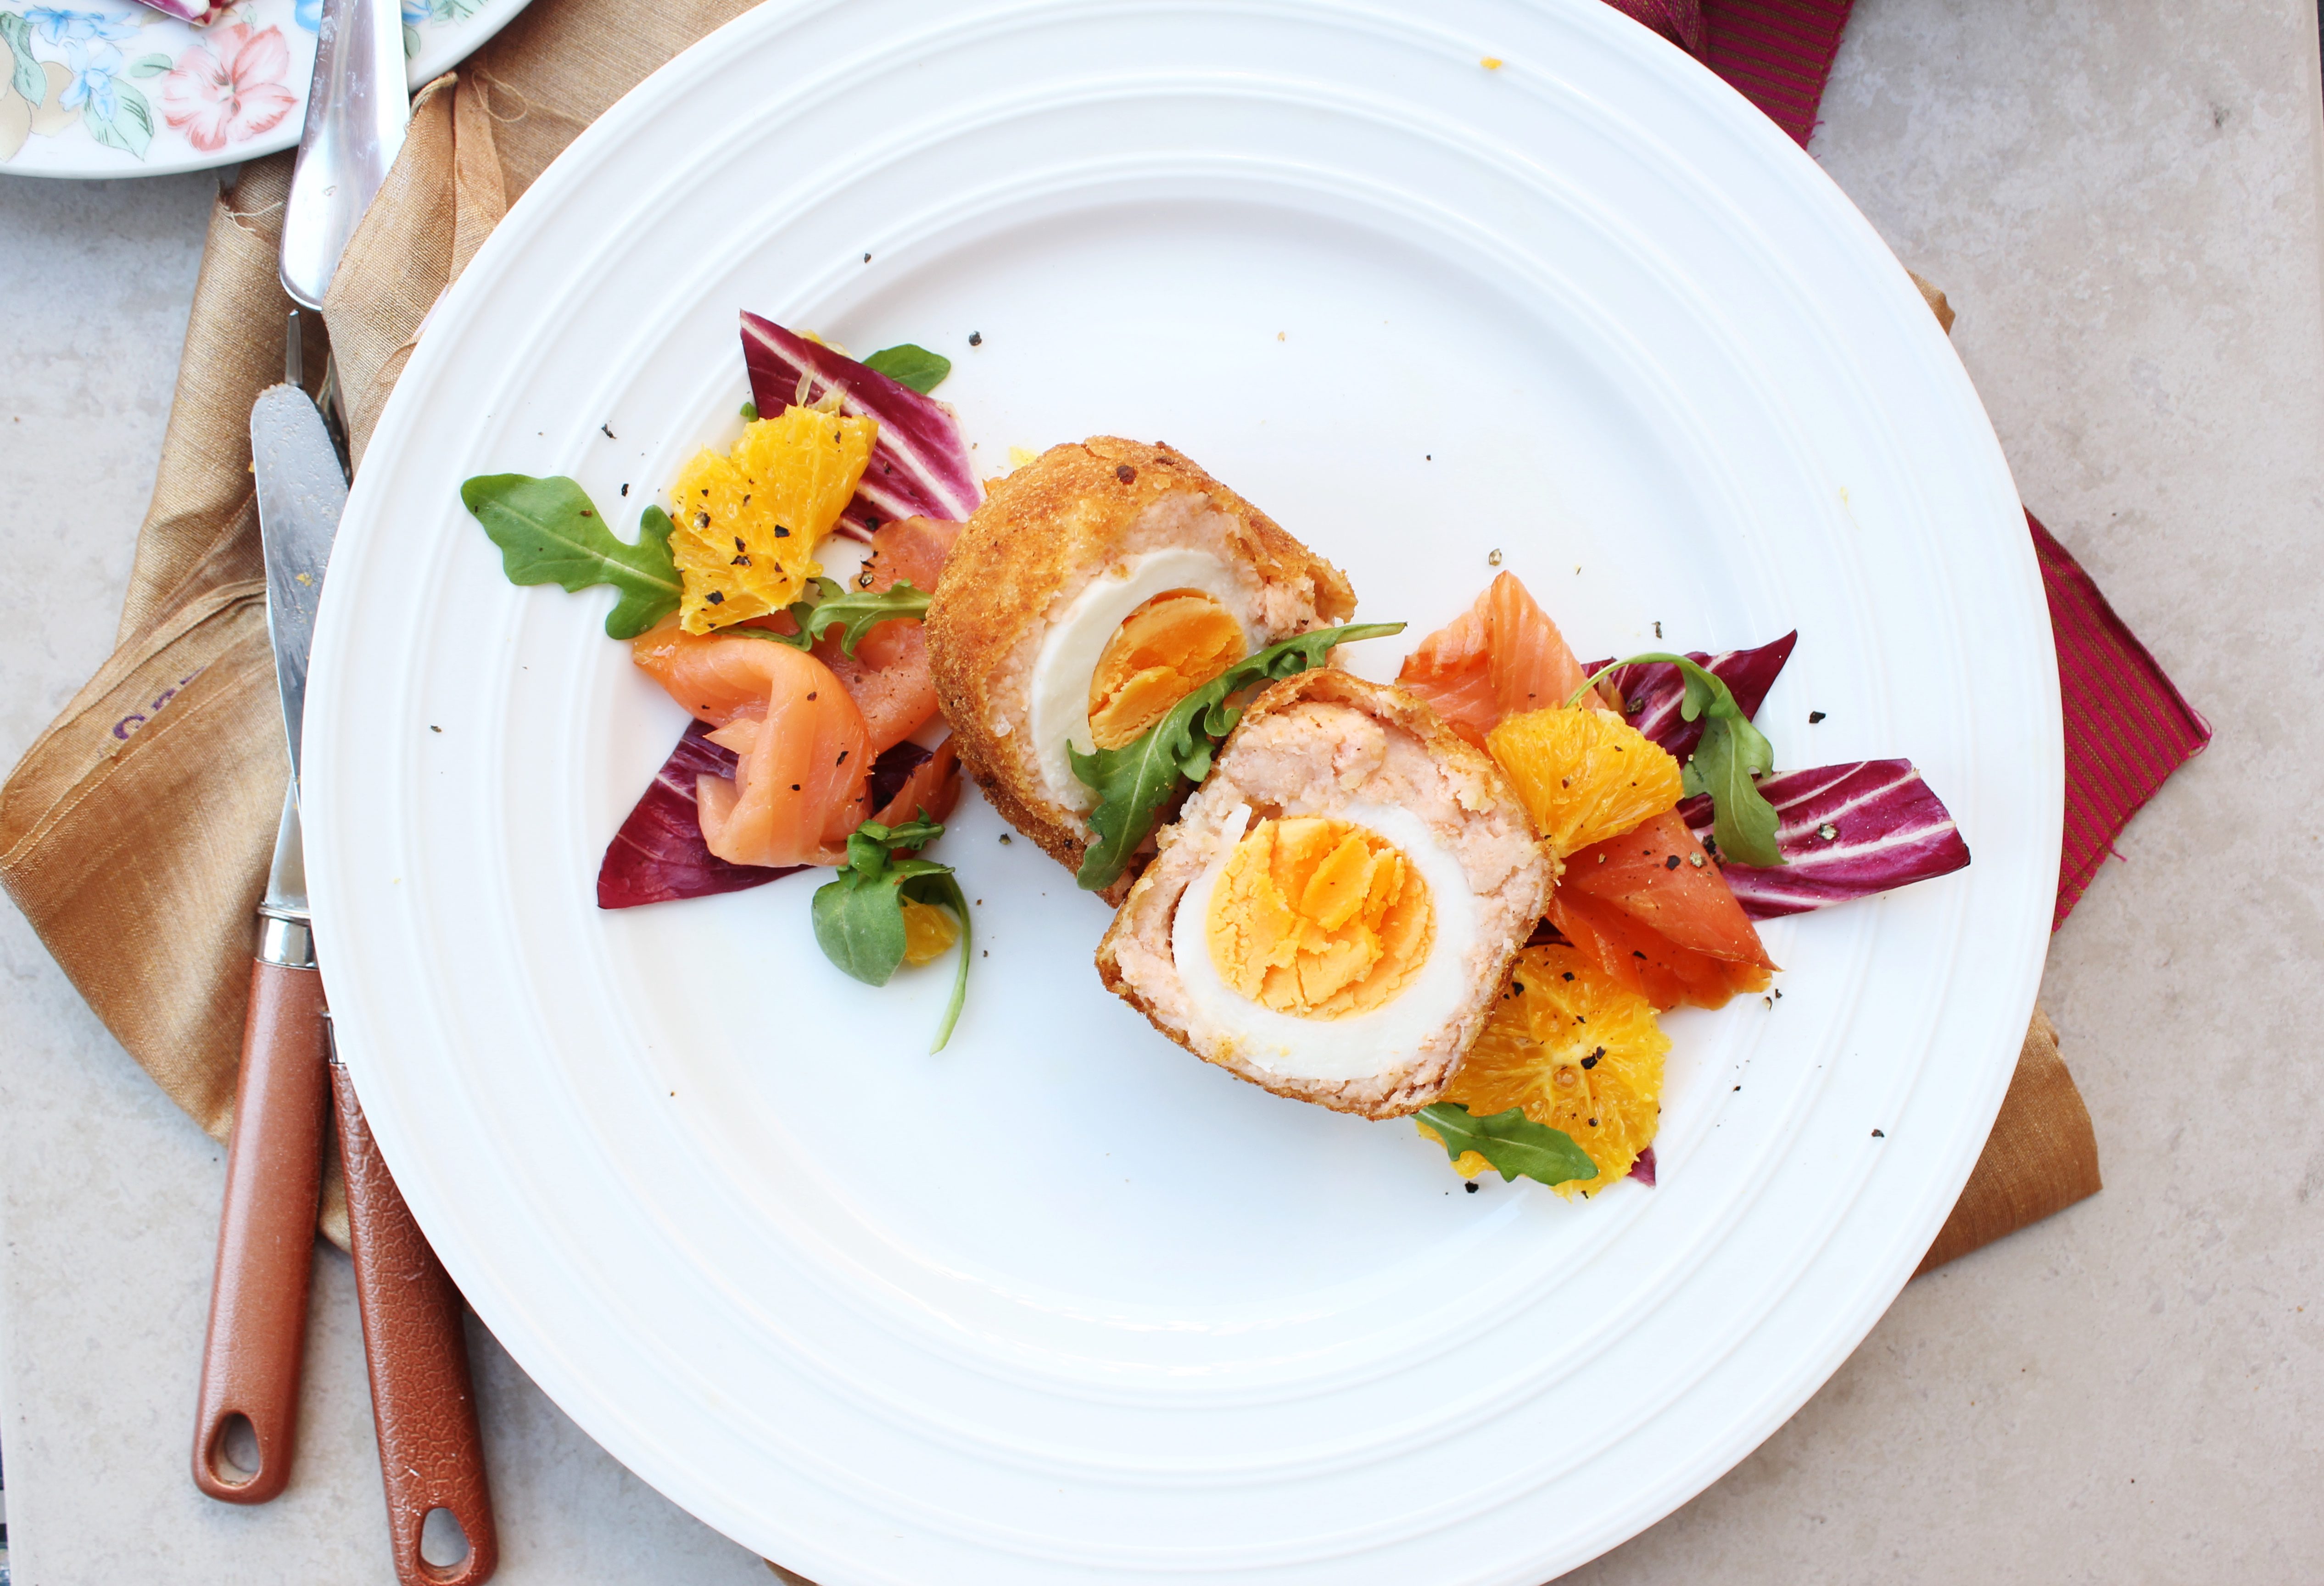
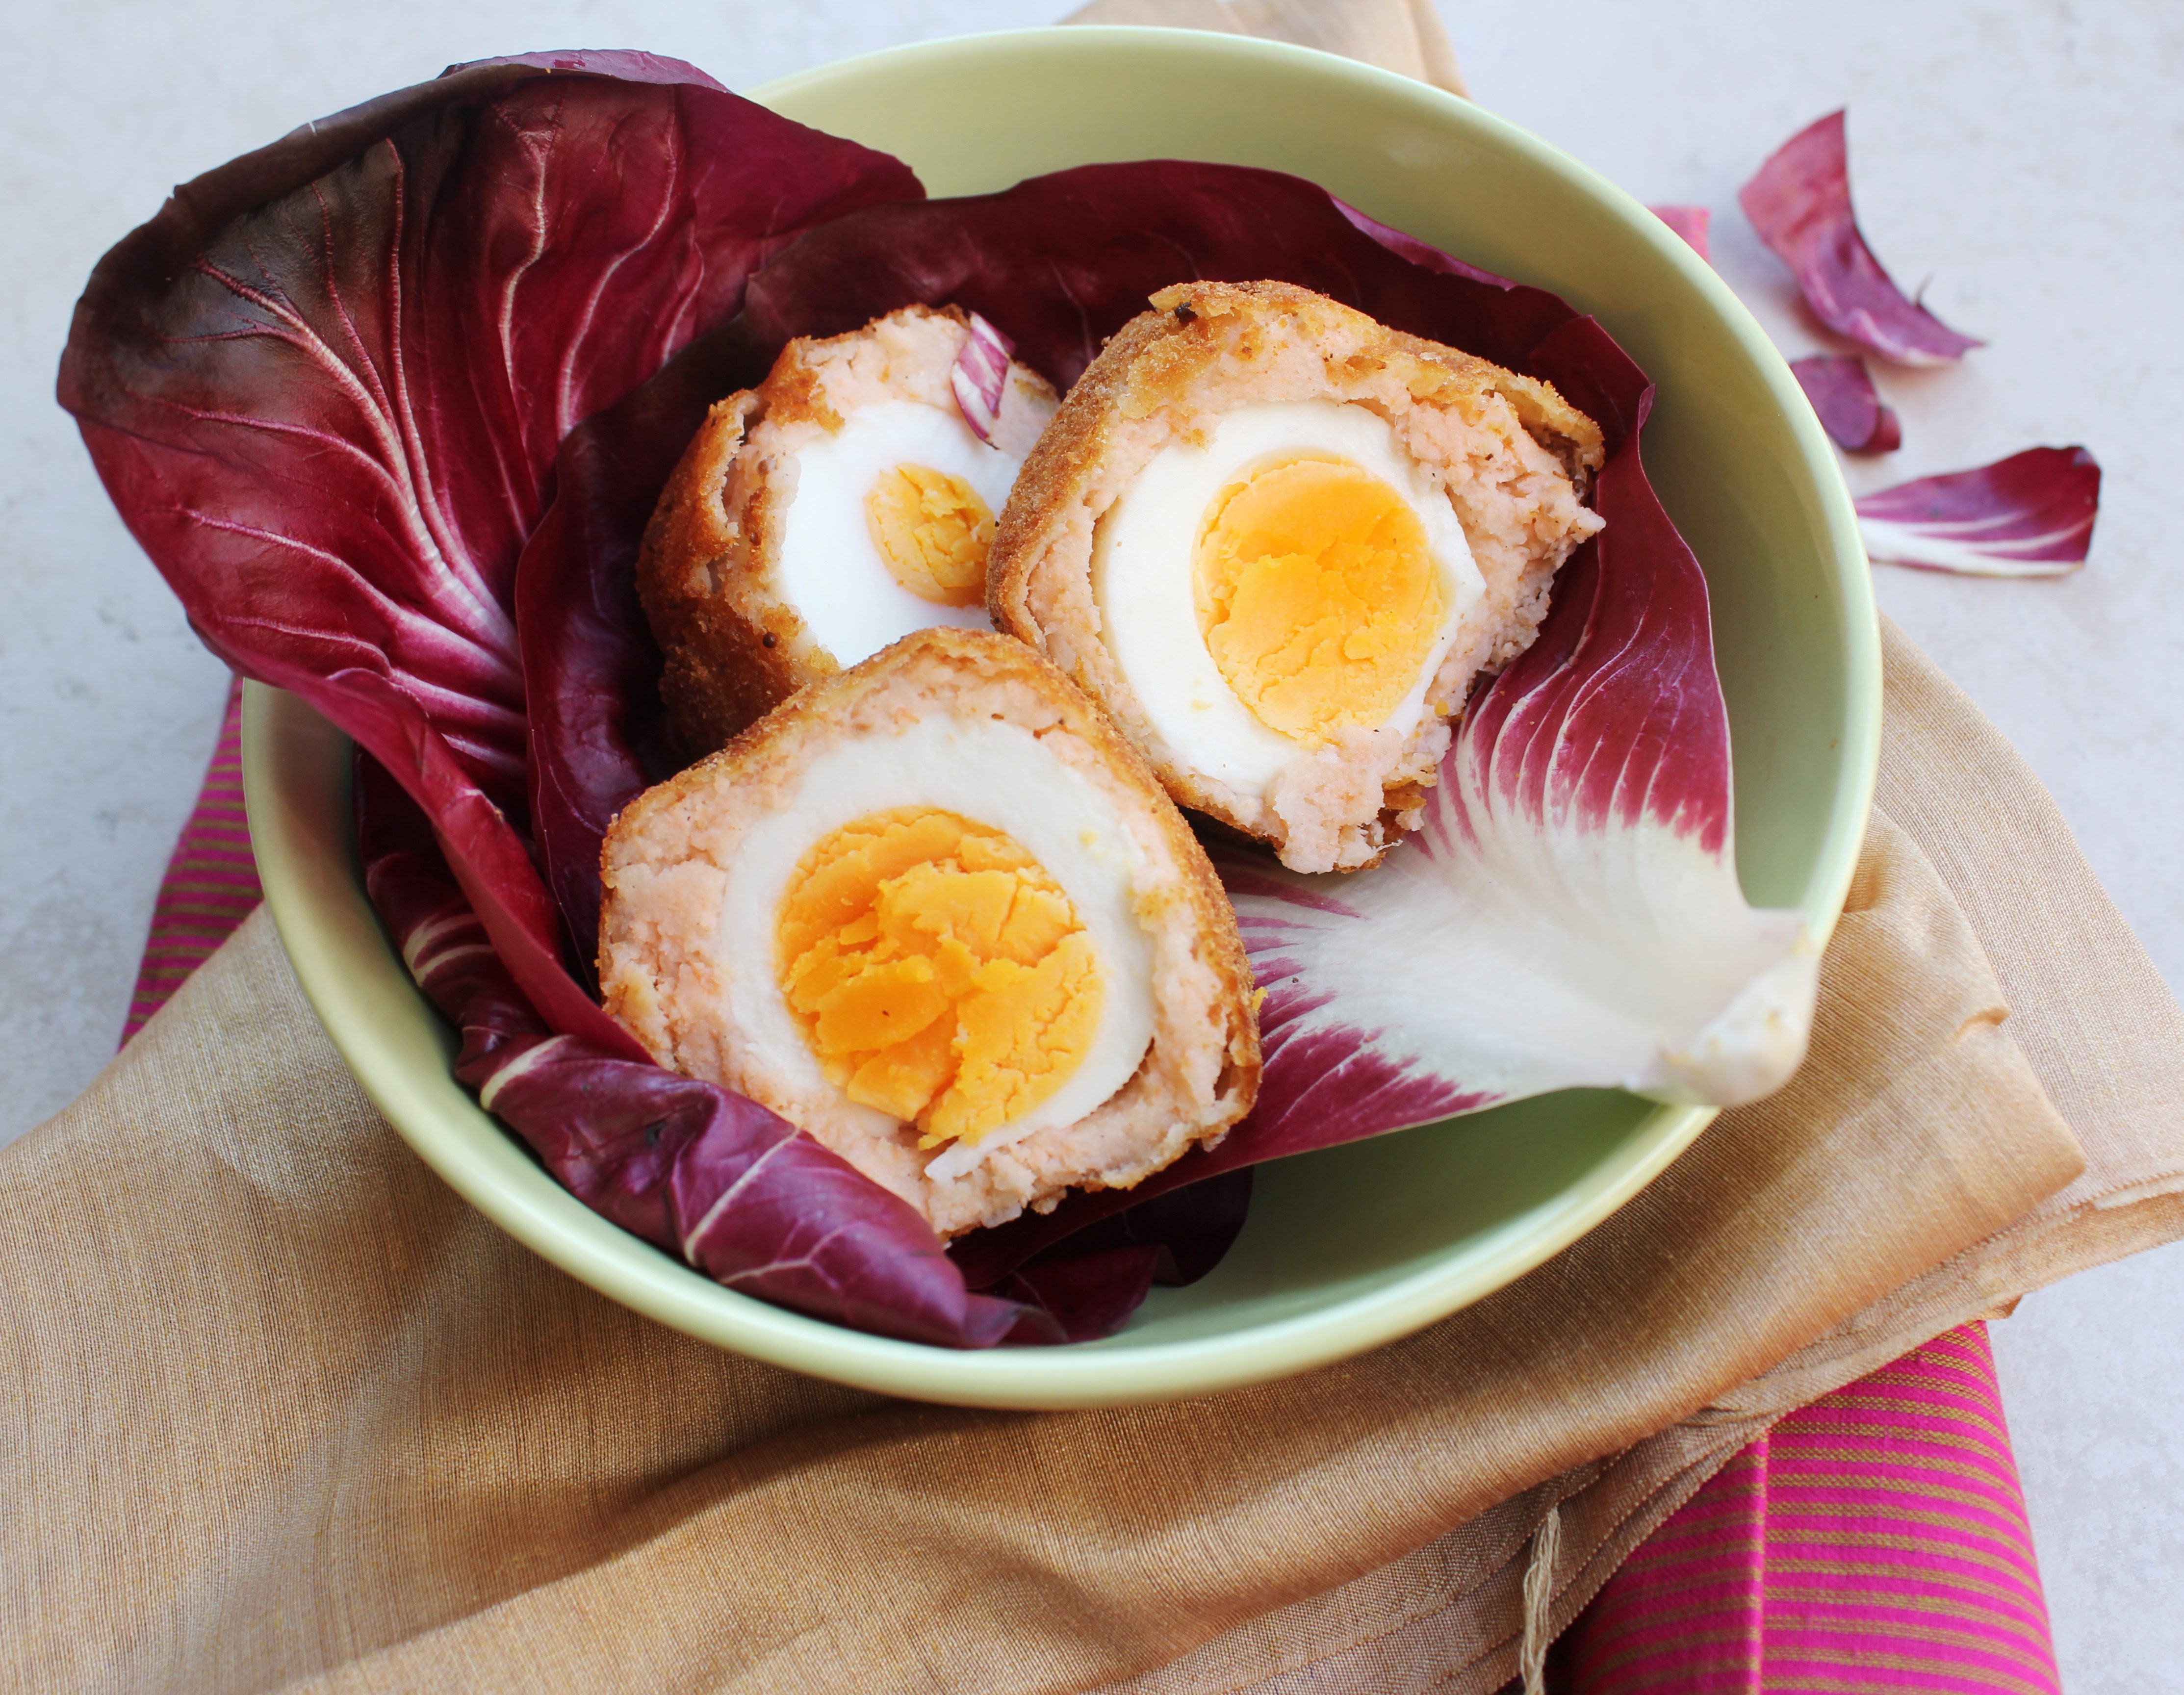
If you love entertaining and look for recipes that are simple yet impressive, I’ve got just that for you today. Scotch eggs are great as a starter or a snack or even a side dish. Typically, a Scotch egg is a hard boiled egg encased in sausage meat mixture, crumbed and deep fried. Of course there are many variations that exist mainly in the type of casing that is used. Any kind of mince would work and the type of seasoning largely determines the flavours.

IMG_4824 (2)

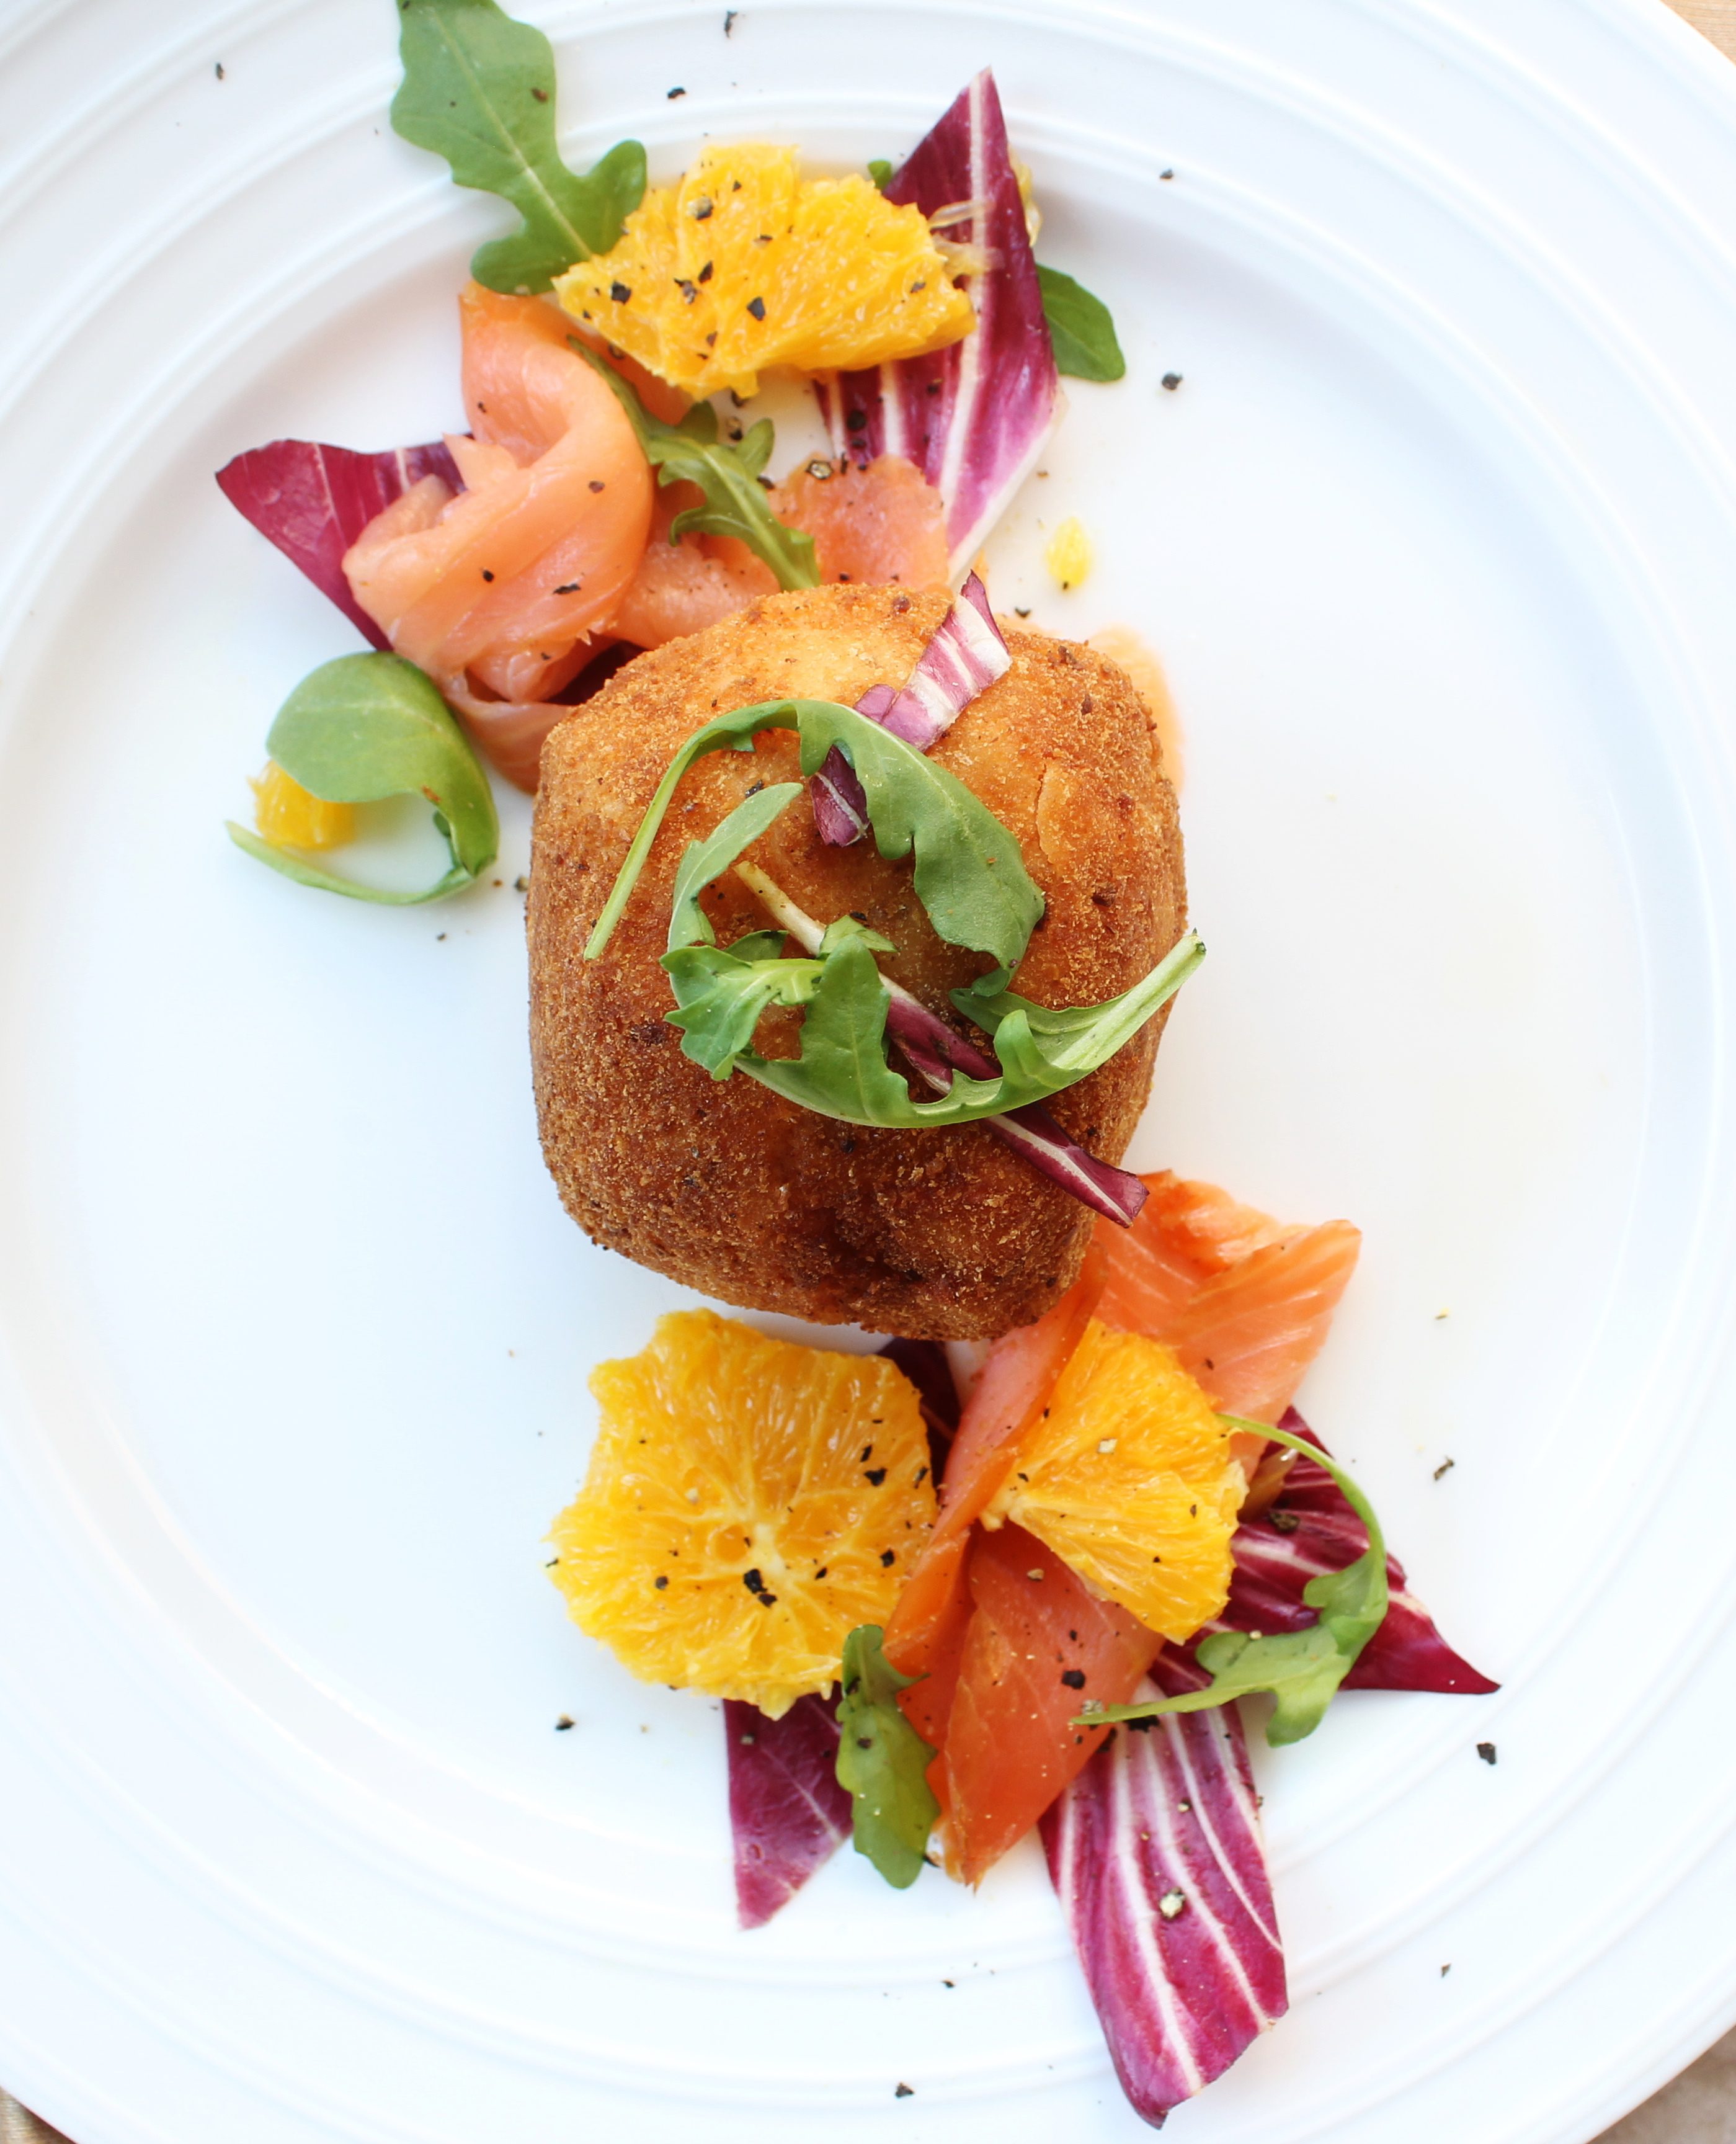
Tweaking the classic ingredients, I used Smoked Salmon to coat the egg and that gave the dish a delicate appeal. It barely took any time to get this ready but the reactions of the people at the table were worth noting. I served it with a orange radicchio salad to have some sweet, bitter tangy flavours on the plate. You can serve it with with any salad of your choice or a simple lemon aioli (lemon infused mayonnaise). I enjoyed plating up this dish as the colours look lovely together. However, I just managed a few photographs with guests waiting at the table.

IMG_4832 (1)

IMG_4849 (1)

I have been very busy lately. And I apologise for being a bit late in visiting my blogger friends. Most of the times I click through the links but unable to complete reading the full post and make a mental note to go back. And then the backlog just builds up. Along with the number of incomplete drafts in my folders. At times I wish there were more hours to a day. No..not really…then I might have not made it to the bed at all and slept off at my desk.
The good news is that its Spring at last and it’s showing. Everywhere.! I love Spring and what it does to the world!


IMG_4854 (1)


Smoked Salmon Scotch Eggs with Orange Radicchio Salad

Smoked Salmon Scotch Eggs

4 hard boiled eggs
100 g smoked salmon, roughly chopped
2 medium potatoes, boiled and mashed
1 clove garlic
1/2 onion roughly chopped
1 tsp mixed dried herbs (or freshly chopped)
1/2 cup plain flour for dredging
1 large egg lightly beaten
1/2 cup breadcrumbs (I used ordinary breadcrumbs as I ran out of Panko. If available, I prefer using Panko breadcrumbs)
salt and pepper for seasoning
Vegetable oil for deep frying

Place the smoked salmon, garlic, onion and mixed herbs into a food processor and pulse briefly to combine. Transfer the mixture into a bowl and mix with the mashed potatoes. Season with salt and black pepper, mixing well to combine.
Divide the mixture into four, mould one portion around a boiled egg and roll it into a circle. Repeat with the remaining mixture and boiled eggs. Dredge the salmon-wrapped eggs in flour, then dip quickly into the beaten egg to coat. Spread the breadcrumbs out on a plate and roll the wrapped eggs in the breadcrumbs. Repeat the process, dipping each wrapped egg again into the beaten egg and breadcrumbs until thoroughly coated.
Heat vegetable oil in a heavy bottomed pan or wok. Carefully place the eggs into the hot oil, a few at a time, and deep-fry for 2-3 minutes, or until golden-brown and crisp on the outside. Remove from the oil with a slotted spoon and drain on kitchen paper.

Orange Radicchio Salad

2 Navel Oranges peeled and segmented
A few leaves of radicchio, coarsely torn
A handful rocket leaves
2-3 thinly sliced smoked salmon, coarsely chopped
1 tsp honey
1 tbsp lemon juice
1 tbsp extra virgin olive oil

Place the first 4 ingrdients together in a large bowl. Mix the remaining ingredients together to make the dressing. Pour onto the bowl just before serving. Toss to combine.

To plate: Place a scotch egg in the centre of the plate. Arrange the salad around the scotch egg horizontally. Drizzle with a bit of extra virgin olive oil and sprinkle with cracked pepper.


Gluten Free Bittersweet Chocolate Chunk and Pecan Torte

3|09|2013

I hope you all had a lovely weekend. Some of you on the other side of the hemisphere had a long one. I wish ours was as long but nevertheless it was a fantastic one.  We celebrated Father’s day here in Australia on Sunday.  Since my little ones are getting better at keeping secrets we had quite a few surprises planned for Daddy this time. And I was relieved that none of them were given away, innocently.. like the previous years. Between a fancy home cooked breakfast and dinner we planned lunch outside so I wouldn’t end up spending the entire day in the kitchen. But the highlight of the day was this Gluten Free Torte.

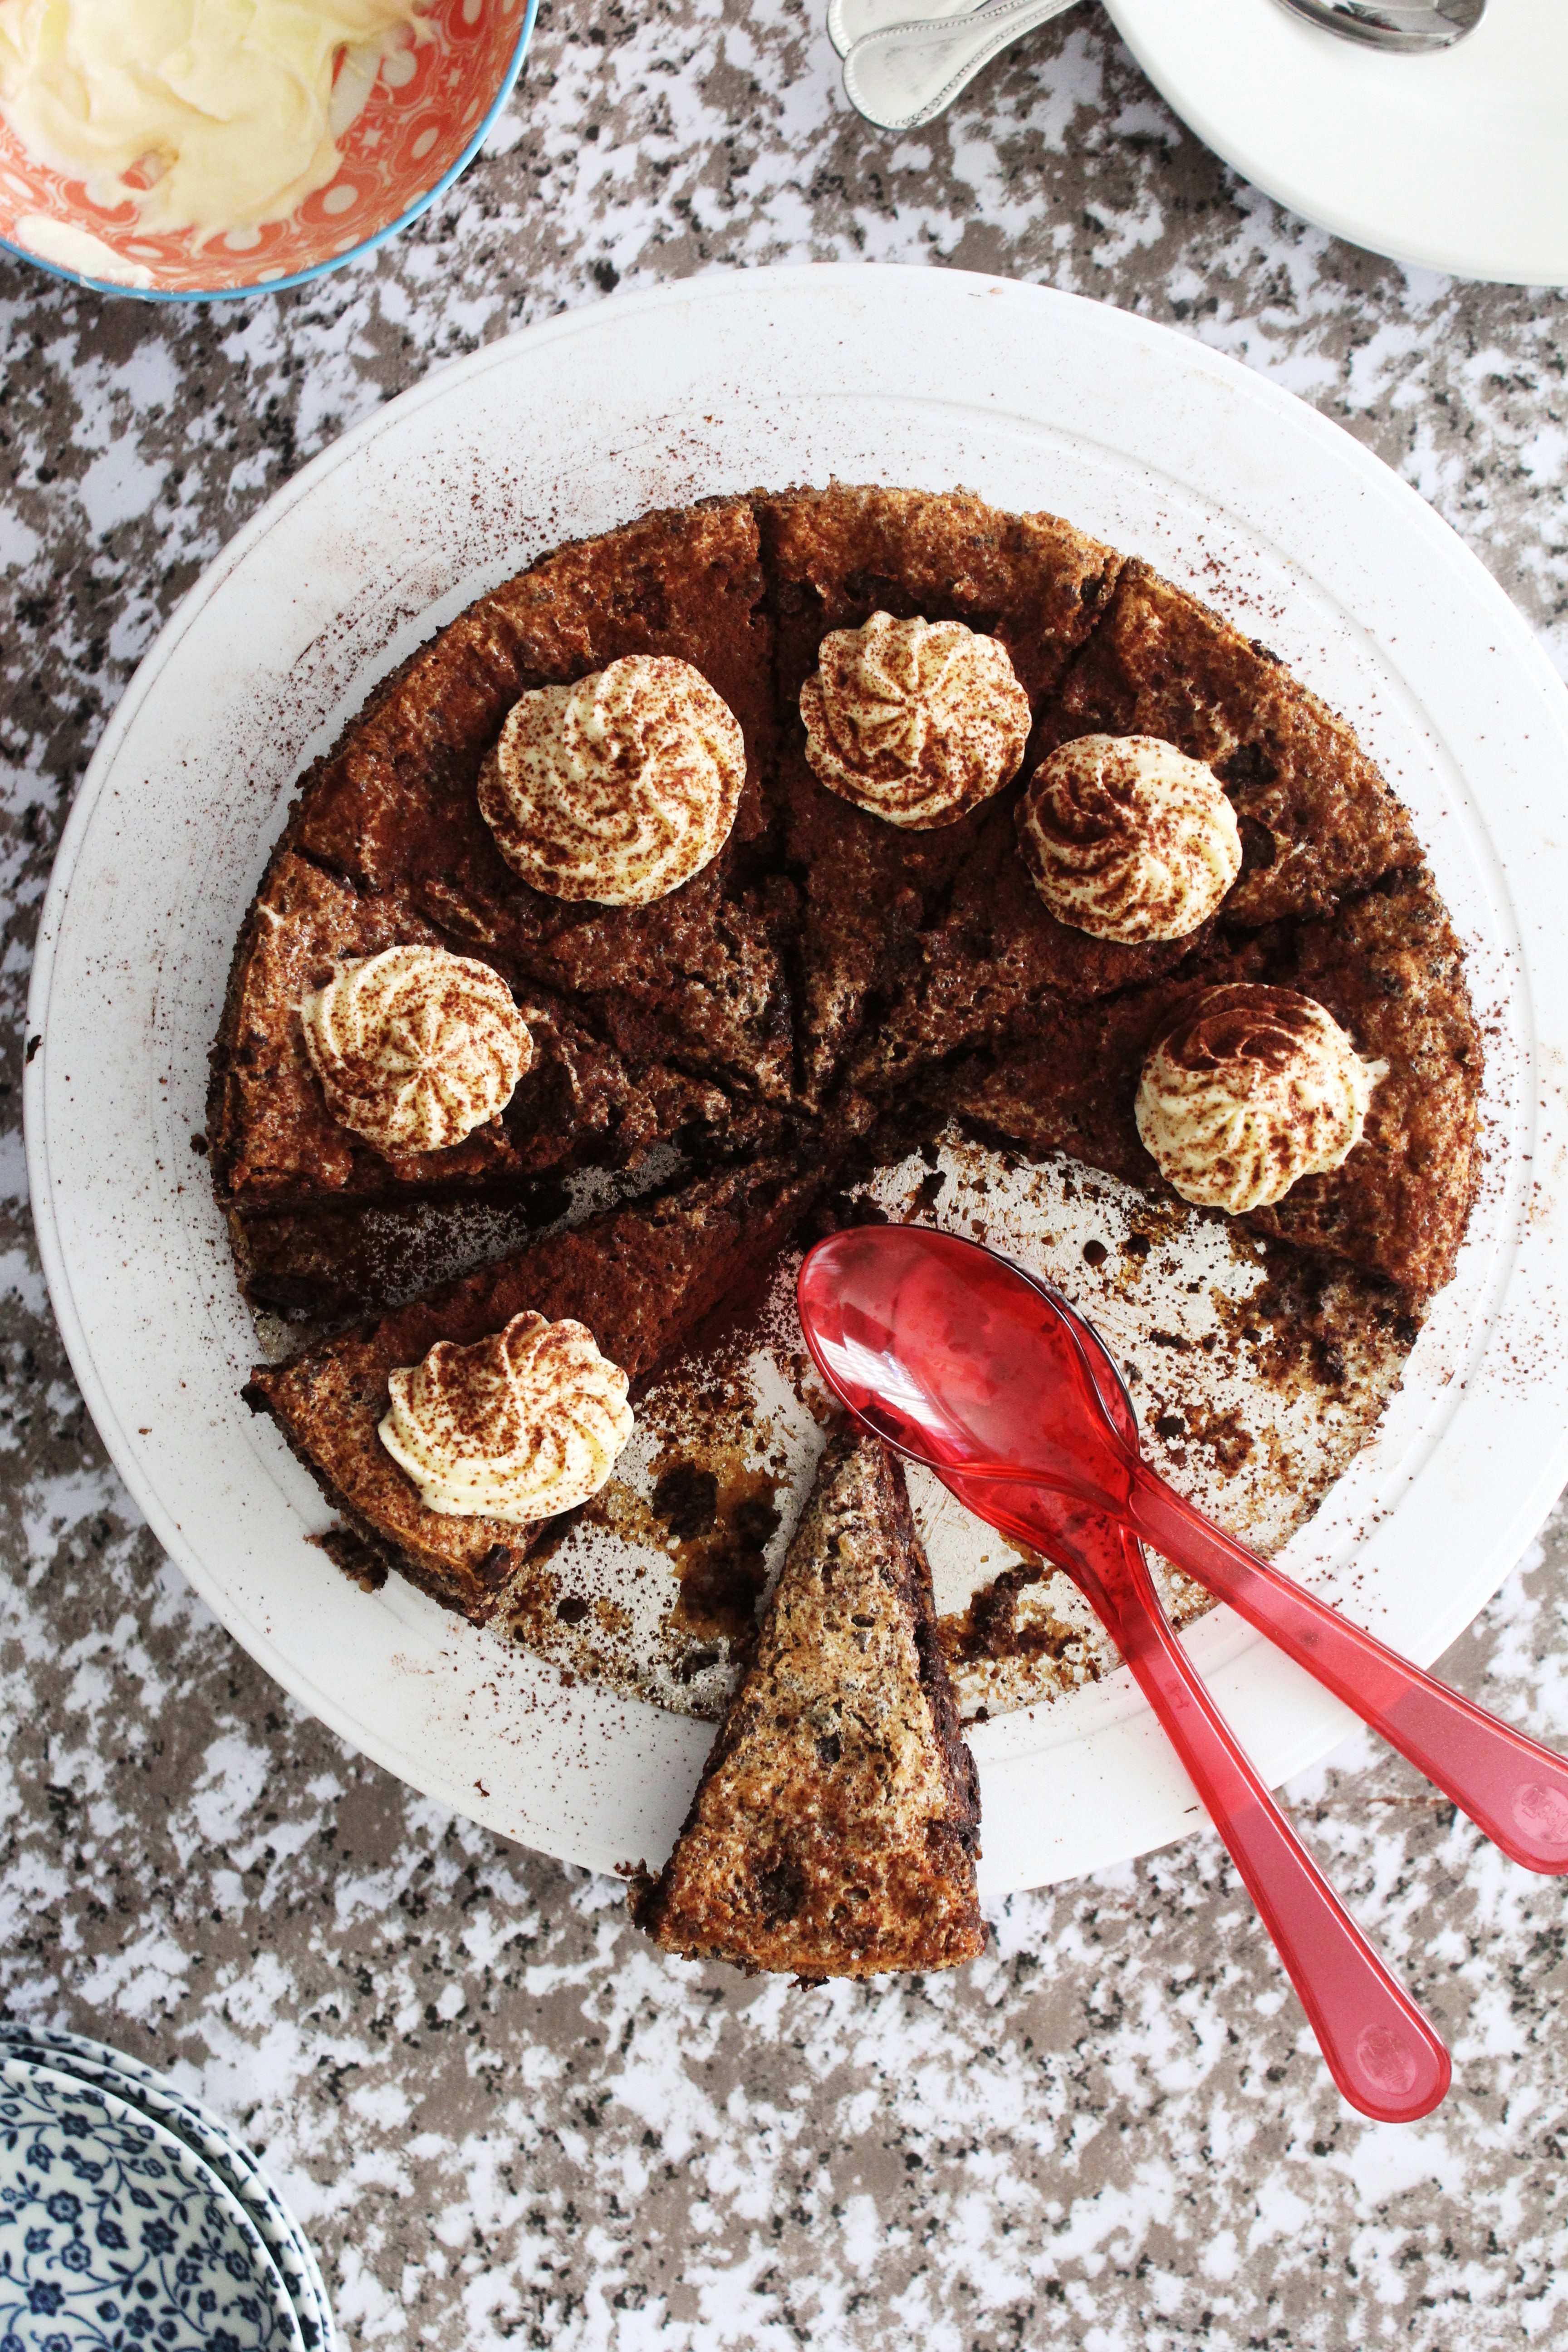
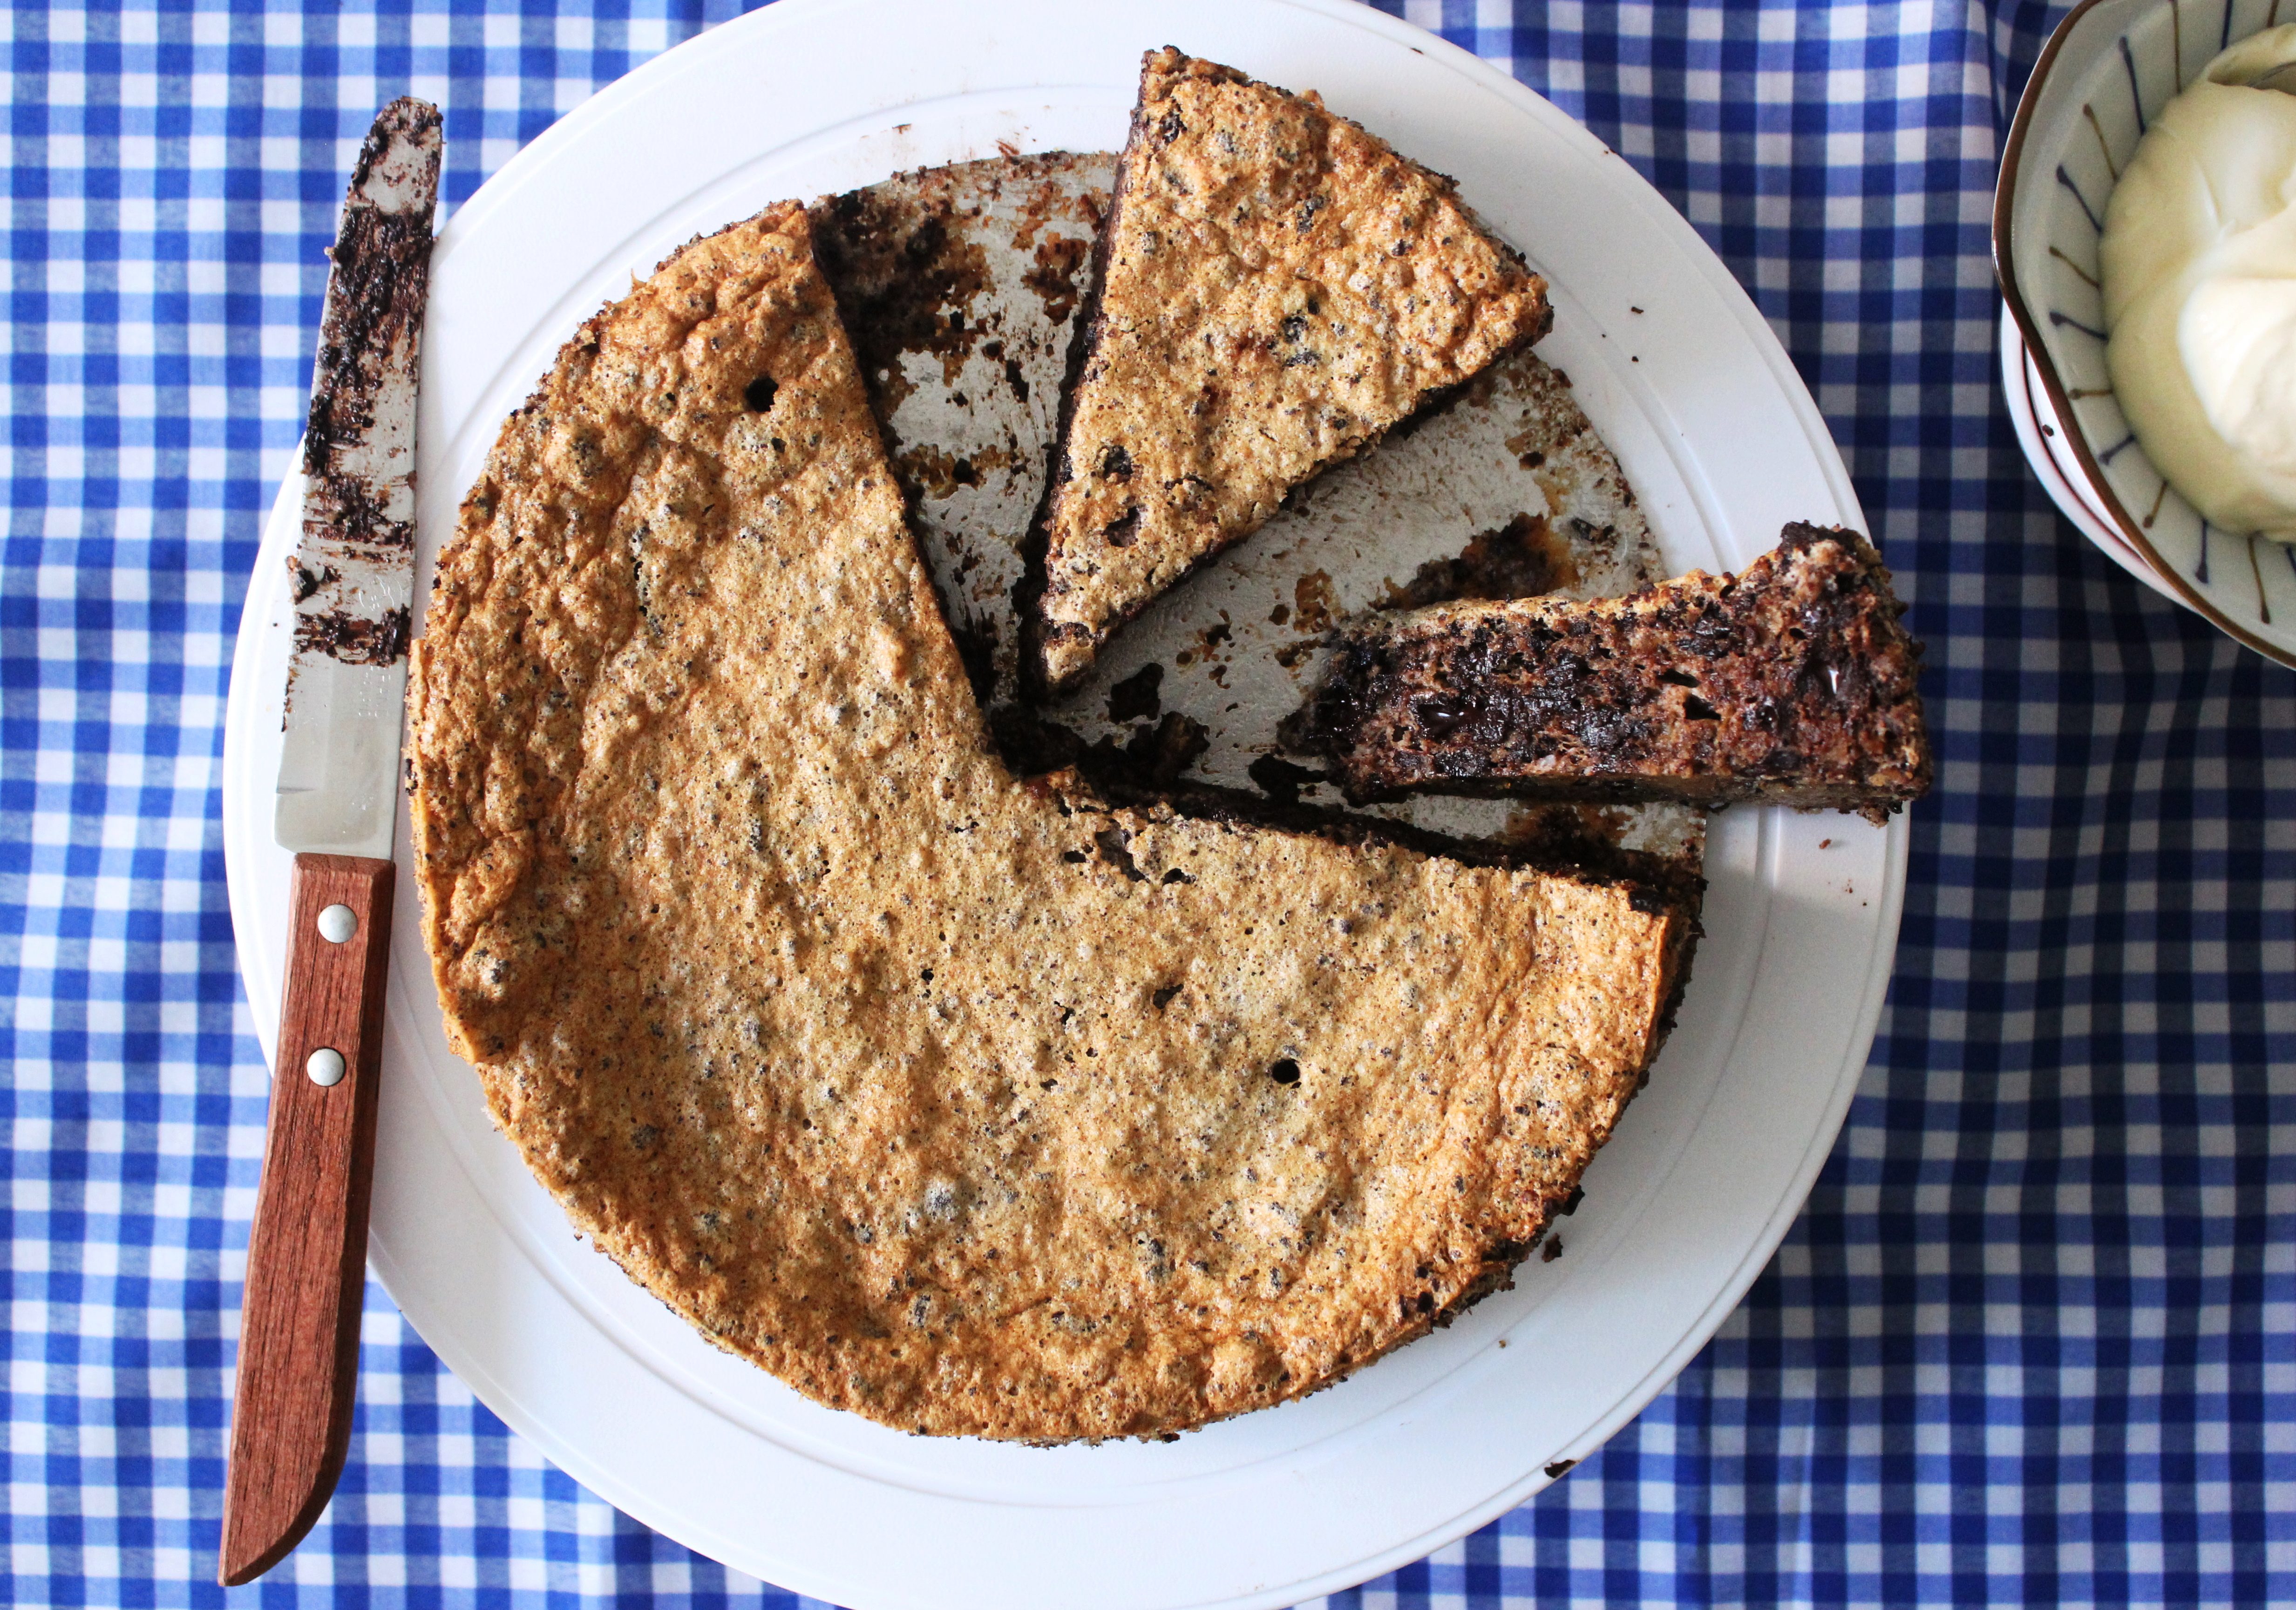
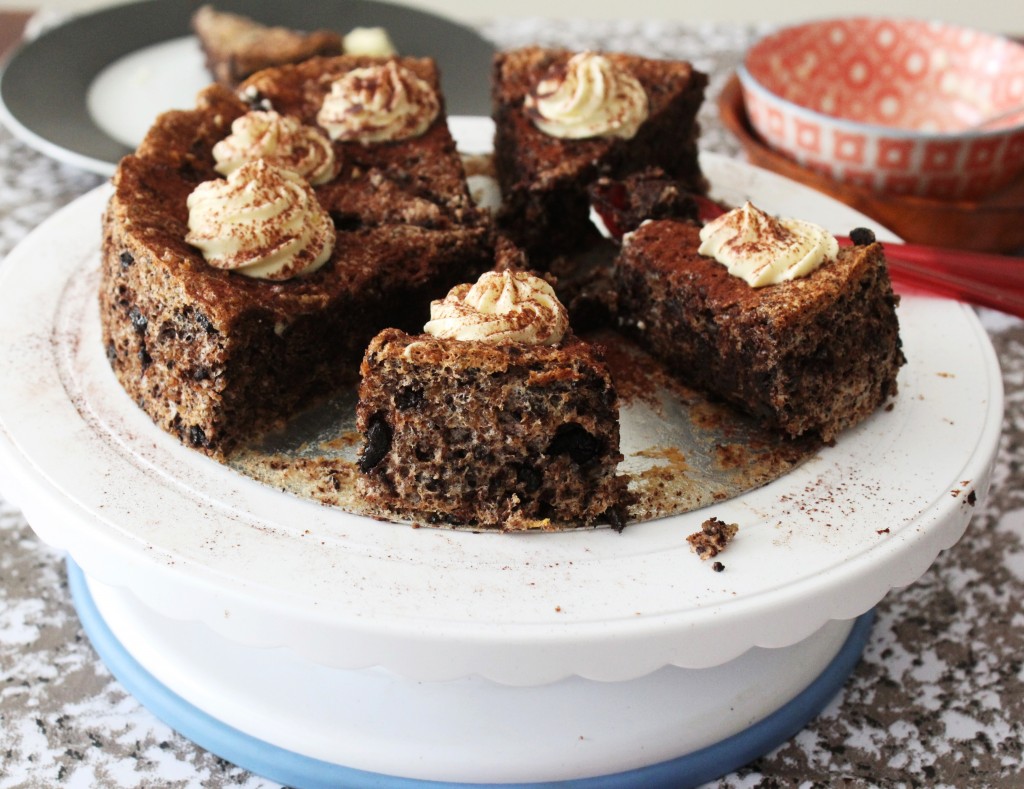
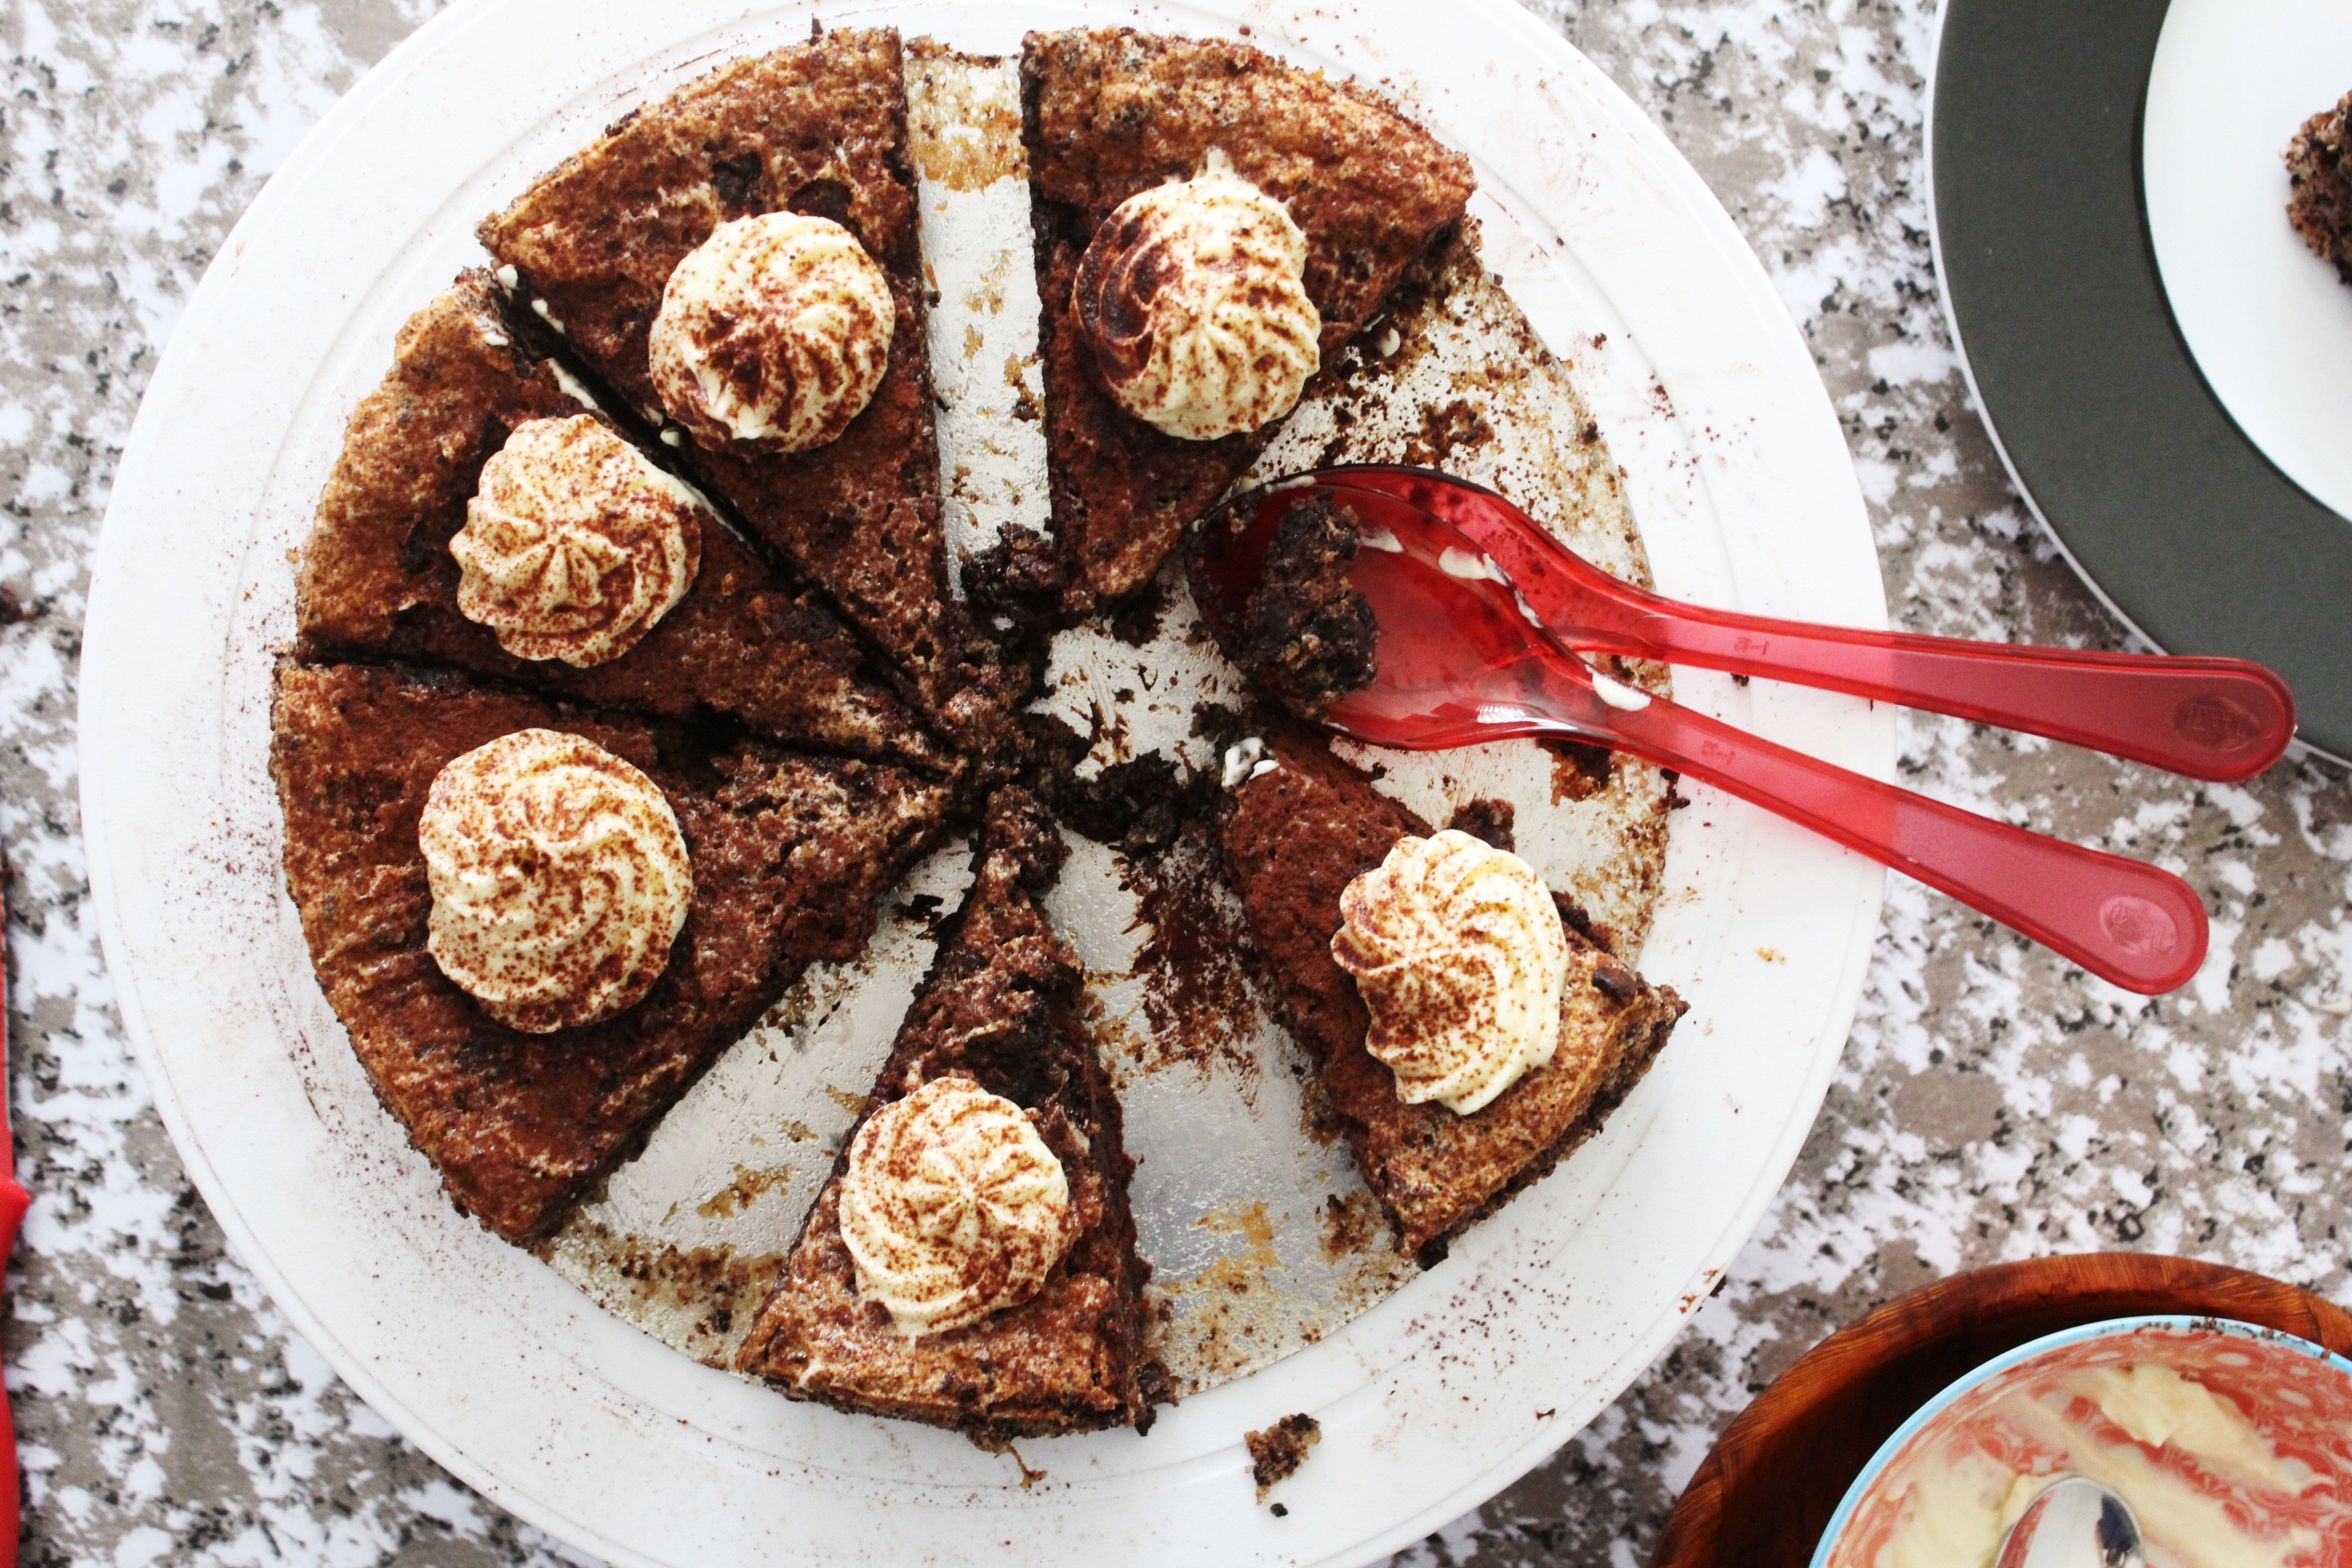
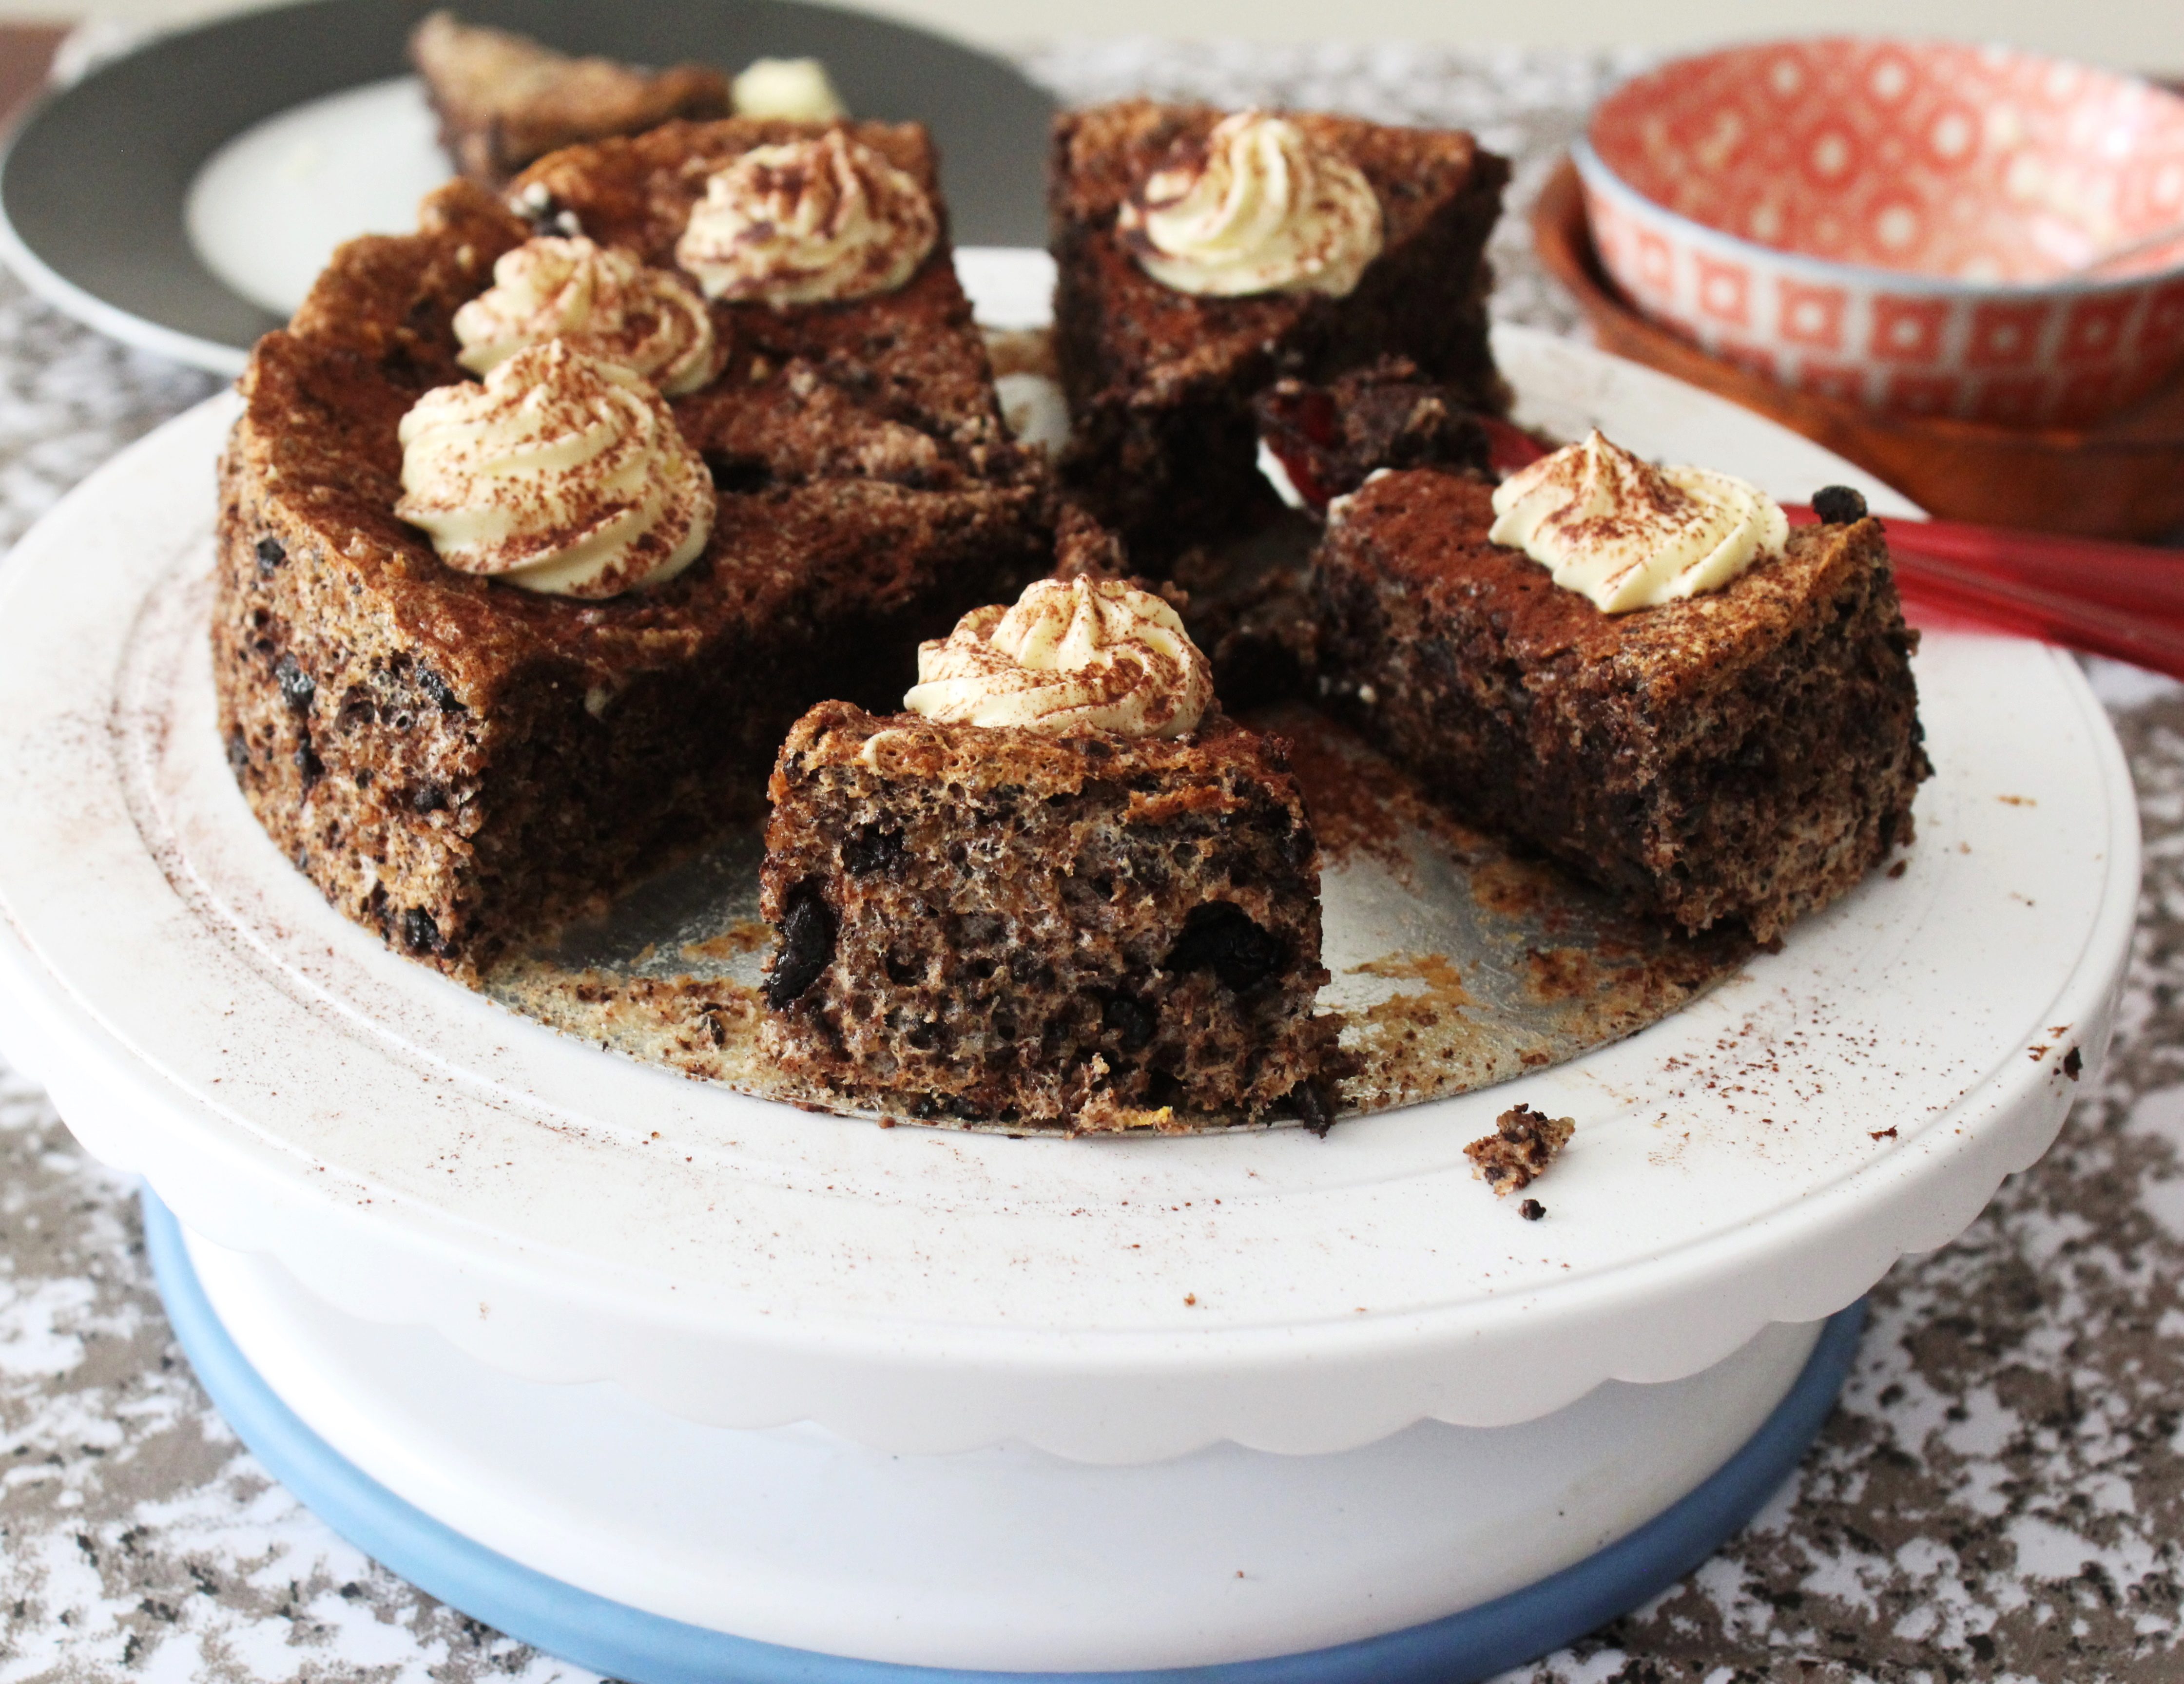
IMG_4963 (1)My husband is not too much into desserts but a chocolate indulgence here and there doesn’t hurt. So I was not surprised when he chose this Torte out of the options I gave him. Well, if you ask me ANYBODY would. A flourless, butterless cake with bits and chunks of bittersweet chocolate and pecans with the perfect moist gooey texture. It takes a lot on your part to resist the temptation of eating spoonfuls of batter before it goes into the oven and even worse when the Torte is cooling down. I can say with absolute certainty that this is the best thing I have ever baked in my life. My family loved it.

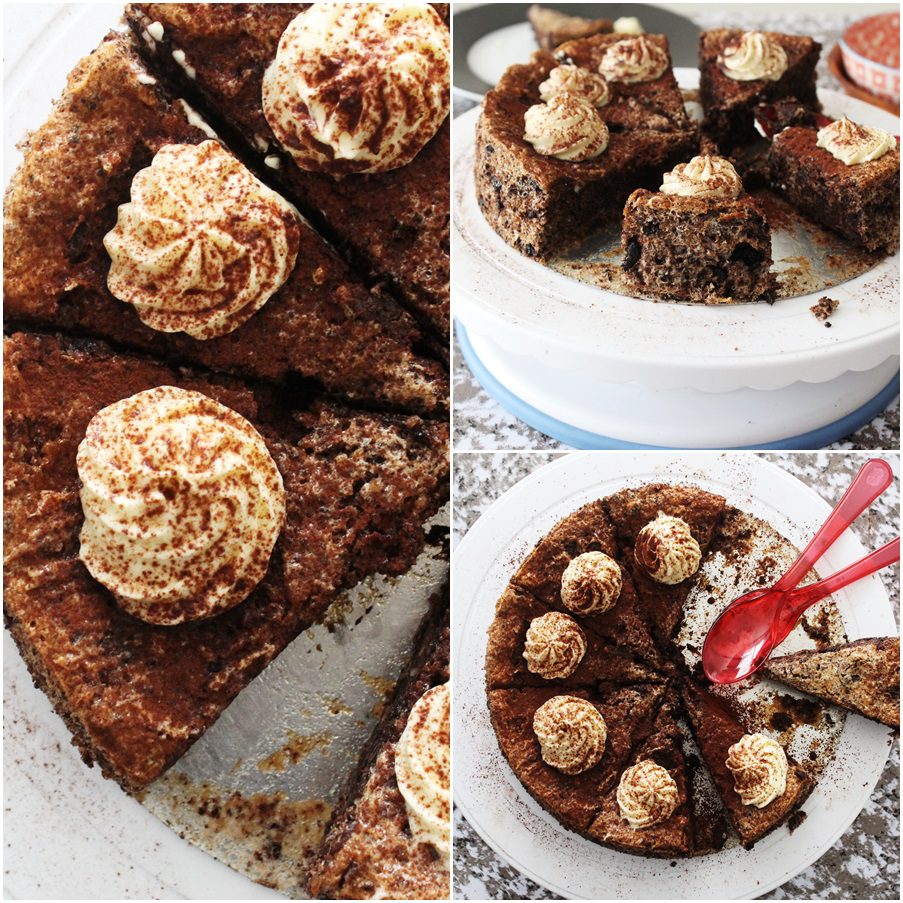
IMG_4923 (2)IMG_4977 (1)IMG_4973 (1)The Torte is actually quite light despite the chocolate overload in it. Needless to say, a good quality chocolate with a high percentage of cocoa butter ( I used Lindt 70% Cocoa) makes all the difference in this recipe. This is such a beautiful dessert whether you are serving it for a dinner party or for a special celebration. Taste aside, what I love the most about this Torte is the way it looks. So rustic…with specs of dark chocolate held together be a delicious meringue. And this is why you don’t need any fancy decoration to go with it even for a birthday party. Whipped cream contrasts the bittersweet flavour perfectly so a dollop of it or simply some swirls on the Torte is enough. Dust a little cocoa powder and there you have it.

Chocolate indulgence..the guilt free way (that’s what the best ‘Daddy’ in the world likes to call it)!

page

Linking up with the September Chocolate Party.
Bring your favorite chocolate dessert to Roxana’s home baking #chocolateparty and win amazing prizes from OXO, Calphalon, Keurig, Imperial Sugar, Honey Ridge Farms and Land O Lakes® Butter


Gluten Free Bittersweet Chocolate Chunk and Pecan Torte (adapted with variation from Fine Cooking)
Serves 8-10

100 g (about 1 cup) pecans/walnuts, or any nut of your choice  (I used pecans and walnuts. As I was running short of the exact amount of pecans, I added some walnuts)
125 g (about 1/2 cup plus 2 Tbsp ) sugar
250 g good quality bittersweet chocolate (70% to 72% cacao), coarsely chopped
Finely grated zest of 1 medium orange (optional)
1/8 tsp. salt
7 egg whites (from large eggs), about 1 cup
1/2 tsp. cream of tartar

Position a rack in the lower third of the oven and preheat the oven to 180 degree C. Lightly grease the bottom and sides of a 8-inch springform pan.

Pulse the pecans/walnuts with 1 Tbsp of the sugar in a food processor until finely ground. Scrape the nuts into another bowl. Use a paper towel to wipe excess oil from the sides of the processor bowl, add the chocolate with 1 Tbsp. sugar, and pulse until it forms crumbs ranging in size from coarse meal to 1/4-inch bits. Add the chocolate to the nuts, along with the orange zest, if using, and salt, and stir to combine. Set aside.

Using an electric mixer, beat the egg whites with the cream of tartar in a large clean, dry bowl at medium speed until the egg whites are creamy white and soft peaks are formed when the beaters are lifted. Gradually add the remaining 1/2 cup sugar, beating at medium-high speed until the egg whites are glossy and stiff but not dry.

Pour half of the chocolate mixture over the egg whites and fold in with a large rubber spatula until nearly incorporated. Repeat with the  remaining chocolate mixture, folding just until evenly incorporated.

Scrape the batter into the prepared pan and spread it evenly. Bake for 25 to 30 minutes, until the Torte is puffed and golden brown on top and springs back when gently pressed with your fingers; a toothpick inserted in the center should come out moist and possibly stained with melted chocolate, but not coated with raw batter. Set the pan on a rack to cool. Slide a thin knife or a small metal spatula around the sides of the Torte to release it from the pan. Remove the pan sides and transfer the cake to a serving platter.

Serve slices with a dollop or swirl of whipped cream.


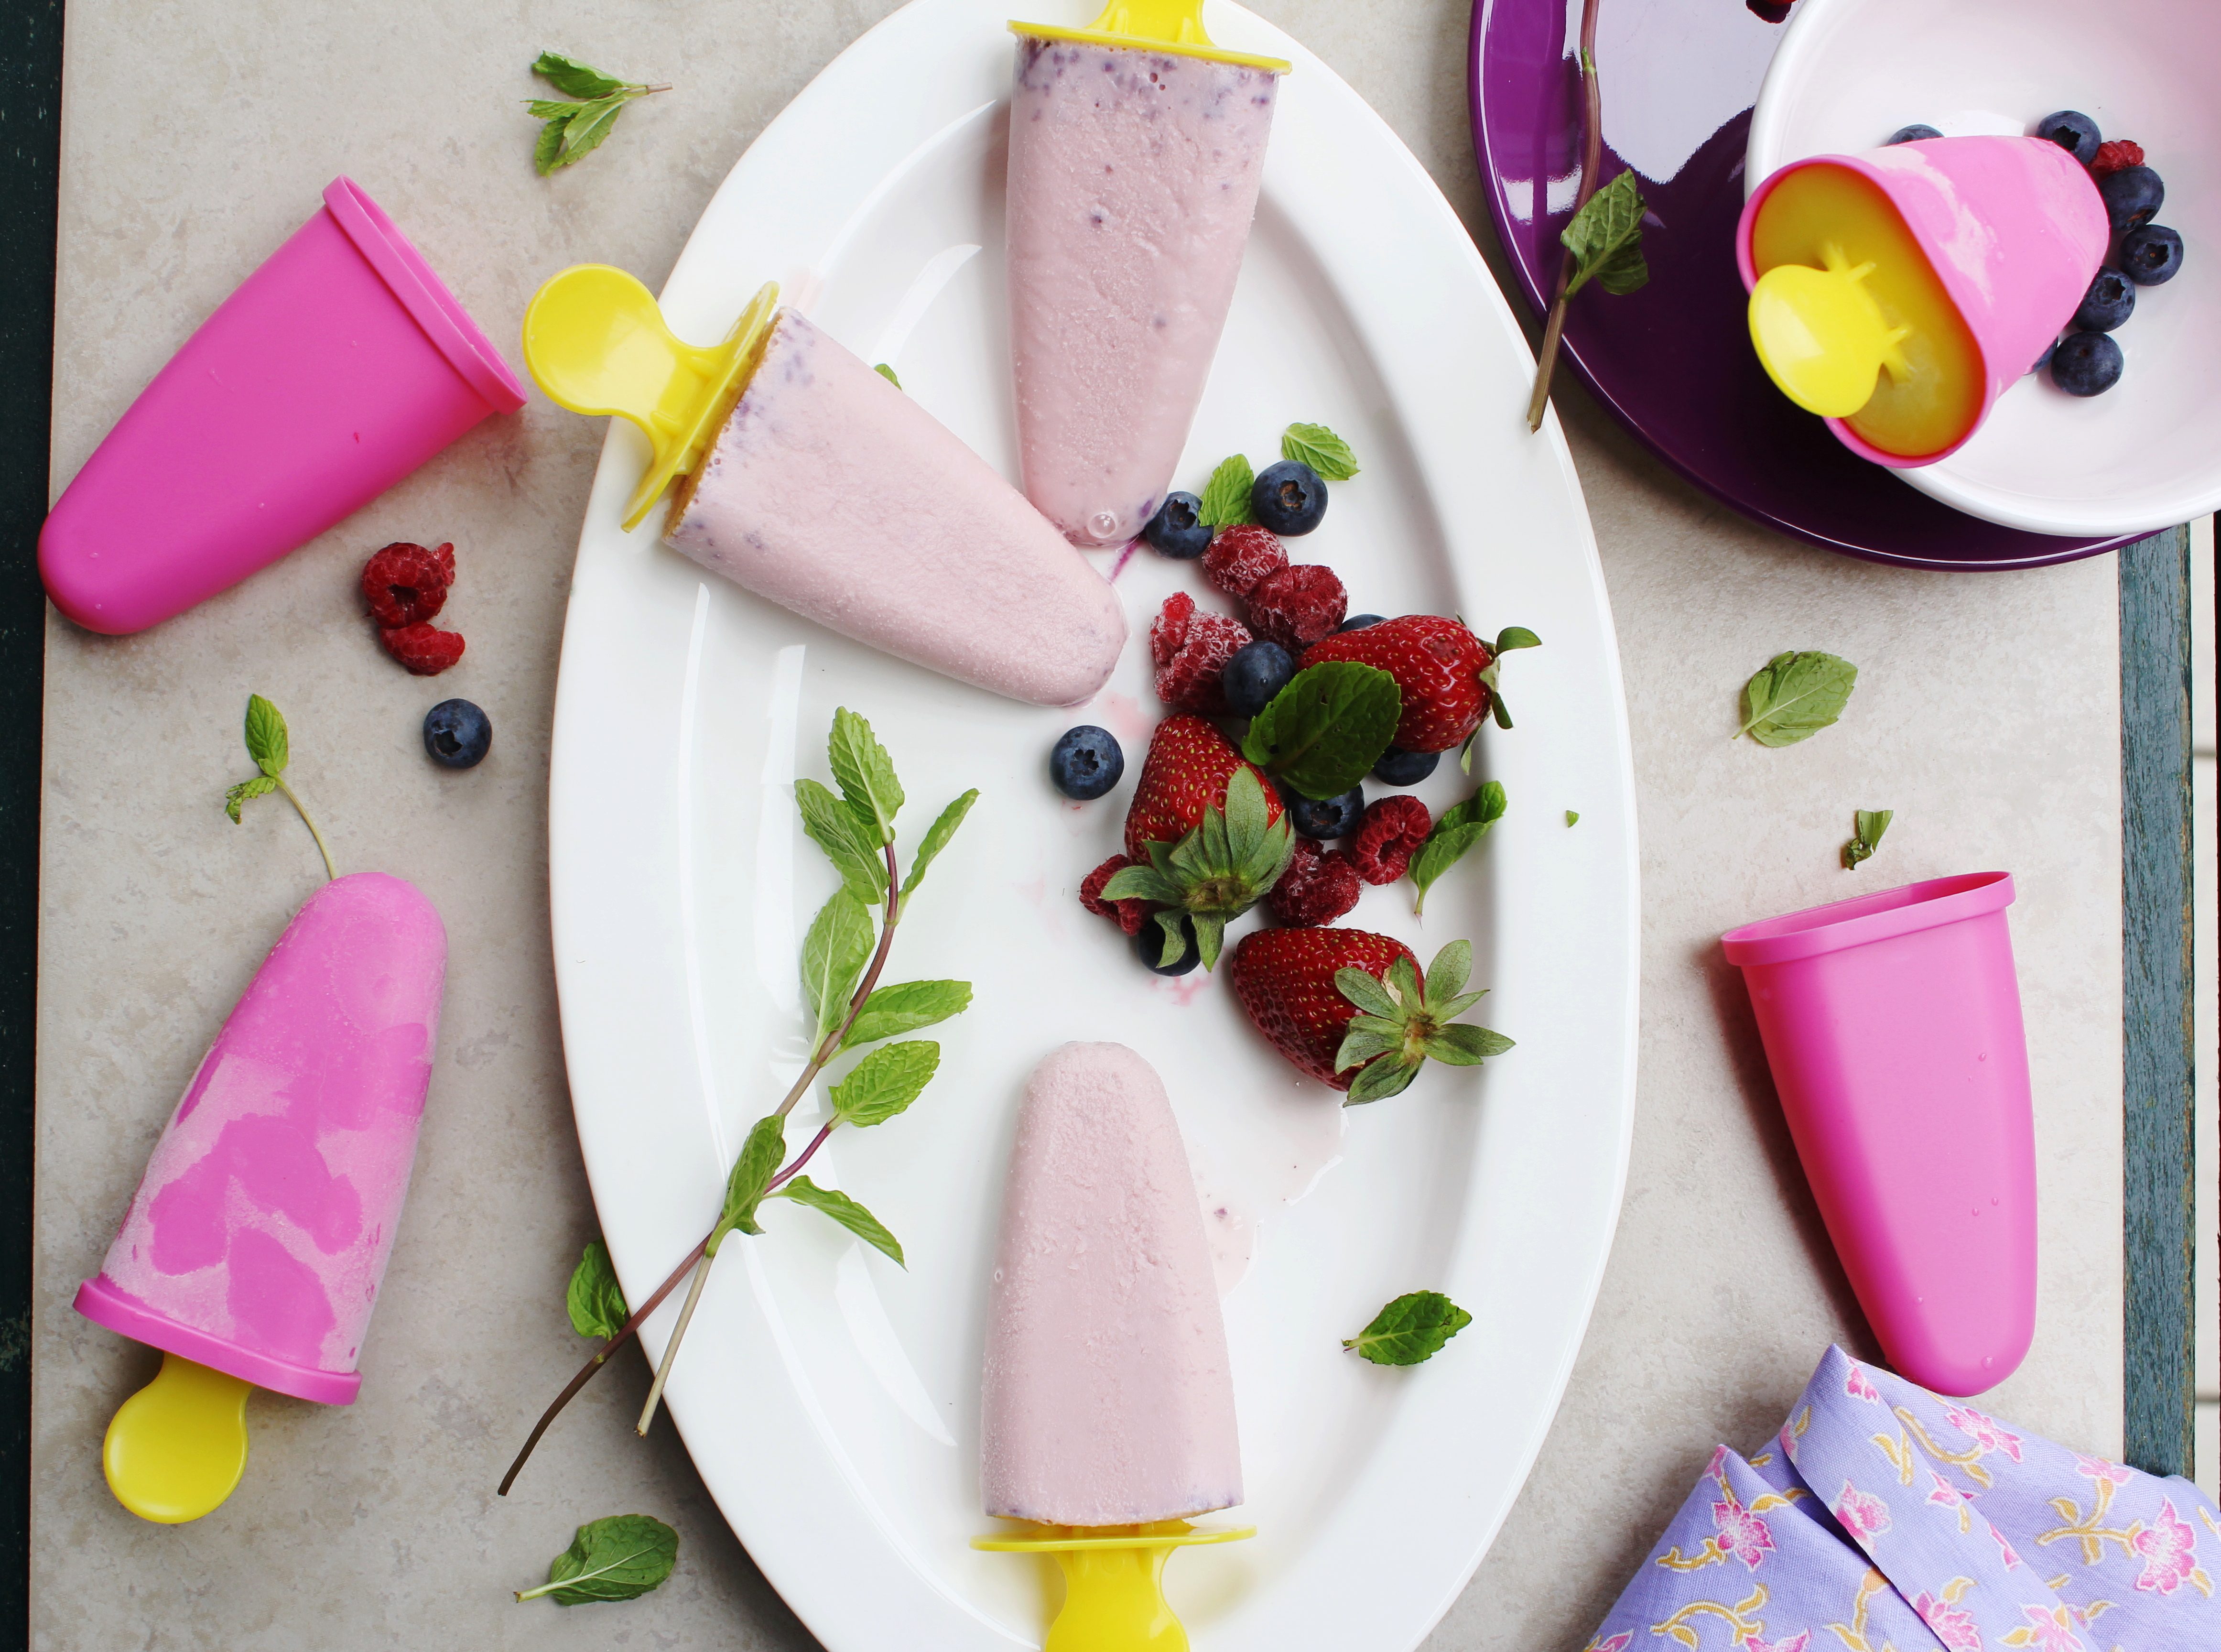
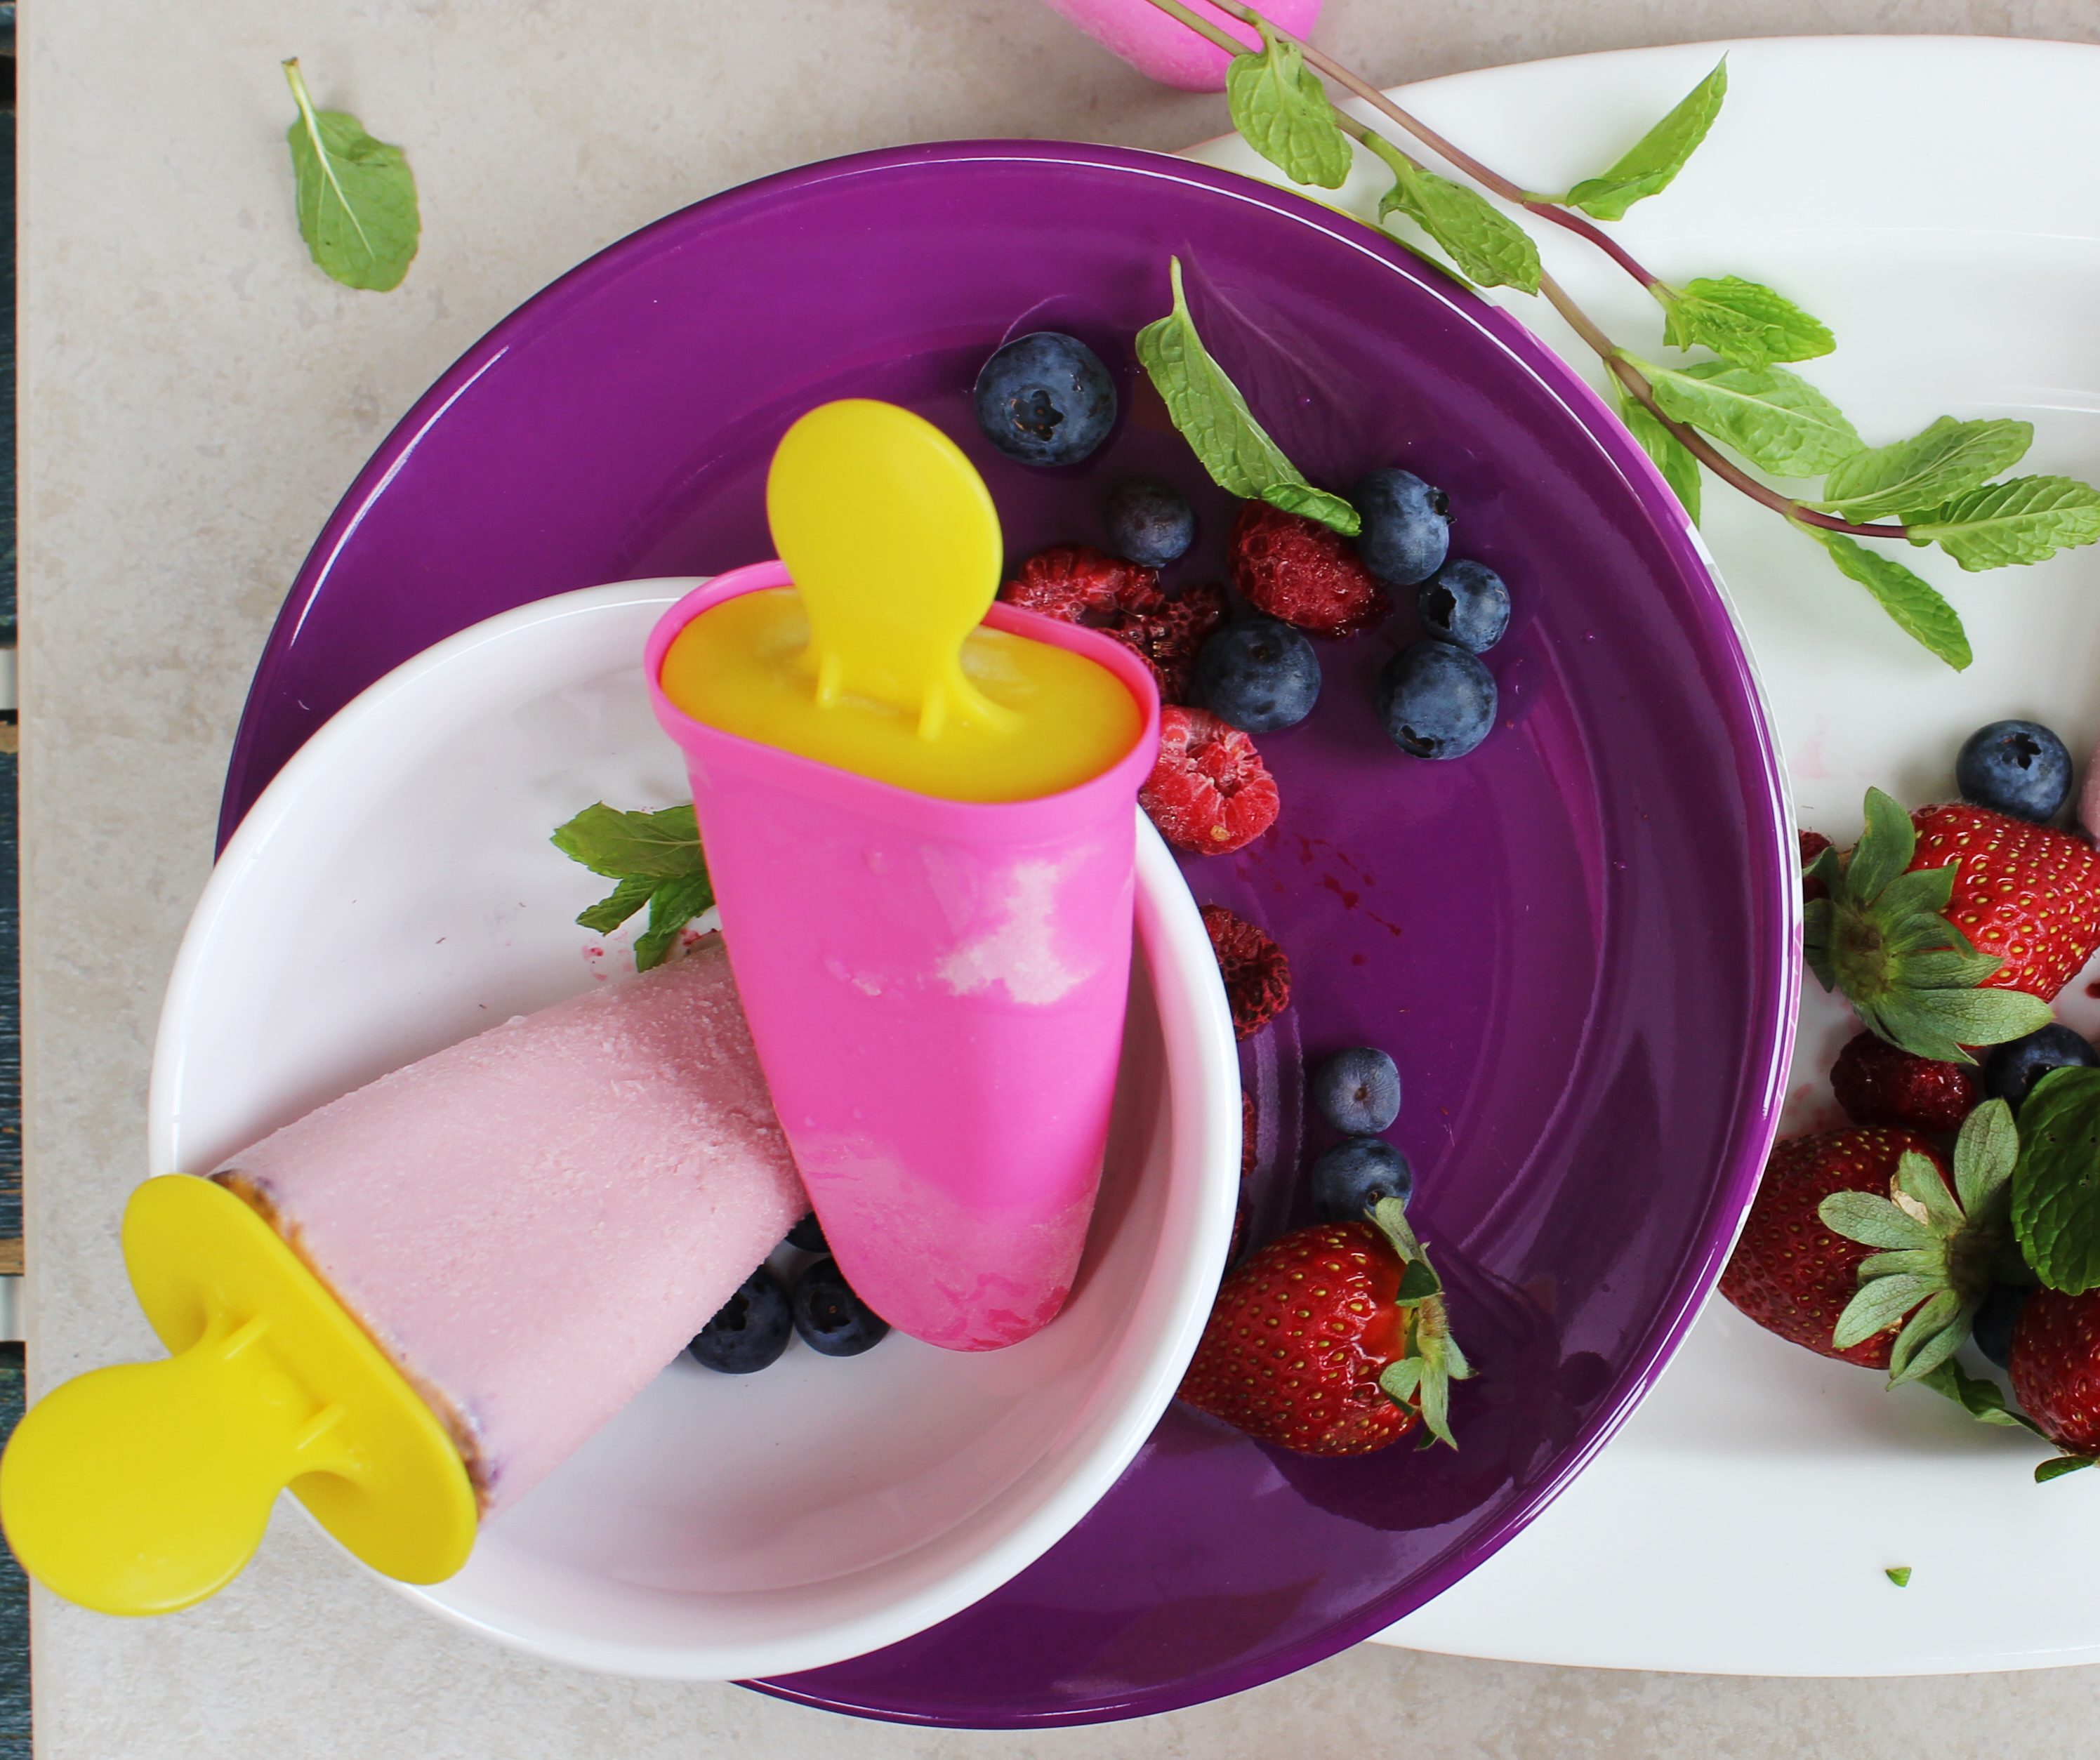
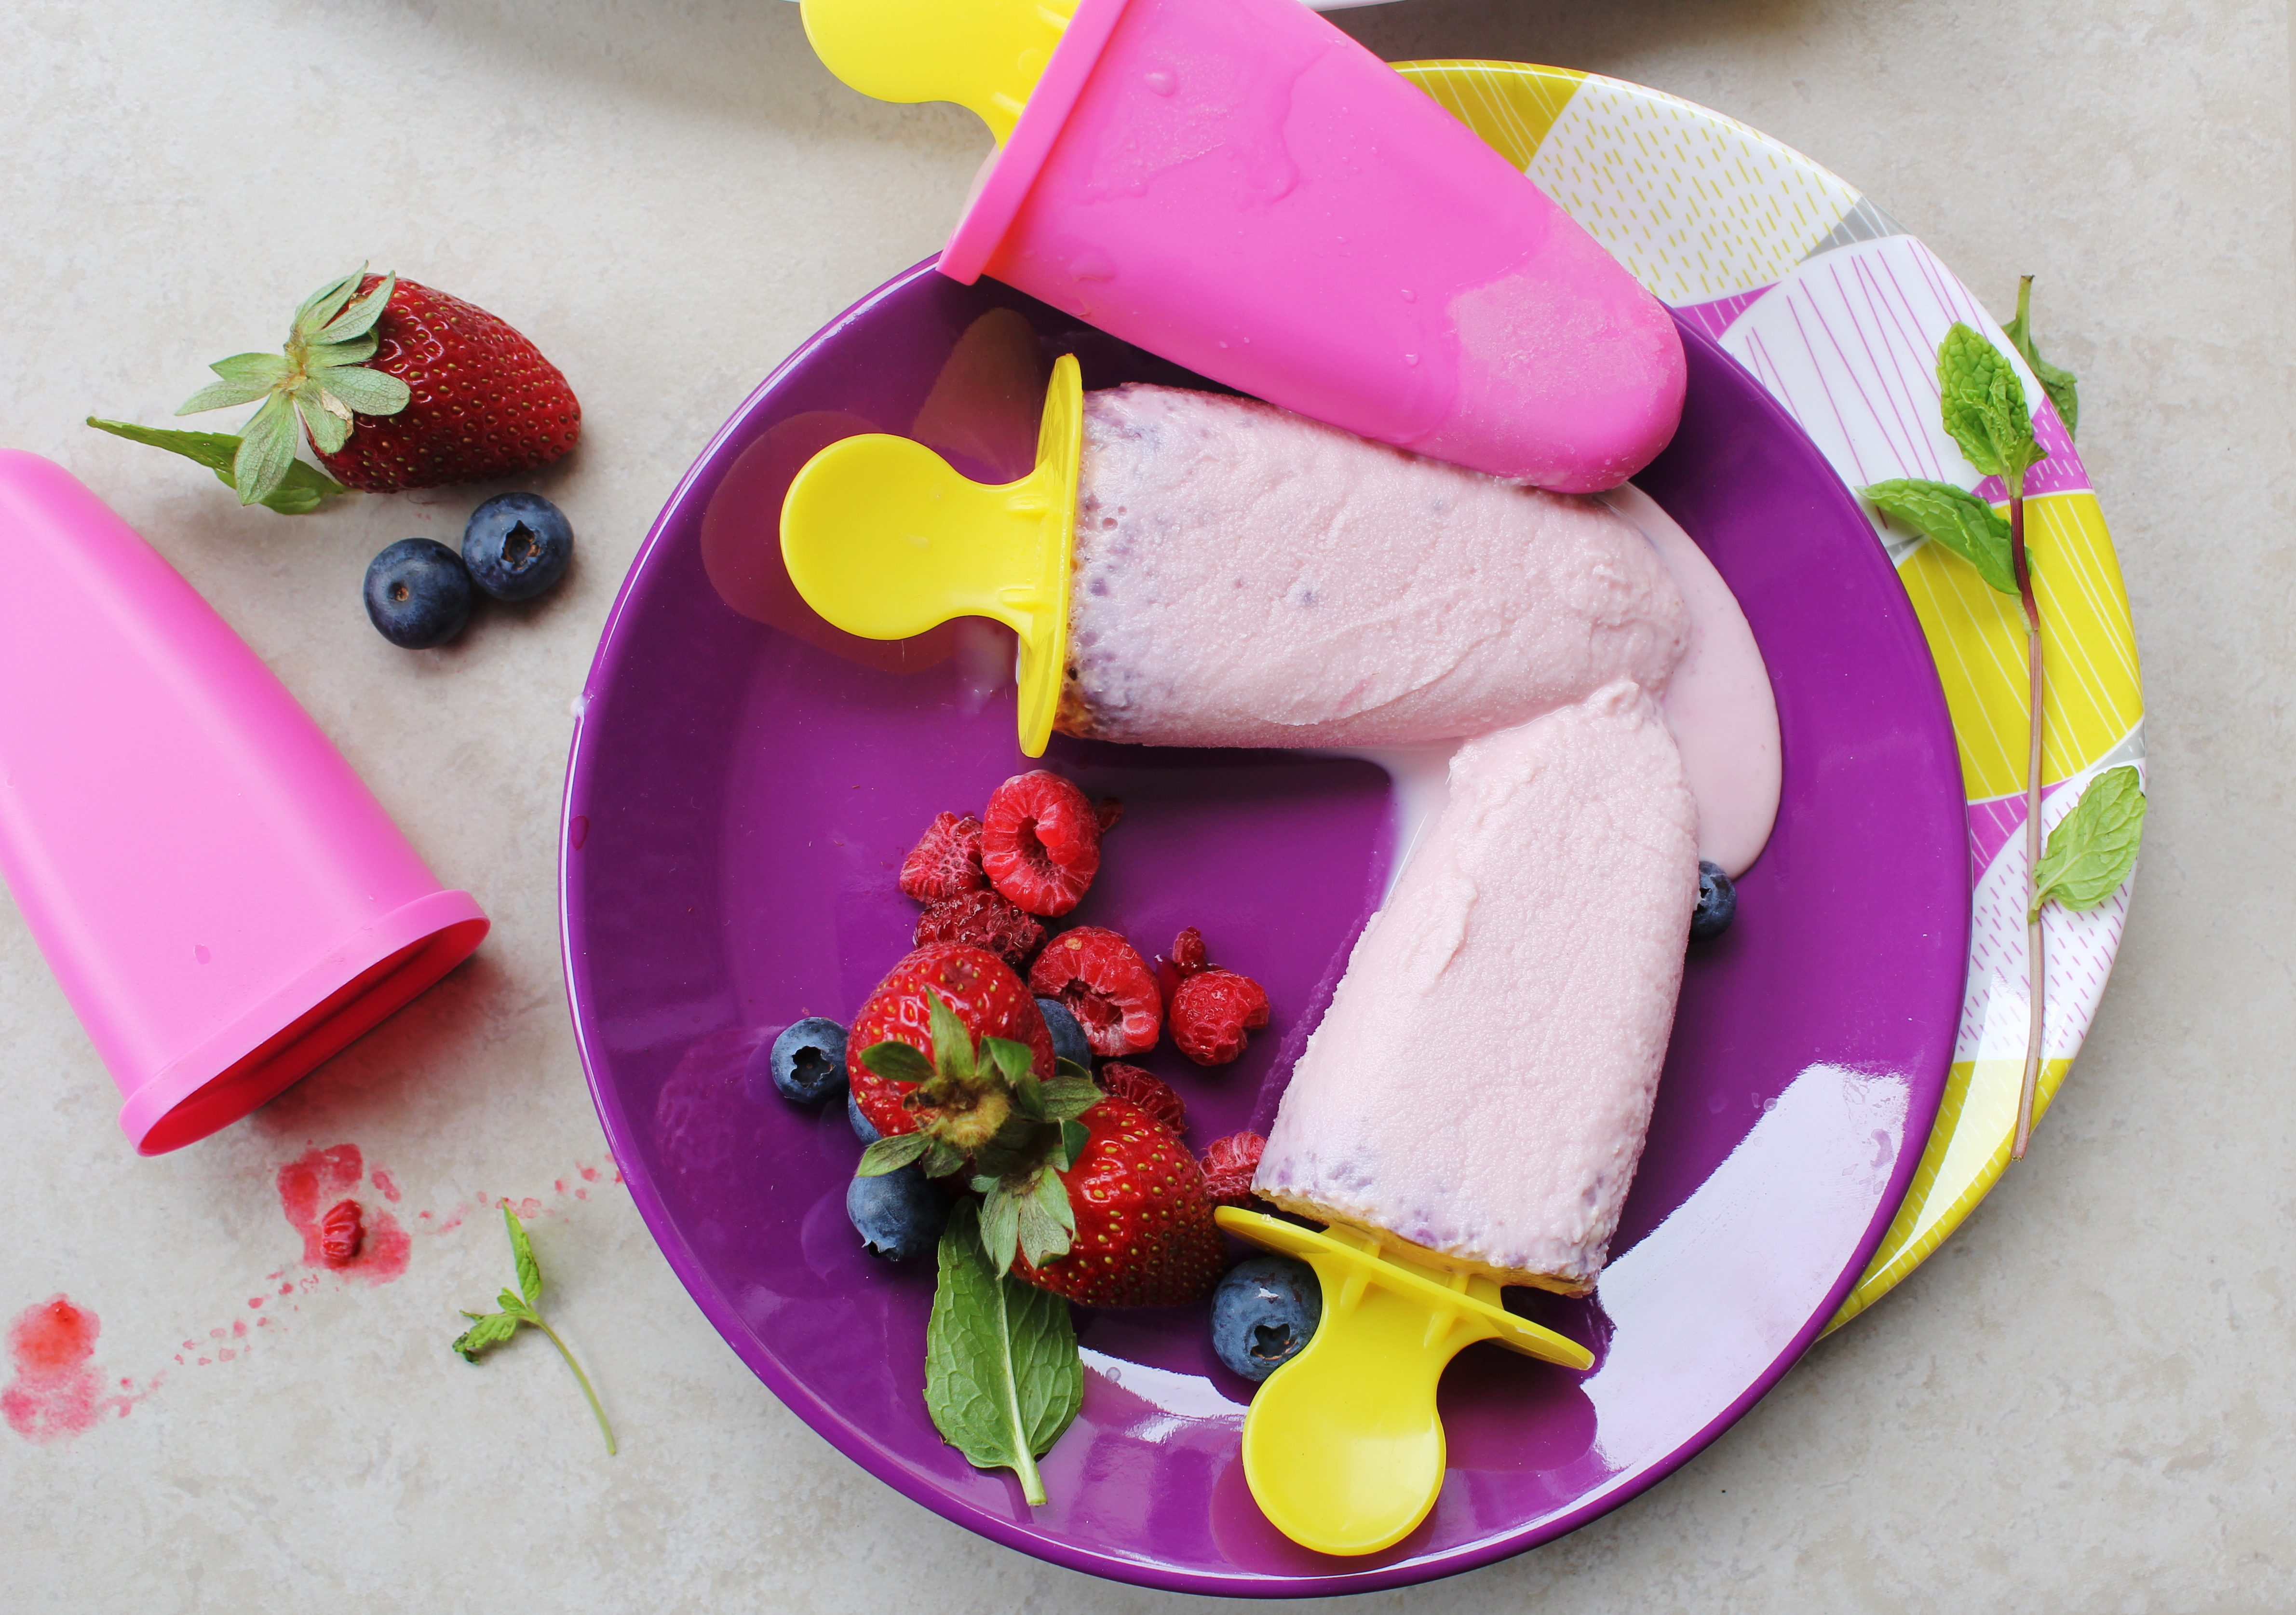
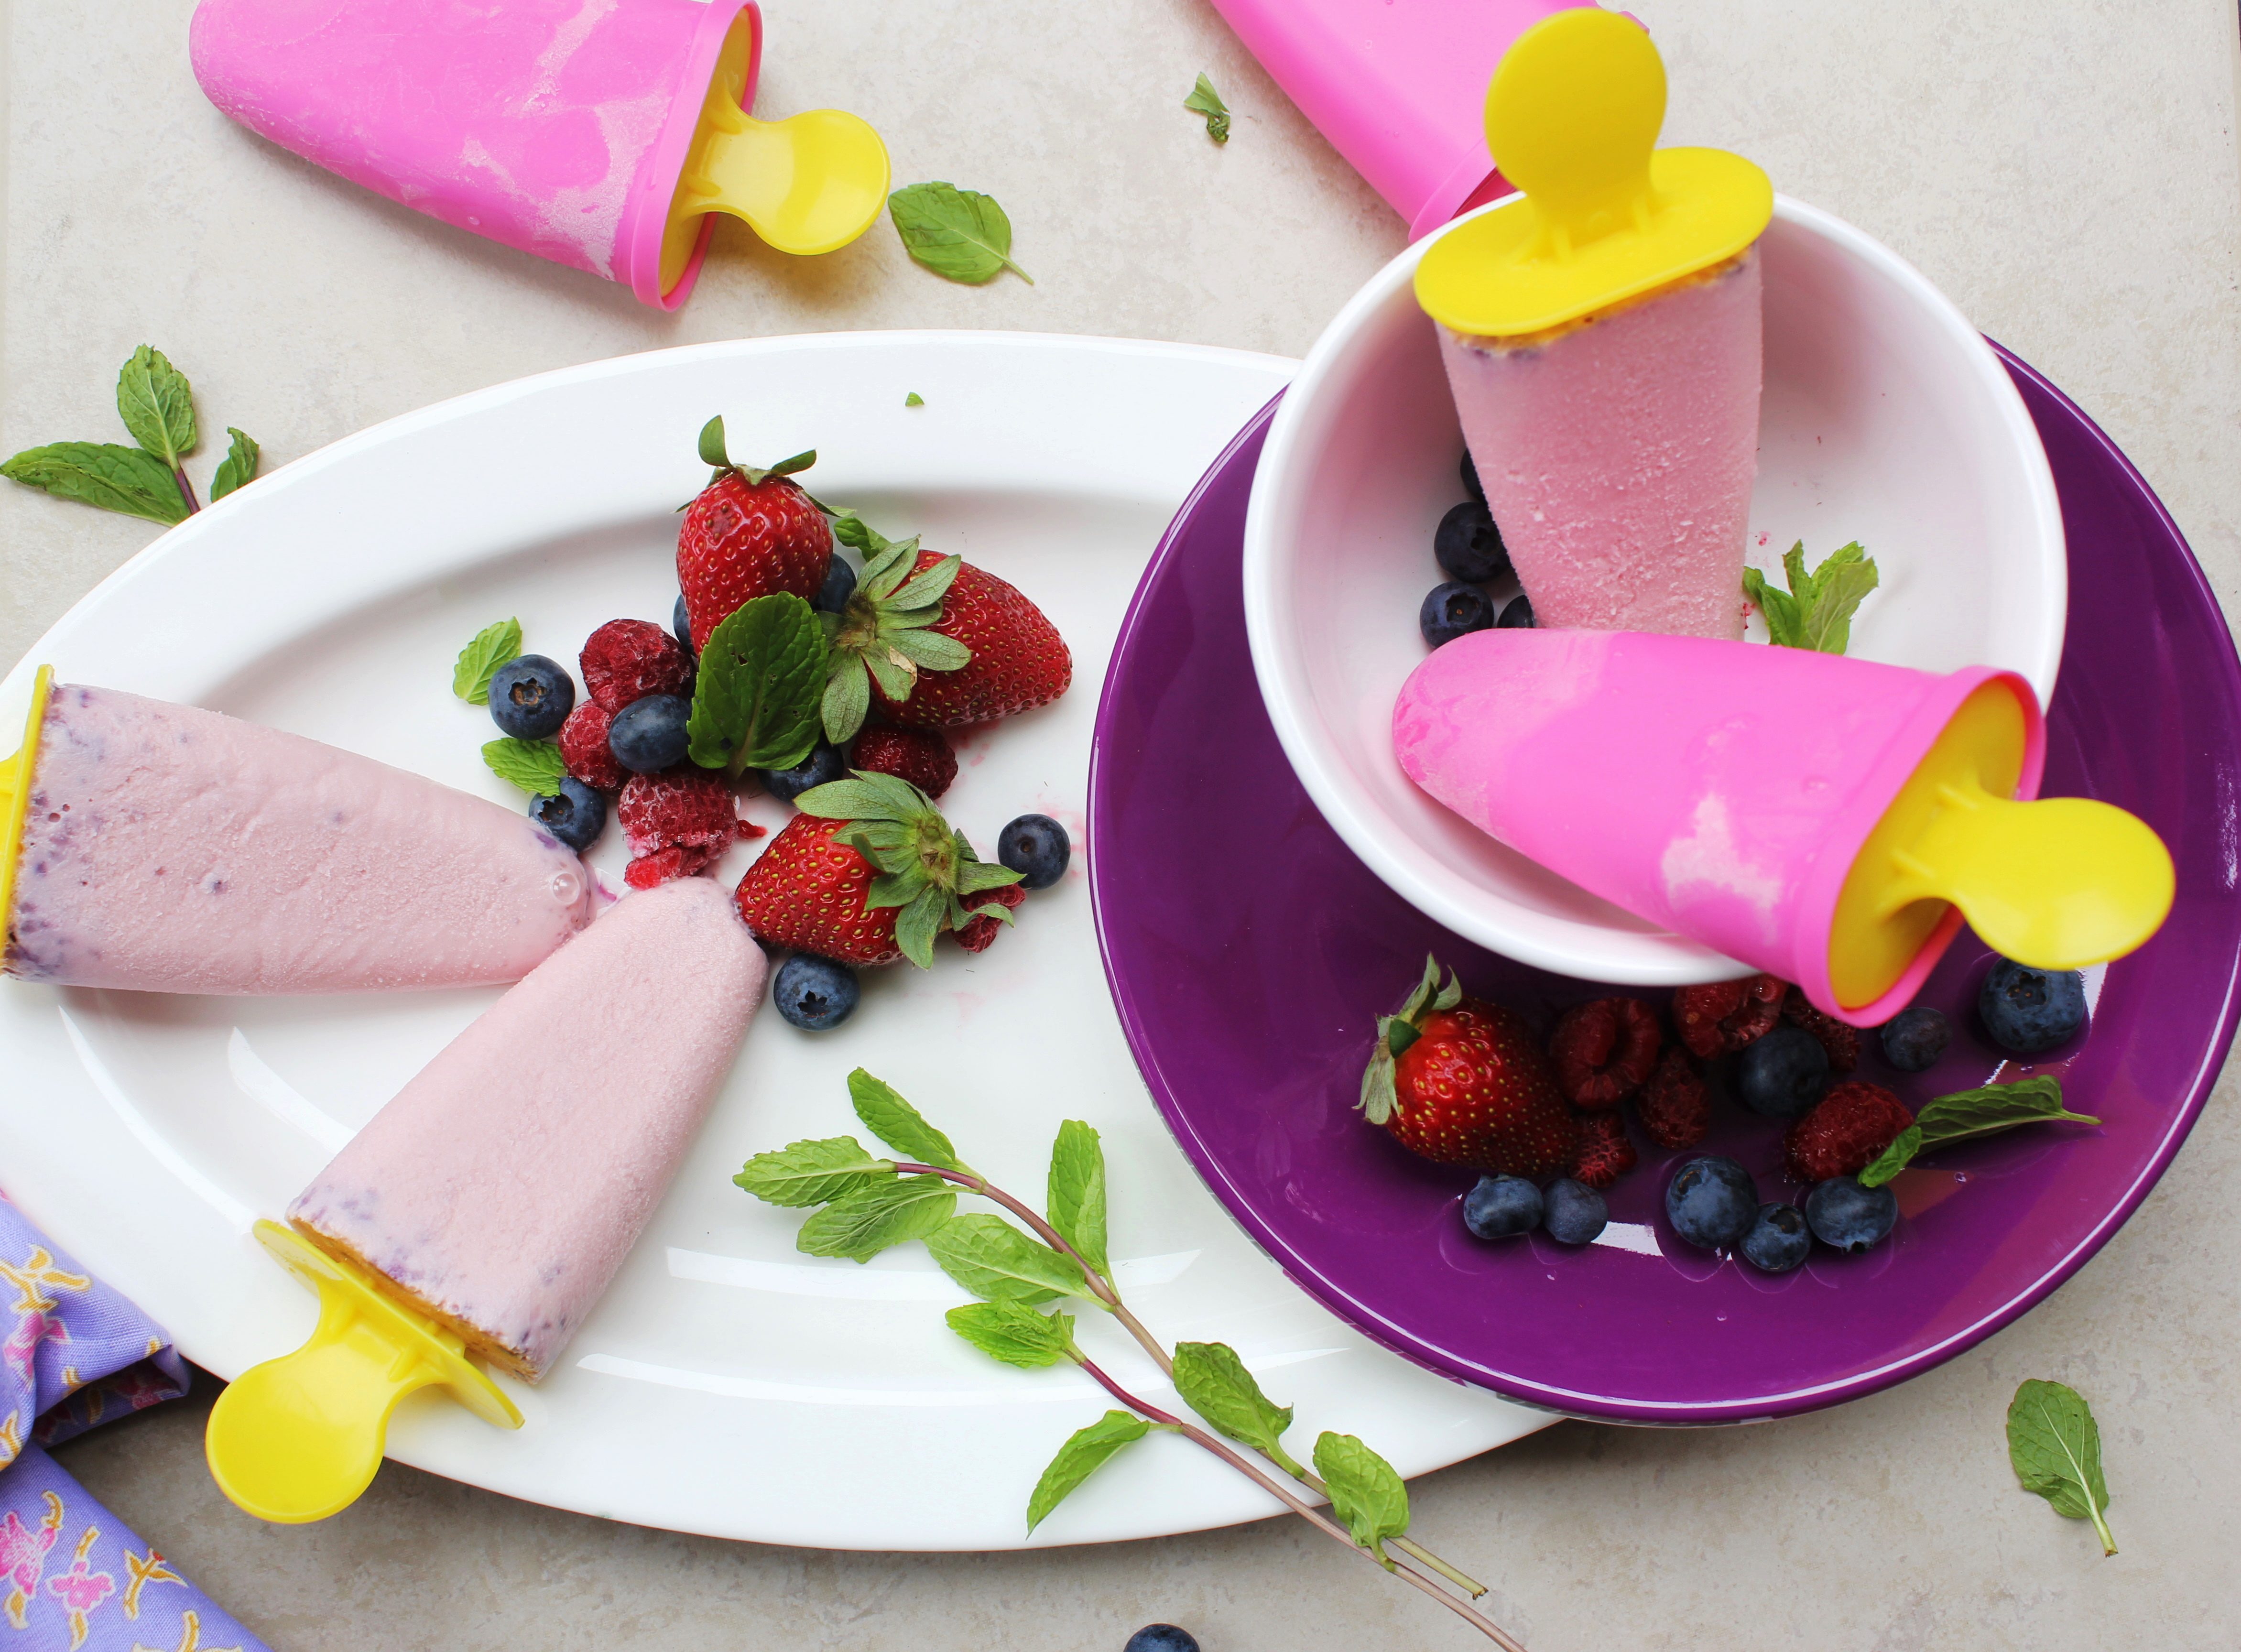
Mixed Berry and Cardamom Kulfi (Ice Cream) Popsicle

28|08|2013

Ever since I came back from my trip to India I have been craving more and more Indian food…the spicy curries, the mouth-watering street food and most of all the sweet treats. The part of India where I have lived for the most part of my life is famous for its sweet shops that fill up every nook and corner of the city. The variety is immense and choices unlimited. Perhaps, that is where my fascination for dessert stems from. I hope to try and recreate as many as I can.
IMG_4799 (1)

To be honest, I have never enjoyed Indian summers as it tends to be humid and sticky and makes you feel tired easily. But there are some delicious ways to beat the heat and that makes up for everything. Kulfi is a frozen dairy dessert, popularly known as an Indian ice cream. It is very simple to make and does not require an ice cream maker. Traditionally Kulfis are flavoured with spices and/or nuts which makes them aromatic and downright delicious. A lot of people make them at home but the best way to enjoy them is from the street vendors who make them look all the more vibrant with different coloured syrups and condiments.
IMG_4796 (1)

During the trip, I enjoyed the street side Kulfi as much as I could, eating two or three at a time but I don’t think that I’ve had enough of them. I made them the very next day I arrived in Sydney. But with a berry twist (Spring, I embrace you with open arms)! Cardamom powder is an integral part of Indian sweets. If you do not have access to it, you can easily make it at home by cracking the pods open and passing the seeds through a food processor. The skins can be added to tea to get a wonderful flavour and aroma.

IMG_4800 (2)

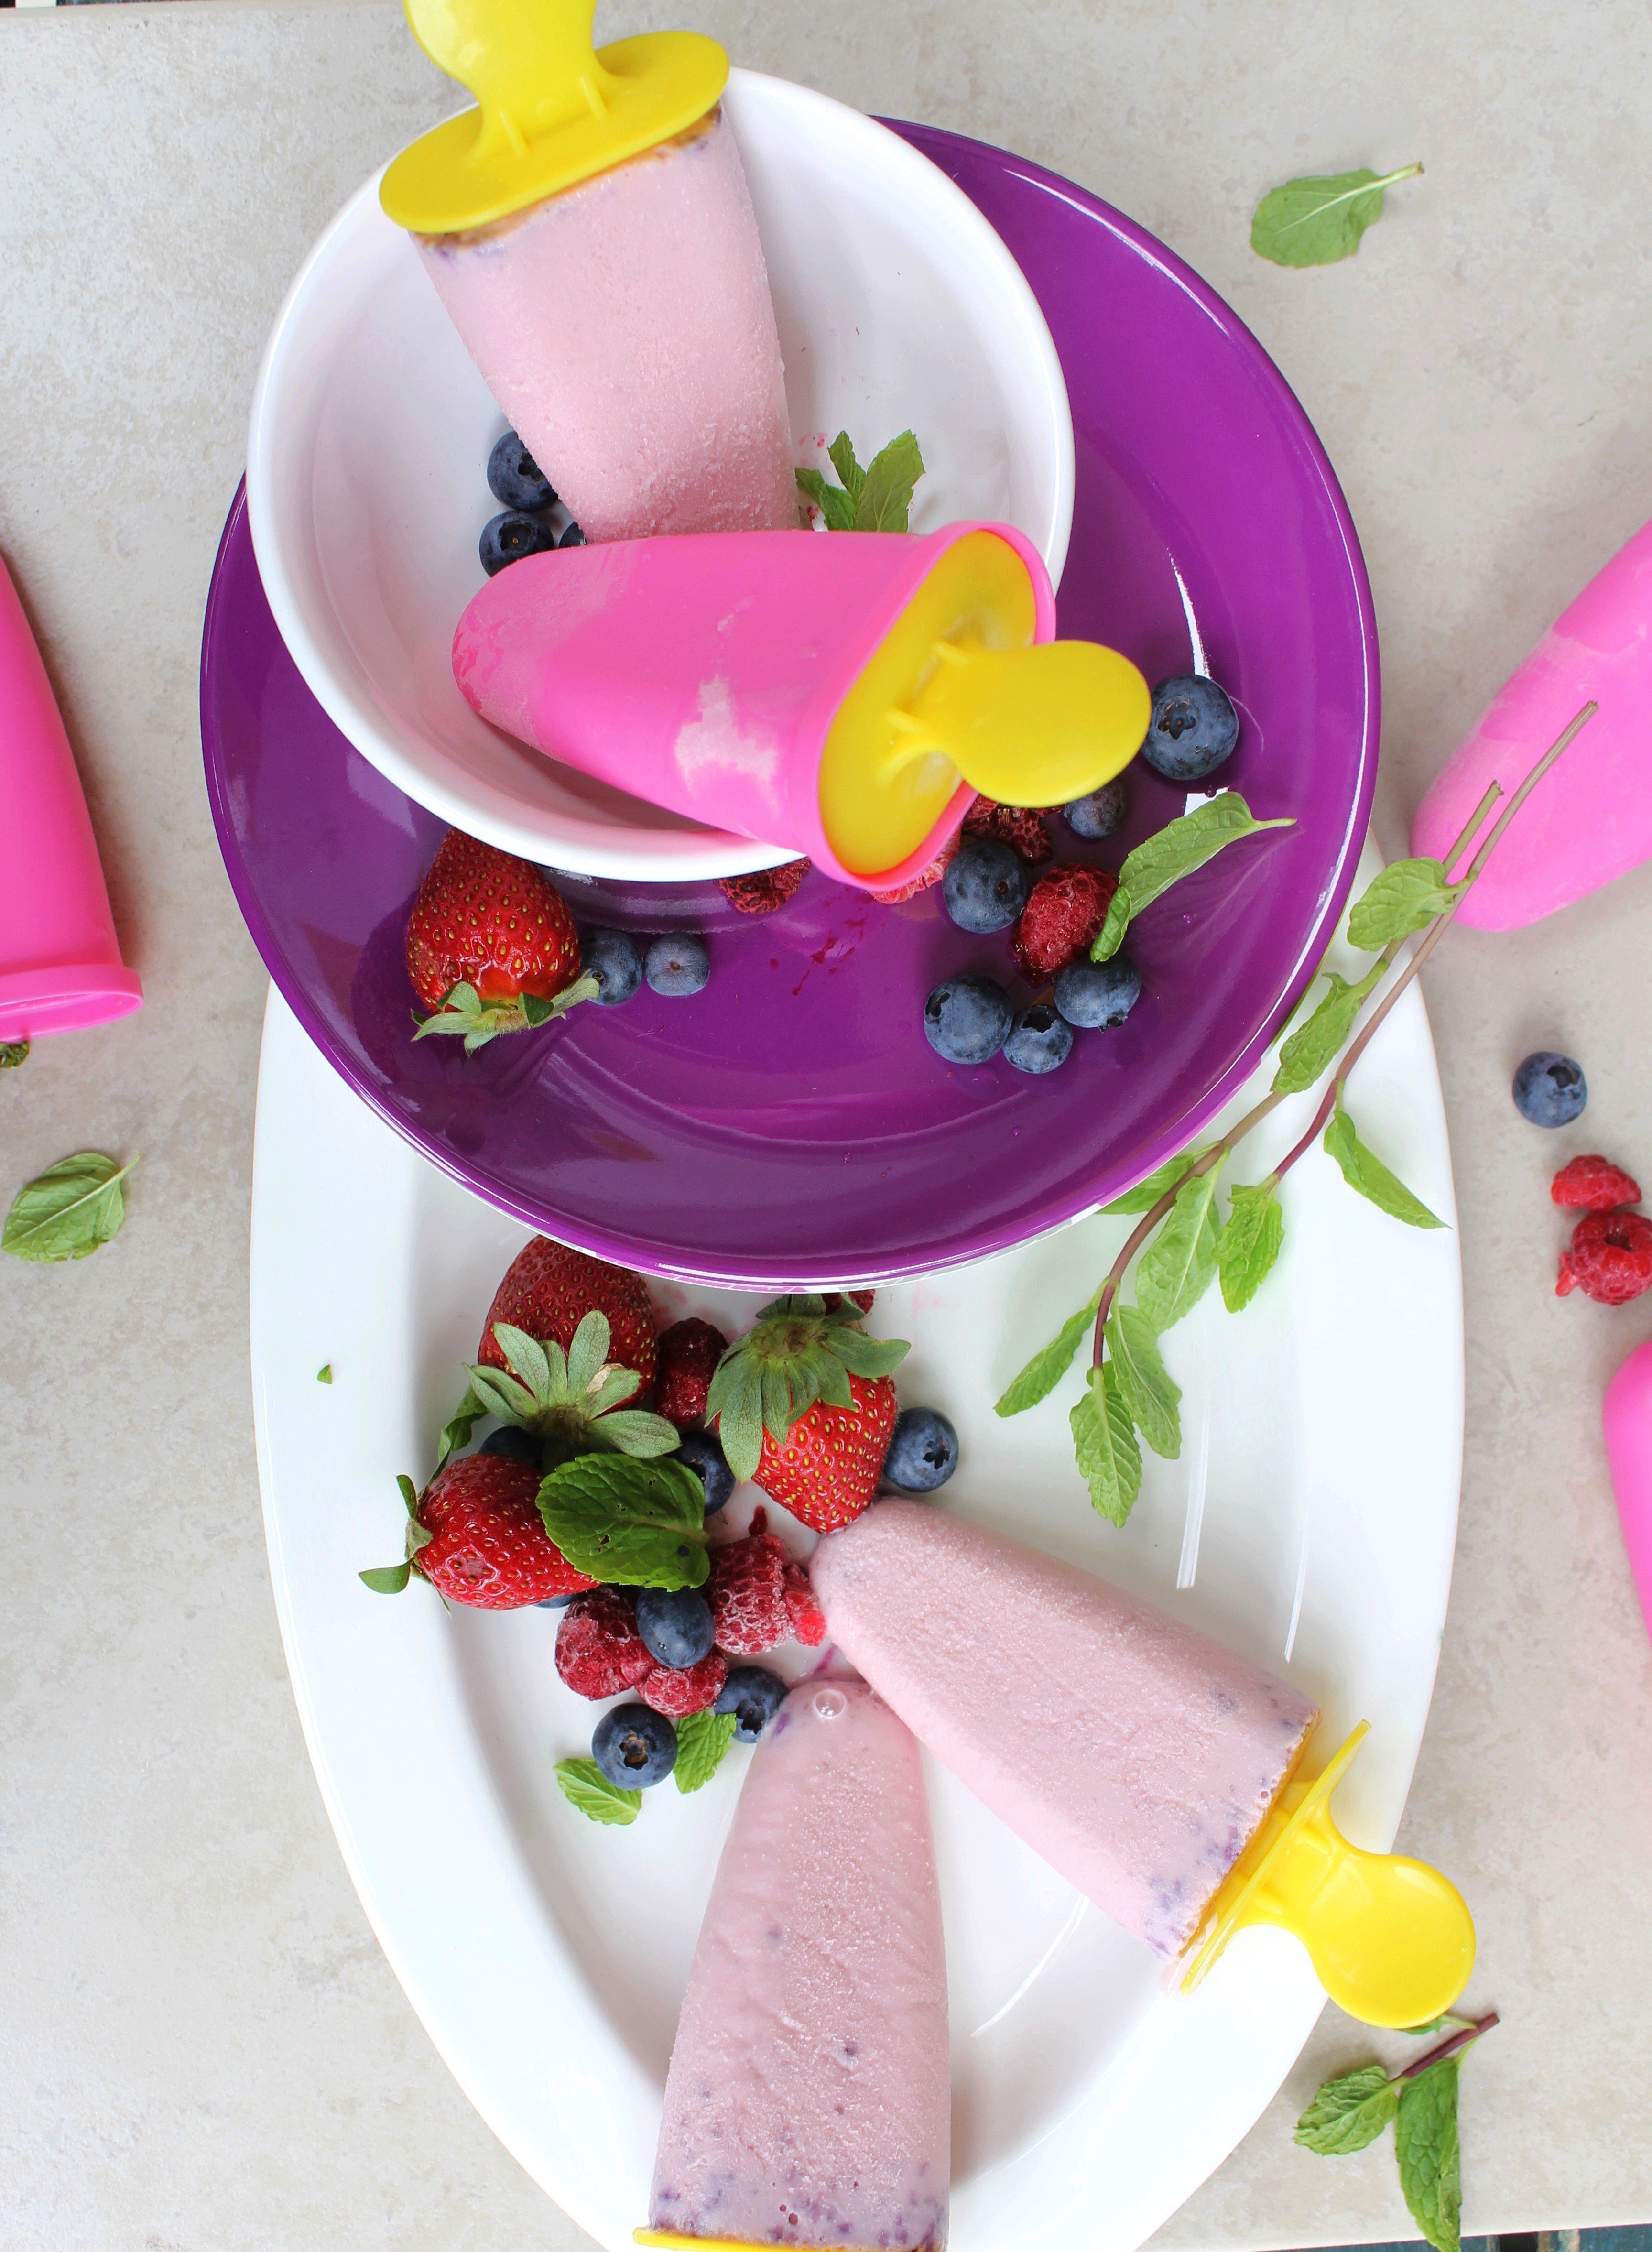
IMG_4807 (2)I personally loved the pairing. I was careful not to overpower the authentic flavours of the Kulfi by adding too much berries. As soon as you remove the moulds you can smell the cardamom. One bite into the dessert you can taste the raspberries and blueberries along with the smooth, creamy milk. And you will want to go back for it..over and over again!

IMG_4803 (1)

Mixed Berry and Cardamom Kulfi Ice Cream Popsicle
Makes 8 popsicles

500 ml full fat milk
1/2 cup condensed milk
1 tsp cardamom powder
1 cup mixed berries (strawberries, raspberries, blueberries)
1 tbsp sugar

In a heavy bottomed, shallow pan heat the milk and bring it to a simmer (on medium heat). Stir the milk from time to time to avoid burning. Simmer the milk till it is reduced to half its volume and turns a beige color. Add the condensed milk and simmer for 5 more minutes. Remove from heat and add the cardamom powder. Let the mixture cool to room temperature.
Meanwhile, process the berries and sugar in a food processor till completely pureed. Add the puree to the cooled milk mixture and process to blend together. You can use a stick blender or a food processor. Strain to remove seeds (optional). Pour into popsicle moulds and freeze for at least 4 hours, preferably overnight.

Eggless Chocolate and Passion Fruit Melting Moments

21|08|2013

I am back home after a super hectic yet wonderful trip. After eating plenty of good food and gorging on sweets, I would have loved to post a few Indian recipes. Those are sure to follow but today I wanted to post these Melting Moments. Sugar et al has completed 6 months today and a half anniversary was the perfect excuse for me to look back, go through my previous posts and recipes and assess how far I have travelled since I started out.

IMG_4776 (1)
Its been such an amazing journey with the new things that I learnt along the way, the wonderful people who I came across, the different cuisines, creativity, thoughts, ideas that I find everywhere.  Funny that I didn’t even know that such a beautiful place existed on the Internet before I started. I so love this blog-o-sphere as much as I love you all.

IMG_4766 (1)

I am my own critic. Will it be exaggeration if I tell you that so much of the food I cook and photograph don’t make it to my blog? If I am not happy with the way a dish looks it will not be posted and I will start working on something else. I make a rare exception if the recipe is unique or has taken a great deal of effort to make or the gap between my posts are significantly long. So today I have recreated these cookies, with variations of course. My Strawberry Melting Moments is one of those posts which I was never proud of. I was experimenting with my camera and they were photographed badly. Do you also have such instances? Are there posts that you wish you had done differently?

IMG_4793 (1)

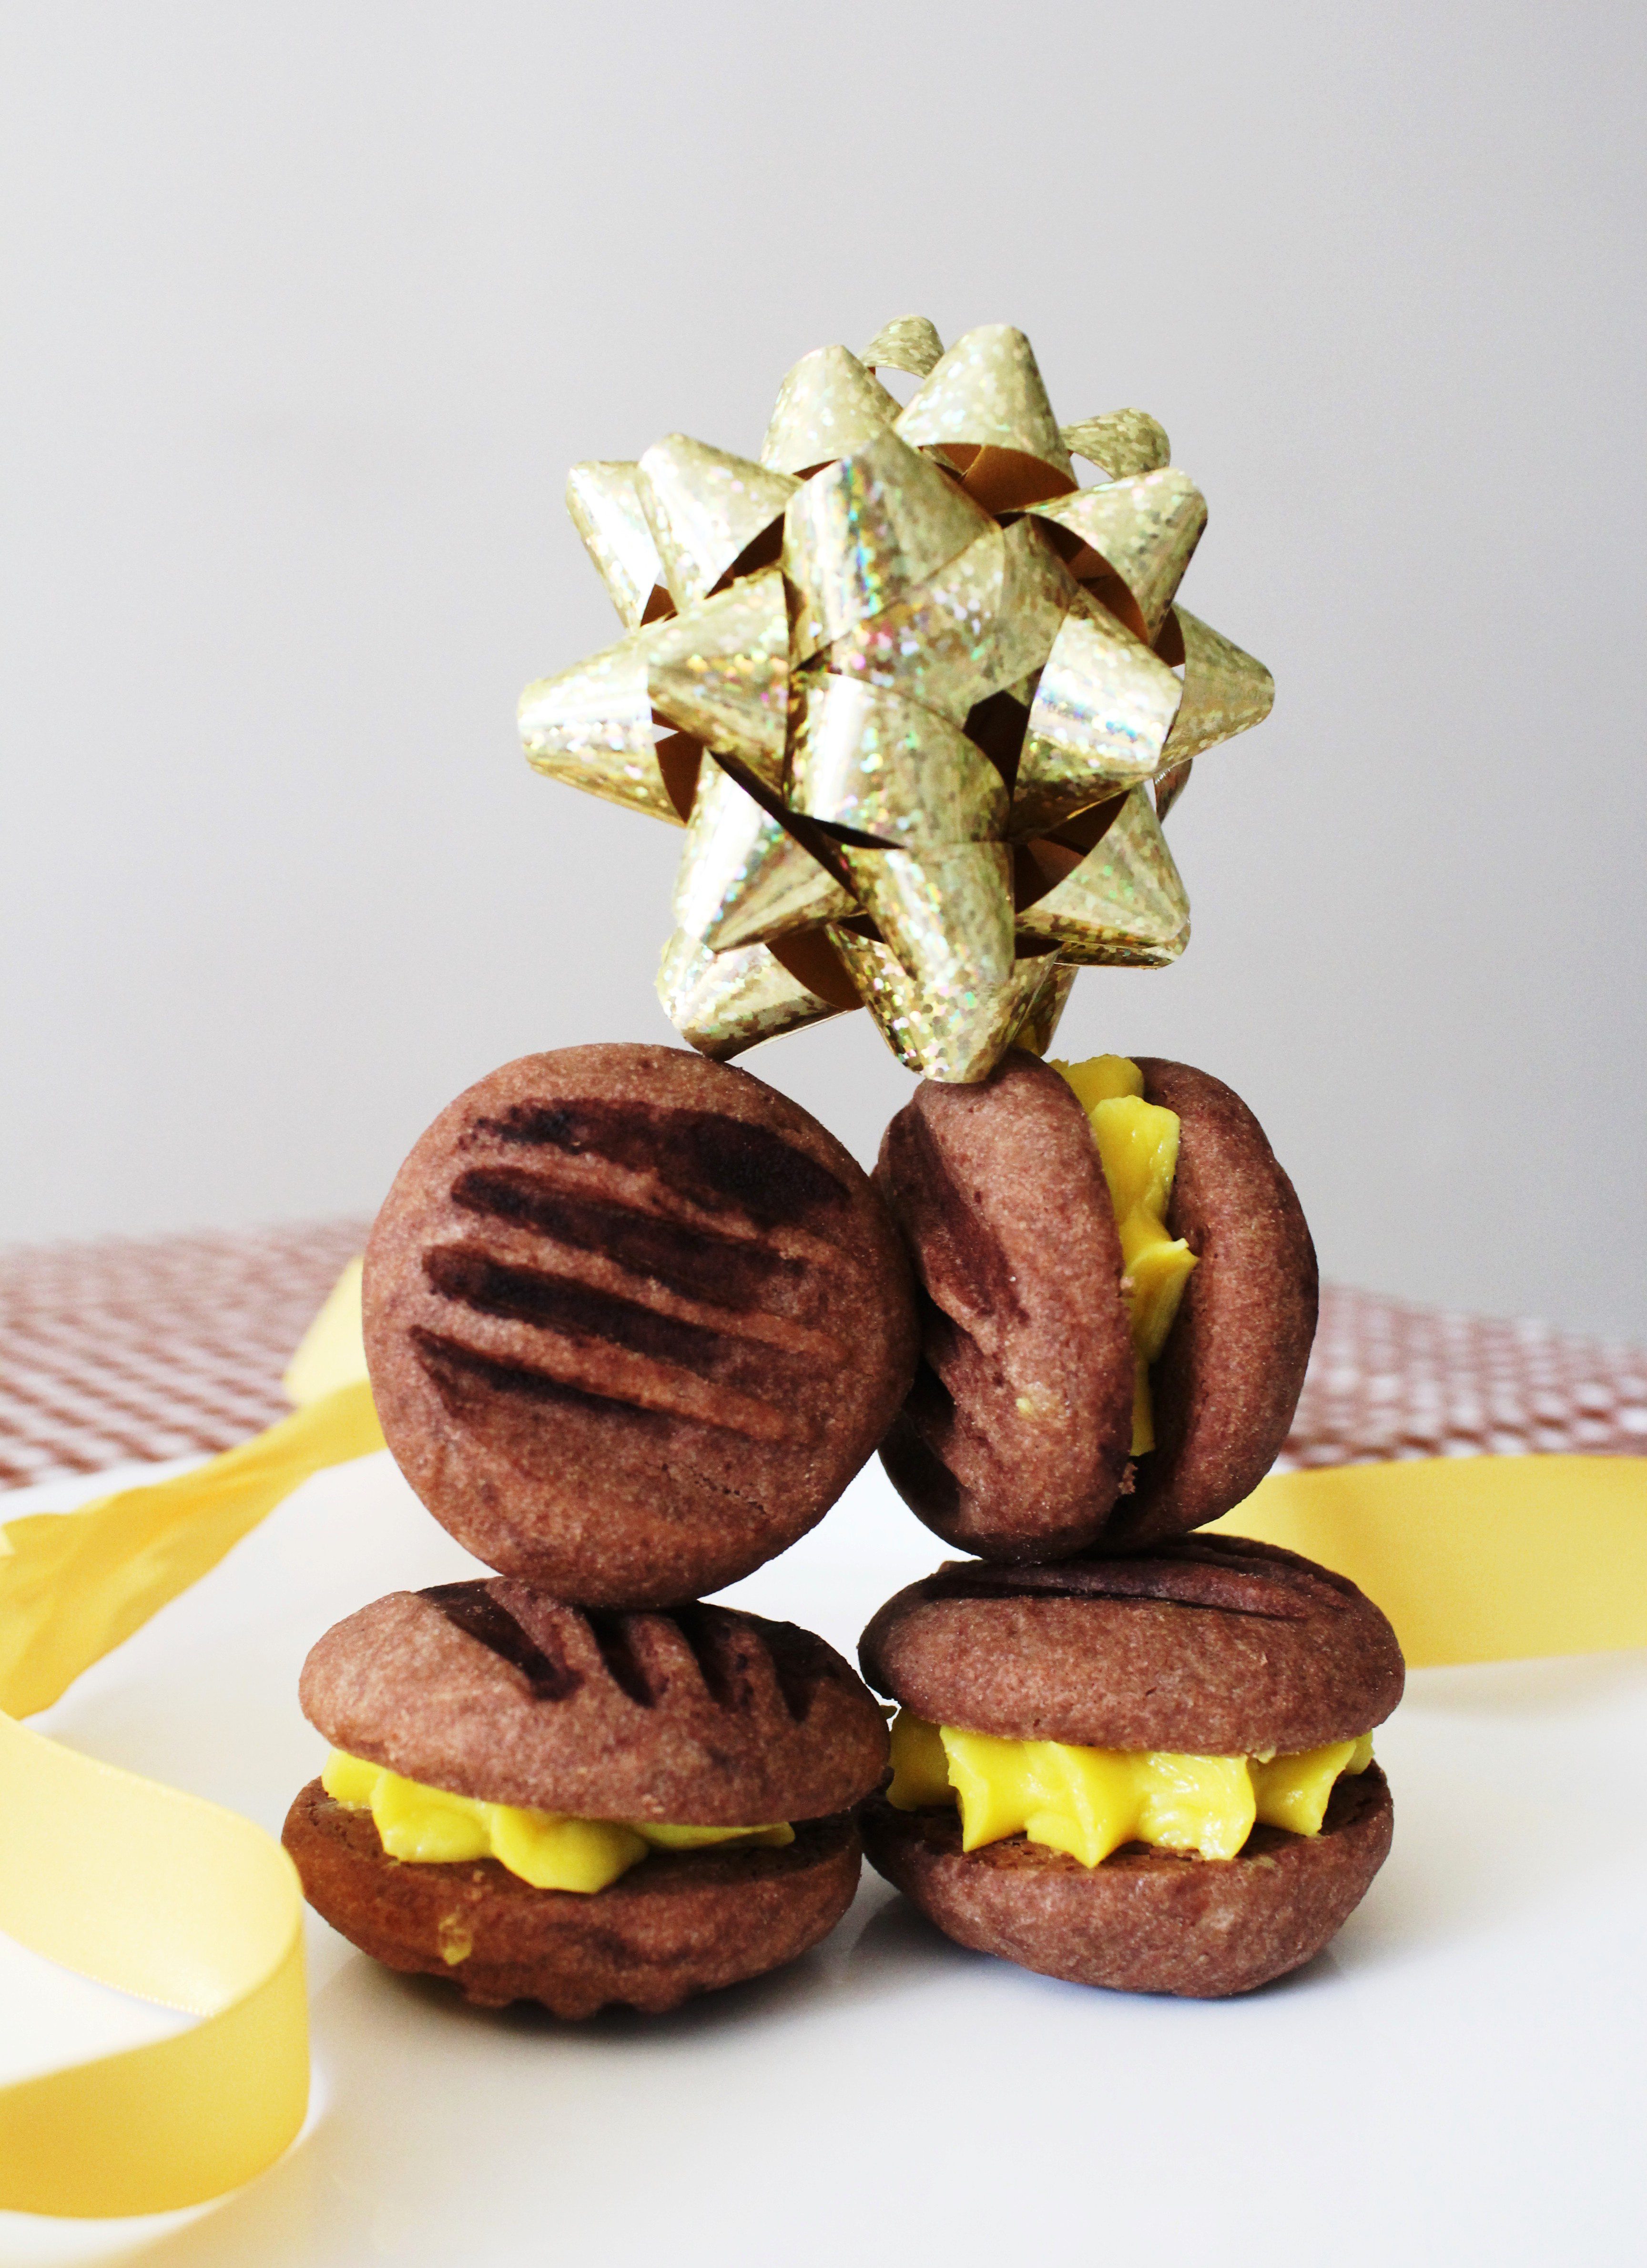
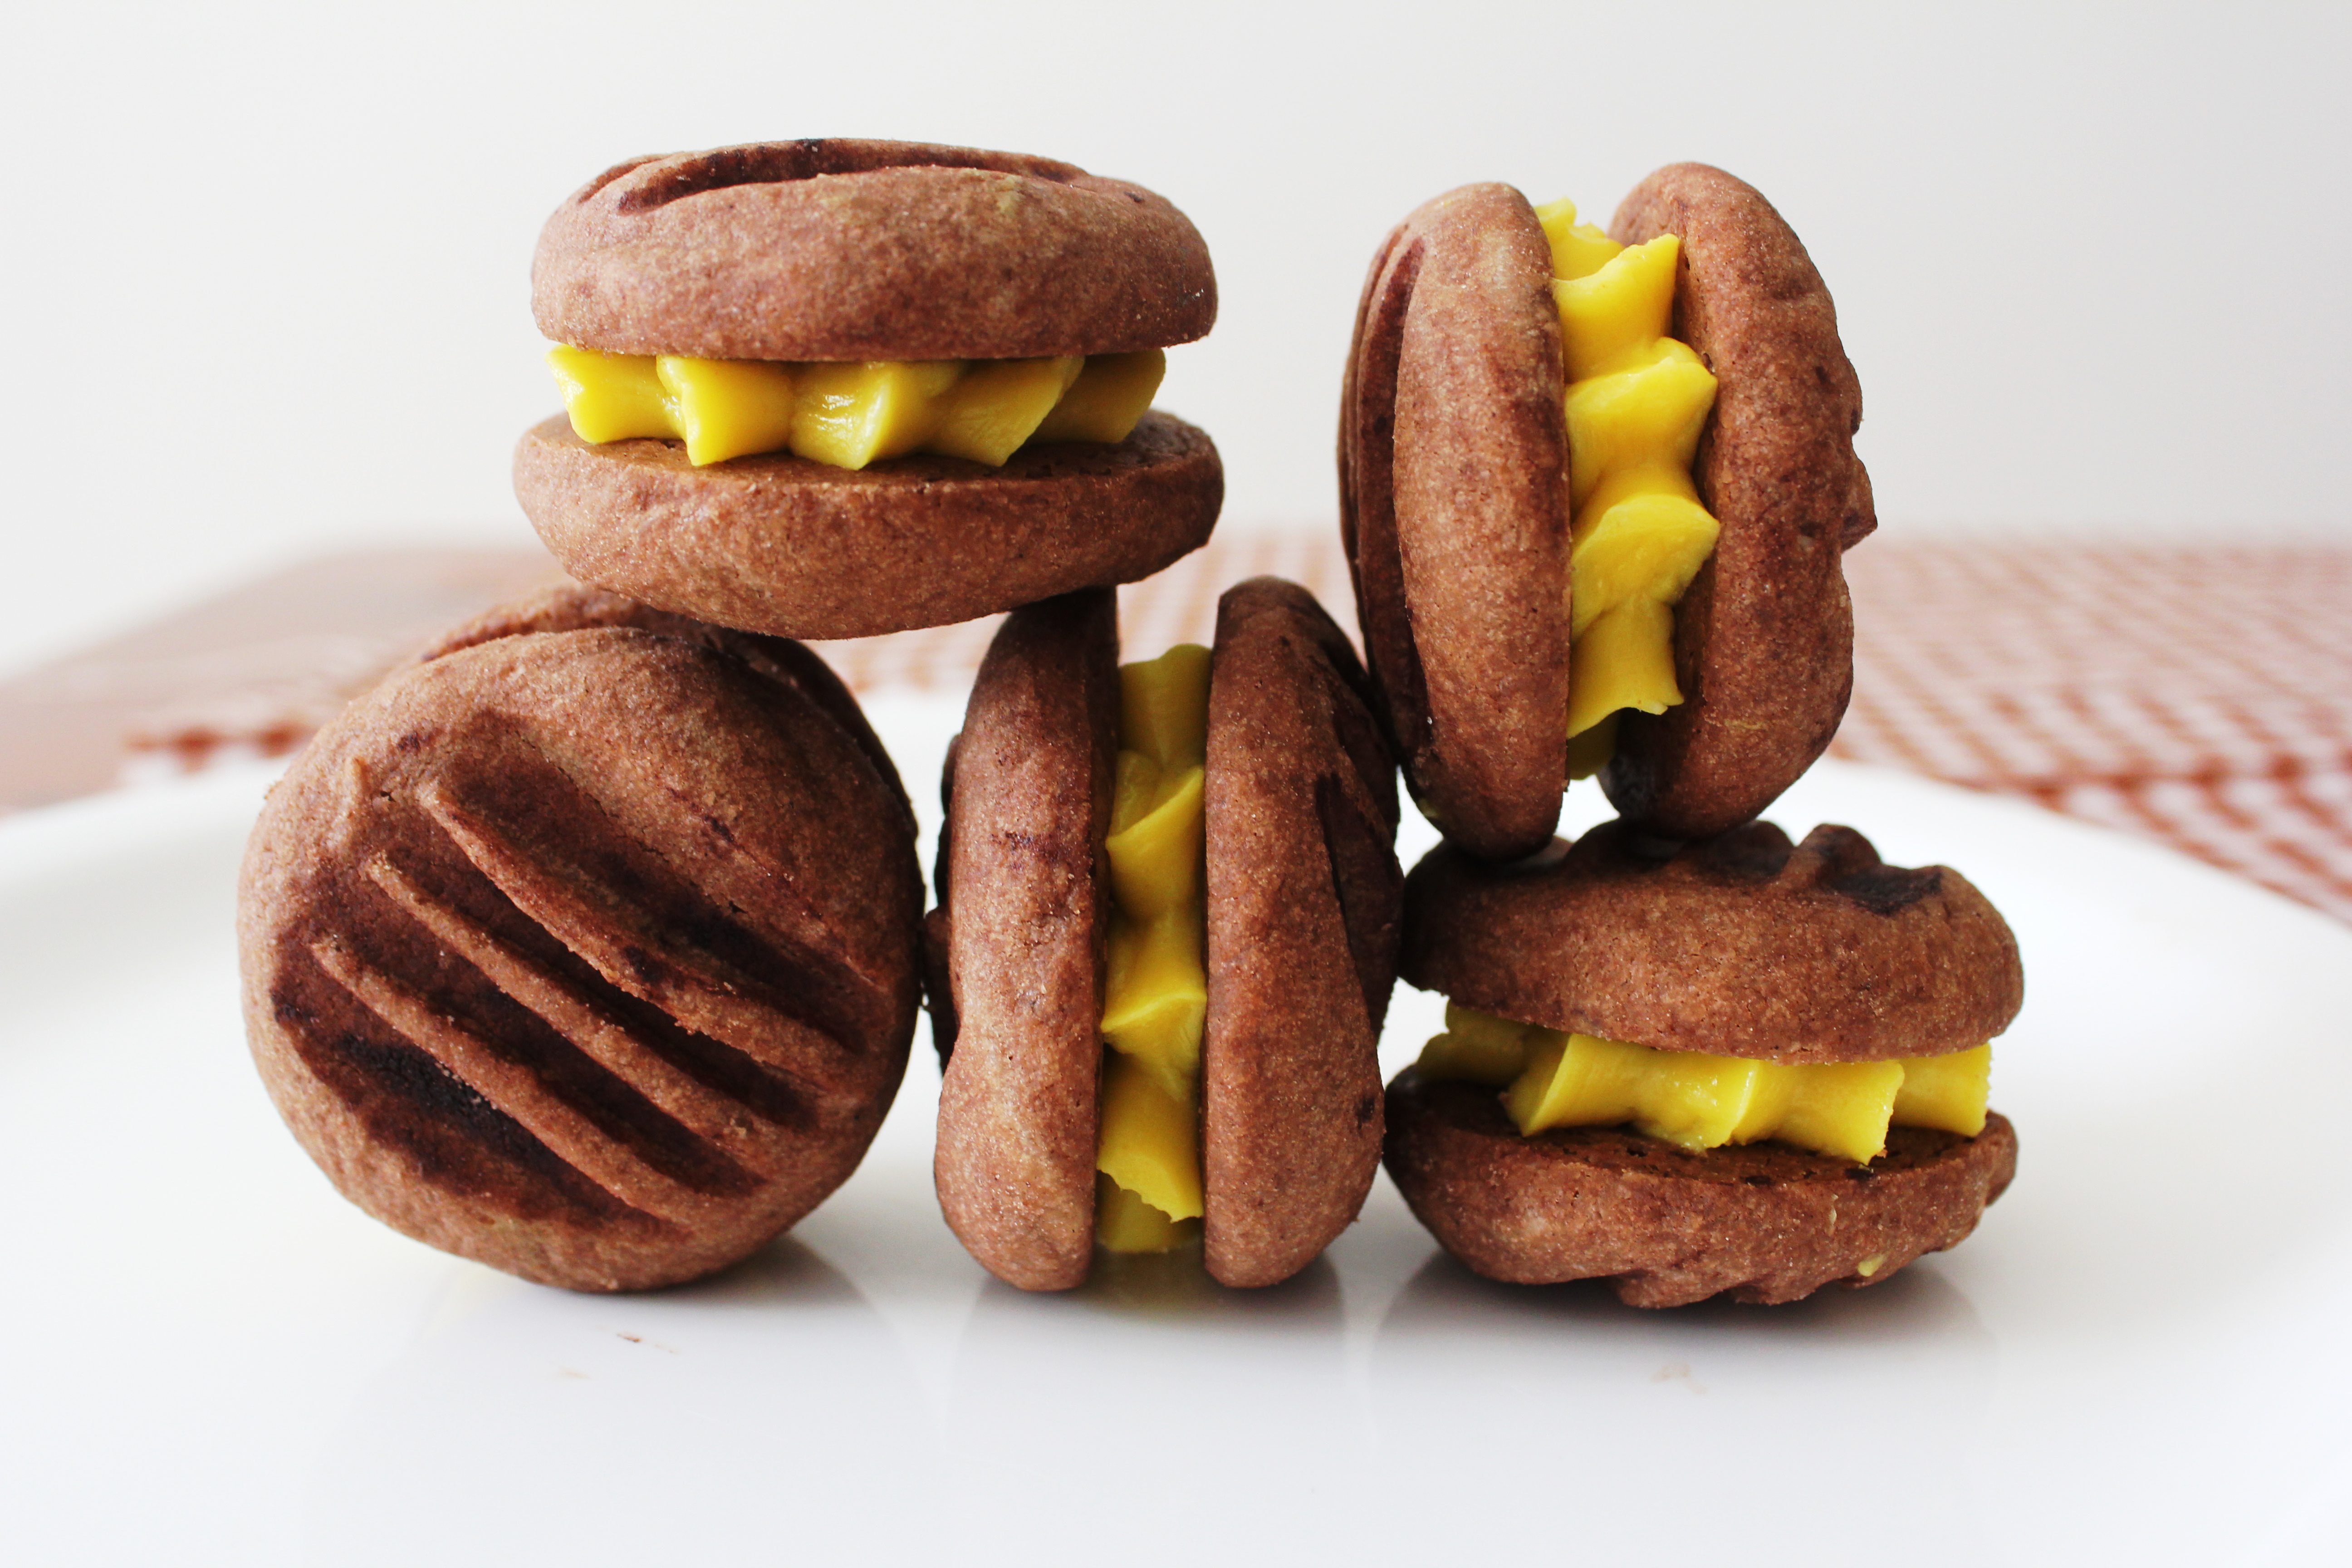
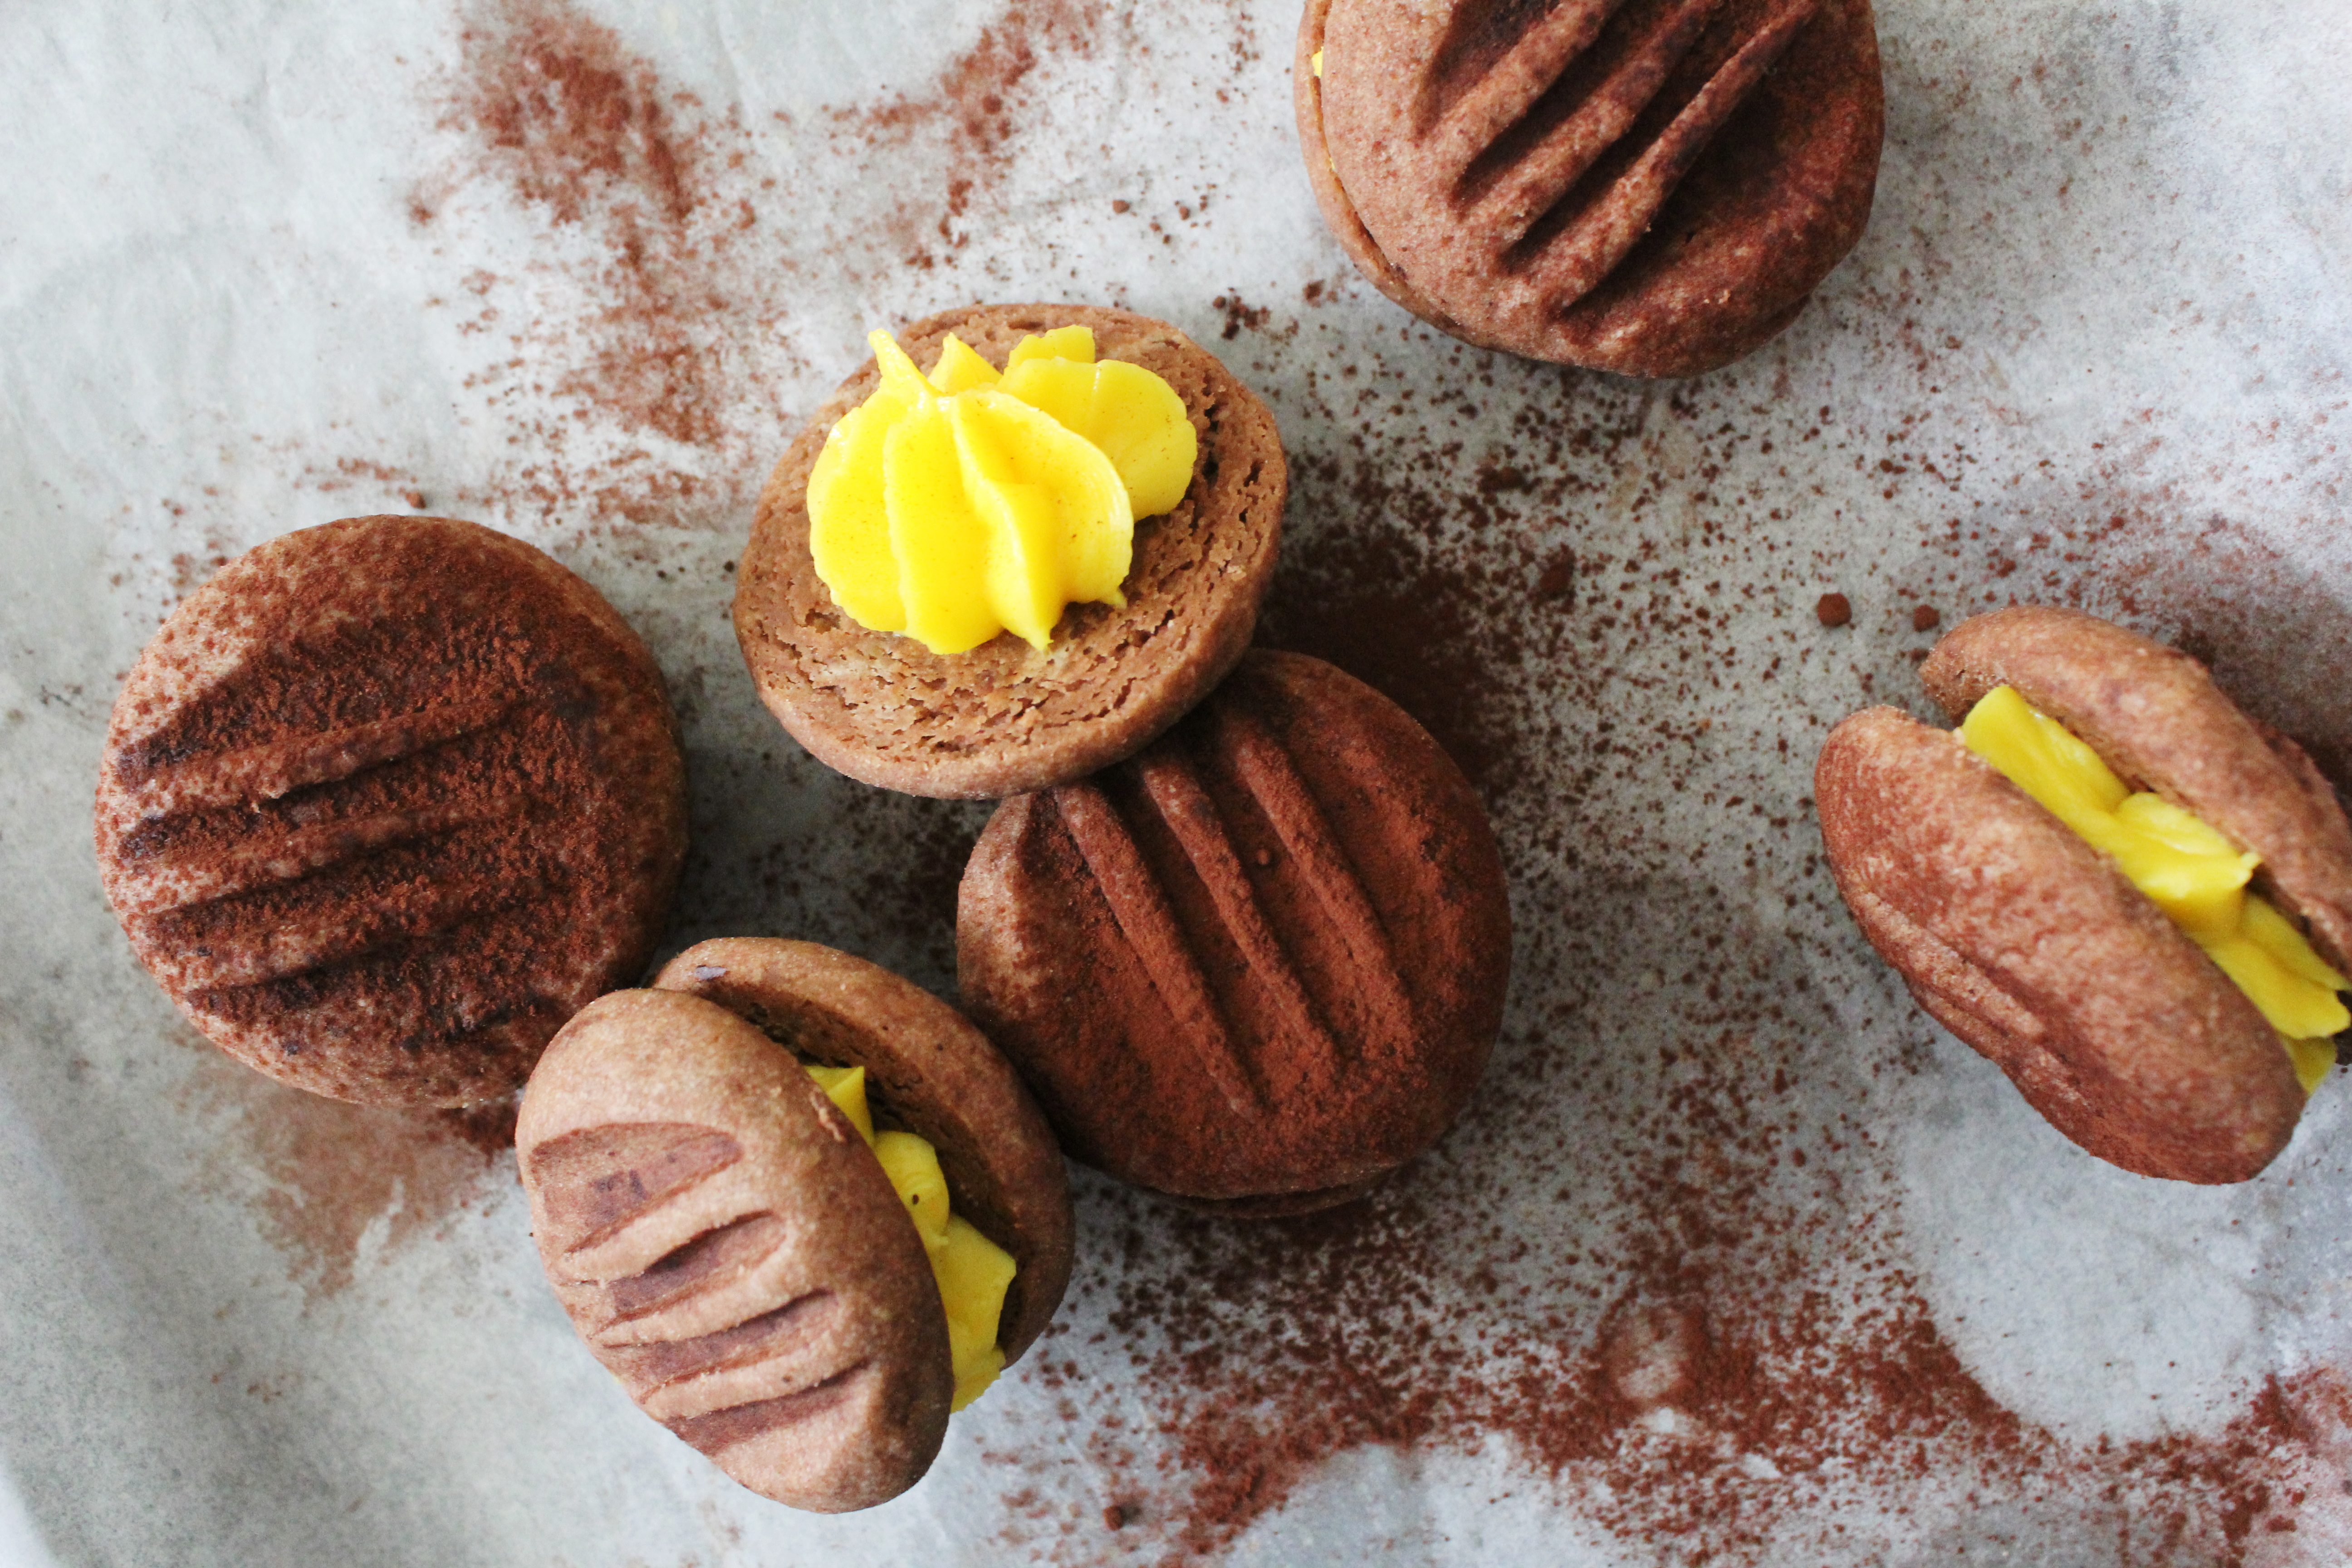
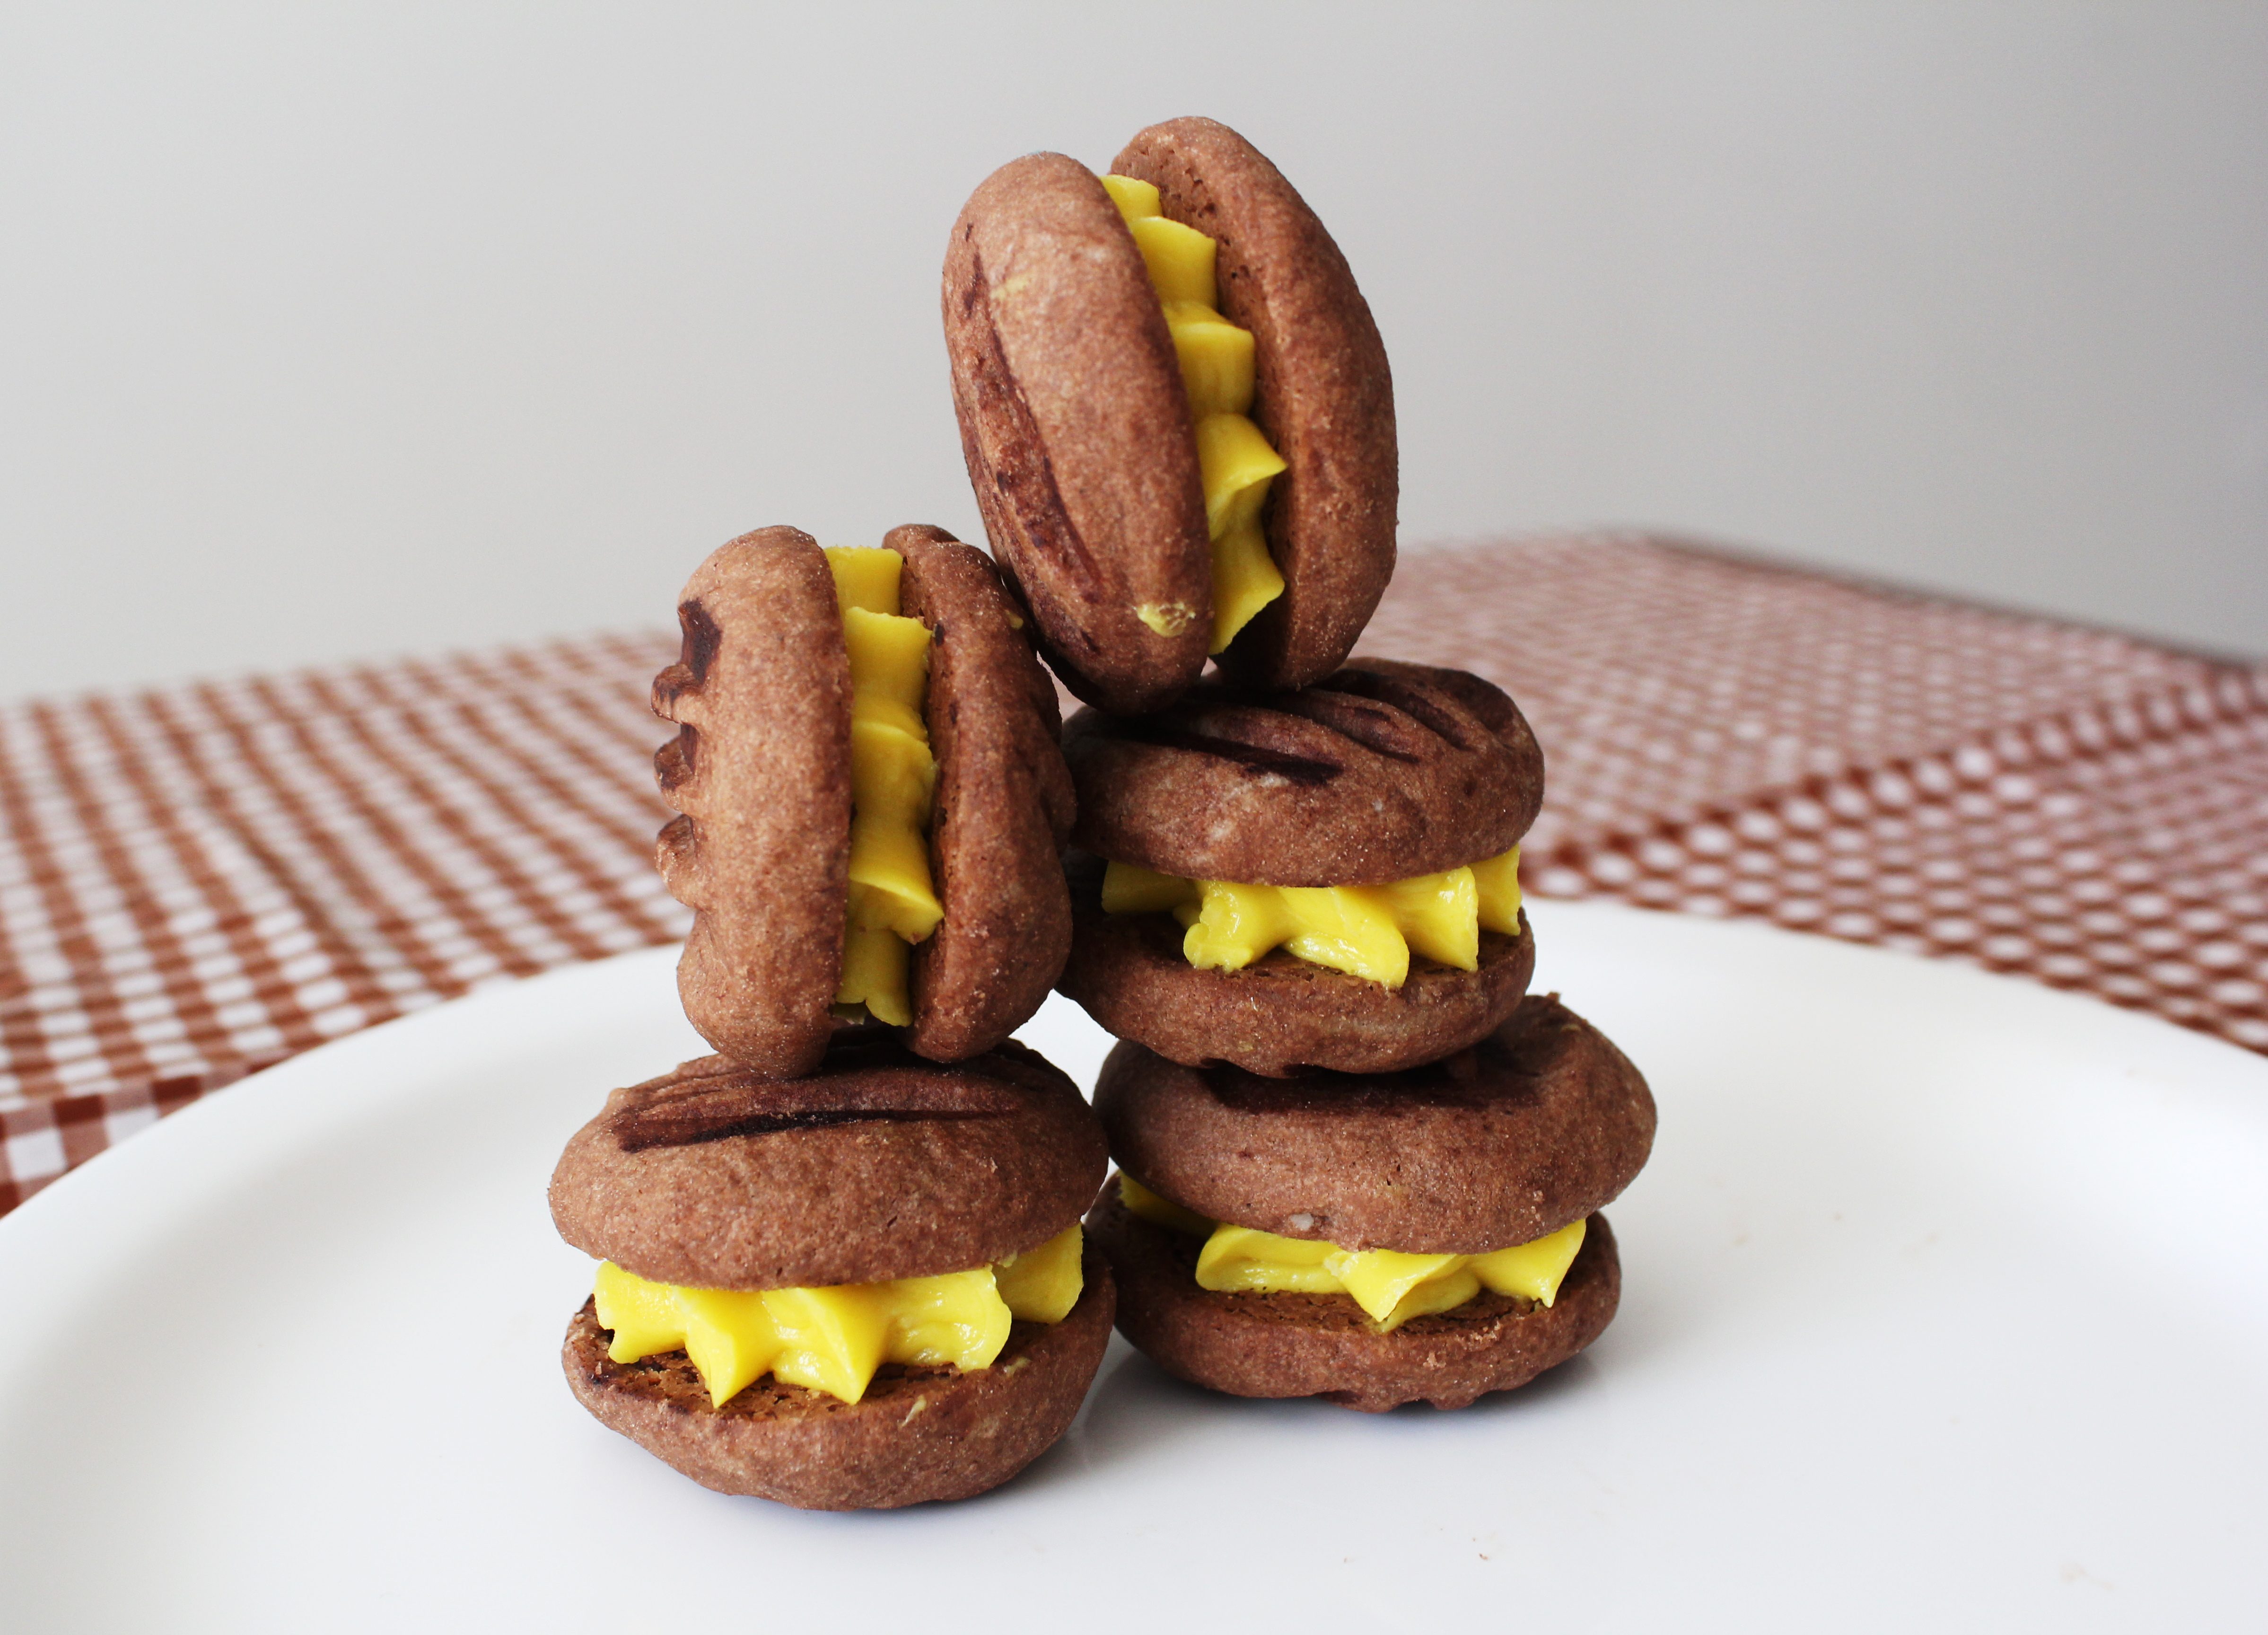
That being said, I am totally in love with these cookies. The crumbly melt-in-your mouth texture makes them so special. Passion fruit pairs beautifully with chocolate in these cookies and look how bright they look together! This months Sweet Adventures Blog Hop challenge is also about cookies. I have missed the last few challenges so I was excited to find out about the Cookie Monster theme in August.  The event is being hosted this month by Sophie from The Sticky and Sweet. Do check out the fantastic creations that all have put up at the end of the post.

IMG_4774 (1)

Eggless Chocolate and Passion Fruit Melting Moments
Makes 7 large sandwich cookies

125g unsalted butter, softened
1/3 cup pure icing sugar, sifted
1 cup flour
2 tbsp custard powder
2 tbsp cocoa powder

For filling
60g unsalted butter, softened
1/2 cup pure icing sugar, sifted
2 tbsp passion fruit puree, strained to remove seeds
2 drops yellow food colouring

Preheat oven to 160 degrees C. Line 2 baking trays with baking paper. Using an electric mixer or with a hand mixer, beat butter, and sugar until light and fluffy. Sift flour, custard powder and cocoa powder over the butter mixture. Stir with a wooden spoon until just combined and a soft dough forms. Using 1 heaped tbsp of dough per ball, make balls. Place on prepared trays leaving room for spreading. Using a fork dipped in cocoa, lightly flatten each biscuit until 1 cm thick. Bake for 15 to 20 minutes or until cooked through. Cool on tray for 15 minutes. Transfer to a wire rack to cool completely.

Meanwhile make the passion fruit filling: Using an electric mixer or with a hand mixer, beat the butter till fluffy. Add the sugar gradually and whisk to combine. Add the passion fruit puree and mix well. Tint the frosting with food colour. Spread or pipe the filling on the flat side of a cookie. Sandwich with another cookie. Repeat with remaining cookies and filling. Serve dusted with cocoa powder.

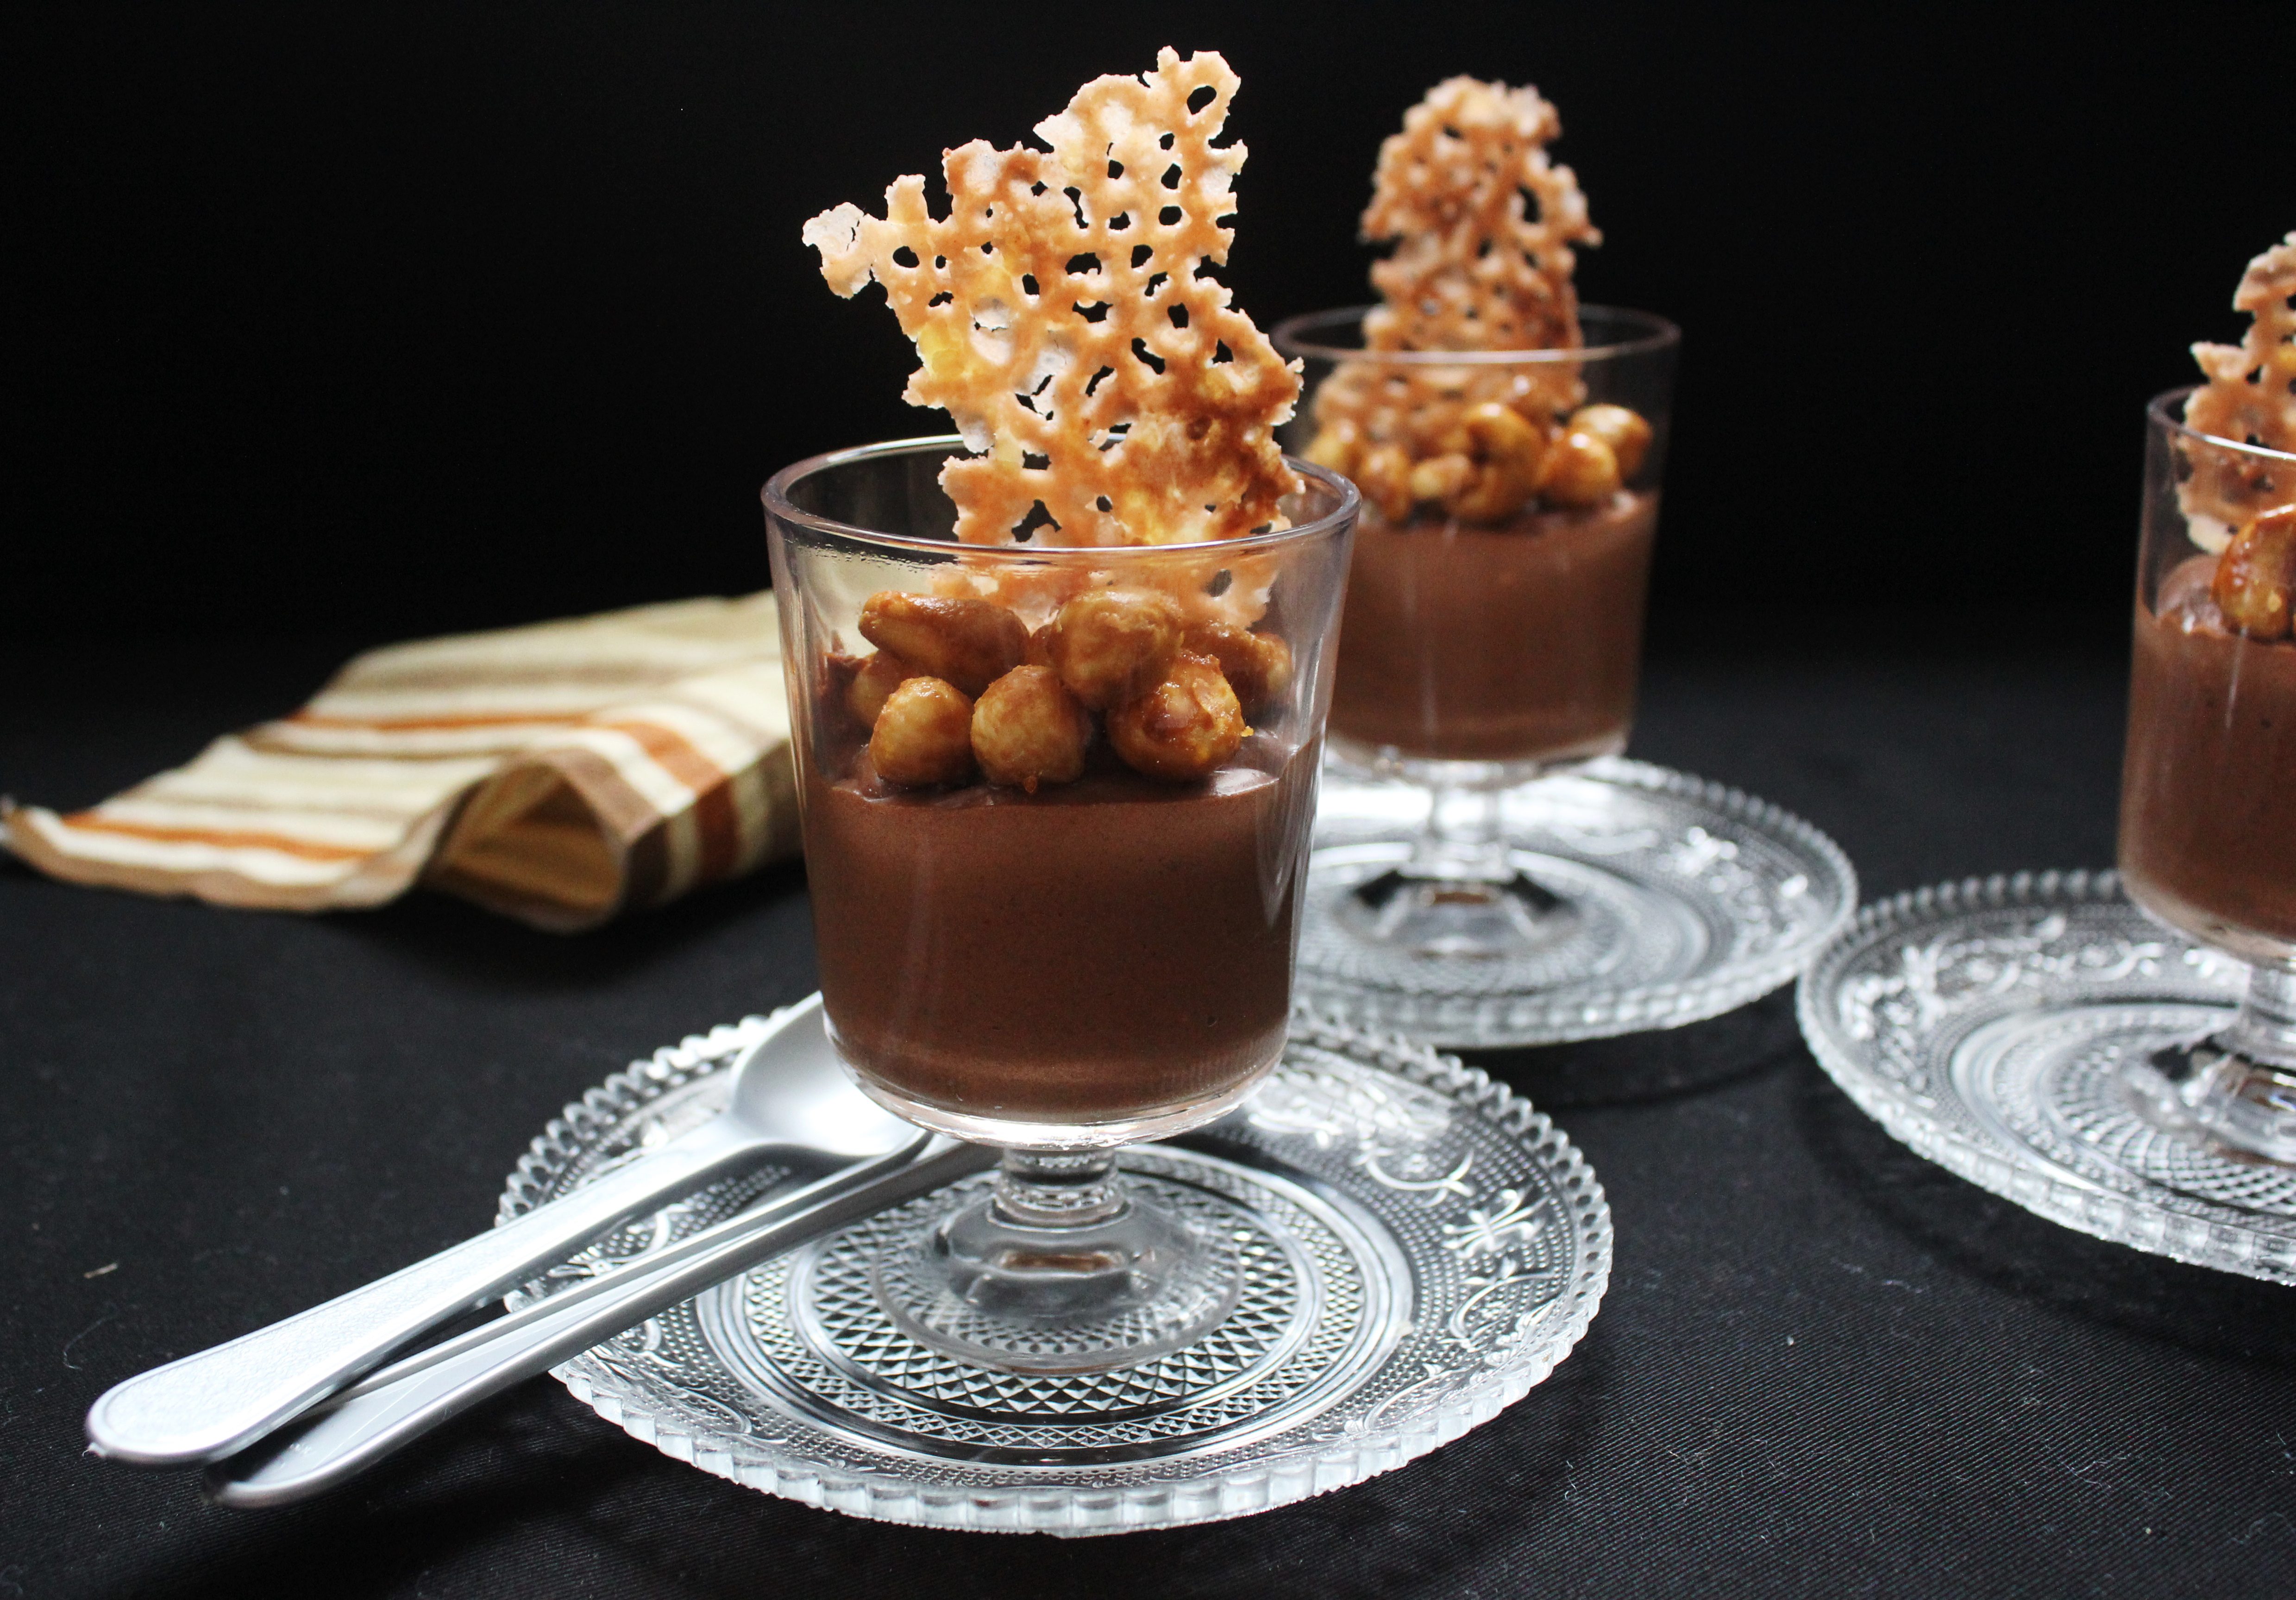
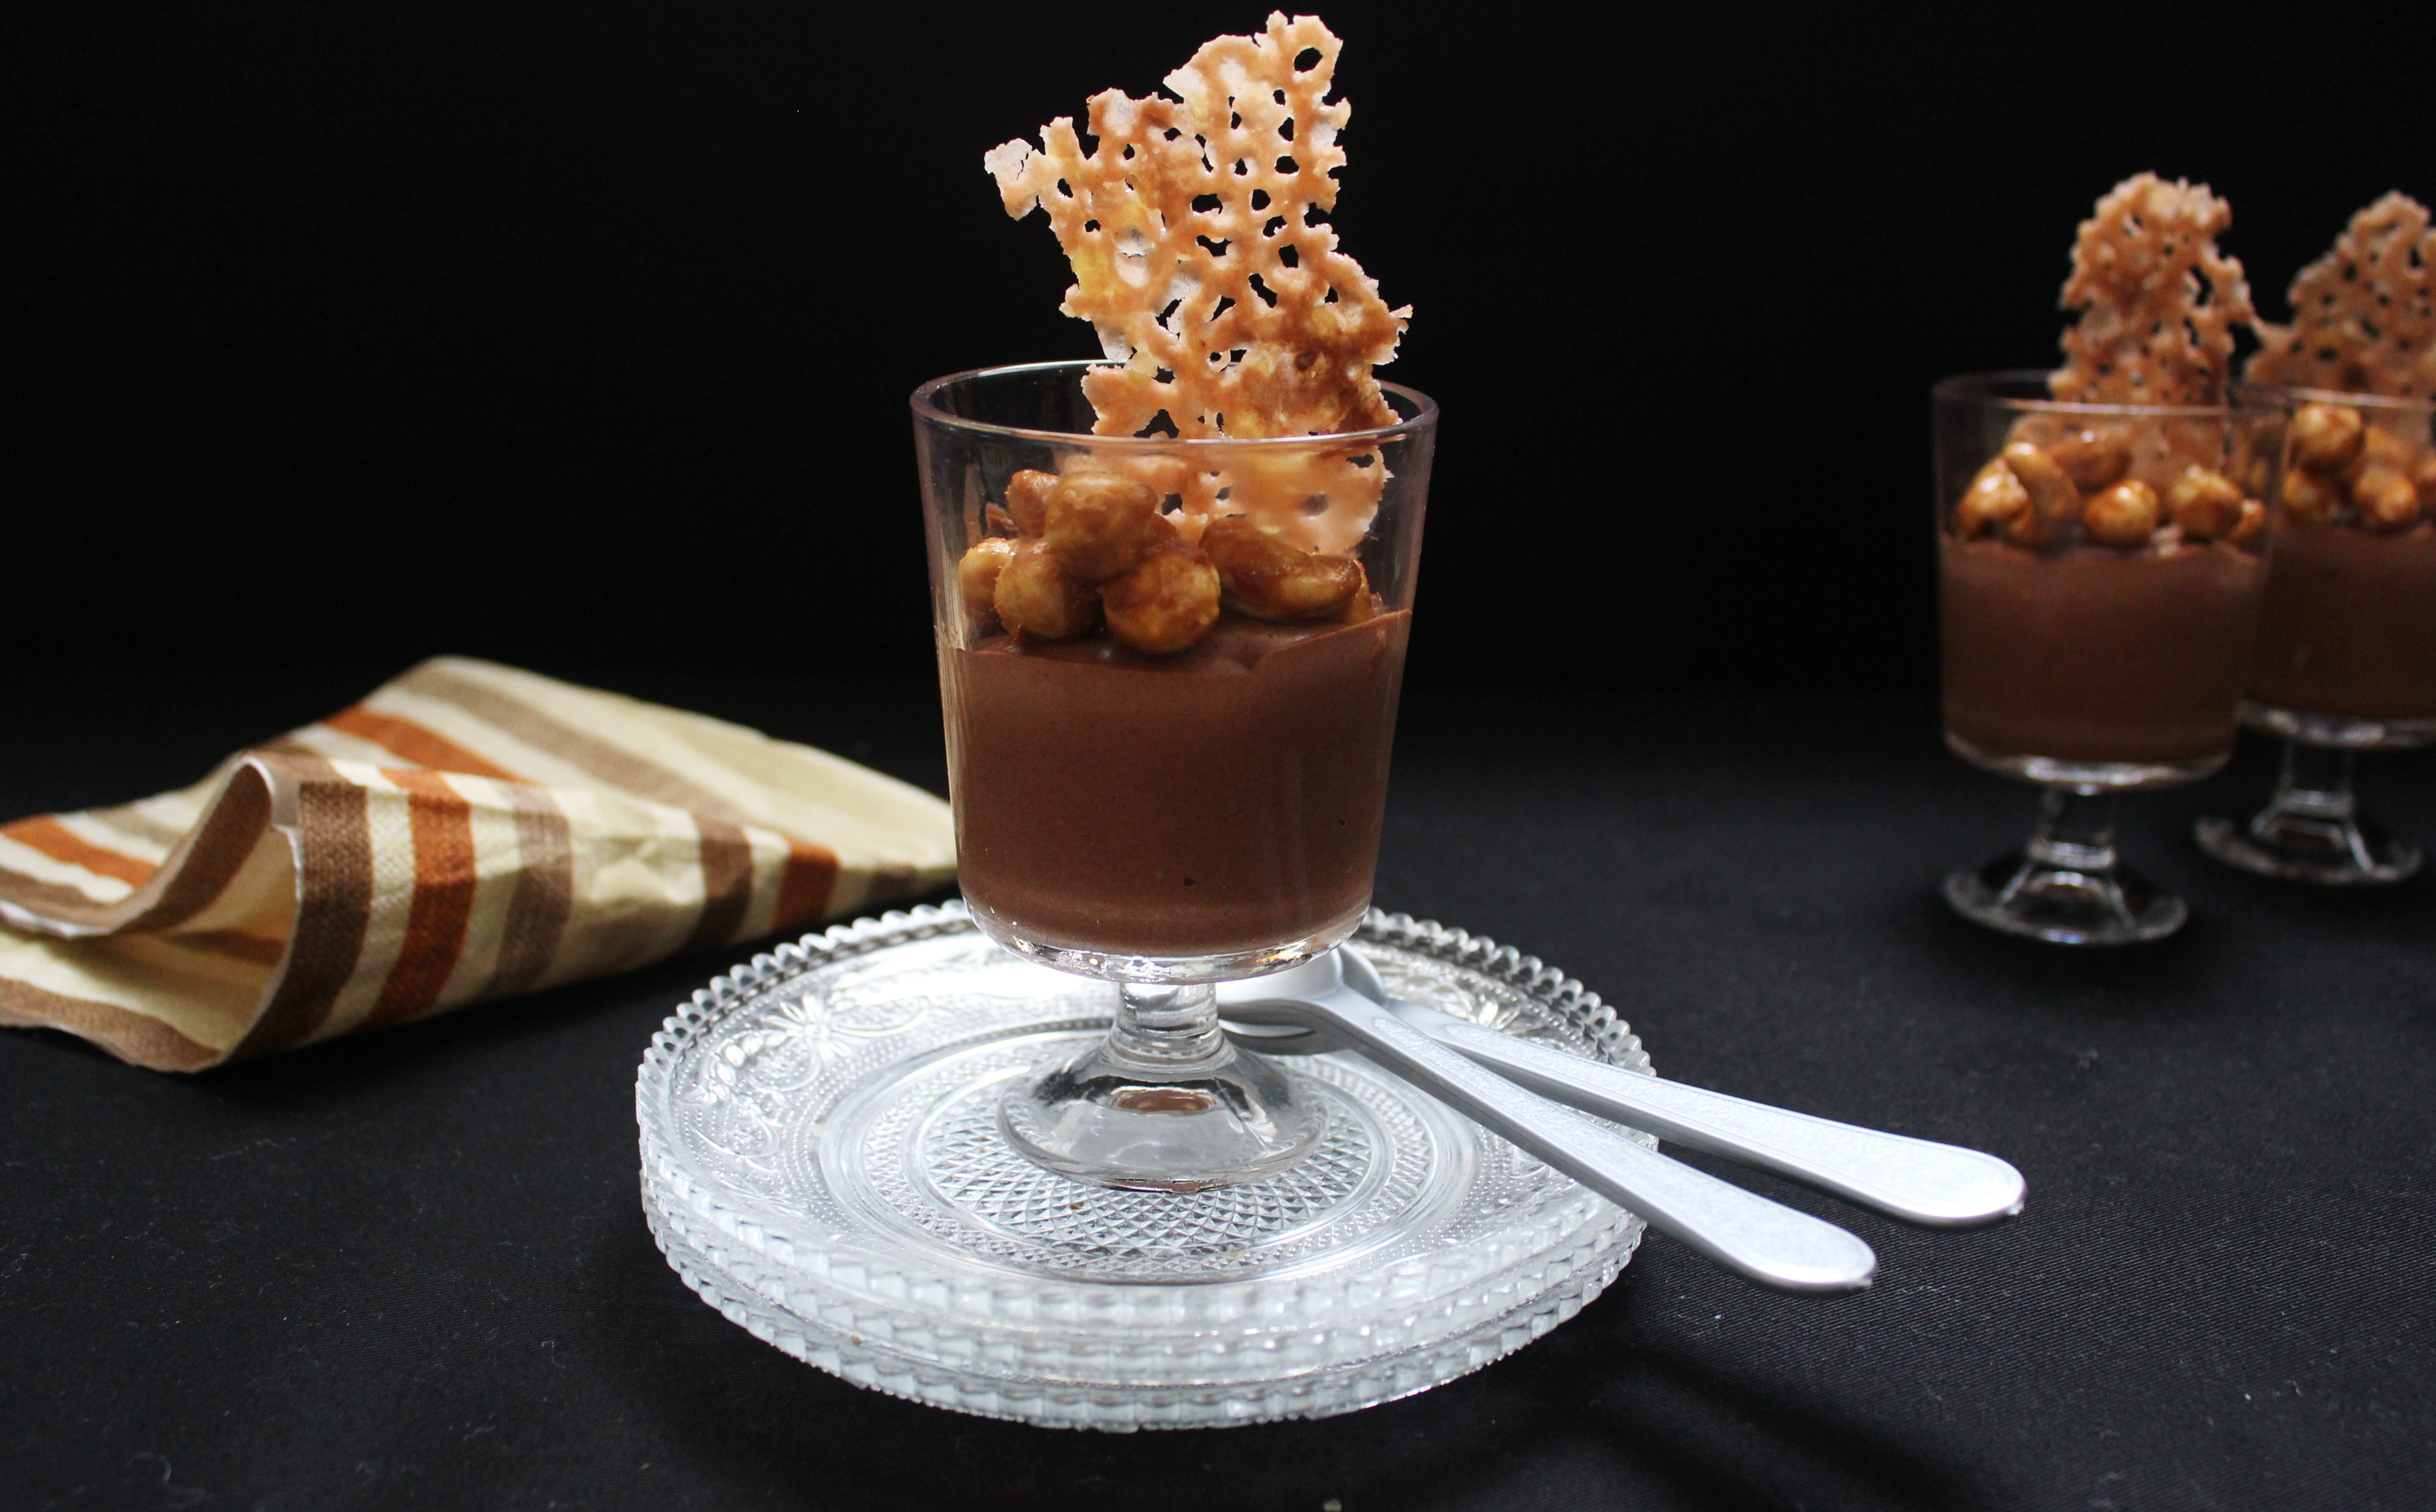
Mocha Mousse with Coffee Glazed Hazelnuts and Cocoa Tuile

5|08|2013

Isn’t it ironical that I am posting about coffee when my morning coffee has just been replaced by a cup of masala chai (spiced tea)! Life has been wonderful. Despite travelling 5000 miles over, I am anything but jet lagged and loving every bit of my break. So have I been missing coffee? Well, not really. I did make sure I had loads of it in my dessert, before I left.

IMG_4513 (1)

This is the first time I am contributing to the Chocolate Party hosted by Roxana’s Home Baking and I couldn’t be more excited. Chocolate is one word that is probably scribbled all over my blog and has the most number of recipes dedicated to it. When I learnt the secret ingredient for August was coffee, I didn’t want to miss it though I knew it would be a little early on a vacation to open my laptop and think ‘blog’. So I prepared my dessert and photographed it well ahead in time.

IMG_4504 (1)

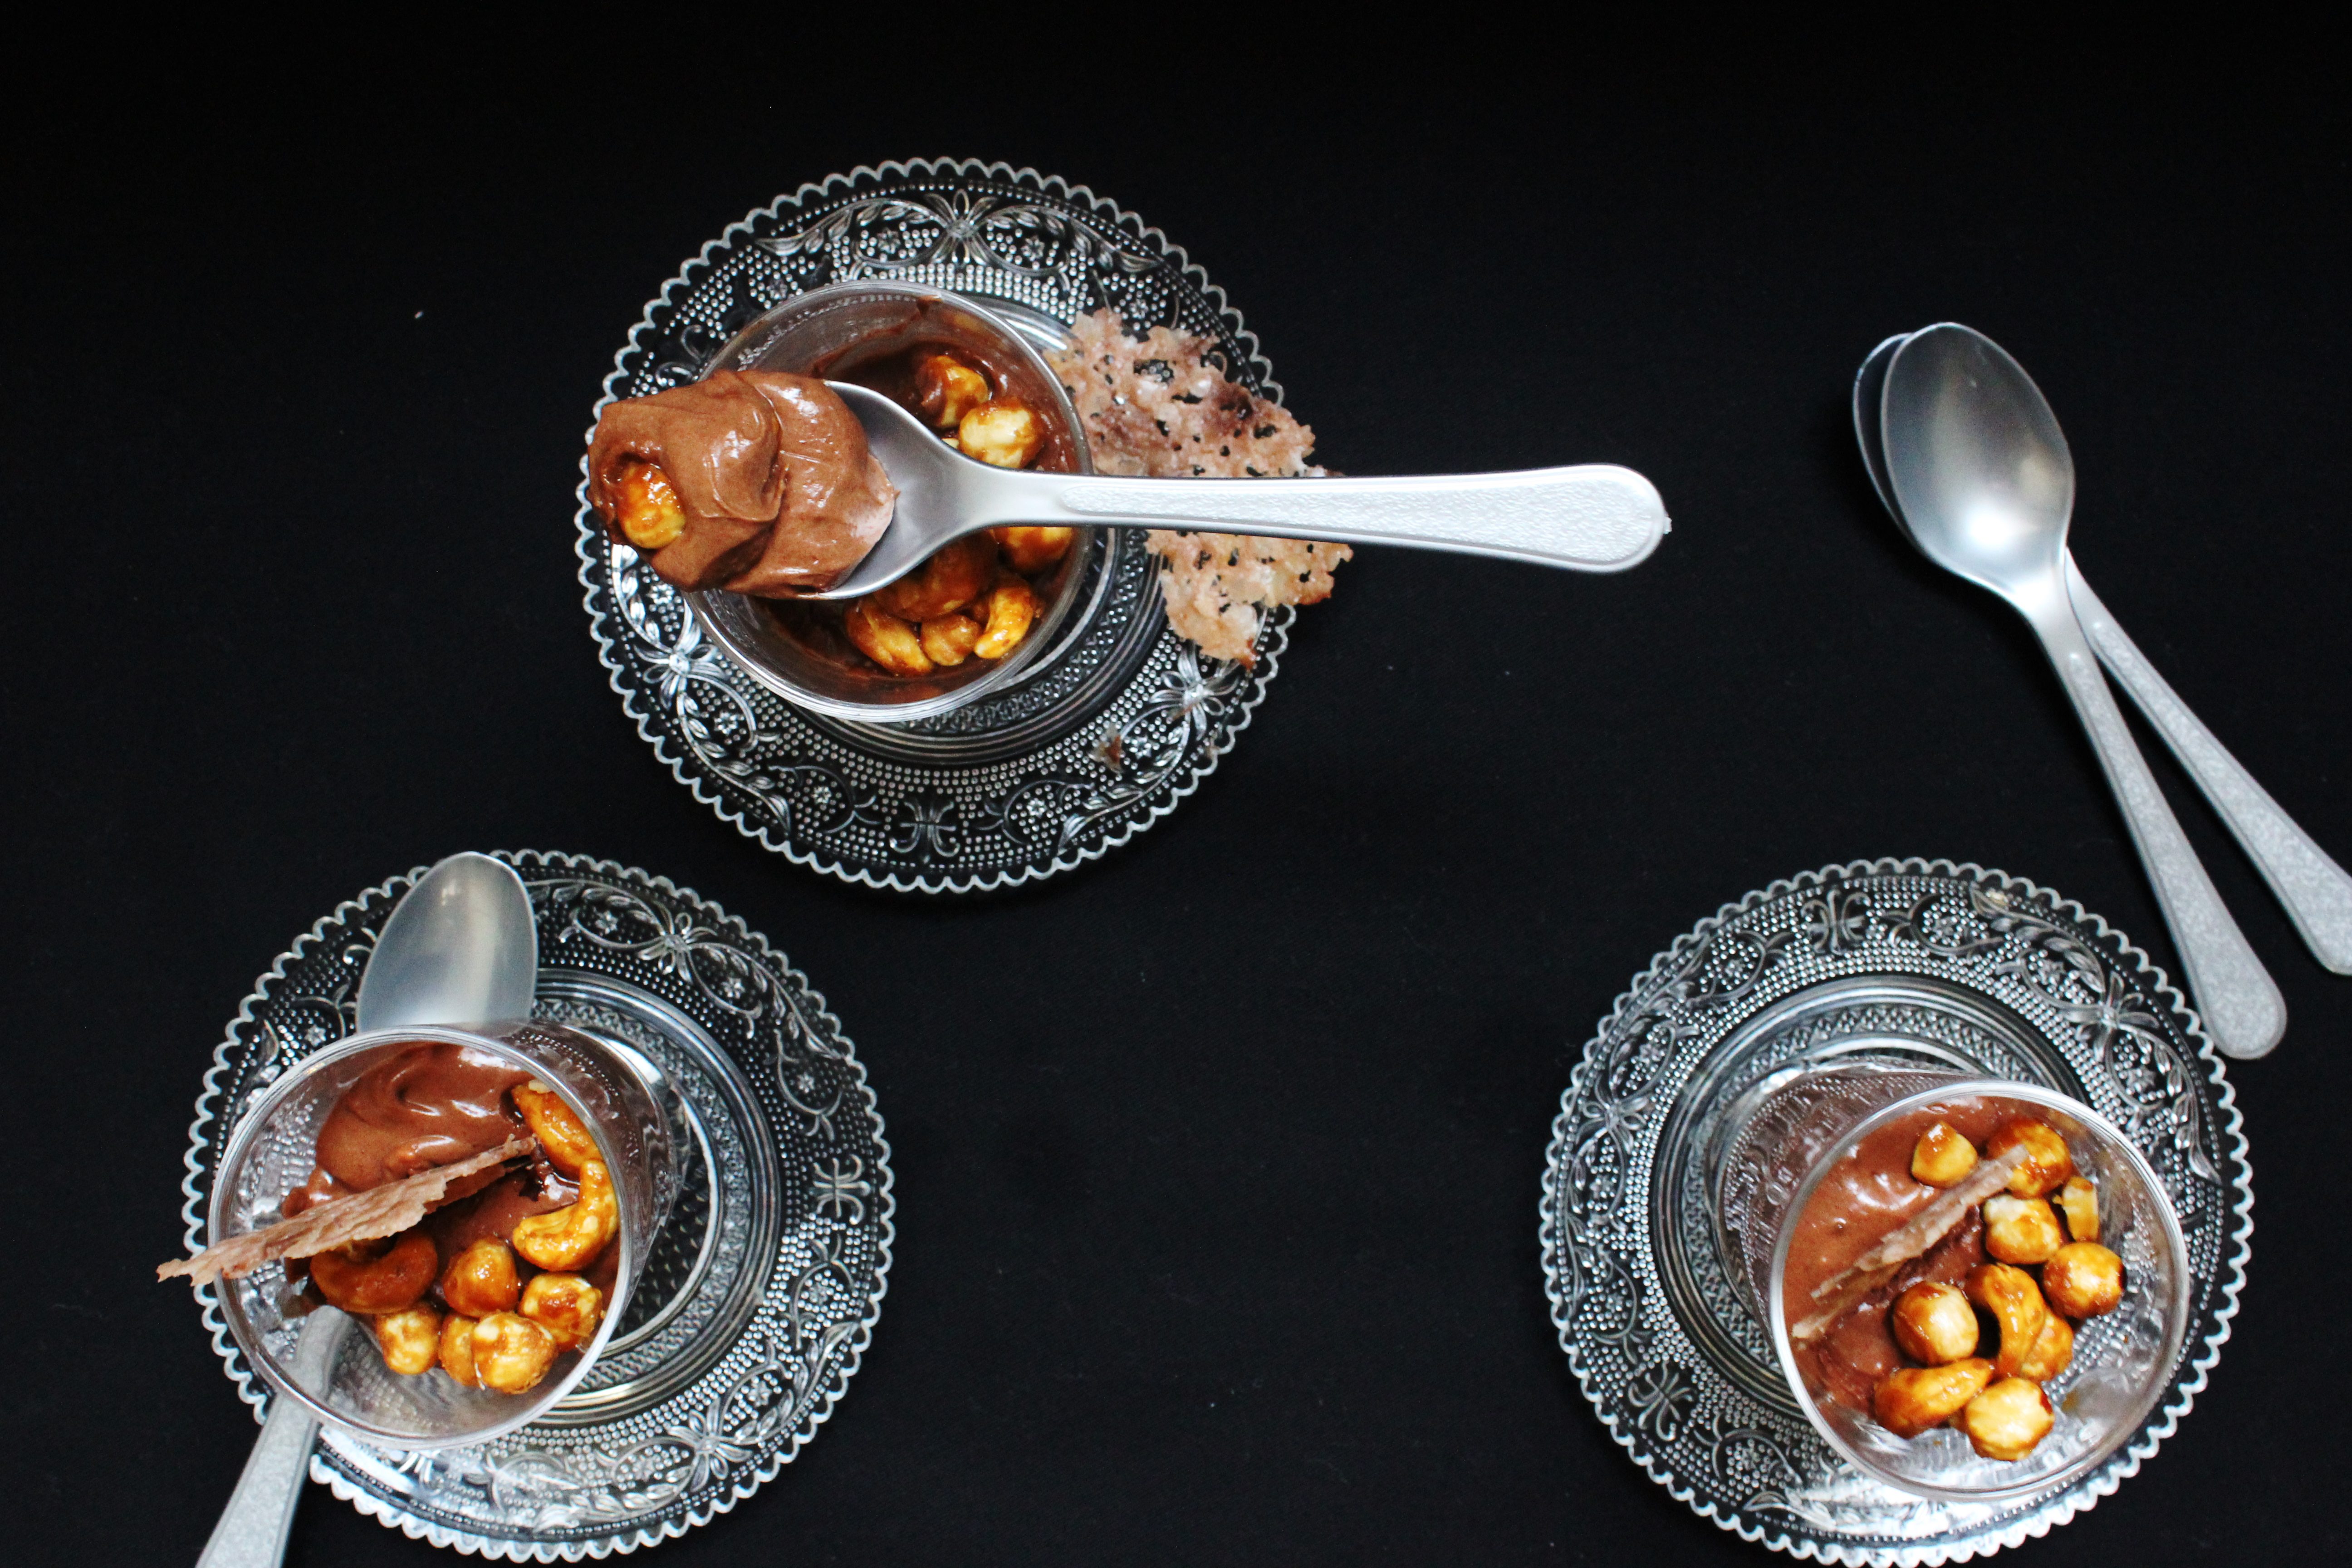
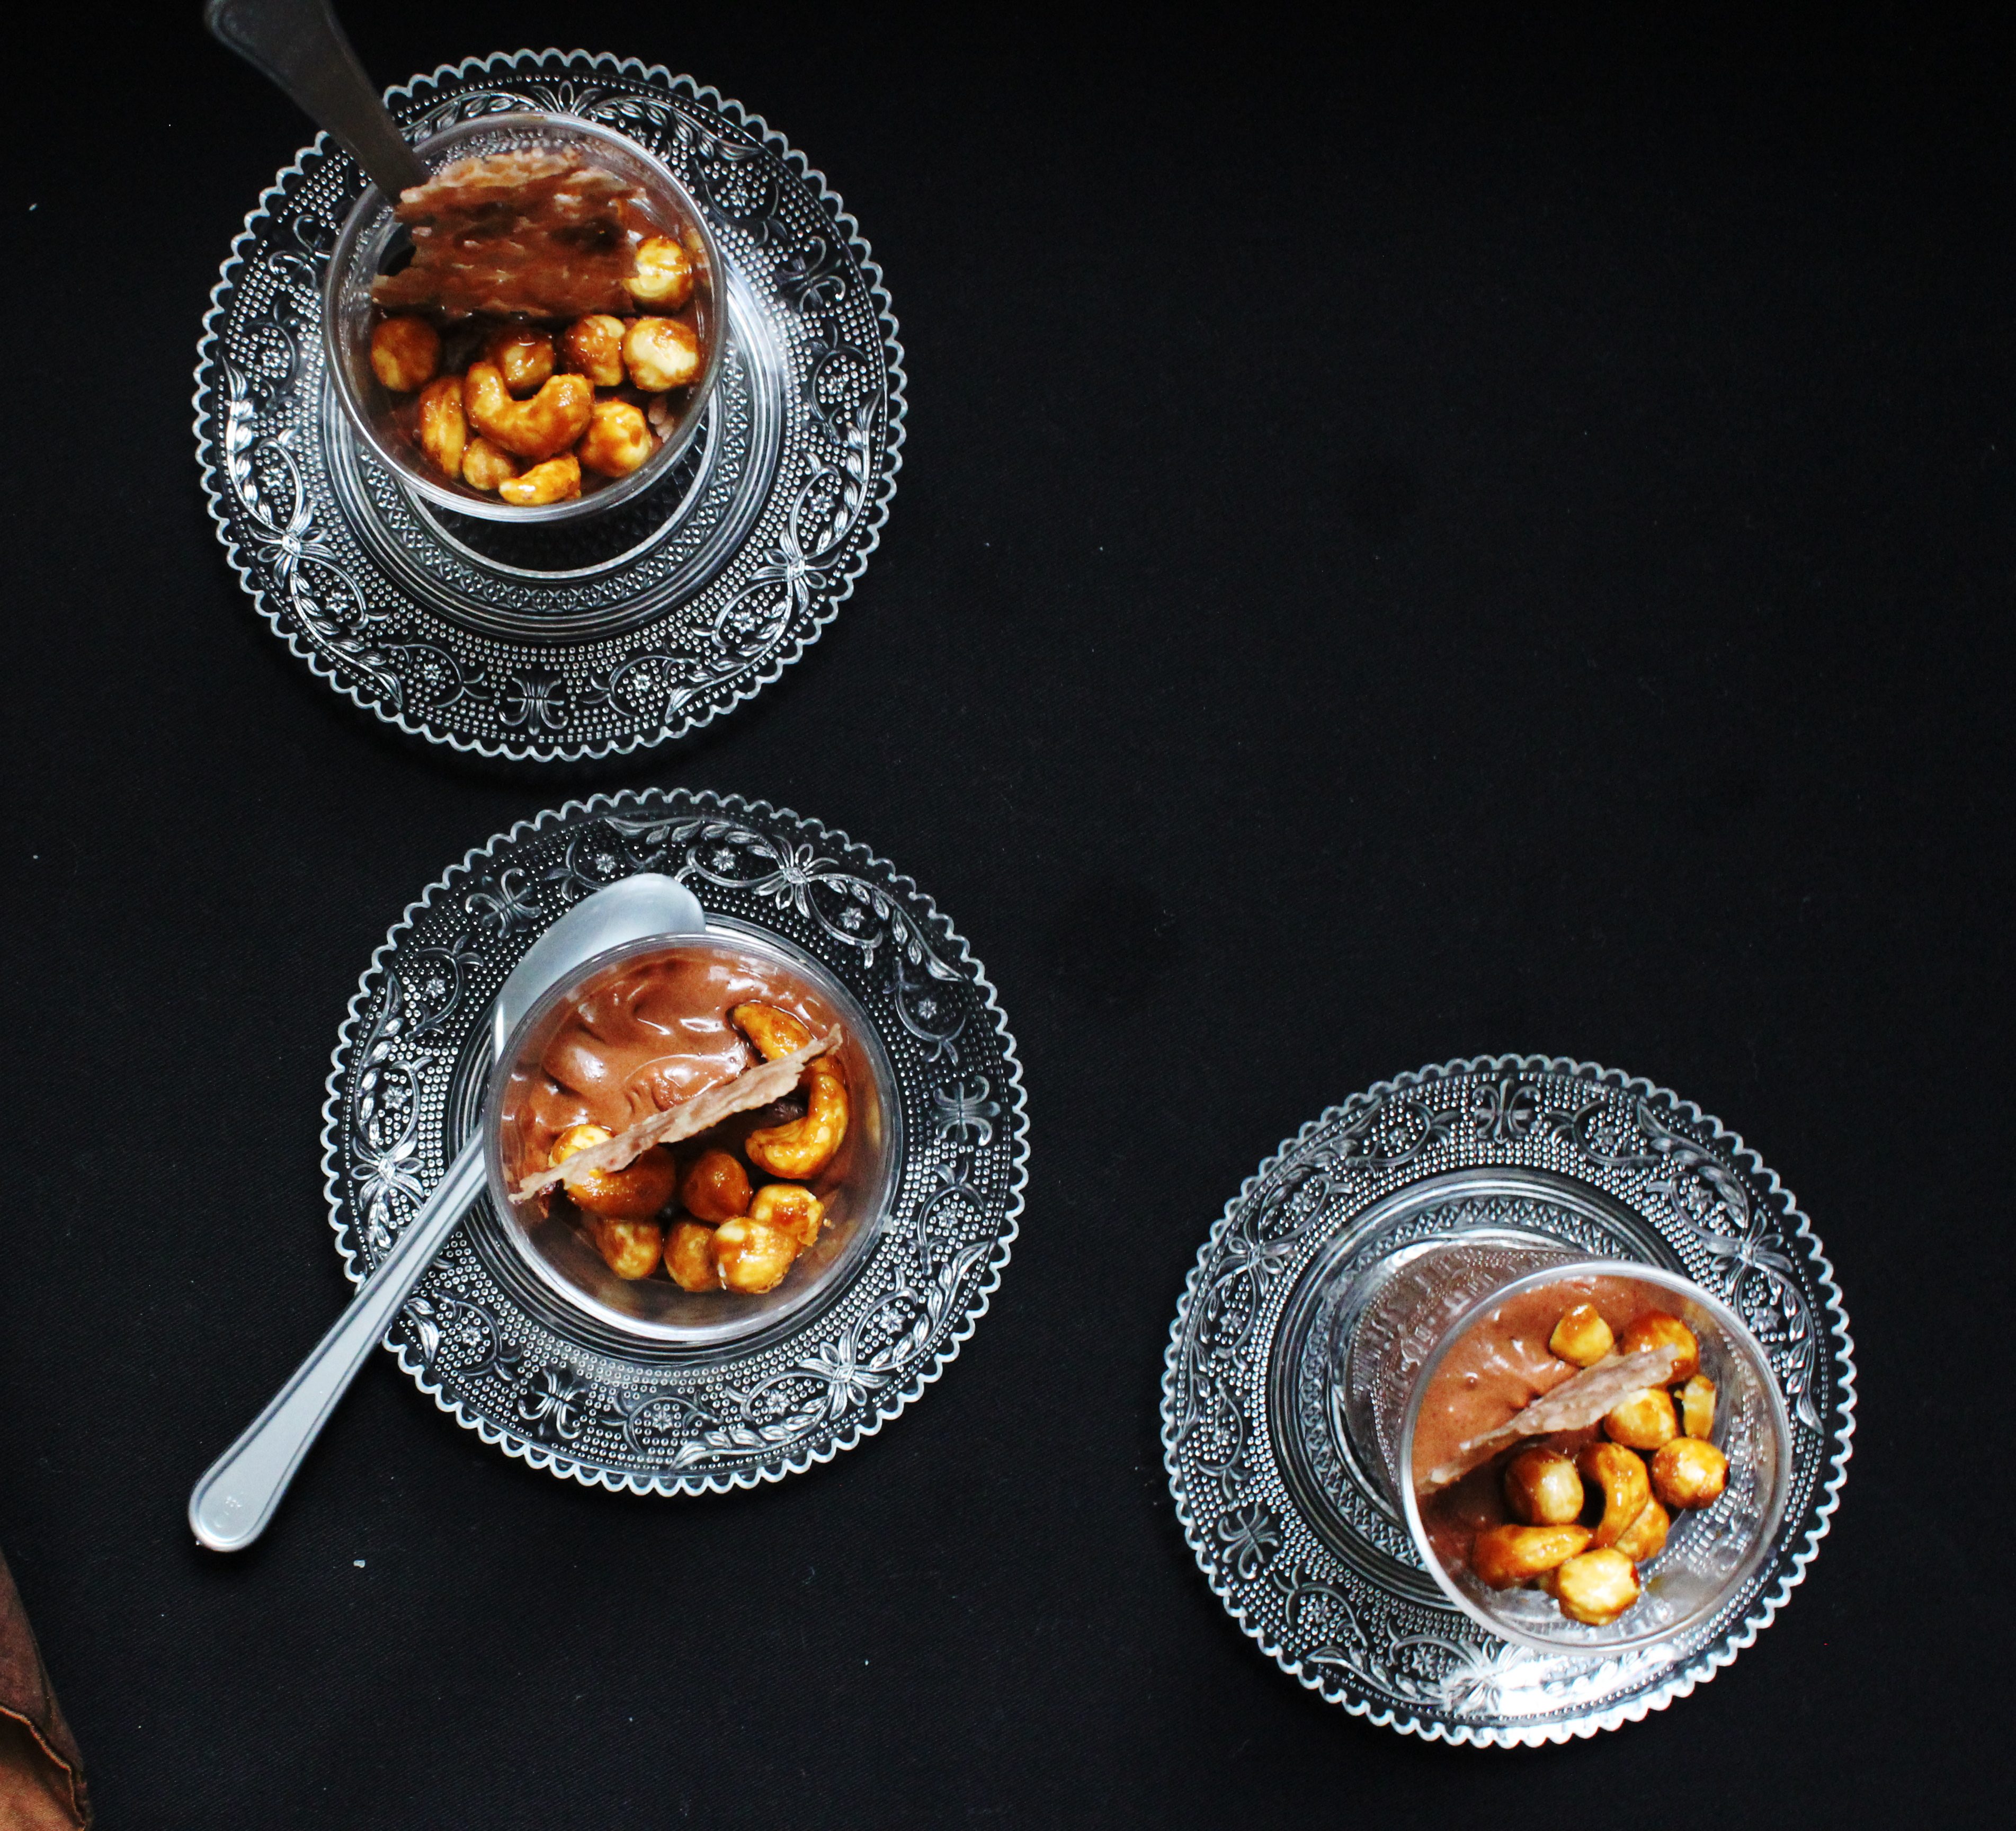
I love this pairing! Needless to say it’s a decadent, rich mousse, heady with the triple dose of coffee. If you love coffee, this is the dessert for you. To make it totally coffee-ish I glazed the hazelnuts (along with a few cashew nuts) with a bitter-sweet coating of coffee and baked them to crispness. One spoonful of this and it takes all your willpower to stop. The tuile makes the dessert look stunning though you can leave it out if you think it’s a hassle. I added it because I wanted to give equal weightage to both the ingredients.

IMG_4522 (1)

IMG_4518 (1)


Mocha Mousse with Coffee Glazed Hazelnuts and  Cocoa Tuile
Serves 4

Mocha Mousse
½ Cup heavy cream for the custard (Crème Anglaise)
1 tsp instant coffee powder
4 Egg Yolks
¼ Cup Sugar(or to taste)
3/4 cup Dark Chocolate, chopped
1/2 Cup Heavy Cream for whipping
1 Tablespoon Coffee Liquor, optional (I used Kahlua)

Heat the ½ cup cream over medium heat in a saucepan. Add the instant coffee powder and stir to dissolve. Beat the egg yolks and sugar together in a bowl. When the cream reaches boiling point take it off the heat, add 2 tsp of the coffee cream mixture into the egg mixture and whisk. Gradually pour the remaining cream over the egg mixture whisking constantly till combined. (This is done gradually so as to ensure that the eggs don’t scramble) Return the egg-cream mixture to the pan.

Heat the mixture under a medium-low flame, whisking constantly till the mixture thickens enough to coat the back of a spoon. This is called a Creme anglaise/custard.

Place the dark chocolate in a bowl. Remove the custard from heat and pass it through a sieve into the bowl of chocolate. Let the mixture remain undisturbed for a while. Stir to smoothen out the chocolate. Cool to room temperature. While the custard is cooling, whip the remaining 1/2 cup cream to stiff peaks. Add the coffee liquor if using and stir slowly to combine. Store in the refrigerator till needed.

When the chocolate mixture has cooled down completely add it to the whipped cream little at a time & fold in till no white streaks appear. Pour into serving glasses. Refrigerate till set, about 4 hours or preferably overnight.

Coffee Glazed Hazelnuts

1 tbsp water
1/2 tsp instant coffee powder
2 tbsp castor sugar
1 tbsp golden syrup or light corn syrup
1 cup hazelnuts

Preheat oven to 180 degree C. Line a baking tray with aluminium foil.
Add all the ingredients except the hazelnuts to a medium saucepan and place over medium heat. Bring to a boil stirring constantly till the mixture has blended completely and looks dark brown. Remove from heat and add in the nuts and mix till evenly coated. Spread on the baking tray in a single layer. Bake for 10 minutes, stirring once in between. Remove from the oven and cool completely. Break into pieces and store till needed.

Cocoa Tuile
20 g all-purpose flour
20 g butter, room temperature
20 ml water
20 g cocoa powder
70 g icing sugar
Preheat oven to 180 degree C. Line a baking tray with baking paper.
Mix all the ingredients together in a bowl till a smooth paste forms. Spread evenly in a thin layer on the baking sheet. Bake for 10 minutes or until the edges turn golden brown. Remove from the oven and allow to cool for about a minute. Break into desired shapes and let harden for about 2 mins.

[inlinkz_linkup id=301410]

Jaffa Cupcakes. Chocolate Cupcakes with an Orange Chocolate Ganache and Orange Buttercream.

1|08|2013

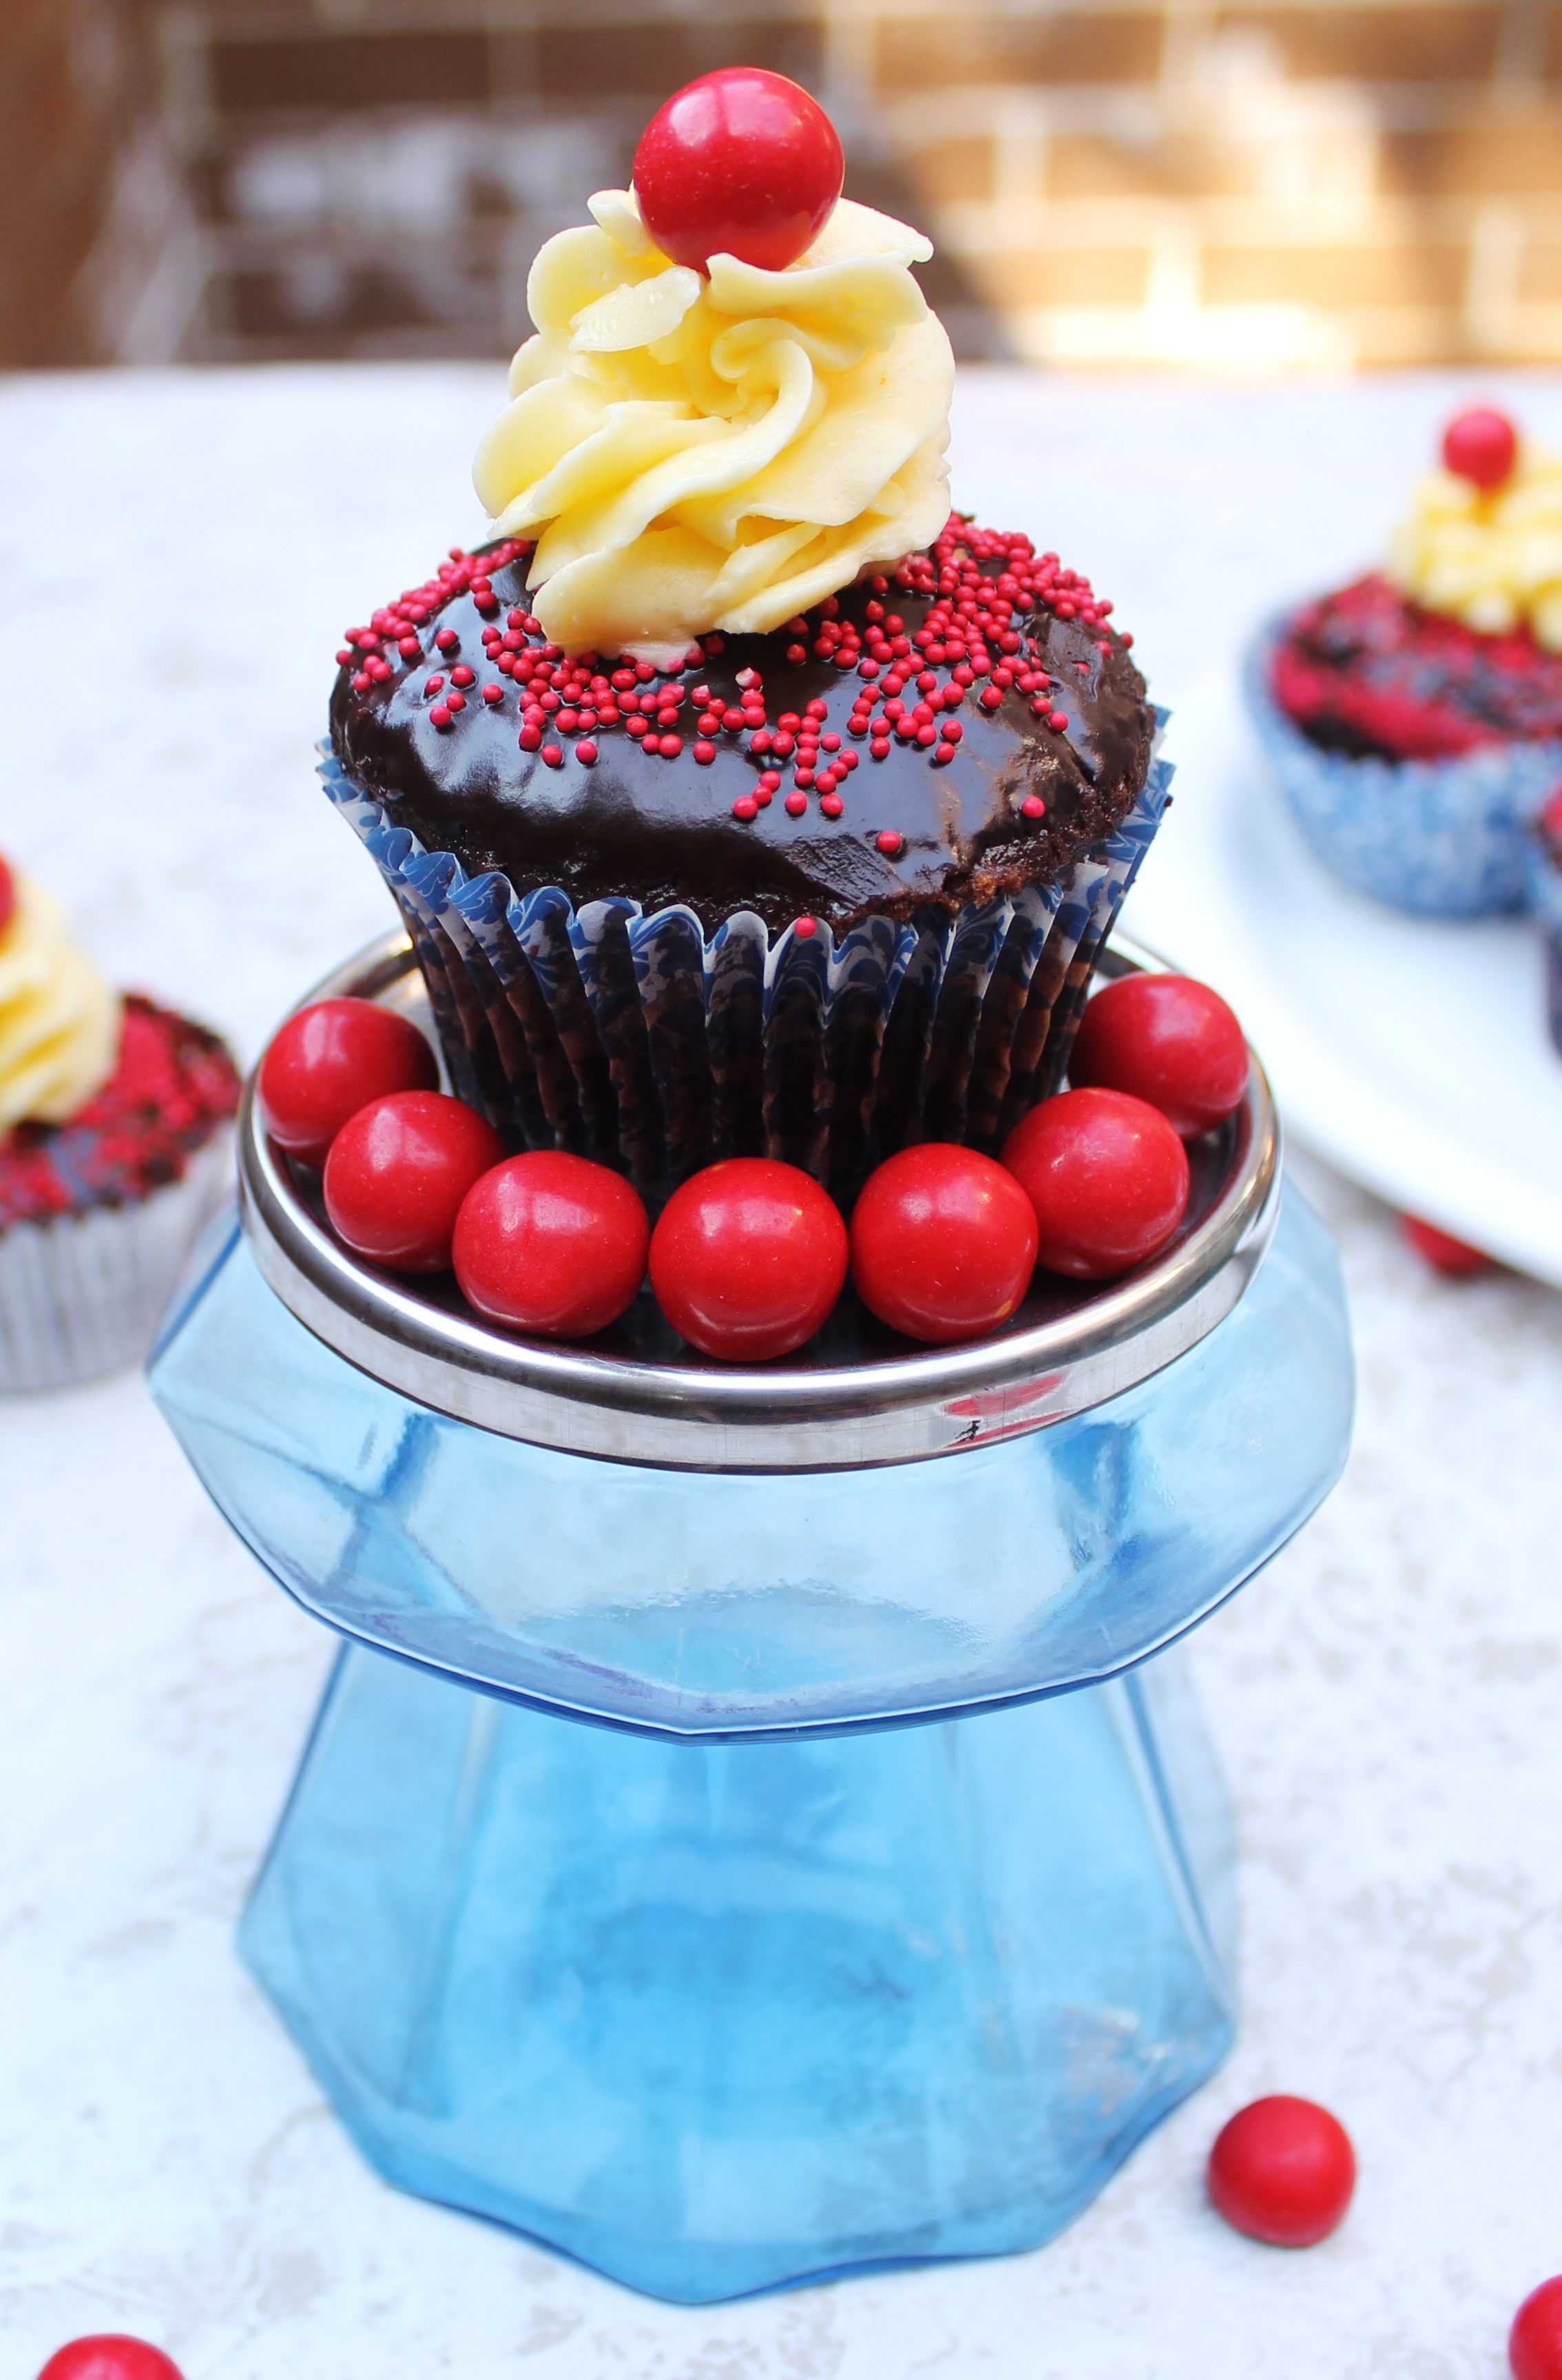
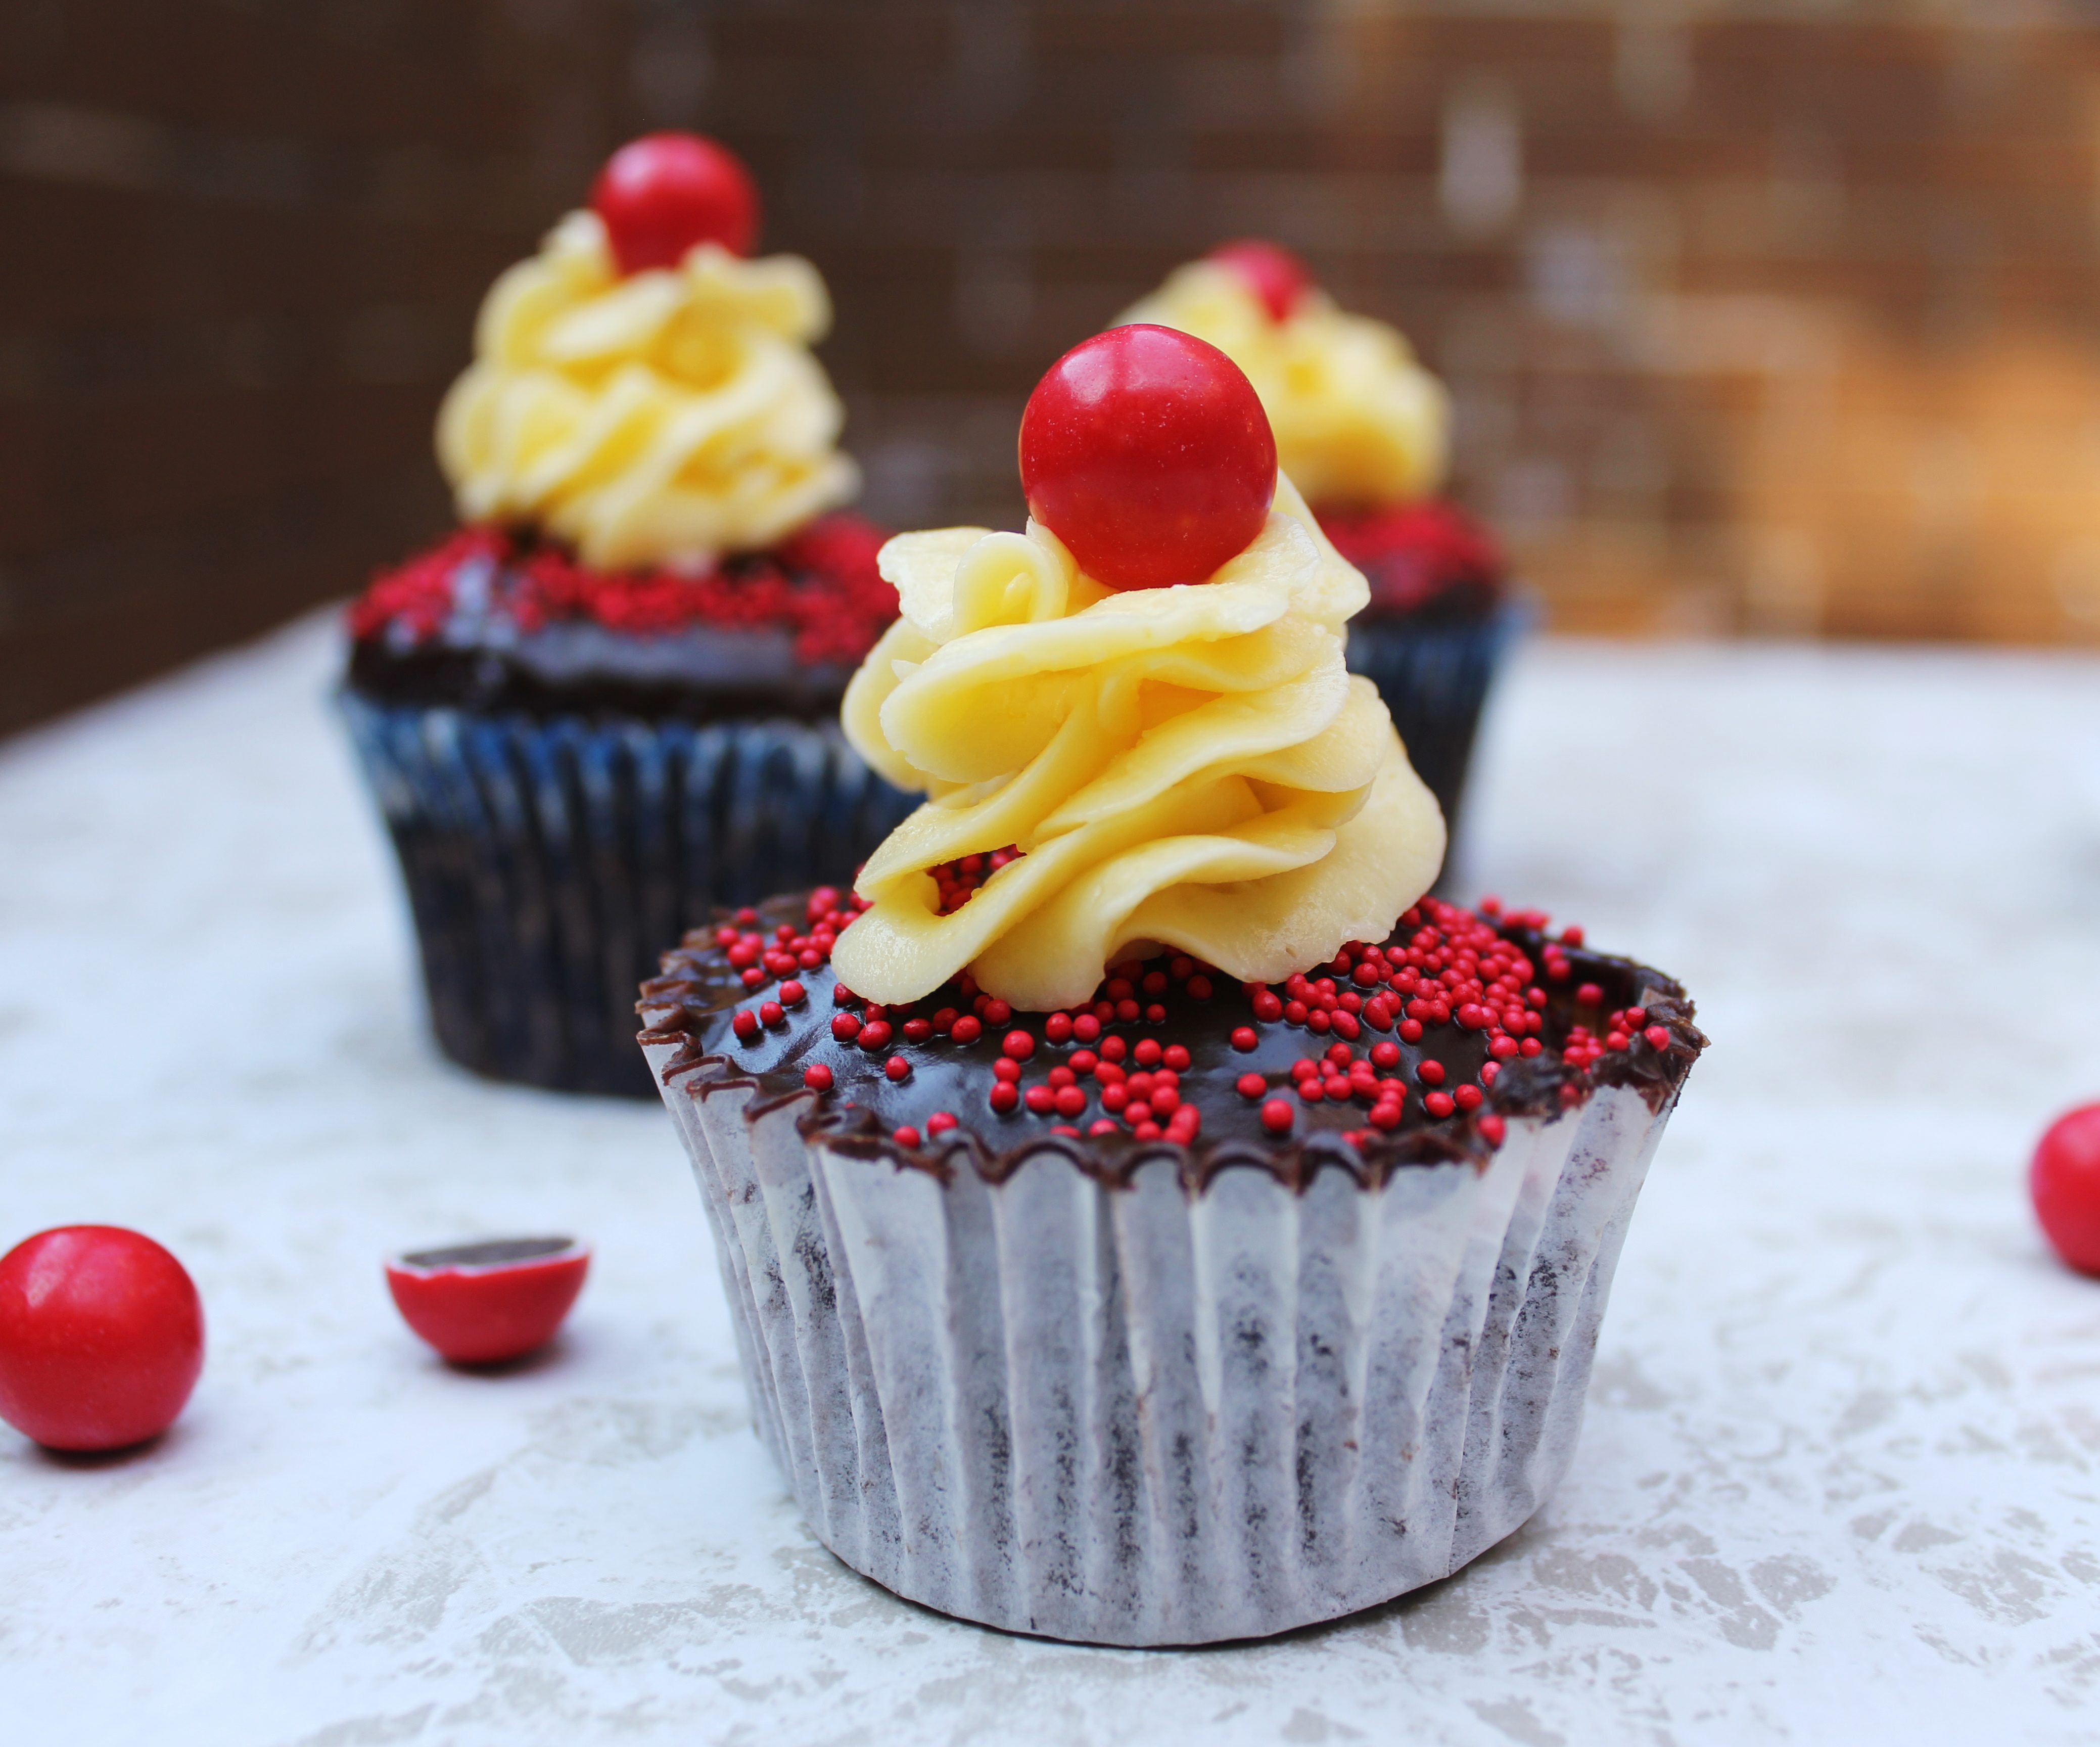
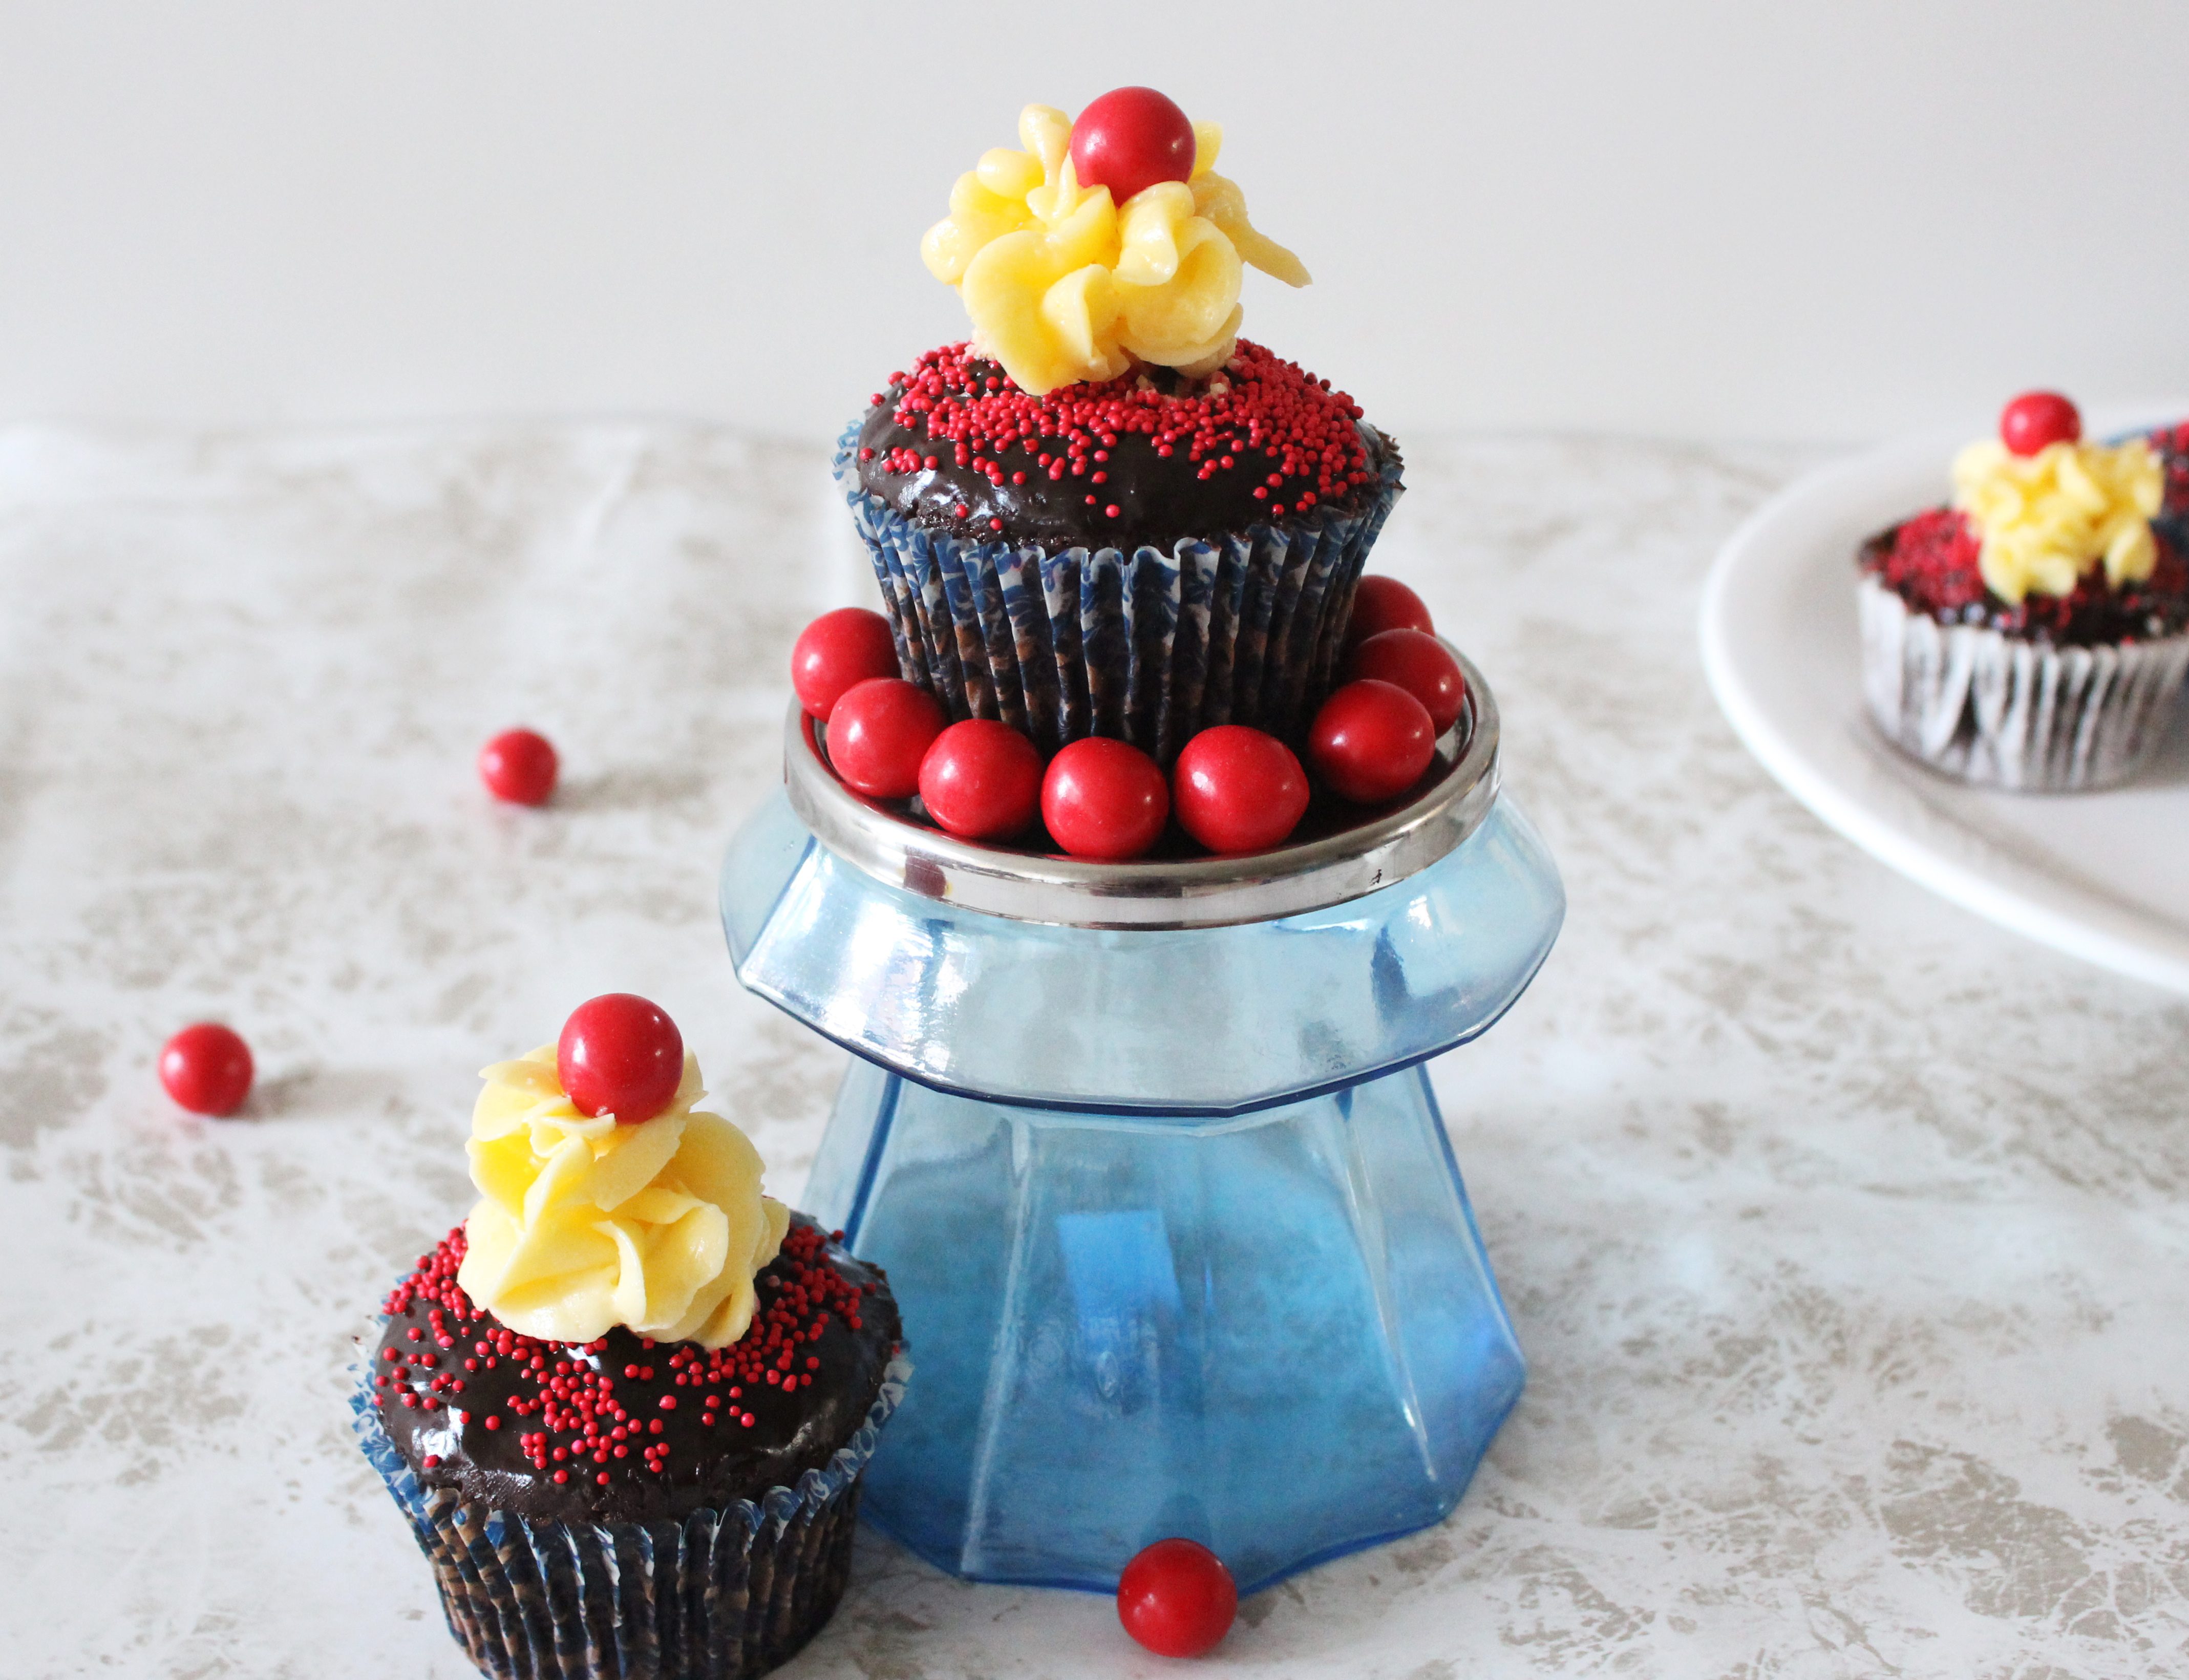
A candy inspired cupcake! That’s what I have for you today. I wouldn’t like to call myself a big fan of candies but I love what they can do to my cupcakes.  Chocolate-Orange is a classic combination…they have the capacity to elevate a dessert by flavour alone. I may have liked to call these ‘double everything cupcakes’ because if you notice, they have double flavours, double frosting (a glaze and a buttercream) and even the decor is twice that of a typical cupcake. But then the stand out here is the Jaffa. Look how bright and glossy they look.

IMG_4425 (2)

If you are unfamiliar with Jaffa, they are an orange and chocolate flavoured candy (see in the pictures), pretty popular in Australia. What sets them apart are their bright reddish-orange colour, hard exterior and unique flavour. The cupcakes I have created are chocolate cupcakes that are dipped in orange and dark chocolate ganache, topped with orange buttercream and decorated with a Jaffa. So basically, you experience a similar taste sensation as you bite into them.

IMG_4411 (4)

So along with some speed baking and speed posting, I am super speed prepping for my upcoming trip. I am not sure if it’s all the sugar working its magic or the excitement of the trip that has set my adrenaline pumping. I have managed to prepare a few posts ahead in time so I will stay connected and continue to visit my blogger friends. I hope to, at least for now.

See you soon, my friends….under the same sun, on a different soil, breathing the familiar air, to warmer temperatures

…..and the warmest place on earth…. FAMILY!

IMG_4458 (1)
Jaffa Cupcakes. Chocolate Cupcakes with an Orange Chocolate Ganache and Orange Buttercream
Yields 12

Chocolate Cupcakes – I have used my basic chocolate cupcake recipe.

Orange Chocolate Ganache

120 g dark chocolate, chopped
3/4 cup heavy cream
1 tsp finely grated orange zest
1 tbsp unsalted butter
1 tsp orange liqueur (optional) ( I use Cointreau)

In a shallow (preferably microwaveable) bowl, place the chopped chocolate. Heat the cream, butter and orange zest over medium heat. When it reaches boiling point, remove from heat and let stand for 10 mins for the orange flavour to infuse. Bring to a boil again after 10 mins, remove from heat and pour over the chopped chocolate through a strainer to remove any solids. Let the mixture stand undisturbed for a while till the chocolate melts. Stir gently to mix together till you get a smooth glossy ganache. If using liqueur, add and stir to mix. Keep aside.

Orange Buttercream

2 cups icing sugar (230g)
1/2 cup butter (113g)
1 tsp finely grated orange zest
2 tsp fresh orange juice

In an electric mixture or with a hand mixer, cream the butter until smooth and well blended. With the mixer on low-speed, gradually beat in the sugar. Scrape down the sides of the bowl. Add the orange juice and zest and beat on high-speed until frosting is light and fluffy (about 3-4 mins).

To serve: Microwave the ganache or heat it slightly to get it warm and smooth again (it has a tendency to solidify as it cools). Once the cupcakes have cooled, hold each cupcake by the bottom and dip into the ganache. Let the excess drip out. Keep aside for the ganache to set. Add some coloured sprinkles if desired. Once the ganache has set (test by touching), pipe a little swirl of orange buttercream. Decorate with a Jaffa.


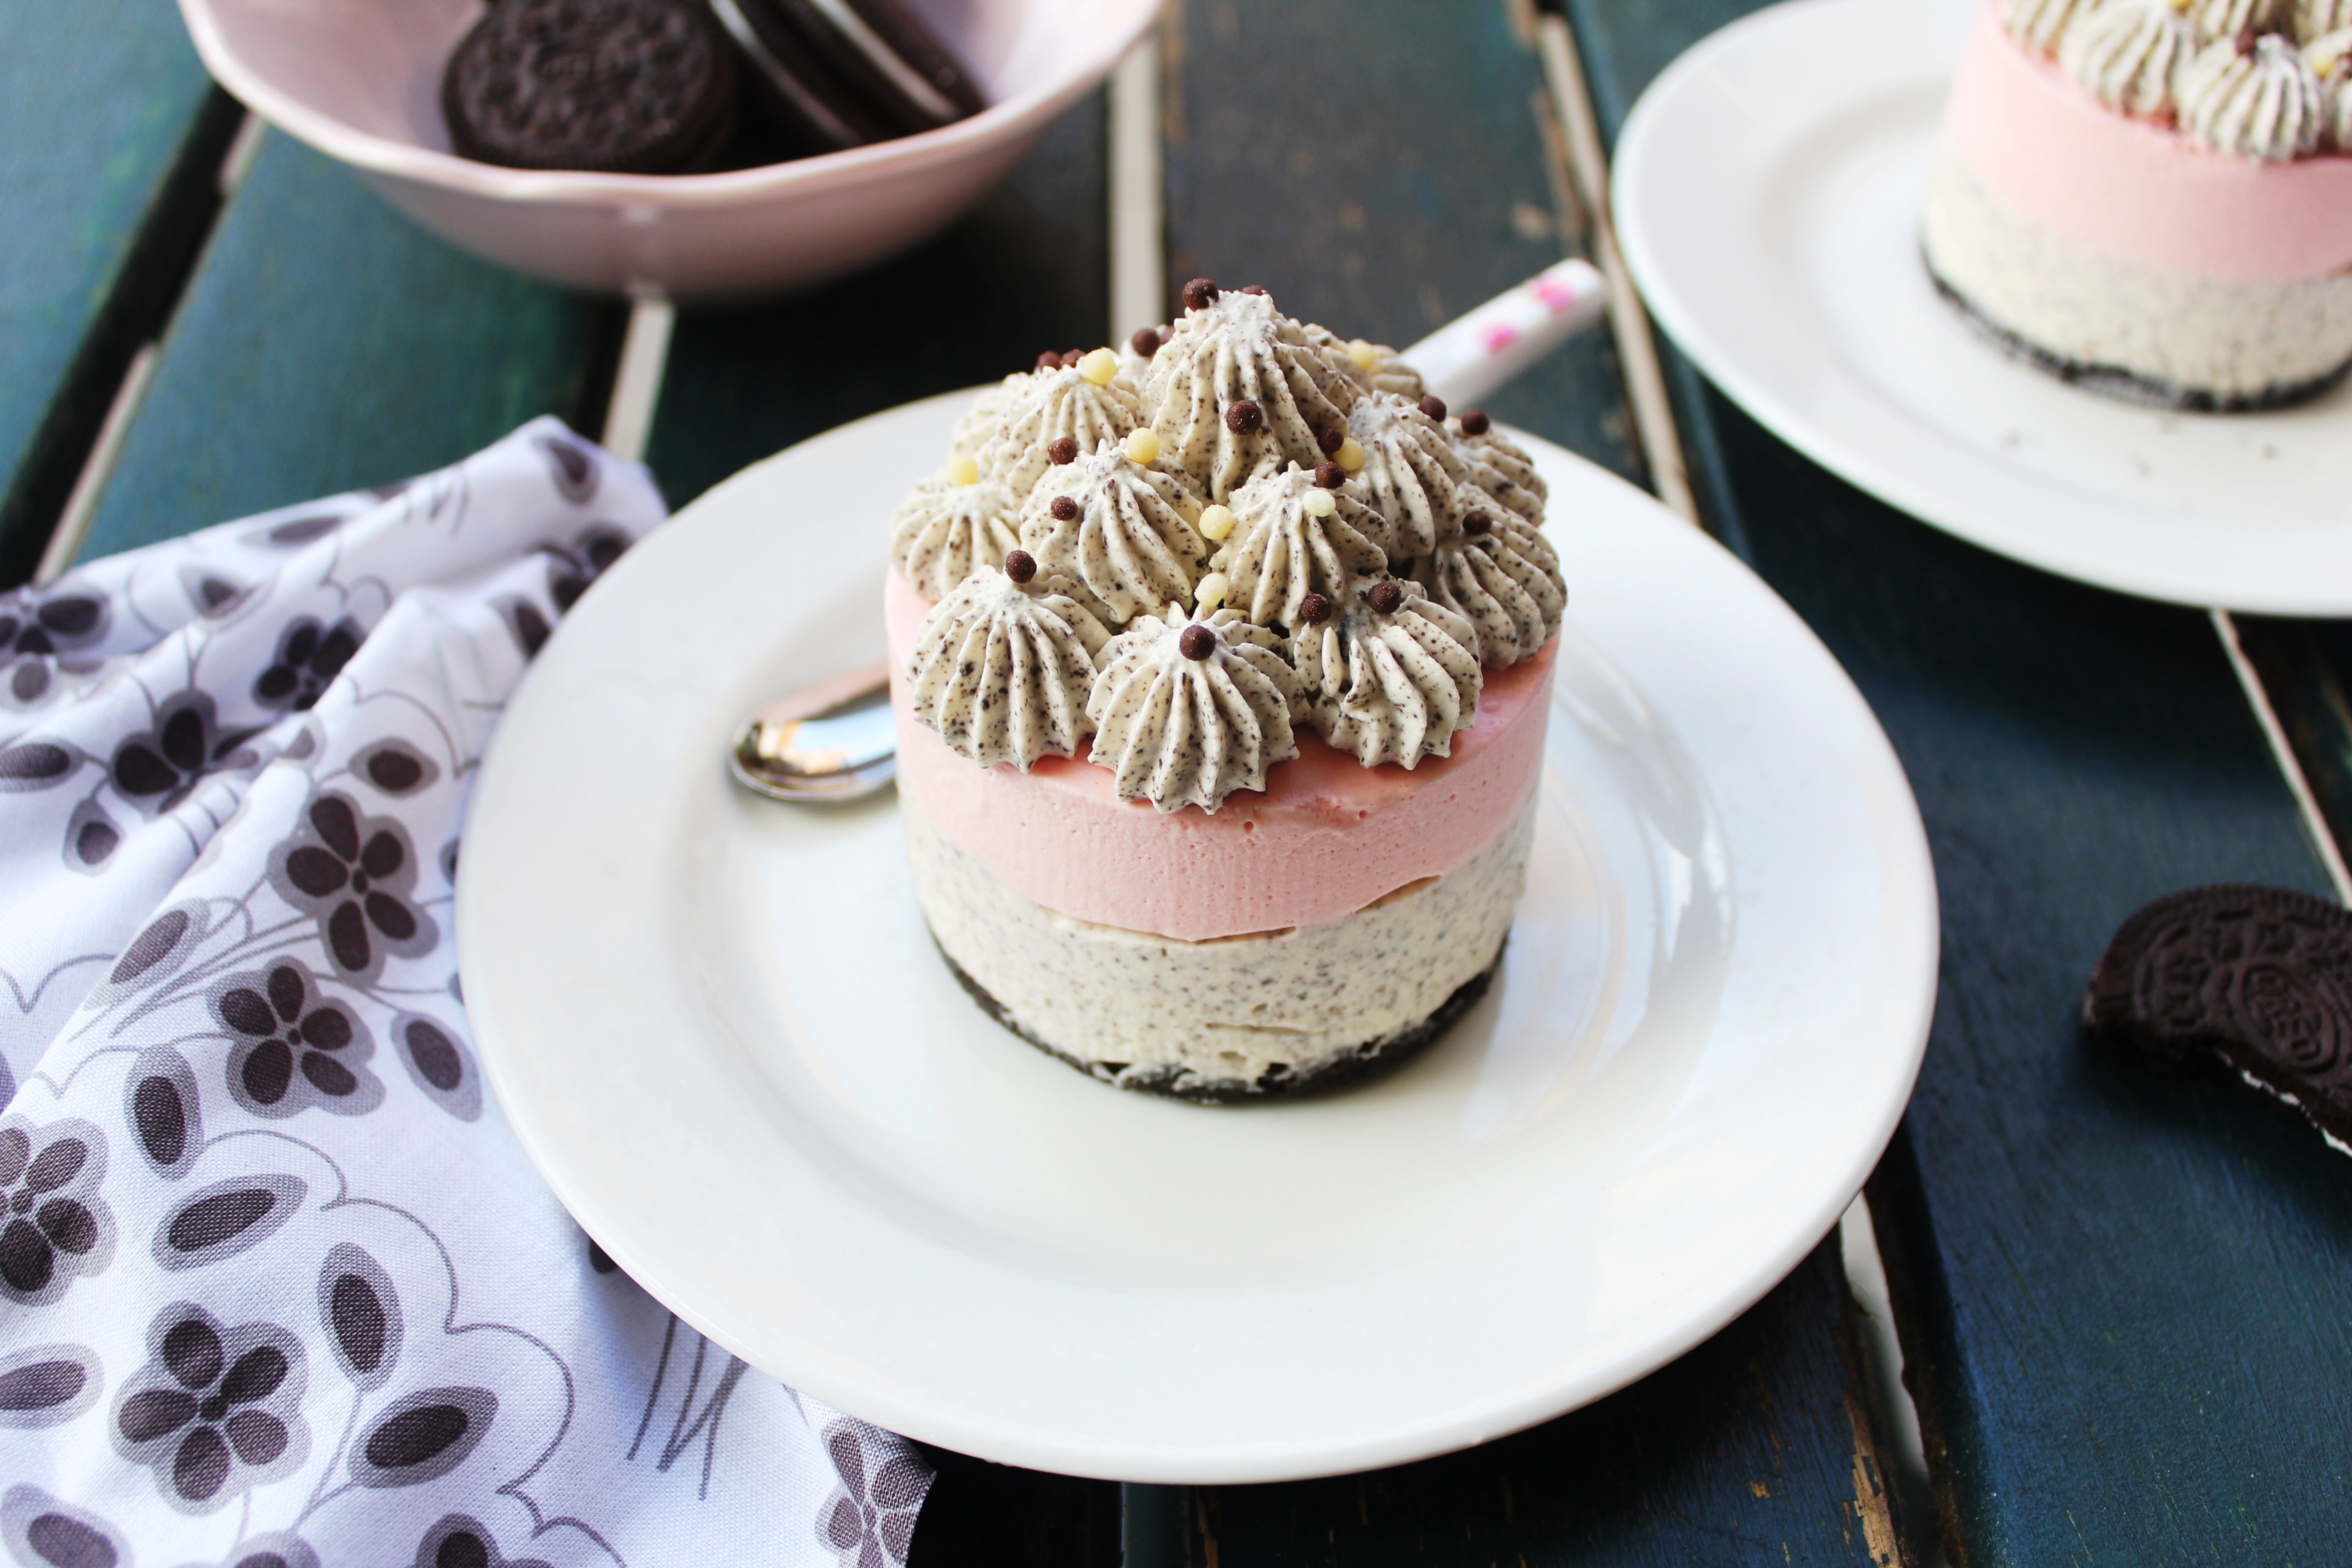
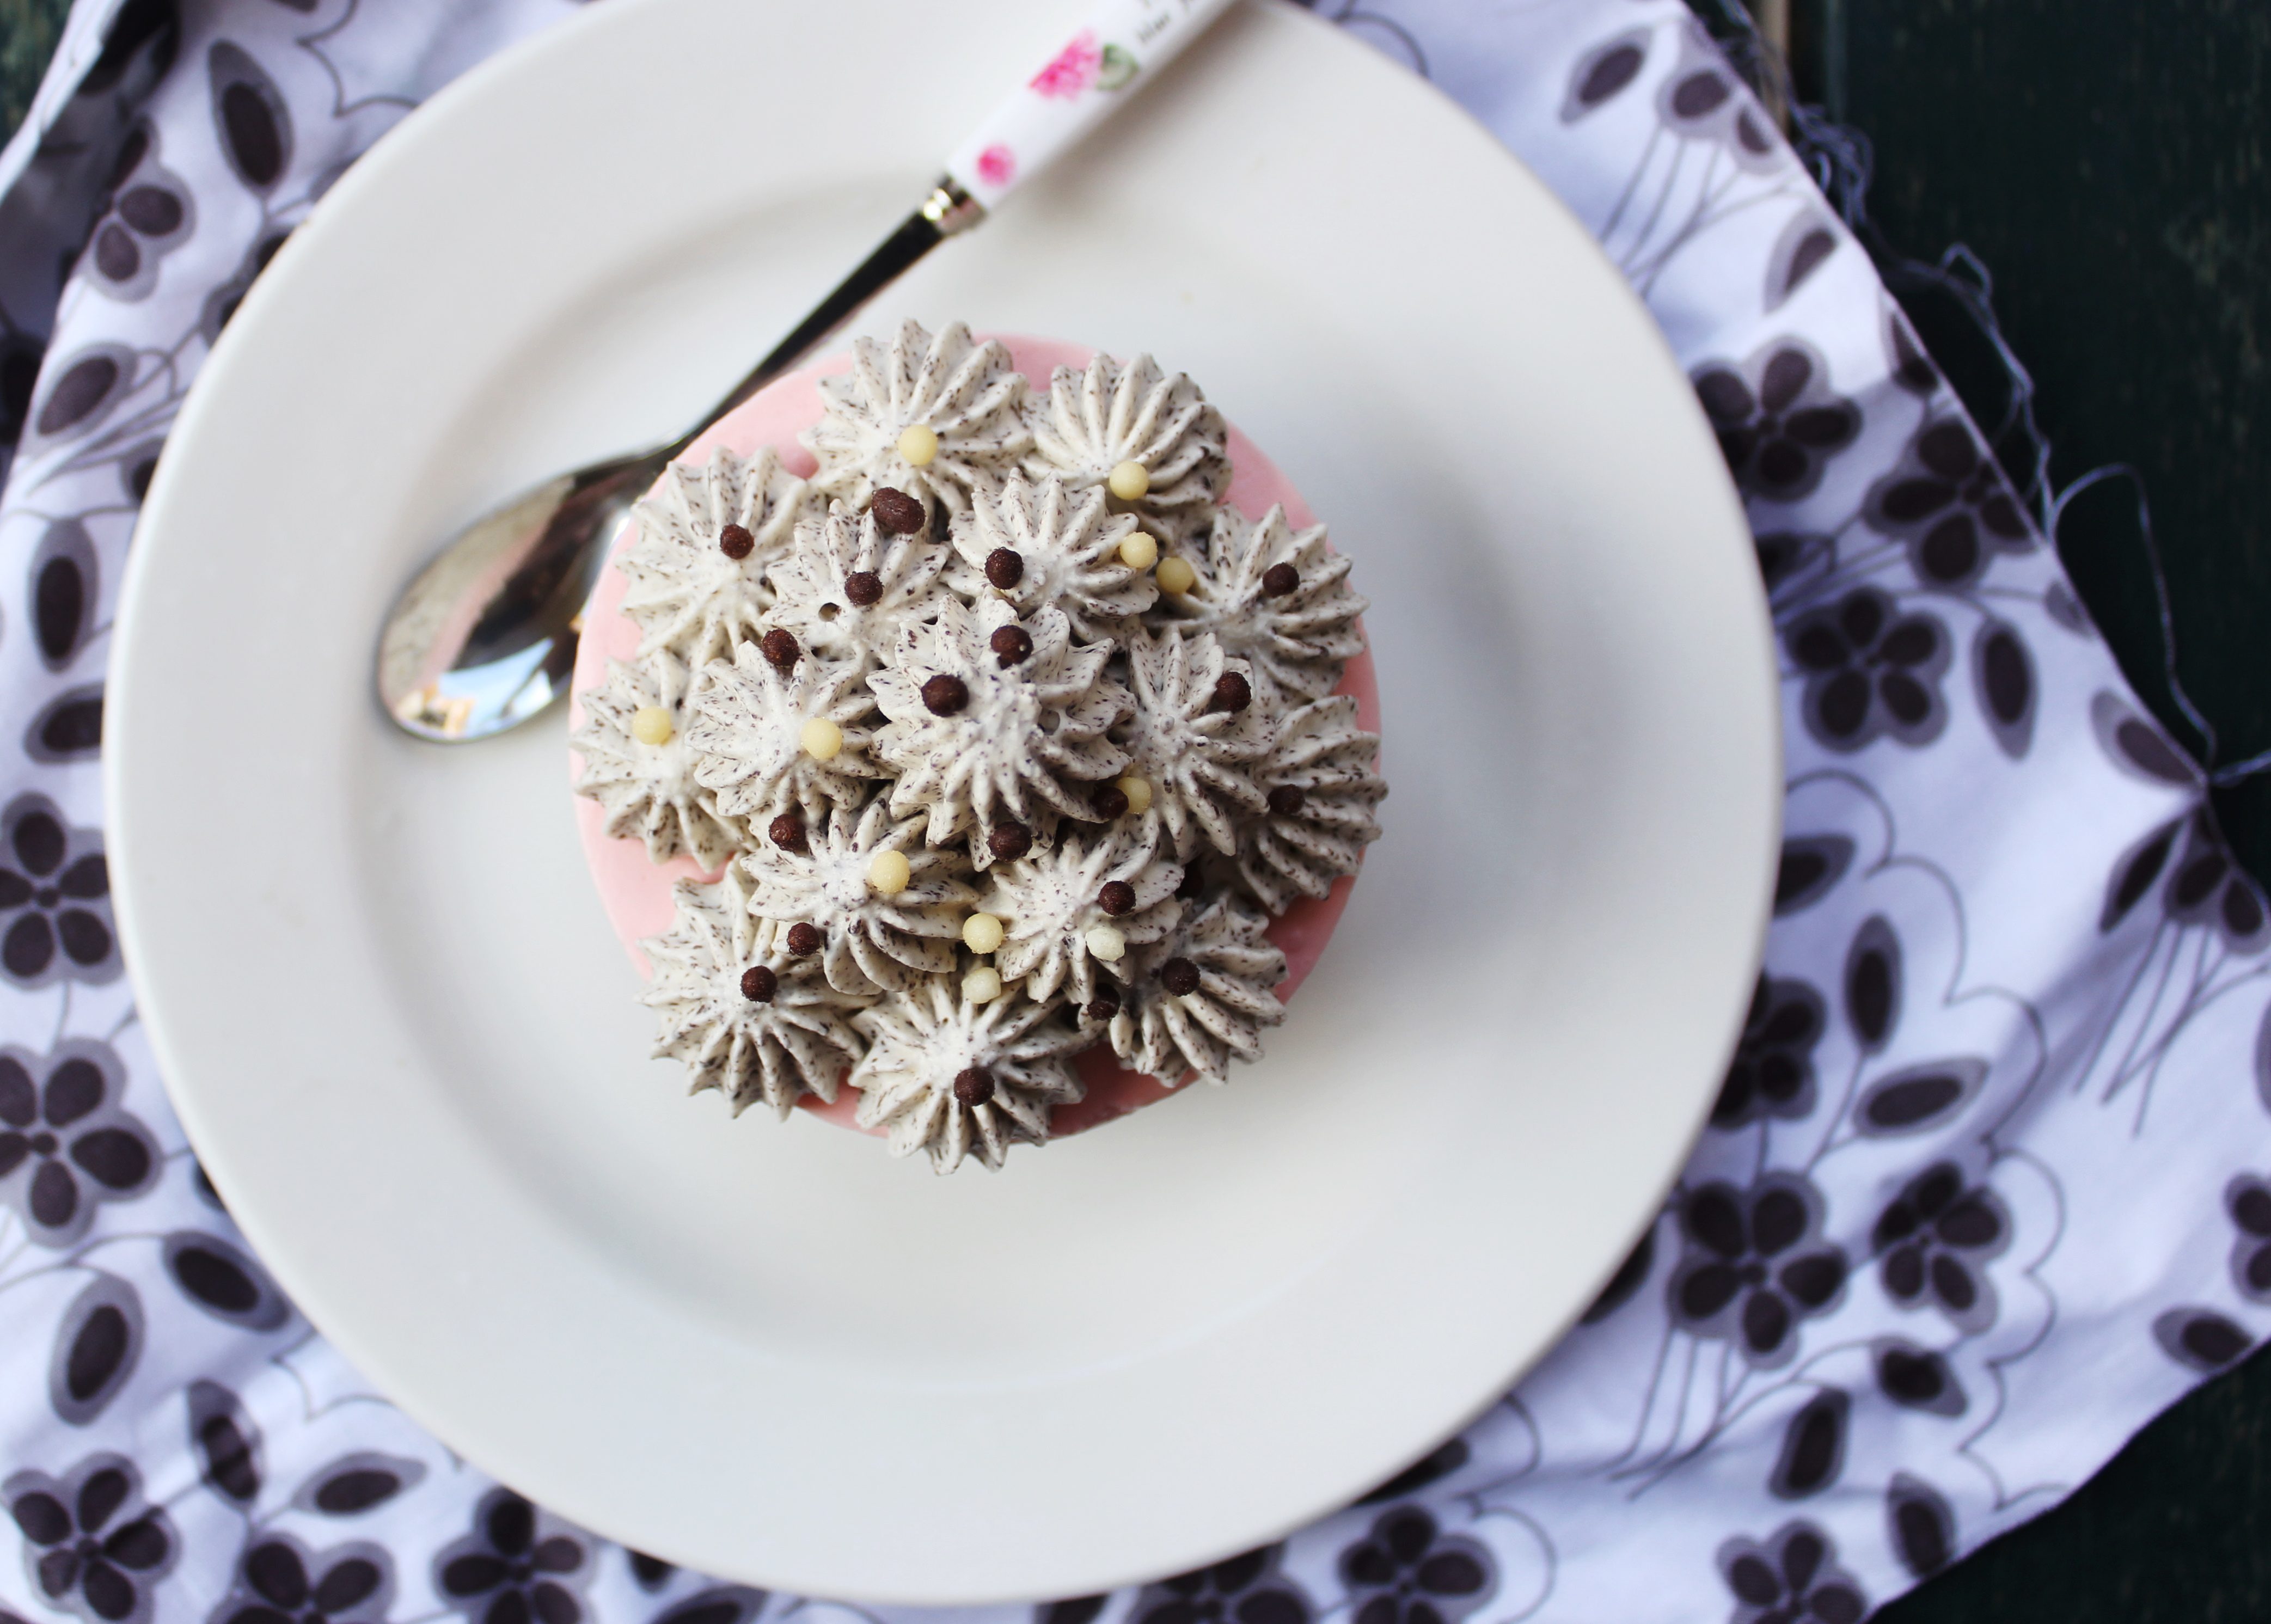
No Bake Oreo Cheesecake Strawberry Mousse Duo

27|07|2013

If you have been with me for a while now, you would know how much I like dressing up my desserts. Layers, swirls, drizzles, sprinkles…I can go on adding elements as long as they balance each other out. It’s like my favourite playtime fun as a little girl…dressing up my dolls in pink,with lace and frills, matching hairclips and shoes and so. I come up with ideas and love watching it all come together. Some turn out as I visualised, some don’t but there’s always a learning somewhere.

strawberry mousse and oreo cheesecake duo

Till about a couple of years ago my desserts would never go below 4 layers. I had the time and the patience. It’s a different situation now with two little heads constantly peeping into the refrigerator and wanting to know when they can eat. The refrigerator door is opened and re-opened at frequent intervals. The reason.. ‘ I’m checking if it has set’. I am loving the latest additions to the vocabulary. However, the more important reason is that I have ‘borrowed’ Oreo cookies for my dessert. So you understand, everybody has an equal claim to it.

strawberry mousse and oreo cheesecake duo

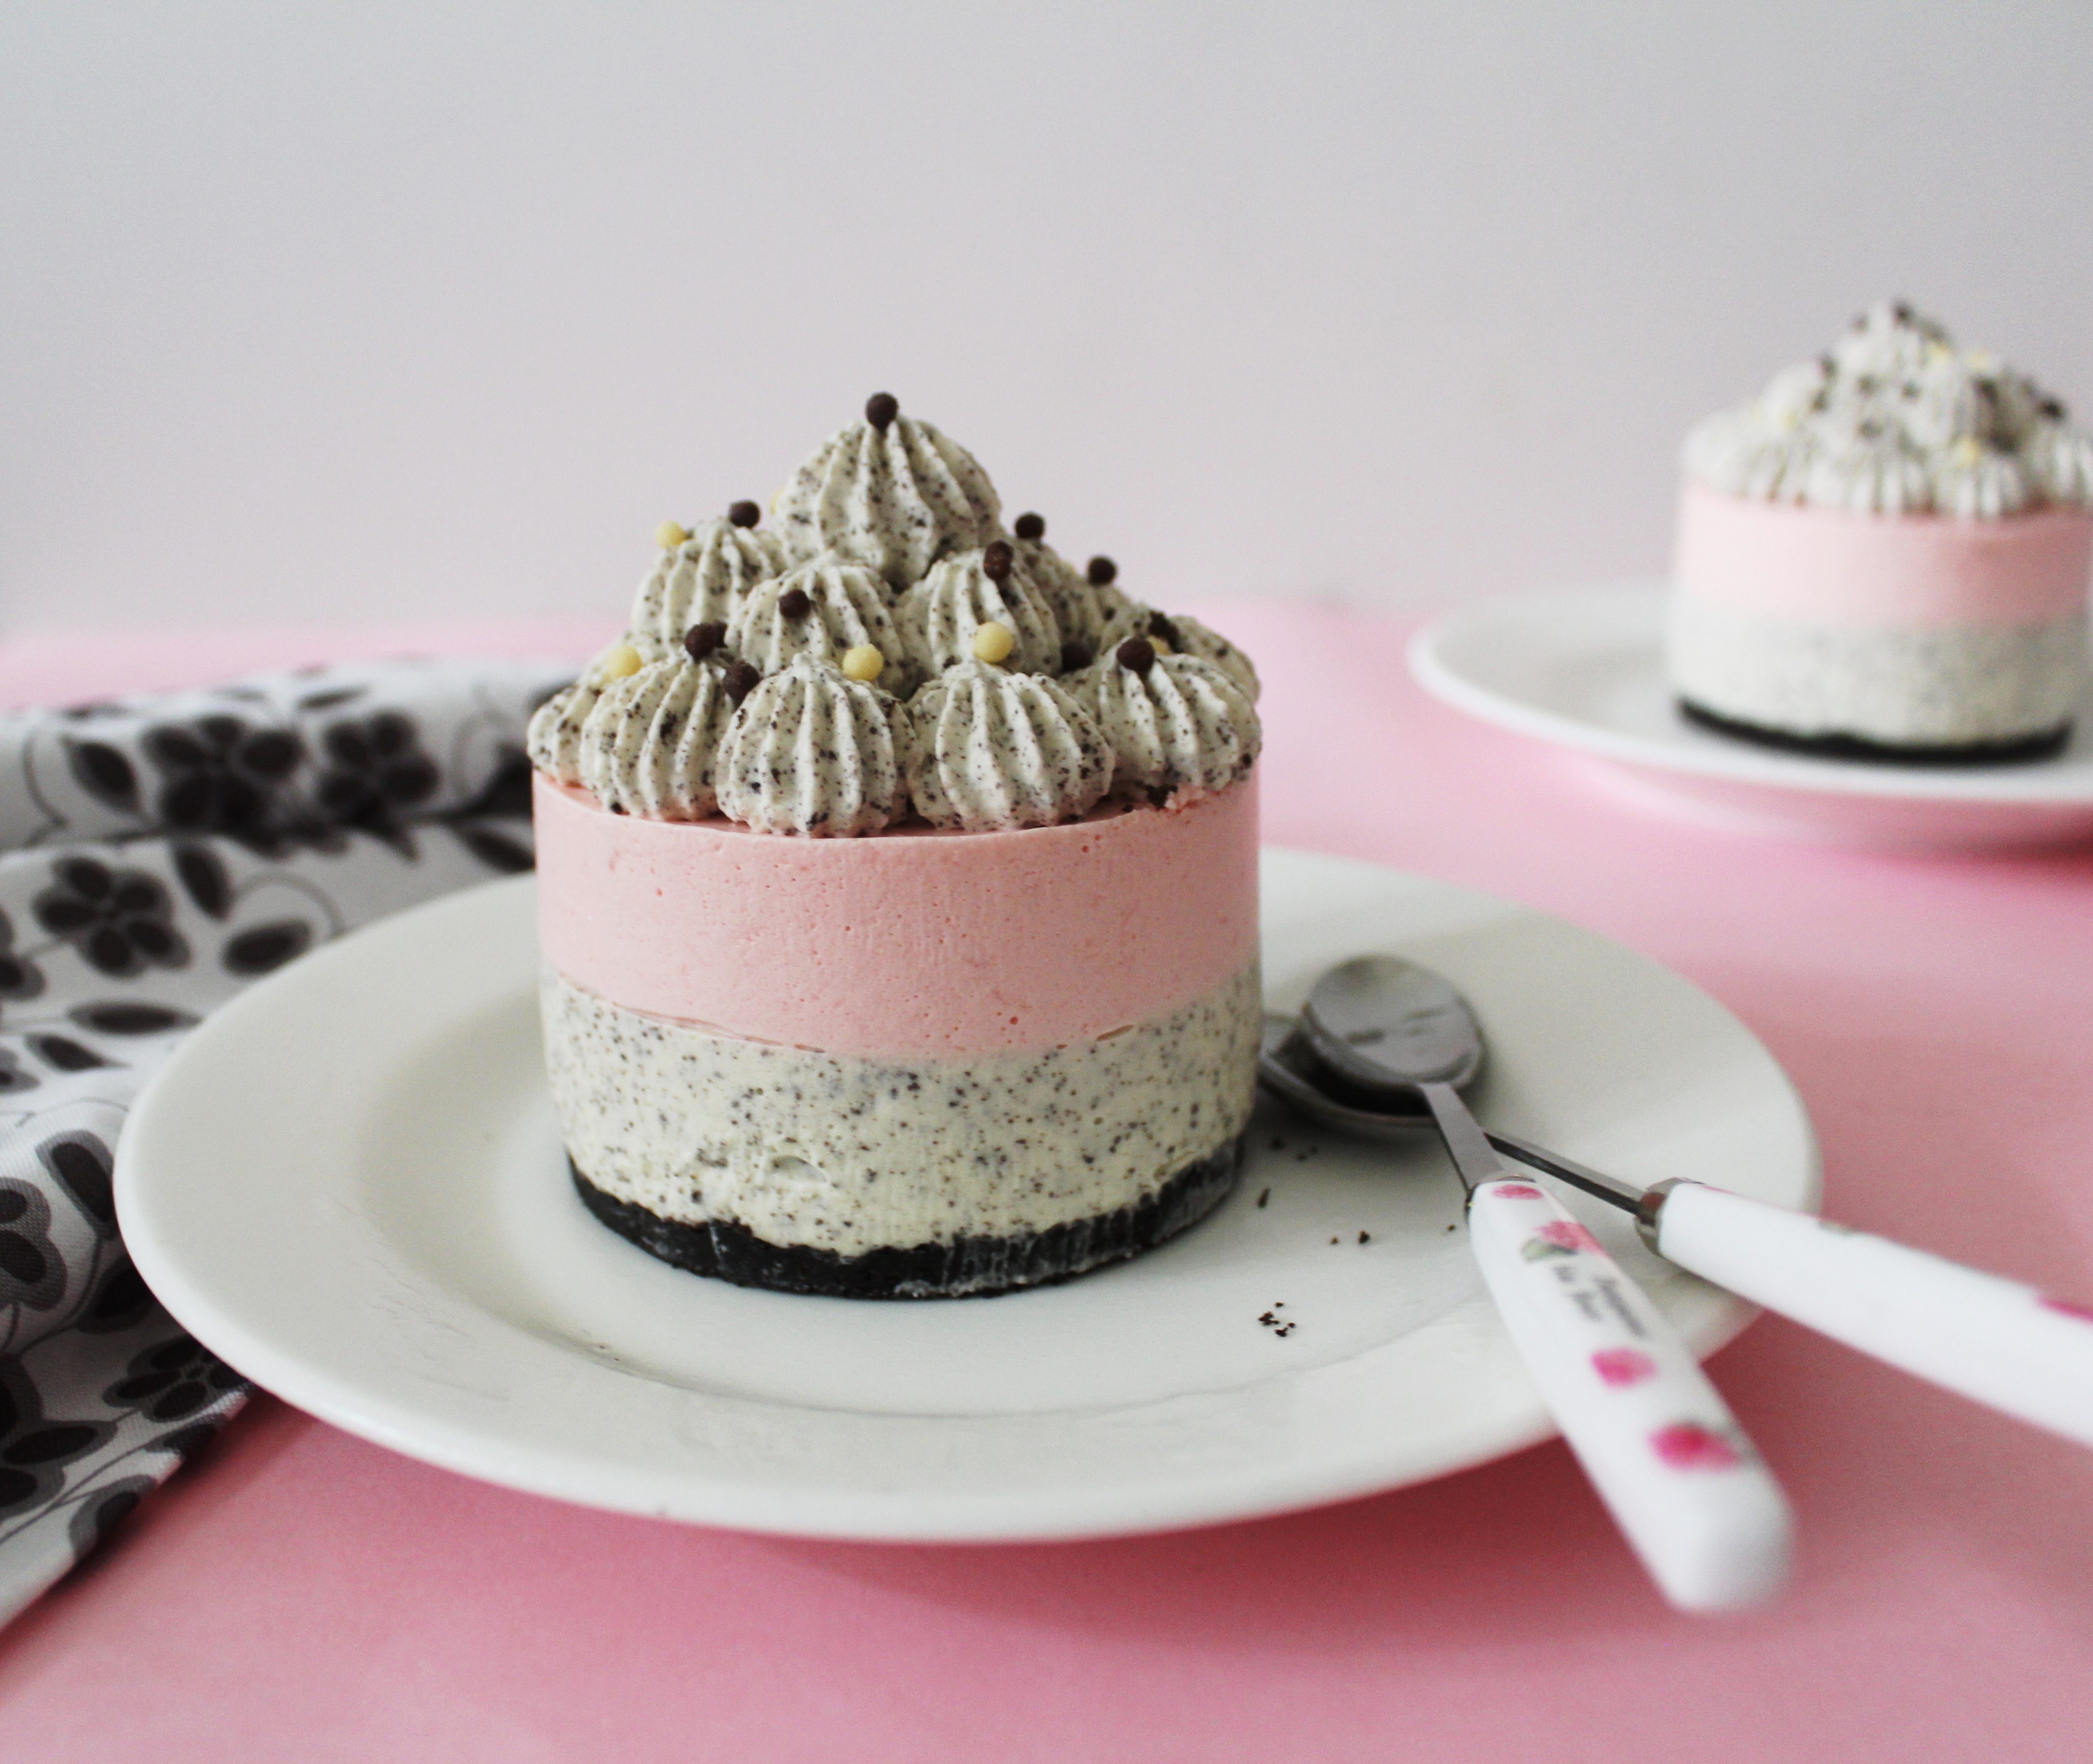
This is a big dessert but not really heavy. The cheesecake is on the richer side on account of the cream cheese so I decided to go with a lighter mousse. I have not used my usual egg-cream mousse recipe here, though personally I prefer that one. You can easily leave out the top layer and serve it with some fresh strawberries instead. Oreos are great even when they are crushed and they add a lovely texture to the cheesecake. The different layers can be made simultaneously and refrigerated to be assembled later or they can be made as and when the layer below is setting.

strawberry mousse and oreo cheesecake duo

No Bake Oreo Cheesecake Strawberry Mousse Duo
Yields 4

For the Oreo crust
150 g Oreo biscuits, divided (half to be used for the crust and half for the cheesecake)
40 g butter, melted

For the cheesecake
200 g cream cheese, room temperature
2 tbsp castor sugar
1/2 cup heavy/whipping cream, whipped to soft peaks
1 tsp powdered gelatine
1 tbsp warm water

For the strawberry mousse
1 cup strawberries, hulled and chopped
3 tbsp castor sugar
1 tsp powdered gelatine
1 tbsp warm water
1 cup whipping cream, whipped to soft peaks
2 drops pink food colouring

Process biscuits until they resemble fine breadcrumbs. Remove half the mixture and keep aside. To the remaining half, add the melted butter and process to combine. Place 3 ring moulds on a baking tray. Divide the mixture between the ring moulds and press against the base and edge to form the crust. Refrigerate for 30 mins or until firm

Meanwhile, make the Oreo cheesecake. Soak the gelatine in warm water and microwave for 10 seconds for it to dissolve completely. With an electric mixer, beat the cream cheese and sugar until smooth. Fold in the cream and the biscuit crumbs. Add the gelatine and mix to combine. Pour the mixture into the ring moulds on top of the crust till half filled. Refrigerate for 3 hours or until set. Reserve (refrigerate) the rest for top layer to pipe onto the strawberry mousse.

For the strawberry mousse, process strawberries and sugar to a smooth pulp. Strain and keep aside. Dissolve gelatine in warm water and microwave fo 10 seconds to dissolve completely. Cool and add to strawberry pulp. Fold the strawberry pulp slowly into the whipped cream. Add 2 drops of food coloring and mix well till colour is uniform. Pour over the chilled Oreo cheesecake. Refrigerate till set, about 3-4 hours.

To serve: Release the dessert by gently lifting the ring moulds and applying gentle pressure from below. Fill up a piping bag with the reserved Oreo cheesecake. Pipe onto the strawberry mousse and decorate with sprinkles. Refrigerate till set.

Note: If you do not have ring moulds or mousse rings at home, you can layer the dessert in serving glasses.


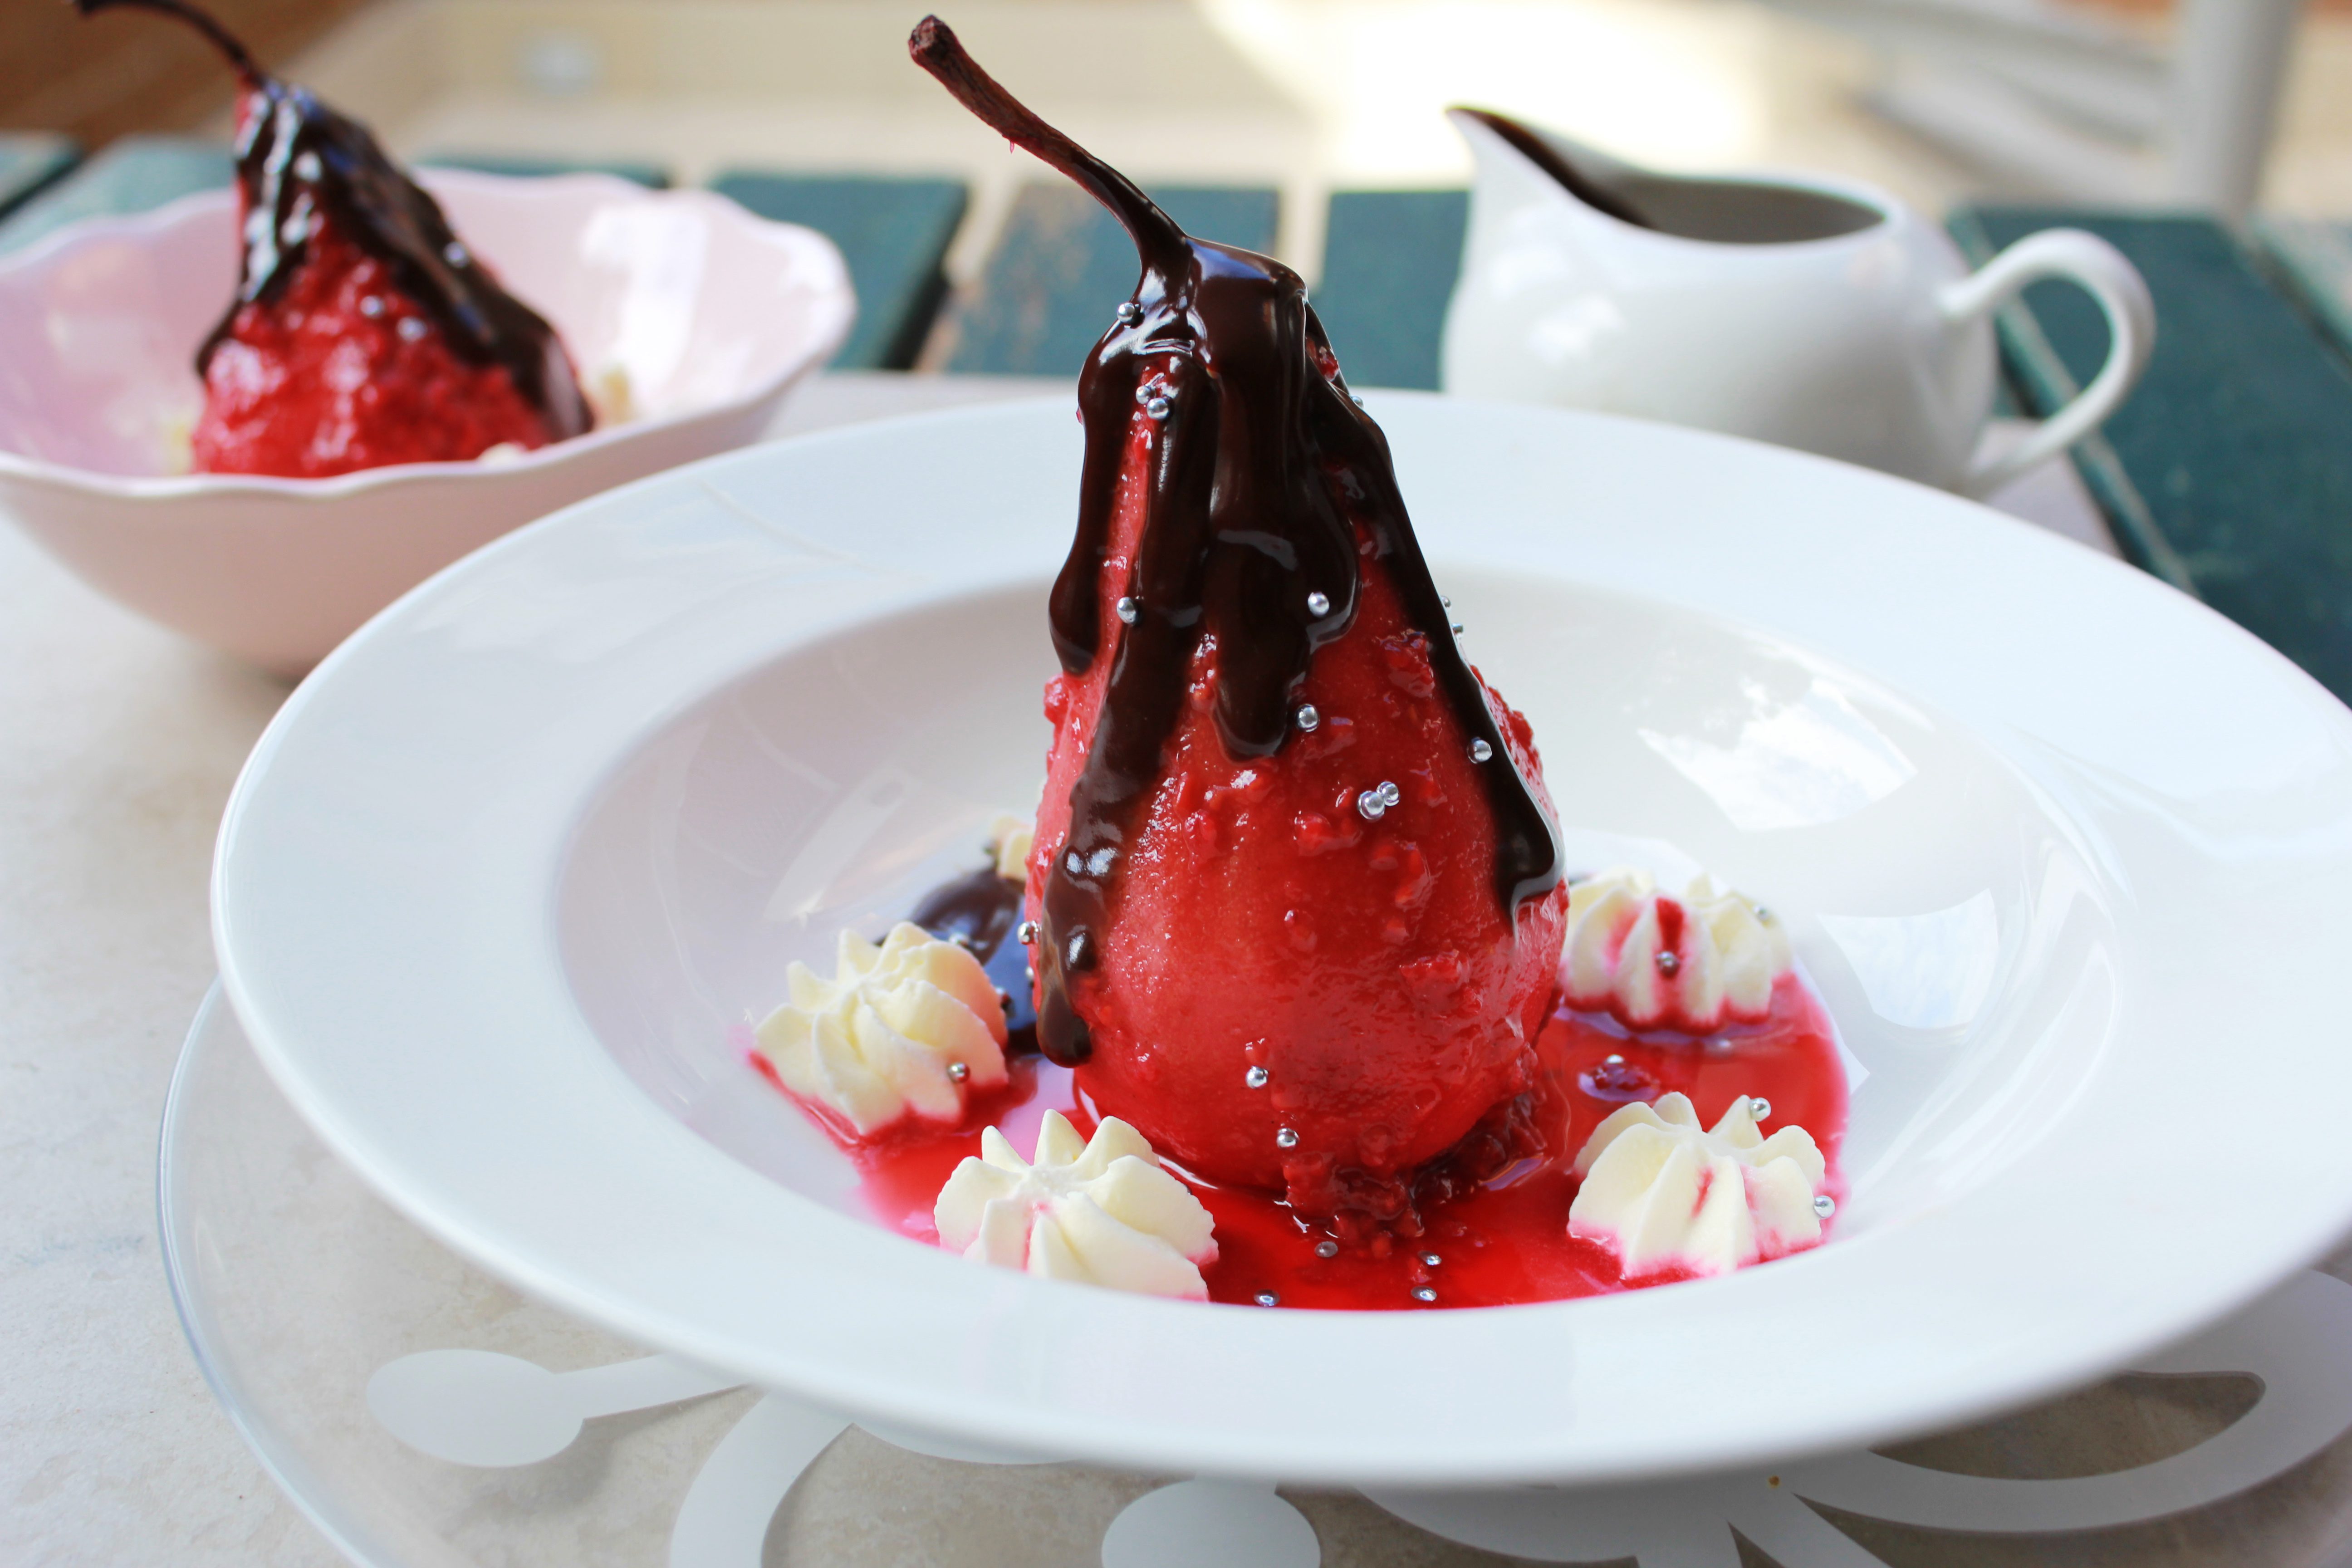
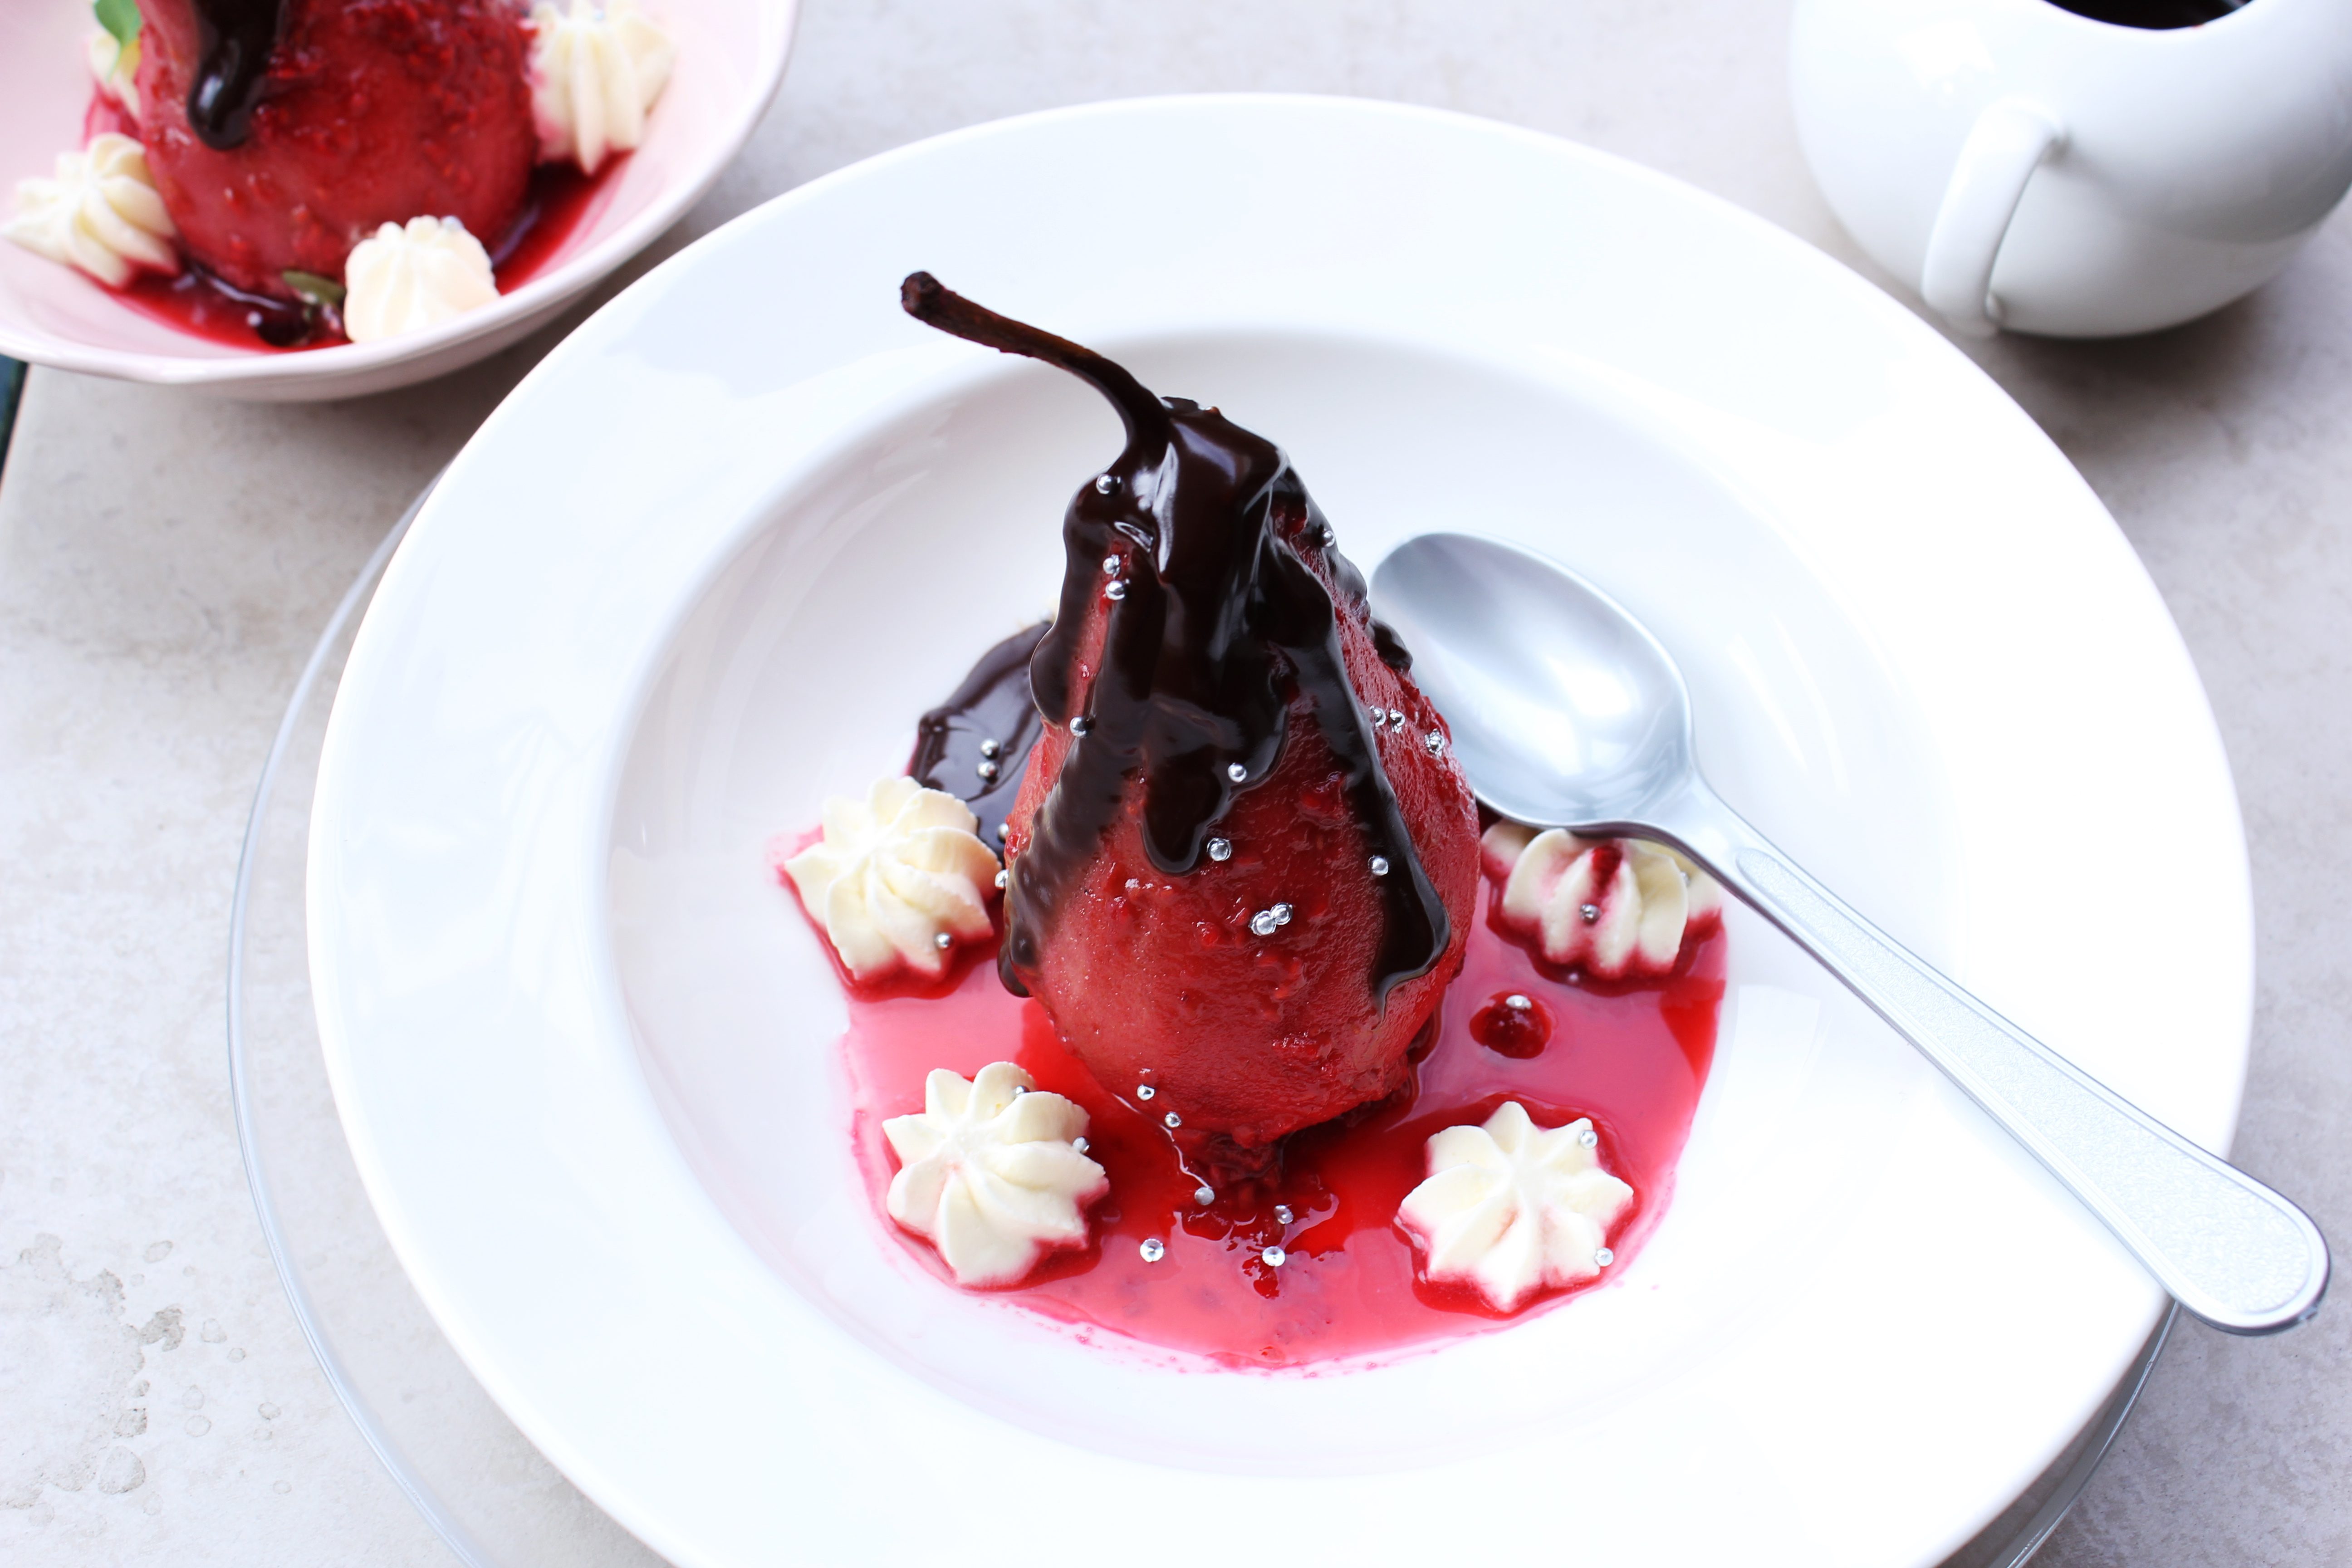
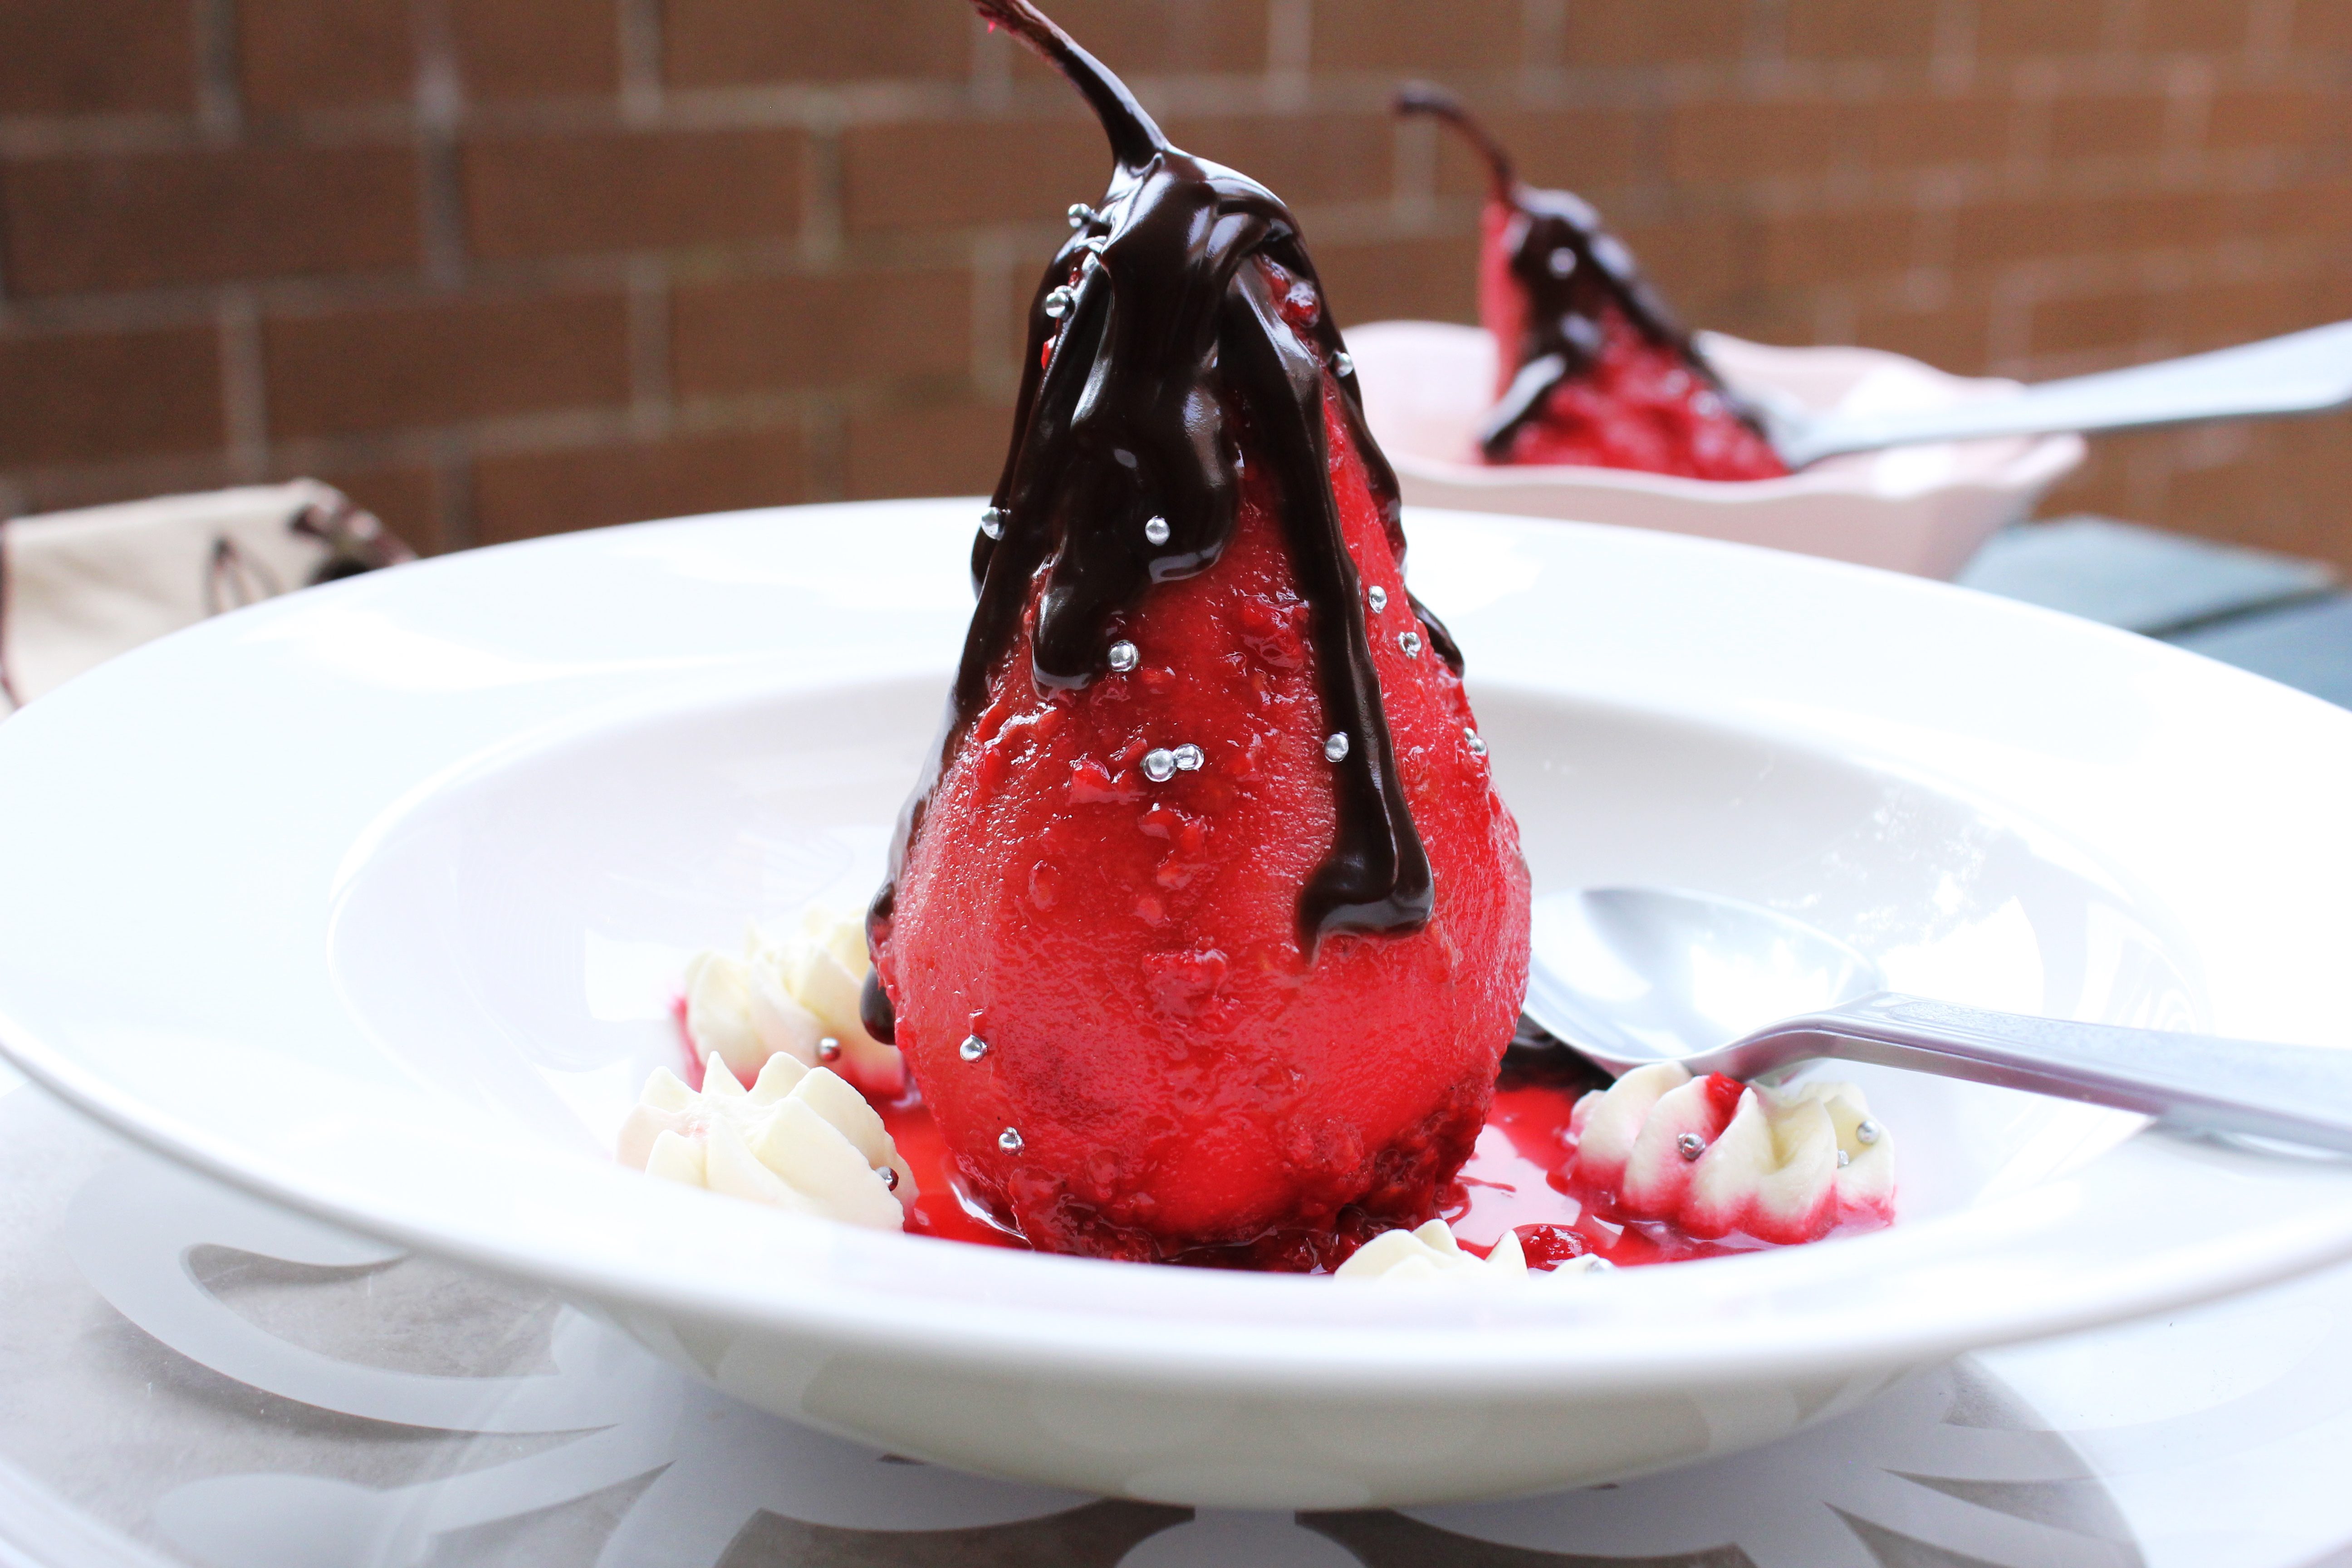
Raspberry Poached Pears With Chocolate Sauce

22|07|2013

Poached pears in a beautiful pink raspberry puree and served with a homemade chocolate sauce.

All the dessert lovers of the world, in my opinion belong to two broad categories. The chocolate lovers and the non-chocolate lovers (do they even exist?). Okay, let me rephrase that…the chocolate lovers and the fruits-over-chocolate lovers. And of course, there are the ones like me who fall somewhere in between. The ones who like to enjoy the best of both worlds!

poached pears in raspberry and chocolate sauce

Poached pears make for a fancy yet healthy dessert. Though I have experimented with various fruits, pears are my favourite poach-able fruit. Not only do they take in the colour and the flavour, of the poaching liquid (which can be totally customised to your preference), they are pretty simple to cook with a handful of ingredients and can be made ahead in time. At one time, I was so obsessed with poaching pears in different combinations that I think I would have to create a separate category if I had to blog about them. The bottom line is, that the possibilities with them are endless.

poached pears in raspberry and chocolate sauce

There are so many varieties of pears to choose from but I personally prefer to use the Bosc pears as they retain their long slender shape well. Though it’s a fairly simple process, they key is not to undercook or overcook the pears. What we are looking for is a firm fruit, cooked evenly, without resistance when you cut through with a spoon. For this purpose, the pears need to be turned around in between. Also, letting the pears cool down in the liquid, intensifies the flavour and colour.
The chocolate sauce complements the deep flavour of the raspberries and elevates the dessert to a whole new level. I have included a non dairy version of the sauce too that will be slightly thinner than the first one but tastes almost as good. You can have the poached pears warm or cold. I like them warm with a bit of whipped cream to go alongside.

poached pears in raspberry and chocolate sauce


Raspberry Poached Pears with Chocolate Sauce
Serves 4

1 cup frozen raspberries
1 cup sugar
4 cups water
4 Beurre Bosc pears, peeled and cored

For the chocolate sauce
100 g dark chocolate, roughly chopped
1 cup pouring cream/single cream
25 g butter

For a dairy free, chocolate sauce
1 tbsp castor sugar
½ cup cocoa
¼ cup boiling water

Trim the bottom of the pear to make a flat surface so it can stand upright. Retain the stems for a nice presentation. Combine all the ingredients except the pears in a large saucepan. Over medium heat, bring it to a boil, stirring in between till the sugar dissolves. Reduce the heat to a simmer and gently add the pears. Cover and cook till tender turning in between until cooked evenly. To test this, poke with a fork. Remove from heat. Let the pears stand in the poaching liquid till cool. Remove the pears and strain the liquid to remove seeds or any fruit bits that may be present.
Pour the liquid back to the saucepan and bring to a boil. Reduce it till it reaches a syrupy consistency. Keep aside.

For the chocolate sauce, heat cream in a saucepan over medium heat, bring to a simmer, add the chocolate and whisk until melted, add the butter and continue to whisk until well combined.

For the dairy free version, combine sugar, cocoa and boiling water in a small bowl and whisk together until smooth.

To Serve, place a poached pear on a plate. Pour over the reduced raspberry sauce. Drizzle with warm chocolate sauce. Add a dollop of whipped cream or pipe little flowers of whipped cream around the pear.


  • « Previous Page
  • 1
  • …
  • 40
  • 41
  • 42
  • 43
  • 44
  • 45
  • Next Page »
Hey Sugar
Cake
Link to my Facebook Page
Link to my Instagram Page
Link to my Pinterest Page
Link to my Mail Page
Subscribe to this site
Fresh Awards
2019 Aus mumpreneur
2019 aus mumpreneur
Mumbrella

Copyright © 2026 · Sugar Et Al · Designed by Smitten Blog Designs · Log in