• Home
  • Recipe Index
    • Recipe Index
    • Breakfast/Brunch
    • Cakes and Puddings
    • Chocolate
    • Cookies and cupcakes
    • Custard and Mousse
    • Gluten Free
    • Ice Cream
    • Mains
    • Other Sweet Treats
    • Snack/Appetizers
    • Soups and Salads
    • Tarts and Pies
    • Vegetarian
  • About
  • Cookbook
  • Portfolio
  • Store
  • Press
  • Work with Me

Sugar et al

Because Life is a blend of flavours...

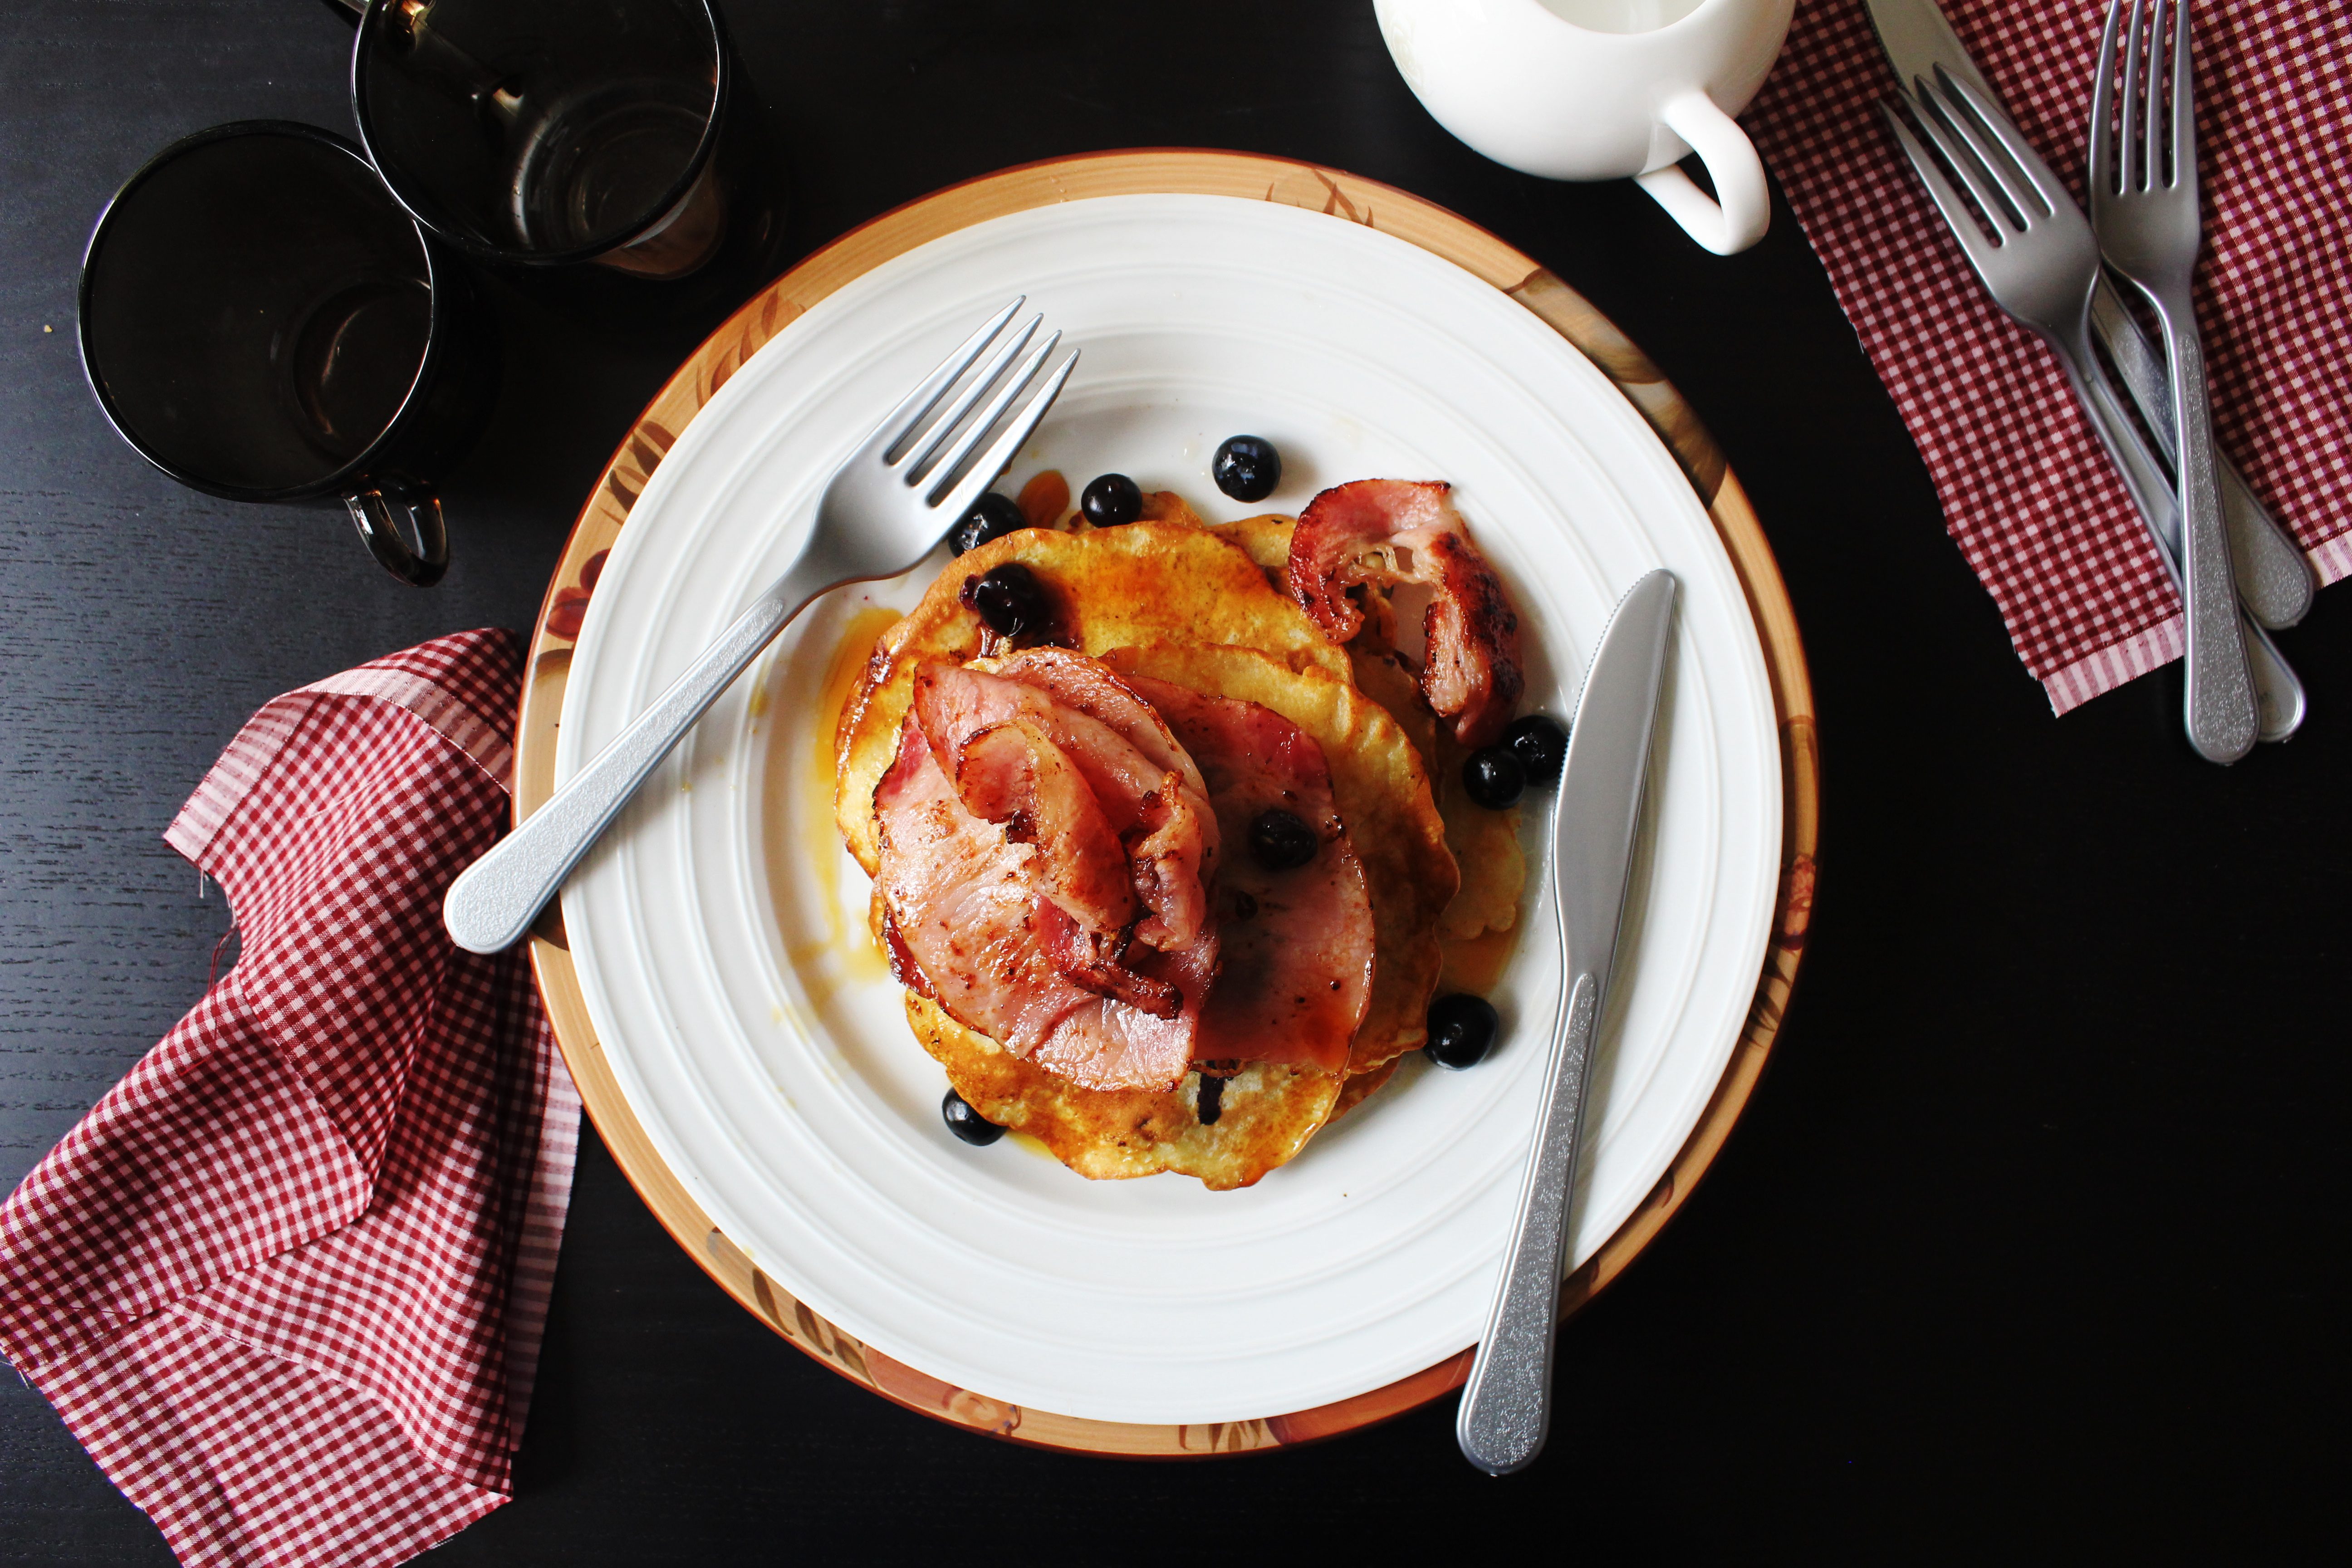
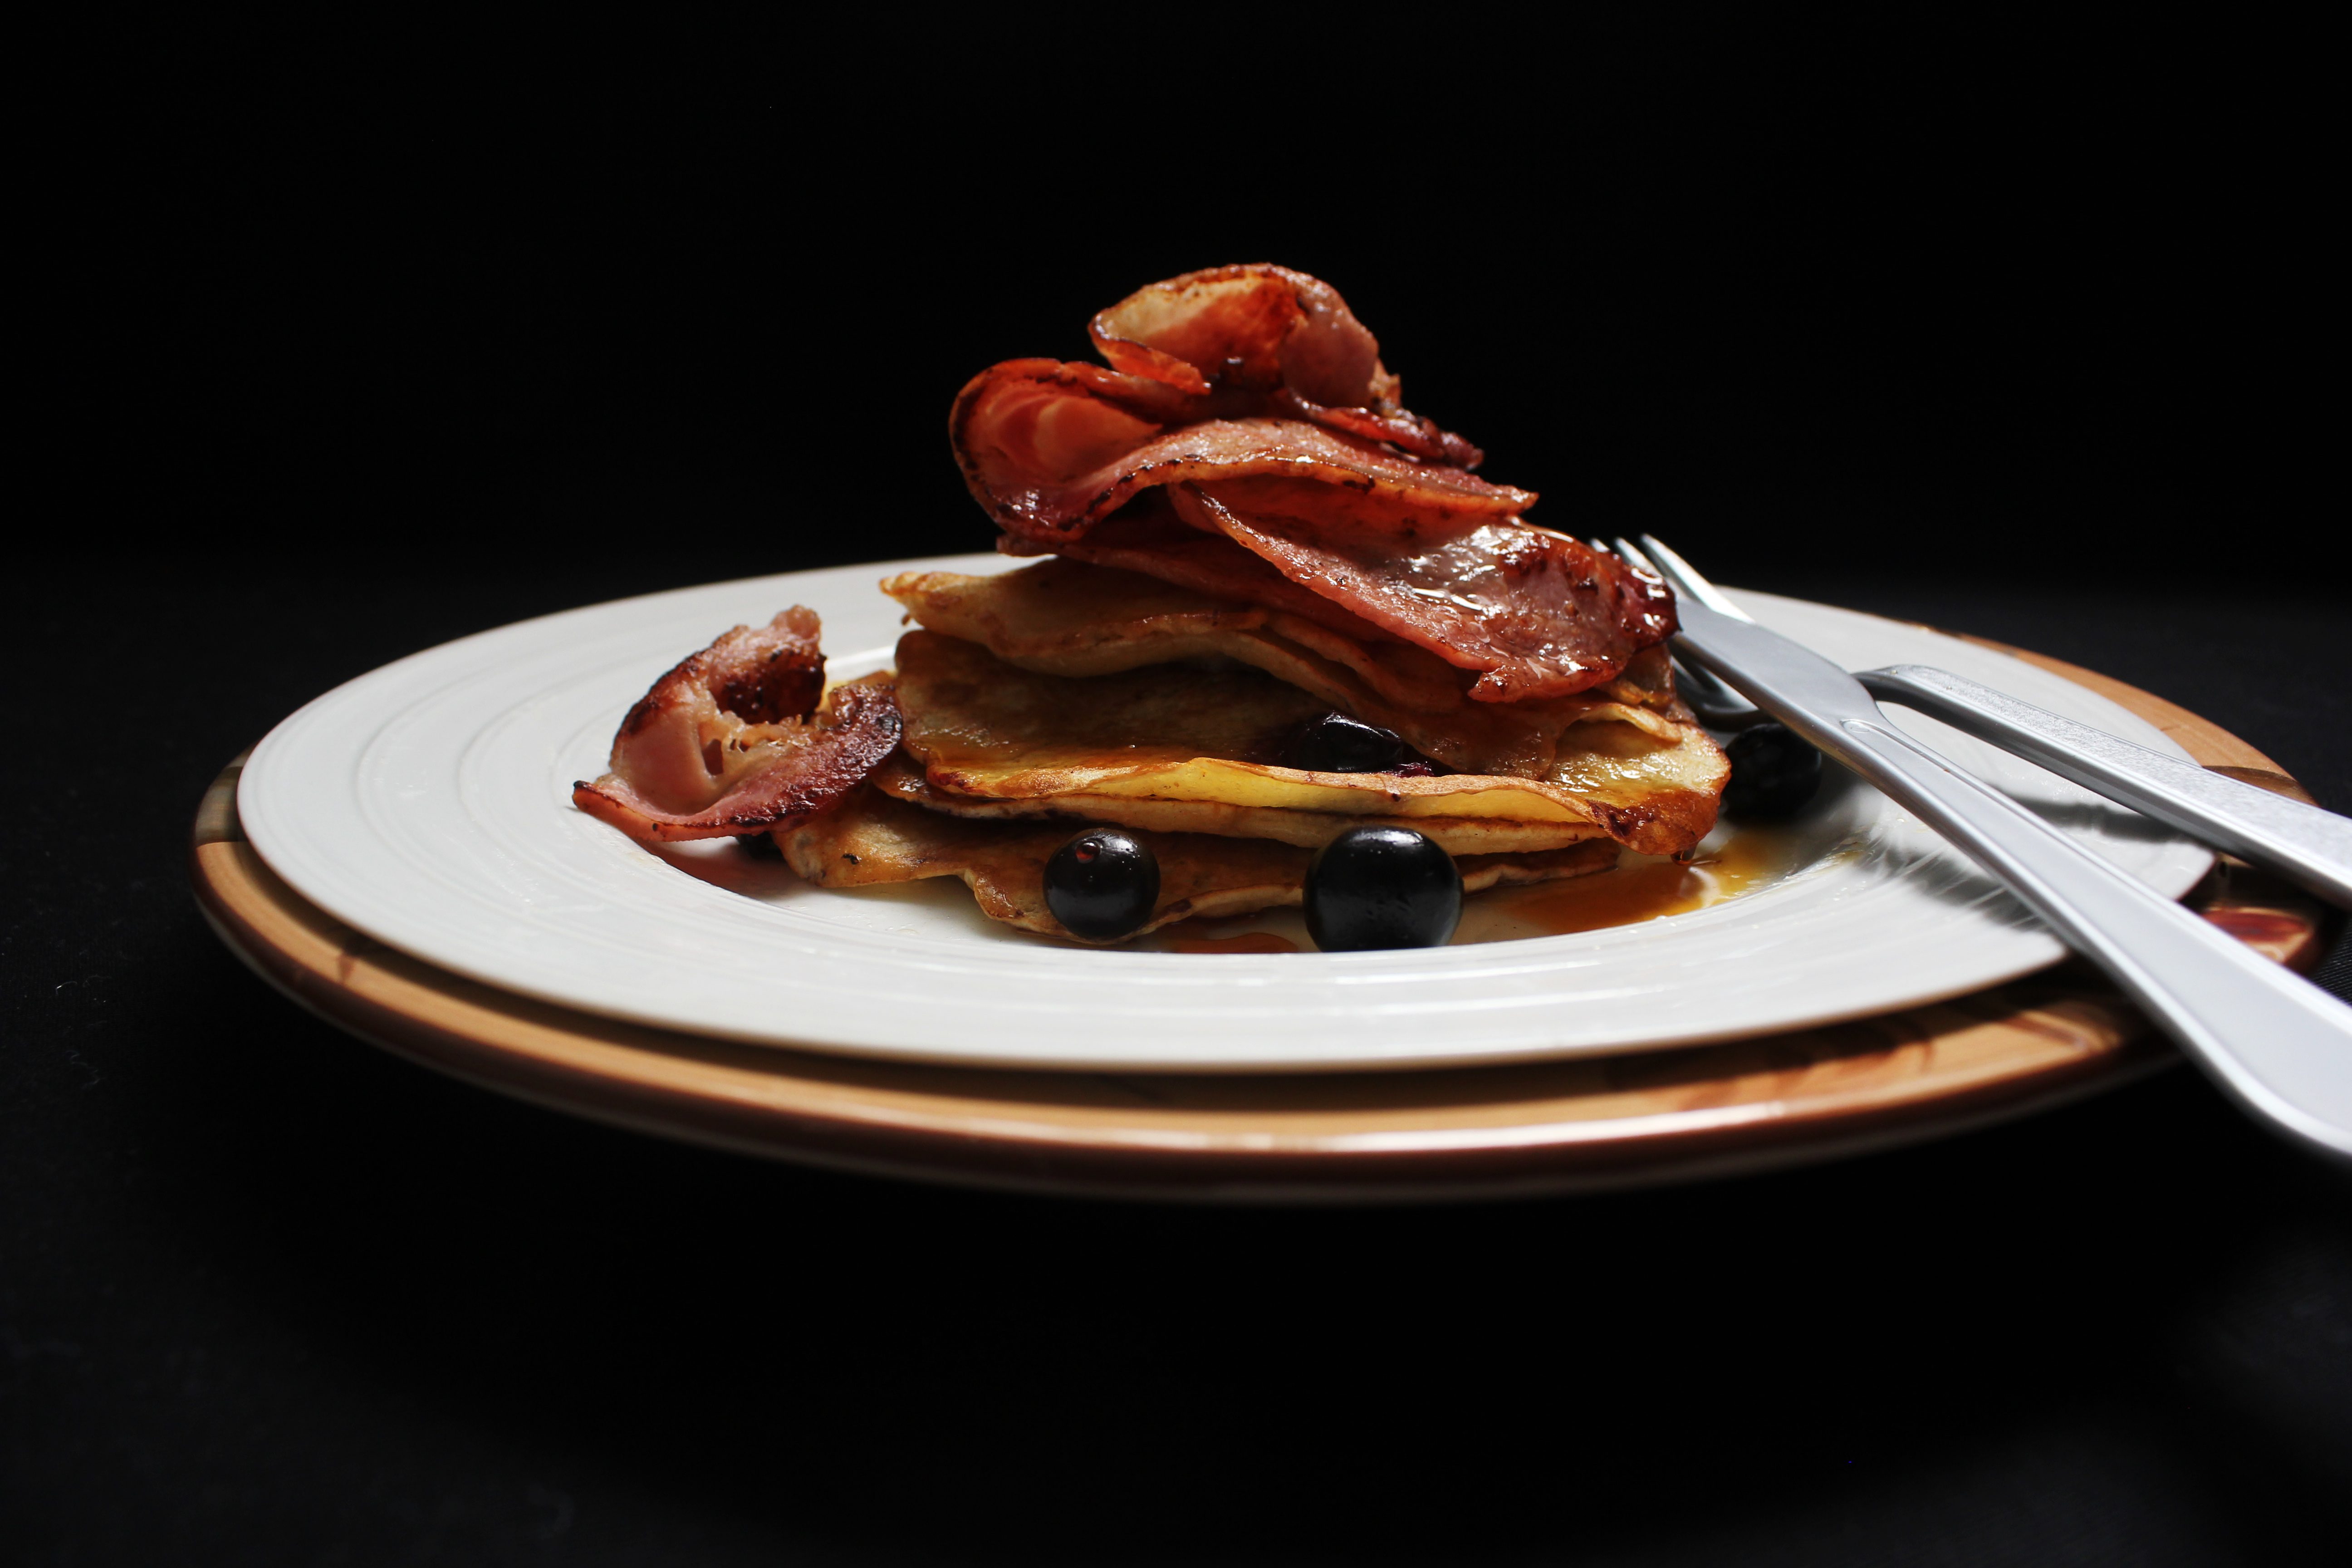
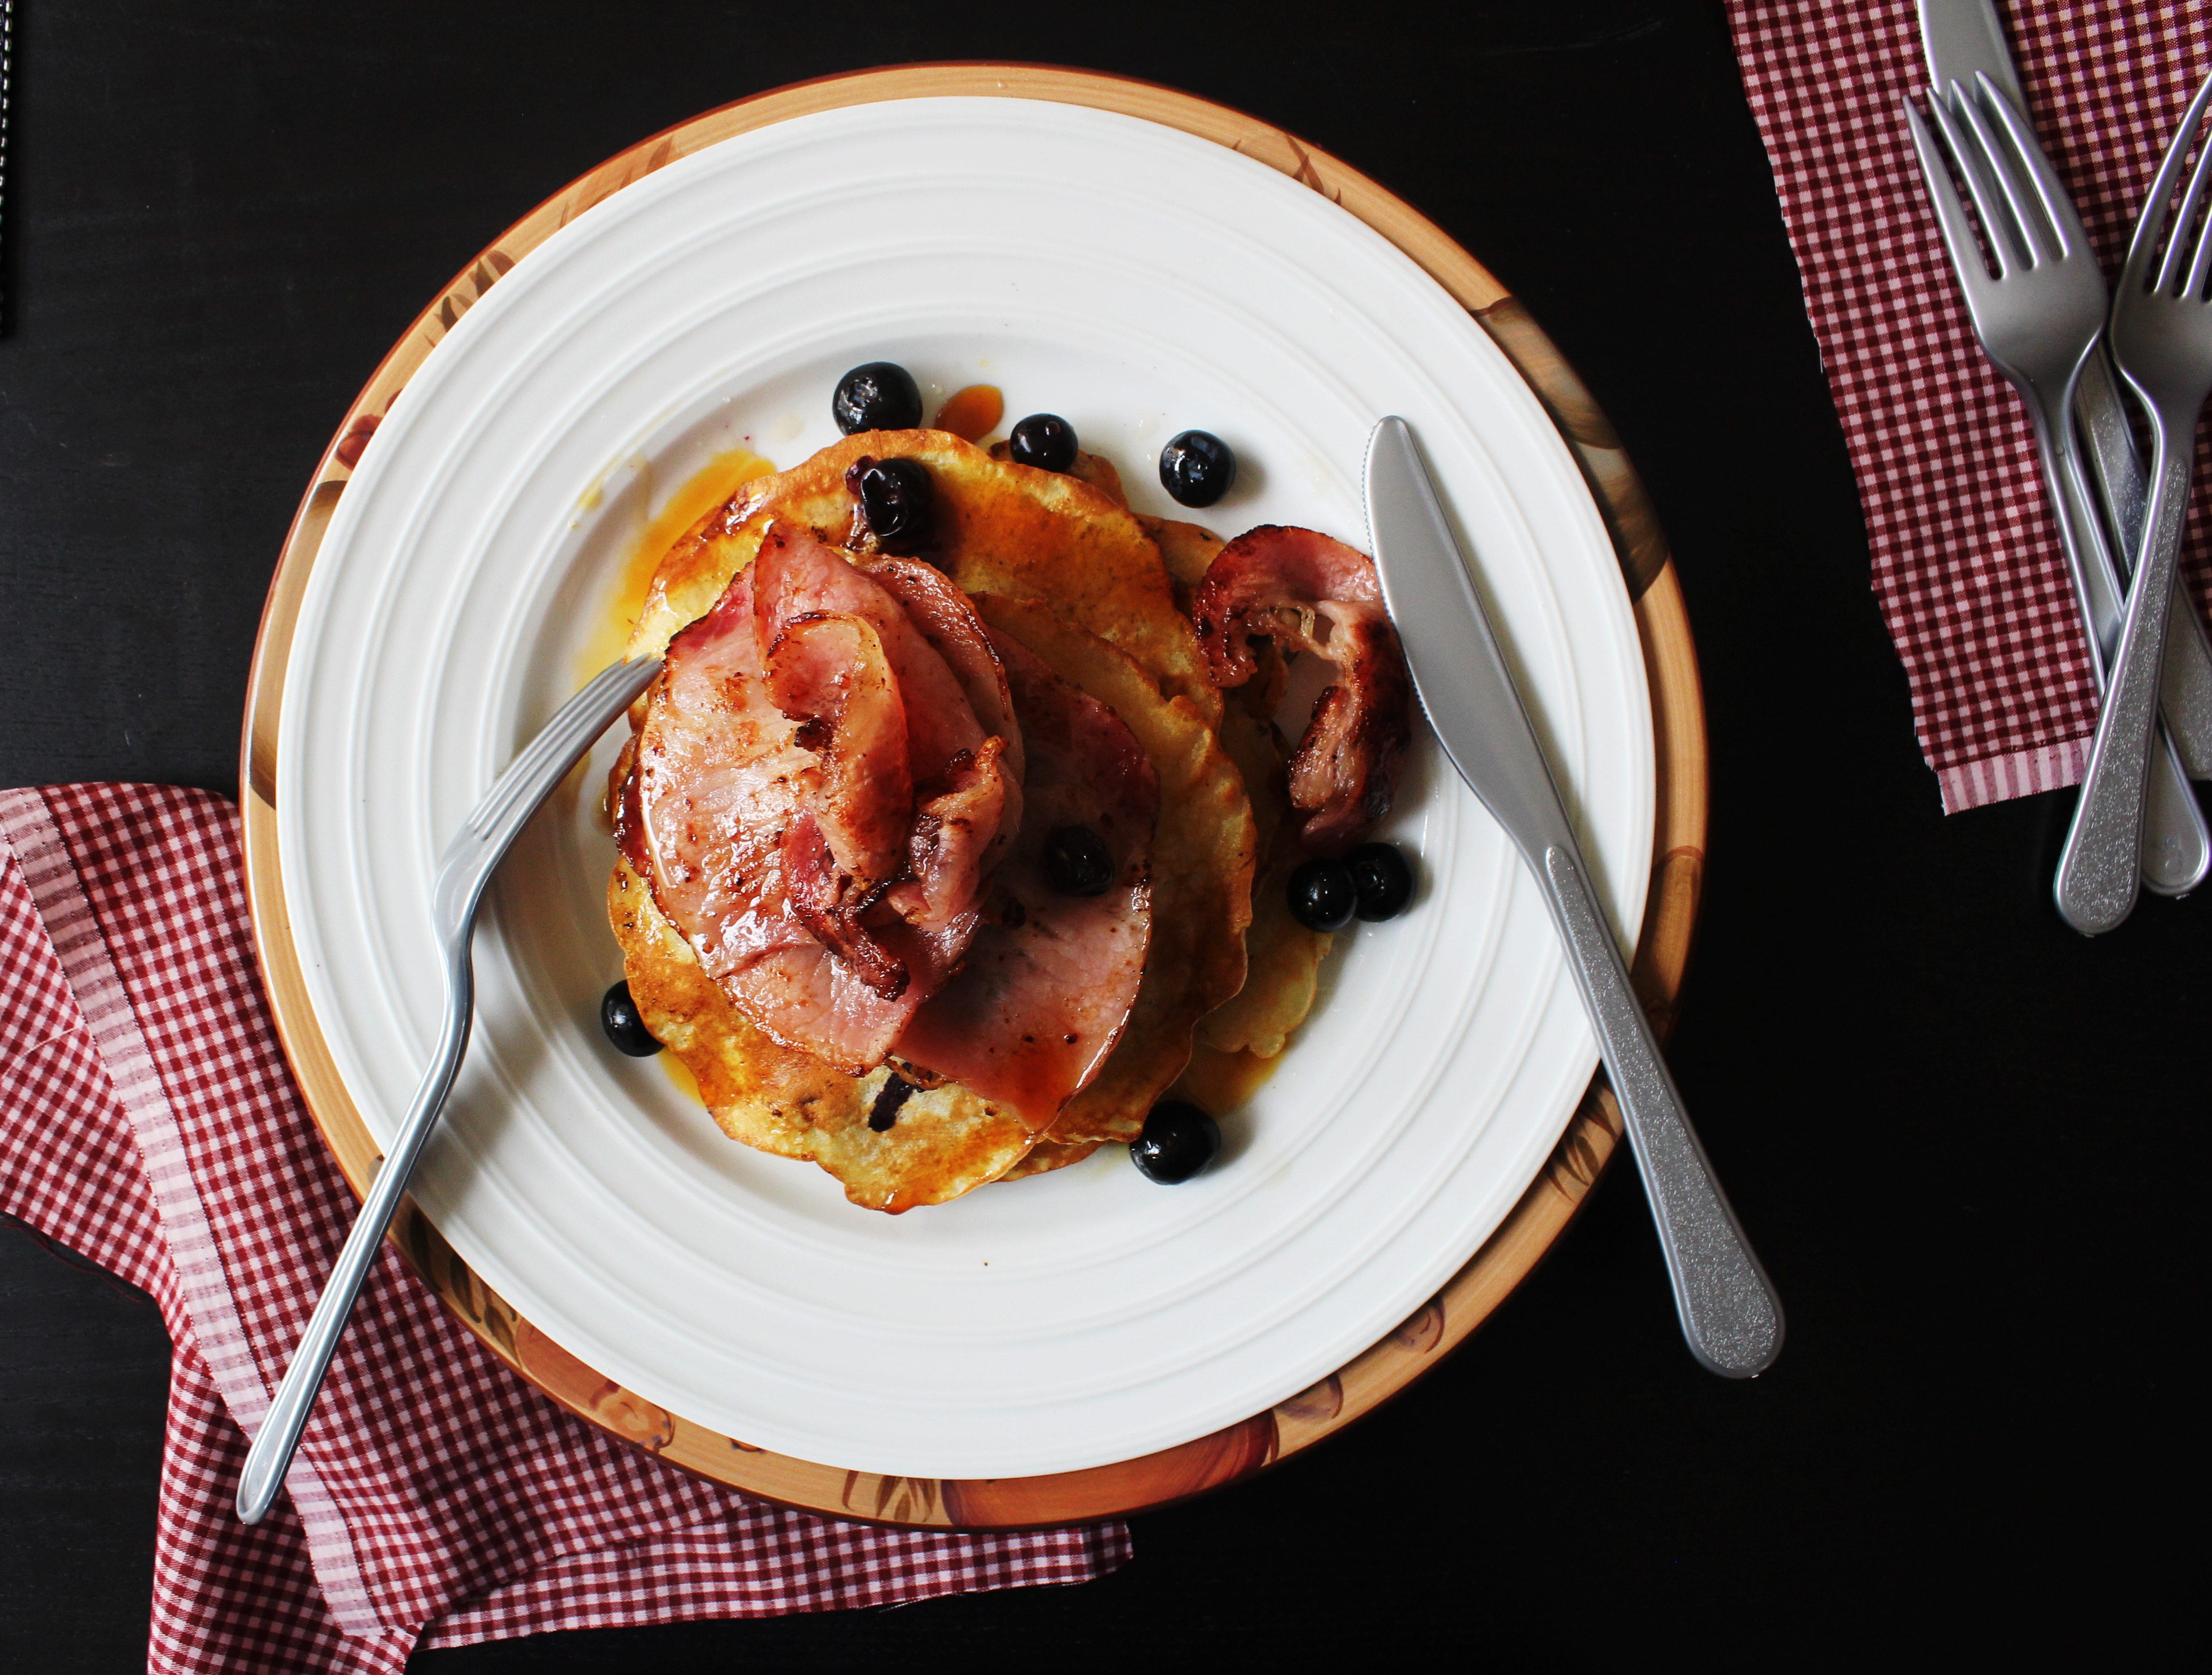
Blueberry and Maple Syrup Pancakes with Bacon

20|10|2013

I simply love sweet-savory food combinations! When balanced well they can do wonders for your taste buds. What better than fluffy pancakes dripping in maple syrup with crispy salty bacon. And to tie them together juicy blueberries that are bit sweet..a bit tart!
IMG_6053 (1)

I did tell you about our big Sunday breakfasts and brunches. This is one of the simpler dishes I make for my family with different combinations. With the abundance of seasonal blueberries, I couldn’t have thought of a better addition to my pancakes. I love the way they melt and ooze out when cooked with the batter.IMG_6050 (1)

These pancakes are smaller in size than normal ones so you can easily fry two at a time. Smaller stacks work for me. They look cute and cook faster so you can keep the plates coming out quickly when you have guests for brunch. In, Australia, we call them pikelets. You can substitute blueberries with two ripe mashed banana or even a cup of pumpkin puree. These are combinations that I use with the pancake batter.
IMG_6063 (1)So do you like food that combines sweet and savory? And which one is your favourite combination?
Without a doubt, Salted Caramel tops my list!
IMG_6047 (2)


Blueberry and Maple Syrup Pancakes with Bacon (adapted with variation from Good Taste magazine)

11/2 cups plain flour
1 tsp baking powder
2 tbsp castor sugar
1/2 tsp salt
125g blueberries
11/4 cups milk
1 egg, lightly beaten
30 g unsalted butter, melted and cooled
Bacon rashers, to serve
Extra blueberries, to serve
Maple syrup, to serve

Sift the flour and baking powder into a large bowl. Stir in the sugar and salt. Stir in the blueberries. Make a well in the centre and add the milk, egg and butter. Use a metal spoon to stir, until just combined.
Heat a non-stick frying pan over medium-high heat. Grease with butter. Pour 1/4 cup portions of batter into the pan (2 at a time). Cook for 1-2 minutes or until bubbles appear on the surface. Turn and cook for 30 seconds or until cooked through.
Transfer to a plate. Cover with foil to keep warm. Repeat with the rest of the batter.
Serve pancakes with cooked bacon, extra blueberries and maple syrup.
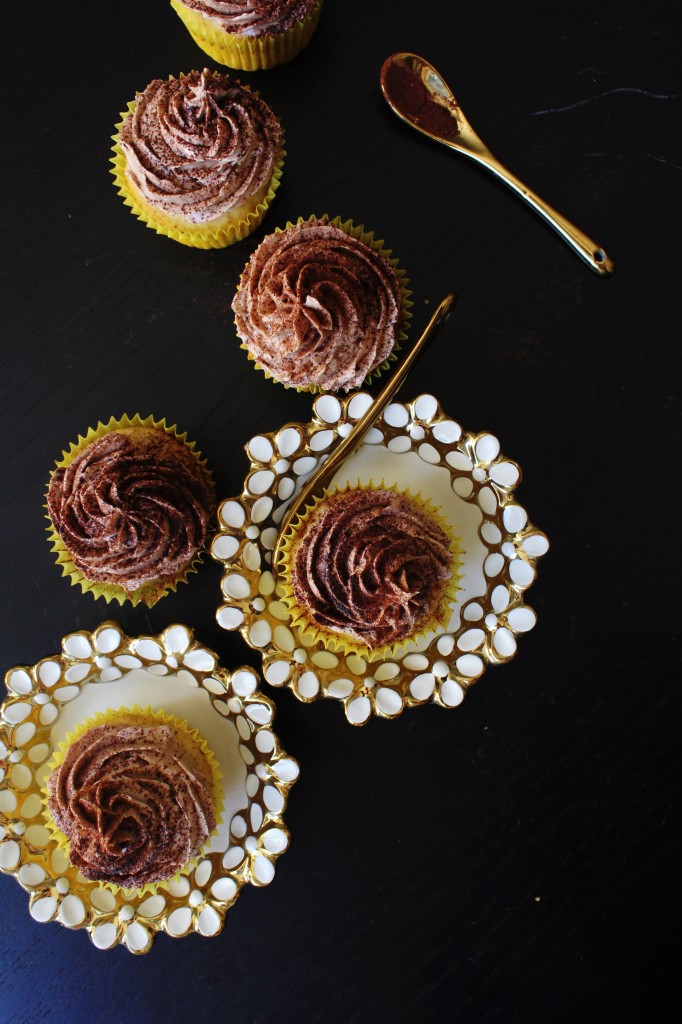

Banana Cupcakes with Chocolate Malt Buttercream

17|10|2013


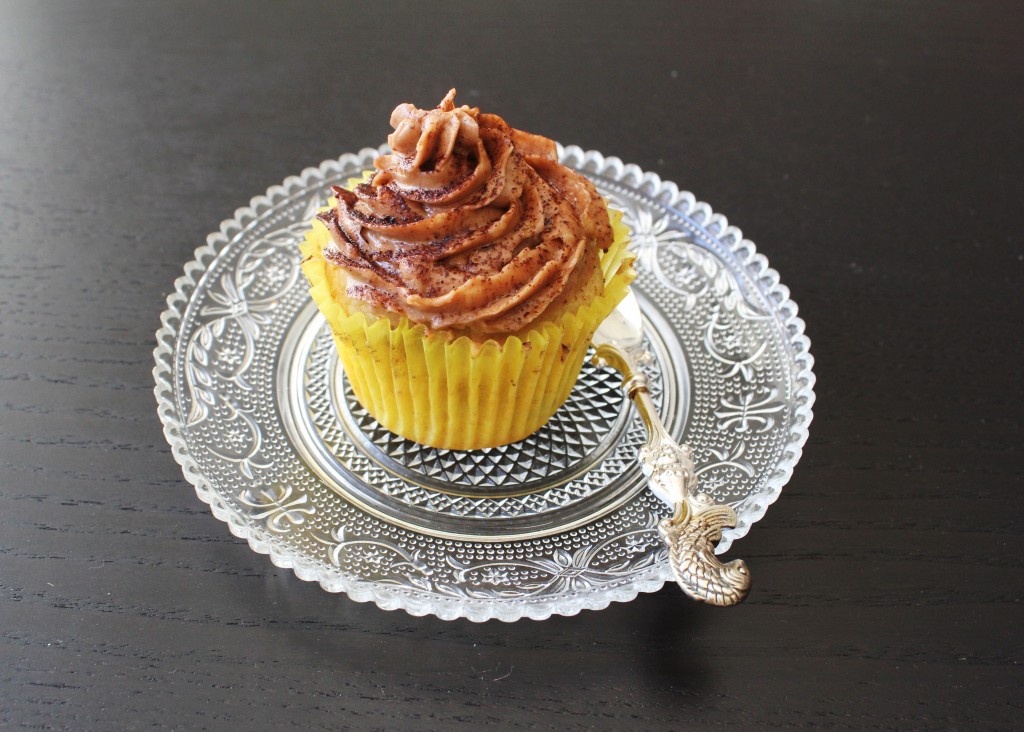
‘Milo’ is a word Australian homes with kids would be all too familiar with. Malt drinks are a hit with a lot of children. Mine really love it and will eat spoonfuls of it straight from the tin. Sometimes, I mix it with banana and vanilla ice cream to make a milkshake. Yesterday while the blender was doing its work and I was staring into it, the cupcake Gods suddenly smiled at me and I smiled back. Why didn’t I think of this earlier! Banana Malt Cupcakes!

IMG_5989 (2)

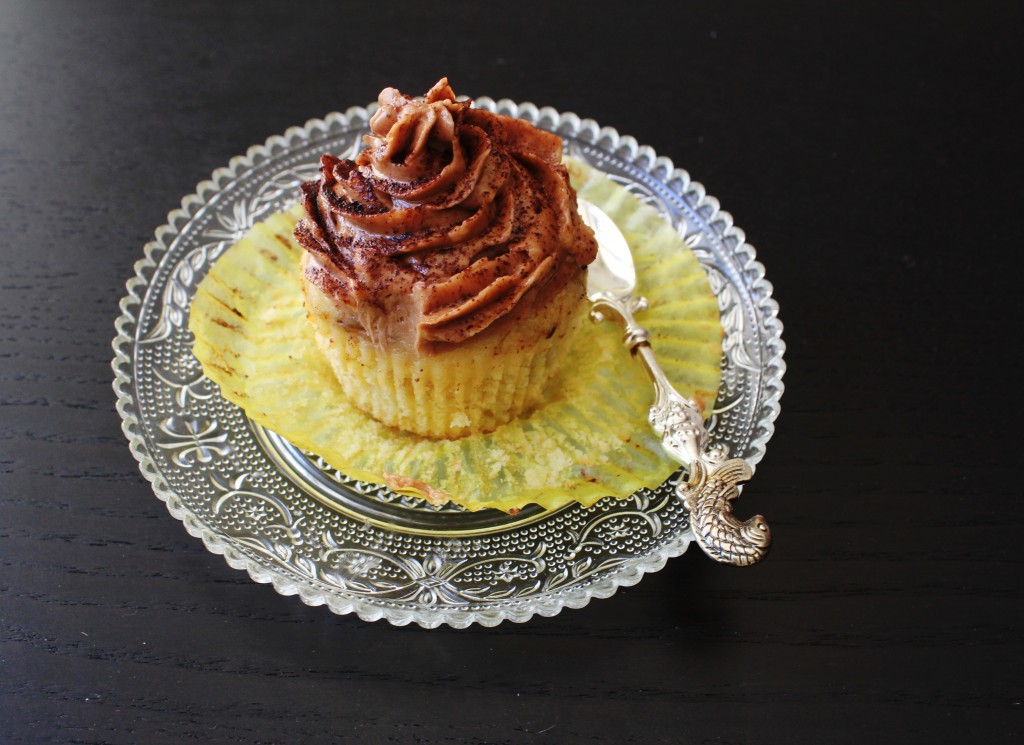
I really like the flavour of these cupcakes. Better than the milkshake! And it is such a great recipe to make for kid’s parties and get-togethers. When I told my boys the cupcakes had Milo in it, their eyes lit up.

IMG_5990 (1)

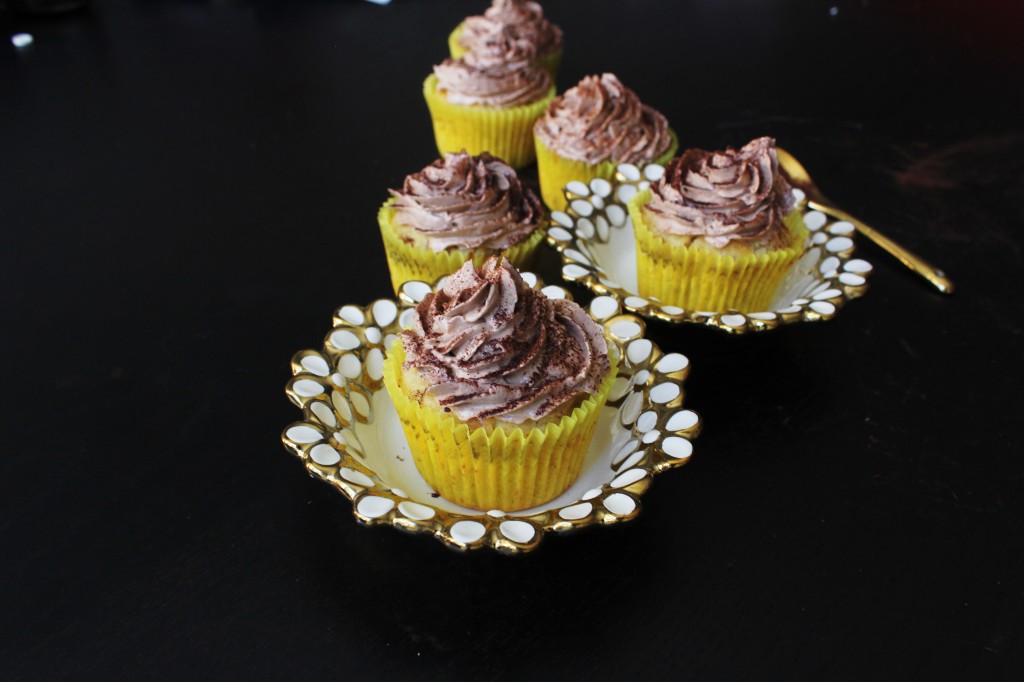
The cupcakes are soft and moist and the buttercream has a flavour similar to milk chocolate. So they work well together. A dusting of milo powder gives it an extra malt boost. You can replace the chocolate malt powder with your preferred malt powder.

IMG_6022 (1)

Please note while making the frosting that most chocolate malt powder are already sweetened so I have reduced the icing sugar than I would normally use to make my buttercream. The resulting buttercream will be fluffier (not very stiff)  and not the perfectly pipeable one. It’s actually wonderful spooned or spread over the cupcakes. Though I managed to pipe, I wasn’t too happy with the end result.

IMG_6025 (2)

IMG_5991 (1)

Banana Cupcakes with Chocolate Malt Buttercream

Banana Cupcakes
2 cups self-raising flour, sifted (or 2 cups plain flour+2 tsp baking powder)
3/4 cup castor sugar
1 teaspoon ground cinnamon
1/4 cup milk
125g butter, melted, cooled
2 eggs, lightly beaten
1 tsp vanilla essence
1 cup mashed banana (about 2 large ripe bananas)

Preheat oven to 200 degree C. Grease a 12 capacity muffin pan or line with paper cases. Combine flour and castor sugar in a bowl. Make a well in the centre. Stir in cinnamon.

Add milk, butter, eggs and vanilla to flour mixture. Using a large metal spoon, stir gently to combine. Add the mashed banana.
Spoon mixture into prepared muffin pan. Bake for 12 to 15 minutes, or until a skewer inserted into the centre comes out clean. Stand in pan for 5 minutes before transferring to a wire rack to cool.

Once cool, spread or pipe the frosting onto the cupcakes. Dust with chocolate malt powder or cocoa powder.

Chocolate Malt Buttercream
1/2 cup unsalted butter (113 g), room temperature
11/4 cup icing sugar, sifted (add another 1/2 cup if you want a stiffer frosting)
2 tbsp milk
1/4 cup chocolate malt powder (I used Milo)
2 tbsp cocoa powder

Add the malt powder to 2 tbsp warm milk and stir to make a smooth paste. Keep aside. In an electric mixer or with a hand mixer, cream the butter till smooth. With the mixer on low-speed, gradually beat in the sugar. Scrape down the sides of the bowl and add the malt milk paste and cocoa powder. Beat on high-speed until frosting is light and fluffy.

Rhubarb Orange Ginger Jam

15|10|2013

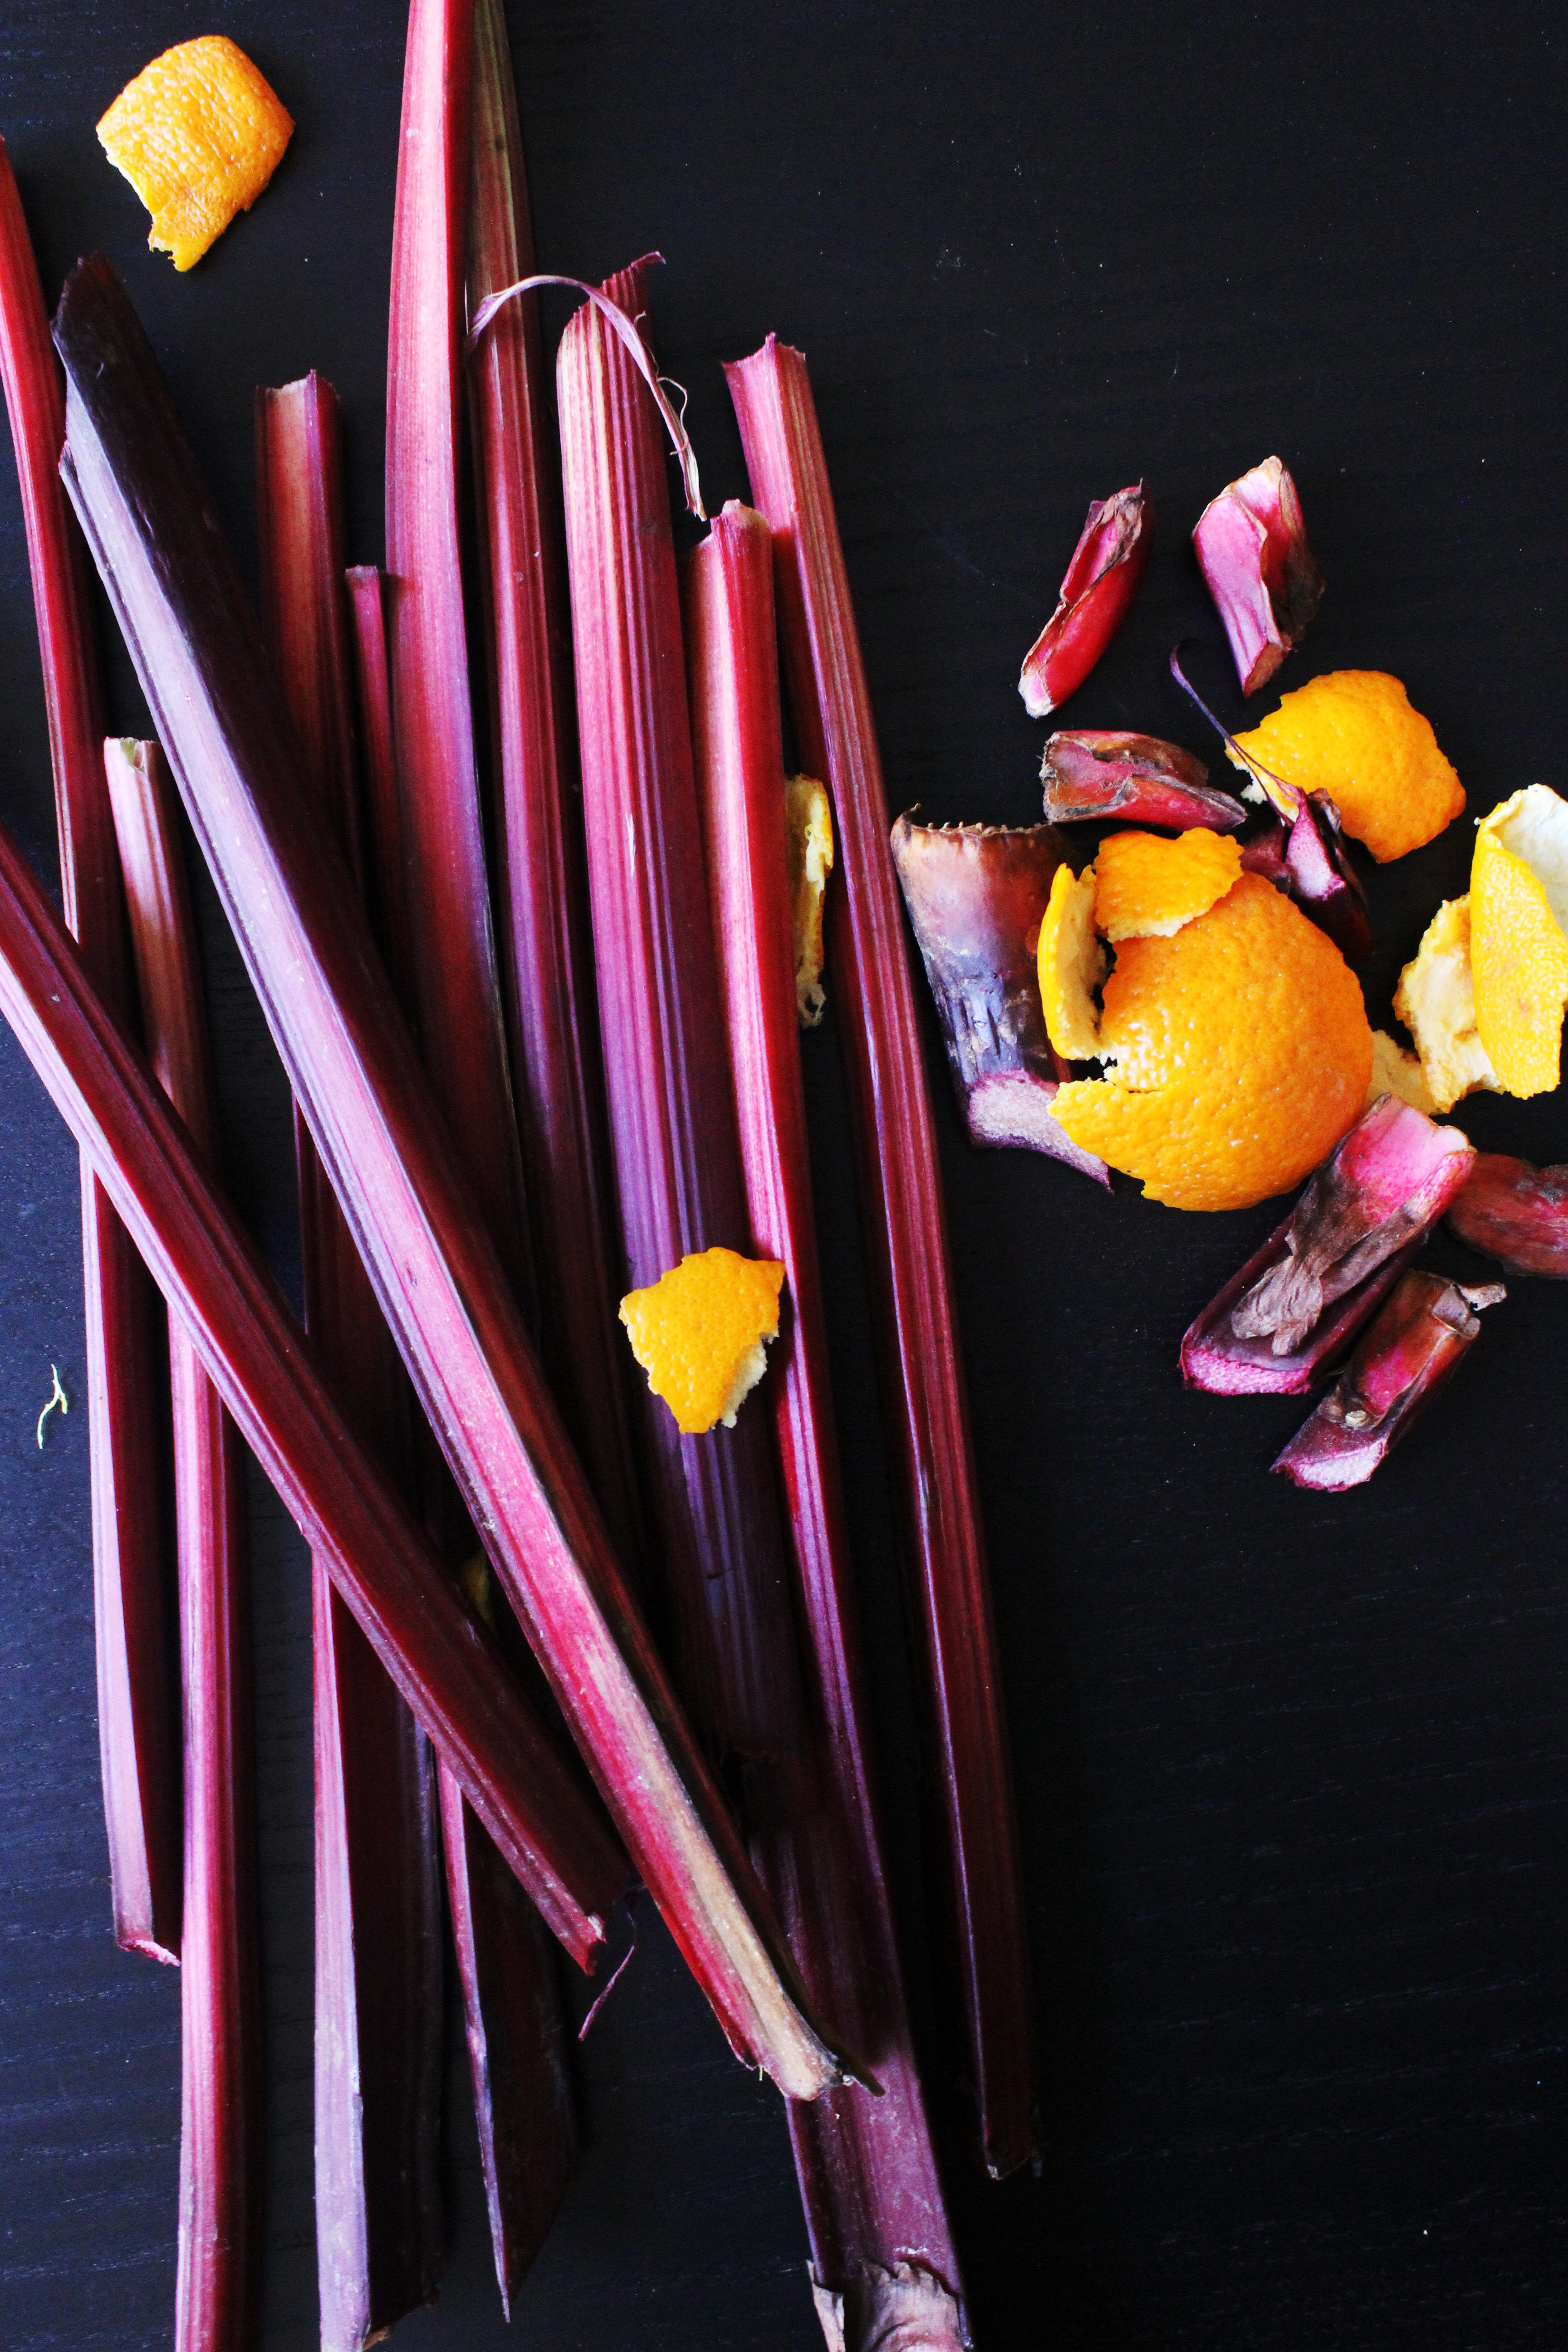
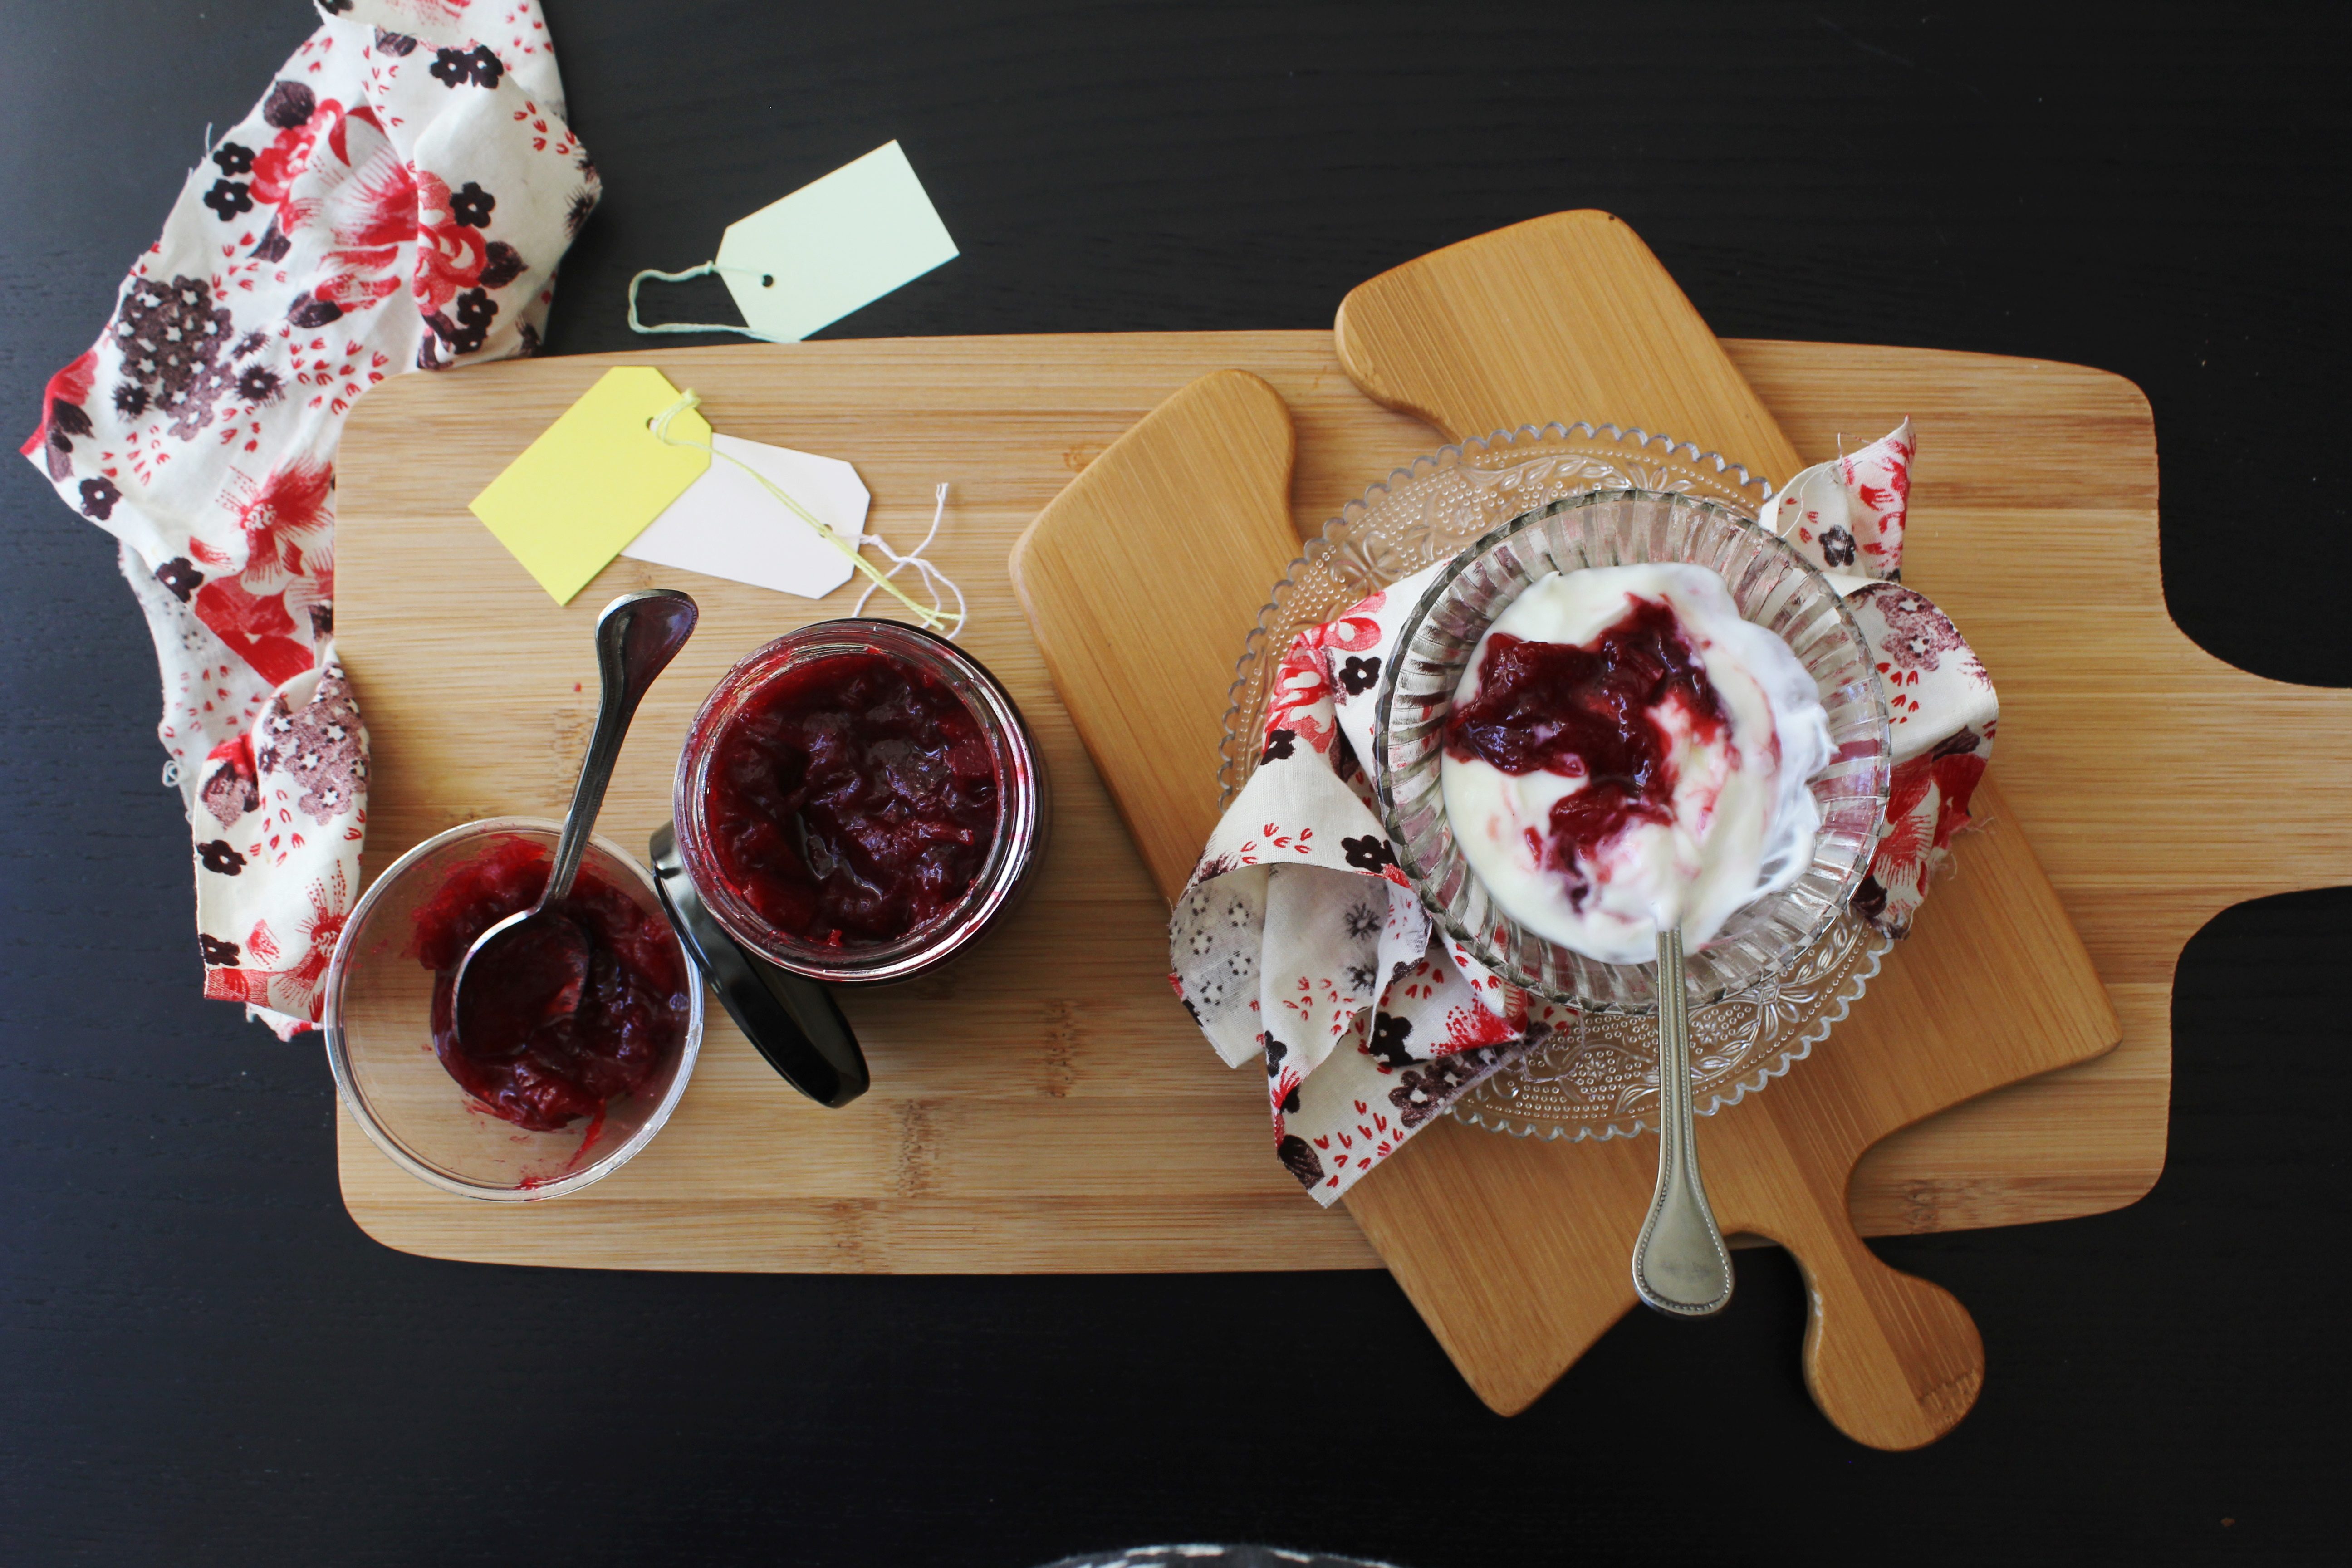
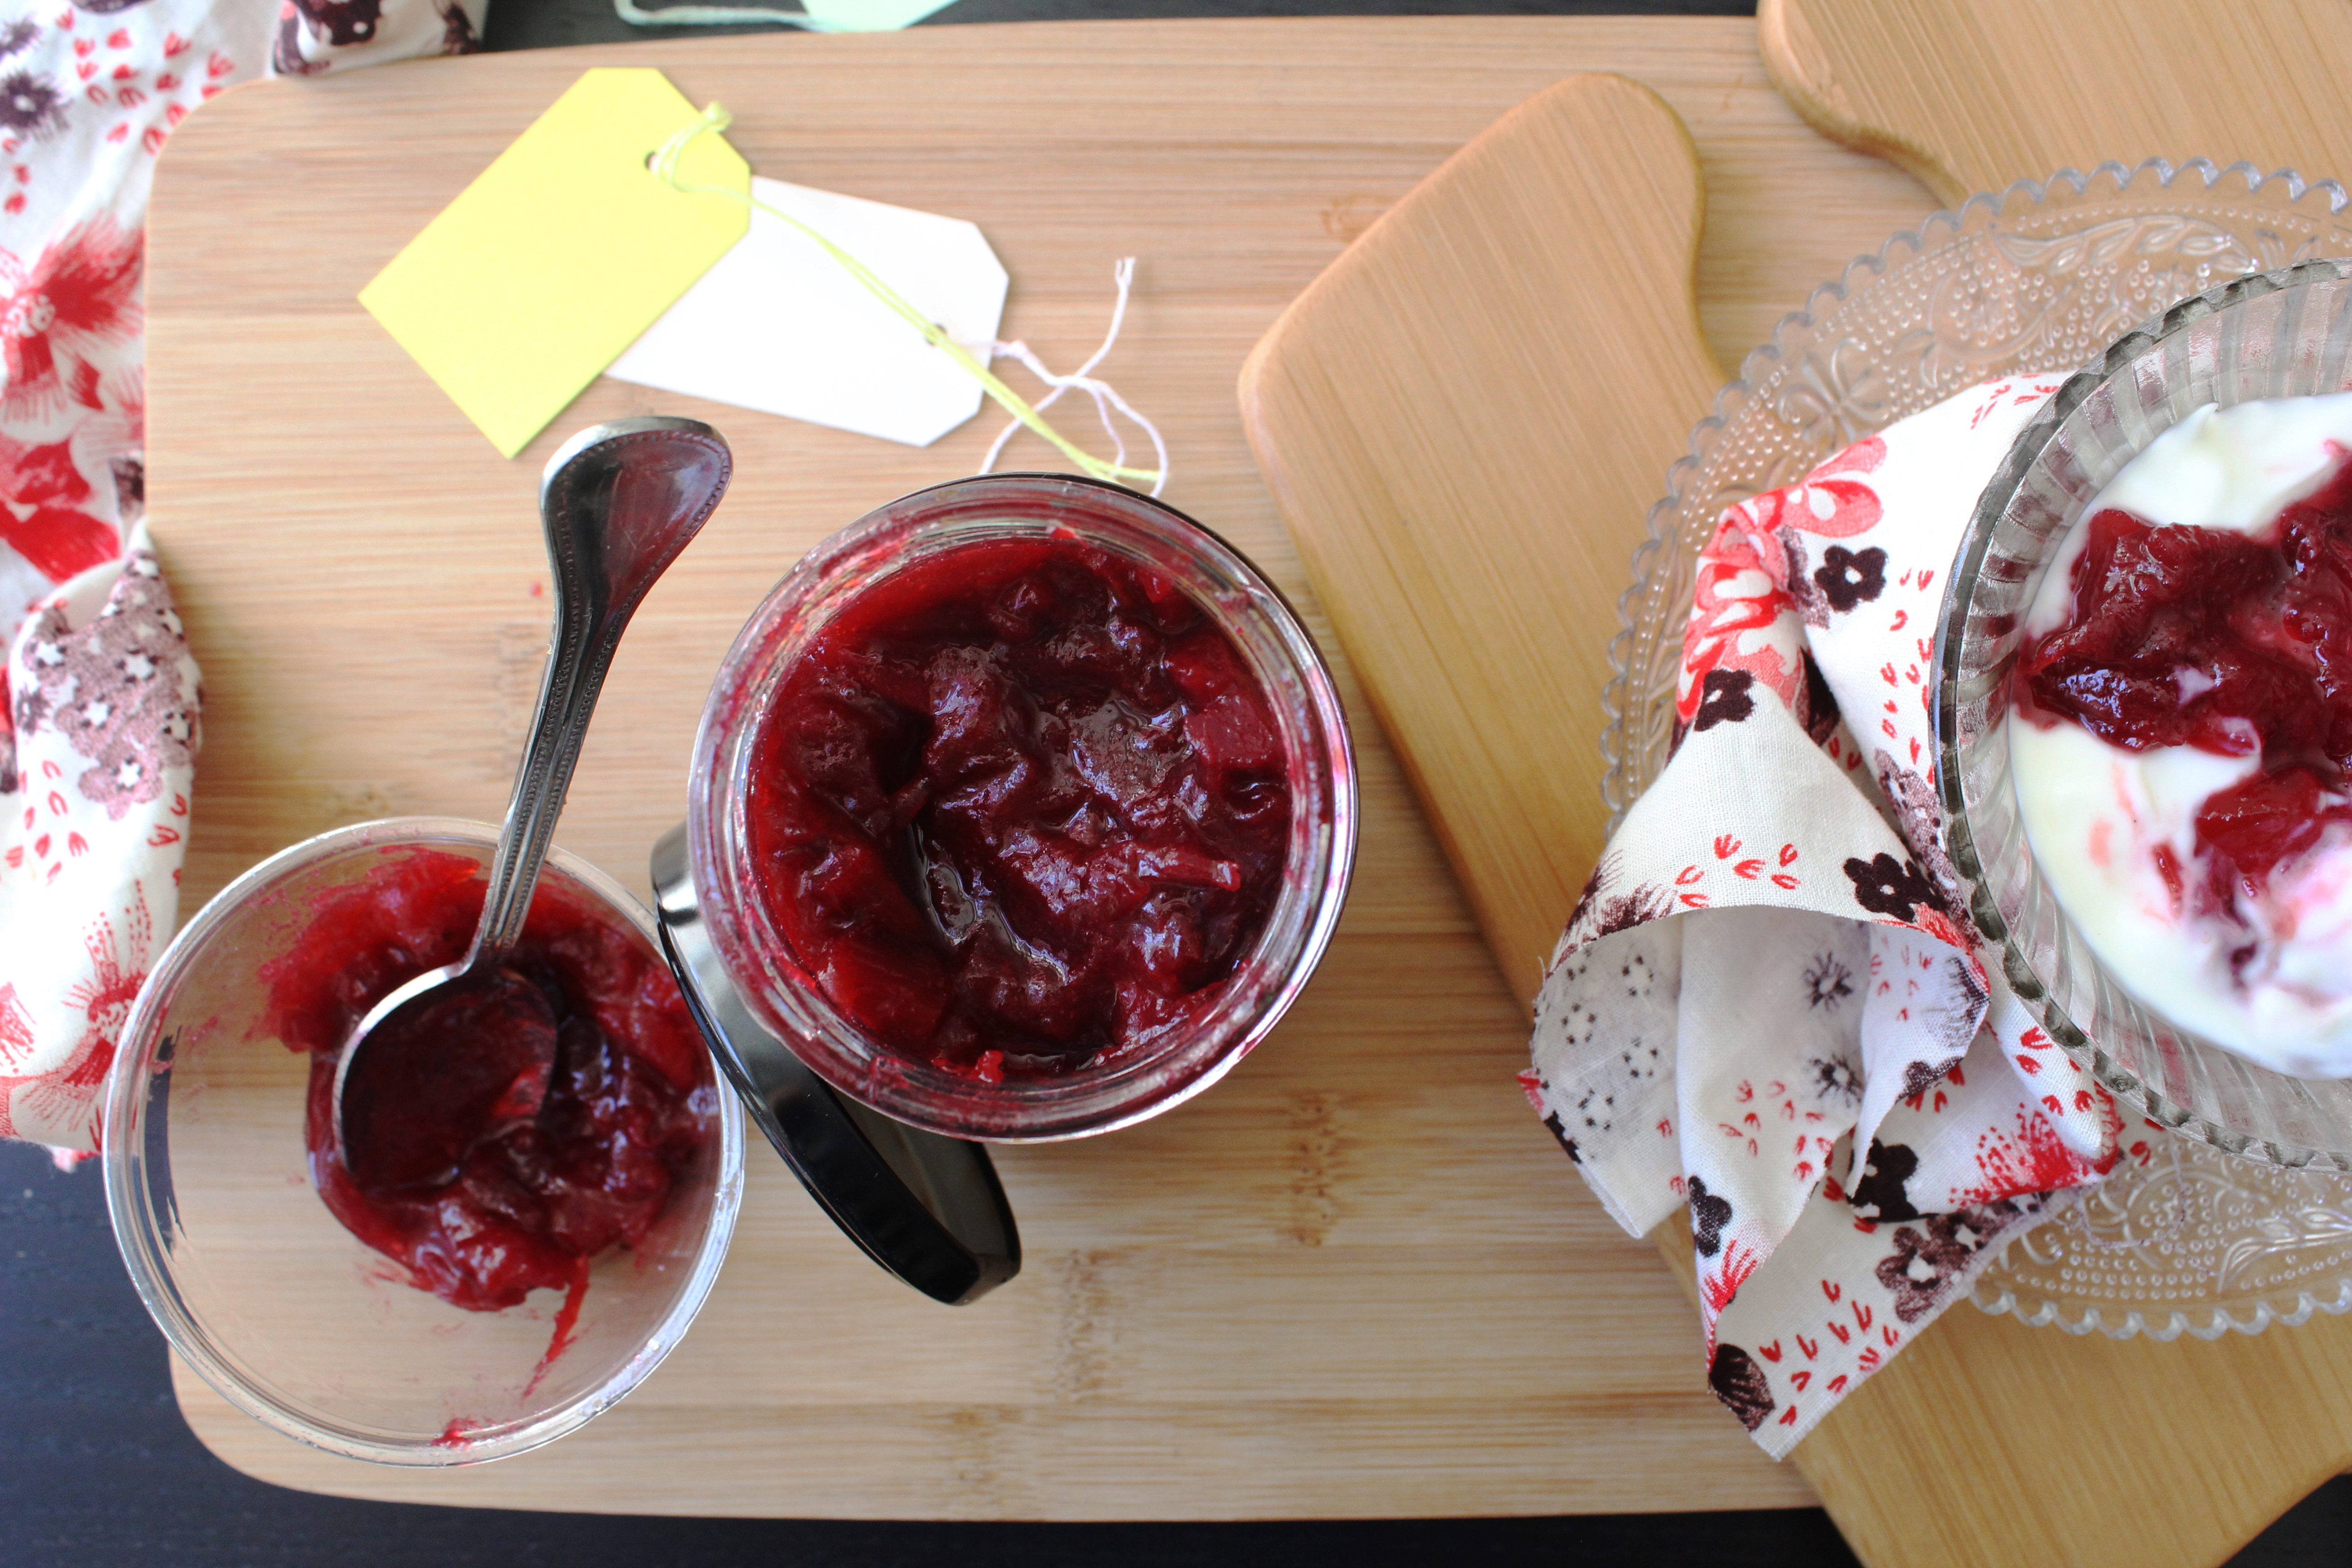
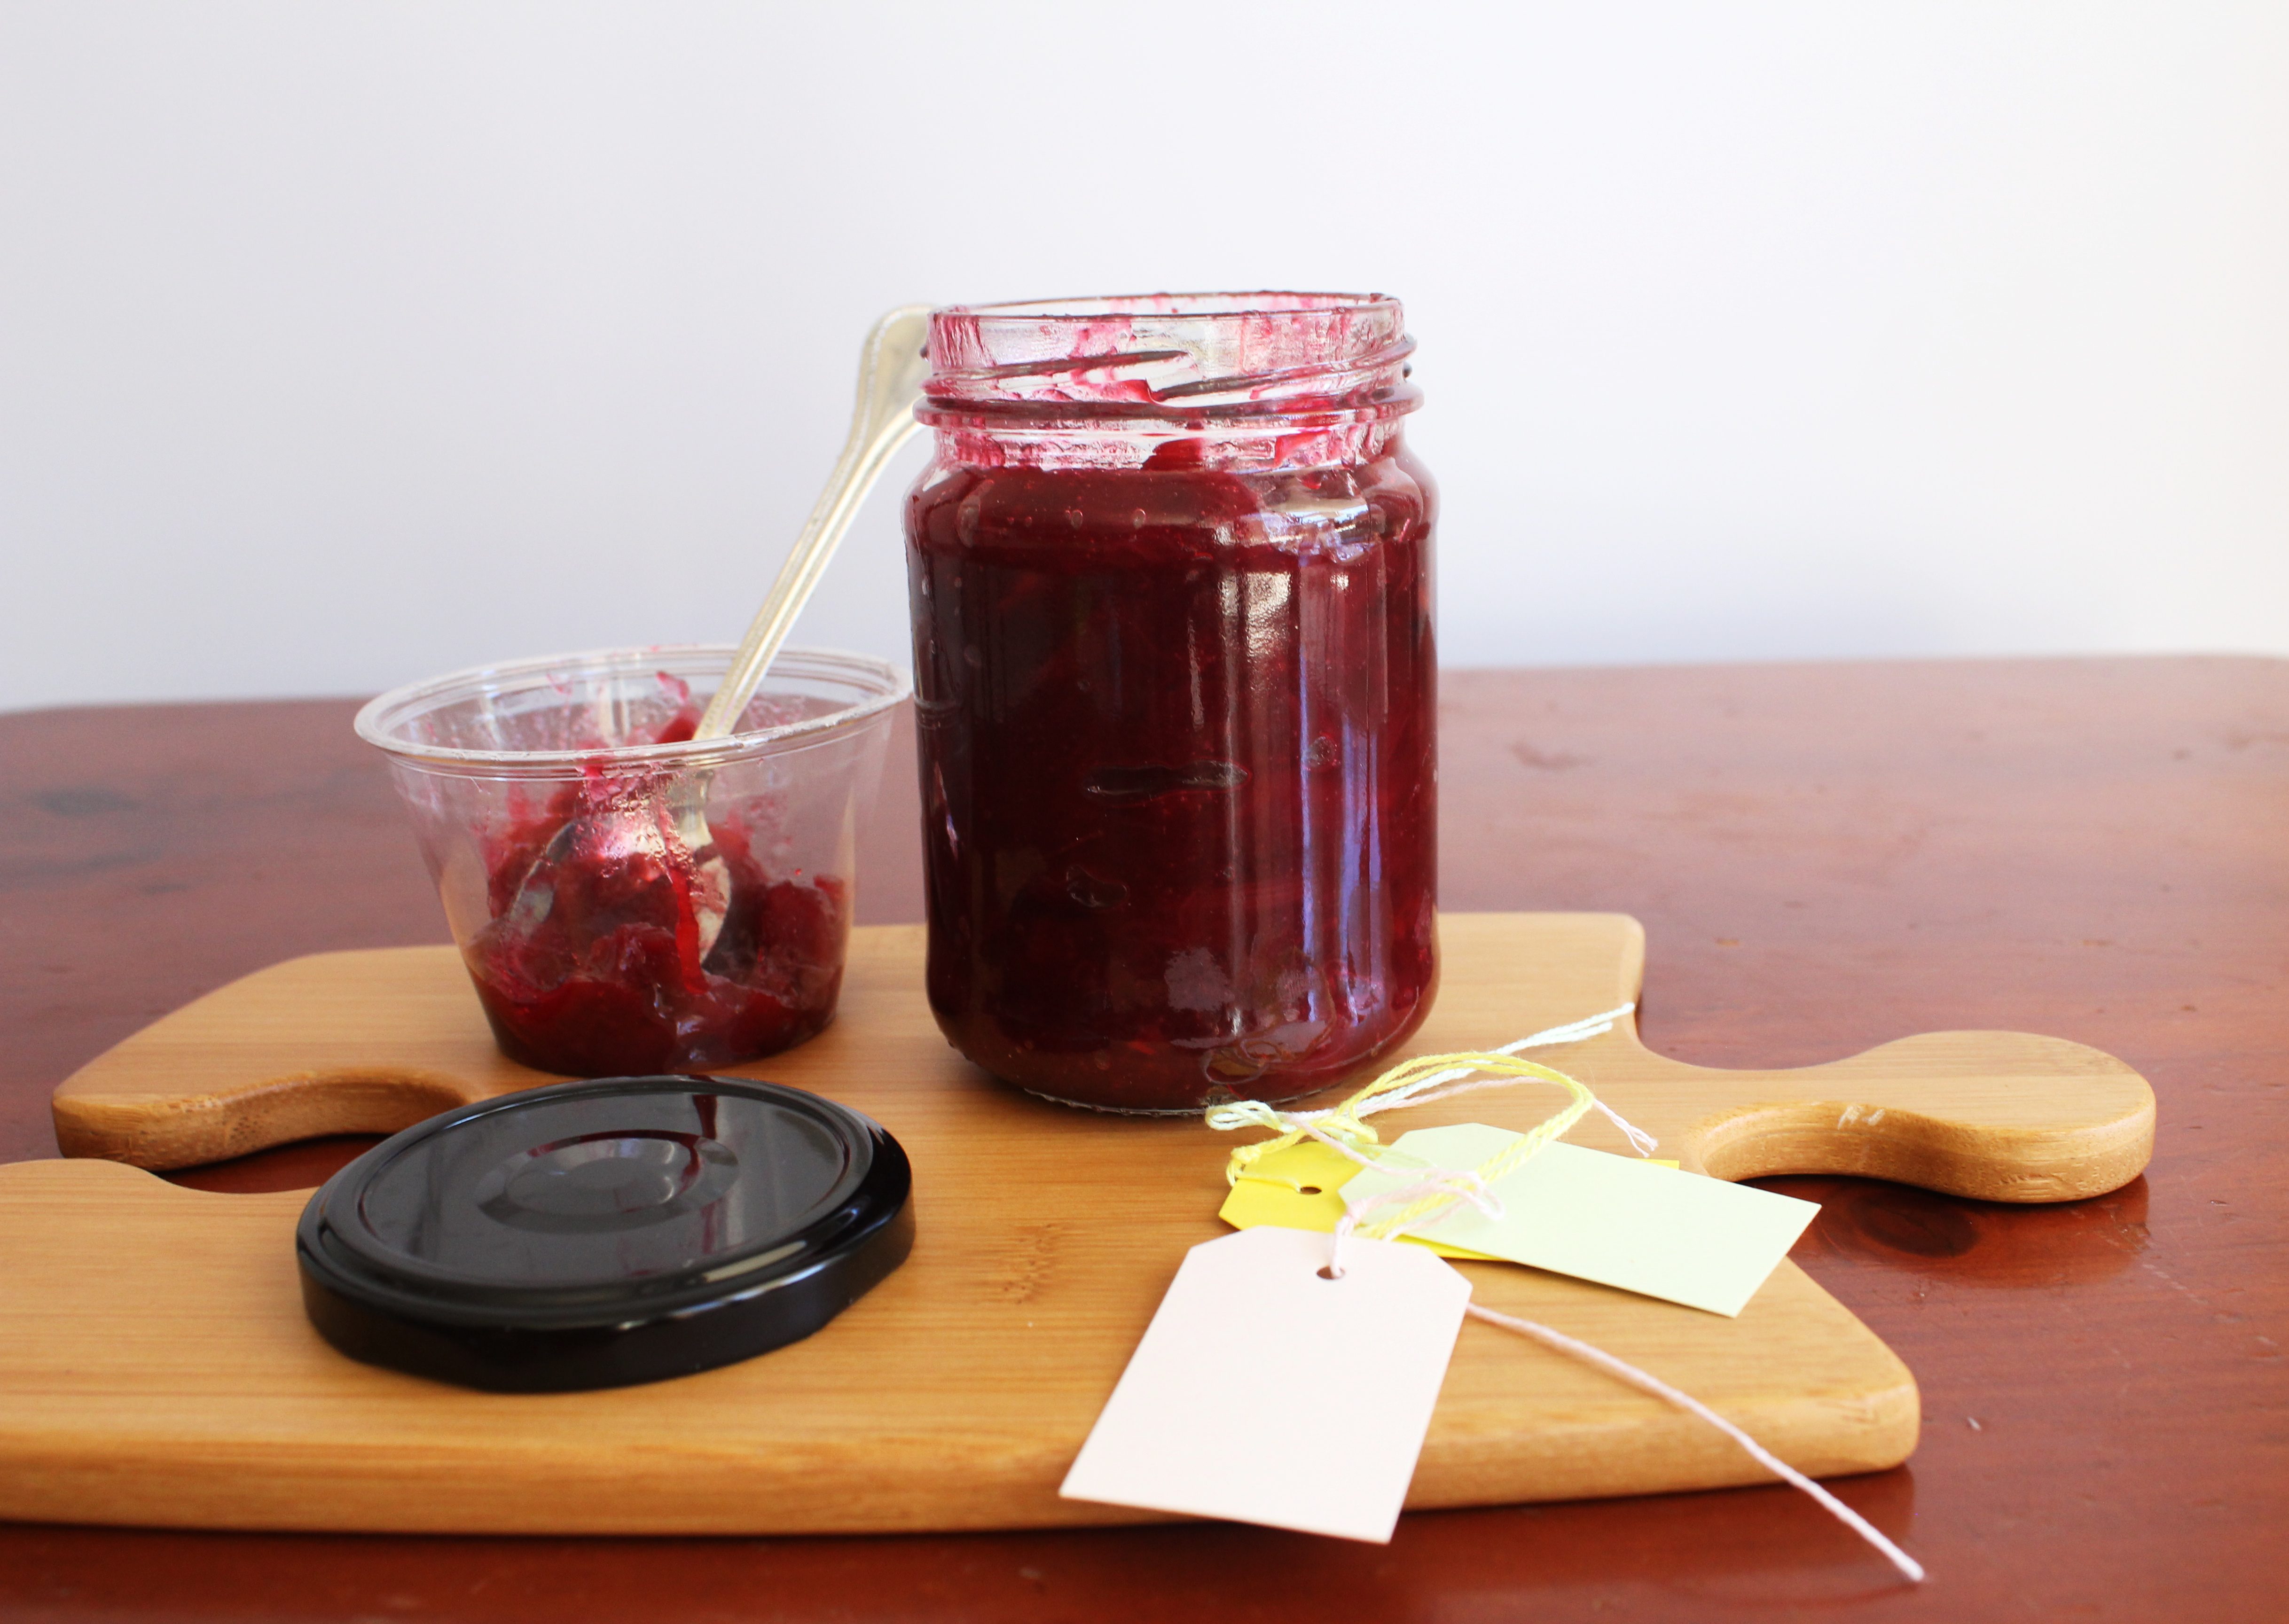
There is something special about making things from scratch. Especially when they are simple, easily achievable and money-saving. Making Jam at home is an easy process as long as you keep in mind a few basic things.
IMG_6001 (1)

The gelling agent that sets a jam/jelly is Pectin that is a naturally occurring carbohydrate found in fruits. The levels of pectin varies between fruits and therefore it is handy to know which fruits will give you a better consistency while making jam (without having to add an external gelling agent). Does that mean, you cannot use your favourite fruits to make jam or preserve if they are low in pectin? Not at all. In that case, you can combine low-level pectin fruits with a high level one to get the desired consistency. You can refer to this page to understand the levels of pectin in fruits.

IMG_6010 (1)

IMG_6011 (1)

This jam is not too sweet and the combination really works. Citrus peel is high in pectin and gives the jam just the right amount of citrusy flavour to balance the sweetness of the rhubarb. The peel along with Glace/Candied/Crystallised Ginger gives the jam a unique texture and bite. Ginger is my all time favourite ingredient and I just need an excuse to add it in my recipes. Rhubarb can vary in sweetness at different time so you will need to adjust the sweetness accordingly. Also, candied ginger is already sweetened so if you are skipping it, the sweetness might again need adjusting.

IMG_6016 (1)

Rhubarb, Orange, Ginger Jam
Makes 1 jar

1 bunch rhubarb( approx 350 g), trimmed, cleaned and chopped into 2 cm pieces
1/2 cup freshly squeezed orange juice
Peel from 1 orange, thinly sliced
1/4 cup glace/candied/crystallised ginger, roughly chopped
200 g castor sugar

Combine the rhubarb, sugar, orange juice and orange peel in a large, wide heavy-based saucepan. Stir over medium-low heat until the sugar dissolves. Increase heat to high and bring to the boil. Reduce heat to medium, add the ginger and boil gently, stirring occasionally, for 15-20 minutes or until jam reaches setting point.

Remove the jam from the heat immediately and ladle into the preserving jars and seal. Set aside until cooled completely. Label, date and store in a cool, dark place.


Pumpkin Fritters

14|10|2013

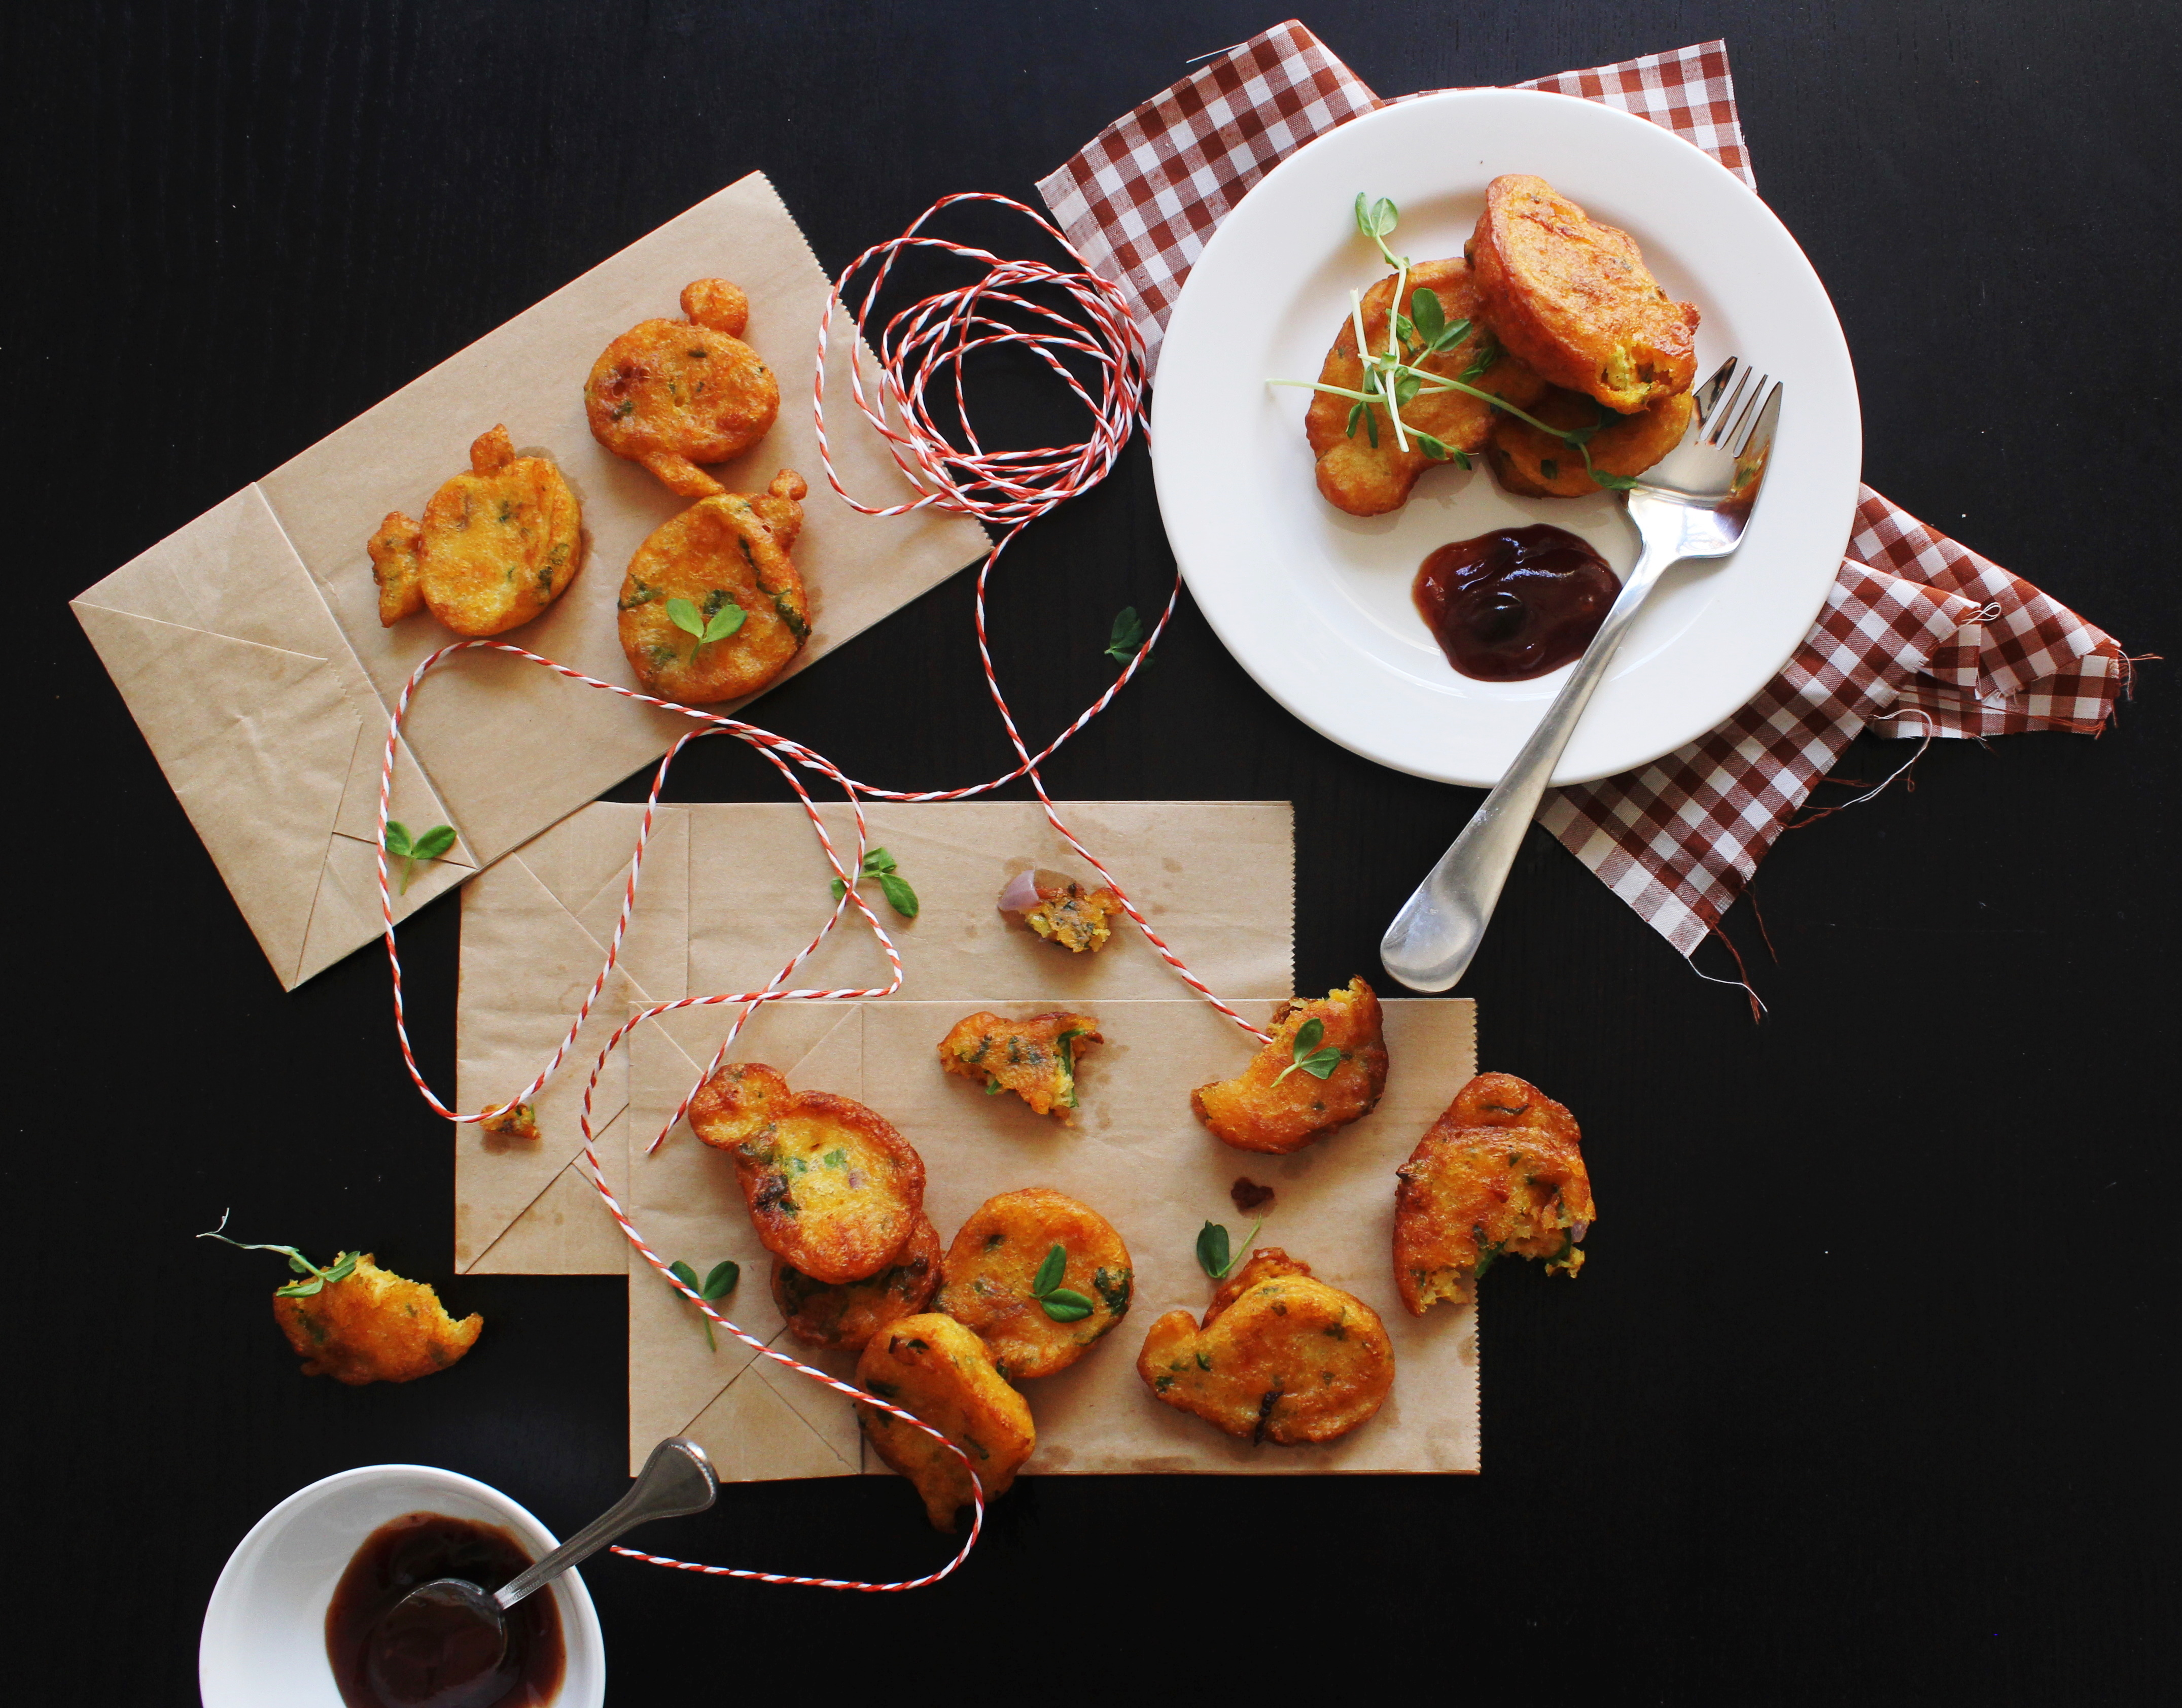
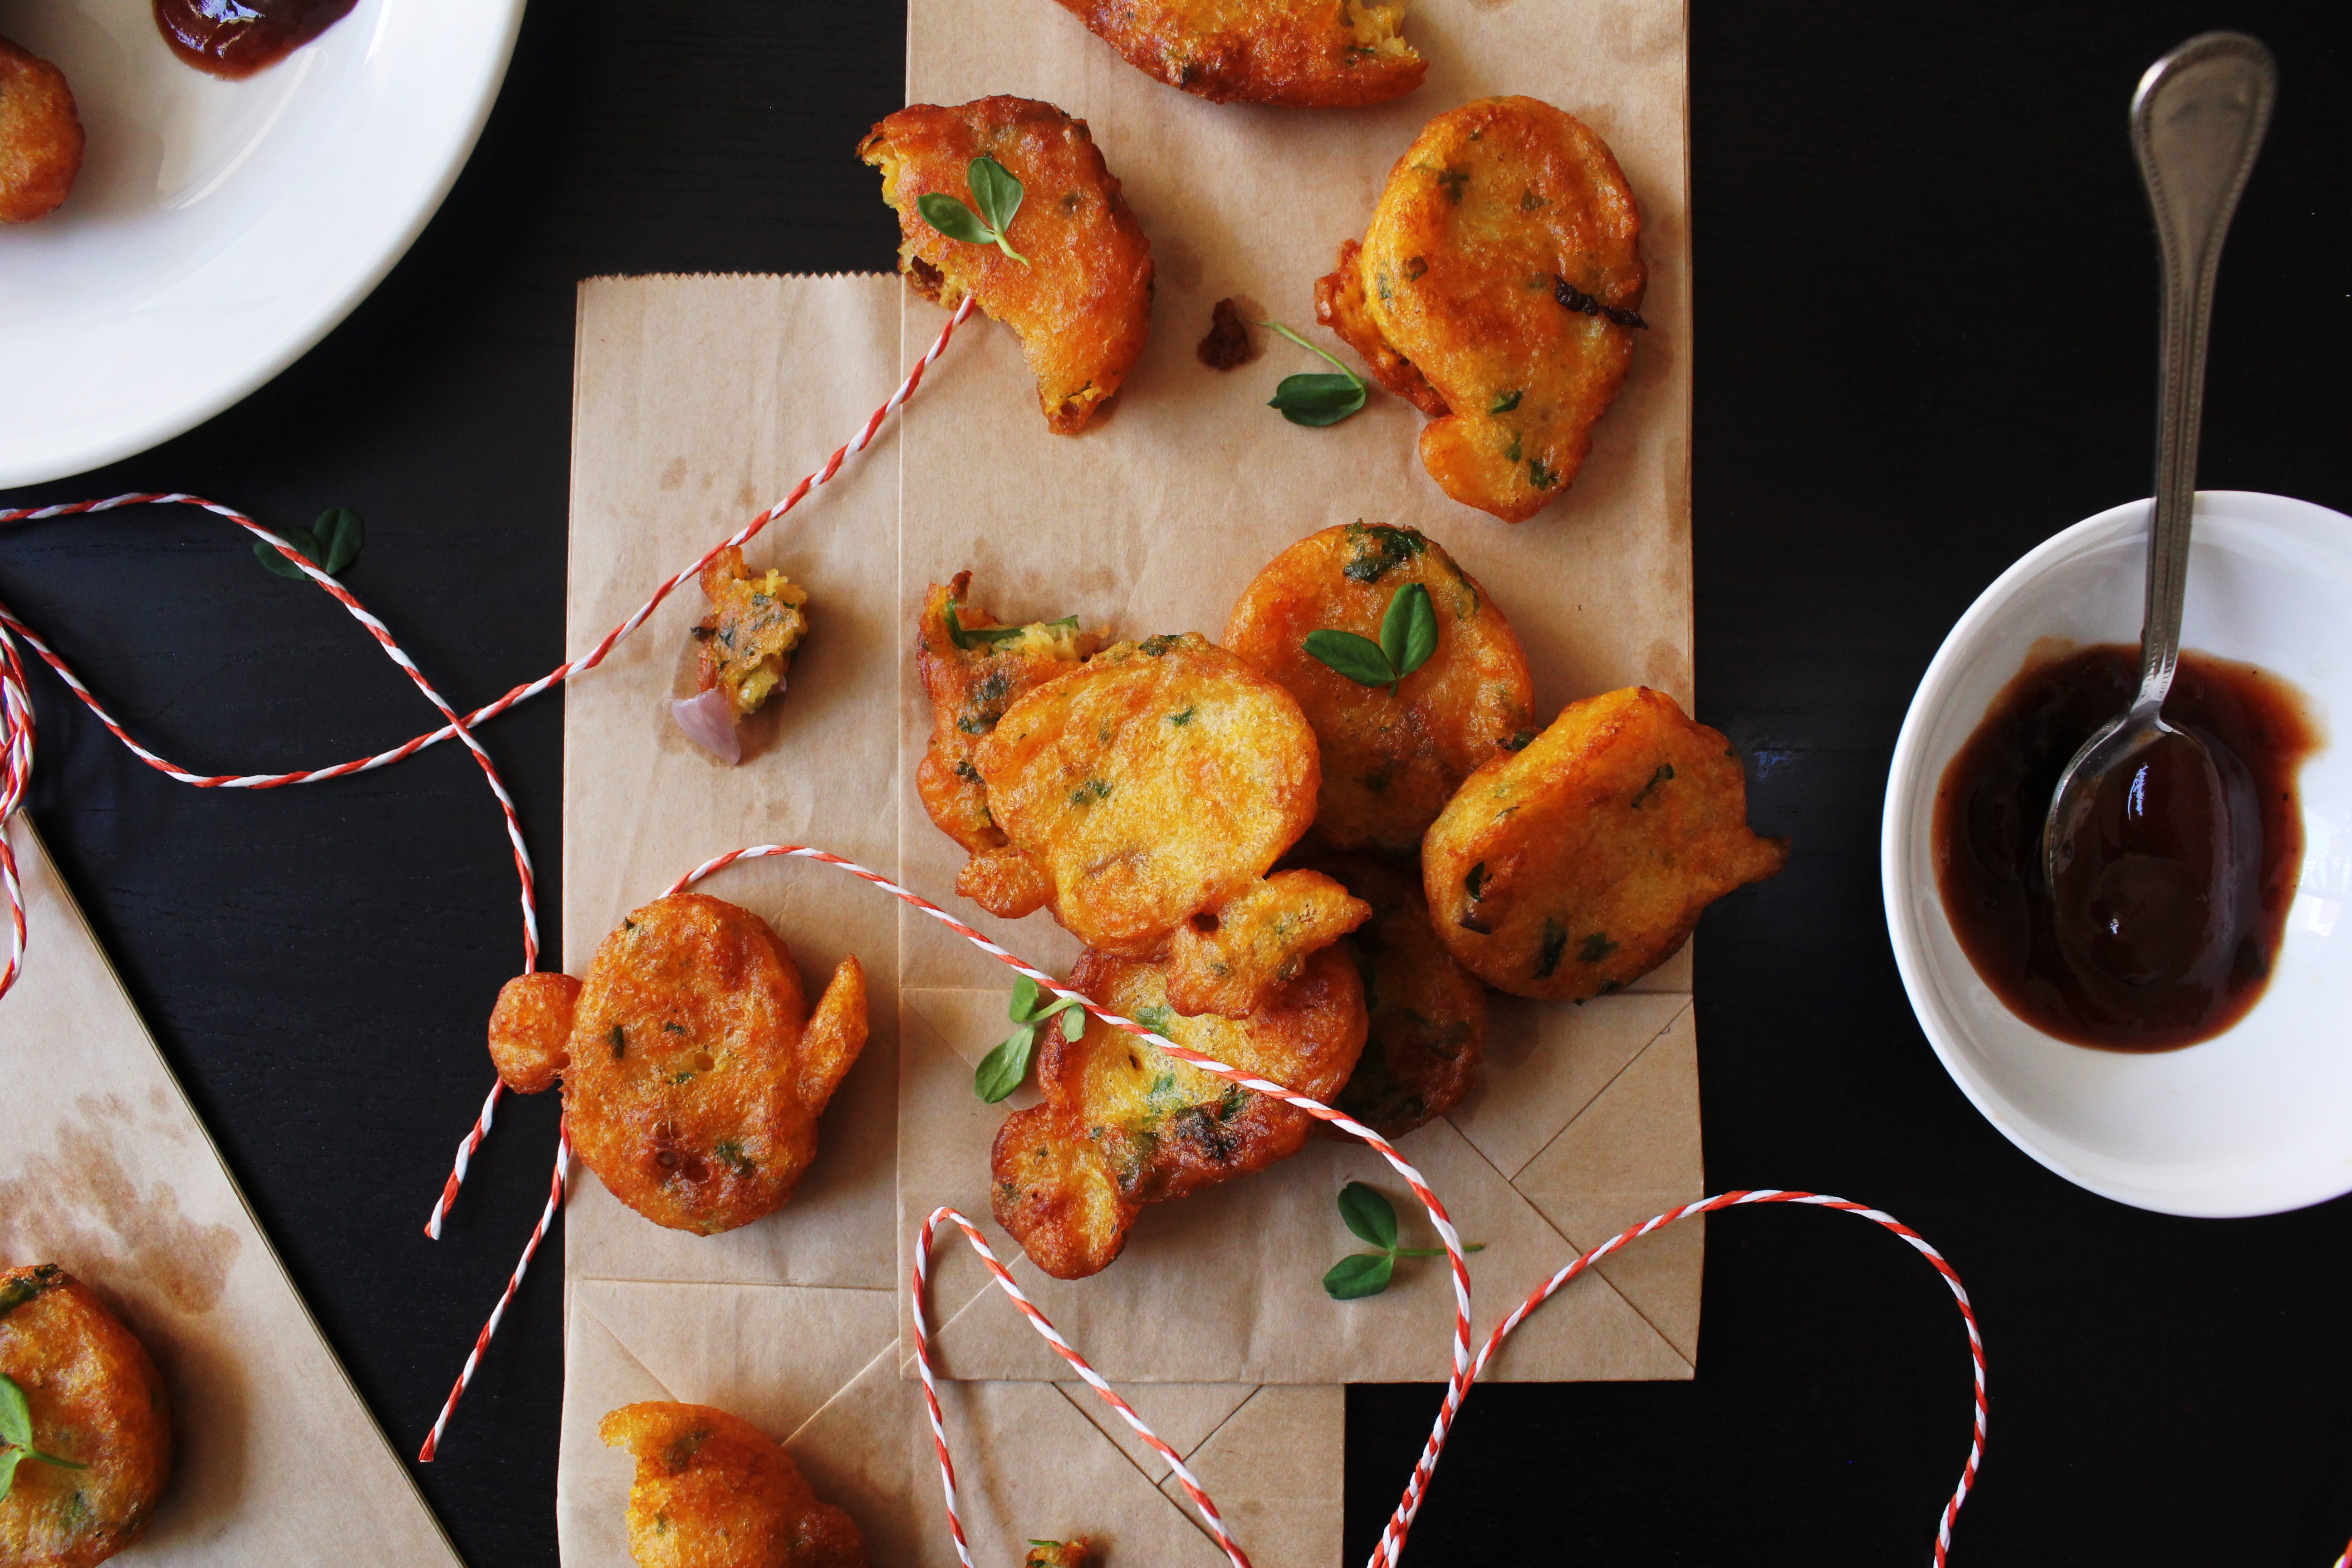
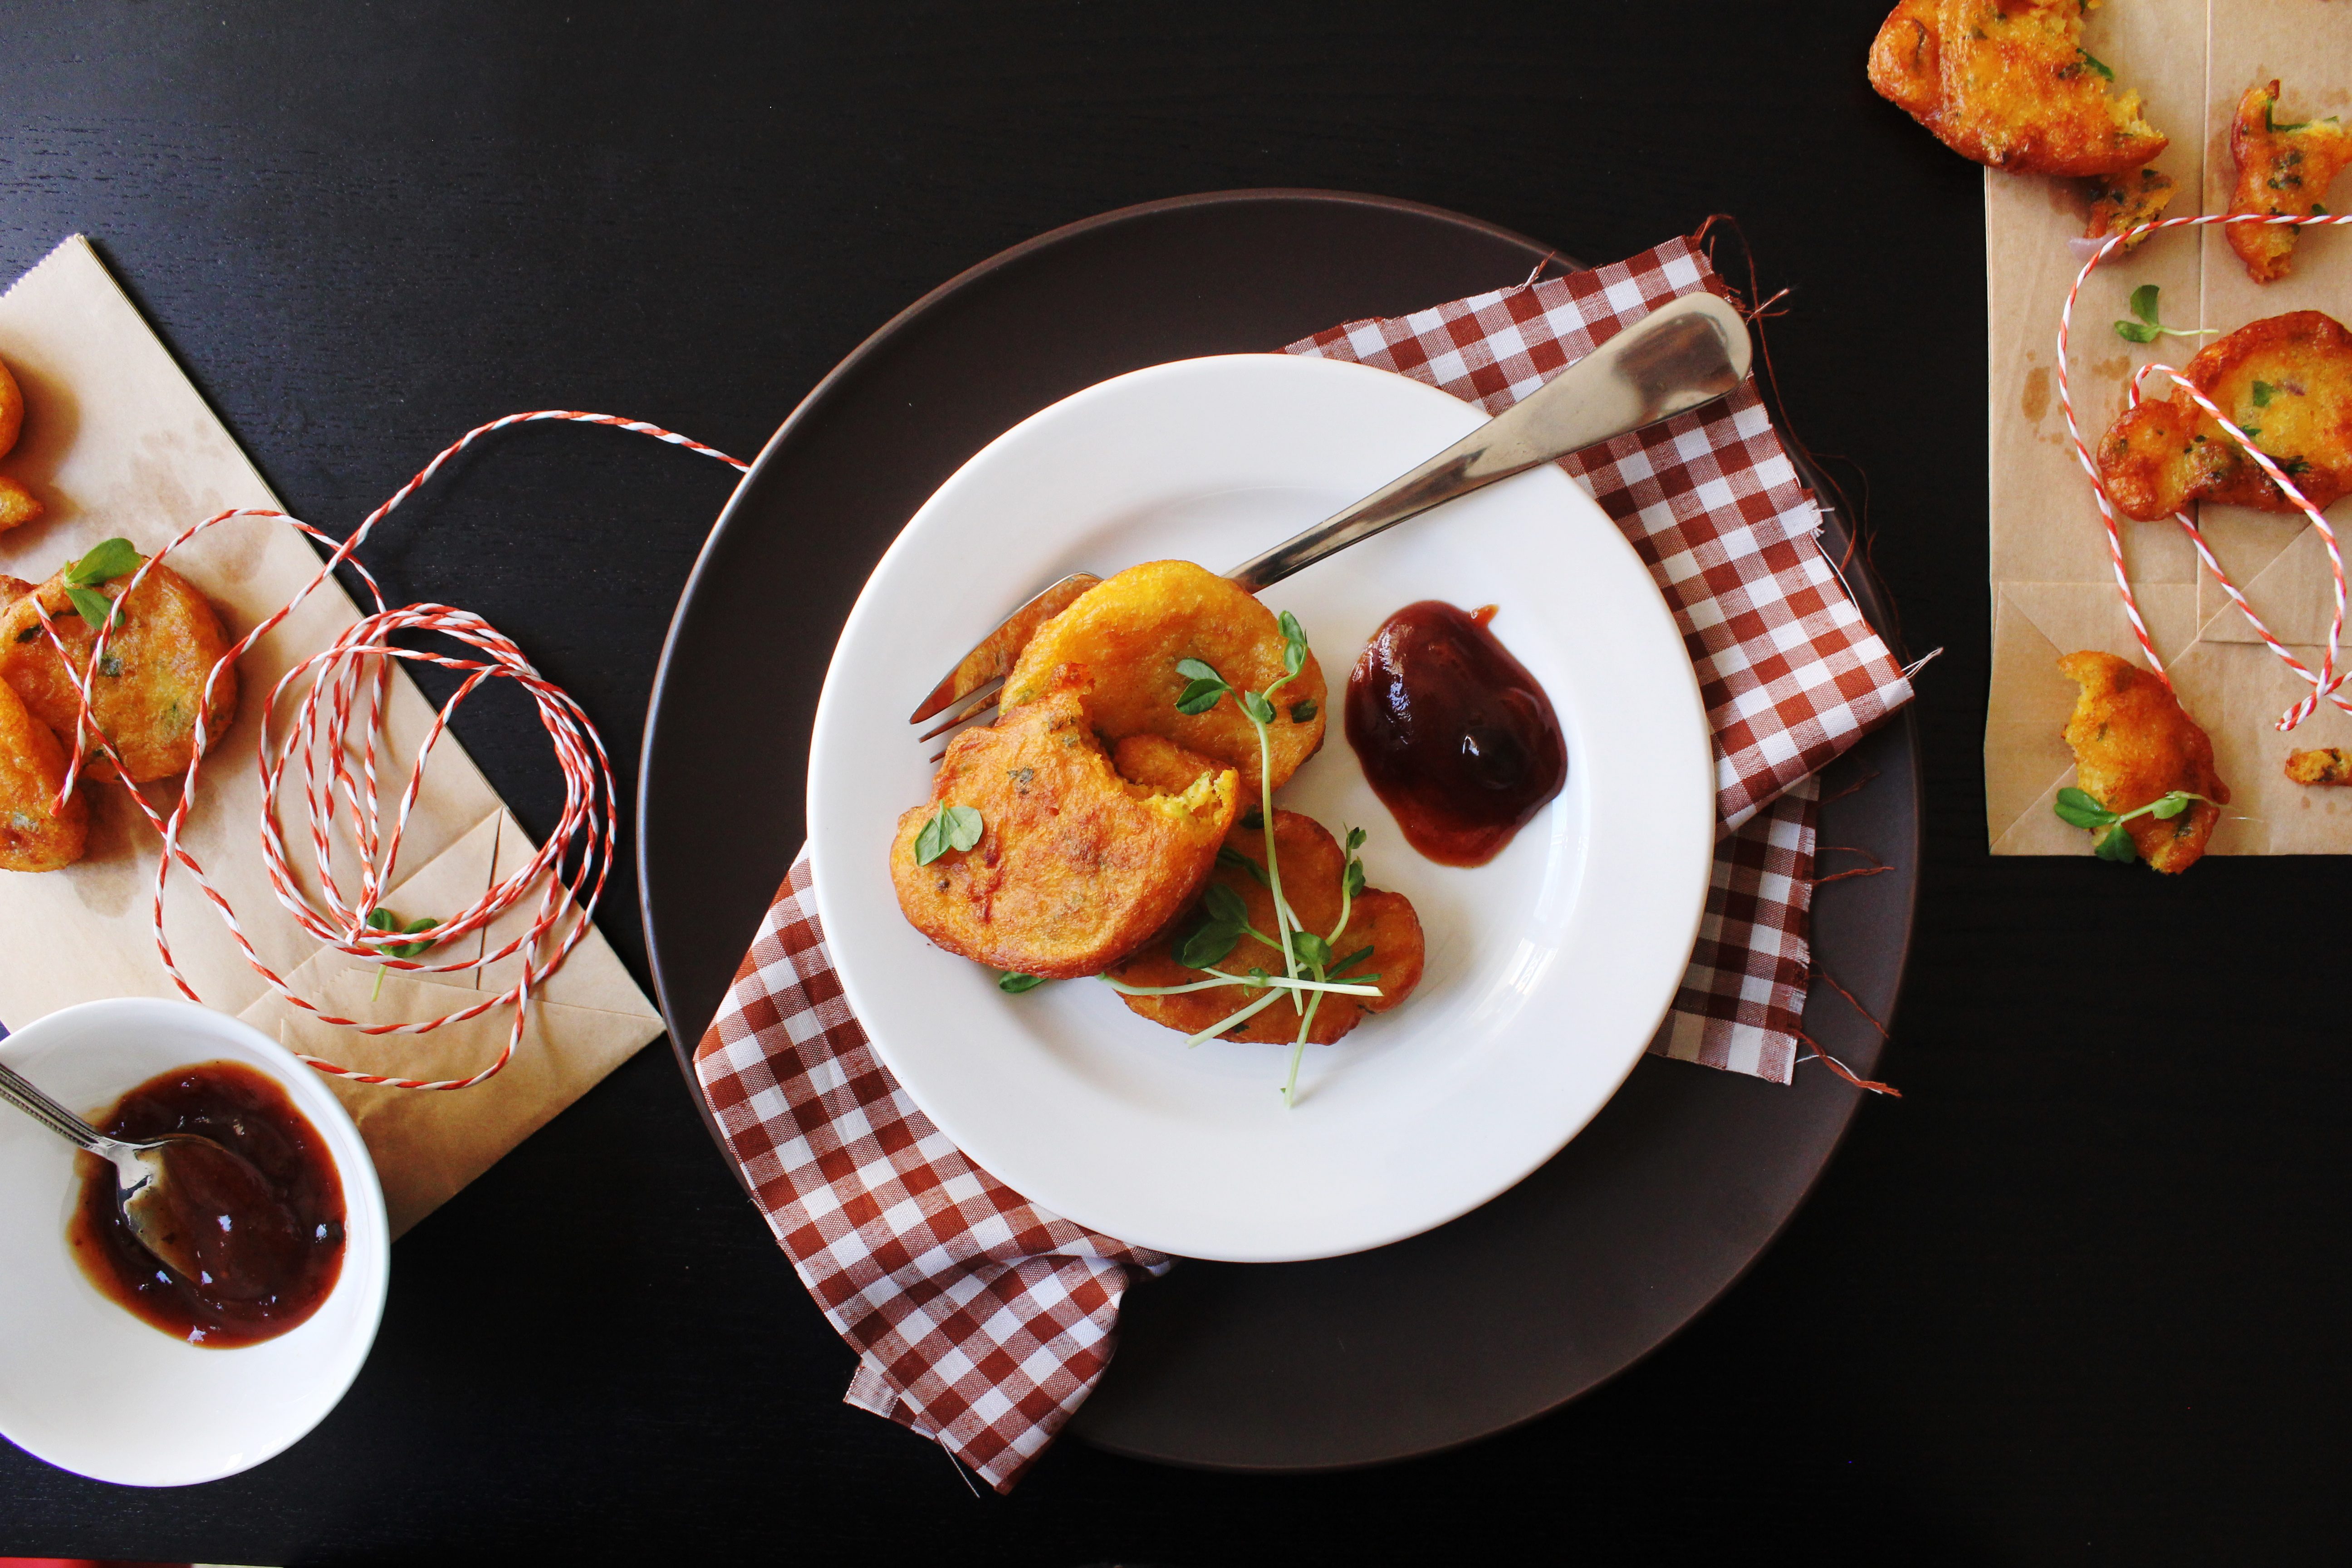
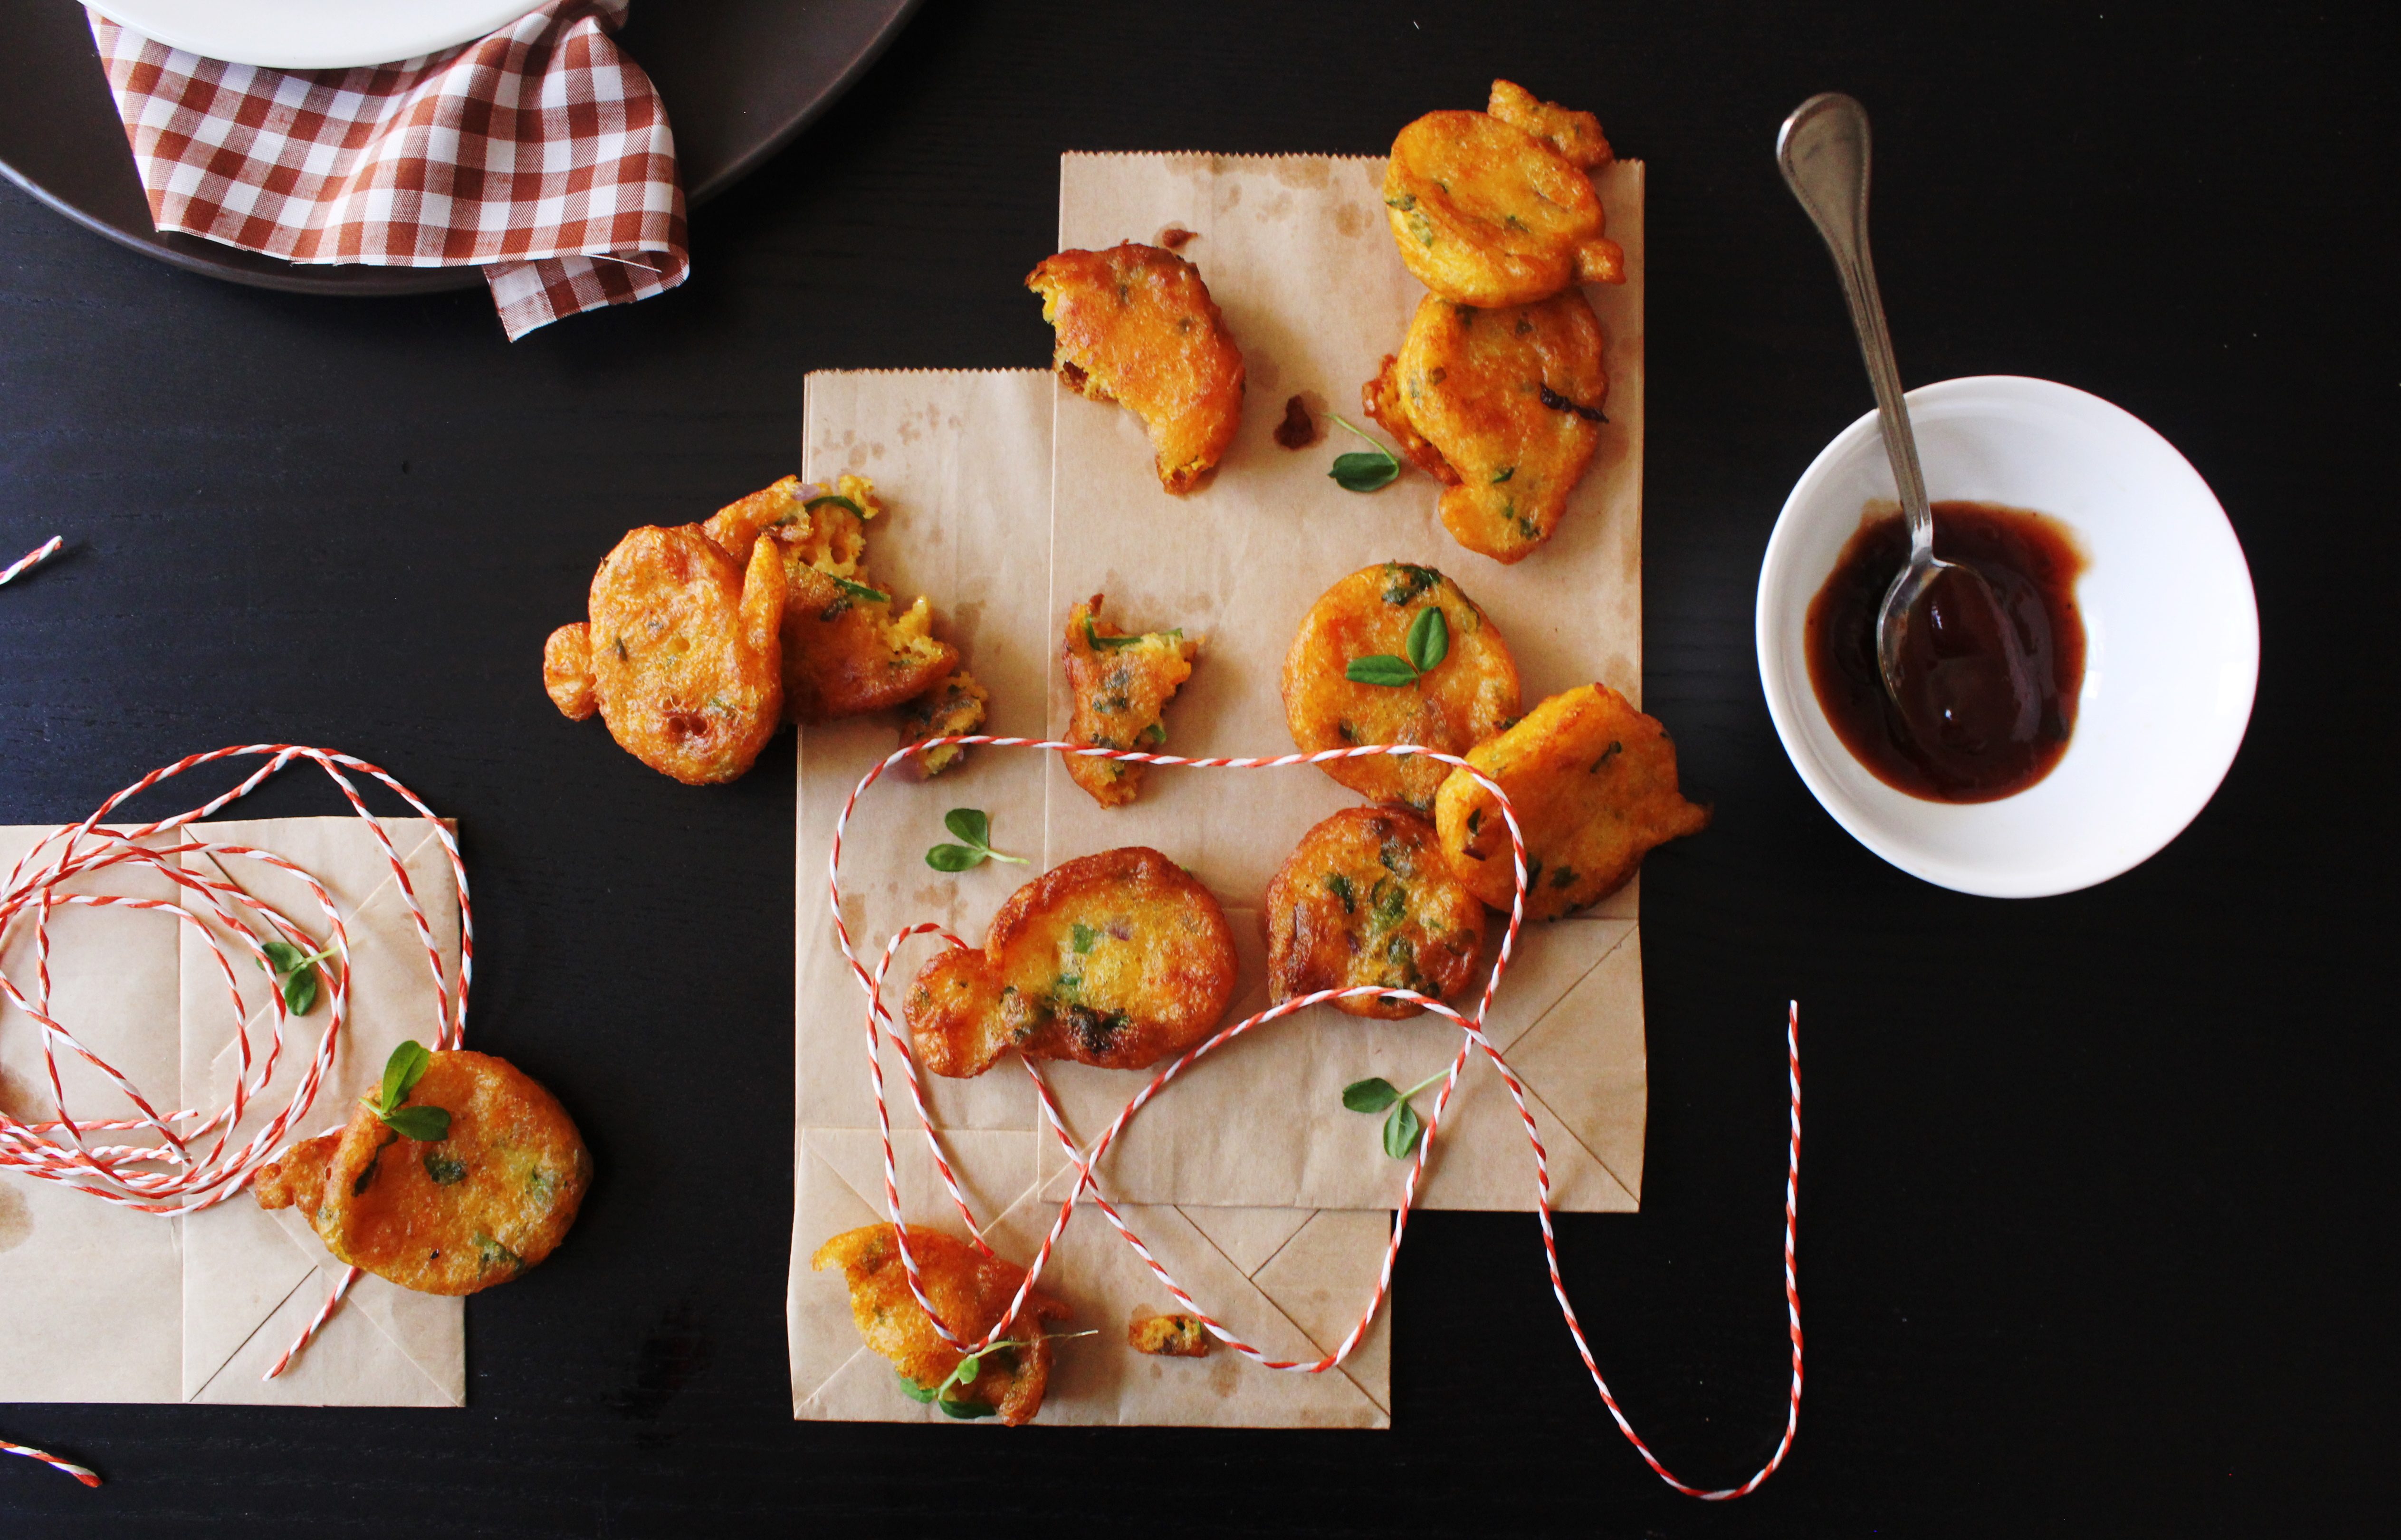
Brown paper bags make me happy! Grease stained, slightly crumpled and smelling of fried goodness, they have always bought me joy as a little girl. During school vacations when we visited my grandparents I would wait impatiently for my grandfather to come back from his morning walk. He would return holding a paper bag that had my favourite things in it.

IMG_5801 (1)

I have to admit, Pumpkin is something I have started to enjoy recently. Though, I don’t love it yet there is no denying that Pumpkin recipes are everywhere at this time. Particularly sweet ones. So I decided to go savory and post something which would require minimal effort and can be made without an oven. These fritters are so delicious..even non pumpkin lovers will enjoy them.
IMG_5806 (1)

I did not have access to canned pumpkin puree, so I have used frozen pumpkin (approx 400g) that has been microwaved on high for 7 minutes and mashed with a fork. You can use the processor to make a fine puree.  I wanted to leave little bits and chunks of pumpkin so I used a fork.

IMG_5811 (1)
The yeast action makes them light and fluffy. You can make them into any size by adjusting the batter that is dropped into the oil. Any seasoning will work too. I love the combination of coriander, mint, onion and chillies since the fritters that I ate as a child would primarily have all these ingredients. Feel free to make your additions and leave out the chillies if you want to avoid heat. They taste best with a chutney which is available in most supermarkets these days. Otherwise tomato ketchup or sweet chilli sauce will also do…we want an accompaniment which will have sweet spicy tangy kind of flavours.

IMG_5818 (1)


Pumpkin Fritters (minimally adapted from Gourmet Traveller Magazine)
serves 6

1 cup pumpkin puree
11/2 cup plain flour
1 tsp dried yeast
1 tsp baking powder
½ tsp white sugar
150 ml milk
1 egg, lightly whisked
1/2 onion, finely chopped
¼ cup coriander leaves, finely chopped
a handful mint leaves, finely chopped
2 long green chillies, finely chopped
salt and pepper to season
Vegetable oil for deep-frying

Combine flour, yeast, baking powder and sugar in a large bowl, then stir in milk and egg. Stir through onion, coriander, mint, green chilli, pumpkin and ½ tsp freshly ground black pepper and salt(to taste). Cover and set aside in a warm place until doubled in size (1 hour).

Heat vegetable oil in a large deep saucepan or deep fryer to 180 degrees C. Deep-fry spoonfuls of batter in batches, turning once, until golden (4-5 minutes). Drain on absorbent paper and serve immediately with tomato chutney (or ketchup/sweet chilli sauce)


Lamb Seekh Kebabs- Indian Lamb Skewers

10|10|2013

As our festival of Durgotsava kicks off from today, I cannot help but feel very nostalgic. Though we do take part in quite a few celebrations that take place around Sydney, it is nothing compared to the ones that happen back home in India.

IMG_5446 (1)

During this time, the Eastern part of India shuts up shop for 5 continuous days and is in a celebratory mode. Makeshift structures (pandals) are constructed all around the state of West Bengal to house the warrior Goddess Durga and every nook and corner of the state is adorned with beautiful lighting and floral decorations. Mother Durga as she is referred to is an embodiment of feminine power in the Hindu culture and the 5 main days of the festival are celebrated as the time she returns to stay (along with her children) at her father’s place. Therefore married women also look at it as an occasion to reunite with family. The idols that also showcase the unique craftmanship of their creators depict the Mother riding a lion and carrying different weapons in her ten arms as the festival celebrates her victory over the mythological demon Mahishasura. The Durga Puja festival essentially epitomizes the victory of good over evil. Needless to say, food is an integral part of this celebration.
IMG_5451 (1)

Very few at this time cook at home and prefer to eat either at the community get together or the various food stalls that sell the traditional Indian dishes. Mainly the street food. I have told you earlier how much I love the street food in India. Among the popular food are the chats, chicken rolls, kebabs and Biriyani. Indians love their biriyani and each state has their own way of cooking it. I will post my biriyani recipe one of these days too but today I am sharing a recipe that we generally make during pre or post festival gatherings.

IMG_5440 (1)

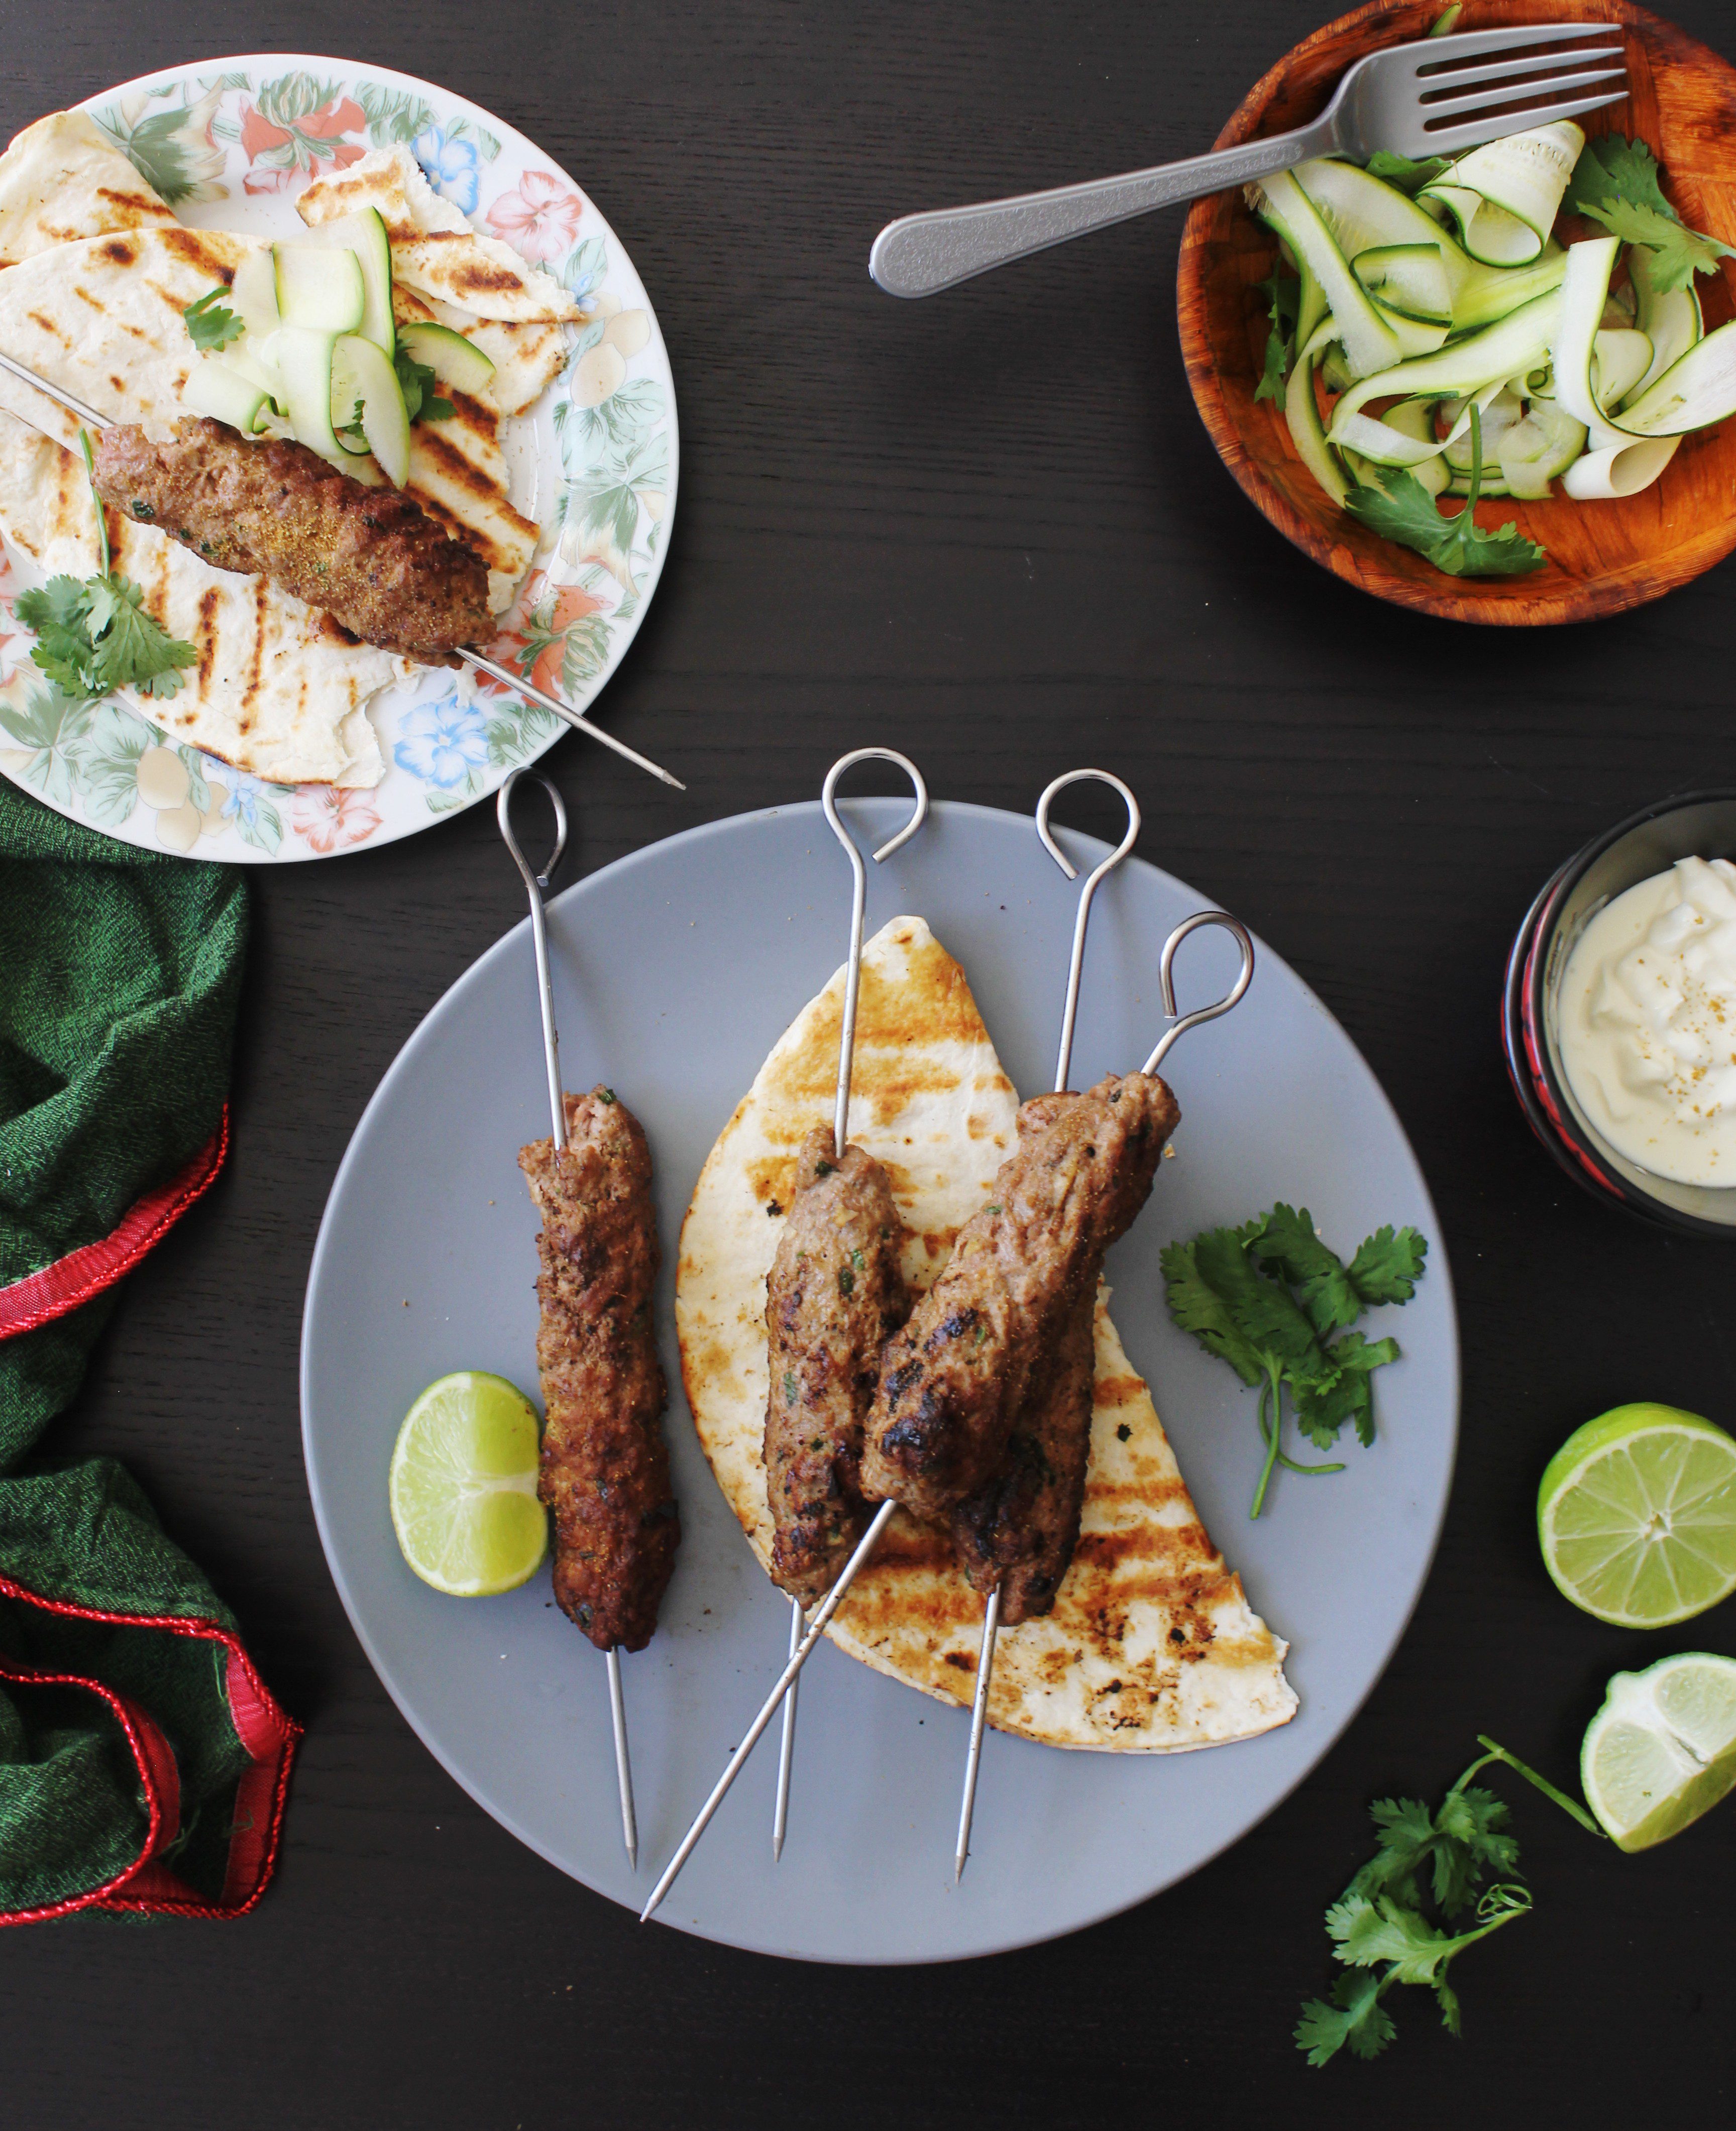
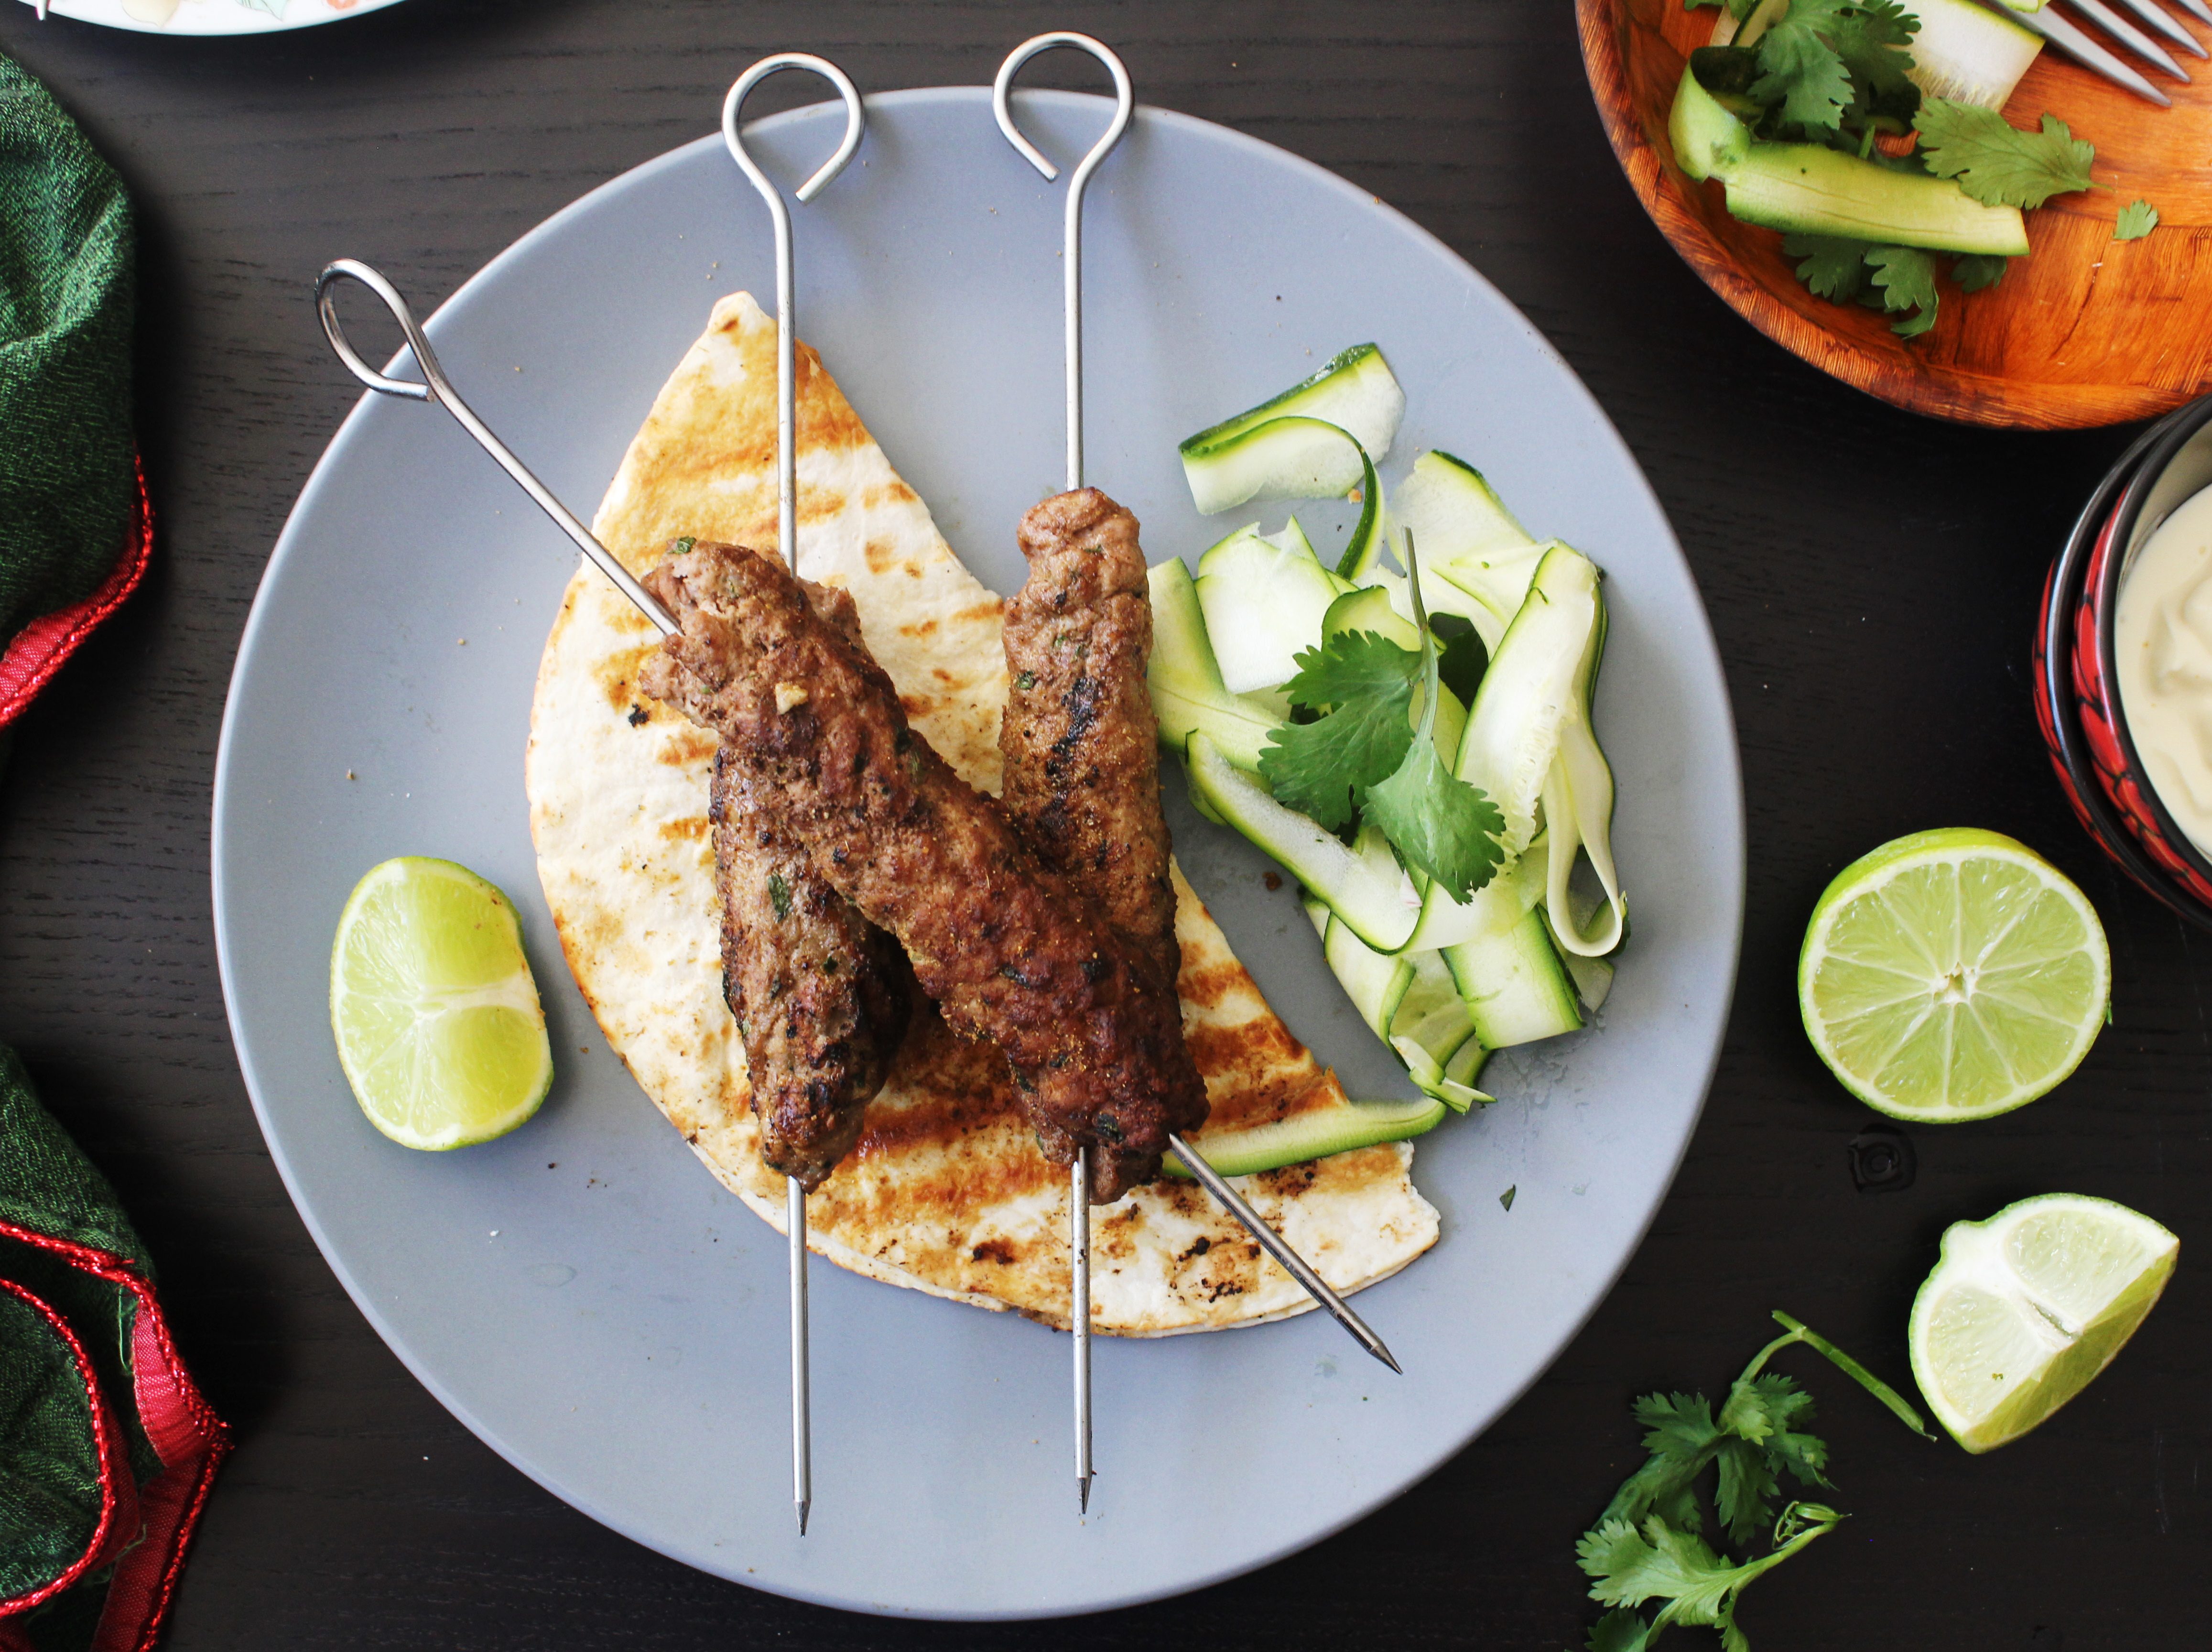
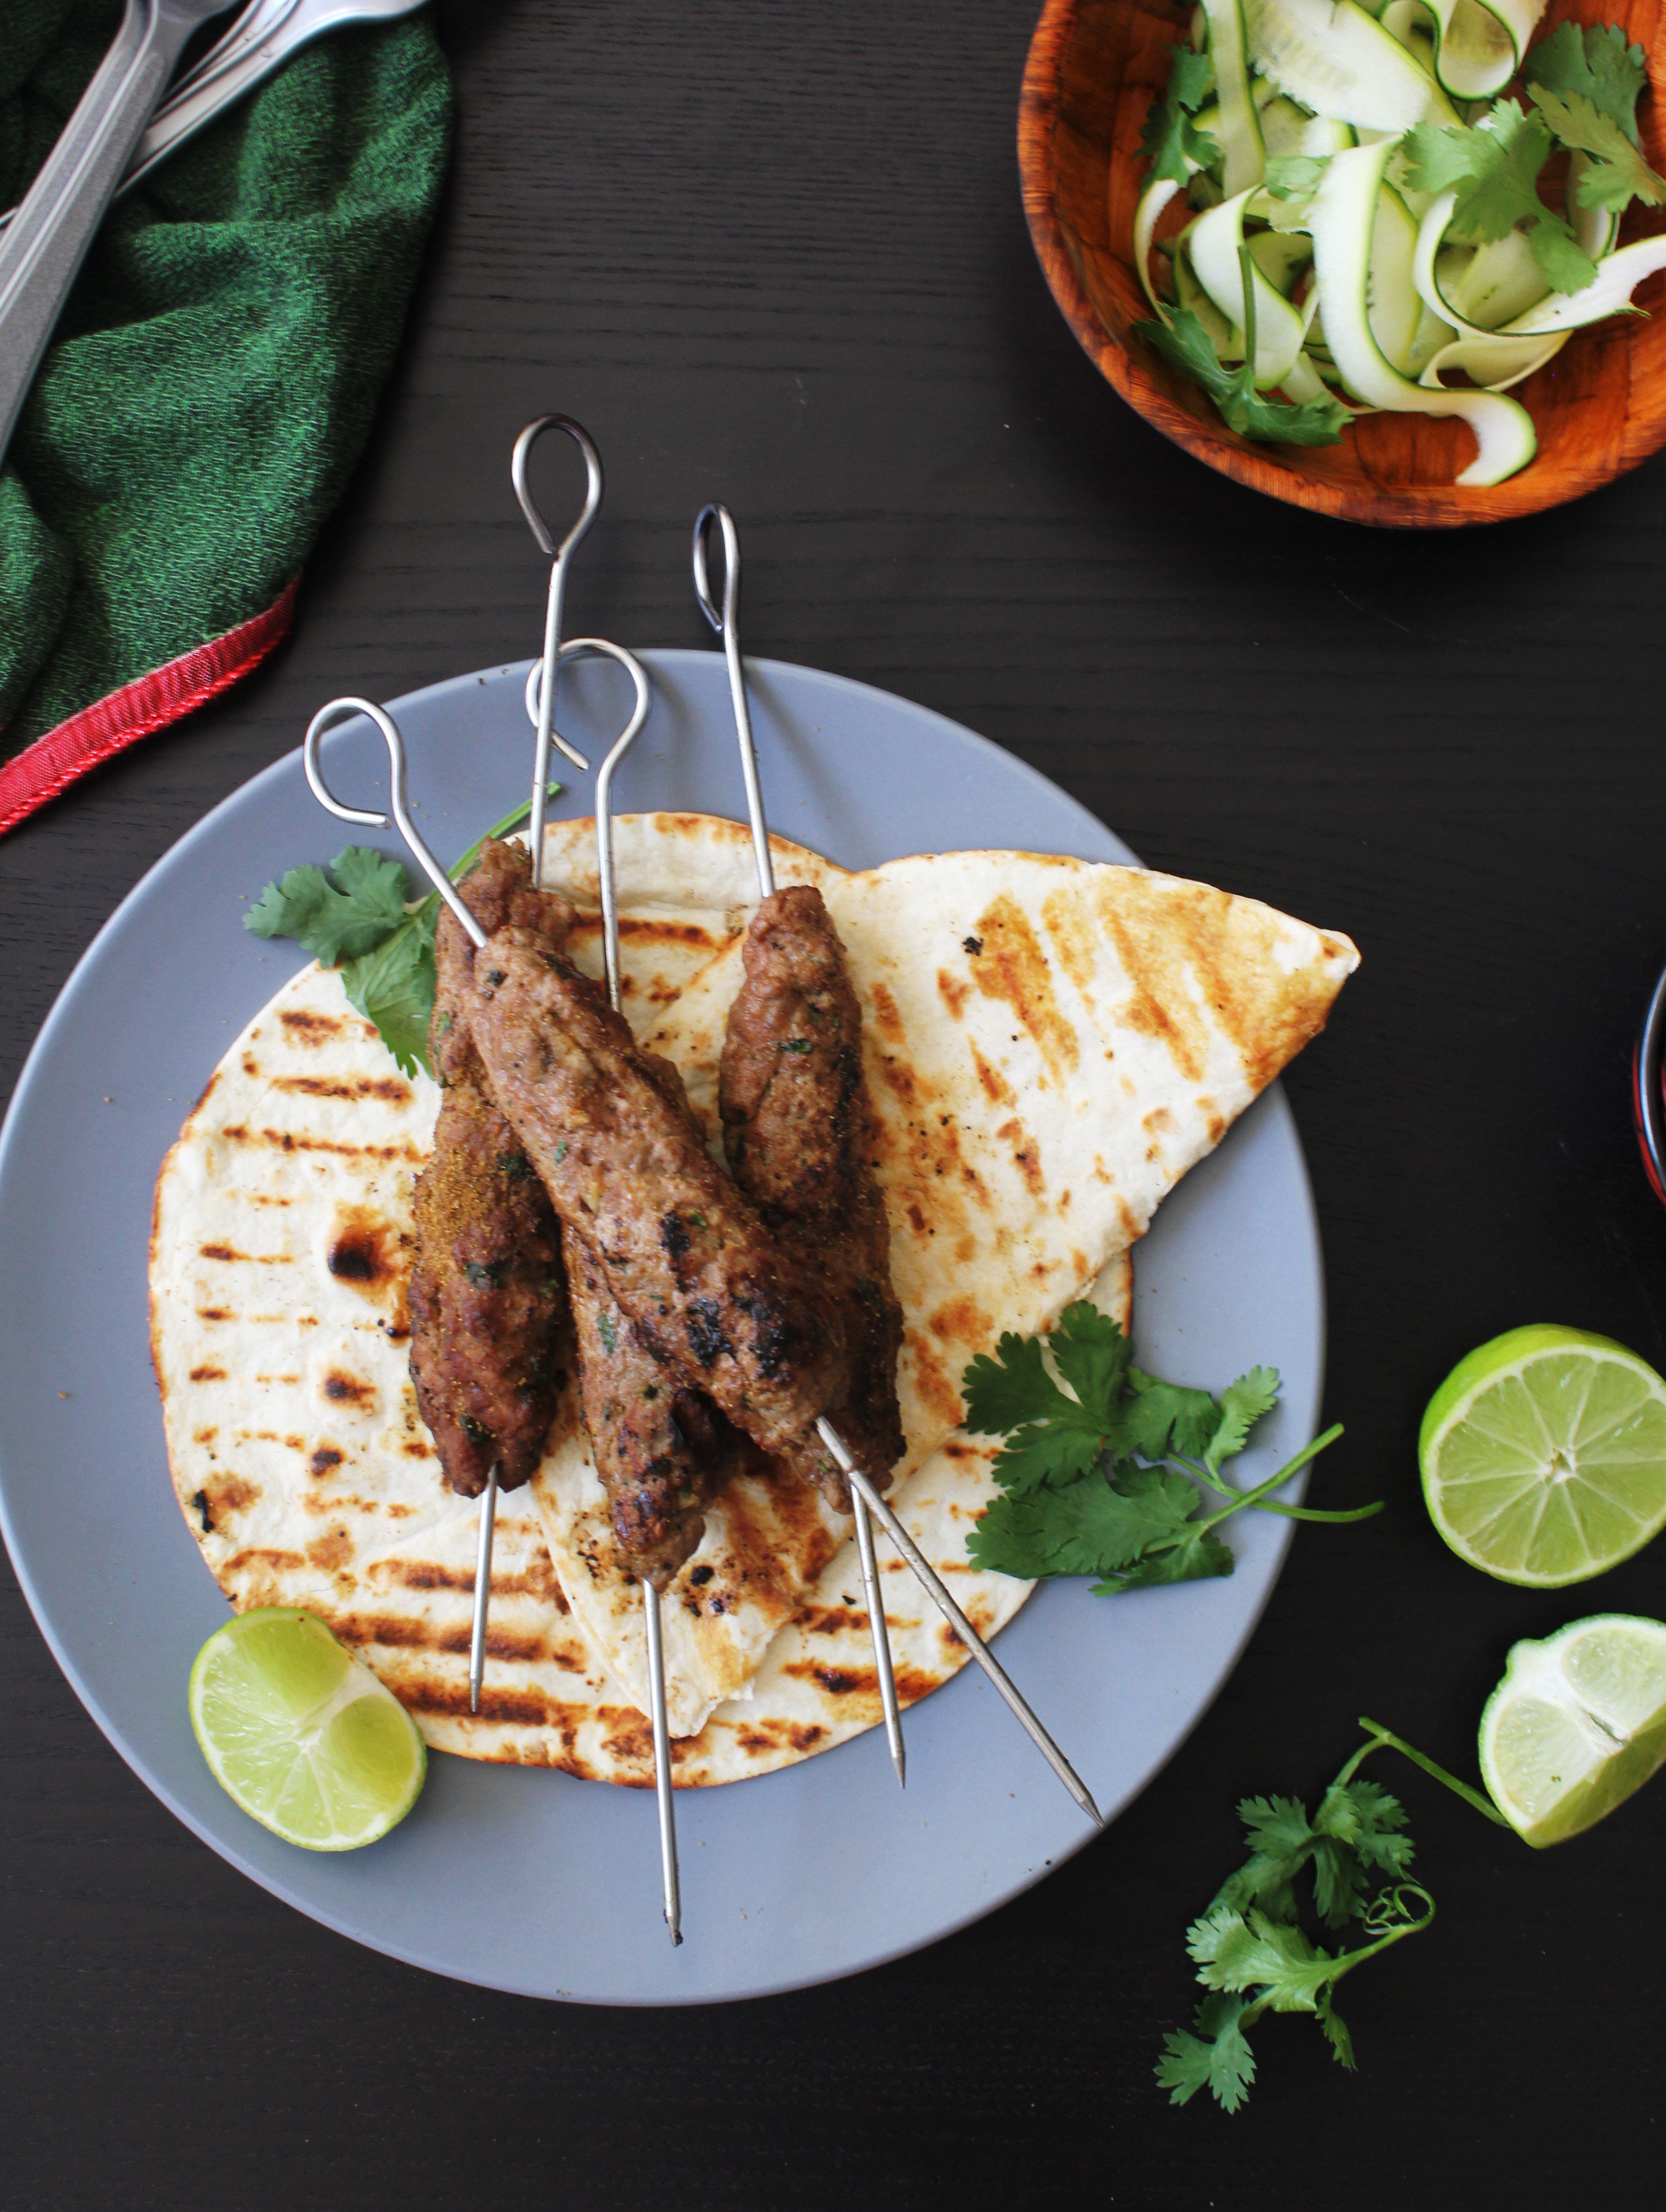
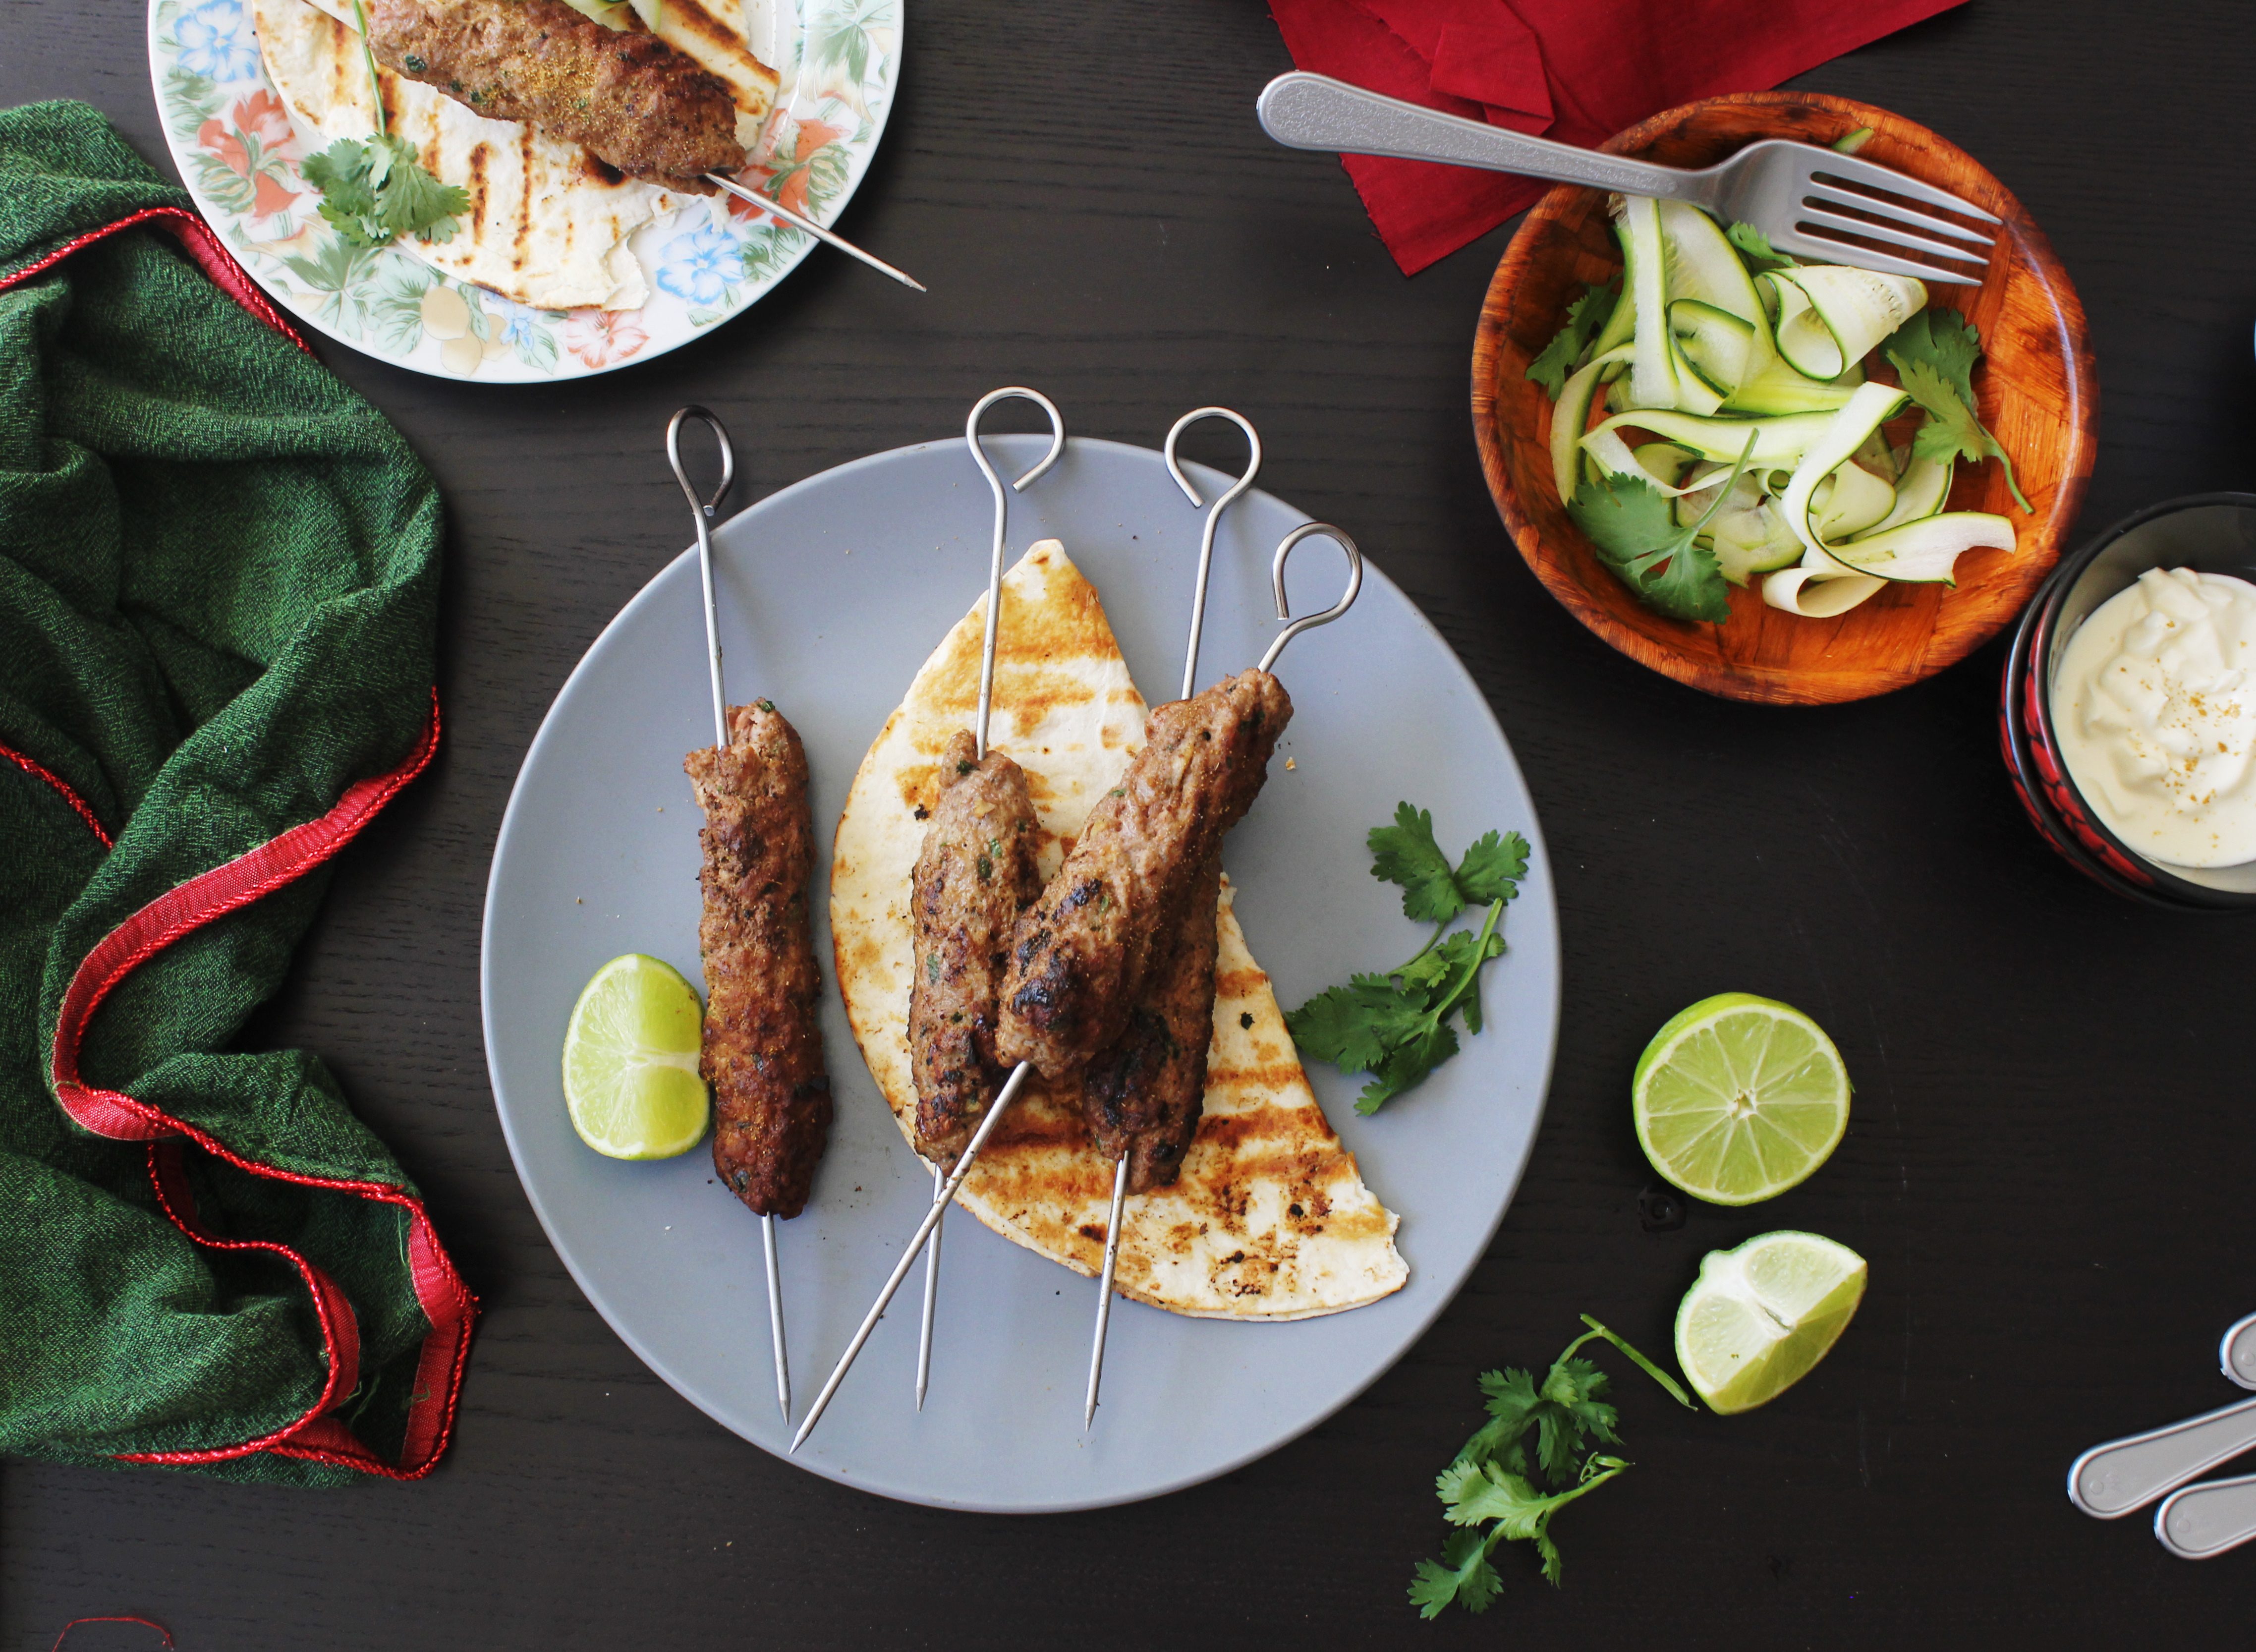
These kebabs are really easy to put together and are just perfect when you are entertaining a big group of people. The mince mixture can be prepared ahead in time and skewered to be grilled when your guests arrive. The last part of the recipe is my own addition. Lamb and cumin are a classic combination and coating the kebabs in roasted cumin powder brings out the flavour like an explosion. The kebabs can be served with a cucumber ribbon salad or a mint chutney. You can eat them on the skewer like an appetizer or wrapped in a flatbread or tortilla for lunch or dinner.

IMG_5449 (1)

Lamb Seekh Kebabs -Indian lamb Skewers
Serves 6

500g lamb mince
1 medium-sized onion chopped very fine
1 tbsp garlic paste
1 tbsp ginger paste
1/4 cup breadcrumbs (more if mixture does not come together)
1/2 cup fresh chopped coriander leaves
1/4 cup freshly chopped mint leaves
1 tsp lemon zest
1 tsp garam masala powder (available in most supermarkets or Indian stores)
1 tsp cumin powder
2-3 green chillies very finely chopped (optional)
Salt to taste
Vegetable Oil for cooking

Roasted Cumin Powder
1 tbsp cumin seed

Combine all the ingredients into a large mixing bowl. Using hands or with a wooden spoon mix the ingredients thoroughly till they are well blended. Cover the bowl and put into the refrigerator for 1 hour.
If you are using bamboo skewers, soak the skewers in water for 15-20 minutes.

Remove the mixture from fridge and divide into equal portions. Take each portion and form it into a long sausage-like kebab while pressing on to a skewer. Do this till the mix has firmly adhered to the skewer. Put some oil on your hands to prevent meat from sticking to them. Repeat till all the kebab mix is used up.

Heat a chargrill pan or a large frying pan with oil till smoking hot. Brown the kebabs on one side, then flip over and brown on the other side. Take care not to overcook the kebabs or they will lose their juicyness. It generally takes 7-8 minutes to cook them overall.

Remove from the pan and coat the kebabs in the roasted cumin powder. Serve with lime wedges and salad.

To make the roasted Cumin Powder,  roast the cumin seeds in a frying pan over heat till fragrant. Process to a powder in a food processor.

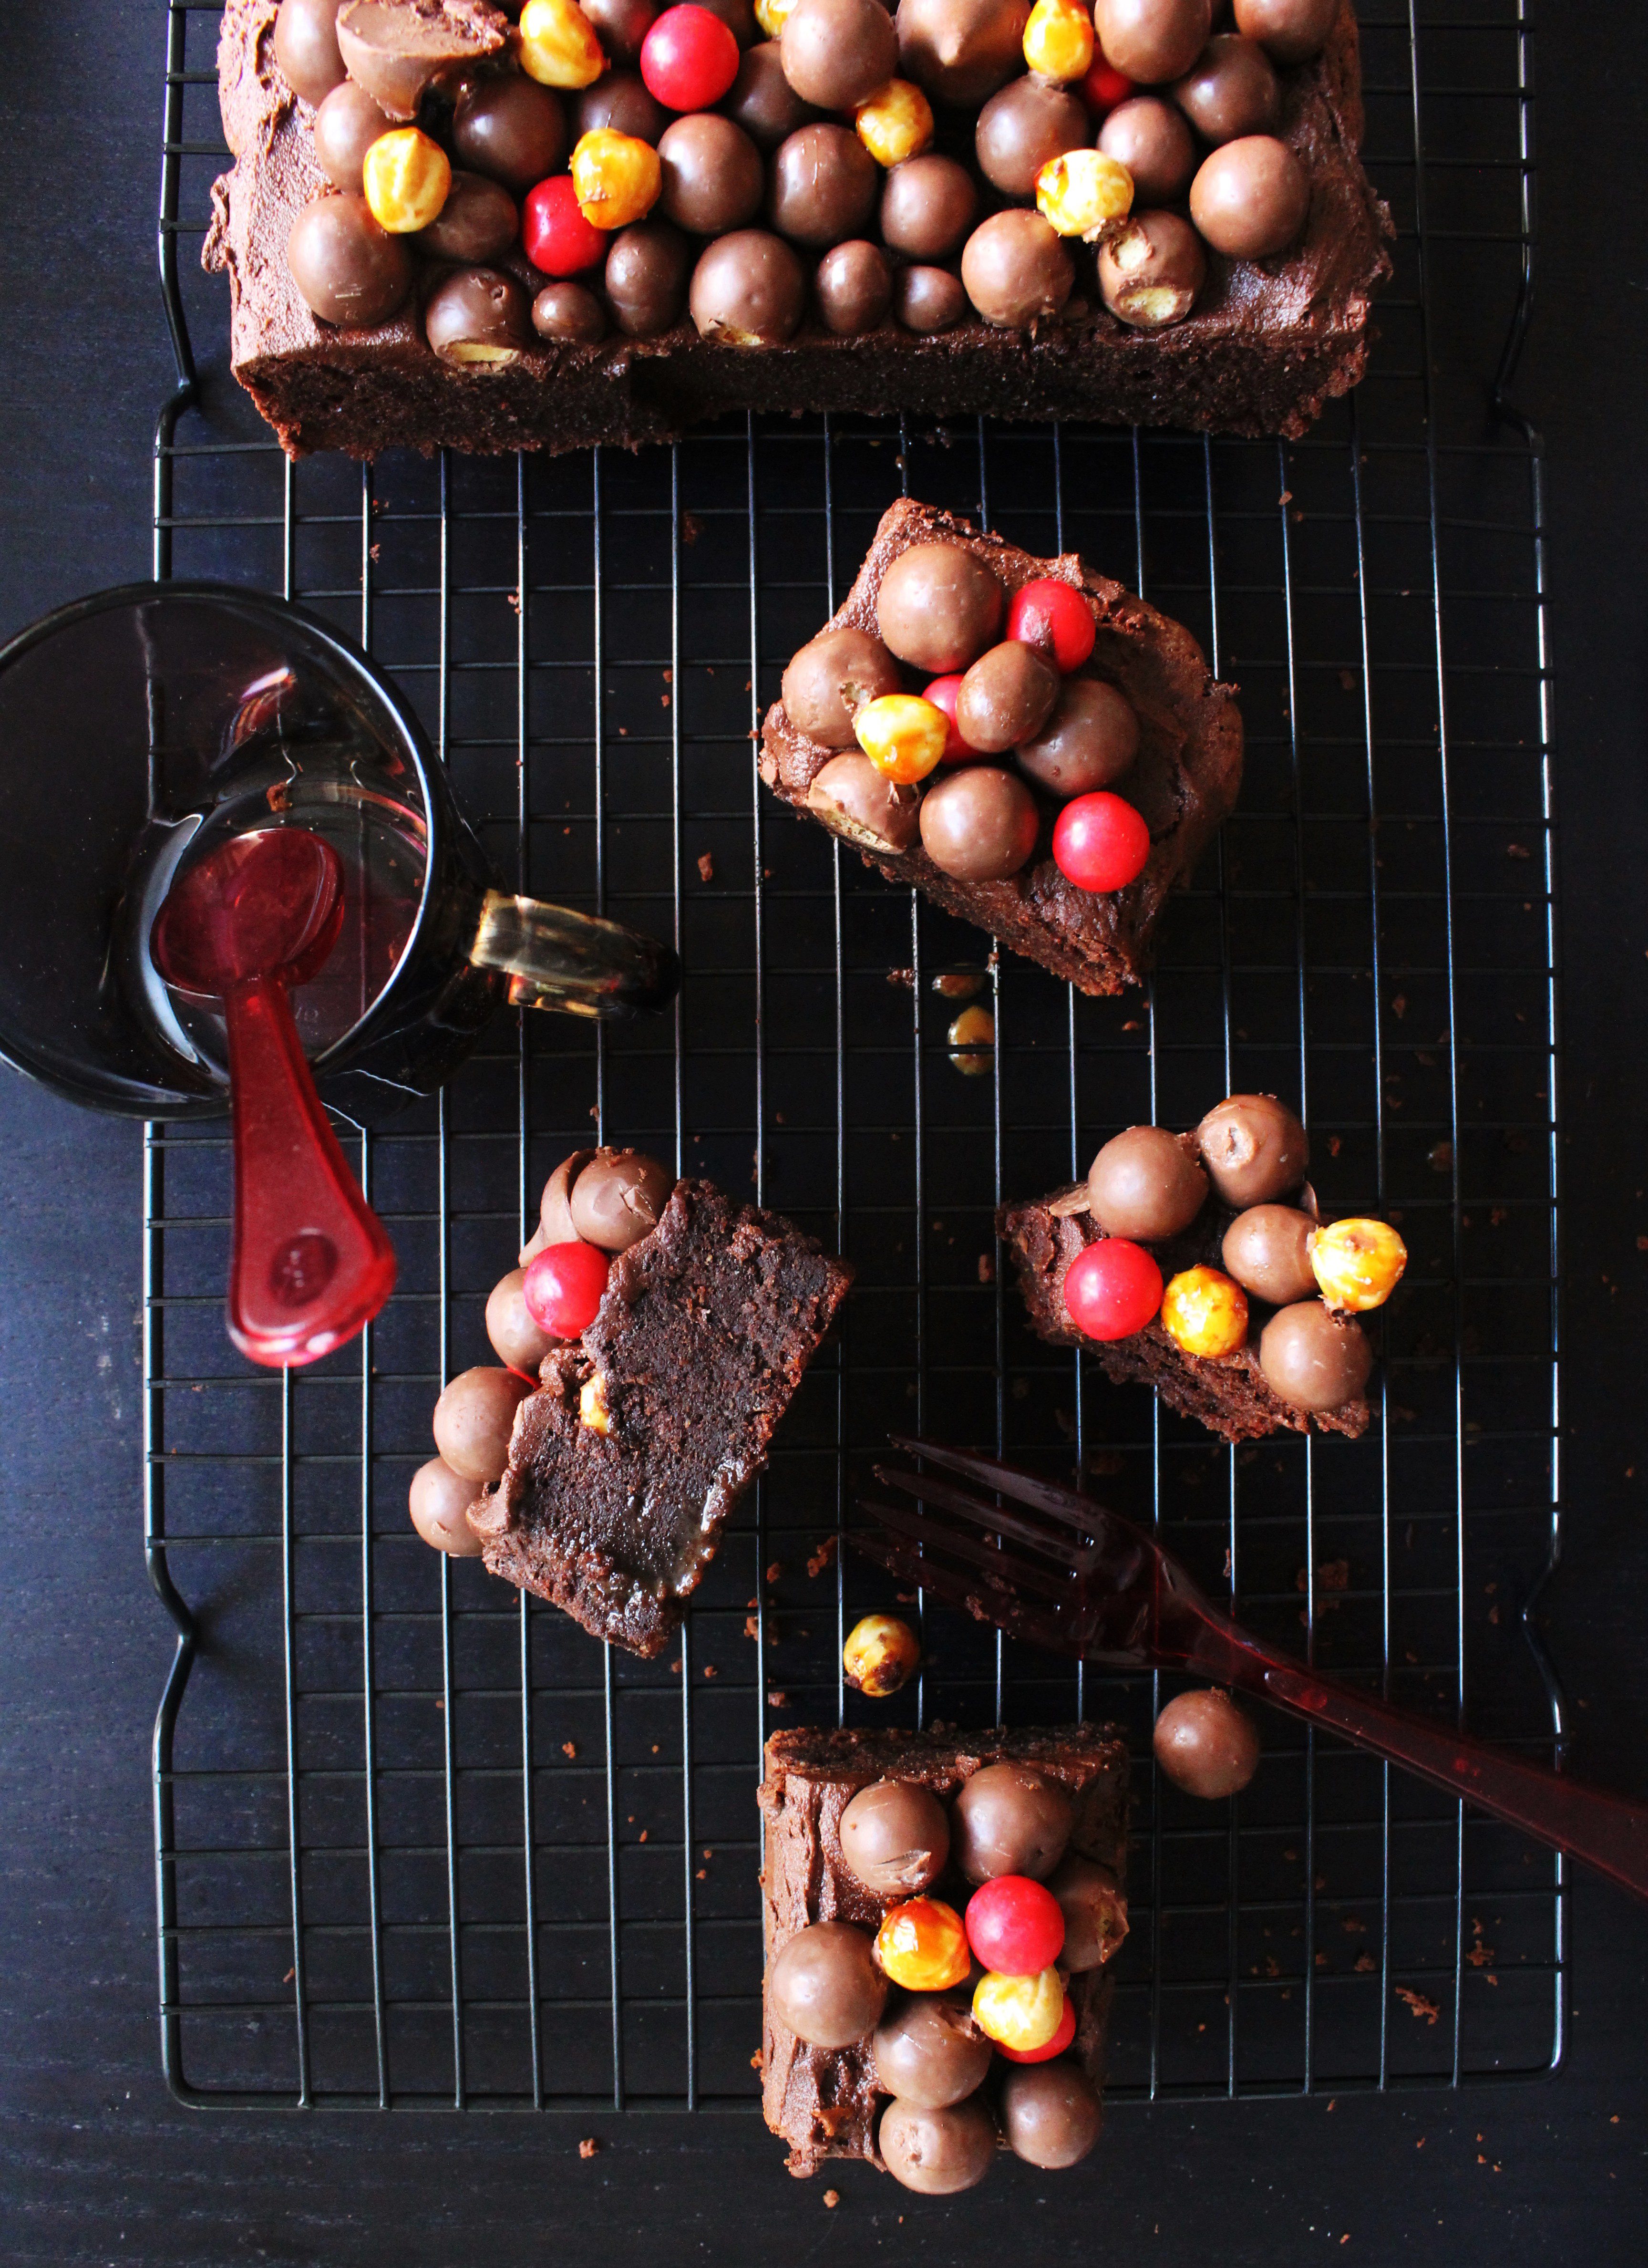
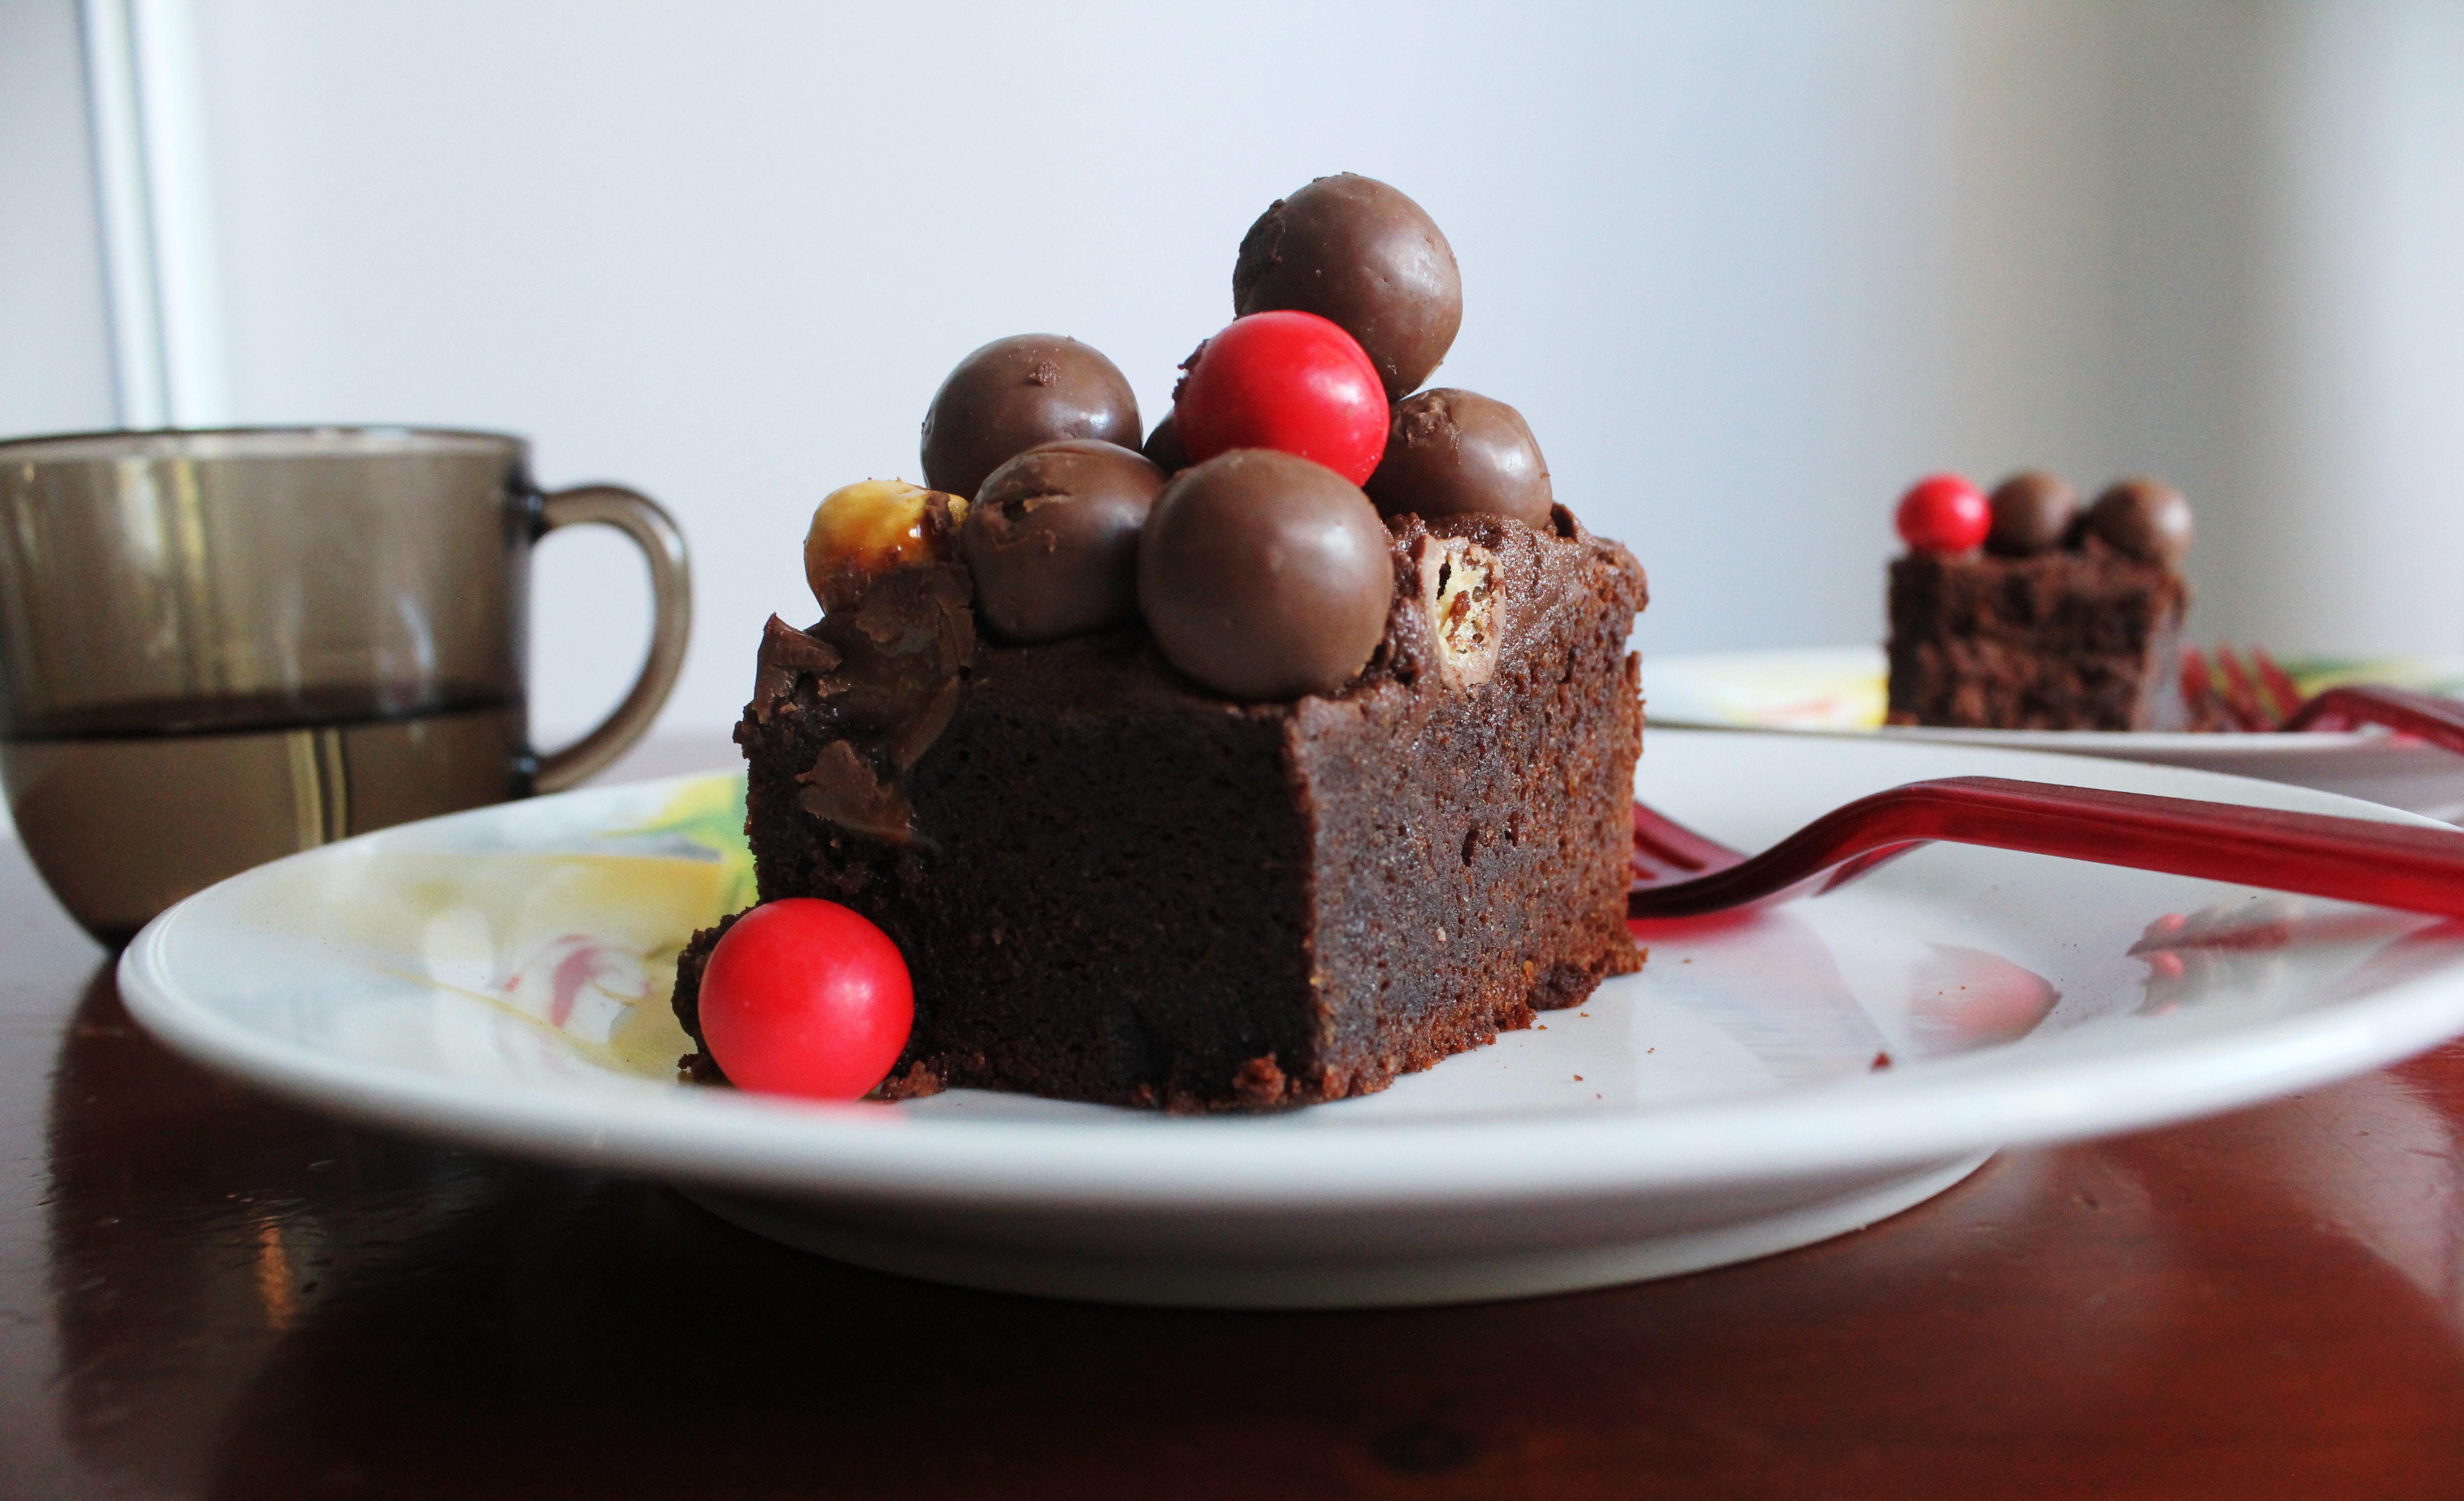
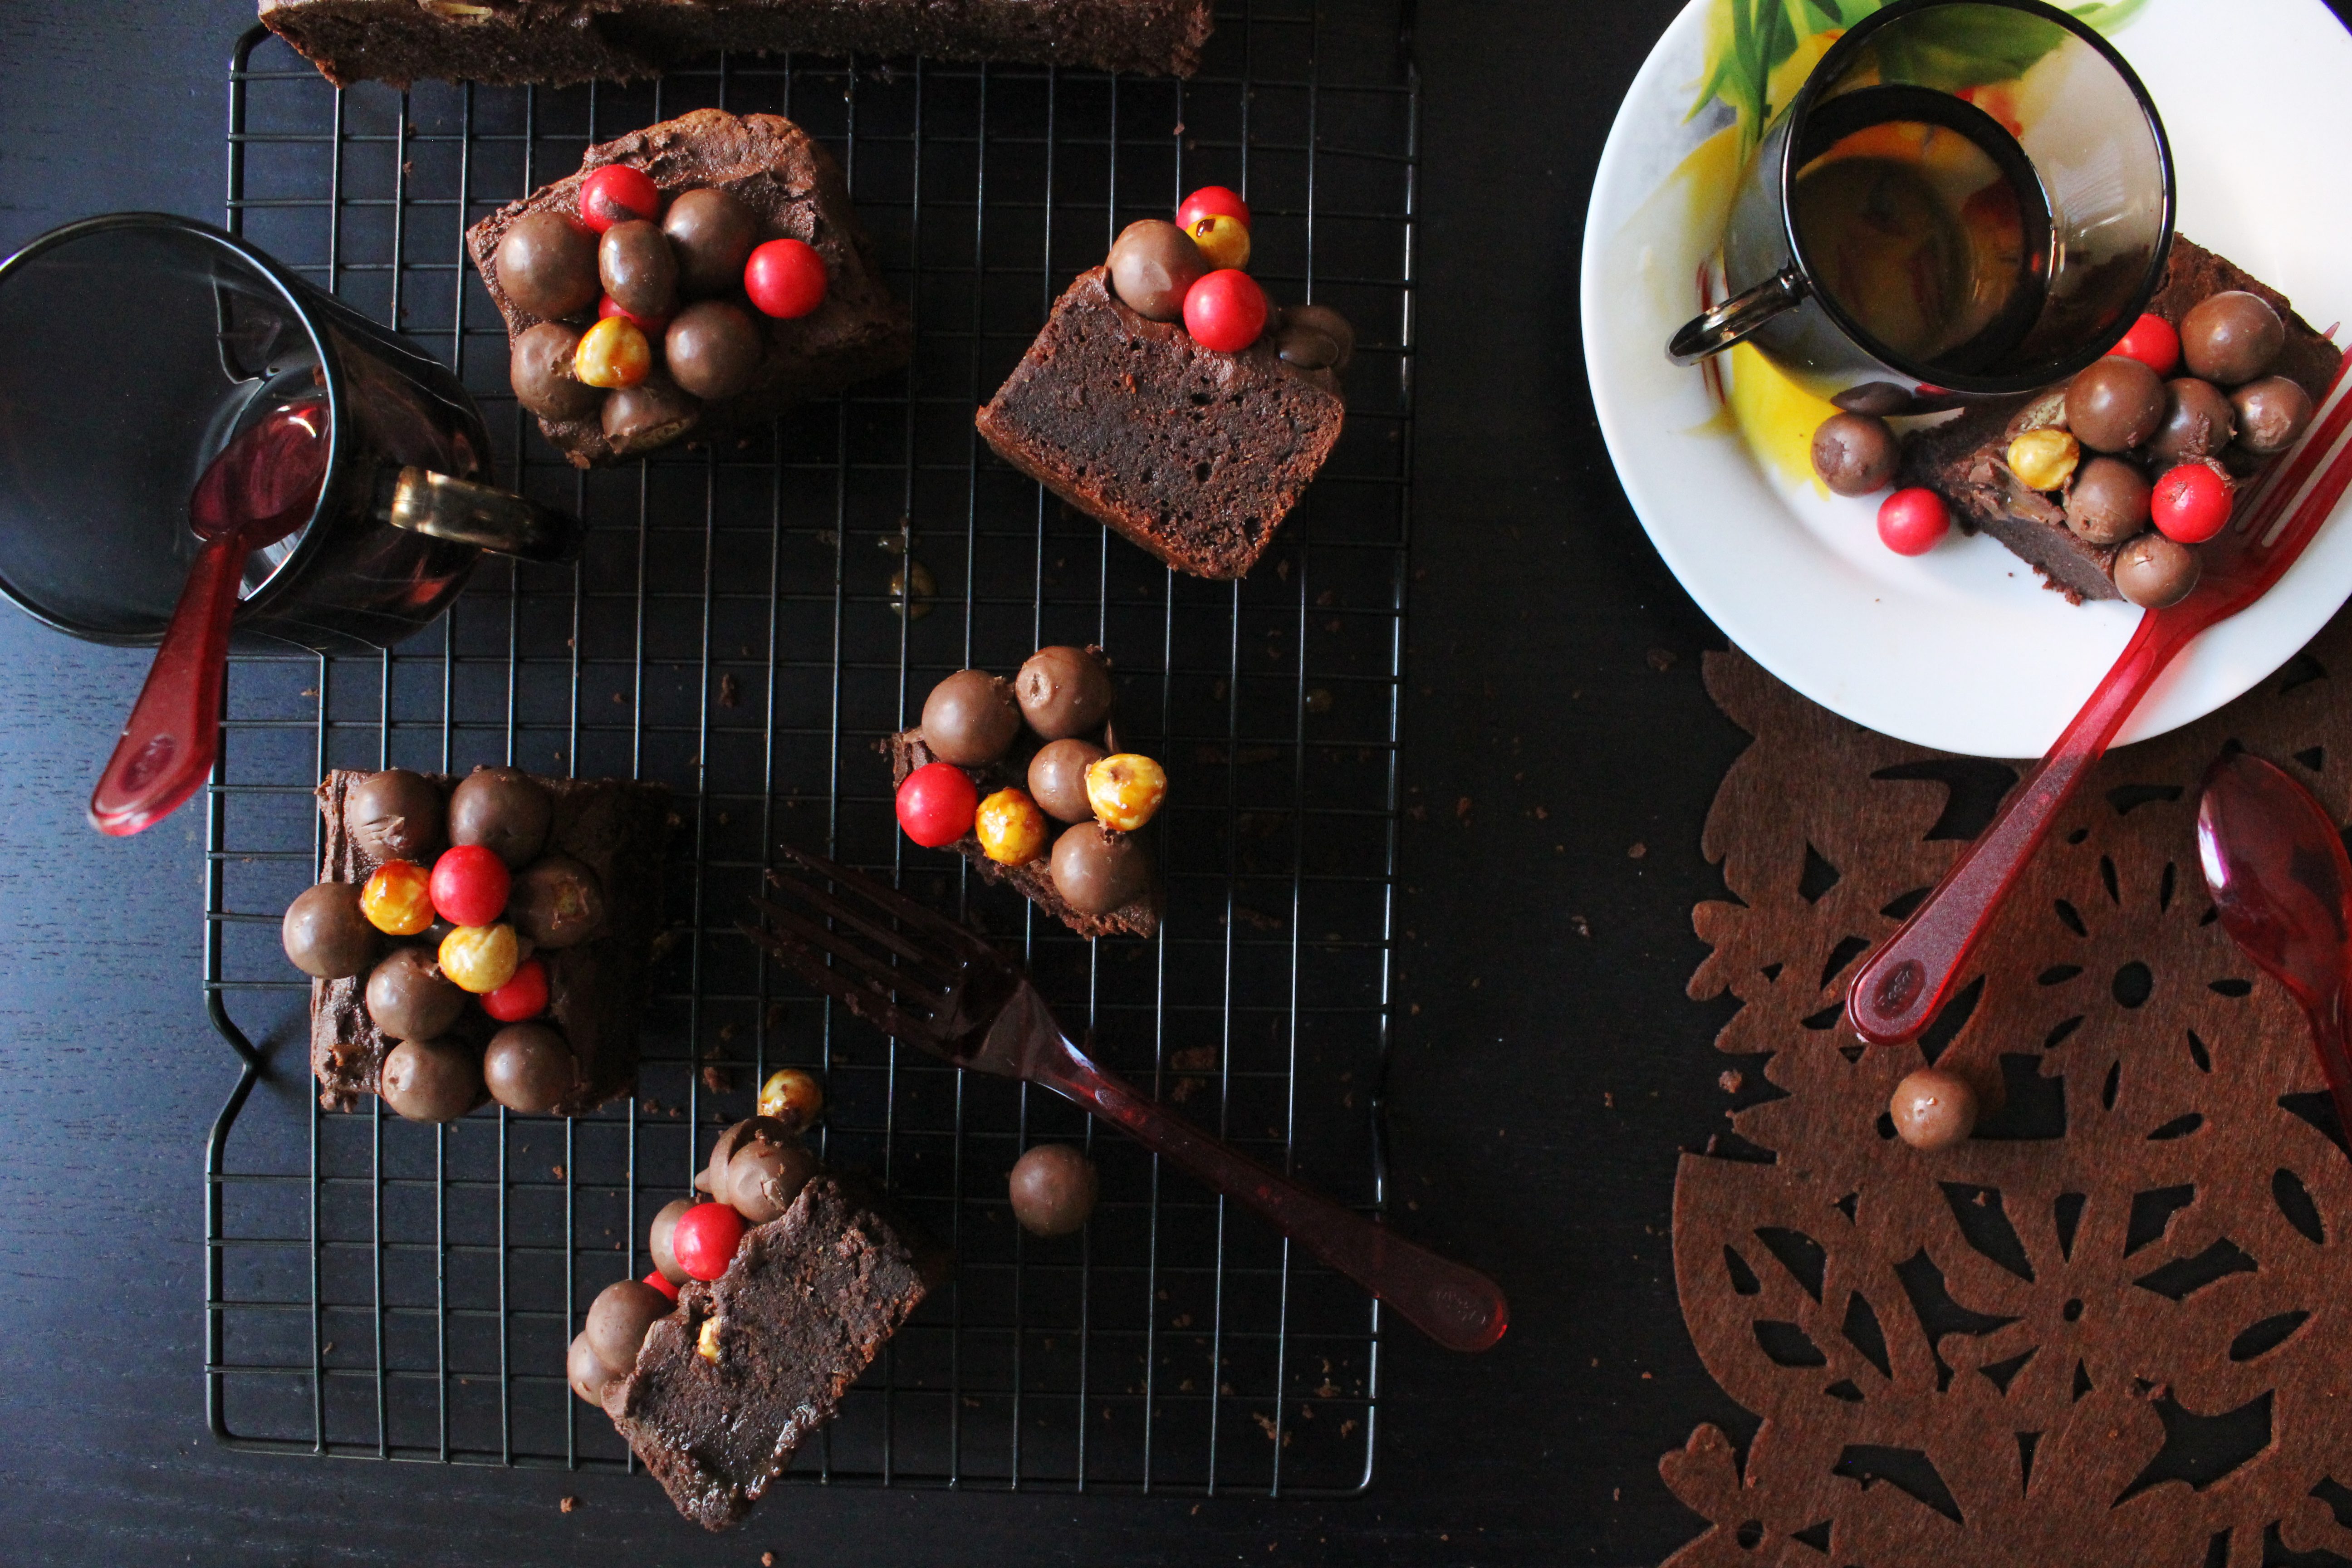
Gluten Free Chocolate Hazelnut and Candy Cake

8|10|2013

If you have kids at home, it is likely that your house is never short of candies. At least, in my house even if I don’t buy them, they find a way to my pantry through friends and visitors. And with so many different varieties around I am never short of inspiration to create. My favourite candies have to be the ones with chocolate in them.

IMG_5764 (1)

At this time of the year, you will definitely notice candies all over the blogosphere on account of Halloween. It’s also not surprising that our Chocolate Party theme for October is Chocolate and Candy. For the time being, I am leaving the spooky ones to my incredibly talented blogger friends and using up mine instead to decorate my flourless hazelnut chocolate cake. Please don’t forget to check out the fantastic creations of my friends at the bottom of the post.

IMG_5727 (1)

Like most flourless cakes, this one uses hazelnut meal (ground hazelnuts) and separated eggs. I love the nutty yet moist texture of this cake. I know that a lot of people find it intimidating to make recipes where meringue is involved but trust me when I say this. Those recipes are more forgiving than a normal cake recipe and for just 5 basic ingredients the results are always great. Please feel free to substitute hazelnuts with whichever nut you prefer or even a mix. The only thing to note here is that the egg whites are to be beaten to a soft peak (when the peaks are just starting to hold)…this gives an amazing texture to the cake.

IMG_5773 (1)

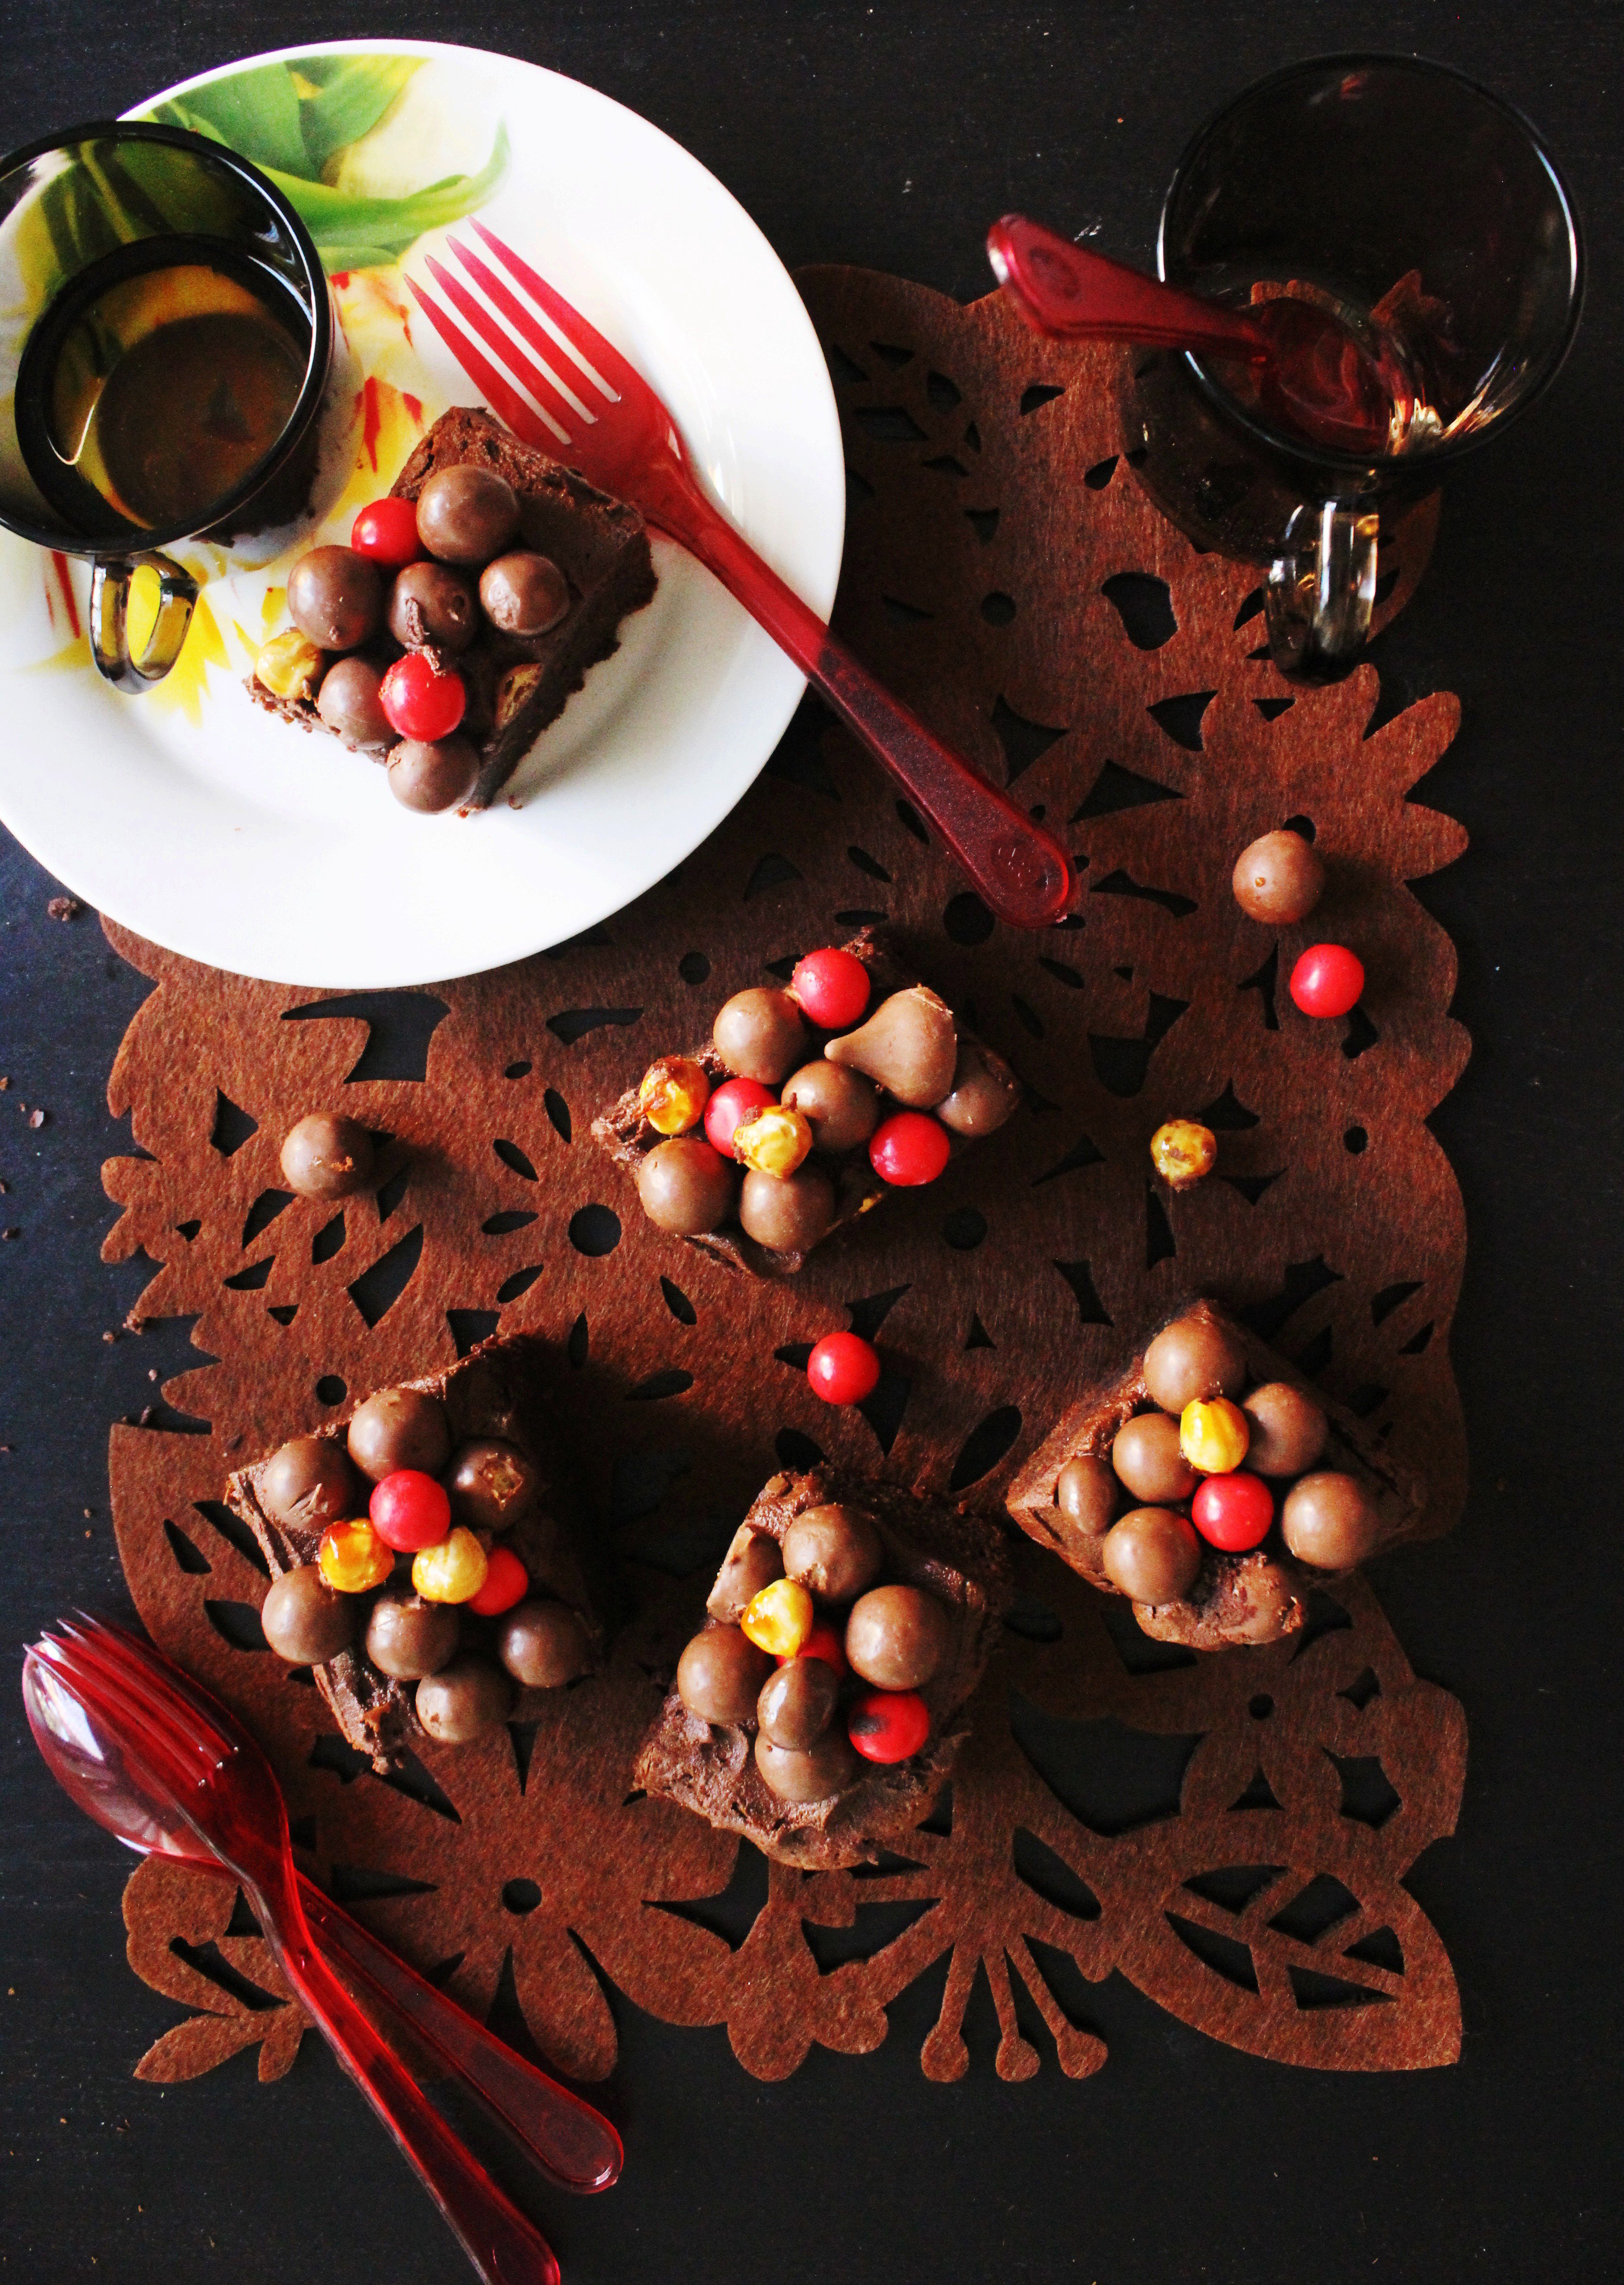
I have used a thin layer of chocolate ganache to hold the candies together. The topping consists of chocolate coated nuts, candies hazelnuts, chocolate kisses and jaffa (orange chocolate candies). They can be easily replaced with your favourite candies or even eaten as it is, without the topping. Also, if you want a round cake you can use an 8 inch round cake pan for the same recipe. The baking time may need adjustment though.

IMG_5790 (1)

This cake is a huge hit with kids and adults alike. I say this from my experience. The difficult part is to resist from eating the candies as you layer them on the top of the cake.

IMG_5779 (1)

417952_473367456077571_1596175249_n-1

Flourless Chocolate Nut and Candy Cake
Serves 10

200g dark chocolate, chopped
150g butter, chopped
6 eggs, separated
2/3 cup castor sugar
1 1/2 cups hazelnut meal

Preheat oven to 170°C/150°C fan-forced. Line base and sides of a 25 cm square baking pan with baking paper. Combine chocolate and butter in a small saucepan over low heat. Stir until melted. Alternately melt the two together in short bursts of 20 seconds in a microwave Set aside to cool.

Place egg yolks and sugar in a bowl. Using an electric mixer, beat until thick and creamy. Add chocolate mixture. Beat to combine. Add hazelnut meal. Beat to combine.

Place egg whites in a bowl. Using an electric mixer, beat until soft peaks form. Using a metal spoon, stir one-third of egg whites into chocolate mixture. Gently fold remaining egg white through chocolate mixture.

Pour mixture into prepared pan. Bake for 30-40 minutes or until a skewer inserted into the centre has moist crumbs clinging. Stand in pan for 10 minutes. Turn out onto a wire rack to cool.

Chocolate Ganache and Candy Topping

150 g dark chocolate, chopped
1/4 cup heavy cream
1 cup of chocolate coated nuts, candied hazelnuts, chocolate kisses, jaffa or any candy of your choice.

Place chocolate and cream in a saucepan over low heat. Cook, stirring constantly, for 3 to 4 minutes or until smooth. Spread over top of the cake. Place the candies on top.


[inlinkz_linkup id=325537]

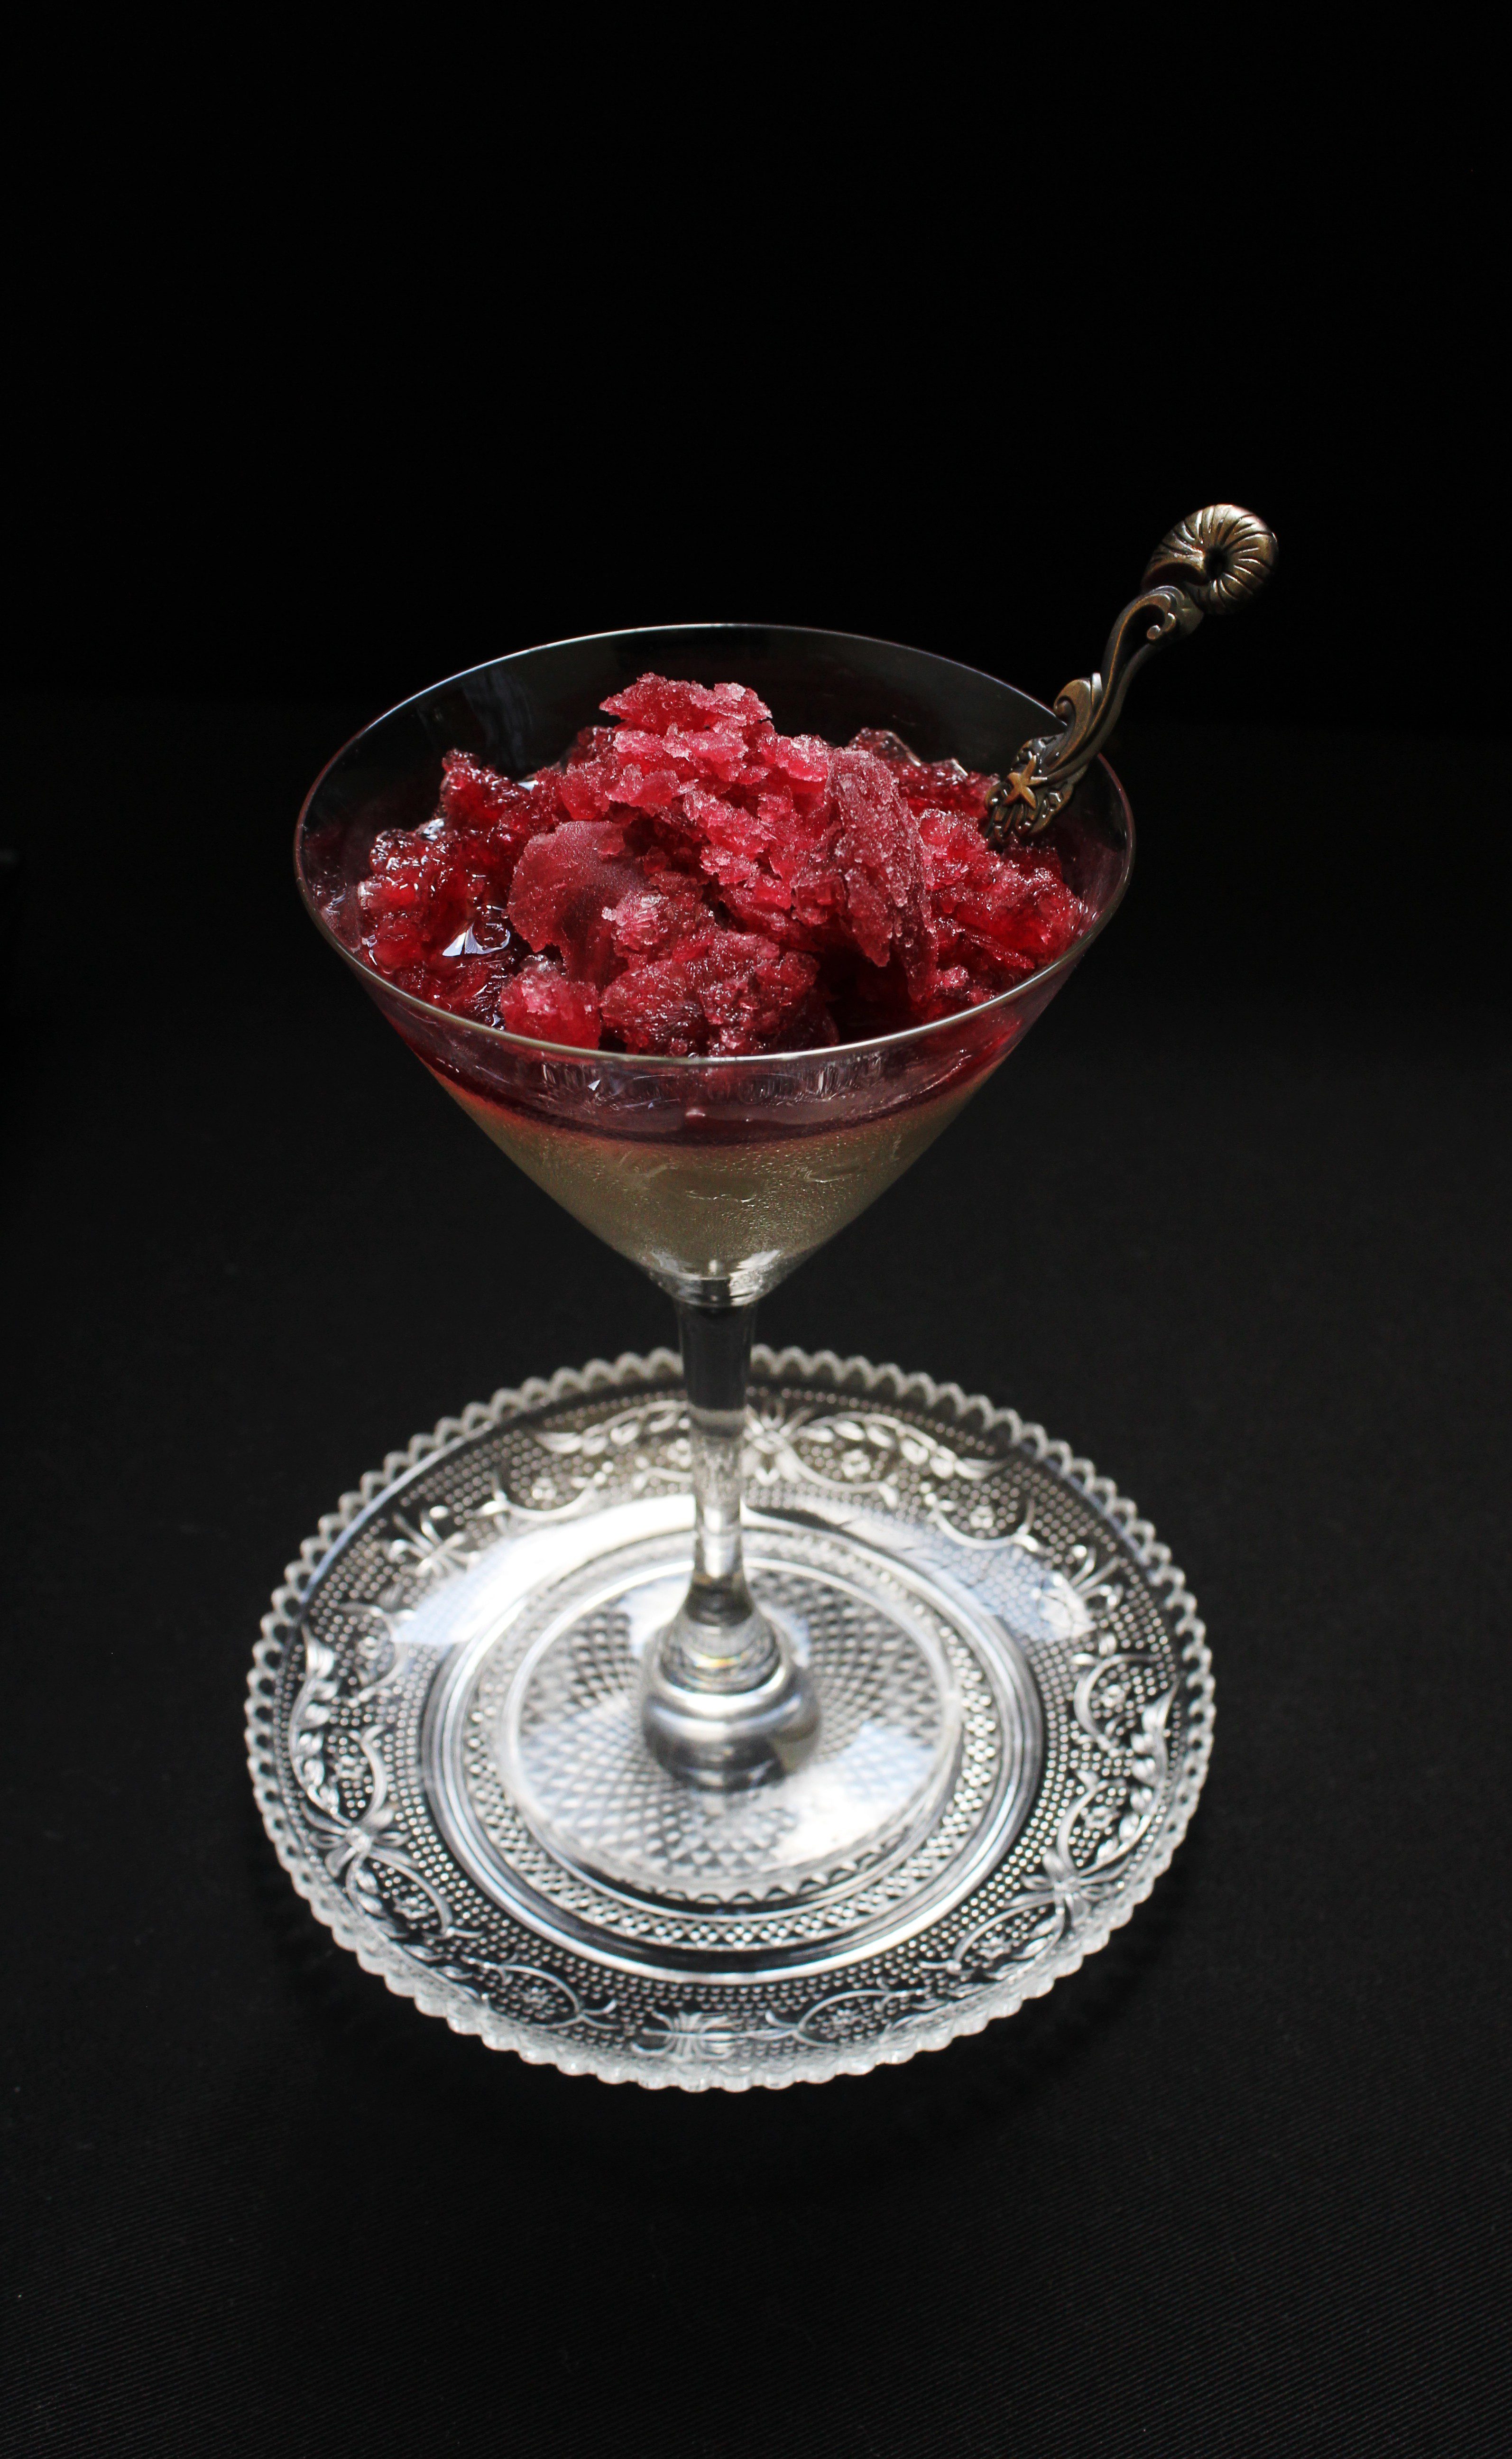
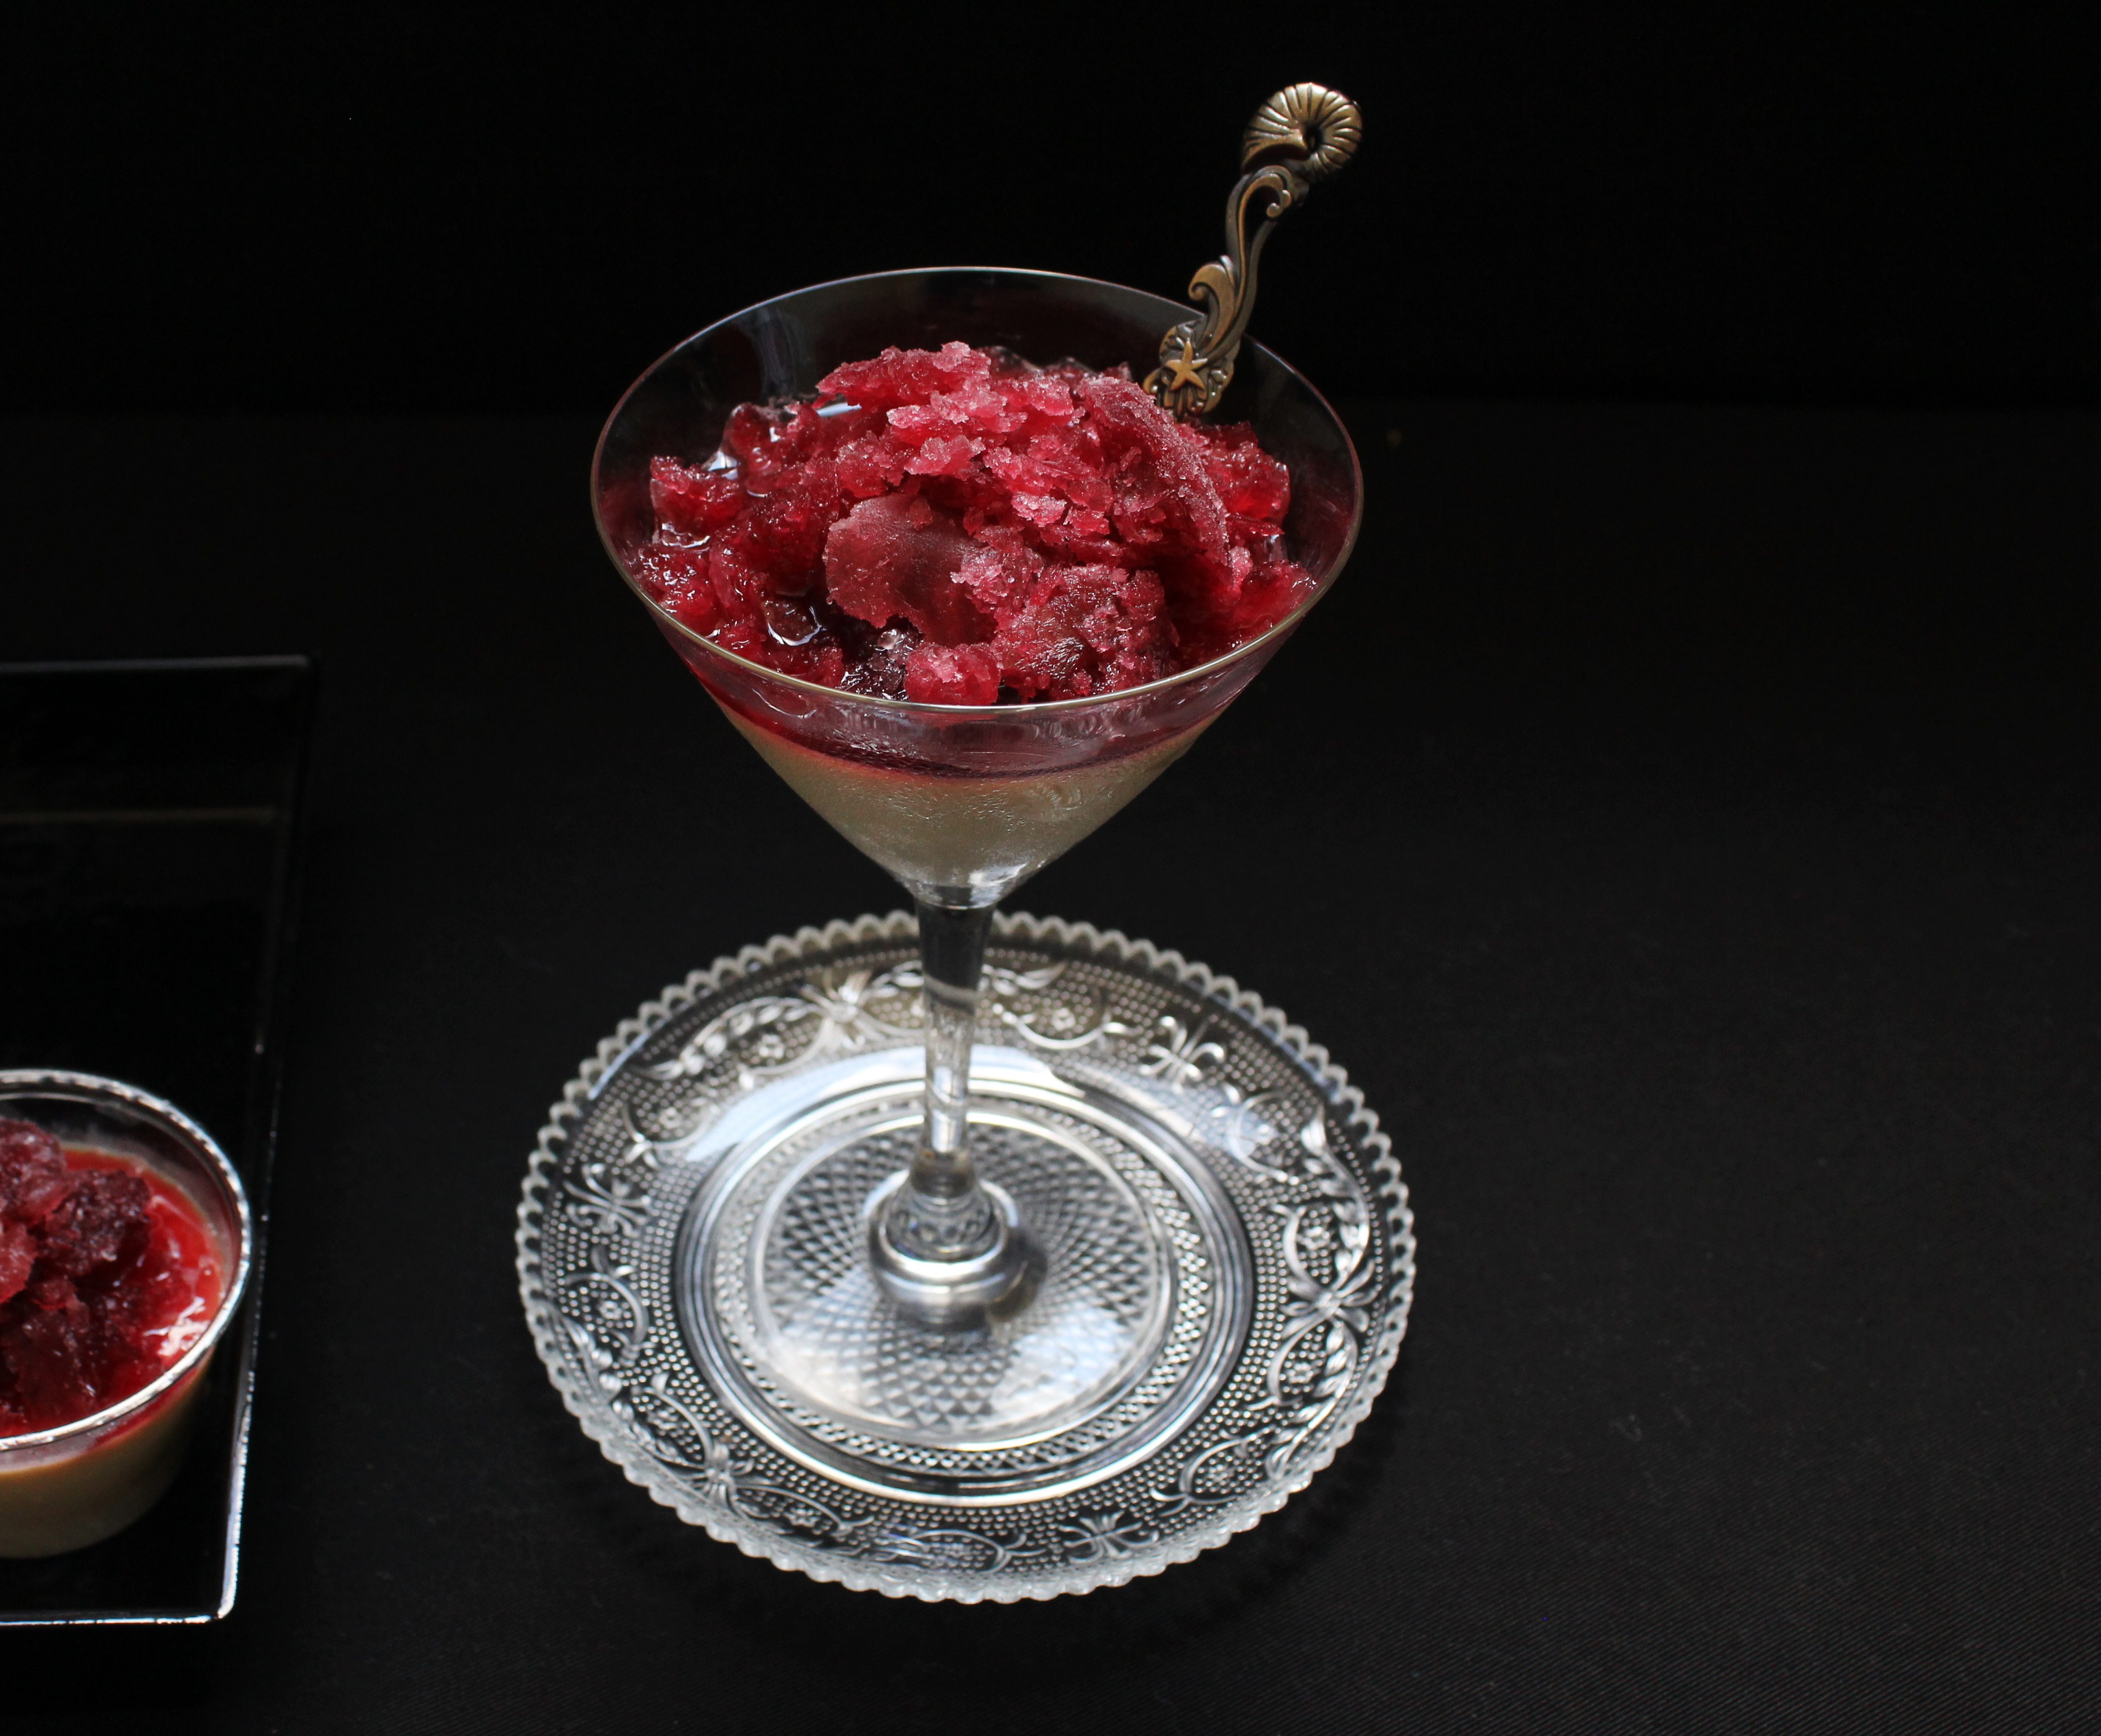
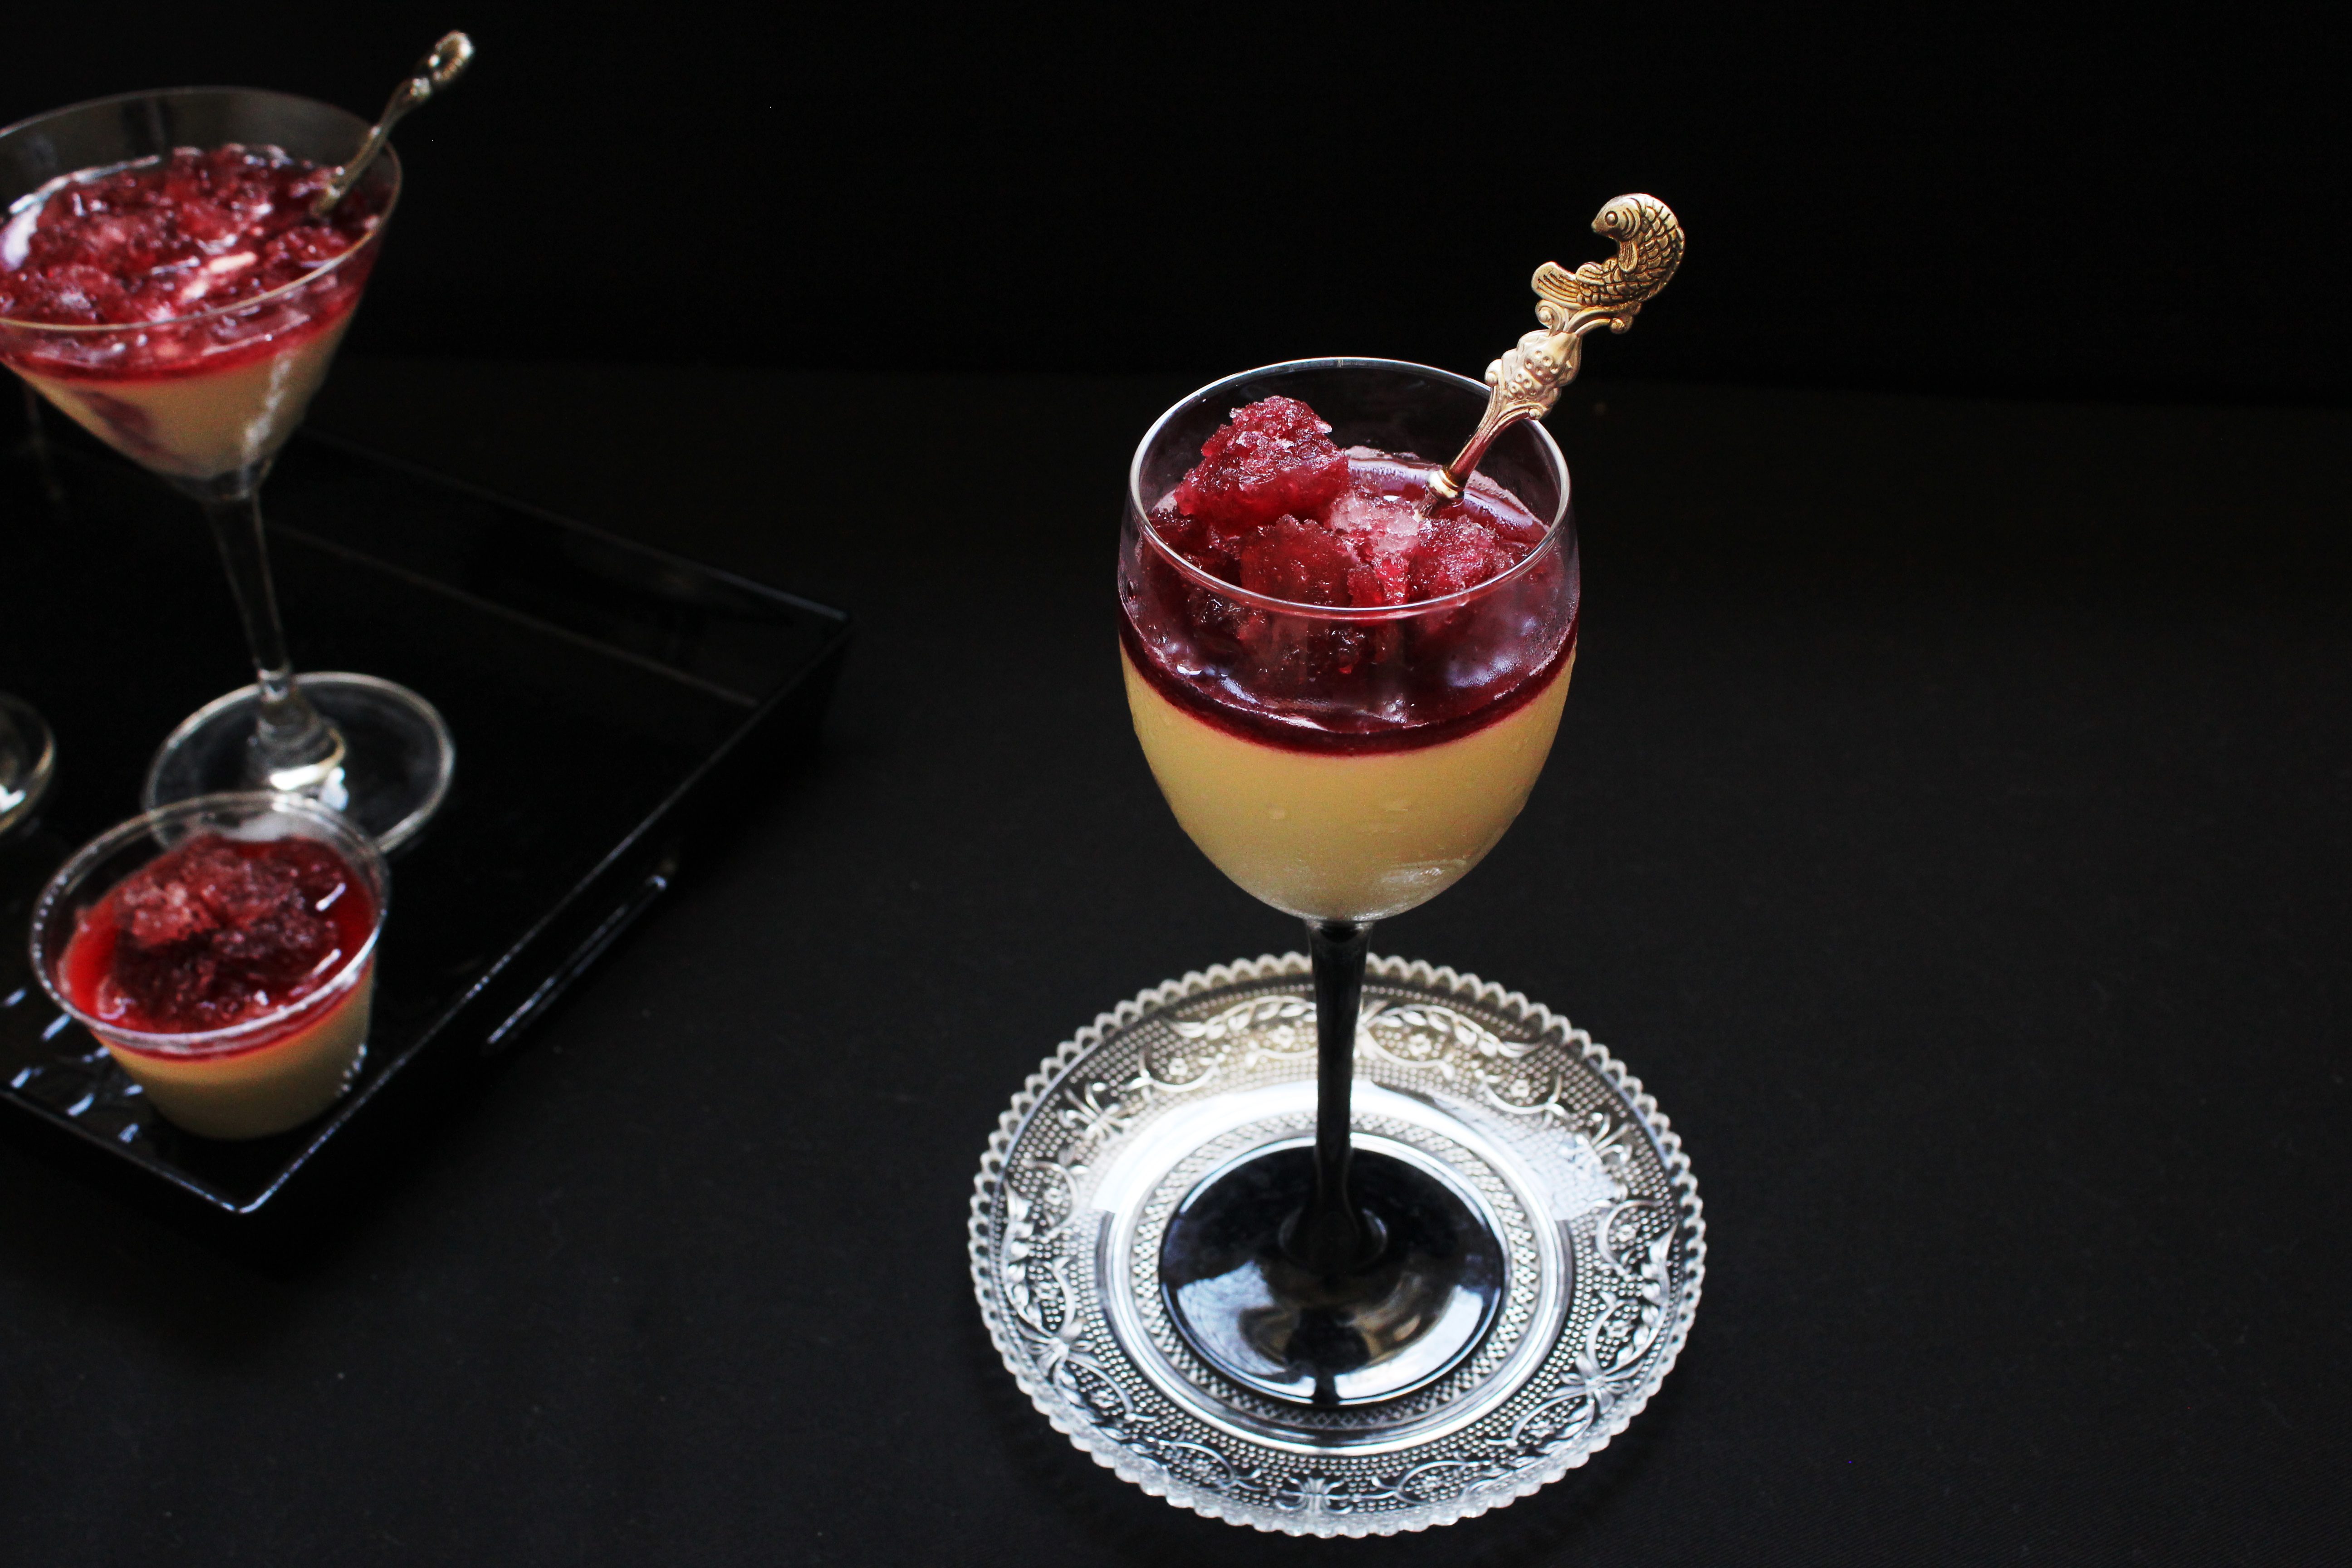
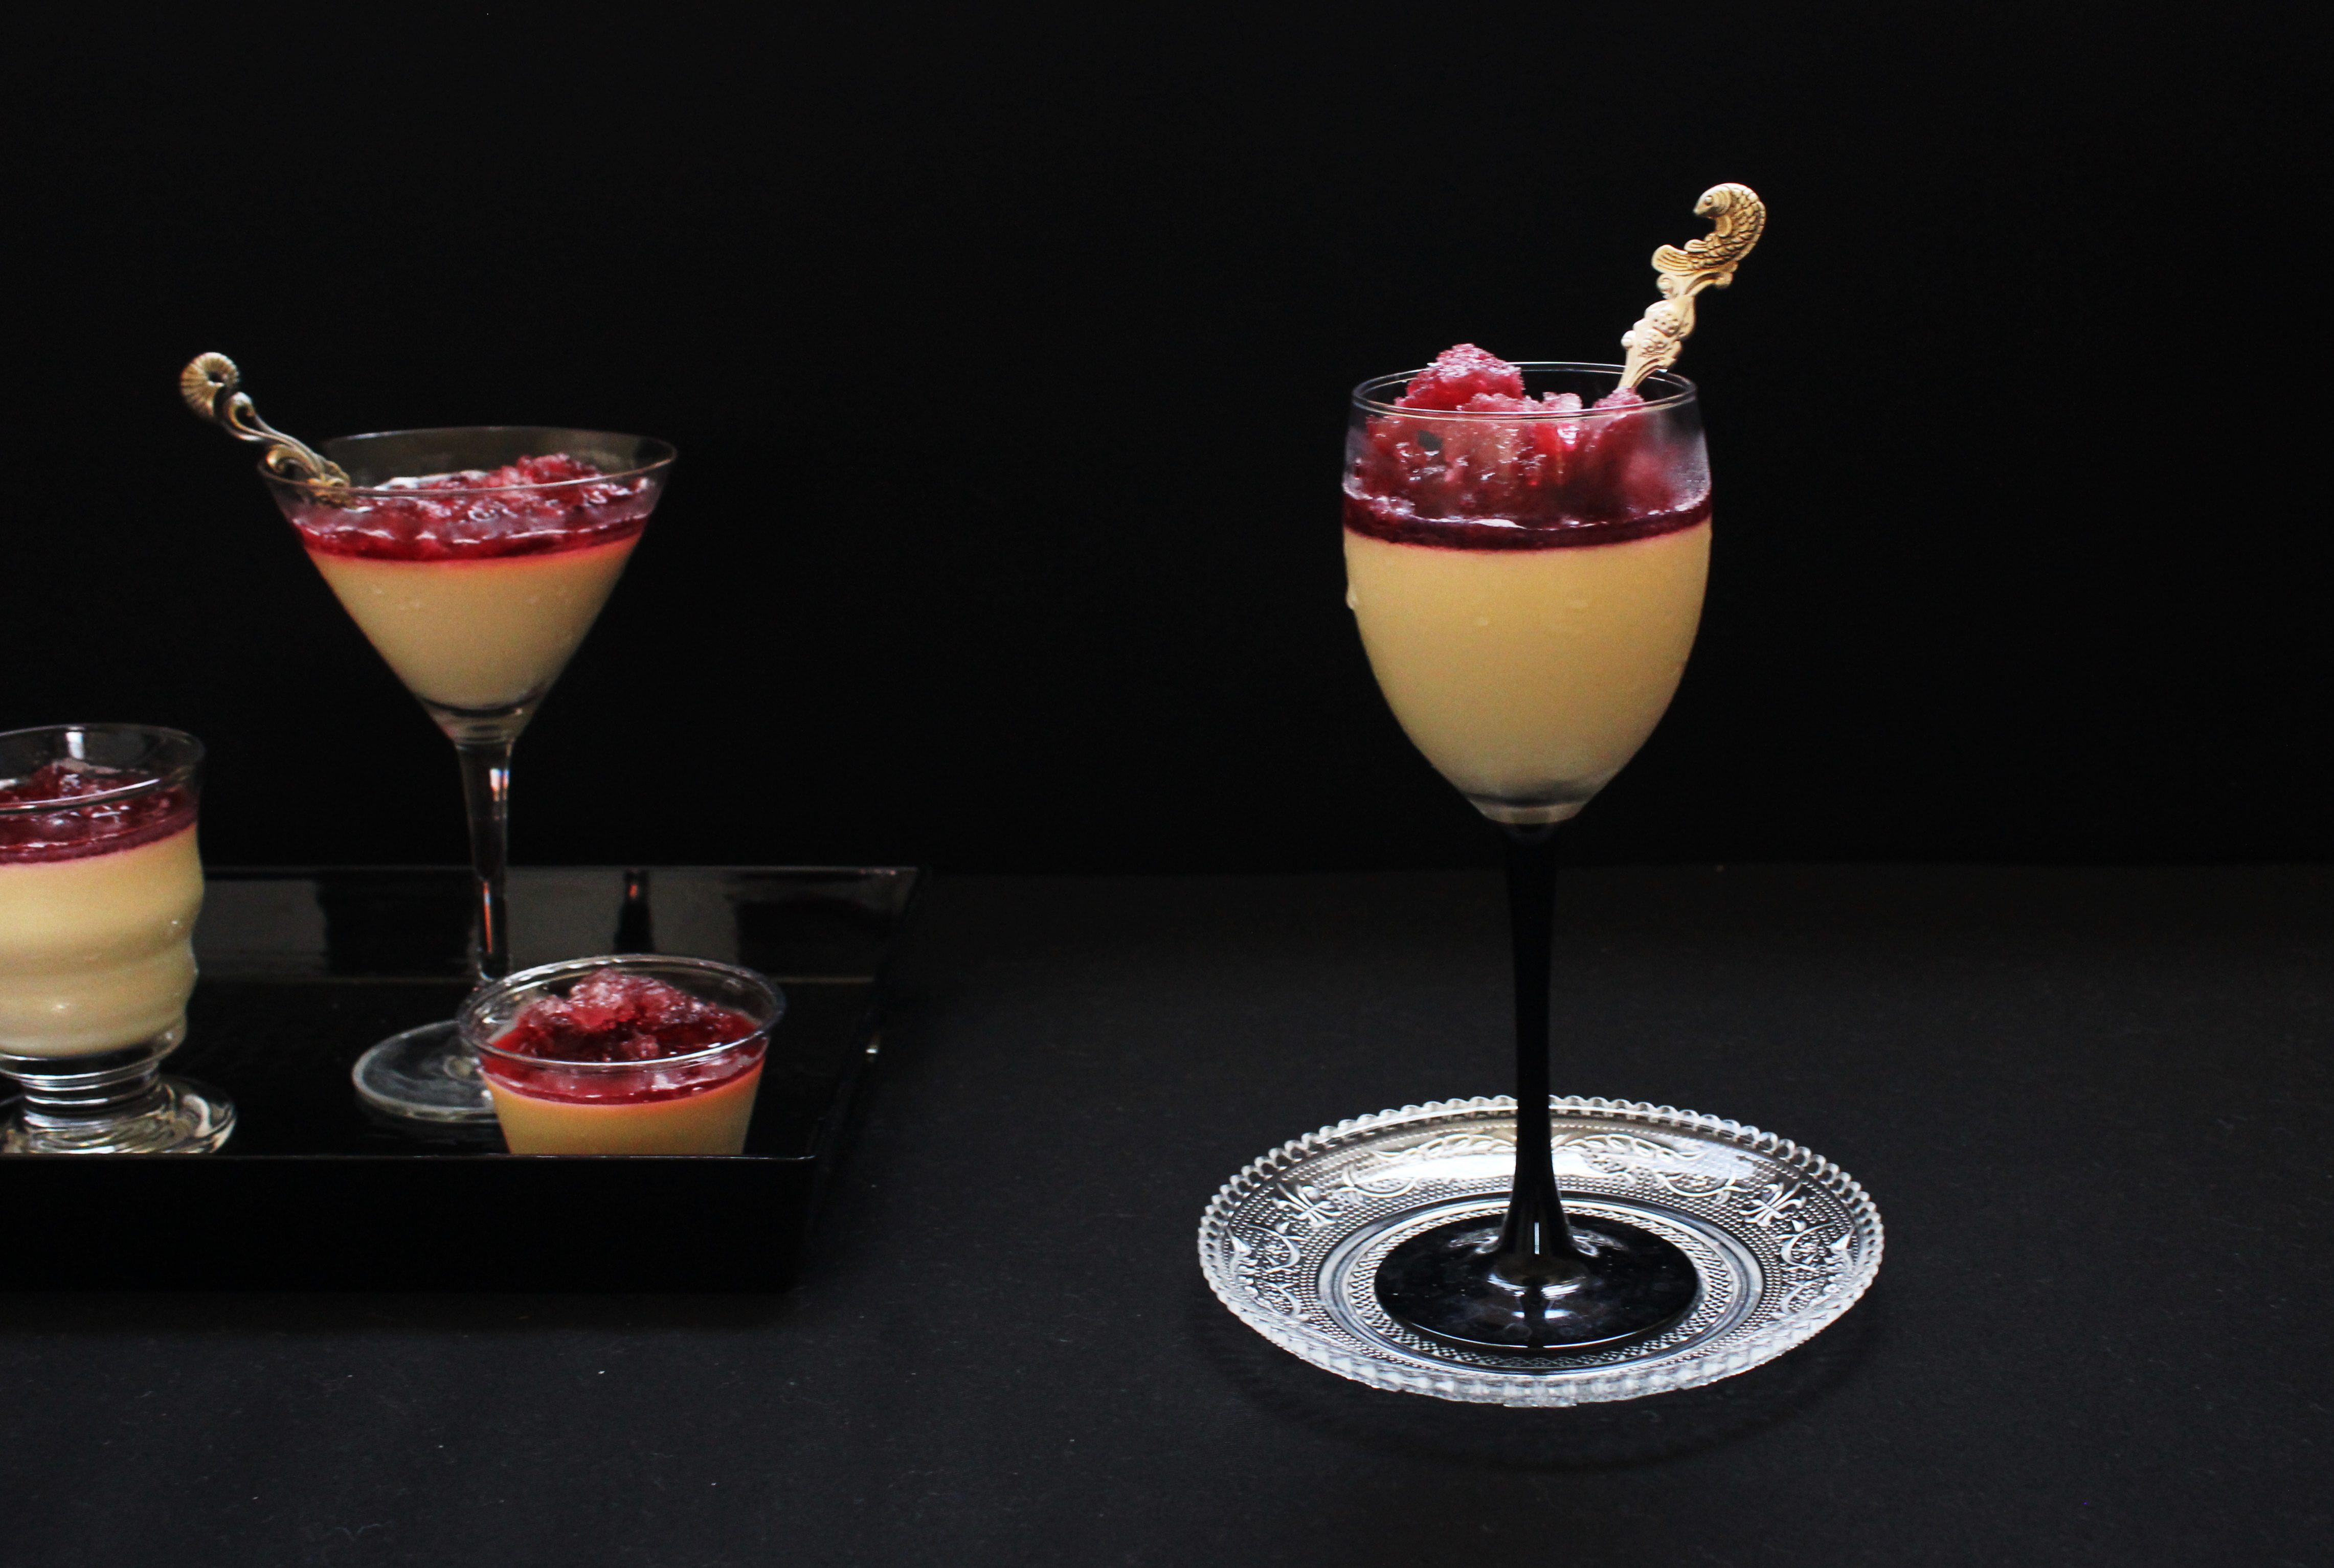
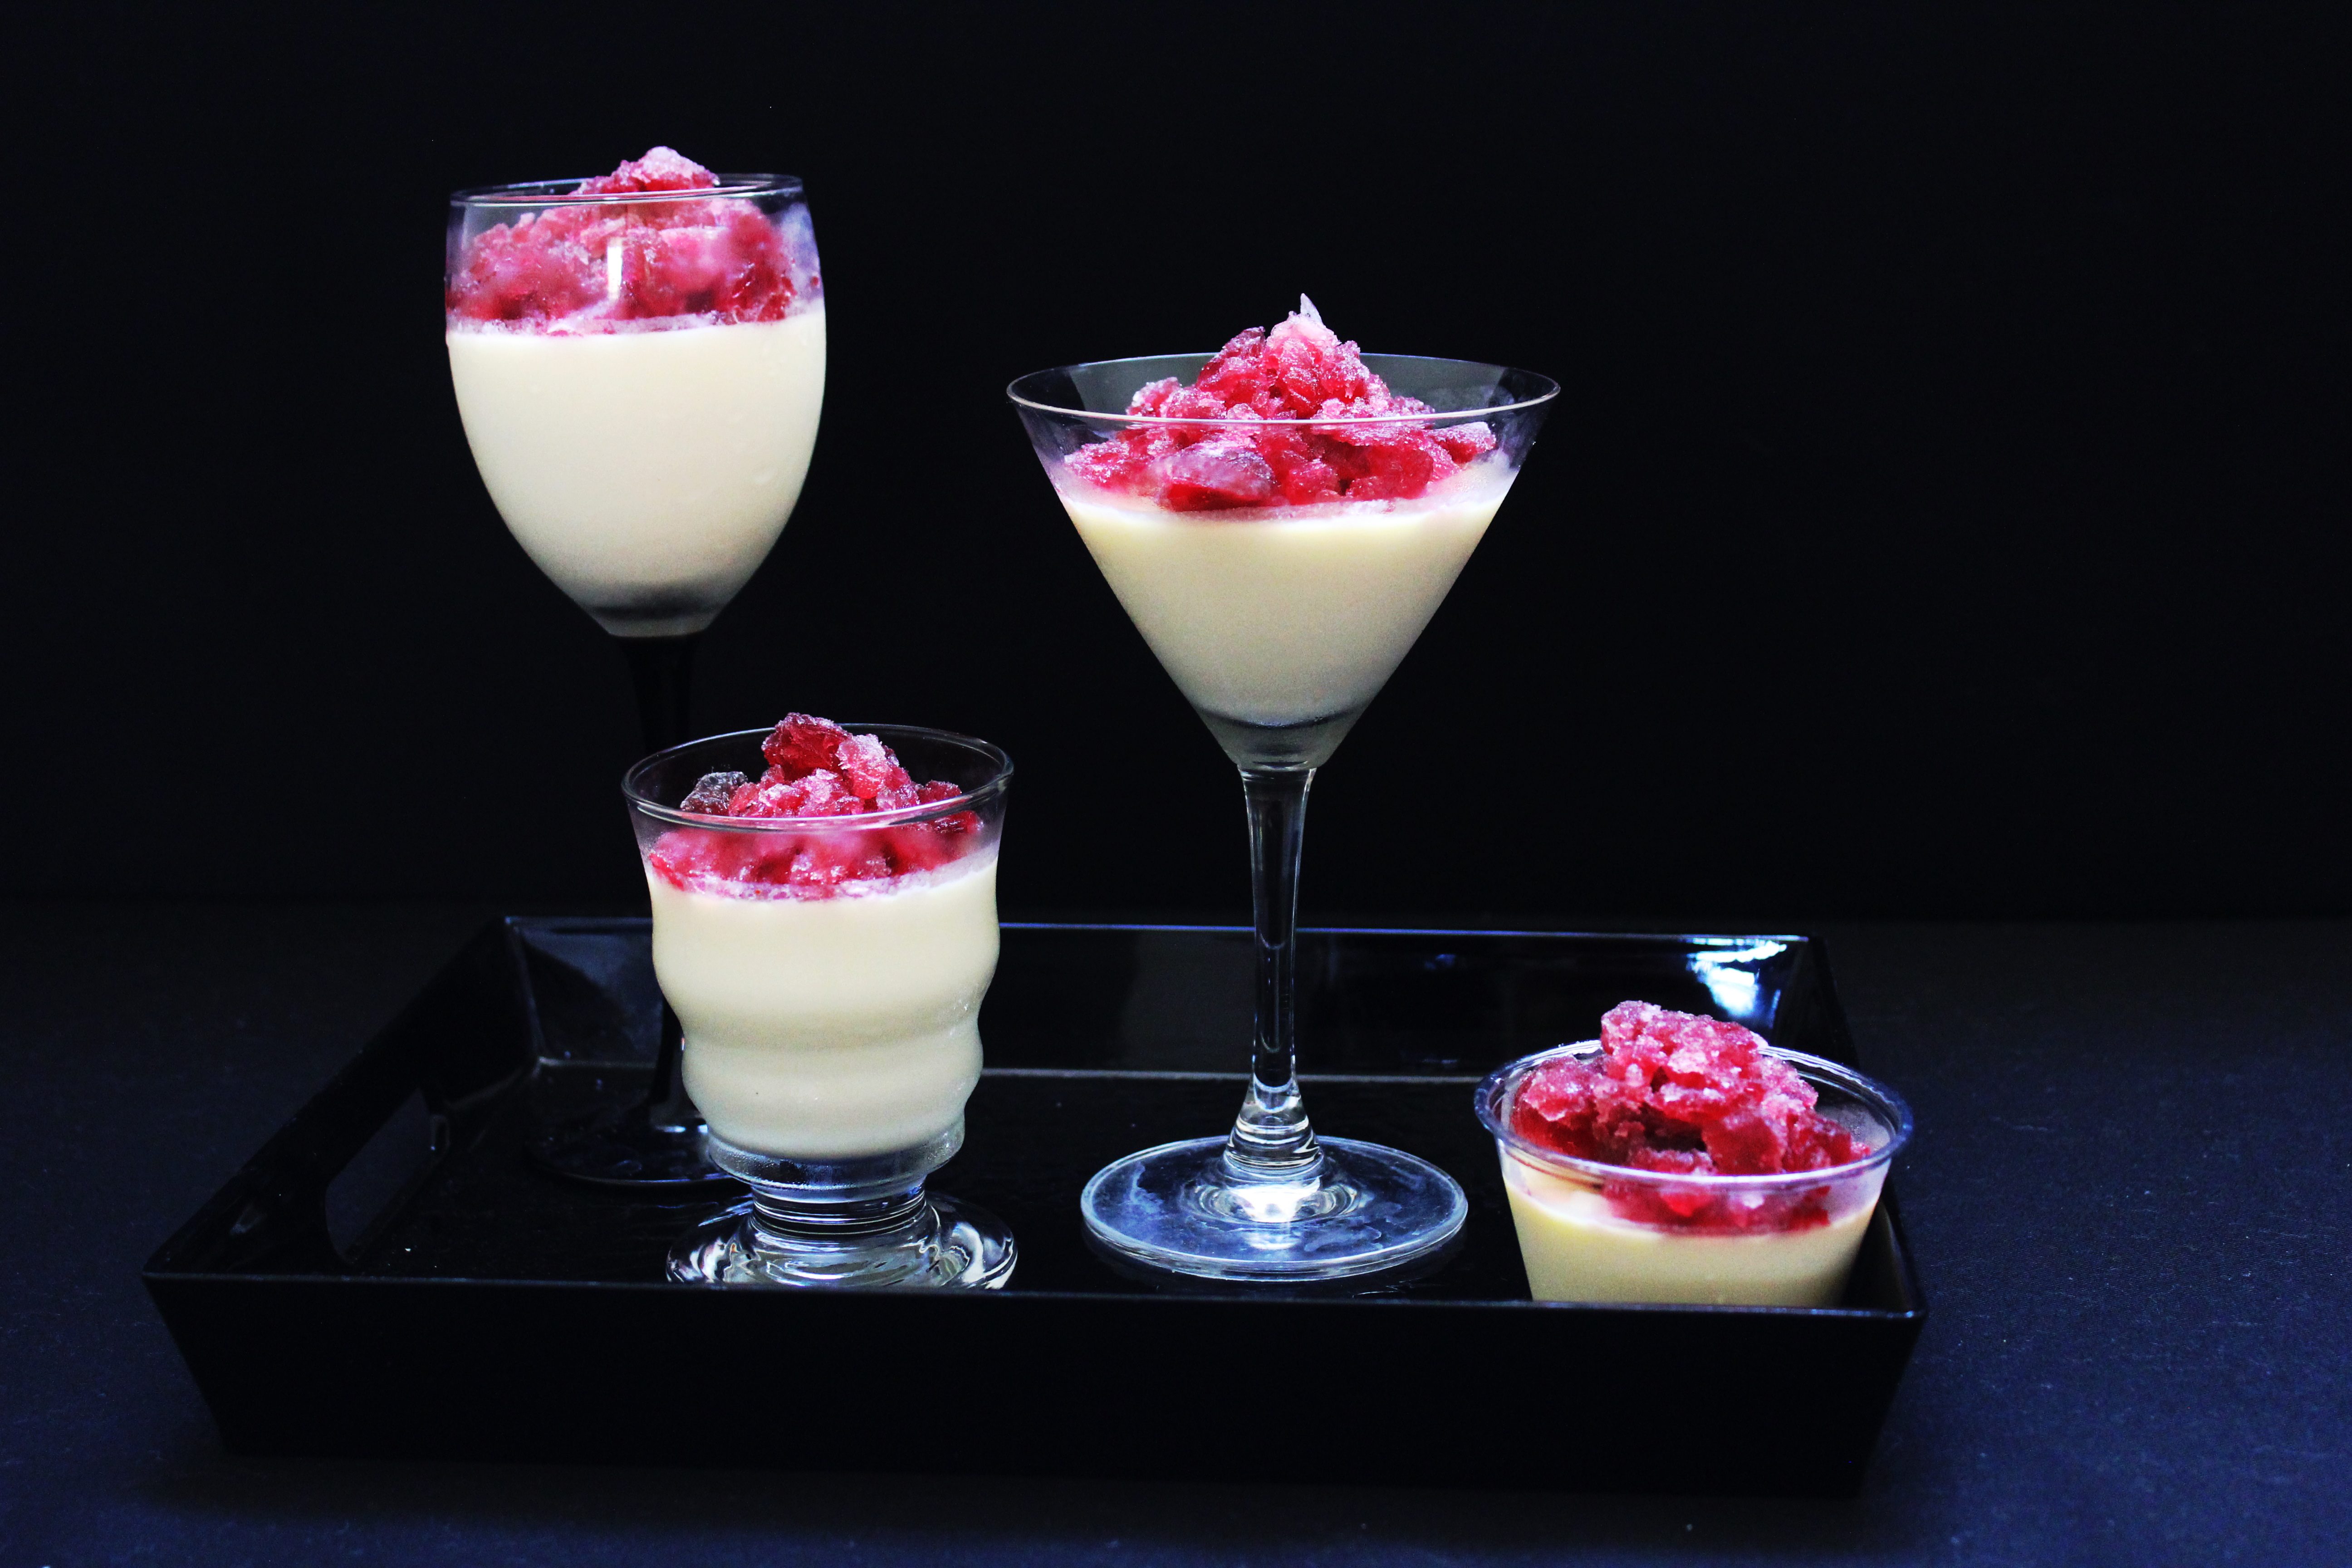
White Chocolate Panna Cotta with Spiced Red Wine Granita

4|10|2013

I couldn’t wait. Four more months! Just couldn’t!

IMG_5550 (2)To express my love for you..

IMG_5549 (2)

Red hearts were never my thing. I’d rather go for wine.

IMG_5558 (1)

Words fail me. You’ve been amazing so far.
So I got you wine and chocolate!

IMG_5557 (2)

I read this somewhere ‘Like fine wine, hangovers get better with age’.  Oh dear! And I recently turned a year older!

IMG_5534 (1)

Happy Valentine’s day Weekend my friends! I really do love you:-)


White Chocolate Panna Cotta with Red Wine Granita
Serves 4

White Chocolate Panna Cotta
1 cup milk
1 cup heavy cream
2 tbsp castor sugar
1 tsp vanilla essence
50g white chocolate coarsely chopped
1 tbsp water
2 tsp powdered gelatine

Red Wine Granita (minimally adapted from Gourmet Traveller magazine)
150 ml red wine
150 ml water
1/3 cup castor sugar
1 cinnamon stick
2 star anise

For the White Chocolate Panna Cotta : Place the heavy cream, milk and sugar in a medium saucepan over medium heat until almost boiling. Remove from heat. Add white chocolate and set aside for 1 minute. Stir until chocolate melts and mixture is smooth. Add the vanilla essence.

Place the 1 tbsp water in a small heatproof bowl. Sprinkle with the gelatine. Place the bowl in a small saucepan. Add enough boiling water to the saucepan to come three-quarters of the way up the side of the bowl. Use a fork to whisk the mixture until the gelatine dissolves. Alternately, add the gelatine to the water and set aside for 5 mins for the gelatine to bloom. Heat for 20 seconds in the microwave and stir to make it smooth.Add the gelatine mixture into the white chocolate mixture. Set aside to cool. Once it cools to room temperature, pour into serving glasses and refrigerate for a minimum 4 hours preferably overnight.

For the Red Wine Granita : Combine all the ingredients in a saucepan over medium heat, bring to a gentle simmer. Stir and cook for 3 minutes, remove from heat and cool completely. Strain and discard solids, pour mixture into a 20cm square shallow tray and freeze, scraping with a fork at hourly intervals to form crystals, until frozen (4-6 hours).


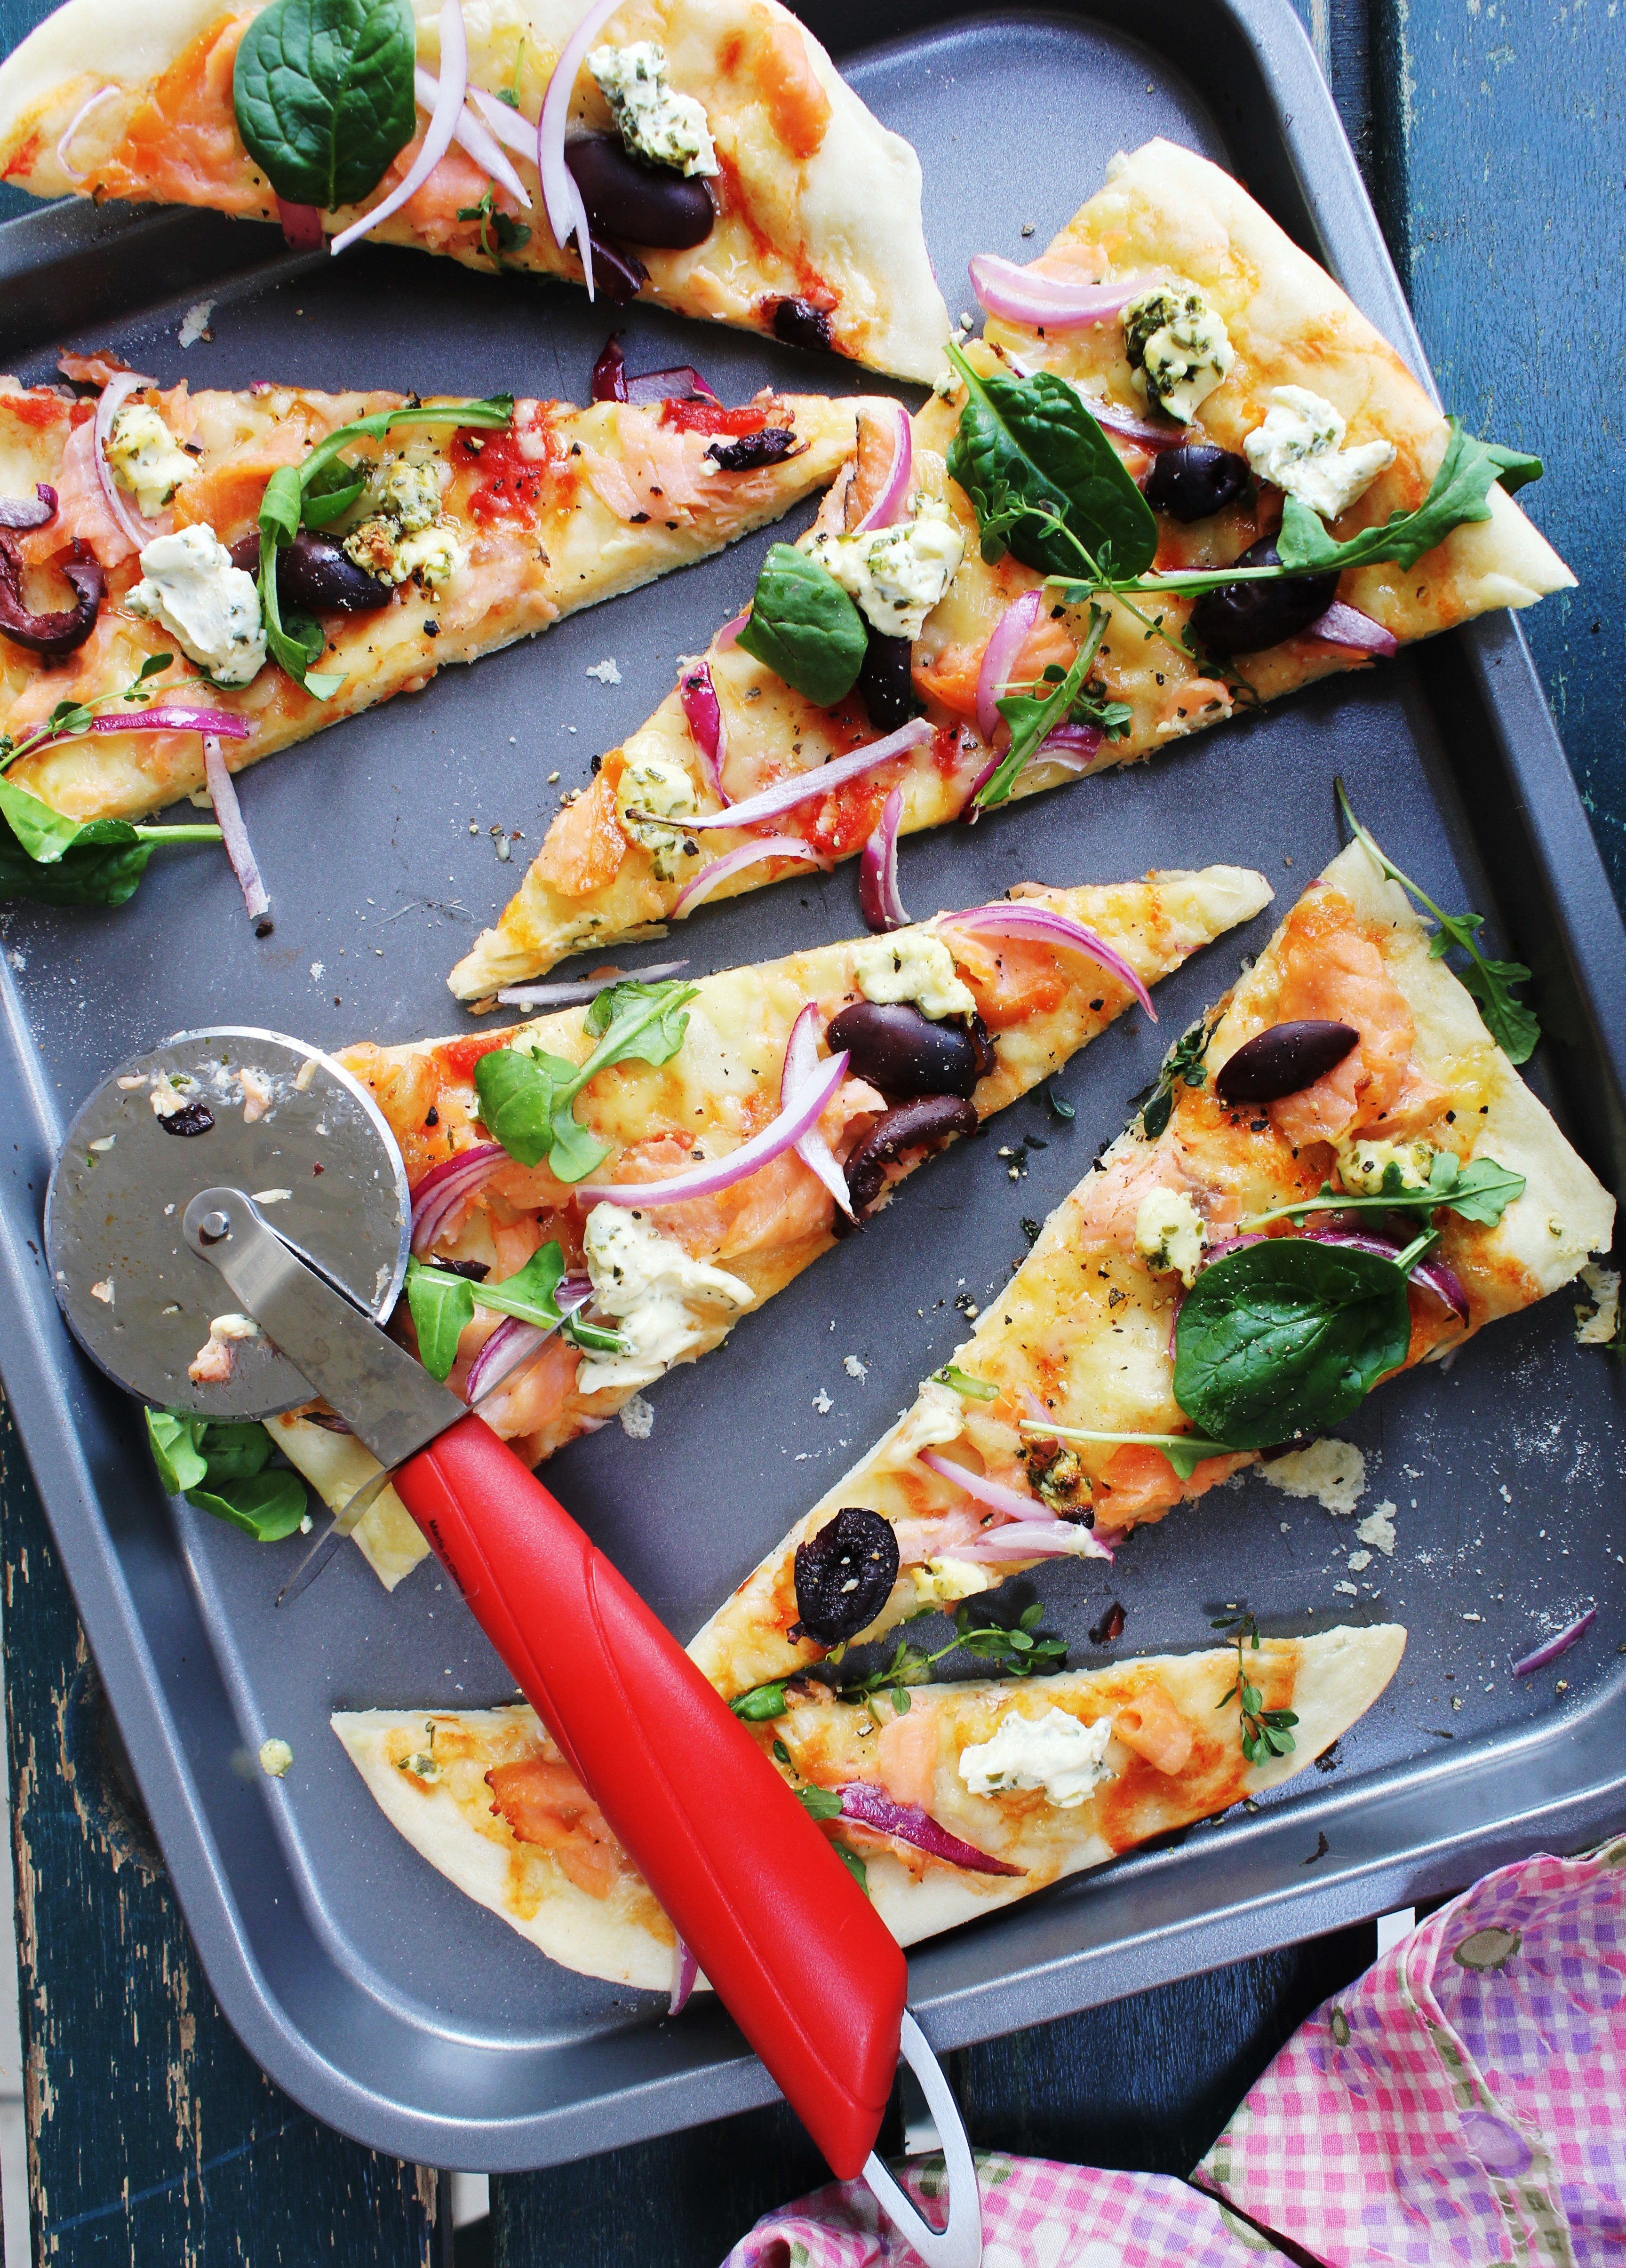
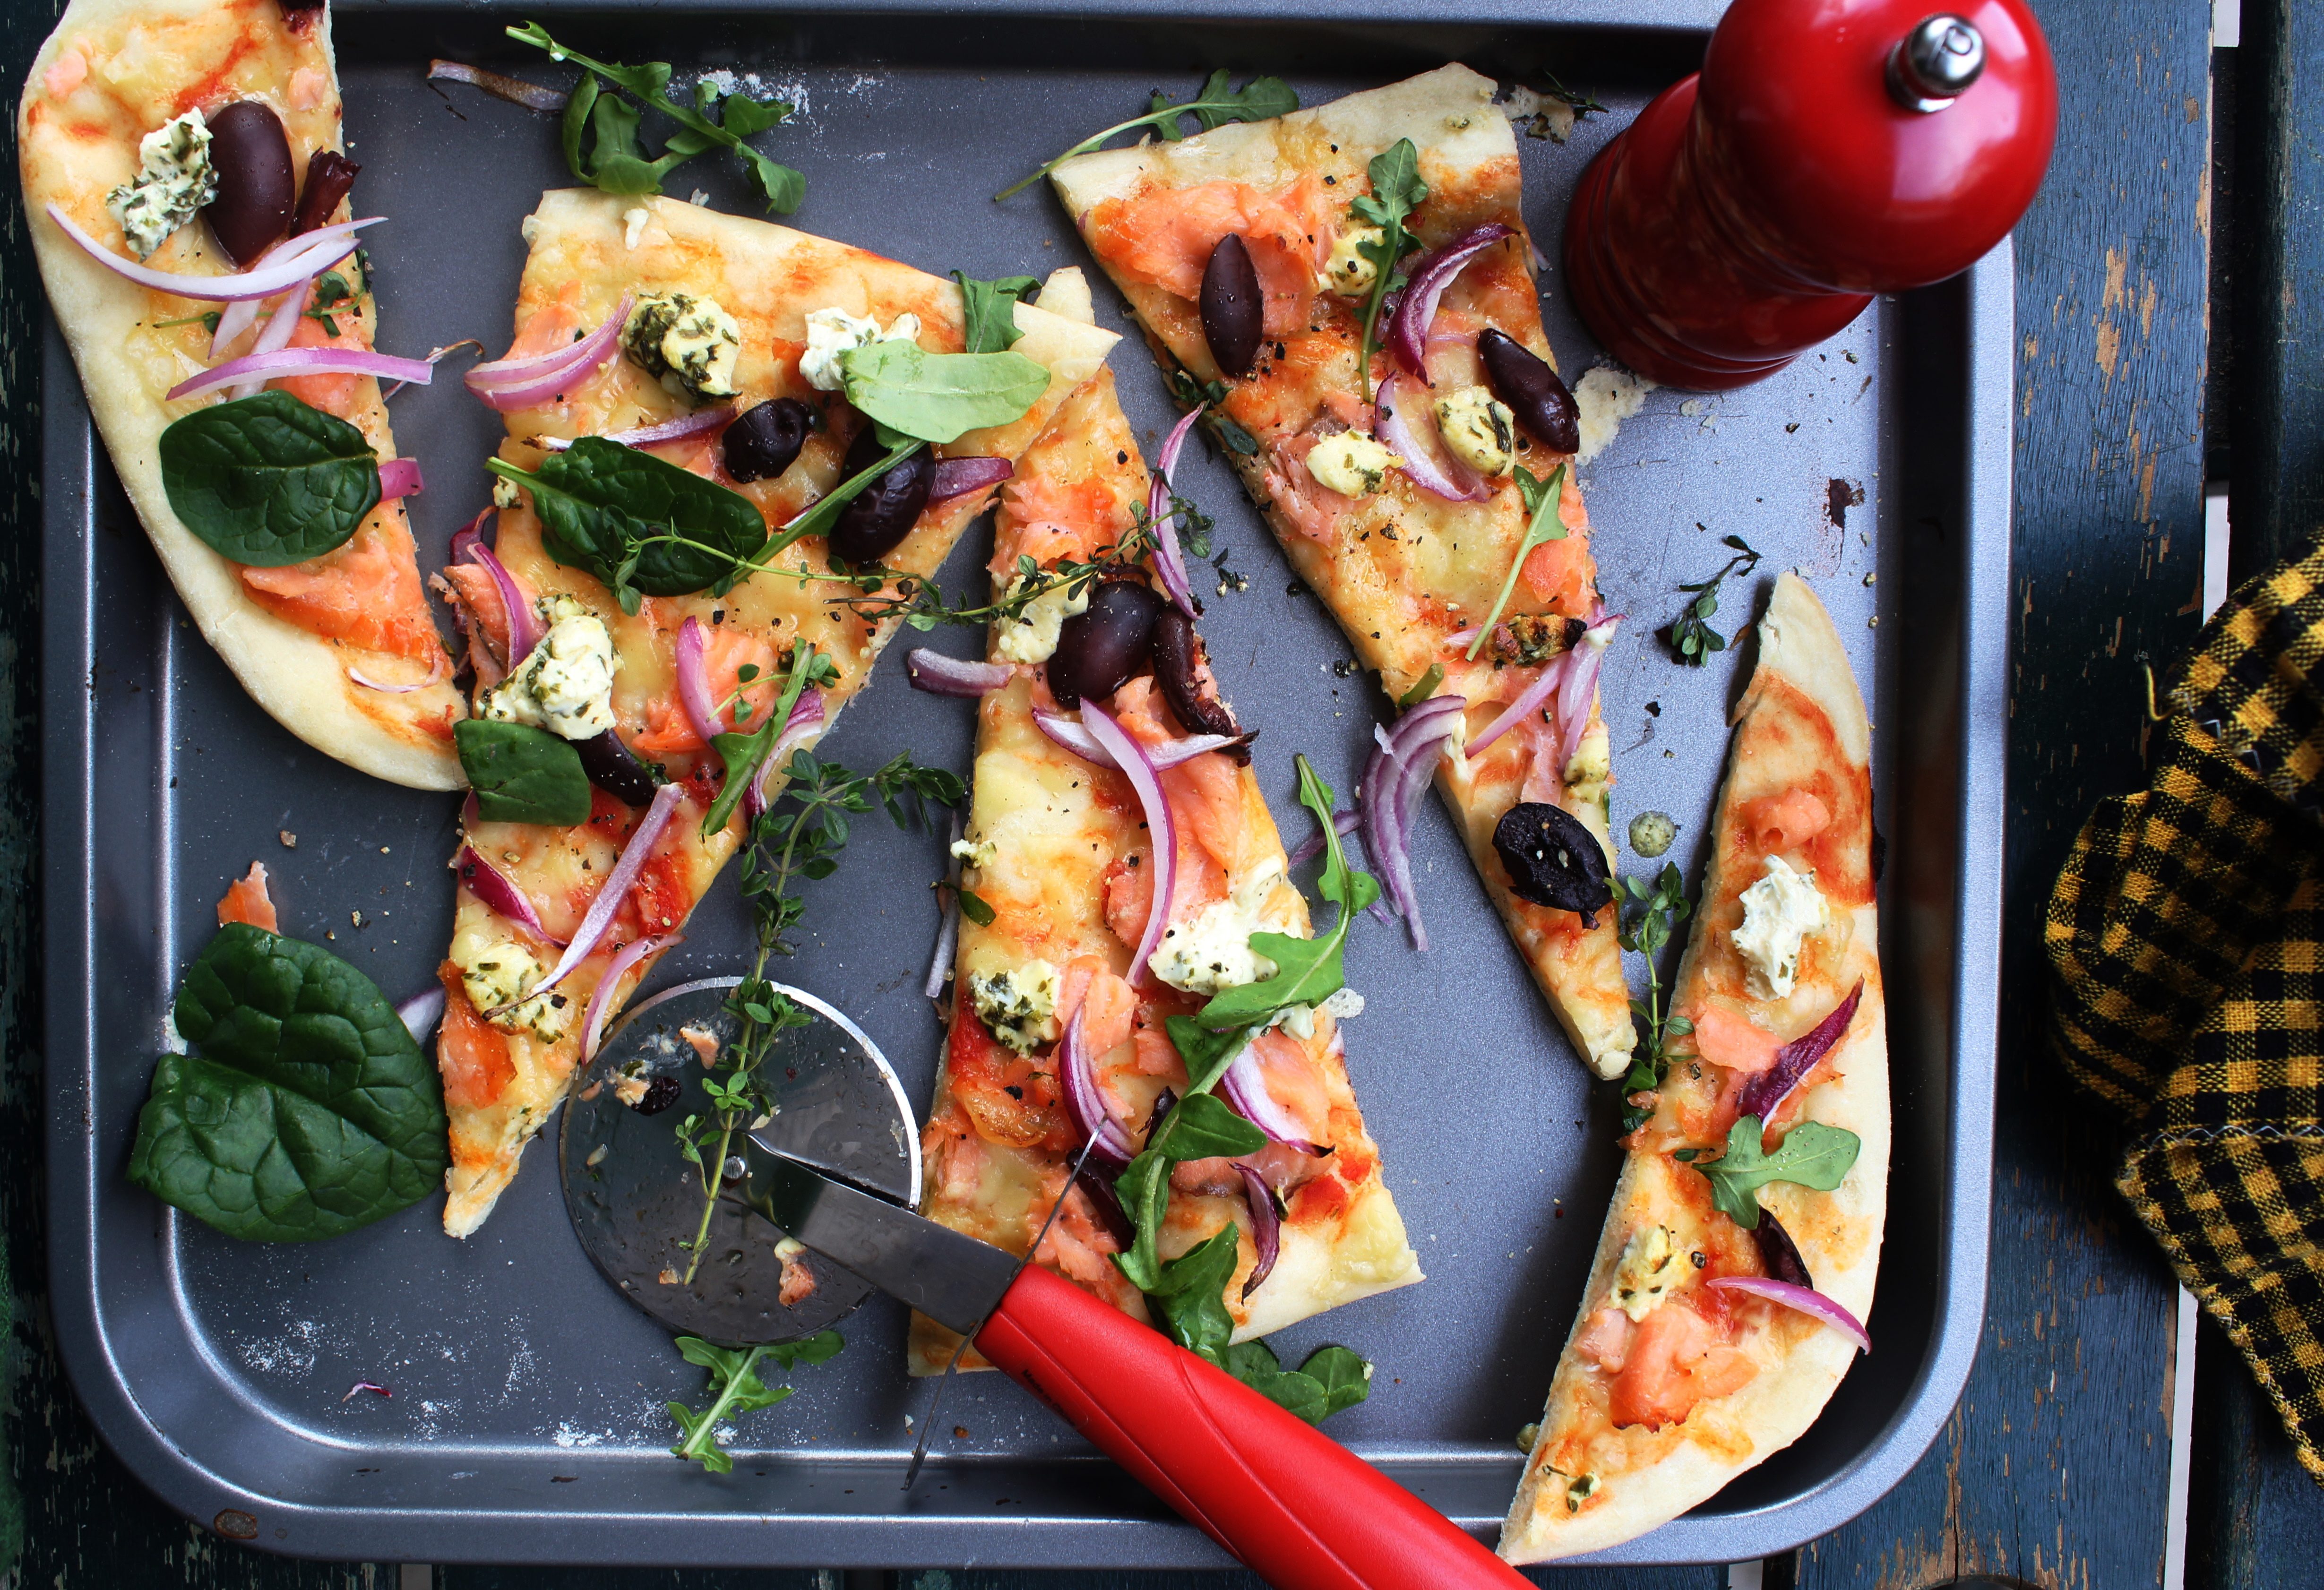
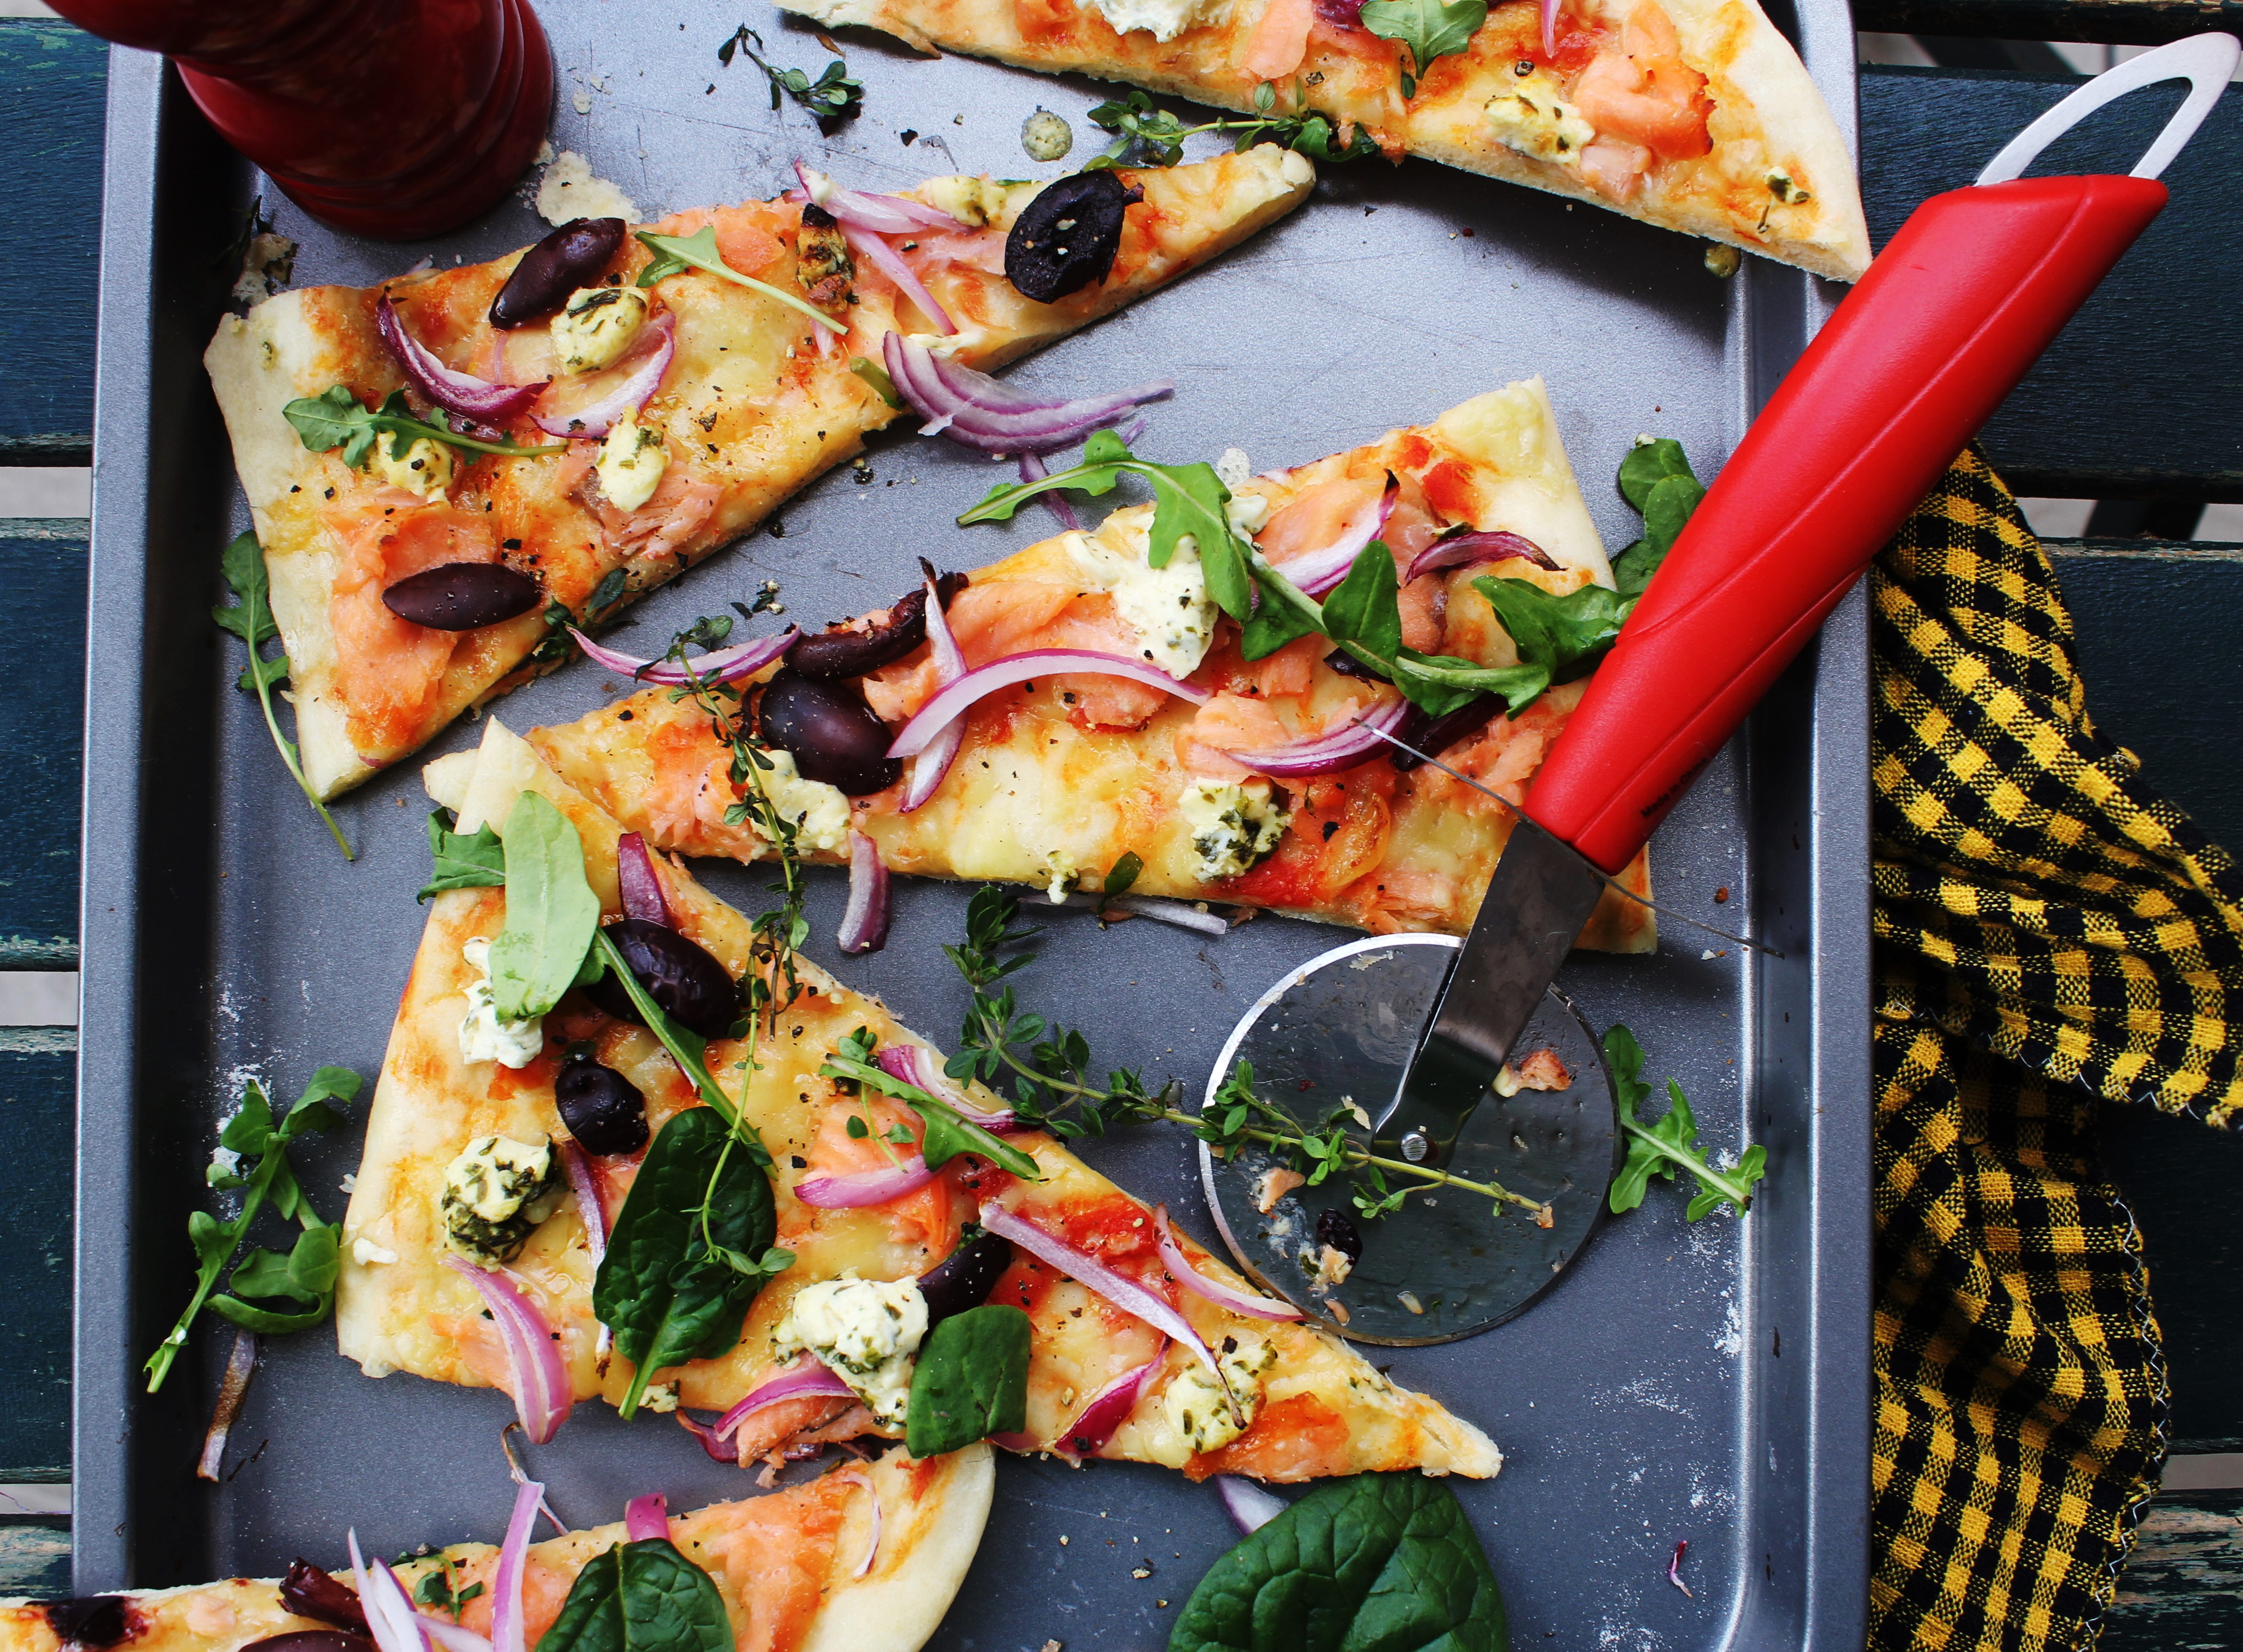
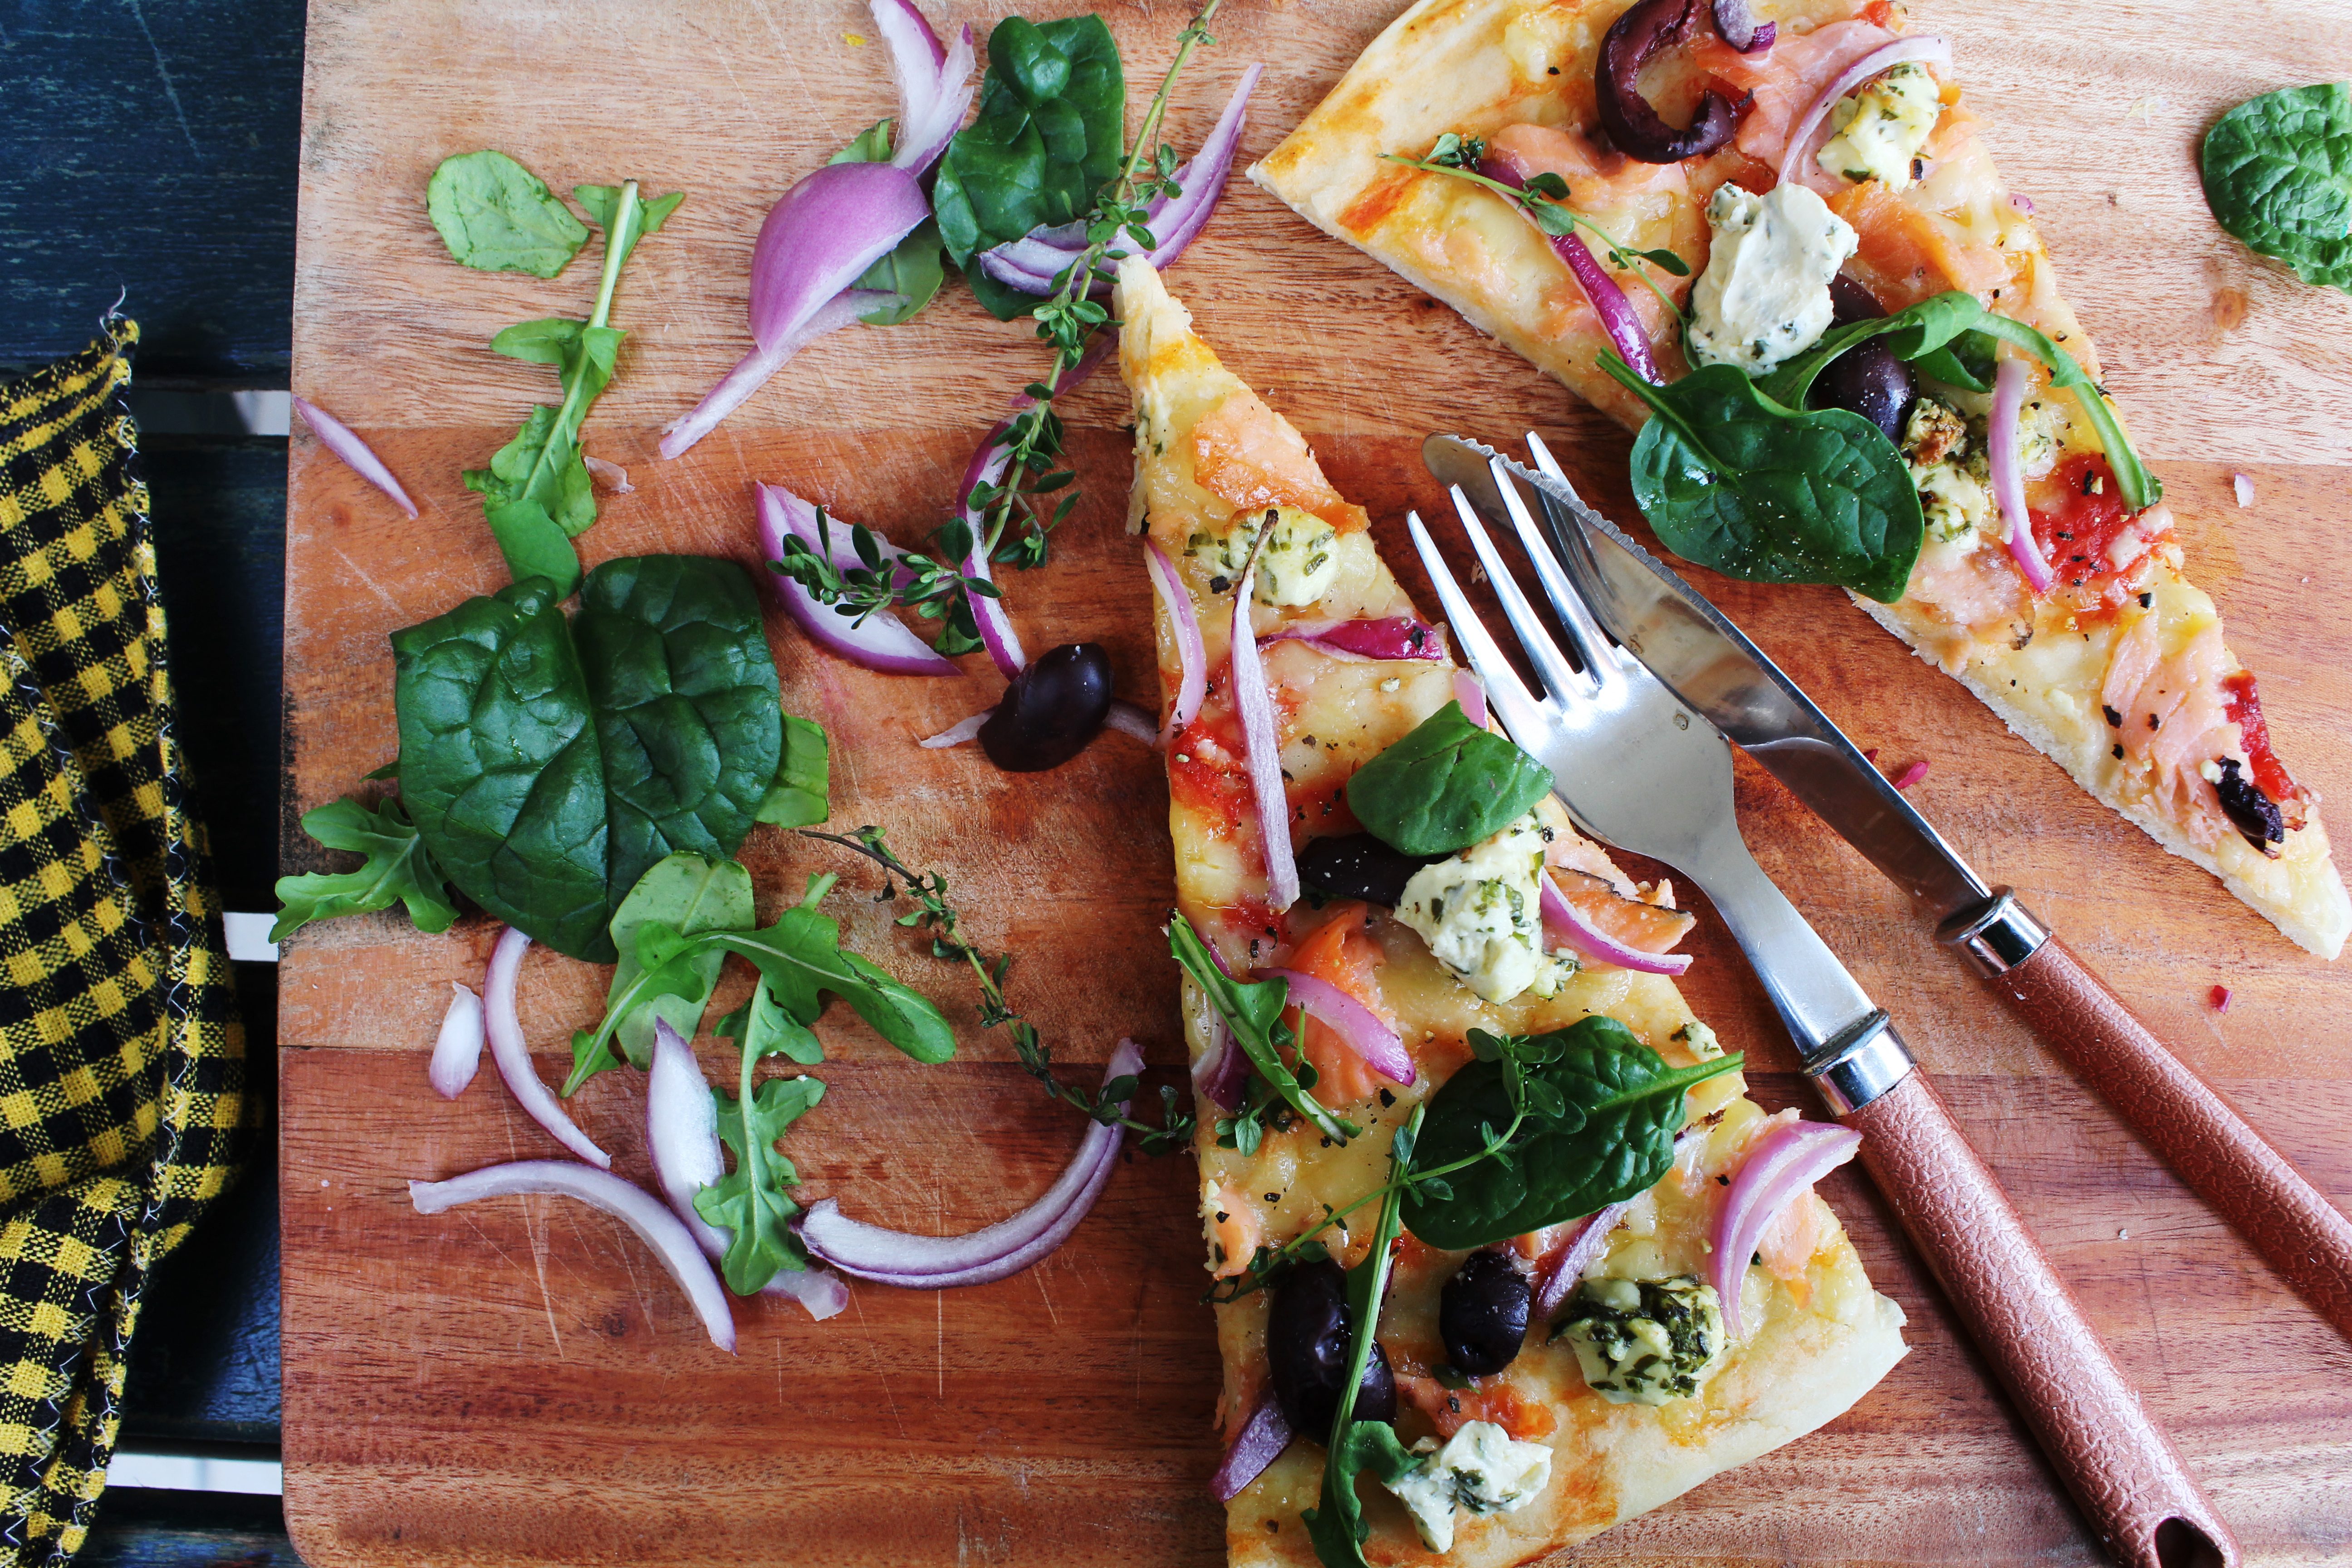
Smoked Salmon, Olives and Herbed Sour Cream Pizza

1|10|2013

On Sundays we like to eat big breakfasts. And elaborate lunches, a lavish afternoon tea and sometimes even a few in-betweens. Sitting around the table at home or eating out at a restaurant, filling each other in on the week that was, debating over the menu or simply watching our little boys voice out their opinion at every opportunity… is our favourite way of relaxing on a holiday. By dinner time we are either on a guilt trip or stuffed till the brim. Naturally no one is hungry for a meal. A soup or a light sandwich is generally our first choice but on days we wish for a lighter yet fitting end to a great day, I make a quick pizza. Wondering if a pizza could ever have anything to do with small or light, well it could. If you make it from scratch. You decide the portions, you pick the toppings and trust me when I say..homemade pizza is better than any takeaway.

IMG_5154 (2)Making pizza dough is actually such a simple process. It hardly fails, freezes well and appeals to kids and adults alike. When I have leftover dough (which is most often) I either store it to make a rosemary Focaccia bread or roll out a few Naan breads (Indian flatbread) with a little garlic butter the next day. It is such a versatile dough. For extra flavour, you can add some thyme, rosemary or oregano leaves, fresh or dried.

IMG_5164 (2)

IMG_5162 (1)

I used the left over smoked salmon from my salmon scotch egg recipe to make this. You can use prosciutto, leftover chicken, paneer, tofu, grilled pumpkin, pineapple, your favourite cheese..literally any topping of your choice. I have skipped the cheese to make it healthier…relatively! I love sour cream and find it extremely useful to make fillings for sweet and savory or just dolloping it over soups, pancakes or pizzas. And lastly adding leafy greens not only enhances the look but also is a good source of nutrition. Roll out your pizzas in any shape, size or thickness as you prefer. I am actually known for my pizzas-for-two. Simply roll out the dough in a rectangle and add your toppings. Once ready slice them in as many ways as you want.

IMG_5157 (1)


Smoked Salmon, Olives and Herbed Sour Cream Pizza

Pizza Dough (makes two 12 inch pizzas)
3 cups Plain Flour
2 tsp/7g/1 sachet dried yeast
1/2 tsp castor sugar
1/2 tsp salt
1 1/4 cups warm water
1 tbsp olive oil
Olive oil, for brushing
Semolina or Polenta, to dust

Pizza Topping
1 tbsp passata/pizza sauce
1/2 red onion thinly sliced
A few slices of smoked salmon
A handful kalamata olives
1 tbsp Extra Virgin Olive oil for drizzling
A handful of spinach, rocket, thyme and dill leaves

For the Herbed Sour Cream
1/4 cup sour cream
a few sprigs of parsley/oregano/thyme/chives finely chopped

Make the dough: Combine the dry ingredients in a large bowl and make a well in the centre. Add the warm water and olive oil. Mix together and use your hands to bring it to a soft dough. Knead it on a floured surface to make it smooth and pliable. Return it to the mixing bowl that has been brushed with oil. Add the dough and turn to coat.
Cover with a damp tea towel. Set aside in a warm place for 30 minutes or until dough doubles in size. Punch down dough with your fist. Remove the dough from the bowl and knead it gently for a minute. Halve the dough and roll it out to the desired portion and thickness.

Make the topping: Preheat the oven to 220 degrees C. Dust pizza tray with semolina or polenta. Place the rolled out dough onto the prepared tray. Spread a thin layer of passata or pizza sauce around the base of the pizza. Top with smoked salmon, olives and red onion. Season with salt and pepper and drizzle with olive oil. Bake for 10 minutes or until base is crisp. While the pizza is baking mix the sour cream and herbs together to make herbed sour cream. Remove the pizza from the oven, dollop with sour cream and top with leafy greens.


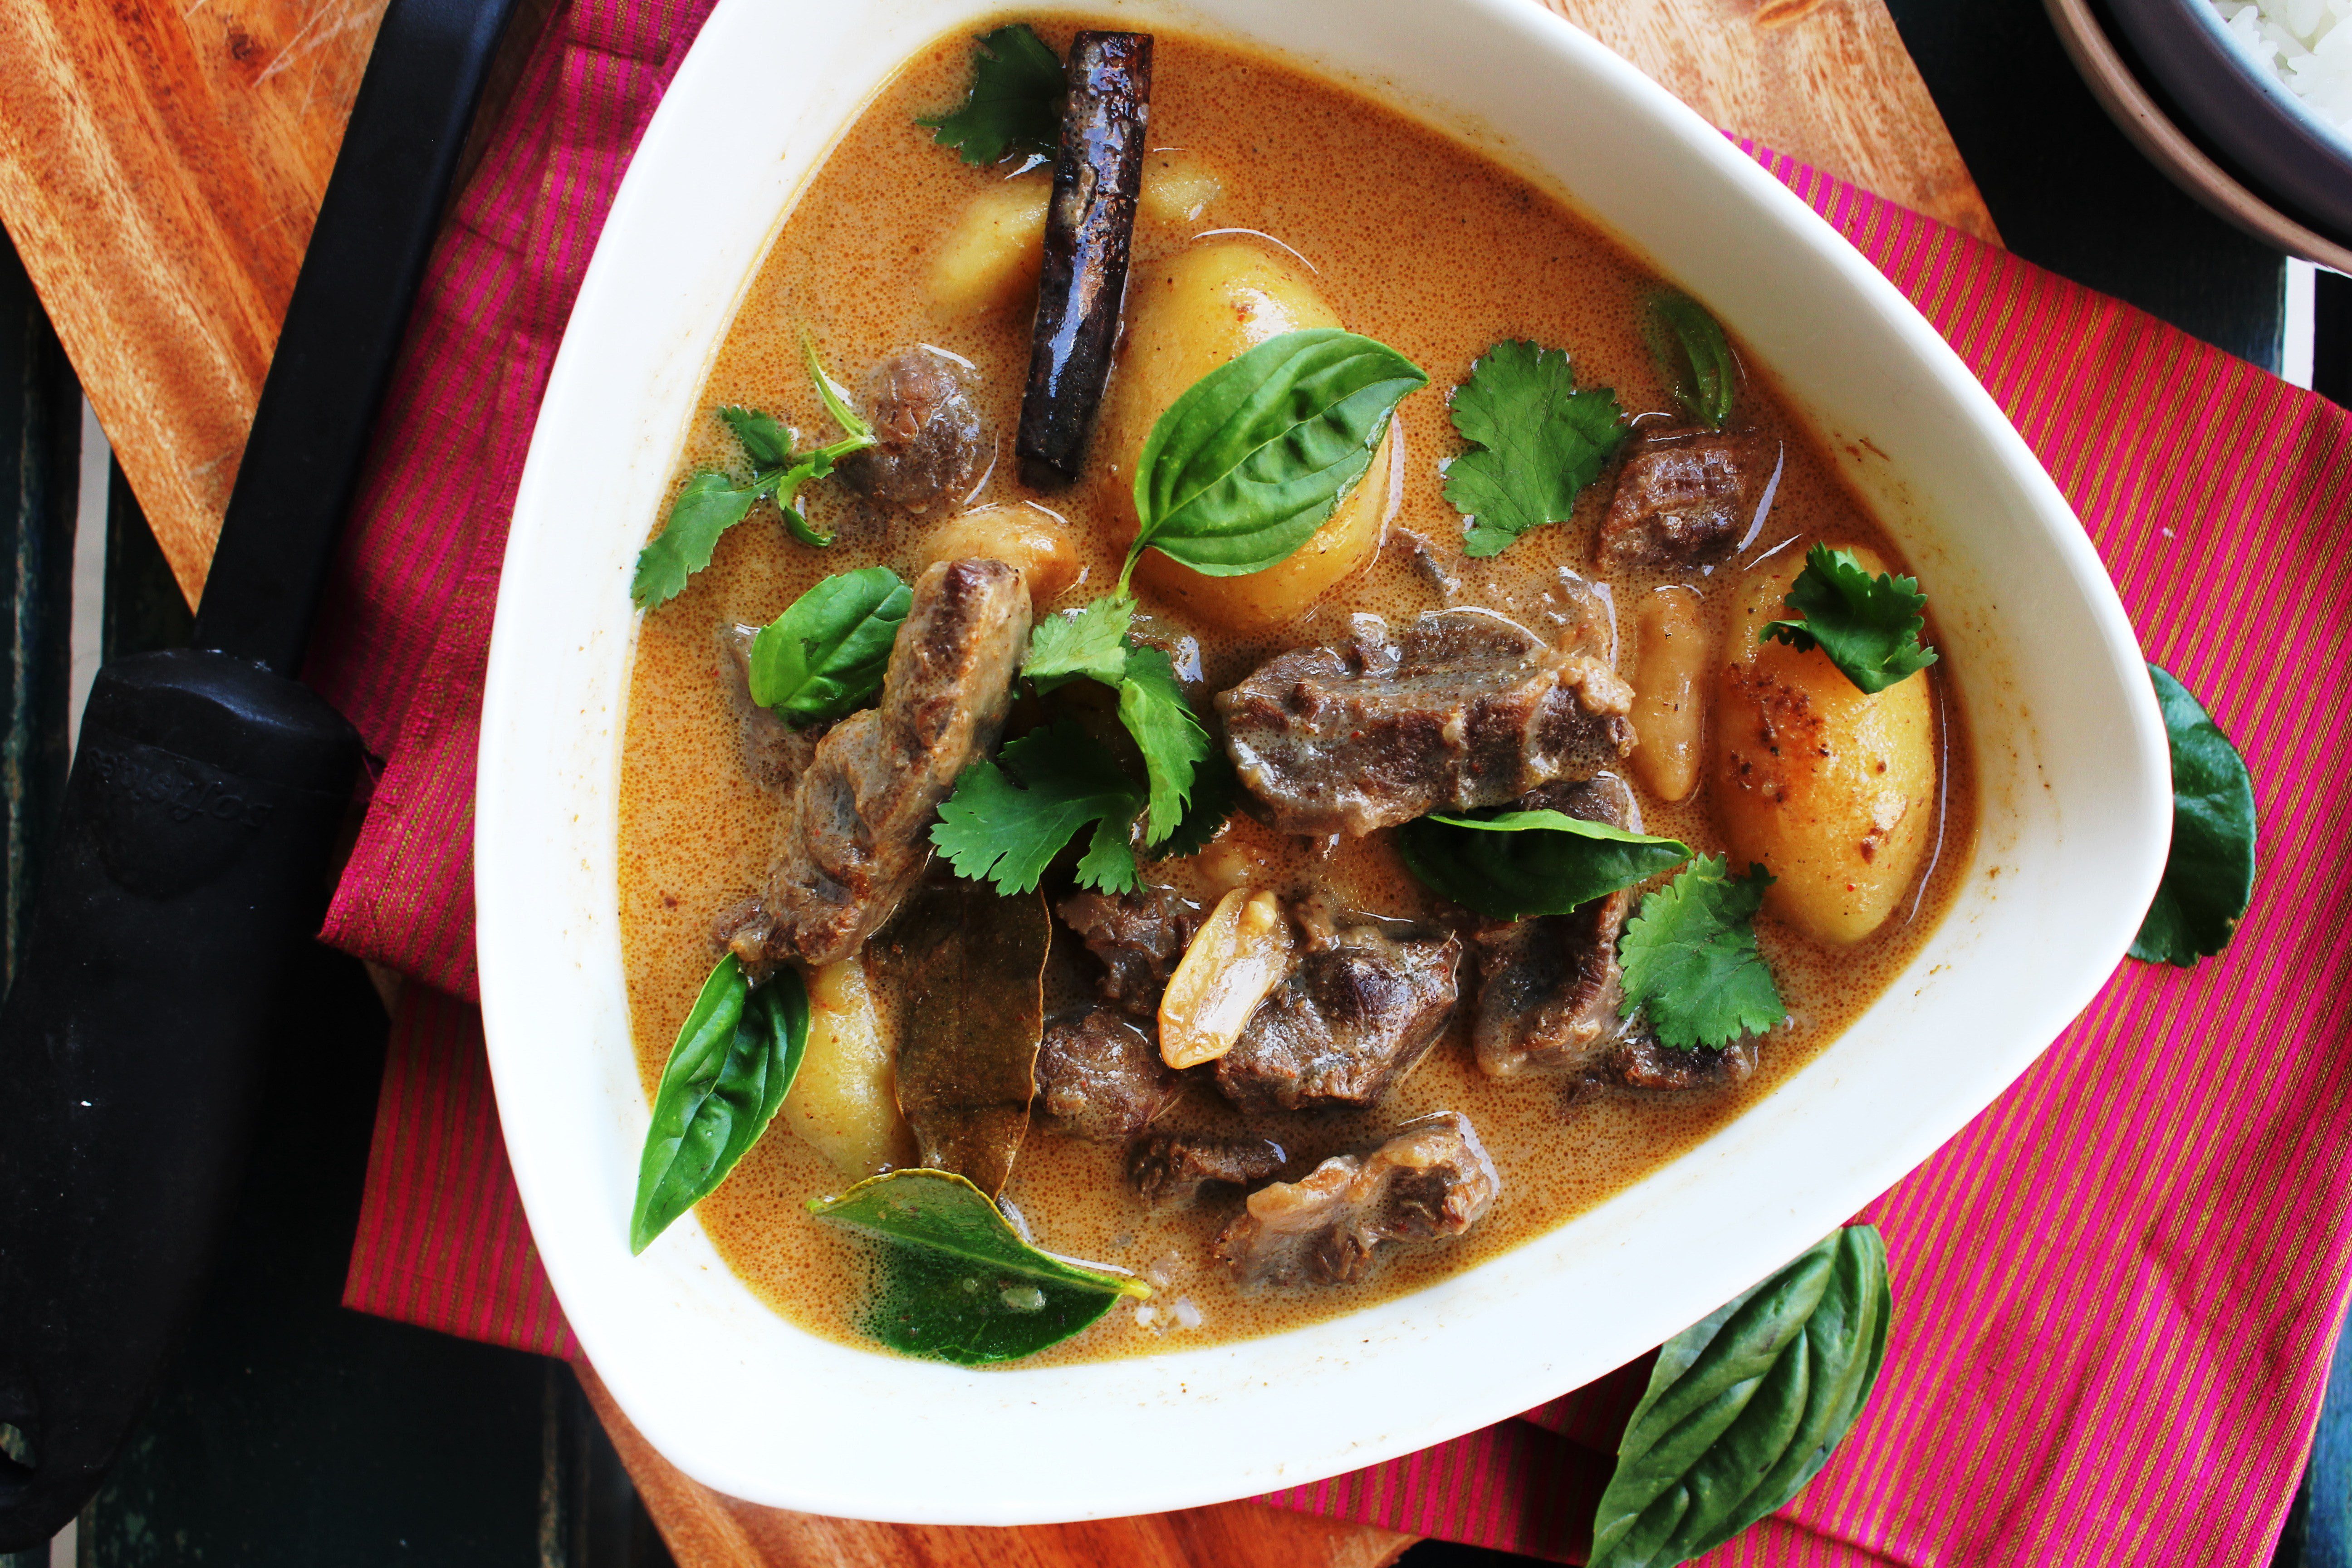
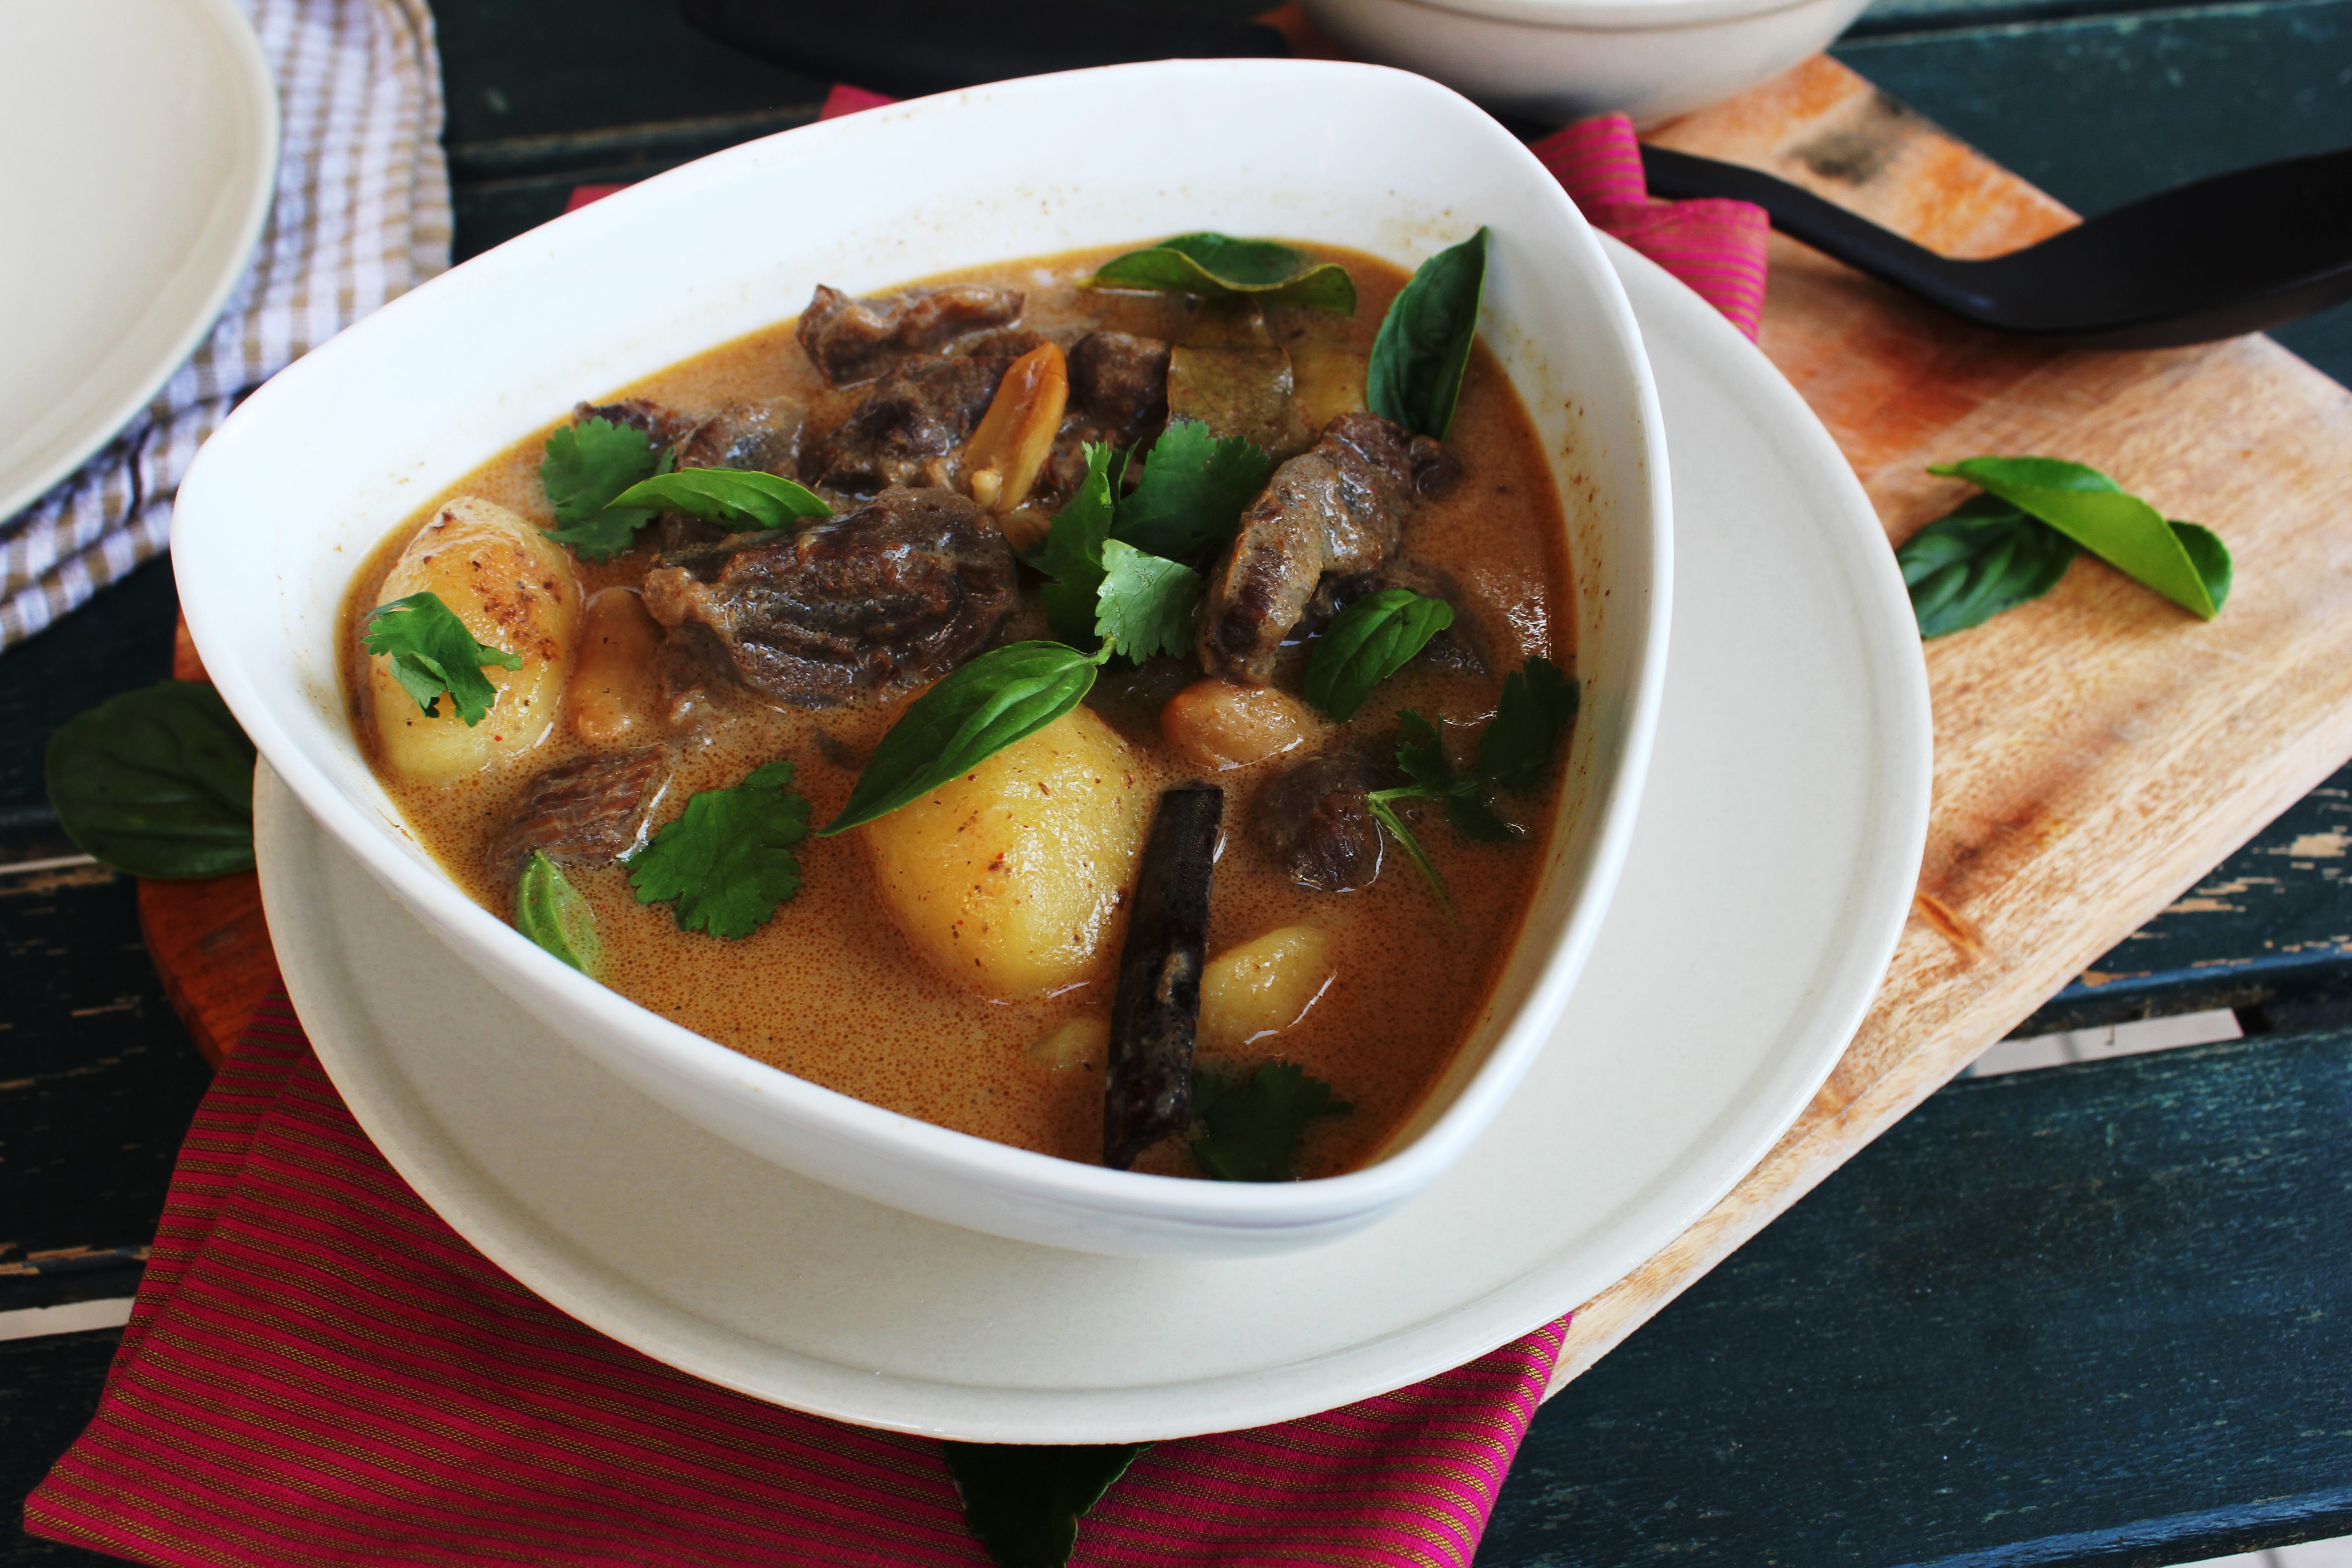
Lamb Massaman Curry

25|09|2013

Isn’t it great to feel the sun, warm on your skin after being covered in layers all throughout the winter months? In the southern hemisphere, we are well into Spring and trying hard to make our weekends count. There is so much happening around us at the moment that I am finding it hard to pick and choose a single destination or activity to enjoy during the weekends. Sydney comes alive in Spring and the cultural scene just explodes with activity. Festivals, exhibitiions, arts, music, sculpture to name a few. With two little boys in tow, we are trying to combine activities that we we enjoy as a family.

IMG_4999 (2)

I have plenty of photographs of my gorgeous city in Spring to share with you much like I did in Autumn. Well, that would have to wait a bit. This year is moving faster than I had imagined. I complained a lot during the colder months…it’s just not my kind of season! But curling up in bed early with a book and sleeping in late was such an easy habit to fall into. Along with the roast dinners, heart warming stews, spicy curries and warm crumbles. I cooked a lot of lamb this year, mainly because my boys have started to enjoy it as much as I do.

IMG_4998 (1)
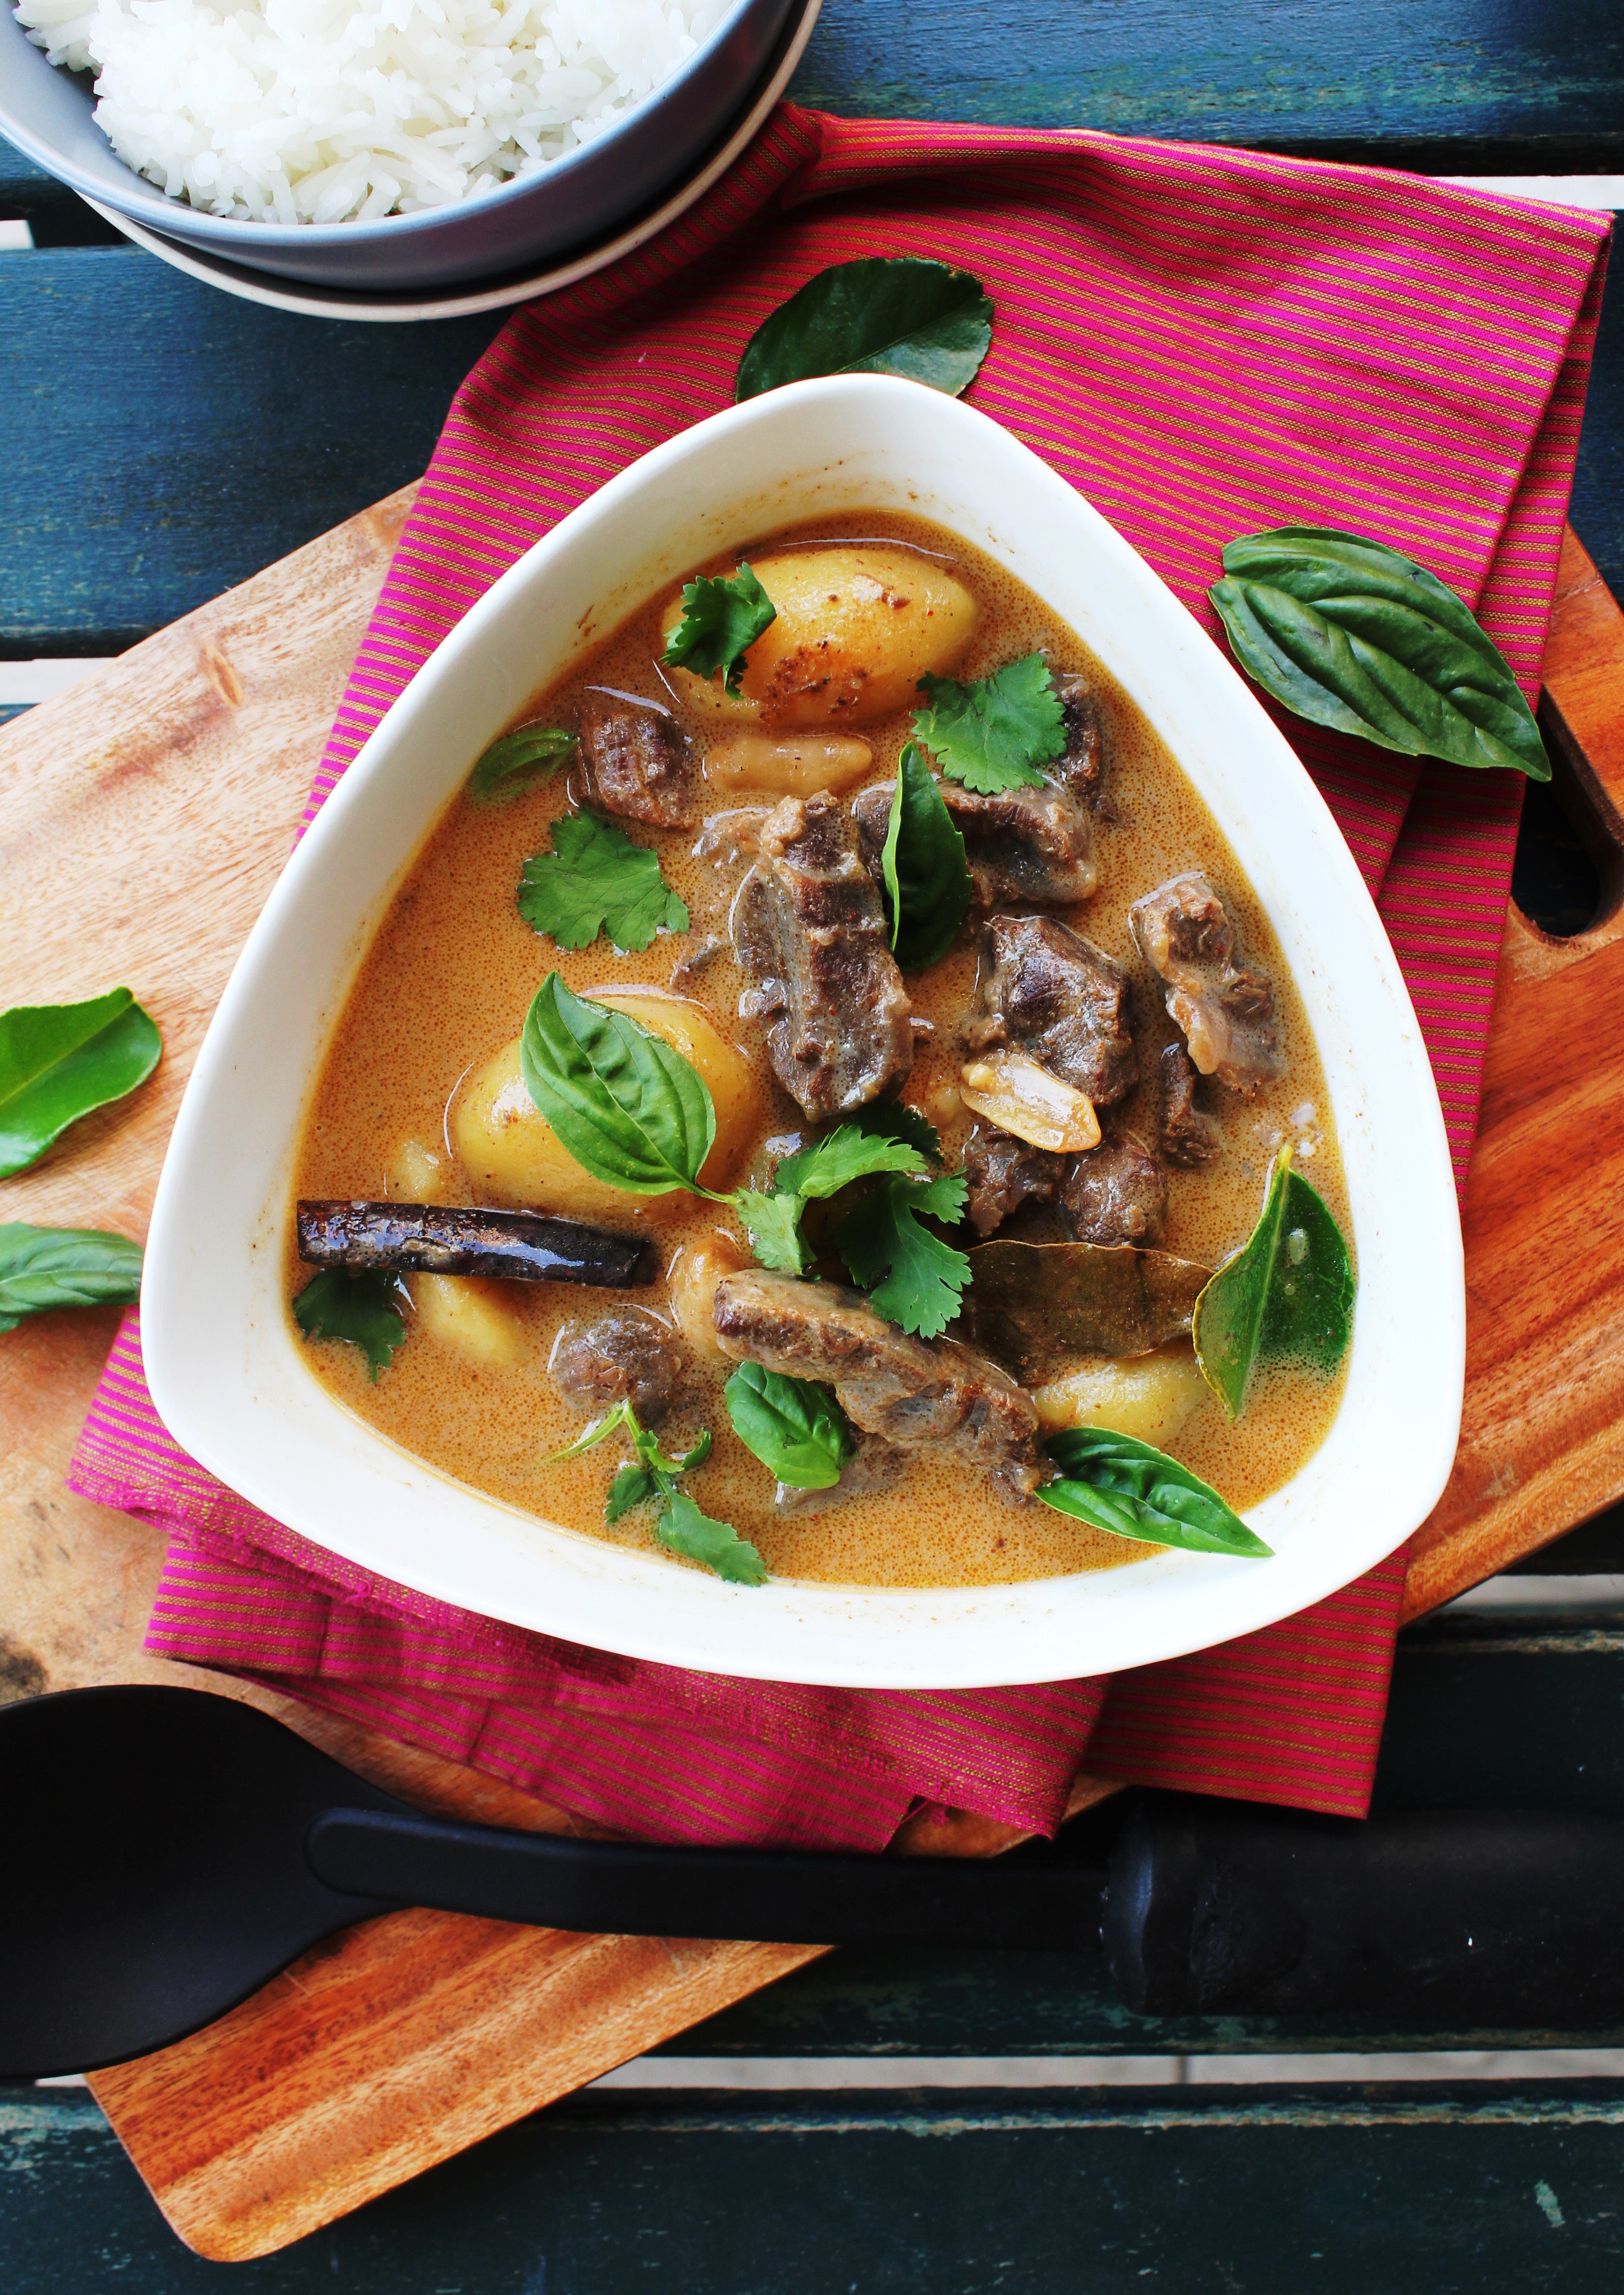
Thai food is my one of my favourites and I cook it quite often. But never from scratch, until now. The spice pastes are more easily available than the traditional ingredients that go into making it. However, you should be able to get most of them from any Asian supermarket. These are the foundation of many Asian dishes, so once you have them, you can try out pretty much any of the curries from scratch. A tiny little warning when you are roasting belacan/shrimp paste…please make sure you have all your windows open as the odour can be really pungent and strong (I didn’t quite enjoy the experience but later realised how important it was) You can substitute it with fish sauce but to get the REAL taste, this is critical.
That being said, once the curry starts to cook, you should experience the most amazing aroma sensations that come with Thai curries. I have cooked this with beef chuck steaks at a different time. Though it takes longer to cook the flavours are great too. Also, if you do not have the time to make the spice paste from scratch, you could use the store bought one and follow the rest of the recipe.

Now if you are wondering what my winter cooking is doing in Spring, this was made, photographed and consumed in winter. Along came sweet treats and this one went back into my drafts awaiting its turn. But you know what, a dish like this can be made anytime of the year. How about this weekend?

IMG_5004 (2)


Lamb Massaman Curry

For the Spice Paste

8 dried long red chillies, deseeded
1 teaspoon shrimp paste/belacan (preferably the block/slab)
2 teaspoons ground coriander
2 teaspoons ground cumin
1 teaspoon ground cinnamon
1/4 teaspoon ground cloves
1 teaspoon ground white pepper
1/2 brown onion, chopped
3 garlic cloves, chopped
1 stem lemon grass, trimmed, white part chopped
3cm piece galangal, peeled, chopped

For the Curry
2 tablespoons vegetable oil
500g lamb shoulder chopped into cubes
1 cup coconut cream
2 tablespoons of the prepared massaman curry paste
1 cup coconut milk
1 cup chicken stock
1/2 cup unsalted roasted peanuts
2 medium potatoes, peeled, cut into 3cm pieces or baby chat potatoes
1 cinnamon stick
2 bay leaves
5 cardamom pods, lightly crushed
2 tablespoons palm sugar syrup (can be substituted with brown sugar but palm sugar makes it taste authentic)
1 tablespoon tamarind concentrate/paste
1 tablespoon fish sauce
salt, to taste
lime and basil leaves to serve

To make the Spice Paste:

Place chillies in a heatproof bowl. Cover with boiling water. Stand for 20 minutes or until soft. Drain well. Roughly chop. Wrap shrimp paste in foil. Heat in a frying pan over medium heat for 2 to 3 minutes each side or until roasted.

Blend or process chillies, roasted shrimp paste, coriander, cumin, cinnamon, cloves, white pepper and 1 tablespoon cold water until smooth. Add remaining ingredients, one at a time, blending well after each addition until mixture forms a thick paste. Store paste in a clean, airtight jar in the fridge for up to 6 months.

To make the Curry:

Heat oil in a large saucepan over medium-high heat until hot. Add lamb. Cook, stirring constantly, until evenly browned. Transfer to a plate. Add 2 tablespoons coconut cream to pan. Cook over medium heat for 20 seconds or until hot. Add curry paste. Cook for 1 minute or until aromatic.

Return lamb and juices to pan. Add coconut milk, stock, peanuts, potatoes, cinnamon stick, bay leaves, cardamom pods, palm sugar, tamarind concentrate, fish sauce,salt and remaining coconut cream. Stir to combine.

Reduce heat to low. Cover and simmer, stirring occasionally, for 40-50 minutes or until lamb is tender. You can use a pressure cooker if available. It would take about 15 minutes. Taste before serving. If you need a bit more sweetness, add another tsp of palm sugar. Pour the curry into a serving bowl and garnish with lime leaves and basil leaves. Serve with Jasmine rice.


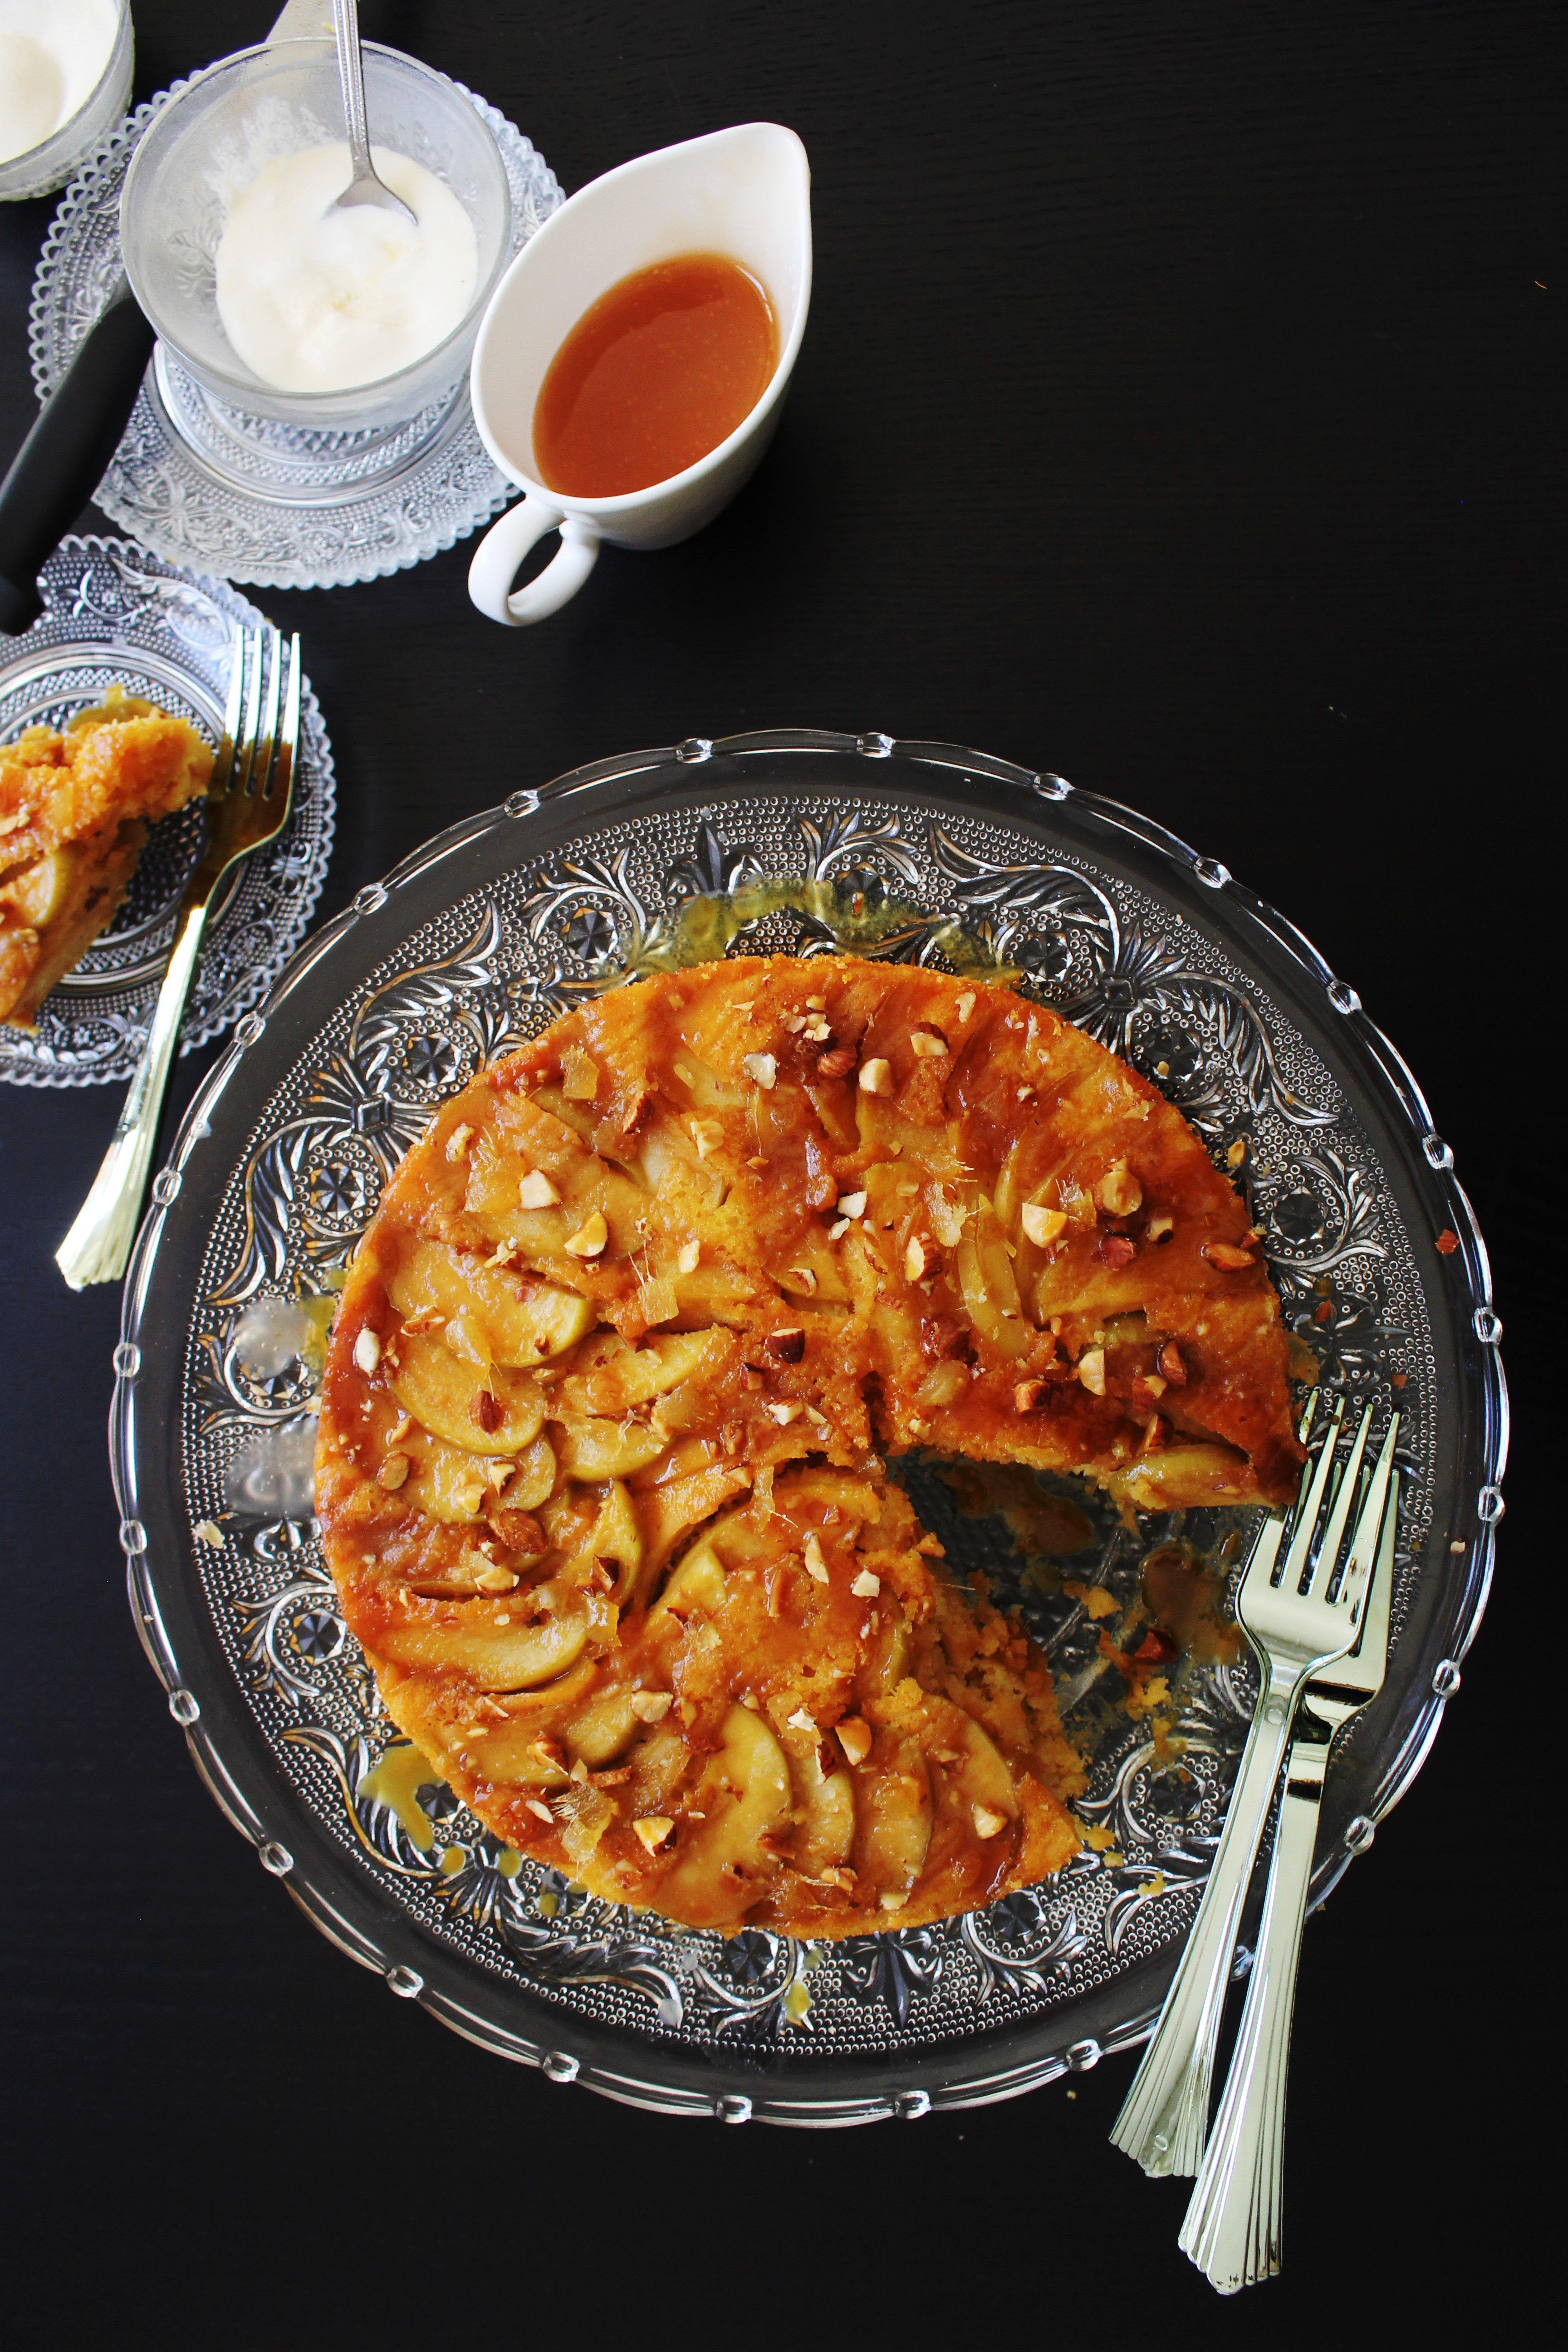
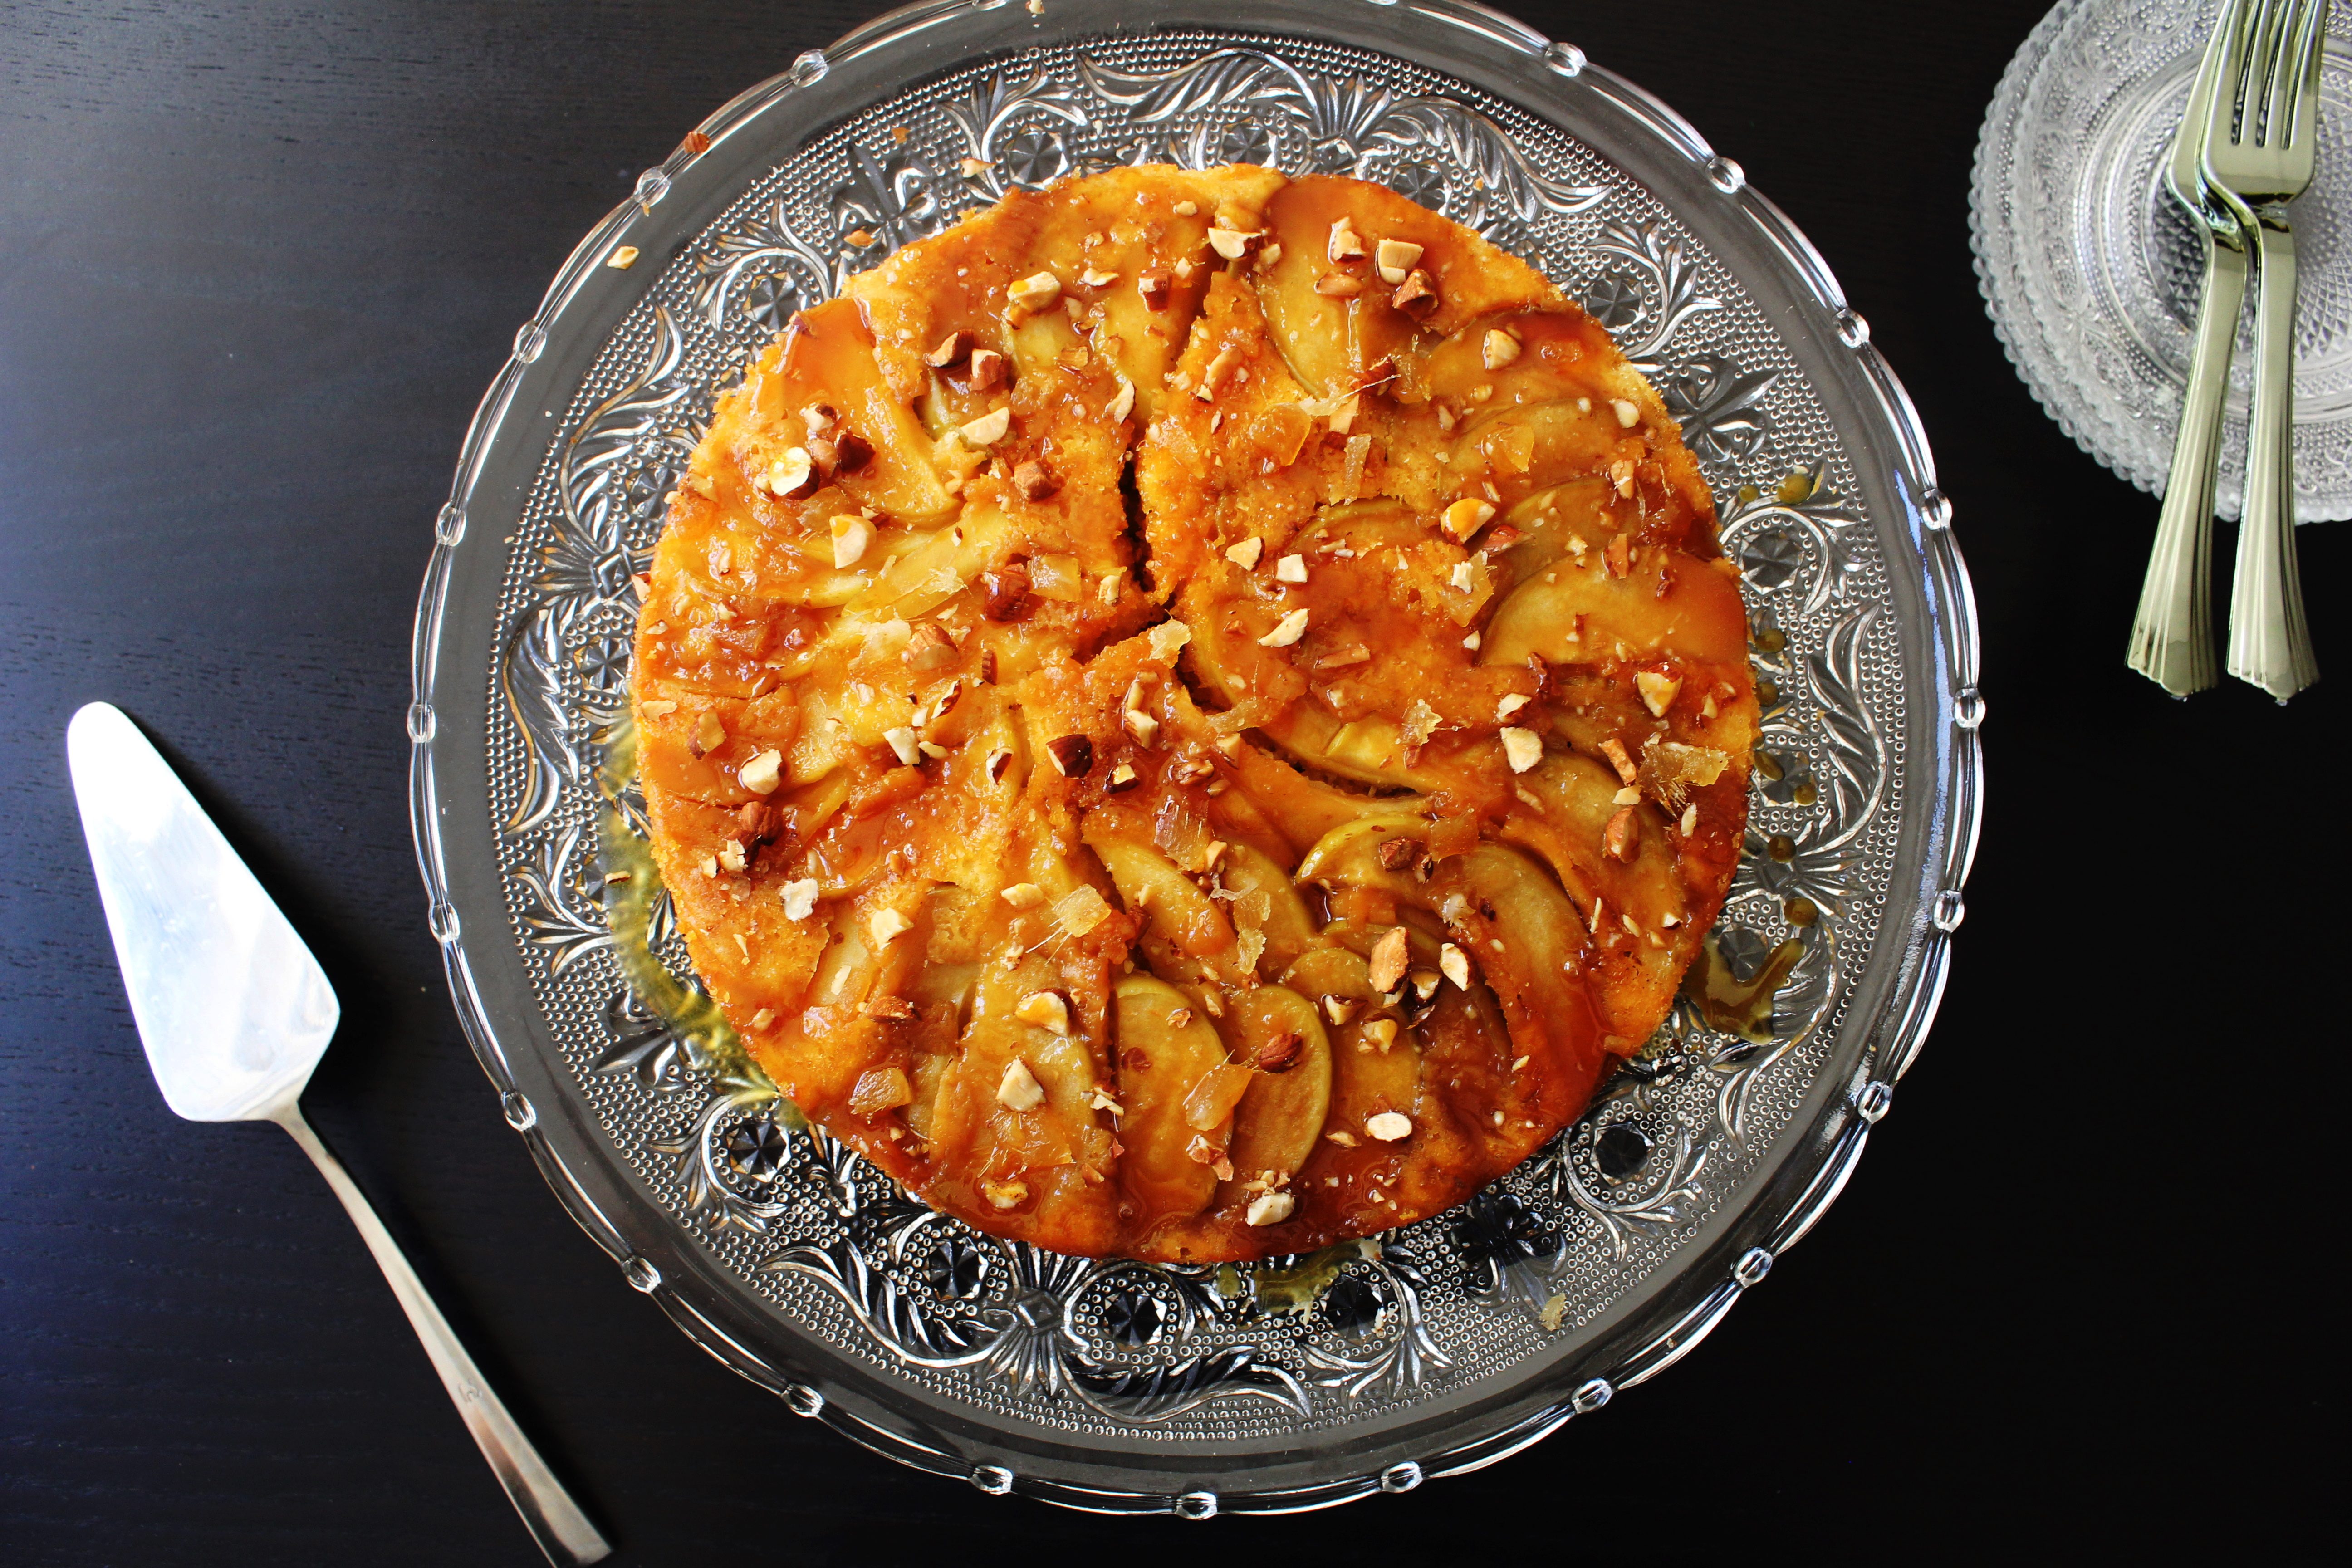
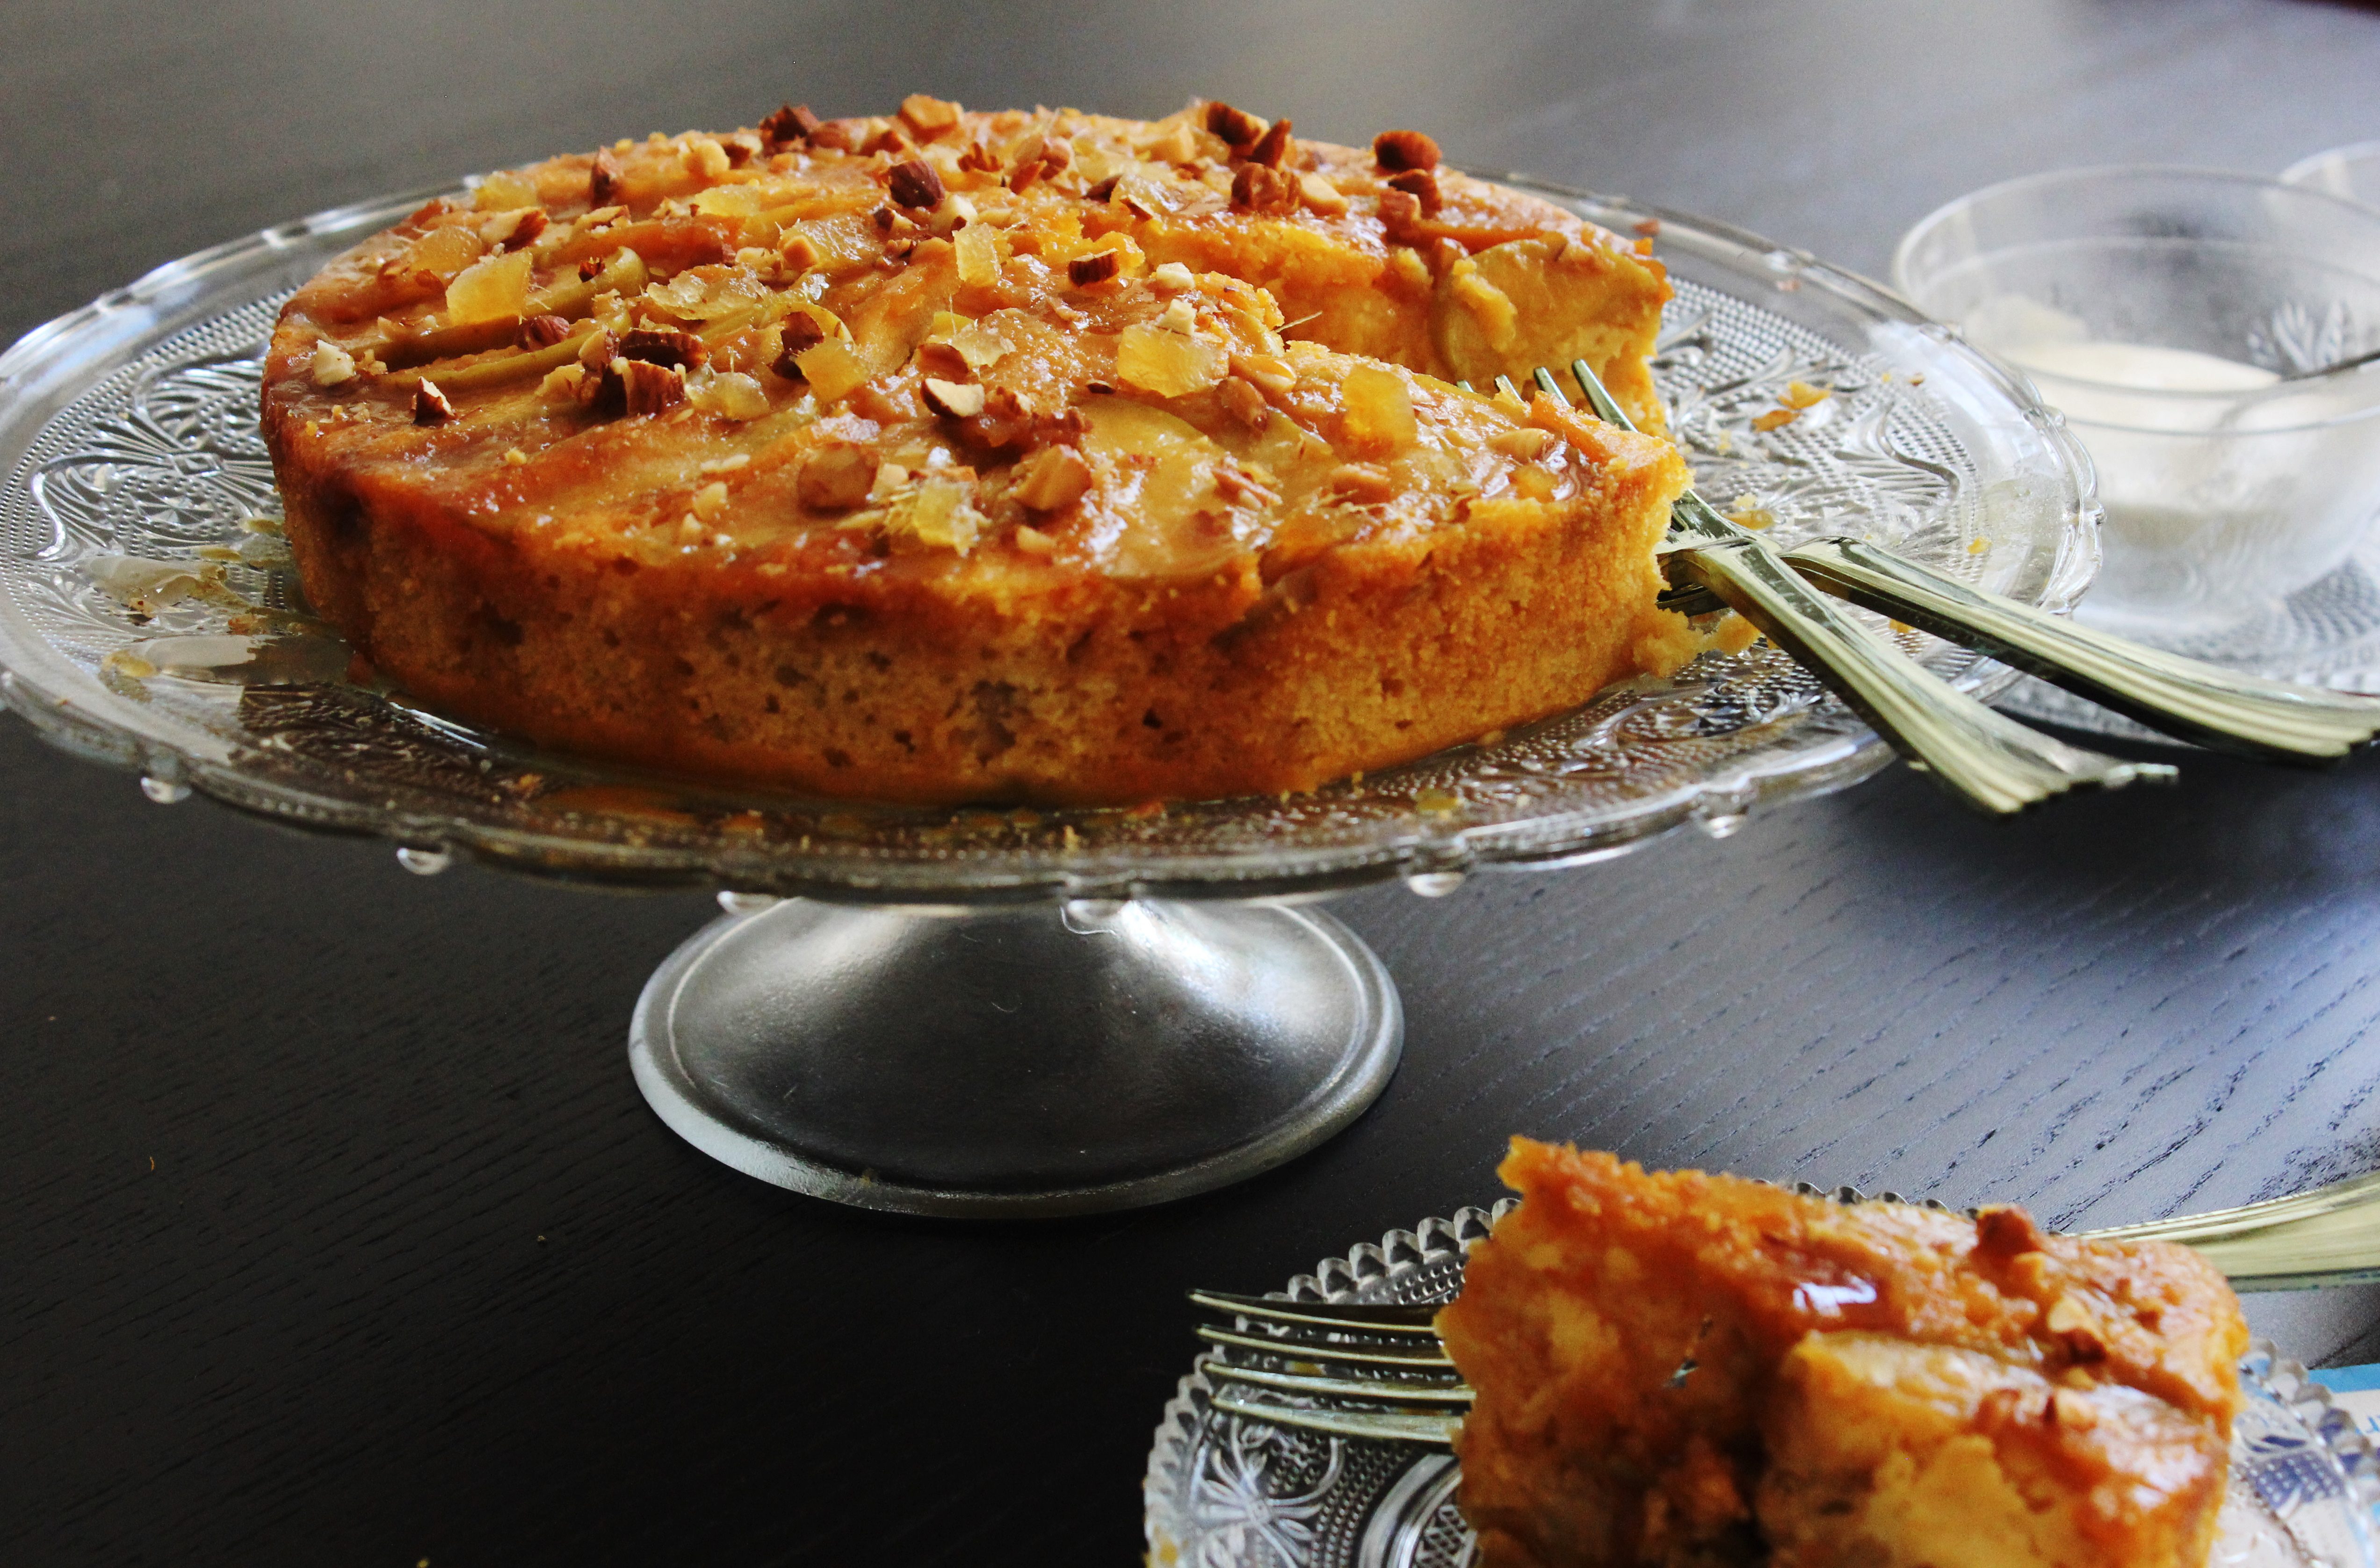
Golden Apple Ginger Cake

23|09|2013

In life, we meet so many different people. Some just happen to us and some are sent our way. Some of them, we meet and forget and some we create everlasting memories with. There are some who we don’t meet often yet they touch our lives in a million ways. They listen to you, inspire you, stand by you, protect you and believe in your dreams like it was their own.

IMG_5297 (1)

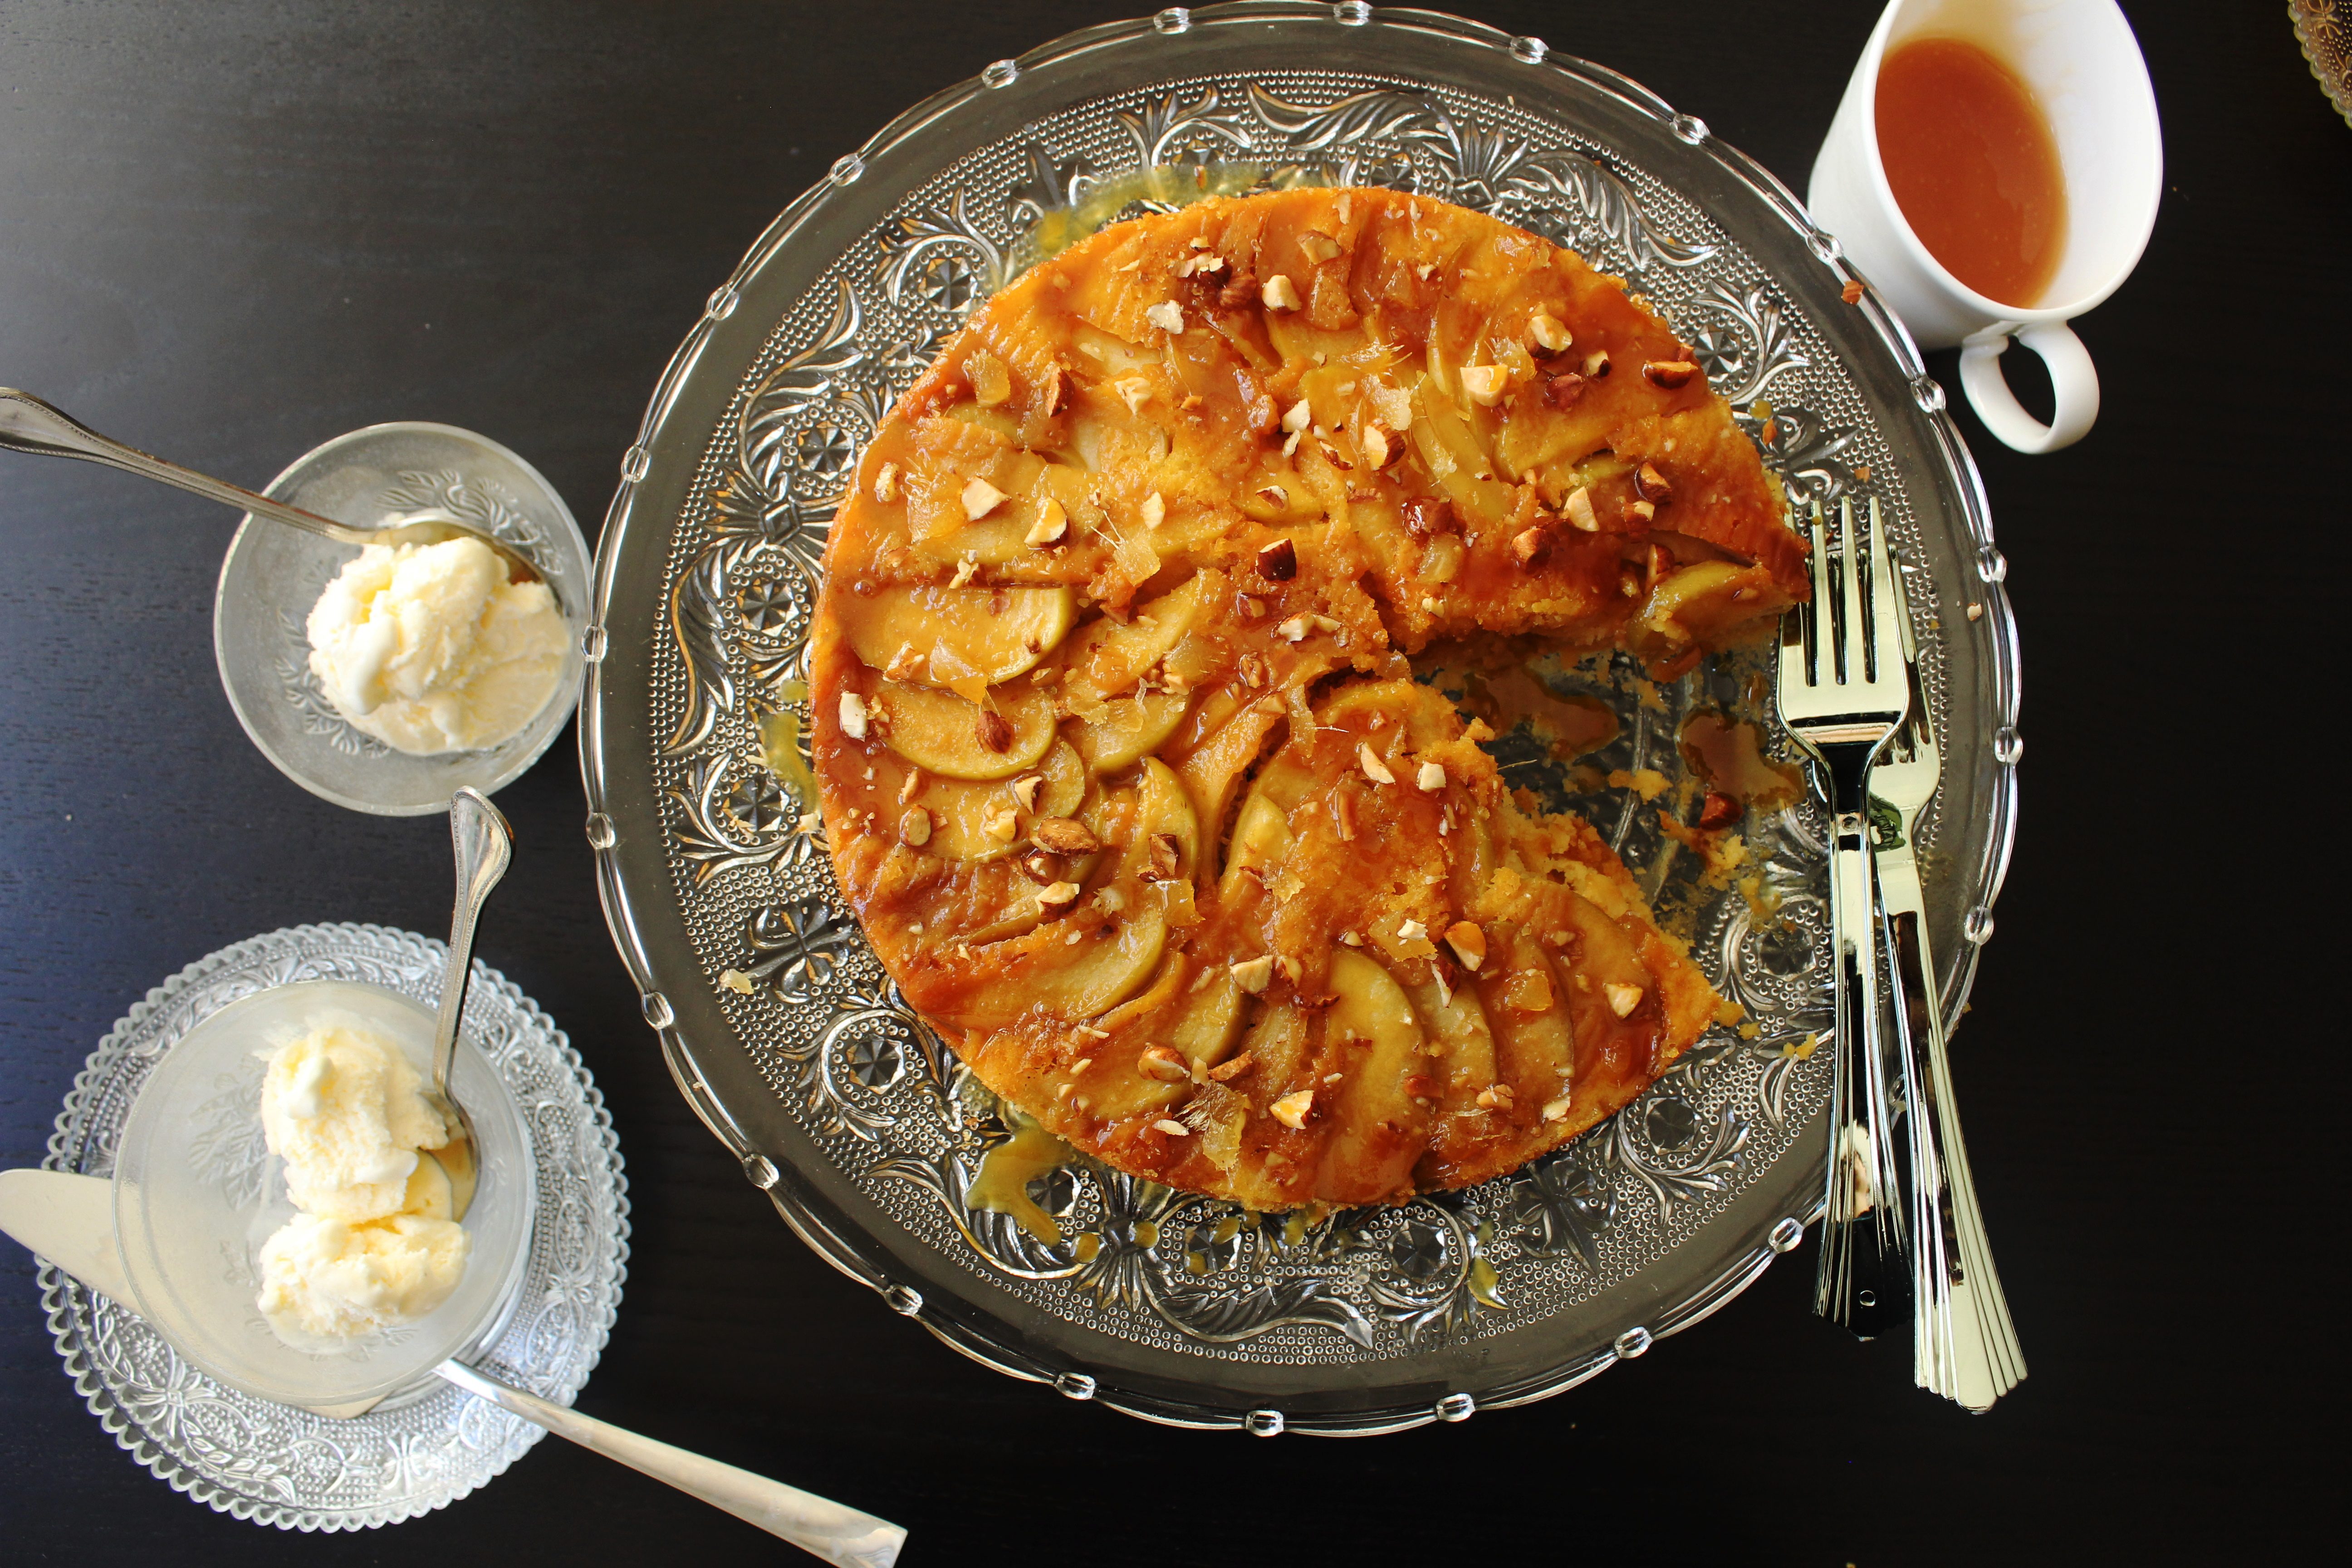
This dainty little cake with all my favourite things in it, is to celebrate a birthday…a dear sister, a friend, a woman with a heart of gold.  Just 9 days apart (so you know my birthday is coming up too), but at least 900 times wiser, stronger and affectionate. I held on to this recipe for a long time so I could post it today when it is seemed so apt to do so.

IMG_5274 (1)

Here’s a little tip for my readers. If you are baking a cake for a special occasion but like me, you are not too fond of the frosted ones, just replace the sugar with brown sugar, treacle or golden syrup. It adds an amazing intensity to the cake. The flavour is more like caramel, actually better. Pairing it with spice makes it go up by several notches. This is also one of those cakes that require minimal effort…the ones where you just put everything in one bowl. But the results are amazing. The syrup is essential to give it that wow factor and to keep the cake moist, so no skipping it.
IMG_5302 (1)

Happy Birthday to my Golden Girl!
I know you will be amongst the first to read this. Like always!

IMG_5284 (2)


Golden Apple Ginger Cake
Makes an 8 inch round cake (minimally adapted from Sweet
Food)

For the cake
250g (2 cups) self-raising flour
21/2 tsp ground ginger
165g (3/4 cup) firmly packed brown sugar
1 large apple, peeled, cored and chopped into cubes
3 eggs lightly beaten
125 ml (1/2 cup) buttermilk
125g unsalted butter, melted

For the apple topping
175 g (1/2 cup) golden syrup
2 apples, cored and thinly sliced into wedges
25 g unsalted butter
1 tbsp glace ginger/crystallised ginger, roughly chopped
2 tbsp roasted almonds, roughly chopped

Preheat the oven to 180 degrees C. Grease a 8 inch round cake tin and line the base with baking paper. Pour half the golden syrup over the base of the tin, spreading evenly with a metal spoon which has been run under hot water. Arrange the apple slices over the golden syrup in a circle, overlapping slightly.

Sift the flour and ground ginger into a bowl. Add the sugar and chopped apple, then the egg, buttermilk and melted butter. Stir until just combined and batter is smooth.

Spoon the mixture into the prepared tin and bake for 40-50 minutes, or a skewer inserted into the centre of the cake comes out clean. Leave in the tin for 10 mins, then carefully invert onto serving plate.

Heat the remaining golden syrup and 25 g butter in a saucepan over low heat until the butter has melted. Spoon the sauce evenly over the cake. Sprinkle with glace ginger and chopped almonds. Serve warm with vanilla ice cream or whipped cream.


  • « Previous Page
  • 1
  • …
  • 39
  • 40
  • 41
  • 42
  • 43
  • …
  • 45
  • Next Page »
Hey Sugar
Cake
Link to my Facebook Page
Link to my Instagram Page
Link to my Pinterest Page
Link to my Mail Page
Subscribe to this site
Fresh Awards
2019 Aus mumpreneur
2019 aus mumpreneur
Mumbrella

Copyright © 2026 · Sugar Et Al · Designed by Smitten Blog Designs · Log in