• Home
  • Recipe Index
    • Recipe Index
    • Breakfast/Brunch
    • Cakes and Puddings
    • Chocolate
    • Cookies and cupcakes
    • Custard and Mousse
    • Gluten Free
    • Ice Cream
    • Mains
    • Other Sweet Treats
    • Snack/Appetizers
    • Soups and Salads
    • Tarts and Pies
    • Vegetarian
  • About
  • Cookbook
  • Portfolio
  • Store
  • Press
  • Work with Me

Sugar et al

Because Life is a blend of flavours...

Lucky Smart Snax + Giveaway

6|11|2014

Like many people, the last quarter of the year is my favourite time of the year. The festivities actually start right from October for me when I am getting ready for Diwali and probably end after I have finished wishing everyone a Happy New Year. In between there is a lot of cooking, eating, gifting and a whole lot of activity in my kitchen. Irrespective of the cuisine or mode of cooking, one thing that compulsorily finds its way into my pantry are nuts. Nuts are handy because they can be used in both sweet and savory recipes. From an Indian Badami Murgh (Almond Chicken) to my favourite pesto-s and all the nut-meal enriched cakes in between, I am constantly snacking on nuts while working on a recipe. So I was delighted when I got an opportunity to review Lucky Smart Snax and discovered their fabulous range of snacking nuts and seeds.

IMG_3217-2

Lucky is a well known brand in Australia and I have been using their products in cooking/baking since the time I have stepped foot in Sydney. You cannot miss their products when you are walking past the Nut and Dried Fruit aisle in the supermarkets. The Lucky Smart Snax range has now been extended to include 6 new products. Each of these products have been specifically formulated to meet individual needs. These delicious mixes are a smart way to snack when hunger strikes. The resealable bags make it perfect to store it in your home, car or office which means you can enjoy the healthy nutritional benefits of nuts anywhere!

Dont’ forget to checkout the Lucky  Nuts website for more information.
IMG_3233-2

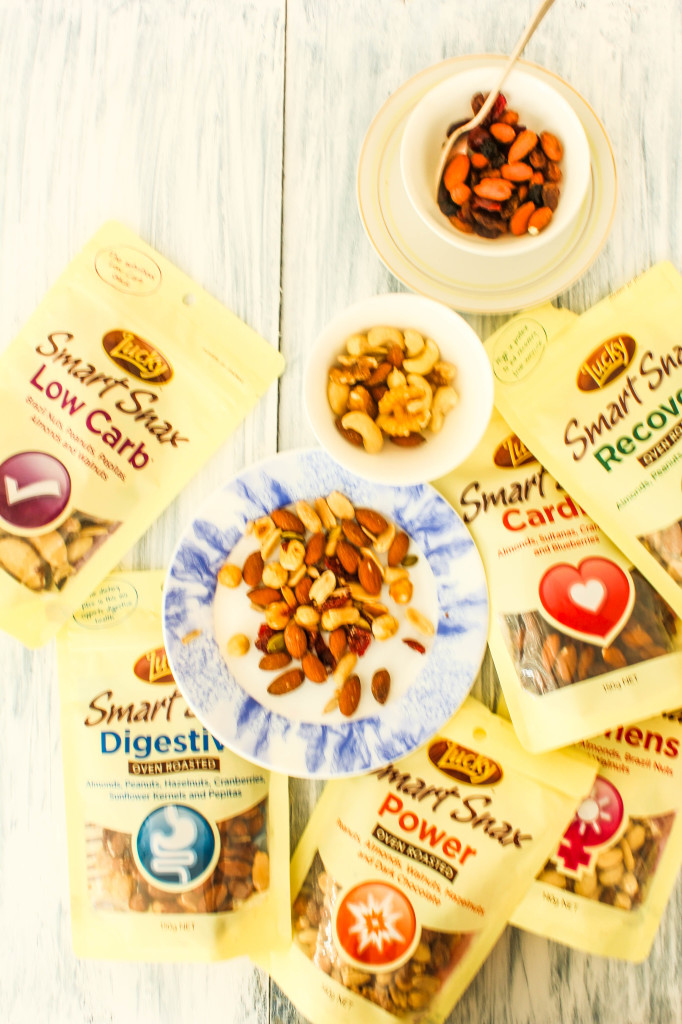
Here are the 6 Lucky Smart Snax Range products that I have sampled. Each of them are consistent in quality, packaging and taste.

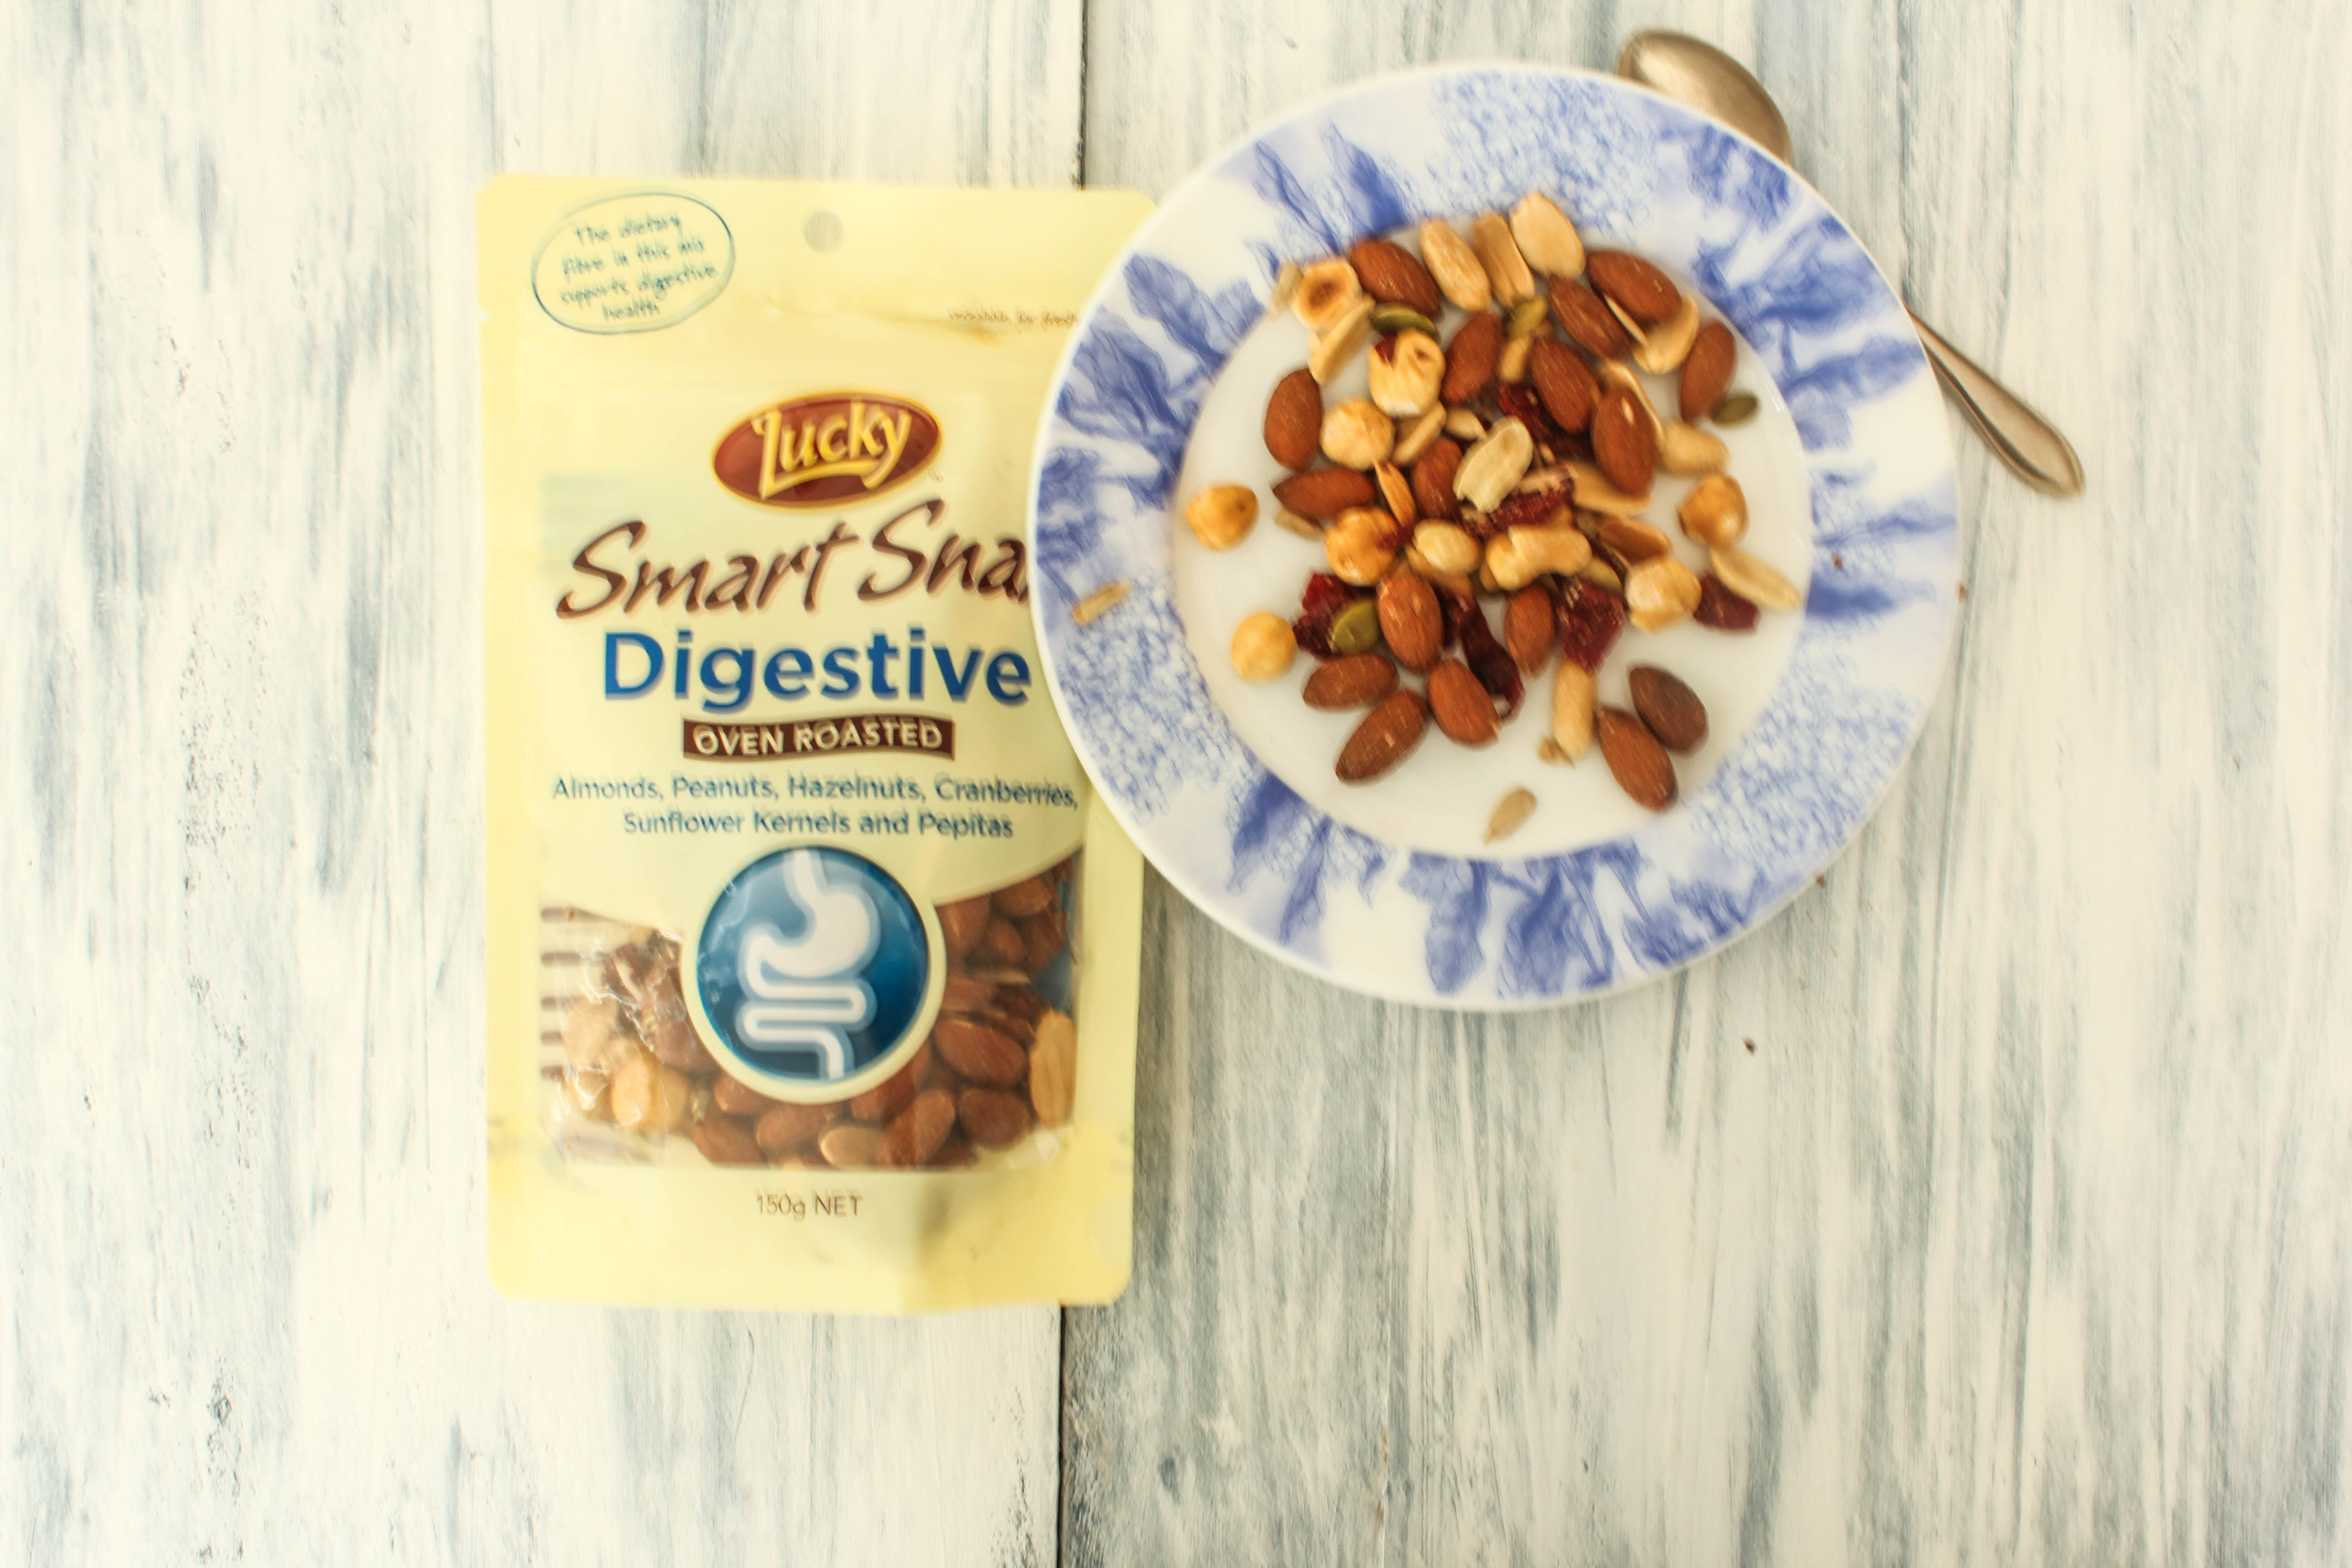
Lucky Smart Snax Digestive – Oven Roasted Almonds, Peanuts, Hazelnuts, Cranberries, Sunflower Kernels and Pepitas. This pack s a source of dietary fibre to help maintain a healthy digestive system.
IMG_3230

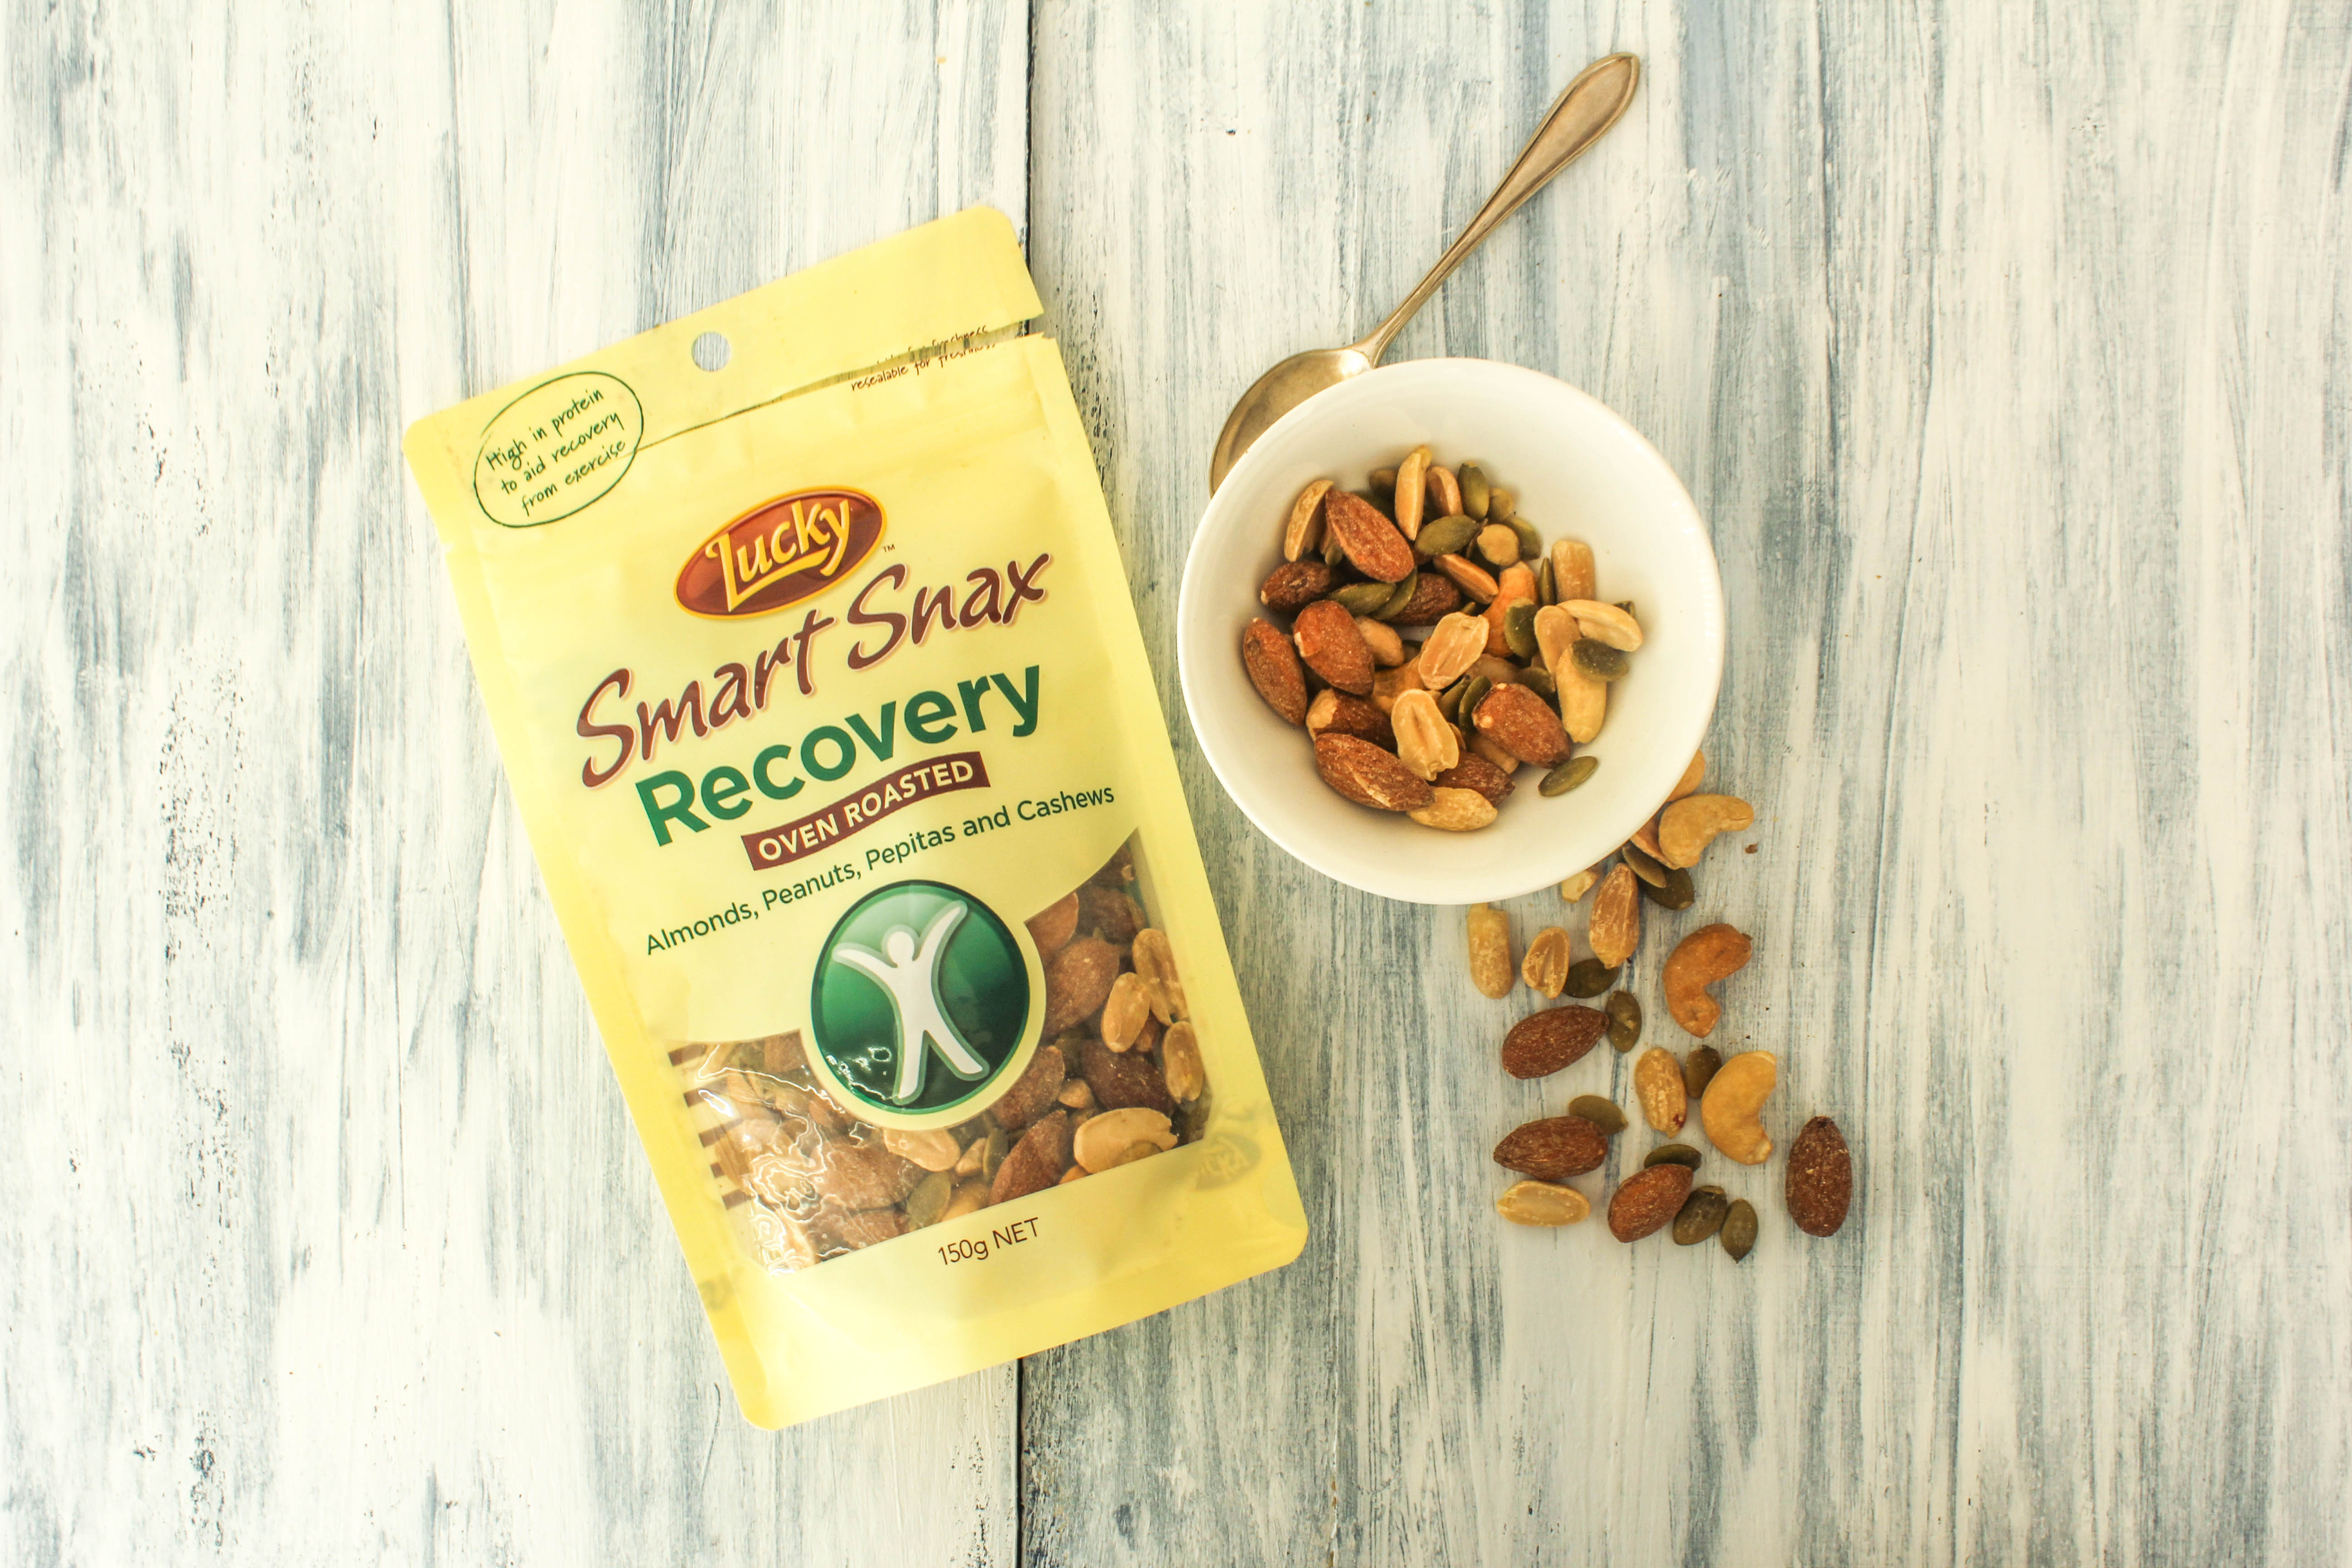
Lucky Smart Snax Recovery – Oven Roasted Almonds, Peanuts, Cashews and Pepitas. A good source of protein, a vital nutrient that is important for body systems, growth, muscle development and recovery from exercise.
IMG_3221

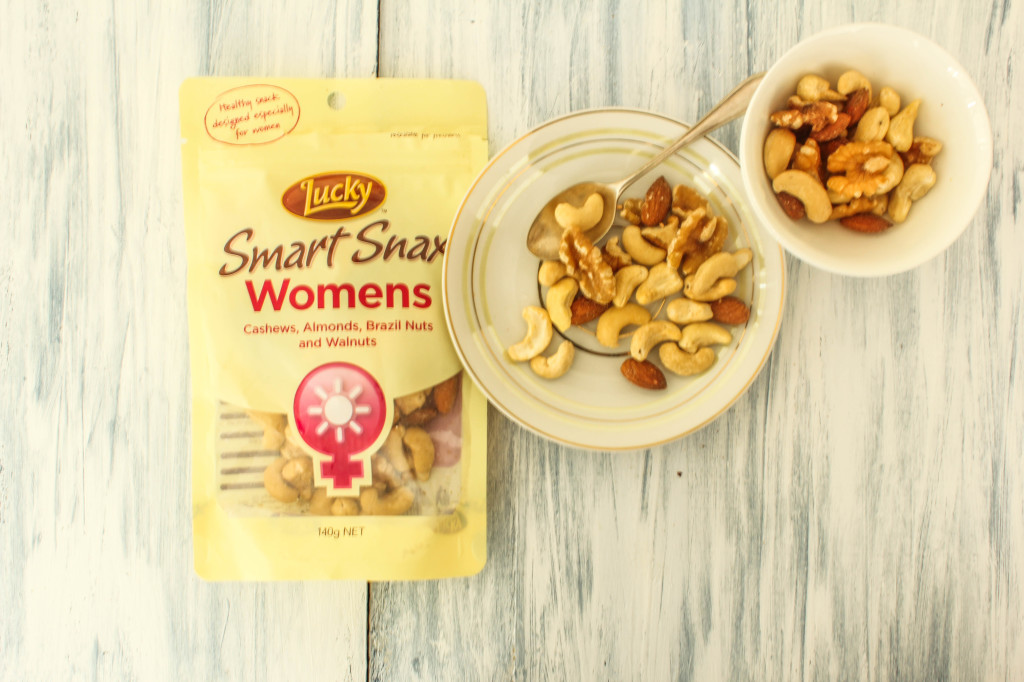
Lucky Smart Snax Women- Cashews, Almonds, Brazil Nuts and Walnuts. This product has been formulated keeping in mind the busy lives that Women lead today and the nutrients that we need in our bodies to deal with our day to day demands. It is a source of Vitamin E, iron and good monounsaturated fat, as well as calcium folate and selenium. This is such a great idea!
IMG_3228

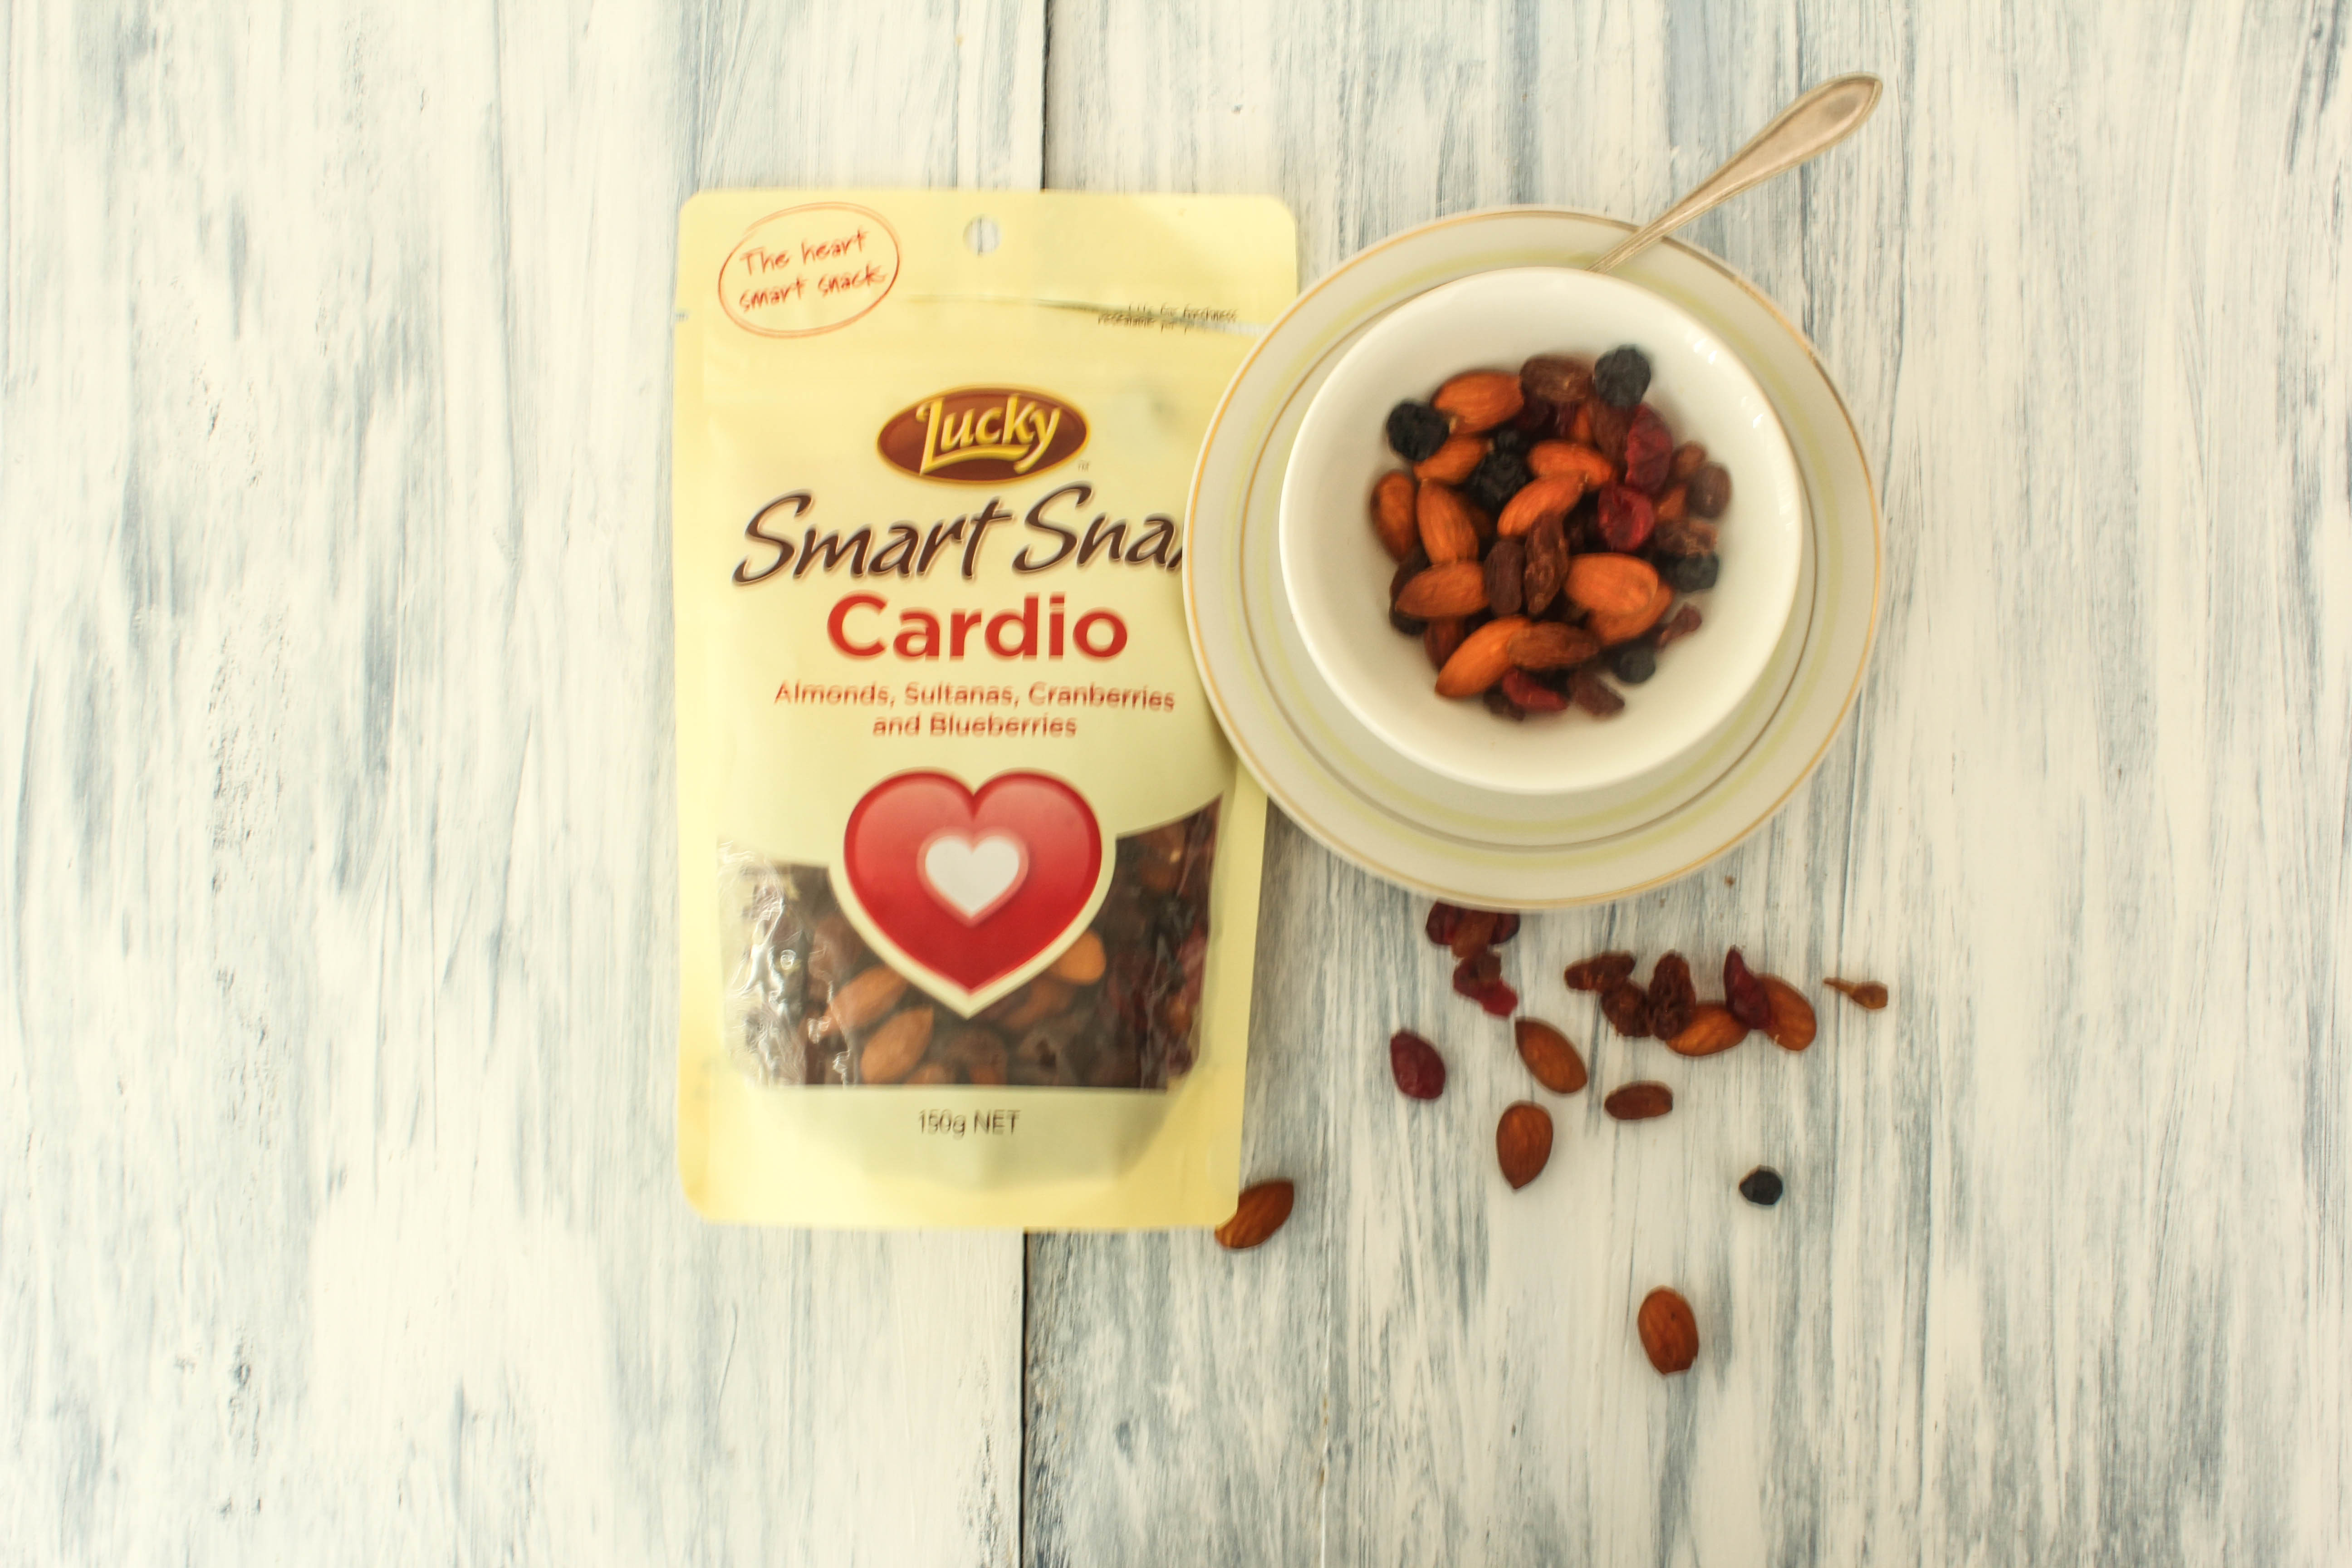
Lucky Smart Snax Cardio – Almonds, Sultanas, Cranberries and Blueberries. This is a delicious mix of natural almonds and berries – to keep you pumping through each day.
IMG_3226

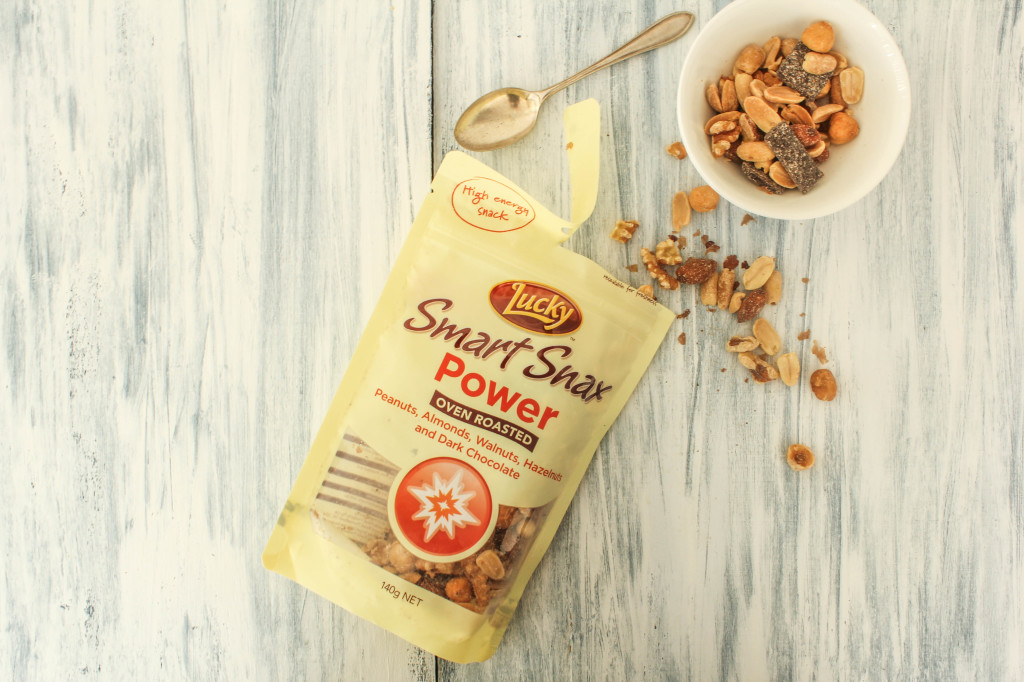
Lucky Smart Snax Power – Oven Roasted Peanuts, Almonds, Walnuts, Hazelnuts and Dark Chocolate. Gives a boost of natural energy. The mix of oven roasted peanuts, almonds, walnuts and hazelnuts combined with dark chocolate make this a perfect snack to help you power through each day. Now, if you know me, I am slightly biased towards this one. Nuts and Chocolate…you know where I get all the energy from-)
IMG_3224

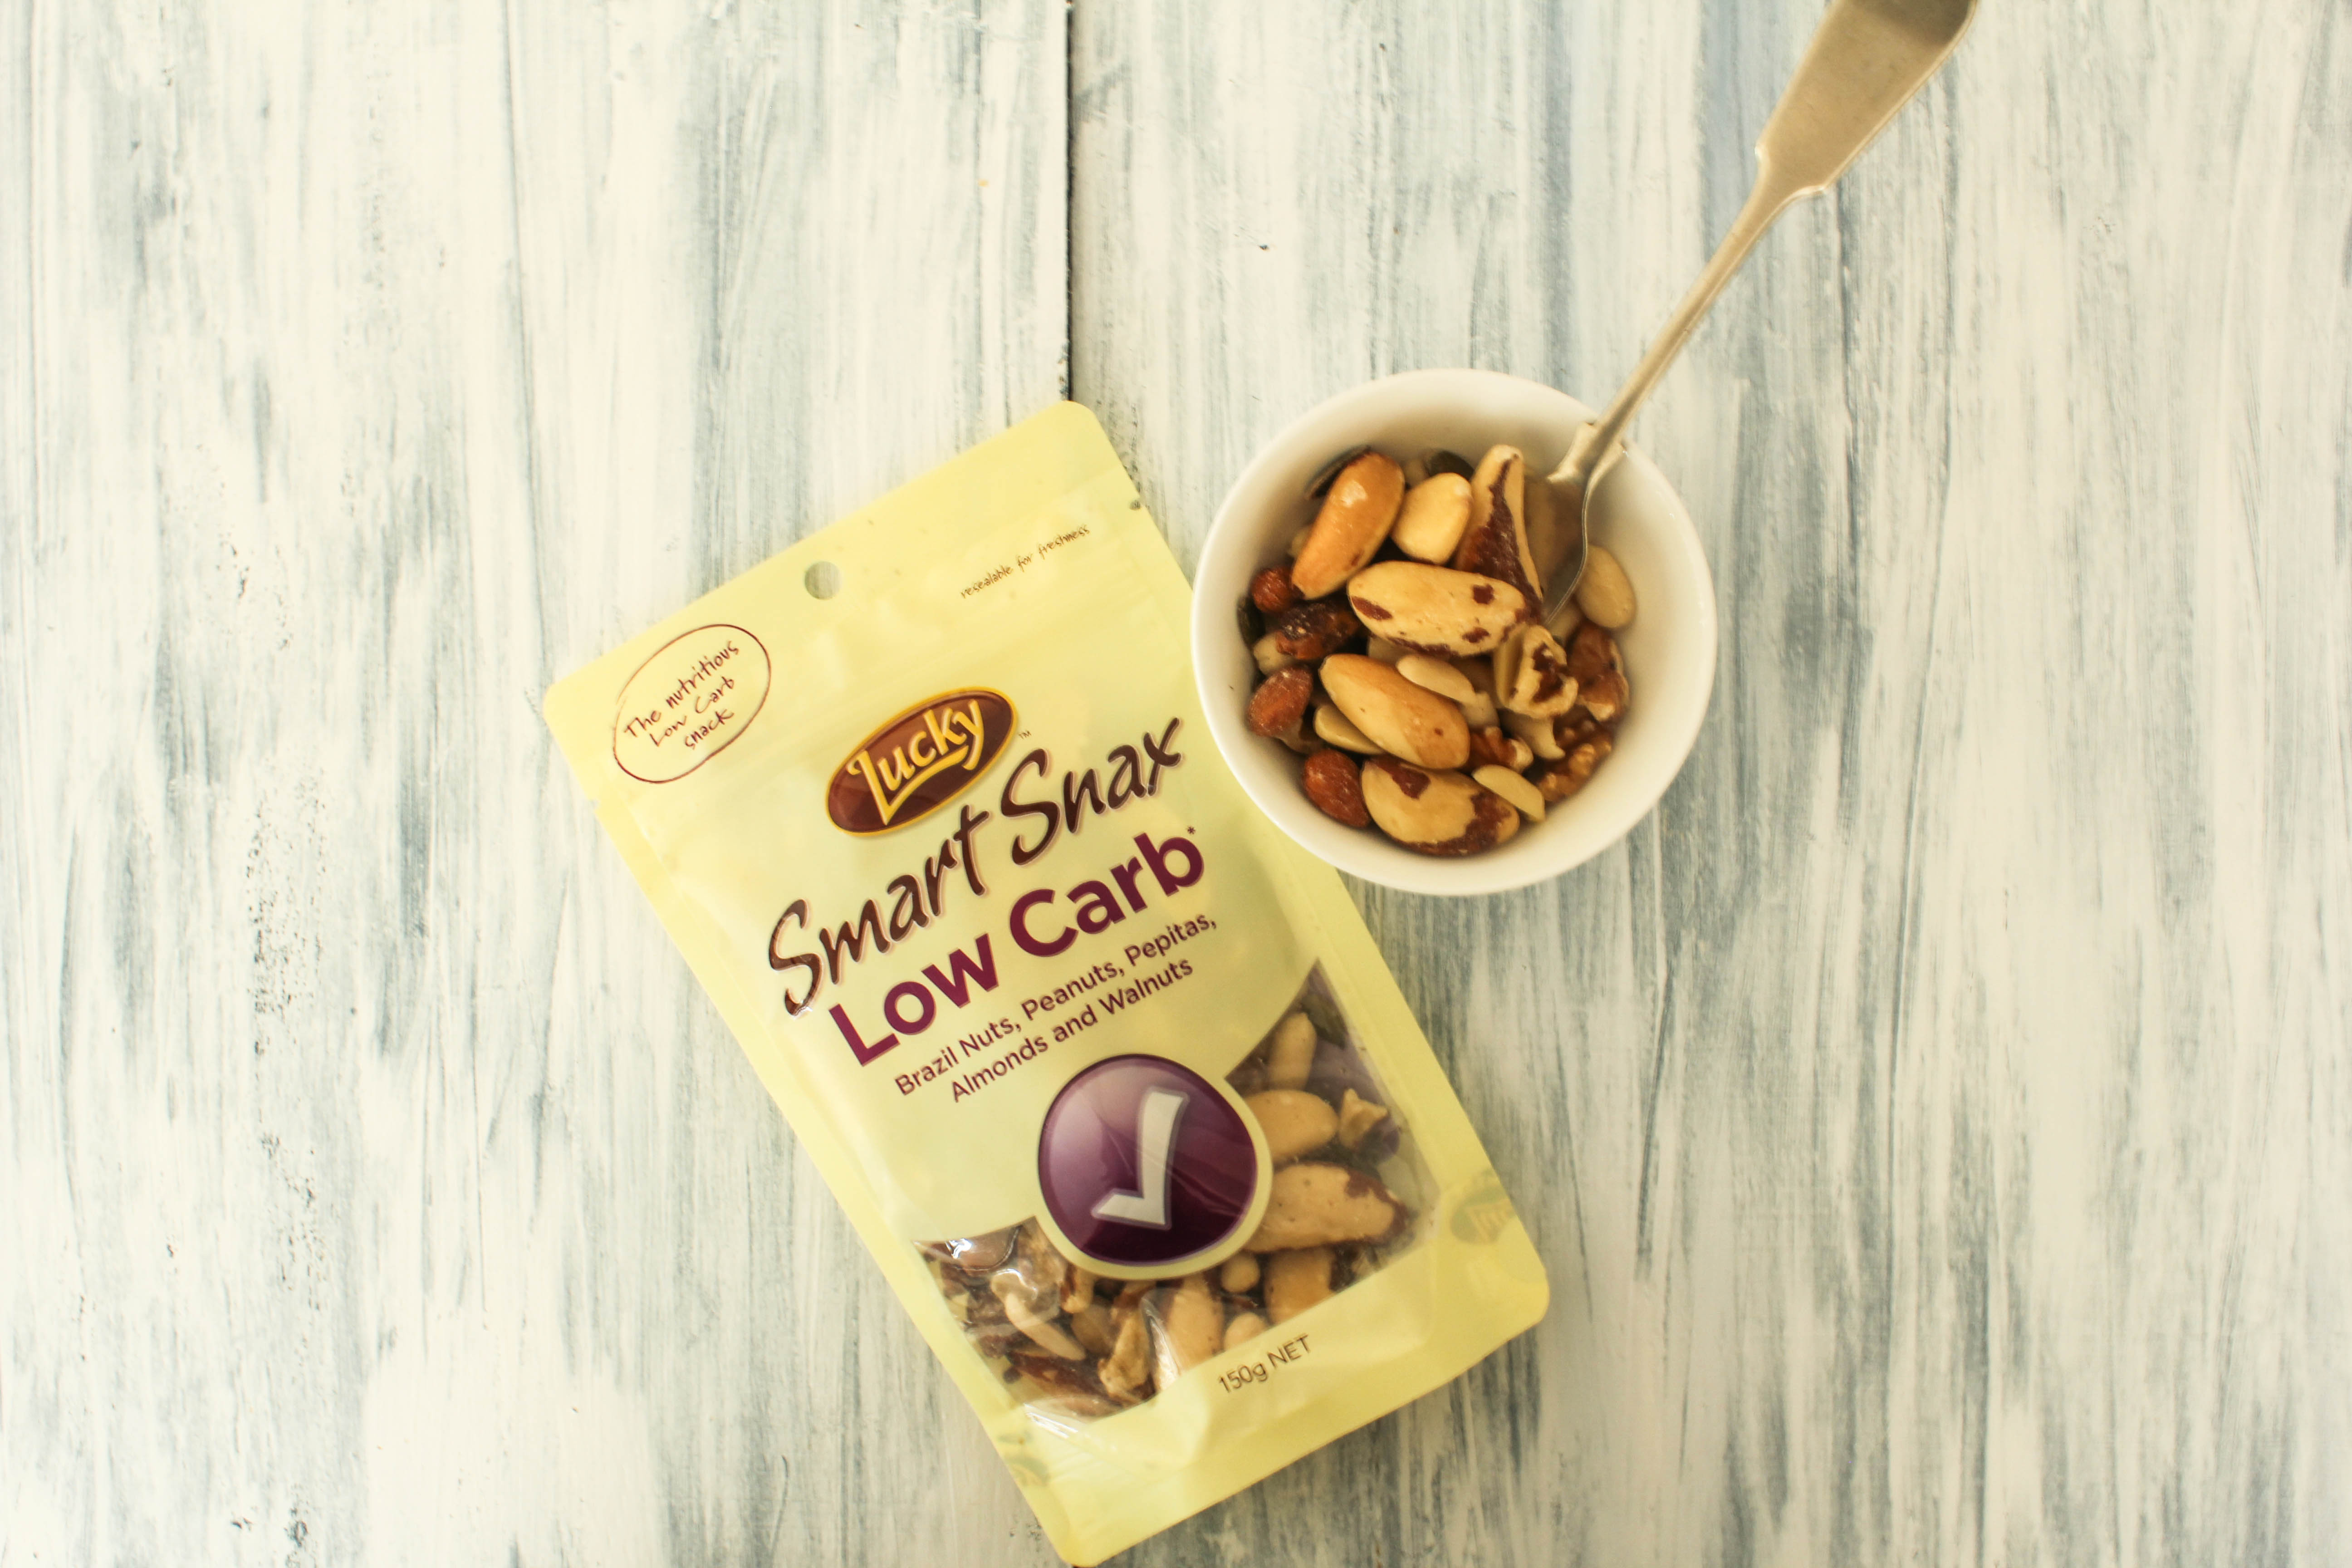
Lucky Smart Snax Low Carb – Brazil Nuts, Peanuts, Pepitas, Almonds and Walnuts. This one is a tasty mix of nuts and seeds that is perfect for people watching their intake of carbohydrates. Nuts and seeds are one of nature’s super snacks and fit perfectly in a balanced diet.
IMG_3219

All these products are availablele at Coles, Woolworths and independent supermarkets – IN THE DRIED FRUIT & NUT AISLE along with other Lucky nut baking products.

Giveaway : There is a giveaway for one reader lucky of Sugar et al  comprising of a Lucky Smart Snax Hamper (including all 6 products). All you need to do is leave a comment below telling me:

Which Lucky Smart Snax Product is your favourite and why?
Good Luck!

Rules of the giveaway :

  • This is open to Australian Residents only
  • The giveaway closes on 14th November 2014 midnight
  • Please do not forget to leave your email behind for me to contact you if you are the winner.

Disclaimer: Sugar et al. would like to thank Lucky and Nuffnang for this opportunity and for sending me these wonderful products. All opinions expressed in the post are entirely my own.

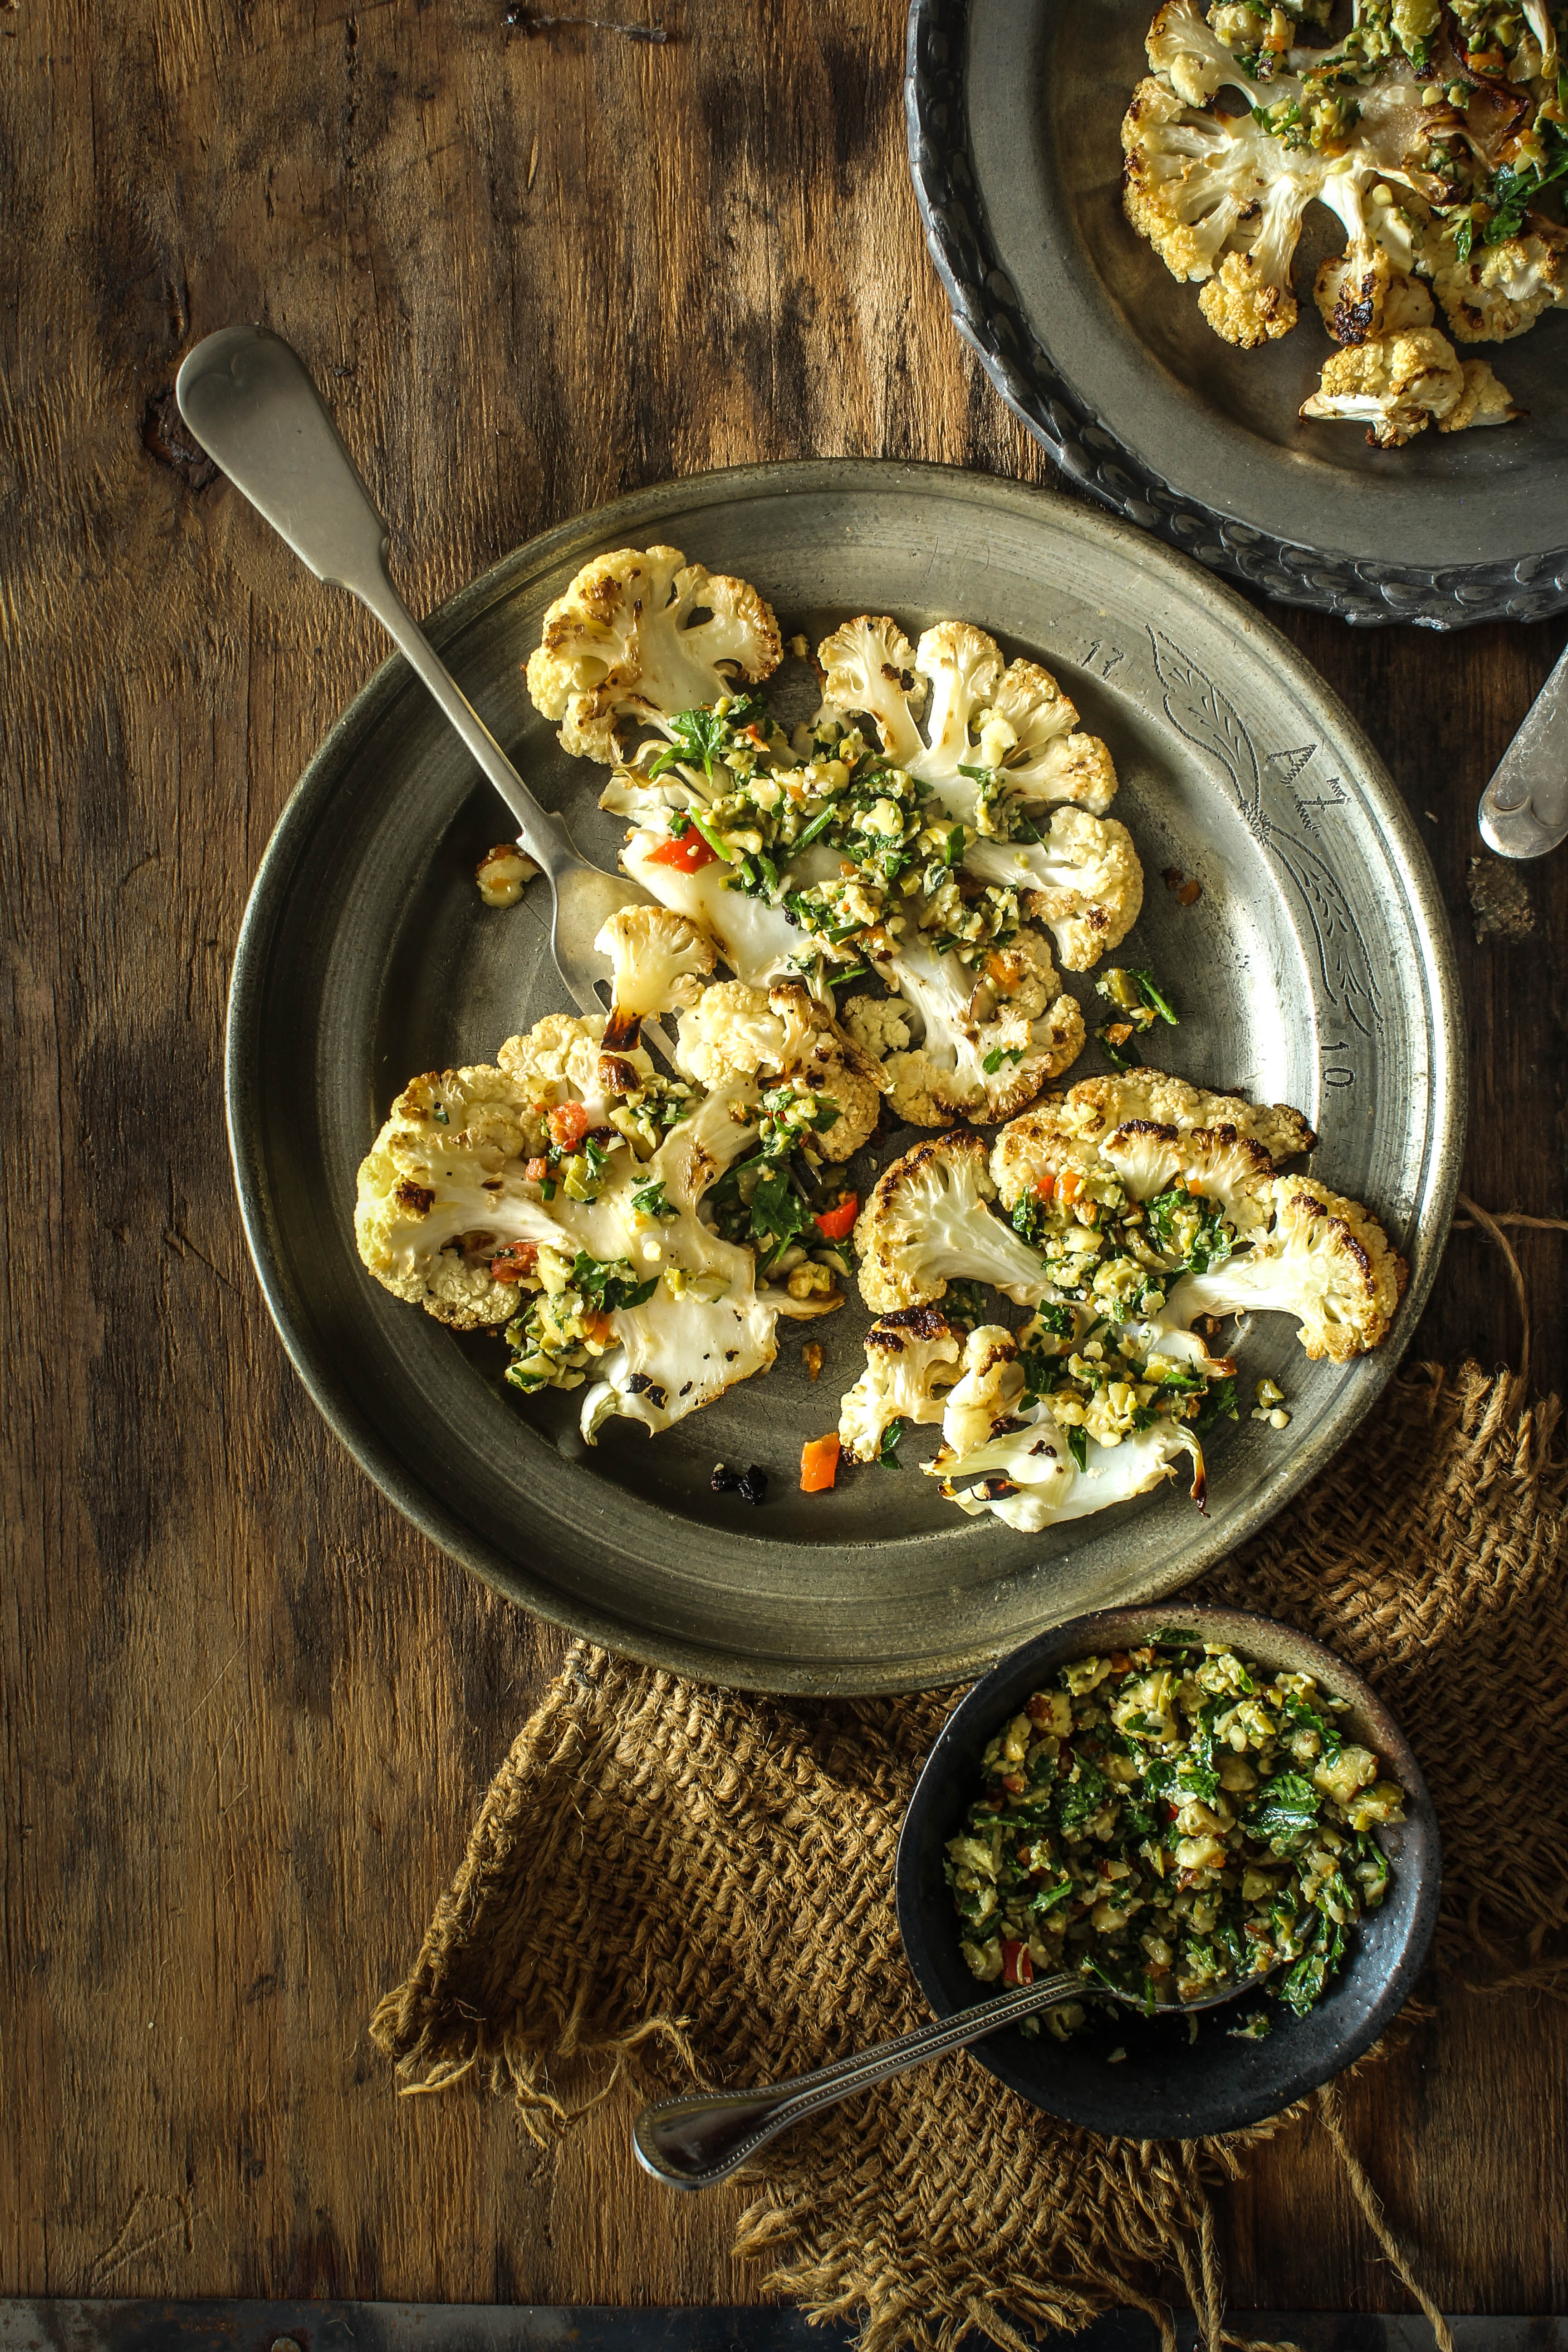
 

Cauliflower Steaks With Chilli, Lemon And Nut Salsa

4|11|2014

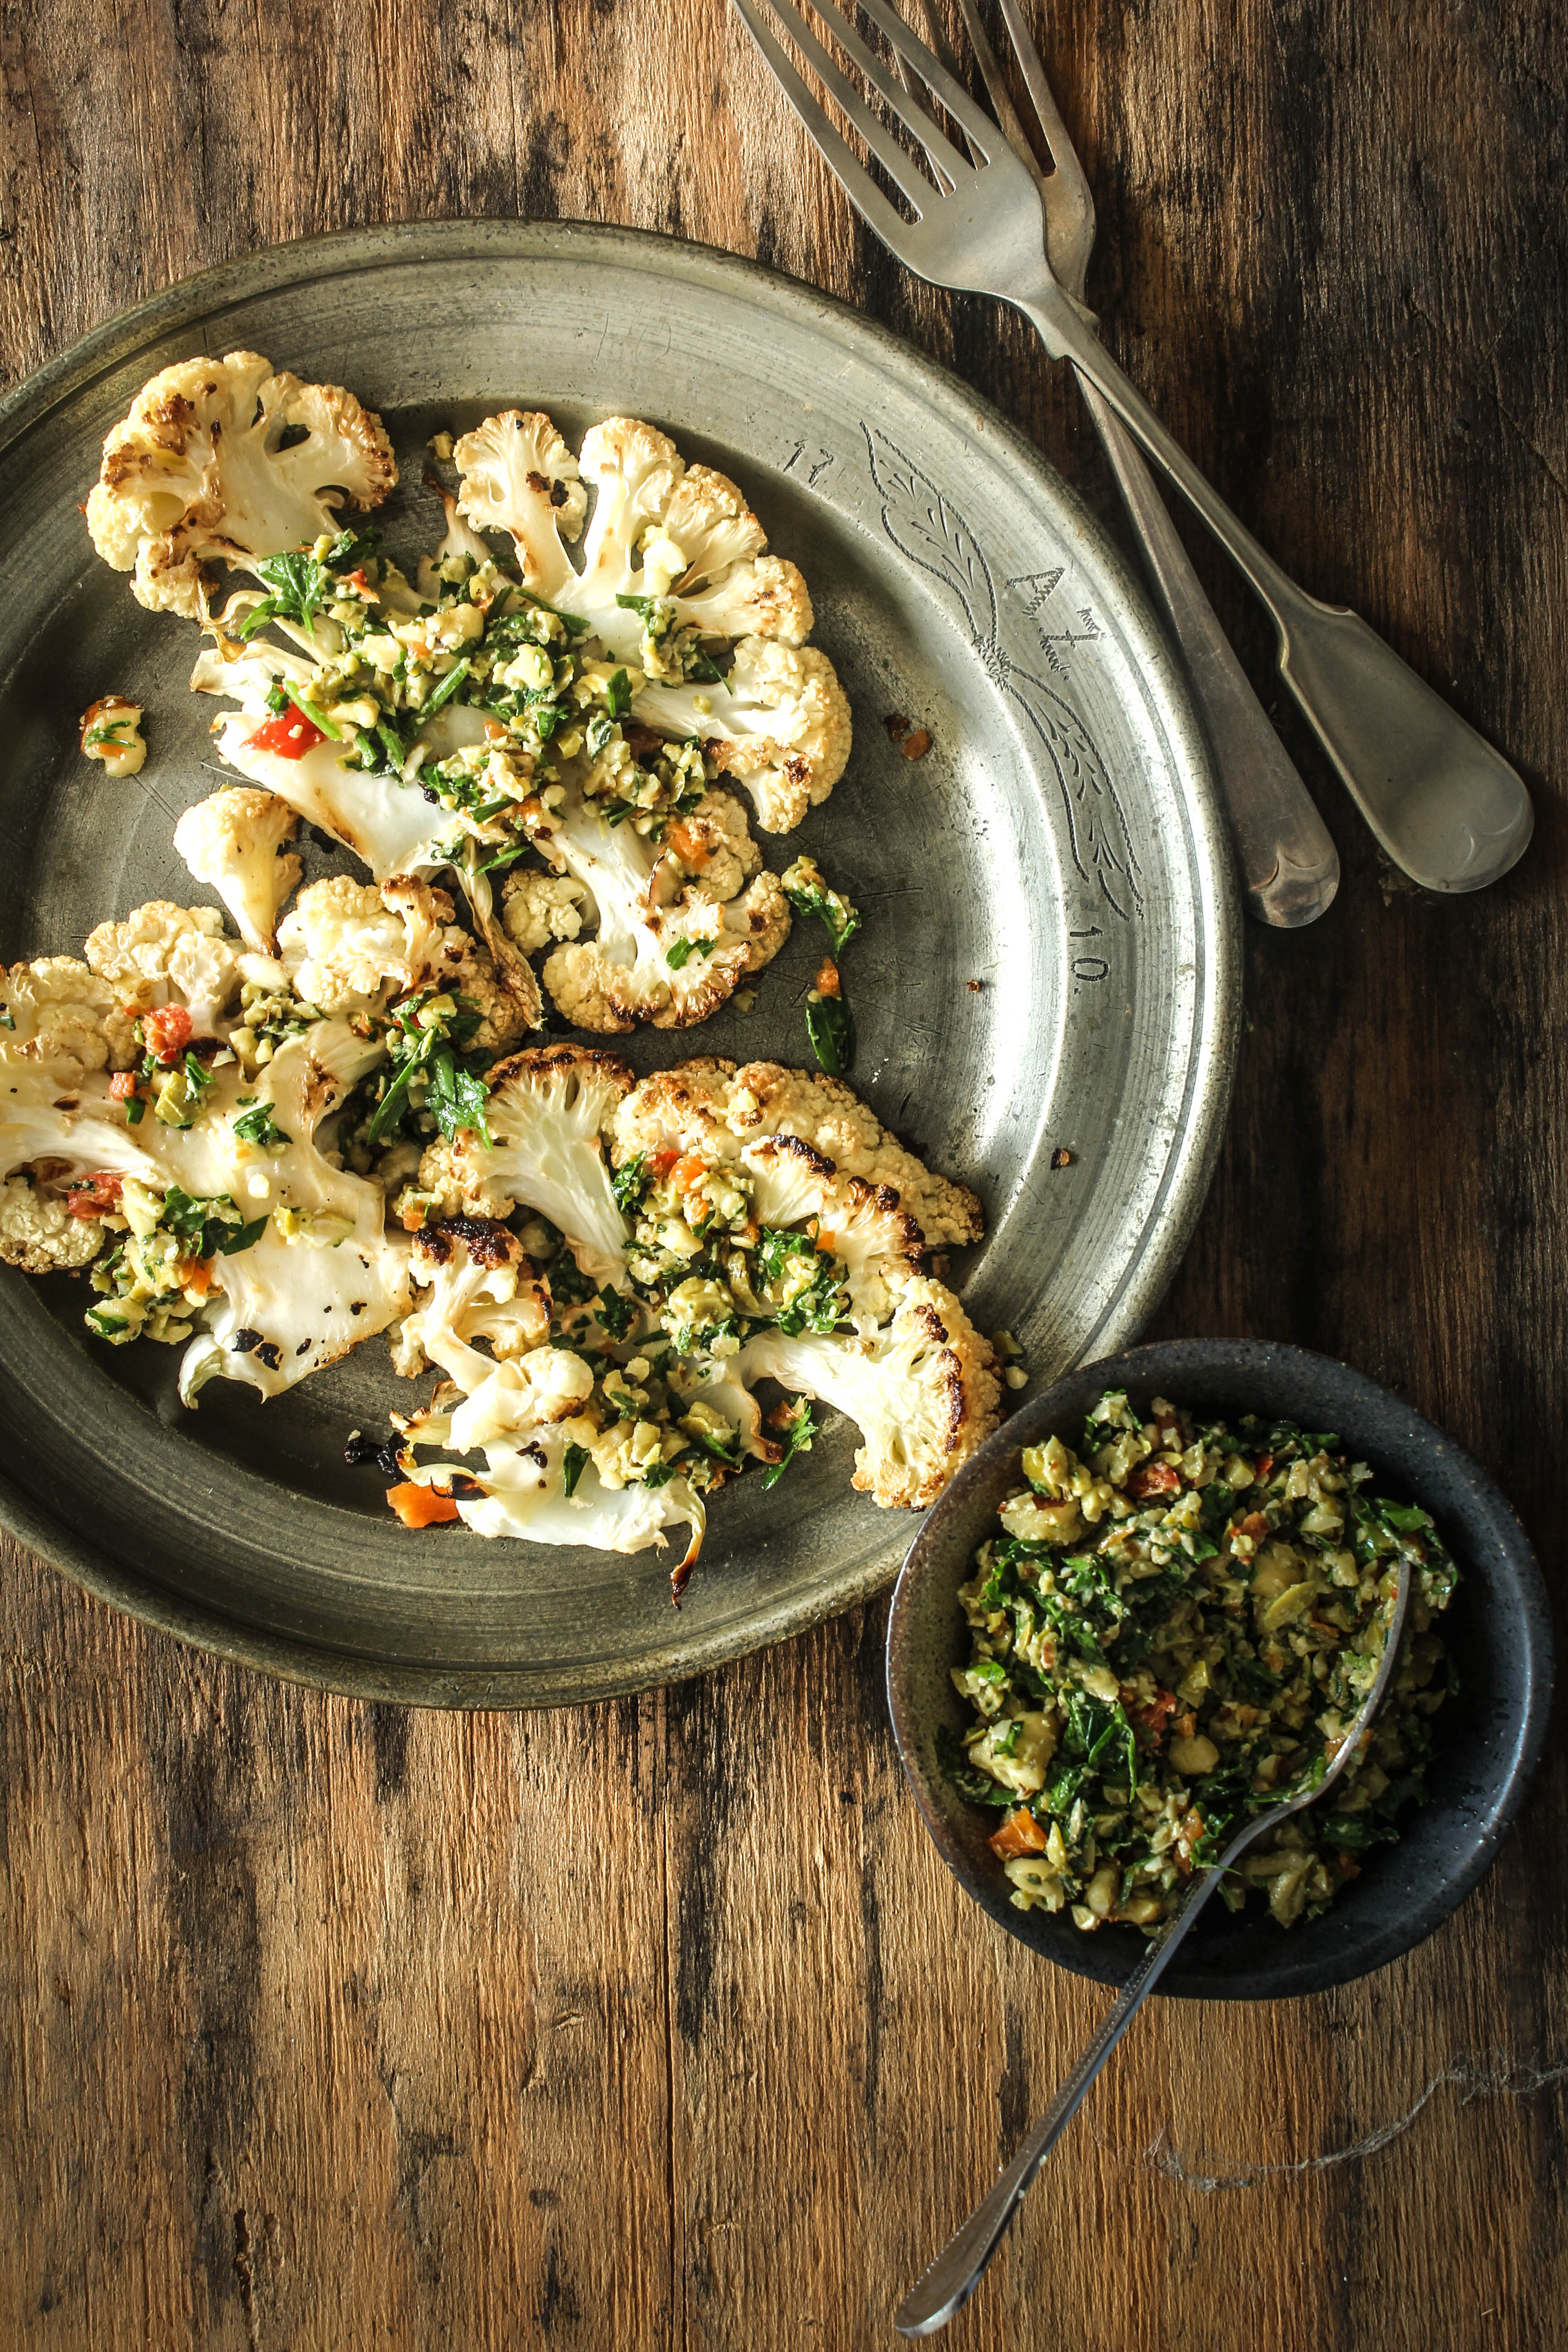
We are quite fortunate to be able to cook with cauliflower all year round in Sydney. This was not the case where I grew up. Cauliflower was seasonal and even though one would find them in bigger markets, they would not taste great. My mother would want to buy the ones that were sold on the roadside, straight off the fields and she seemed very pleased if she could get her hands on them. We knew what we would be eating that night. They would be turned into a curry or a stir-fry with plenty of spices. I always loved cauliflower, whatever the dish. It was much later that I discovered that it tasted delicious even when it was cooked in the oven. And a lot healthier.
IMG_3025

This dish is as simple as it looks. Take a whole cauliflower head and slice it into steaks. I love that word…steak! Makes dinner sound very exciting. Brown them slightly on a pan and roast them. Then you can go with a salsa, dressing or a sauce of your choice. I chose to make a salsa as I came across a wonderful assortment of roasted nuts that I reviewed recently (that will be published next on the blog). I wanted the cauliflower and nuts to shine in the recipe so I kept the flavours simple. But they really go well together and make the dish a wonderful side to be served to family and friends.

IMG_3028-2

I had a chaotic morning today as my site went down completely. If you were one of those trying to access my posts, I apologise for the inconvenience. Initially I had no clue what went wrong. I was performing a normal update operation when the screen went white. After that neither could I login nor view any of my content. I don’t take pride in the fact that I have very little technical expertise in such matters so like always I called up my husband, my backbone. Hubby is not an expert either but he enjoys a few challenges. It was a busy day for him as well, yet he managed to quickly send me a few trouble shooting links. I did not get much from those but I realised that I had to resolve this. Alone. My blog…my beloved blog had to be up and running again. I was almost terrified at the thought of losing my content. Finally, I googled up help topics,watched a few videos and contacted Bluehost, (where I host my website). After what seemed like a lot of exchange of messages the blog came back to life. Apparently it was an issue with a plug-in. They had to deactivate all my plug-ins to restore the site. It was a huge relief even though I knew I would have to manage all my plug-ins and widgets all over again. The only reason I am sharing this is so it could help someone in a similar situation.

IMG_3033

I hope you all are having a fabulous week. Two days hence, we have Orientation Day for our boys in their new school. I am excited but also a little sad.
Motherhood is amazing….it is so much about self-discovery as much as it is about nurturing minds and bodies.

IMG_3021


Cauliflower Steaks with Chilli, Lemon and Nut Salsa
Serves 4

2 tablespoons olive oil
1 large cauliflower head , cut cross-ways into four 1.5 cm-thick pieces
salt and pepper. to season
1/2 cup roasted nuts (I used a mix of almonds, hazelnuts and walnuts)
2 cloves garlic
2 red chillies
1/4 cup green olives
1/4 cup extra virgin olive oil
1 tablespoon lemon juice
1/2 cup chopped fresh continental parsley
2 teaspoons chopped fresh oregano

Preheat oven to 180 degrees C.  Line a large baking trays with foil. Heat 1 tbsp of the olive oil in a non-stick frying pan over medium-high heat. Add  2 cauliflower pieces to the pan. Cook, turning, for 4-5 minutes or until golden. Transfer to a prepared tray. Season. Repeat with the remaining olive oil and cauliflower pieces. Roast cauliflower for 12-15 minutes or until tender.

Meanwhile, combine the nuts, garlic, chillies, olives, lemon juice, extra virgin olive oil, parsley, oregano in the bowl of your food processor and process till the ingredients are roughly chopped (not a fine paste).

Transfer the cauliflower to a platter. Top with the chilli, lemon and nut salsa..


Creamy Mushroom Soup With A Cheese Crust

31|10|2014

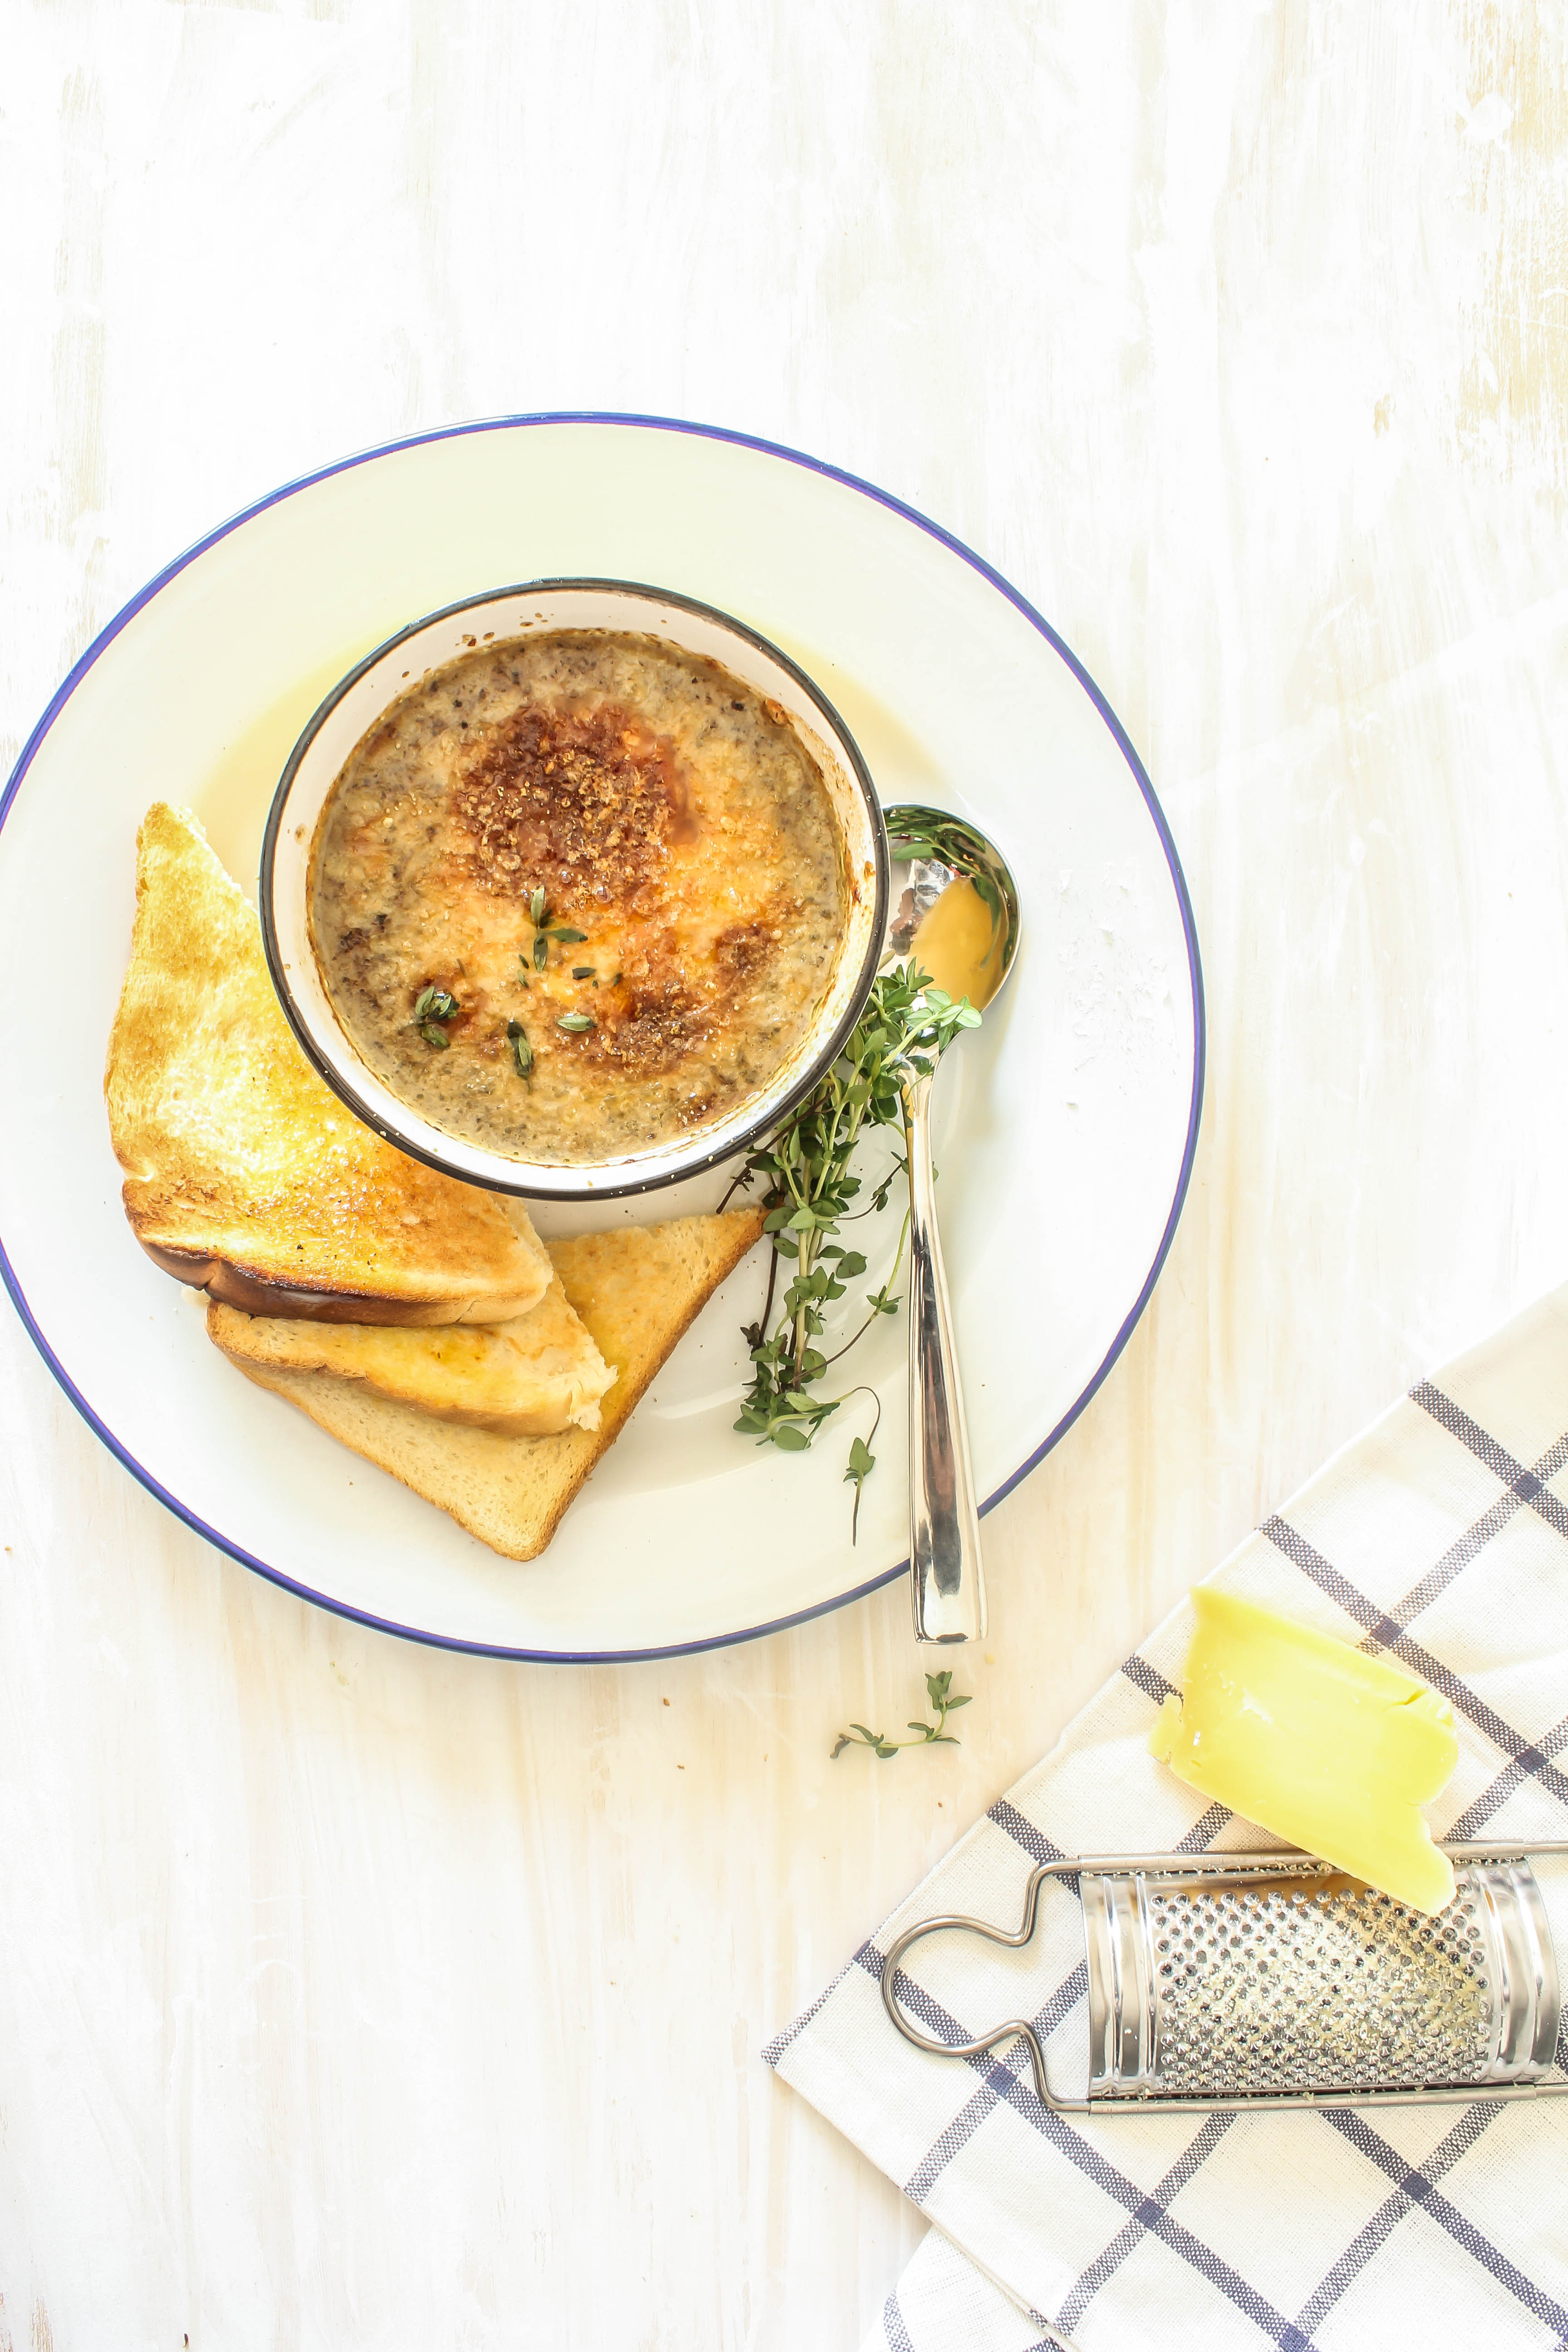
This week has been one filled with many ‘firsts’. The most exciting one among them was that we were called to try out and pick up school uniforms for my soon-to turn schoolgoer boys. It is hard to express what I was feeling at the sight of them in their fresh, slightly over-sized school uniforms. Bittersweet is probably the closest word I can think of. Stepping out during the day, I also realised how warm the weather is gradually turning. So that means it’s time to take a break from soups and move onto sorbets and ice creams. But before I do so I thought I’d share this delicious bowl of what is called the ‘ultimate comfort food’.

IMG_3132

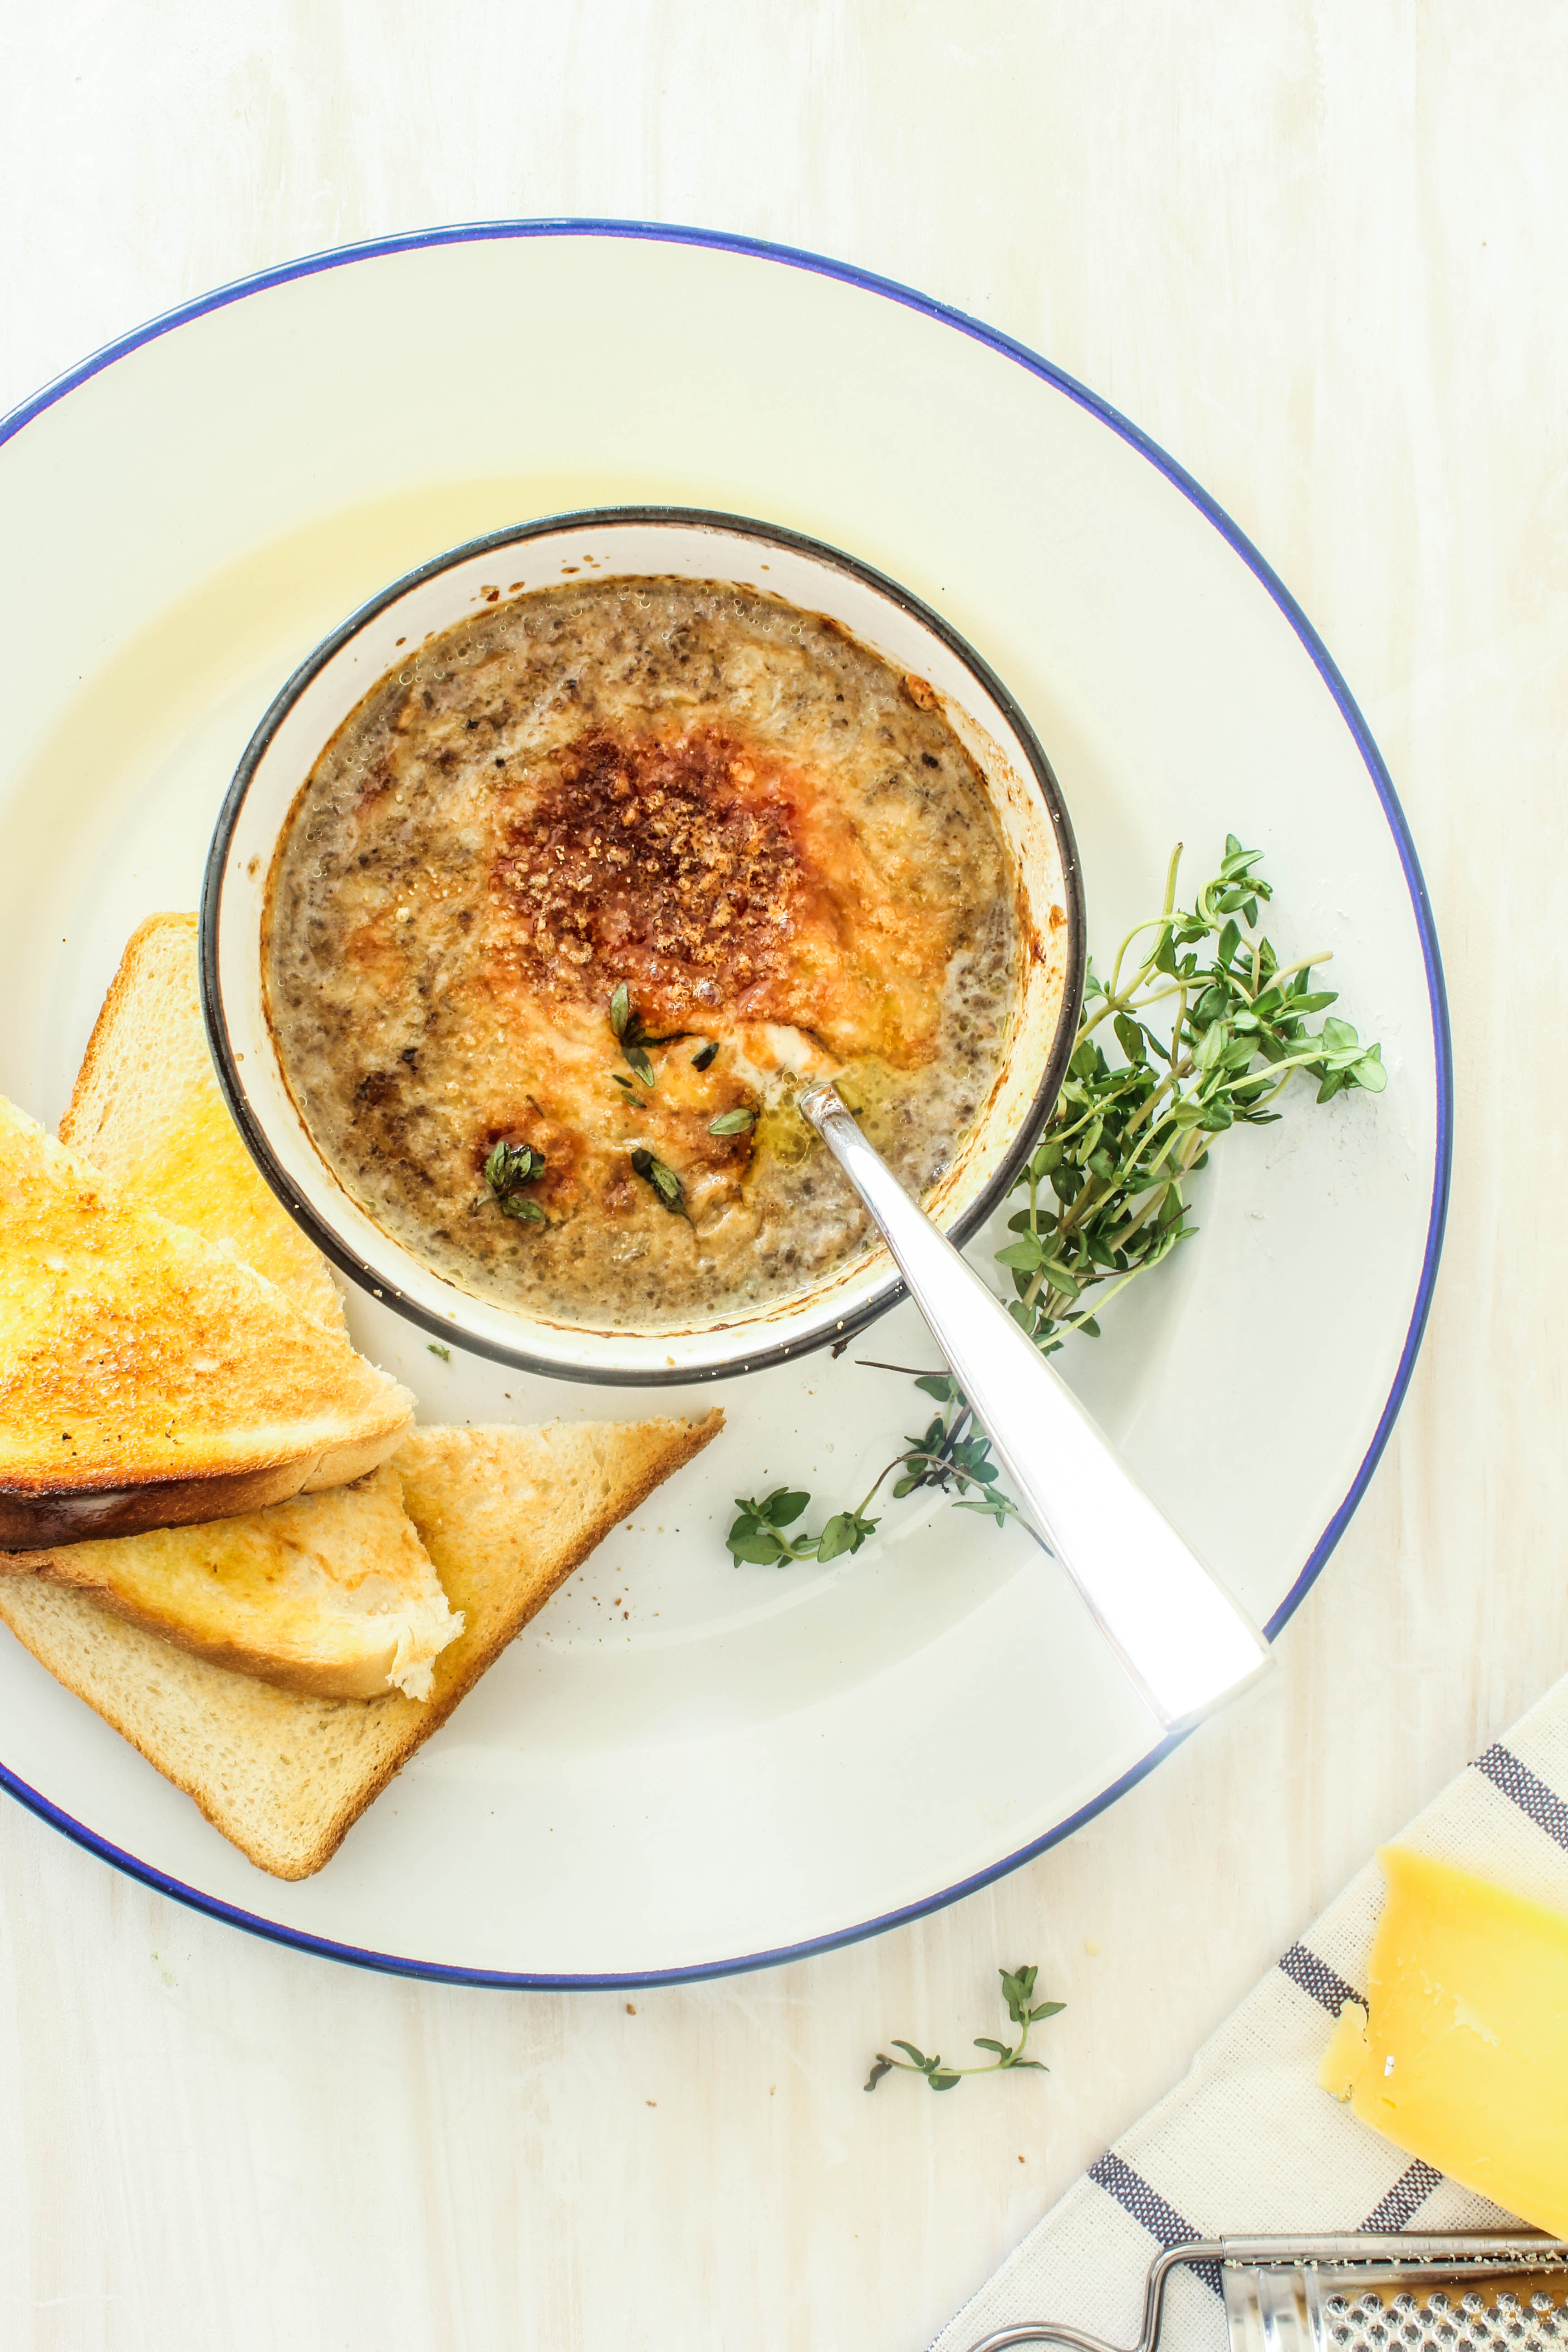
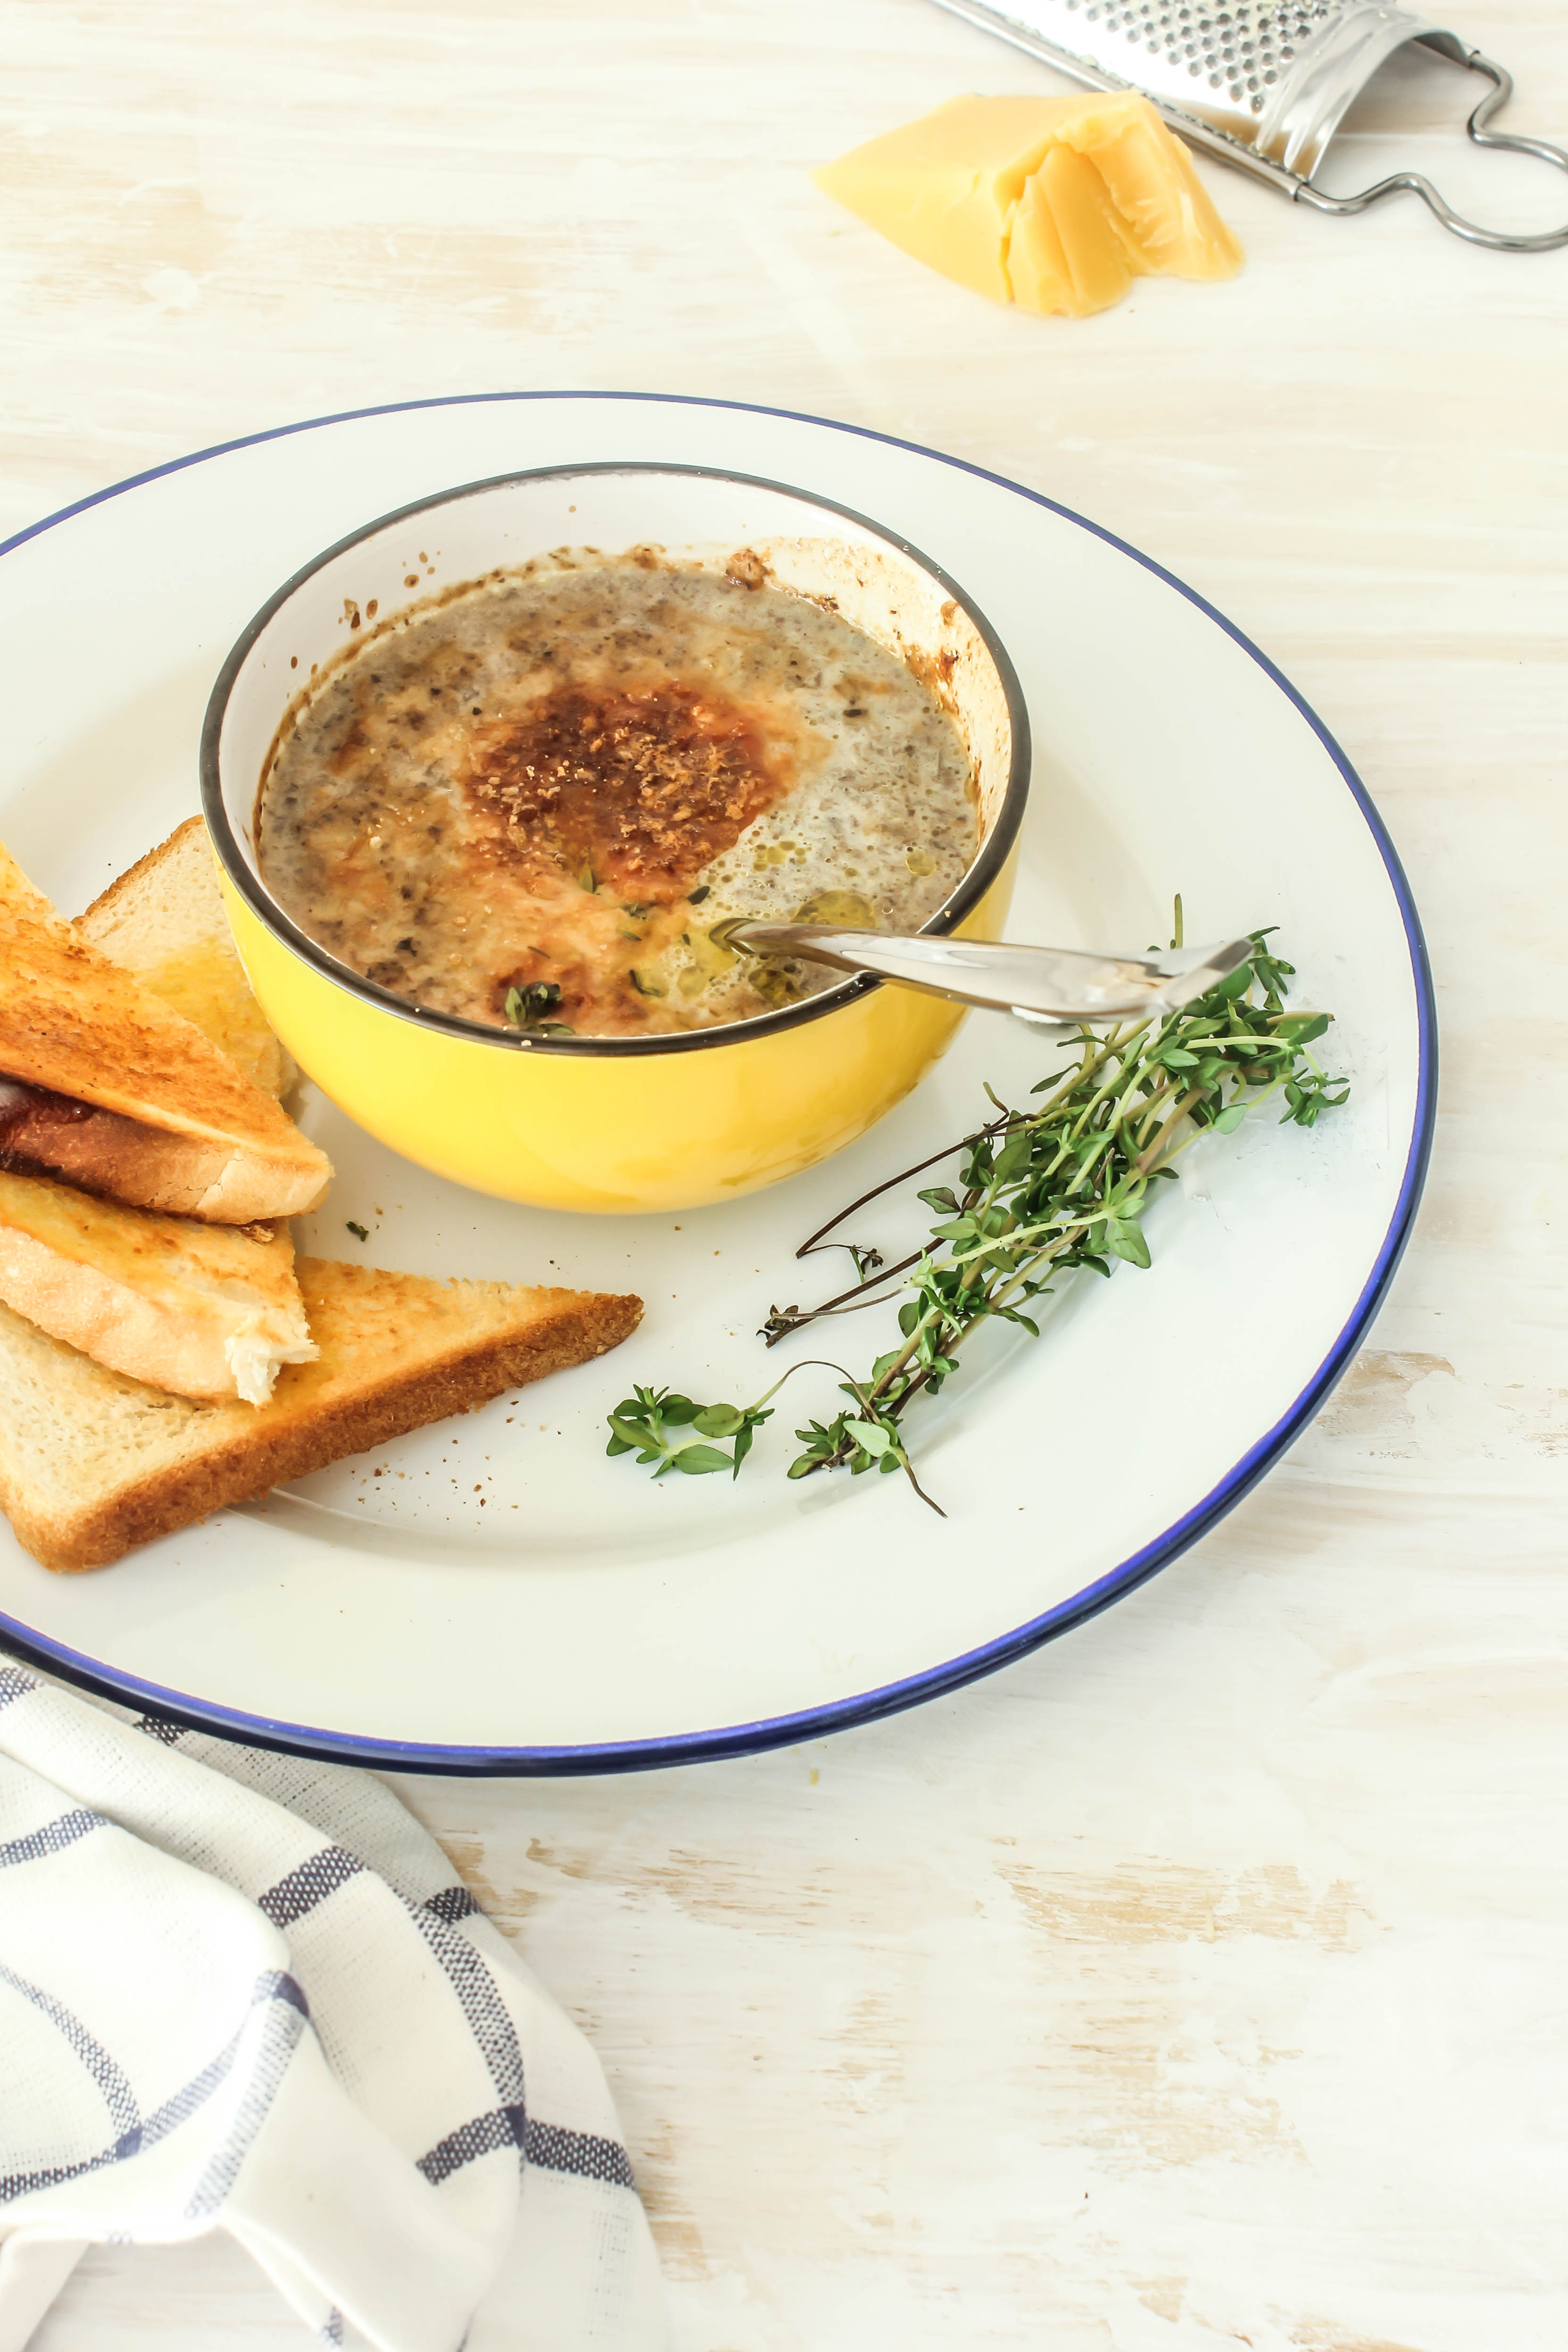
The soup is one that I would like to eat over and over again as it is full of textures. I don’t process the soup to a fine consistency..I like to bite into tiny bits and chunks of mushrooms while savoring it’s creamy base. Also, a thicker consistency holds the cheese on top and prevents it from getting mixed into the soup. The cheese takes it to another level. Slightly browned on the top, the cheese forms a nice little crust to break into with your spoon. Fresh thyme makes it aromatic and packs in flavour. Thyme is one of my favourite herbs, so I do add generous quantities for myself.

IMG_3133

Since, it is thick and filling, it makes for a quick weeknight meal with warm buttered toast or garlic bread. I also like to add a dash of garlic infused extra virgin olive oil on top.
Mushrooms, cheese, garlic…we can’t go wrong, can we?

IMG_3139

Creamy Mushroom Soup With A Cheese Crust
Serves 4

1 tbsp olive oil
1 medium brown onion, thinly sliced
2 cloves garlic
2 cups chicken/vegetable stock
1/2 cup heavy cream
1 cup cheddar/gruyere cheese, coarsely grated
Fresh thyme, to serve
Cracked Pepper, to serve

Heat olive oil in a saucepan over medium heat. Add garlic, onion and leek. Cook, stirring, for 5 to 7 minutes or until softened. Add mushroom. Cook, stirring, for 5 to 7 minutes or until mushroom has softened.

Add stock. Bring to the boil. Reduce heat to medium. Simmer for 10 minutes or until mushroom is soft and liquid has reduced slightly. Blend soup, in batches, to your desired consistency.
Return soup to pan. Season with salt and pepper. Add cream. Reduce heat to low. Cook, stirring, for 5 minutes or until warmed through. Ladle into bowls. .

Preheat oven to 220 degrees C. Divide cheese between the serving bowls (sprinkle on top). Place bowls in a roasting pan, pour in enough water to come halfway up the sides of bowls and bake for 10-15 minutes or until cheese is bubbling and golden. Sprinkle with thyme and cracked pepper. Serve immediately.

Toffee Apple Self-Saucing Pudding

29|10|2014

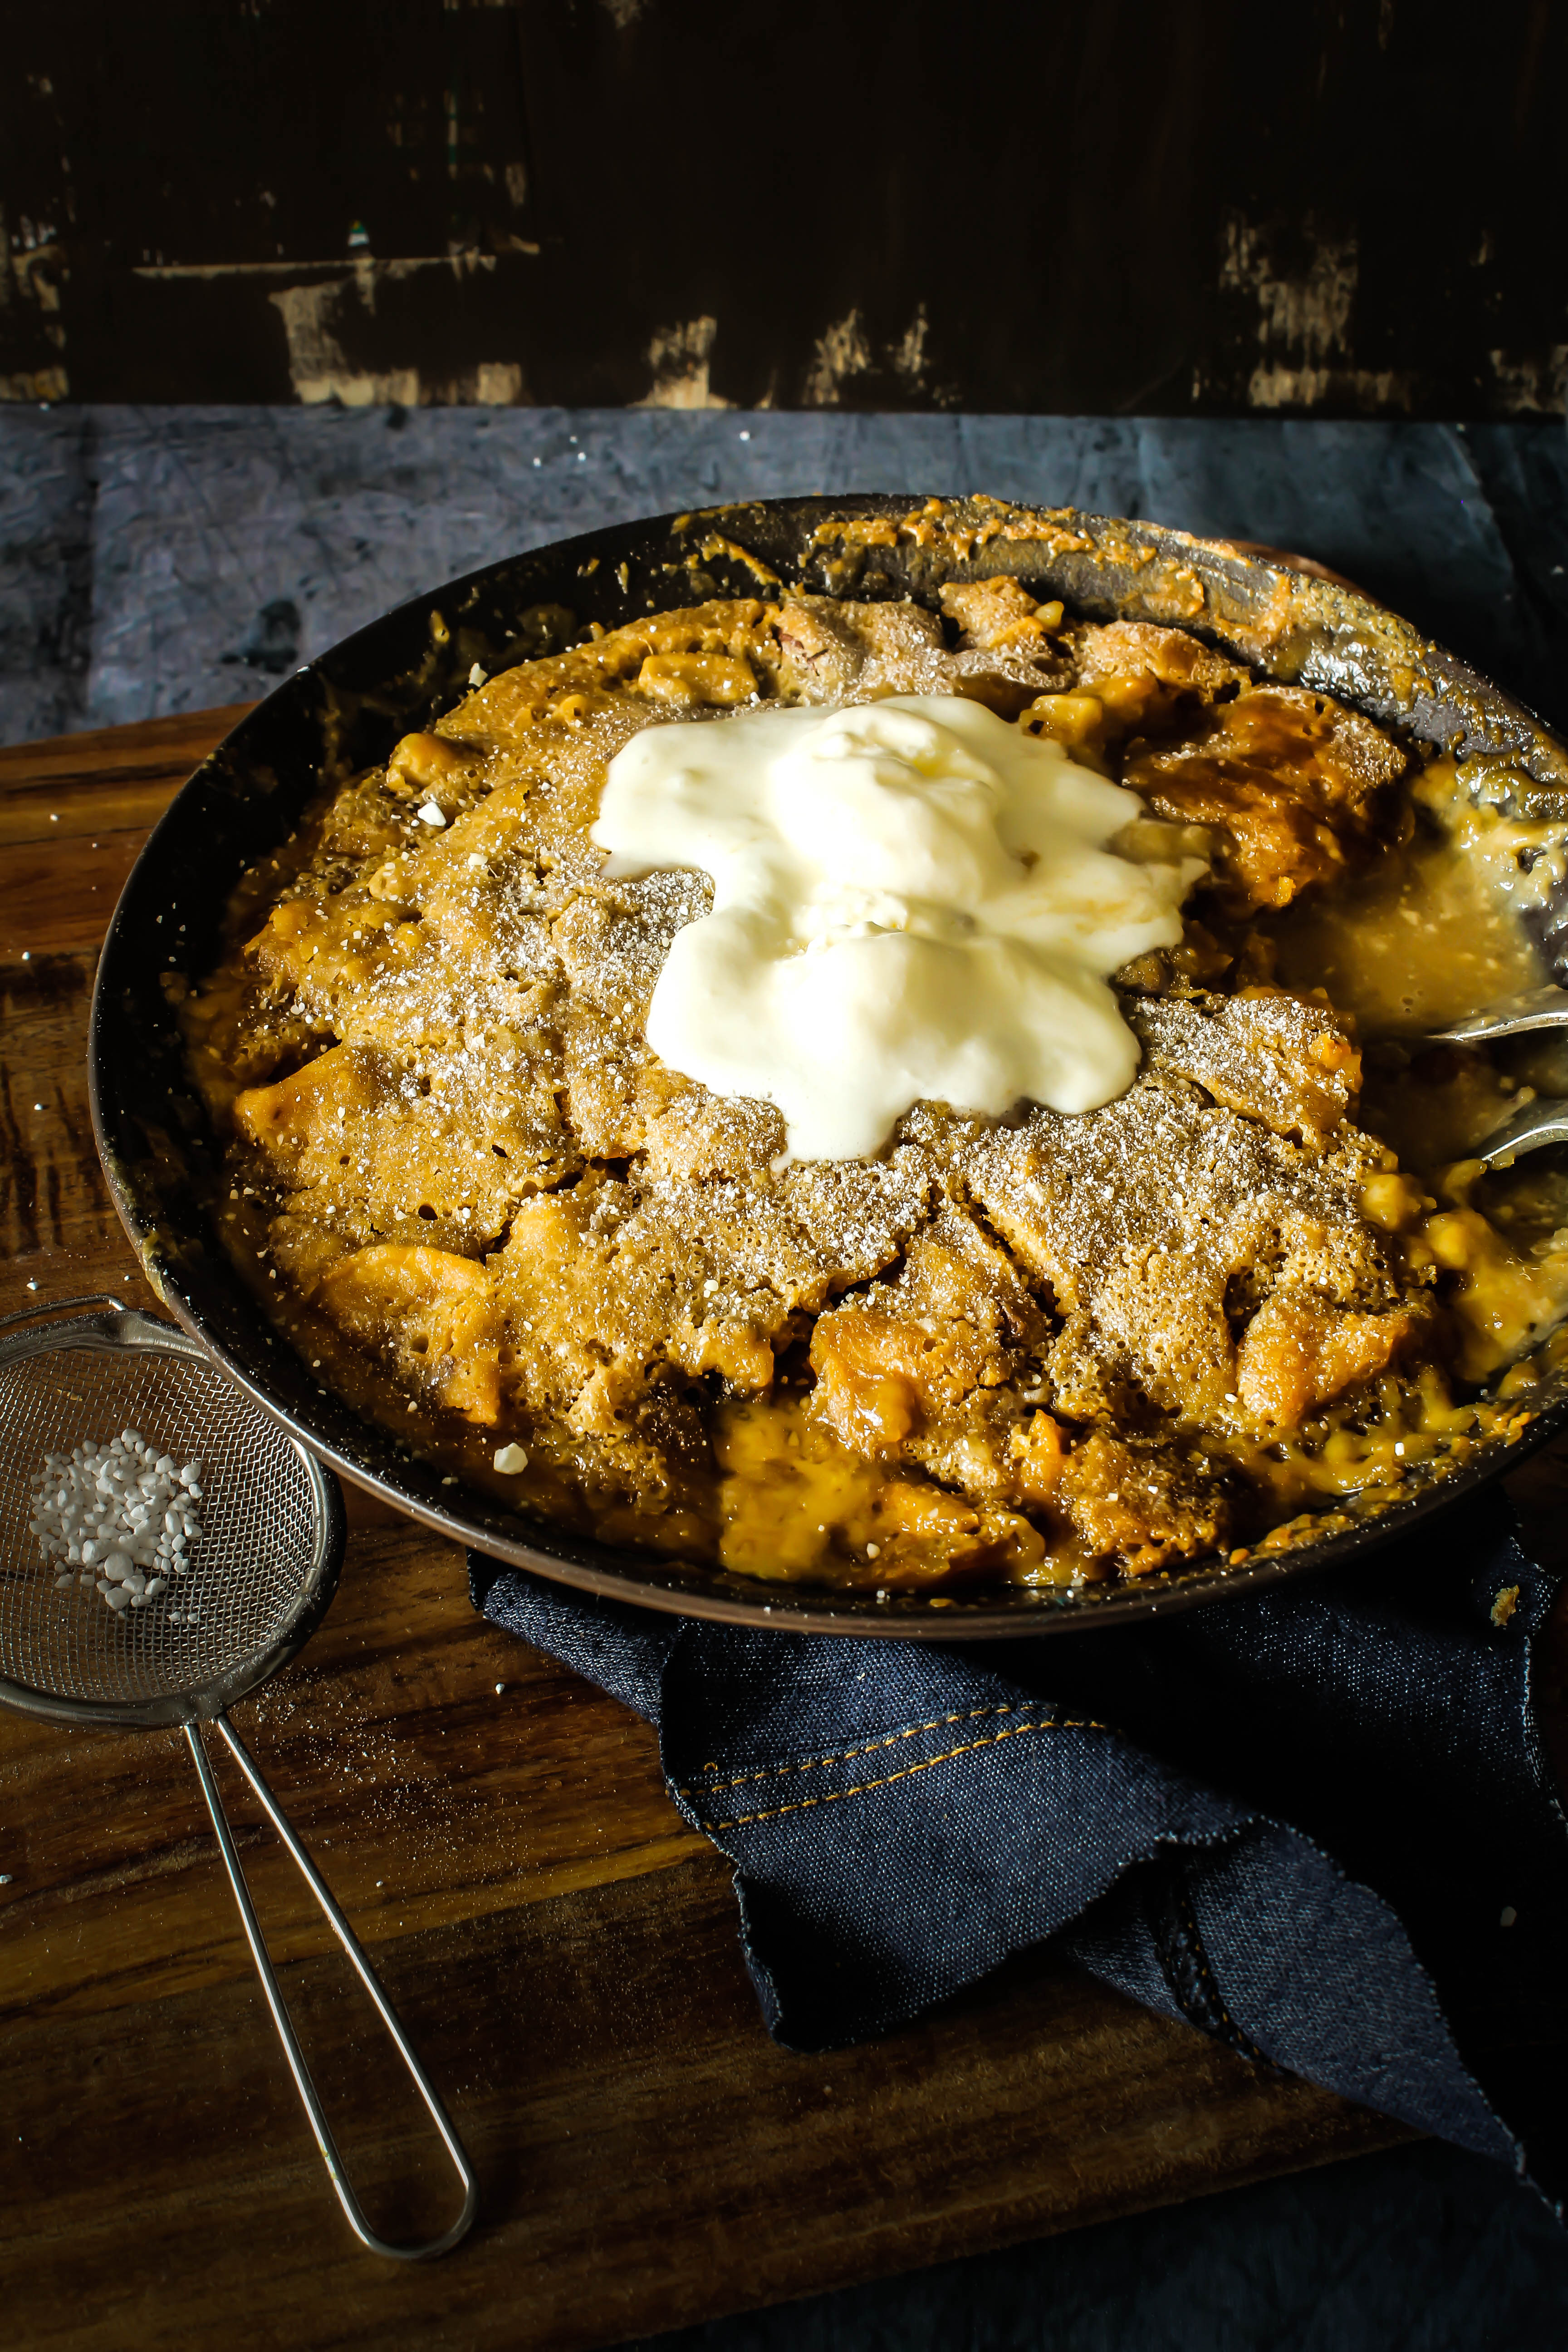
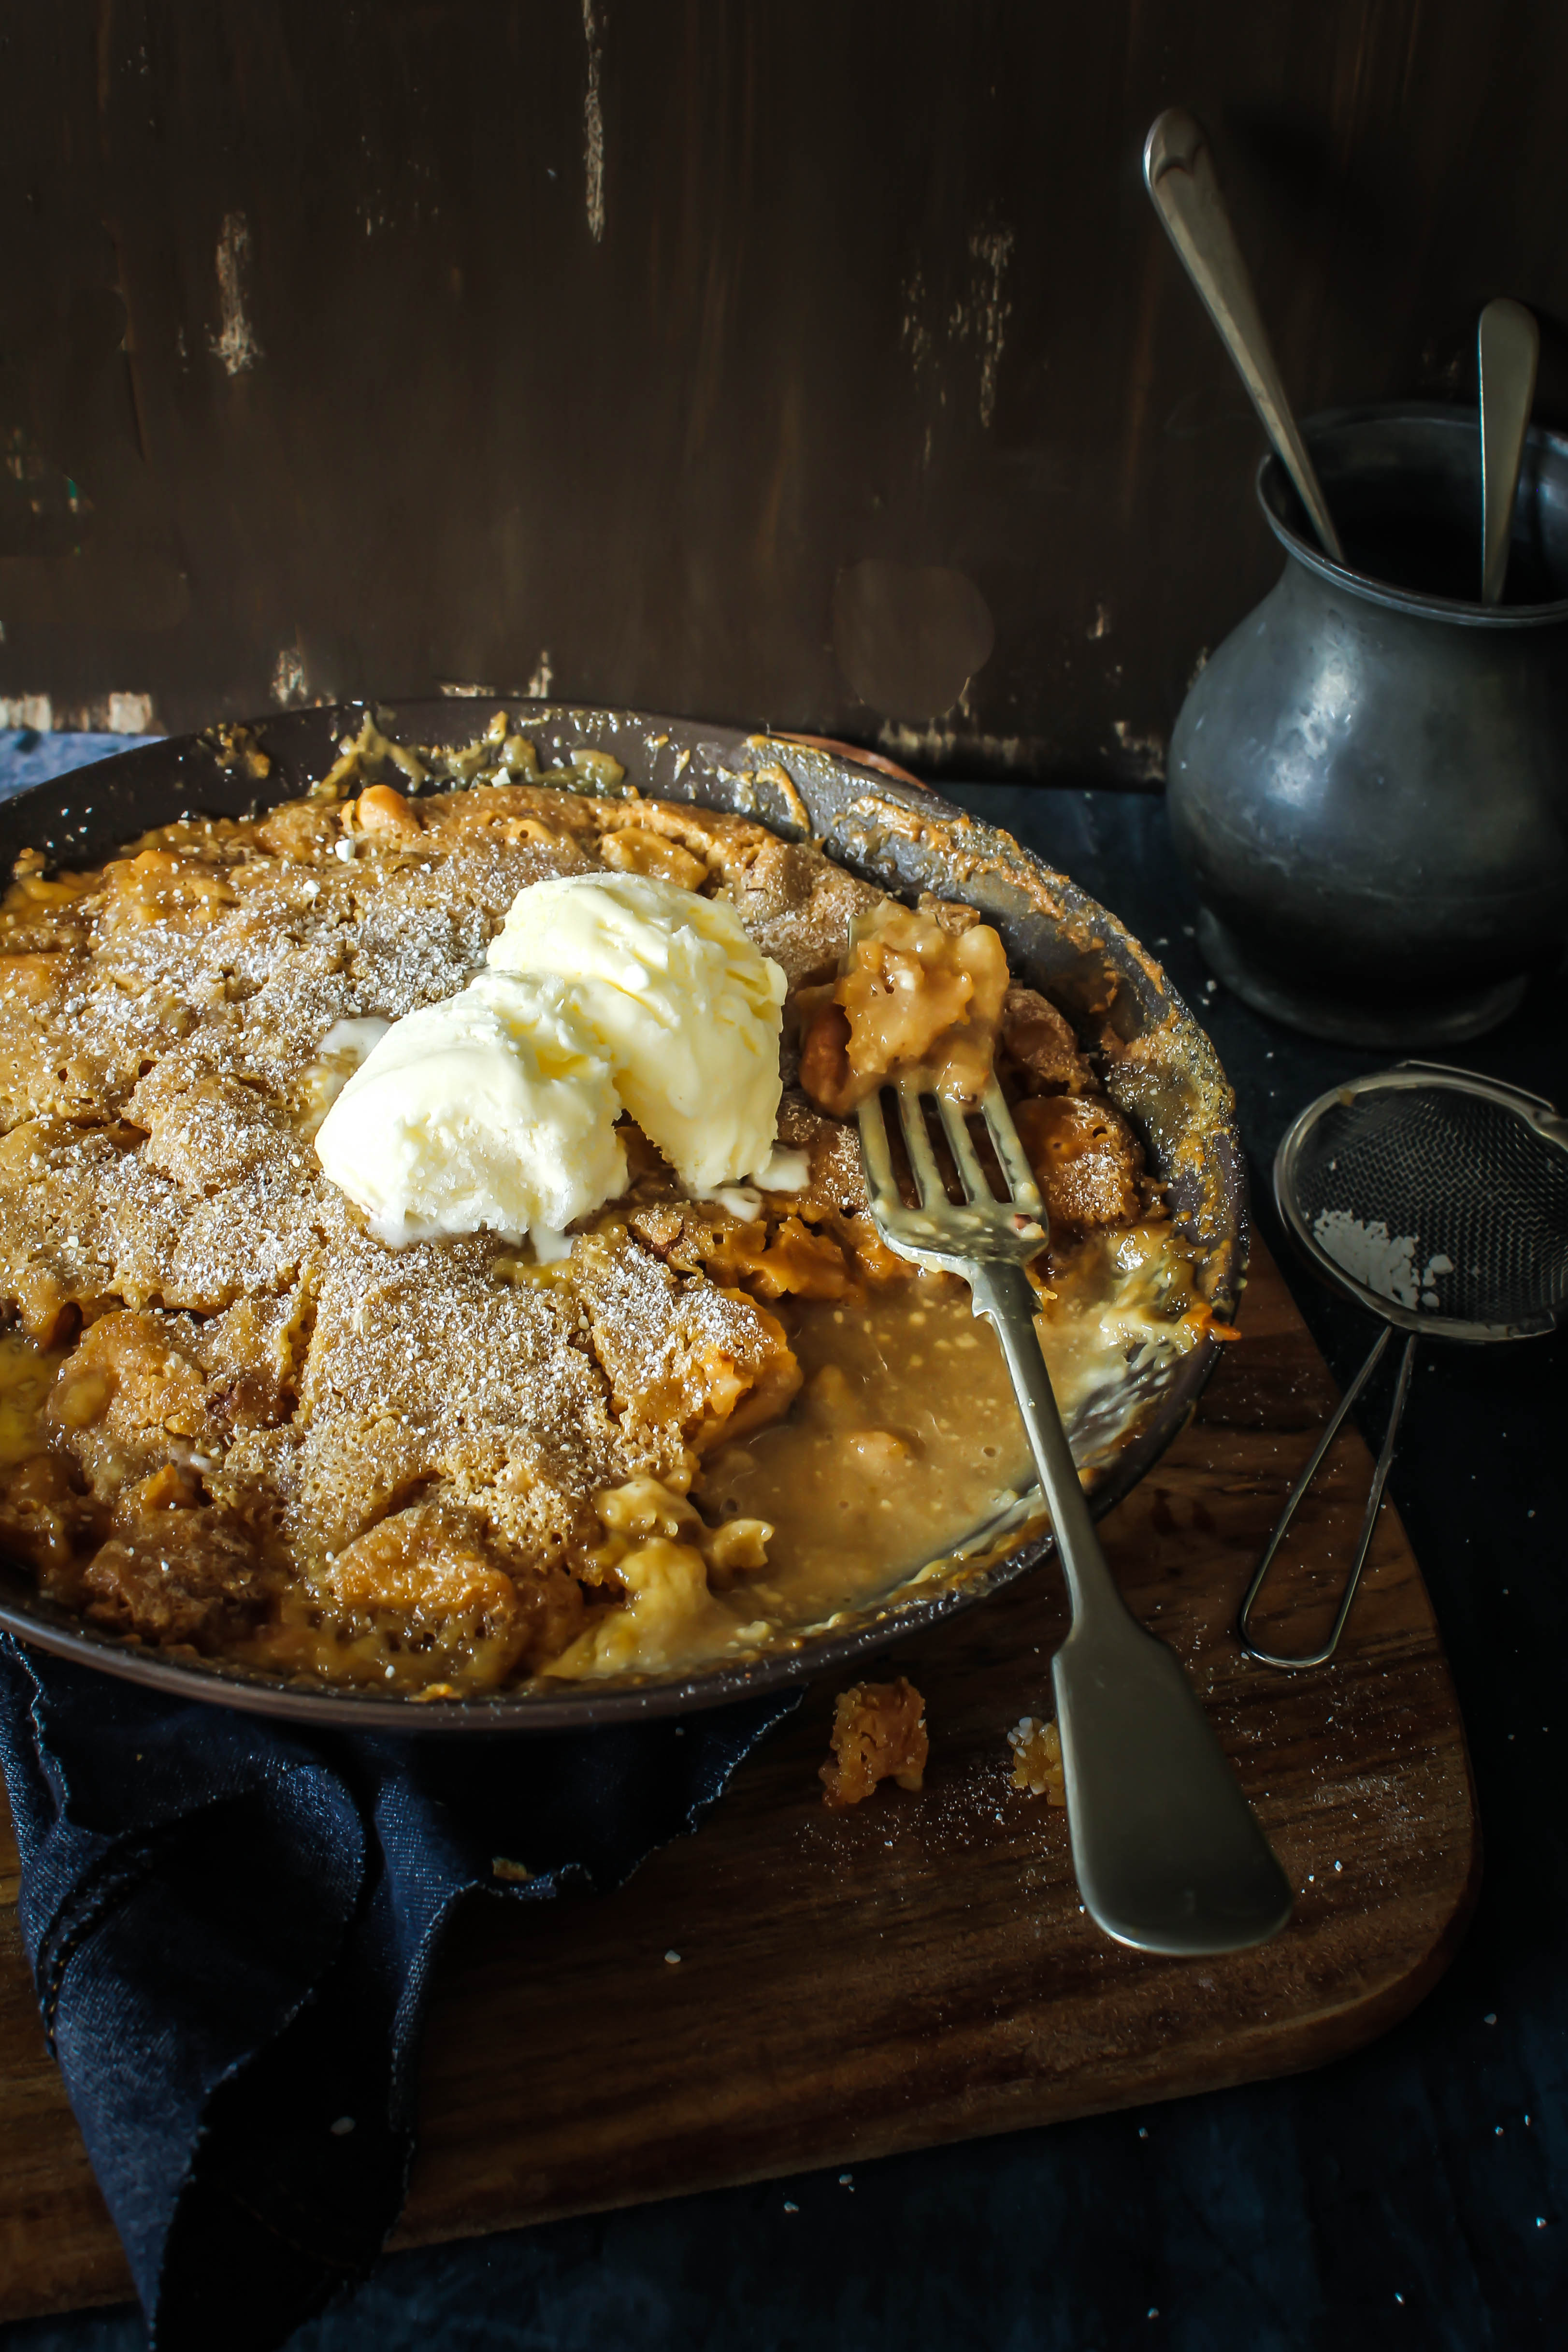
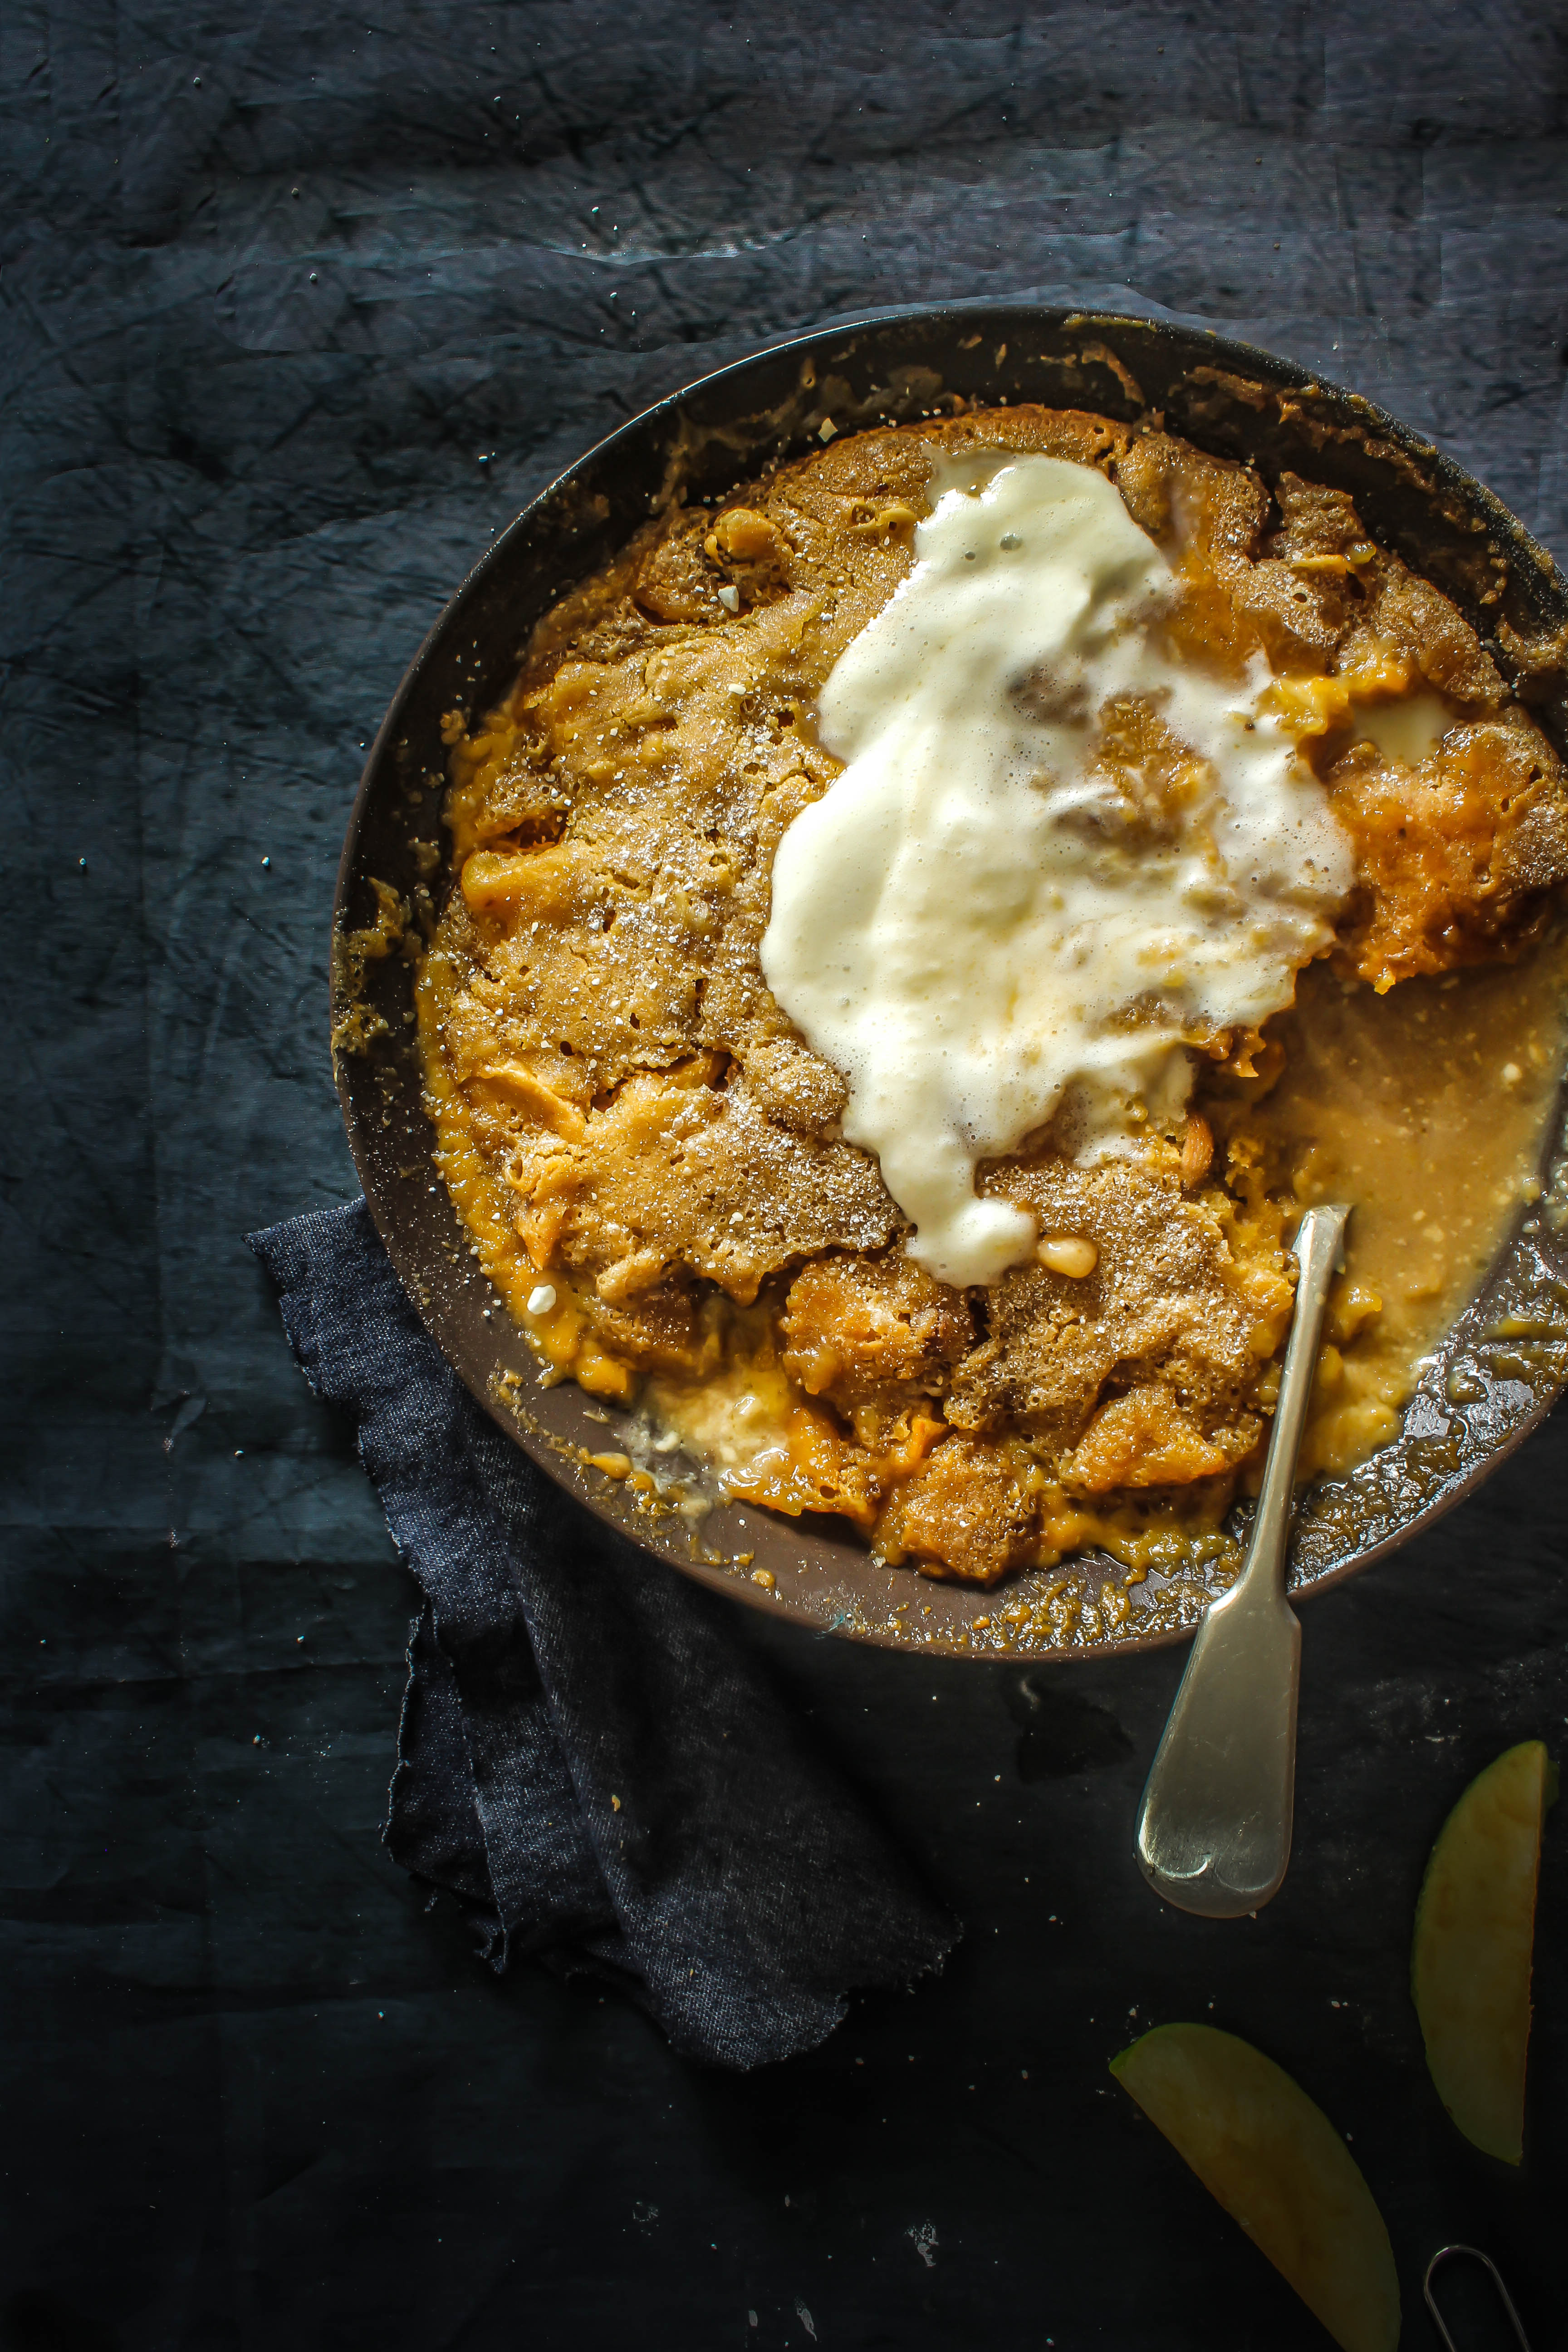
A self saucing pudding with the addition of apples and a delicious toffee caramel sauce. Easy to make and a perfect homemade dessert.

5 years ago, the only pudding I knew of and would make was the bread and butter pudding. Easy to make, easily adapted to include and exclude your preferences and such a great way of eating bread. And of course the rice pudding that was so much more than a pudding. It was a tradition. The first solid food that was ceremoniously fed to me as a baby and thereafter adorned every occasion of my life, big and small. Then one day while desperately looking up on the Internet for a way to fix an under-cooked chocolate lava cake, I discovered the self-saucing pudding. I was fascinated at the concept of a pudding that uses the very same ingredients in the recipe and creates its own sauce. After I made my first one with satisfactory results, I was hooked on. Now the only problem was, which one to make! They are so good…every one of them!

caramel toffee apple self saucing pudding

The key to a good self-saucing pudding in my humble opinion lies in ratio of the pudding to the sauce. We want to stick our spoons in that sauce that is why we make it in the first place. This one has lots of sauce. The cake almost floats on top a rich caramel sauce. But let me tell you what is the best part of this toffee/caramel pudding. You don’t need to make caramel separately…so no burning sugar, no thermometers…just plain and simple mixing of ingredients. In fact, there is no egg in the picture either. But it works…like magic! Apples and nuts give the pudding an interesting texture and plenty of bite.

caramel toffee apple self saucing pudding


I figured out that the pudding tastes even better the next day as some of the sauce is soaked up further by the cake turning it into a gooey, food porn-ish mess. You get what I mean? Gooey messes are so welcome when it comes to the sweeter side of things. A gentle dusting of icing sugar completes the pudding and a some vanilla ice cream on the side is perfect to make you lose your mind. I love photographing such kind of food because you get to eat some of the deliciousness as you go. They are part of your shots.
You have to cut into the interiors to give the world an insight into a what is called a self-saucing pudding. Agree with me?


caramel toffee apple self saucing pudding

Toffee Apple Self-Saucing Pudding
Serves 4

60 g butter, chopped
1/2 cup milk
2/3 cup firmly packed brown sugar
1 cup self-raising flour
2 tablespoons golden syrup/maple syrup (I used golden syrup)
2 medium apples peeled, cored and chopped into 2 cm cubes
1/2 cup nuts, your choice (I used mixed)
icing sugar, to dust

For the sauce:
3/4 cup firmly packed brown sugar
40 g butter, chopped
1/2 cup heavy cream
1 cup boiling water.

Preheat oven to 180 degrees C. Grease a 6-cup (1.5 L) capacity oven-proof dish. Combine the butter and milk in a medium saucepan over medium heat. Cook, stirring with a wooden spoon, for 2 minutes or until butter melts. Remove from heat and add the sugar, flour and golden syrup and stir until combined. Fold in the chopped apples and nuts.
Pour the mixture into the prepared pan.
To make the sauce, combine the sugar, butter and water in a medium heatproof bowl. Stir until butter is melted. Stir in the cream. Pour slowly over the back of spoon into the pudding mixture.

Bake in preheated oven for 50-60 minutes or until centre is cooked through. Cool slightly, then dust with icing sugar. Serve warm with ice-cream or whipped cream.


Chocolate Almond Ginger Cookies

24|10|2014

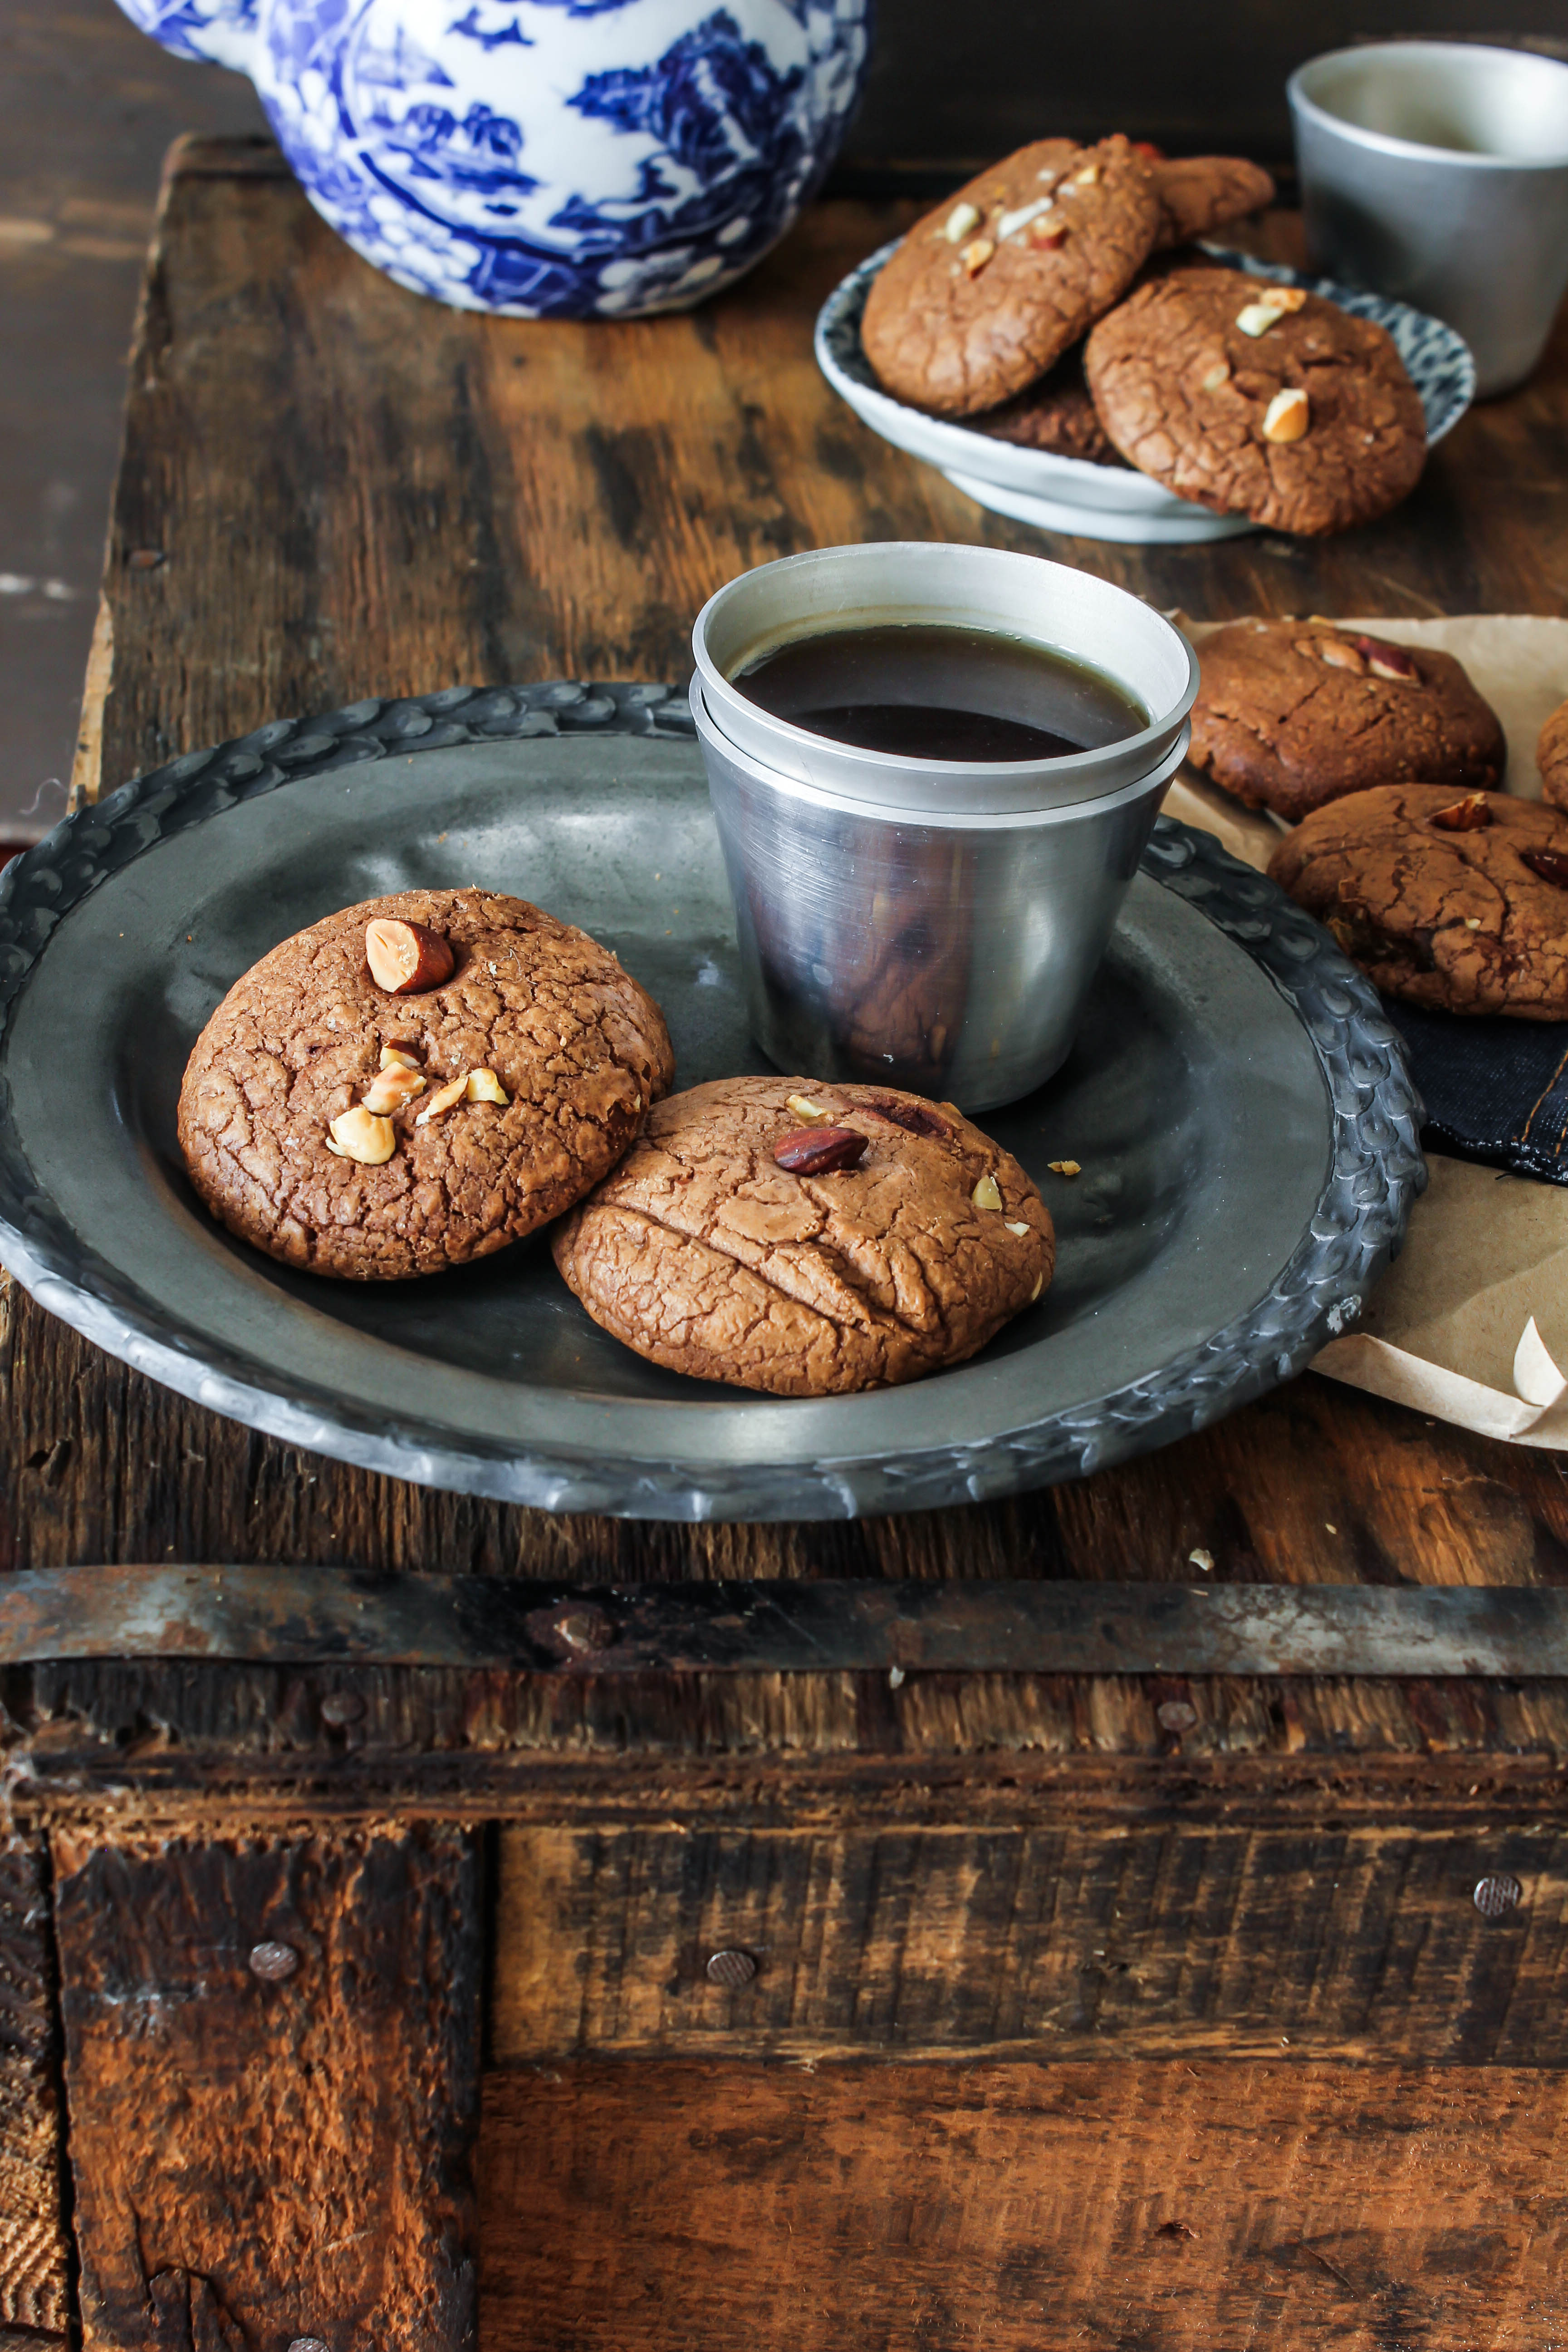
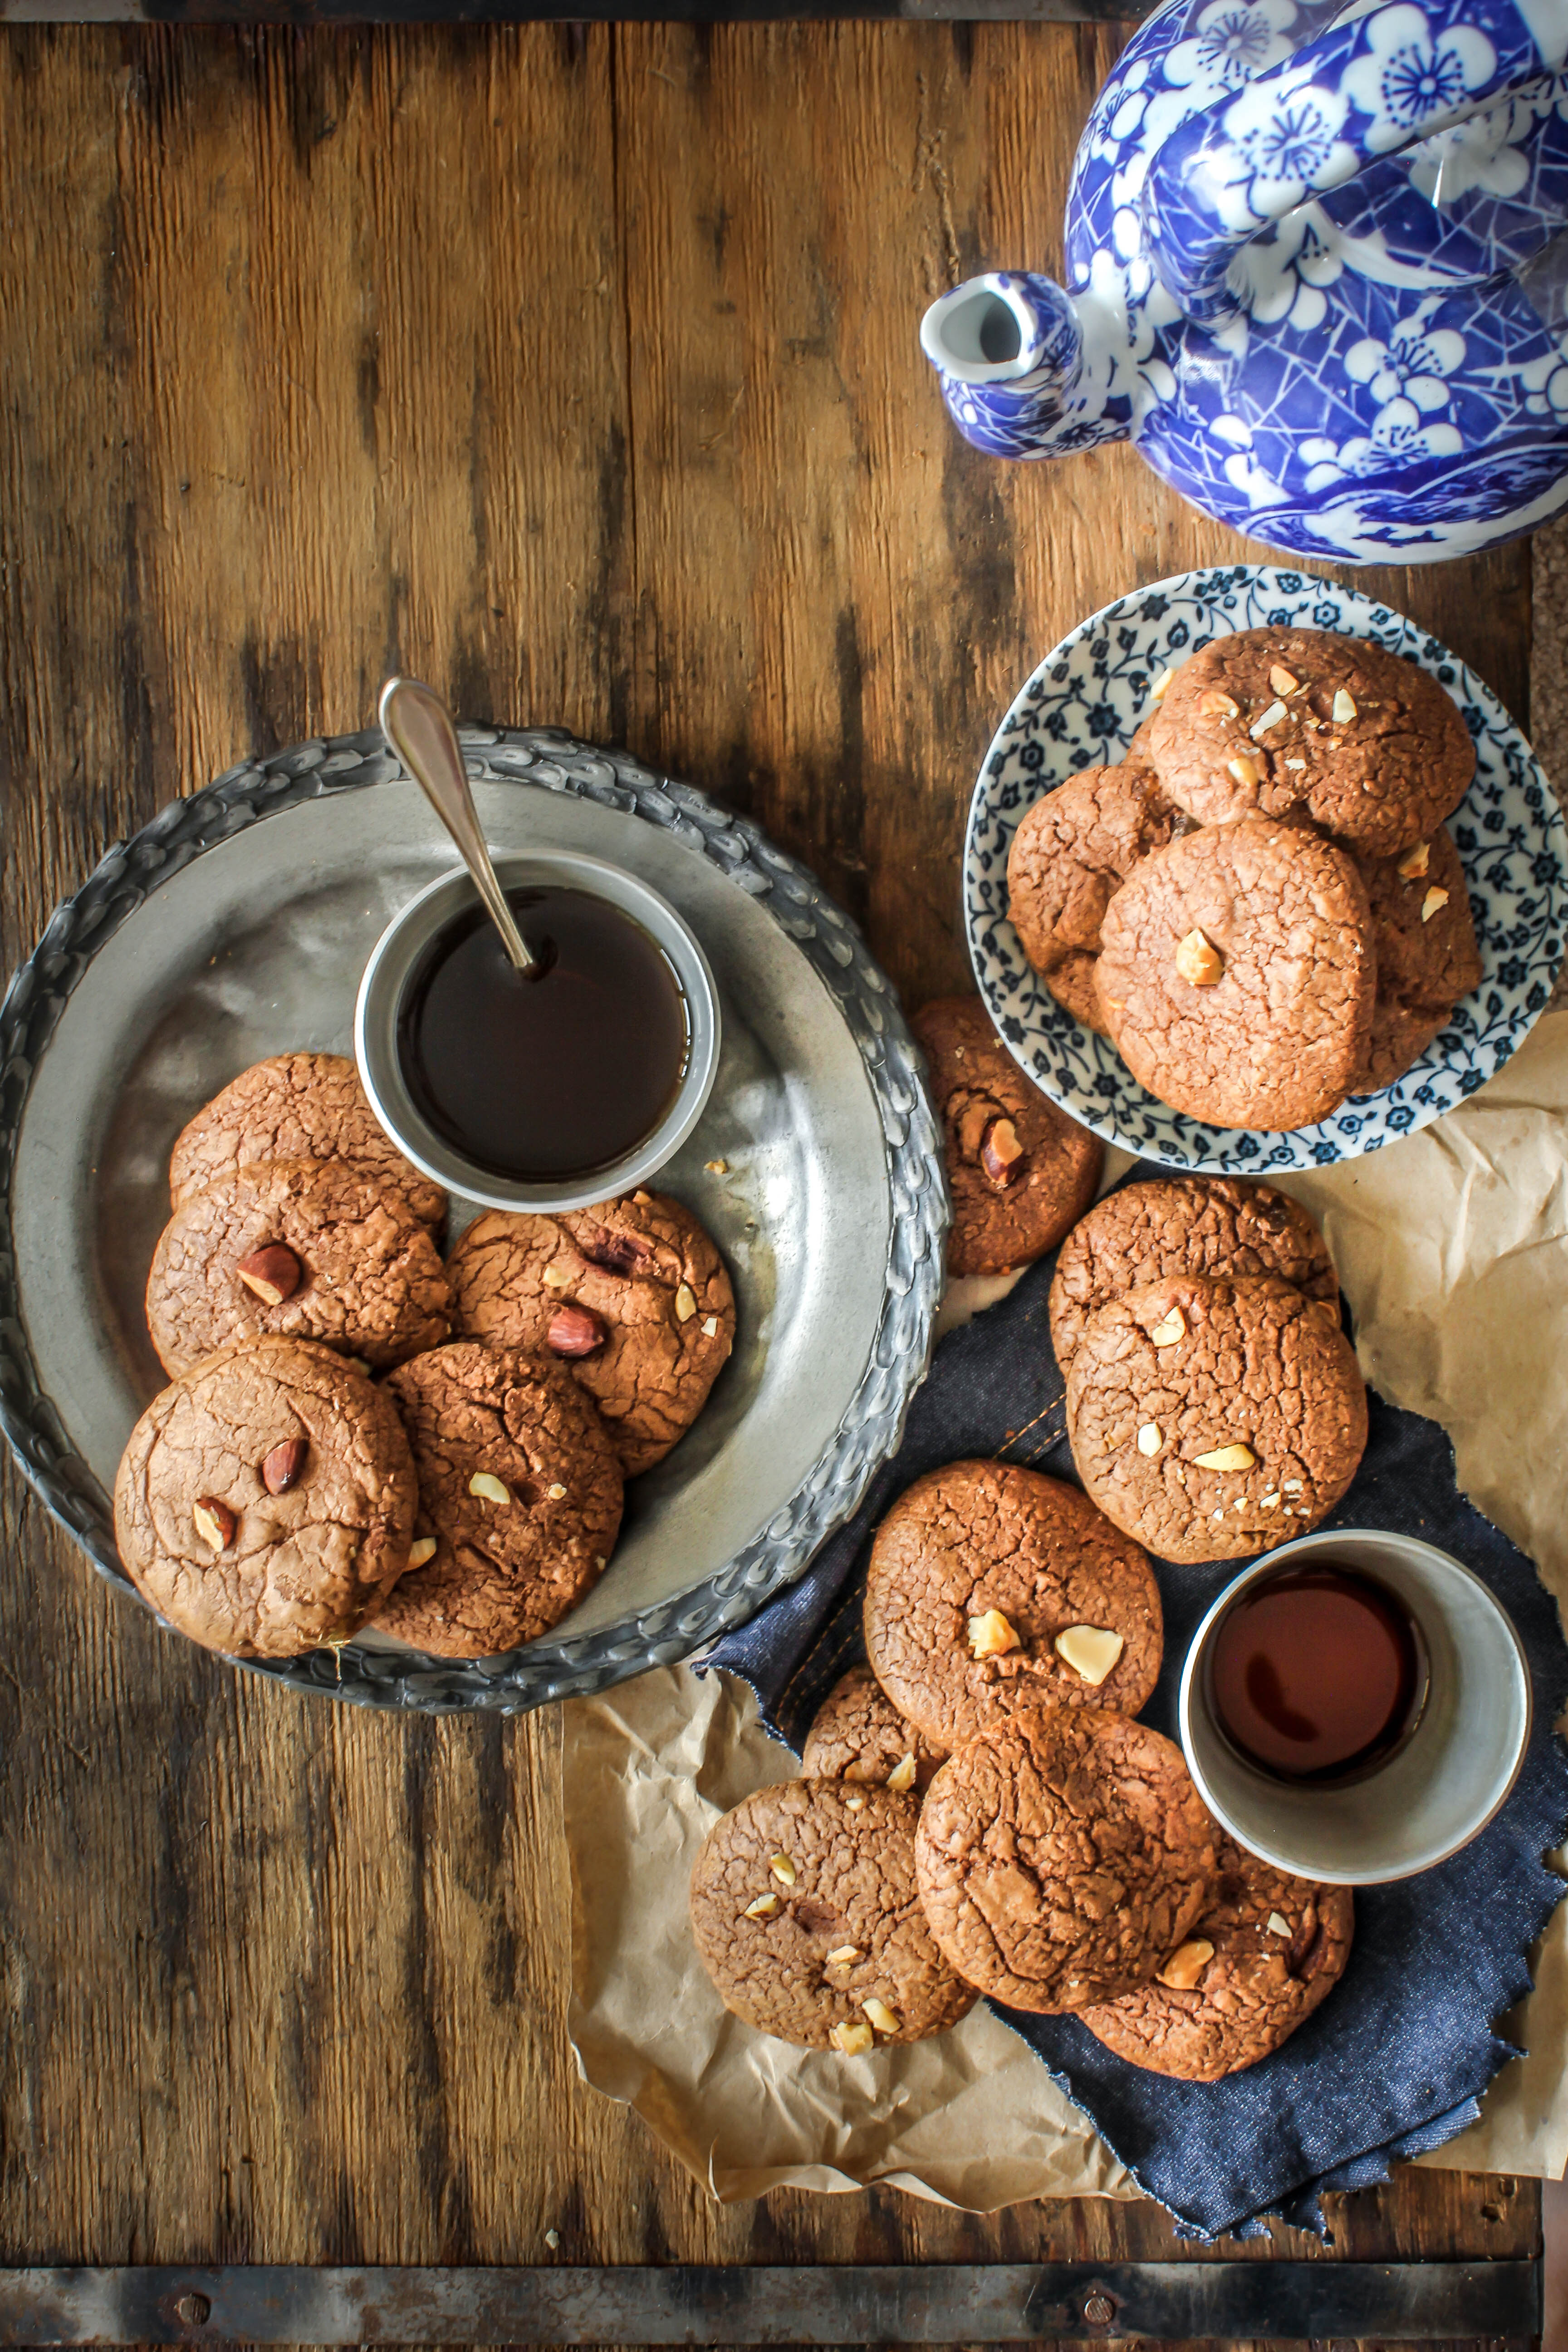
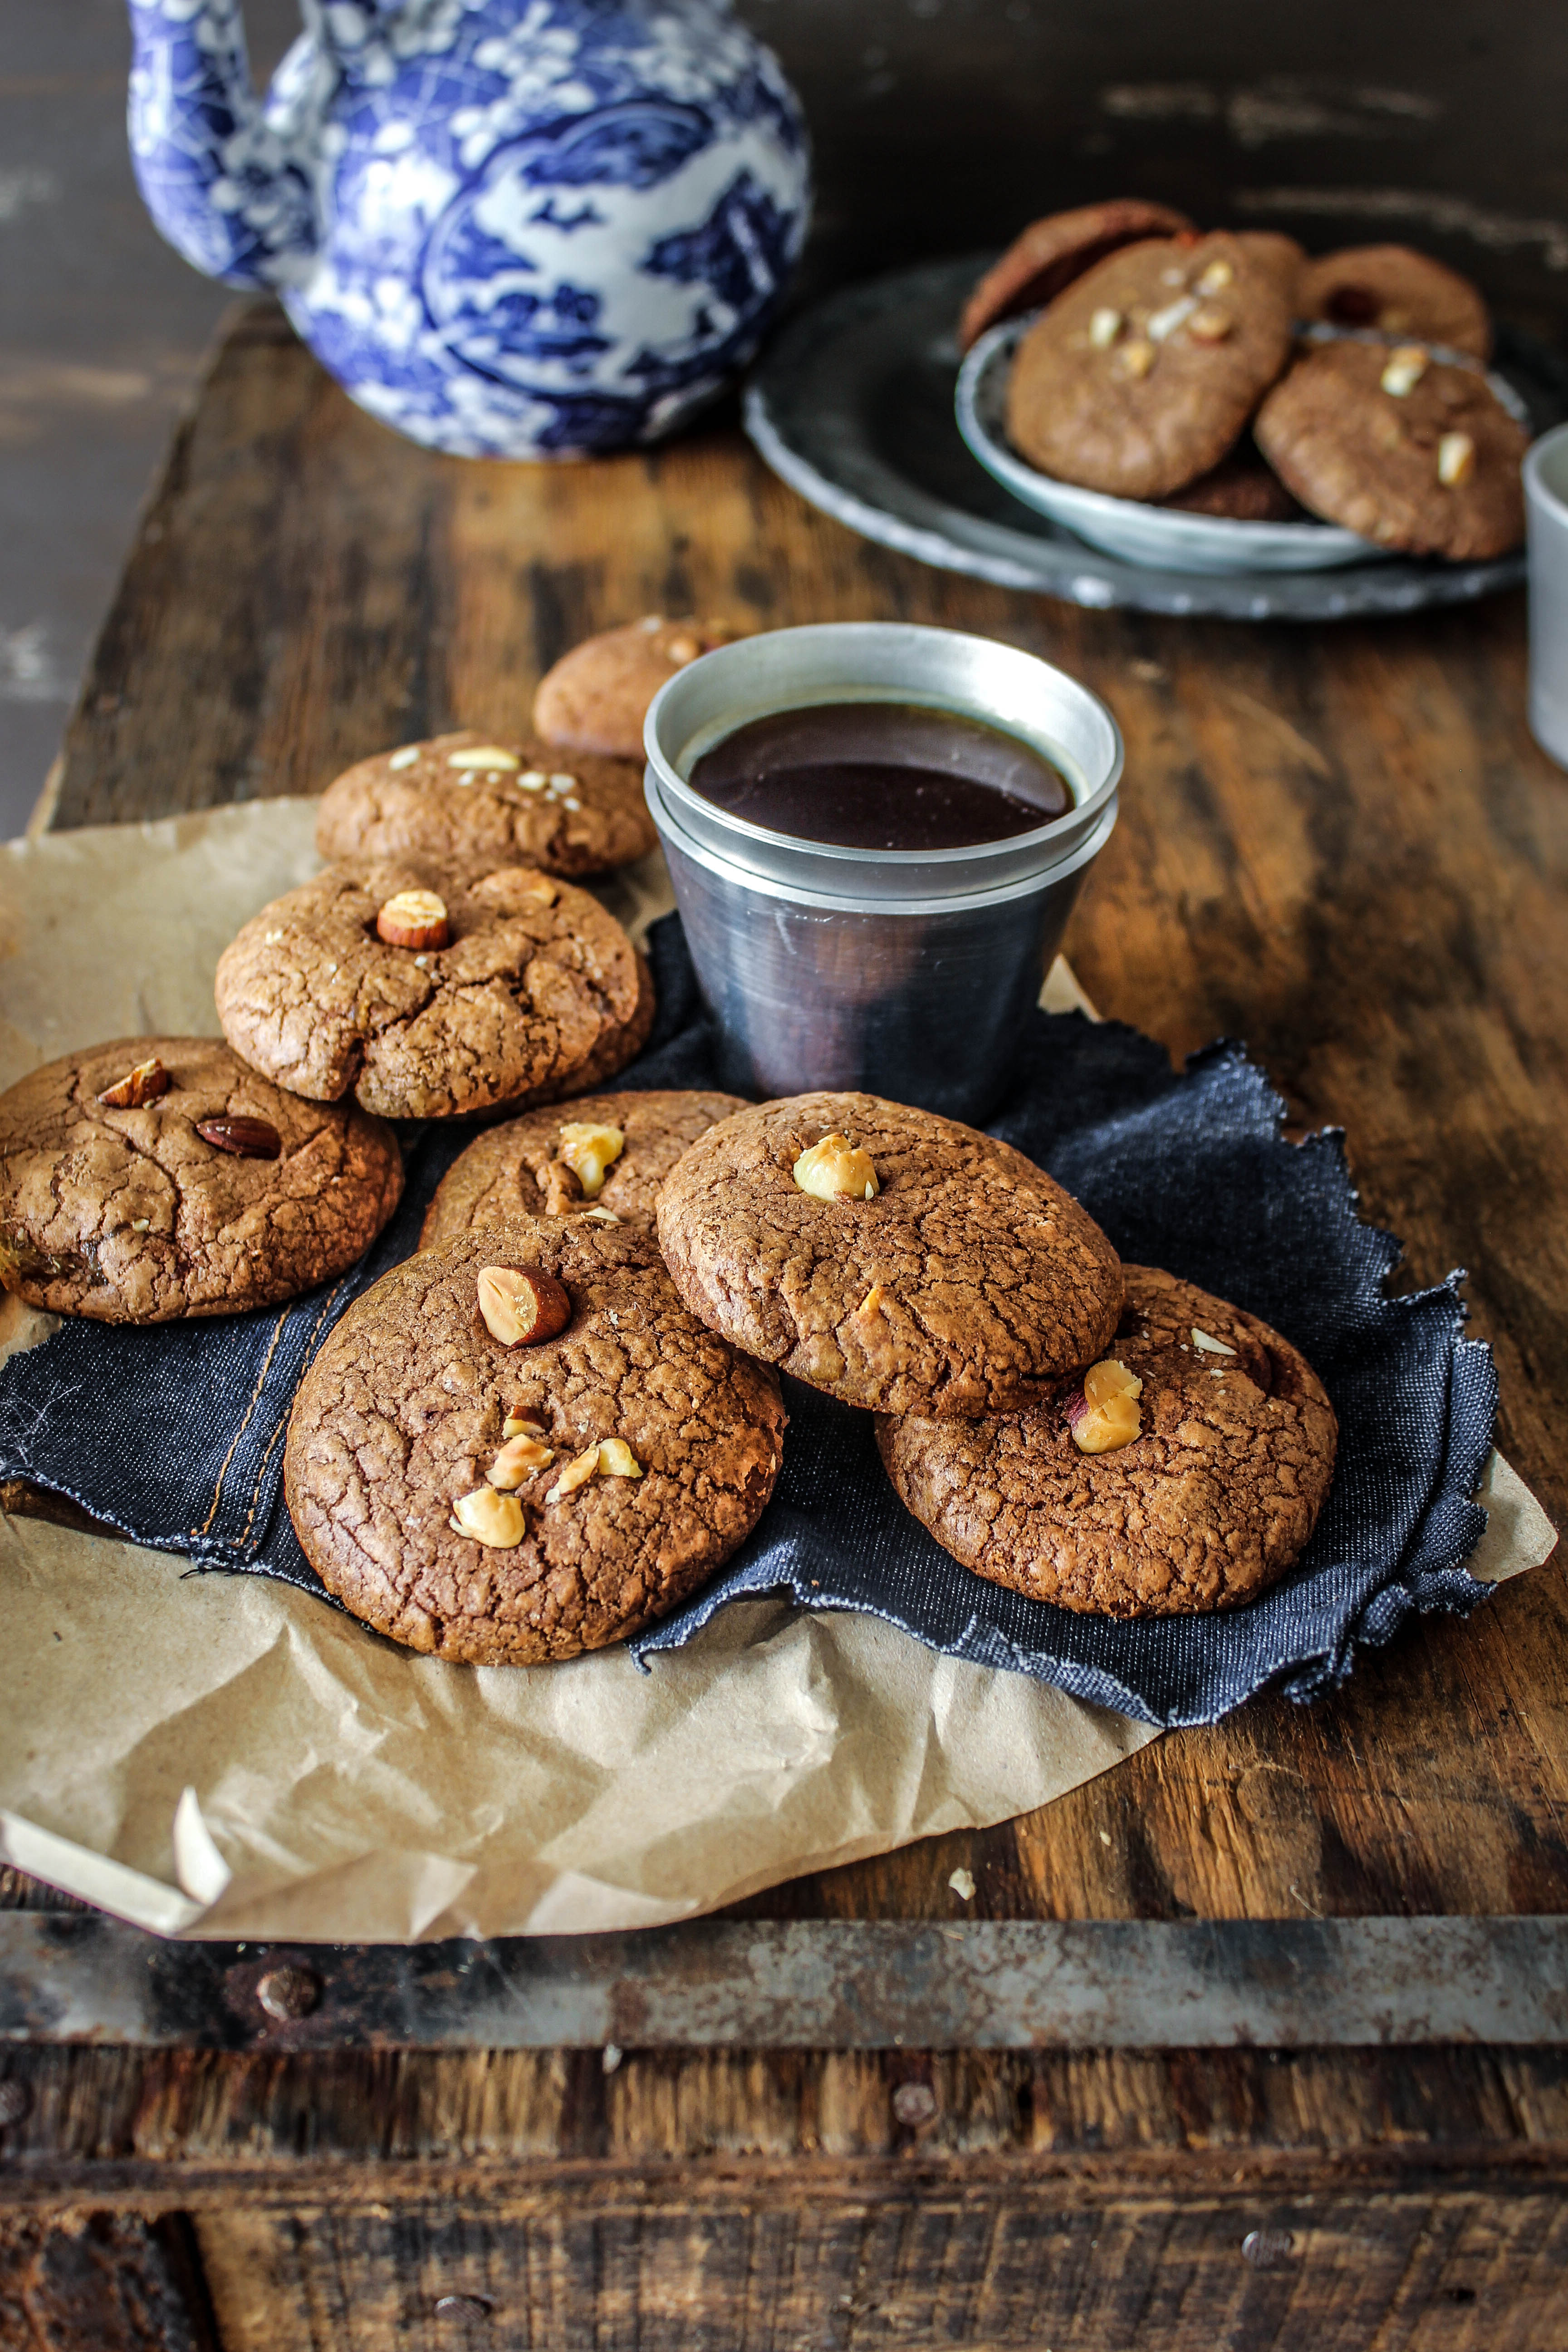
I just wanted to bake cookies. For no rhyme nor reason. Do you really need a reason to make a cookie or a reason to eat one? If I am not doing anything else, I just have to get my hands whisking some kind of dough. I have to be cleaning away bits of dough, wiping away tiny drips of melted chocolate or scraping bowls till I am convinced I cannot scrape out any more for a cookie, brownie or cake batter. The mousse and cheesecake variety have a different outcome where scraping can be replaced with licking and I have takers. My kitchen and countertops tell a story that I like to see and experience every day. I like to keep a tab on my stock of chocolate, sugar, butter and eggs so I can shop for refills before I run out of them. My head, heart and hands are so in tune with this that I don’t feel like myself if I go for several days without baking my favourite things…or rather just baking something sweet.

IMG_3052-4

So I took out chocolate, rummaged through my cupboards for almond meal (I blame that on moving houses several times), studied my spice rack and in minutes I was mixing together a luscious, thick batter. There is huge sense of satisfaction that comes with rolling balls of dough between your palms. You know you are in your final stages of giving shape to something spectacular from a few things that were mere ingredients minutes ago. The thrill of opening the oven door as you are greeted by the whiff of freshly baked goods.

IMG_3051

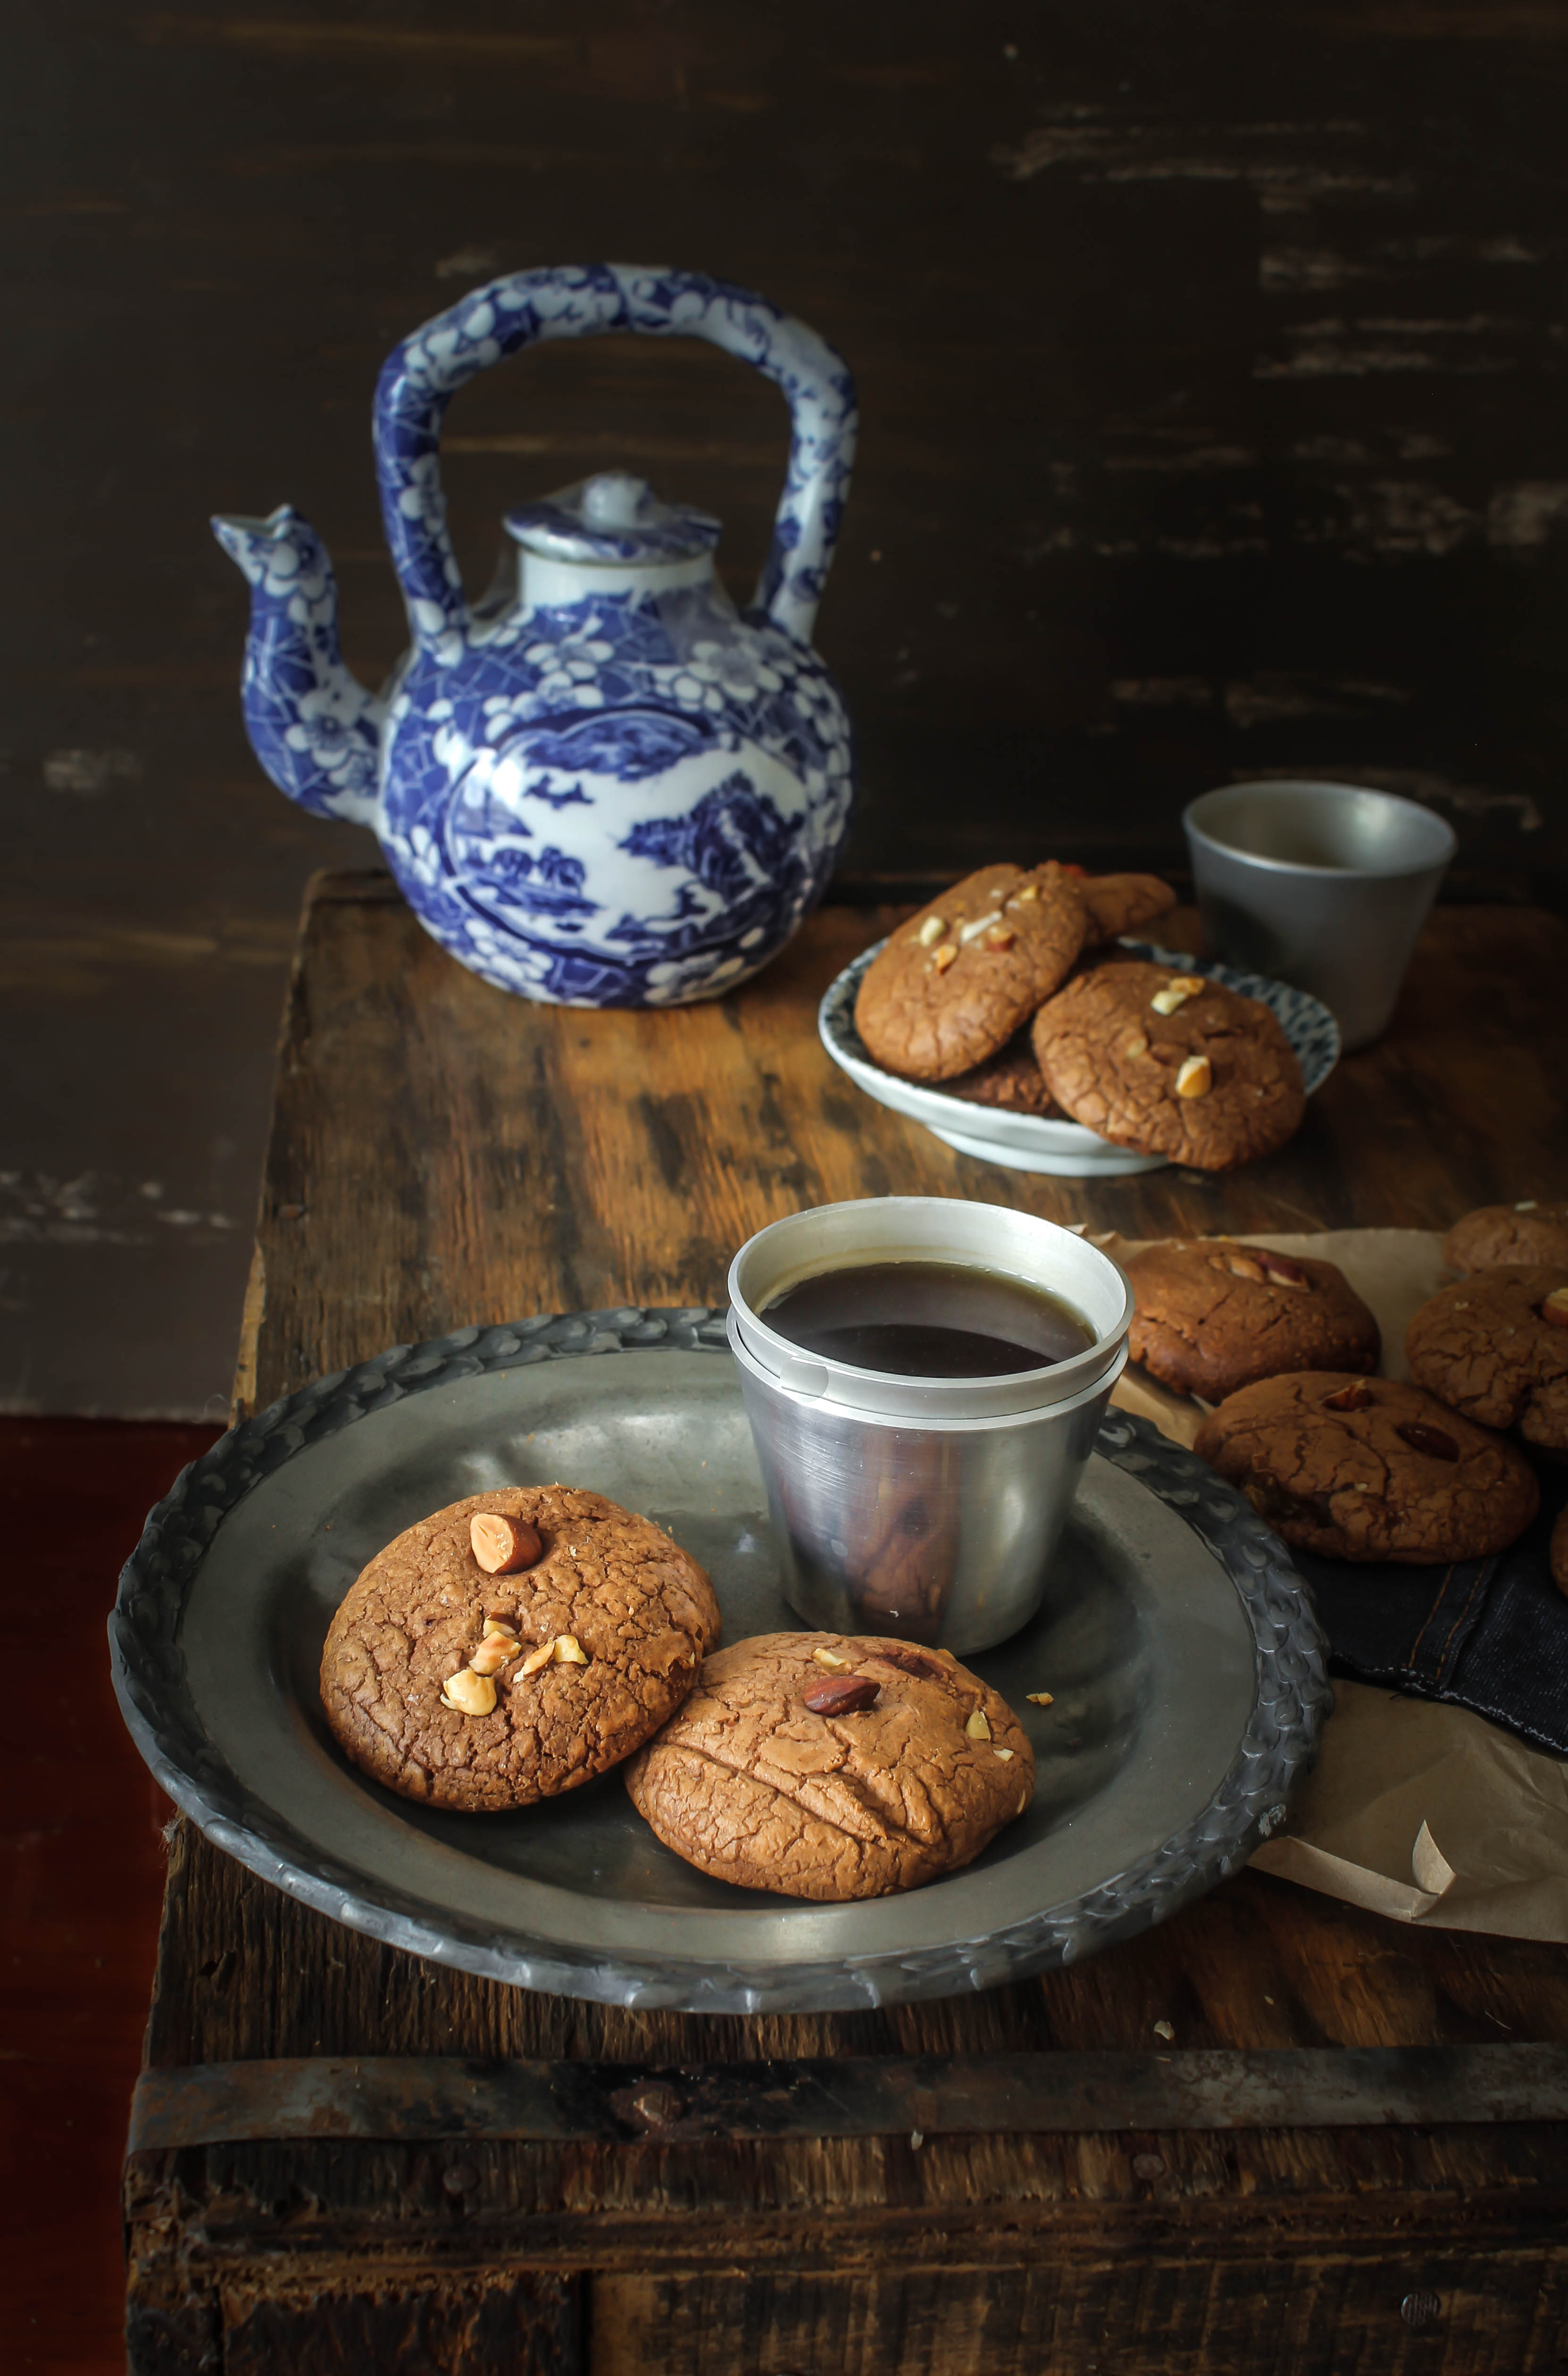
These cookies are like little brownie bites. The batter is similar as well. Almond meal adds a slight nutty texture while powdered ginger gives it a warm, spicy feel. You could replace the almond meal for the same amount of plain flour or leave the ginger out if you want plain chocolate cookies. I have also used glace ginger pieces in the batter which tastes amazing with the chocolate. The recipe makes a lot of cookies but they were gone quite quickly in my house. I baked them in two batches, one slightly longer than the other. The first batch resulted in soft chewy cookies while the second one came out to be crisper ones. I prefered the chewy ones as they did taste like brownies.

IMG_3063-2


IMG_3048-2

Chocolate Almond Ginger Cookies
Makes 24 medium cookies

120 g unsalted butter, chopped
120 g dark chocolate, chopped
2 eggs
1 teaspoon vanilla extract
1 firmly packed cup brown sugar
1/2 cup castor sugar
1 1/4 cups plain flour
1/2 cup almond meal (ground almonds)
1/2 cup cocoa powder
2 teaspoons ground ginger
1/4 cup glace ginger, finely chopped
toasted whole almonds (10-12), roughly chopped

Preheat the oven to 180°C and line a baking tray with baking paper.
Place butter and chocolate in a heatproof bowl set over a saucepan of simmering water (don’t let bowl touch water) and stir until melted. Remove from heat and set aside to cool slightly.

Meanwhile, whisk eggs, vanilla and sugars with electric beaters until thick and pale. Add the chocolate mixture and stir to combine. Sift over the flour and cocoa. Add the almond meal and ginger. Fold in the glace ginger and chopped almonds. If the batter is too sticky to handle, stick it into the fridge for 15-20 minutes.

Roll tablespoons of dough into balls and place onto the baking tray, leaving room between them to expand (about 4 cm). Bake, rotating tray halfway, for 14 minutes or until set. Cool on the tray for 5 minutes, then transfer to a wire rack to cool completely.


Well Naturally Chocolate+ A Spiced Chocolate Lassi + Giveaway

21|10|2014

I often come across people who associate weight loss, health and fitness with some kind of food deprivation, cut-downs and fad diets. I am certainly not an expert in this area but the word ‘deprivation’ does not exist in my culinary dictionary. Food is a gift..it is one of the greatest pleasures in life that we deserve. What we don’t deserve are the pangs of guilt we feel after consuming a big slice of chocolate cake or a cup of hot chocolate that we have craved for and have been refusing as it comes in the way of our fitness goals or our summer-ready bodies. On many occasions I find myself thinking if there was a better way to deal with this. Why can’t I eat chocolate cake and still look fab in my swimwear?. I guess the key is to eat mindfully, understanding what we eat and not taking away the pleasure from eating our favourite food. Mindful eating balances health and pleasure.

IMG_3012
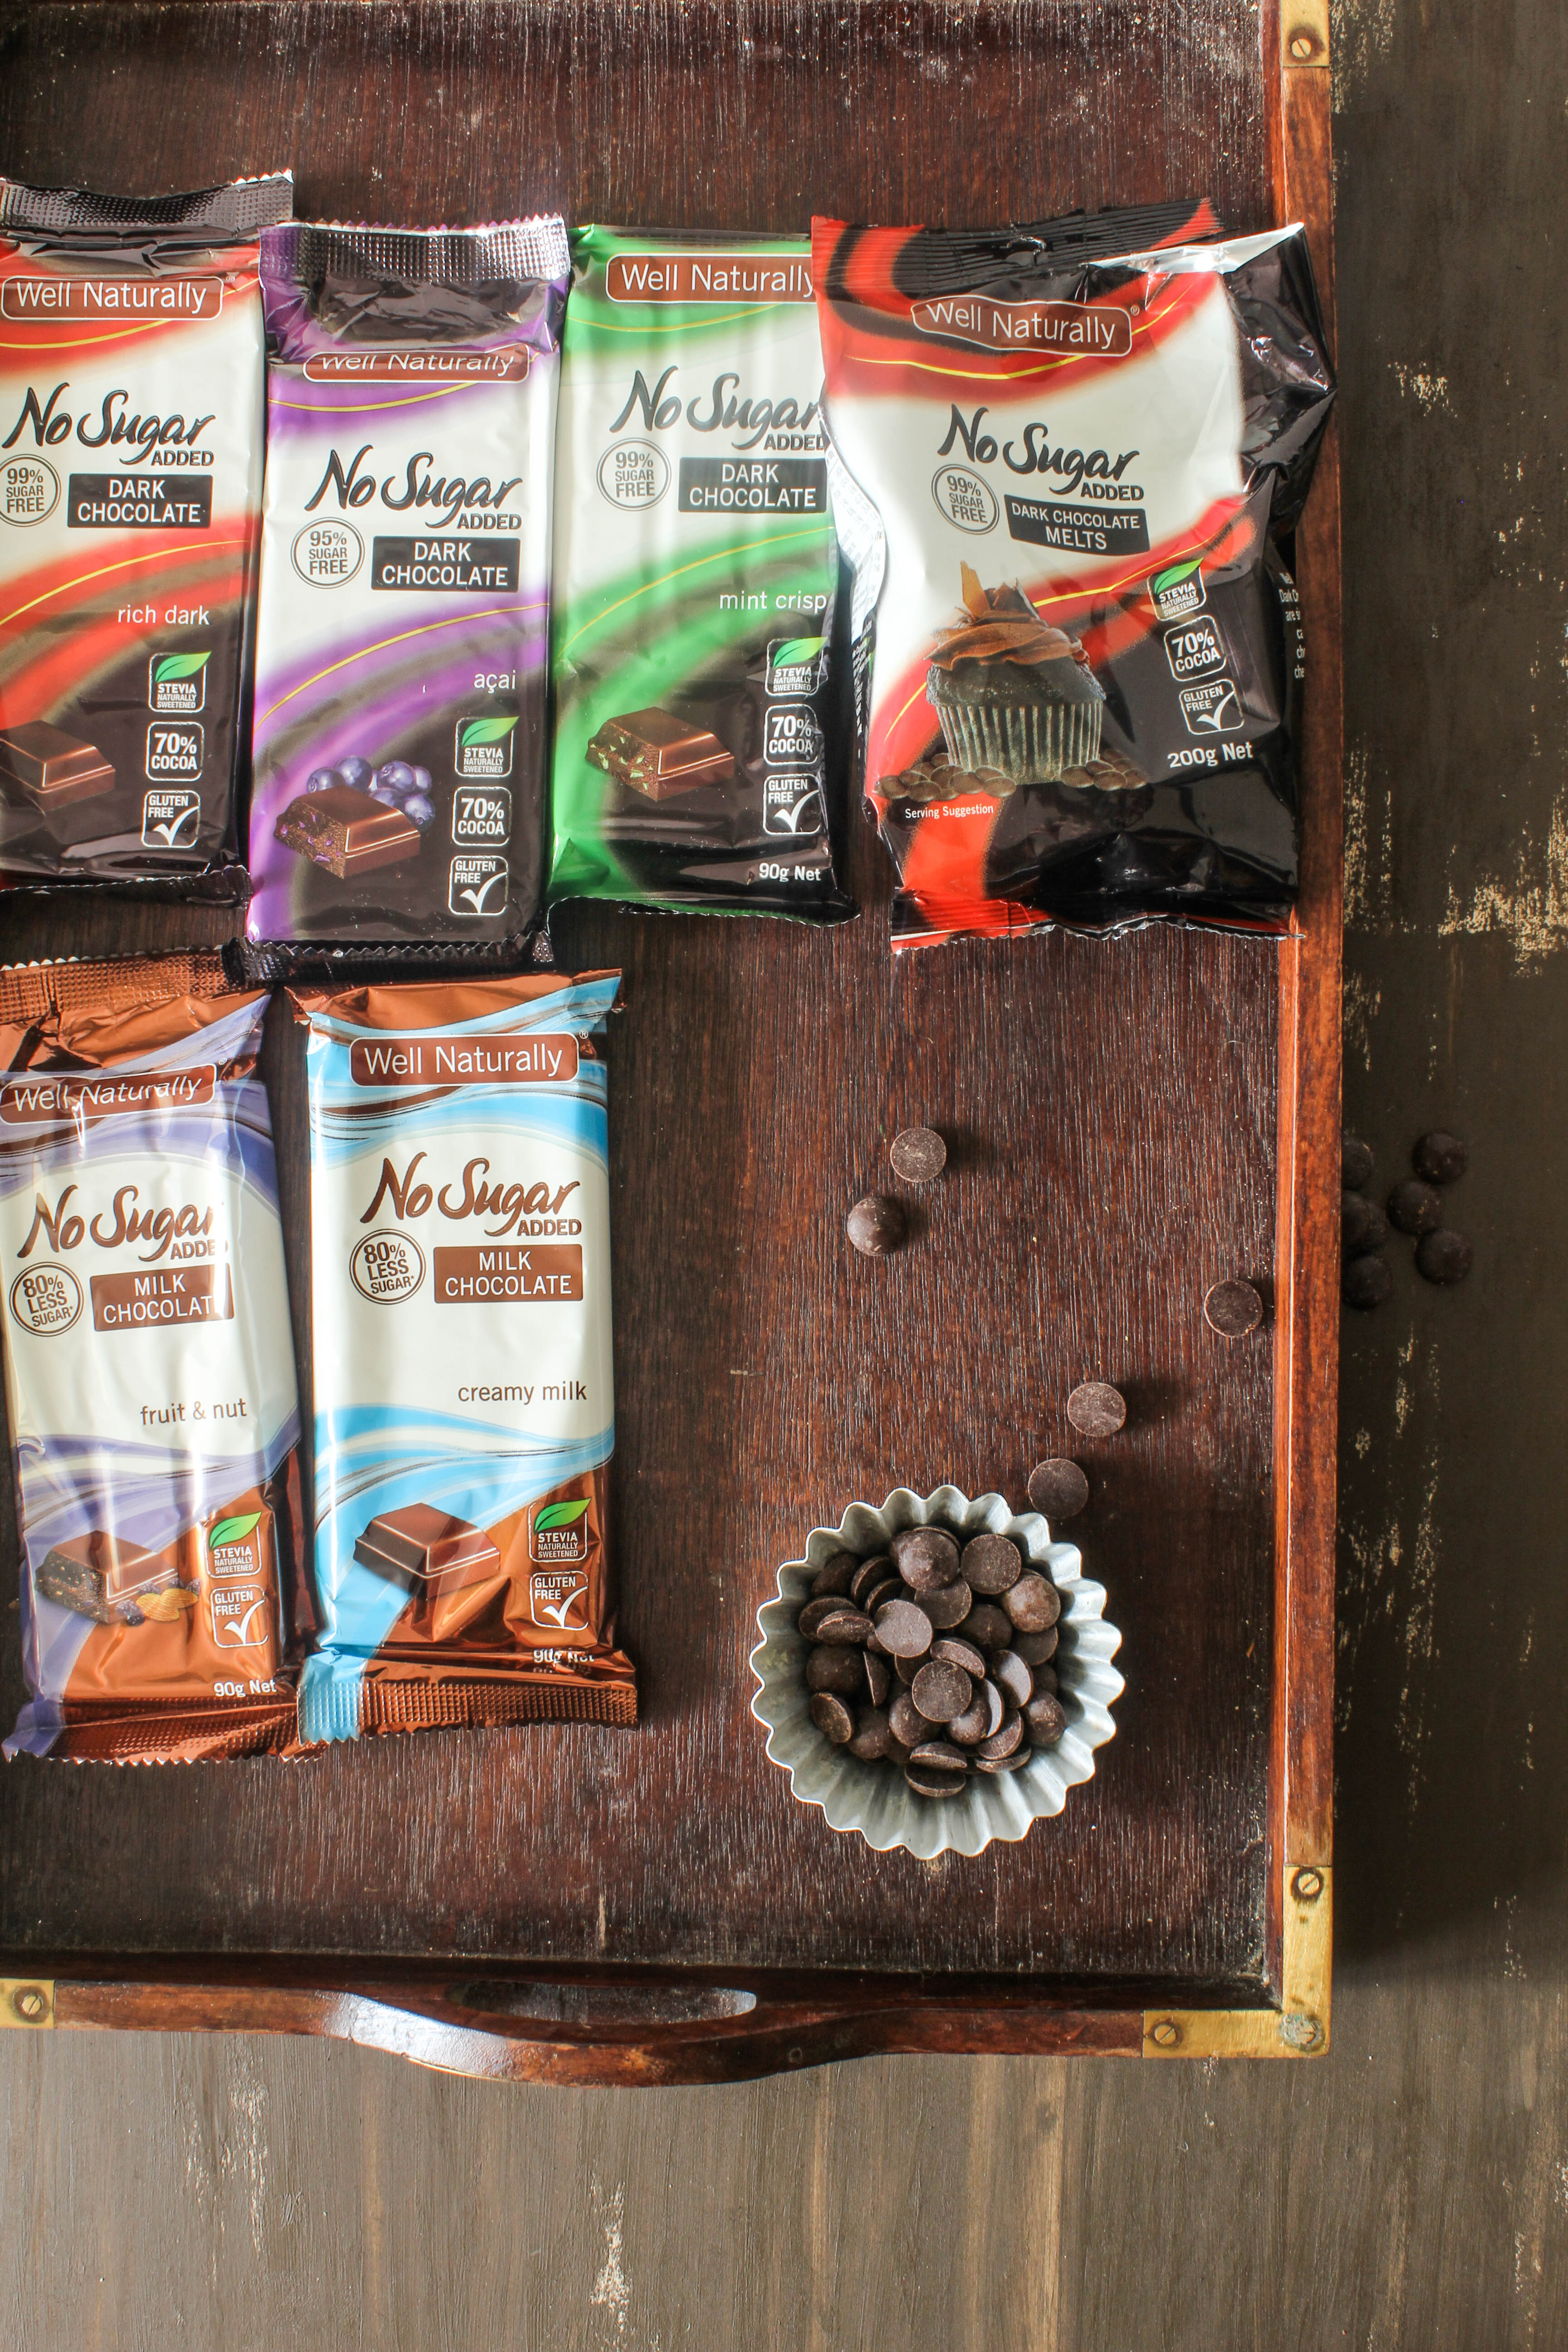
Well-Naturally has been doing that for over a decade. They have been producing high quality, sugar-reduced and better-for you goods that Australians have been enjoying minus the guilt. Their mission statement ‘Well Naturally helps you achieve your wellness goals – the delicious way!’ sums it all up. The Well Naturally No sugar added range just as the name suggests is made without any added sugar. They are sweetened naturally with Stevia, a plant-based ingredient which has zero calories and no impact on blood sugar levels.  Isn’t that fabulous? You can check out the Well Naturally website for more information.

IMG_3003-2

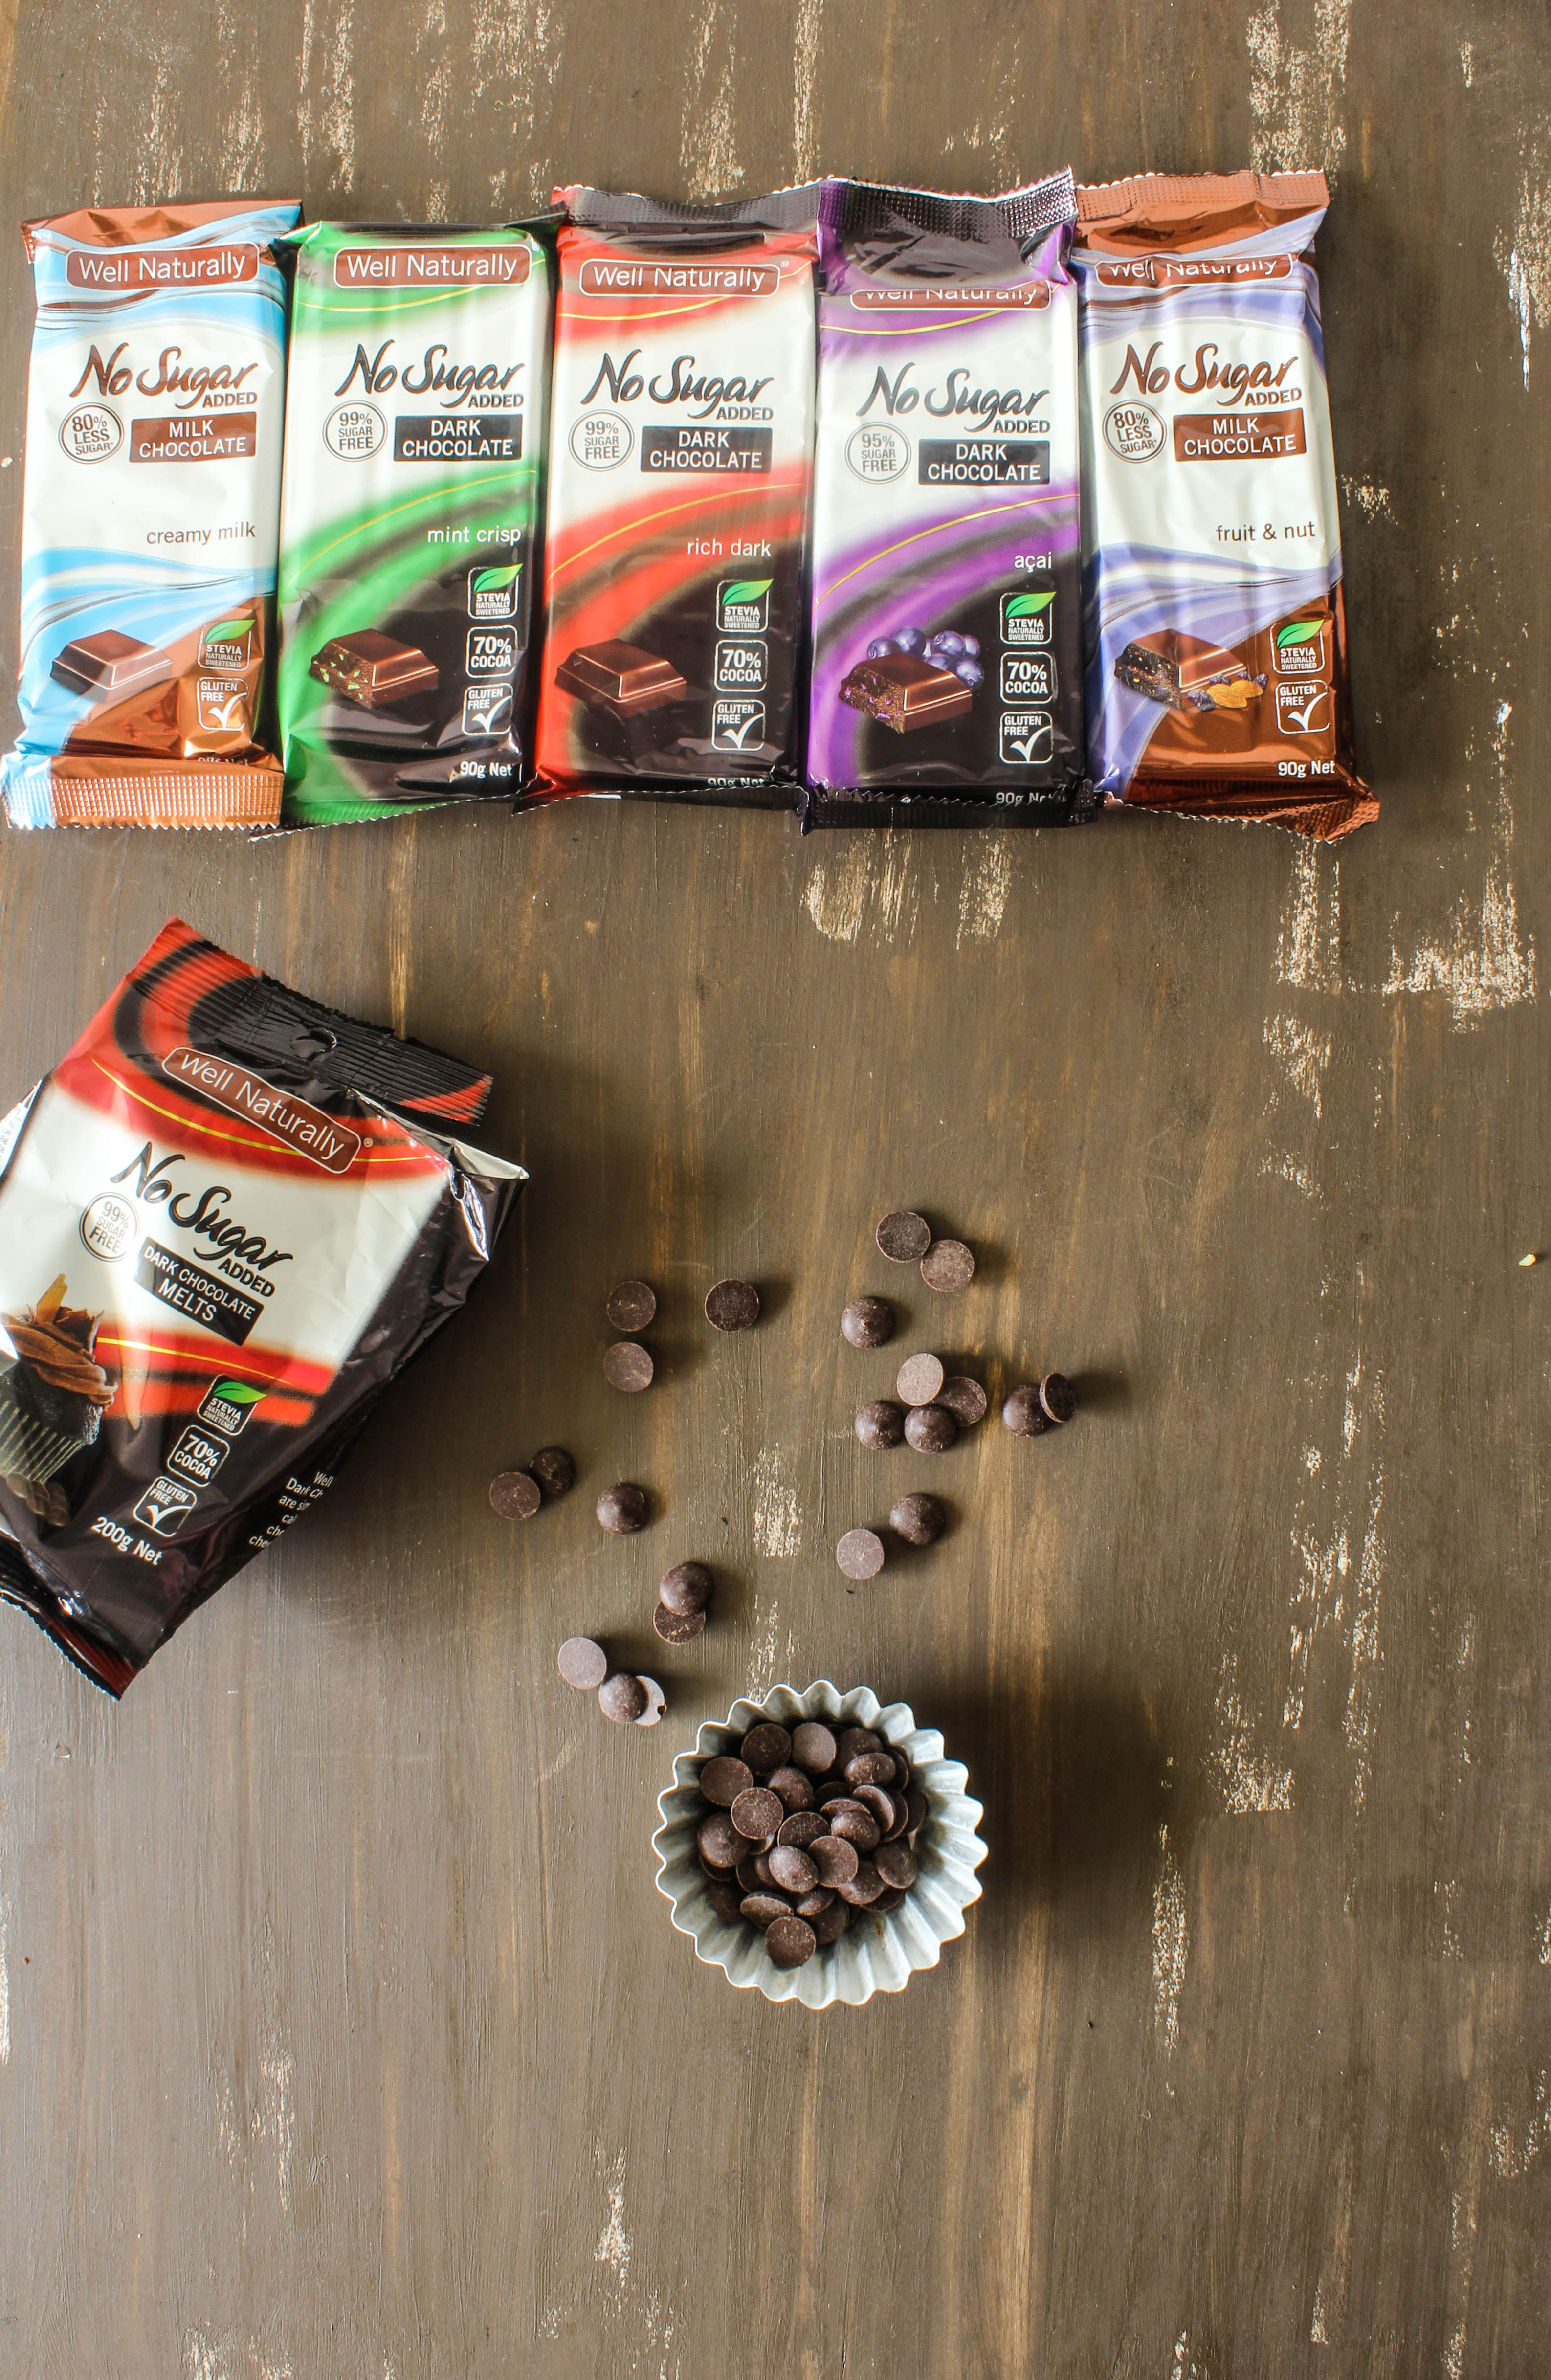
Well Naturally No Sugar Added Dark and Milk Chocolates comes in an array of delicious tempting varieties

Well Naturally  No Sugar Added Dark Chocolate Rich Dark (RRP $5.20 for 90 g)
Well Naturally  No Sugar Added Dark Chocolate Mint Crisp (RRP $5.20 for 90 g)
Well Naturally  No Sugar Added Dark Chocolate Acai (RRP $5.20 for 90 g)
Well Naturally  No Sugar Added Milk Chocolate Creamy Milk (RRP $5.20 for 90 g)
Well Naturally  No Sugar Added Milk Chocolate Fruit and Nut (RRP $5.20 for 90 g)
Well Naturally Dark Chocolate Melts For Baking (RRP $6.95 for 200 g)

I liked the Dark Chocolate Min Crisps the most while my husband liked Acai.

IMG_3001

If you know me, I went straight for the Baking Melts (70 % cocoa) as soon as I received the pack. For me the real test of good chocolate is when I use it in my recipes. I was pleased with the product. Despite being a no-added sugar product I could substitute it easily for my regular chocolate. Minus the extra calories of course.  The melts had a rich, intense chocolate flavour and a smooth texture and they melted easily. So they are obviously perfect for people with diabetes and those who intend to reduce their sugar intake. They are also gluten free with no artificial colours, flavours or preservatives.

IMG_3009

Here are some facts about sugar consumption and how Well naturally steps into the picture:
Australians consume approximately 54 kilograms of sugar per year – the equivalent of 37 teaspoons per person, per day. The World Health Organisation recently released guidelines for sugar consumption, recommending only around 6 teaspoons a day A regular chocolate bar contains about 55% sugar; 100 g of regular chocolate equates to 11 teaspoons of sugar.

How much sugar is in Well Naturally No Sugar Added Chocolate?
Dark Chocolate :No added sugar, sweetened naturally with Stevia, 0.7% sugar
Milk Chocolate : No added sugar, contains around 9% sugar (which originates from the lactose in the milk component of the chocolate recipe)

IMG_3002-2

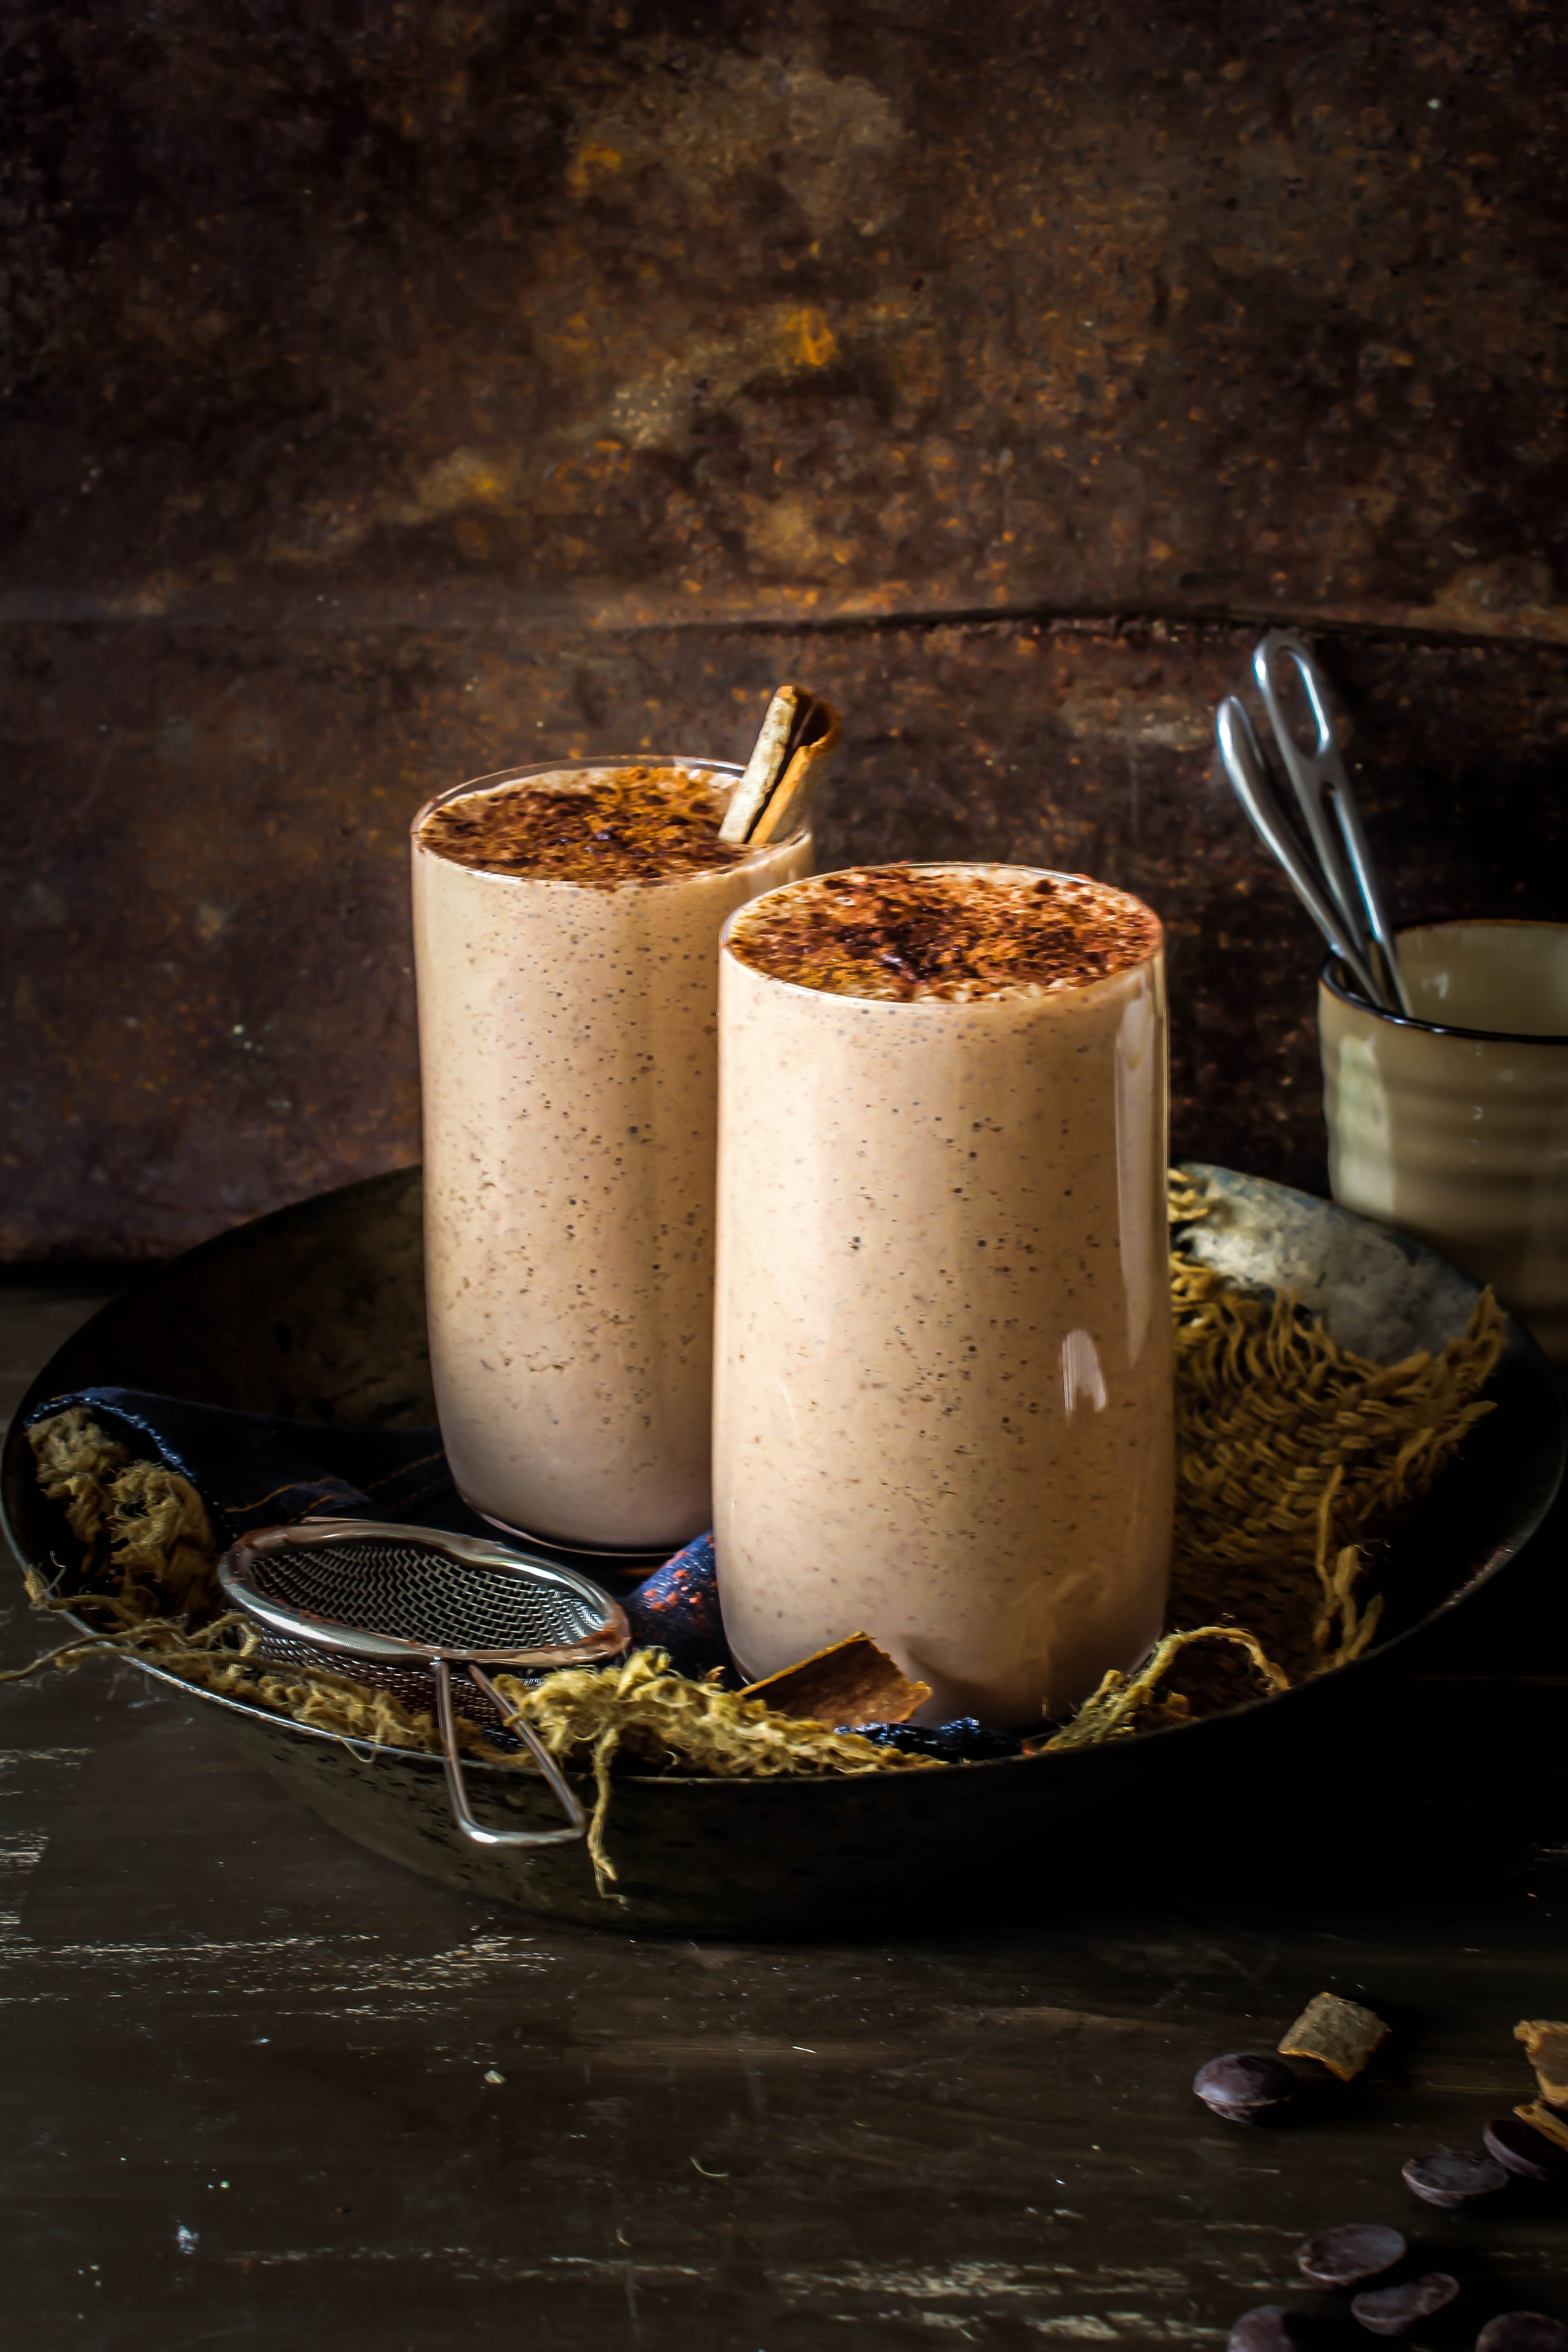
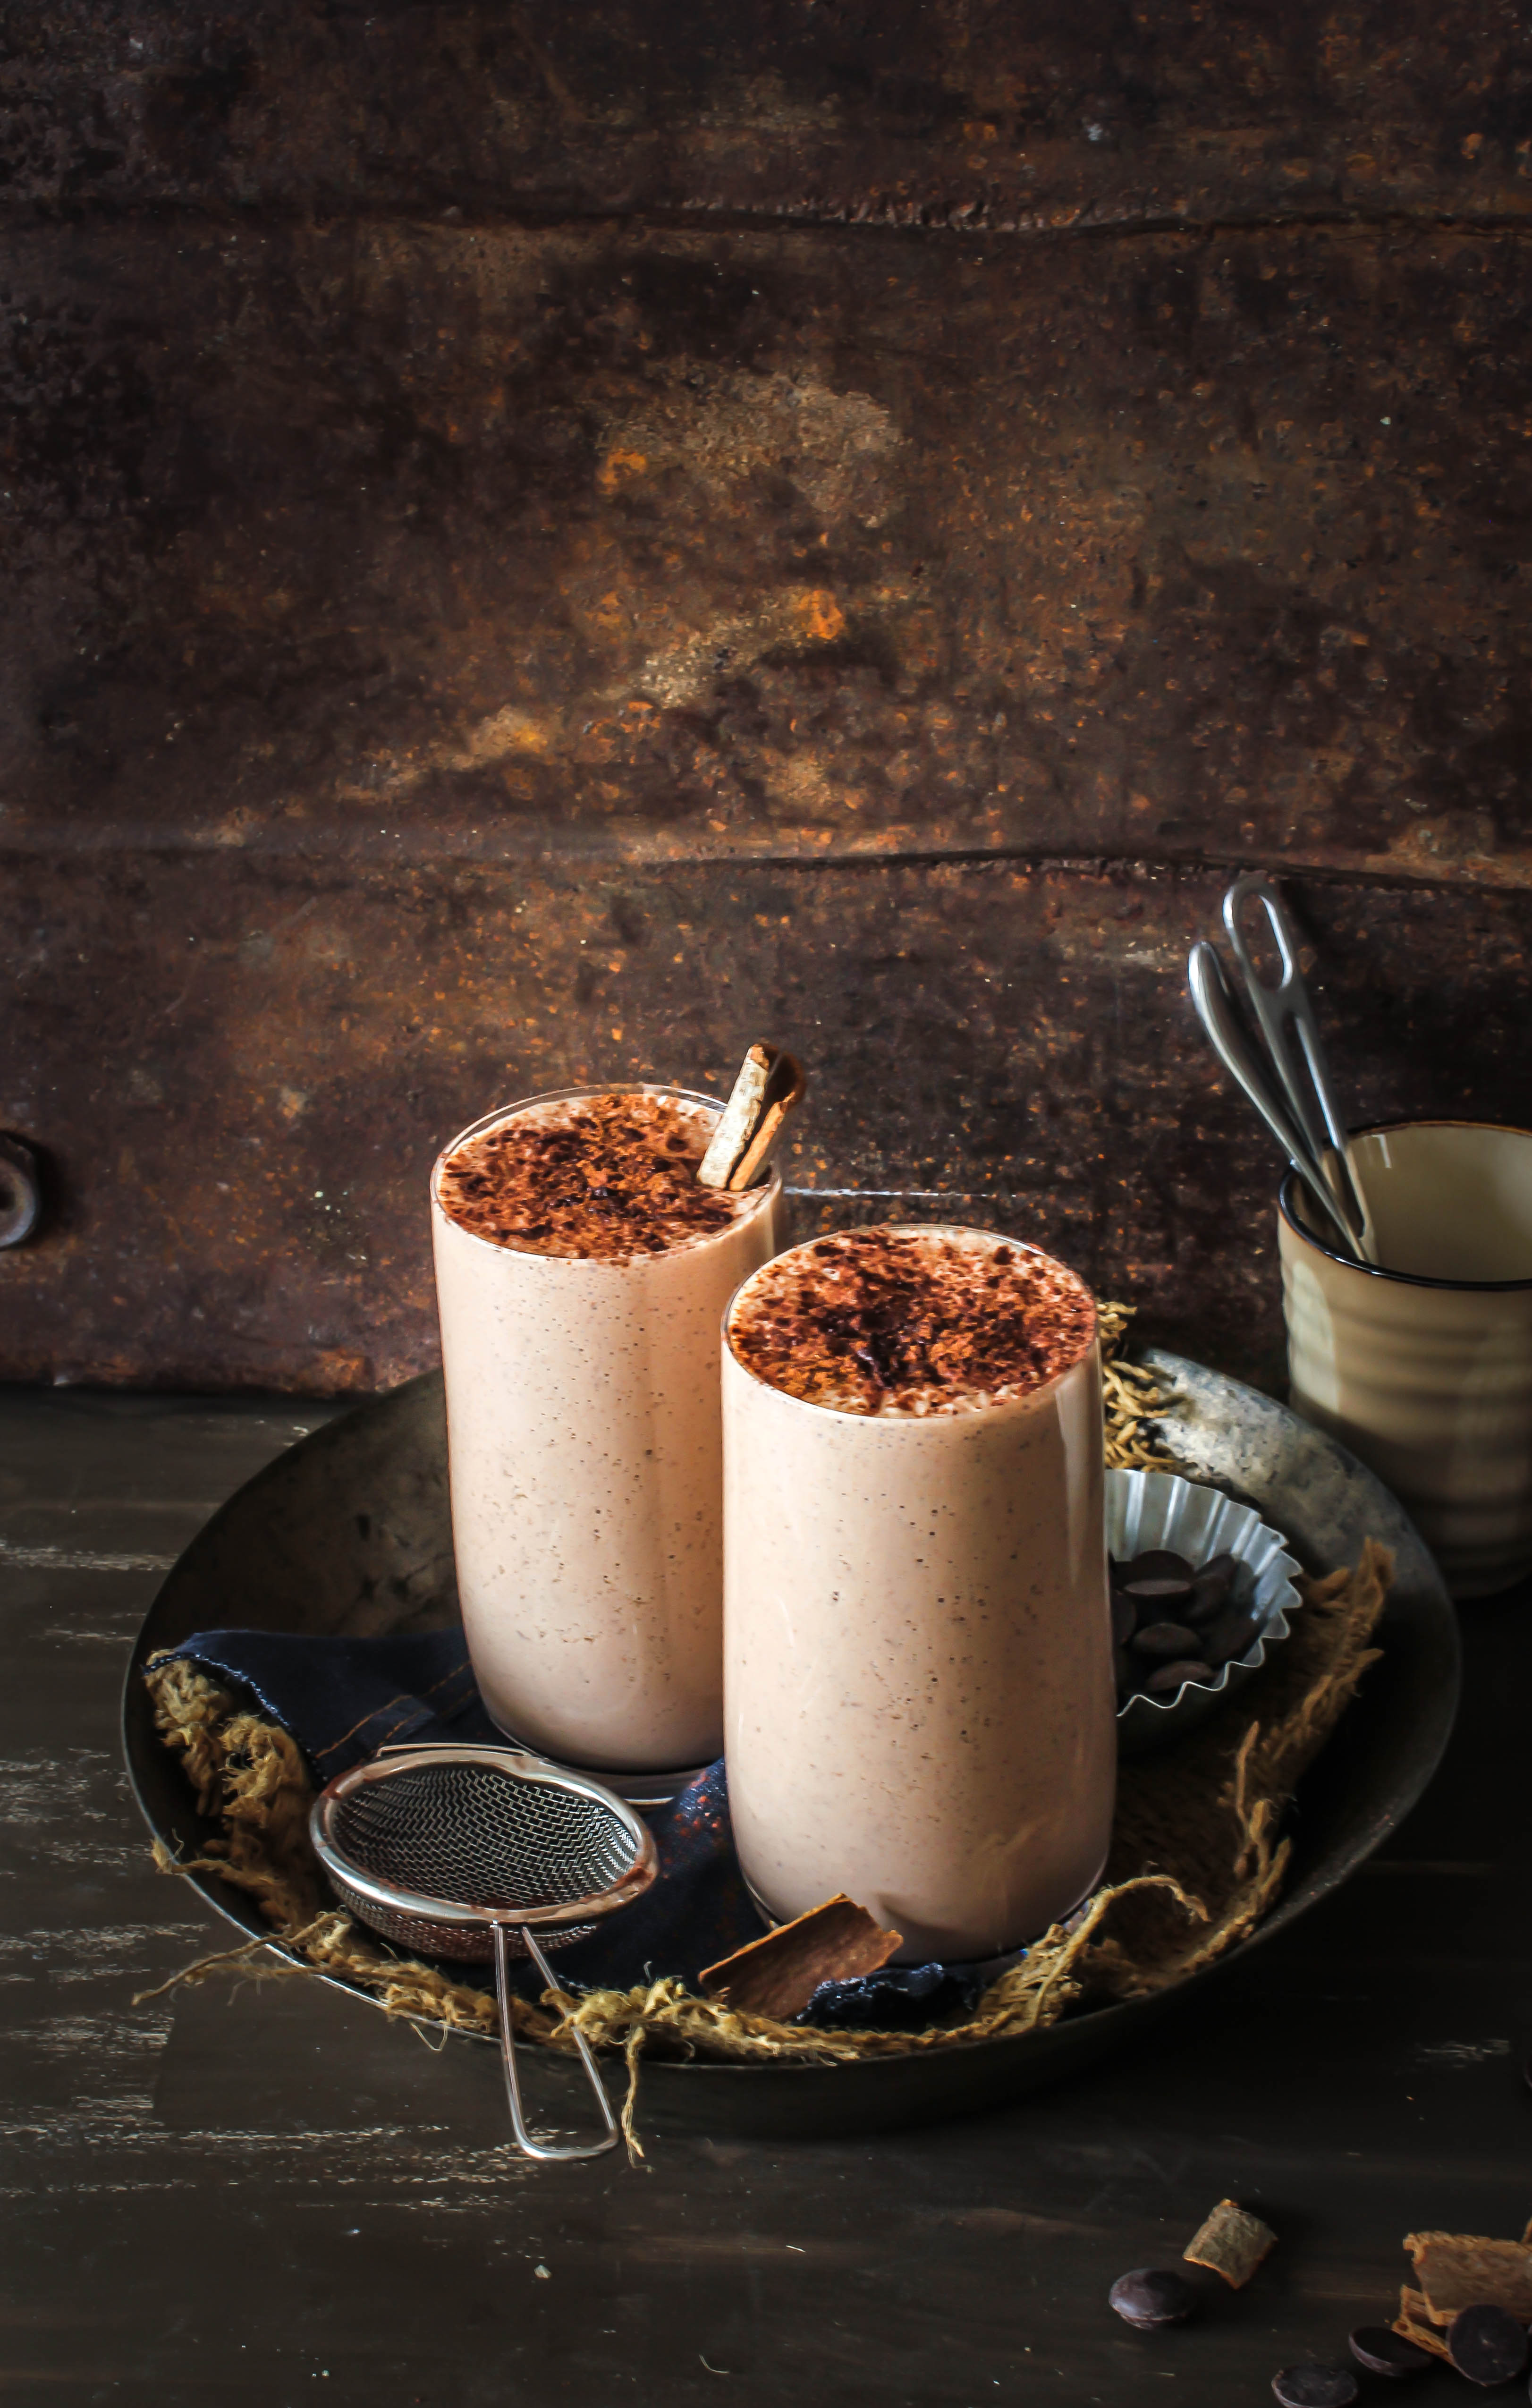
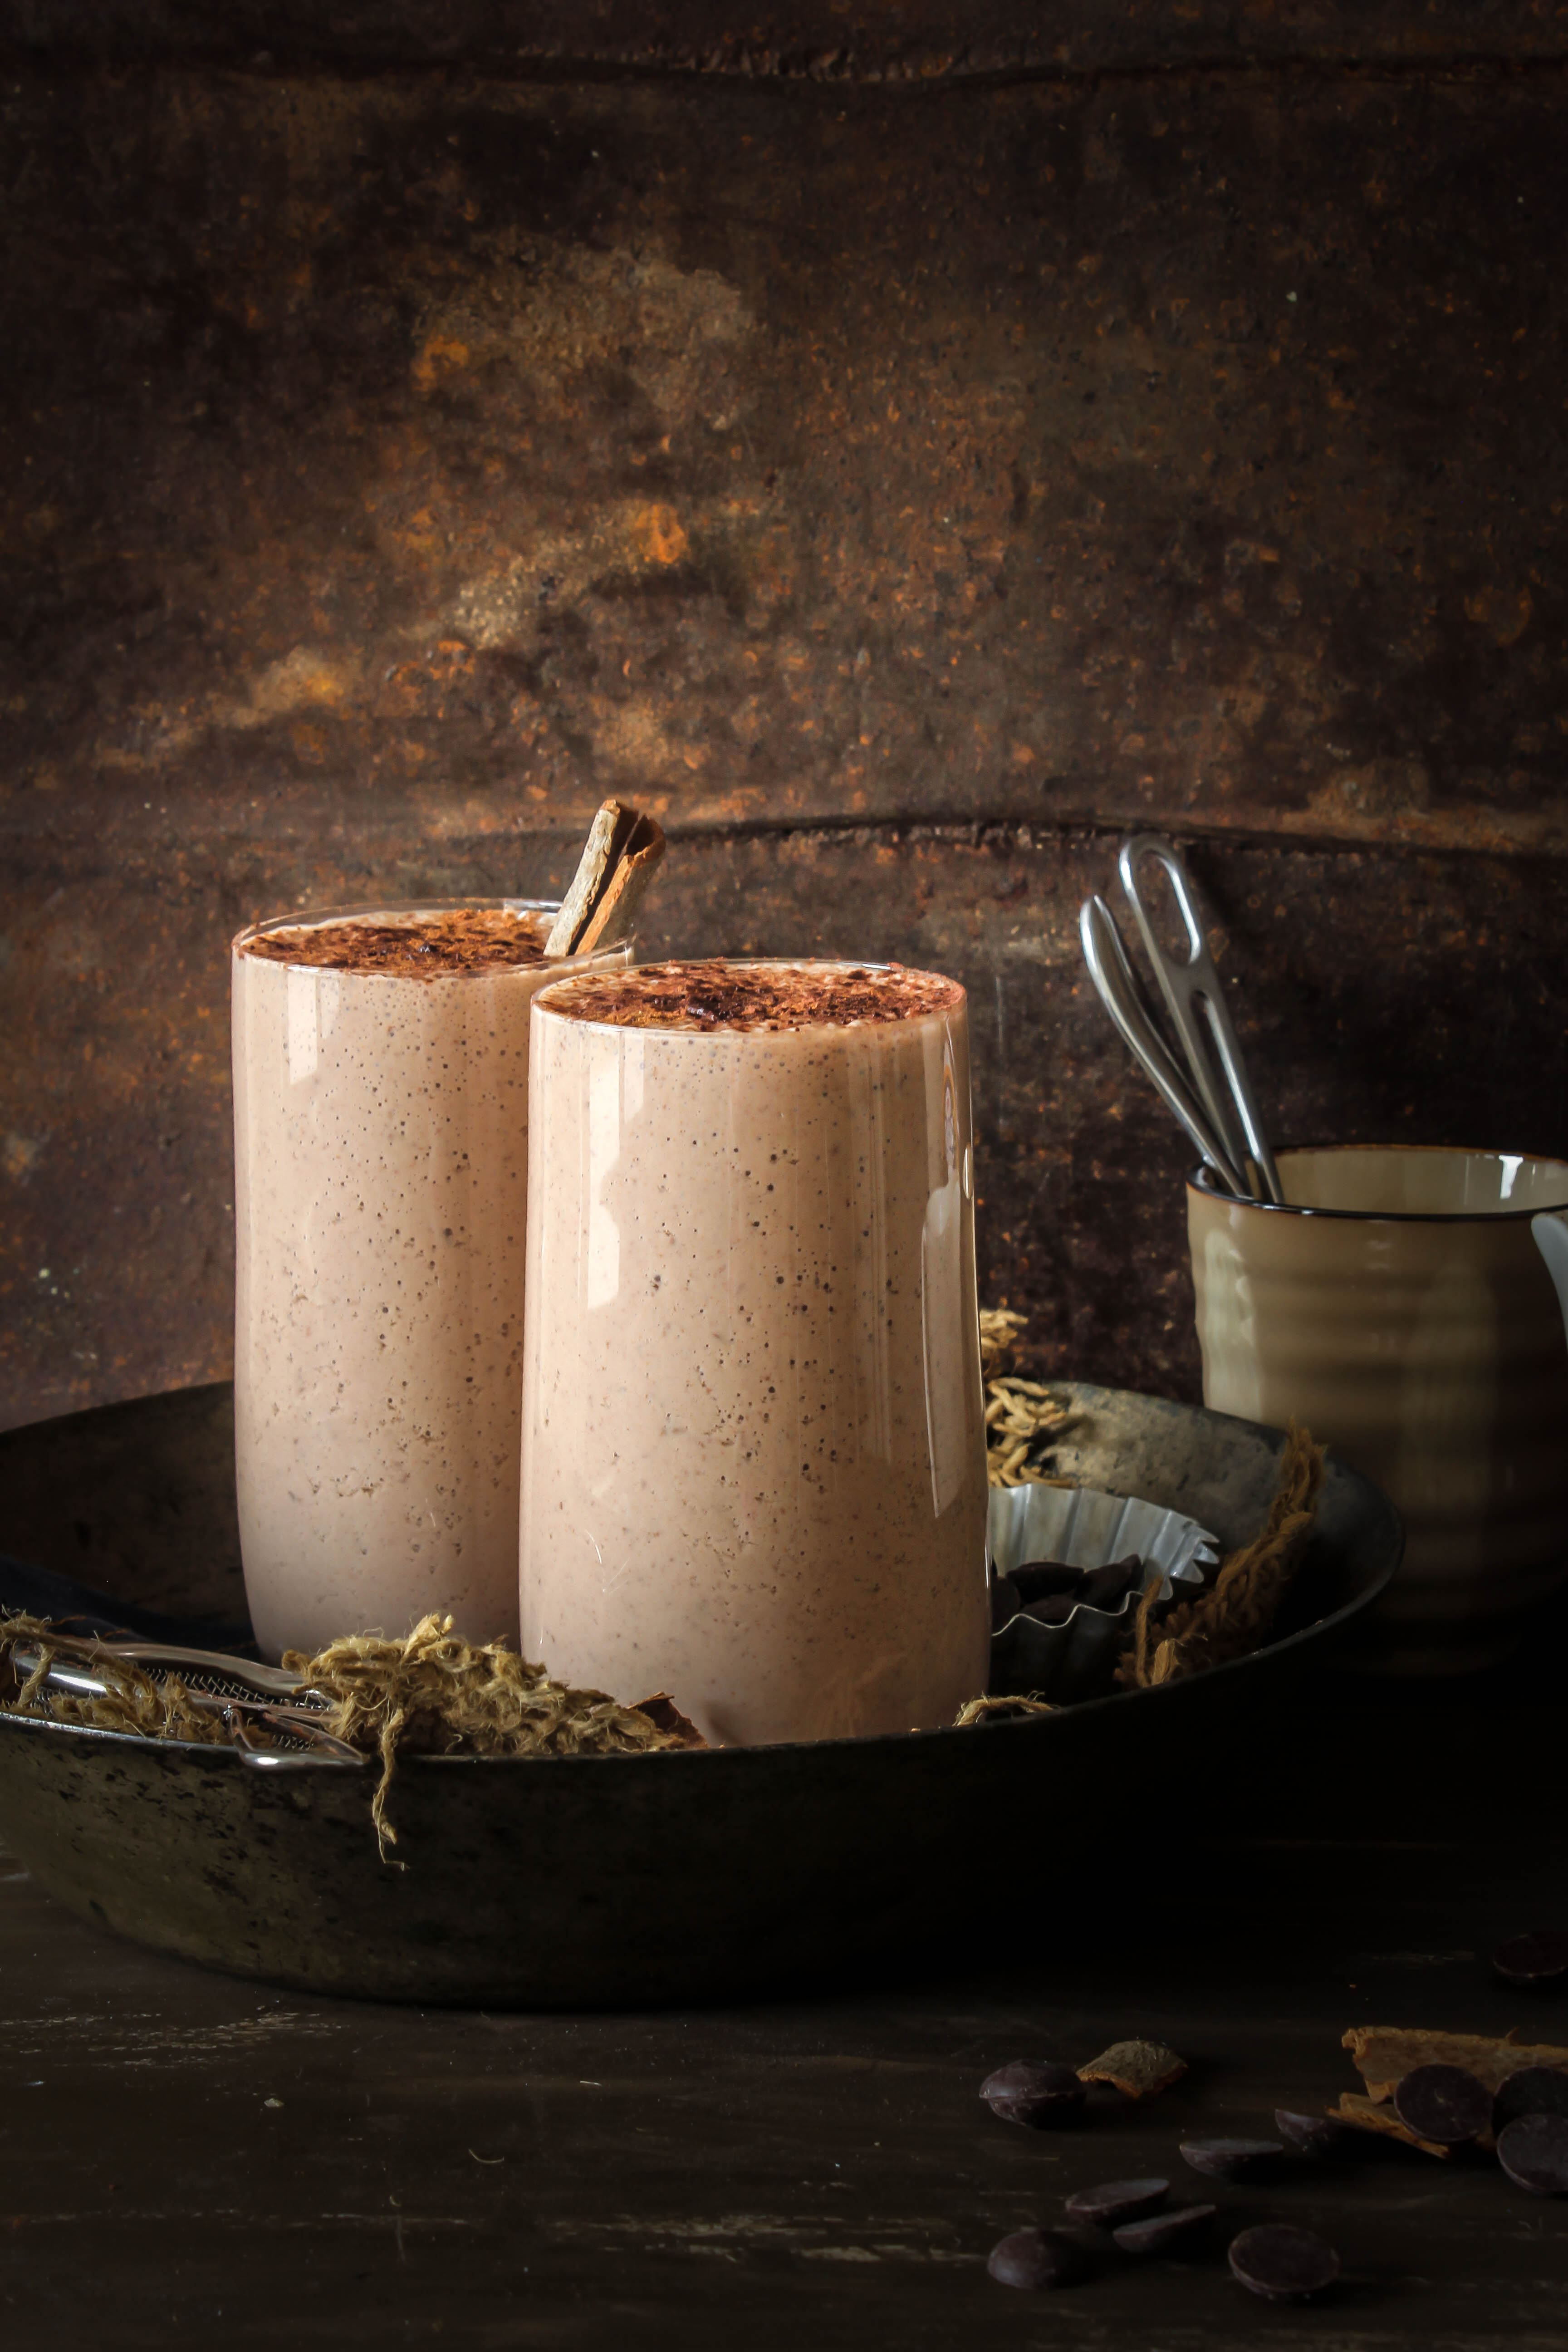
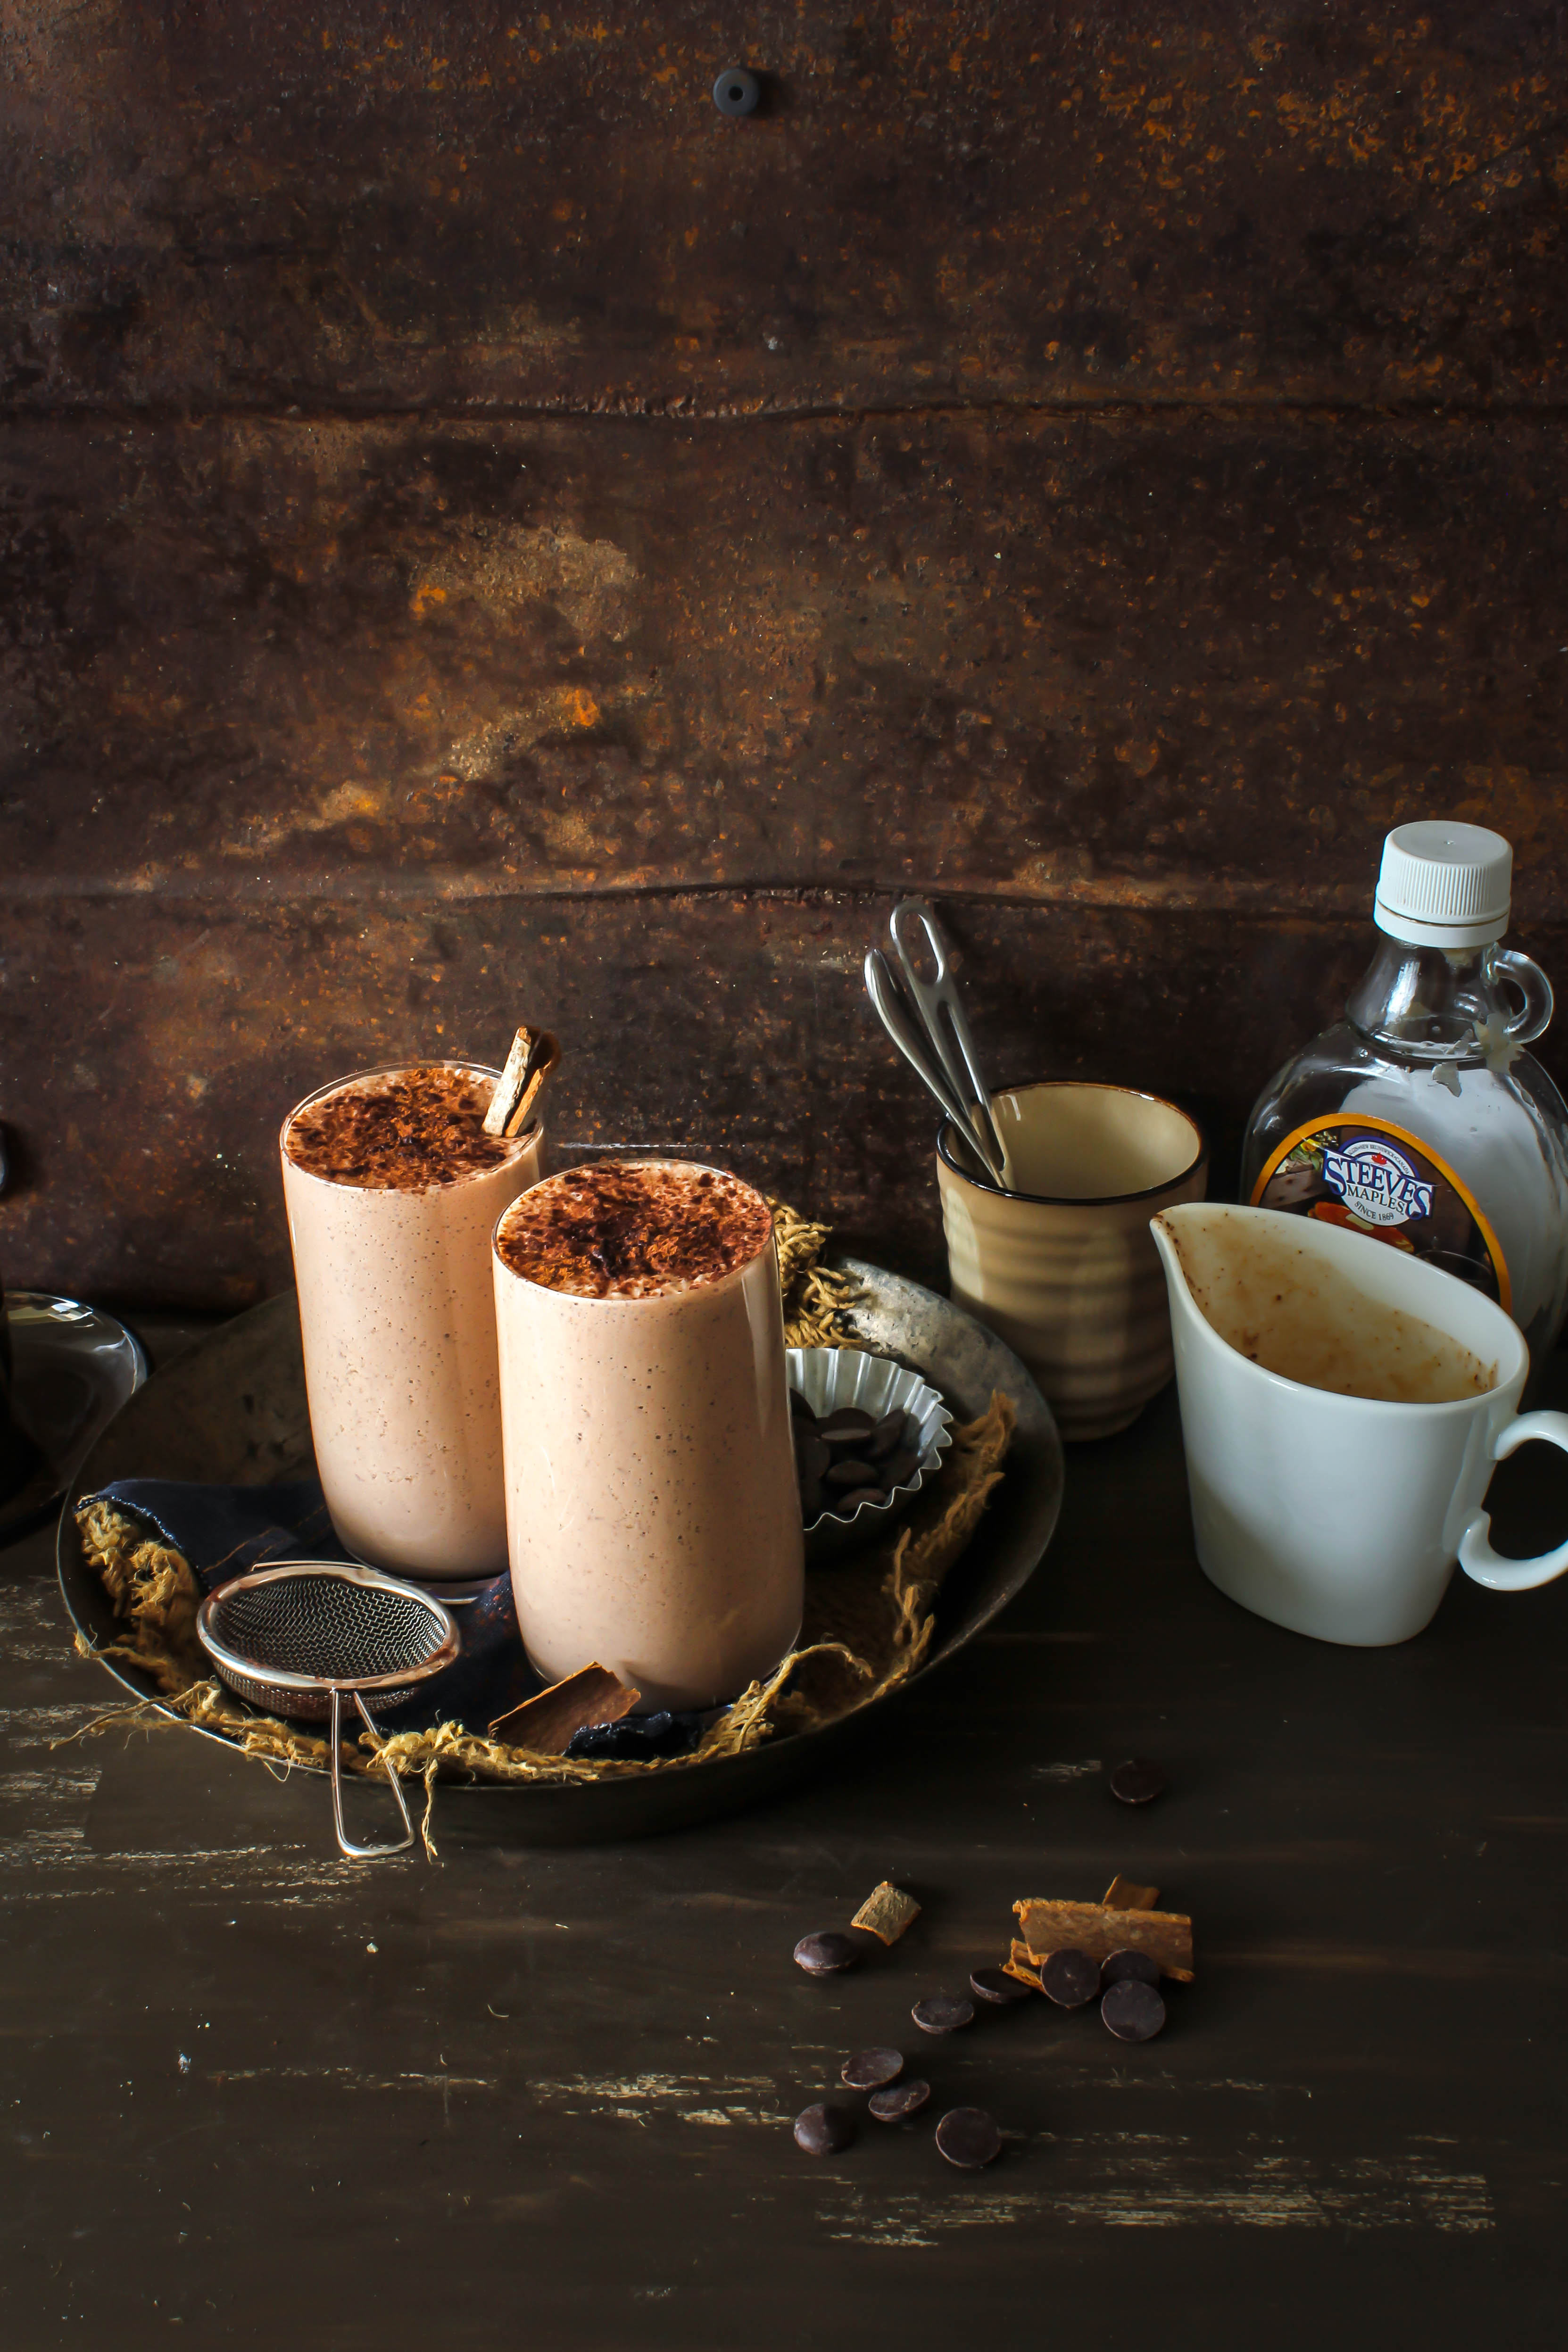
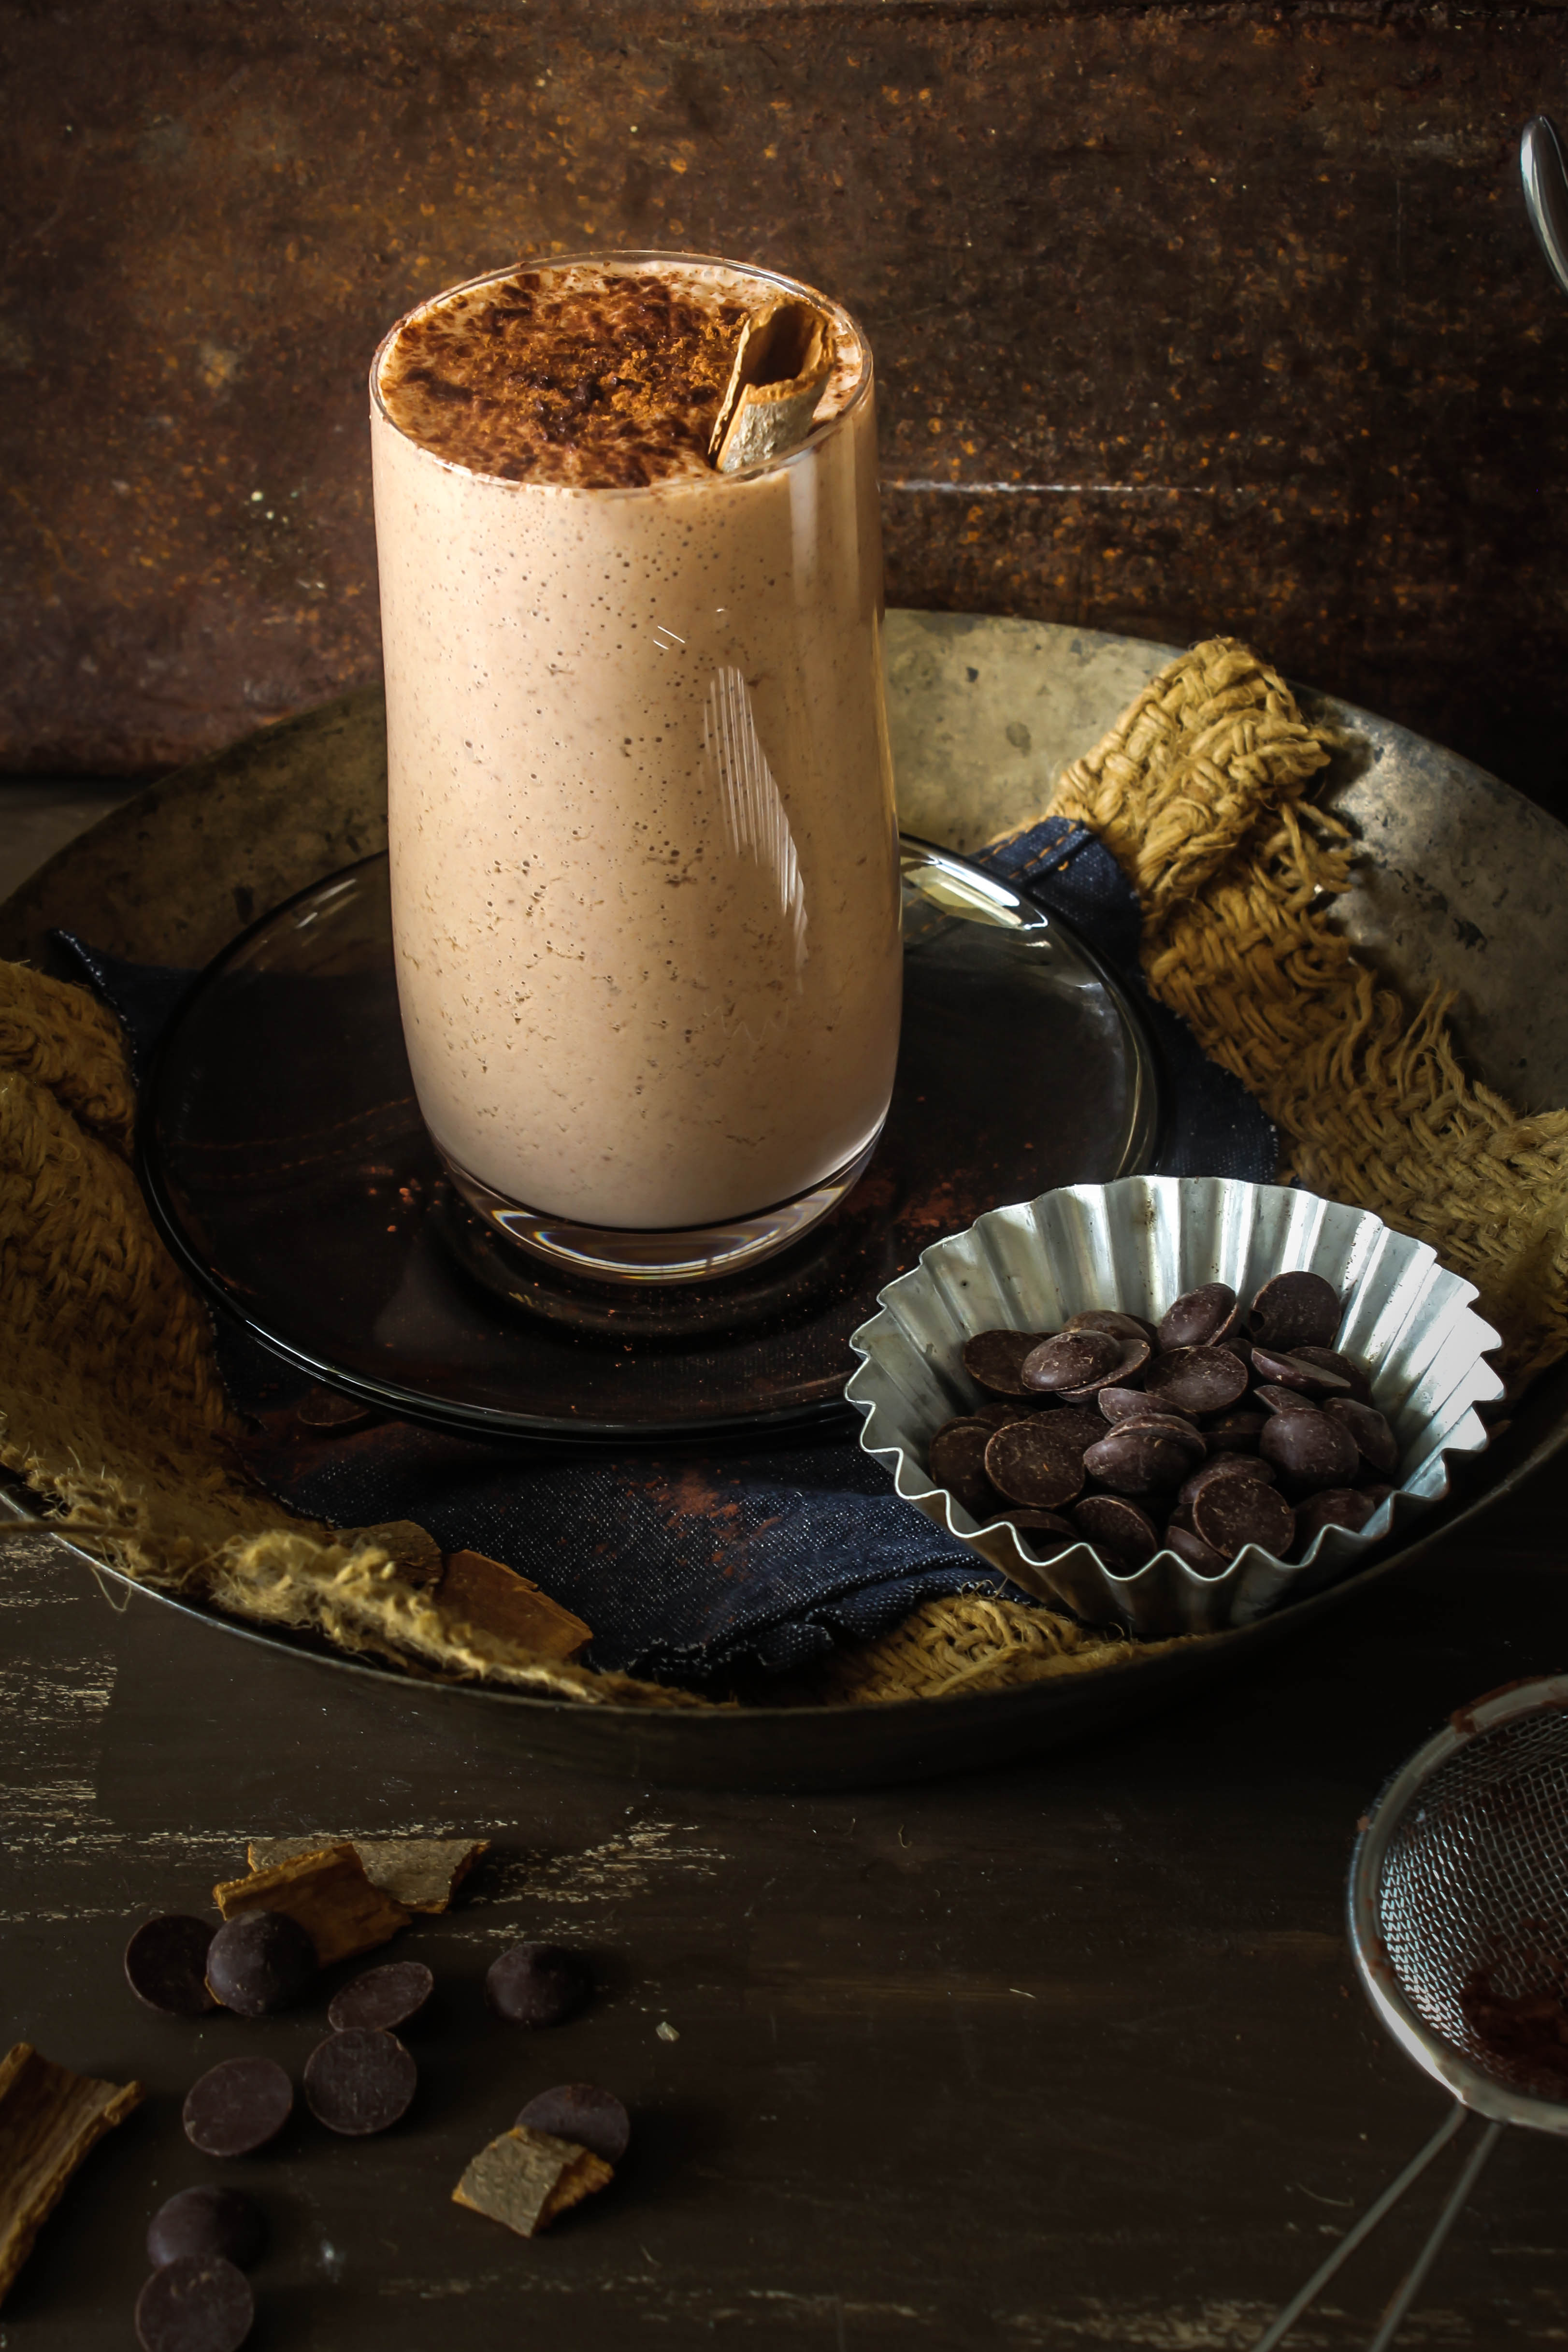
With the weather warming up on our side of the world, here is my absolute favourite summer drink with a chocolate twist. A healthier substitute to Chocolate Milkshake or for that matter even Hot Chocolate. Lassi is a sweet, yoghurt based Indian drink that is easy to make and is outright delicious. It is creamy, refreshing yet not as heavy as a cream based beverage. Traditionally, this is made using mangoes or just left plain but I have been dreaming of adding chocolate to it for quite some time now. With Well Naturally No Added Sugar Chocolates, I found a way to keep the health aspect intact while also making it indulgent. The spice gives the drink a little warmth and with the forthcoming Holiday season, this is a great drink to serve up to your guests.


IMG_3013

Now for the fantastic giveaway. Not one but two lucky readers of Sugar et al. (courtesy Nuffnang and Well Naturally) will be winning a pack each of Well Naturally No Sugar added Products (priced at $35). For a chance to win, all you need to do is leave a comment below telling me what recipe you would create using the Well Naturally Dark Chocolate Melts?

The giveaway closes on 28th October, 2014, midnight. Please do not forget to leave your email behind for me to contact you if you win. The giveaway is open to Australian residents only. Wish you luck!

IMG_2996


Disclaimer: Sugar et al. would like to thank Nuffnang and Well Naturally for the opportunity to try out Well Naturally No Added Sugar Chocolate Packs and develop a recipe using the same.. As always, the opinions expressed in the post are entirely my own.
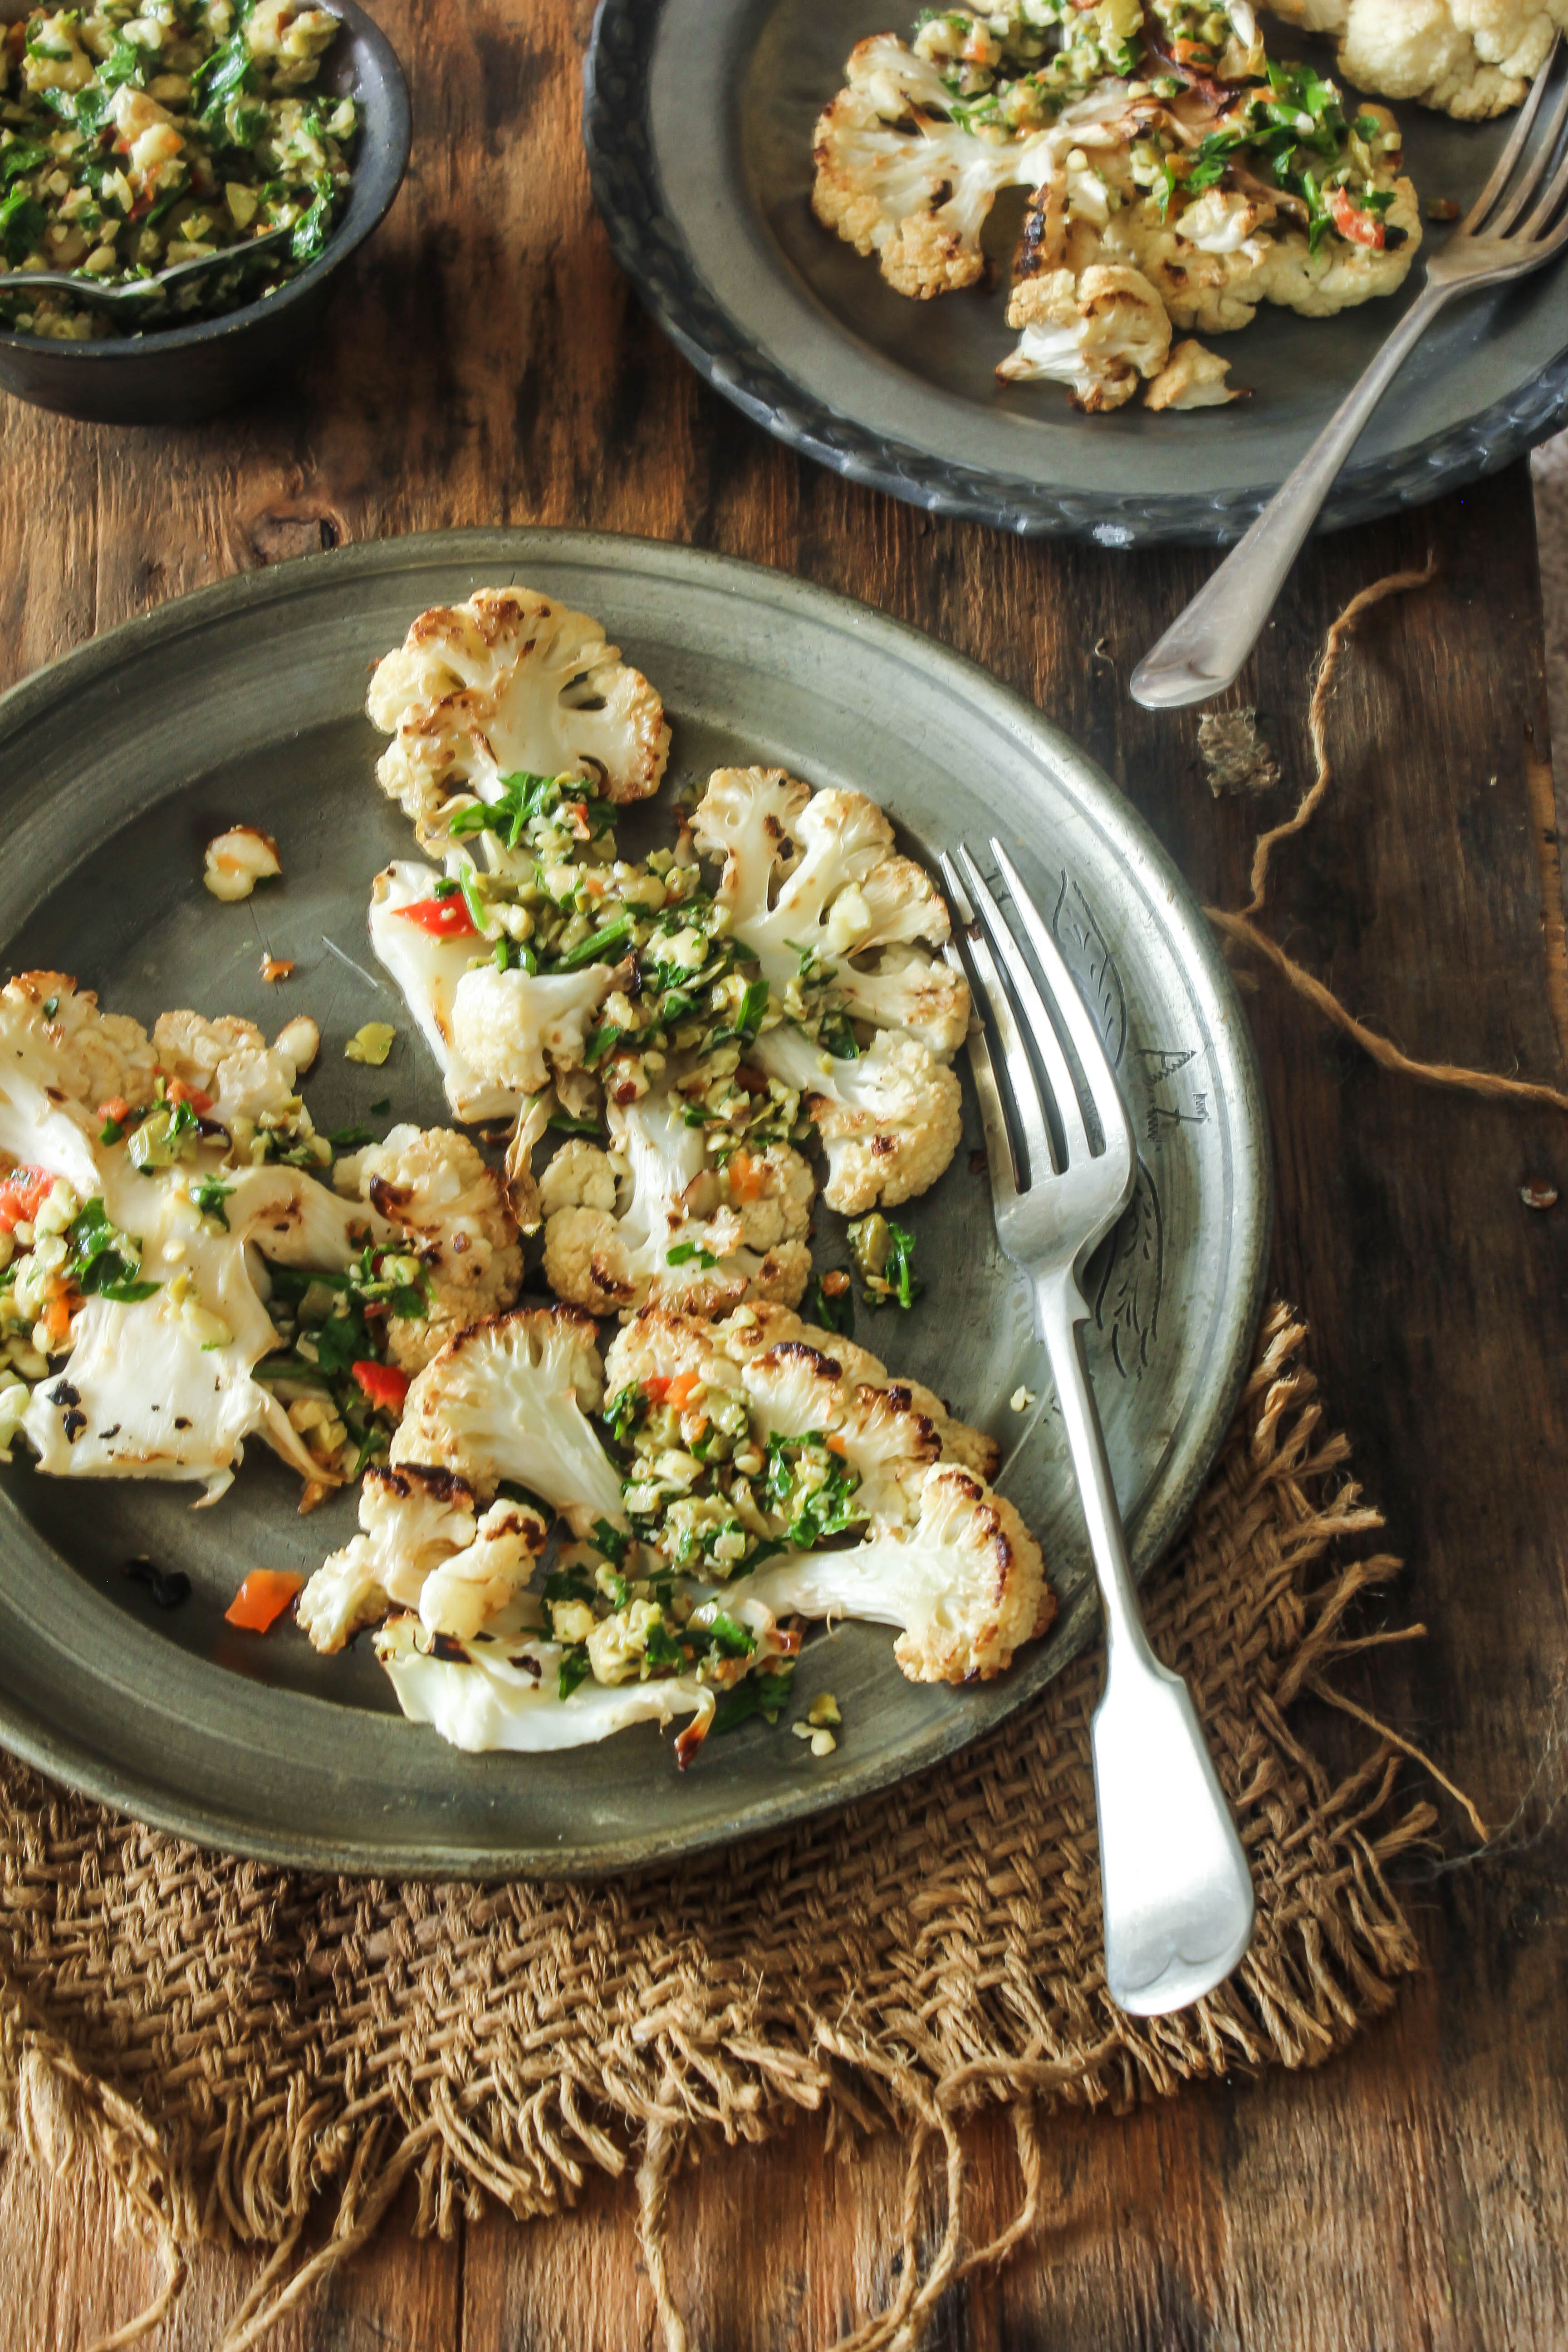
Spiced Chocolate Lassi
Serves 2-3

1 1/2 cups milk
1/4 tsp powdered ginger
1/4 tsp ground cinnamon
1/4 tsp powdered nutmeg
100 g Well Naturally Dark Chocolate Baking Melts
11/2 cups Greek yoghurt (cold)
2 tbsp maple syrup
Ice cubes (optional)

1 tsp cocoa powder, to serve
1 tsp ground cinnamon, to serve

Place the milk and spices in a medium saucepan and bring to a simmer over low heat. Simmer for 1 minute. Remove from heat. Add the chocolate and stir until chocolate melts and mixture is smooth. Cool to room temperature.

Place the Greek yogurt and maple syrup in a large bowl. Add in the milk-chocolate mixture into the bowl. Using a stick blender blend till smooth and slightly frothy. Alternatively, you could do this in your food processor.

If using ice cubes, divide ice cubes between serving glasses. Pour the lassi into serving glasses. Sprinkle with cocoa powder and powdered cinnamon. Serve chilled or at room temperature.

Split Red Lentil and Pumpkin Soup

18|10|2014

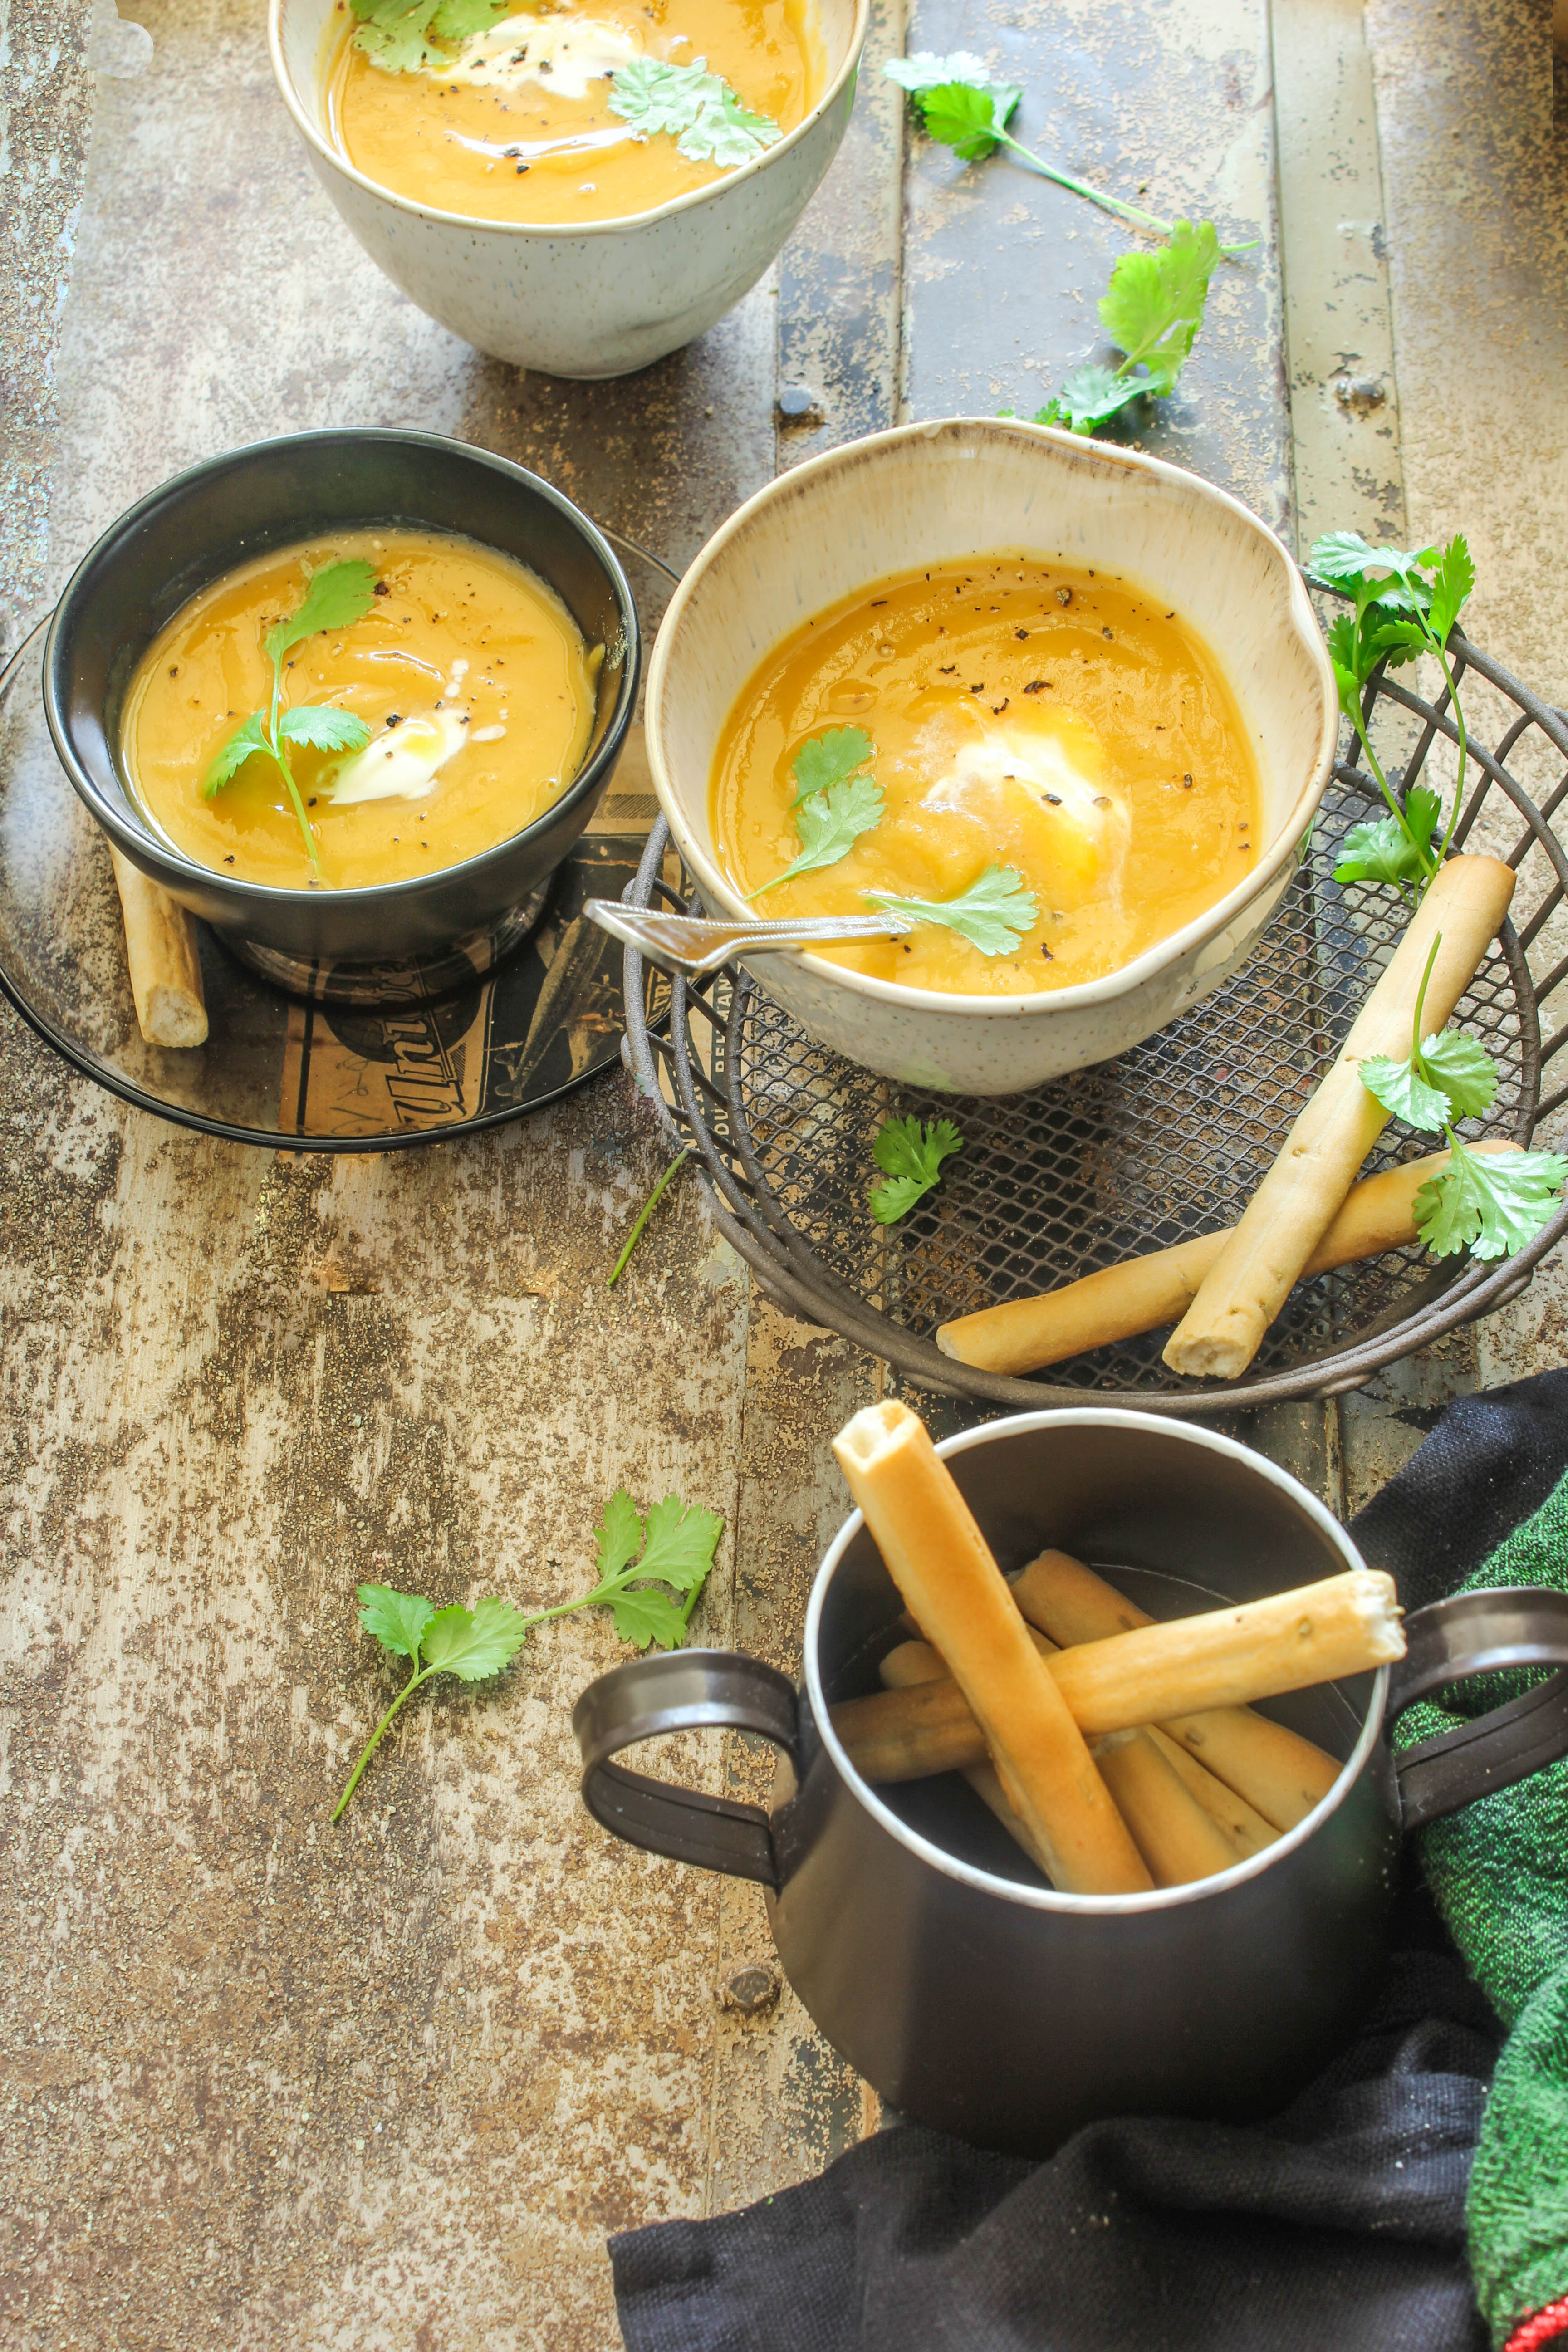
Split red lentils mean pure and simple comfort to me. They are the reminder to me of how a simple meal of dal and rice can appease my hunger instantly, even though I have eaten them all my life. They also stands for convenience when fresh vegetables are not available at hand and a quick meal is what I want to put together in the middle of the week. I’ve probably eaten them in dal/dahl form since the time I started on solids as a baby, a good few decades ago.. Only recently I discovered that using it in a soup is not uncommon. As you know, unlike many of you I have not been a big fan of pumpkin but I’ve started enjoying it lately when I pair it with my favourite ingredients.

IMG_2927-4


IMG_2926

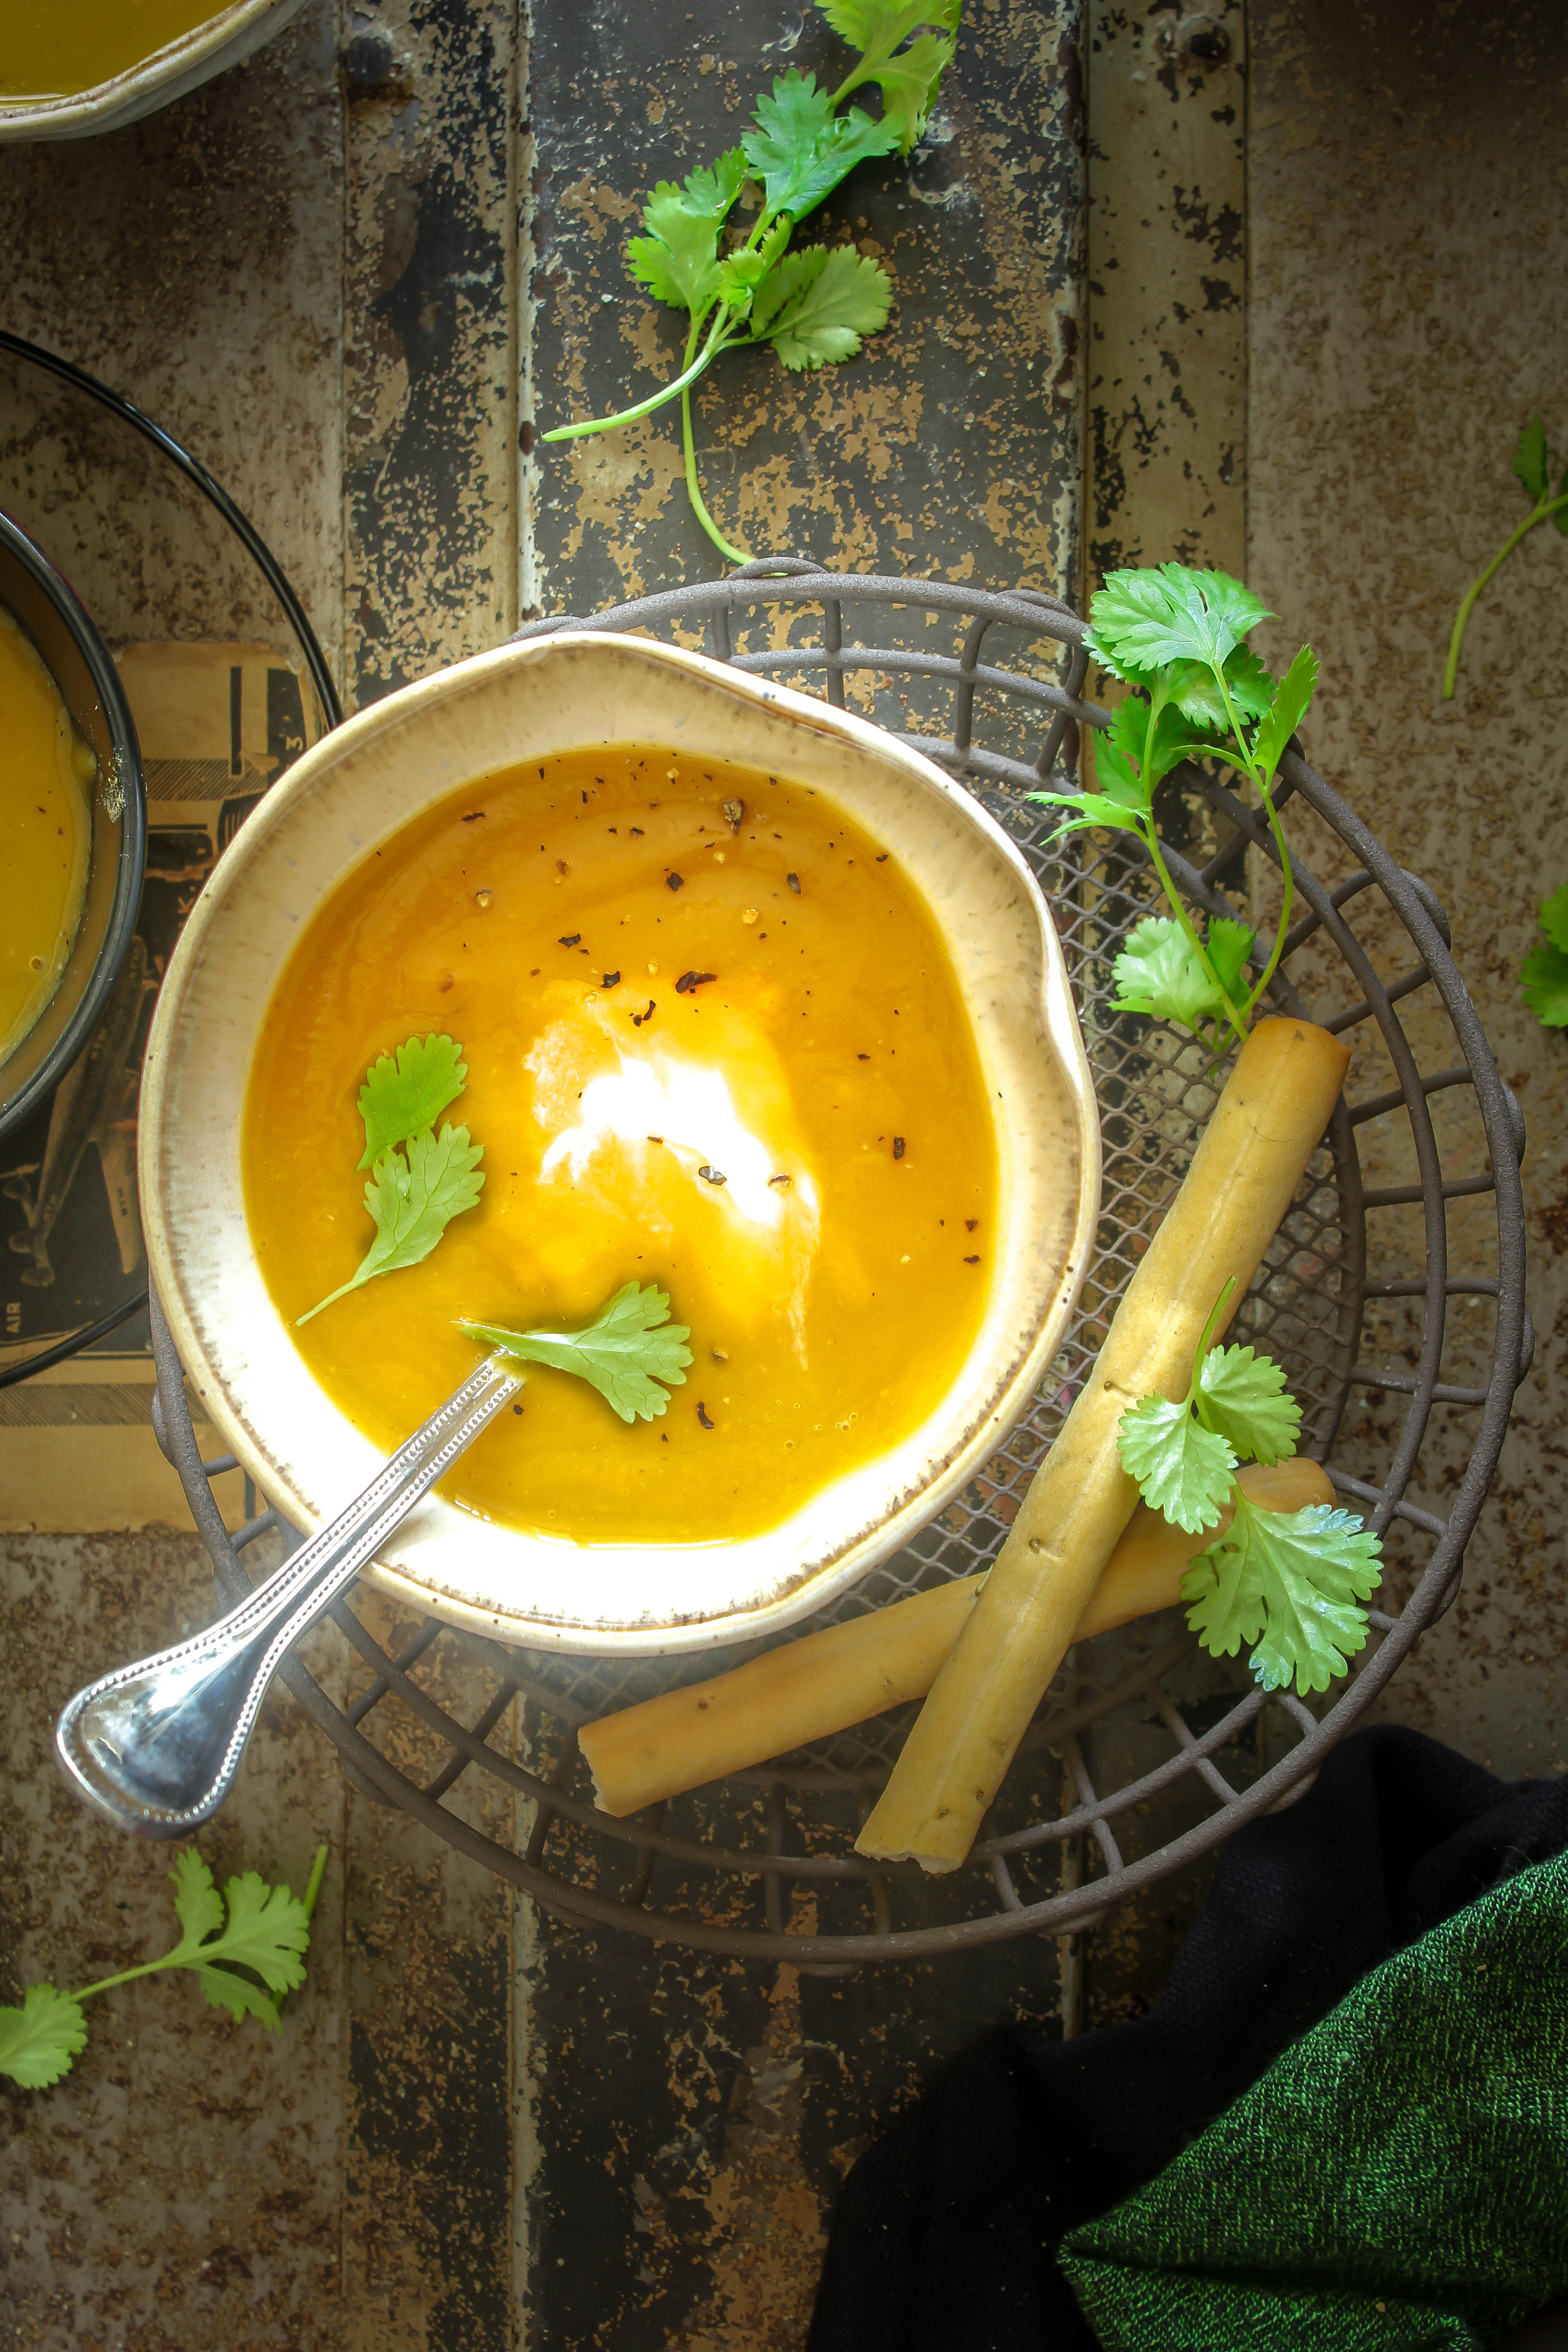
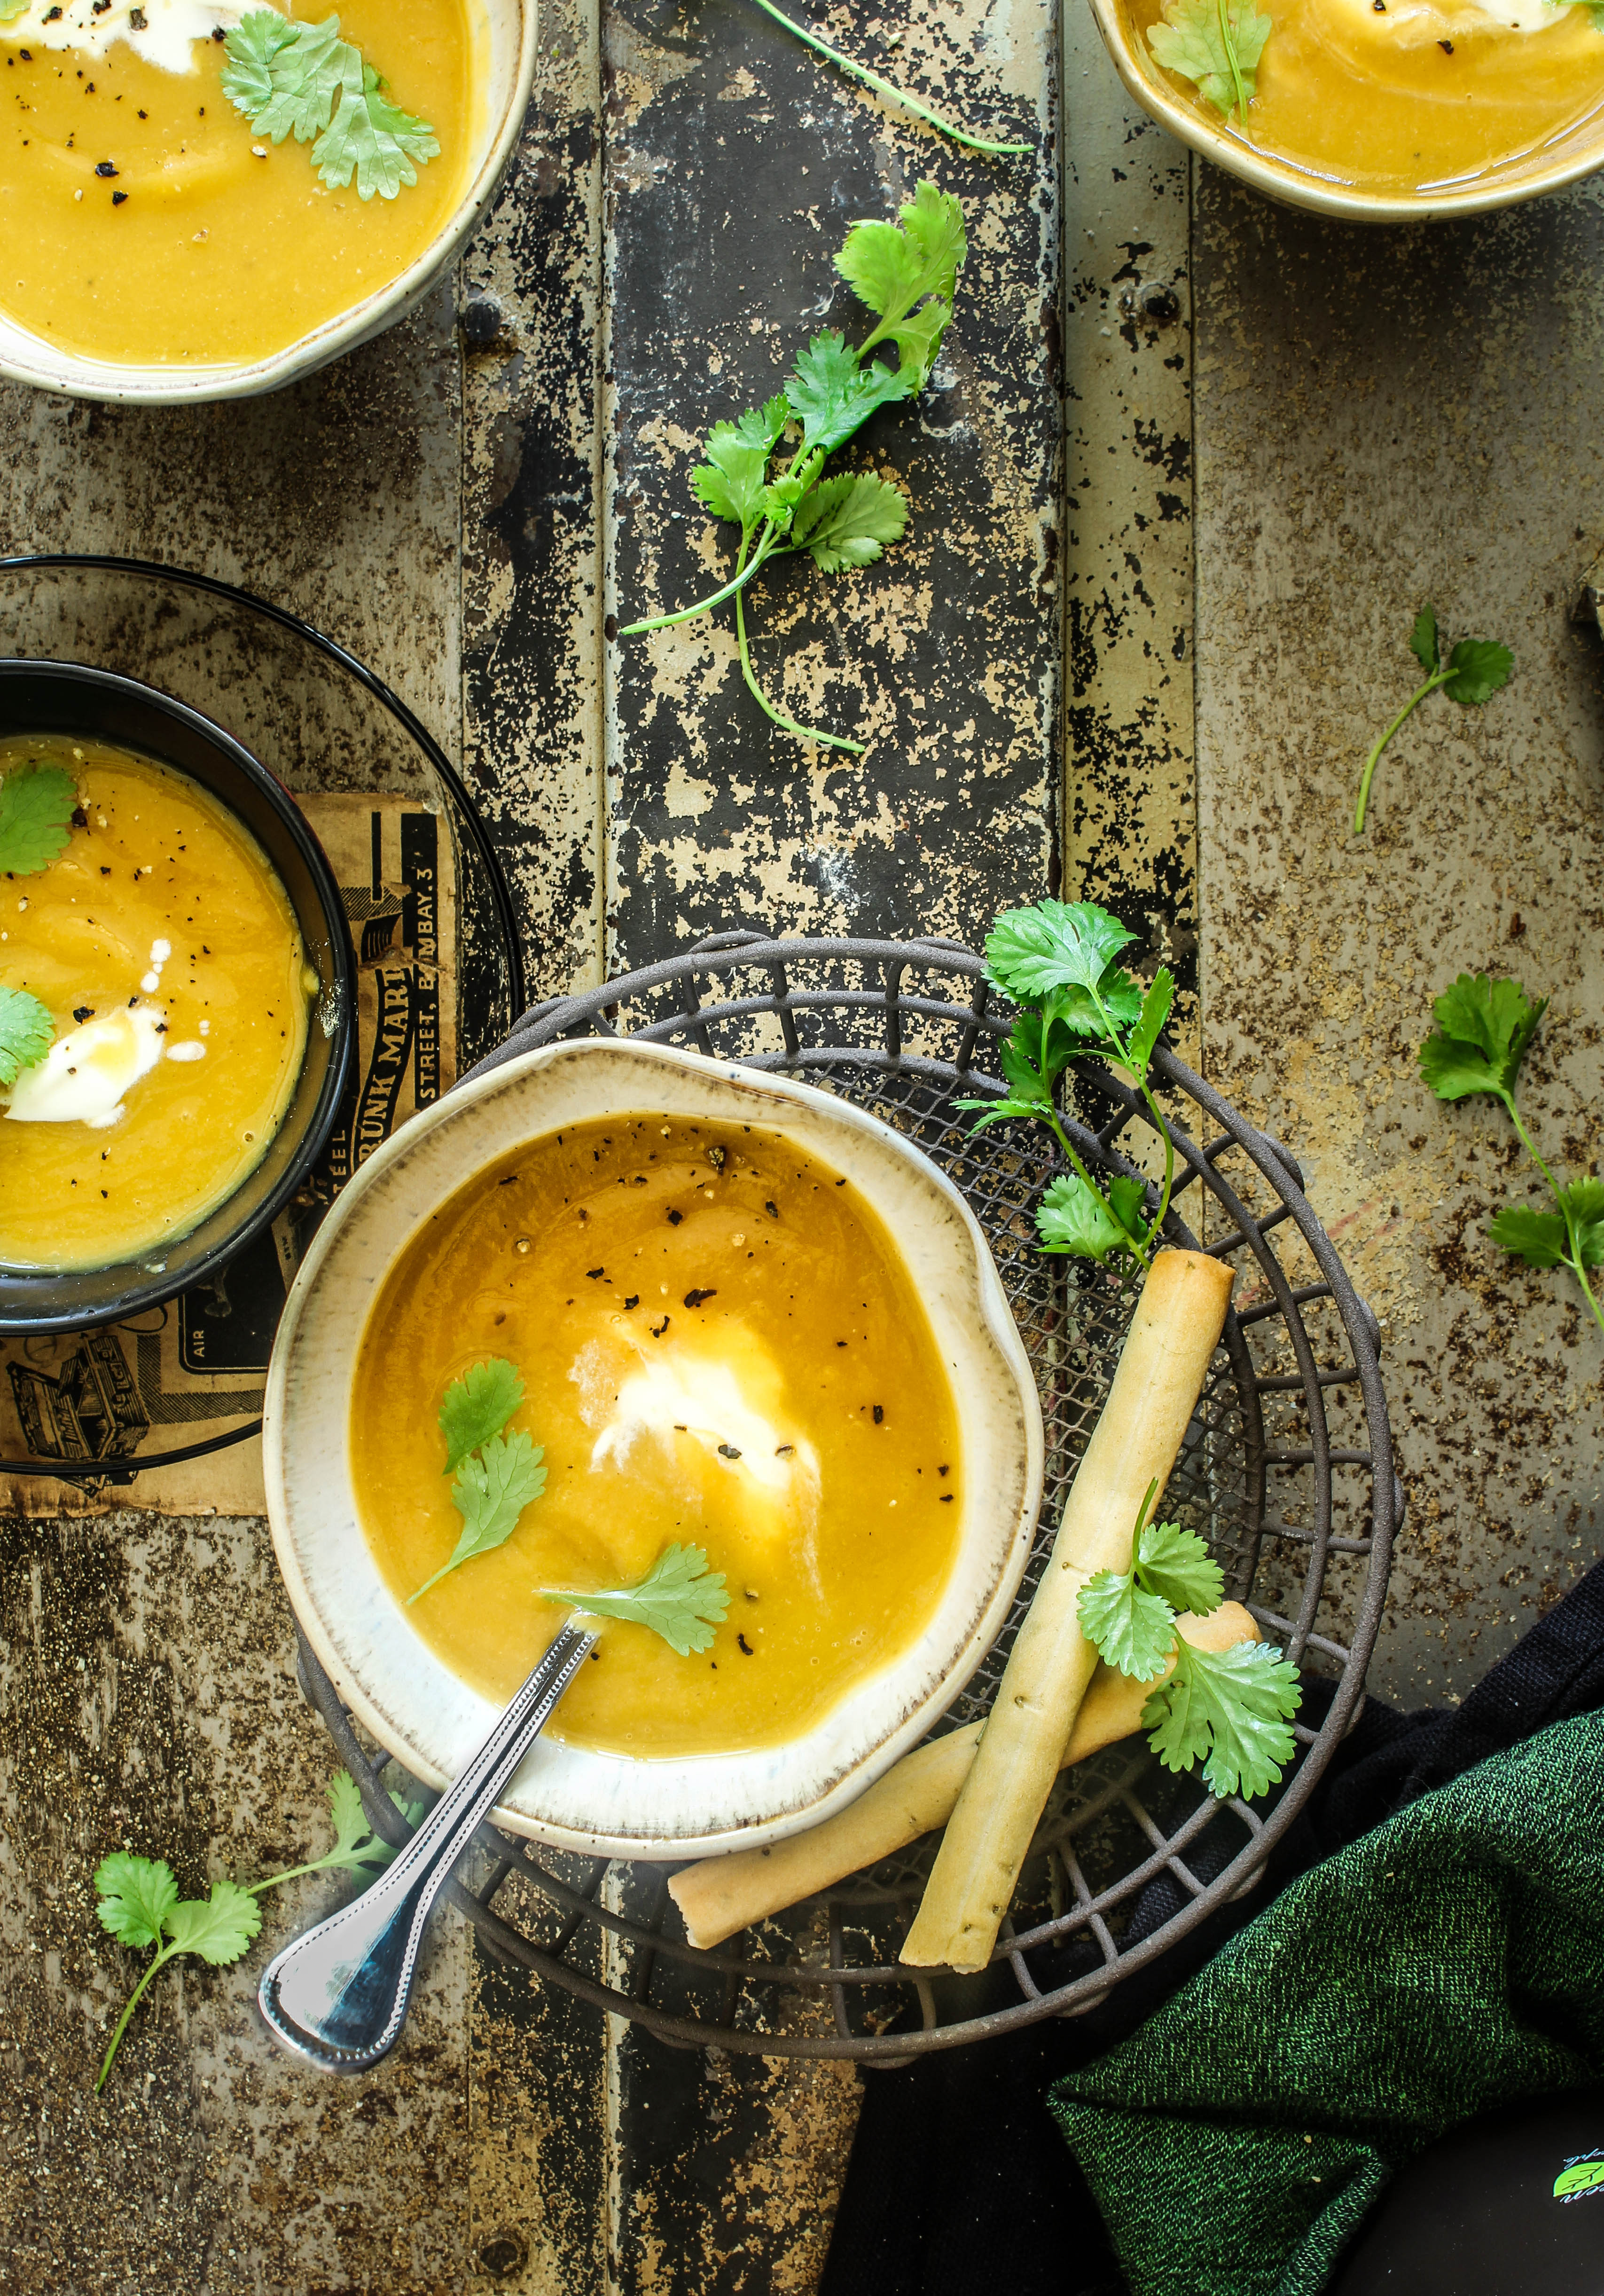
This is one soup I have not just enjoyed but totally loved and made several times in the past one month.Since it is quick and easy to make and nutritionally wholesome, it ticked all the right boxes for me. The creamy texture and mild sweet flavour from the pumpkin appealed to my kids so it was a win-win all throughout. Admittedly, it is really the dal we eat with pumpkin added to it which is blended in the end to give it a soup like texture. Onion, garlic and ginger always makes it for me. They are power ingredients that if used in the right measures can pack so much flavour into your soup base. I’ve used ground cumin to spice up the soup, even curry powder would work. To include a bit of heat, you could garnish with finely chopped chillies.

IMG_2928

The temperatures on our side have been so fluctuating followed by heavy downpour that we are unable to put away our wollies yet. It leaves me impatient to see a change in the fresh produce at the markets. I cannot wait to get hold of plums and peaches and of course heaps of raspberries. Hope you all have a great weekend.

Split Red Lentil and Pumpkin Soup
Serves 4

I tbsp olive oil
1 brown onion, finely chopped
2-3 garlic cloves, crushed
1 tsp powdered cumin
500 g butternut pumpkin, peeled, deseeded, chopped into cubes
1/2 cup split red lentils, rinsed
3 cups vegetable stock
salt, to season
Greek yoghurt or sour cream, to serve
fresh coriander, to garnish

Heat oil a large saucepan over medium-low heat.  Add the onion and cook till softened (about 5 minutes). Add the garlic and ginger and cook for a minute till aromatic. Add the cumin and tomatoes and cook for a further minute
Add in the pumpkin, lentils, and vegetable stock. Bring to the boil. Reduce heat to low. Simmer for 15-20 minutes or until the pumpkin and lentils are soft. Set aside to cool.

With a stick blender or in a food processor (in batches), blend the mixture until smooth .Season with salt and pepper.
To serve, warm up the soup and ladle into serving bowls.  Top with the yoghurt or sour cream and garnish with coriander.

Golden Apple Tart

15|10|2014

I believe that names of most (if not all) people have a meaning. Most likely in their own language. When I found out that I was expecting twins I was faced with the exciting but quite complicated task of finding names for them. For a first time Mum, it can be quite daunting going through the multiple permutations and combinations. Two little personalities you are just starting to know and you are about to give them an identity for life. My children were born in my native land, India, where sex determination is a crime. So you can imagine my plight when I was in the dark till the very last-minute if they were going to girls, boys or one of each. I had 3 spreadsheets worth of names on my laptop that I continued to update as days came closer. Finally when they were born, quite premature I did not even look at those spreadsheets that I had been filling up so religiously. I did not have the time nor the stamina. Their names just happened. My own name has no meaning in the English language but going back to my roots, it means golden.

IMG_2942


In real life I have no yearning for gold…neither literally nor figuratively. However, when it come to food, golden to me spells ‘delicious’. Whether a golden brown crust, gold dust on a cake or dessert, liquid forms like caramel, dulce de leche, honey or just golden syrup, the lustre in my eyes go up by 10 folds.

IMG_2936-1
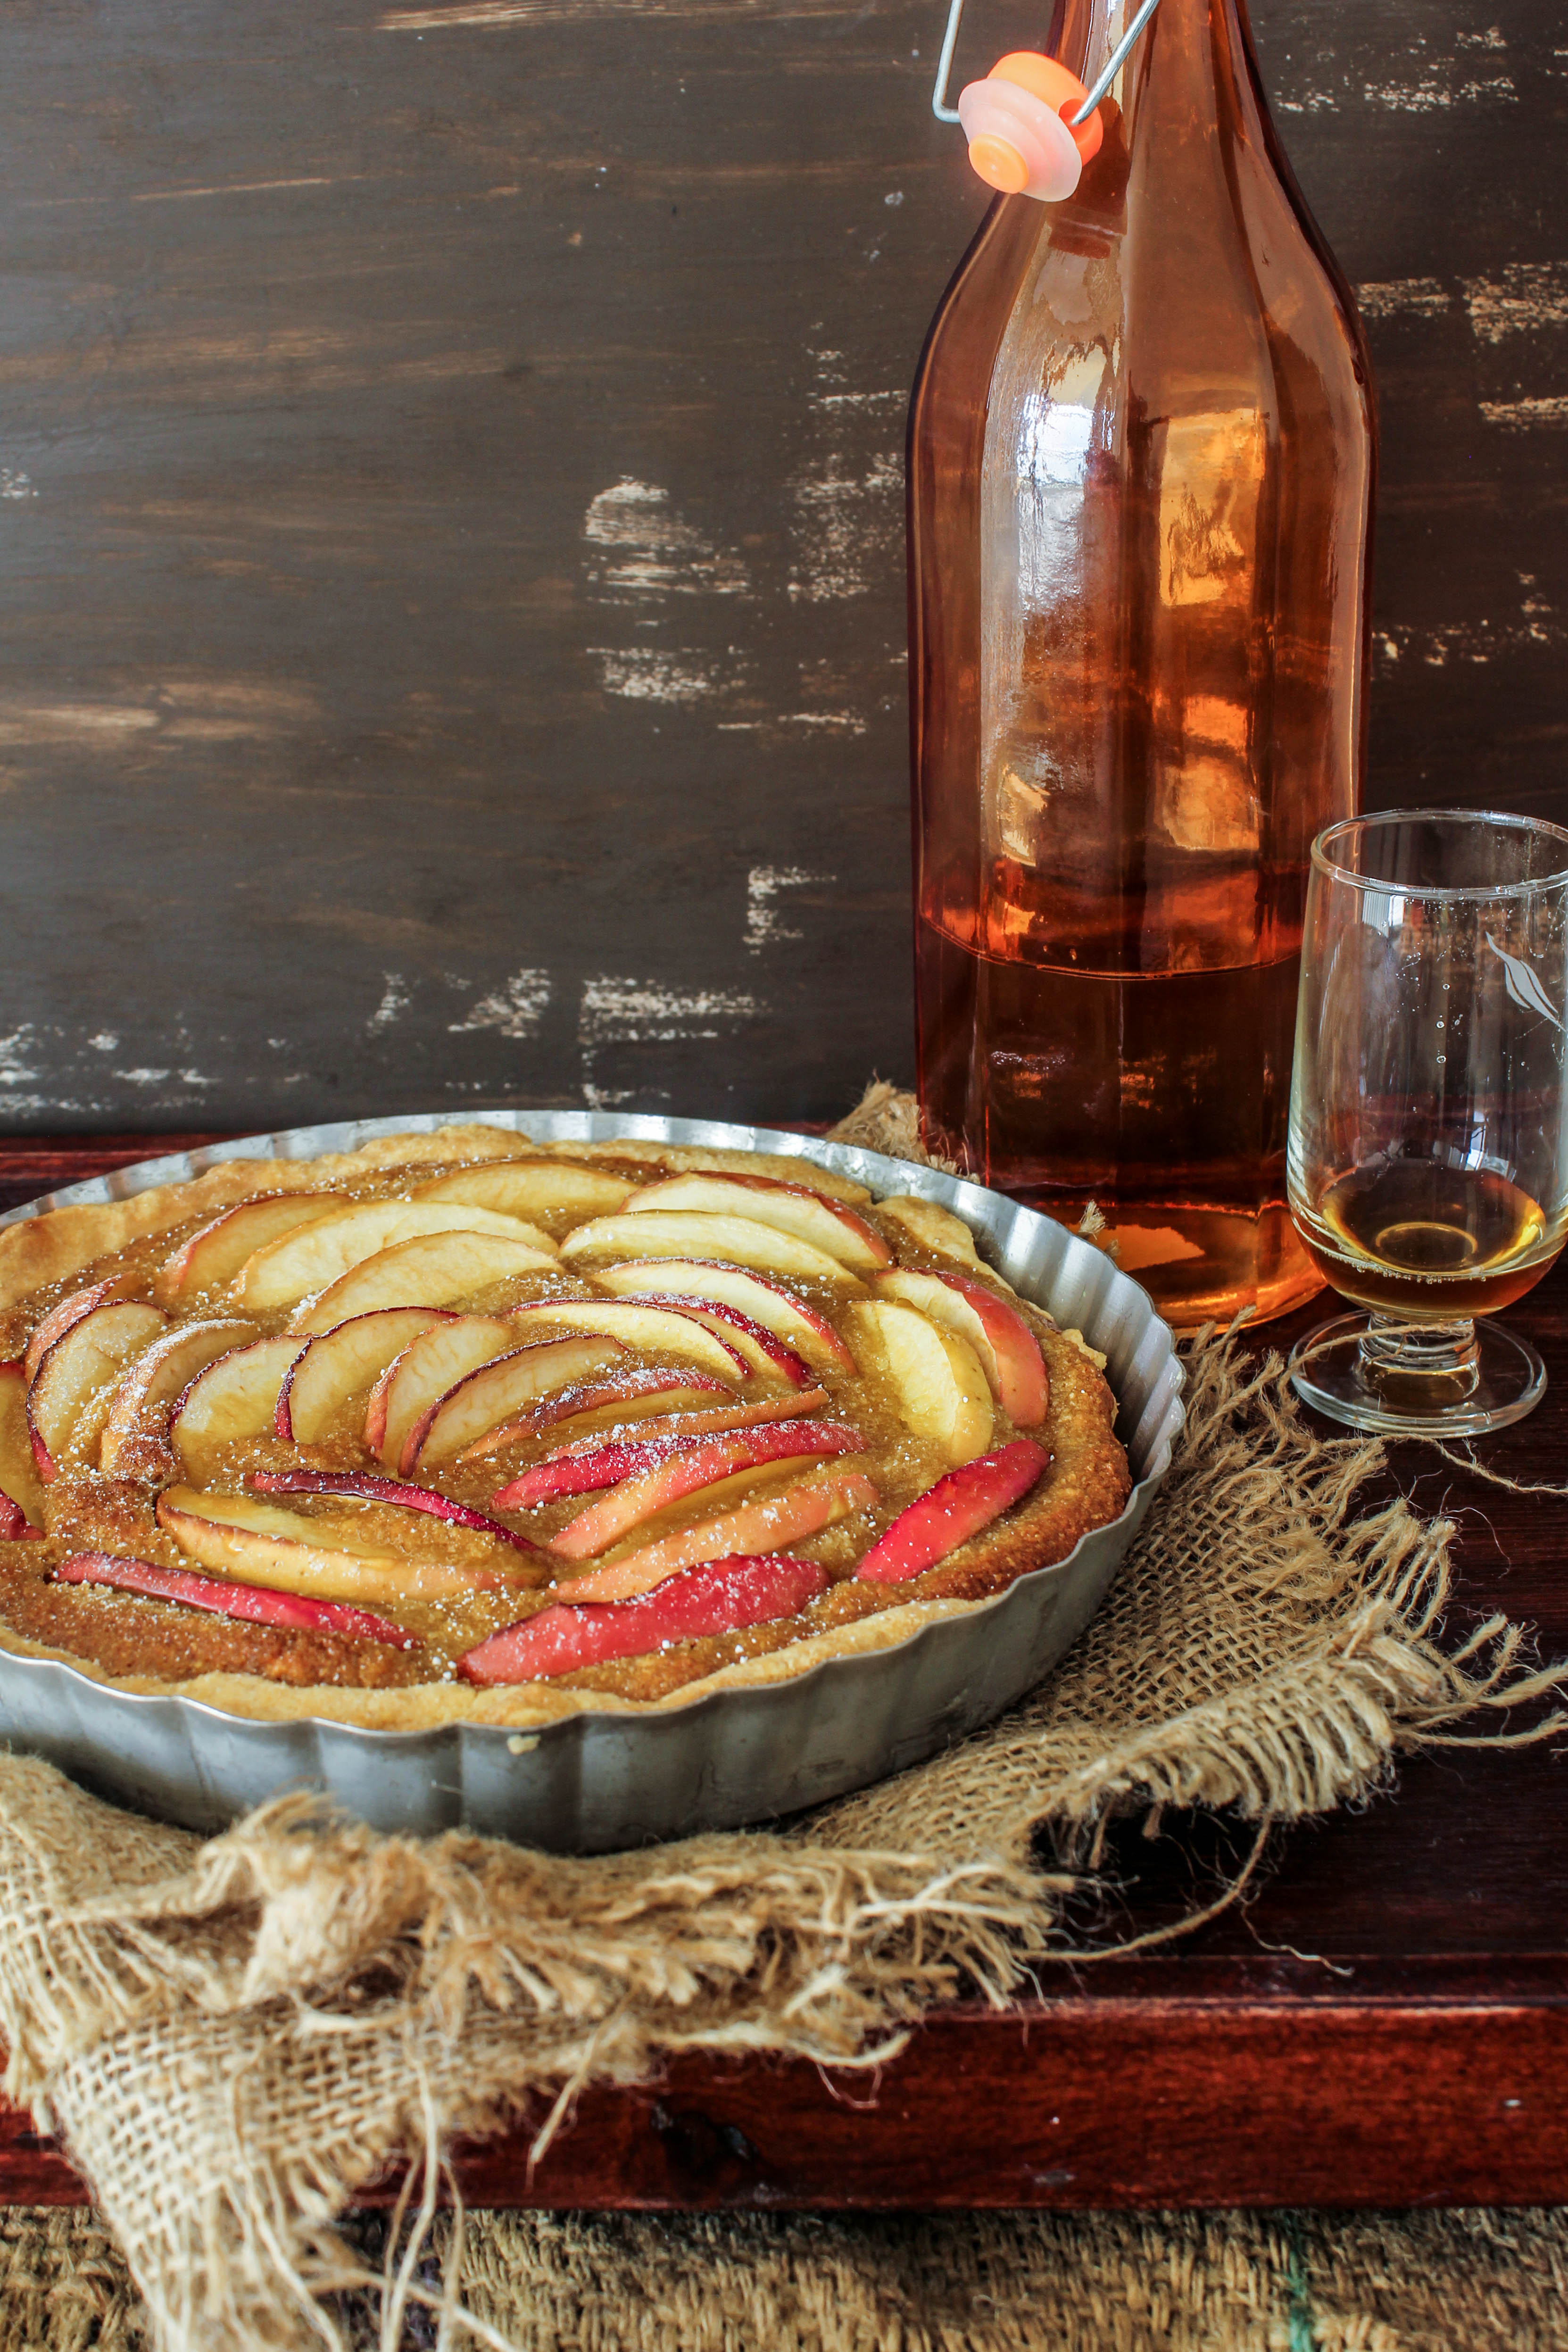
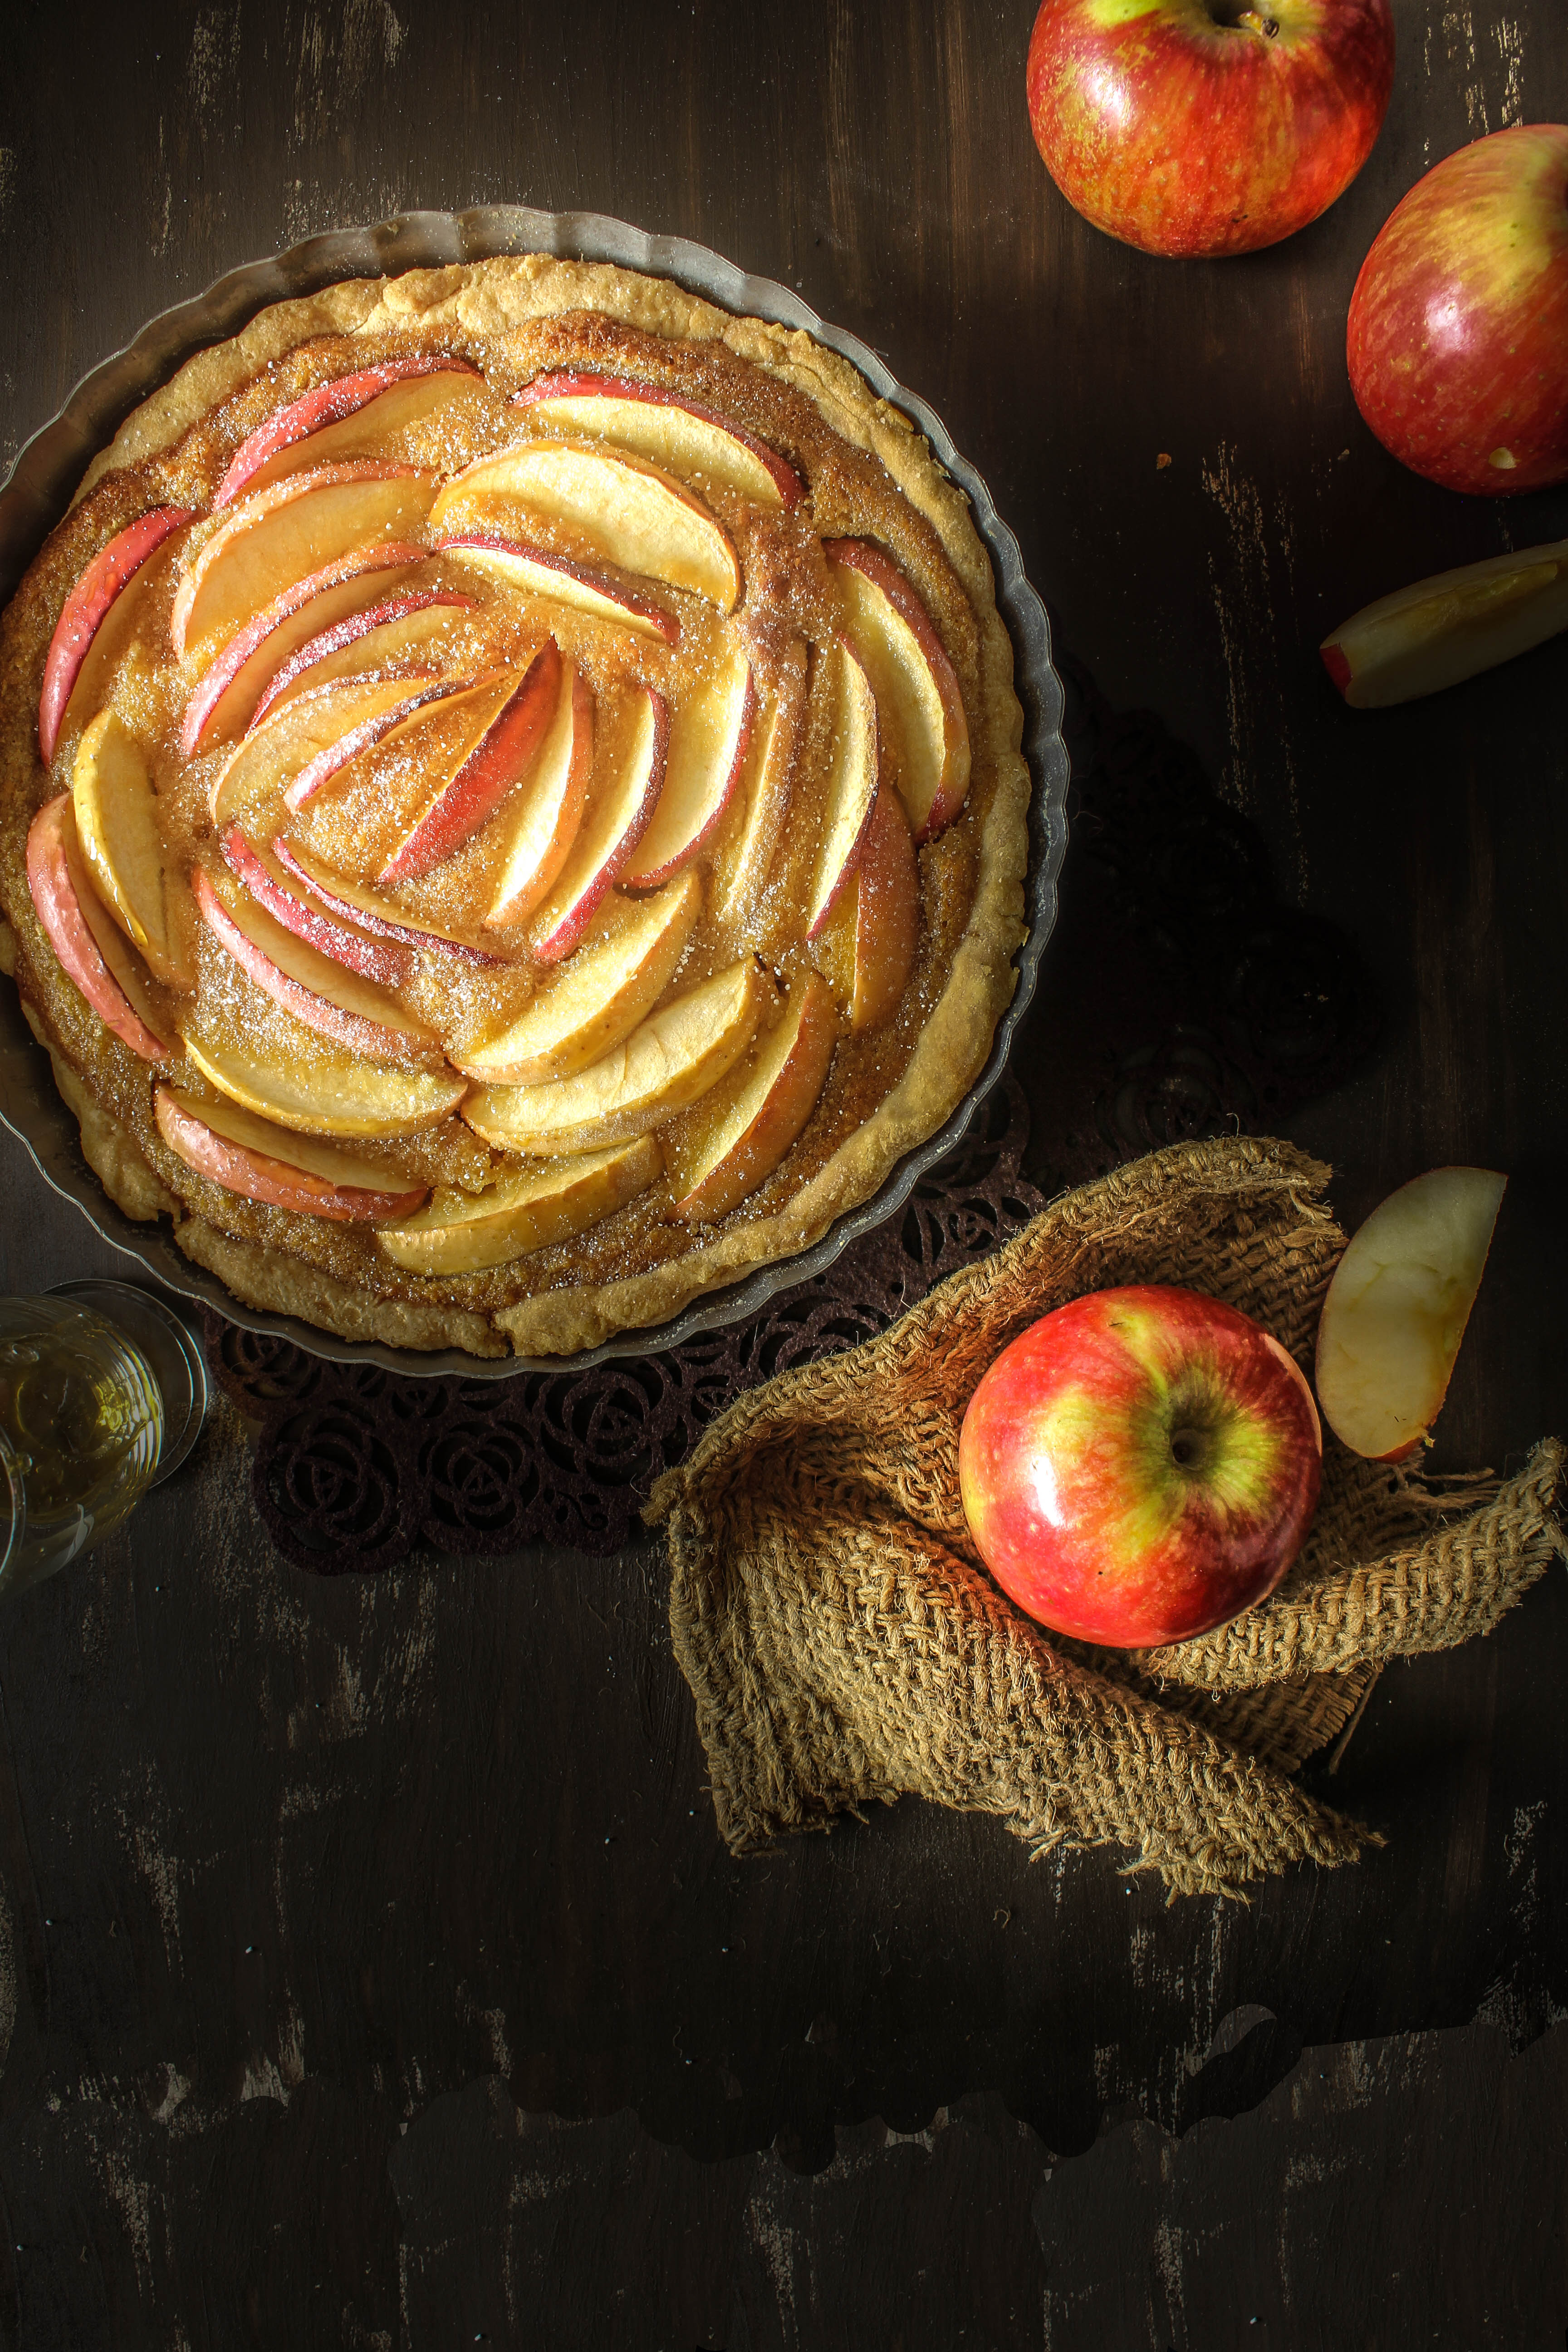
Remember my Chocolate Treacle Tart? Apparently, you guys loved it and so did I. So it was time to recreate the magic whilst tweaking things a little bit. This one has the golden syrup again with a hint of spice and fresh apples to adorn the top. In the filling, I have used breadcrumbs, almond meal, dessicated coconut along with golden syrup. The amazing thing about the filling is that it tastes quite like frangipane, actually better but is easier to put together. The flavours are lovely, almost like toffee apple. If you have used golden syrup before you know what I mean. If you haven’t, I highly recommend giving it a try. You may fall in love with it like me. If you ask me, it is quite easy to put together a gorgeous tasting dessert with golden syrup if you (partly or wholly) substitute it for sugar in a recipe. The pastry has a bit of nutmeg added to it so you can smell all those warm comforting flavours as the tart is baking.

IMG_2965-2


IMG_2967-2

So tell me now, do you believe that names have anything to do with one’s personality? Did you ever wish you could change your name or are you pleased with it?

IMG_2948


Golden Apple Tart (slightly adapted from here)

Serves 8-10

For the pastry
1 2/3 cups plain flour
1 tsp ground nutmeg
1/4 cup icing sugar, sifted, plus extra, to dust
125 g cold unsalted butter, finely chopped

For the tart filling
400 g golden syrup
Grated zest and juice of 1 lemon
150 g fresh white breadcrumbs (about 4 slices of bread)
1/2 cup almond meal (ground almonds)
1/4 cup desiccated coconut
1 tsp cinnamon
3 

Place flour, nutmeg, sugar, butter and a pinch of salt in the bowl of your food processor and process until mixture resembles breadcrumbs. Add egg and 1 tablespoon chilled water and process until mixture just comes together. Shape dough into a 1.5cm-thick disc, wrap in plastic wrap and refrigerate for 1 hour.

Roll out pastry on a lightly floured surface and line a greased 23 cm tart pan. Trim sides and refrigerate for 30 minutes

Preheat oven to 190°C. Line tart shell with baking paper, fill with rice or beans and bake for 15 minutes. Carefully remove paper and beans, then bake for a further 10 minutes or until pastry is dry and golden. Cool.

For filling, place golden syrup, zest and juice in a small saucepan and stir over low heat until just liquefied. Whisk in remaining ingredients. Pour into tart shell

Quarter apples, core and cut into 2-3 mm-thick slices. Starting at the edge of the tart, arrange slices in concentric circles. Bake for 35 minutes or until firm to the touch (cover loosely with foil if pastry is over-browning). Cool for 15 minutes. Serve warm or at room temperature dusted with extra icing sugar.


Chocolate Beetroot Cake + Chocolate Sour Cream Frosting + Candied Beetroot Leaves

11|10|2014

In my previous workplace, I had two awesome friends. We were a group and since we always hung out together, most of the other colleagues called us ‘The Three Musketeers’. Perhaps for lack of a creative or better expression. I guess if there’s three of you, that is the most likely thing that comes to one’s mind. Nevertheless, going to work was fun and so were the long lunches, group meetings, gossips and just being able to connect with two people who were completely different personalities and you still got on like a house on fire. So even though the nickname wasn’t cool, our friendship was. Let me tell you what else is cool when three personalities come together. This cake.

IMG_2874

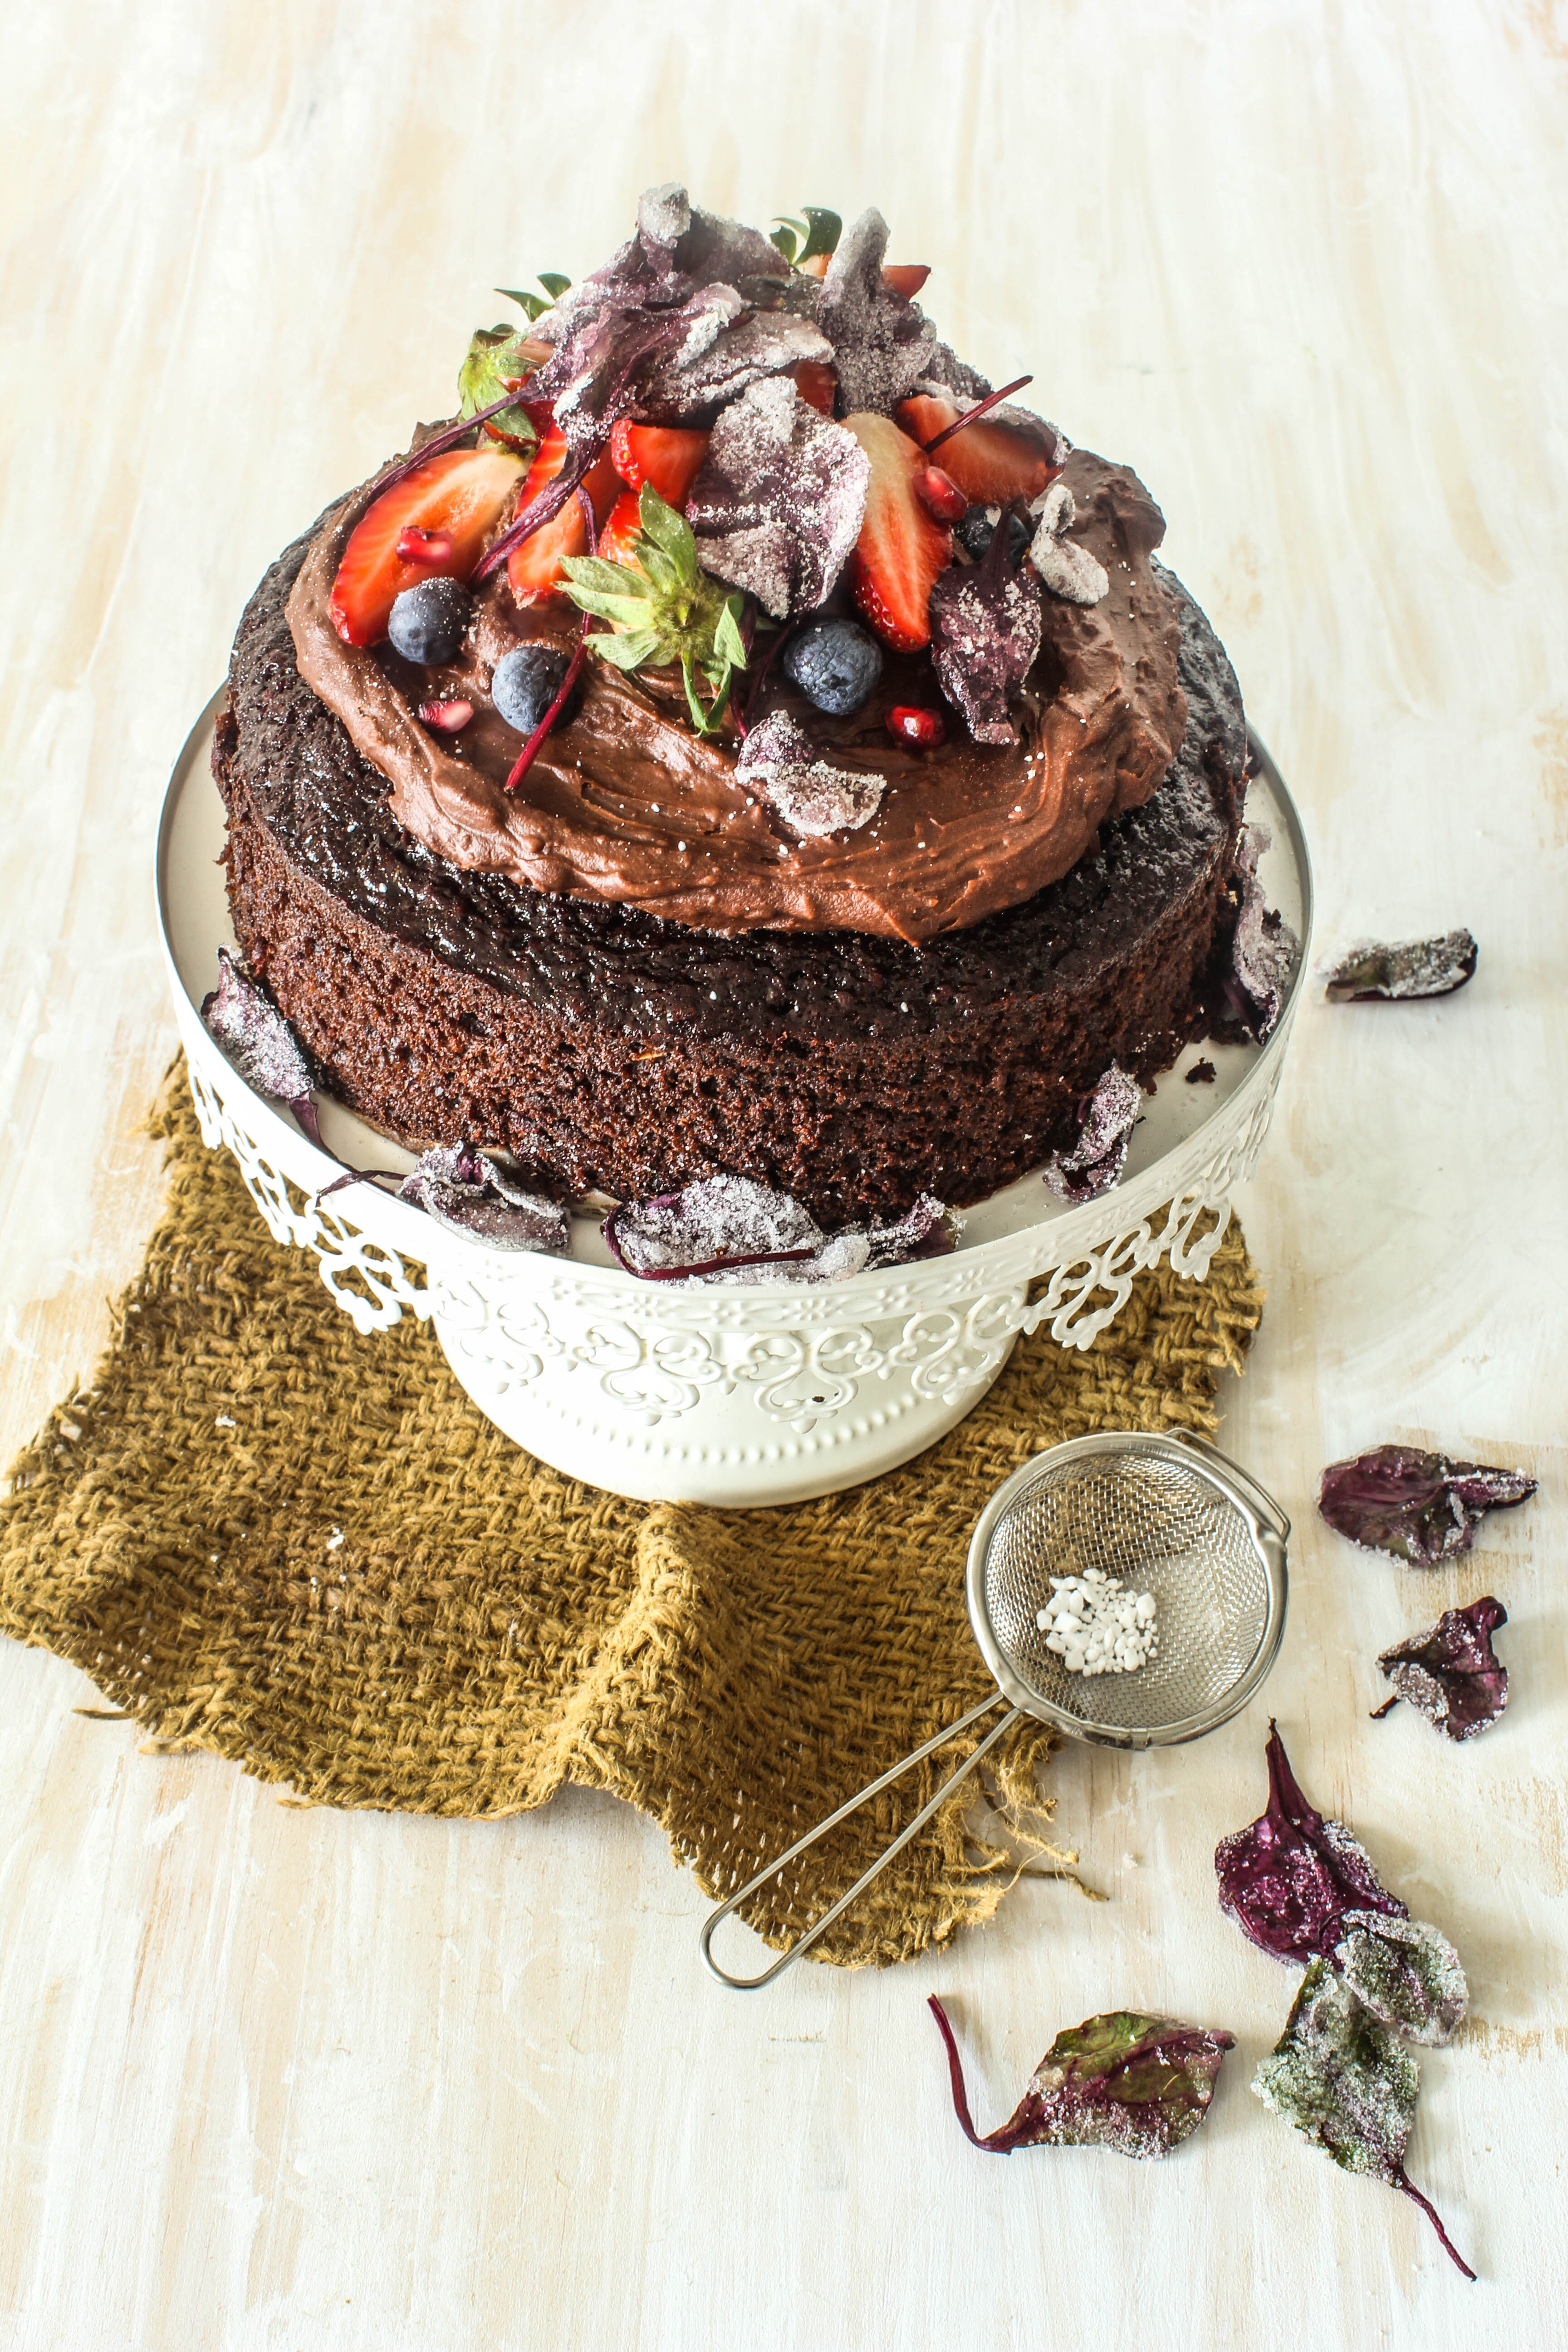
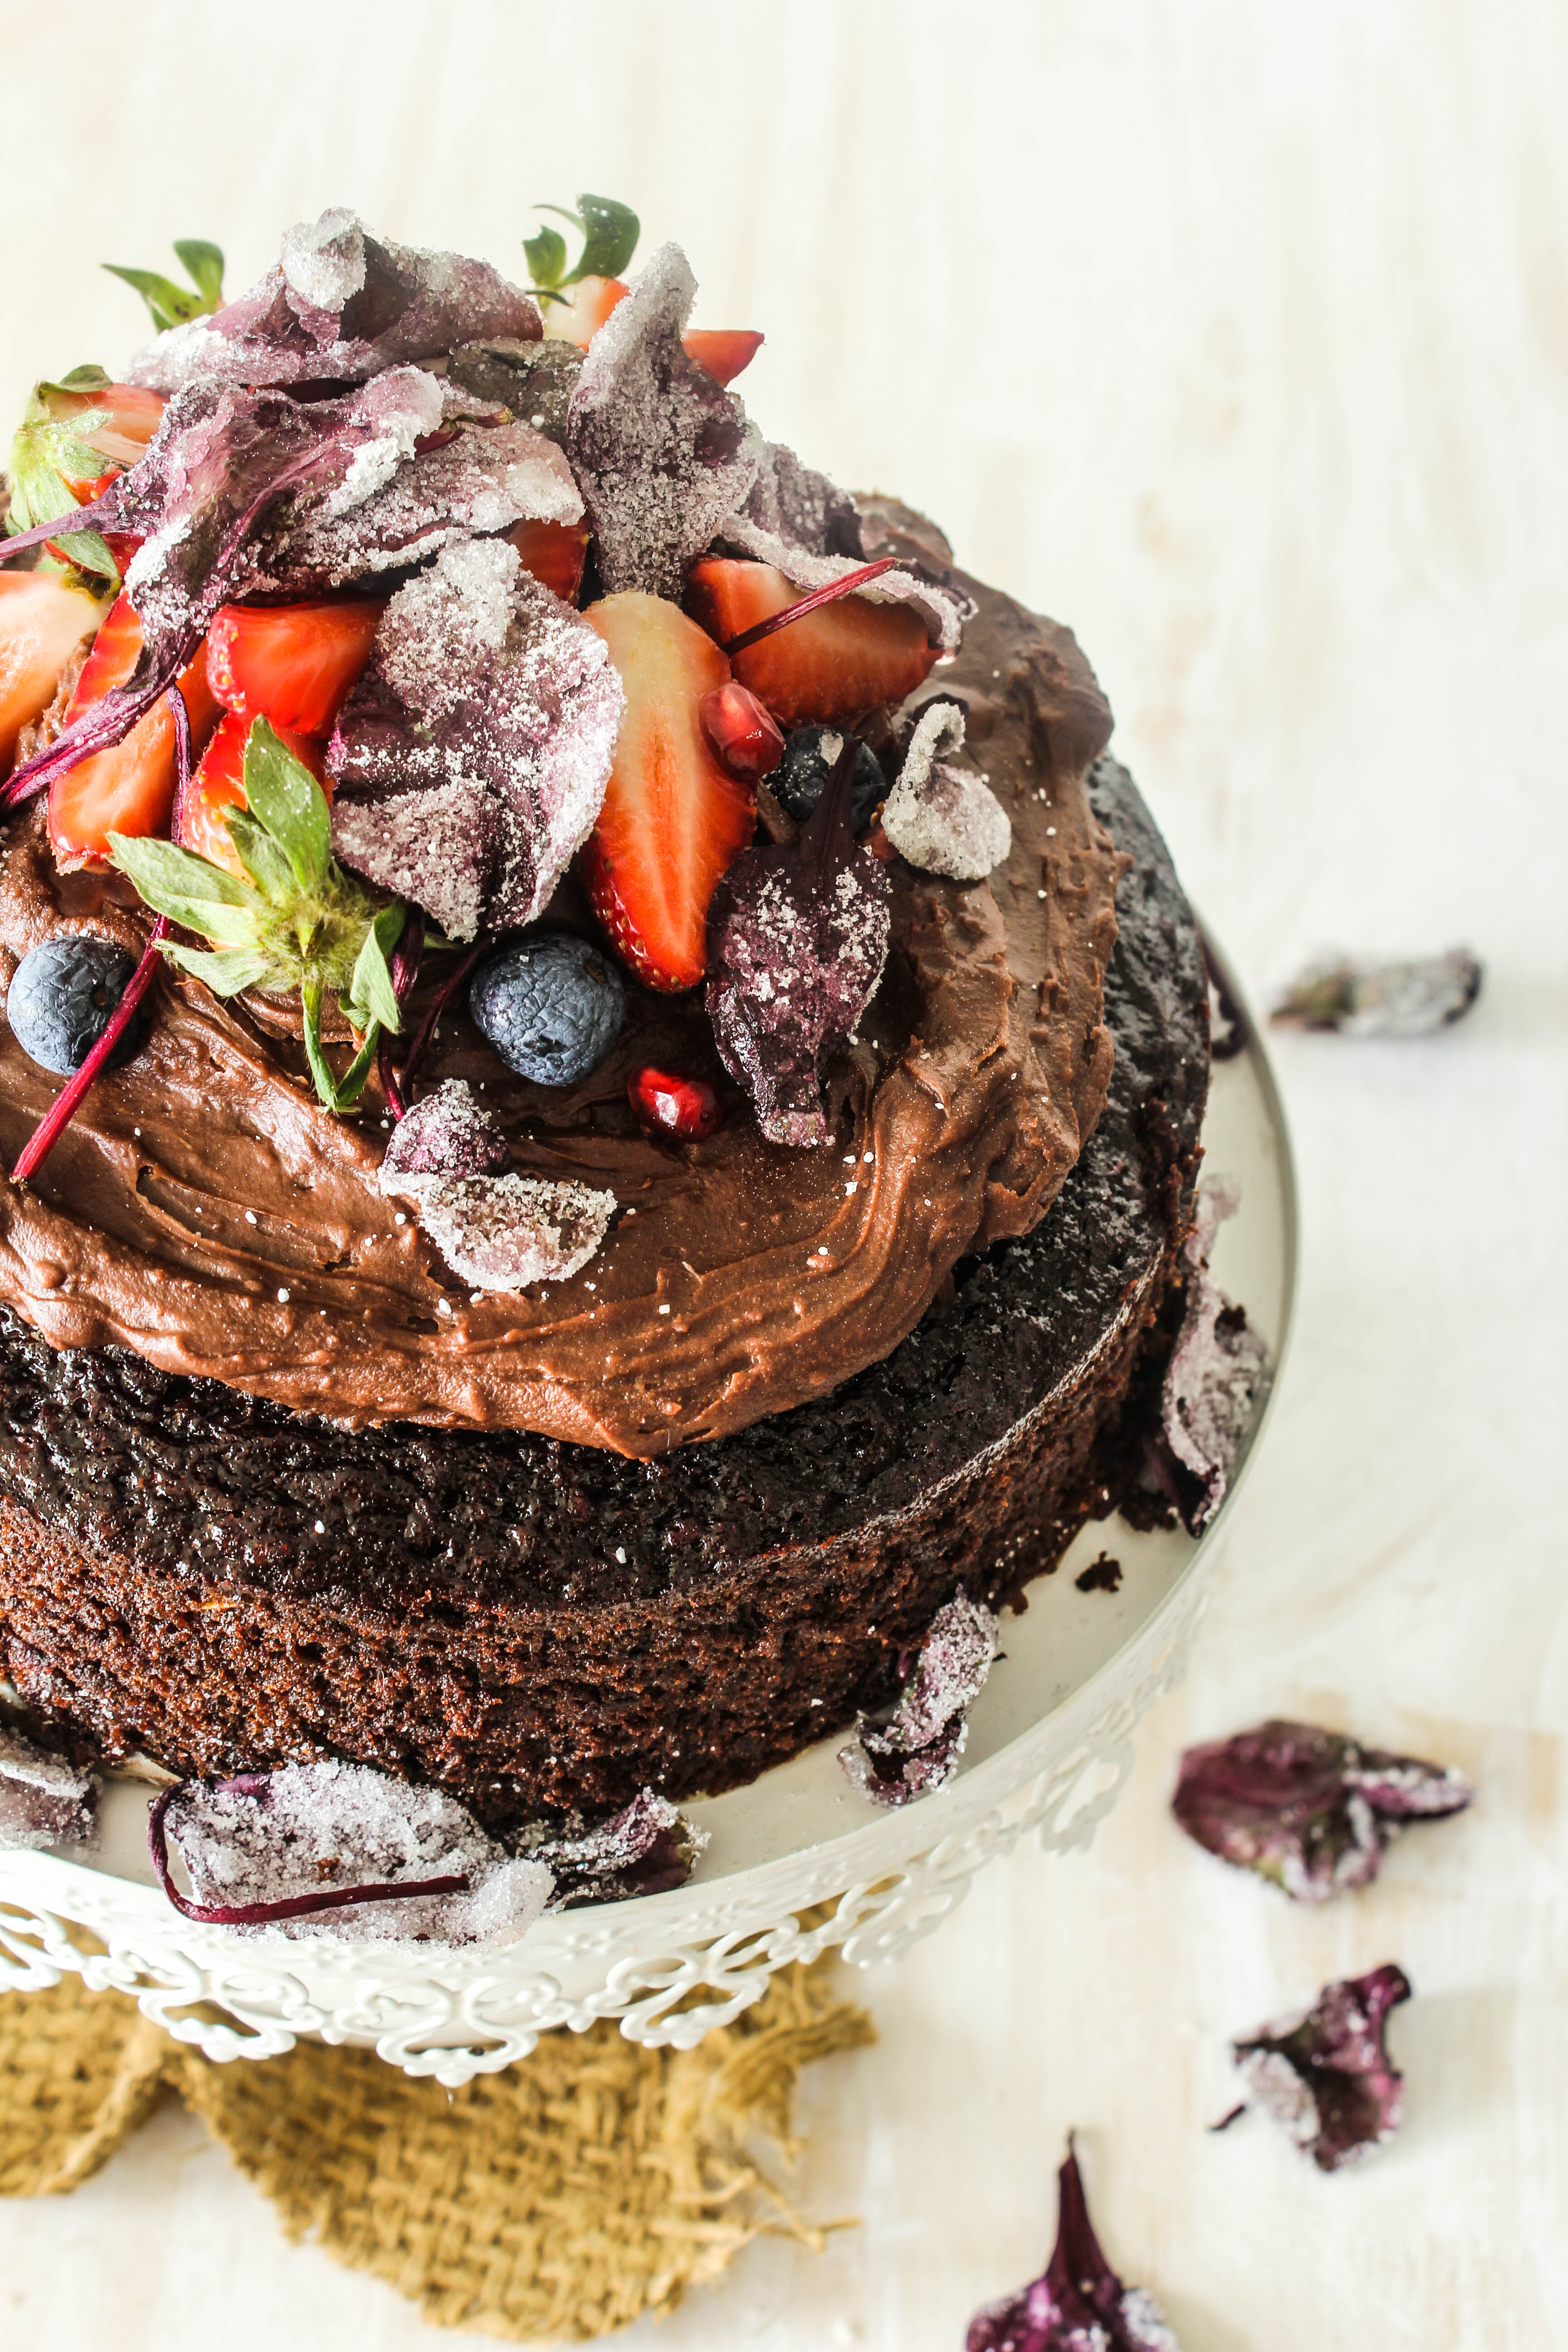
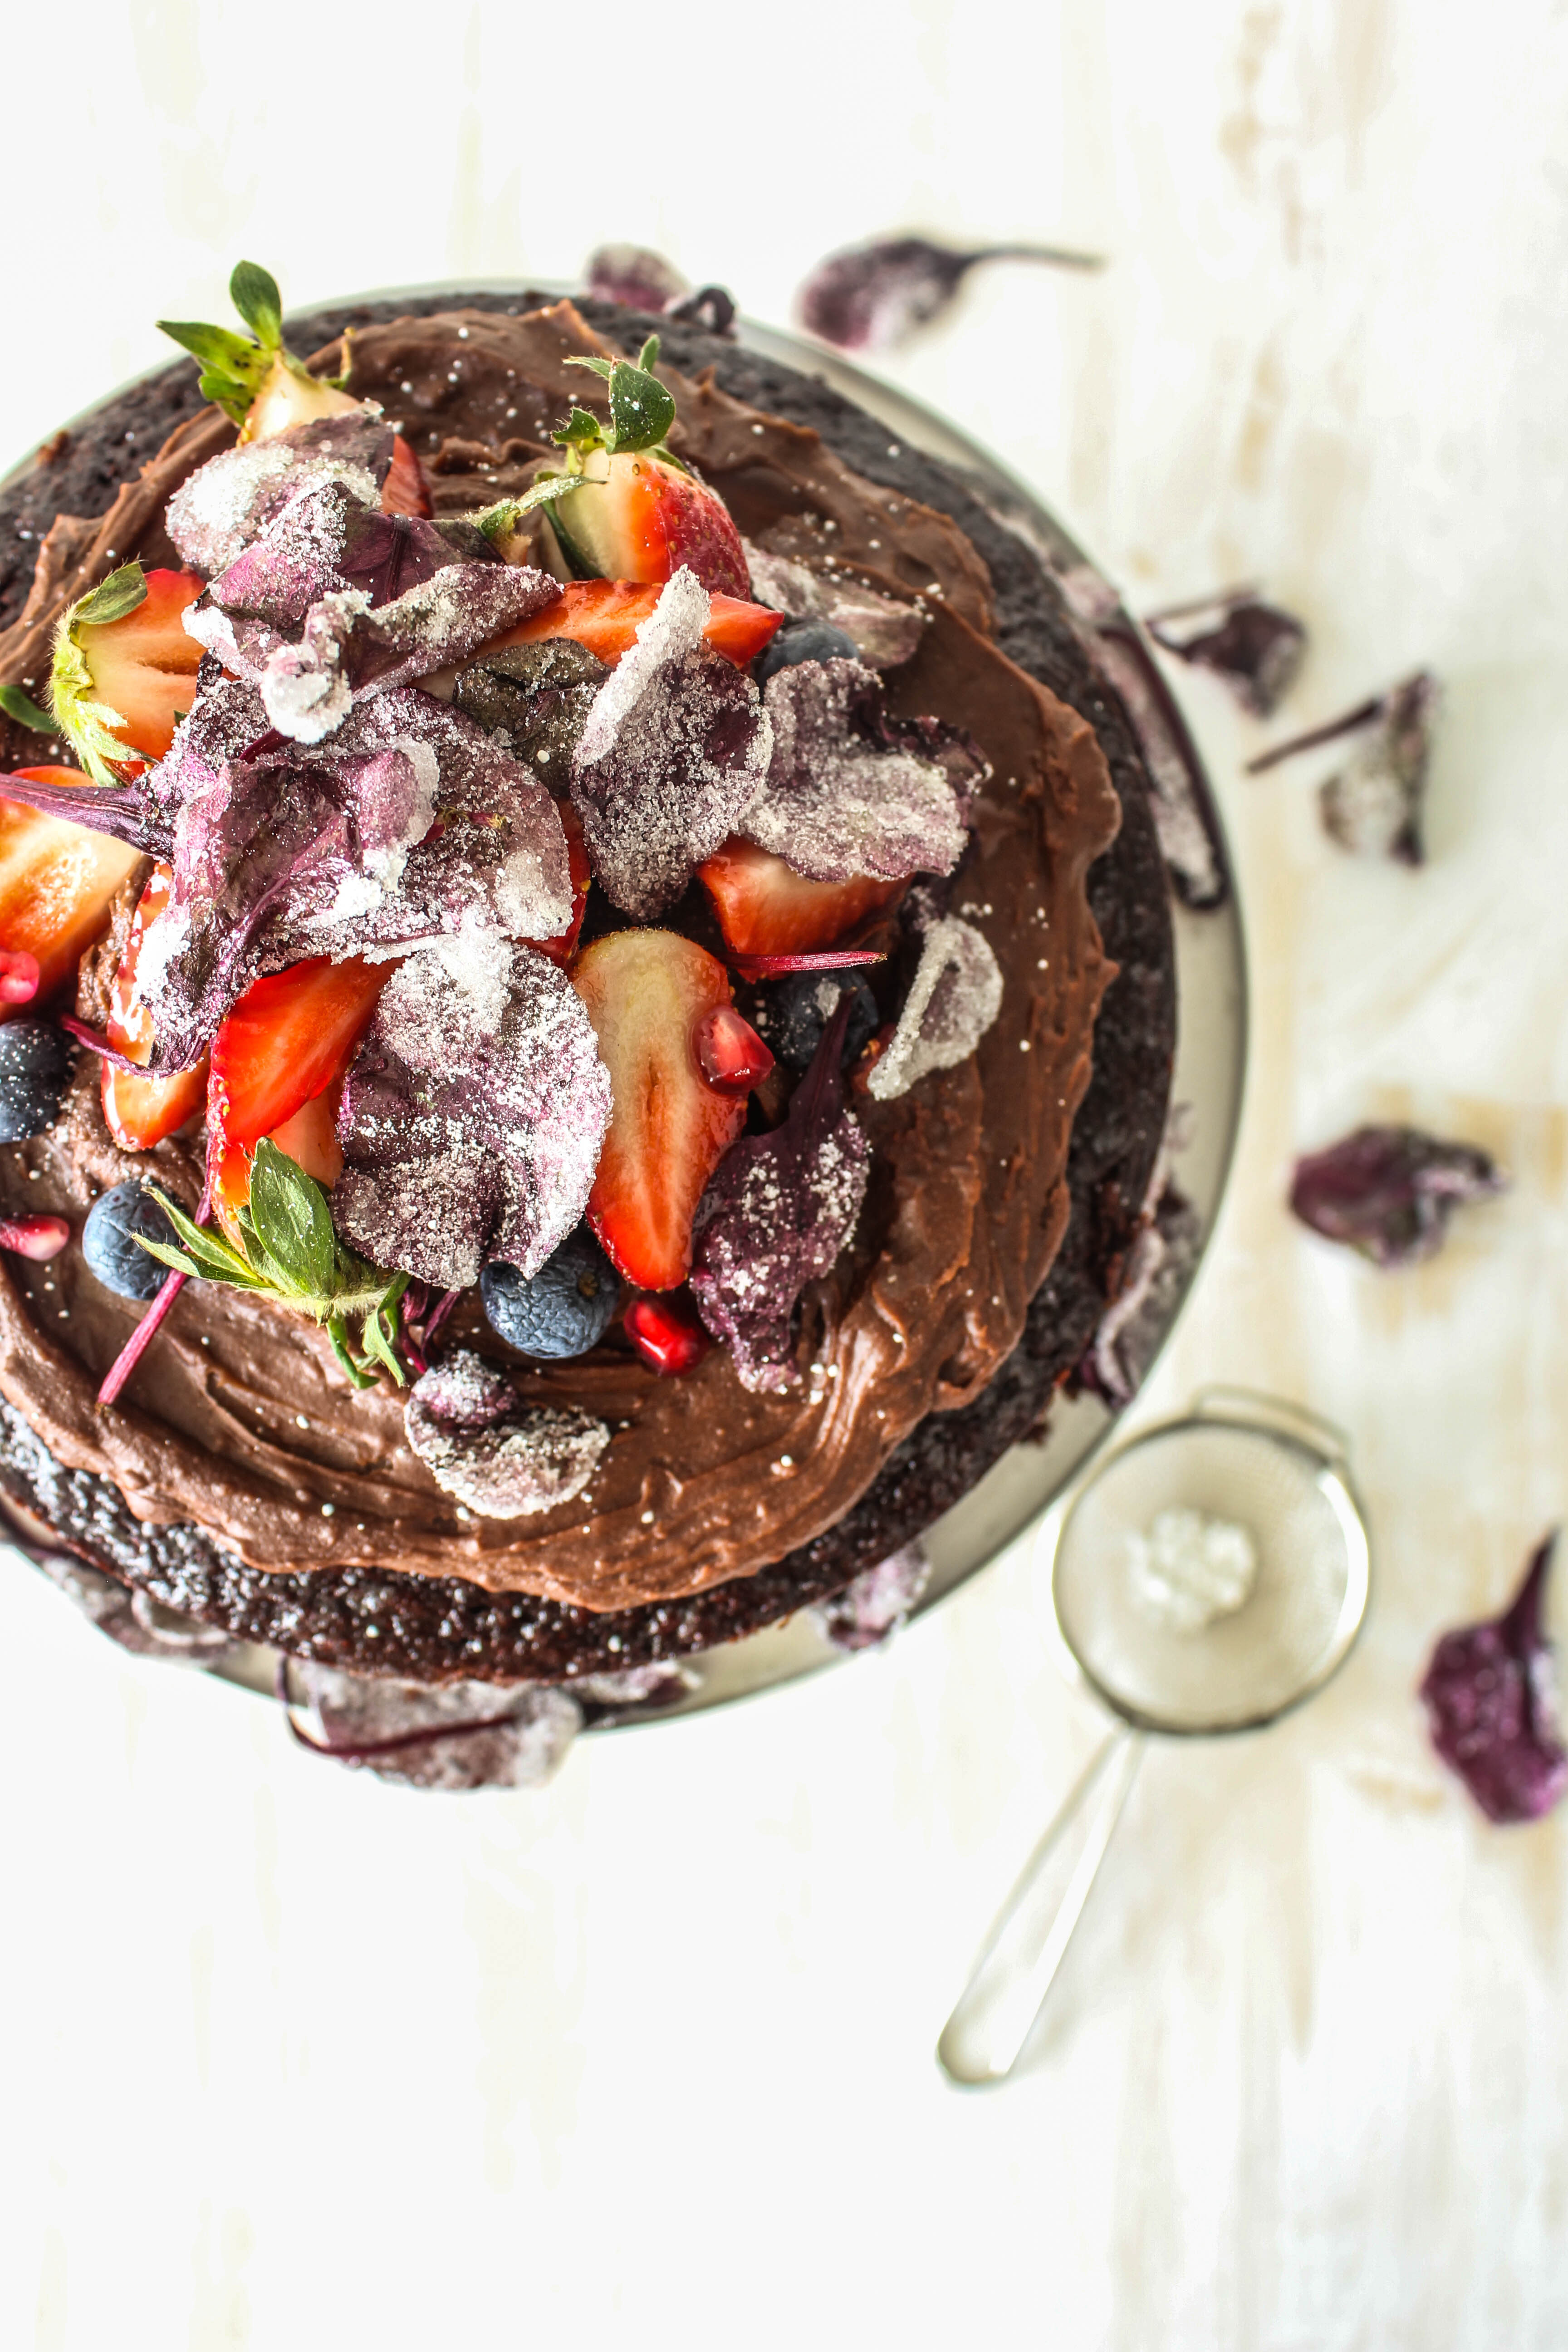
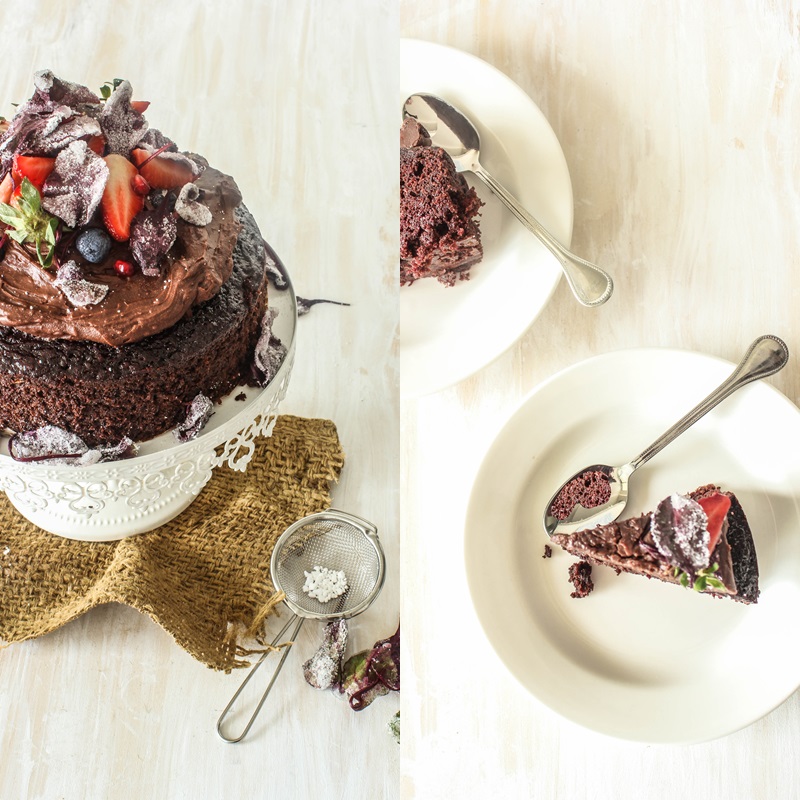
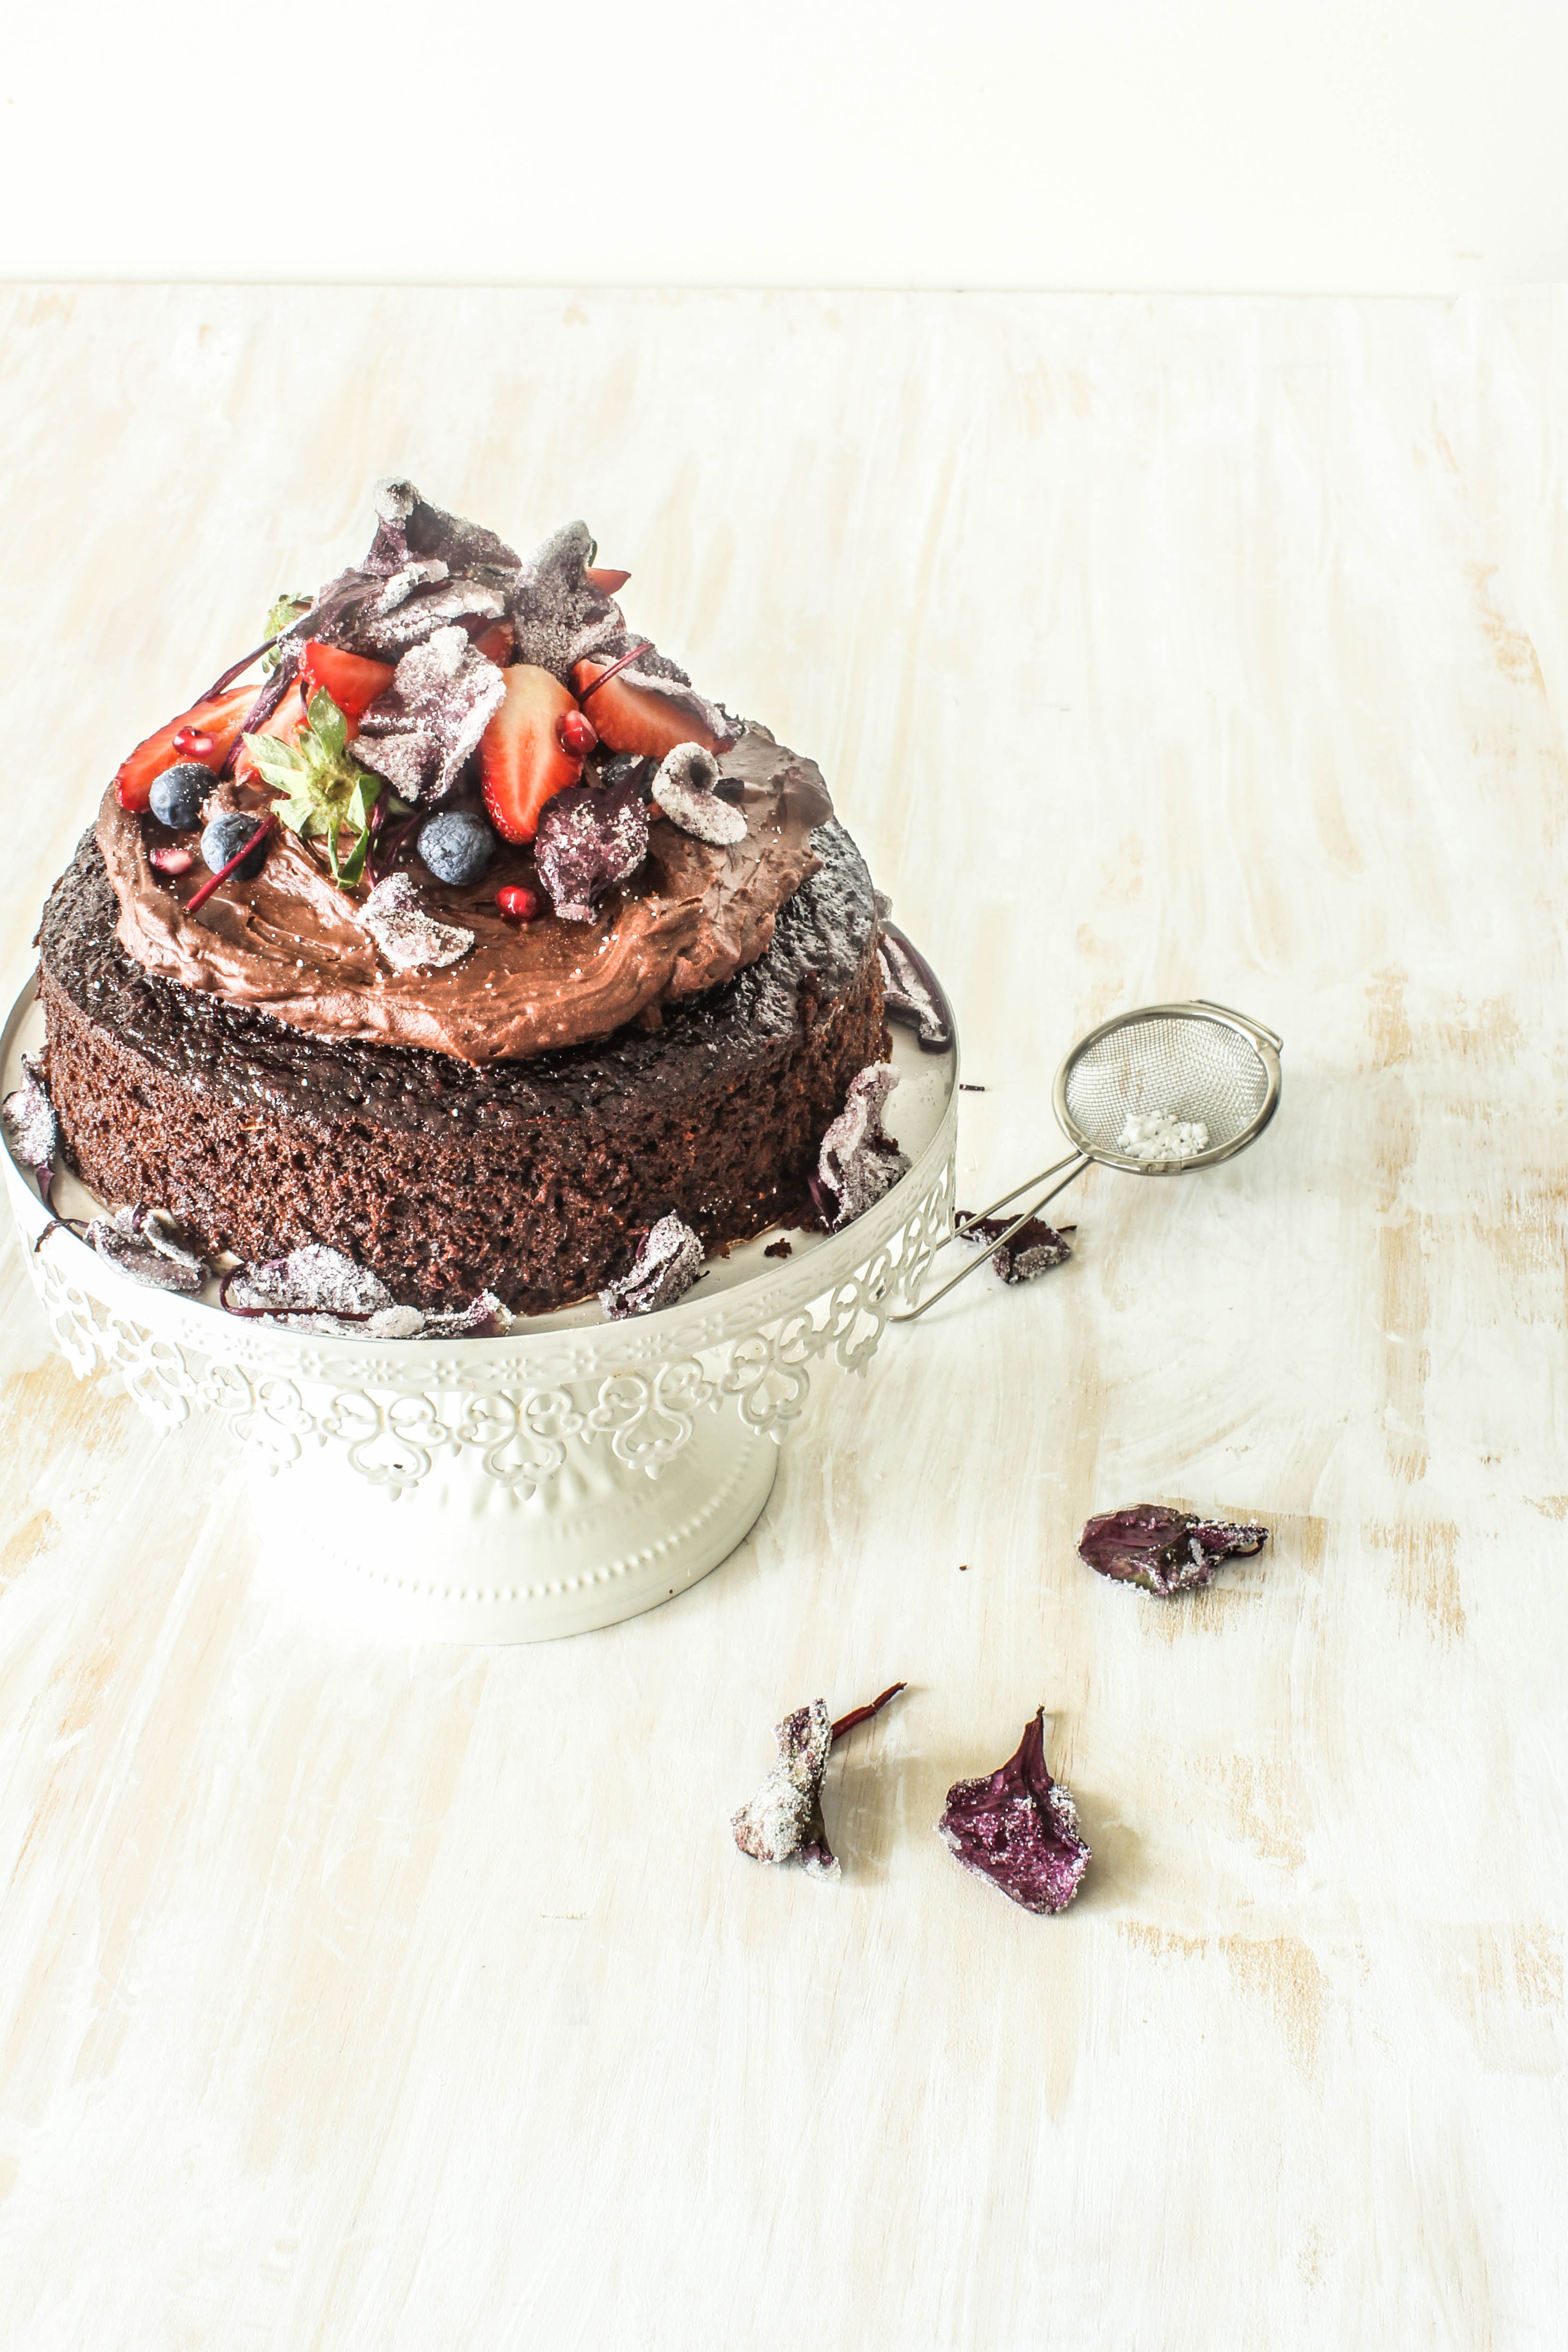
Gingerbread meets chocolate cake meets beetroot. Sounds complicated. Well, it really isn’t. This is hands down the best chocolate beetroot cake I have ever tasted. You don’t taste the beetroot. What you taste is rich chocolate flavour which is intensified by the addition of treacle. Golden syrup and maple syrup will work too but treacle gives it strong flavour and rich colour. It is truly a treat! You know by now that my kitchen is nothing short of a test kitchen and I am constantly trying out different things. But in this case the stakes were high. I mean sky-high. I made this cake for my husband on his birthday who is not a big fan of sweet things. The only sweet treats he would like are the ones that have bittersweet chocolate, not overly sweet. Once he had a taste of my ginger cupcakes and asked me ‘What’s in there? Something strong that I cannot quite figure out but it tastes good’ He was obviously referring to treacle. So this was the excuse for me to combine the two. But I also needed an extra something to complement the two that would give body and moisture to the cake. The ginger cakes/cupcakes I make are quite moist and sticky and I didn’t want a sticky birthday cake.

IMG_2879

The cake was everything I wanted and more. Luscious, moist, chocolate-y and now it was time to try out a gorgeous frosting that was not going to be buttercream. I love liquid and whipped ganache but I am beginning to get a bit bored with it. Enter this 2-ingredient, 5-minute chocolate frosting which I was dying to try out since months. I had come across something similar on Epicurious. I made a few changes and it worked. Wow! A fabulous addition to my frosting repertoire. I know this is one recipe I am going to use over and over again. It is not too sweet and has a great consistency. Spread or dollop or sandwich between your creations.

IMG_2868-2

The man loved the cake. He was surprised when I told him there was beetroot in it. I decorated the cake with berries and candied beetroot leaves. Isn’t the colour amazing? I love candying things..it makes them look and taste lovely. I was a bit concerned if the beetroot leaves would bleed into the egg whites and spoil everything but they didn’t. In fact they were irresistible. We kept munching on them even before I put them on the cake.

page

Do give this cake a try with the frosting, candied leaves et al. It cannot get simpler than this. You are going to love it.

Notes :Please do ensure that you use a Dutch Processed Cocoa Powder or else the colour and flavour will not be the same. Do not grate the beetroot too finely or it would just get lost in the batter. While candying the leaves ensure that all the excess egg white is scraped off or they will take forever to dry up.

IMG_2871


Chocolate Beetroot Cake + Chocolate Sour Cream Frosting + Candied Beetroot Leaves (minimally adapted from here, here and here)
Serves 8-10

For the cake
1/2 cup (125 ml) vegetable oil
1 cup (220 g) firmly packed brown sugar
1/2 cup (125 ml) treacle (can be substituted with maple syrup)
60 g dark chocolate (70%), chopped
250 g (around 2 cups) raw beetroot, coarsely grated
3 eggs, lightly beaten
1 1/2 cups (225 g) self-raising flour
1/4 cup dutch processed cocoa powder
Chocolate sour Cream Frosting, to frost
Fresh fruits or berries, to decorate
Icing sugar, to dust
Candied beetroot leaves, to decorate

For the Chocolate-Sour Cream Frosting
150 g dark chocolate (semi-sweet)
50 g milk chocolate
1/2 cup sour cream (do not use the lite version)

For the Candied Beetroot Leaves
1 egg white
1/4 cup castor sugar
12-15 small beetroot leaves

Preheat the oven to 160°C. Grease and line the base of a 18 cm round cake tin with baking paper and set aside.
Warm the oil in a medium size sauce pan on very low heat. Add the brown sugar, treacle and chocolate and stir until the chocolate is melted. Remove from heat. Add the grated beetroot. Whisk the eggs in a small bowl and then add them to the sauce pan. Sift the flour and cocoa powder together and stir into the beetroot mixture. Pour the batter into the tin and bake for 1 hour or until a skewer inserted comes out clean. Leave to cool for 5 minutes in the tin, before turning out and cooling completely.

Once cooled, dollop the frosting (recipe below) on top. Decorate with fresh berries/fruits. Dust with icing sugar and decorate with candied leaves.

Make the frosting: Melt the two chocolates in a heatproof bowl over a saucepan of simmering water. Remove from heat. Cool for 2 minutes. Add the sour cream and mix till smooth. The mixture thickens as it cools. If it sets faster than you want, warm slightly again before using.

Make the candies leaves: Line a baking tray with baking paper. Place the egg white in a small bowl and the castor sugar onto a small plate. Make sure the leaves are dry before you start. If not pat dry with a kitchen towel. Working one at a time, dip each beetroot leaf into the egg white (scrape off excess against the bowl) and then dip into the plate of castor sugar, turning it to ensure an even coat on both sides. Lay the leaves in a single layer on the tray lined with baking paper to dry out. Leave aside for 24 hours, turning once in between.


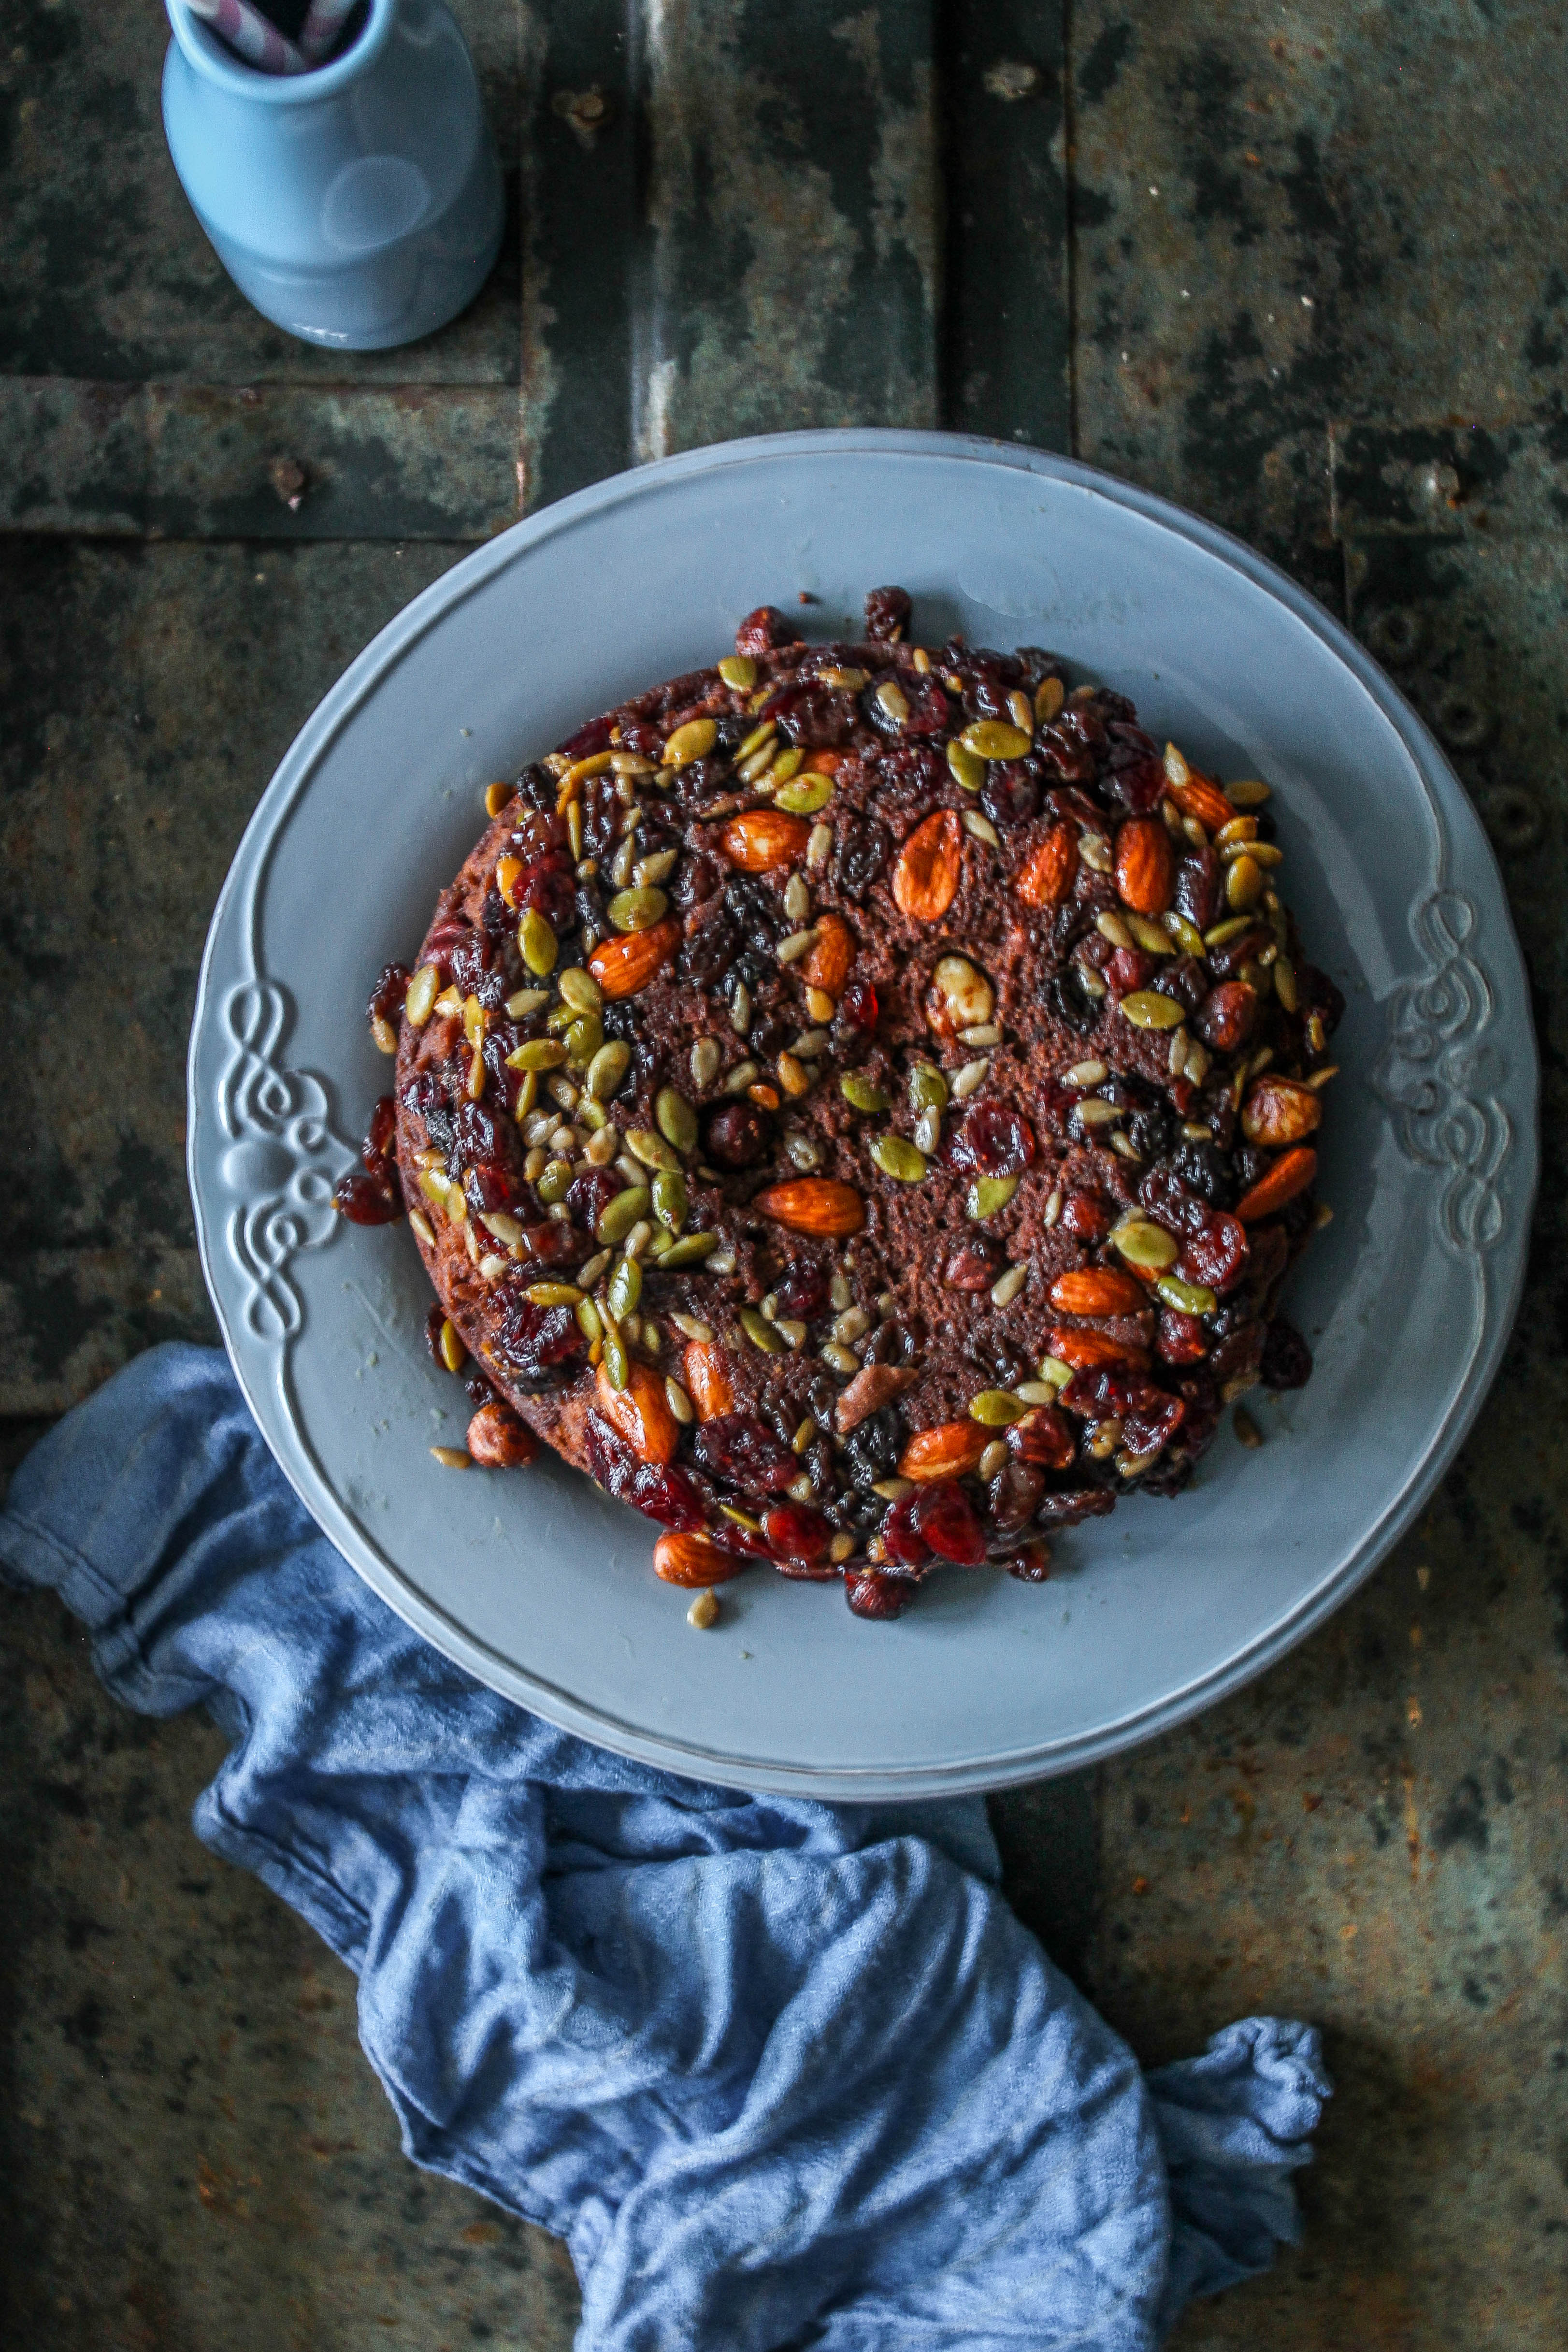
Upside Down Chocolate Trail-Mix Cake

9|10|2014

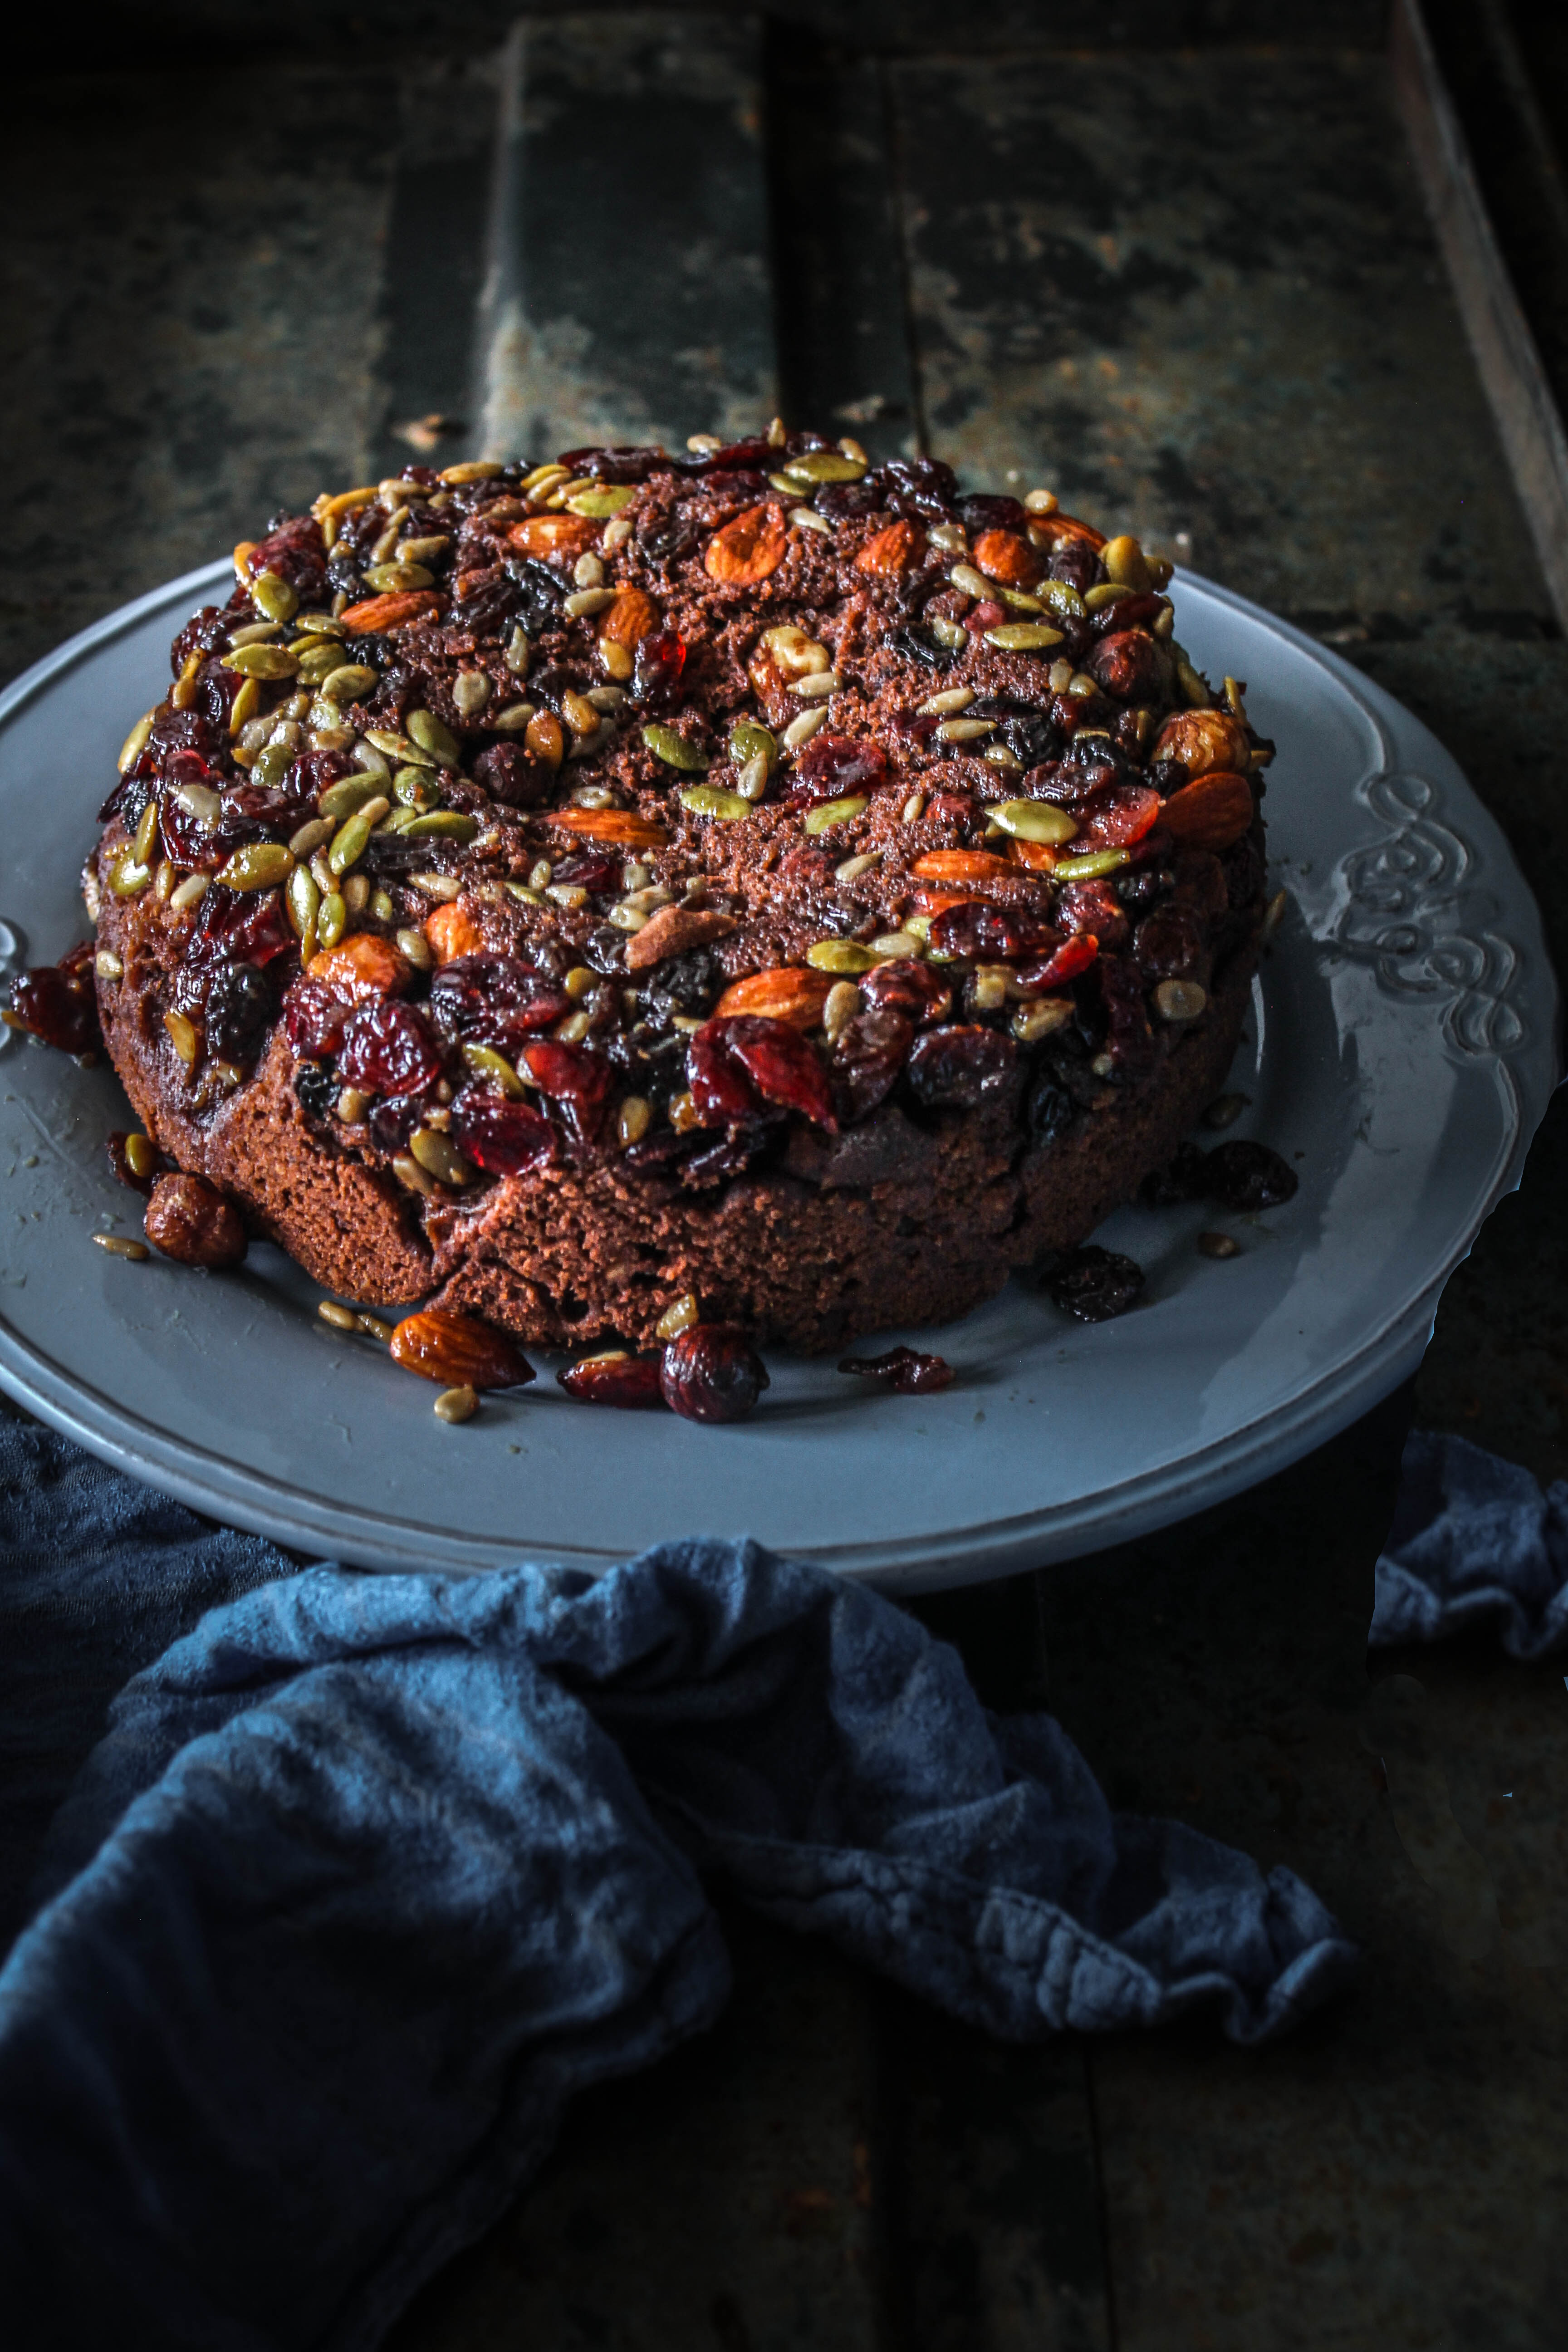
Life is not always magical and not all days are the same. There are days when you will run out of brown sugar by as little as a quarter of a cup when you have every other ingredient to make your favourite chocolate cake. You will then make your way to the shops to get some as the cake has to be made that day and you don’t want to compromise. (Please don’t tell me that you will substitute with castor sugar…that doesn’t make me happy!) Then just when you think that everything is going well, the cake sinks in the centre leaving you wondering where you went wrong.. There are days when you will swear that your bathrooms scales are inaccurate and your mobile network will tell you ‘you are not connected’ when you so want to see the response to your latest post on Facebook. There are days when you will splurge for a little ‘feel good’ and end up regretting every purchase you made. Everyone has these days. Perhaps changing perspective helps or even better a bar of chocolate. Then why not cake! Yes, cake all the way for me.. So here is a cake to turn your frown upside down. An upside down chocolate cake!
IMG_2274-2

There are no fresh fruits in this cake unlike the usual upside down cakes. But there are dried ones along with nuts. You can pick any nut of your choice or leave out the dried fruits. I found it very easy to use Trail mix as the assortment is prepped, mixed and ready to pour into the cake pan. Mine had whole almonds, hazelnuts, macadamia, sunflower and pumpkin seeds, cranberries and raisins. I experimented with this cake without cocoa, the first time. My family liked it and I took photos. But for some reason, the urge was too strong to give it another shot for a chocolate version.

IMG_2264-2


I love the simplicity of this cake. So delicious like a good chocolate nut cake. Fabulous texture, rich chocolate flavour and a caramelised nutty topping. Coming to think of it, you can achieve the same look my topping a regular chocolate cake with trail mix. But there is a difference. The toffee sauce in the bottom of the cake pan gives the nuts a luscious caramel like flavour and much of the sauce is soaked up by the raisins and cranberries that become plump with toffee.
Making the cake is a breeze but you will need to ensure the cake is thoroughly cooked at the bottom and centre before turning it upside down.

IMG_2249-2


Upside Down Chocolate Trail Mix Cake
Serves 8

For the topping
75 g butter
1/3 firmly packed brown sugar
1 cup trail mix (or nuts and dried fruits of your choice)

For the cake
1 cup self-raising flour, sifted
2 tablespoons plain flour, sifted
1 1/3  cups, firmly packed) brown sugar
3/4 cup milk
125 g butter, cubed
1/2 cup cocoa powder, sifted
1/4 teaspoon bicarbonate of soda, sifted
3 eggs, lightly whisked

Preheat oven to 160 degree C. Grease the base and sides of a 18 cm round cake pan and line the base with non stick baking paper. Heat the butter and brown sugar over low heat in a small saucepan till mixture is smooth. Pour into prepared pan. Sprinkle trail mix over the mixture to evenly cover the base of the pan.

Place the two flours together in a bowl. Place the sugar, milk and butter in a large saucepan. Add the cocoa and bicarbonate of soda into the pan. Place the pan over medium-low heat and use a whisk to stir until the mixture is smooth (don’t boil the mixture). Remove the pan from the heat and set aside for 5 minutes to cool slightly.

Add the flour mixture in slow additions gradually whisking to mix. Add the eggs and continue to mix till well combined. Pour slowly on top of the trail-mix mixture in the prepared pan. Smooth surface with the back of a spoon. Bake in the oven for 45-55 minutes or until a skewer inserted in the centre of the cake comes out clean. Set aside for 10 minutes before turning onto a wire rack. Serve warm or at room temperature with whipped cream or vanilla ice cream on the side..


  • « Previous Page
  • 1
  • …
  • 28
  • 29
  • 30
  • 31
  • 32
  • …
  • 45
  • Next Page »
Hey Sugar
Cake
Link to my Facebook Page
Link to my Instagram Page
Link to my Pinterest Page
Link to my Mail Page
Subscribe to this site
Fresh Awards
2019 Aus mumpreneur
2019 aus mumpreneur
Mumbrella

Copyright © 2026 · Sugar Et Al · Designed by Smitten Blog Designs · Log in