• Home
  • Recipe Index
    • Recipe Index
    • Breakfast/Brunch
    • Cakes and Puddings
    • Chocolate
    • Cookies and cupcakes
    • Custard and Mousse
    • Gluten Free
    • Ice Cream
    • Mains
    • Other Sweet Treats
    • Snack/Appetizers
    • Soups and Salads
    • Tarts and Pies
    • Vegetarian
  • About
  • Cookbook
  • Portfolio
  • Store
  • Press
  • Work with Me

Sugar et al

Because Life is a blend of flavours...

Almond Milk and Lemon Curd Pancakes

4|09|2014

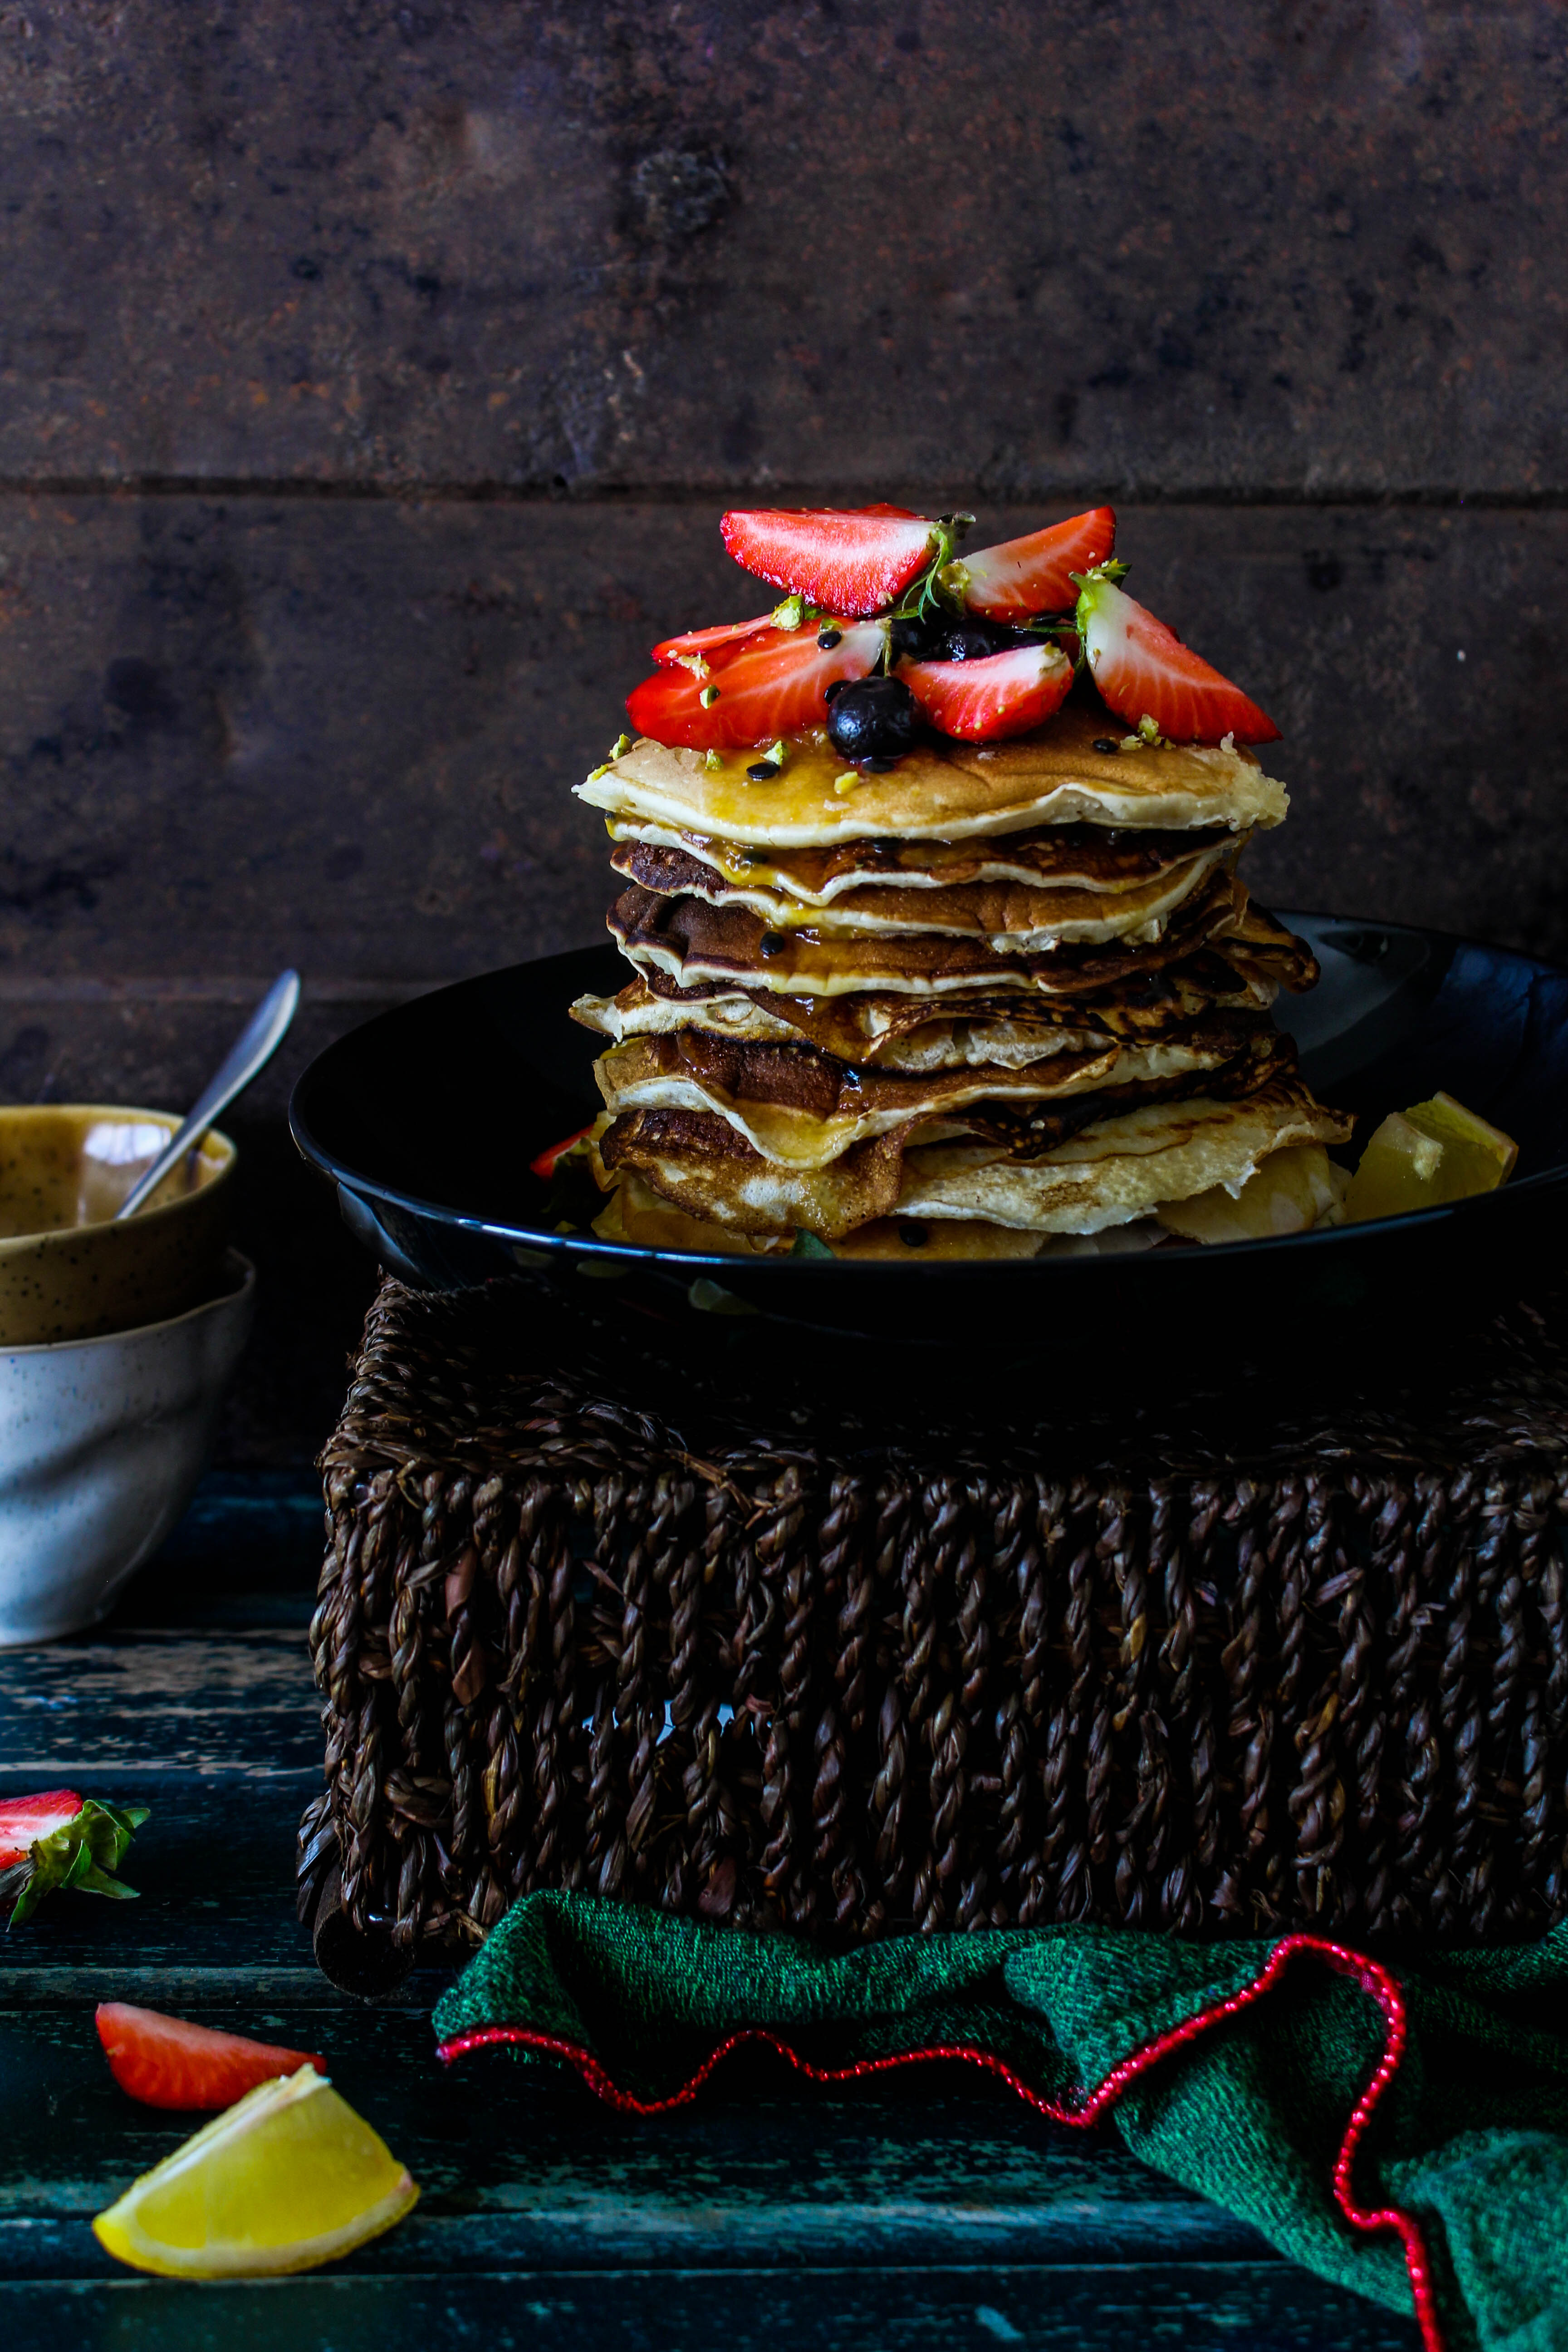
In my new kitchen, I have a large window. Since my house is at an elevation, the view outside is breathtakingly beautiful. Miles and miles of unobstructed scenery and the sky like a painted false ceiling. It appears so near that it gives you the illusion that you could touch it if you reached out. The calm and quiet is broken into occasionally by a passing aircraft that immediately draws the attention of my soon-to-be 5 year olds. The number of birds around this area is also something I have never experienced before. Excited parrots nesting in the snug hollows of the trees below, lure me into waking up from my precious slumber every morning. And I live in the middle of a bustling city.  Lately, I find myself day dreaming by the window. Quite often. So much so that I burnt a few of these pancakes.
IMG_1841

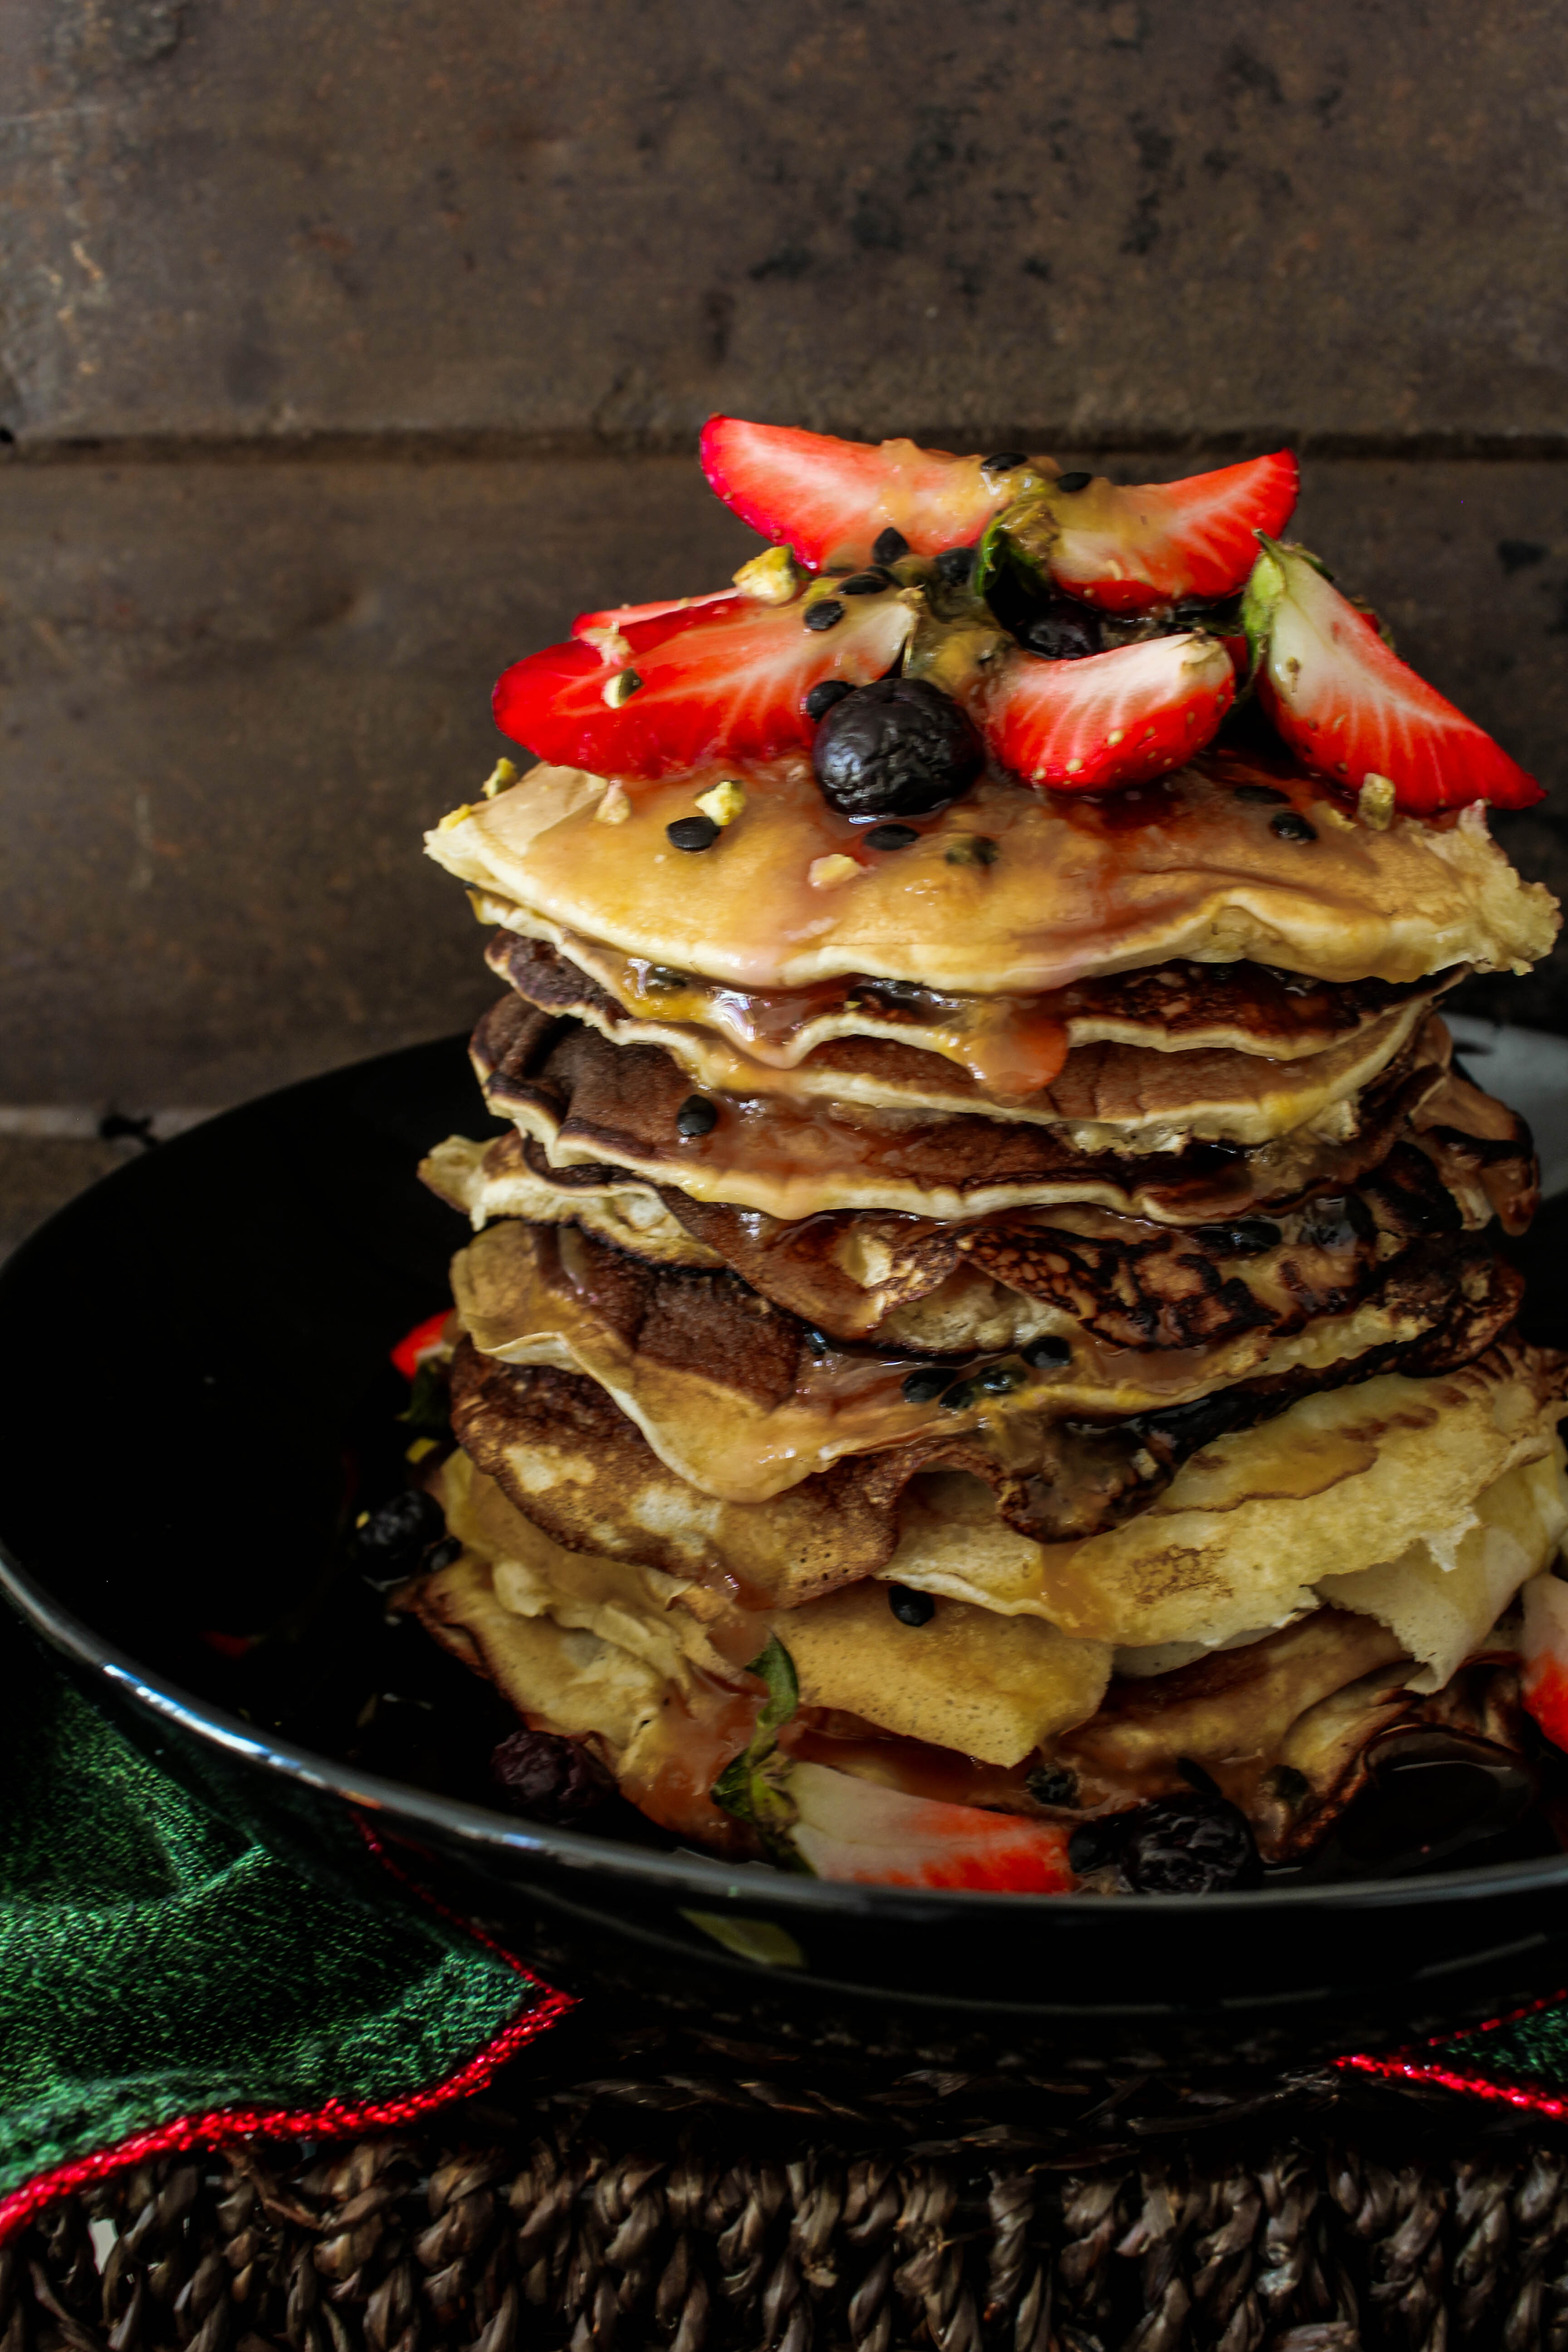
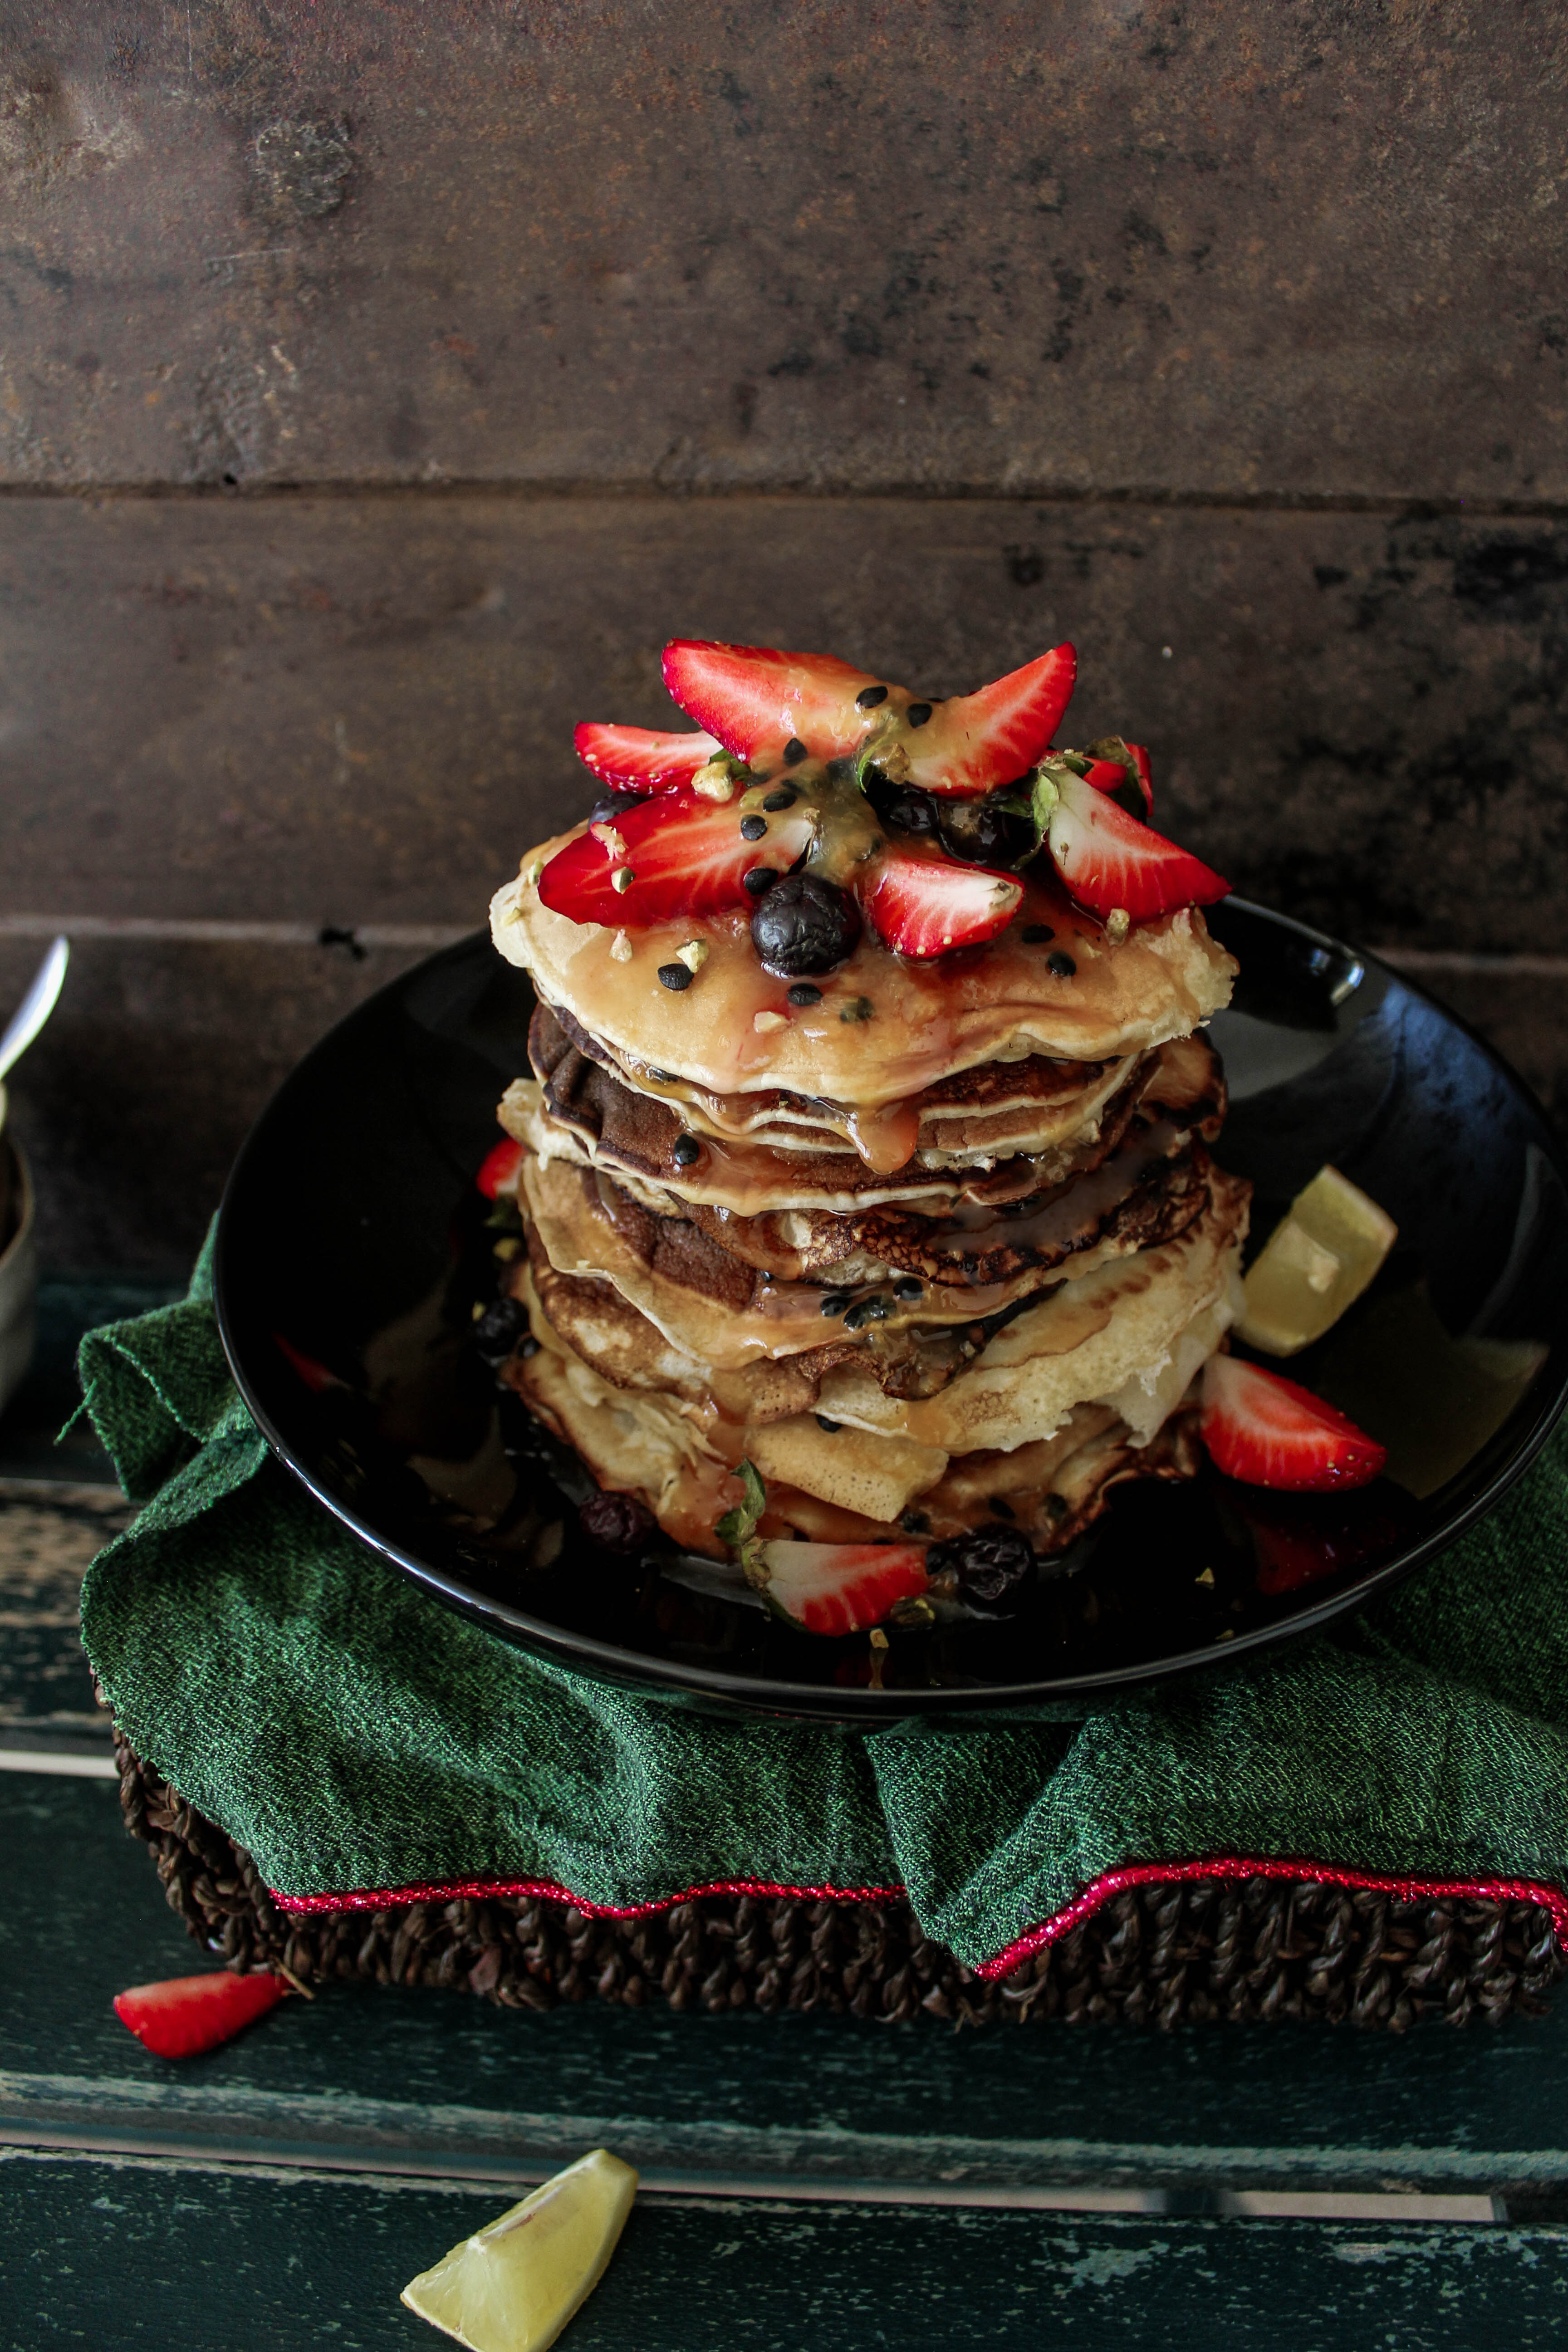
My obsession with almond milk continues to grow. It is one of those things that I want to add to recipes simple and complex. It has not failed me till now. Even in baked goodies. I have started making my own and as an convenient excuse to finish it, I dream up more recipes. These are basic pancakes where milk is substituted with almond milk and some ground almonds mixed in the batter to add a tiny bit of crunch. Lemon curd is my favourite thing to spread on pancakes. Beside that, I have served it with passion fruit puree, berries and finely chopped pistachios.
IMG_1907

Almond milk has many health benefits besides being low calorie. But that is not the reason why I use it so often. I can have it for taste alone. For the love of almonds, that are an integral part of my textured recipes. The recipe below is for the huge stack of pancakes you see in the pictures. Feel free to halve the recipe as per your requirement.

Do you like almond milk? Have you tried cooking or baking with it?
IMG_1897-2

Almond Milk and Lemon Curd Pancakes
Serves 5-6

1 and 3/4 cups self raising flour
1/4 cup ground almonds (almond meal)
1/2 cup castor sugar
1/2 tsp bicarbonate of soda
2 and 1/2 cups almond milk
2 eggs
olive oil for cooking
1/2 cup lemon curd (recipe here) to serve
Fruits and berries to serve

Combine flour, ground almonds, sugar and bicarbonate of soda in a bowl. In a jug. whisk the almond milk and egg together.. Stir into flour mixture.

Heat a frying pan over medium heat. Spray with oil. Pour 2 tbsp of batter into pan. Cook for 2 minutes or until bubbles form on surface. Turn. Cook a further 1 to 2 minutes or until cooked through. Repeat with remaining mixture. Serve with lemon curd and berries
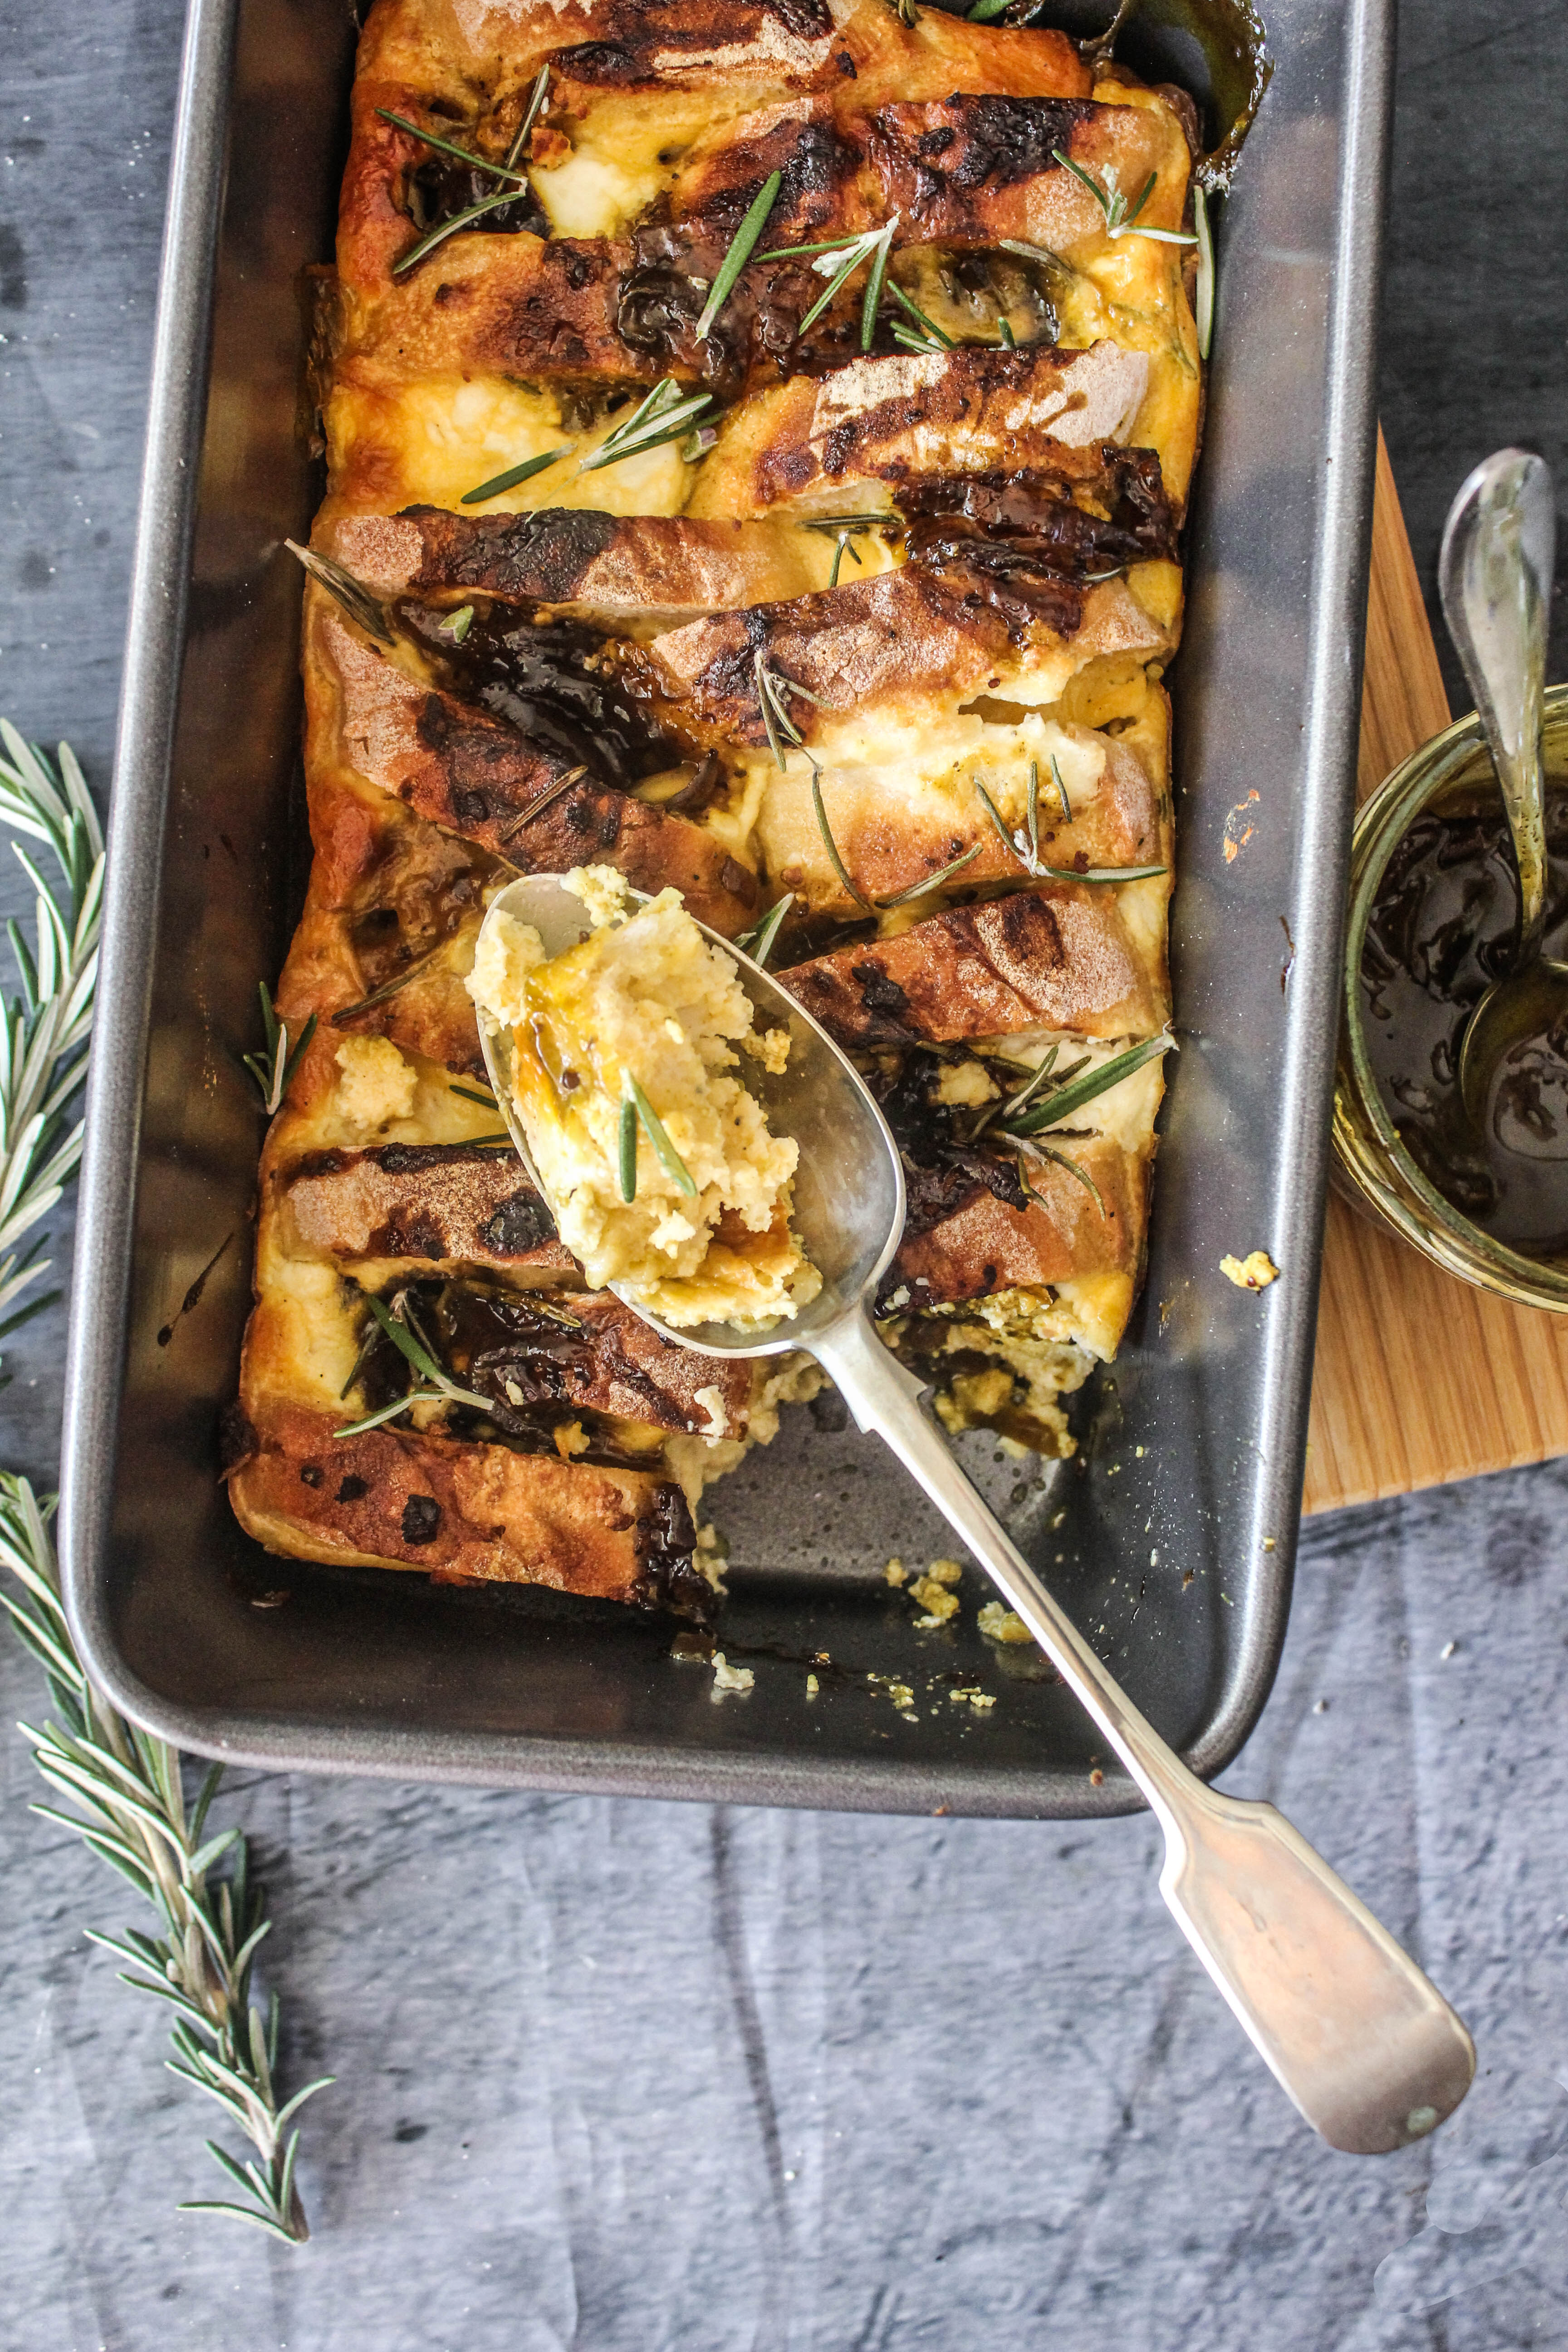


Caramelised Onion and Feta Bread and Butter Pudding

31|08|2014

At this time, I am surrounded by cartons, boxes, suitcases, bubble wrap, tapes, dismantled furniture, two sleeping children, two walls, a French window,  and a glorious sunset. I moved houses yesterday. For the past two weeks I have been wrapping, labelling and boxing items like a pro. The kind of calm and organised behaviour that comes from experience only. This was the second time I moved houses in a year. Over the last couple of years I have lived in 5 different houses, cooked in 5 different kitchen and blogged from 4 of them. We did not plan it like that. Not with two young children. But it happened for a different reason each time. There are some good things that come with change though, more so at a spiritual level. You learn to give up and give away. You learn to adapt and detach and find beauty in the simplest of things.

IMG_0882-2

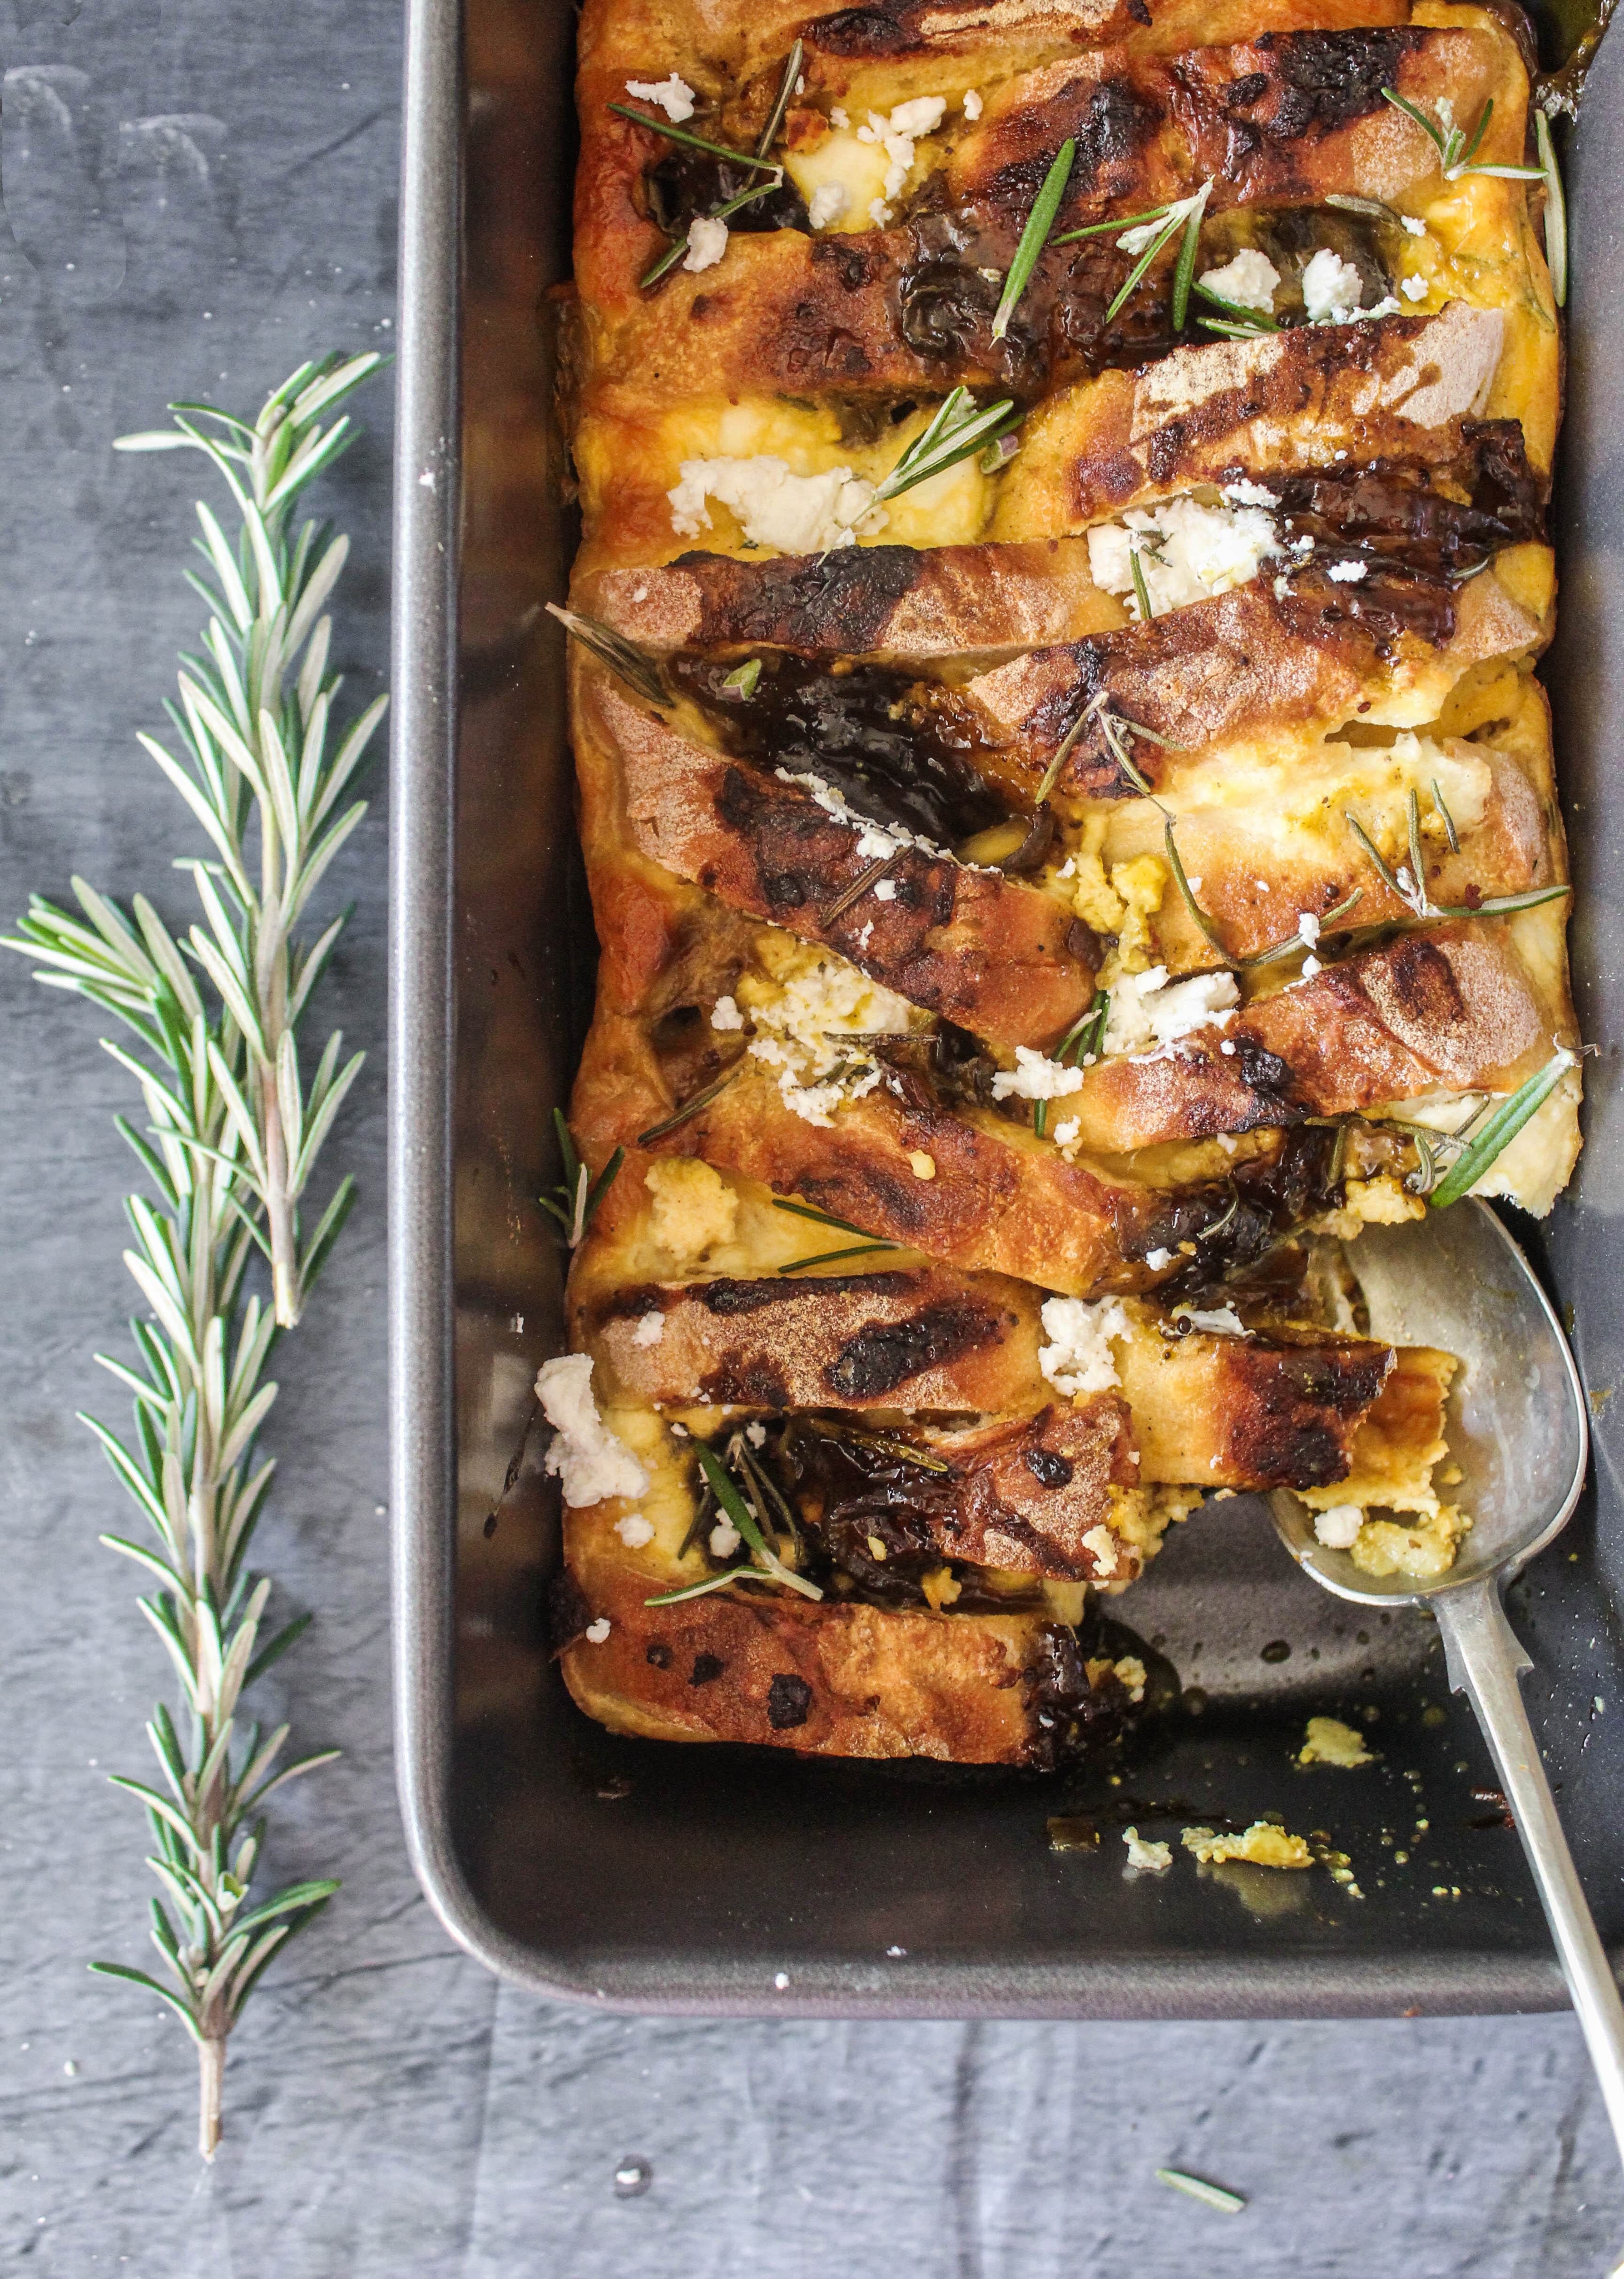
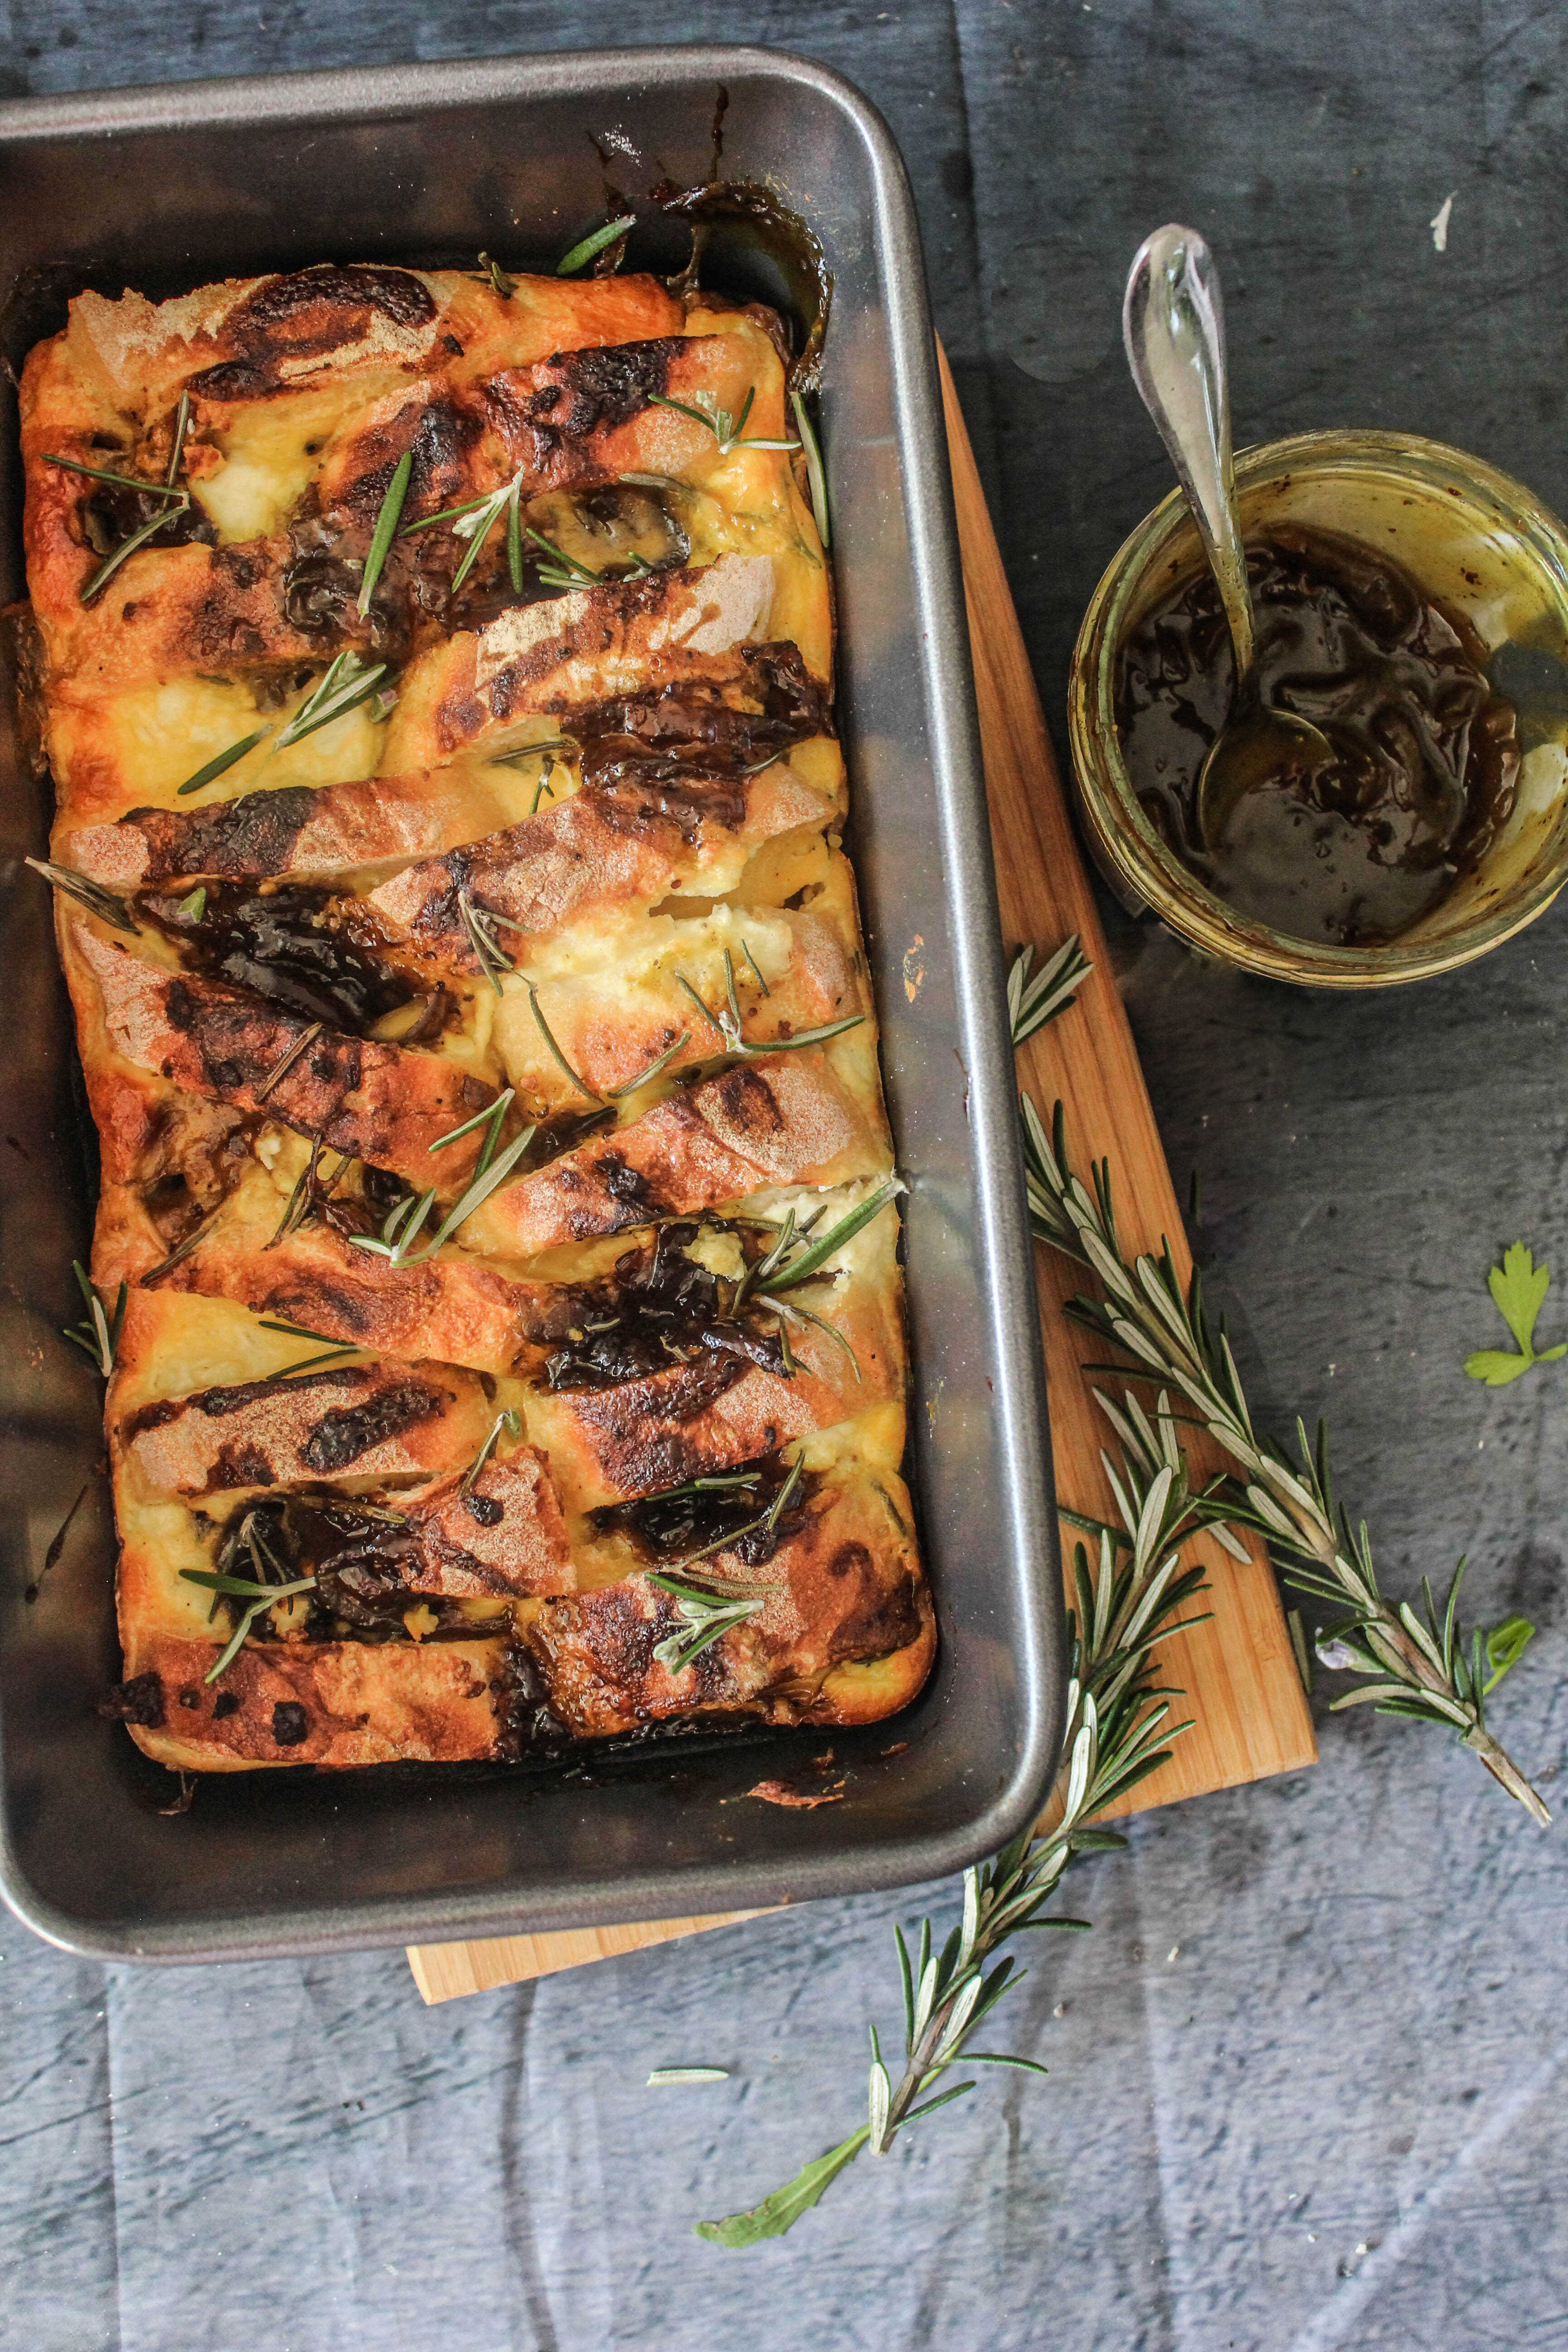
Amongst the first few things I noticed in my new neighbourhood were the cherry blossom trees. Pretty pink cherry blossom flowers in bloom. Spring is round the corner. Gosh! Officially just a day away..my favourite time of the year. It is the time for fresh starts…positive changes..renewed hope, energy and revitalisation. I have a new markets to explore, a new oven to figure…fresh angles to work with my camera. Renewed inspiration. Speaking of inspiration, Donna Hay is a constant source. I can’t ever think of a time when I look at her food photos and don’t feel inspired. This unique tasting bread and butter pudding is simple to put together but the flavours are gorgeous. Sweet caramelised onions, salty feta, earthy rosemary and the gooey warmth of bread pudding on a cold day. The original recipe uses goat’s cheese and is slightly different. I changed it to suit my taste buds and convenience.

IMG_0891

I used store bought caramelised onion relish. So then it is a matter of just layering, pouring, baking and finally digging in with a large spoon into the very core of deliciousness. To get a nicely browned crust I kept the pudding under the broiler of my oven for a few minutes.

IMG_0897

Caramelised Onion and Feta Bread and Butter Pudding
Serves 4

I loaf sourdough (approx. 600 g) , sliced
1 jar caramelised onion relish
150 g firm feta cheese, crumbled
a few rosemary leaves
3 eggs
2 1/2 cups single/pouring cream
salt and cracked pepper for seasoning
1/2 cup parmesan cheese

Preheat oven to 180 degrees C. Arrange the bread slices horizontally in a loaf fan or baking dish. Spoon the caramelised onion relish, crumbled feta and some of the rosemary leaves in between the bread slices.
Whisk to together the eggs, cream, parmesan, salt and pepper and slowly pour over the bread. Let stand for 15 minutes for the bread to soak up the mixture. Bake for 30 minutes or until set with a golden brown crust. Broil for two minutes for an extra brown crust. Garnish with remaining rosemary leaves.


Cauliflower and Cranberry Flatbread with Dukkah

26|08|2014

This post is an entry into the Nuffnang ‘Fresh Recipe’ Network Competition, thanks to BRITA. Check out betterwithbrita.com for inspiration and exclusive recipes by Gary Mehigan’.

Where I grew up, a few decades ago, water was scarce. It was dear. Preserved and valued. Rains were celebrated and rivers worshipped. There were days when one had to go without tap water or make the most of the little that flowed out of the taps. On top of that, tap water was hard and not suited for drinking. Those who could afford a water purifier would get one. The rest would go through the tedious process of boiling gallons of water and storing them in bottles and pitchers for consumption later on.

IMG_1719

Basically, at an early age I learnt the importance of having clean, filtered water at home. This experience led me to be grateful for the things that I have today. Running taps…clean, convenient inexpensive filtered water and a great base for cooking delicious food. No, I have never taken water for granted.

IMG_1717


Water is vital in cooking. Not just the wonderful soups, curries, smoothies that comes out from our kitchen but also the innumerable ways water is involved in our daily cooking methods. Washing, simmering, soaking and so on. When I think of water as a primary and indispensable ingredient in a recipe, I think of the two-ingredient wonder that my Mother (or for that matter a lot of Indian parents) cooked and fed us often. Roti or flatbreads. Made with wholemeal flour and water and perhaps a solid arm workout. I picture my mother in the wee hours of the morning kneading her way through the elastic dough, adding filtered water, a little at a time from a jug that she filled up as soon as she entered the kitchen. That was first thing she would always do. The dough would then be divided into discs, rolled out, cooked on an open fire and served with curry.

IMG_1726-2

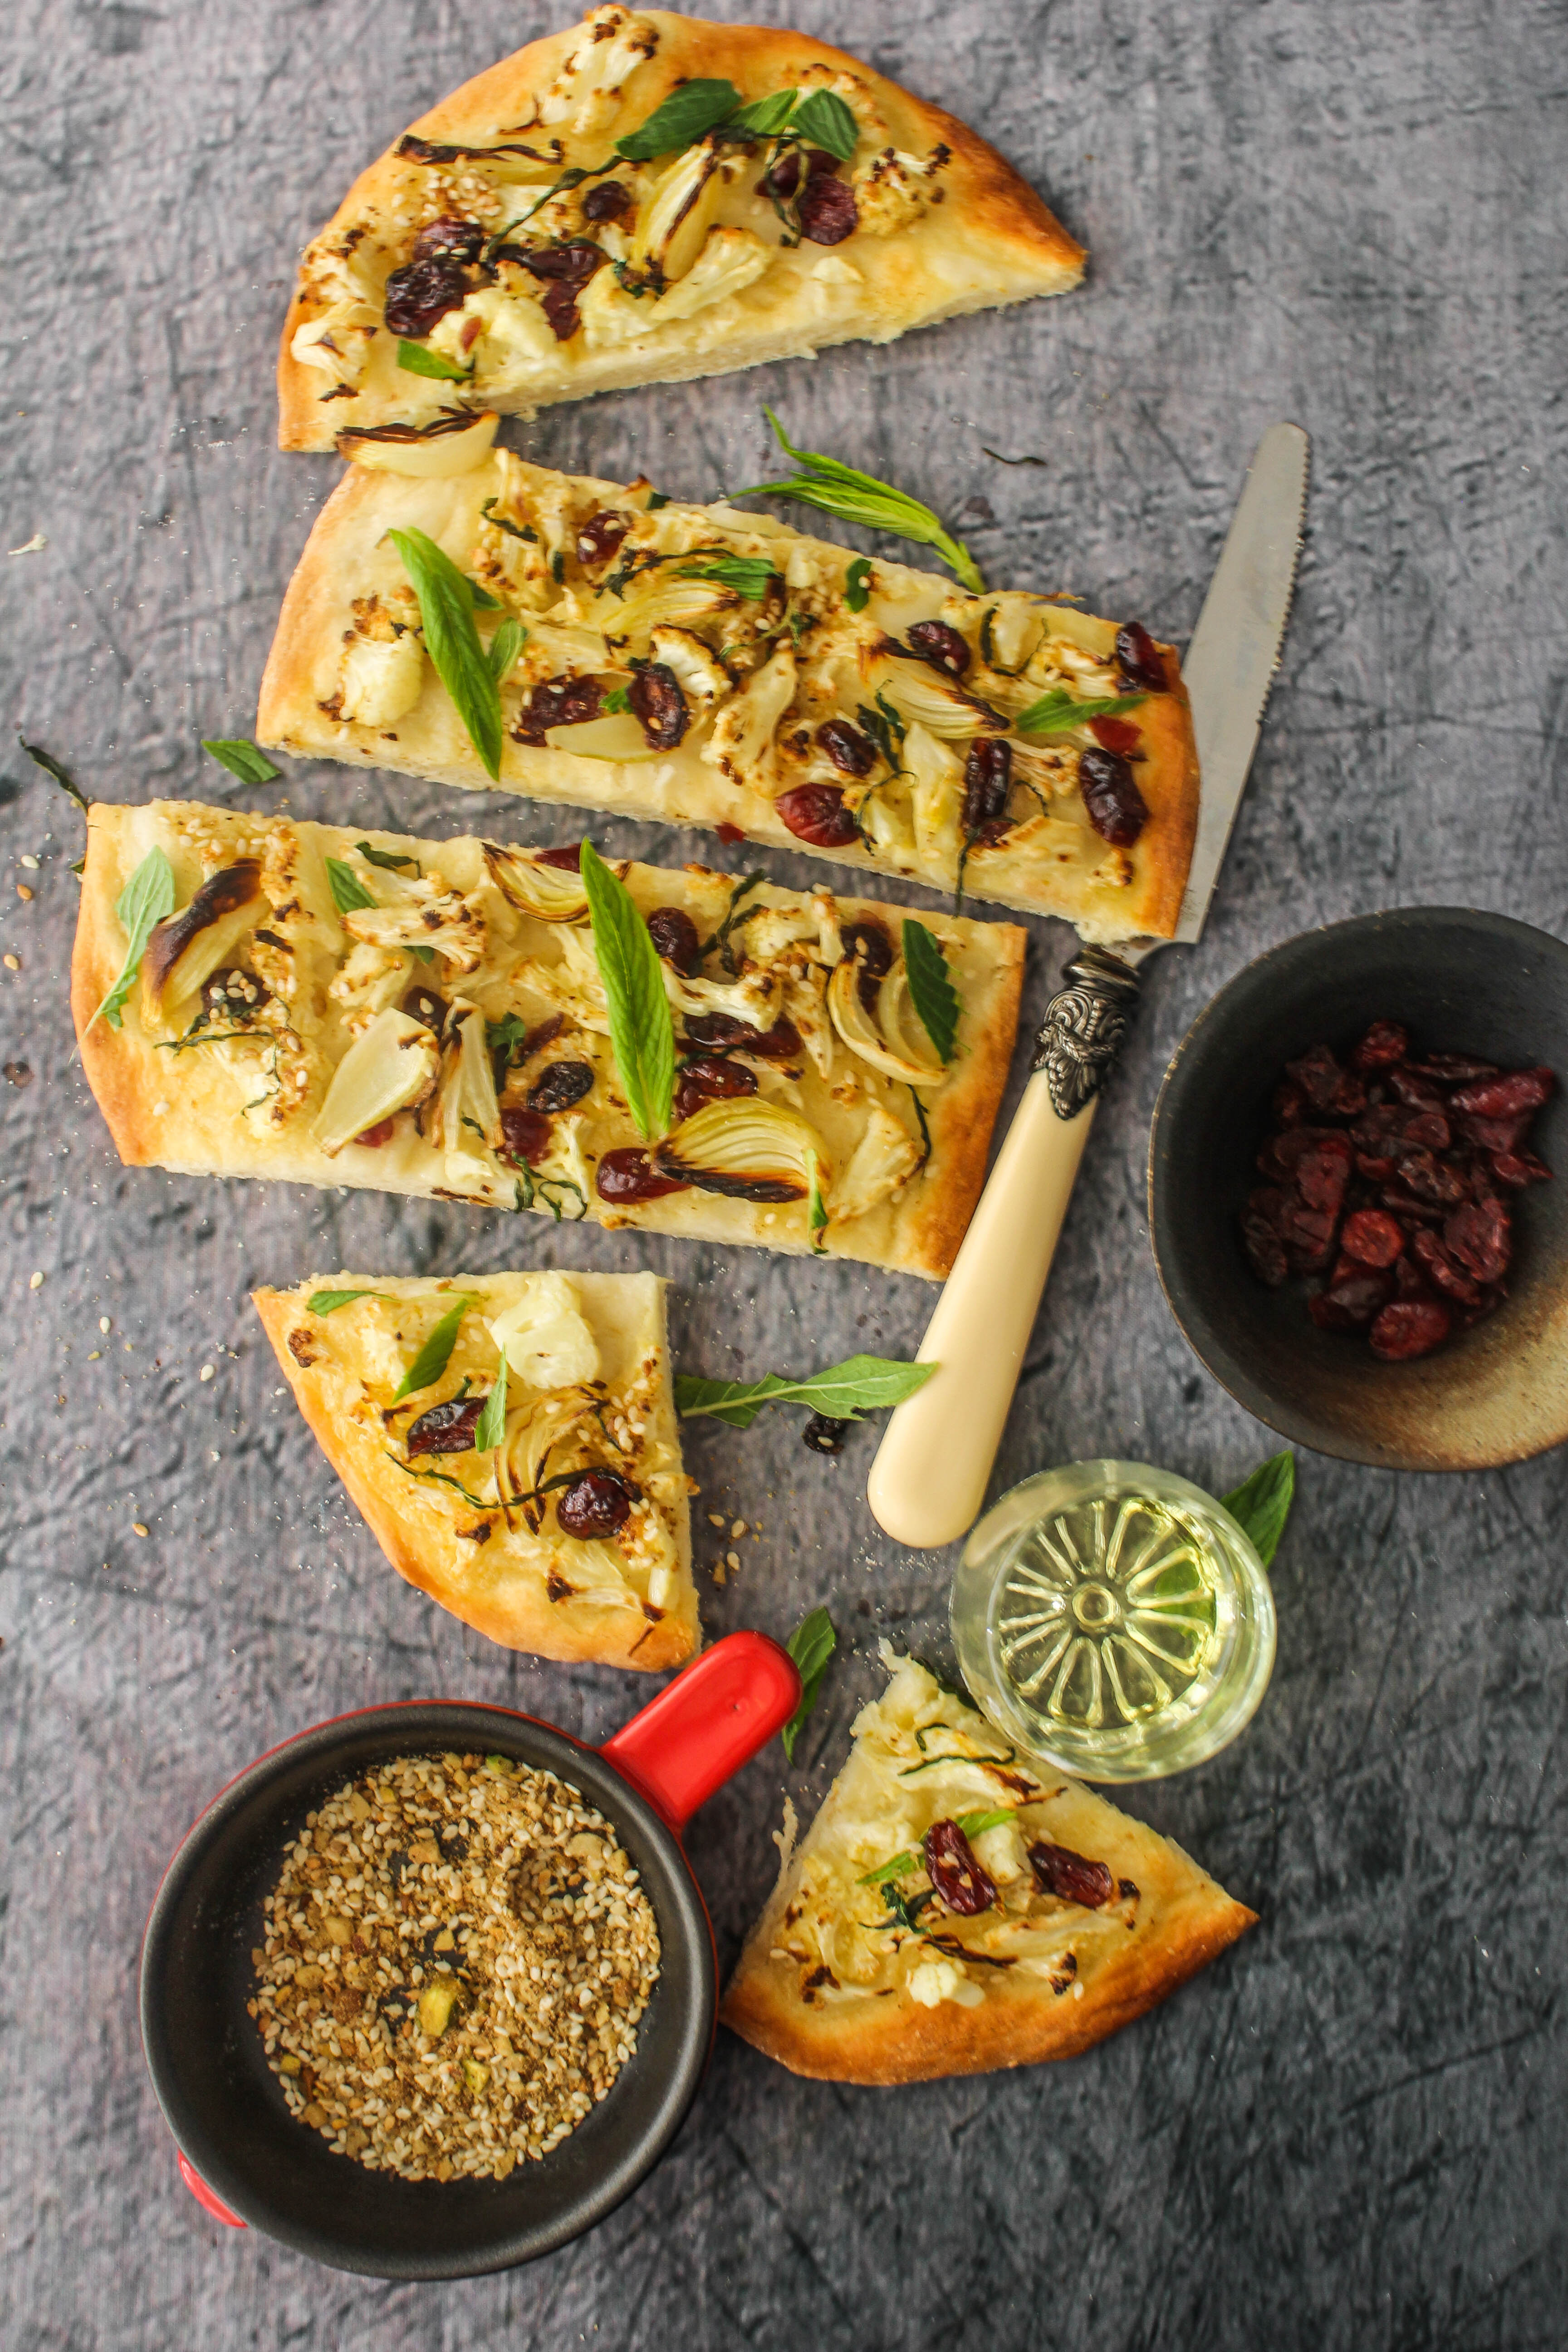
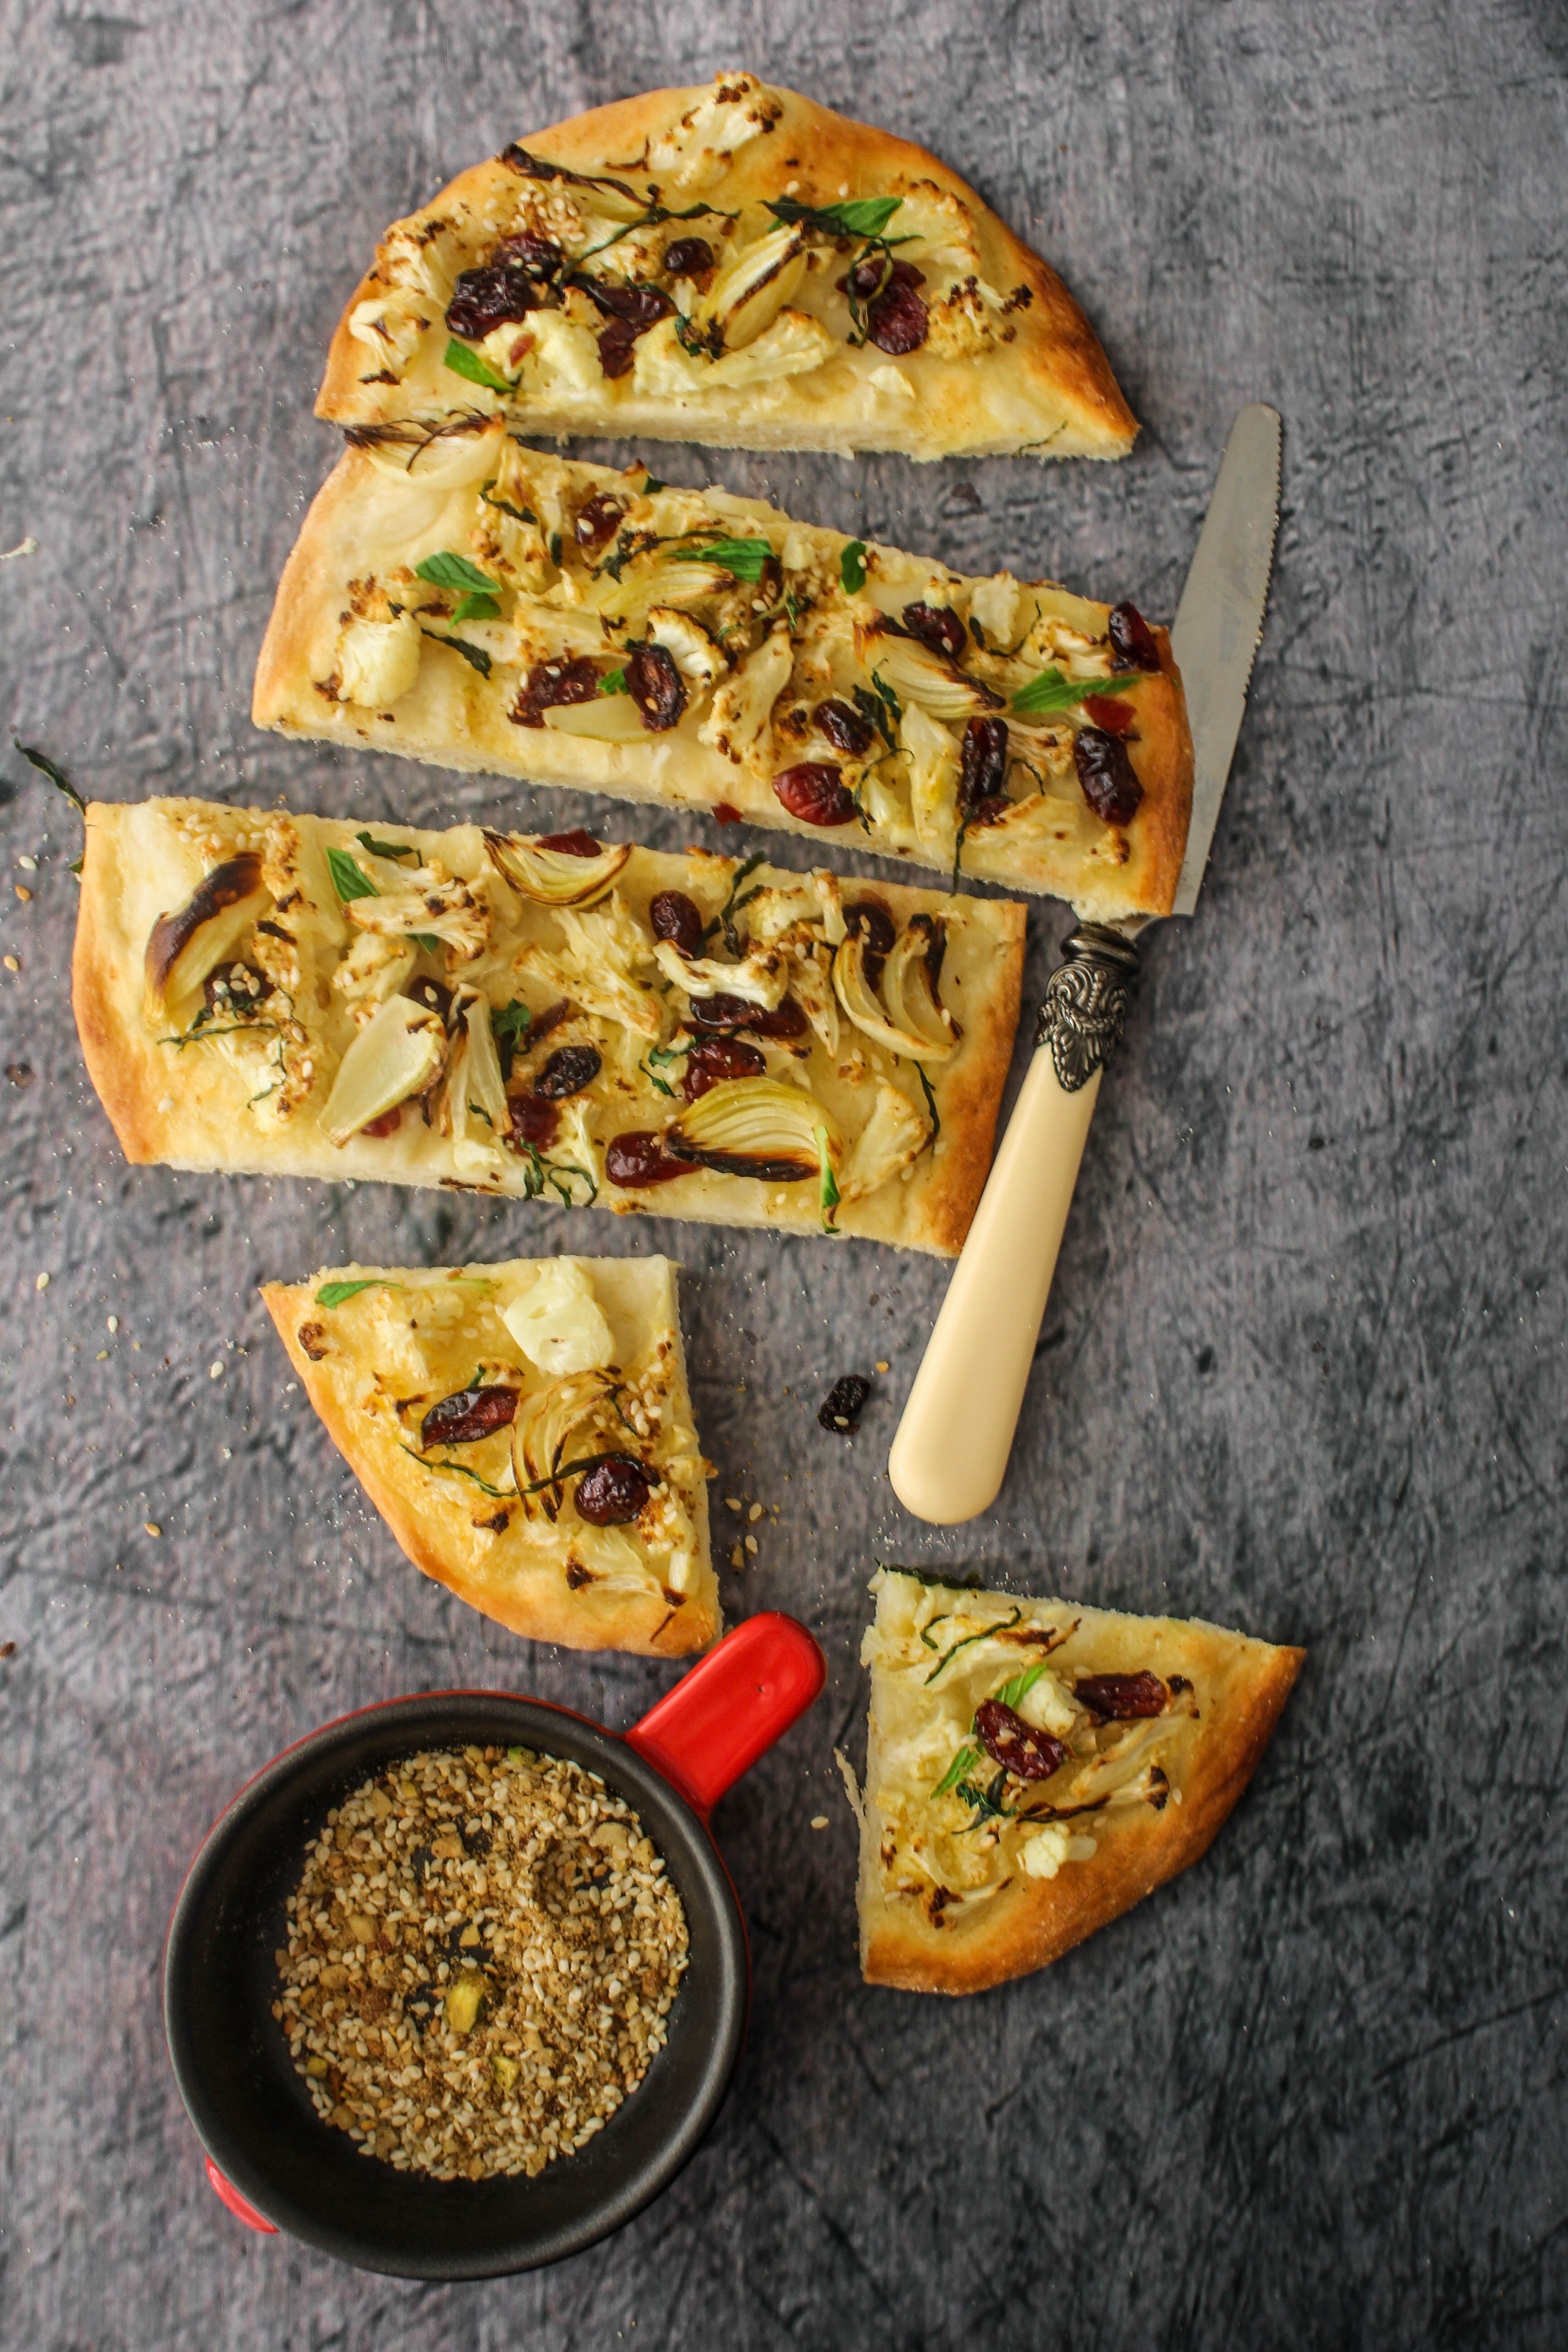
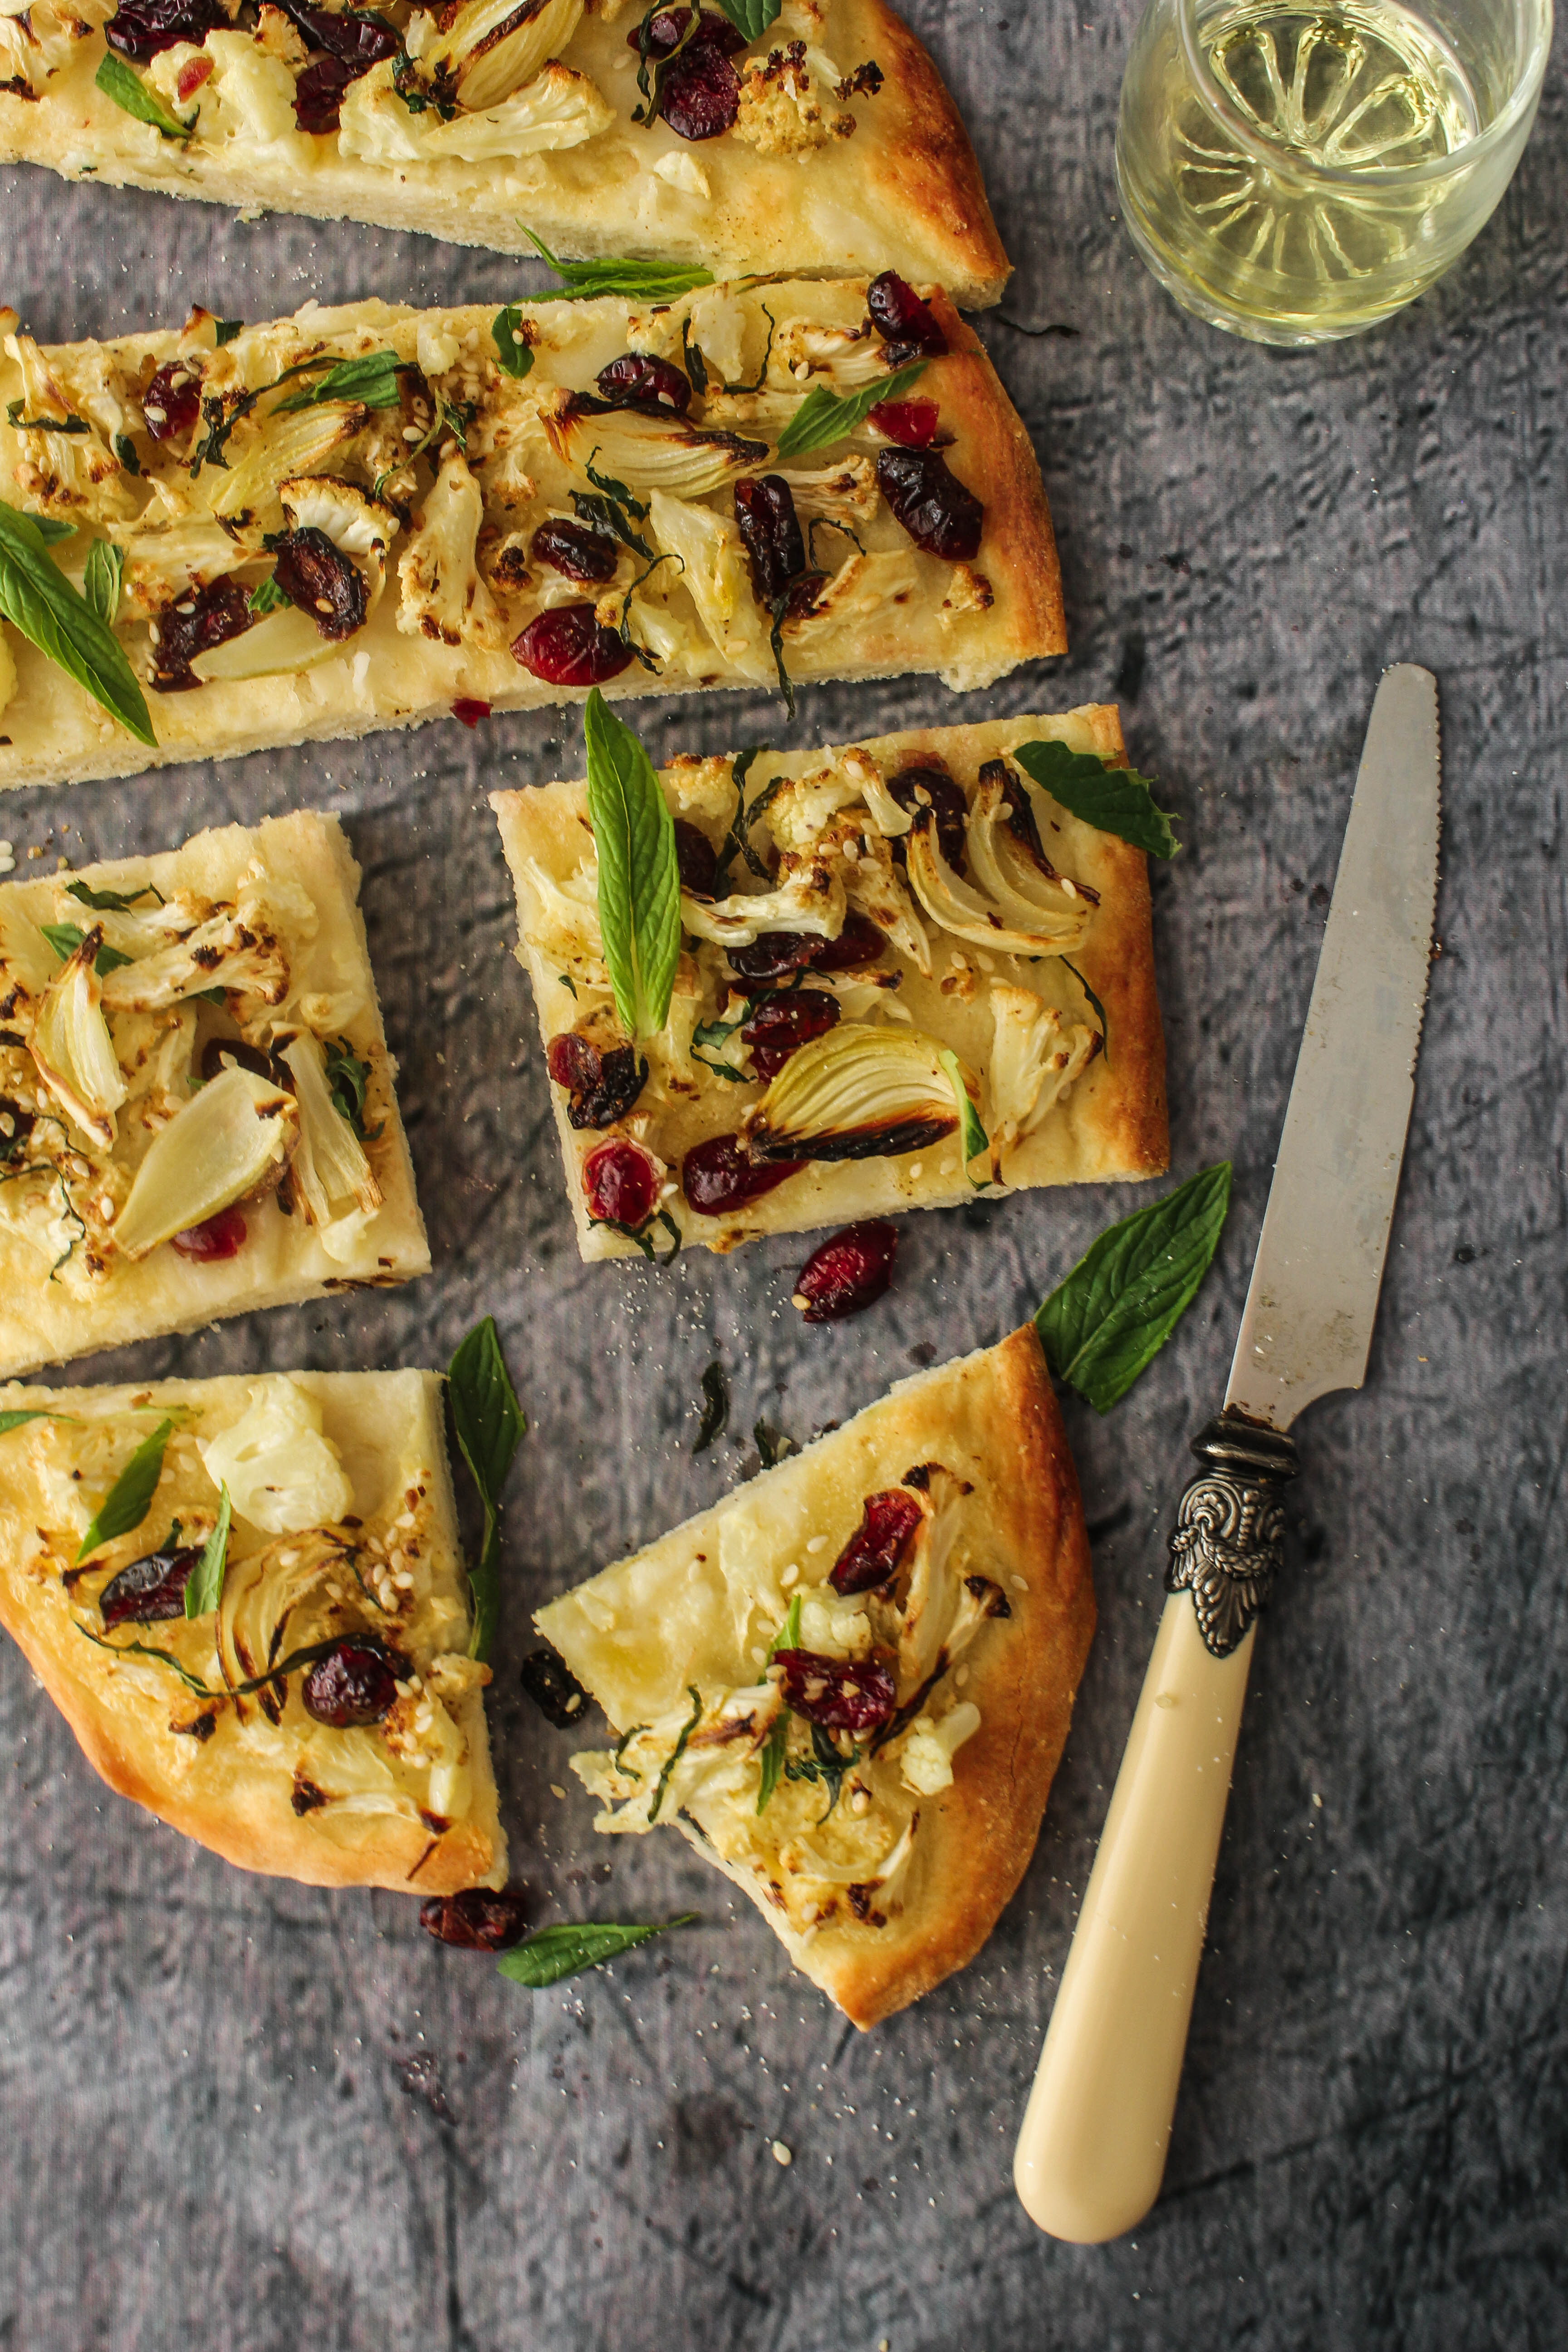
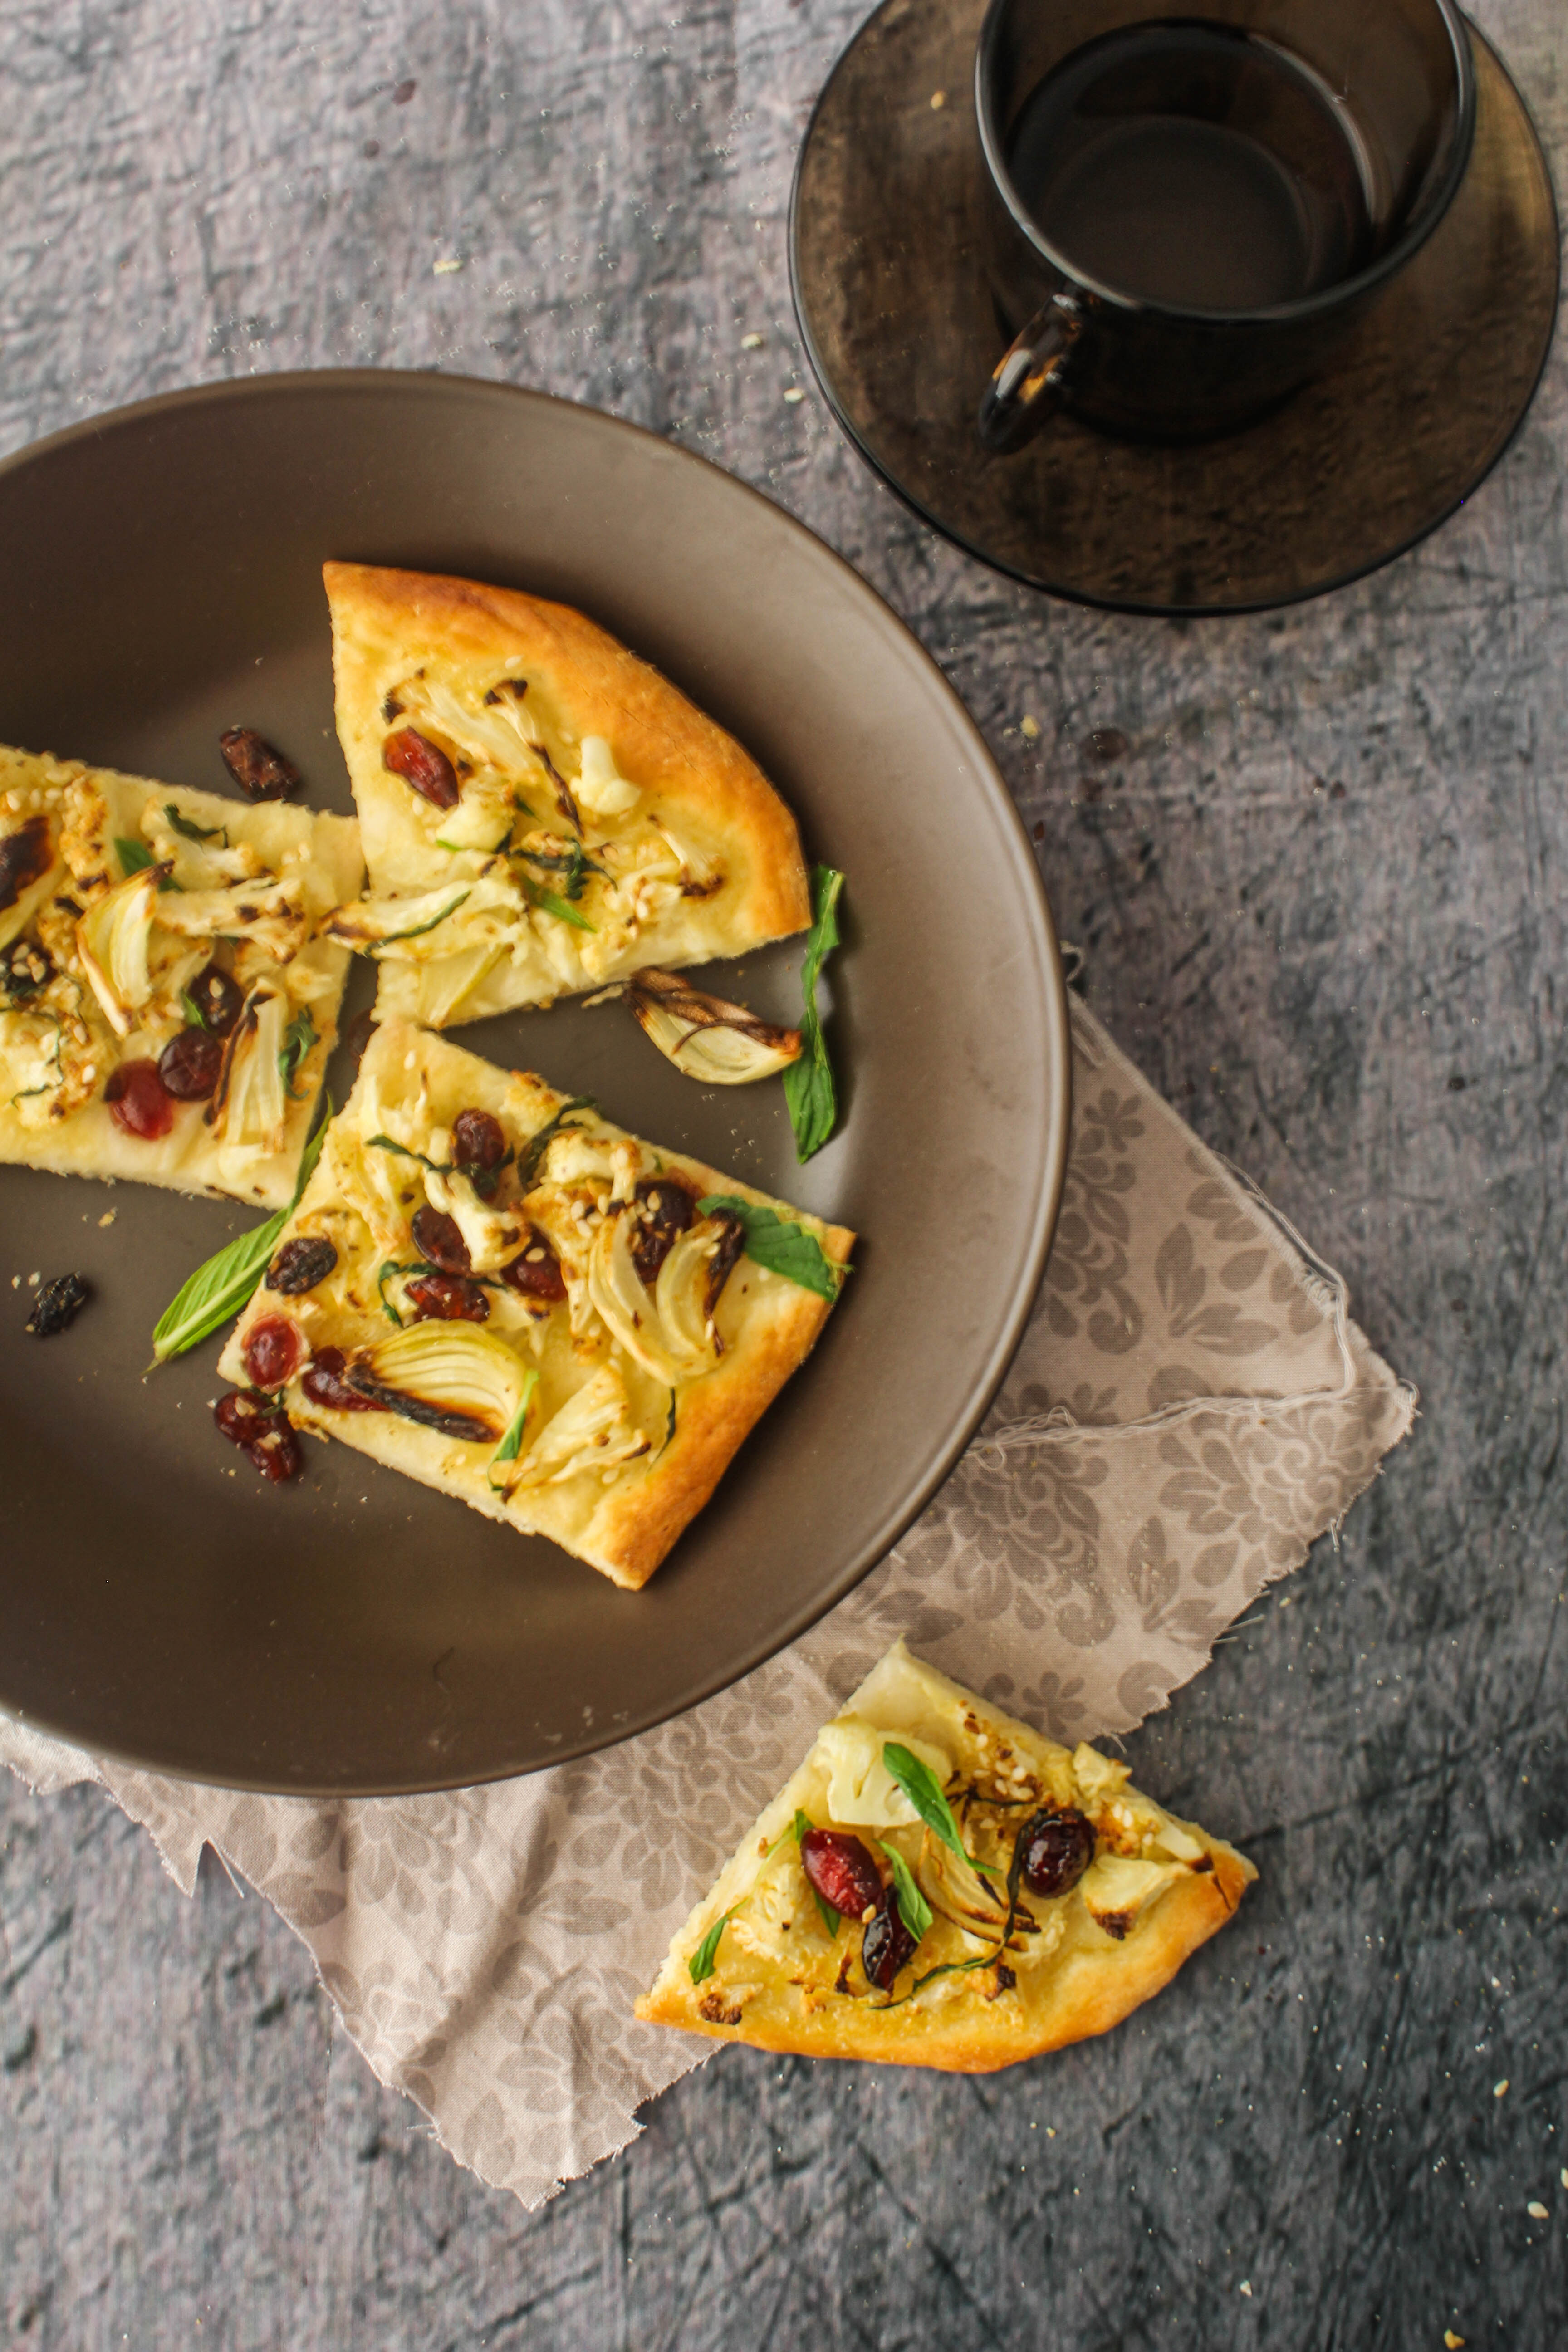
The recipe I am sharing today is one that can be baked and eaten on it’s own. The dough is a like a pizza or Naan bread dough that is topped with crispy cauliflower florets, cranberries, onions, mint and a generous amount of Dukkah to perk up the flavours. Cranberries add a lovely bite and sweetness to the bread and mint gives it a touch of freshness. Dukkah is an Egyptian fragrant, spice and nut blend. It is available in some supermarkets and most farmer’s markets in Australia. It is also very easy to make your own and can be used in a variety of recipes. If you do not have access to Dukkah, you could use cumin or fennel seeds as a substitute. But in that case, add them to the dough instead of a topping. A sprinkling of feta is also great on the flatbreads.

IMG_1731

Cauliflower and Cranberry Flatbread with Dukkah
Makes two10 inch by 5inch oval flatbreads

For the dough (makes 2 flatbreads)
1 1/4 cups filtered water
3 cups Plain Flour
2 tsp/7g/1 sachet dried yeast
1/2 tsp castor sugar
1/2 tsp salt 
1 tbsp olive oil
Olive oil, for brushing
Semolina or Polenta, to dust

For the topping
1/2 cup heavy/thickened cream
A quarter of a cauliflower head, trimmed and thinly sliced
3 cloves garlic, finely sliced
10-12 small pickling onions, quartered
1/2 cup dried cranberries
2 tbsp. Dukkah
2 tbsp. extra virgin olive oil
mint leaves, thinly sliced
salt and pepper, for seasoning

Make the dough: Heat the water till it is lukewarm to touch. Combine the dry ingredients in a large bowl and make a well in the centre. Add the warm water and olive oil. Mix together and use your hands to bring it to a soft dough. Knead it on a floured surface to make it smooth and pliable. Return it to the mixing bowl that has been brushed with oil. Add the dough and turn to coat.
Cover with a damp tea towel. Set aside in a warm place for 30 minutes or until dough doubles in size. Punch down dough with your fist. Remove the dough from the bowl and knead it gently for a minute. Halve the dough and roll it out to the desired portion and thickness.

Make the flatbread: Preheat oven to 220 degrees C. Place the cream, garlic, cauliflower, onions, cranberries, salt and pepper in a bowl and stir to combine. Spread the mixture on the rolled out dough evenly and sprinkle with dukkah. Drizzle with extra virgin olive oil. Bake for 15-20 minutes or until golden brown on top and puffed up. Remove from the oven. Garnish with fresh mint and slice into wedges. Serve warm.


Flourless Snickers Torte

24|08|2014

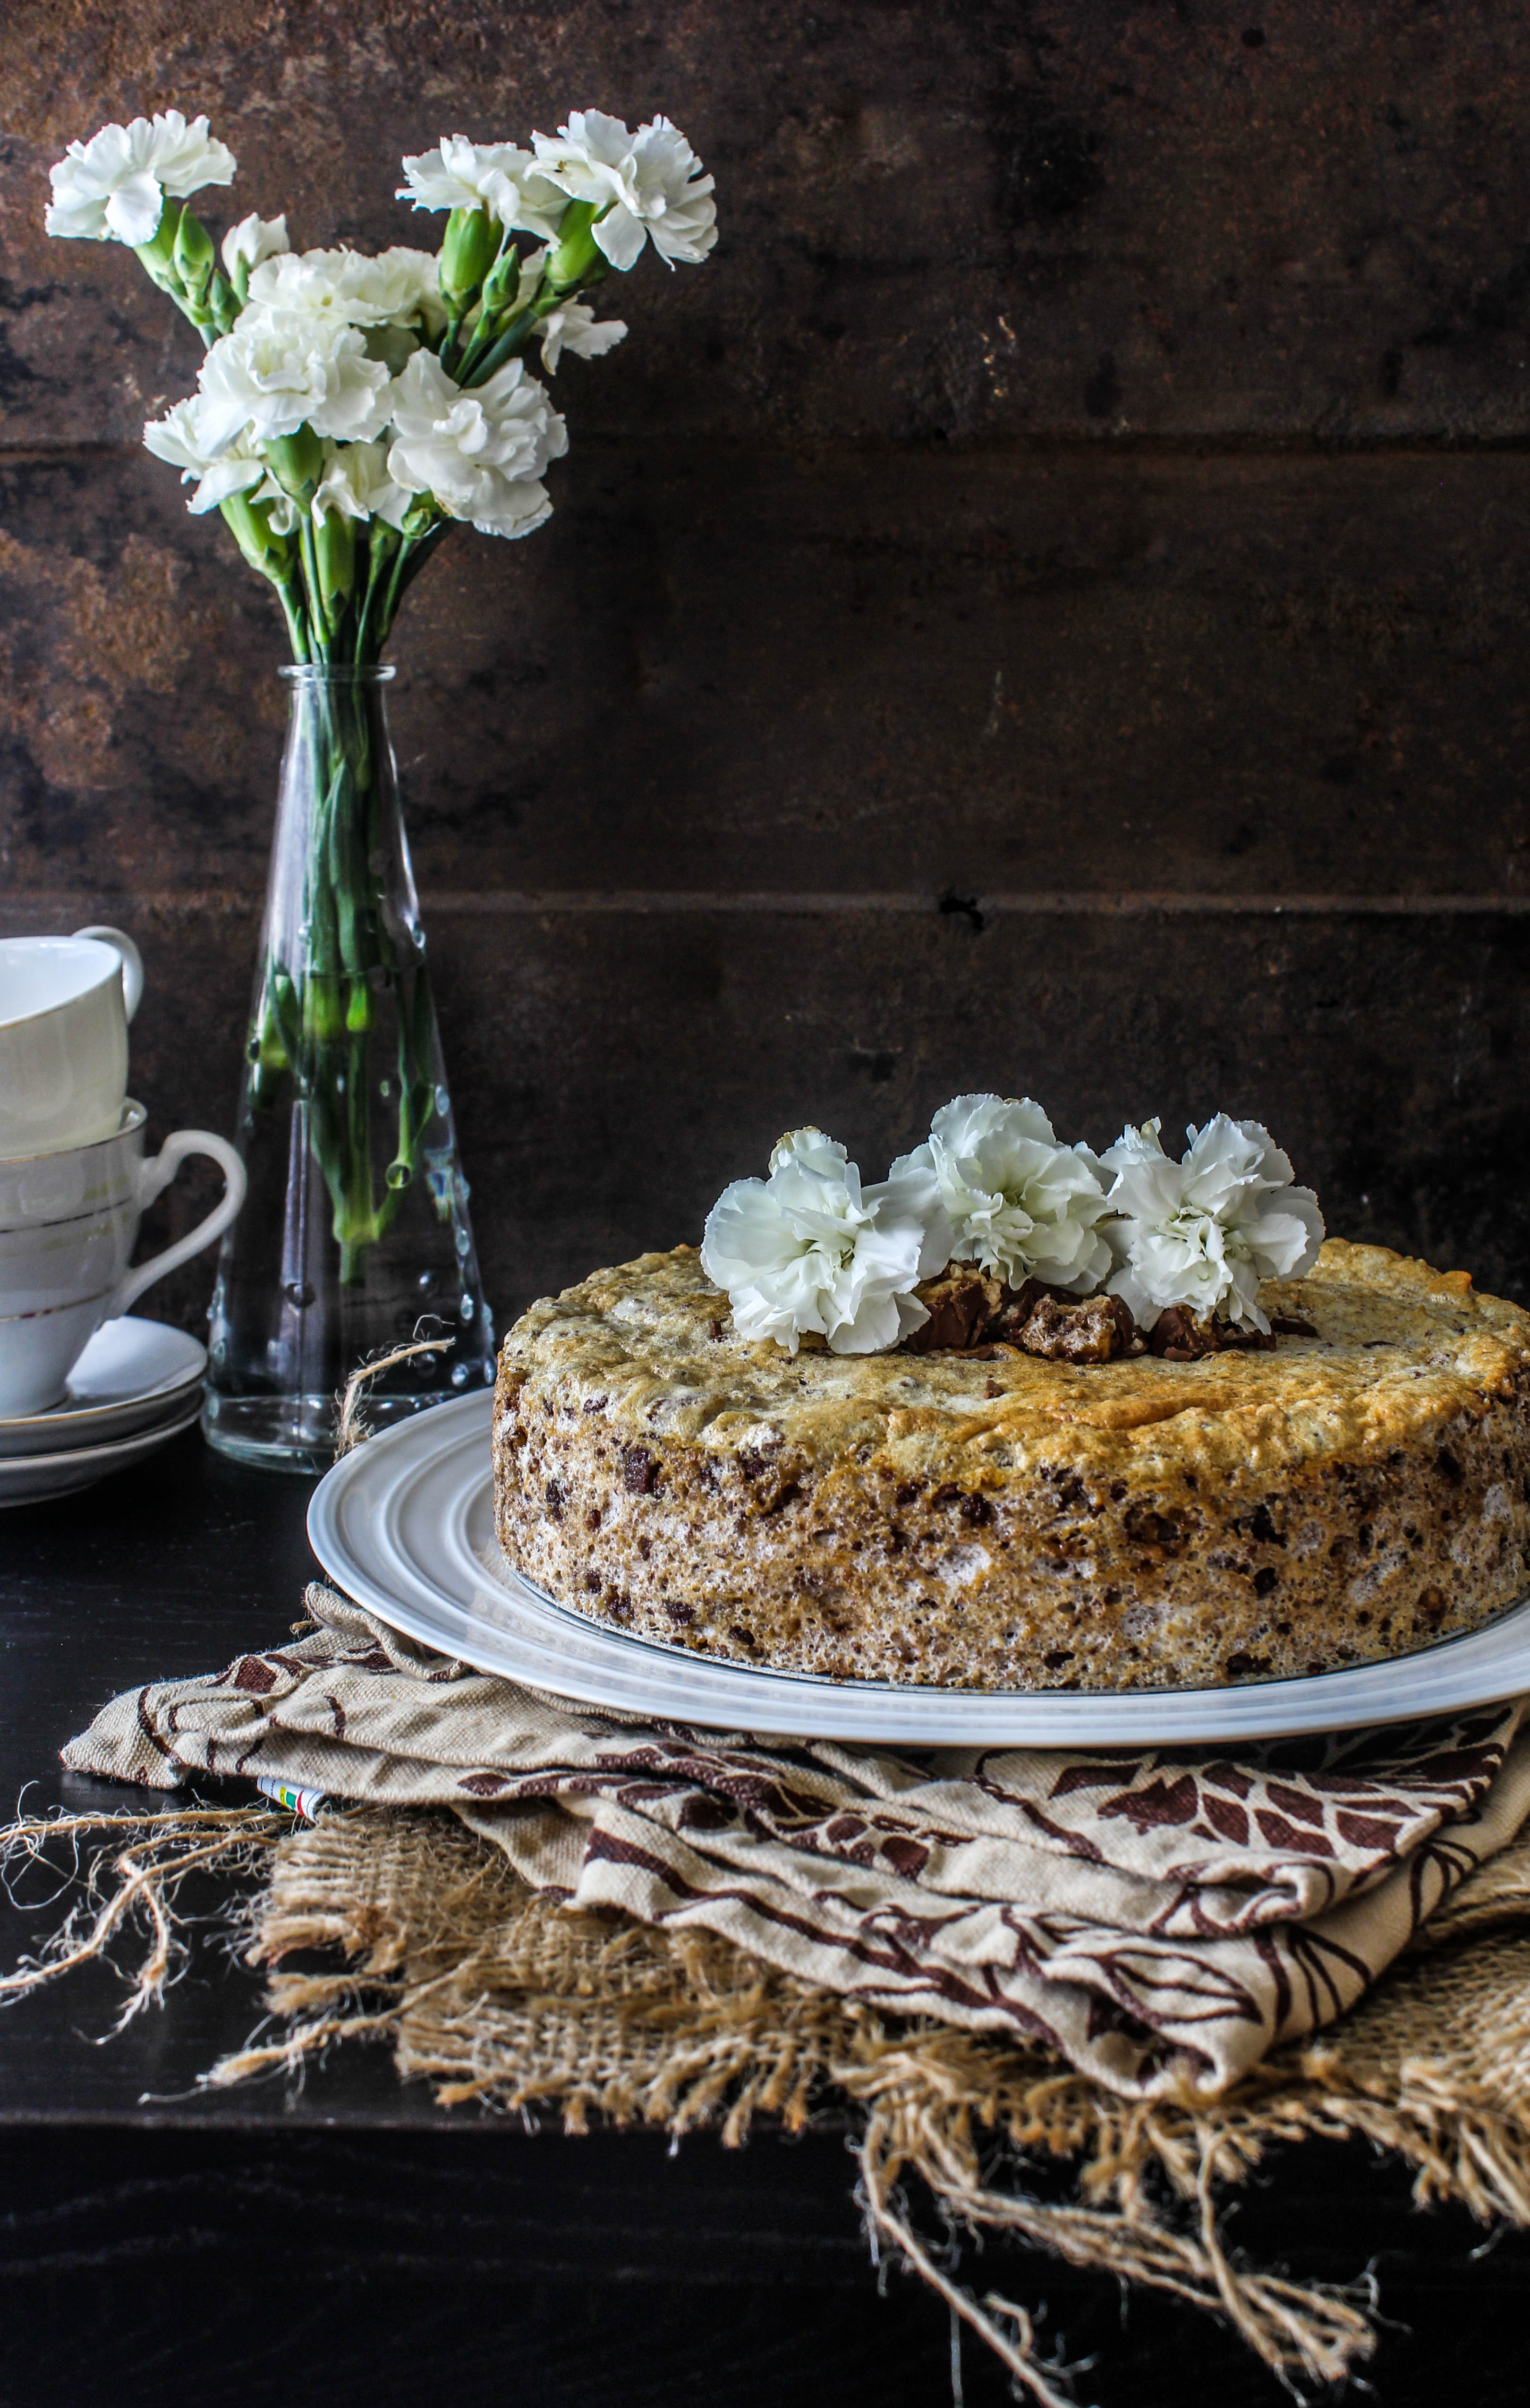
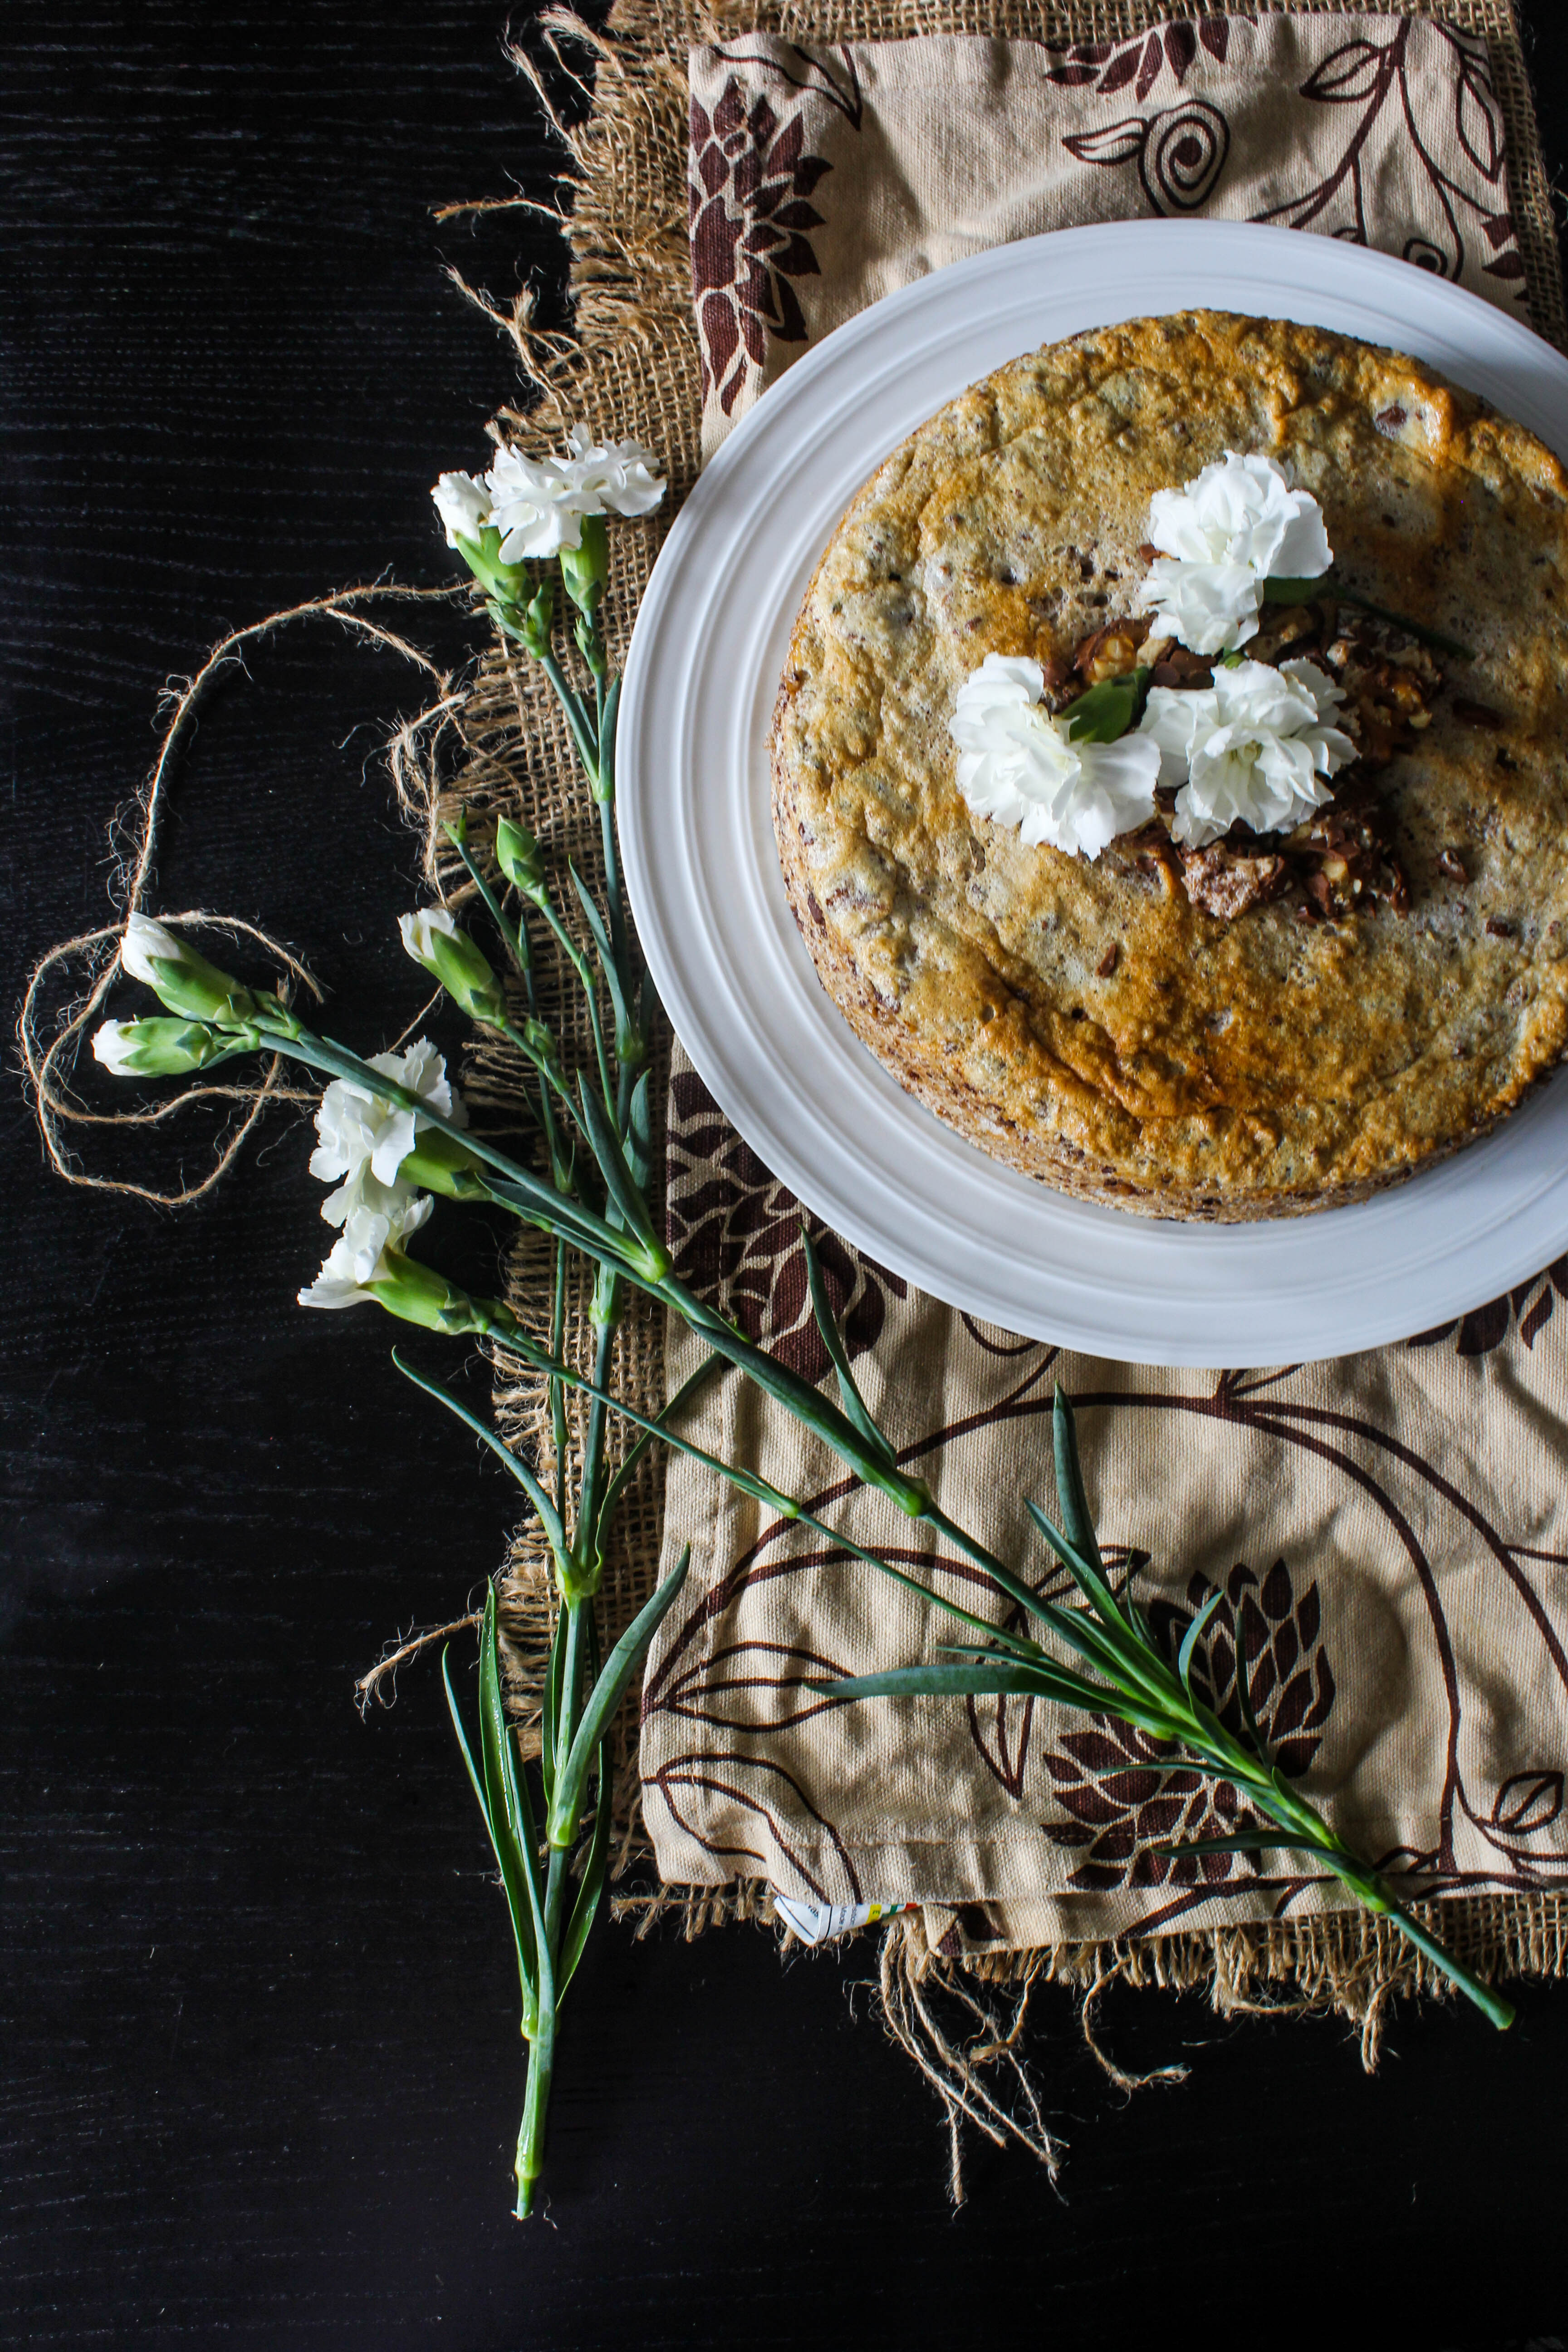
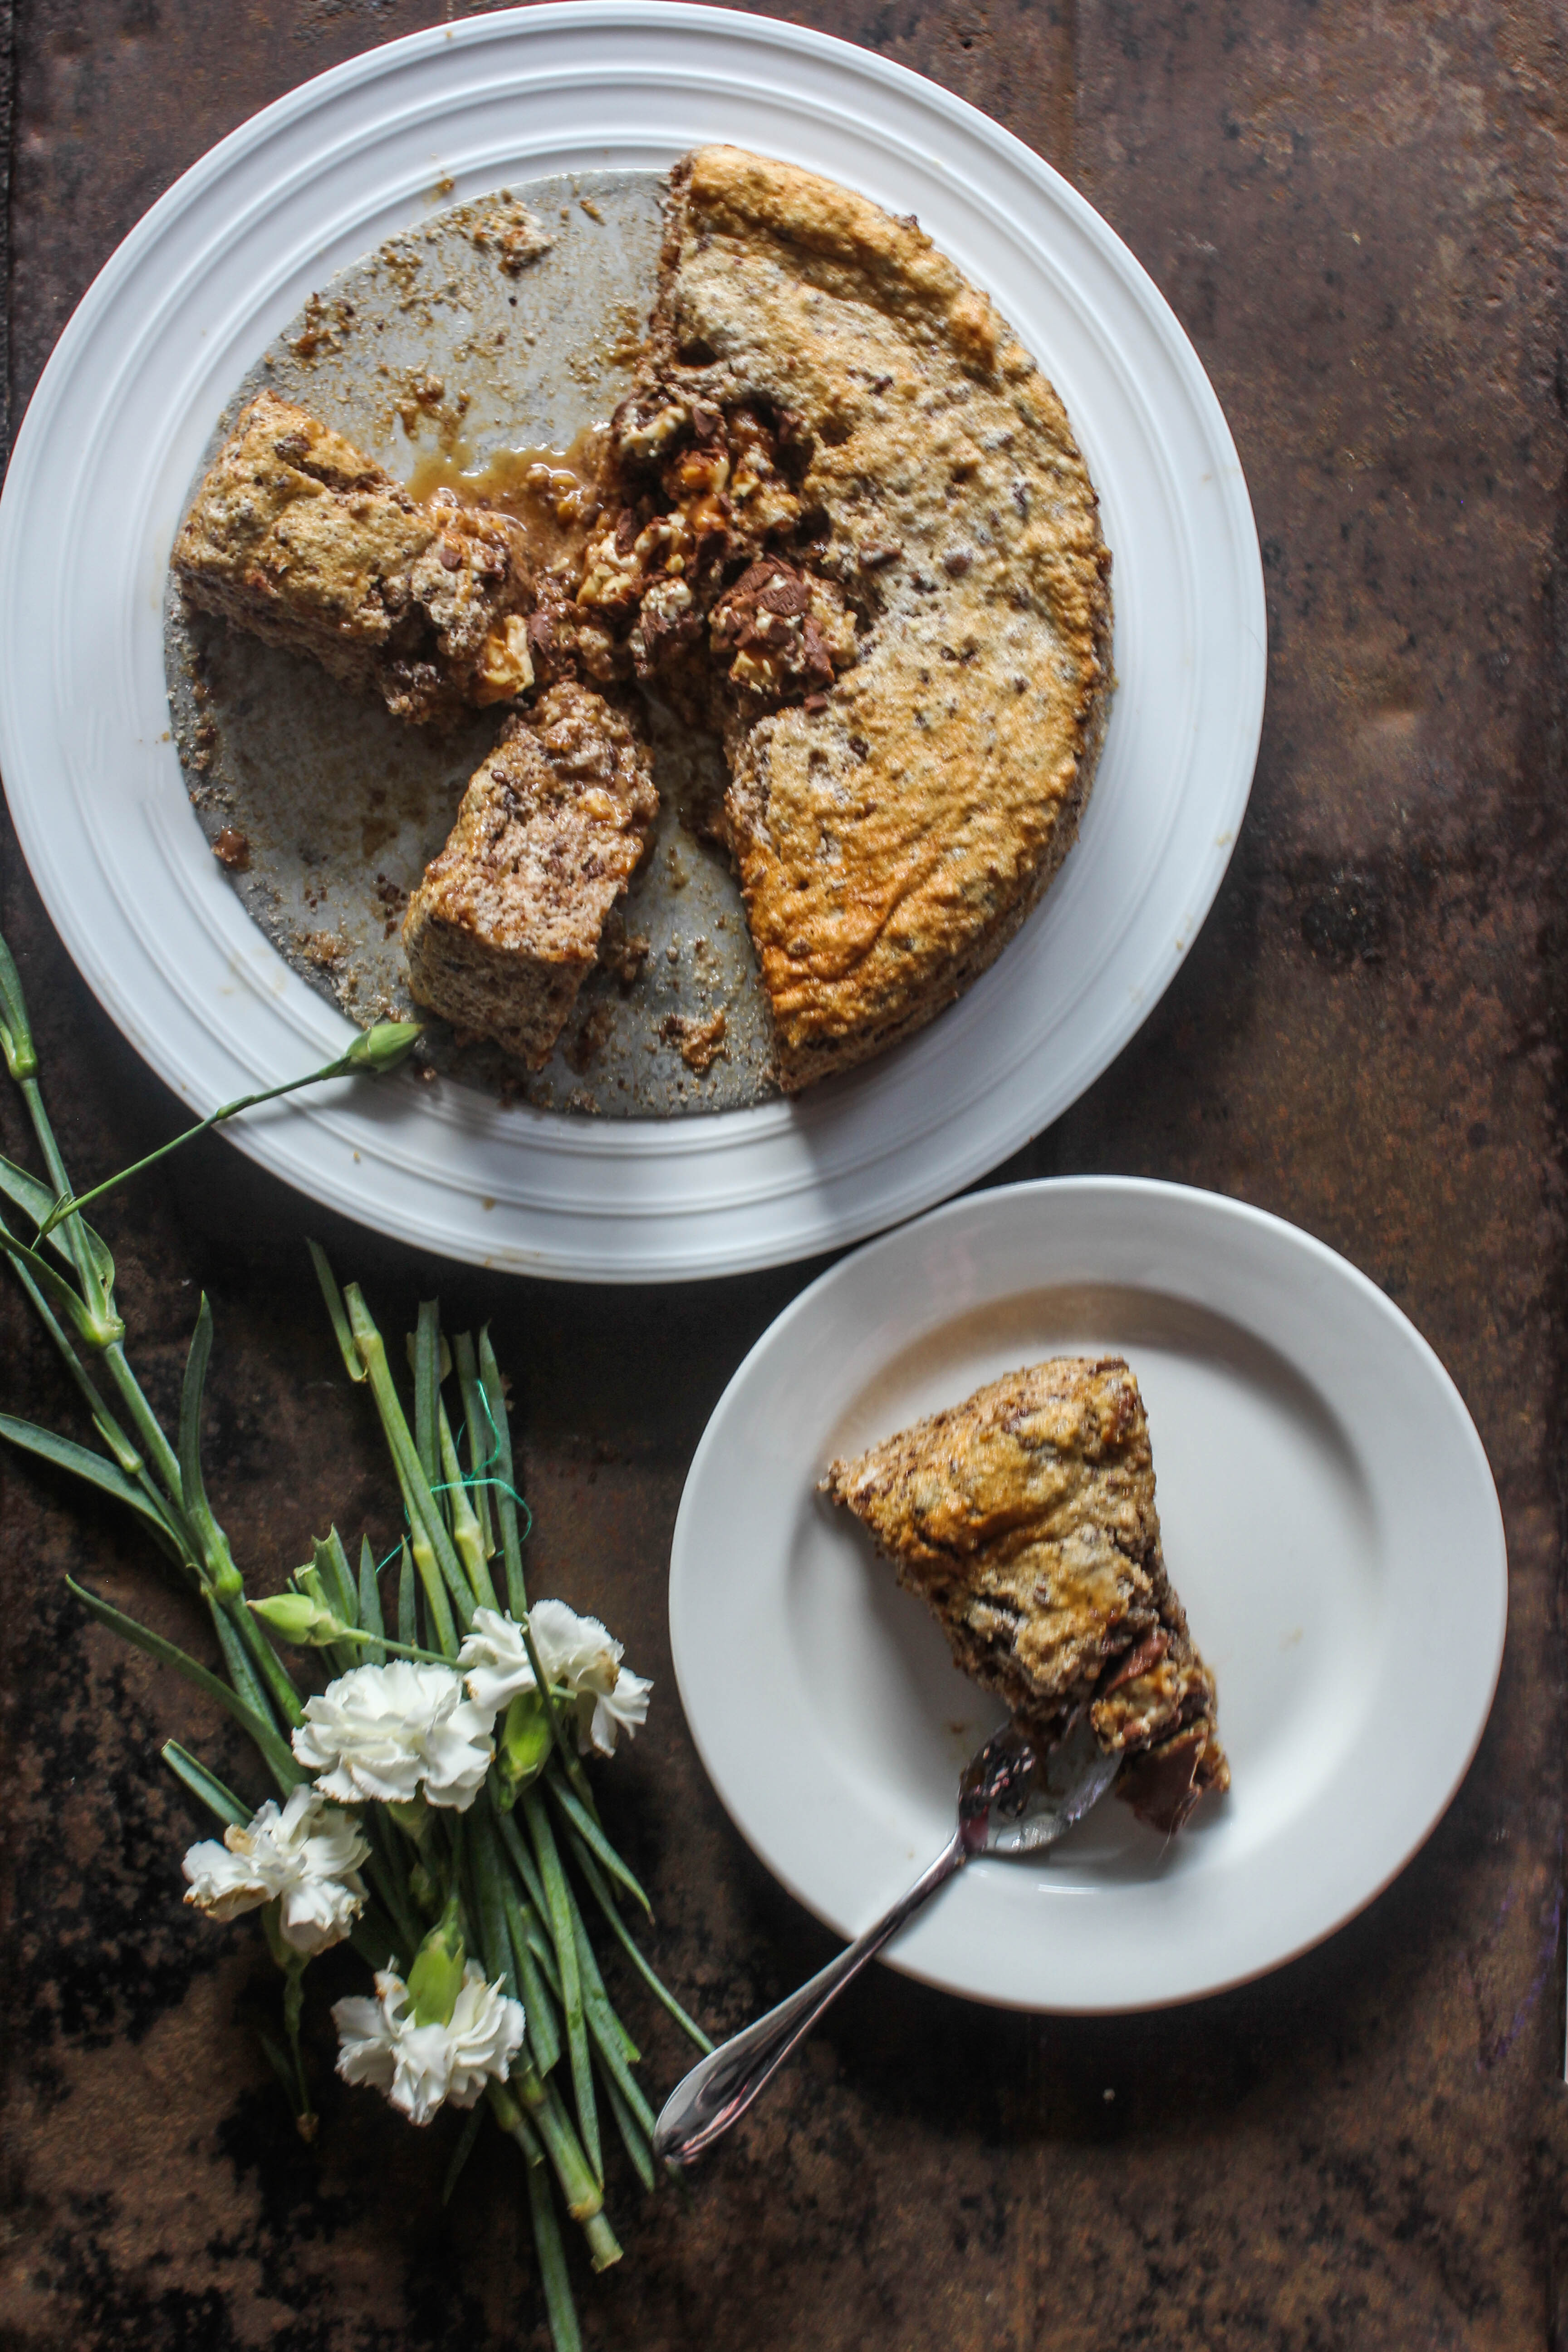
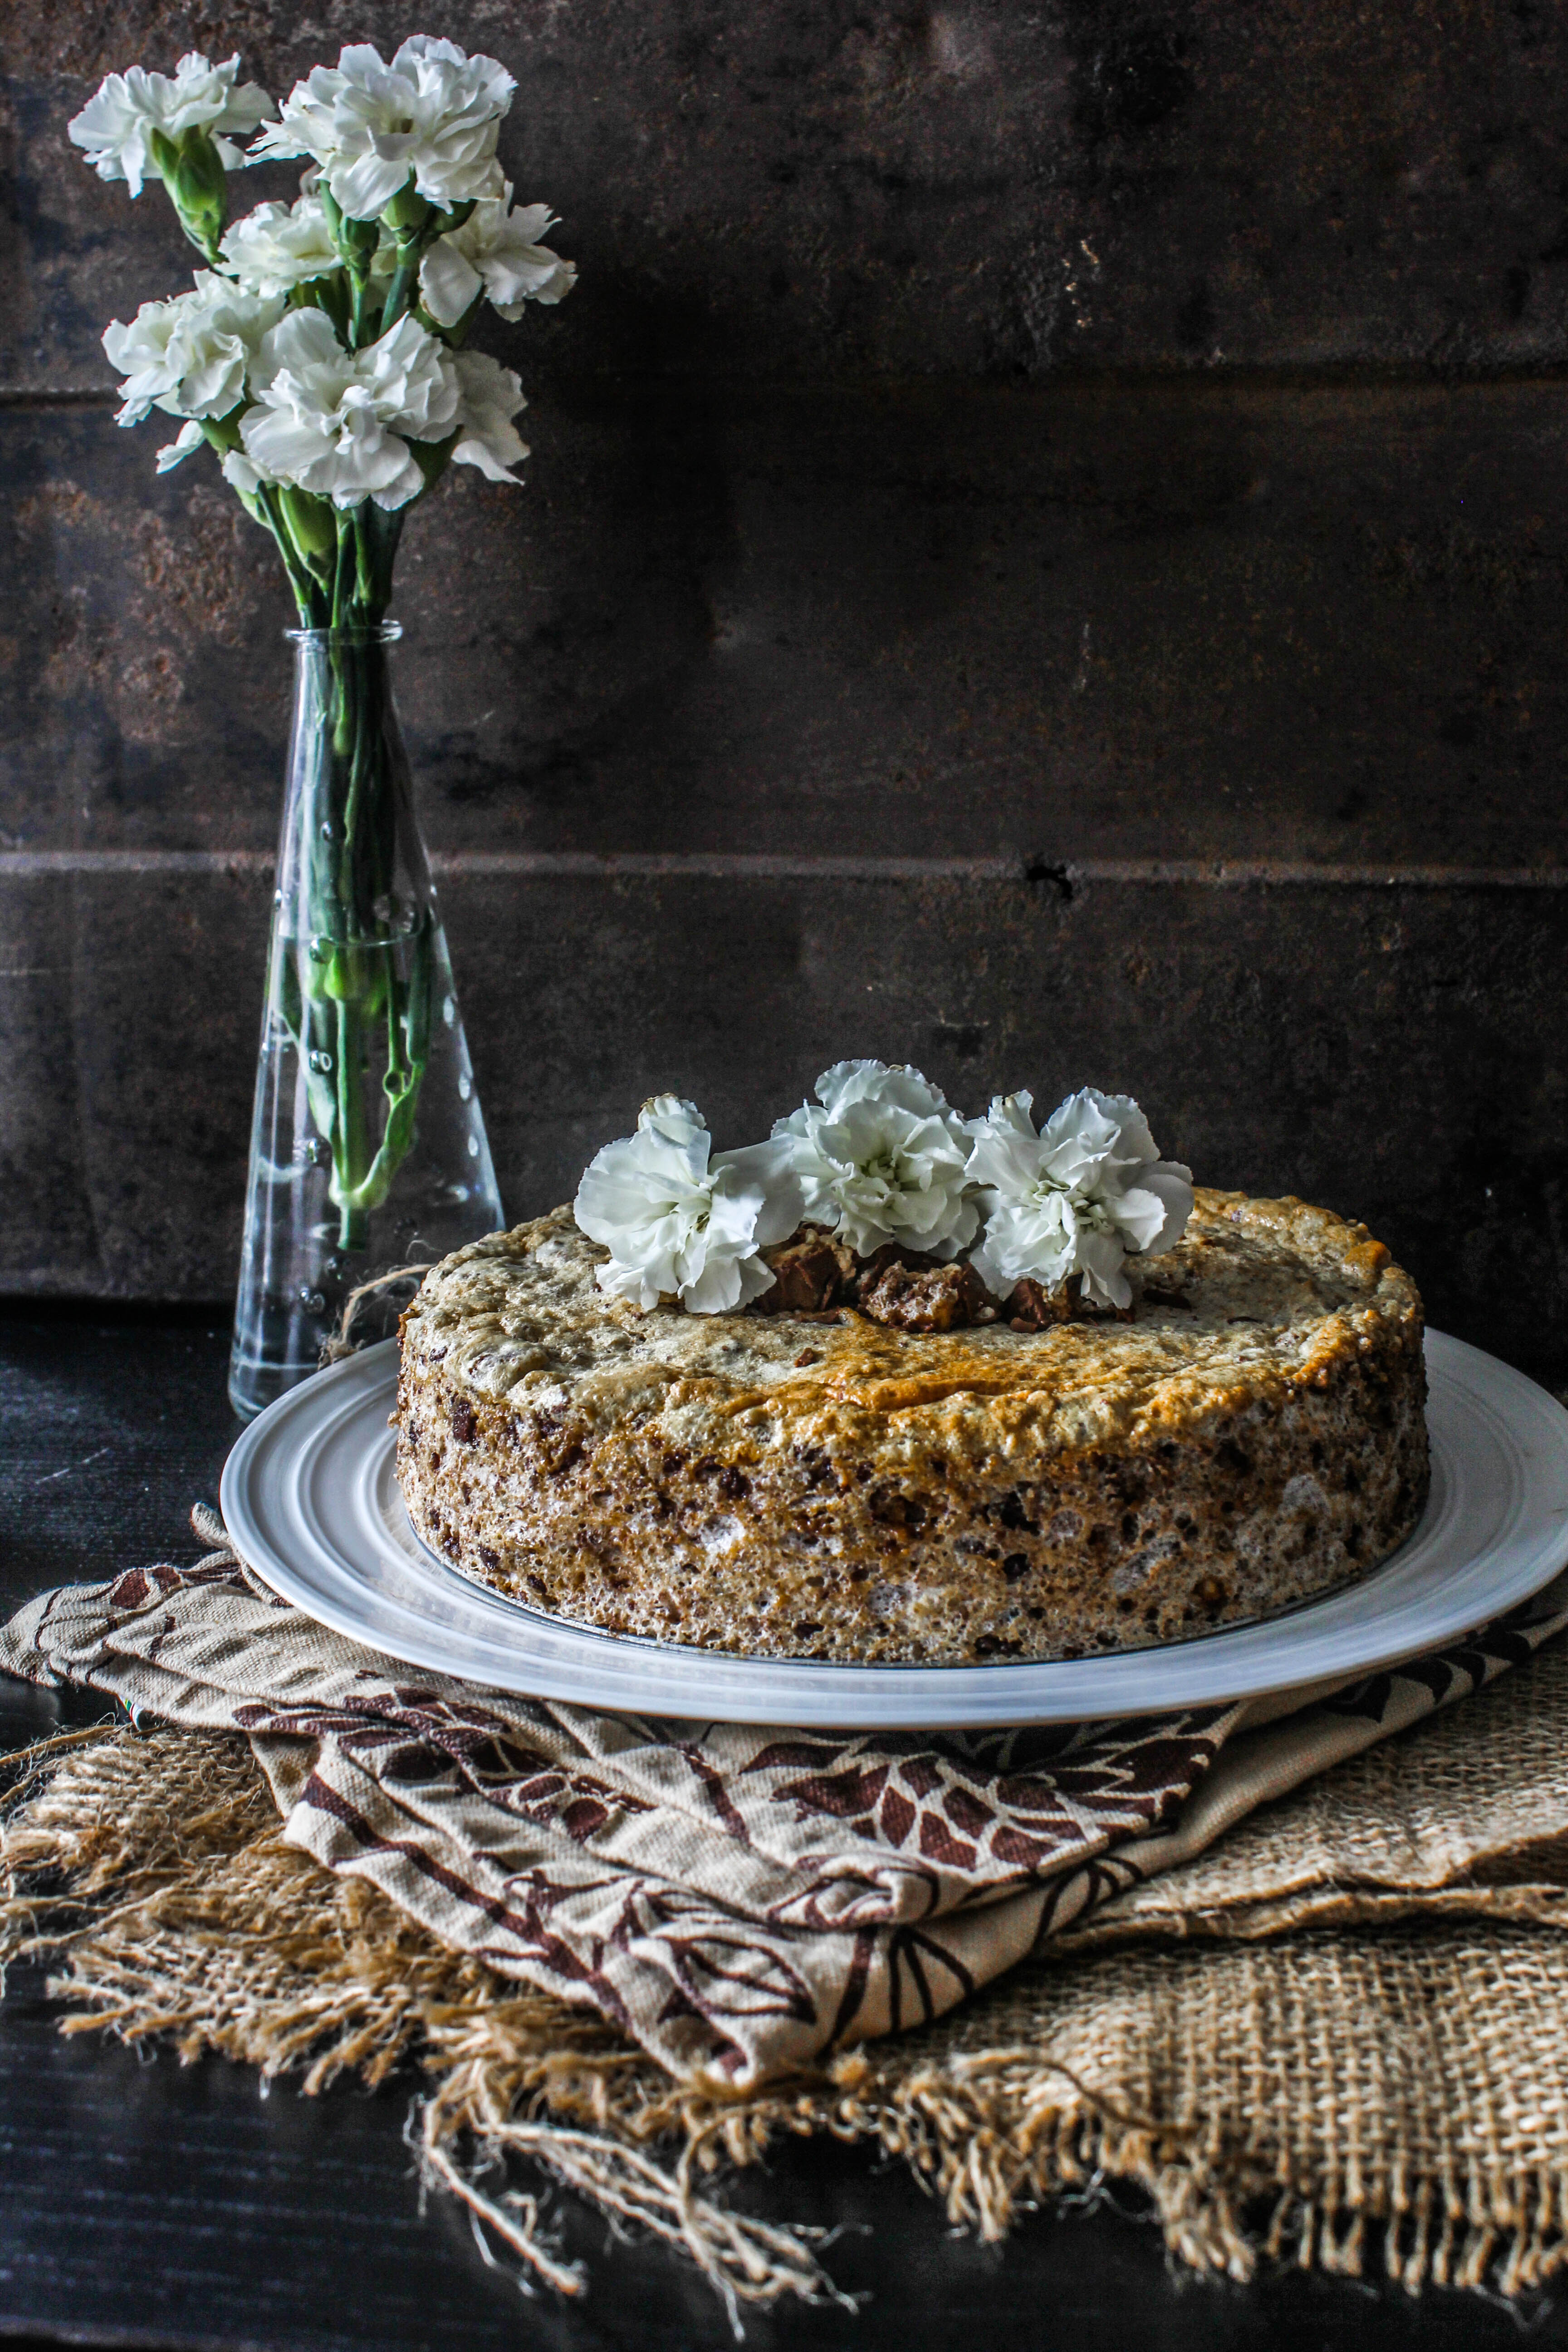
A flourless snickers torte made with chopped snickers and a few ingredients to create a delicious gluten free treat. Easy and perfect for a celebration.

Motherhood has it’s perks. I am not talking about the unconditional love and cuddles, cute little surprises and all that stuff. Those are too precious to even put in words. I am talking about the fun stuff. Like being able to sing nursery rhymes in the shower without being judged. Or having someone to get you the TV remote in an instant. Like eating nachos for dinner. Like having a pantry filled with candies and chocolates. Well, the kid in me is always in awe of motherhood.

flourless snickers torte

I have been very excited to experiment with this recipe. For months I have imagined how candies would work in a torte. Why candies? Because there is a sense of familiarity that comes with them. A bit of childhood and nostalgia wrapped up in those bars. Basically, it is fun to make and exciting to share. If you have never made a torte before, it is nothing but a flourless cake. In this case, it is without added butter or fat too. So what gives it body and keeps it moist? It is meringue, possibly the most beautiful and scientific thing in this world. I have made this torte several times, each time with a different nut and a different variety of chocolate.  I chose Snickers bars for two reasons. First, Snickers bars consists of nougat, peanuts, caramel and milk chocolate. So they are without flour. And they would be more suited to a flourless cake than any other chocolate bar.

When I was smashing Ferrero Rocher chocolates for my Mousse Cake a few months ago, my boys found it amusing and handed over two Snickers bars to me. ‘Here, add these to the cake too’ they said. That is the second reason I wanted to make a Snickers torte.

flourless snickers torte

flourless snickers torte

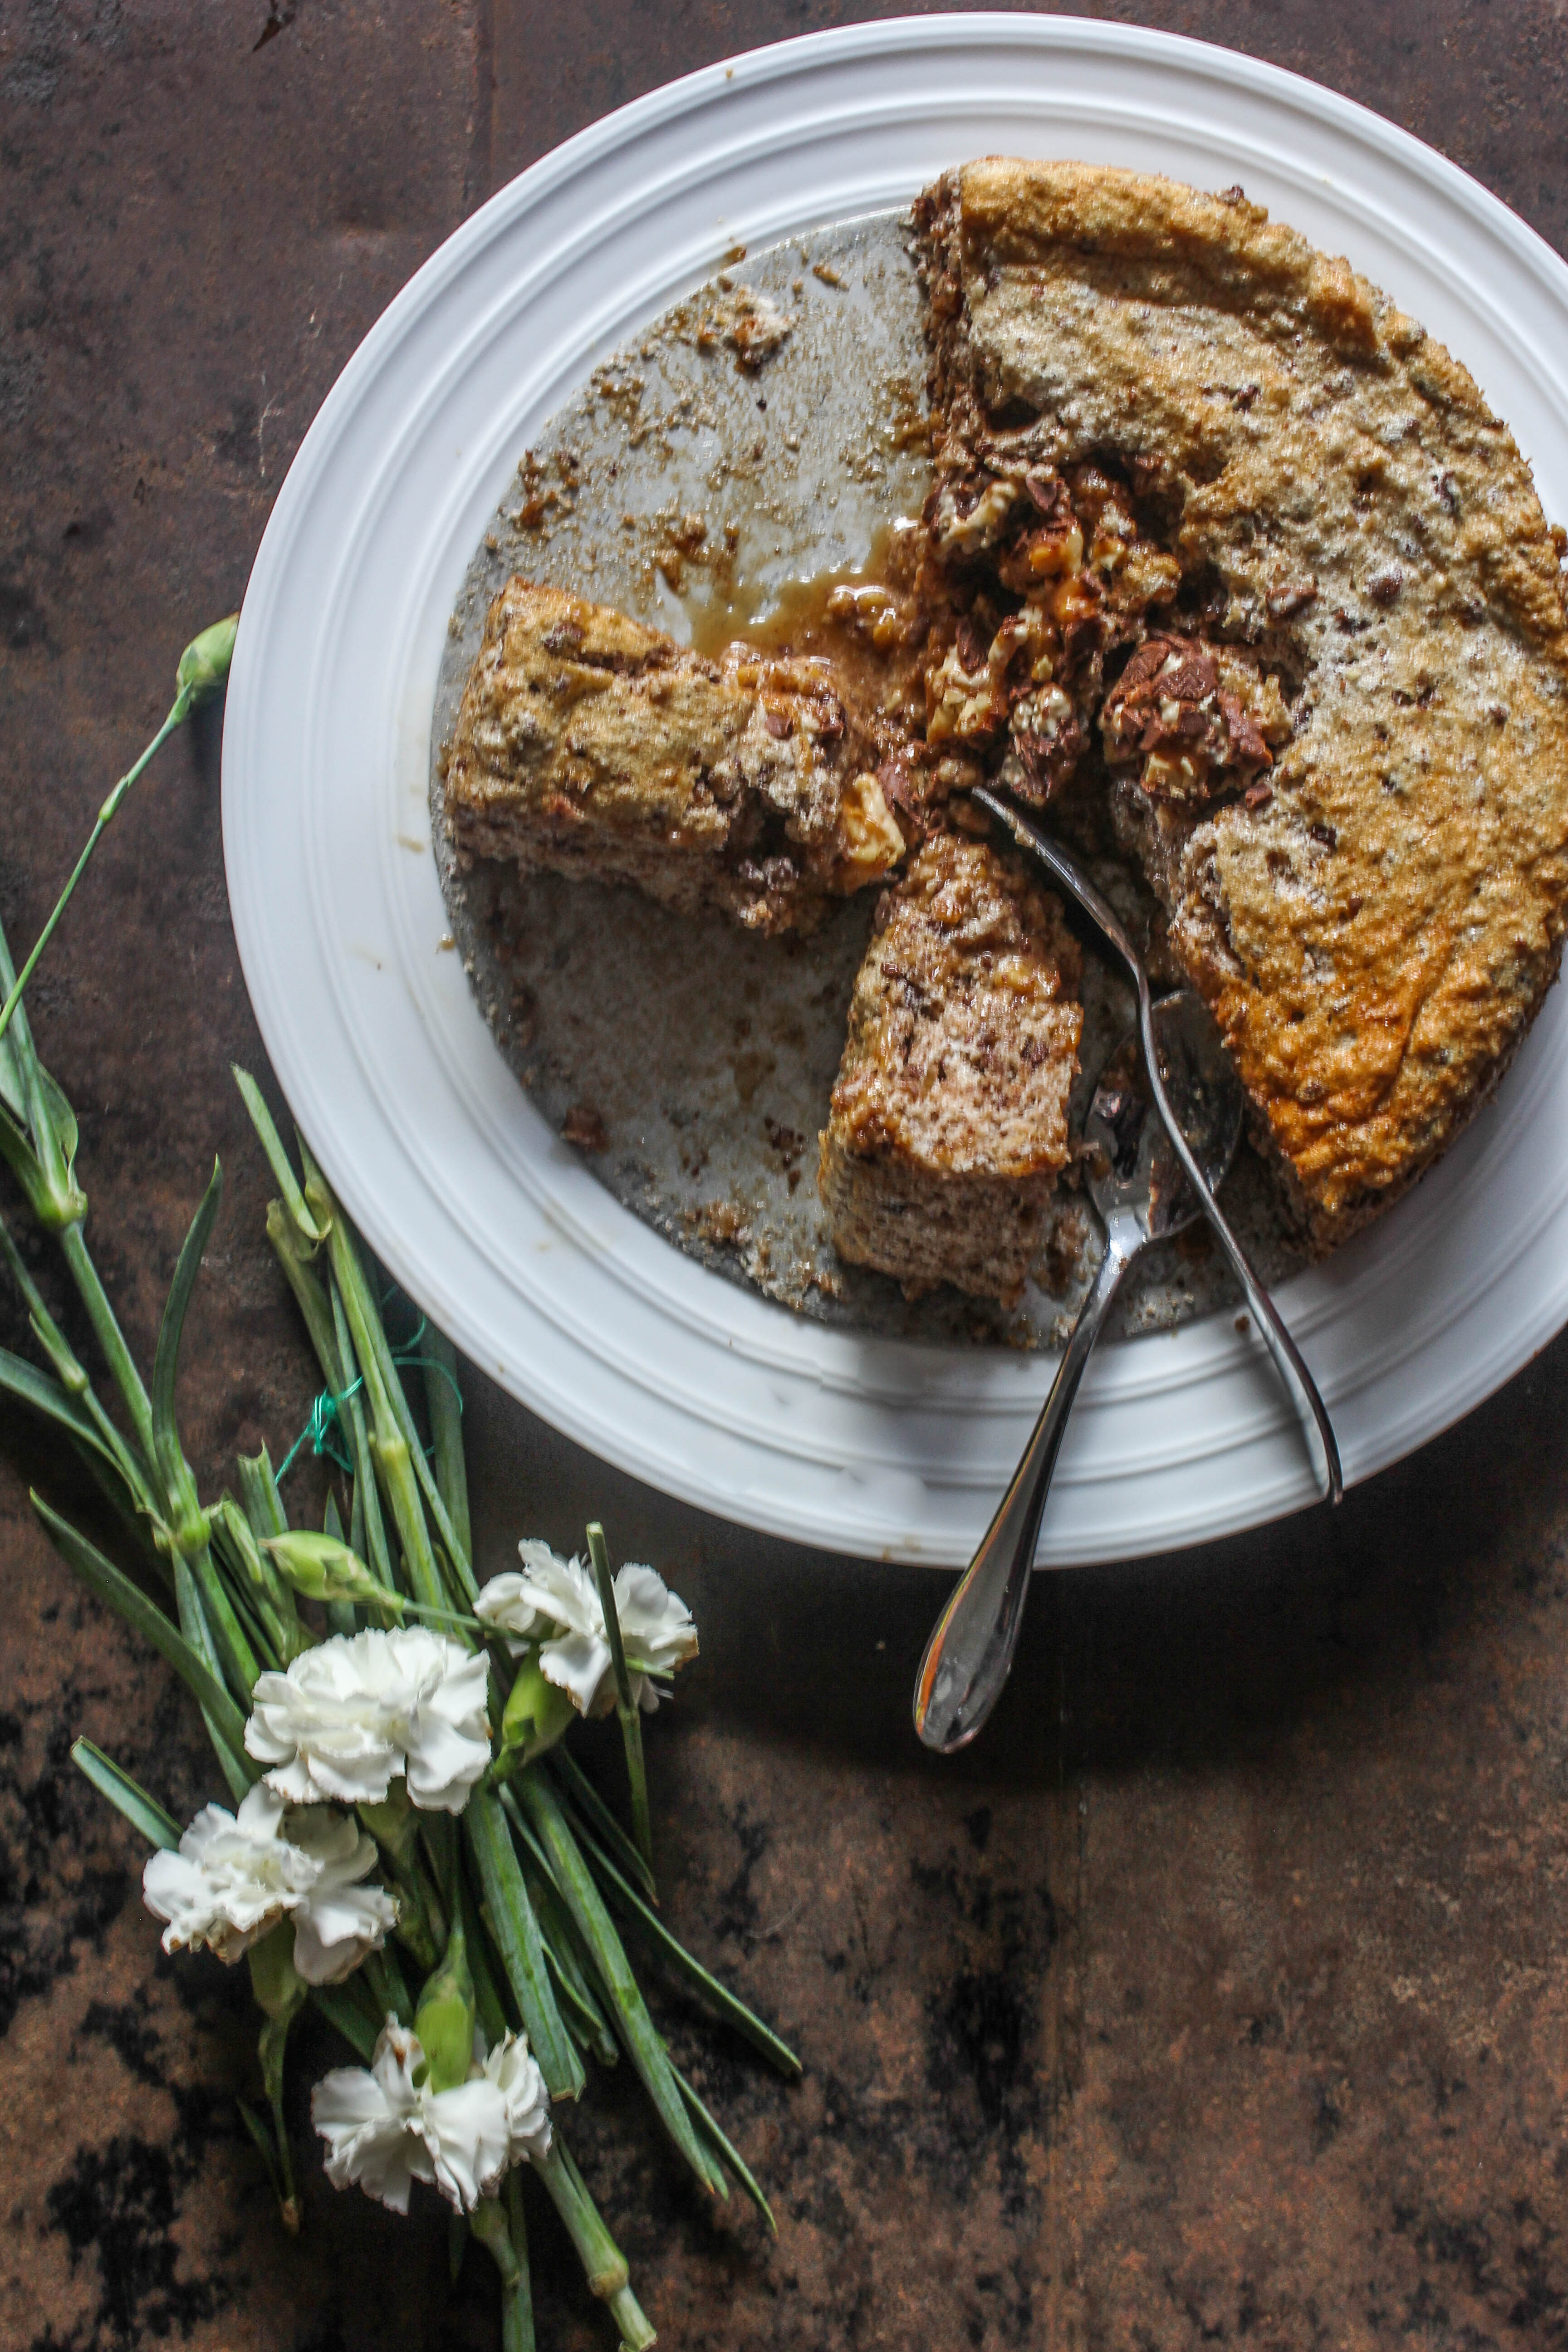
This Snickers torte is like biting into a giant snickers chocolate bar. Every mouthful will speak for itself. It is nutty, chocolate-y, oozing caramel, sticky, moist and outright delicious. It is also easy to make. Do not feel intimidated by the meringue. All you need to ensure is that you beat it to stiff peaks (peaks that hold shape when the beaters are lifted). Here’s a video from the Kitchn in case you are making meringue for the first time. Baking for me, is all about having fun in the kitchen and learning from my mistakes.
The great thing about this torte is that you can eat it even if you are avoiding gluten. This can be also made with plain dark chocolate. You can use this recipe.

flourless snickers torte

flourless snickers torte


Flourless Snickers Torte
Serves 8

100 g (about 1 cup) pecans, or any nut of your choice
125 g (about 1/3 cup plus 2 tbsp ) sugar
250 g snickers bars, coarsely chopped
a pinch of salt
7 egg whites (from large eggs), about 1 cup
1/2 tsp. cream of tartar

Preheat the oven to 180 degree C. Lightly grease the bottom and sides of a 8-inch spring form pan.

Pulse the pecans 1 tbsp of the sugar in a food processor until finely ground. Scrape the nuts into another bowl. Use a paper towel to wipe excess oil from the sides of the processor bowl, add the snickers bars with 1 Tbsp. sugar, and pulse until it forms crumbs ranging in size from coarse meal to 1/4-inch bits. Add the chocolate to the nuts and salt, and stir to combine. Set aside.

Using an electric mixer, beat the egg whites with the cream of tartar in a large clean, dry bowl at medium speed until the egg whites are creamy white and soft peaks are formed when the beaters are lifted. Gradually add the remaining 1/3 cup sugar, beating at medium-high speed until the egg whites are glossy and stiff but not dry.

Pour half of the chocolate mixture over the egg whites and fold in with a large rubber spatula until nearly incorporated. Repeat with the  remaining chocolate mixture, folding just until evenly incorporated.

Scrape the batter into the prepared pan and spread it evenly. Bake for 25 to 30 minutes, until the Torte is puffed and golden brown on top and springs back when gently pressed with your fingers. A toothpick inserted in the centre should come out moist and possibly stained with melted chocolate, but not coated with raw batter. Set the pan on a rack to cool. Slide a thin knife or a small metal spatula around the sides of the Torte to release it from the pan. Remove the pan sides and transfer the cake to a serving platter.


Dal Makhani, Creamy Lentil Soup

20|08|2014

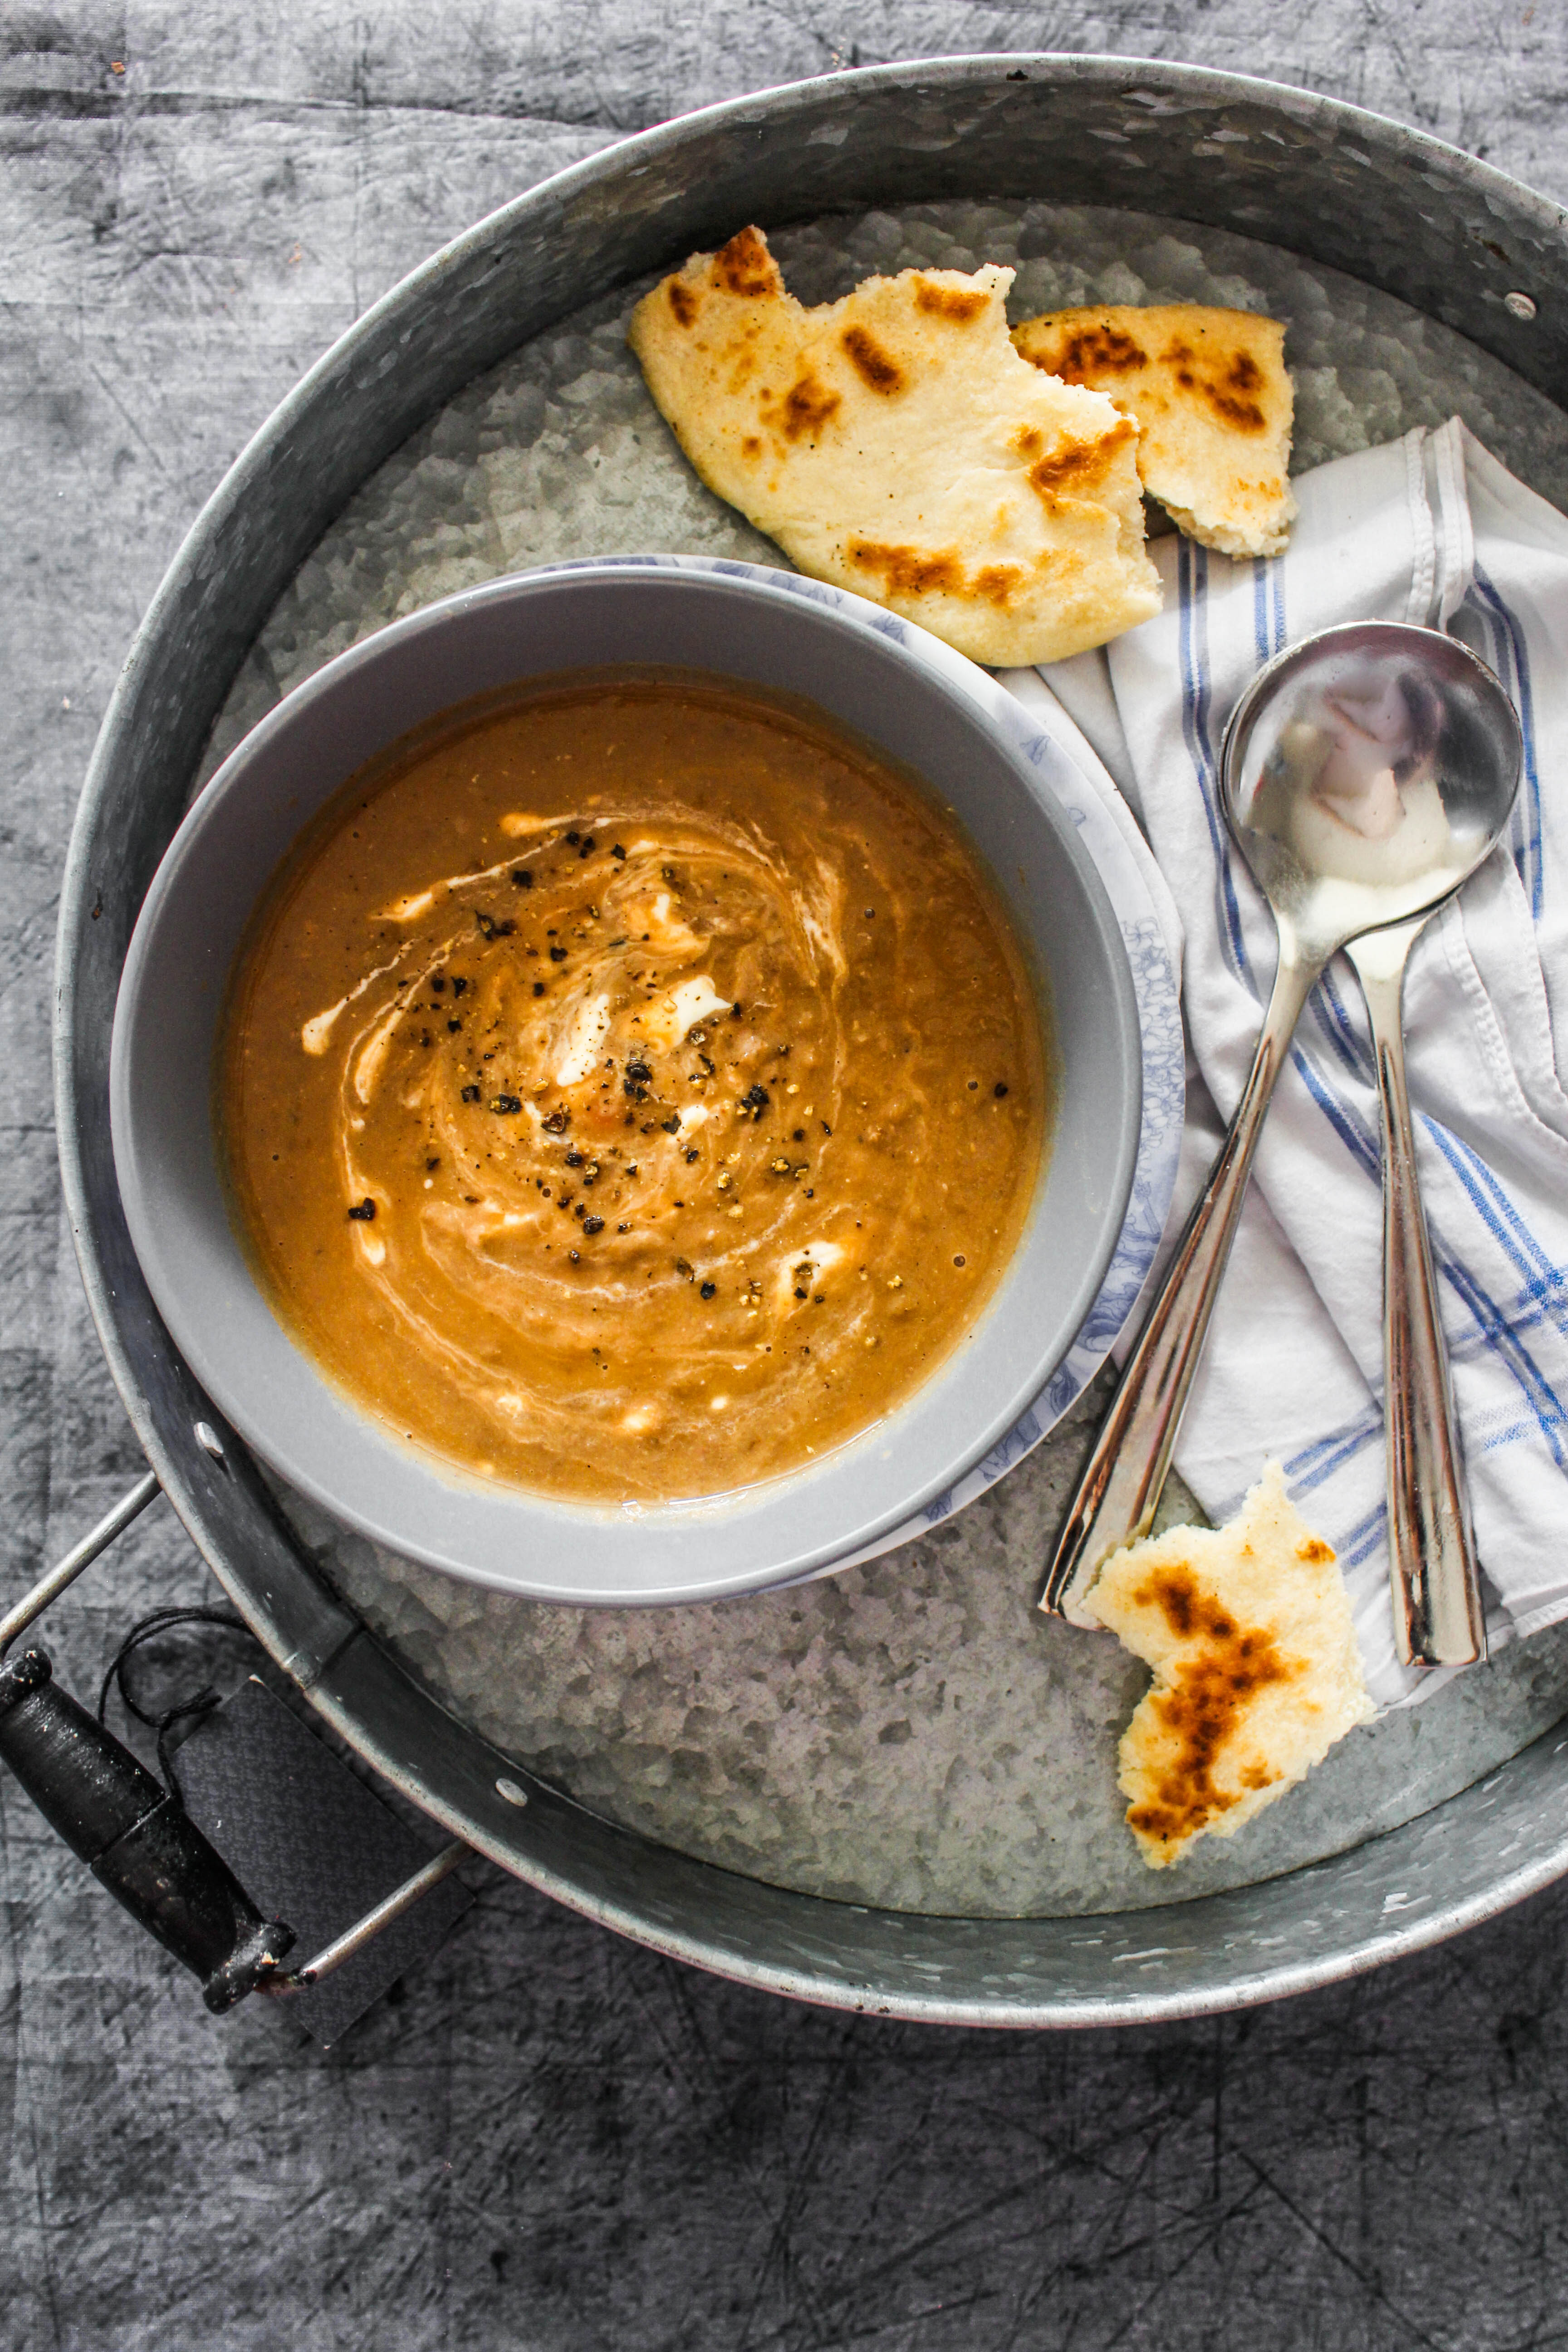
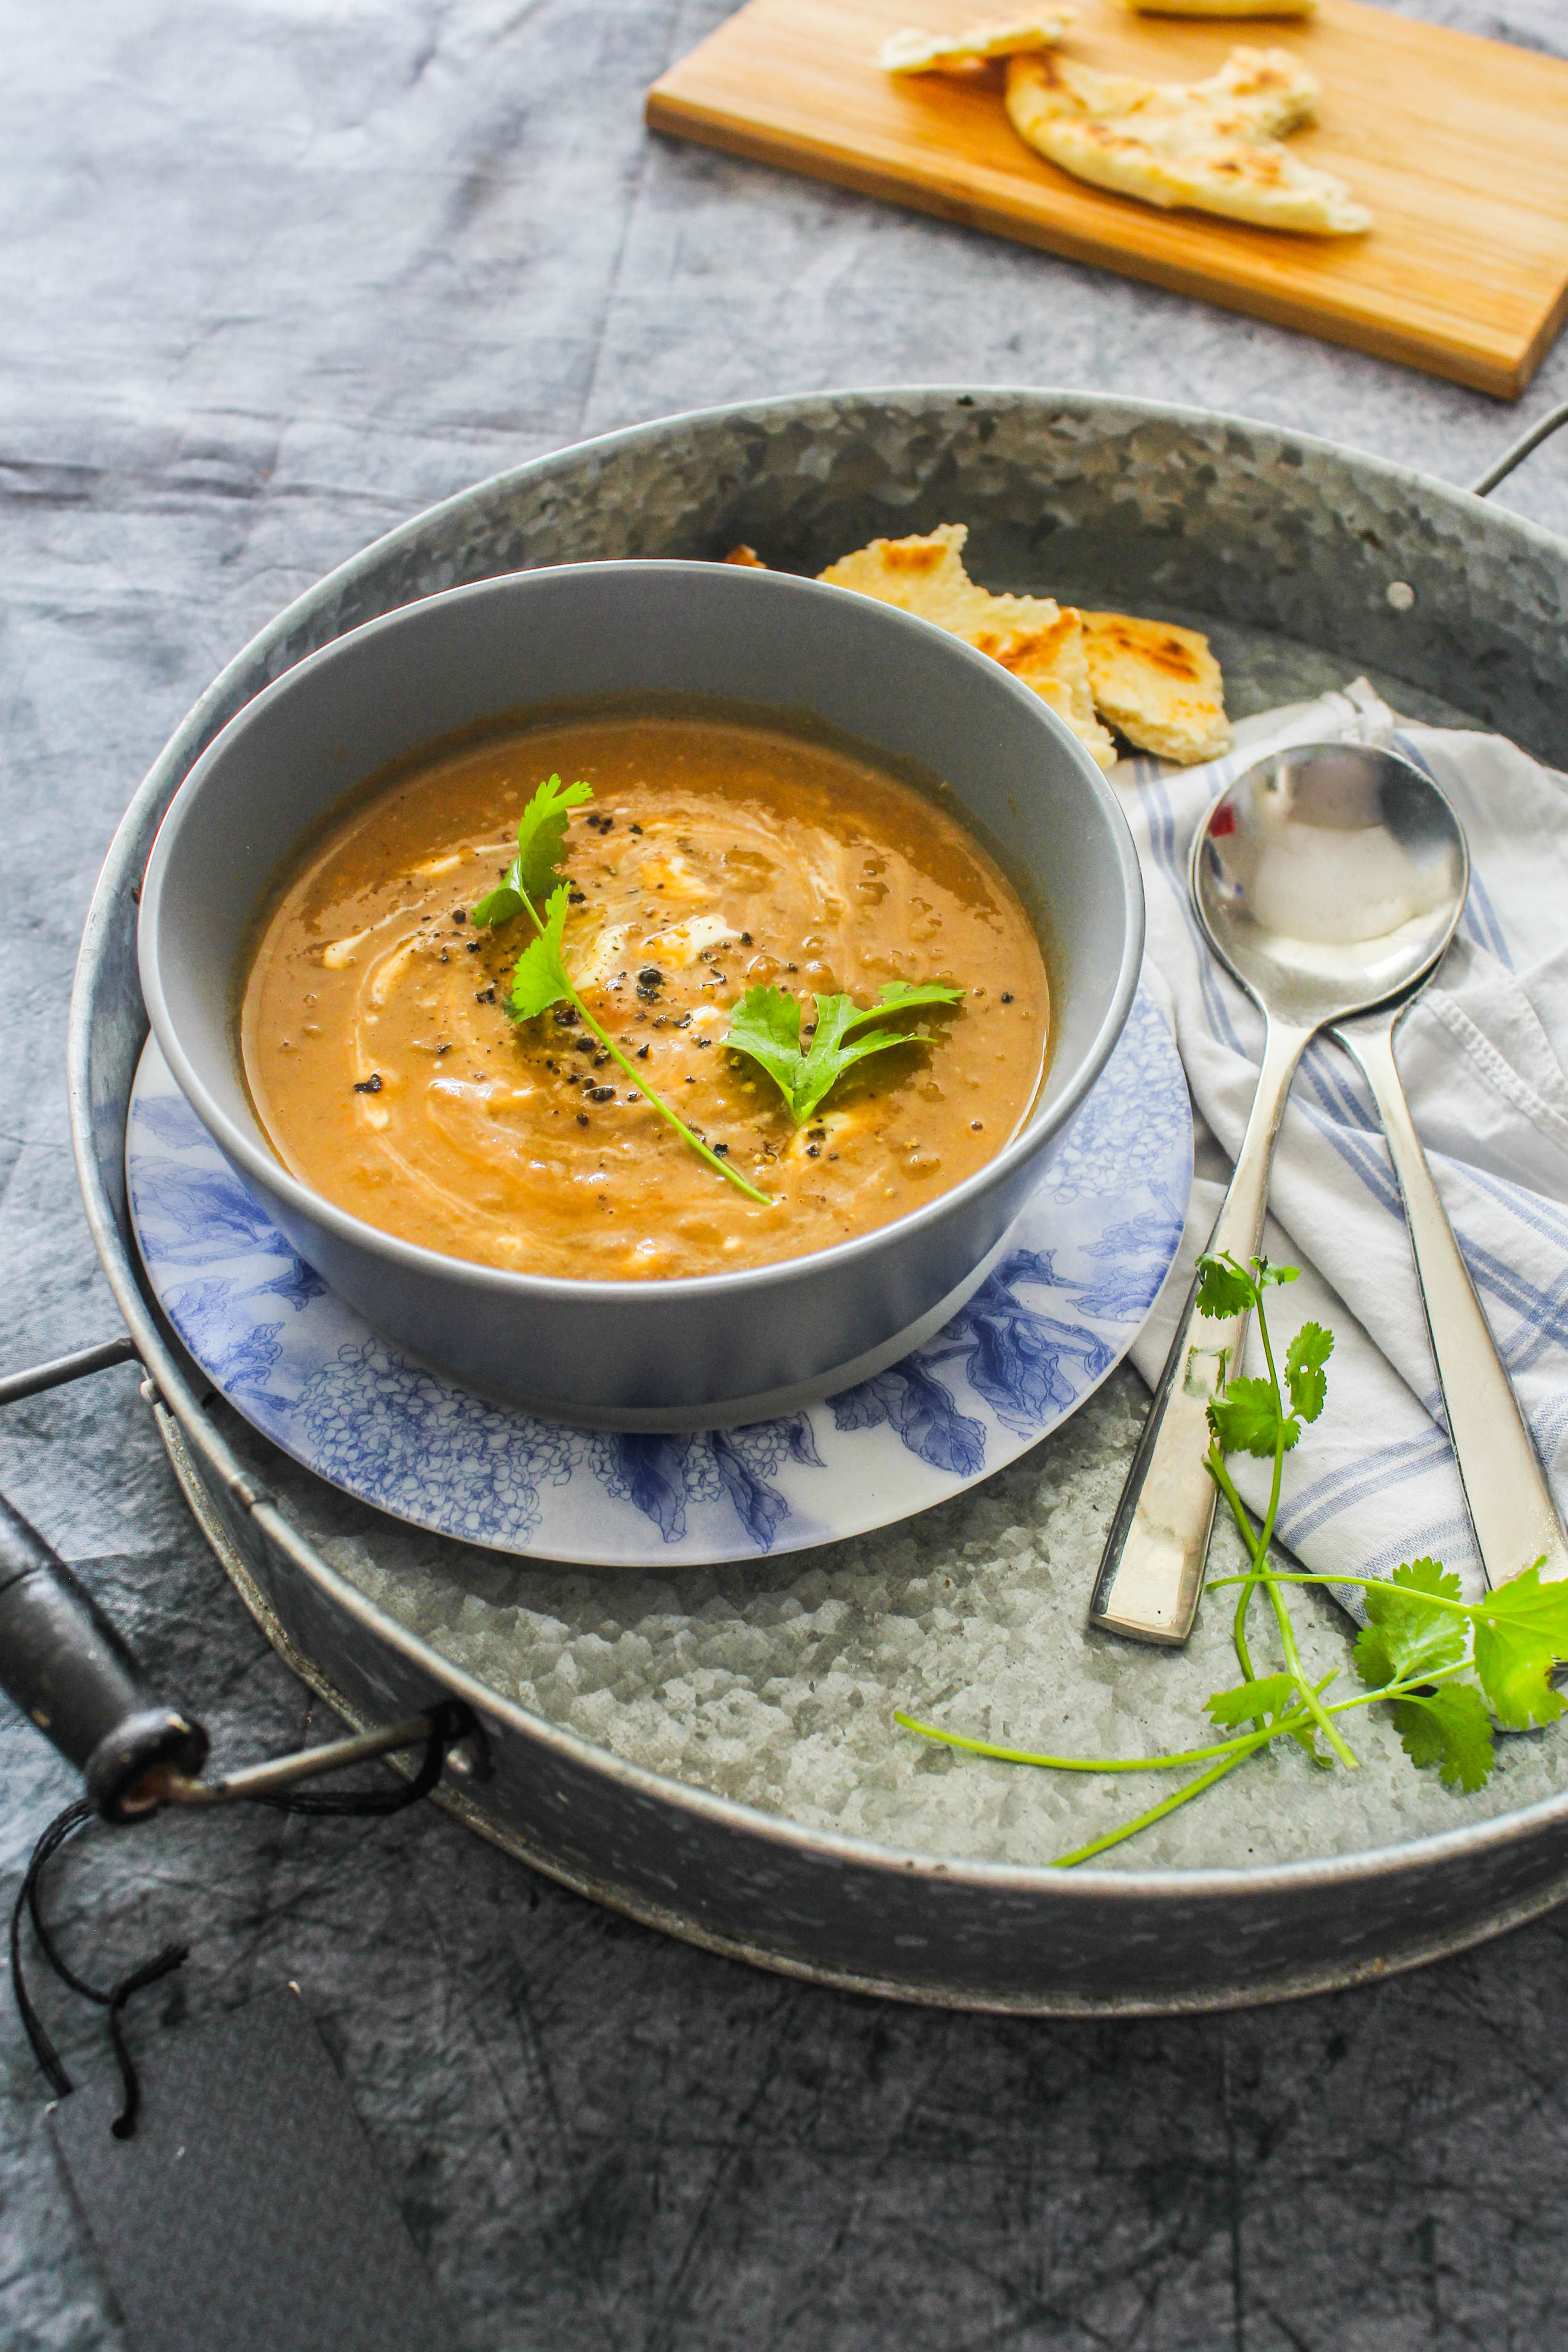
Creamy and easy lentil soup flavored with spices inspired by the Indian Dal Makhani.

I learnt the fundamentals of Indian cooking from my mother. But it was from my father that I learnt to relish a plate of food. Though a small eater, even today he is so particular about the way food is seasoned and served. He has remained staunchly true to his heritage when it comes to choosing what he wants to eat. On weekdays our meals were simple home cooked mostly vegetarian curries, dal (lentils) and flatbreads. On weekends the lunches were late and elaborate and nothing short of an 10 course meal. Vegetables stir-fries, lentils, meat and seafood curries, chutneys and sweets. Dal was a constant, like it is in most Indian households. It was there every single day. Yet nobody complained as there were varieties of lentils to choose from. However, they had to be seasoned perfectly and compulsory garnished with fresh sprigs of coriander. If it wasn’t Dad would make sure he did it himself. After all these years it wasn’t surprising for me to see my Dad quietly delighting in a bowl of Dal and rice at our home in Sydney, while the rest of us lapped up garlic seafood risotto.

creamy lentil soup dal makhani

Dal Makhani is one of those lentil dishes that were made on special occasions at home. It’s silky creamy taste, melt-in-your mouth texture and the aromatic presence of garam masala makes it a delicacy but it is rich, not something you could eat everyday. Traditionally this is made with whole black lentils and kidney beans that are soaked overnight and cooked down the next day with spices and cream. My version is simpler with fewer ingredients and slightly thinned down to fit into a soup profile. The taste would differ a bit from the original as there are fewer spices in the recipe but nevertheless it tastes delicious. This is particularly keeping in mind that a non -Indian kitchen may not be having all the authentic spices in the pantry. I make this soup version at home for my little ones who are yet to get accustomed to a substantial amount of spice. And soup goes down better with children than calling it lentils. Overall, this is a dinner that is ready under 30 minutes and is loved at home.

creamy lentil soup dal makhani

I use canned lentils which are pre-cooked and makes the process a whole lot simpler and quicker. If you are making this and want to serve it like the Dal Makhani, follow the exact recipe but skip the last step of blending the lentils. I like to serve this with homemade naan bread but any kind of crusty bread will do. Garam Masala is available in most supermarkets and Indian stores. If you like heat, add a few finely chopped chillies before serving.


Dal Makhani (Creamy Lentil) Soup
Serves 4

1tbsp olive oil
1 bay leaf
2 pods of cardamom
1 stick cinnamon
2 cloves garlic, finely chopped
1 tbsp. grated ginger
1/2 red onion, finely chopped
1/2 cup, diced canned tomatoes
1 can (420g) brown lentils (do not drain)
1/2 tsp garam masala
1/2 cup pouring cream
1/2 cup vegetable stock or water (depending on desired thickness of soup)
1/2 tsp brown sugar
salt and pepper to taste
handful coriander, to serve

In a frying pan over medium heat, heat the olive oil, add the bay leaf, cardamom and cinnamon and fry for a few seconds till aromatic. Add the onion and cook till transluscent. Add the garlic and ginger and fry for a minute. Add the tomatoes and lentils and simmer until cooked, stirring occasionally (about 15 minutes). Add the garam masala, cream, vegetable stock (if using), seasoning, sugar and stir to mix. Remove from heat. Remove the bay leaf, cardamom pods and cinnamon stick and blend with a stick blender. Ladle into bowls, garnish with coriander.


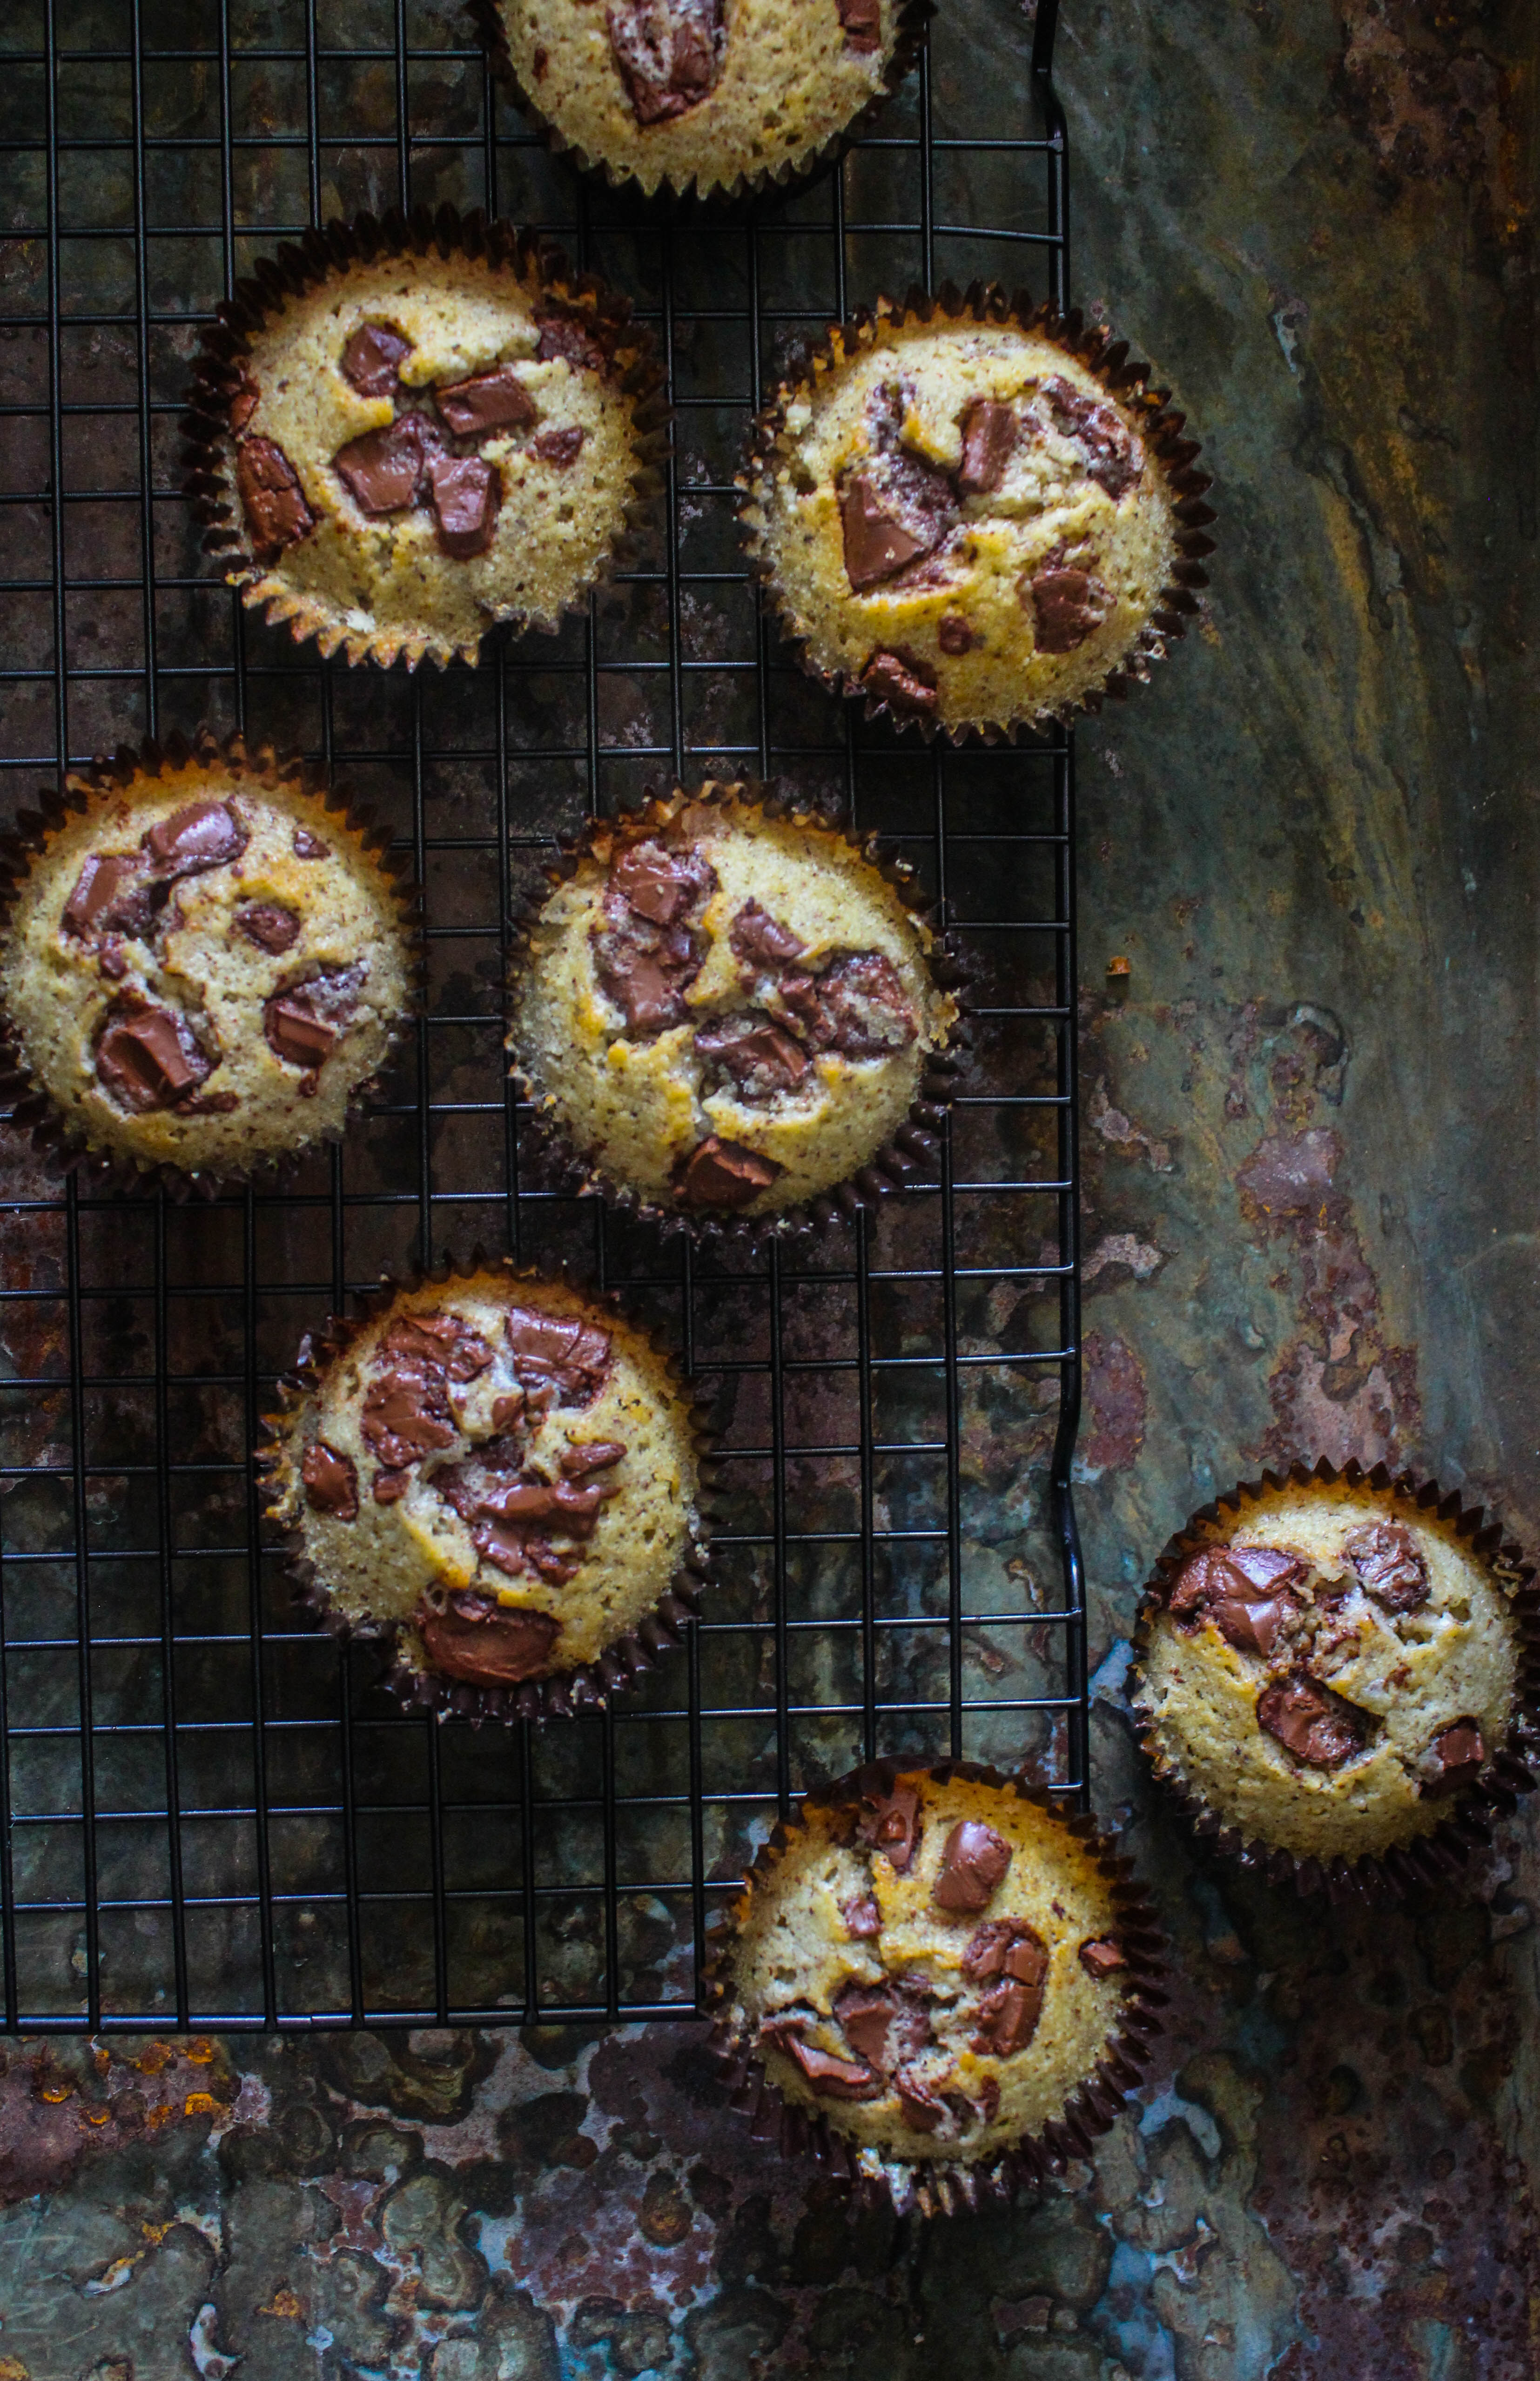
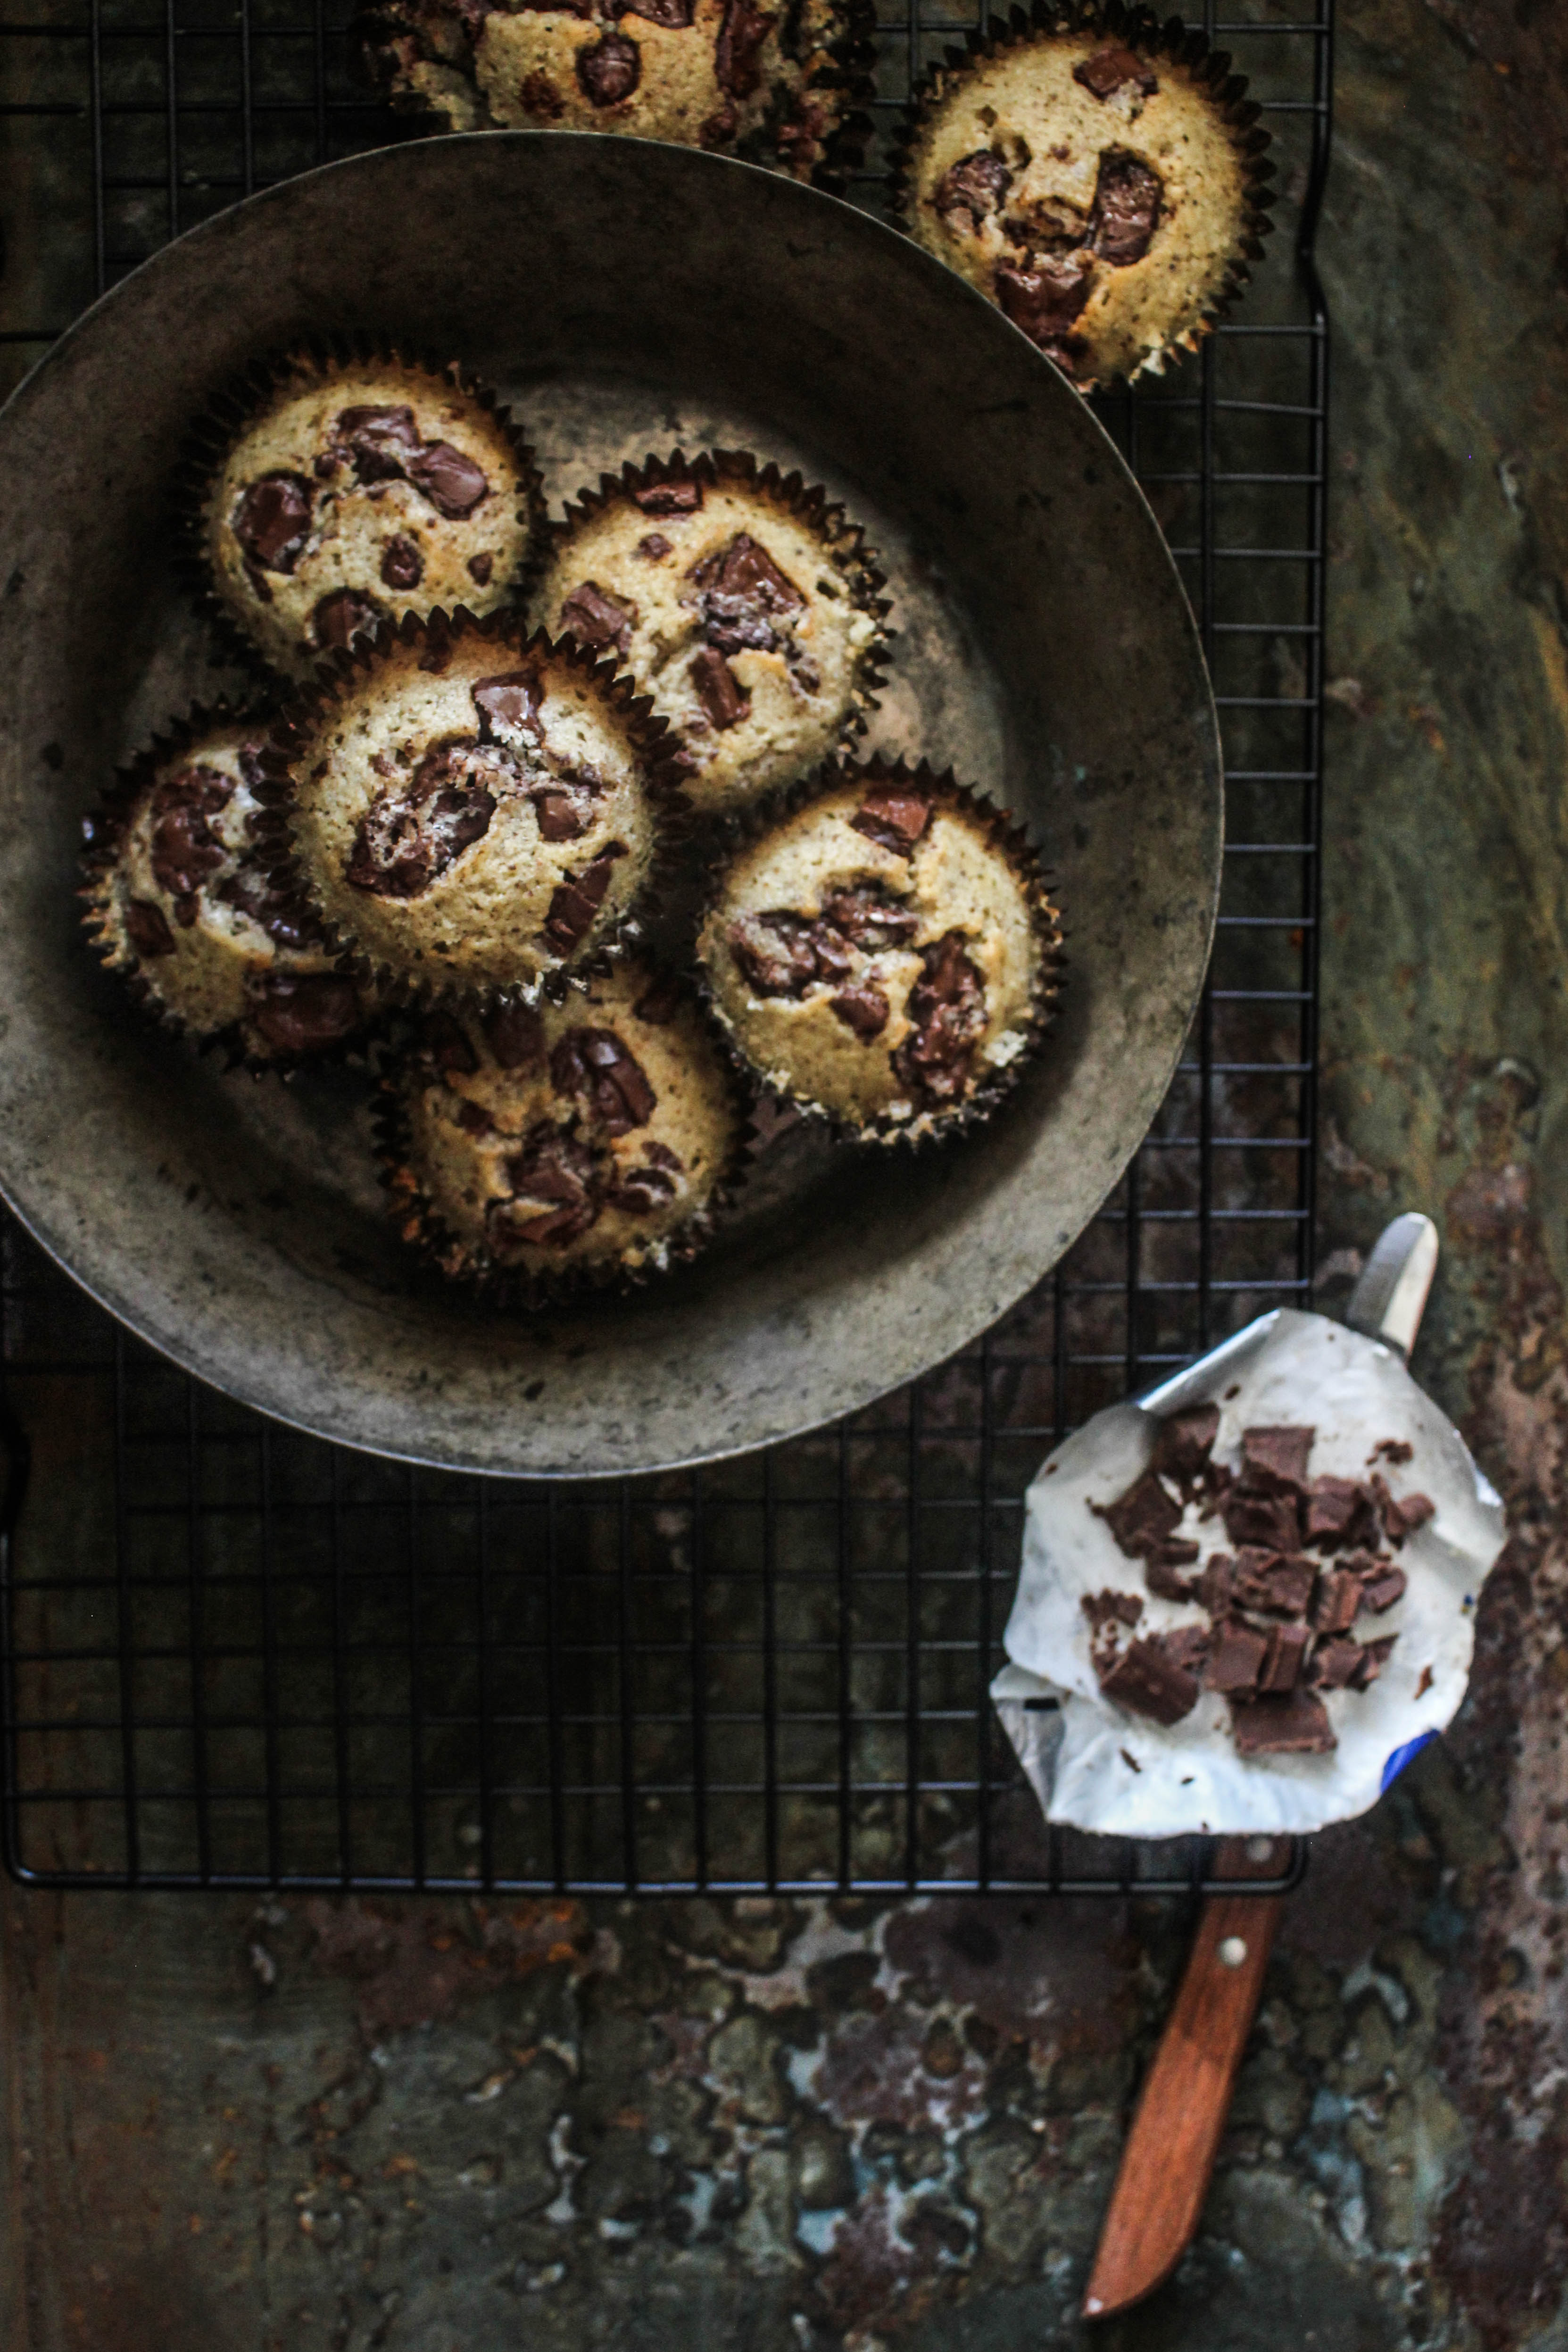
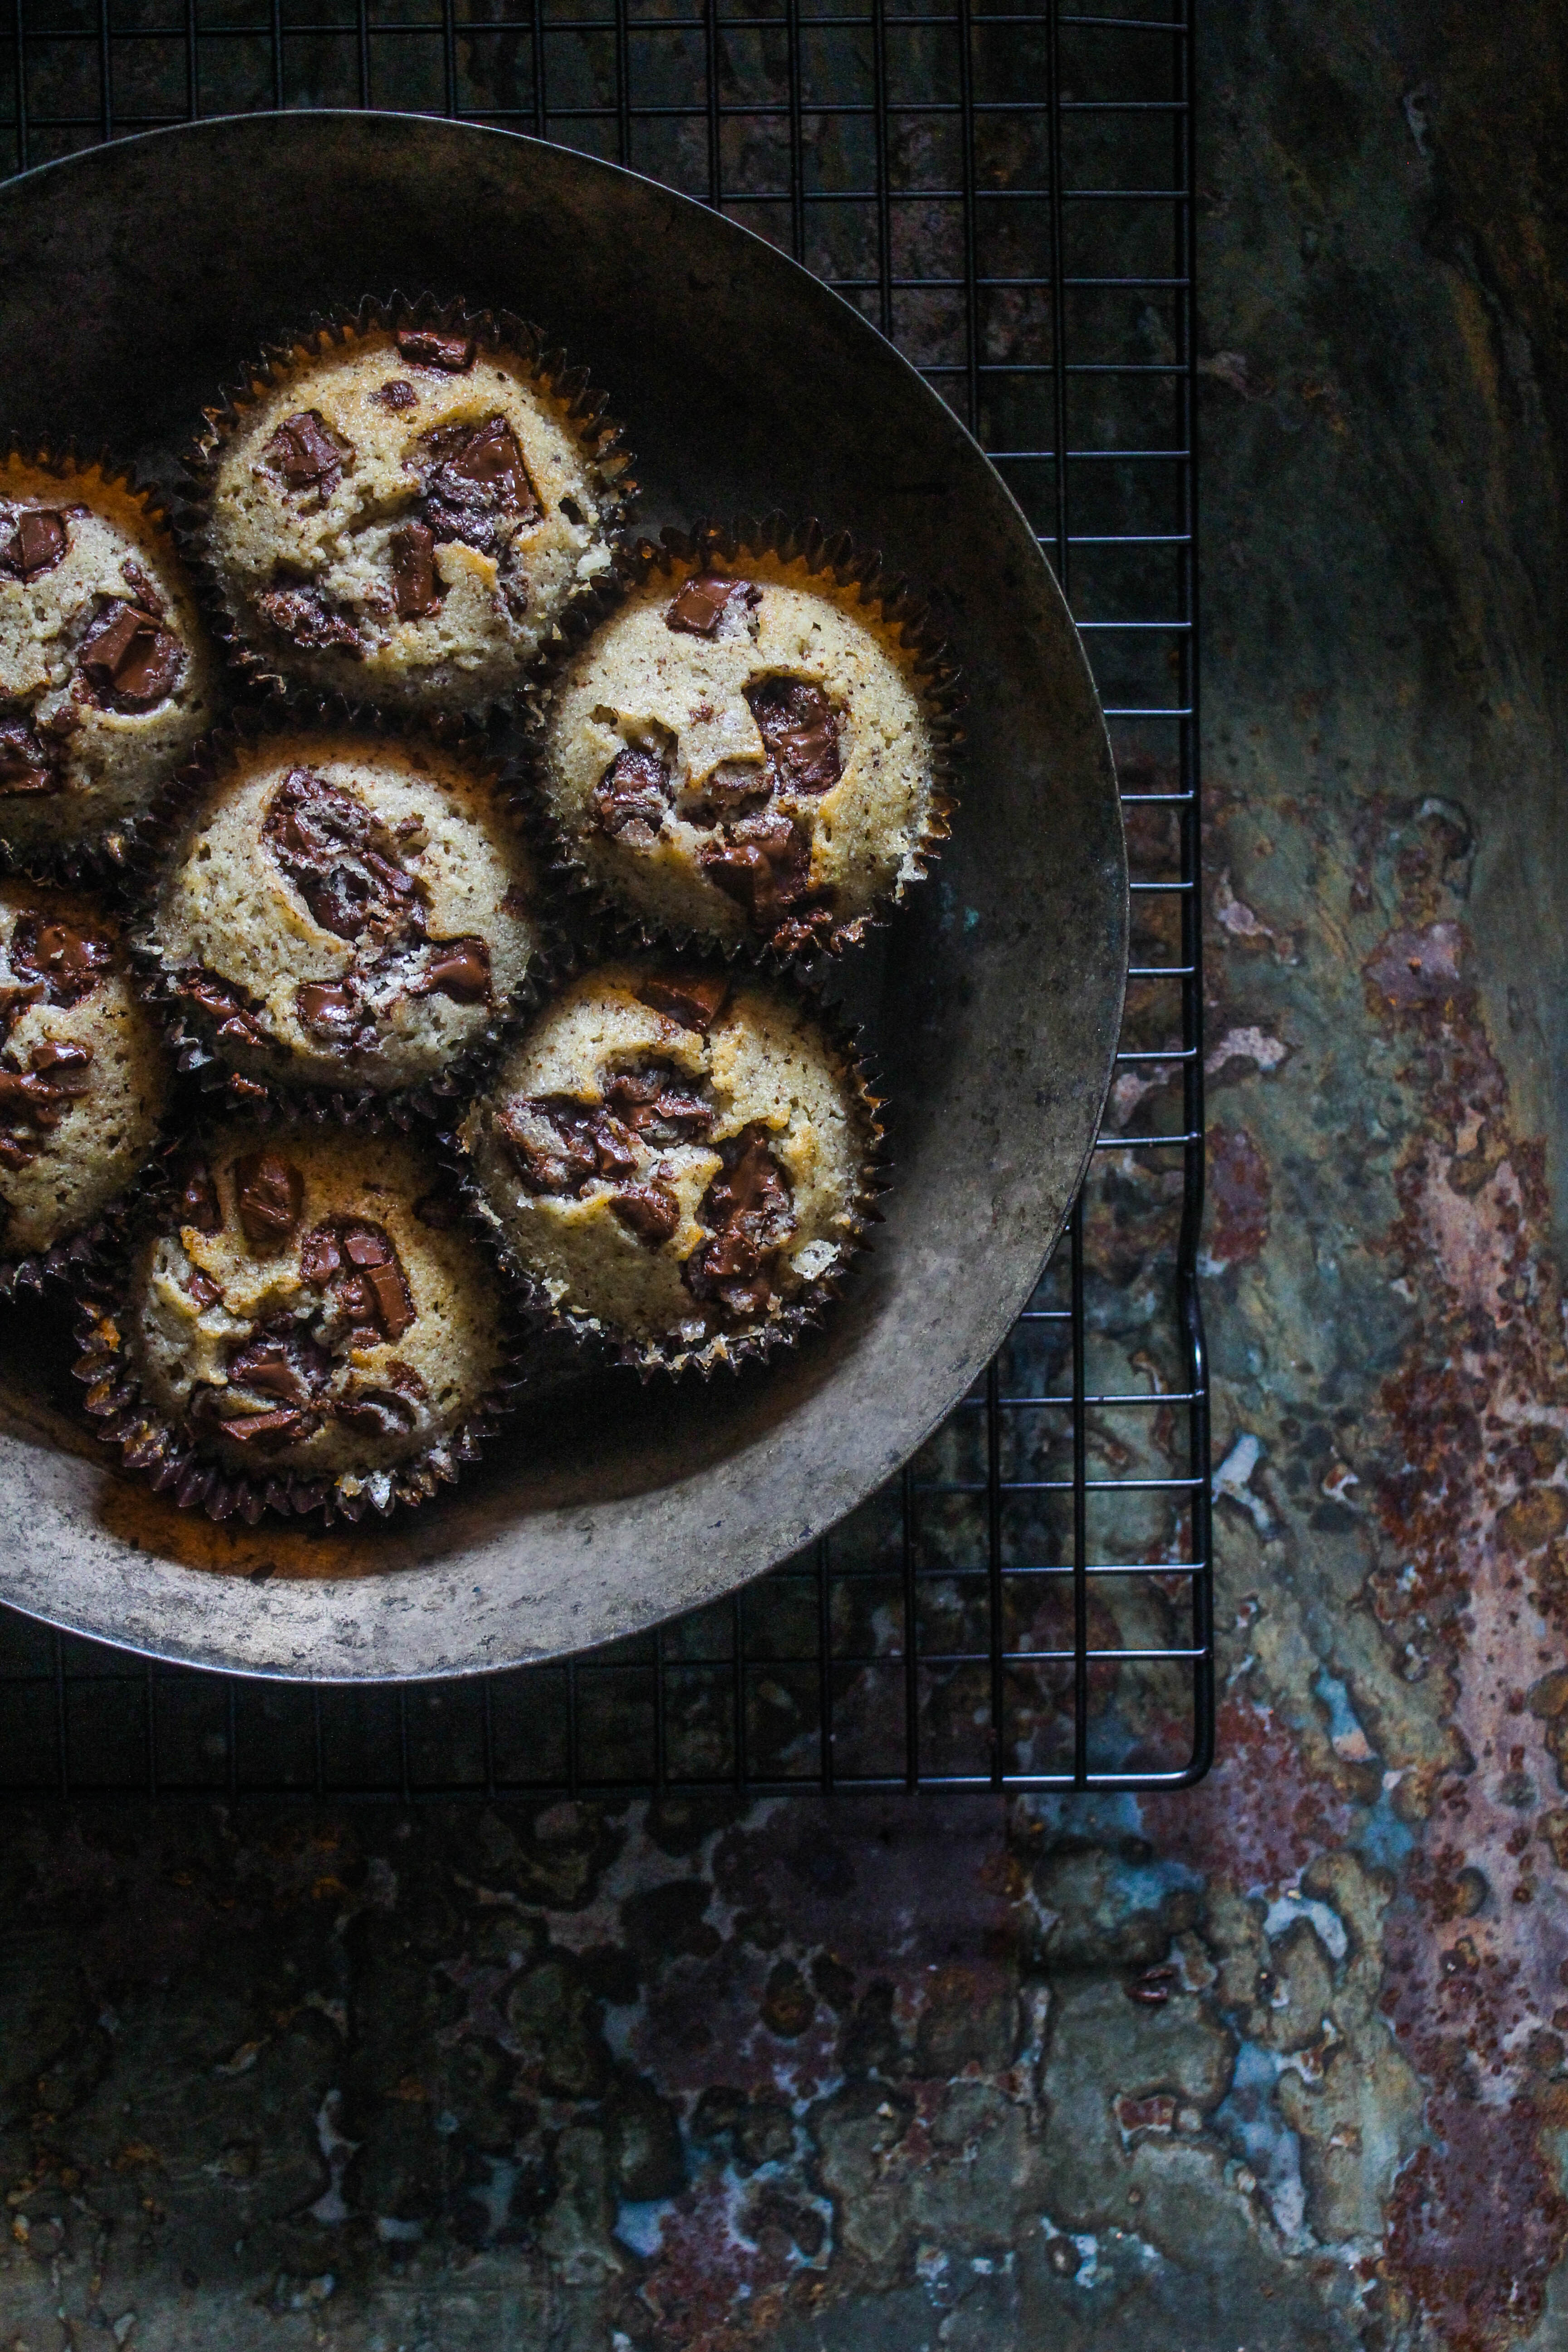
Hazelnut and Chocolate Chunk Friands (Financiers)

16|08|2014

Financiers or friands as they are known in Australia are a great way of using up egg whites. Personally, I find it hard to decide between a meringue based dessert and a friand if I happen to have egg whites at home. I love making and eating both immensely. The deciding factor ultimately is whether or not I want to use my electric mixer. Friands are simple to make with a few ingredients and can be put together with just a bowl and a whisk. But that is not really the reason why I love them.  Friands use nut meal, ground nuts as a core ingredient. Therefore they have a nutty flavour and a crunchy bite to them which is so addictive. And textures are an important part of my recipes.

IMG_1064-2

Though friands are relatively heavier on the butter as compared to a muffin or an unfrosted cupcake, they are truly a treat. The crispy exterior and nutty buttery centre is open to many different add-ins…fruits, chocolate, coconut, nuts and so on. Any ground nut works which means you have so many permutations and combinations to choose from. For me, chocolate and hazelnut are made for each other. In this case, big chunks of chocolate melt in your month as you bite into a warm crunchy hazelnut pastry. I love to use my oval friand moulds to bake these but they result in about 6 big ones that are a bit too much for my little ones to eat. I used a regular muffin pan that yielded 10 friands.

IMG_1075-2

IMG_1087-2

Hazelnut and Chocolate Chunk Friands (Financiers)
Yields 10

6 egg whites
180g butter, melted and cooled
1 cup (100g) hazelnut meal
1/2 cup (75g) plain flour
1 1/2 cups icing sugar mixture
1 tsp vanilla essence
100g dark chocolate, roughly chopped into small and big chunks

Preheat oven to 180 degrees C. Grease or line a 12 capacity muffin pan with paper liners.
Combine the egg whites, hazelnut meal, icing sugar, flour and vanilla essence in a large bowl. Add the butter and stir to combine. Add half the chocolate chunks and stir to combine
Pour the friand mixture evenly among the prepared pans. Sprinkle the remaining chocolate chunks over each friand. Bake in preheated oven for 12-15 minutes or until a skewer inserted into the centres comes out clean. Set aside for 5 minutes before turning onto a wire rack to cool. Eat warm or at room temperature.


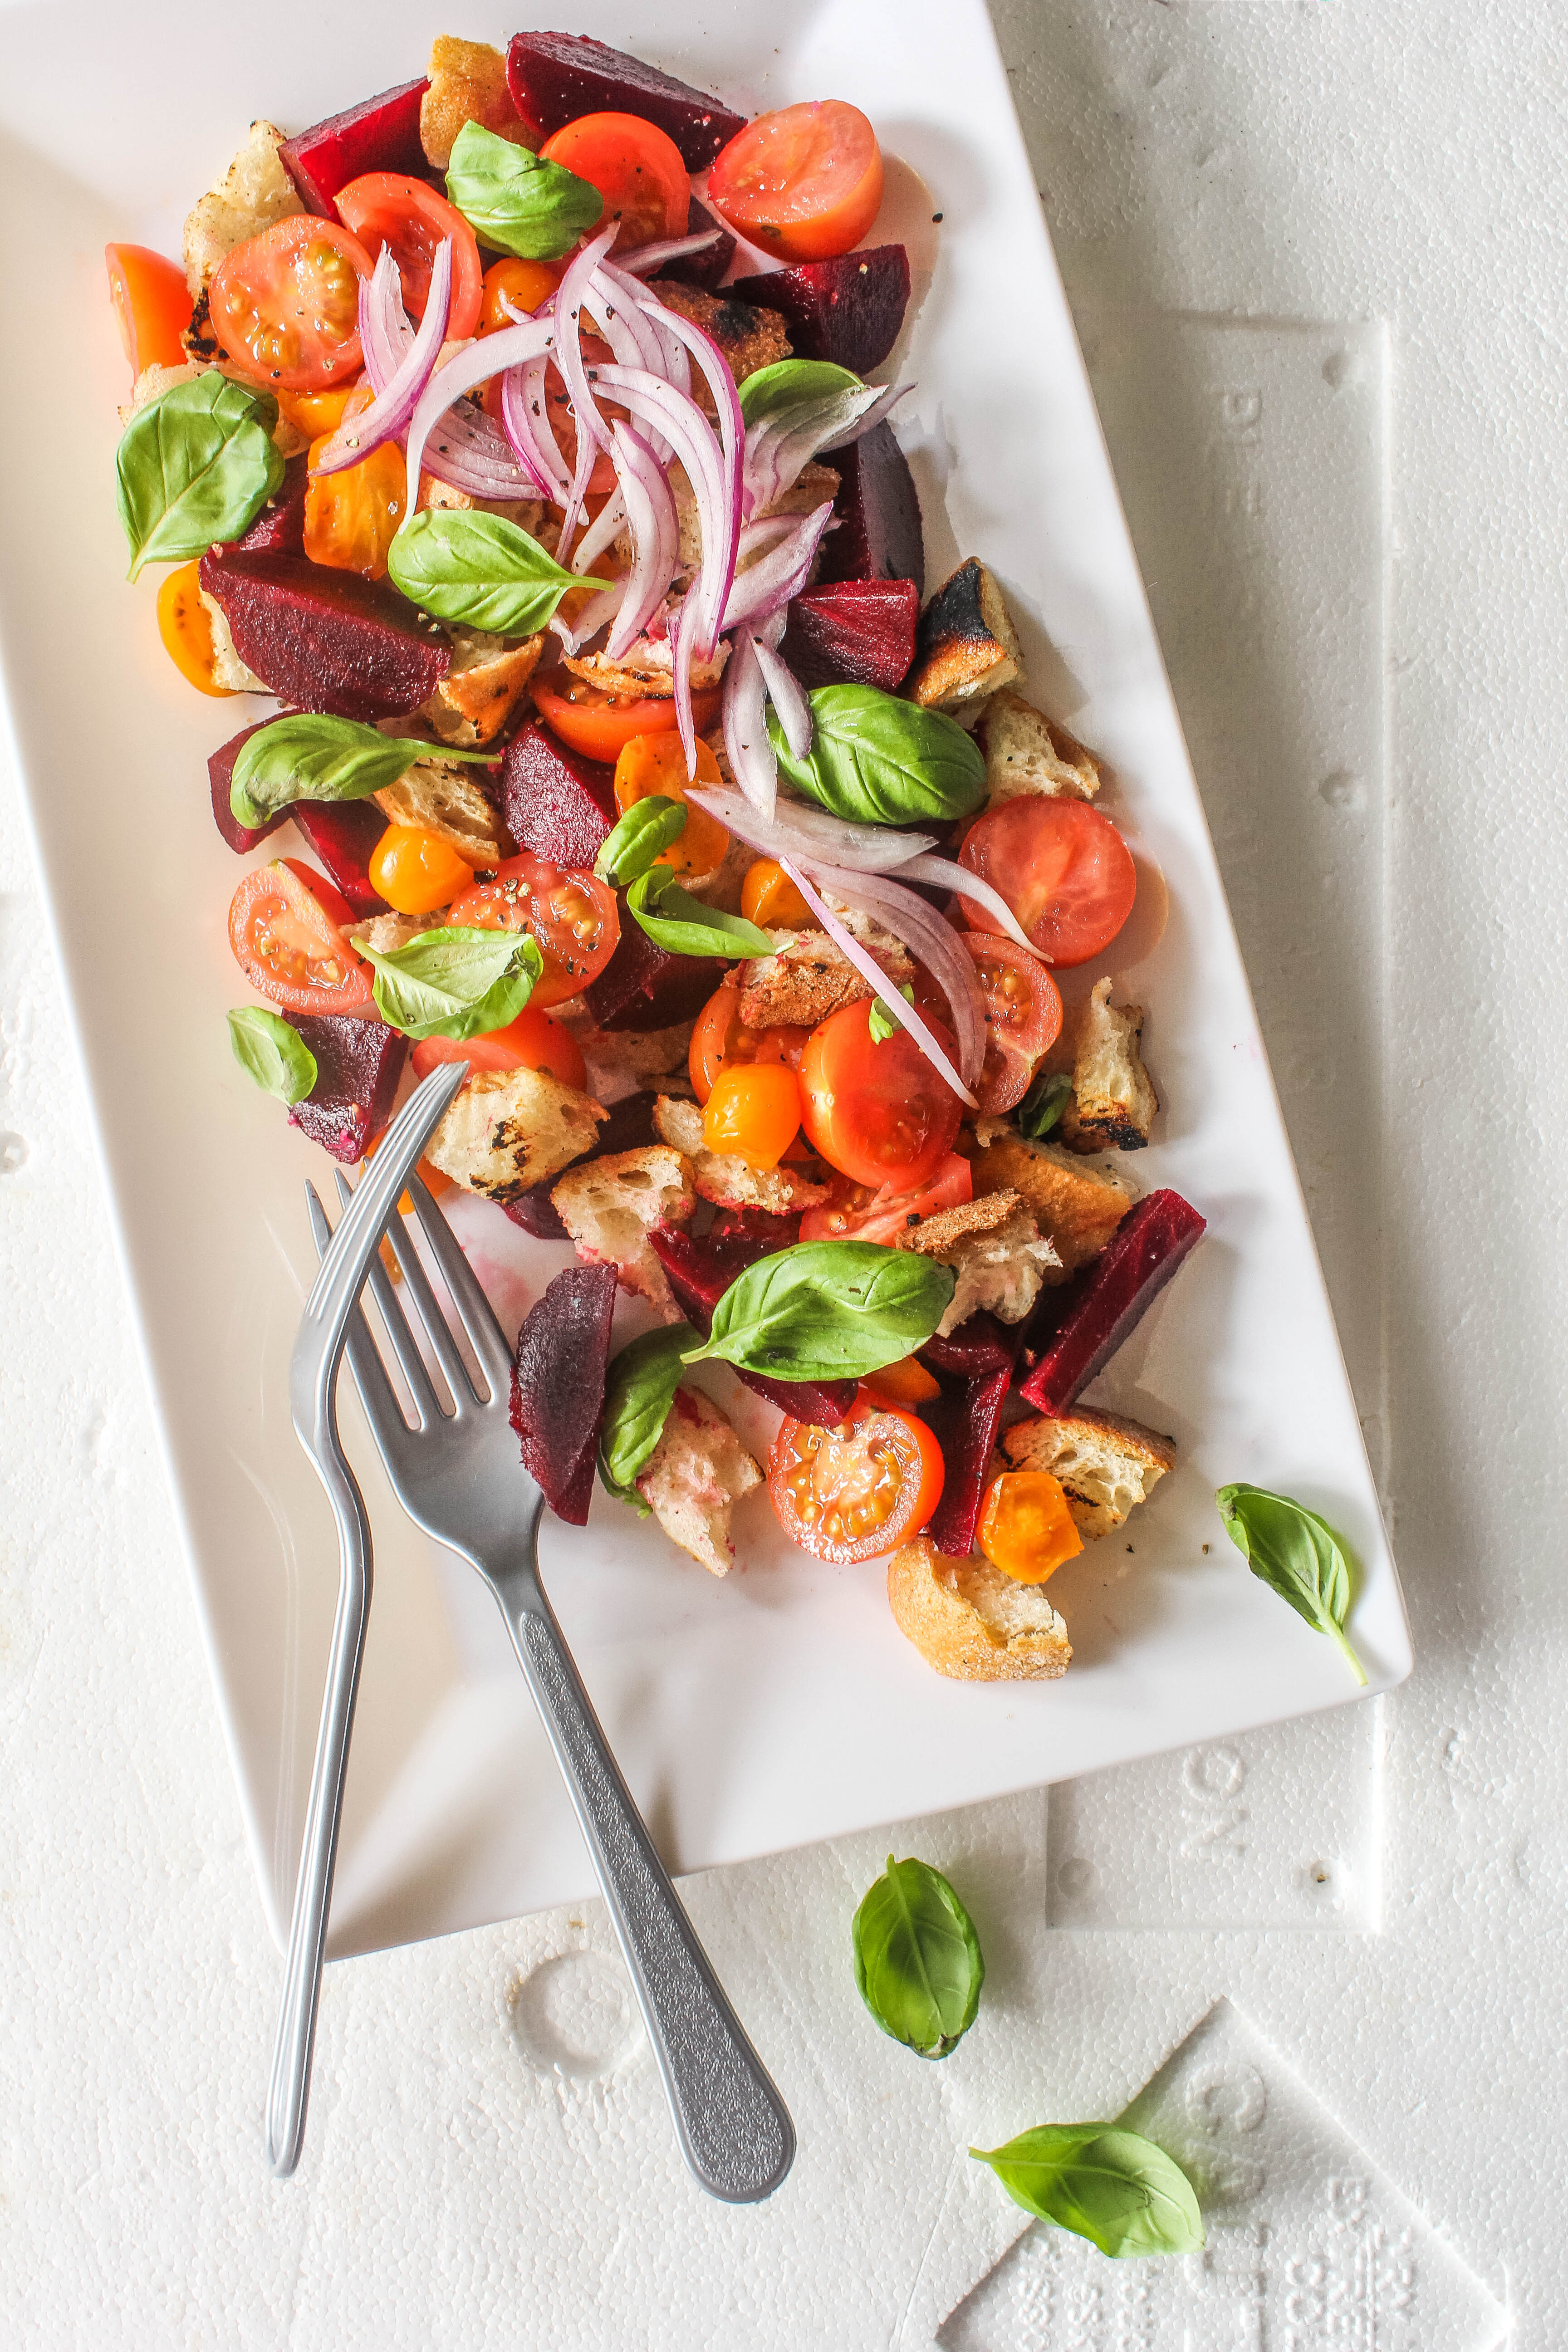
Beetroot Panzanella Salad

13|08|2014

This has been one long winter. Now that it is in its last stretch, the wait is the hardest. The last always seems like the longest, coldest and darkest to me. The length of this wait, however is not as lasting, extended and painted as the dreams and plans I have for the upcoming Spring and Summer.  There will be fresh berries. Picking, eating and adorning my cakes. There will be the colours of Spring, spilling out everywhere. There will be picnics. Planned, impromptu ones (the ones you plan in your head, then do on an impulse). A mega dose of sunshine. And a good few extra hours to photograph.

IMG_1517
We are fortunate in Australia to have access to pretty much every fruit and vegetable, round the year. But I still tend to look at root vegetables as a winter thing particularly for their warming characteristics in food. Part of this stems from my growing up years in India when beetroot, radishes and good quality carrots were available only during the colder months. Beetroot is my favourite, which is apparent since this is the second recipe I am dedicating this season. IMG_1495-2 IMG_1527
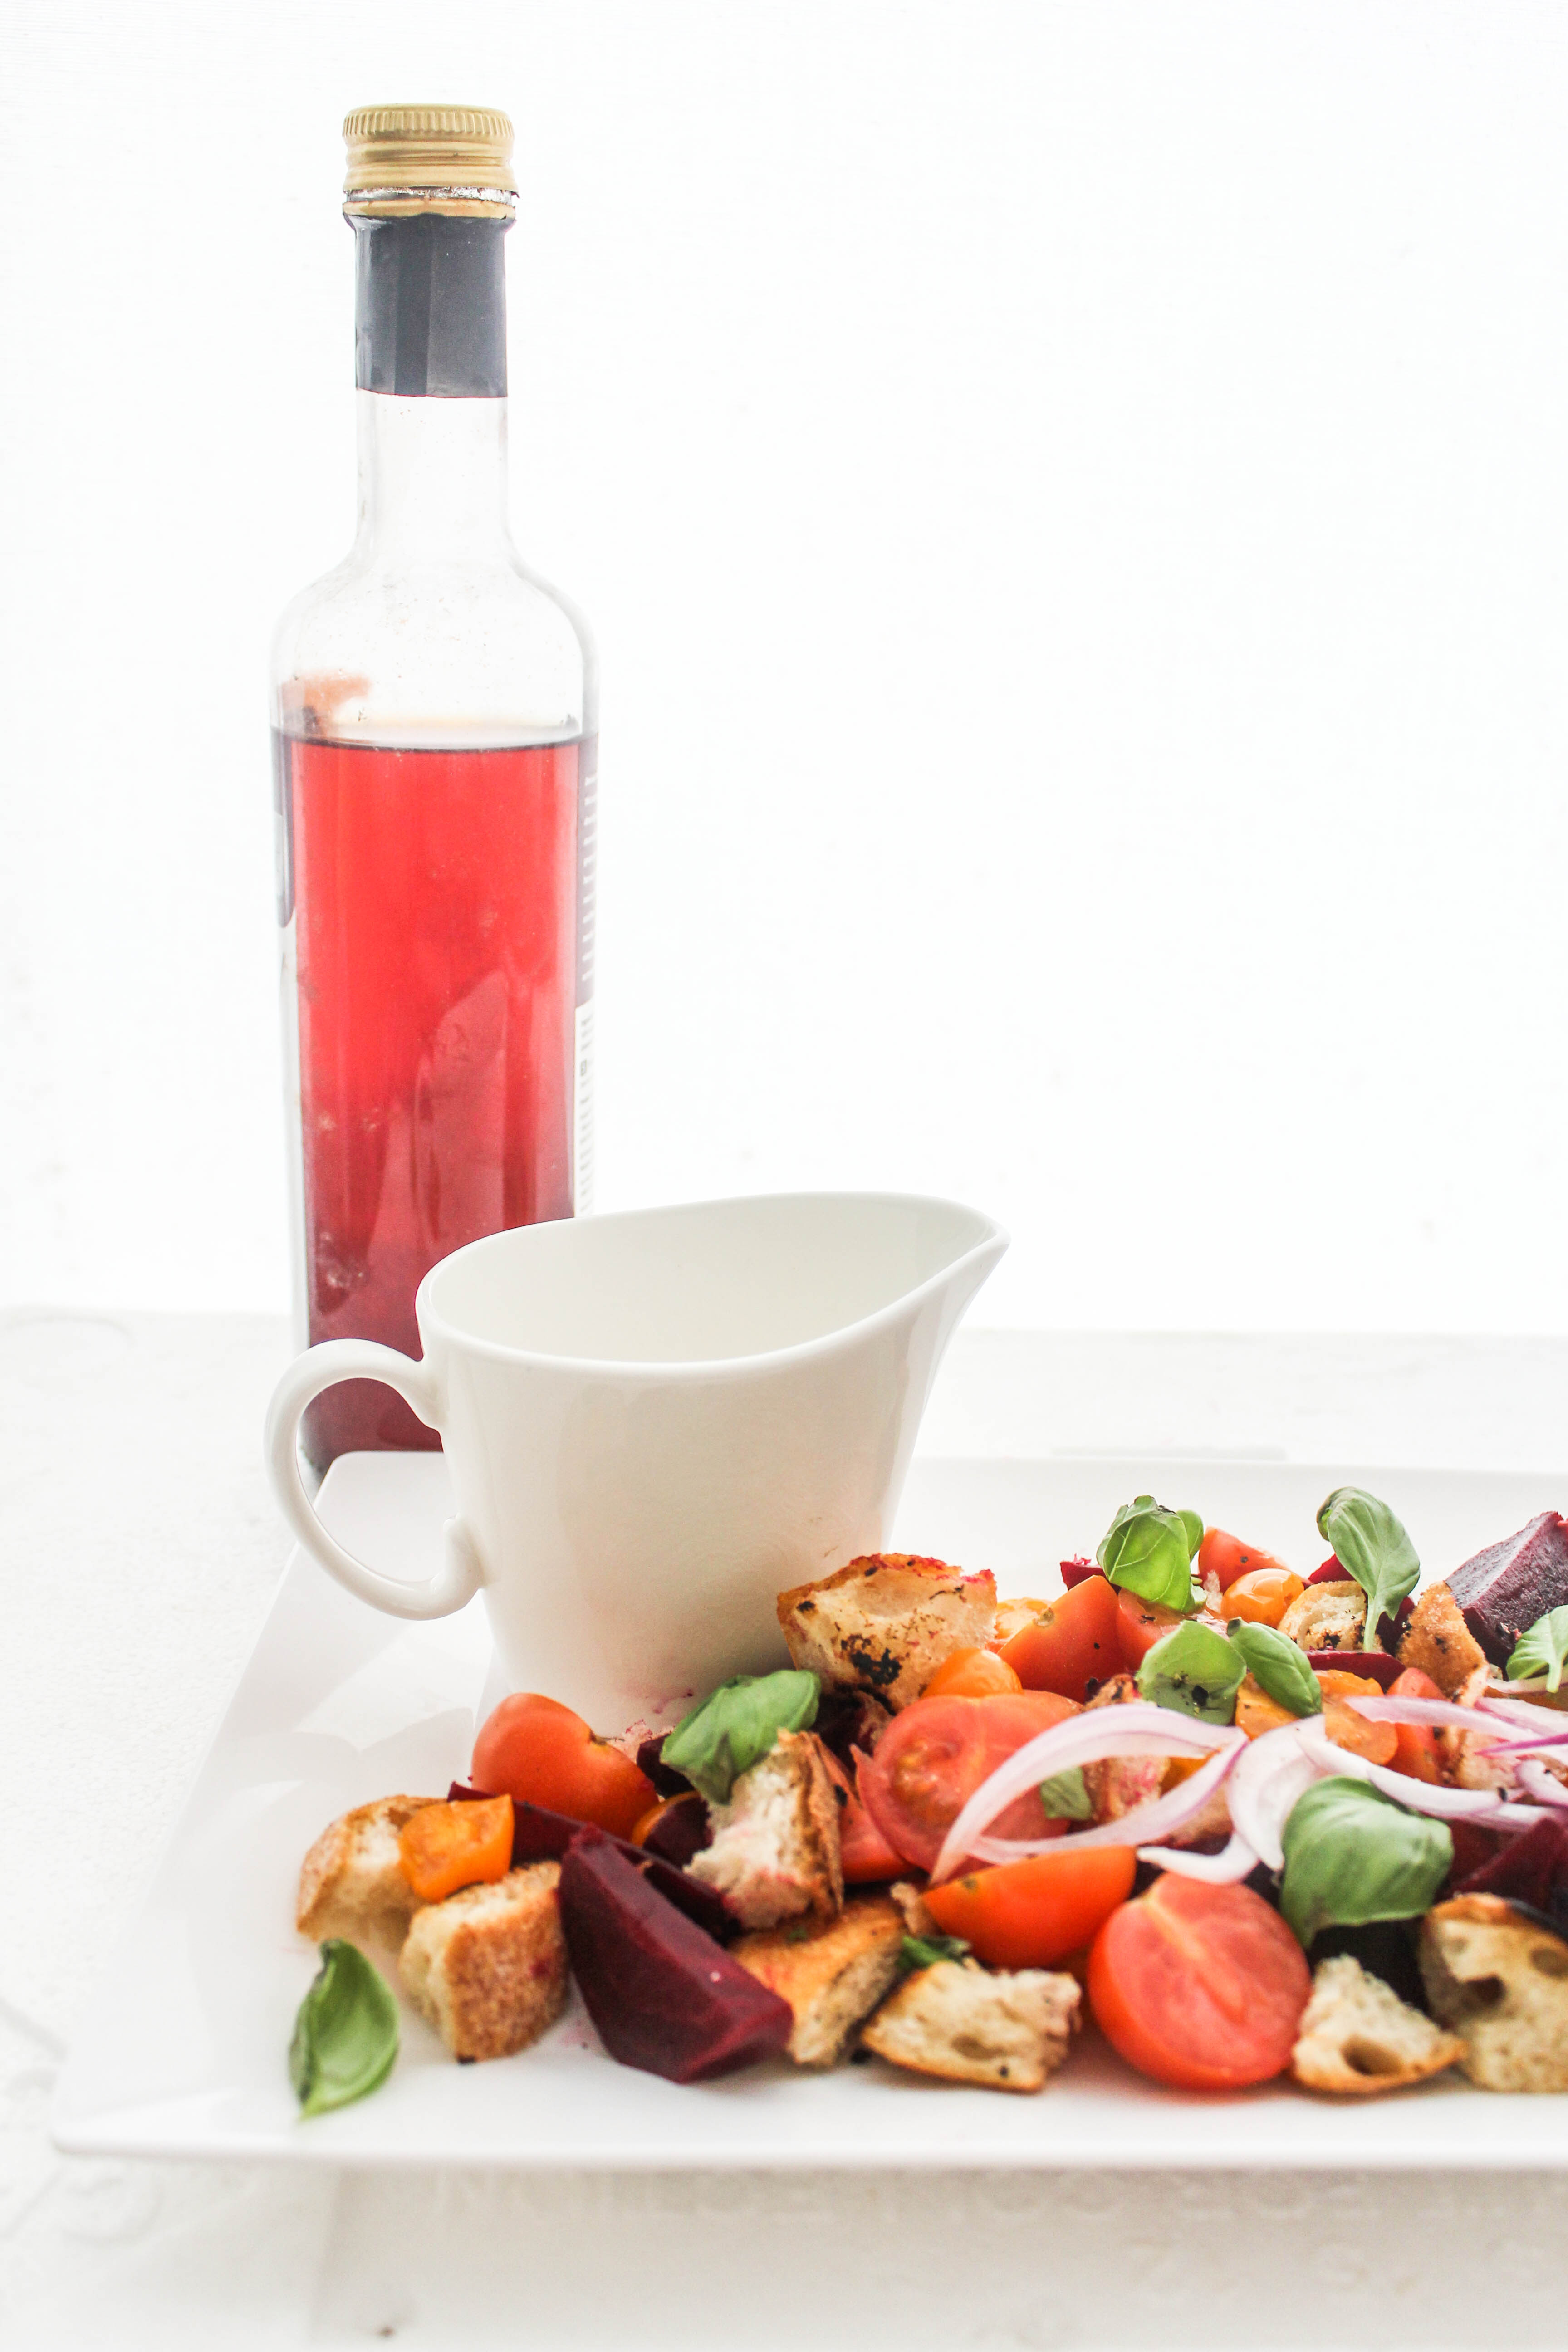
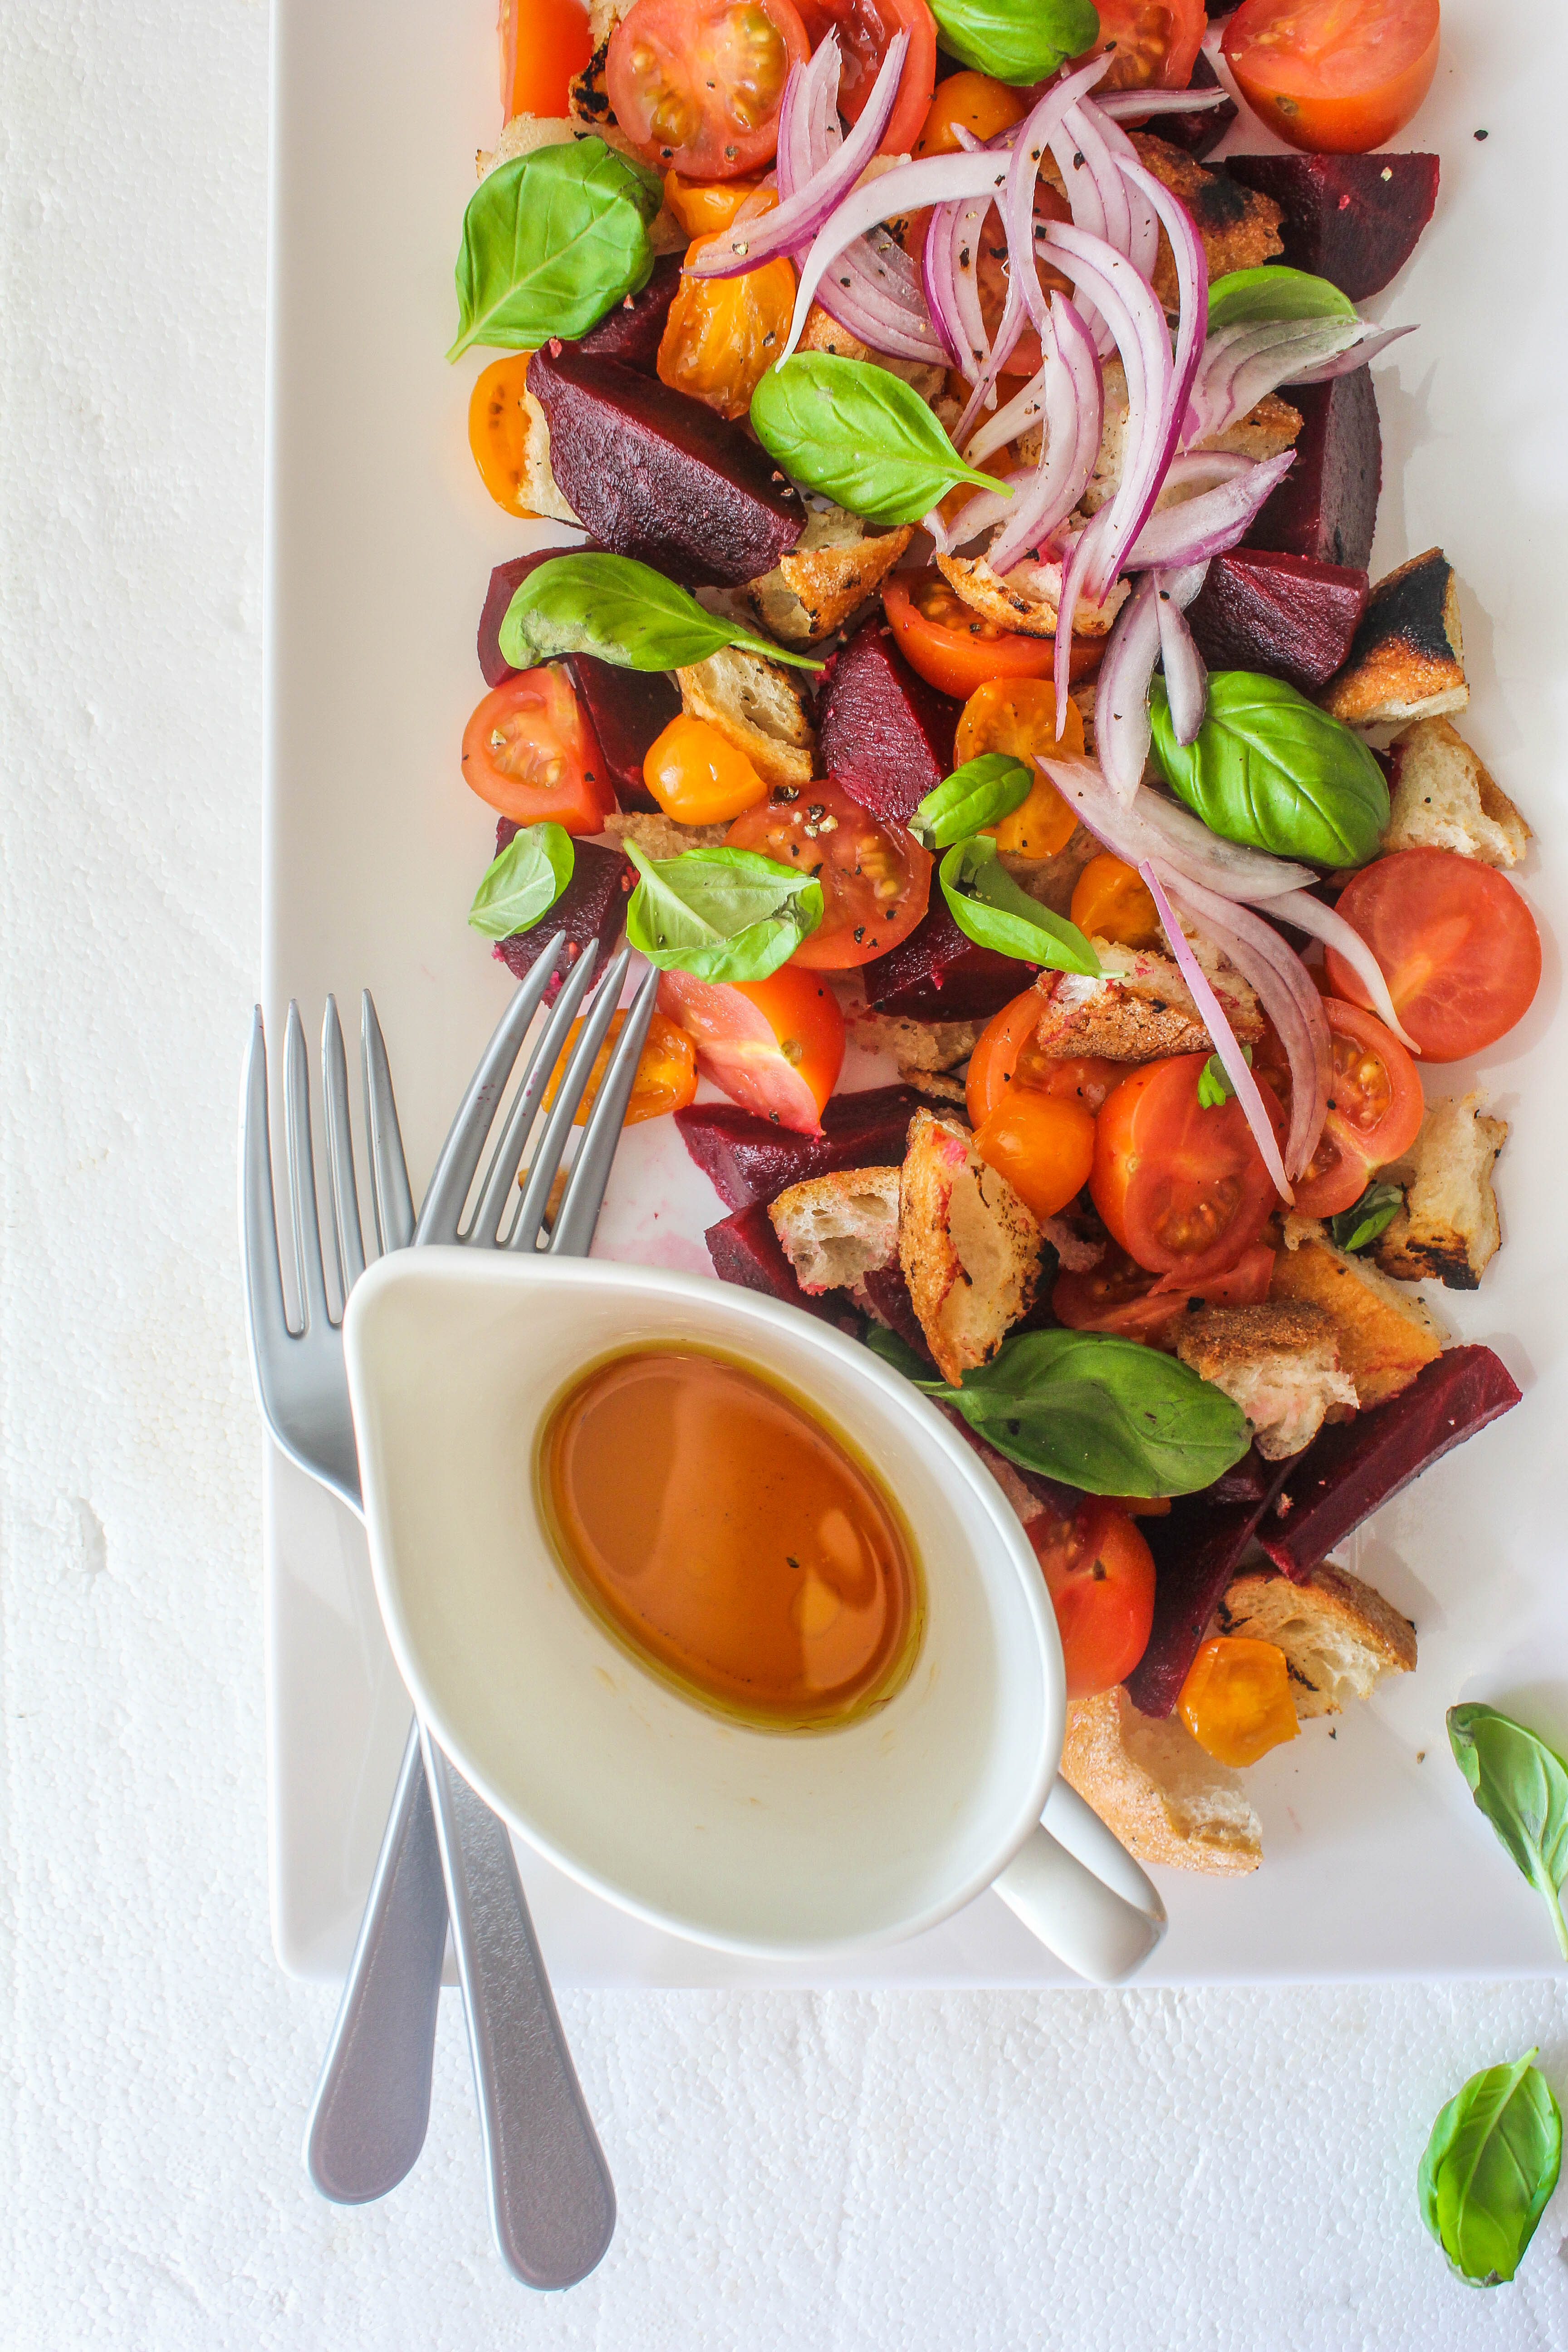
I have been making Panzanella even before I knew it was called Panzanella salad. Crusty bread, ripe tomatoes, leftover vegetables from the fridge, a good dose of extra virgin olive oil (I use a garlic infused one), a hint of vinegar and fresh basil from my garden, It is as simple as it sounds. This is one salad which is not only refreshing but can fill up your stomach while feeding your body with a whole lot of nutrition. The classic Panzanella is a celebration of juicy tomatoes, torn stale toasted bread that soaks up the tart vinaigrette and the fresh flavours of basil. More of a summertime salad. I am however happy to eat it and feed it to my pre-schoolers with the addition of sweet beetroot in winter. It provides a nice balance to the sharpness of the vinegar. It is important to use a crusty bread with body that does not become soggy in the salad. Olives, cucumber are added in some recipes. But basically, you can go ahead and make the recipe your own.

IMG_1515

Beetroot Panzanella Salad
Serves 4

200 g (about 1/3rd a loaf) sliced Sourdough bread
2 tablespoons olive oil
250 g cherry tomatoes, halved
200 g yellow tomatoes, halved
200 g baby beetroot, peeled, cooked and quartered (I use the packaged ones from Coles, Australia. Canned will also do)
1/4 red onion, thinly sliced 2 tablespoons extra virgin olive oil (I use garlic infused extra virgin olive oil)
1 tablespoon red wine vinegar (or balsamic vinegar) 1
1 garlic clove, finely chopped (optional, not required if you are using the garlic infused variety of olive oil)
Salt & freshly ground pepper
Fresh basil, to scatter

Tear the sliced bread into rough pieces about 3-5cm in size. Heat 1 tbsp. olive oil in a large frying pan over a medium-high heat. Add half of the bread. Cook, tossing occasionally, for 4 minutes or until golden. Transfer to a large bowl. Repeat with the remaining olive oil and bread.

Place the tomatoes, beetroot, red onion and bread in a salad bowl or tray. Combine the extra virgin olive oil, red wine vinegar and garlic (if using). Add to the salad. Season with salt and pepper. Use clean hands to toss until well combined. Scatter with torn basil leaves to serve.

Chocolate Almond Coconut Cake

8|08|2014

A few days ago, I chanced upon a carton of almond milk. You can read about it here. It is no secret how much I love almonds and I use them quite often in my recipes. However, creating with almond milk was a first. I made simple and healthy banana blueberry almond popsicles to get a feel of how it would work in a recipe. The nuttiness was there and it proved to be a great dairy alternative. I was impressed. I wanted to add it to anything and everything. Most of all, I was curious to know how almond milk would work in a cake or a baked item. Would it add an element of texture? Would it take away some of the moisture that regular milk/buttermilk/sour cream contributes? Will I get a crisp crust on my cake? Anything that lends itself well to a cake is up there on my ingredient list. So I put it to the cake test.

IMG_1295-2

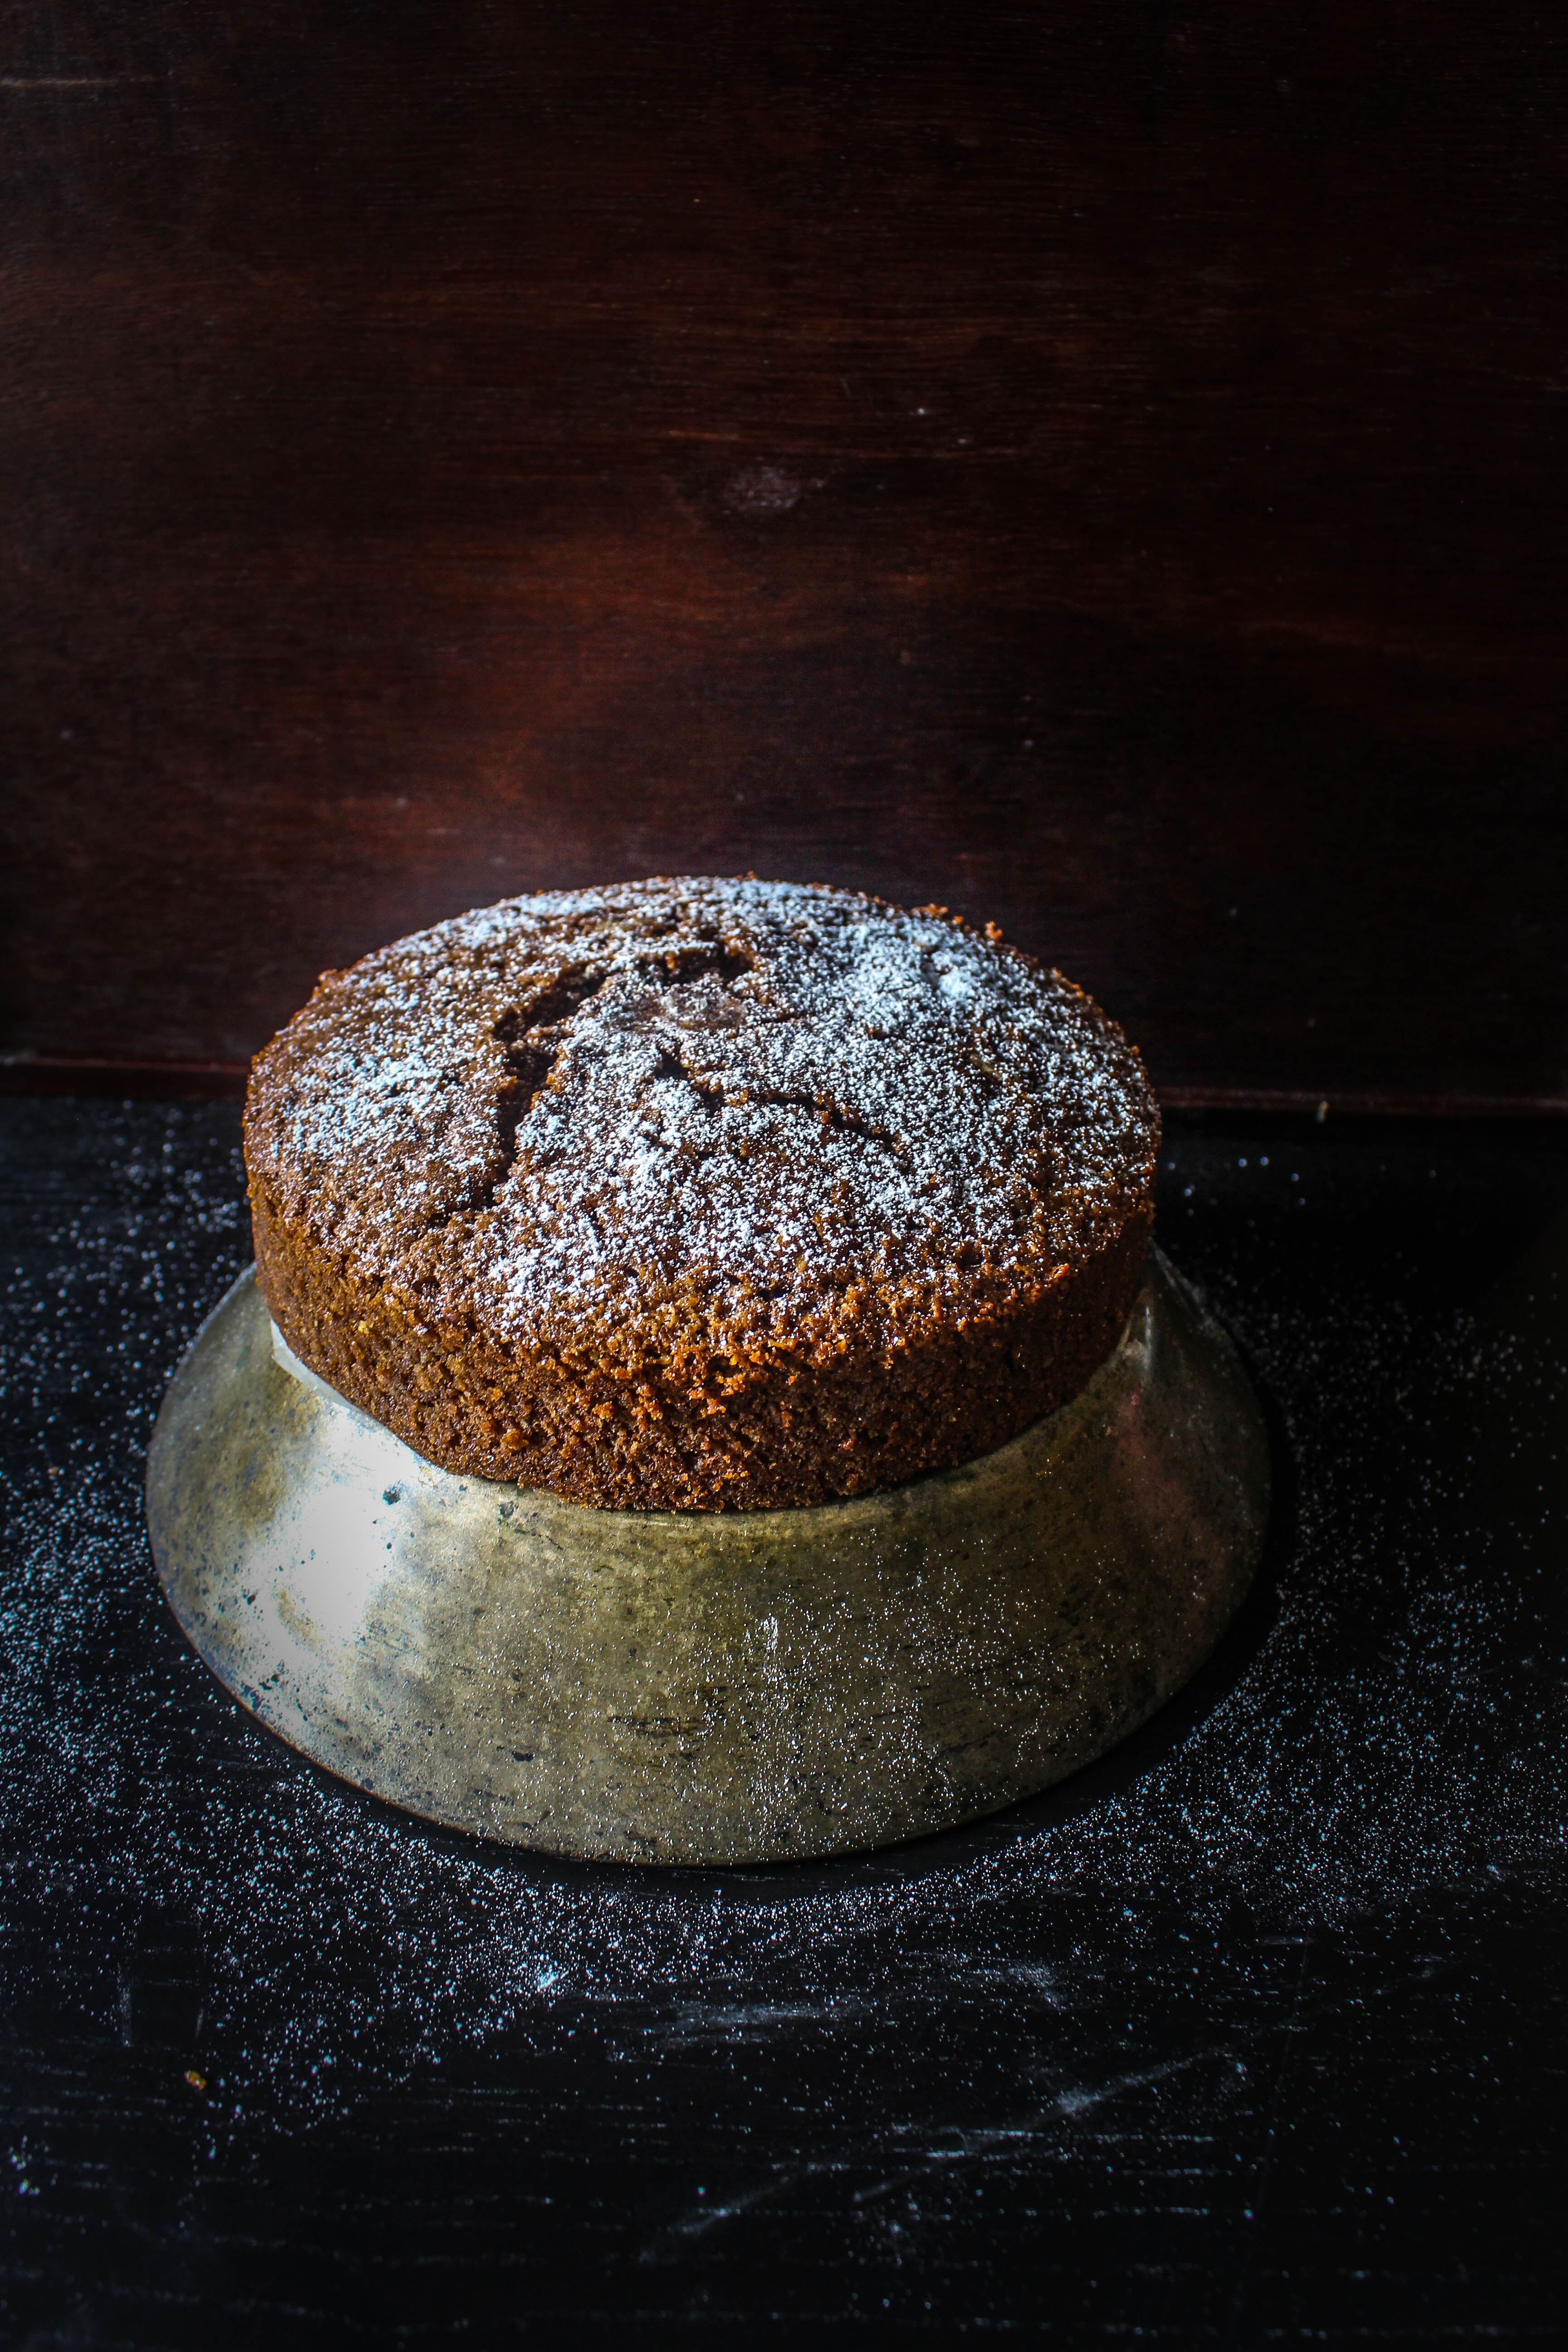
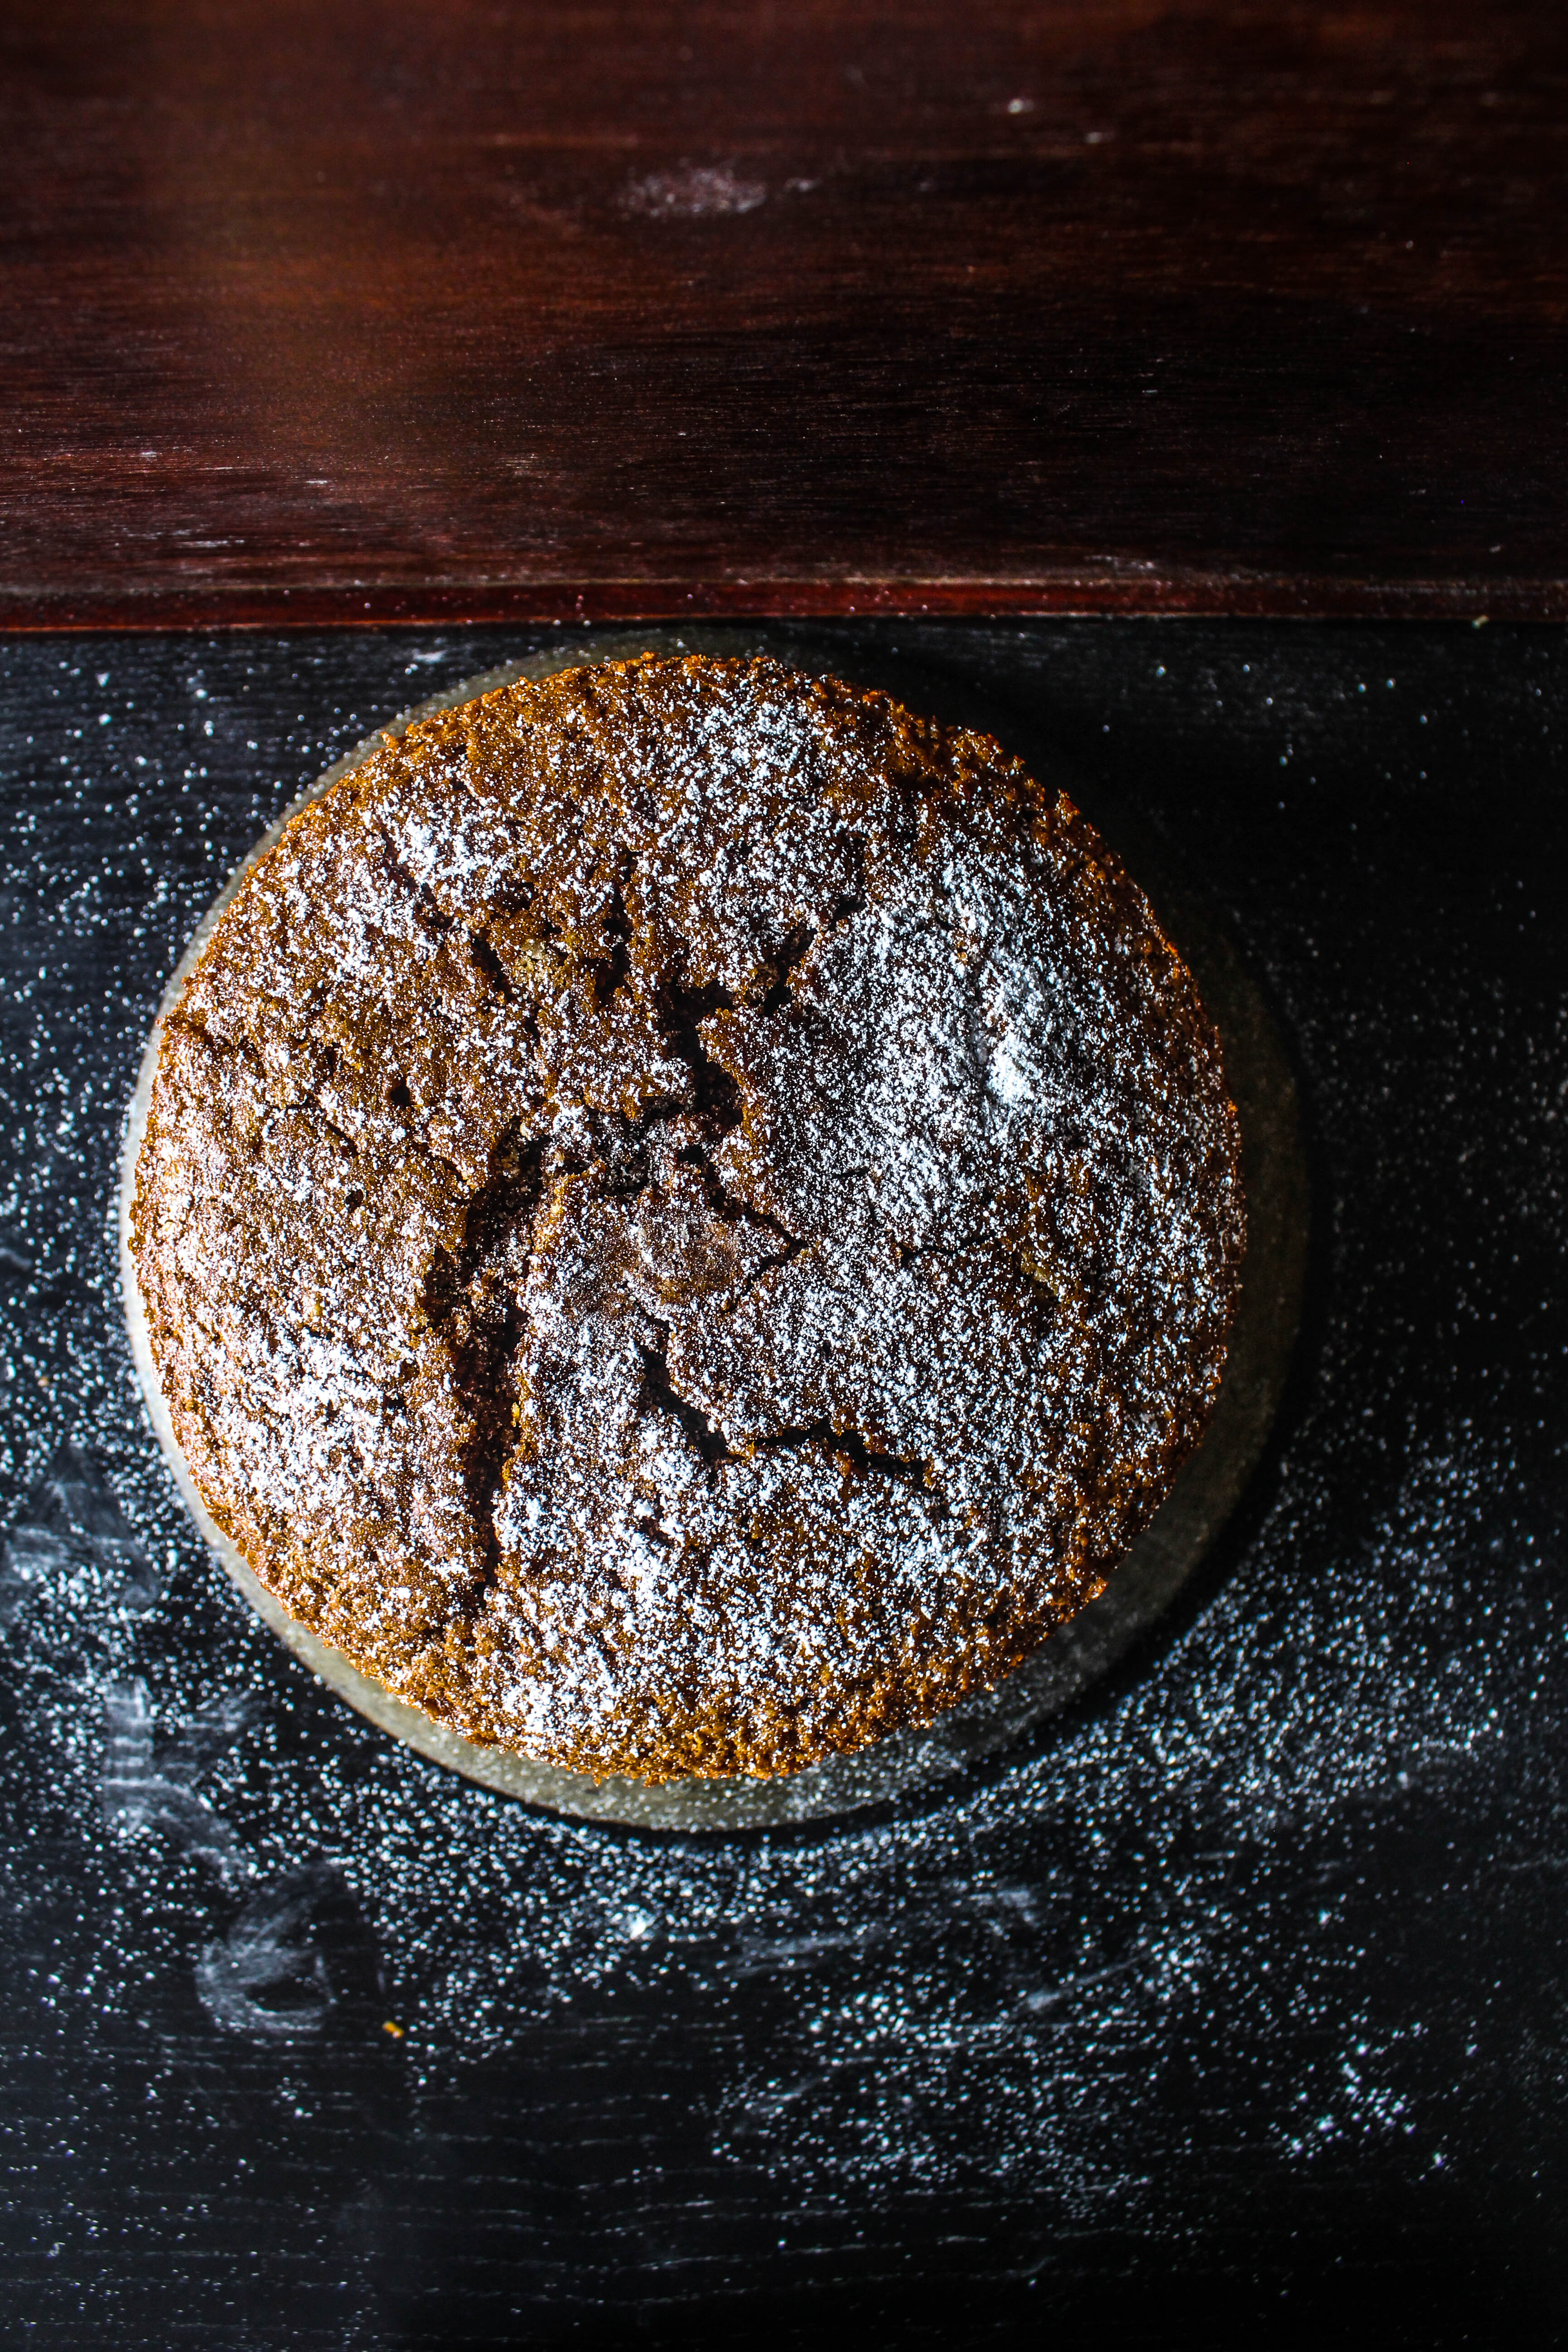
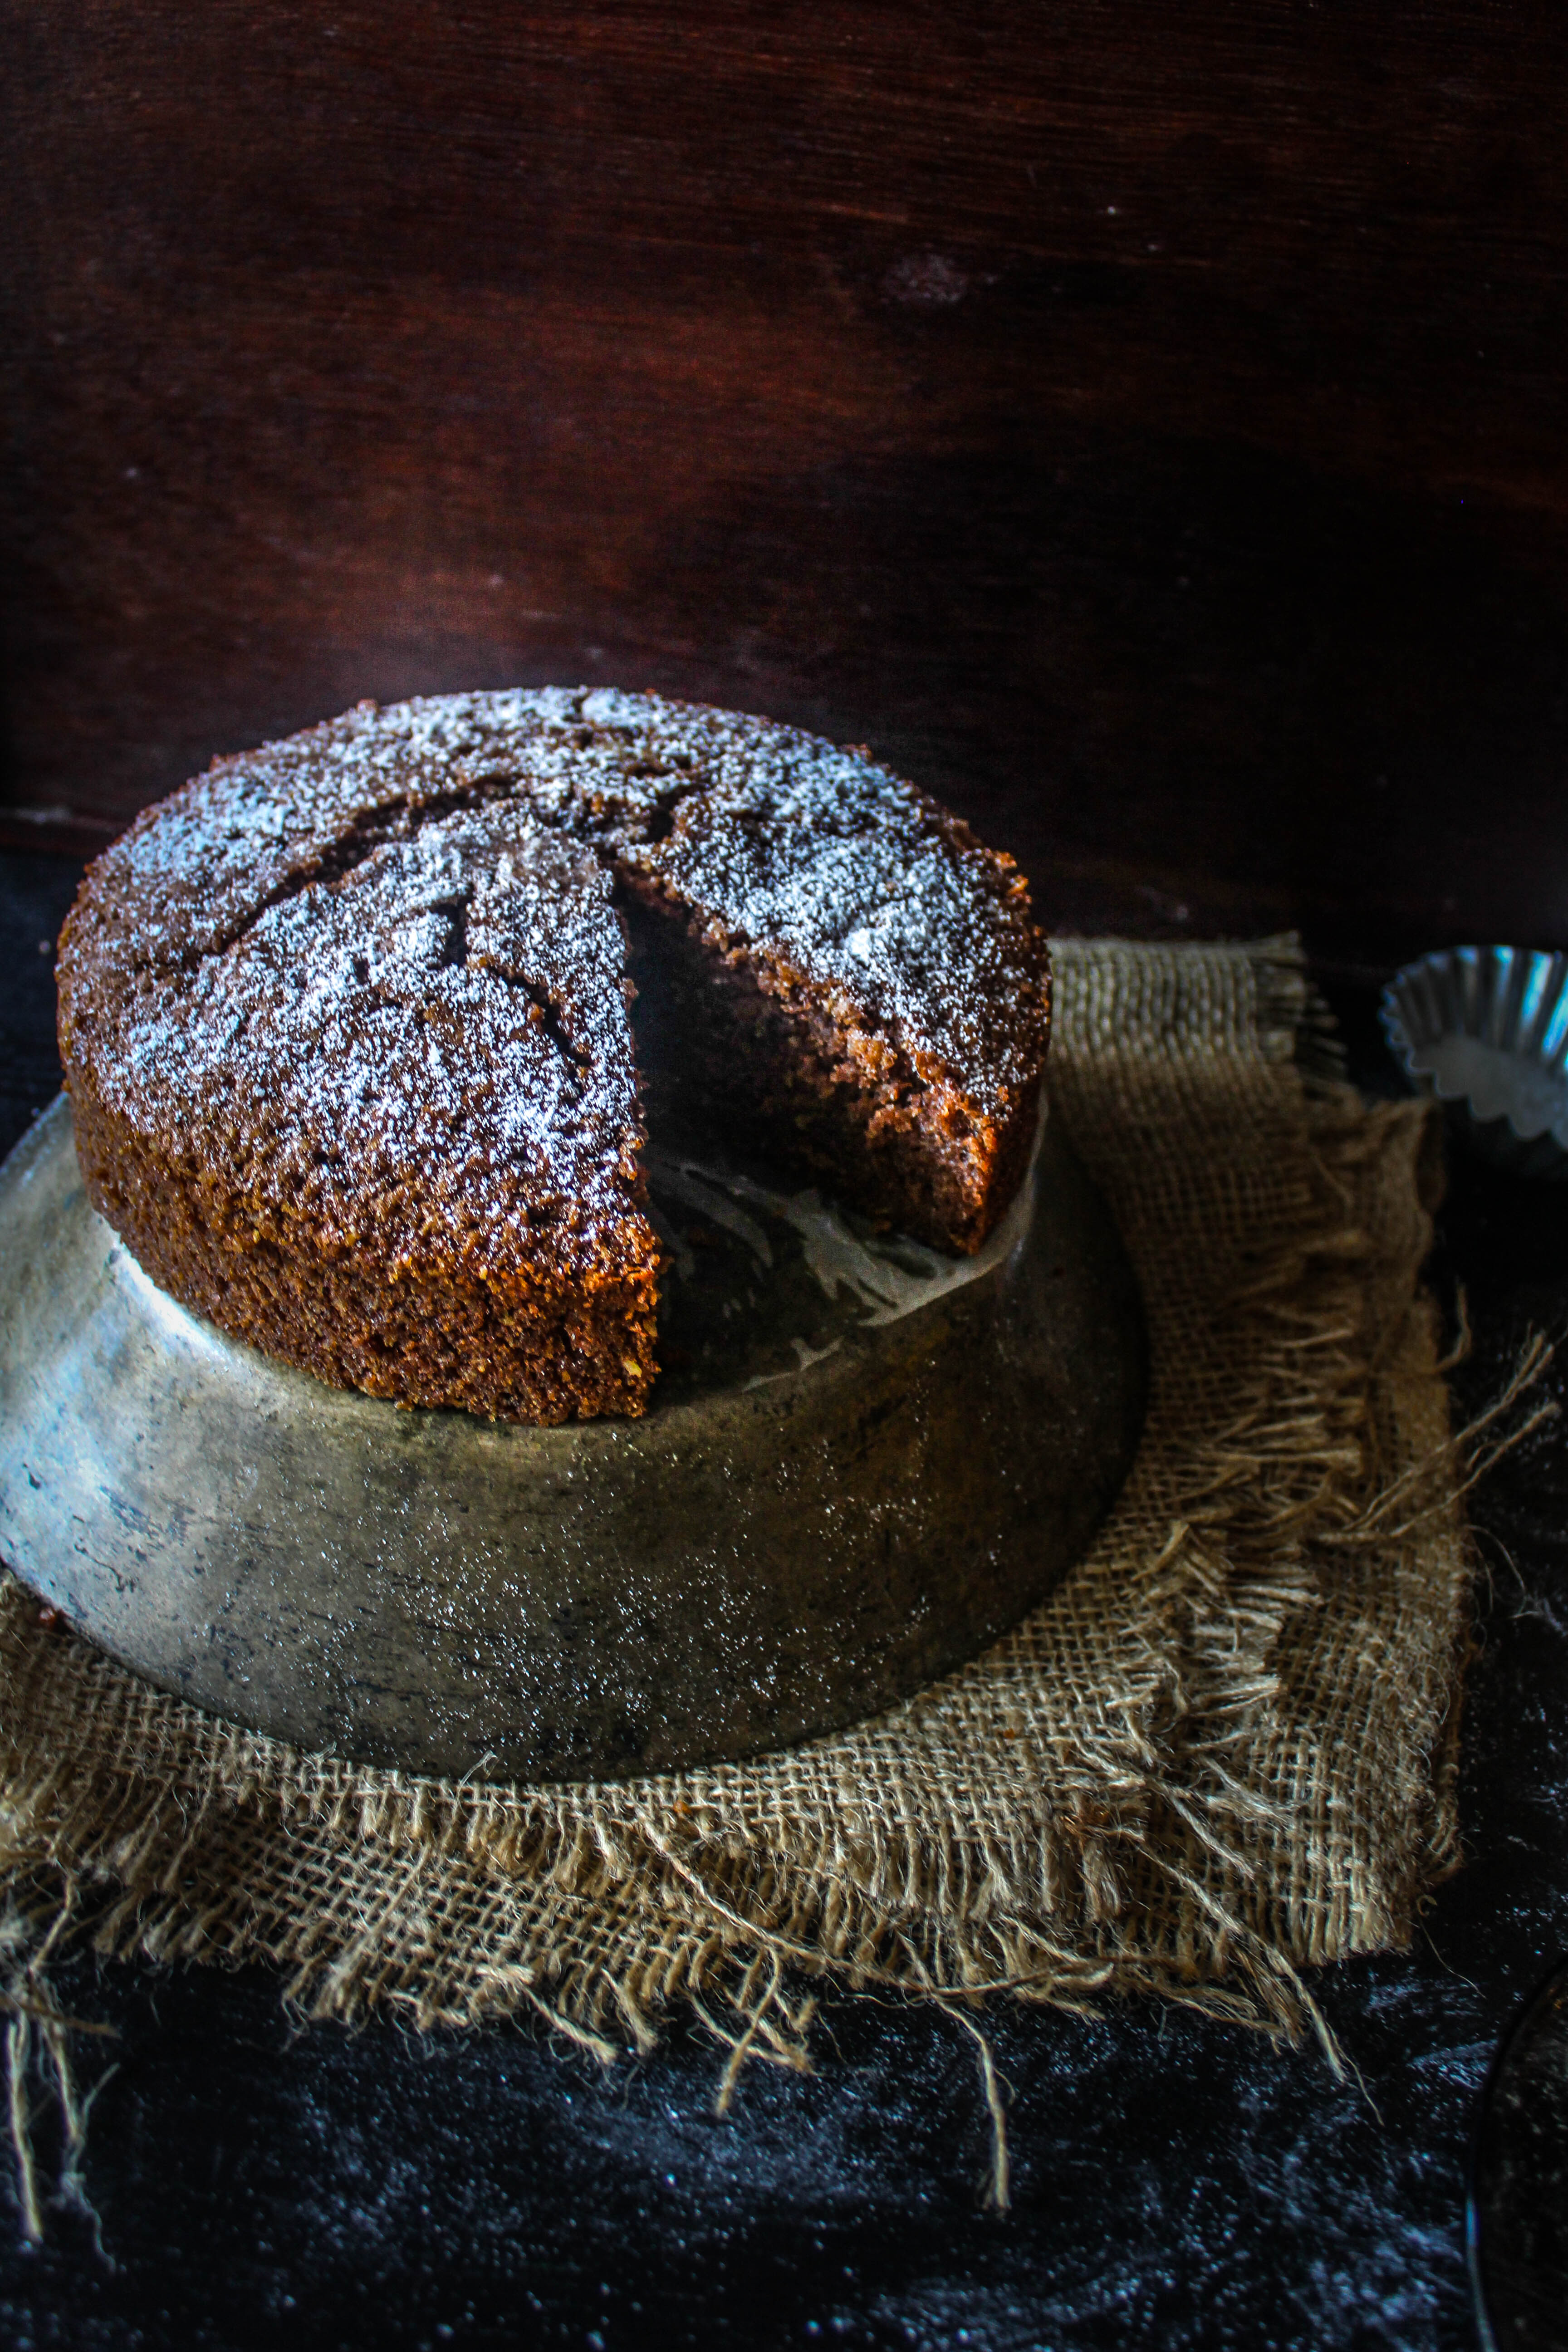
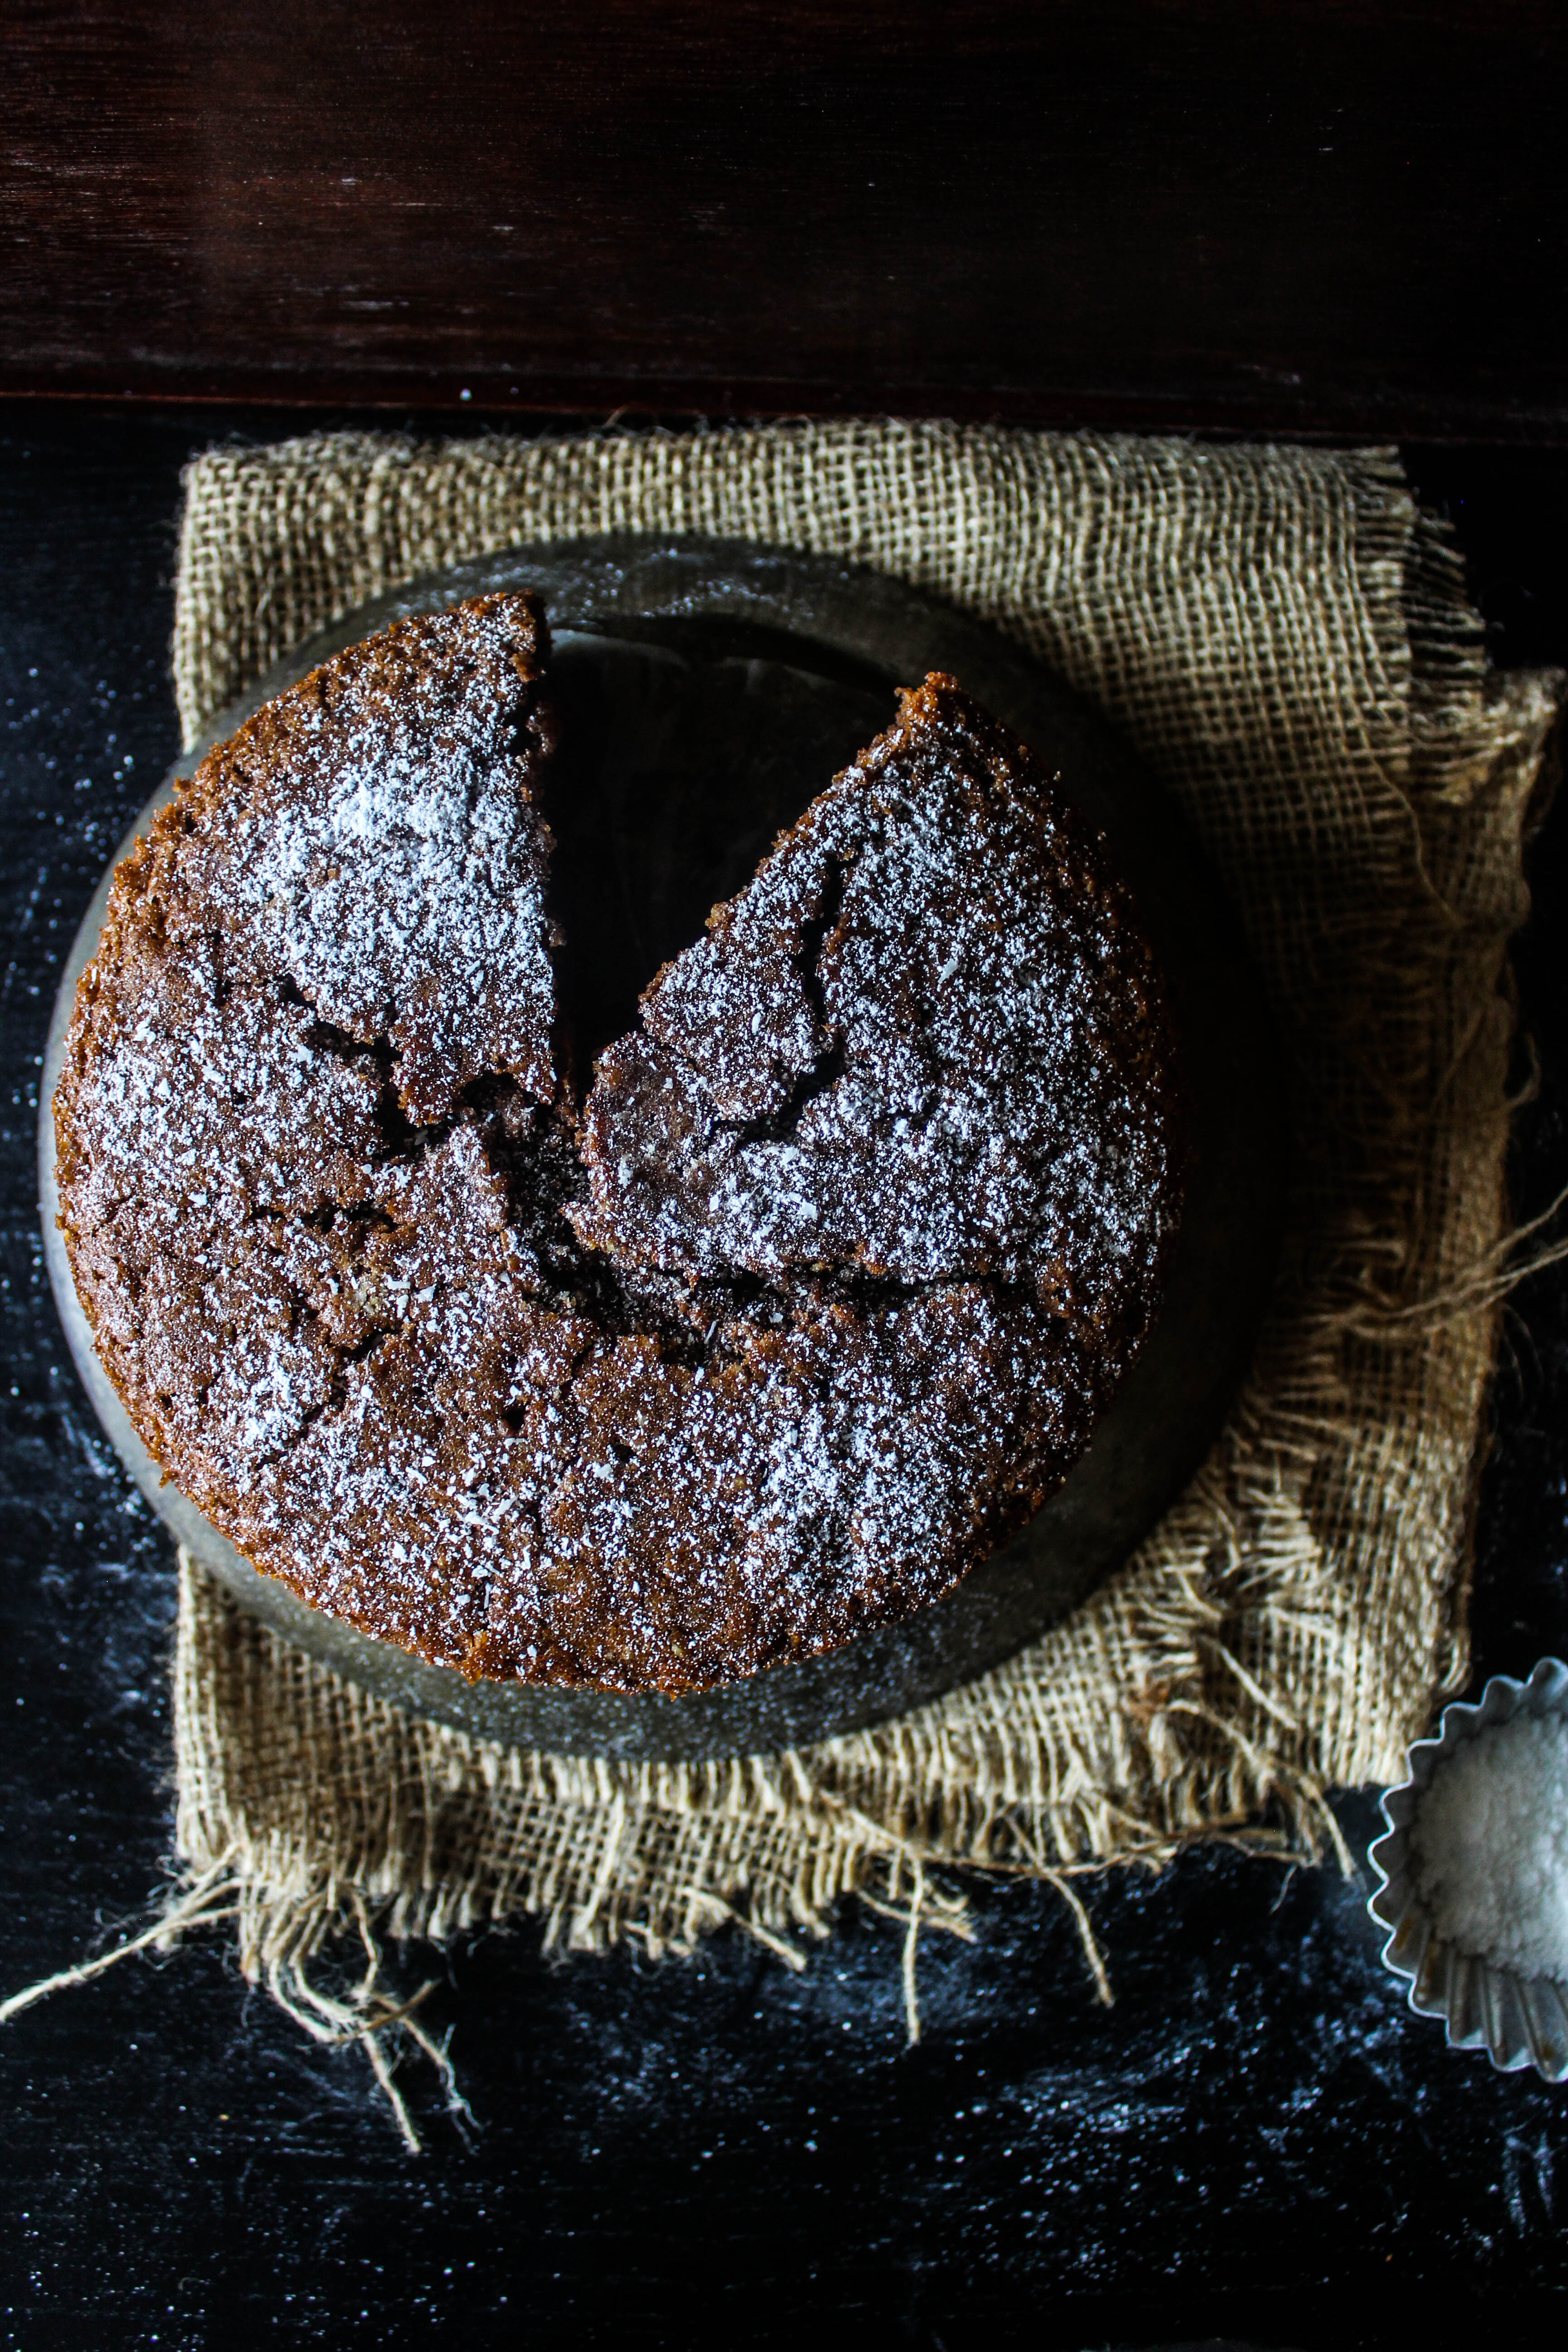
Chocolate and coconut are another combination that works well together. I discovered that when I made the Chocolate Coconut Slice. In bar form, when they tasted so good, I could imagine what it would do to a cake. The cake turned out just the way I wanted it to be. It was moist, it had texture from the coconut and almonds. It had the richness of cocoa and a crisp crust like a brownie. You could taste all the elements in the cake. And I loved how rustic it looked.

IMG_1297-2

IMG_1305-2

I have put my carton of almond milk to good use. Some sweet recipe and a savoury. The cake would still work if you use regular milk instead of almond milk. But if you like almonds or if you get your hands on some almond milk, it is worth a try. I like the cracked top and rustic appearance so much that I decided against adding a ganache or glaze to the cake. A generous sprinkling od icing sugar did it for me. I  kept the styling along the same lines. You could glaze it if you are looking for more chocolate in the cake.  Or even add chocolate chunks to the cake batter. In any case, this cake is going to go through a few different variations in my house. With almond milk as a constant, of course. I can’t wait to share more with you.

IMG_1314

Chocolate Almond Coconut Cake
Serves 6-8

160g butter, softened
1 cup castor sugar
1 tsp vanilla essence
2 eggs
1 cup self-raising flour
1
/4 cup cocoa powder
1/2 cup almond meal (ground almonds)
1
/2 cup desiccated coconut
1 cup almond milk
Icing sugar or dessicated coconut, for dusting

Preheat oven to 180 degree C. Grease a 18 cm round cake pan. Line with baking paper. Using an electric mixer, beat butter, sugar and vanilla essence together. Add eggs, 1 at a time, beating well after each addition

Sift the flour and the cocoa over butter mixture. Add the coconut and the almond meal. Stir to combine. Add the almond milk. Stir to combine. Pour into prepared pan. Smooth top. Bake for 55 minutes or until a skewer inserted in the centre comes out clean. Stand in pan for 10 minutes. Turn out onto a wire rack to cool. Dust with icing sugar or dessicated coconut.


Pear and Raspberry Pie

5|08|2014

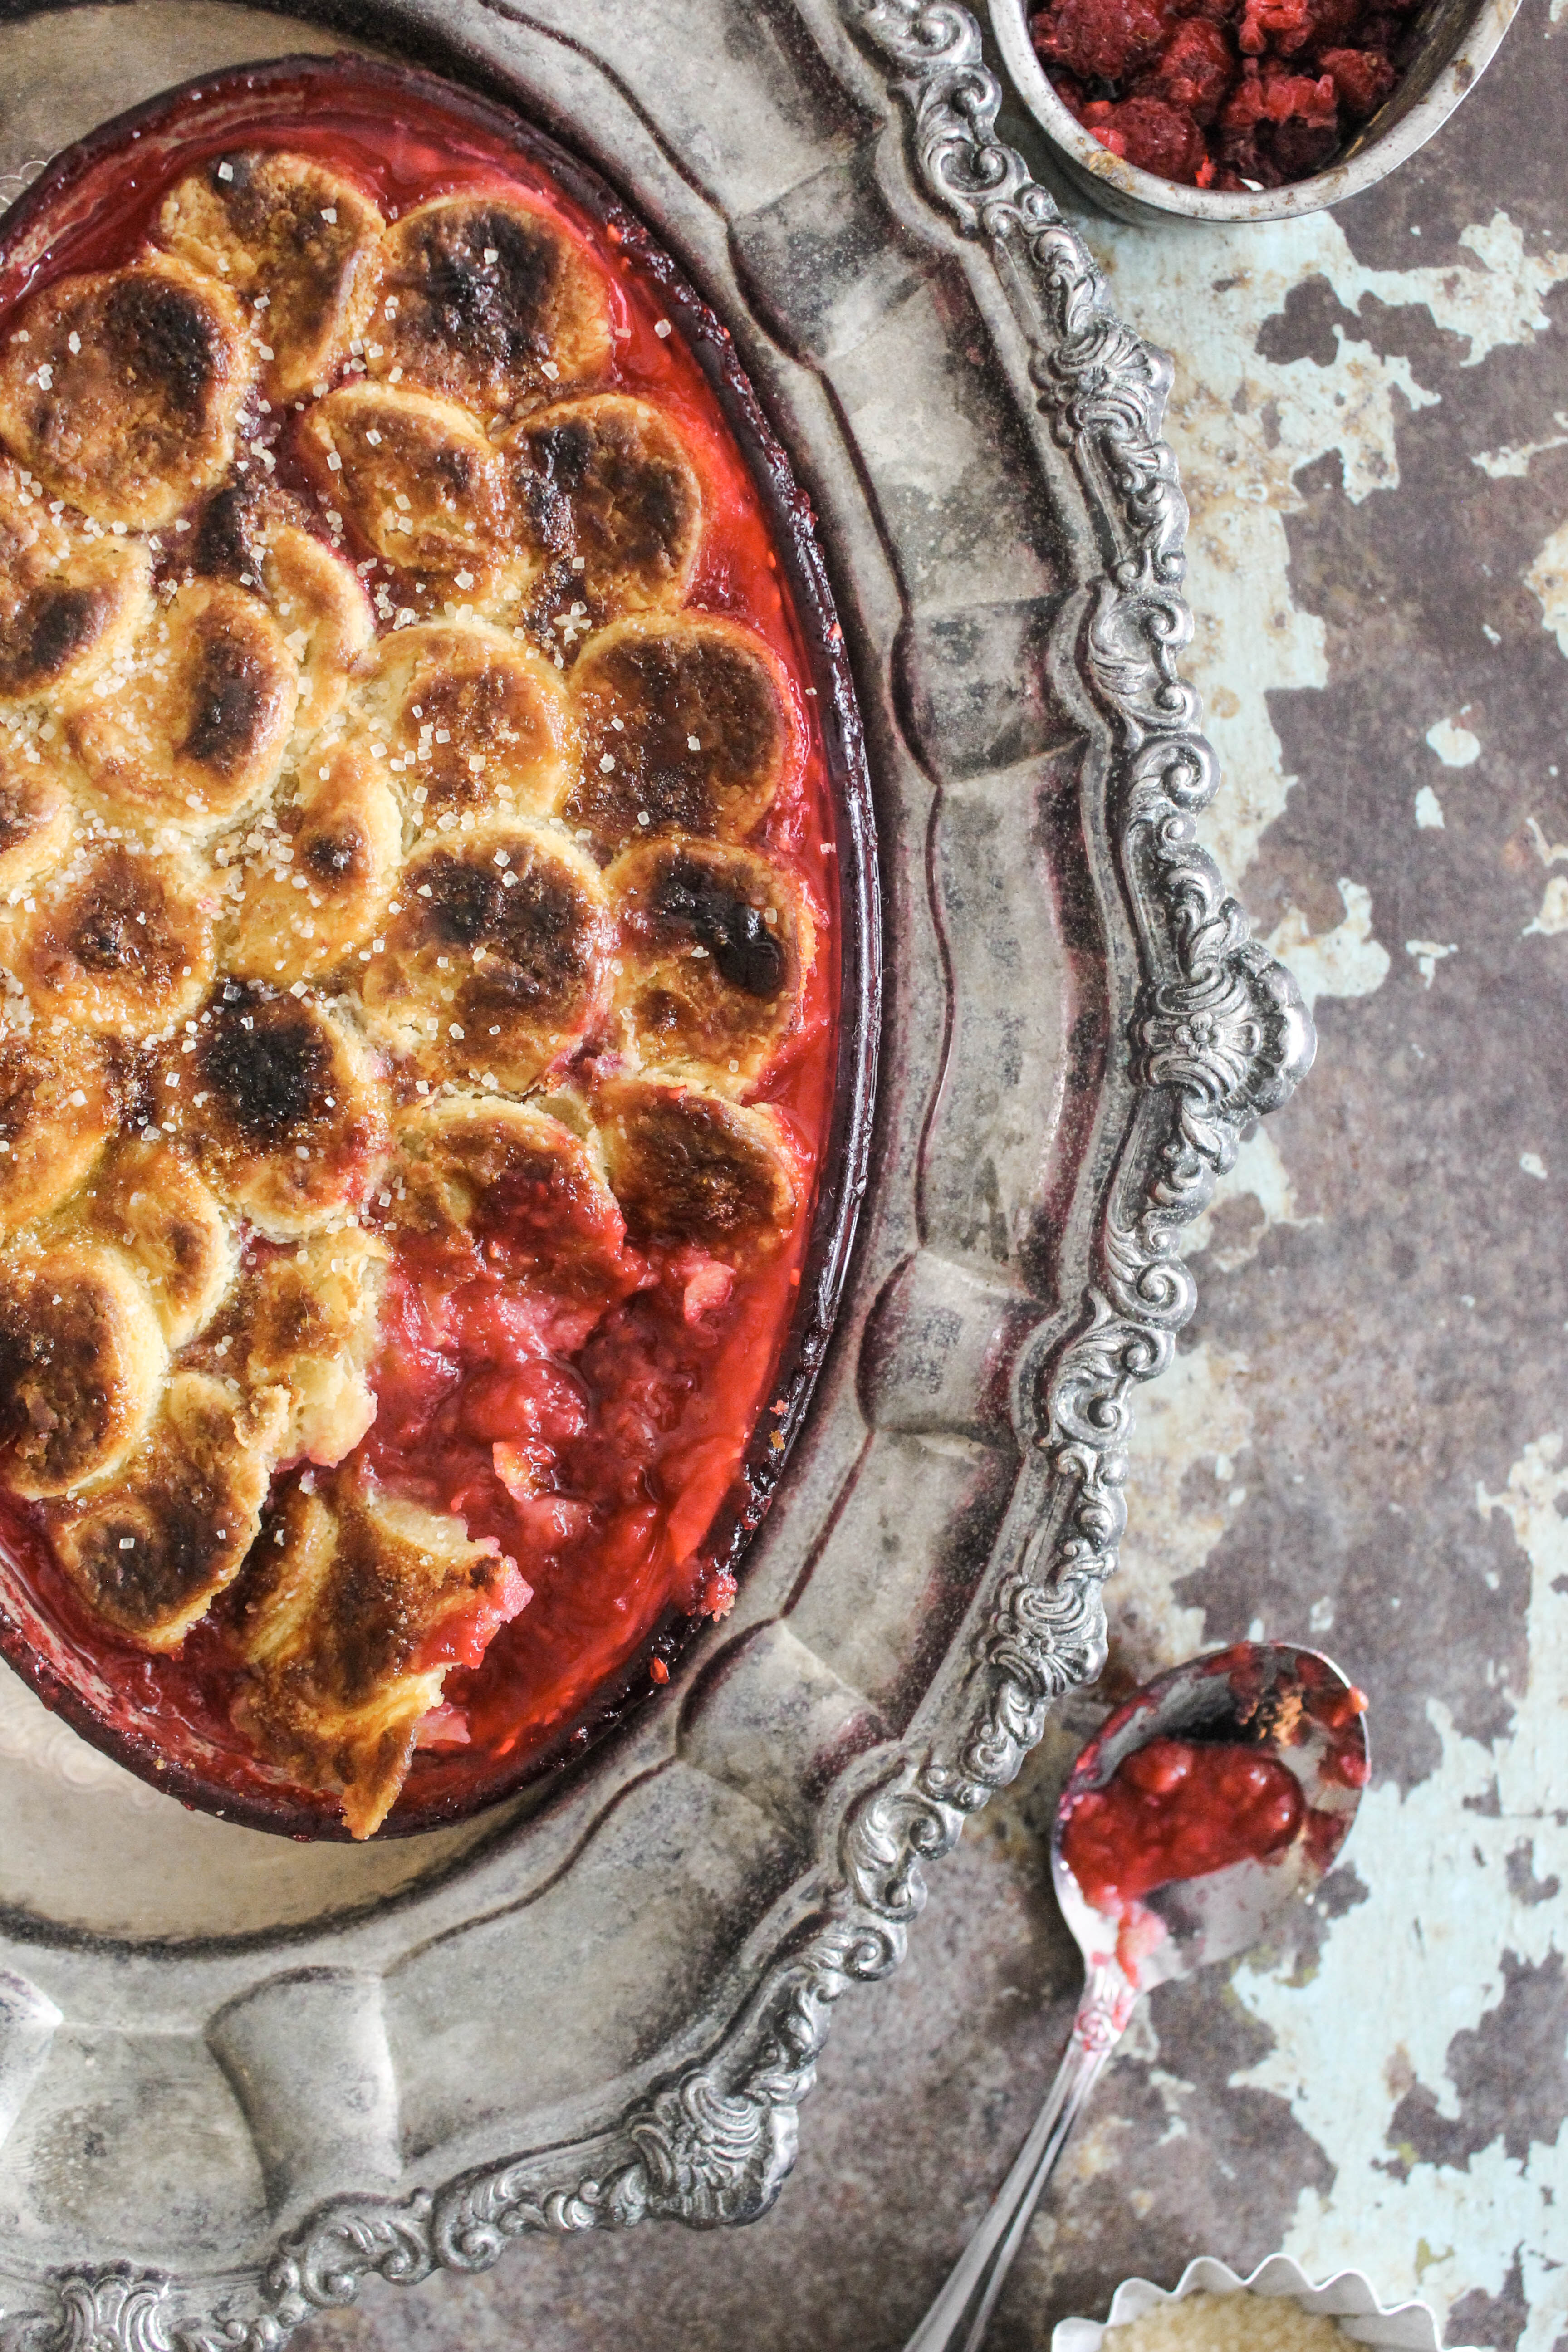
I had my first real pie when I came to Australia. My excitement knew no bounds when I discovered a charming little bakery a short distance away from my new home. I went back every day. I had pie every day. For dinner, and for breakfast the next day. My kitchen ware were still in boxes so living on something that was convenient to bring back home, didn’t need too many dishes and filled up our empty stomachs while satisfying our taste buds, saved me a lot of trouble. I walked all the way to the bakery and back, convinced that it was the workout I needed to burn those pie-enriched calories. Till one day the bathroom scales told a different story!

IMG_1008

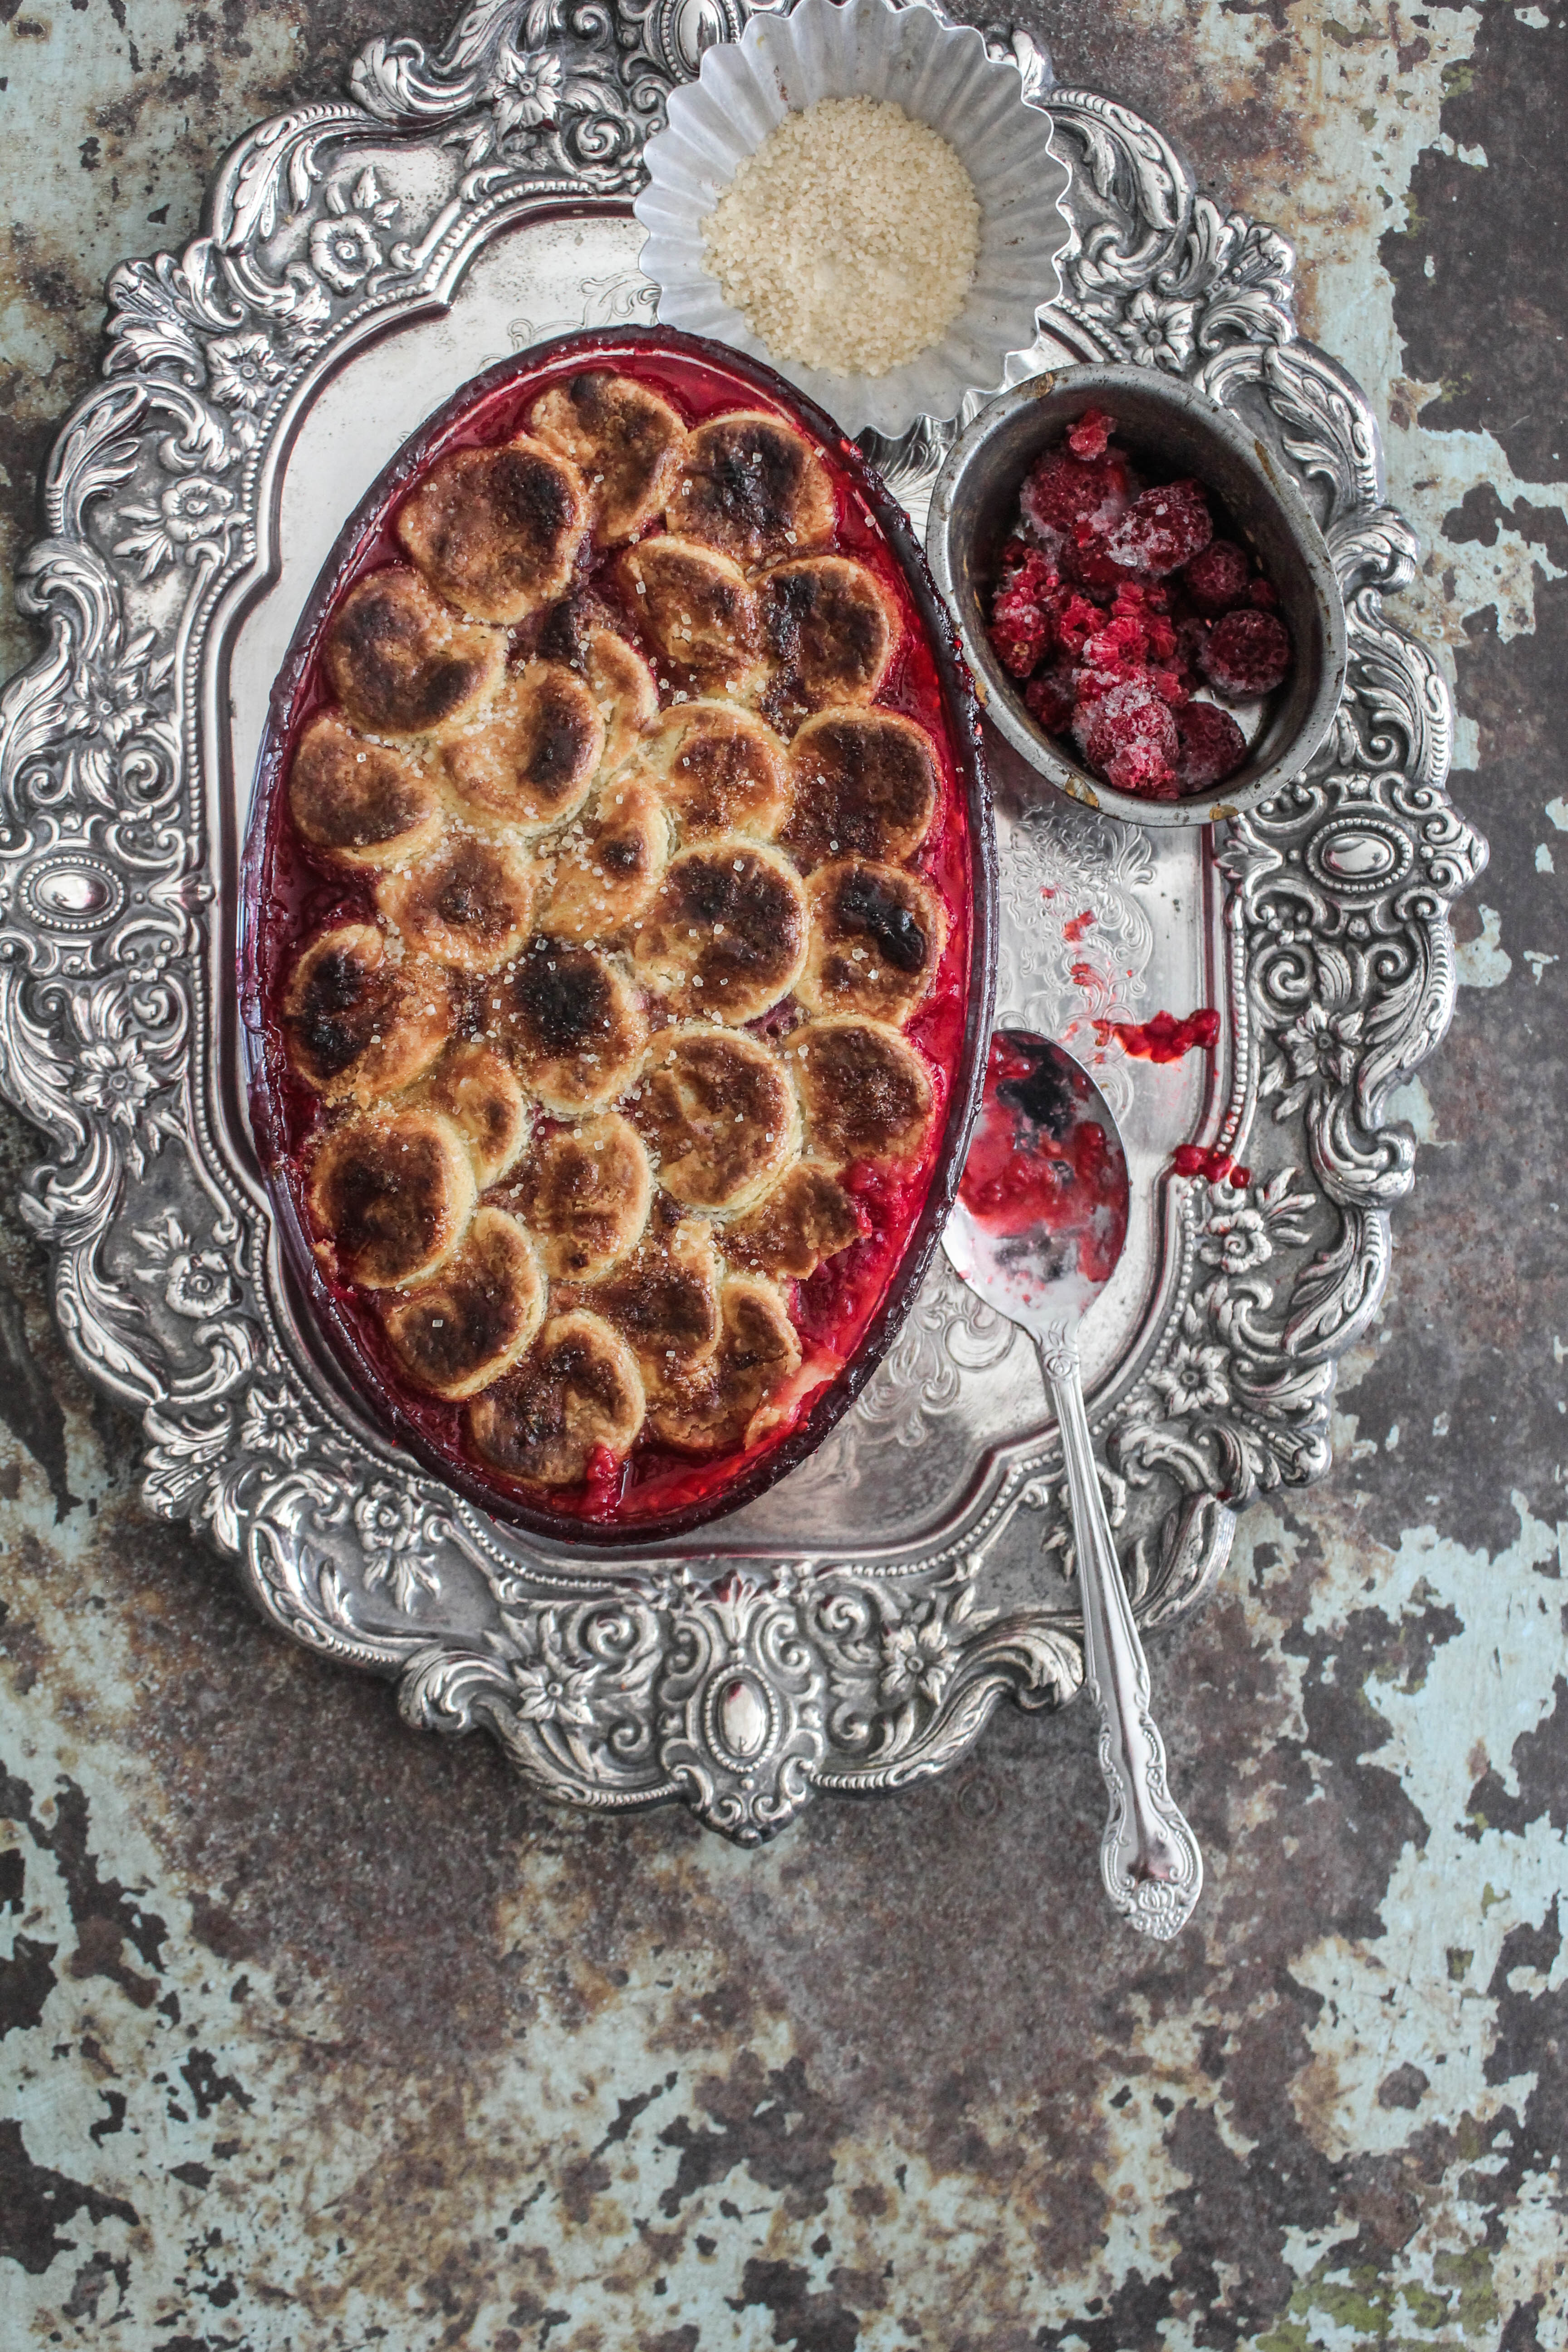
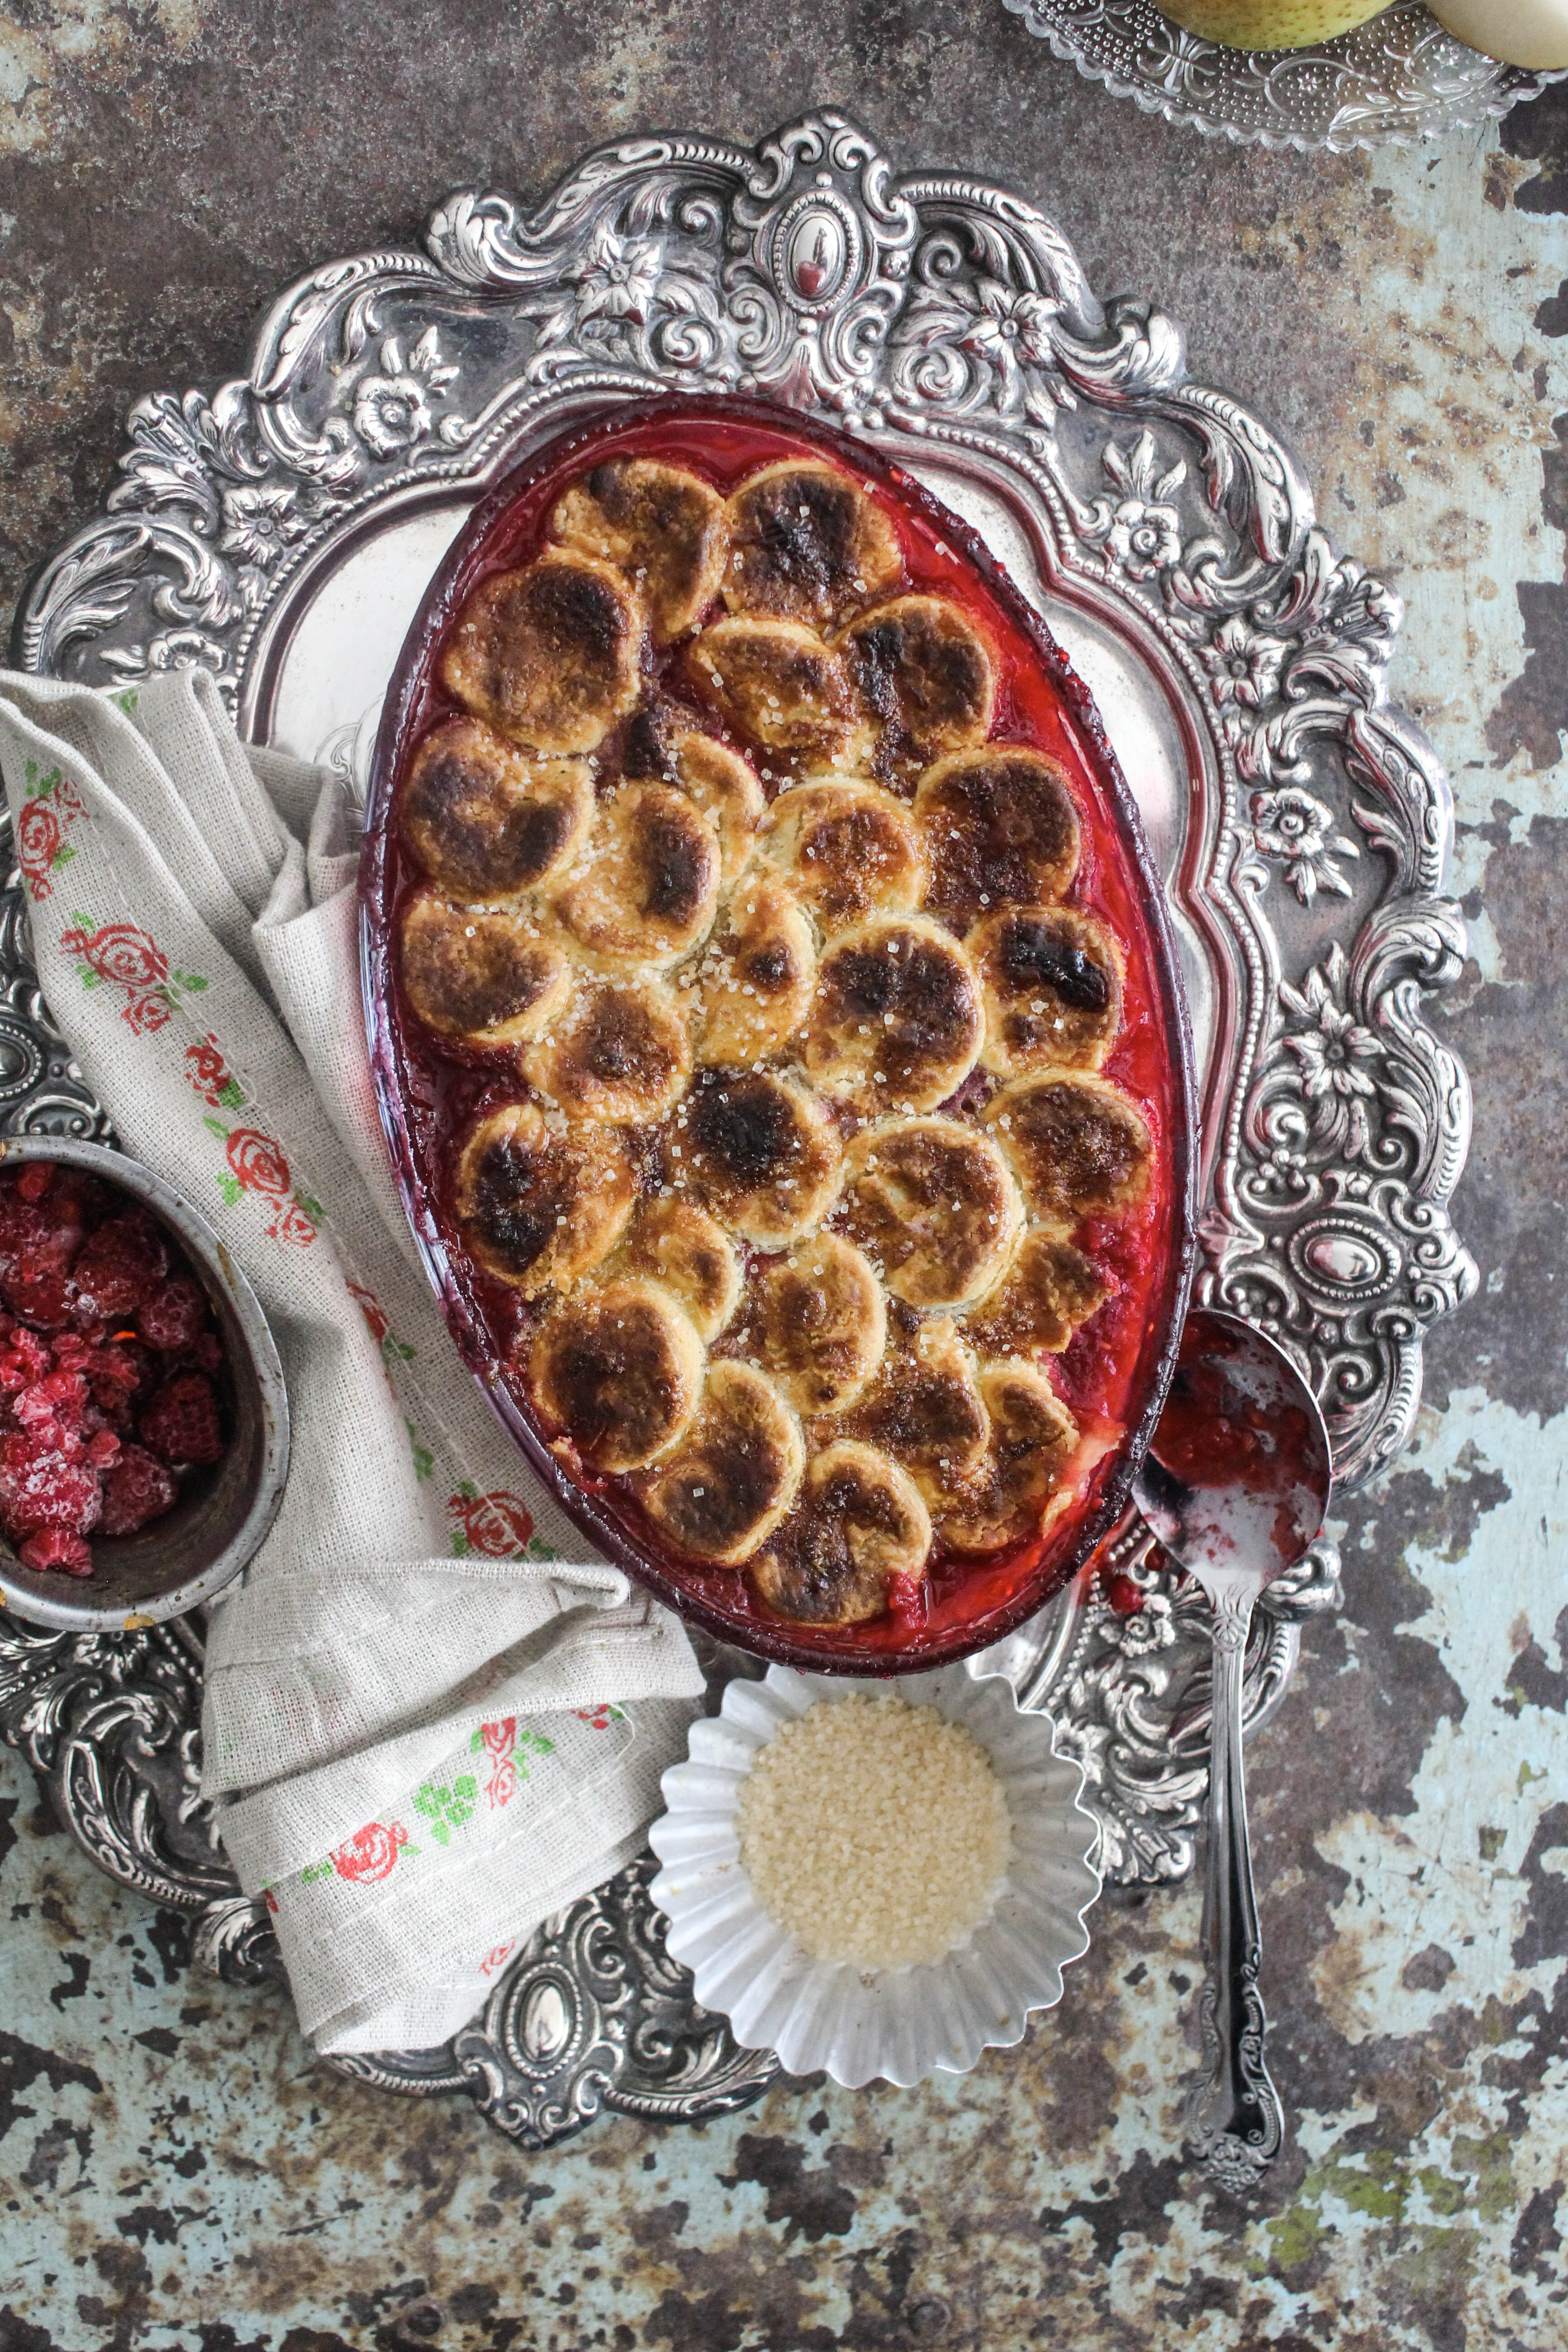
I still love pie. What is there not to love about warm meaty and fruity fillings encased in pastry! However, when making pie at home, I tend to skip the bottom layer. The deep dish ones are my current favourite. It is a like a cross between a crumble and a pie. Plus you can play around with the pastry on top. I especially get my little boys to help me with the top and it makes for a wonderful afternoon activity with kids.

IMG_1016

The pie is inspired by a slightly different recipe I had come across in Donna Hay magazine using white peaches and raspberries. The pie crust caught my eye and decided to make my own version using pears. This one is not a large one so if you plan a standard size, you may want to double the measurements.

IMG_1037

Pear and Raspberry Pie
Serves 4

For the crust
3/4 cup plain flour
60 g unsalted butter, chilled, chopped
1/4 cup icing sugar
1 egg yolk (from an extra-large egg)
1 tsp vanilla extract
1 tbsp. iced water
1 egg white
raw sugar for sprinkling

For the filling
3 ripe pears, skin removed and roughly chopped
1 cup frozen raspberries
1/3 cup castor sugar
1 tbsp. corn flour
1 tbsp. lemon juice

Place the flour, butter and icing sugar in a food processor and process in short bursts until the mixture resembles fine bread crumbs. With the motor running, add the egg yolk, vanilla and water and process until the dough just comes together. Turn the dough into a lightly floured surface and bring together to form a ball. Flatten into a disc, wrap in plastic wrap and refrigerate for an hour.

Pre heat oven to 200 degrees C. Place the pear, sugar, cornflour and lemon juice in a non stick pan over high heat till the sugar dissolves. Bring to the boil and cook for 5 minutes, stirring occasionally until thickened. Remove from heat and stir through the raspberries. Spoon the mixture into a baking dish (I used a 20 cm by 13 cm oval Pyrex dish.)

Roll the pastry out between two sheets of non-stick baking paper to a 3mm thickness. Using a 5 cm round cookie cutter, cut out circles from the dough and place on top of the filling, overlapping until the entire top is covered.  Brush the pastry with the egg white and sprinkle with raw sugar. Bake for 15-20 minutes or until the pastry is golden. If you like the top of the pie, really browned and crisp like this one, switch over your oven to the grill mode
and brown the pastry for 2-3 minute. Remove carefully from oven. Serve warm with ice cream on the side.


Spicy Thai Corn Soup with Greens

30|07|2014

If soup is synonymous with comfort in winter, I cannot get enough. The smell of a pot of deliciousness simmering away on the cooktop, makes me hungry. The thought of a bowl of fresh, steaming soup cradled within the confines of fine china warms up my insides like snuggling by a fireplace in the company of loved ones on a cold wintry evening. I wrap my hands around it. I enjoy moving my spoon in circles picking up pieces of crispy garlic croutons or chunky vegetables on the way before they plump up within the soup.

Spicy-Thai-Corn-Soup-With-Greens

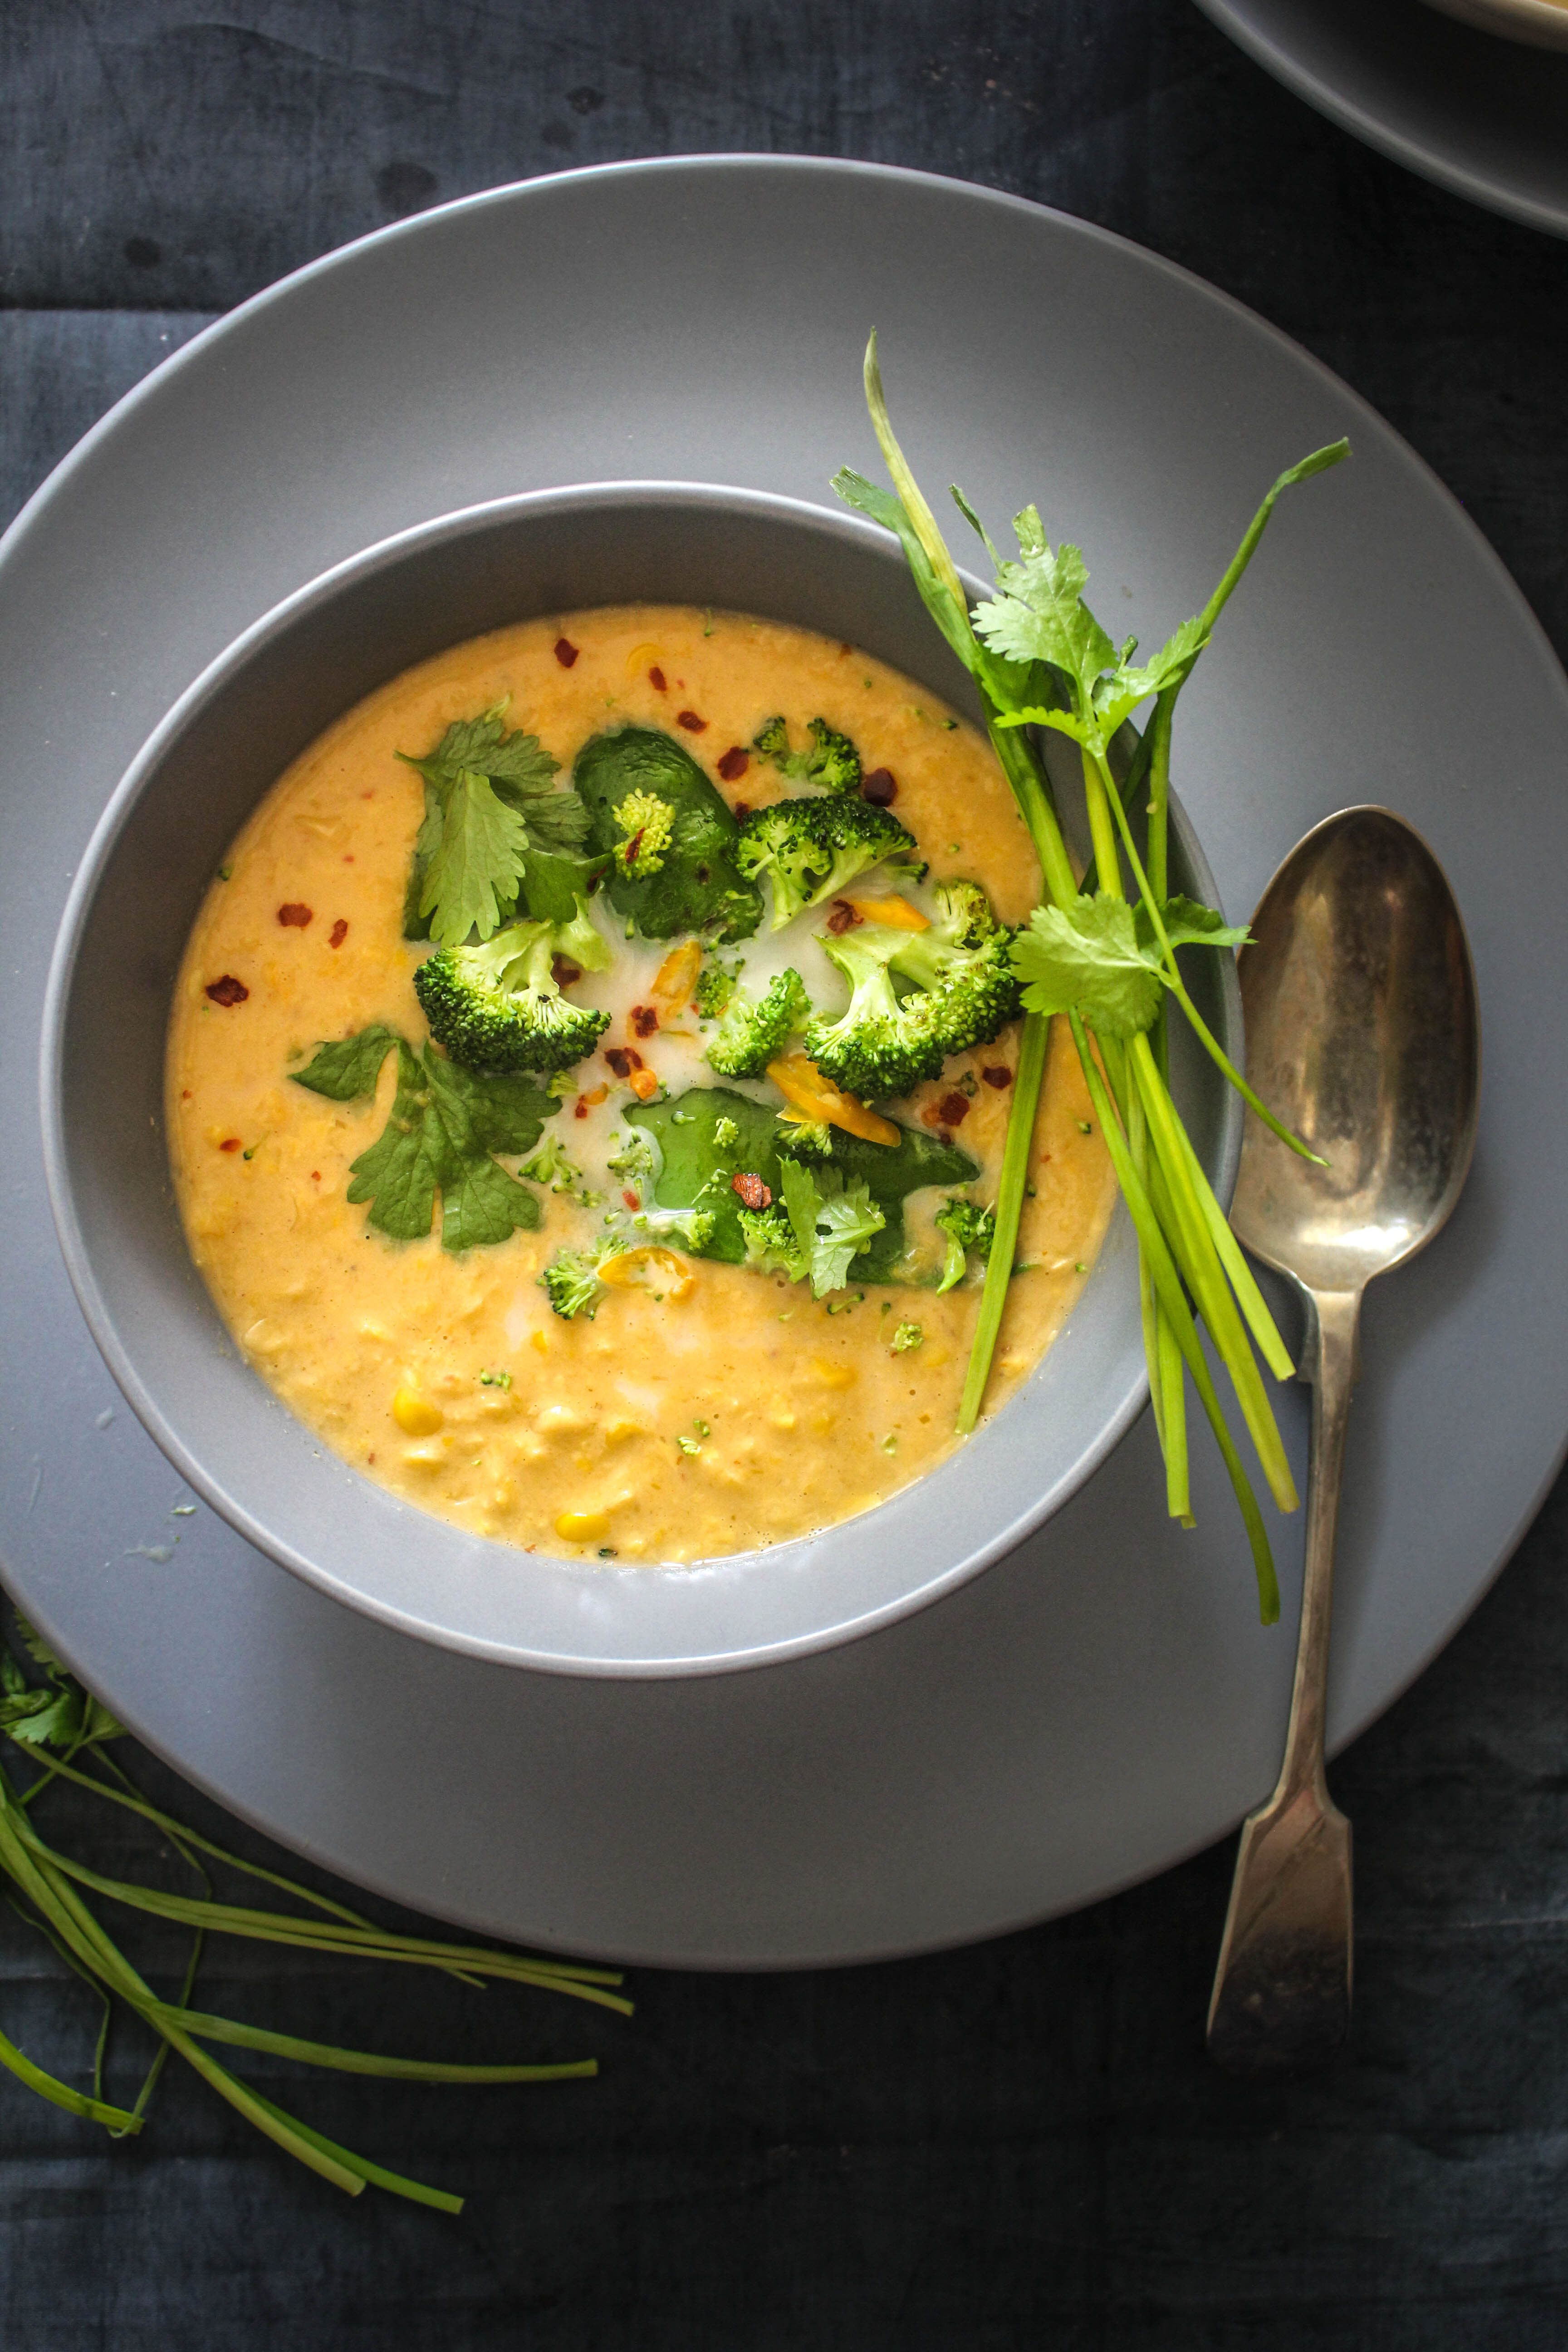
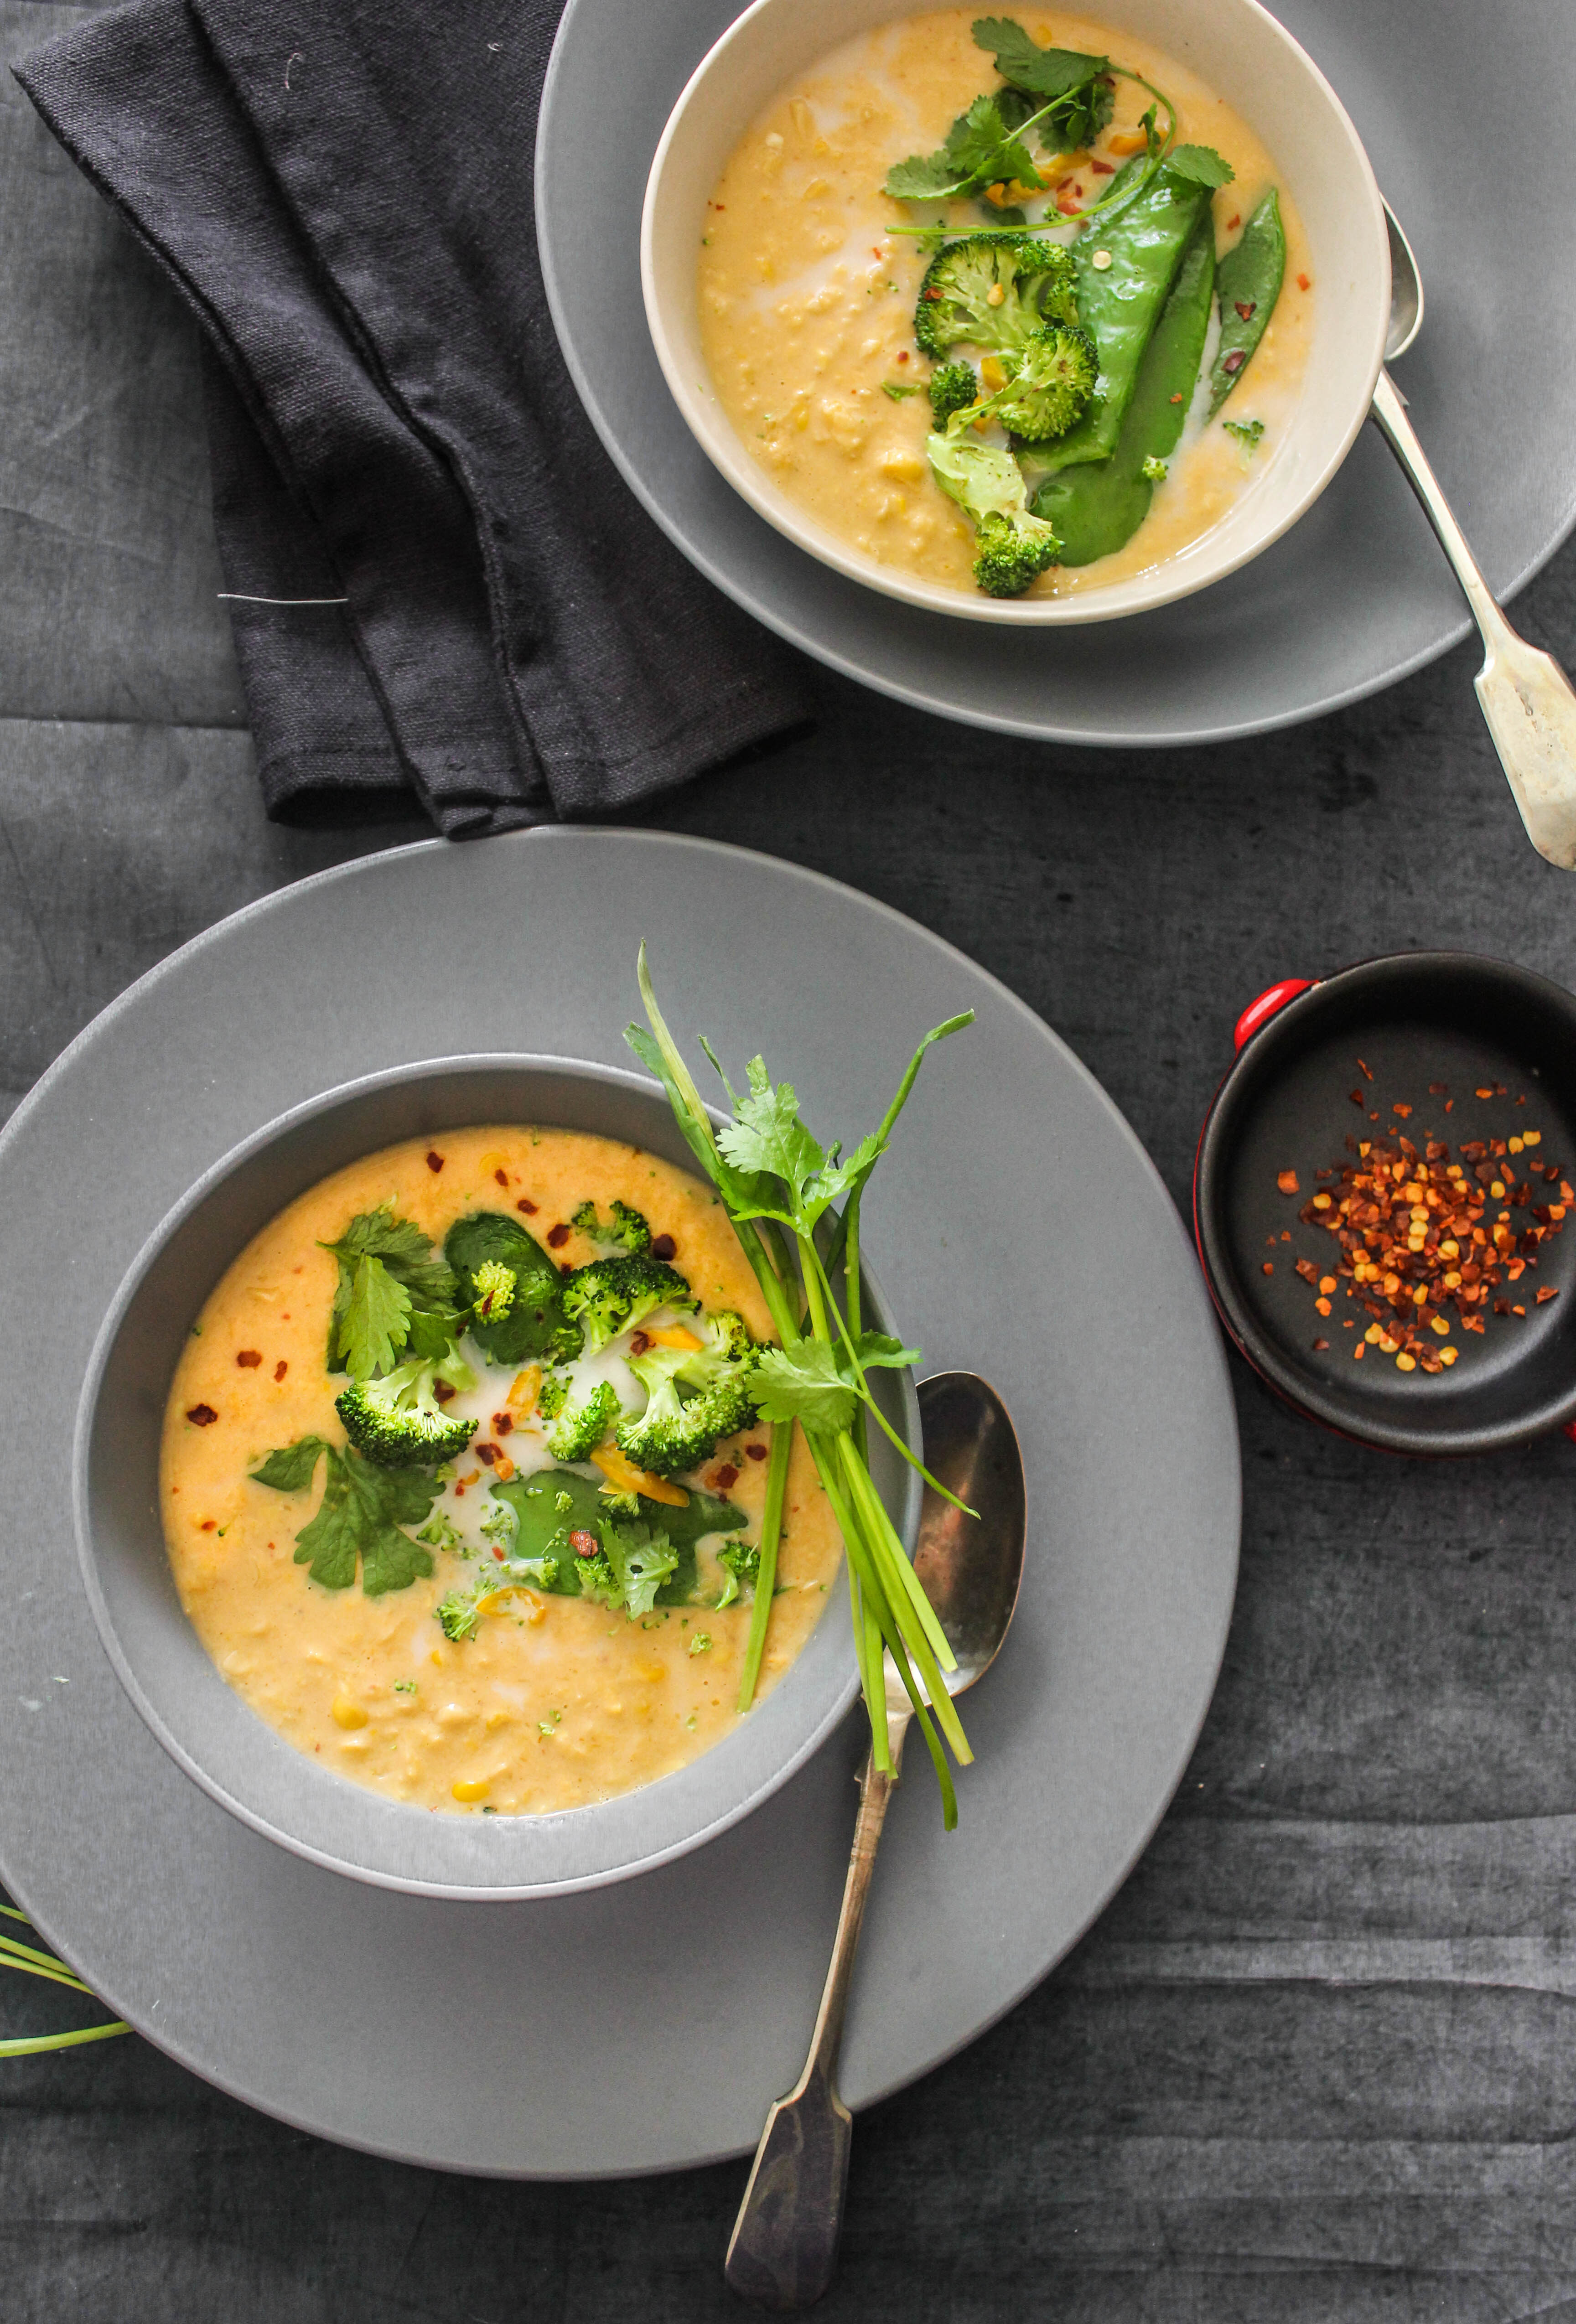
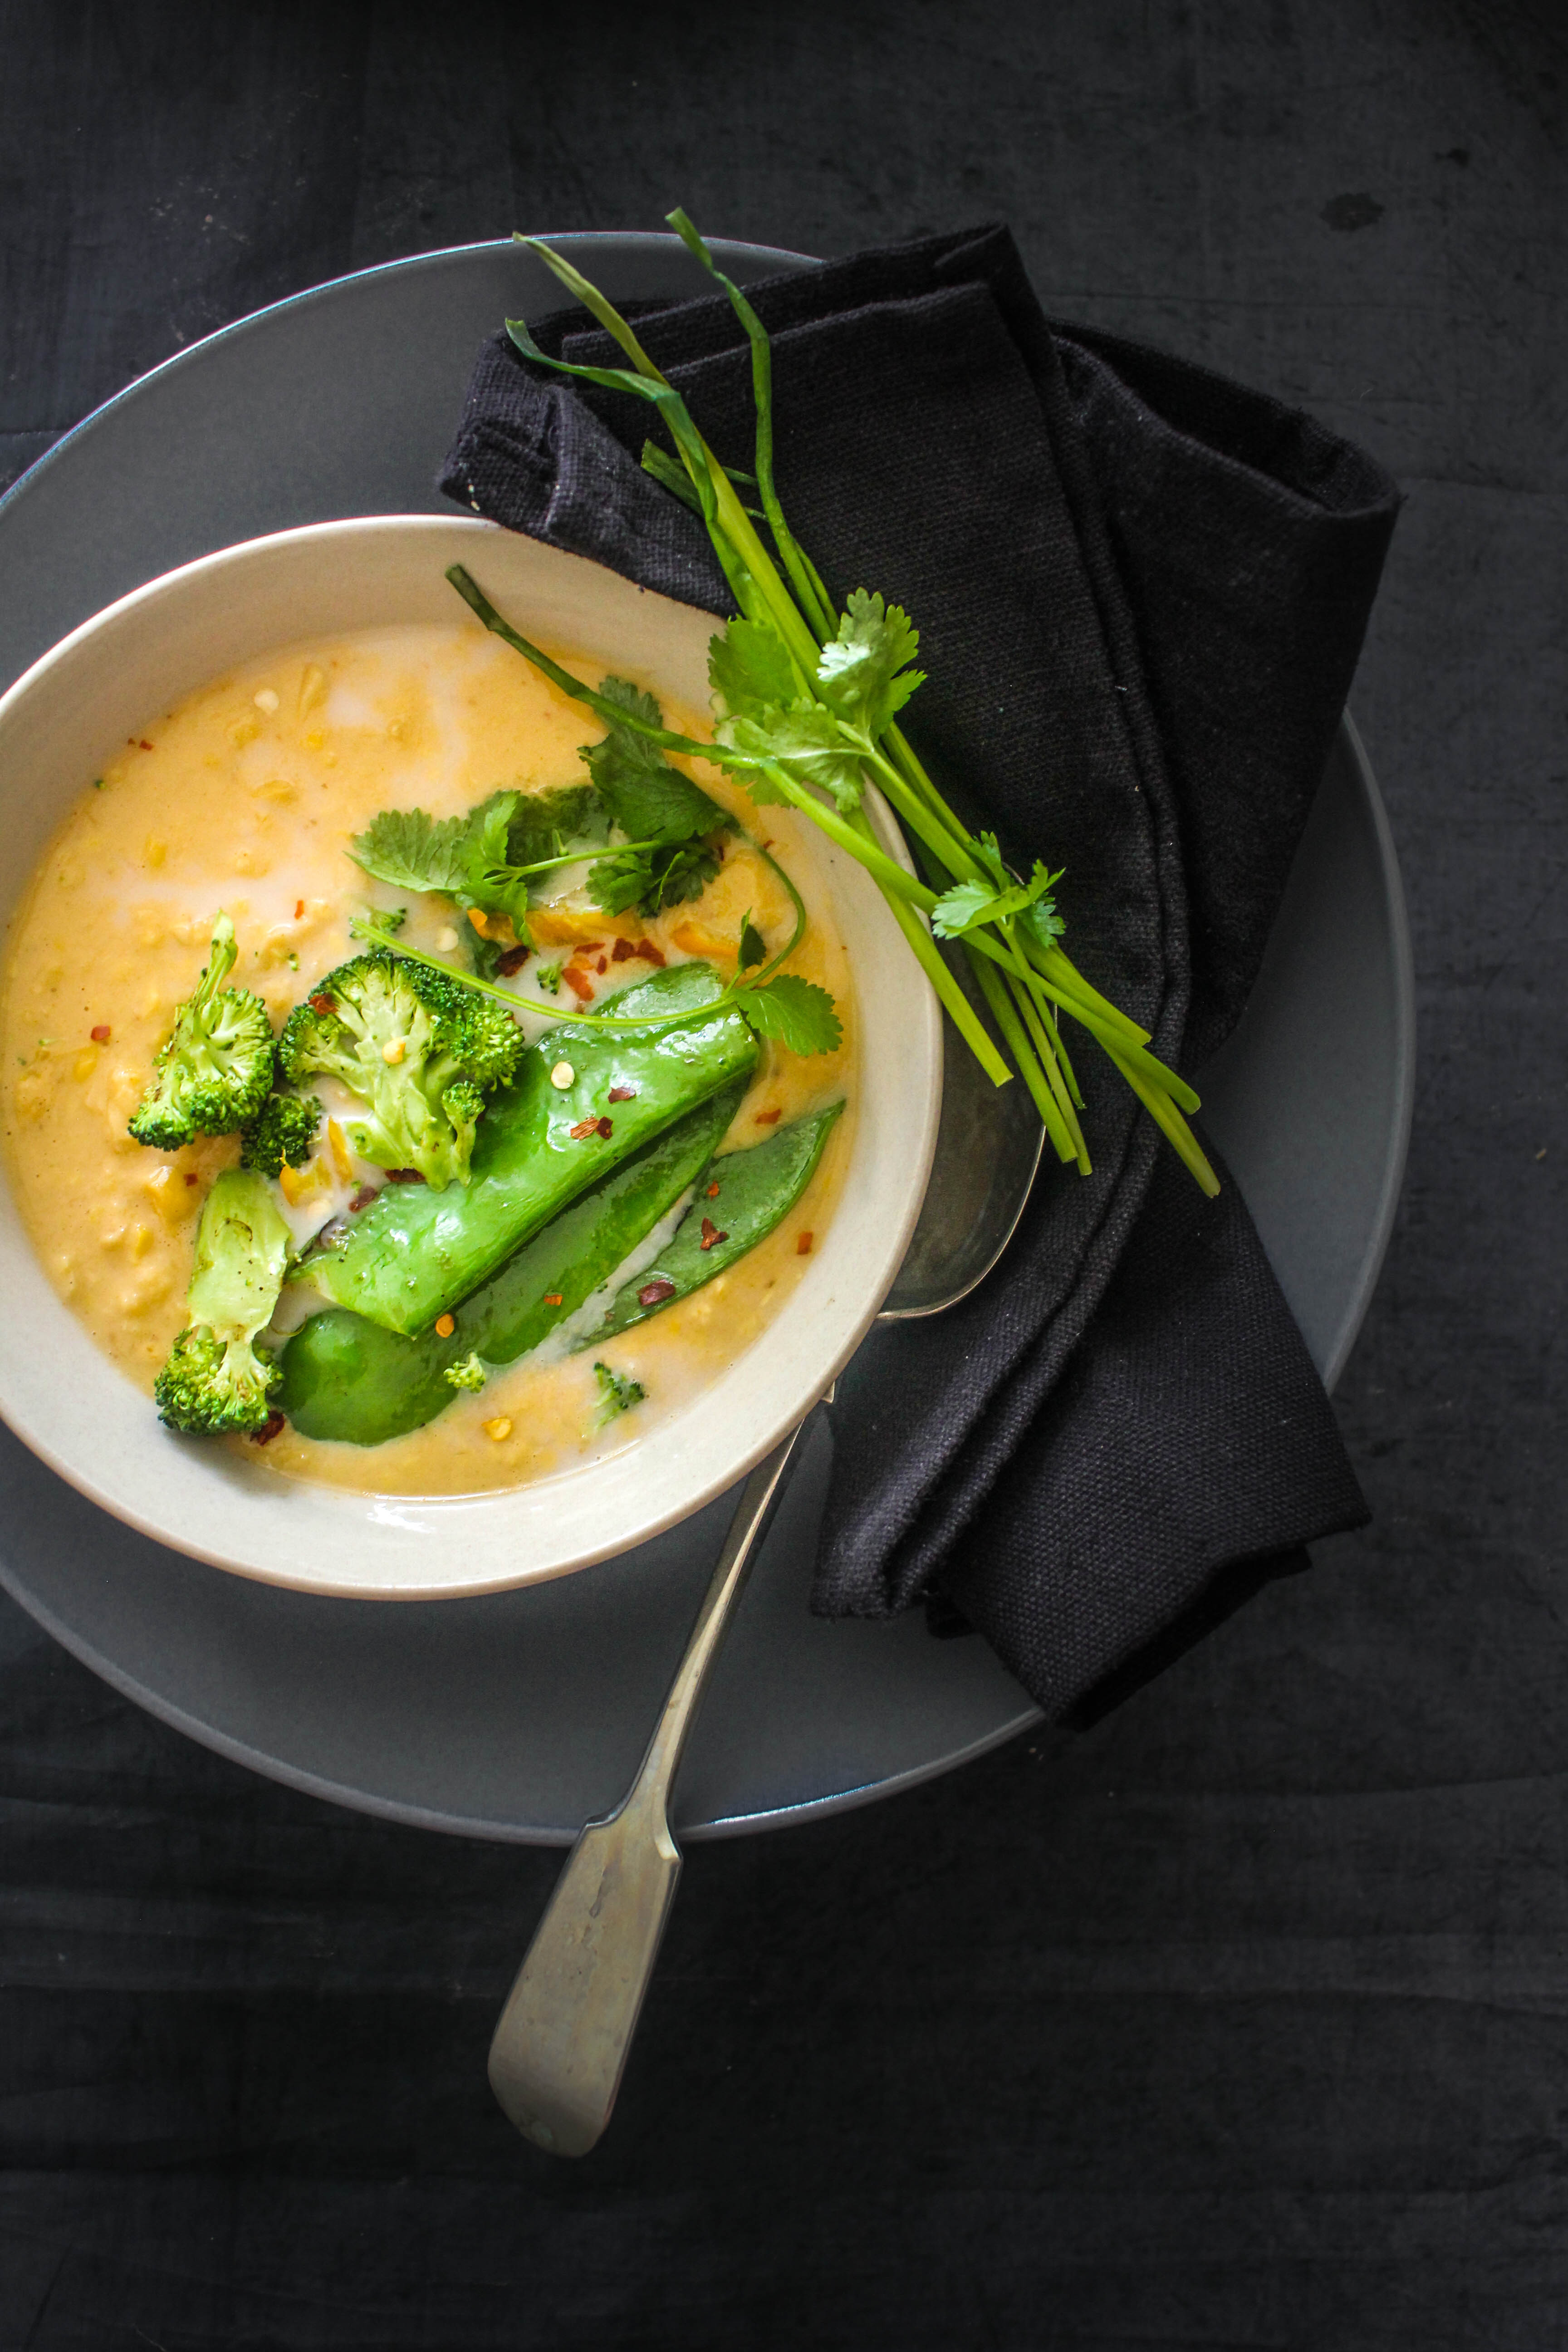
Although soup has a year-round occurrence in our home, it tends to take centre stage as soon as the weather turns nippy. To turn it into a main meal, I cook it in either of the two ways. A noodle soup of broth-like consistency with Asian flavours, greens and some form of protein. Or a thick soup comprising of lentils, beans or barley cooked in a flavourful and spicy stock with vegetables. This one is somewhere in the middle. The soup is thick, spicy, filling, satisfying and tastes every bit like a Thai red curry without going through the actual process of cooking a curry. Thai curry pastes are extremely handy when you are not in the mood of making your stock from scratch. The base of a good soup lies in the stock in which it is cooked. Using a strong flavouring agent like a curry paste rules out the necessity of a stock and makes life so much easier. Plus you get all the sweet, spicy, acidic flavours that are unique to Asian cuisine. If you have not already realised, the convenience of this soup is that you are making it from few and ingredients that are tinned or canned which makes it perfect for a rainy day.

Spicy-Thai-Corn-Soup-With-Greens

I have kept the soup vegetarian. You can add your choice of protein to make it your own. The creaminess of coconut milk paired with sweet corn and heat from the curry paste makes the soup outright delicious. Adding greens like broccoli, snow peas, green beans and fresh herbs like coriander, basil or chives makes it nutritious and gives it another level of texture. I enjoy the added heat of chilli flakes in my soups so I sprinkled some on top. It can be easily left out as the soup itself is moderately hot.

Spicy-Thai-Corn-Soup-With-Greens

Spicy Thai Corn Soup with Greens
Serves 3

2 tsp Thai Red Curry paste
1 canned of corn kernels (400 g)/ frozen corn kernels
1 can coconut milk (400 g)
1/2 cup water (depending on the consistency of the soup you are after)
Salt and pepper, to season
1 tbsp. palm sugar/brown sugar
Greens- broccoli florets, green beans, snow peas
Fresh herbs- Basil, Coriander, Chives
Red Chilli flakes, for garnish (optional)

Heat the Red Curry paste in a large saucepan till aromatic (about 1 minute). Add the corn kernels, coconut milk (reserving 3 tbsp. coconut milk for serving later) and water to the saucepan. Simmer on medium heat for 15 minutes, stirring at intervals till corn is slightly tender. Remove from heat. Season. With a stick blender (or in the food processor), blend the soup into a thick somewhat smooth consistency. (You could go with a finely blended soup or slightly coarse like the one above). Put it back on the heat, add the palm sugar and vegetables. Cook for 5 minutes or till vegetables are slightly tender. Ladle into serving bowls, spoon over reserved coconut milk. Garnish with herbs and a sprinkling of chilli flakes (if using). Serve warm


  • « Previous Page
  • 1
  • …
  • 30
  • 31
  • 32
  • 33
  • 34
  • …
  • 45
  • Next Page »
Hey Sugar
Cake
Link to my Facebook Page
Link to my Instagram Page
Link to my Pinterest Page
Link to my Mail Page
Subscribe to this site
Fresh Awards
2019 Aus mumpreneur
2019 aus mumpreneur
Mumbrella

Copyright © 2026 · Sugar Et Al · Designed by Smitten Blog Designs · Log in