• Home
  • Recipe Index
    • Recipe Index
    • Breakfast/Brunch
    • Cakes and Puddings
    • Chocolate
    • Cookies and cupcakes
    • Custard and Mousse
    • Gluten Free
    • Ice Cream
    • Mains
    • Other Sweet Treats
    • Snack/Appetizers
    • Soups and Salads
    • Tarts and Pies
    • Vegetarian
  • About
  • Cookbook
  • Portfolio
  • Store
  • Press
  • Work with Me

Sugar et al

Because Life is a blend of flavours...

No Bake Caramelised White Chocolate Cheesecake. And a Blog Birthday.

22|02|2014

I wanted to start this post by saying Thank You! It’s been a year only, yet I feel I have done this all my life. I don’t remember having a single day in this year that I didn’t enjoy coming up with recipes, styling them, photographing them and blogging about them. And this experience has certainly left a desire in me to do more. To create, share, bond, grow!

IMG_8374-2

This has been such an eventful phase in my life. Exploring blogging and uncovering a whole new world out there while discovering facets of my own personality that were unknown to me. I came across incredible bloggers who inspired me every day. I found friendship across the globe. So many of them made me feel like I’d go out for coffee with them every other day had we been aligned geographically.

IMG_8373

Caramelised White Chocolate is my favourite thing in the world. I created a recipe around it during my first few days of blogging and have been wanting to do another one ever since. So I thought it was only appropriate that I make a cake around that. If you are new to caramelised white chocolate, it’s the most delicious thing one can taste. The chocolate caramelises on cooking slowly in the oven and turns into a light brown shade. It is very similar in taste to Dulce de Leche. I use David Lebovitz’s method of making this and have had success each and every time.

IMG_8366

Putting the cheesecake together is a breeze. I made the base out of chocolate cookies. Then it’s a matter of mixing the components and placing it in the refrigerator to set. I contemplated the addition of a dark chocolate ganache topping. I wanted the white chocolate to shine in the recipe so I skipped the ganache and added a good dusting of cocoa. Good enough to look like a layer on top. We are enjoying berry season at the moment so it was easy for me to visualise my cheesecake. But if you don’t want to use berries, use shavings of dark chocolate, Maltesers (or a mix of other candies) or pretty swirls of whipped cream.

IMG_8413

There is more cake coming up on my blog. The celebration has just started. Well to be honest, I am all for Sugar. I love cakes and desserts. But I have to think about how to get them finished since I don’t allow my pre-schoolers to indulge…let’s say over-indulge. Now, with family around there is enough reason to bake cakes.

Thank you once again for the wonderful year gone by. I am so excited to have started another one with you..another year of Sugar…..et al!

 No Bake Caramelised White Chocolate Cheesecake with Berries
Serves 8-10

220 g chocolate cookies
50g butter, melted
2 tbsp. boiling water
3 teaspoons gelatine powder
300 ml thickened or heavy cream
500g cream cheese, softened
3 tbsp. Castor sugar (more if you prefer it sweeter, taste as you go)
1 cup caramelised white chocolate (recipe from David Lebovitz, here)
generous dusting of cocoa powder, to serve
Berries, to serve (or chocolate shavings, chocolate ganache or whipped cream)

Grease a 19 cm round Springform pan. Line the base and sides with baking paper.
Place the cookies in a food processor. Process until fine crumbs. Add melted butter and mix to combine. Using your fingertips, press biscuit mixture over base of prepared pan. Refrigerate for 30 minutes or until firm.

Pour boiling water into a small bowl. Sprinkle over gelatine. Using a fork, whisk until gelatine is dissolved. Set aside to cool slightly.

Using an electric mixer, beat cream cheese and sugar in a large bowl until smooth. Add in the caramelised white chocolate and combine. Stir gelatine mixture through cream cheese mixture to combine. In a separate bowl, whip heavy cream to soft peaks. Fold through cream in the cream cheese mixture, gradually. Spoon over the base of the cookie mixture. Smooth out the surface with a palette knife or the back of a spoon. Cover. Refrigerate for 4 hours or until set. Sprinkle generously with cocoa. Serve with berries.
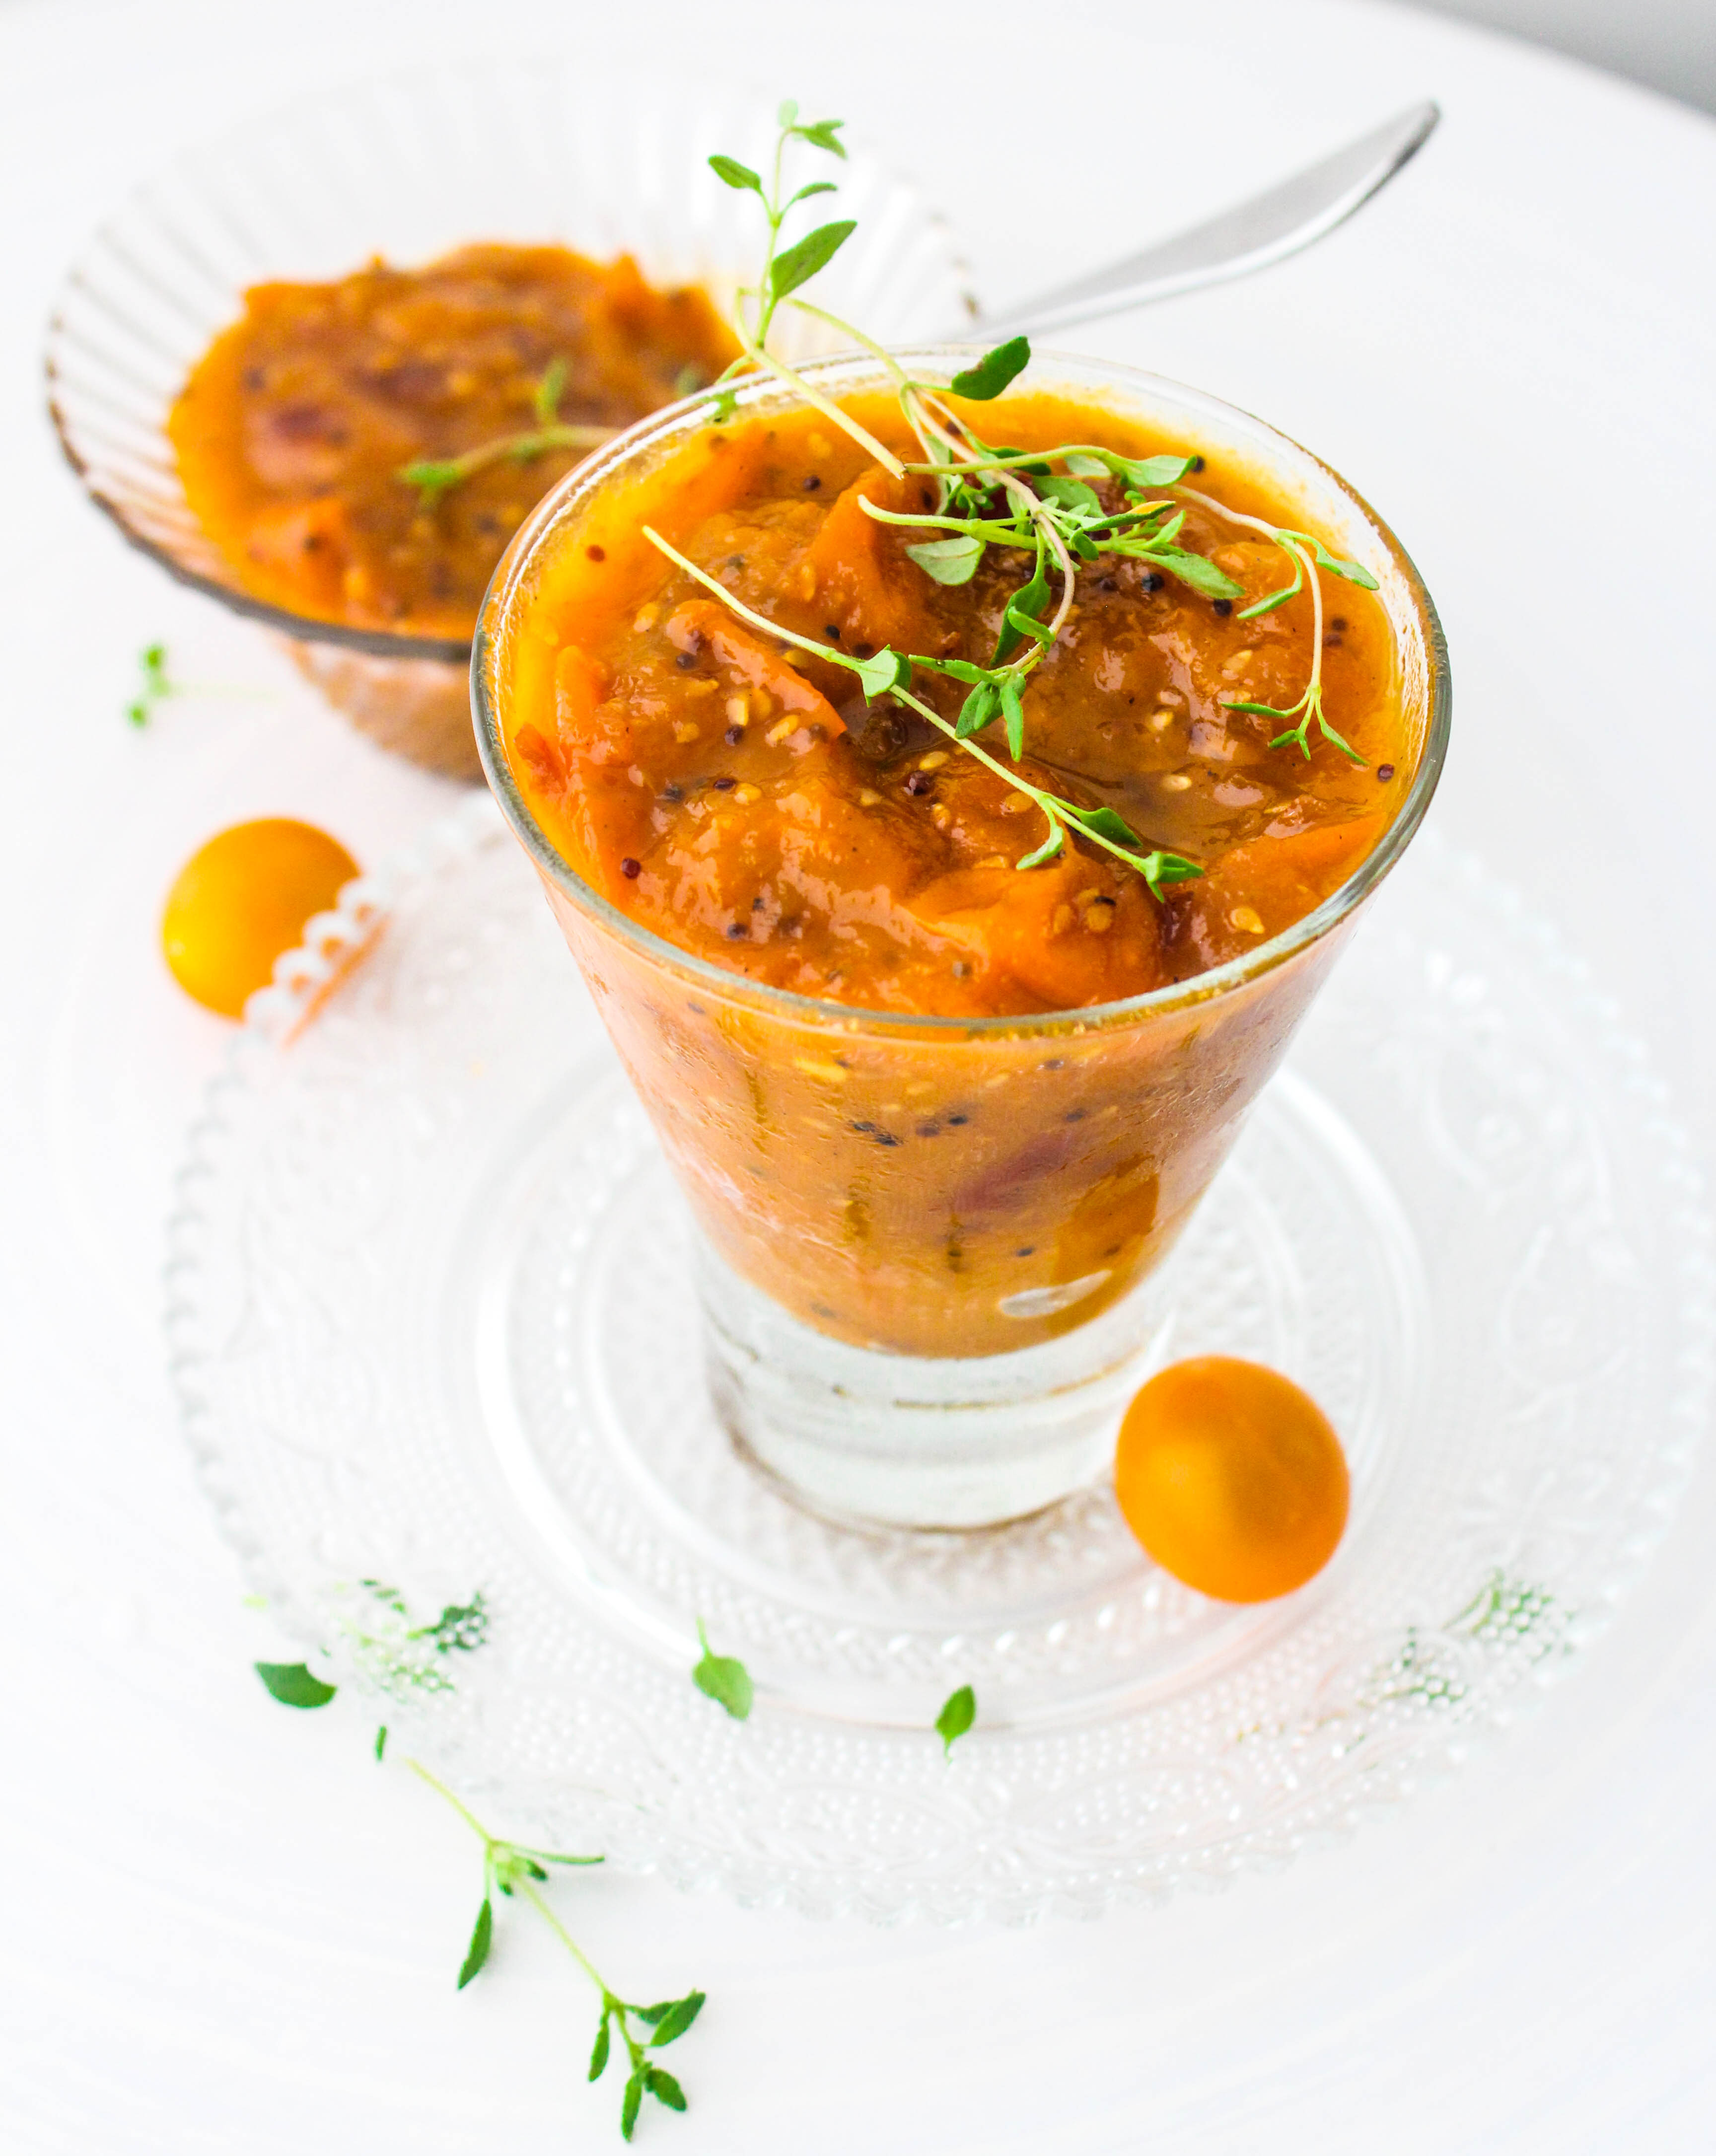
Yellow Tomato, Mustard and Thyme Chutney

20|02|2014

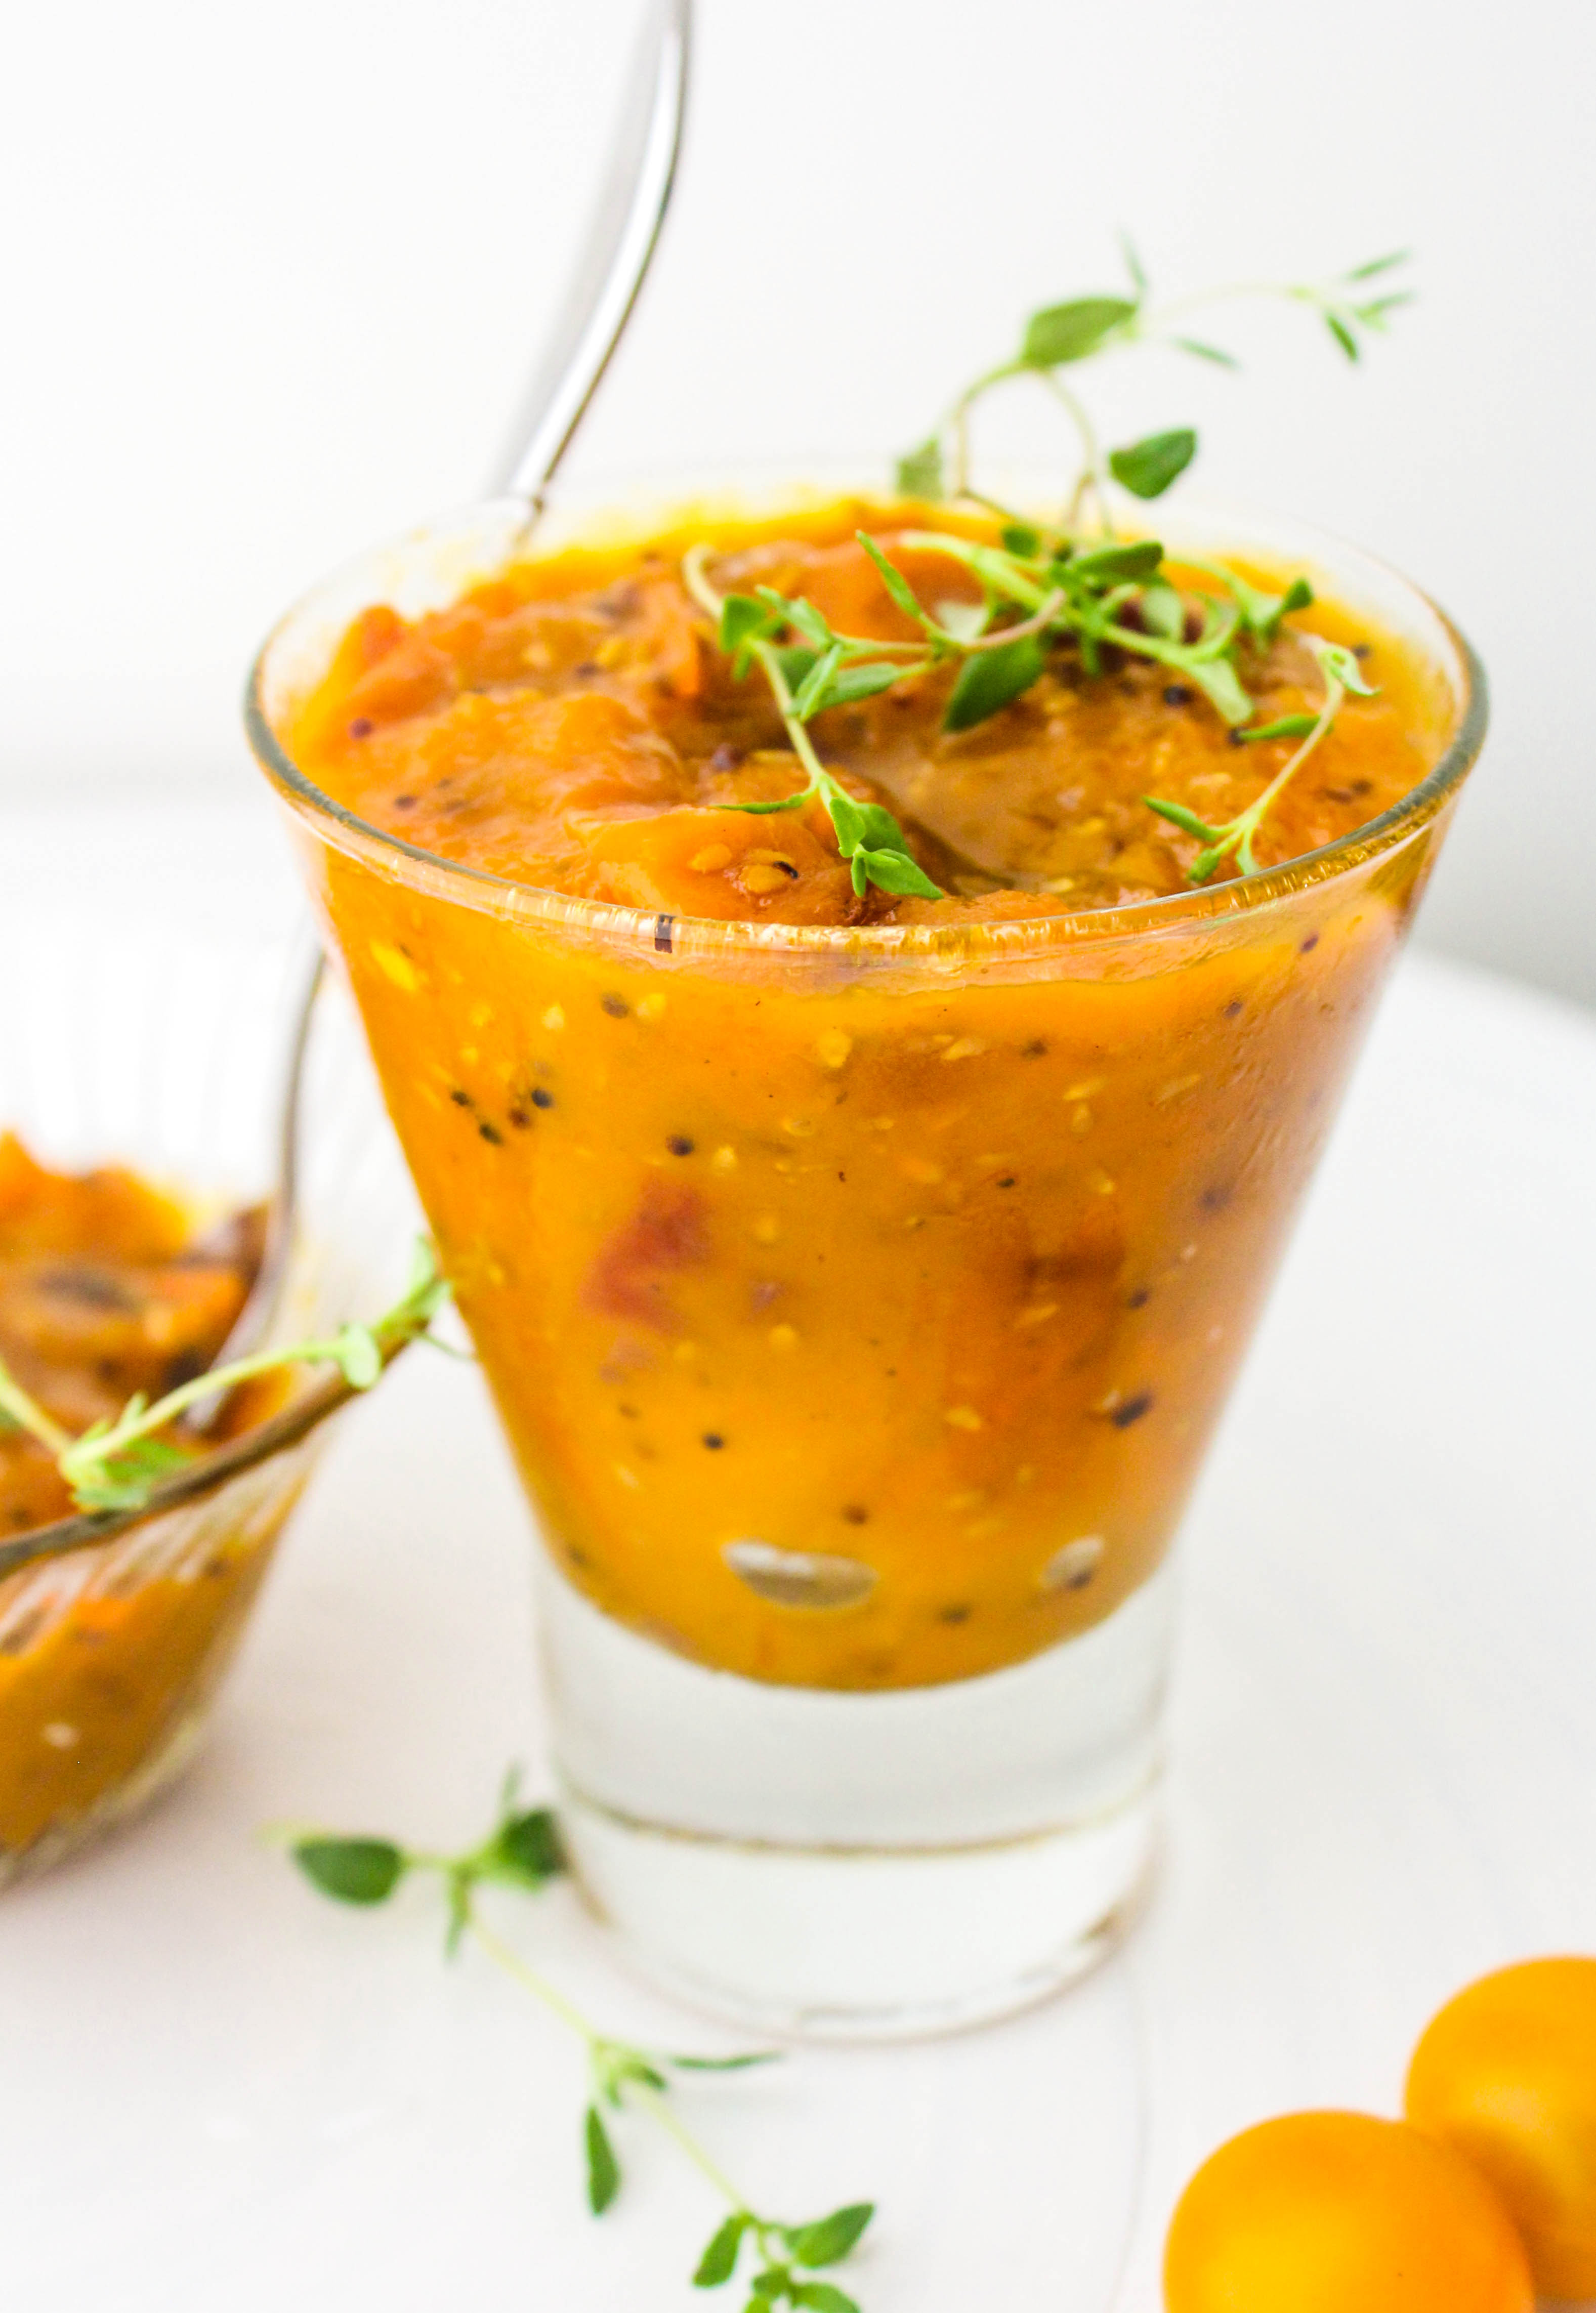
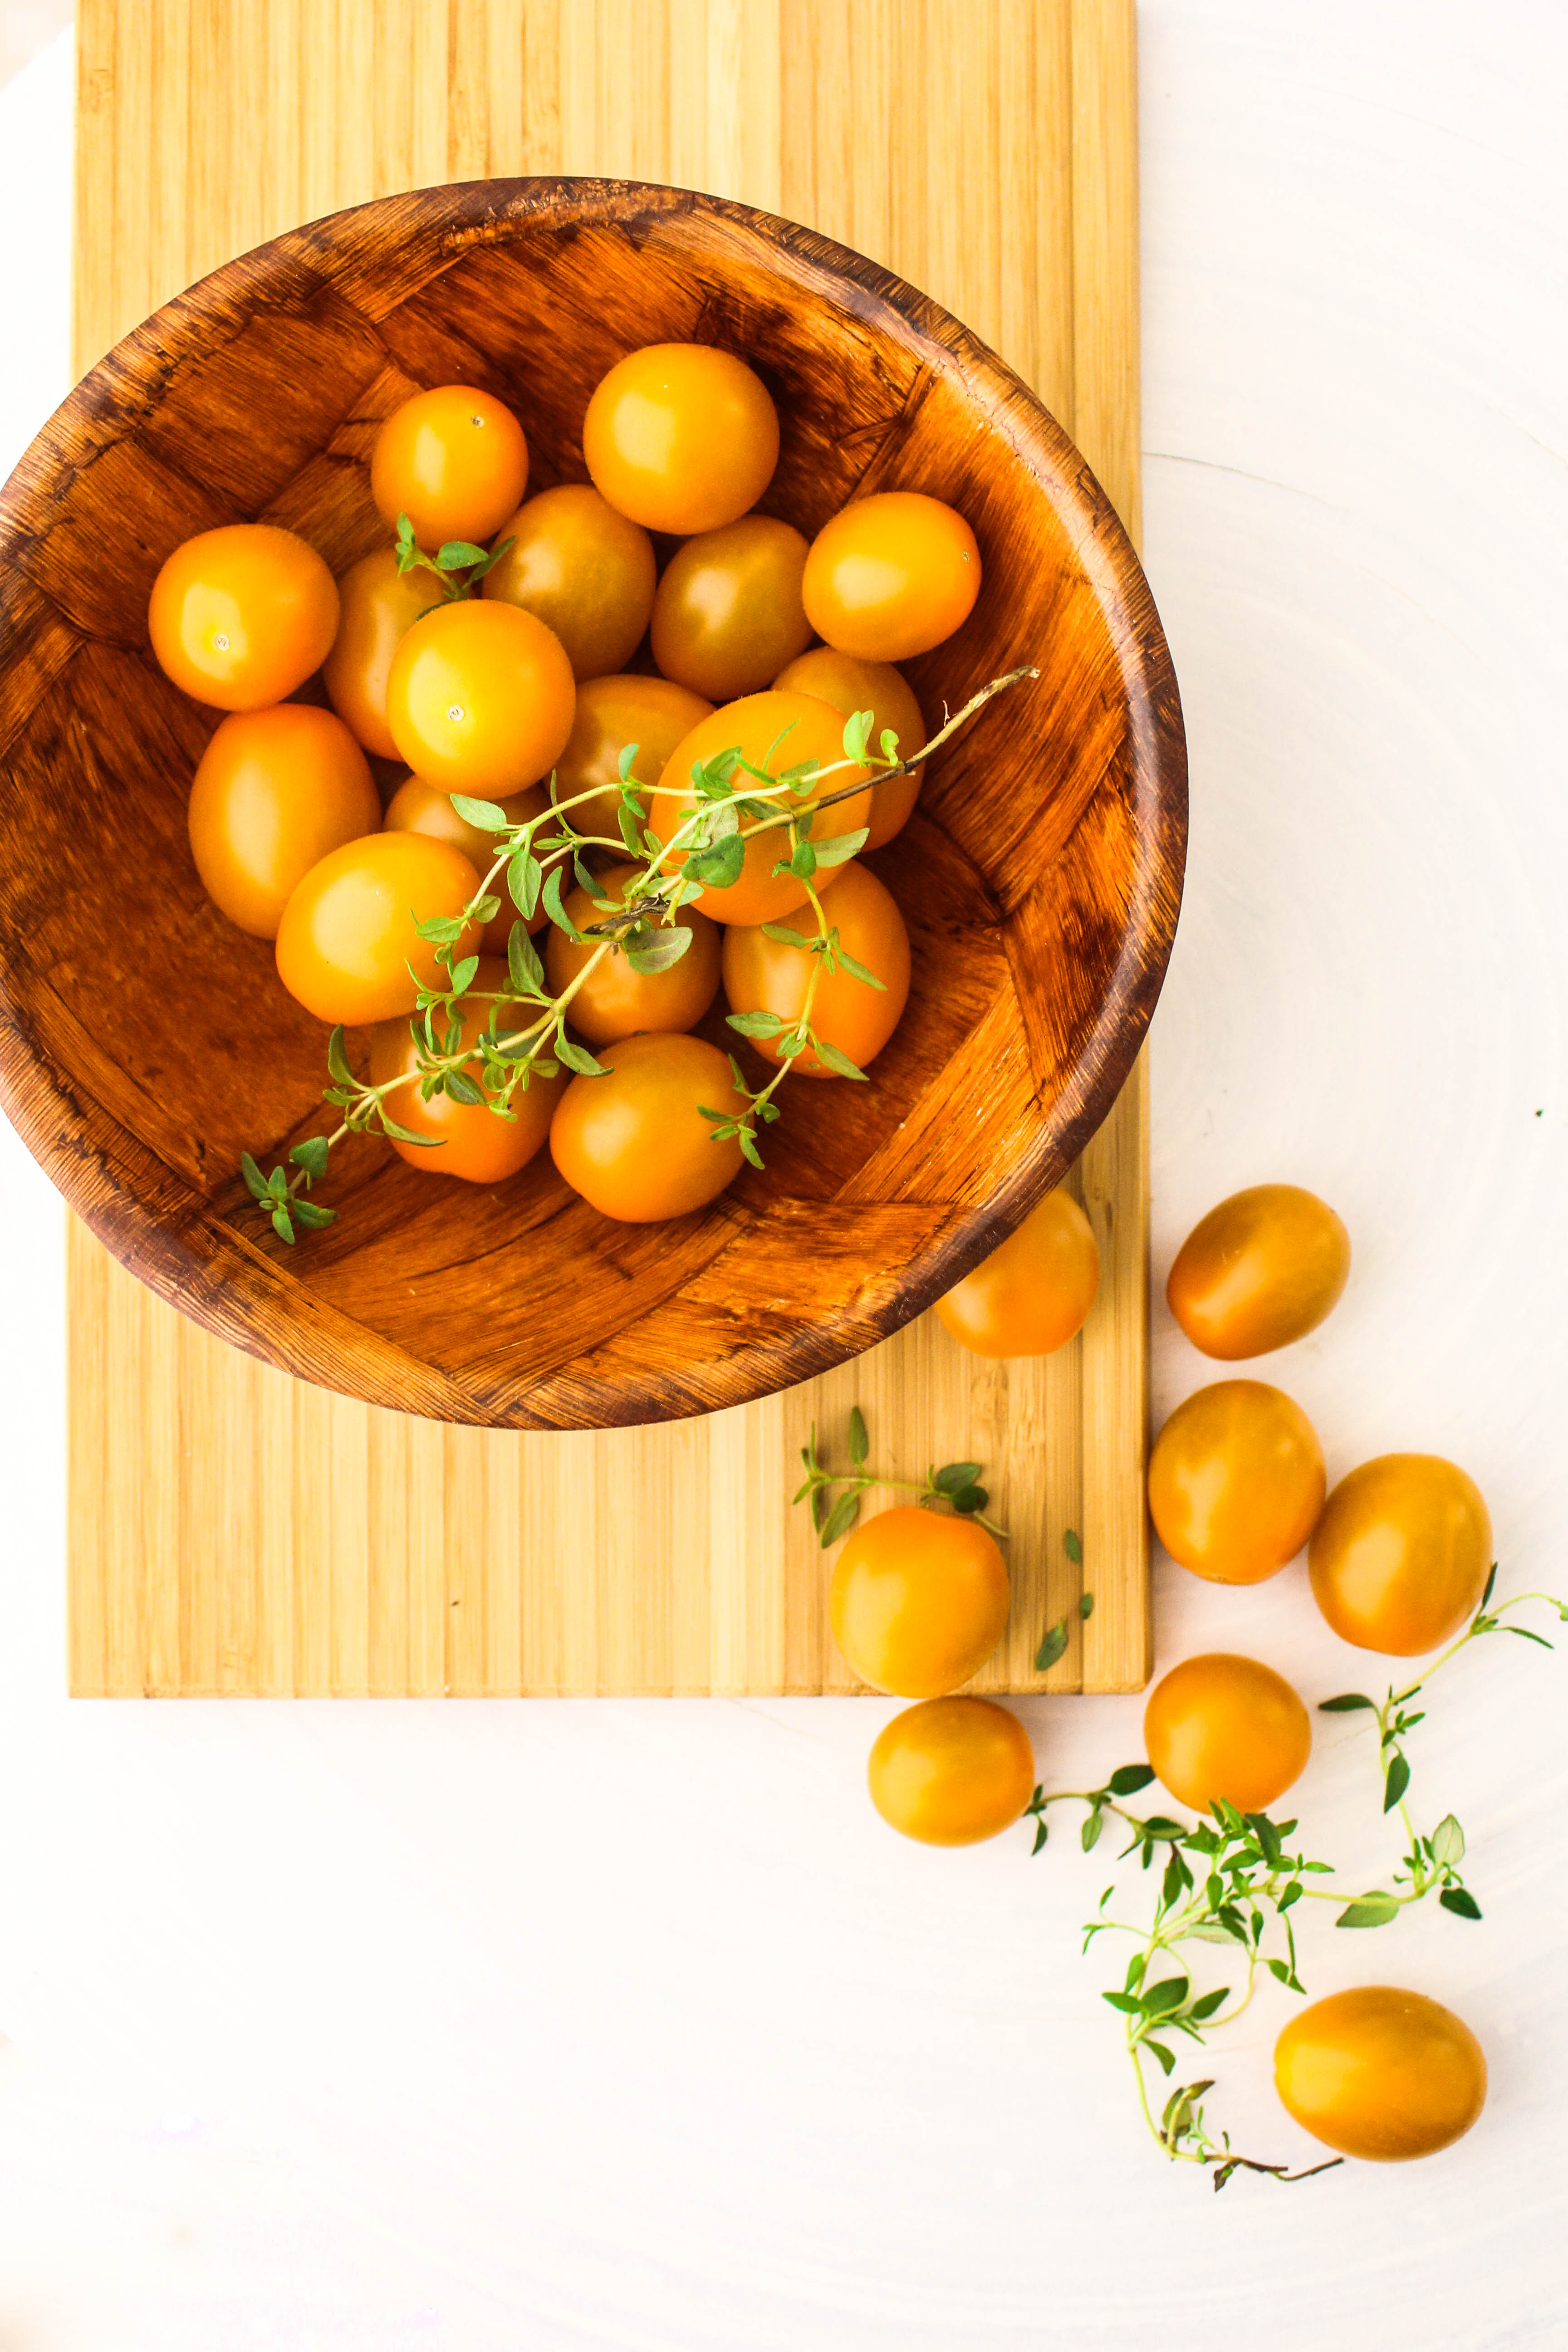
A good chutney is not just a condiment but a great way of sprucing up a dish. Whether you want something flavourful to accompany your cheese platter, jazz up your burgers and sandwiches or a tasty side to complement your meat dishes, a chutney is a handy thing to have in your pantry.

IMG_8027-2

Chutney has been known to have originated in the Eastern part of India but have, over time adapted itself to the taste and local produce in regions across the globe. And that is perhaps why it is so versatile and accommodating. The core of a chutney rests on three basic elements. The fruit or vegetable, sugar and spice.  The flavours are intense and would be a balance of sweet, tangy and spicy. One can literally play around with the components, add or remove and get creative with them. Having grown up in the land of the Chutney, I have sampled thousands of them loved them and make them frequently at home. Since it is so easy to make, most of my chutneys are a last-minute creation. Ripe peaches..make a chutney! Tomato season…make a chutney! Beautiful mangoes….make a chutney! Something to go with my roasts…make a chutney!

IMG_8038-4There is no such thing like a correct consistency for a chutney. Really, it is left to your preference. Some like it thin and runny, some prefer it thick and spoonable. Typically it would be somewhere between the consistency of a jam and a sauce and have a bite to it. And there in lies the beauty of this condiment. One doesn’t need a food processor or a strainer unlike a sauce.

Mustard seeds and red chillies go well with tomatoes in a chutney. They are childhood flavours I have a deep relationship with. They are flavours my mother’s chutney recipes always have. The heat is optional and the mustard seeds can be substituted with cumin seeds if not available. The thyme leaves lend an earthy woody flavour that goes well with the sweet and spicy tomatoes. I have to admit that I am in love with the little thyme plant in my garden so the leaves make an appearance in quite a few of my recipes. The recipe can be easily adapted to use red or green tomatoes. Sweetness can be adjusted as per taste.

IMG_8035


Yellow Tomato, Mustard and Thyme Chutney
Makes 11/2 cups chutney

1 tbsp. vegetable oil
11/2 tsp mustard seeds
2 dry red chillies
1/2 red onion, finely chopped
1 clove garlic, finely chopped
300 g yellow tomatoes, roughly chopped
1 tsp lemon zest
1/2 tsp dried thyme leaves
1/2 cup water
1/2 cup sugar
Fresh thyme leaves, to serve (optional)

Heat the oil over medium heat in a heavy bottomed saucepan. Add the mustard seeds and dry red chillies and heat for 30 seconds or till the seeds splutter. Add the onions and garlic and cook till soft.

Add the tomatoes, lemon zest, thyme and water. When the tomatoes have softened and become pulpy, add in the sugar. Stir to mix. Cook till the mixture thickens, stirring in between to prevent burning at the bottom. Once the mixture reaches the desired consistency (about 10 mins) take it off the heat. Cool slightly and place in a serving bowl. (The mixture will thicken slightly on cooling).

The chutney will keep in the refrigerator for up to 10 days. Can be served warm or cold. Serve with fresh thyme leaves.


Spicy Asian Eggplant Curry

16|02|2014

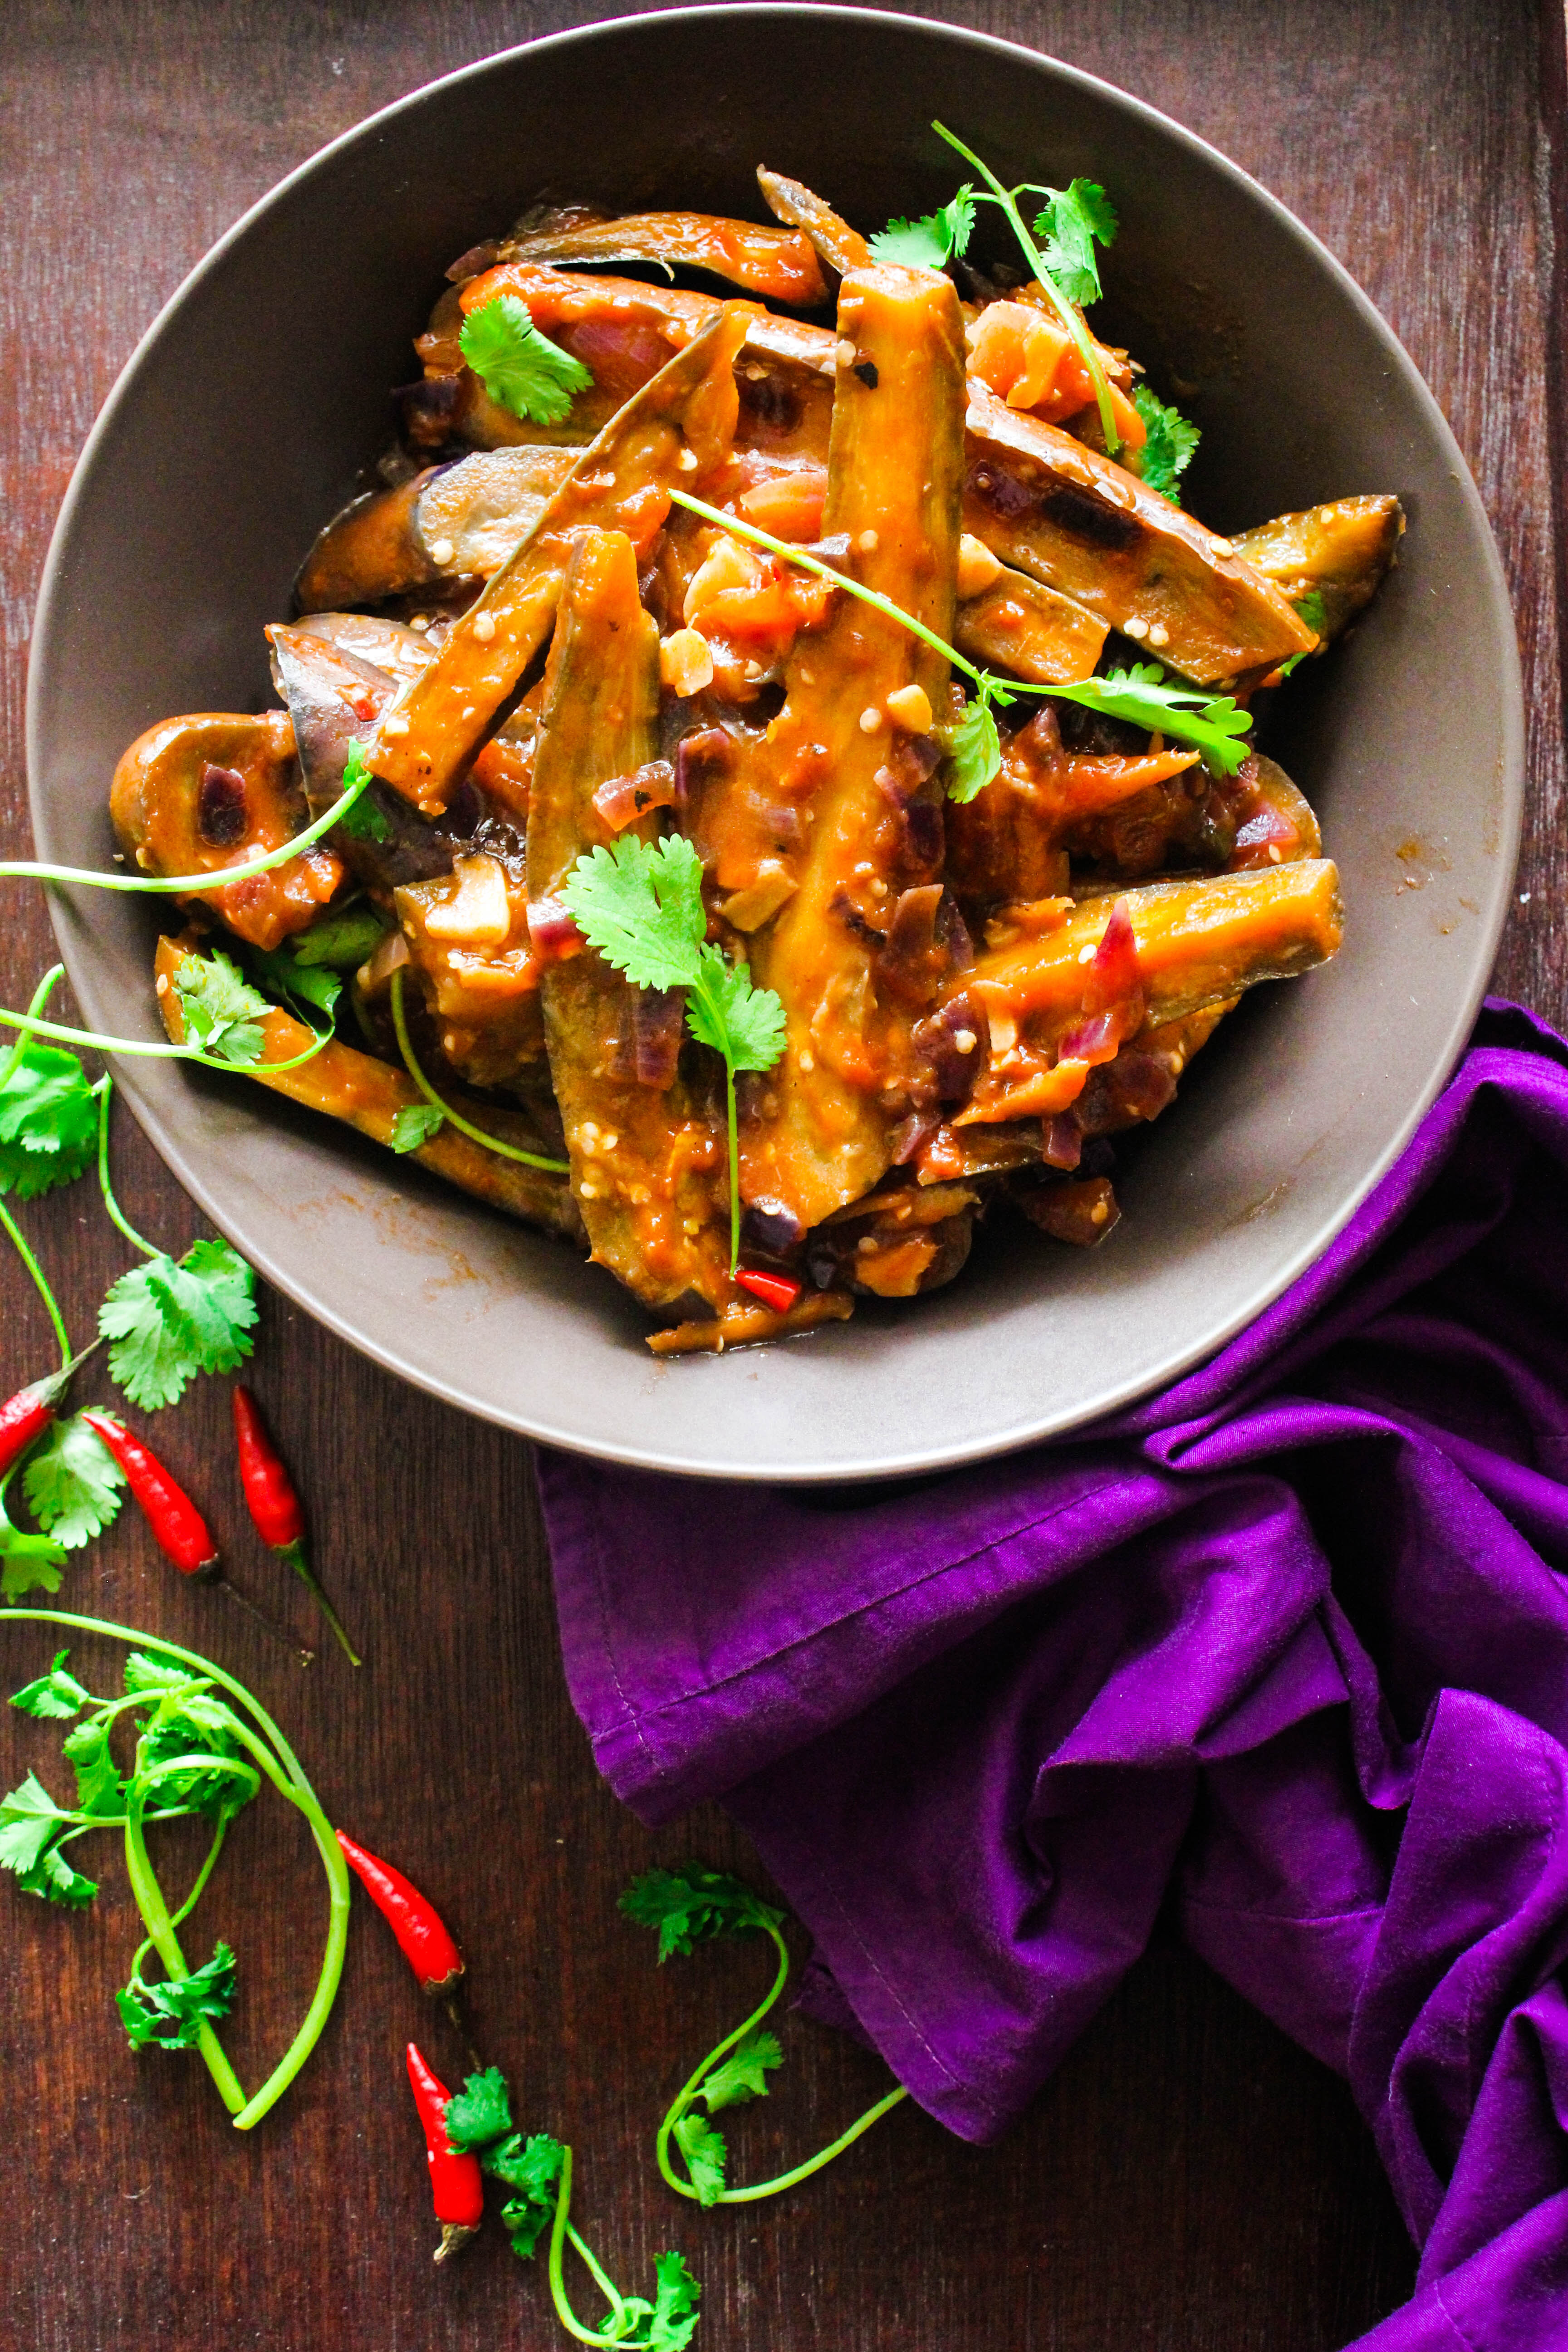
Eggplant curry which is spicy, sweet, sour at the same time. Great accompaniment with rice or breads and totally delicious.

On days when I go meat-less, one of my favourite things to cook are eggplants. Not only am I a big fan of the dark shiny purple skin and the soft mushy interior when cooked, I also love the ease with which eggplants take on flavours. Whether it is a Moussaka, a salad or my favourite way of roasting it on an open fire for an Indian Bhartha, this is an ingredient that seldom fails to bring out the creativity in me.

spicy asian eggplant curryHaving eaten and cooked with eggplants all my life, it wasn’t difficult for me to pair them up with Asian ingredients. Especially a curry. That way the eggplants become the star of the show and can effortlessly replace the non-vegetarian component of a meal. Sweet, sour, spicy, hot are the typical flavours that come to one’s mind when thinking about an Asian curry. This one has all of them. Feel free to play around with the quantities of each ingredient as per taste.

spicy asian eggplant curry

I have used Lebanese eggplants in this eggplant curry that are thinner and smaller than regular eggplants but very similar in taste with the large round ones. The larger ones can be used too but they would need to be sliced up into long thin pieces.

spicy asian eggplant curry

Spicy Asian Eggplant Curry
Serves 4

3 garlic cloves, thinly sliced lengthways
5 cm piece ginger roughly chopped
2 stalks lemongrass, outer skin removed (white part only)
1 tbsp. lime zest
4-5 red chillies (or as per taste)
3 tbsp. vegetable oil
7-8 small Lebanese eggplants, trimmed, halved or quartered lengthways
1 onion, finely chopped
1/2 cup finely diced tomatoes (I used canned diced tomatoes)
1/2 cup water
11/2 teaspoon finely chopped palm sugar
Salt, to taste
Coriander leaves for garnish
Finely chopped red chillies for garnish (optional)

Place the garlic, ginger, lemongrass, lime zest in the bowl of a food processor and process to a smooth paste.

Heat 2 tbsp of the oil in a large wok over medium-high heat. Add the eggplant and cook, covered, for 2 minutes. Turn the eggplant and cook, covered, for a further 3 minutes or until tender. Transfer to a plate lined with paper towel.

Heat the remaining oil in the wok over medium-high heat. Add the onion and fry for 2-3 minutes or until it softens. Add the spice paste and stir-fry for 1 minute or until aromatic. Add the tomatoes and water and bring to a gentle simmer. Simmer for 5 minutes or until sauce thickens slightly. Taste and season with palm sugar and salt.

Reduce heat to medium. Add the eggplant to the tomato mixture and cook, stirring occasionally, for 2 minutes or until heated through. Transfer to a serving platter and serve immediately with rice.


Banana Coconut Chocolate Chip Muffins

11|02|2014

I think most of us have a favourite banana bread or muffin recipe. At a baker’s home, it’s not too difficult to predict the fate of ripened bananas. In my case, I can’t say that there have been too many instances that I have gone shopping for bananas for a particular recipe. Or maybe this is my first.

IMG_8067-3I’ve been meaning to make banana muffins with coconut in them for a while now. Actually I was looking for a desperate change from my usual banana plain or chocolate flavoured muffins. And I didn’t want a frosting this time, like the one I had posted earlier with Chocolate Malt Buttercream. So when I came across the recipe I knew I wanted to make it. It was by far the simplest banana muffin recipe that I tried out.

IMG_8062

It turned out great. Moist with a bit of crunch from the desiccated coconut and sweet from the bananas. Chocolate chips almost always make their way into my muffins. There’s not much else to say about this recipe other than it is sure worth a try.

IMG_8077

IMG_8069

Banana Coconut Chocolate Chip Muffins (adapted with variation from Taste.com)
Makes 12 large muffins

125g unsalted butter, melted
3/4 cup (165 g) castor sugar
2 large ripe bananas, mashed with a fork
2 eggs
1 teaspoon vanilla extract
2 cups self-raising flour, sifted
1 cup desiccated coconut
1/2 cup (100g) dark chocolate chips
Icing sugar, to dust

Preheat oven to 200 degrees C. Grease or line a 12 hole muffin pan with paper liners.

Place butter, sugar, banana, eggs and vanilla in a bowl and mix till well combined. Place flour, coconut and chocolate in a large bowl, then fold in banana mixture. Working in batches, place spoonfuls of mixture into the prepared pan (up to 2/3rd full). Bake for 25-30 minutes or until risen and golden and a skewer inserted into the centre of the muffin comes out clean.

Cool slightly in pan, then turn out onto a rack to cool completely. Serve dusted with icing sugar.

Mushroom and Breadcrumb Pasta

9|02|2014

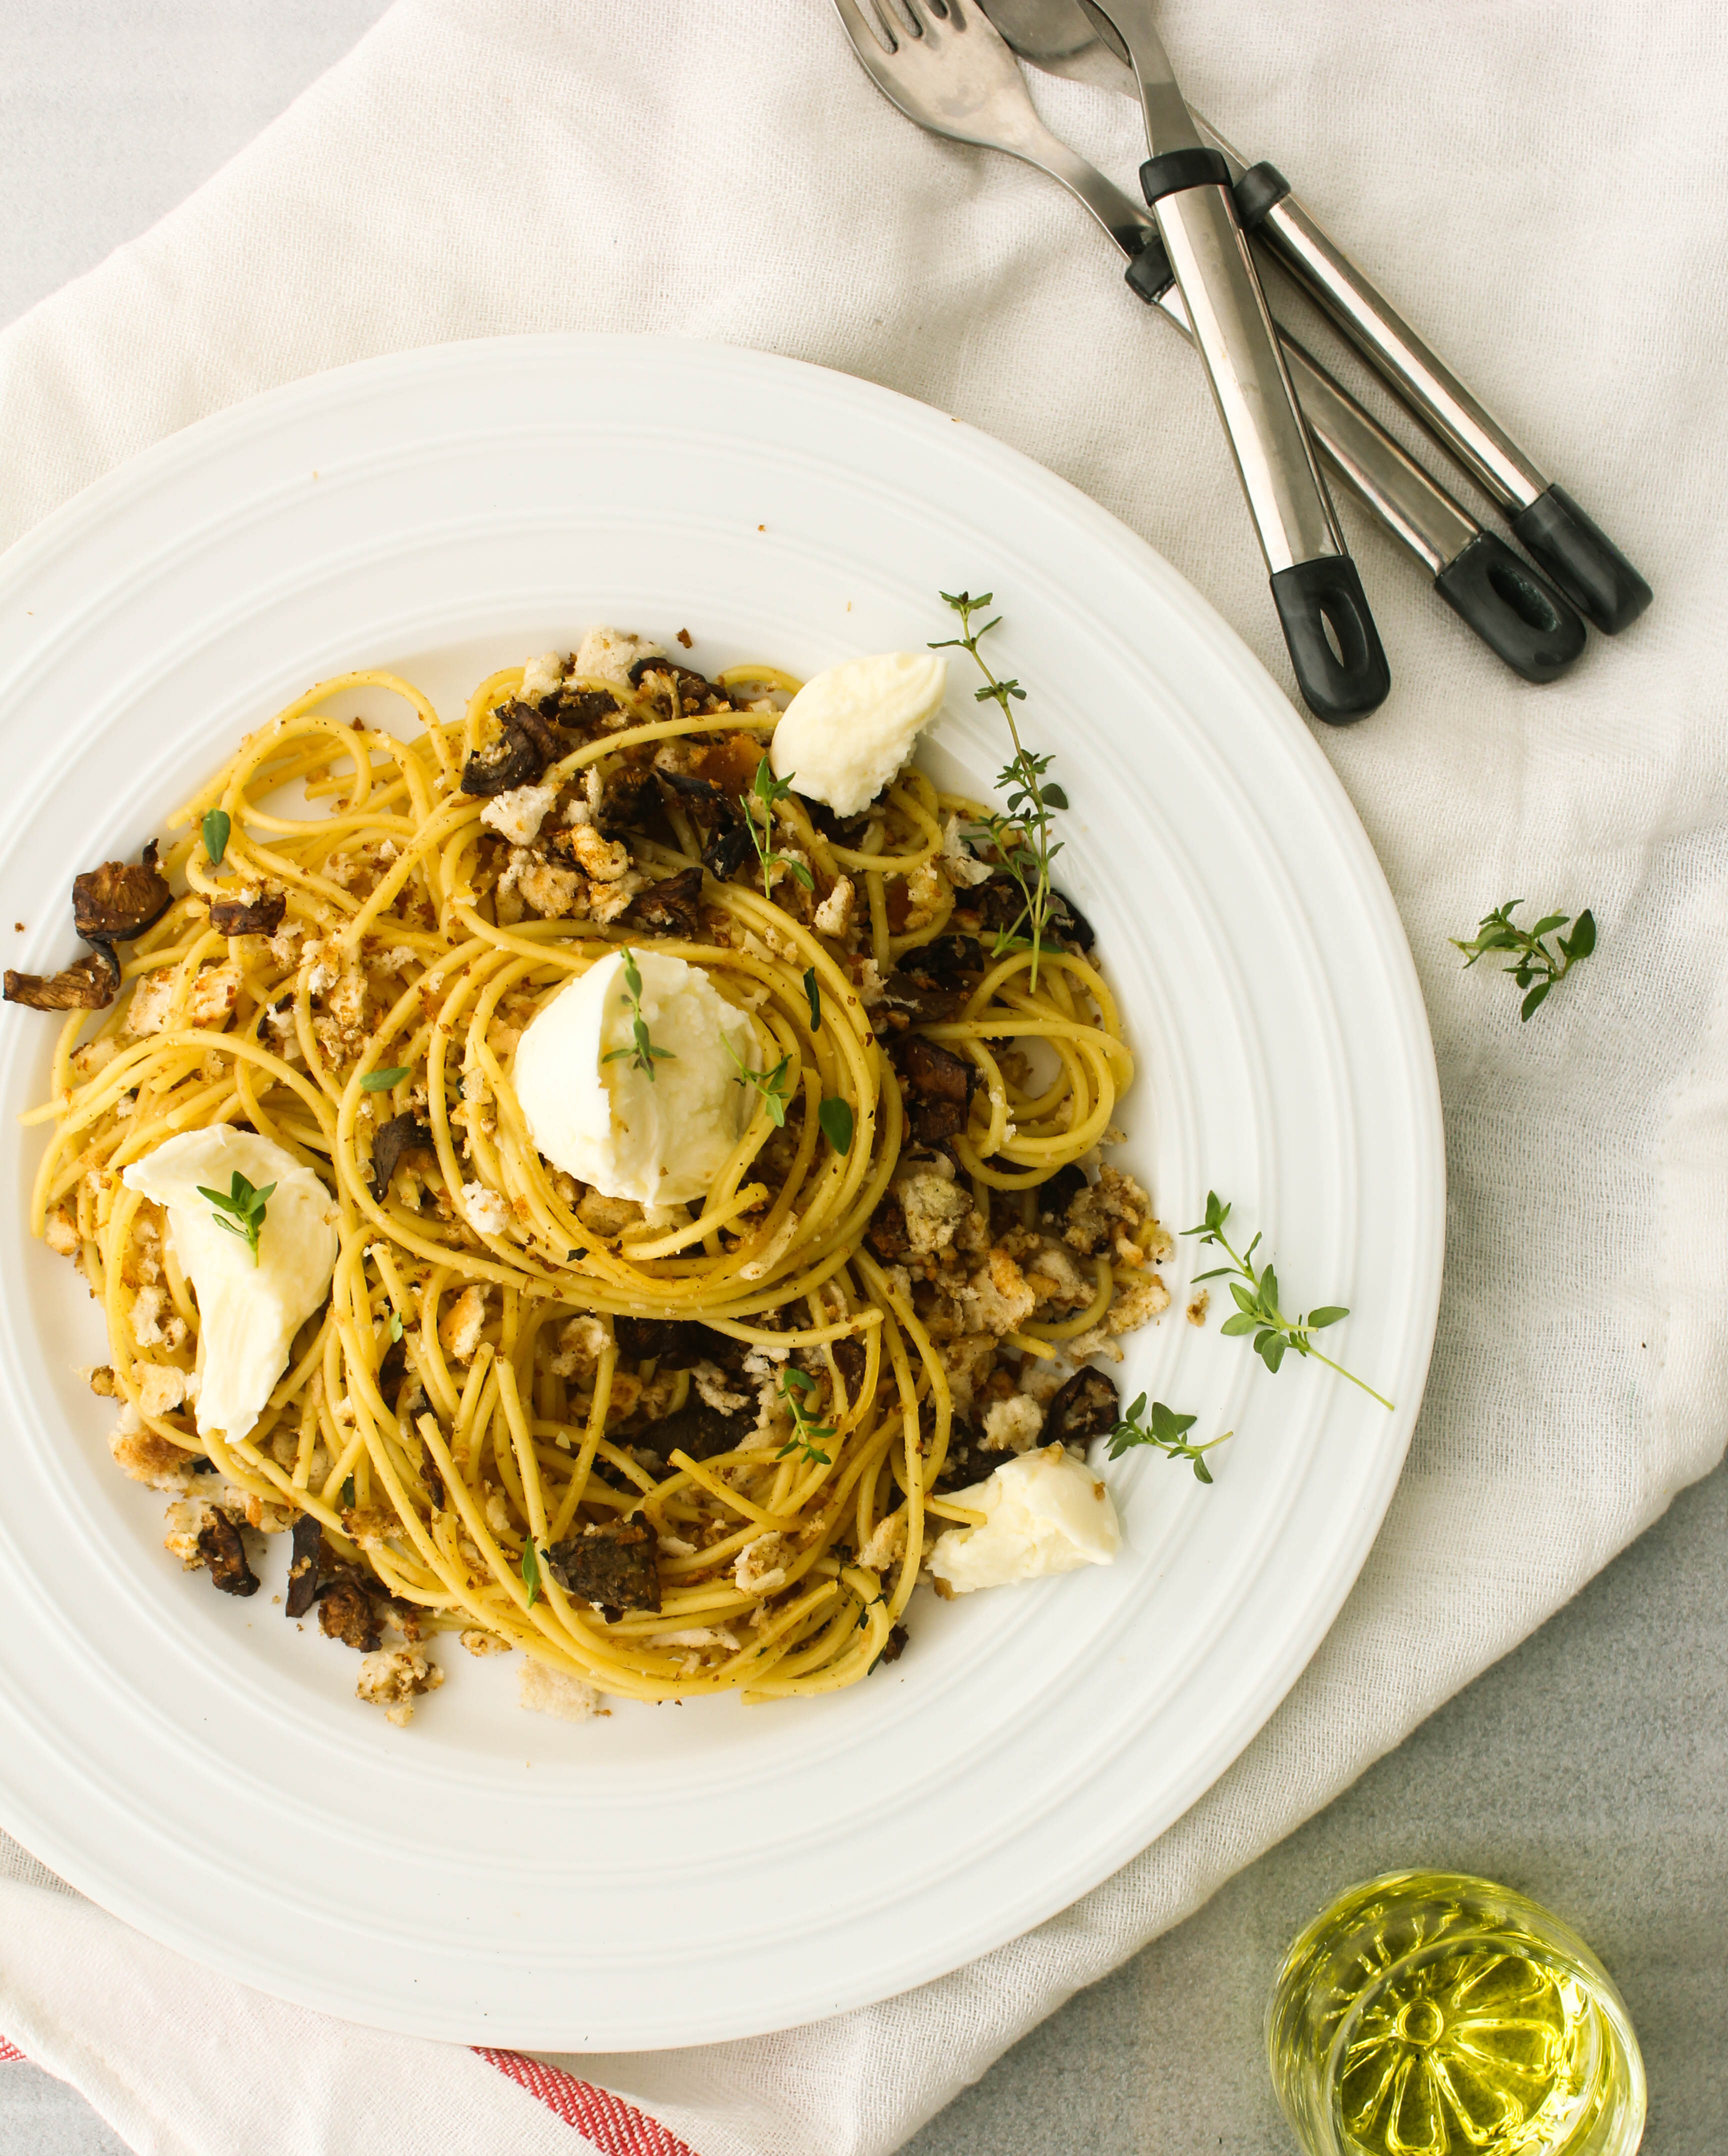
Quick smart dinners are becoming a way of life in our house. Why lock myself up in the kitchen and get involved in stages of cooking when a delicious dinner can be produced at the table within minutes with the least effort. Don’t get me wrong. I love cooking elaborate meals, 4 course dinners and over anything else spending time in the kitchen. But summer evenings don’t last forever and hanging around outside with the kids in the lingering daylight can at times sound like a better proposition.

IMG_8042

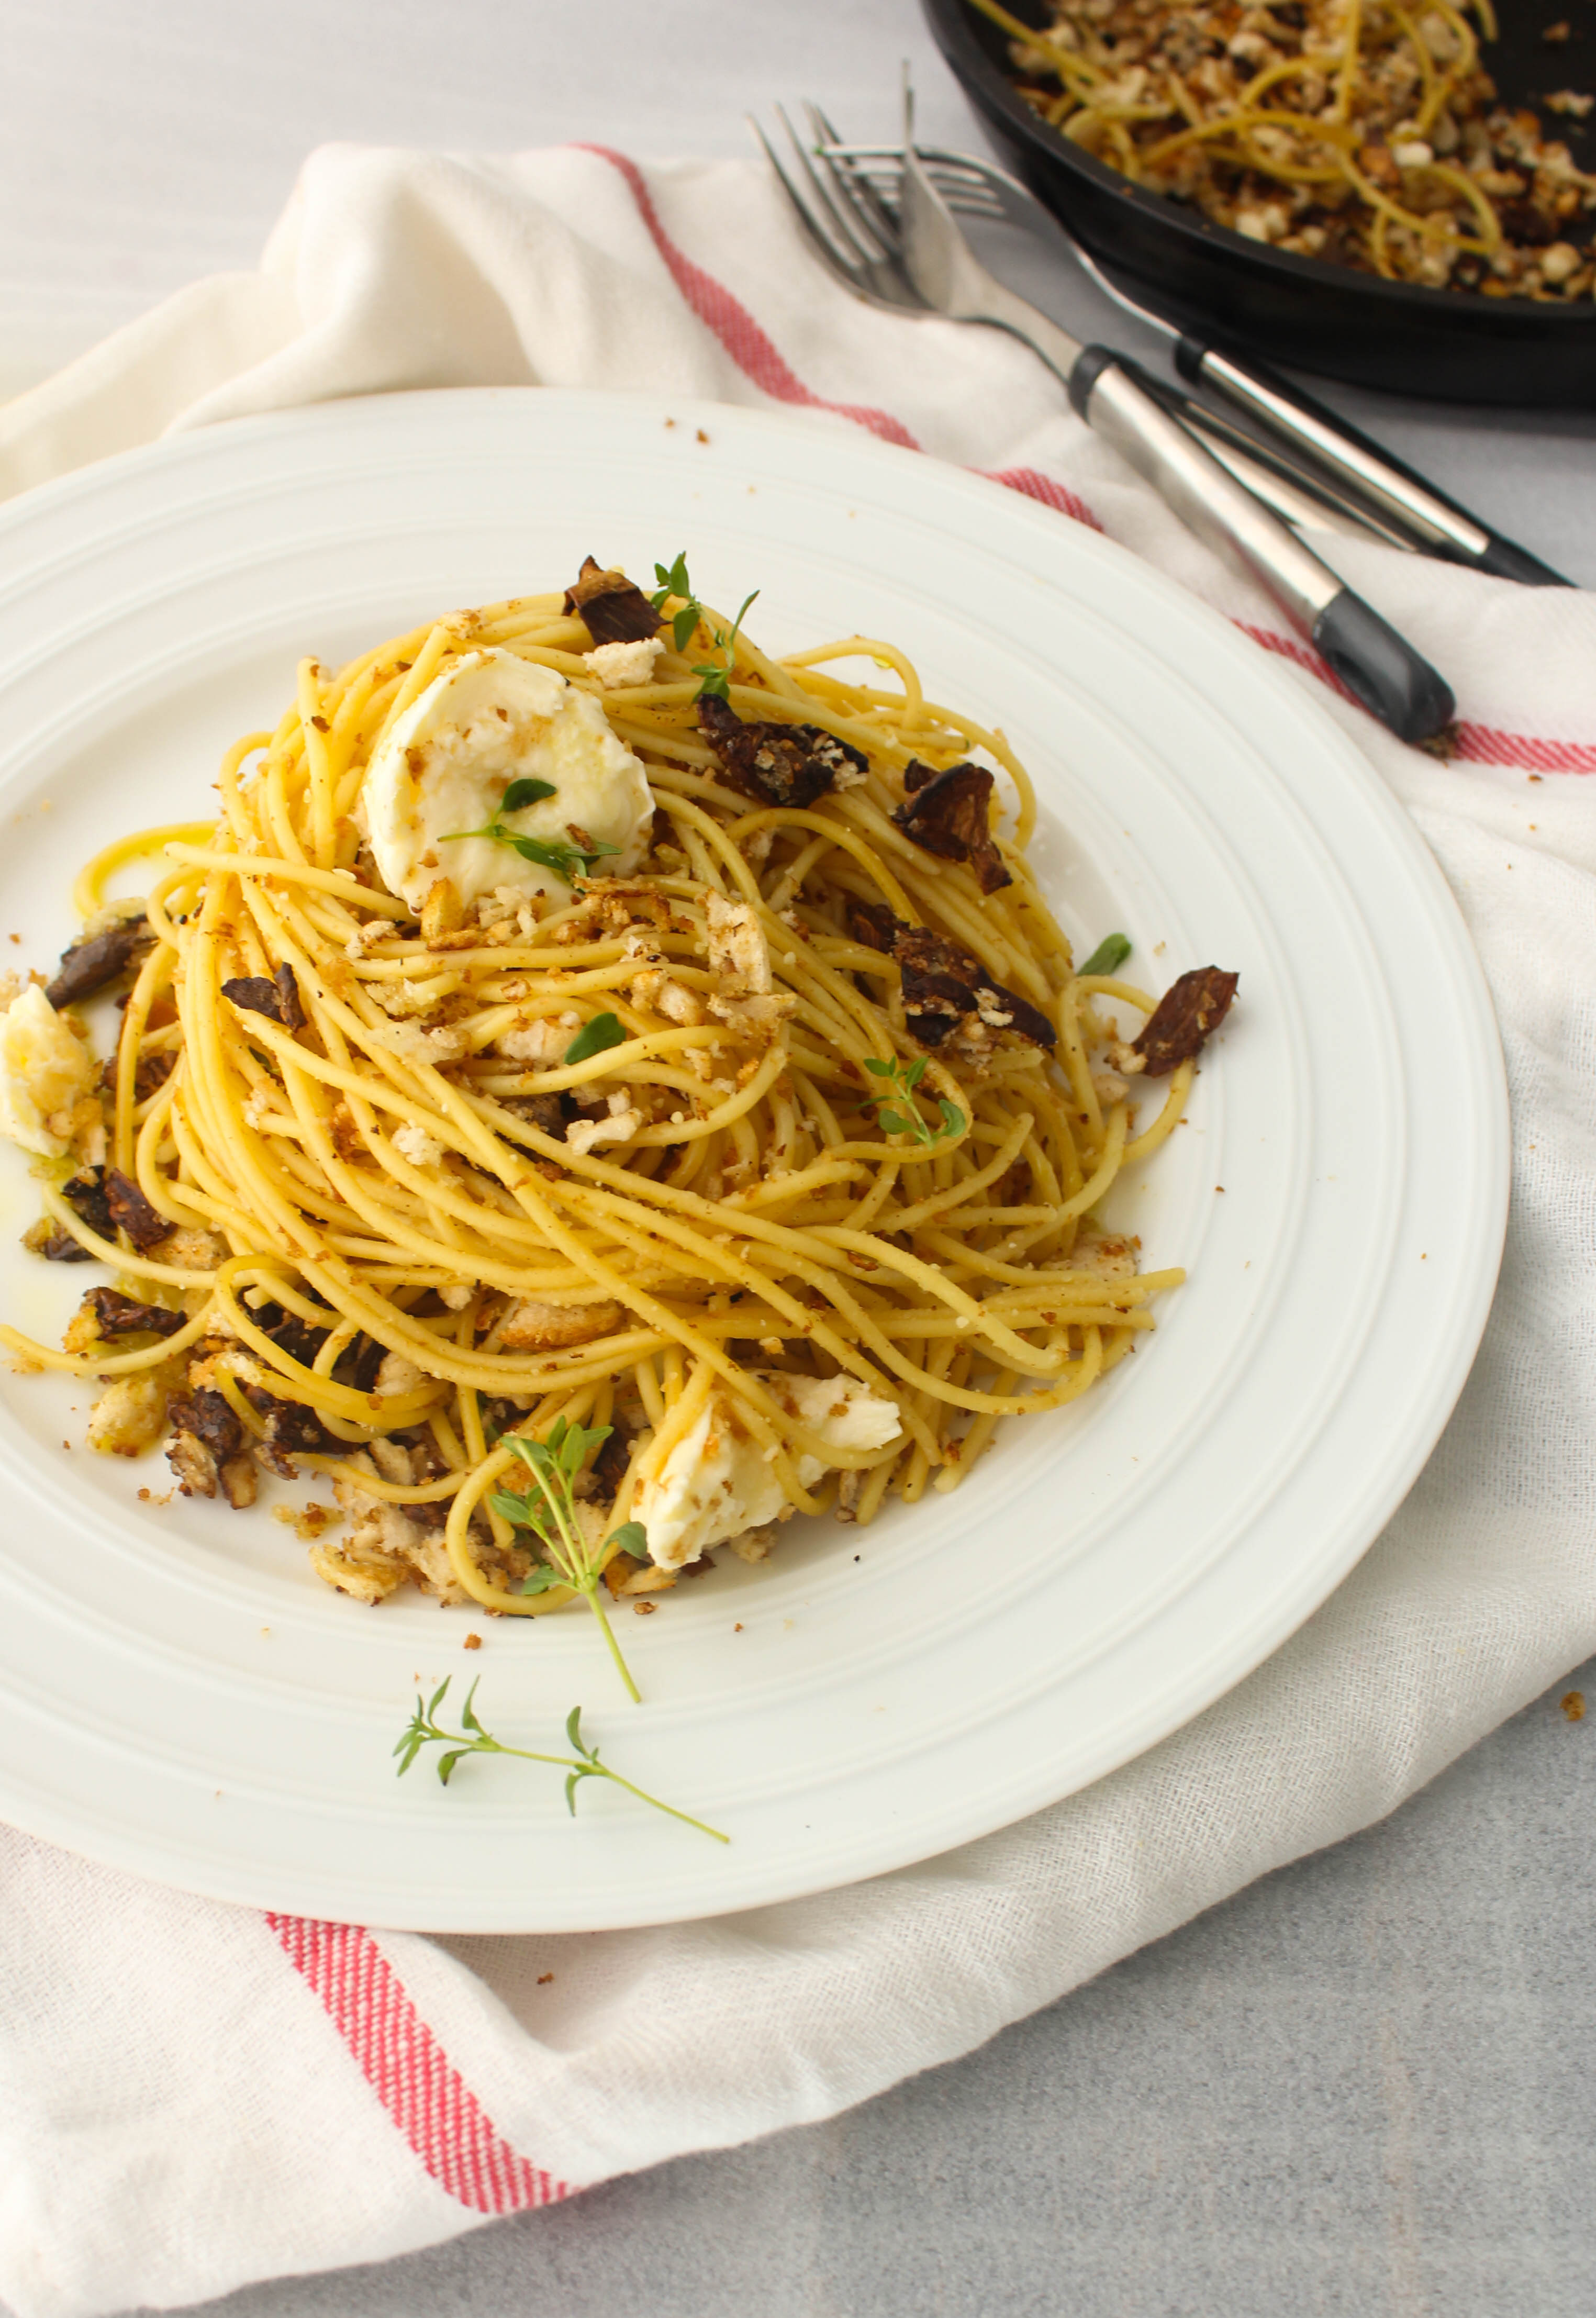
Quite a few of my go-to recipes in such a scenario happen to come from Donna Hay’s Fast Fresh Simple. This simple vegetarian pasta dish is not only easy to put together and delicious, it uses a few ingredients. And a unique way of using them. When I first saw the recipe with breadcrumbs, I was quite unsure how it would turn out. But since it involved dried porcini mushrooms which happened to be at home, I was willing to take the risk as I really love the deep earthy flavour of mushrooms. I am not a big fan of thick, heavy sauces with my pasta so I found this a refreshing change. Crunchy bits of porcini flavoured crumbs thoroughly coating threads of spaghetti. Some herbs, garlic, lemon zest and parmesan and that’s about it. To serve I like to add torn Bocconcini to the pasta that melts a tad bid from the heat in the pasta making it even more delicious. I also found it a great way of using up old bread.

IMG_8052

Mushroom and Breadcrumb Pasta (adapted with a slight variation from Donna Hay’s Fast Fresh Simple)
Serves 2-3

20 g dried porcini
200 g spaghetti
1 1/2 tbsp olive oil
2 garlic cloves, crushed
1 tsp lemon zest
1 tbsp thyme leaves
70 g breadcrumbs
Salt and pepper, to taste
Olive oil and finely grated parmesan, to serve
Bocconcini cheese, to serve

Place the porcini in a bowl, cover with boiling water and set aside. Cook the pasta in a large saucepan of boiling salted water for 8–10 minutes or until al dente. Drain and keep warm.

Place the pan back on the heat. Add the oil, garlic, lemon zest and thyme and cook for 2 minutes. Drain the porcini and roughly chop.

Add the porcini to the pan with the breadcrumbs and cook, stirring, for 4 minutes or until crumbs are golden. Add the pasta to the pan with salt and pepper and toss to coat.

Divide between serving plates and sprinkle with parmesan, extra virgin olive oil and Bocconcini cheese.

Grapes with Orange Creme Anglaise (Custard) and Hazelnuts

6|02|2014

They are beautiful…versatile.. and easily available. They are great for you. And since ancient times they have been associated with romance. But I wonder if they get the love that they deserve. When we picturise a pretty fruity dessert, we think of berries, stone fruits, figs and so on.
Grapes? Not really. To be honest, I never did. So considering that this is the month of love, I thought I’d give them some dessert love.

IMG_7990-2

Crème Anglaise is my favourite dessert sauce in the world. I have tried out hundreds of combinations over the years and I find nothing as fancy carrying a dessert tray with fruits or cake and a little jug of Crème Anglaise on the side to be poured by the person it is being served to. It’s very restaurant-like to put it down in front of your guests. And mind you, I do it in style and enjoy all the curiosity and attention it generates. Go ahead, try it. A word of caution, though. If you are serving it for a  crowd, make sure you pour them into individual pots or serving glasses. You don’t want your diners fighting over a jug of crème anglaise. But now since we are talking Valentines’s day, sharing is allowed. In fact, it is encouraged!

IMG_8017I have forever used David Lebovitz’s recipe as the base recipe for Crème Anglaise. Depending on the chosen flavours, I add or take away. He is a genius, isn’t he? His recipes always work for me. For this dessert, I have halved the recipe and that should make a cup of Crème Anglaise. Initially, I wanted to ‘brandy’ the grapes but I had already used Cointreau in the custard. You can leave out the liqueur if you want to. Cointreau or any other orange liqueur contributes a more intense orange flavour to the custard. The custard can be made up to 3 days in advance and stored covered in the refrigerator.

IMG_8012

IMG_7997-2


Grapes with Orange Crème Anglaise (Custard) and Hazelnuts
Serves 2

1 cup seedless red grapes
1/4 cup toasted hazelnuts
1 cup Crème Anglaise (recipe below)
Icing sugar to dust.

Divide the grapes and toasted hazelnuts between two serving glasses. Pour over chilled Crème Anglaise. Dust with icing sugar. Serve

Orange Crème Anglaise
1 cups (250 ml) whole milk
4 tbsp. sugar
zest of two medium oranges
3 egg yolks
1 tbsp. Cointreau or any other orange liquor (optional)

Pour the milk into a medium saucepan and add the sugar.

Grate the zest of the oranges directly into the milk. Warm gently, then remove from heat, cover, and let steep for one hour.

When ready to cook the custard, make an ice bath by putting ice cubes and a small amount of cold water into a large bowl and resting a smaller metal or glass bowl in the ice. Set a fine mesh strainer over the top.

Whisk the yolks in a separate small bowl.

Gently rewarm the milk, then slowly pour it into the egg yolks, whisking constantly as you pour. Scrape the mixture back into the saucepan and cook over moderate heat, stirring constantly with a heatproof spatula, until the custard begins to thicken and coats the spatula.

Immediately strain the custard into the bowl set over ice, pressing the zest in the strainer to extract as much flavor as possible, then discard.

Stir the custard until cool. When the Crème Anglaise is cooling, grate a few swipes of fresh orange zest into the custard, which looks nice and adds a touch more orange flavour. If you’d like, add a spoonful of orange-flavoured liqueur, such as Cointreau or Grand Marnier.

Store in the refrigerator and serve chilled.


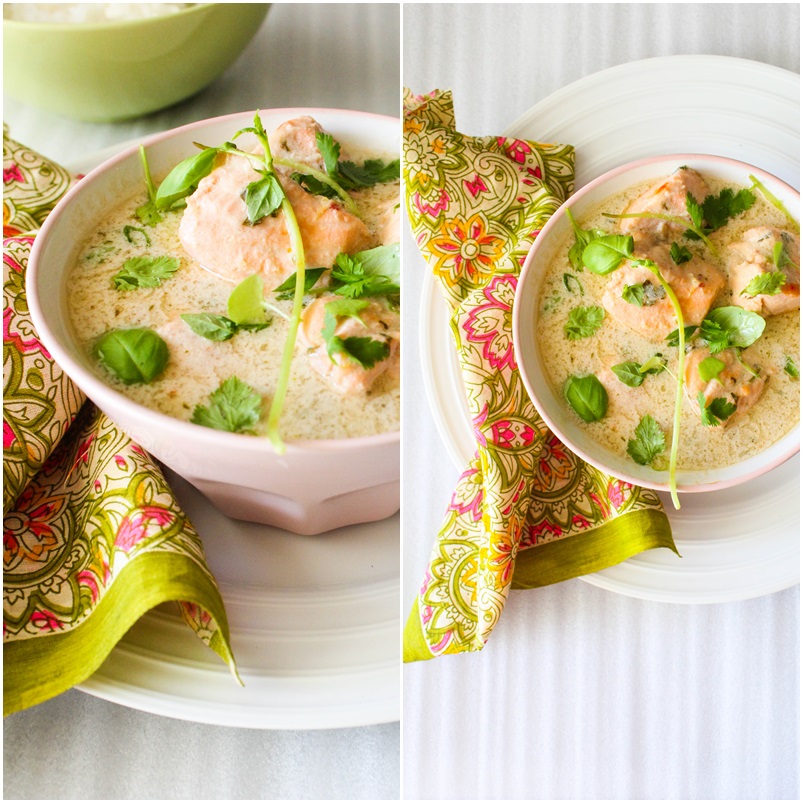
Coconut Poached Salmon (Curry in a Hurry)

4|02|2014

A quick and easy salmon curry that is made by poaching salmon in creamy coconut milk.

These days when I am at the supermarket, I am mostly found at the seafood section. With good reason. I am expecting a visit from family and since they love seafood, I thought I would use this opportunity to increase my repertoire of seafood recipes. At home I usually don’t cook a lot of seafood. Fortunately, we have easy access to a variety of seafood in our city so eating it outside is such a convenient option.

coconut poached salmon curry

So while planning on my menu I decided on quick and easy ones at home. The exotic ones, I leave it to the experts. The prep is something I don’t enjoy at all. I can be weird that way. Ask me to bake a 4 tiered cake. I will weigh out every individual component, sieve the flour, make two different frostings, think of fancy garnishes…basically take care of every little detail. But when it comes to savory dishes, I look for short cuts. Quick and easy does it for me. So if there is a dish that cooks under 30 minutes I will find it. And make it. And blog about it.

coconut poached salmon curry

Salmon is easy to cook, it has huge health benefits and is available pretty much in any supermarket these days. All I need to do is pick up a pack that is already cleaned and prepped and store it till I need it. If I am pan frying it, I buy the ones with skin or if it’s a curry like this one, I would prefer the skin to be removed. Lately, I have discovered a great way of eating it is poaching it in a curry or sauce. That way it becomes a one-pot meal and the salmon remains juicy and succulent. It takes less than 5 minutes to make the paste and 5-6 minutes to cook the salmon. And there you go. You have a pot of fragrant curry ready on the table.

coconut poached salmon curry

Coconut Poached Salmon (Curry in a Hurry)
Serves 4

5 cm piece of ginger, peeled and sliced
2 stalks lemongrass, white part only (remove the hard outer covering)
4-5 kaffir lime leaves
1-2 red chillies, stalk  removed
1 tbsp. vegetable oil
400 ml can coconut milk
500g skinless salmon fillets (about 4 fillets, cut into 5 cm cubes)
1 tsp fish sauce
1 tsp palm sugar (optional)
Salt, to taste
Coriander leaves for garnish
Basil leaves for garnish

Place the ginger, lime leaves, lemongrass and chilli in the bowl of a small food processor and process to a paste.
Heat the oil in a large frying pan over medium heat. Add the ginger lemongrass paste and stir for 3-4 minutes till fragrant.
Add the coconut milk, fish sauce, palm sugar (if using), salt and gently simmer for 2 minutes. Add the salmon fillets and simmer for another 4-5 minutes till salmon is cooked through (pink in the centre).
Garnish with coriander and basil leaves. Serve with jasmine rice.


Bouillabaisse- French Seafood Soup

31|01|2014

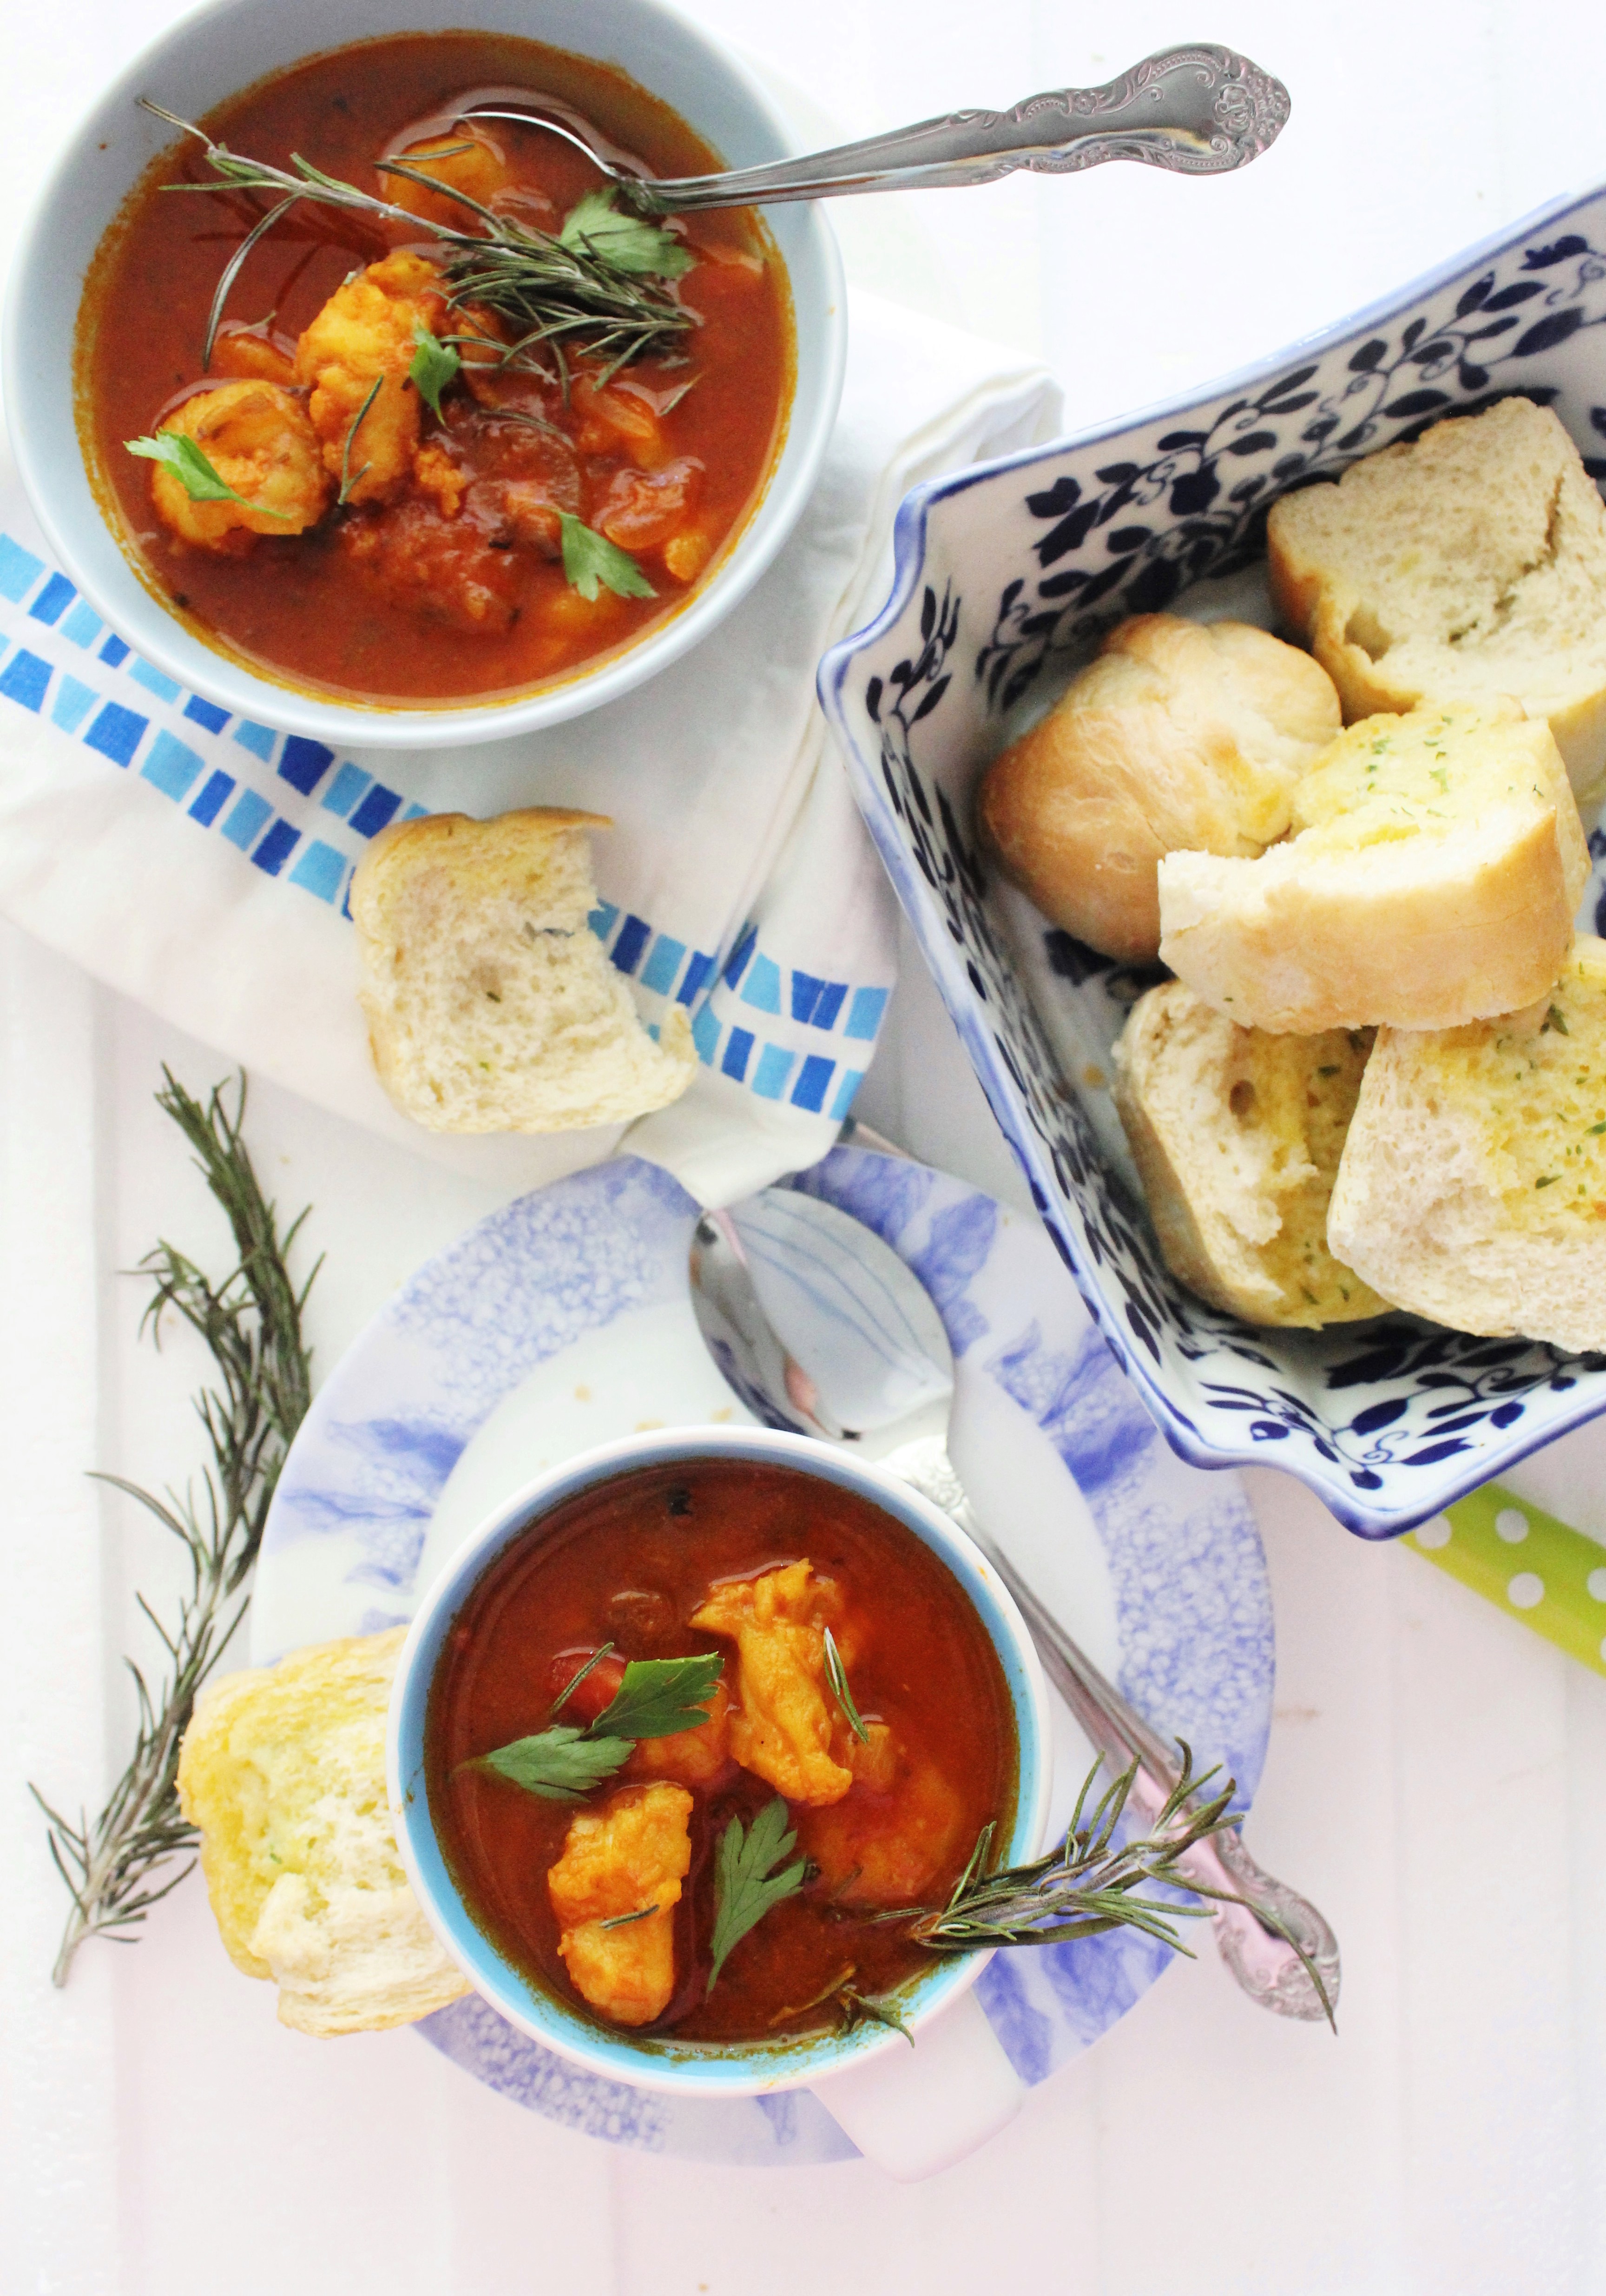
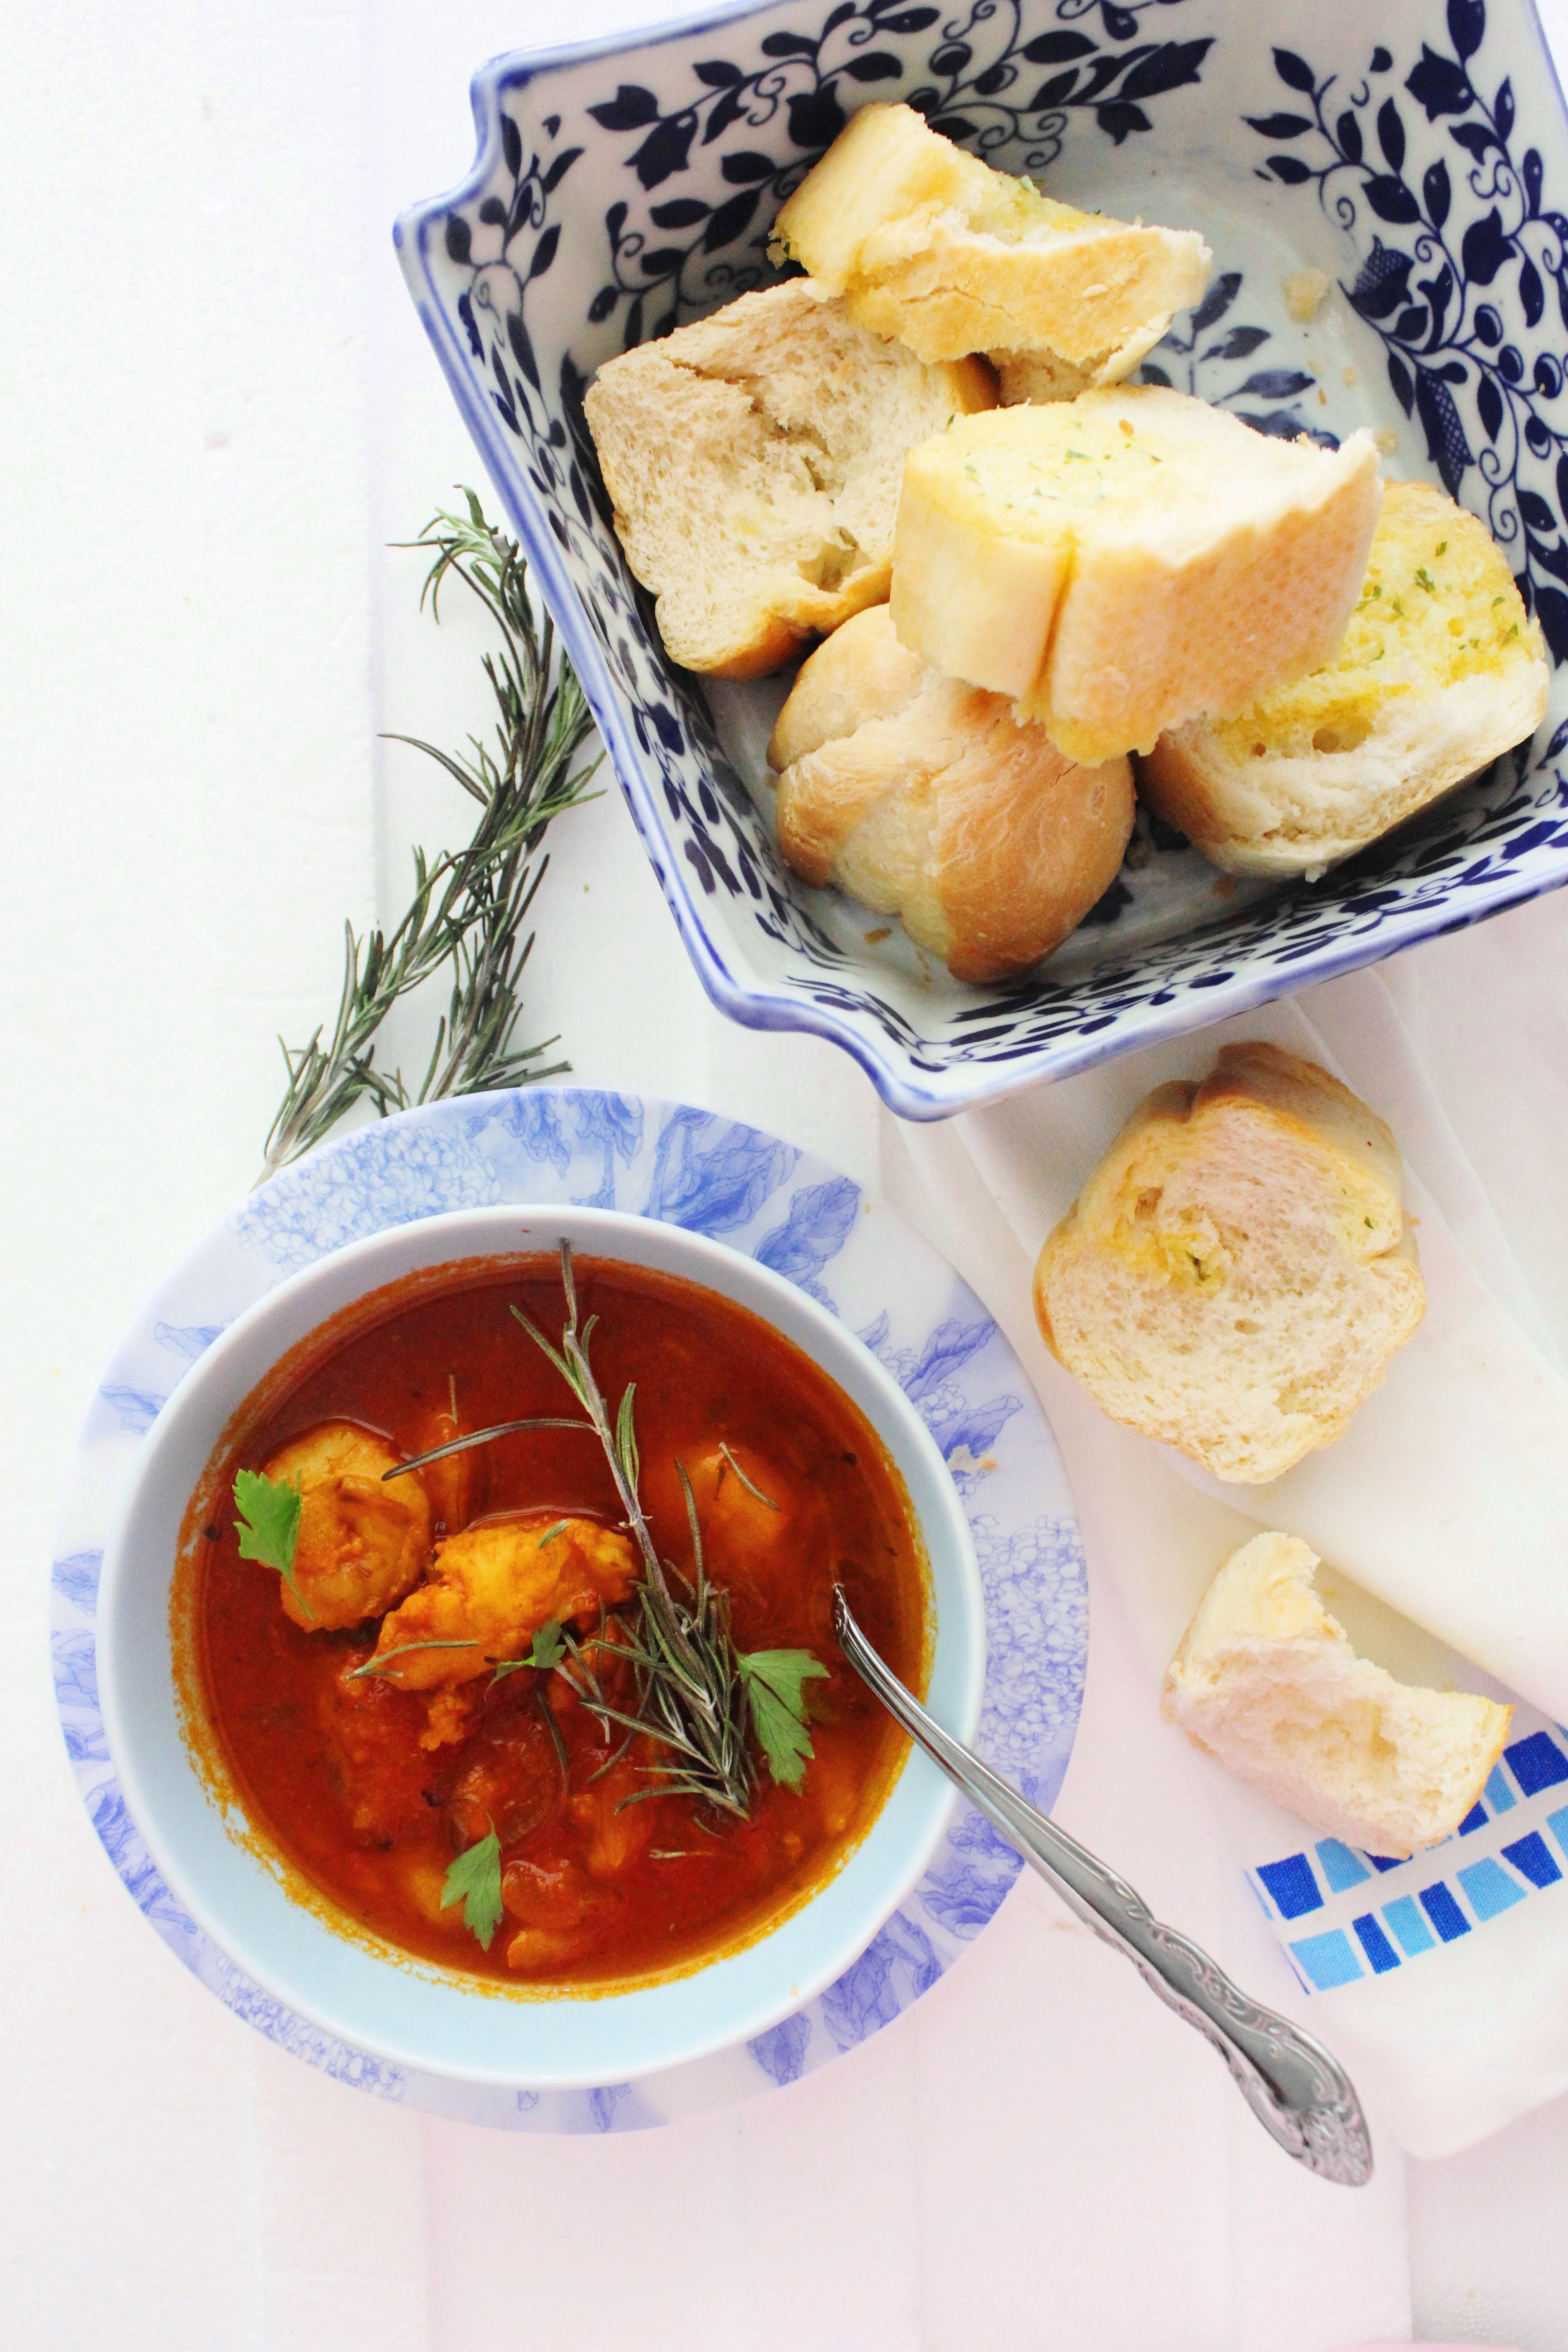
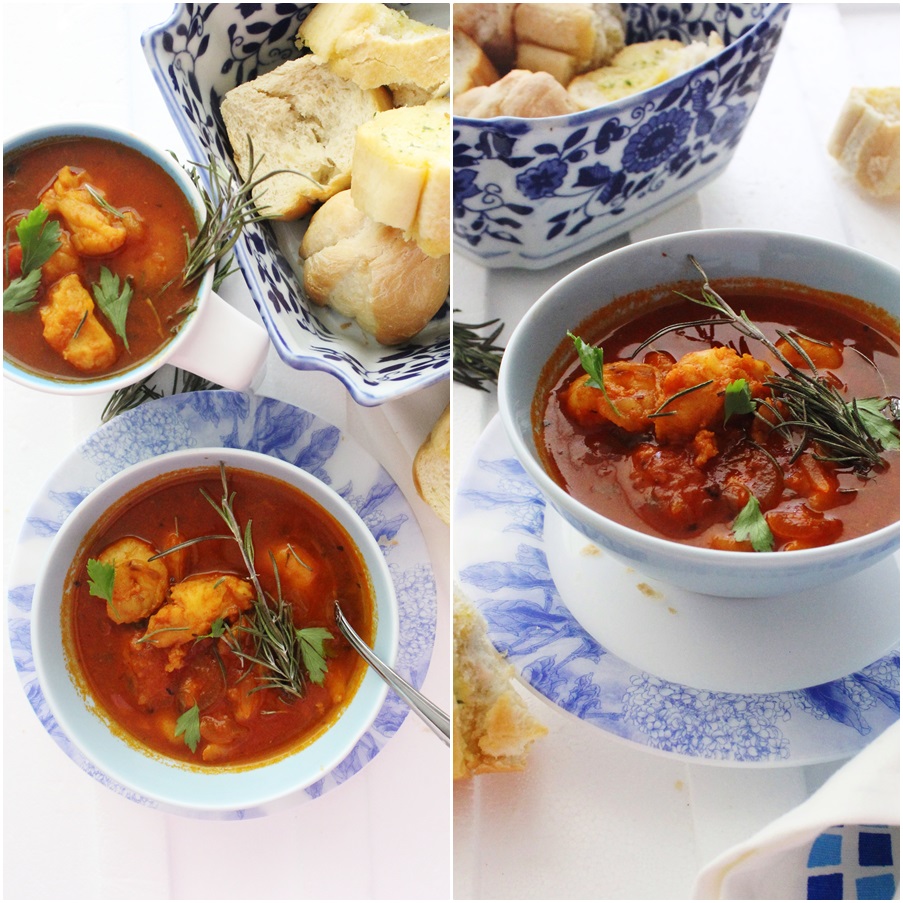
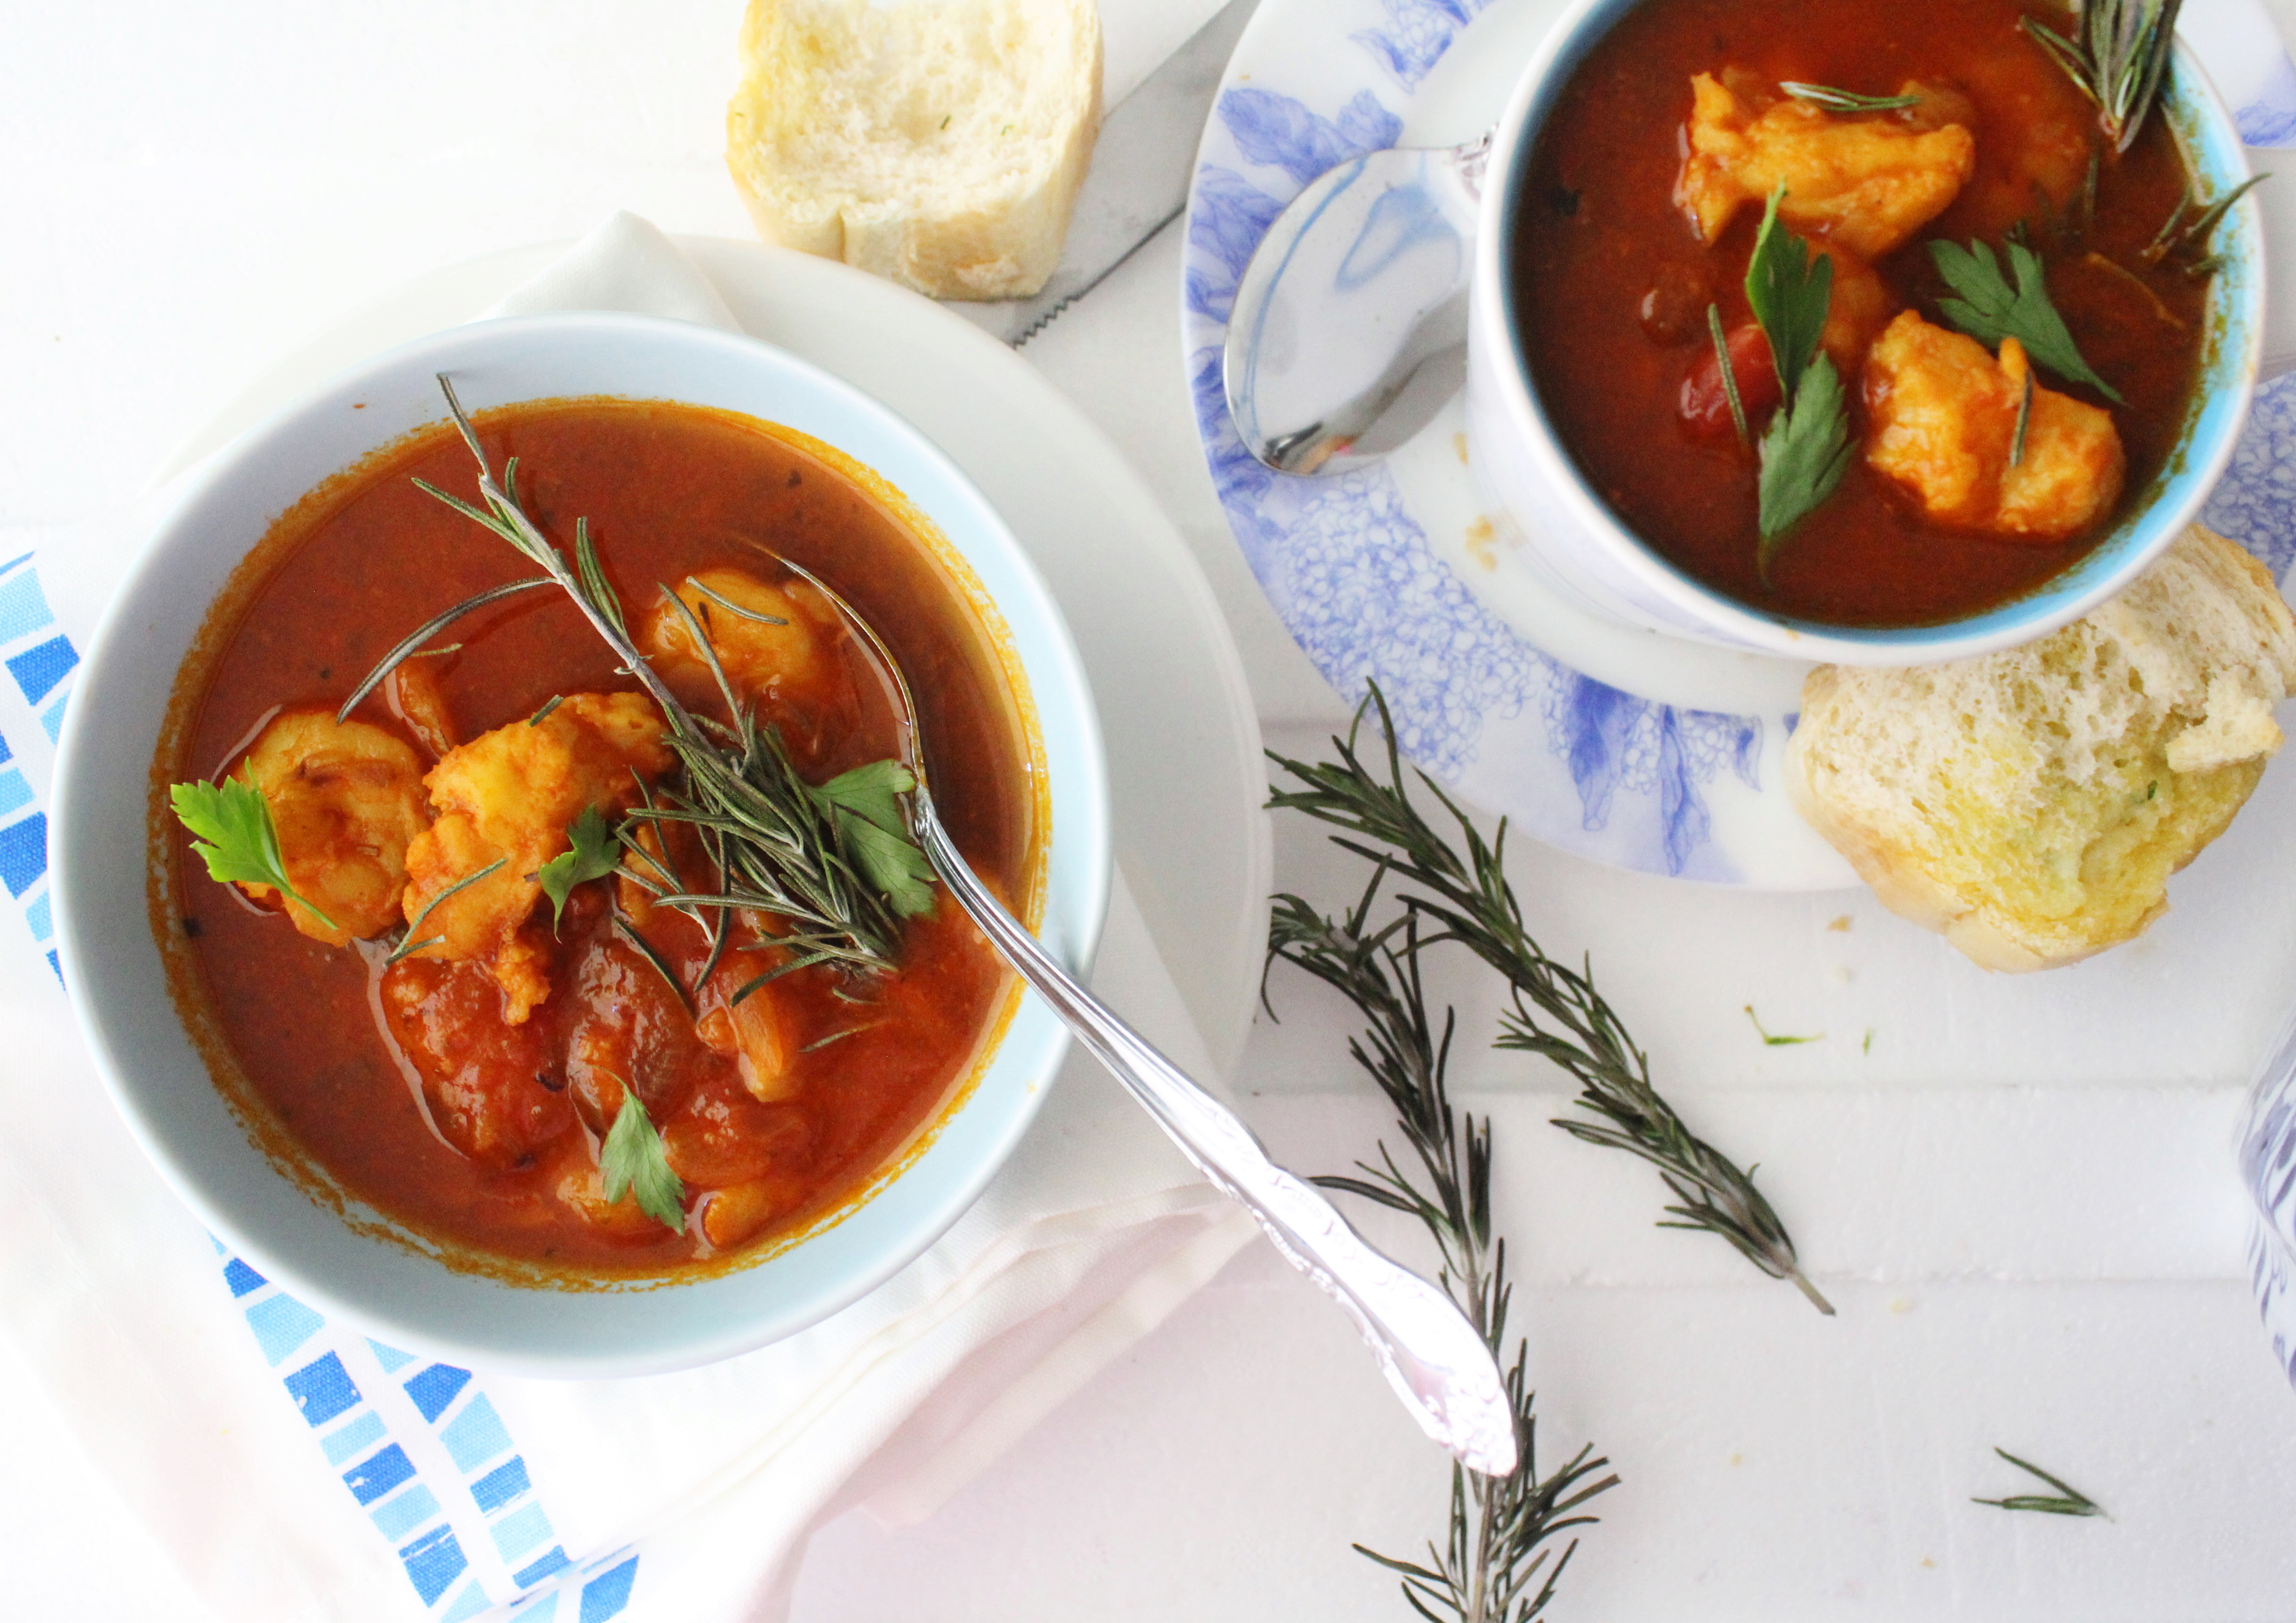
Sometimes all it takes is a few simple ingredients to turn dinner into a happy family meal. You know the ones that bring out smiles across the table. The ones where everyone wants to reach out for another helping and you end up eating less because you are too busy serving. I actually like that. It gives me the drive for a repeat performance. If it is something as wonderful as this French classic ( pronounced boo yah behss) that takes only a few minutes to serve up and is equally healthy, I am up for it. Even on a hot day like ours was today. A unique combination of ingredients that magically transform into complex flavours in a beautiful seafood soup.

IMG_7871 (1)

I wonder what took me so long to share this recipe. This is a dish that I almost instantly fell in love with when I saw it on a cooking show, years ago. Without even cooking or tasting it I could feel the flavours dancing on my palate. Tangy tomato, mild notes of citrus, the subtle scent but deep colour from the saffron and the sweetness of the sea from the prawns. Garlic, onions…I consider my safe zone. A splash of white wine makes it very French but I decided to skip it the last few times I cooked this and yet it was nothing short of delicious.

IMG_7882 (1)

I only followed the exact recipe and measurements once and that was the first time I made it. Ever since then, it has been based on intuitive cooking. You just add as you go according to taste and consistency. Saffron can be expensive and if you don’t have it, leave it out. It is an important constituent of the dish and I cannot really recommend a substitute as the flavour is unique. I also remember adding Cointreau once as I did not have oranges at home and yet it turned out great. Over time, I have simplified the recipe with ingredients that are available at hand but maybe slightly different from the classic recipe.

page

You can get fancy with your choice of seafood. I have used frozen fish and prawns as that is more of a quick convenient option for me. The seafood is poached in the soup and that makes it soft while adding to the flavour and making it equally healthy.
The best way of enjoying this soup is with some crusty bread along side. I love to serve it with slices of well toasted garlic bread.

IMG_7873 (1)

Bouillabaisse- French Seafood Soup

1 tbsp olive oil
1 medium onion, thinly sliced or 1 leek, white part only, ends trimmed, thinly sliced
2 garlic cloves, crushed
Large pinch of saffron threads
2 cups chicken stock
1 cup tomato based pasta sauce (I used chunky vegetables)
2 sprigs rosemary or thyme
2 tsp orange zest
2 bay leaves
1/2 tsp chilli powder
300 g firm white fish fillets (fresh or frozen), cut into small cubes
16-18 small/medium prawns, cleaned (fresh or frozen)
salt and pepper to taste
A few sprigs of rosemary and a handful of parsley for garnish
Crusty bread to serve

Heat olive oil in a large saucepan over medium heat. Add the onions (or leeks if using), garlic and cook for 2 minutes or until the onions soften slightly.

Add the pasta sauce, chicken stock, saffron, rosemary, orange zest, bay leaves and chilli powder. Season with salt and pepper (take care not to over season as there will be a slight saltiness from the prawns). Bring to a simmer over medium heat and cook for 5 minutes.

Add the fish and prawns to the stock mixture and cook for 7-8 minutes or until the fish and prawns are just cooked through. Divide the soup among serving bowls. Garnish with rosemary and parsley leaves. Serve with your choice of bread.


Chickpeas and Chorizo Stew

28|01|2014

You hear me raving about the blue patches in my city all the time. Well, there is something else I rave about quite a bit. Our sunny winters and our cool summers. Exciting, isn’t it?
It actually is amazing!

IMG_7705 (1)

When we first moved to Sydney, we happened to stay in a house that did not have a heating or cooling unit. It was spring and pretty cold (that’s what I thought when I disembarked the aircraft). We invested in a room heater. A few mornings later the temperature soared, the heat was unbearable and we were sweating at home. We went back to the same dealer and bought a table fan. Apparently, he wasn’t surprised to see us. Then overnight the weather went through a complete transformation. The following morning, we found ourselves desperately checking up on our cargo that was to arrive with warm blankets and quilts.
Over time we got used to the weather. The room heater and table fan were kept next to each other. There were occasions when both were used on the same day. I found it hilarious at that time. That was pretty much how it was for most of the year. And to take the excitement a step further were the rain showers that would catch us by surprise any time of the day or season.
Today, I have grown to love the thrill that comes with this kind of unpredictability. What is life without a little pizzazz? The benefits are many. And that clearly reflects in our clothing, lifestyle, our local produce or our food. We can enjoy meat roasts in summer while sitting at the beaches with a popsicle in the middle of winter

IMG_7717 (1)

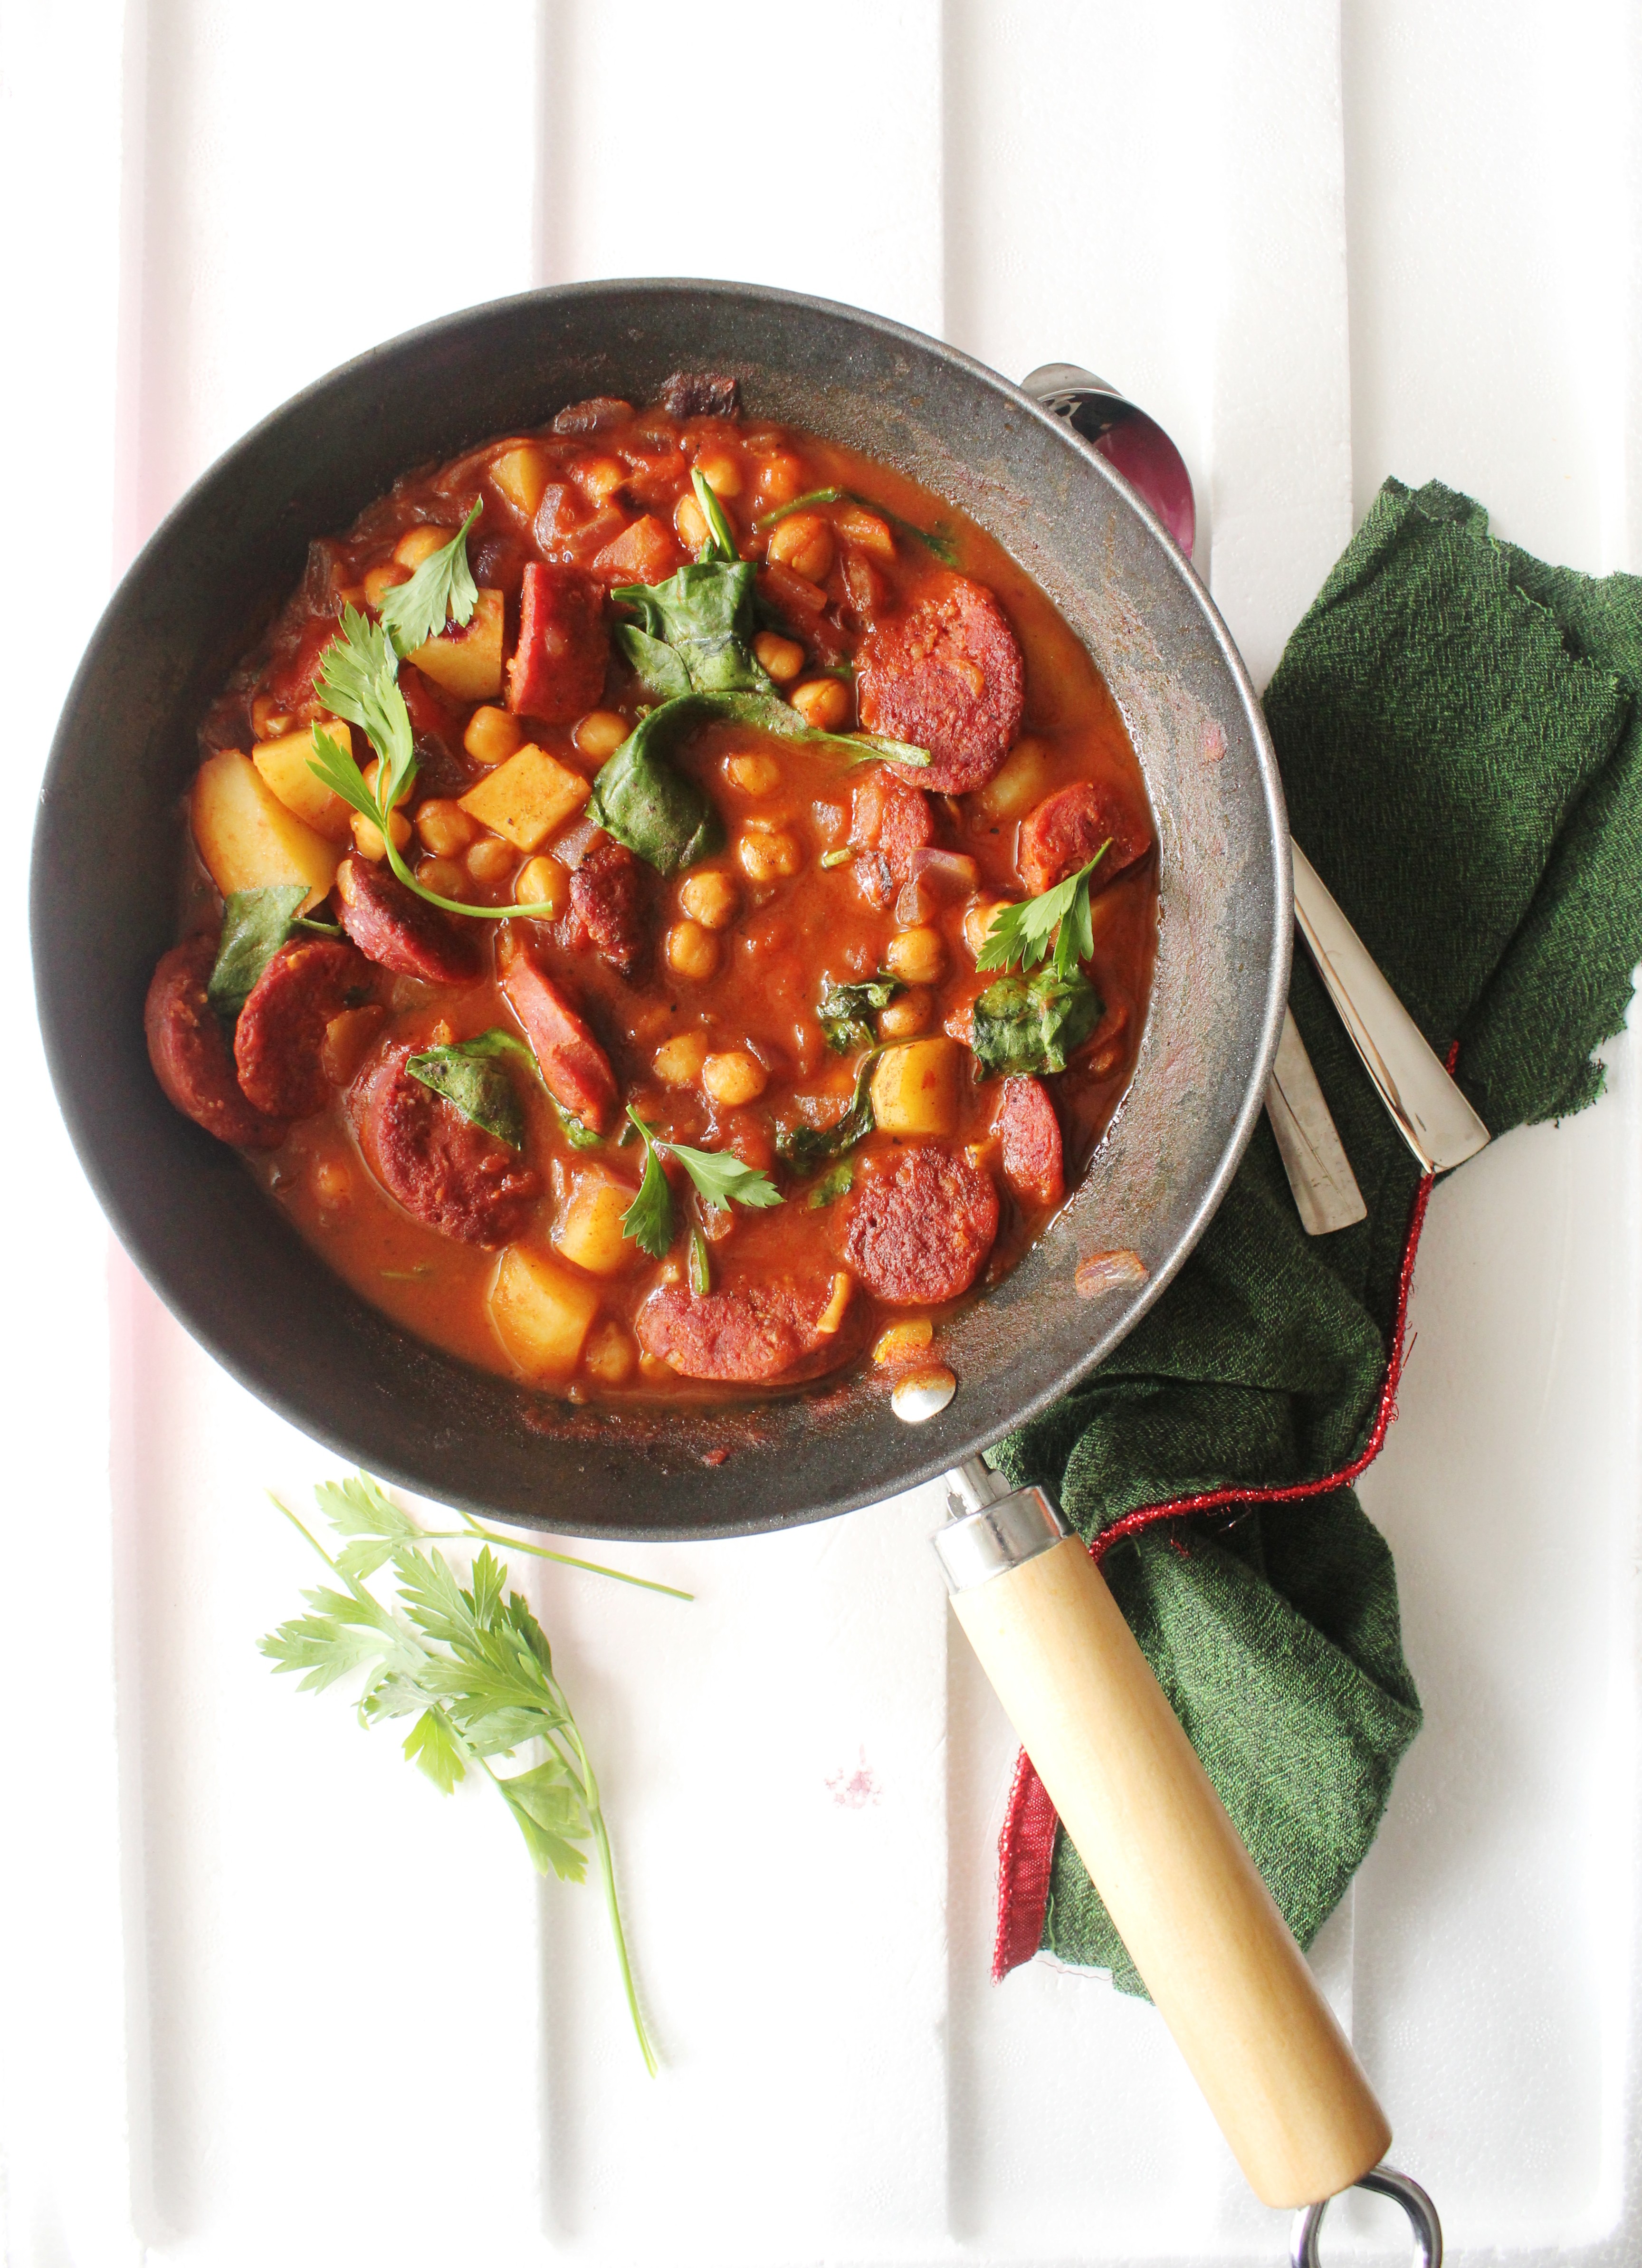
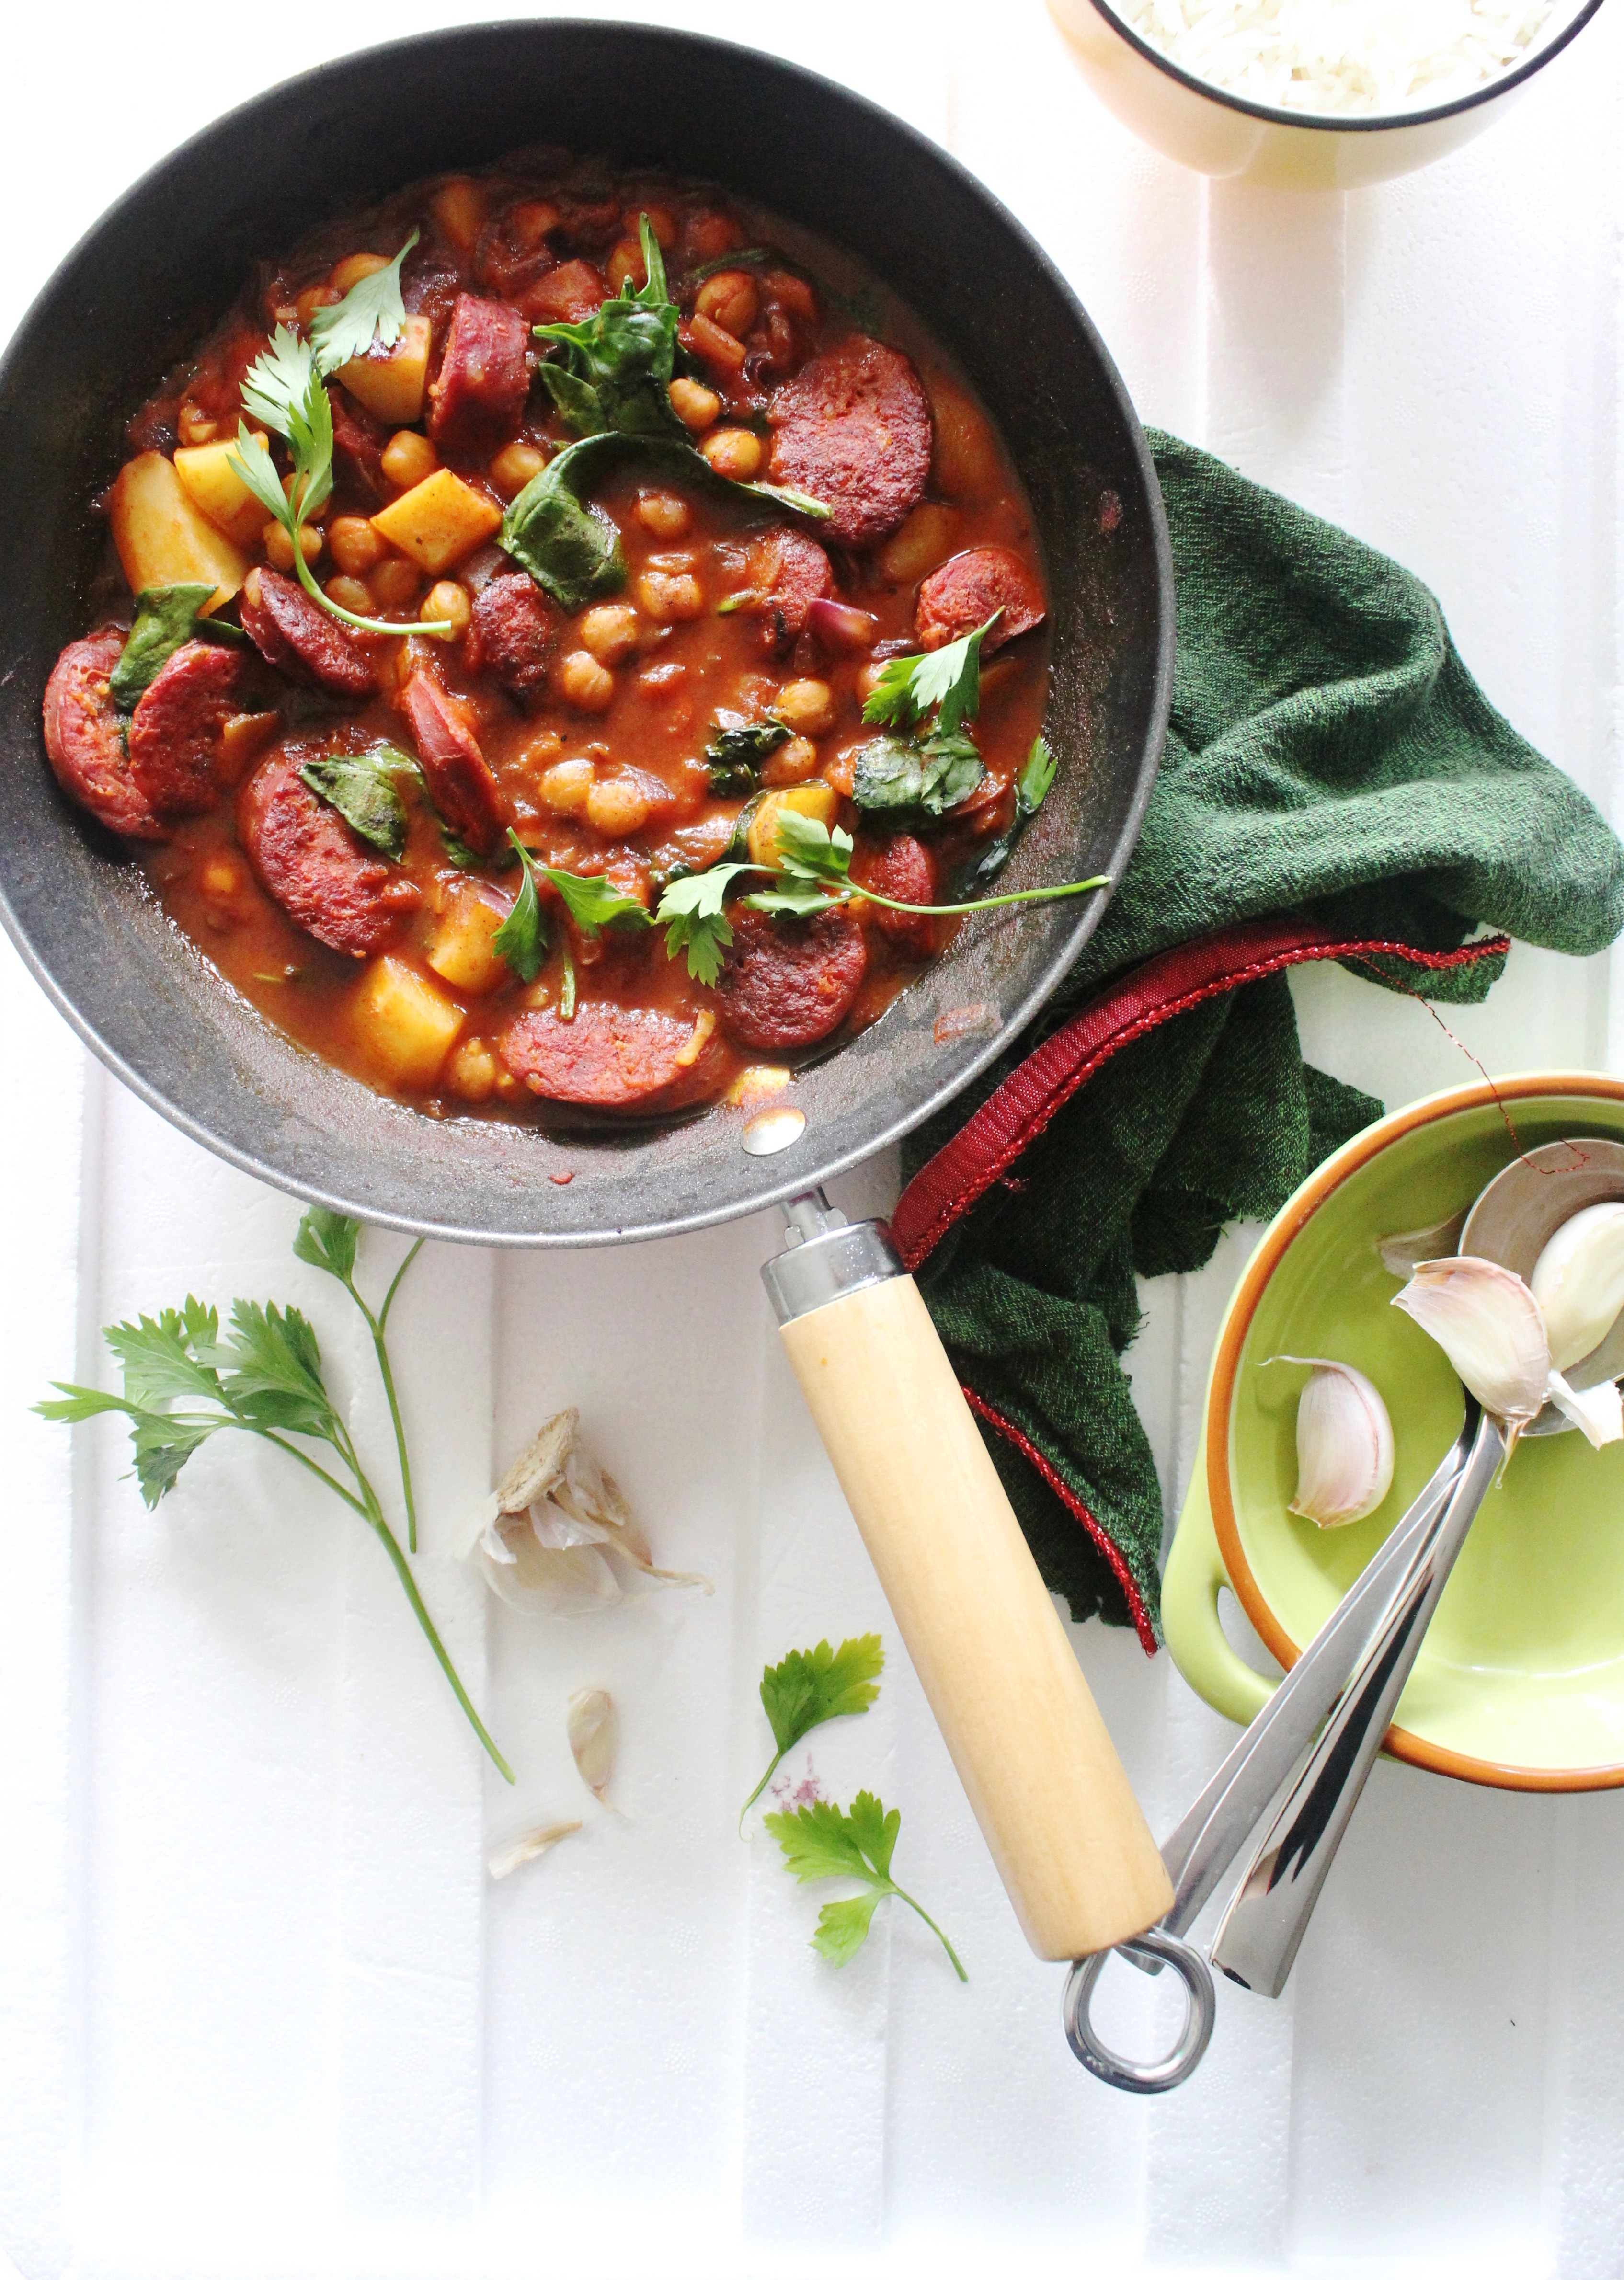
Chickpeas have been a part of my diet for as long as I can remember. Hence, I am always on the look out for new ways to cook with it. I usually stock up on cans of chickpeas and lentils on a frequent basis and this is a classic example of how tins and cans can come to your rescue to put up a meal when you are too busy to visit the grocer’s. A simple and hearty Spanish stew, great on flavour. When I don’t have chorizo at home I cook the same dish with diced bacon. Chorizo is easy to overcook and can turn hard and chewy if not cooked properly. 7-8 minutes in the pan should do it. Vegetarians can substitute chicken stock for vegetable stock and skip the chorizo or use tofu instead.

IMG_7713 (2).

Is there anything in particular you love about your climate? Or anything you wish you could change?

“Here’s some ‘blue’ to drive away your ‘blues’. I thought its high time I shared a few visuals with you. This is just one of the blue patches amongst hundreds in my city. If you have already visited or lived in Sydney, you would know this is our gorgeous Bondi Beach. If you haven’t, you know what to expect!

IMG_7447 (1)

IMG_7448 (1)

IMG_7453 (1)IMG_7436 (1)

IMG_7483 (1)


Chickpeas and Chorizo Stew (minimally adapted from Taste.com)
Serves 5-6

1 tbsp olive oil
2 chorizo sausages, sliced or diced bacon
1 red onion, chopped
1 red capsicum, chopped
3 garlic cloves, finely chopped
1 1/2 tsp dried oregano
1 large potato, peeled, cut into 1.5cm cubes, cooked for 2-3 minutes until almost tender
400 g canned chickpeas with liquid
1 cup of canned, diced tomatoes (3-4 medium ripe tomatoes, if using fresh)
1/2 cup (125ml) chicken stock
1 cup baby spinach
1 tbsp chopped flat-leaf parsley
Salt and pepper, to season
Crusty bread or rice to serve

Heat oil in a casserole or large, deep frying pan over medium-high heat. Cook chorizo, turning until starting to crisp. Remove and drain on paper towel. Drain excess oil and fat, leaving 2 tbsp in pan.

Return the pan to medium heat. Add the garlic, onion and capsicum and cook, stirring, for 5 minutes or until softened. Add the potatoes, chickpeas, oregano, tomatoes and chicken stock. Season, bring to the boil, then reduce heat to low and cook for a further 10 minutes or until the sauce has reduced and thickened. Add in the chorizo in the last-minute if you like it crisp otherwise cook it with the stew for a few minutes. Garnish with baby spinach and parsley. Serve with white rice or crusty bread.


Milk Chocolate and Ginger Baked Custards

24|01|2014

One of the significant things that has changed ever since I started blogging is the way ‘days’ have assumed an importance in my life. I guess it’s because I have so many to share it with. It makes me feel belonged…makes me feel like a part of the food blogging community. And very responsible too. I certainly don’t start a countdown but I make a mental note if a celebratory day is coming up.

IMG_7634 (1)

And when the occasion or theme is love, (Valentine’s Day) it is equally easy and difficult to come up with something. At home there is no major fan fare… we express love for each other through food. That’s convenient and enjoyable too. It’s like any other day save that there will be more food on the table. Favourite dishes. Not necessary, home cooked. A Chinese takeaway or even a good pizza. And dessert for sure!  One of the rare opportunities to force a dessert on my other half. I grab the opportunity with both hands.

The key to a good Valentine’s day dessert for me is based on 3 principles- make-ahead, chilled and spiced. Add chocolate to it and I am ready with a recipe. I know there’s going to be dark chocolate everywhere so my pick is Milk chocolate. Milk chocolate can be really sweet but when balanced with spice or a tart fruit, it can turn into the most exotic flavour. I am yet to take a count of the number of ginger recipes I have in my blog and I am yet to outgrow my love for it. Possibly never! My very first blog post happened to be a ginger infused sweet. Which brings us back to the topic of love. Love for ingredients…love for  flavours..love for cooking…love for desserts! I shall reserve that topic for another upcoming celebratory day in my life. My blog anniversary.

IMG_7651 (1)

These custard pots are one of the simplest things to bake. Little effort and grand results. If you haven’t tried out this combination before, it’s really worth a try. Sweet, creamy with earthy notes of ginger. In case you haven’t attempted a baked custard before, the cooking takes place in two stages. The first during baking and the second while refrigeration. To get the right consistency, that is smooth and creamy you need to remove the ramekins from the oven while the centres are not completely set..slightly wobbly. The edges would be firm. You can check this by giving the ramekins a gentle shake. The custards will totally set once they chill in the refrigerator. Needless to say they are Gluten free and Paleo.

This recipe makes 4 servings. Perfect for our family of four. If you are making it for yourself and your date, lucky you! Because chances are high that you’ll be going in for seconds. I happily polish off the remaining from my little ones if they struggle to finish it.

IMG_7646 (1)

Milk Chocolate and Ginger Baked Custards
Serves 4

11/2 cups heavy cream
1/2 cup milk
100g good-quality milk chocolate, roughly chopped
4 egg yolks
2 tbsp. castor sugar (more if you require it sweeter)
2 tsp ginger powder
1 tsp cinnamon powder
Raspberries or any fruit of your choice to serve
Whipped Cream, to serve (optional)

Preheat oven to 150 degrees C.

Combine cream and milk in a saucepan over medium heat. Cook, stirring constantly, for 5 minutes or until hot (do not allow to boil). Remove saucepan from heat. Add chocolate and leave undisturbed for 5 minutes. Stir till smooth.

Whisk egg yolks, sugar and spices in a heatproof bowl until well combined. Pour the warm cream mixture over the egg yolk mixture, little at a time whisking constantly until smooth. Take care not to add the entire cream to the eggs together as it can overcook the eggs resulting in scrambled eggs.

Divide the custard into four lightly-greased, ramekins or ovenproof cups. Place in a deep baking tray. Pour boiling water into baking tray until halfway up sides of ramekins.

Bake custards, uncovered, for 45 minutes or until just set (while the centres are slightly jiggly when shaken). Remove from the oven and take the ramekins out of the water bath. Leave to cool to room temperature. Refrigerate for at least 2 hours. Serve with fruit and/or whipped cream.

The custards can be made up to 3 days in advance. and stored in the refrigerator.

  • « Previous Page
  • 1
  • …
  • 35
  • 36
  • 37
  • 38
  • 39
  • …
  • 45
  • Next Page »
Hey Sugar
Cake
Link to my Facebook Page
Link to my Instagram Page
Link to my Pinterest Page
Link to my Mail Page
Subscribe to this site
Fresh Awards
2019 Aus mumpreneur
2019 aus mumpreneur
Mumbrella

Copyright © 2026 · Sugar Et Al · Designed by Smitten Blog Designs · Log in