• Home
  • Recipe Index
    • Recipe Index
    • Breakfast/Brunch
    • Cakes and Puddings
    • Chocolate
    • Cookies and cupcakes
    • Custard and Mousse
    • Gluten Free
    • Ice Cream
    • Mains
    • Other Sweet Treats
    • Snack/Appetizers
    • Soups and Salads
    • Tarts and Pies
    • Vegetarian
  • About
  • Cookbook
  • Portfolio
  • Store
  • Press
  • Work with Me

Sugar et al

Because Life is a blend of flavours...

Blueberry Pistachio Crumble Cake

30|03|2014

I’ve been a bit under the weather. I don’t enjoy being tied down to the bed so it was not the best of times for me. I love standing on my two feet even if it means standing long hours without a break so this was a kind of situation-imposed rest from which I was desperate to recover. Not being able to bake or photograph or shop for ingredients can affect me in a big way and I was really looking forward to some baking action.
Finally I did. After a whole week.
IMG_9060

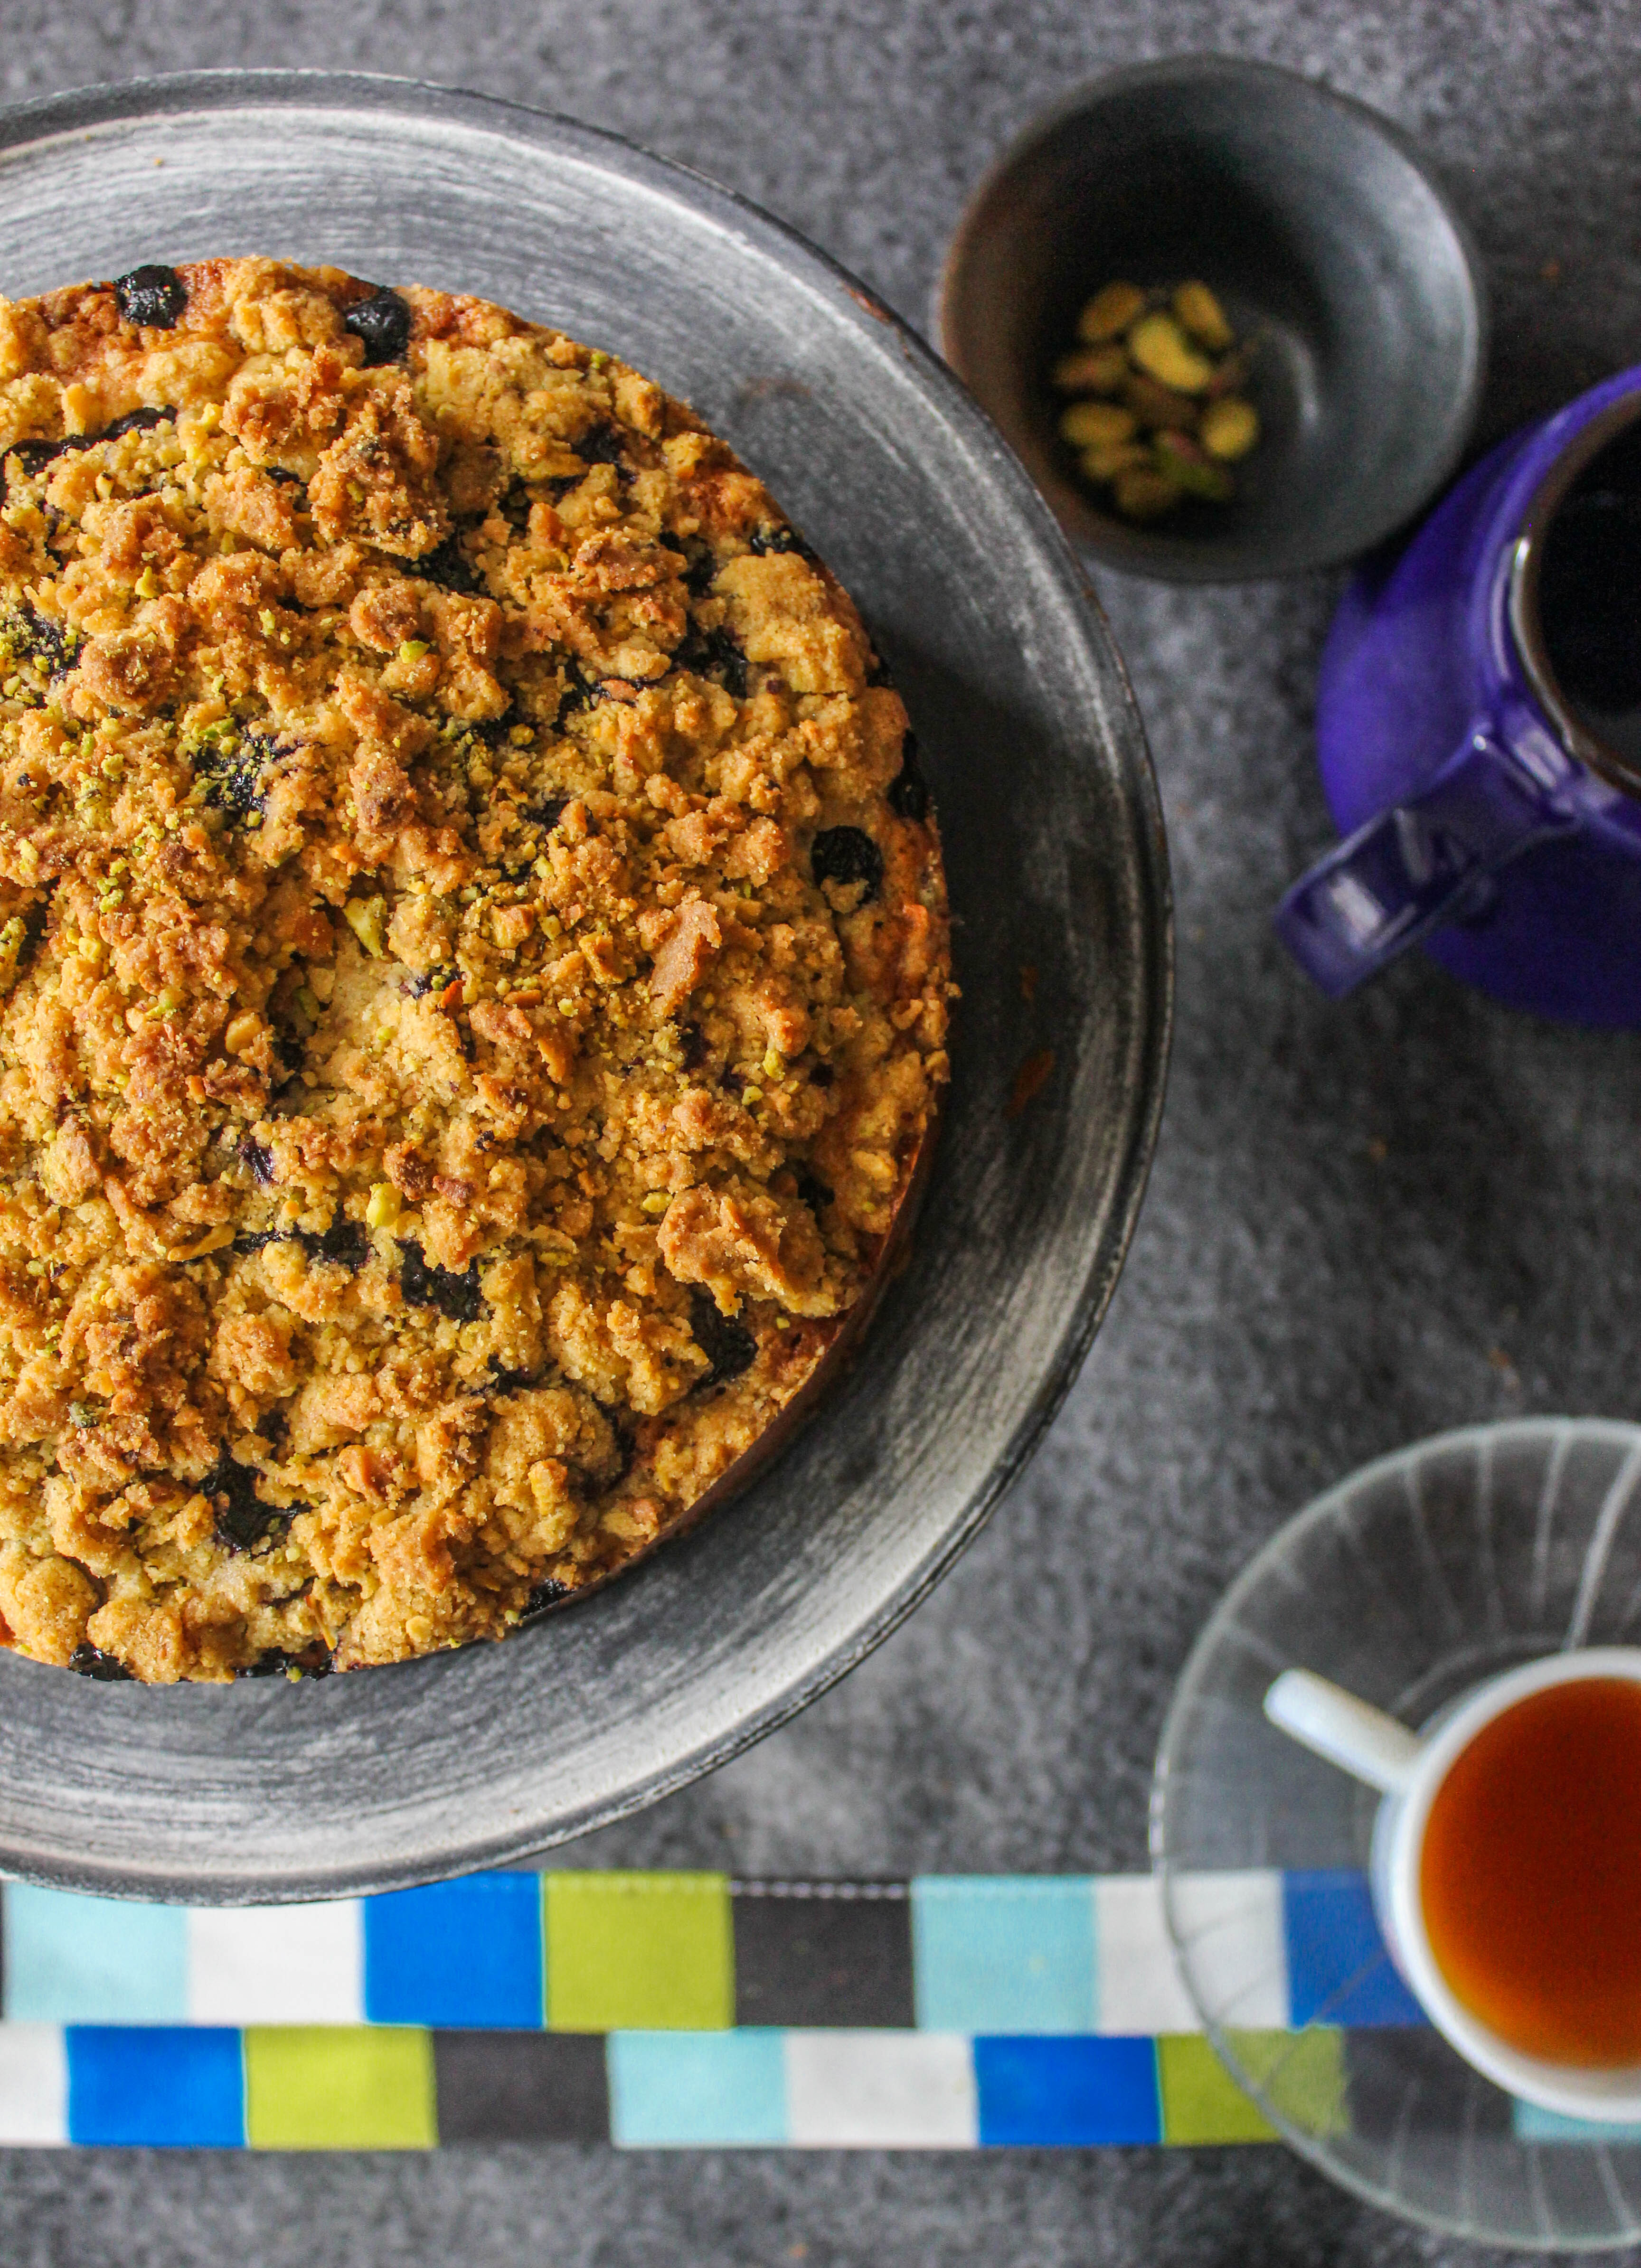
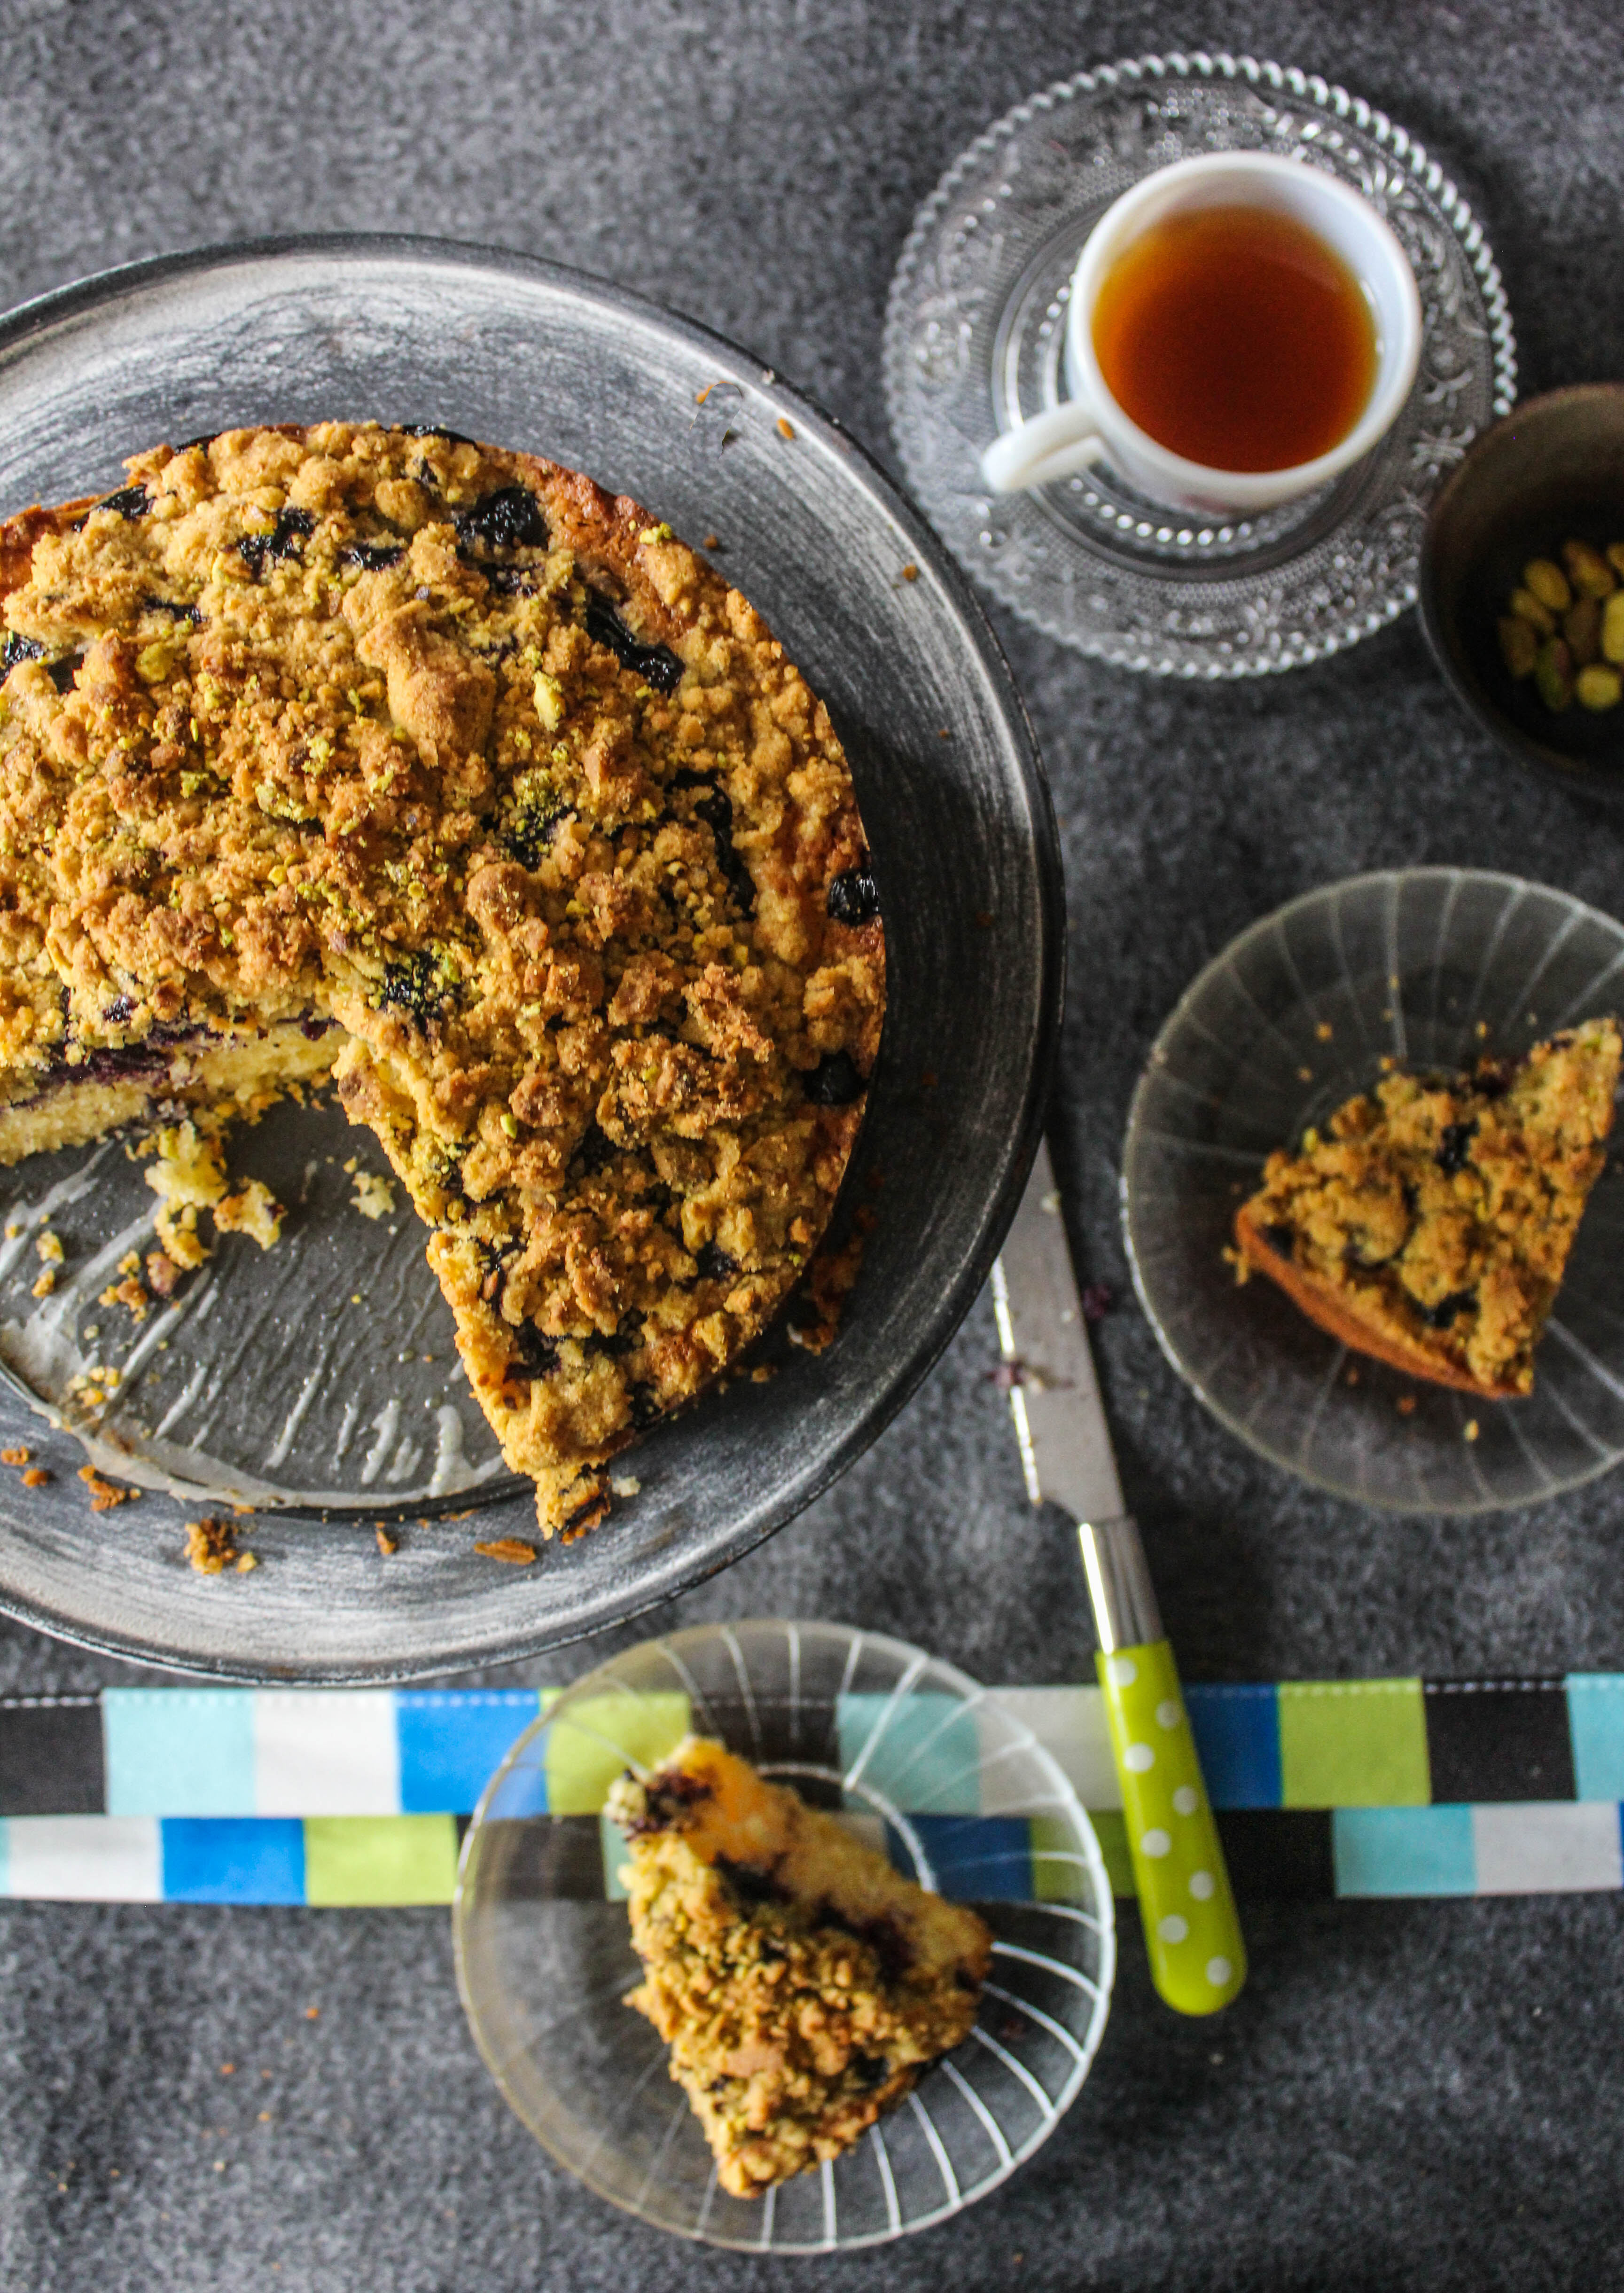
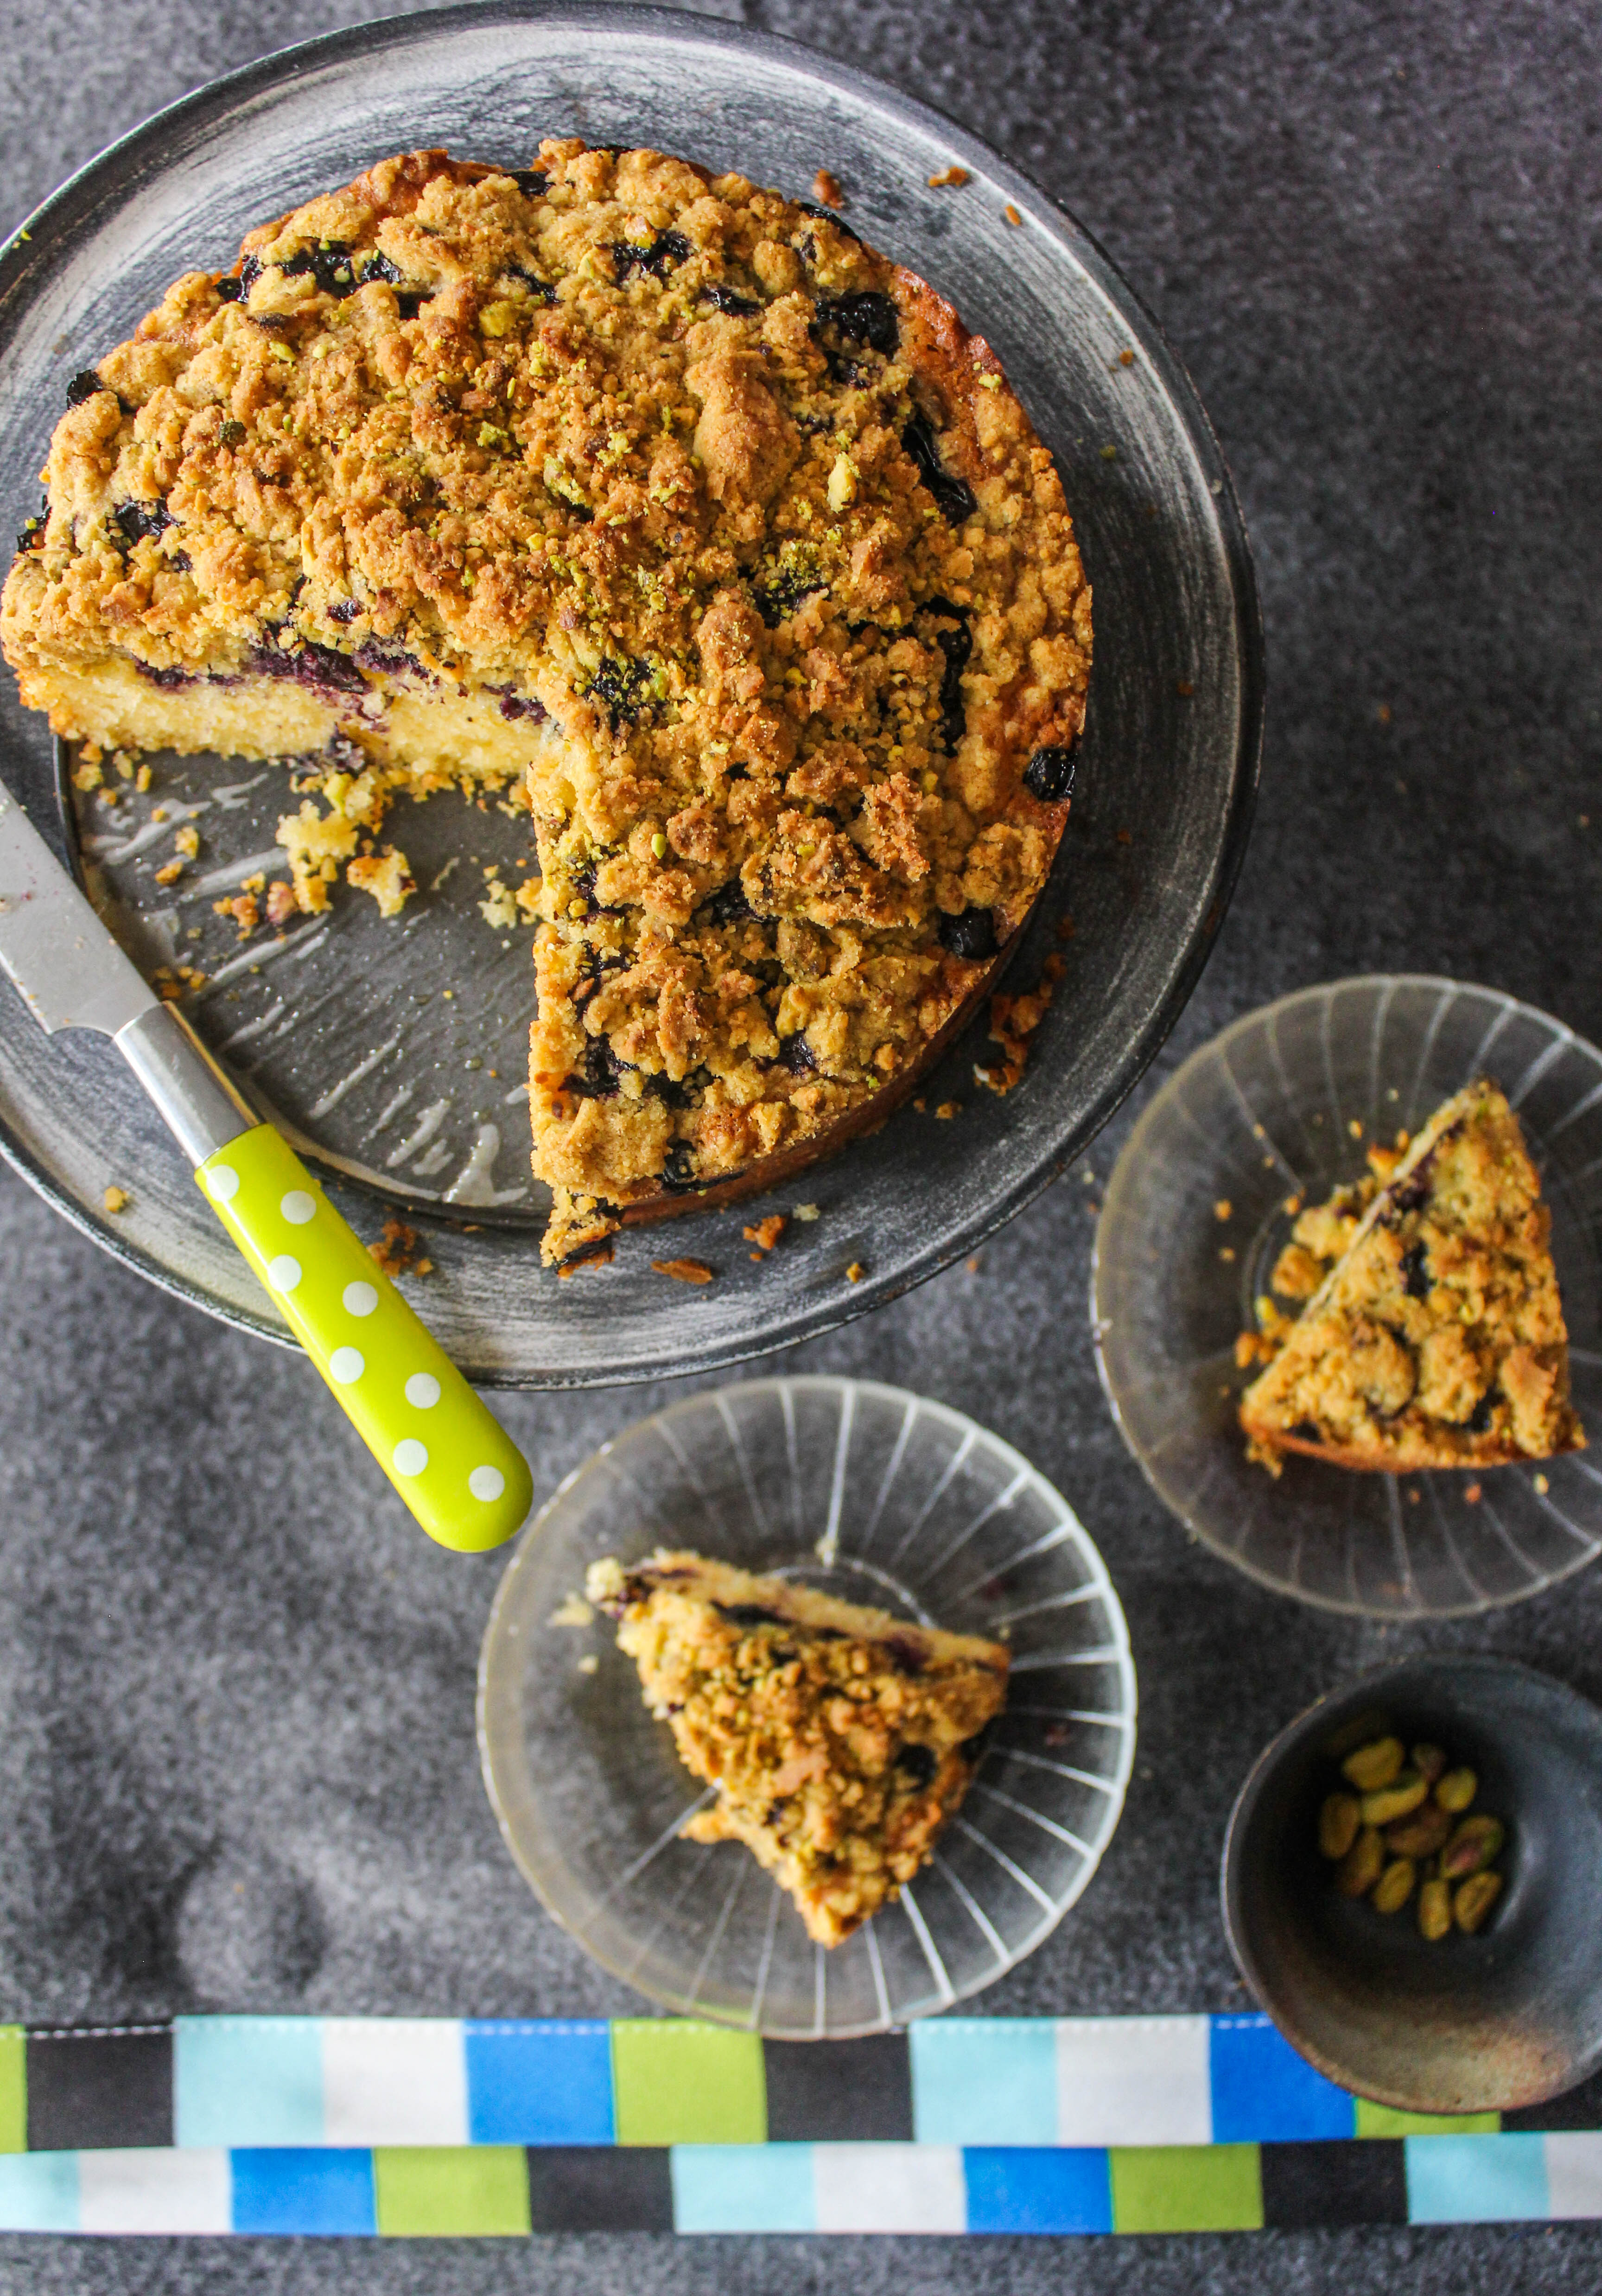
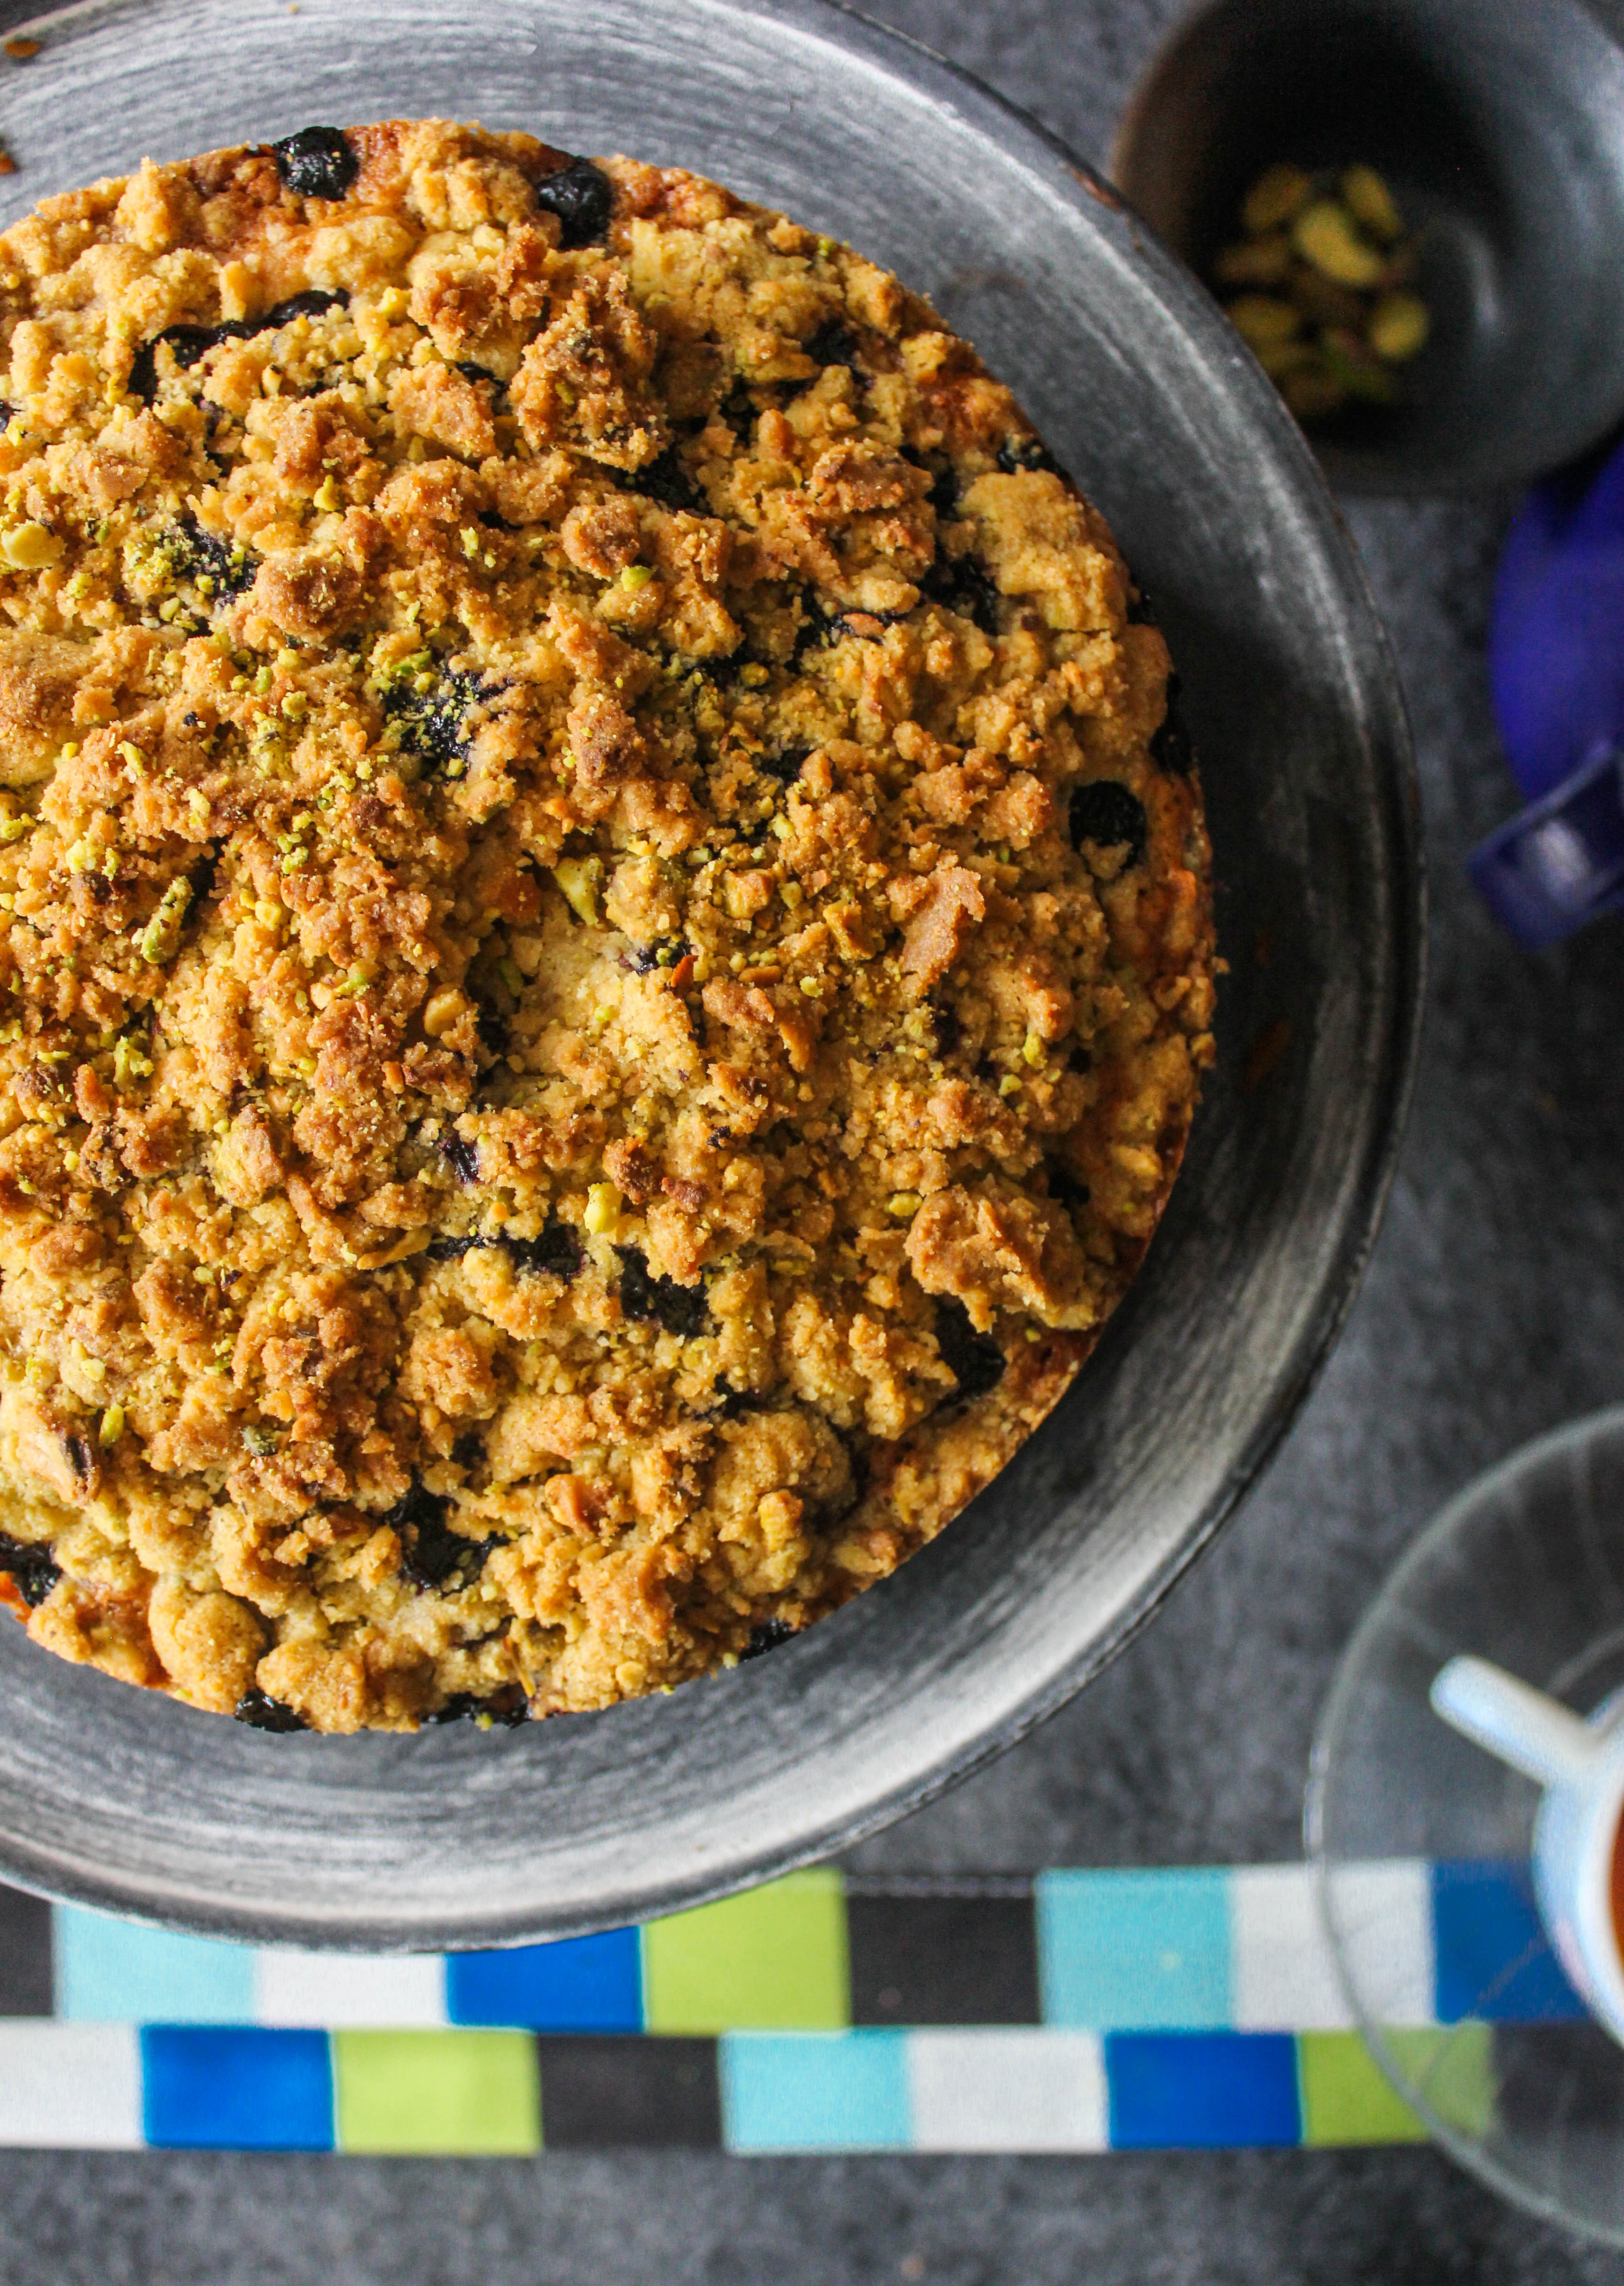
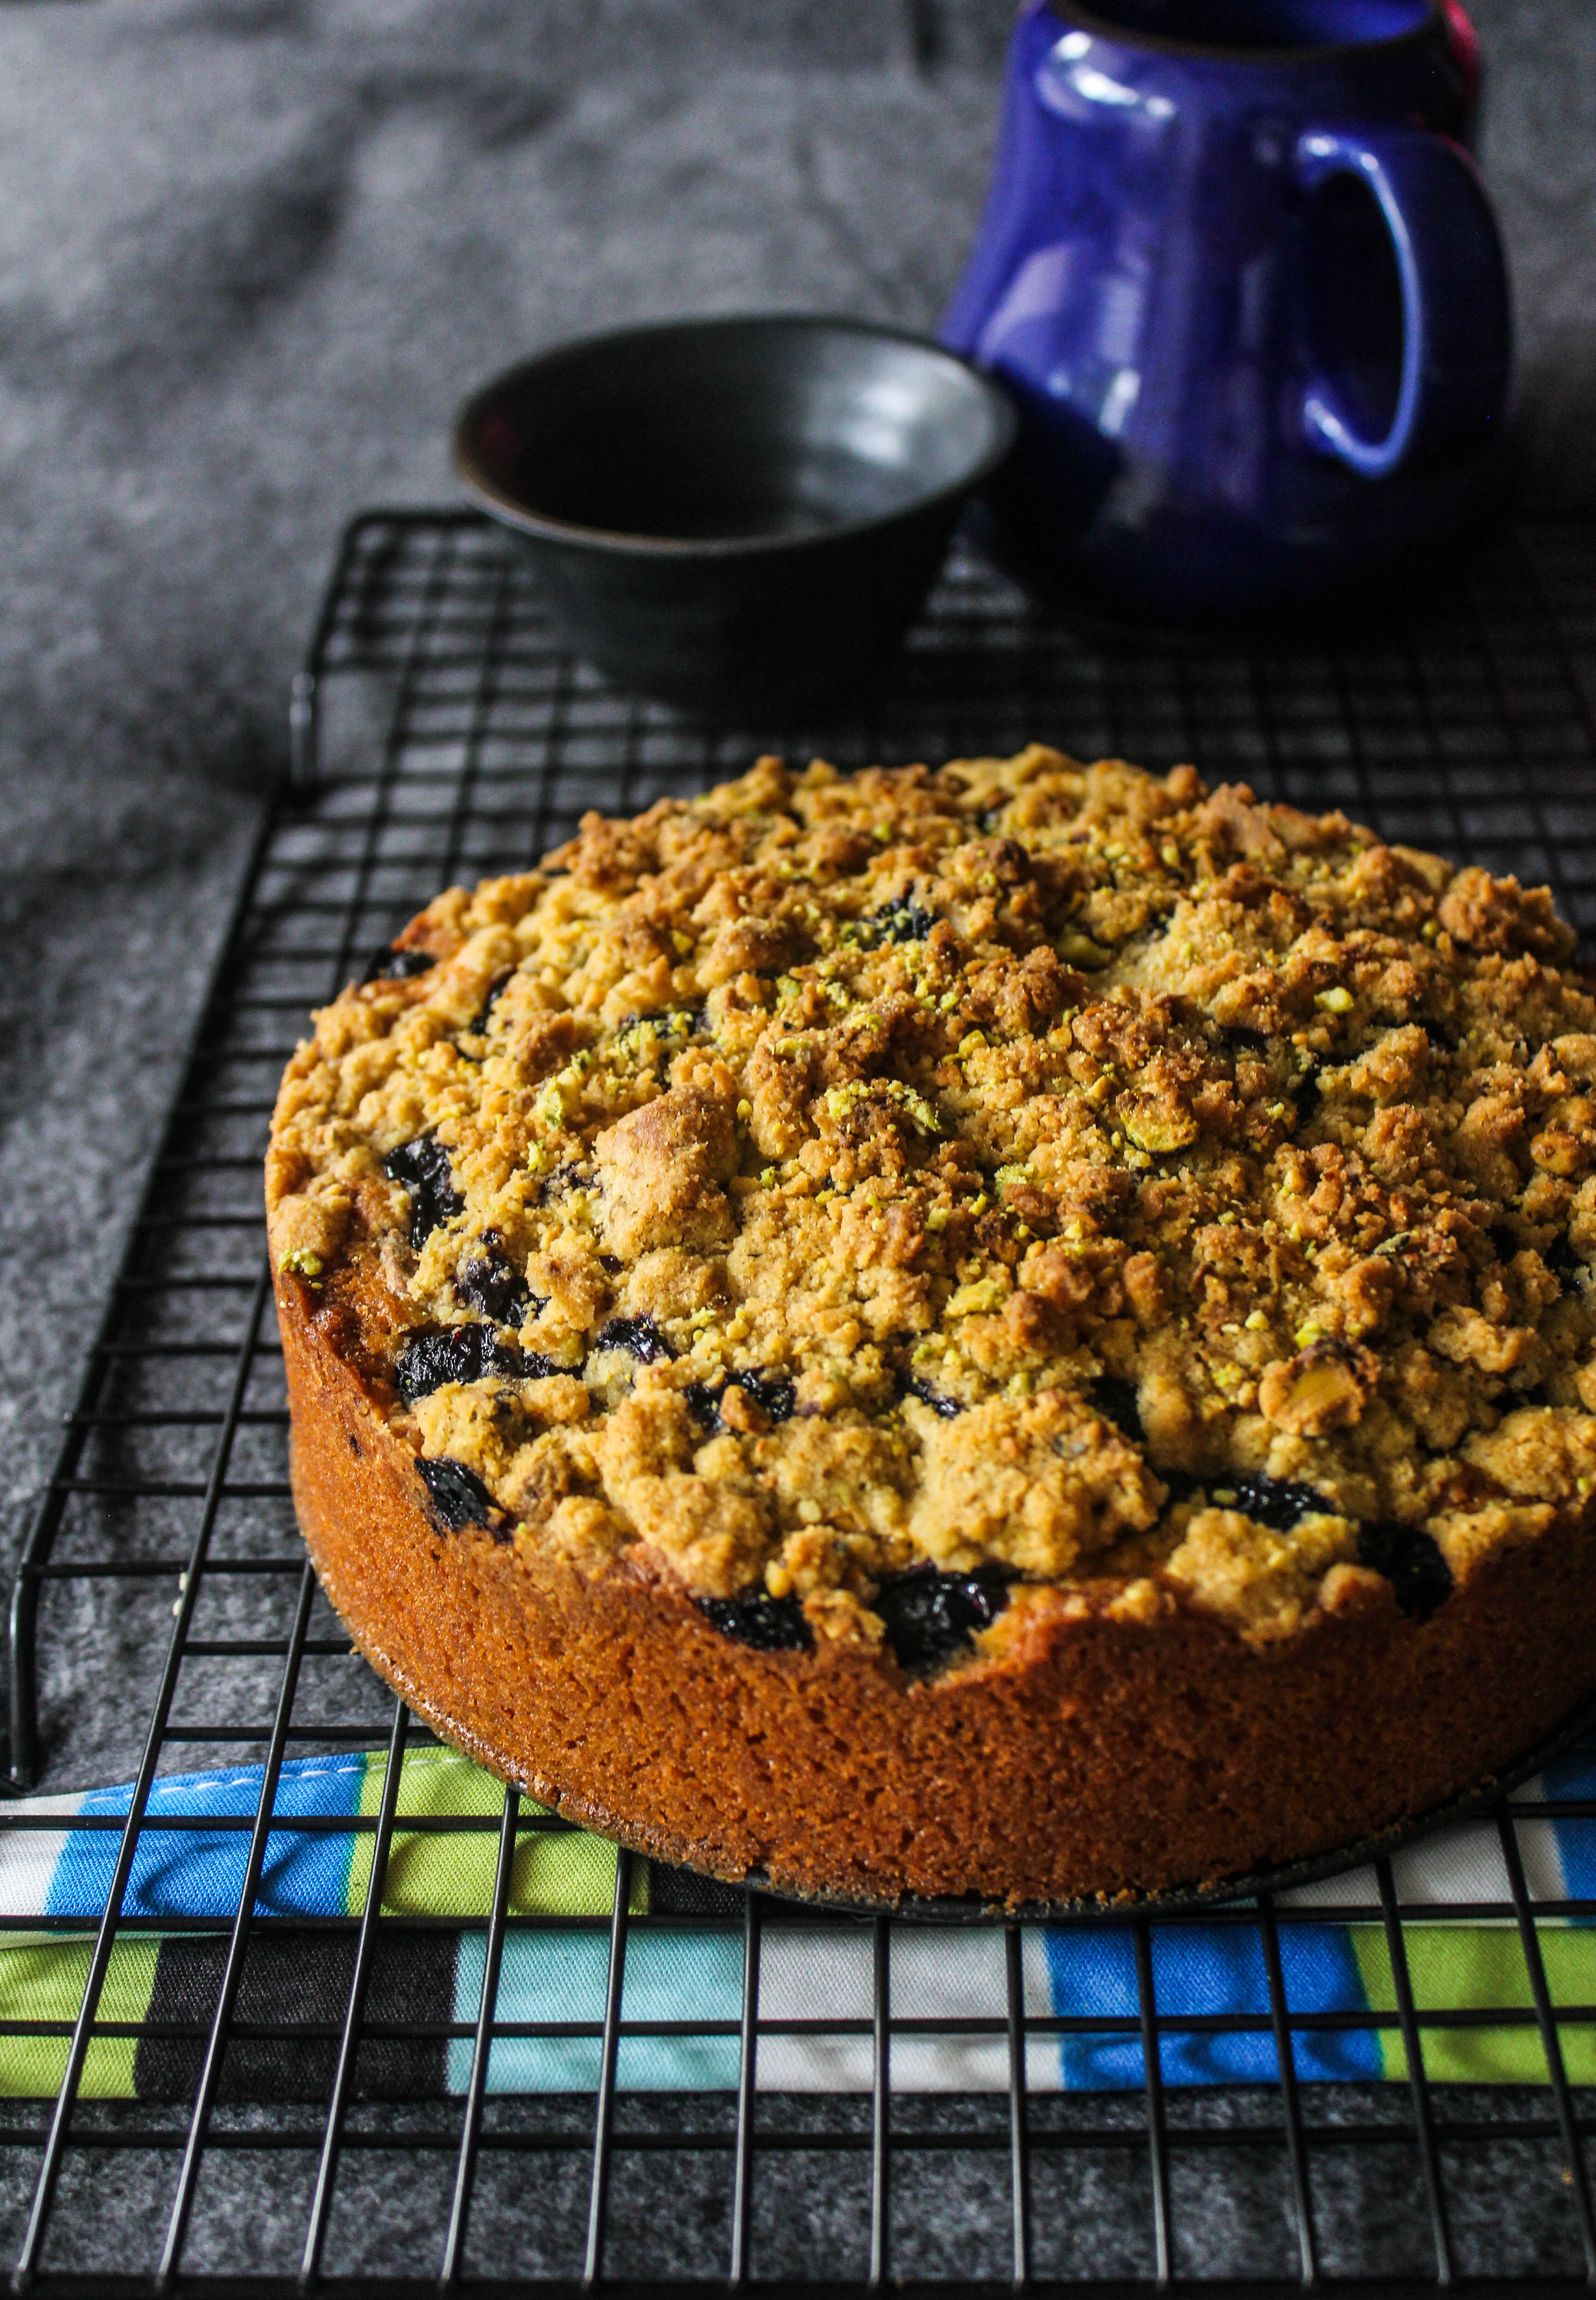
As it turns out, this is my 100th post. I’ve been slow that way. Taking a little over a year to reach here while also enjoying every bit of this journey. So it goes without saying that this had to be a cake post. I would have loved to do a fancy one with a few candles but honestly I didn’t have the stamina to do so. This crumble cake has been on my mind since months…I wanted to use pistachios in a crumble cake and I had pictured this rustic blue-green pairing so clearly in my mind that I could hardly wait for the cake to finish baking. I was almost certain the cake would look the way it did.
IMG_9063

IMG_9071This is the kind of cake I enjoy baking and eating. Simple yet satisfying. There’s something so gorgeous about a crumble cake. Especially if the base is as moist and soft as this one. So many textures with each mouthful…almost like eating a cake and cookie together. And juicy blueberries tying the two layers together.
I blitzed the pistachios in the food processor in a way so as to keep a mix of finely ground as well as coarser crumbs in the crumble. They taste and look better. Any other nut would work just as well. Or any other berry in the cake.
IMG_9061-2

IMG_9049-2

Blueberry Pistachio Crumble Cake
Serves 10-12

Melted butter, to grease
200g butter, room temperature
3/4 cup castor sugar
2 teaspoons vanilla essence
2 eggs, room temperature
1 cup self-raising flour
1 cup plain flour
3/4 cup milk
200g blueberries fresh or frozen (I used fresh)

Crumble Topping
1/2 cup plain flour
50 g butter, chilled and chopped into cubes
1/4 cup brown sugar
1/3 cup pistachios, skinned and ground to a coarse powder in the food processor

Preheat oven to 180 degrees C. Brush a round 20 cm spring form pan with melted butter to lightly grease. Line the base with non-stick baking paper. Place the prepared pan on a baking tray.

Using an electric mixer or with a hand mixer, beat the butter, sugar and vanilla until pale and creamy. Add the eggs, 1 at a time, beating well after each addition. Use a large metal spoon to fold in the combined flour and the milk until well combined.

Spoon into the prepared pan. Use the back of the spoon to smooth the surface. Arrange the blueberries on the top.

To make the crumble topping, place all the ingredients in a bowl. Use your fingertips to rub the butter into the mixture until the mixture contains large and small crumbs.

Sprinkle the crumble topping over the blueberry layer. Bake in oven for 1 hour 10 minutes or until a skewer inserted into the centre comes out clean. Set aside in the pan for 10 minutes before transferring to a wire rack to cool slightly. Serve cake warm or at room temperature
Ferrero Rocher Mousse Cake

23|03|2014

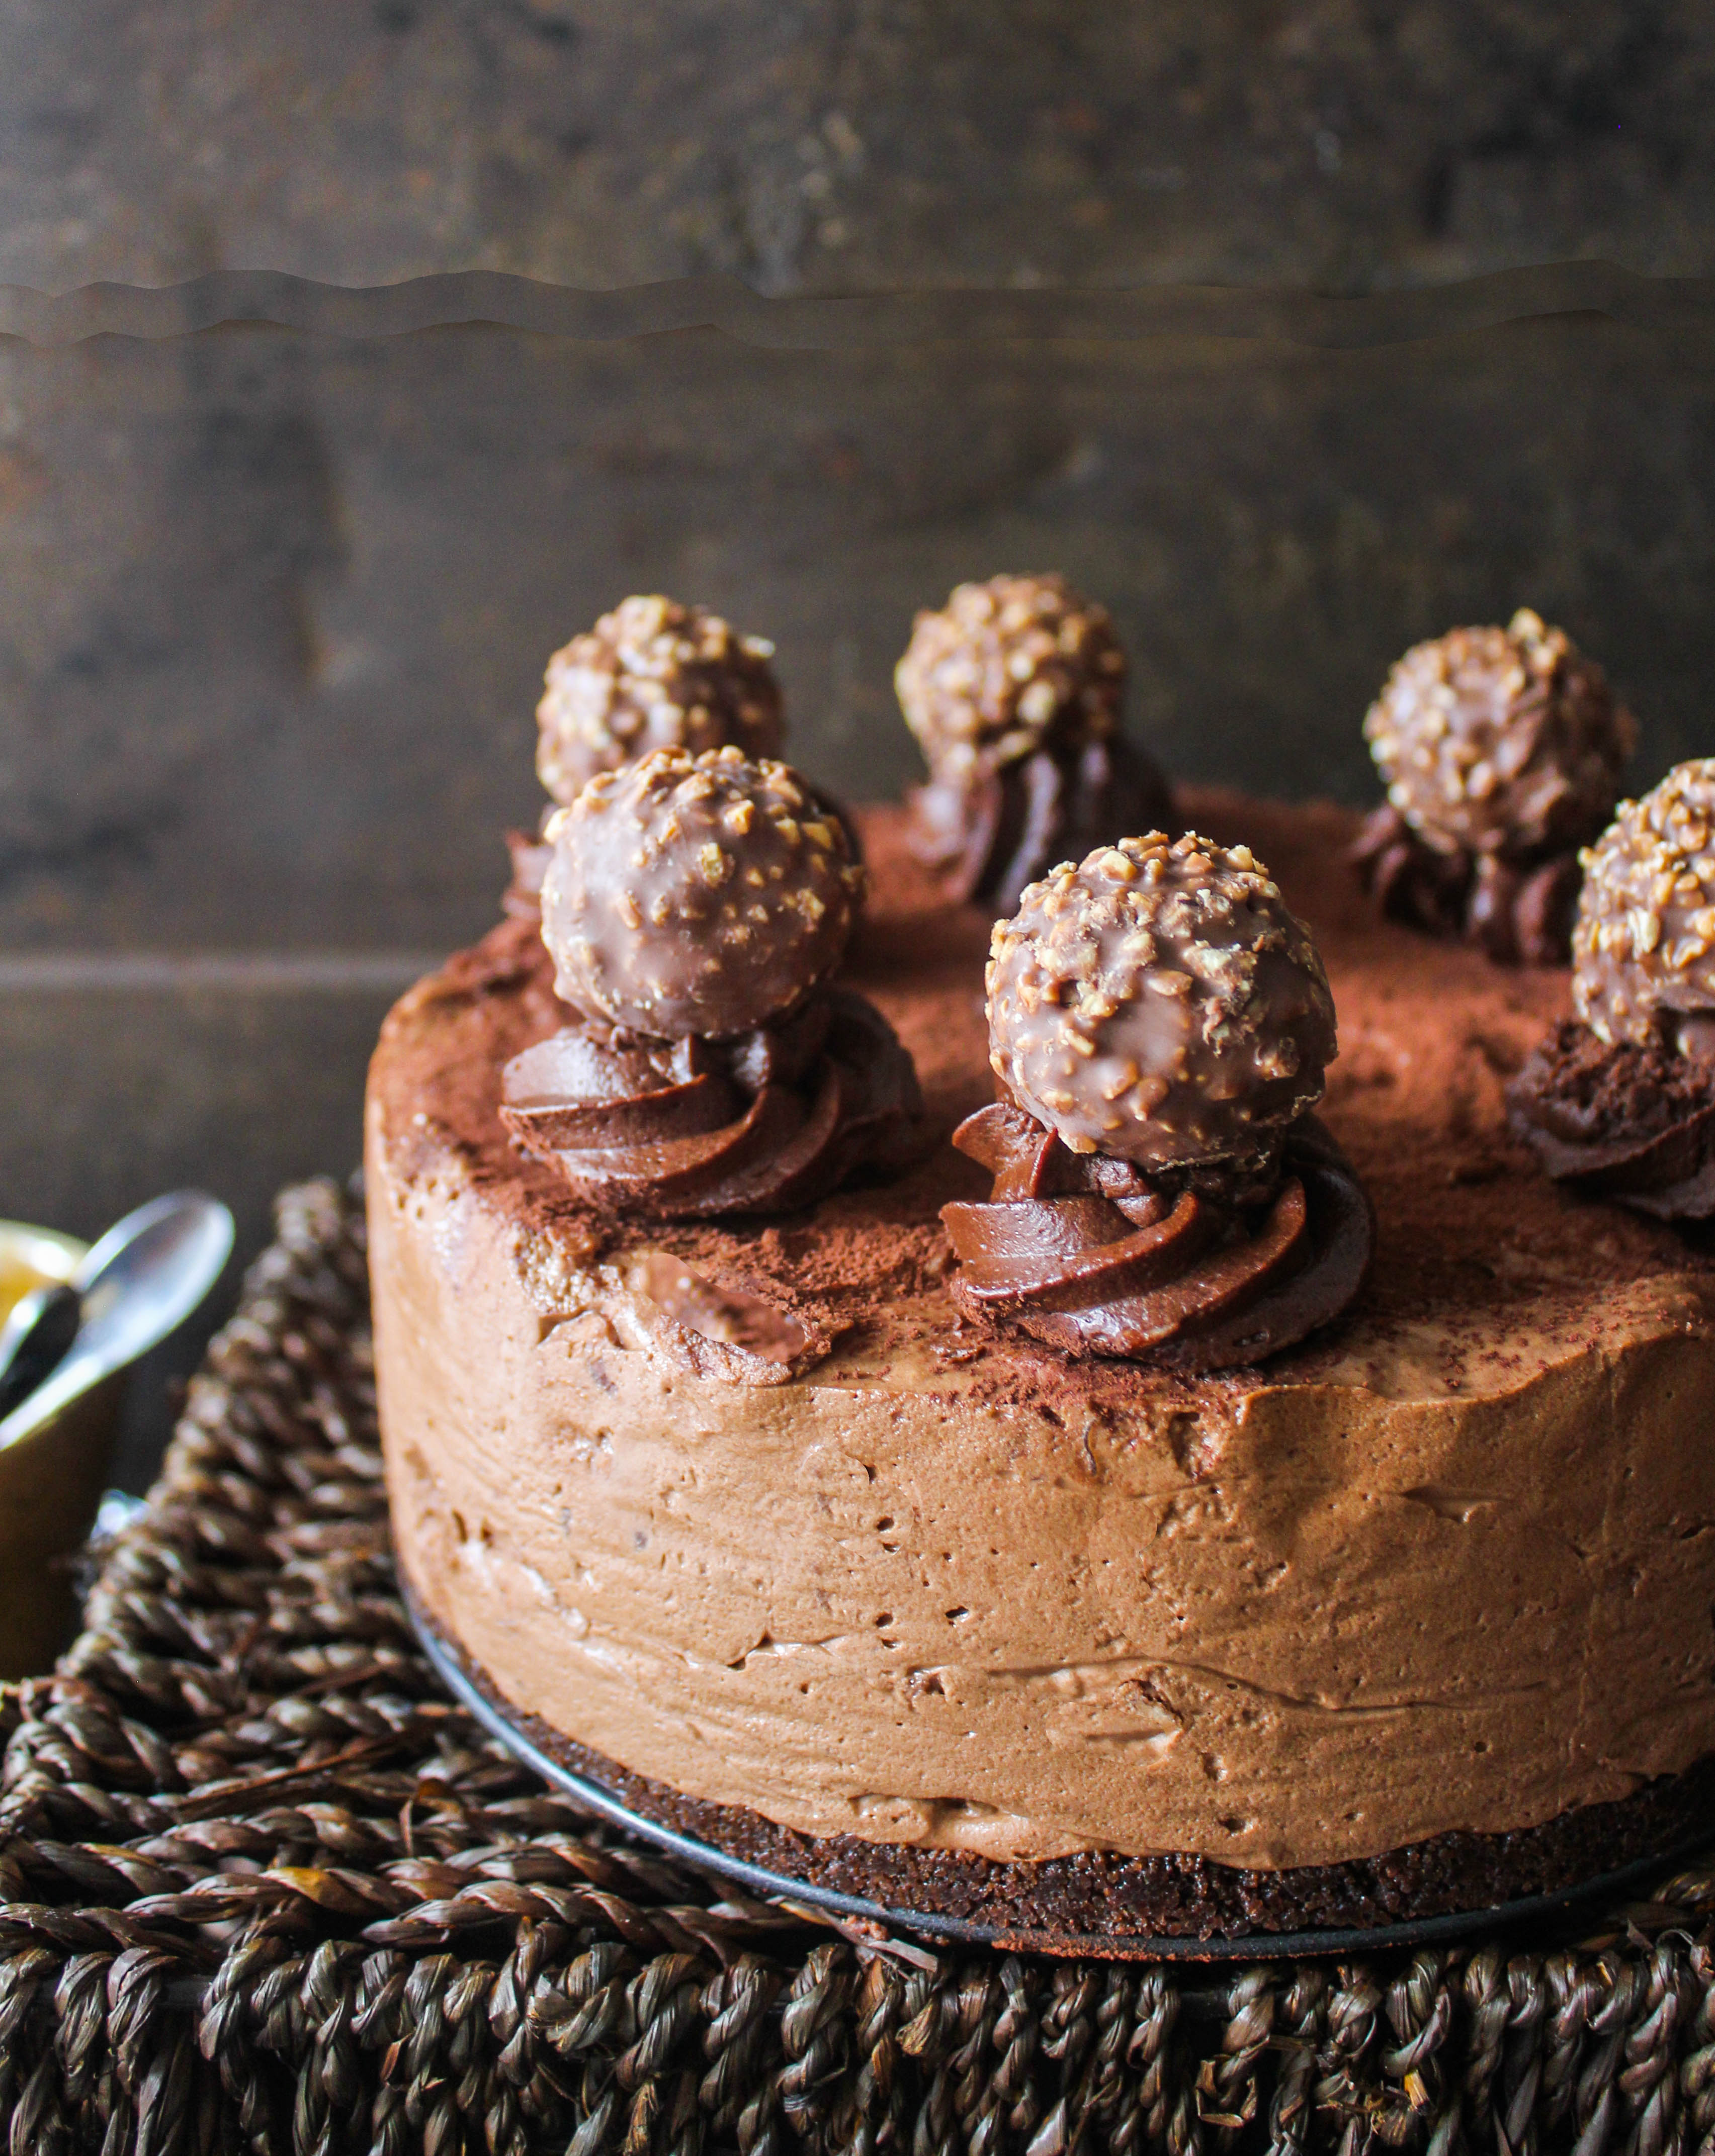
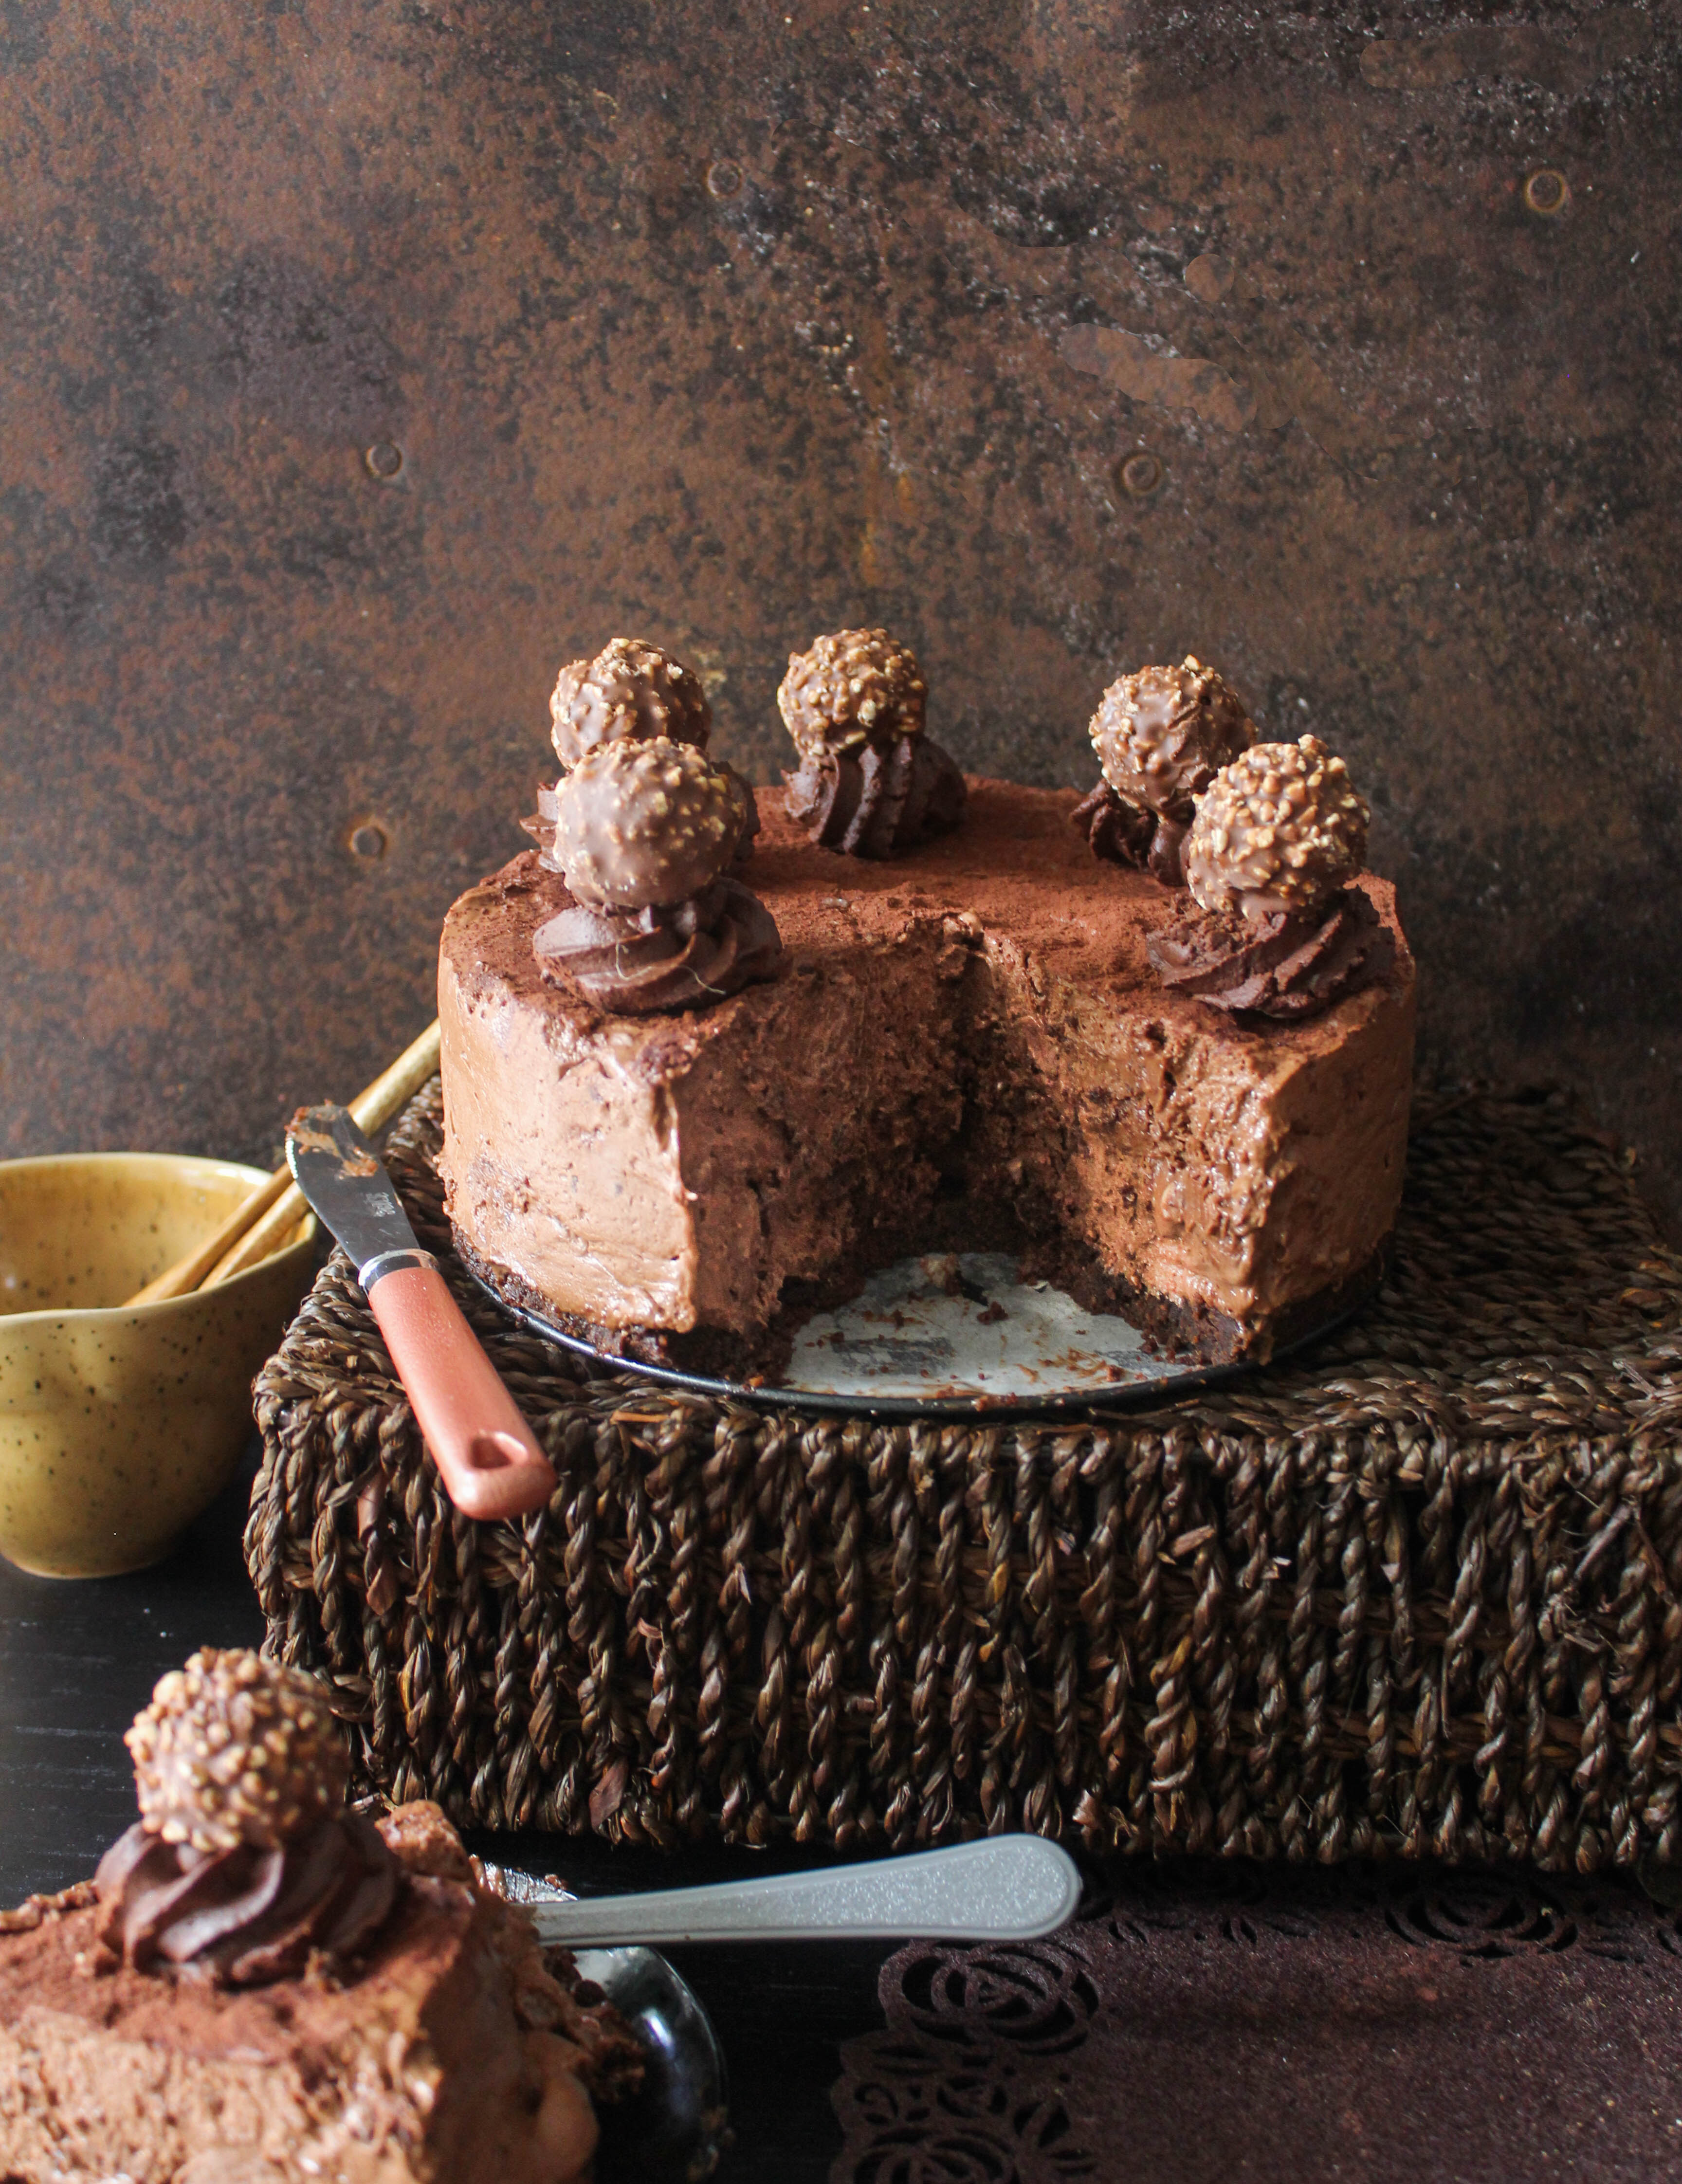
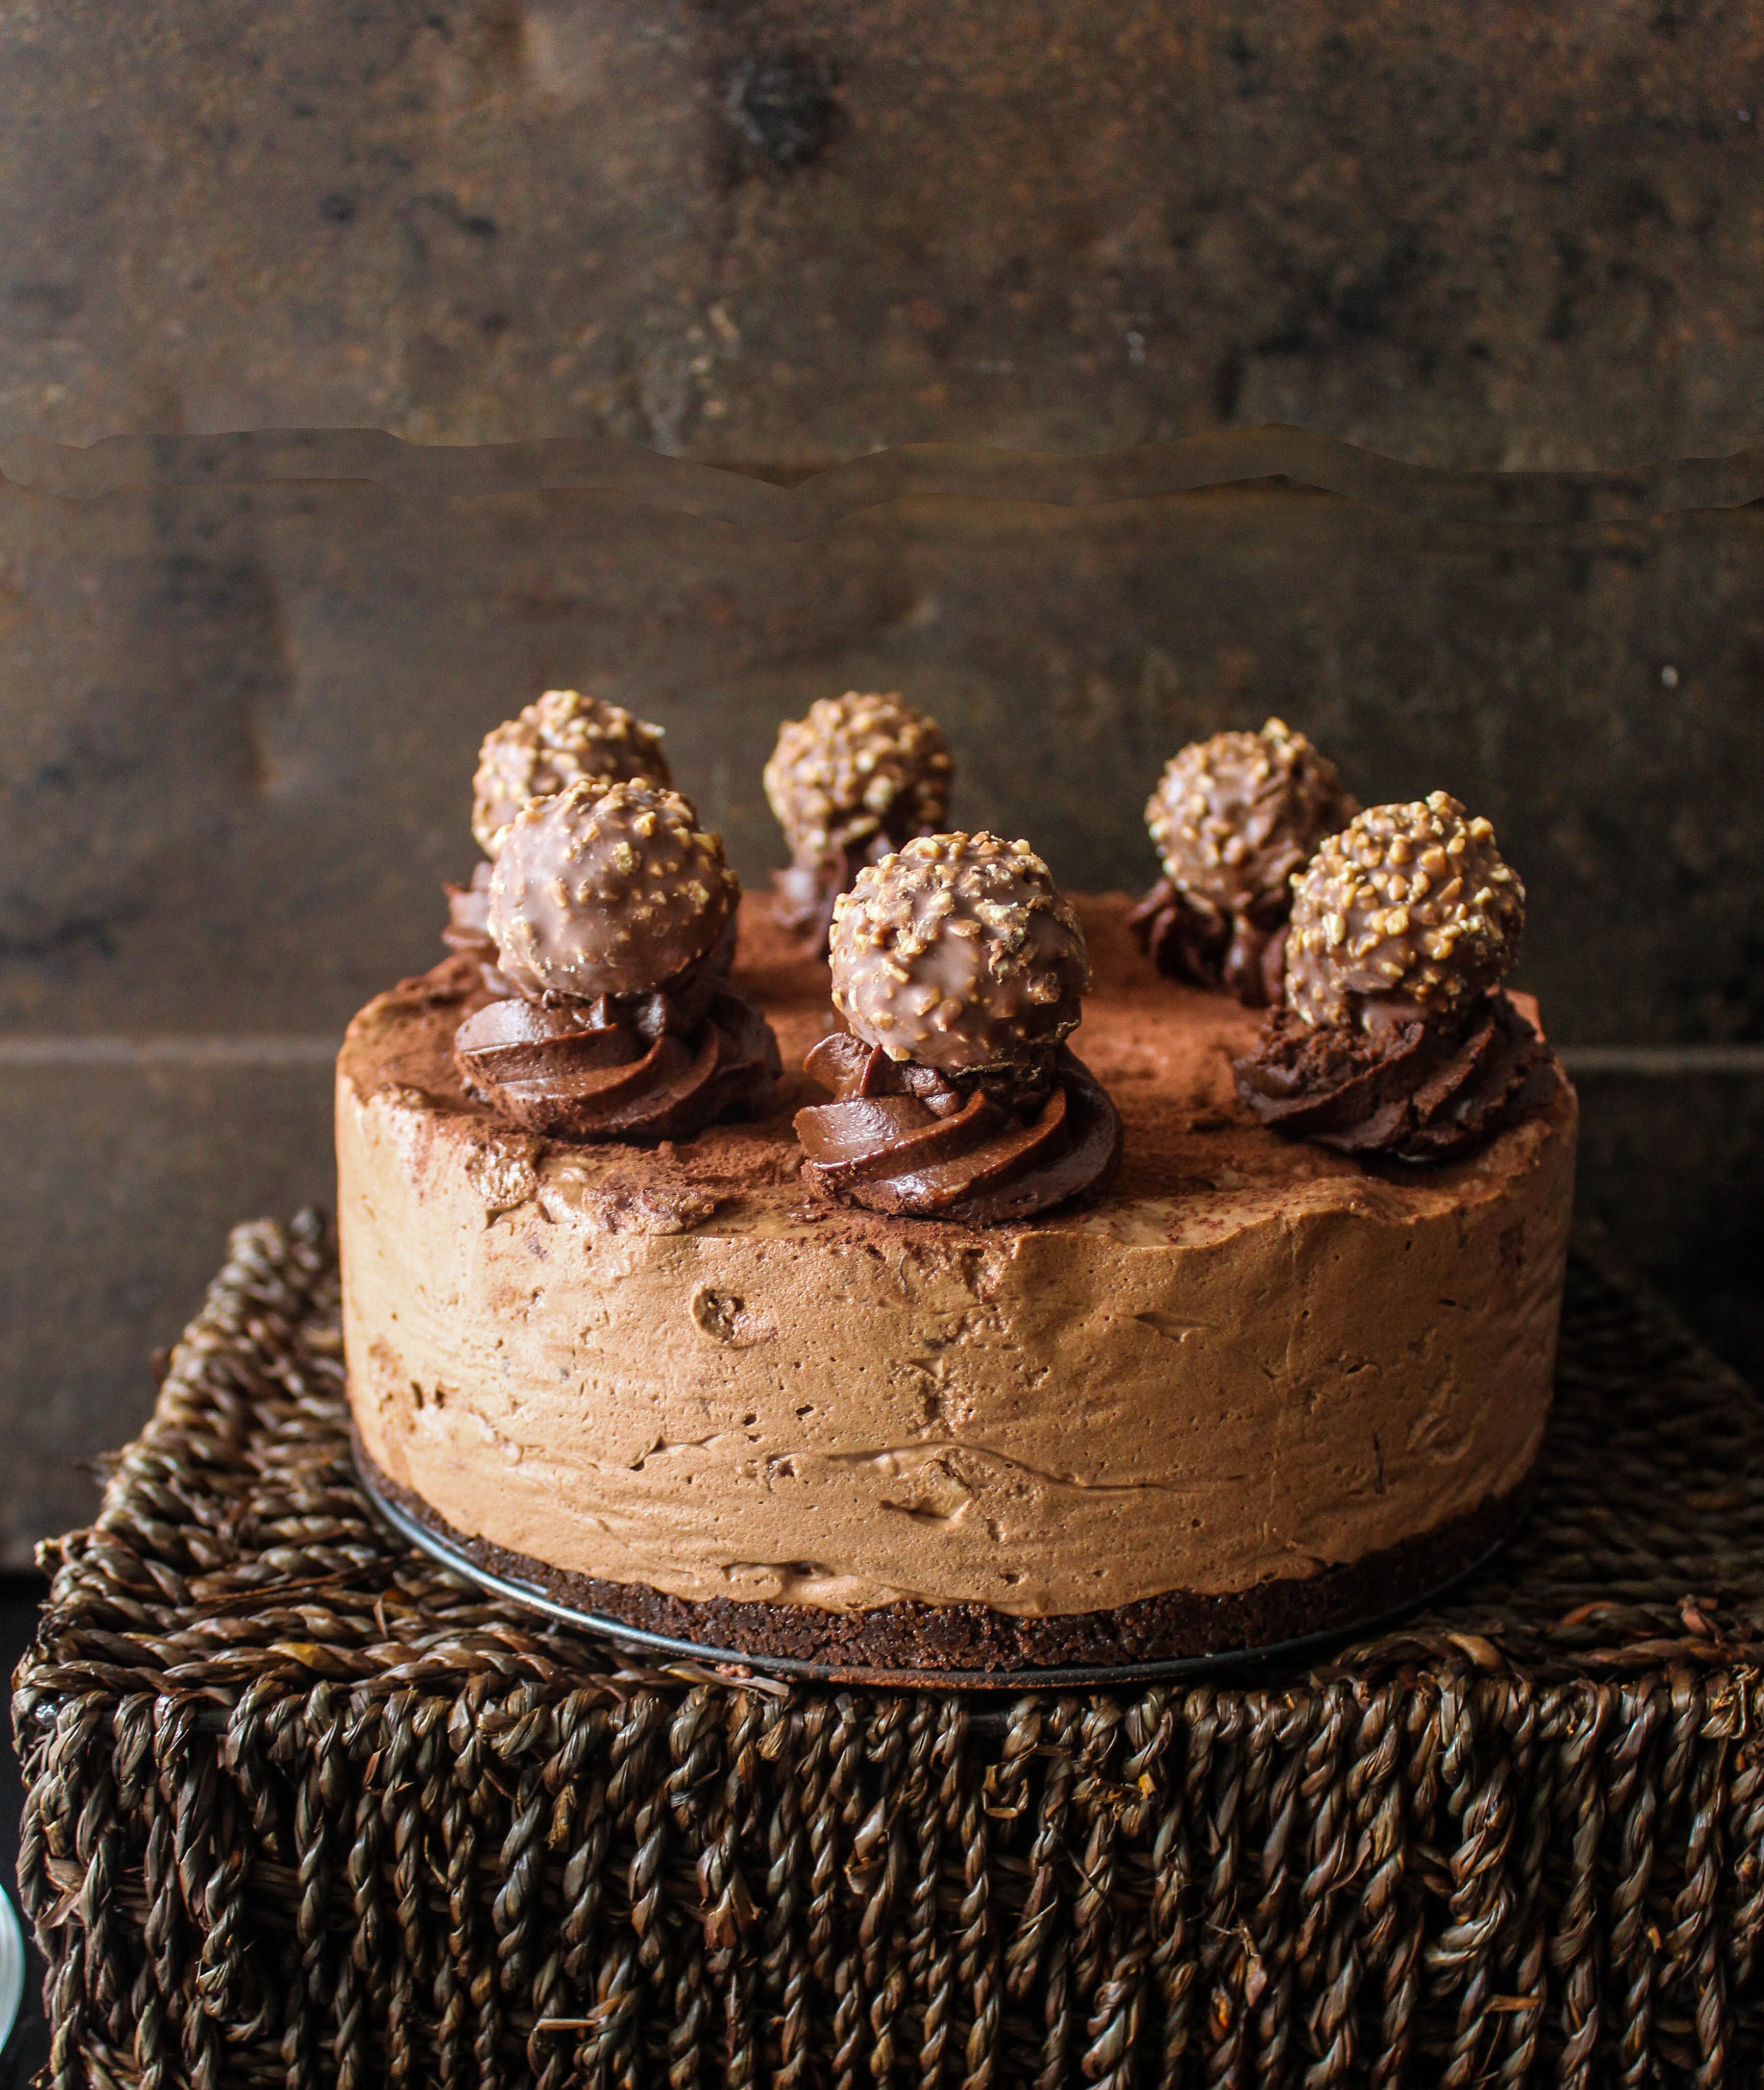
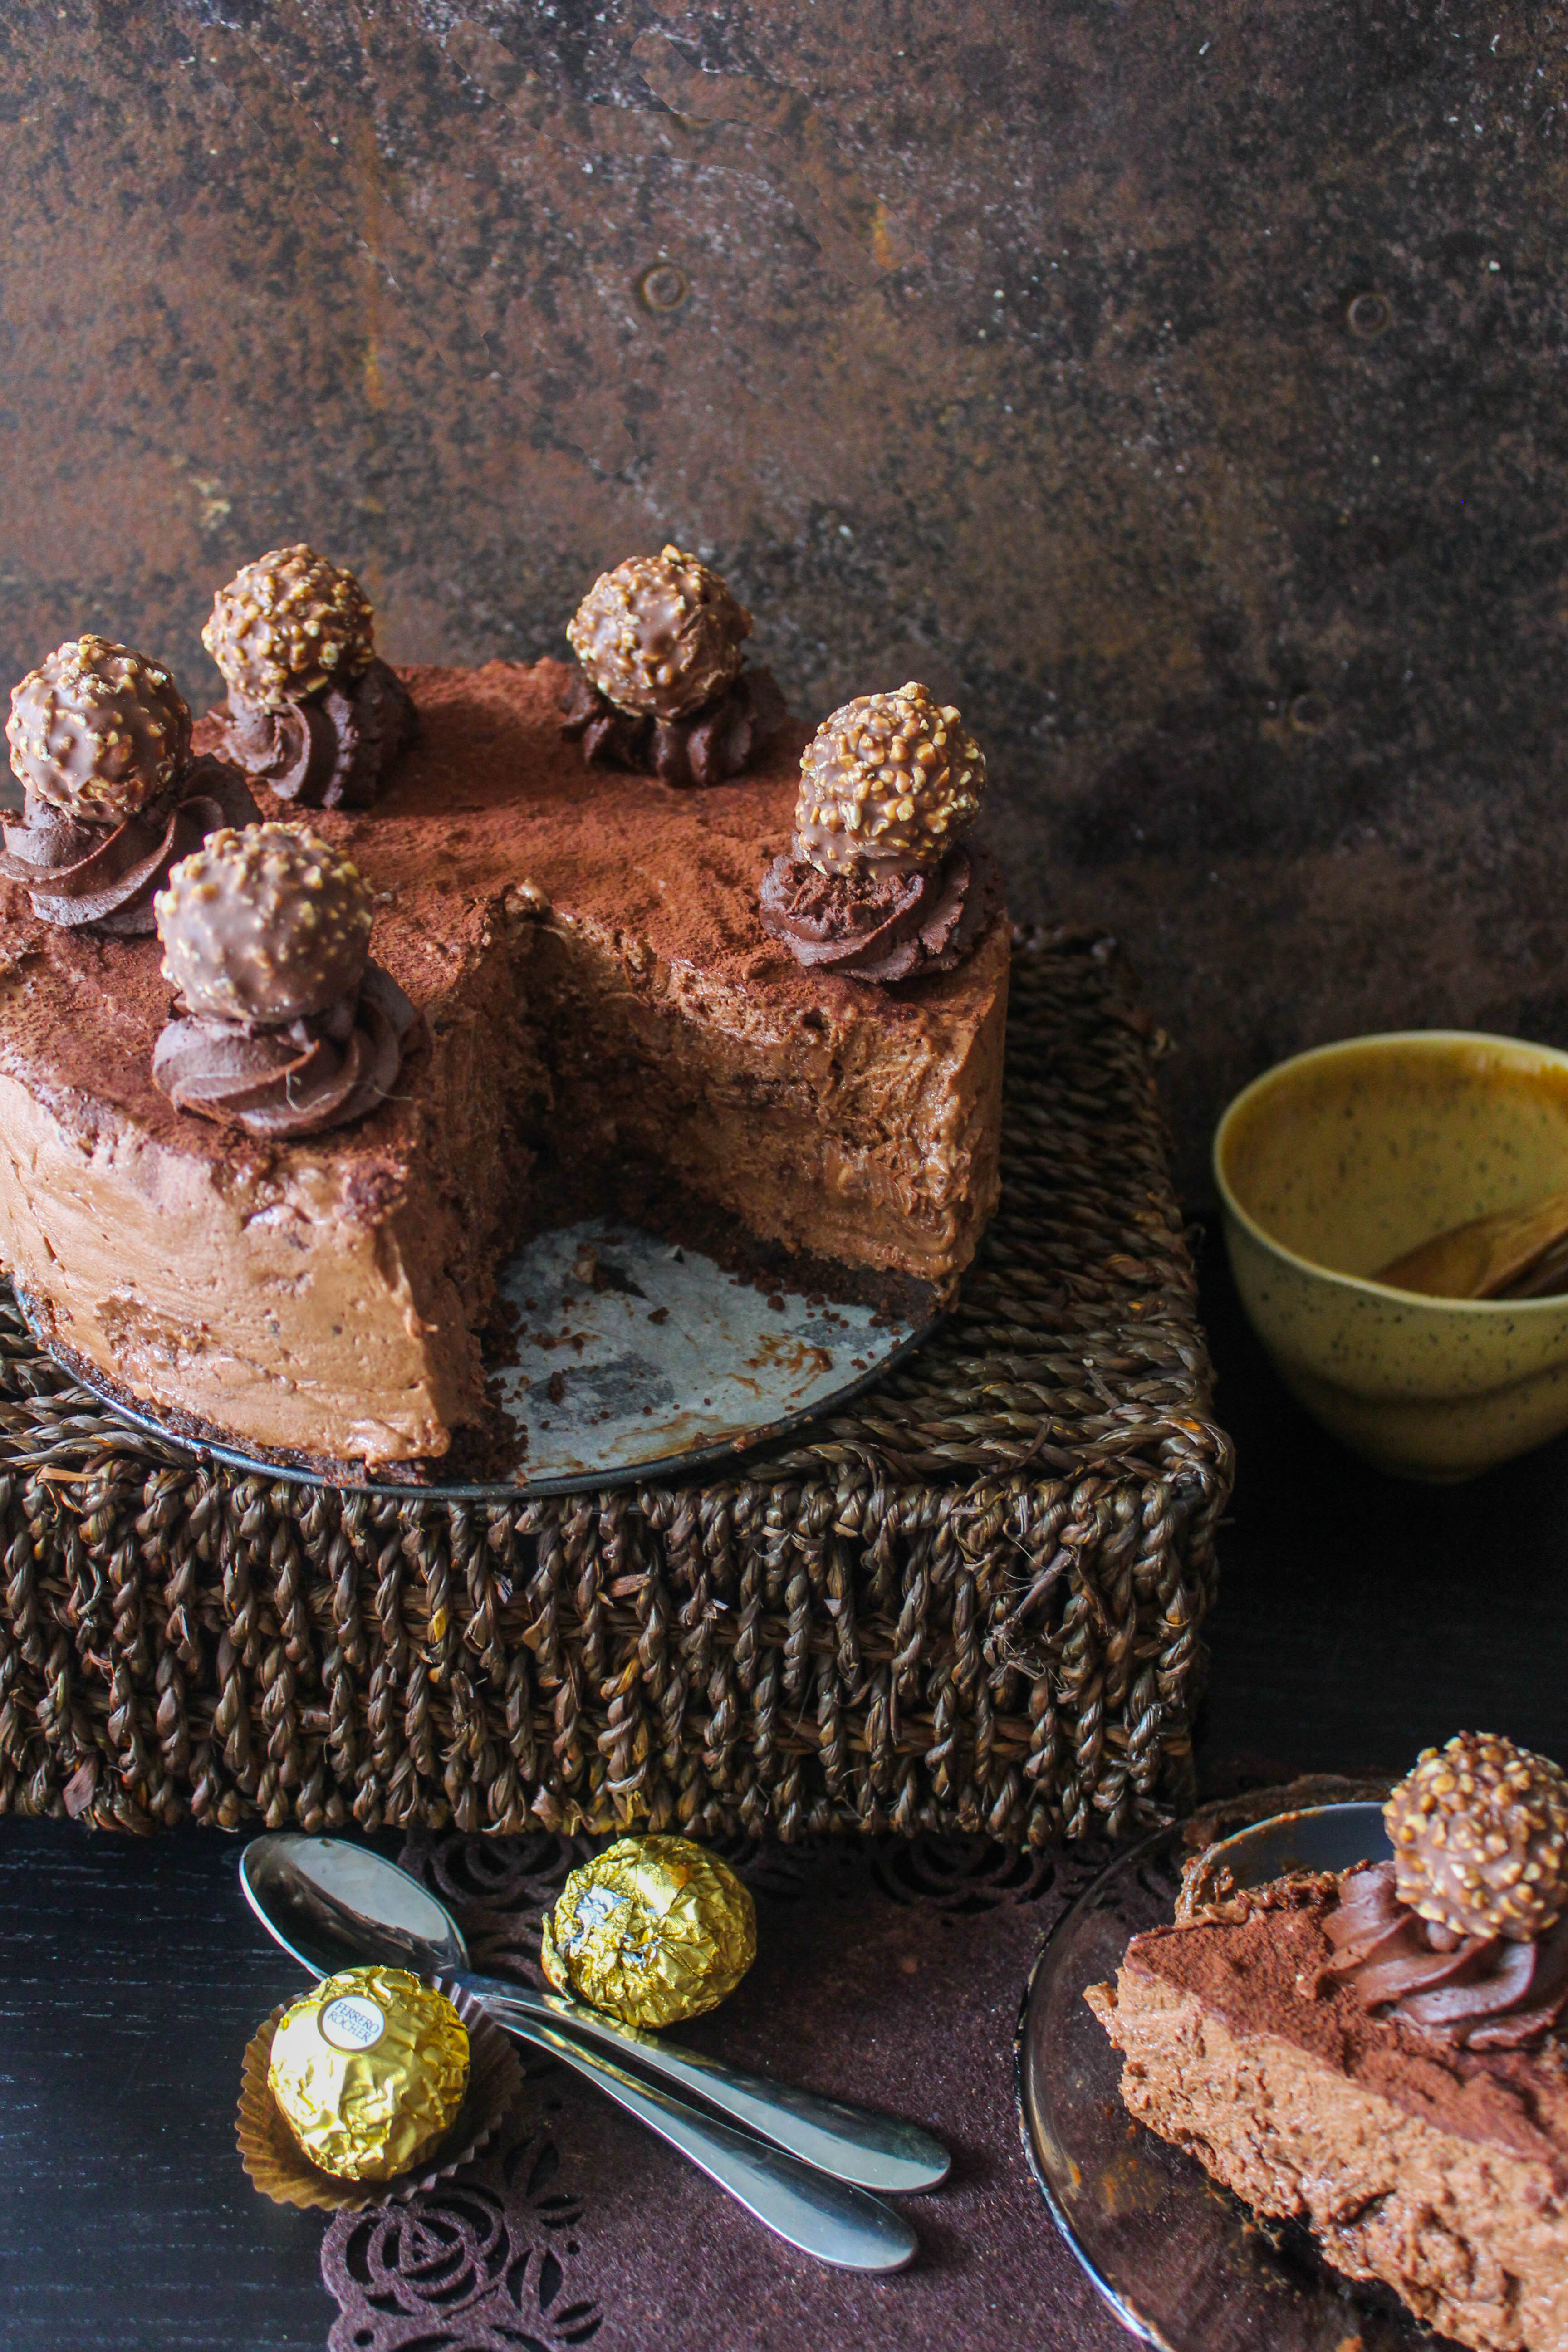
Ferrero Rocher cake with a biscuit base, a chocolate mousse filling, chopped ferrero rocher chocolates and chocolate ganache to finish.

Talking about blogger perspective, do you know what I love about Chocolate? That it is not seasonal. When you are a blogger you tend to keep track of what is seasonal, what your readers come to you for, what is trending on Pinterest and so on. Basically the bottom line is that I am completely in denial of the fact that we have left summer behind.

ferrero rocher cake

When I walk into the fruit market I am not too happy with the sight of berries, plums, peaches and nectarines being replaced with Persimmons, Guavas and Pomegranates. I like them too but nothing like berries and stone fruits. In fact the last of the summer fruits are still available but naturally at a higher price. So till I begin to take interest in autumnal produce I am finding comfort in the safe and faithful hands of chocolate. If you are on the other side of the world, I know you are smiling as you read this…in anticipation of what lies ahead of you (the glory of spring and summer) in the forthcoming months. Lucky you! But you are certainly not deserting me because I have a few summery recipes reserved for you in my folders. See what I mean by blogger perspective!

ferrero rocher cake

IMG_8951-2
Back to the cake, it is an easy eggless cake to put together. Chocolate, cream and the star in the recipe. The base is a plain chocolate cookie crust. The swirls as you can see are dark chocolate ganache topped with a Ferrero Rocher. There are crushed Ferrero Rocher chocolates inside the mousse which is the only difficulty I had to deal with. I filled up a plastic bag with the chocolates and smashed them with a rolling-pin. The teeny bit of liquid chocolate inside the candies made it sticky inside the plastic bag and I had to do a few folds with the mouse mixture to distribute them. Which spoiled the textural element I was after (look wise). But the taste is yet amazing with crunchy bits of Ferrero Rocher hiding within creamy chocolate mousse. It is a rich cake so small portions are good enough.
I wanted a taller cake so I used a 19 cm springform pan. A larger pan can be used but the resulting cake will be lower in height.

ferrero rocher cake


Ferrero Rocher Mousse Cake
Serves 10-12

For the Mousse Cake
220g plain chocolate cookies
75g butter, melted
3 teaspoons gelatine powder
600 ml thickened or heavy cream
300 g dark chocolate
100 g milk chocolate
10 Ferrero Rocher chocolates, crushed in a plastic bag with a rolling-pin
6 Ferrero Rocher chocolates, to decorate
cocoa, to dust

For the whipped chocolate Ganache
150 g dark chocolate
1/2 cup thickened or heavy cream

Grease a 19 cm round Springform pan. Line the base and sides with baking paper. Place the cookies in a food processor. Process until fine crumbs. Add melted butter and mix to combine. Using your fingertips, press biscuit mixture over base of prepared pan. Refrigerate for 30 minutes or until firm.

Place both the chocolate in a heatproof bowl over a saucepan of barely simmering water. Stir until melted then cool to room temperature. Meanwhile,  bring 1/4 cup cream to a simmer in a saucepan over medium heat. Remove from heat. Soak gelatine in 2 tbsp. cold water for 3-4 minutes or until soft. Add to hot cream and stir until dissolved. Cool to room temperature. Using an electric mixer, whisk remaining cream to stiff peaks. Working quickly, add chocolate and gelatine mixture to cream and whisk for 1-2 seconds or until chocolate is 1/2 incorporated. Using a spatula, gently finish folding in. Add the crushed Ferrero Rocher chocolates and gradually fold into the mousse.

Spoon over the base of the cookie mixture. Smooth out the surface with a palette knife or the back of a spoon. Cover. Refrigerate for 4 hours or until set. Lightly dust with cocoa powder. Fill up a piping bag with a large star nozzle and pipe ganache around the cake. Top with Ferrero Rocher Chocolates.

To make the whipped ganache: Place chocolate pieces in a large bowl. Heat heavy cream on medium high until it comes to a boil.  Remove from heat and immediately pour cream over chocolate and stir until completely mixed and glossy. Allow the ganache to cool completely and whip to a stiff consistency.


Pomegranate Tabouli Salad

19|03|2014

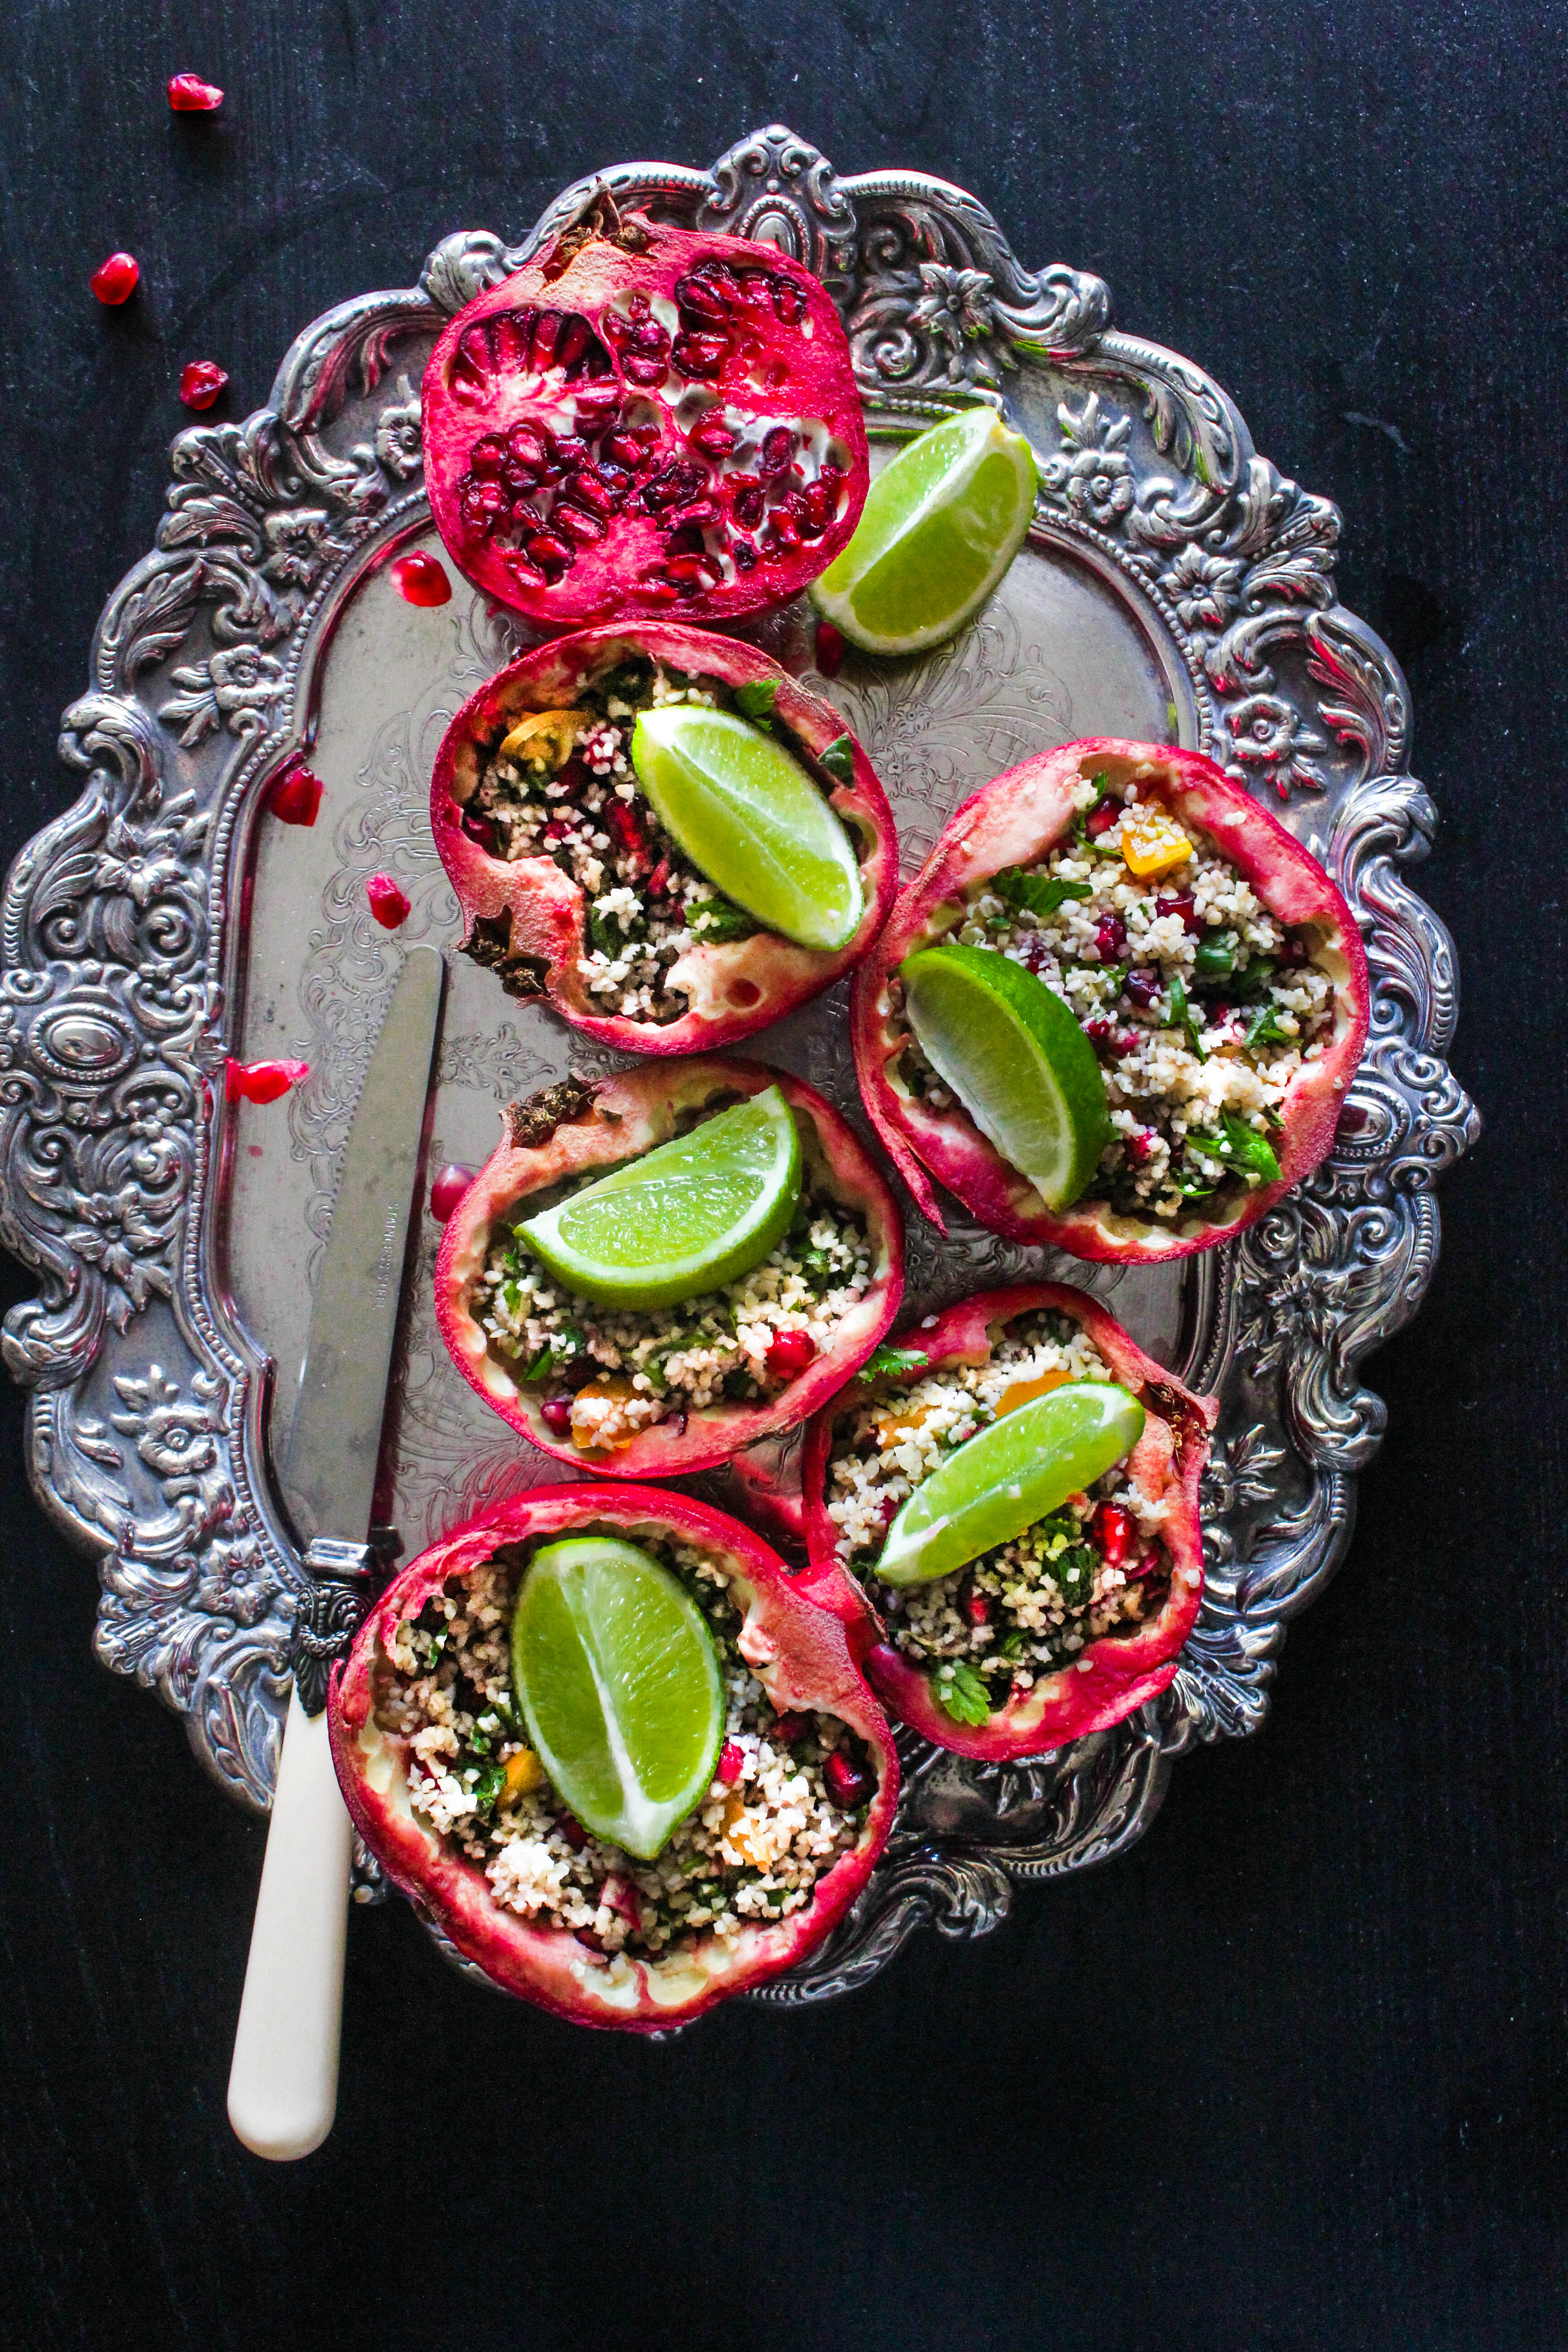
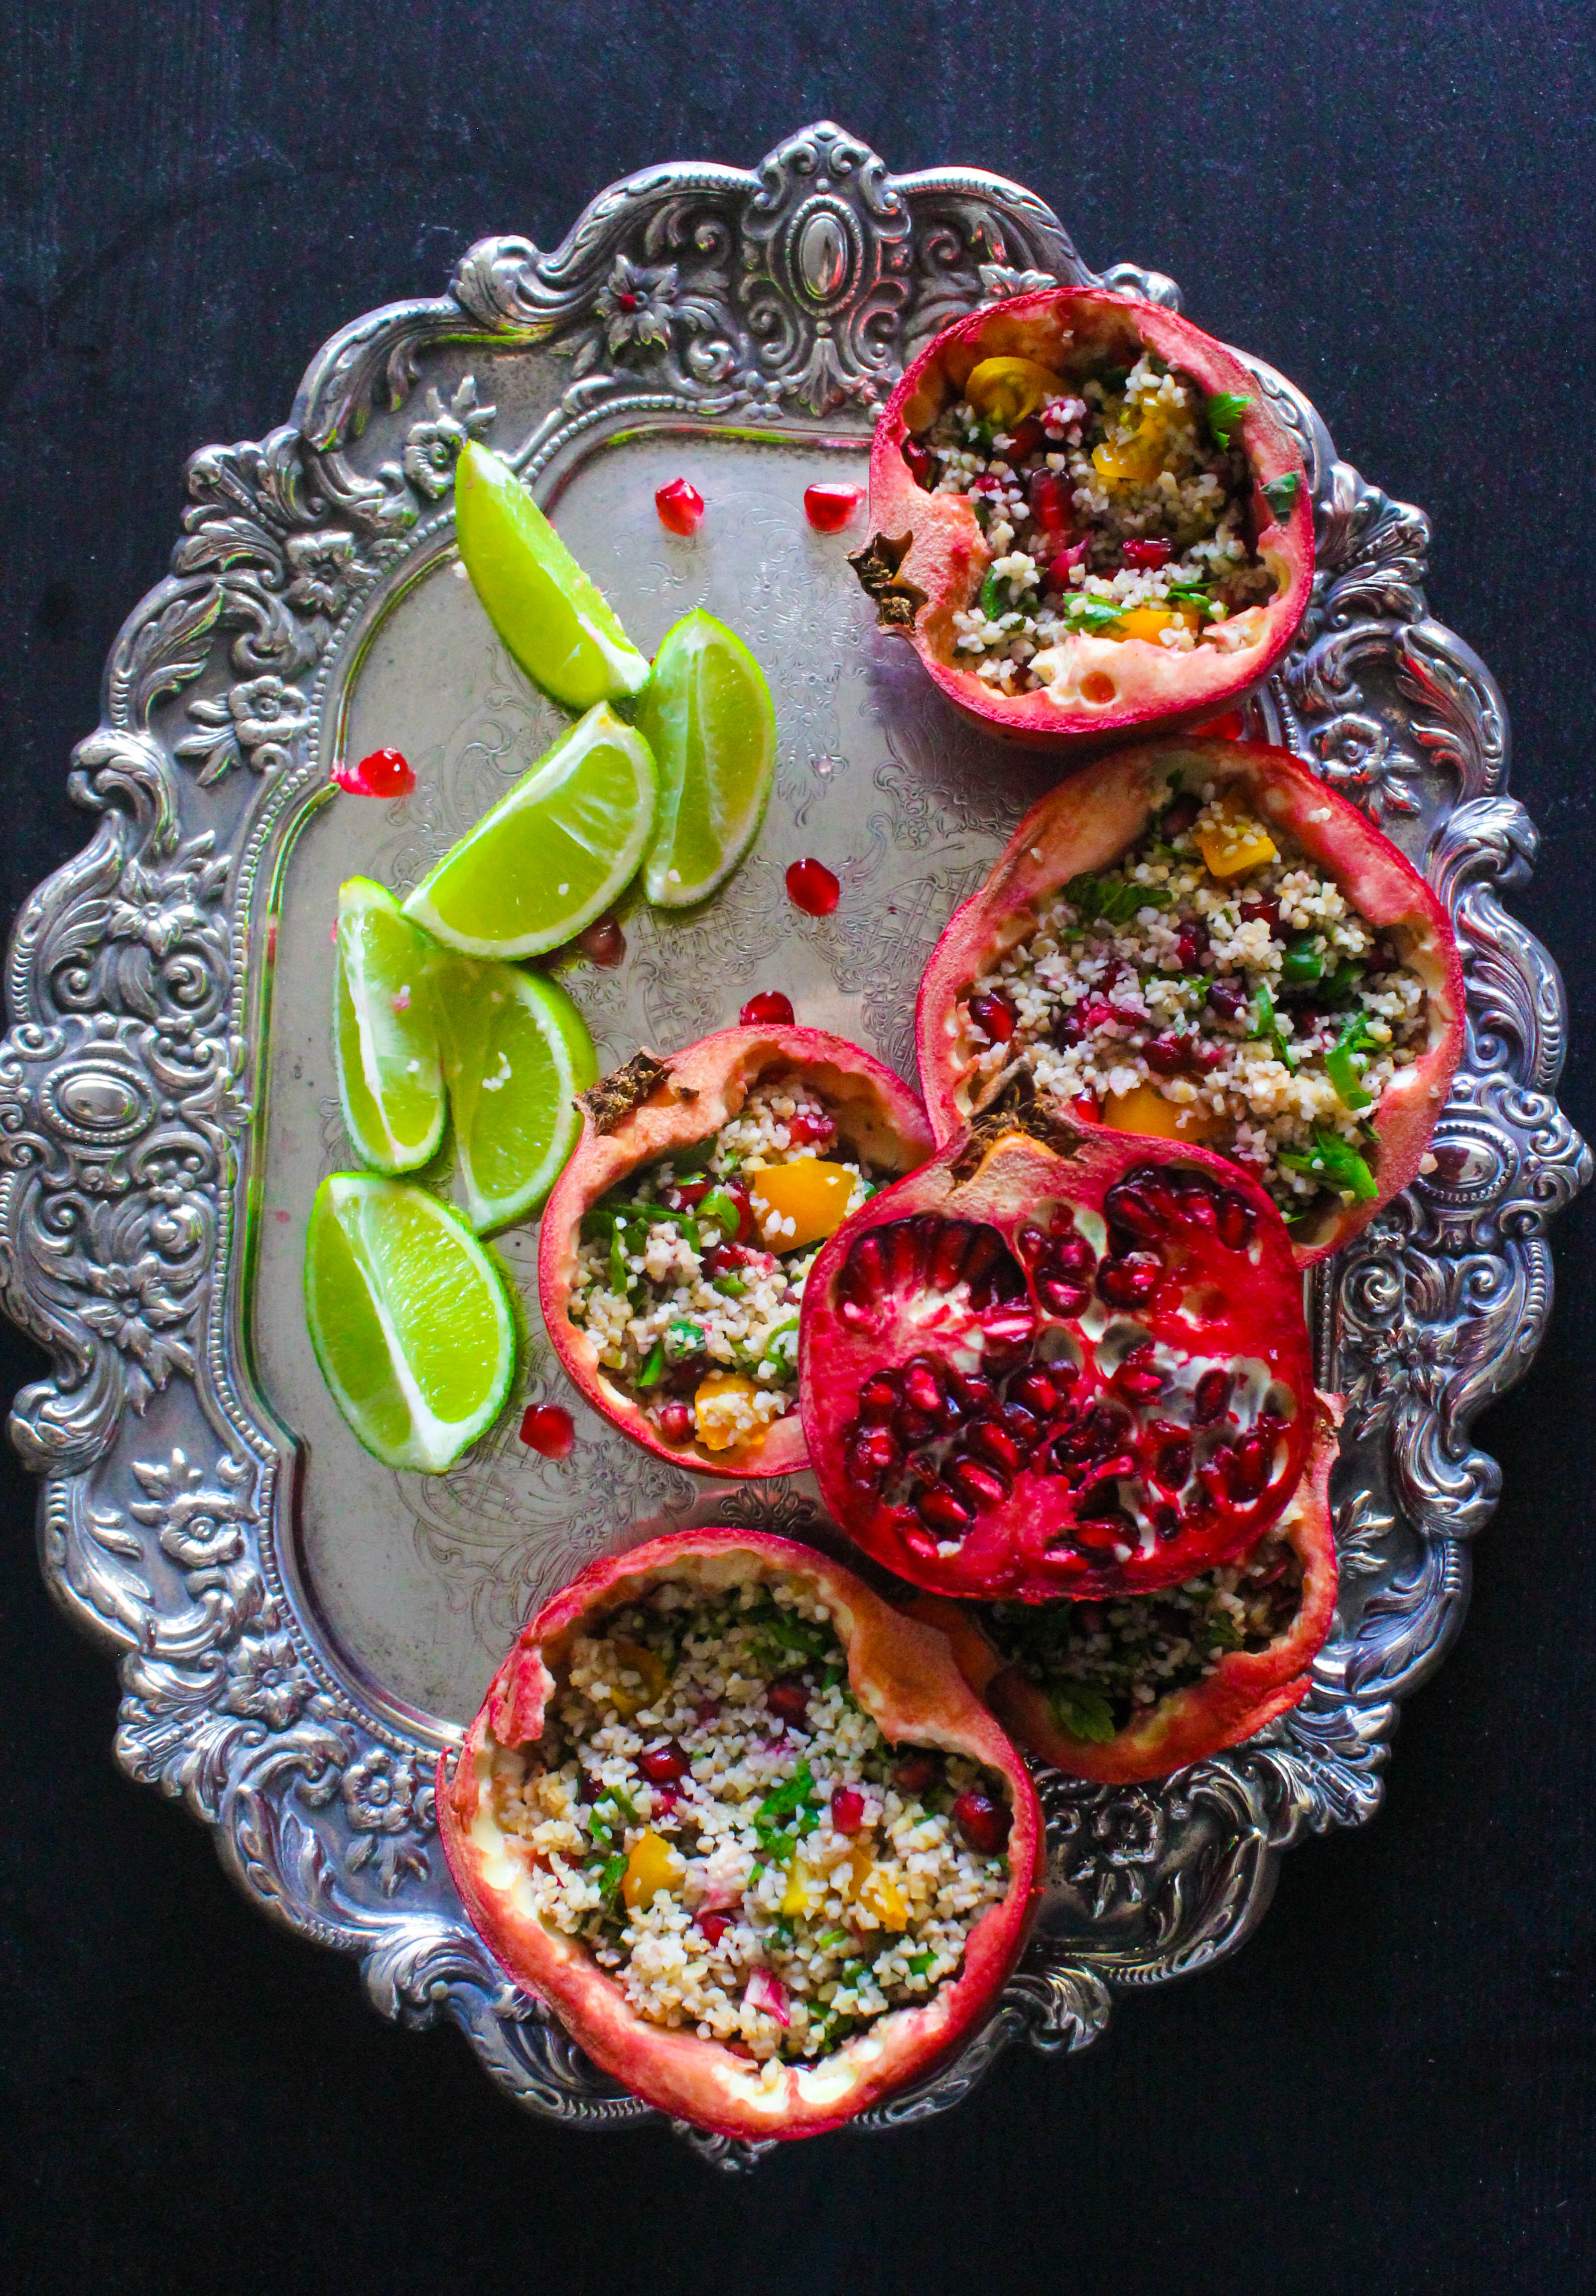
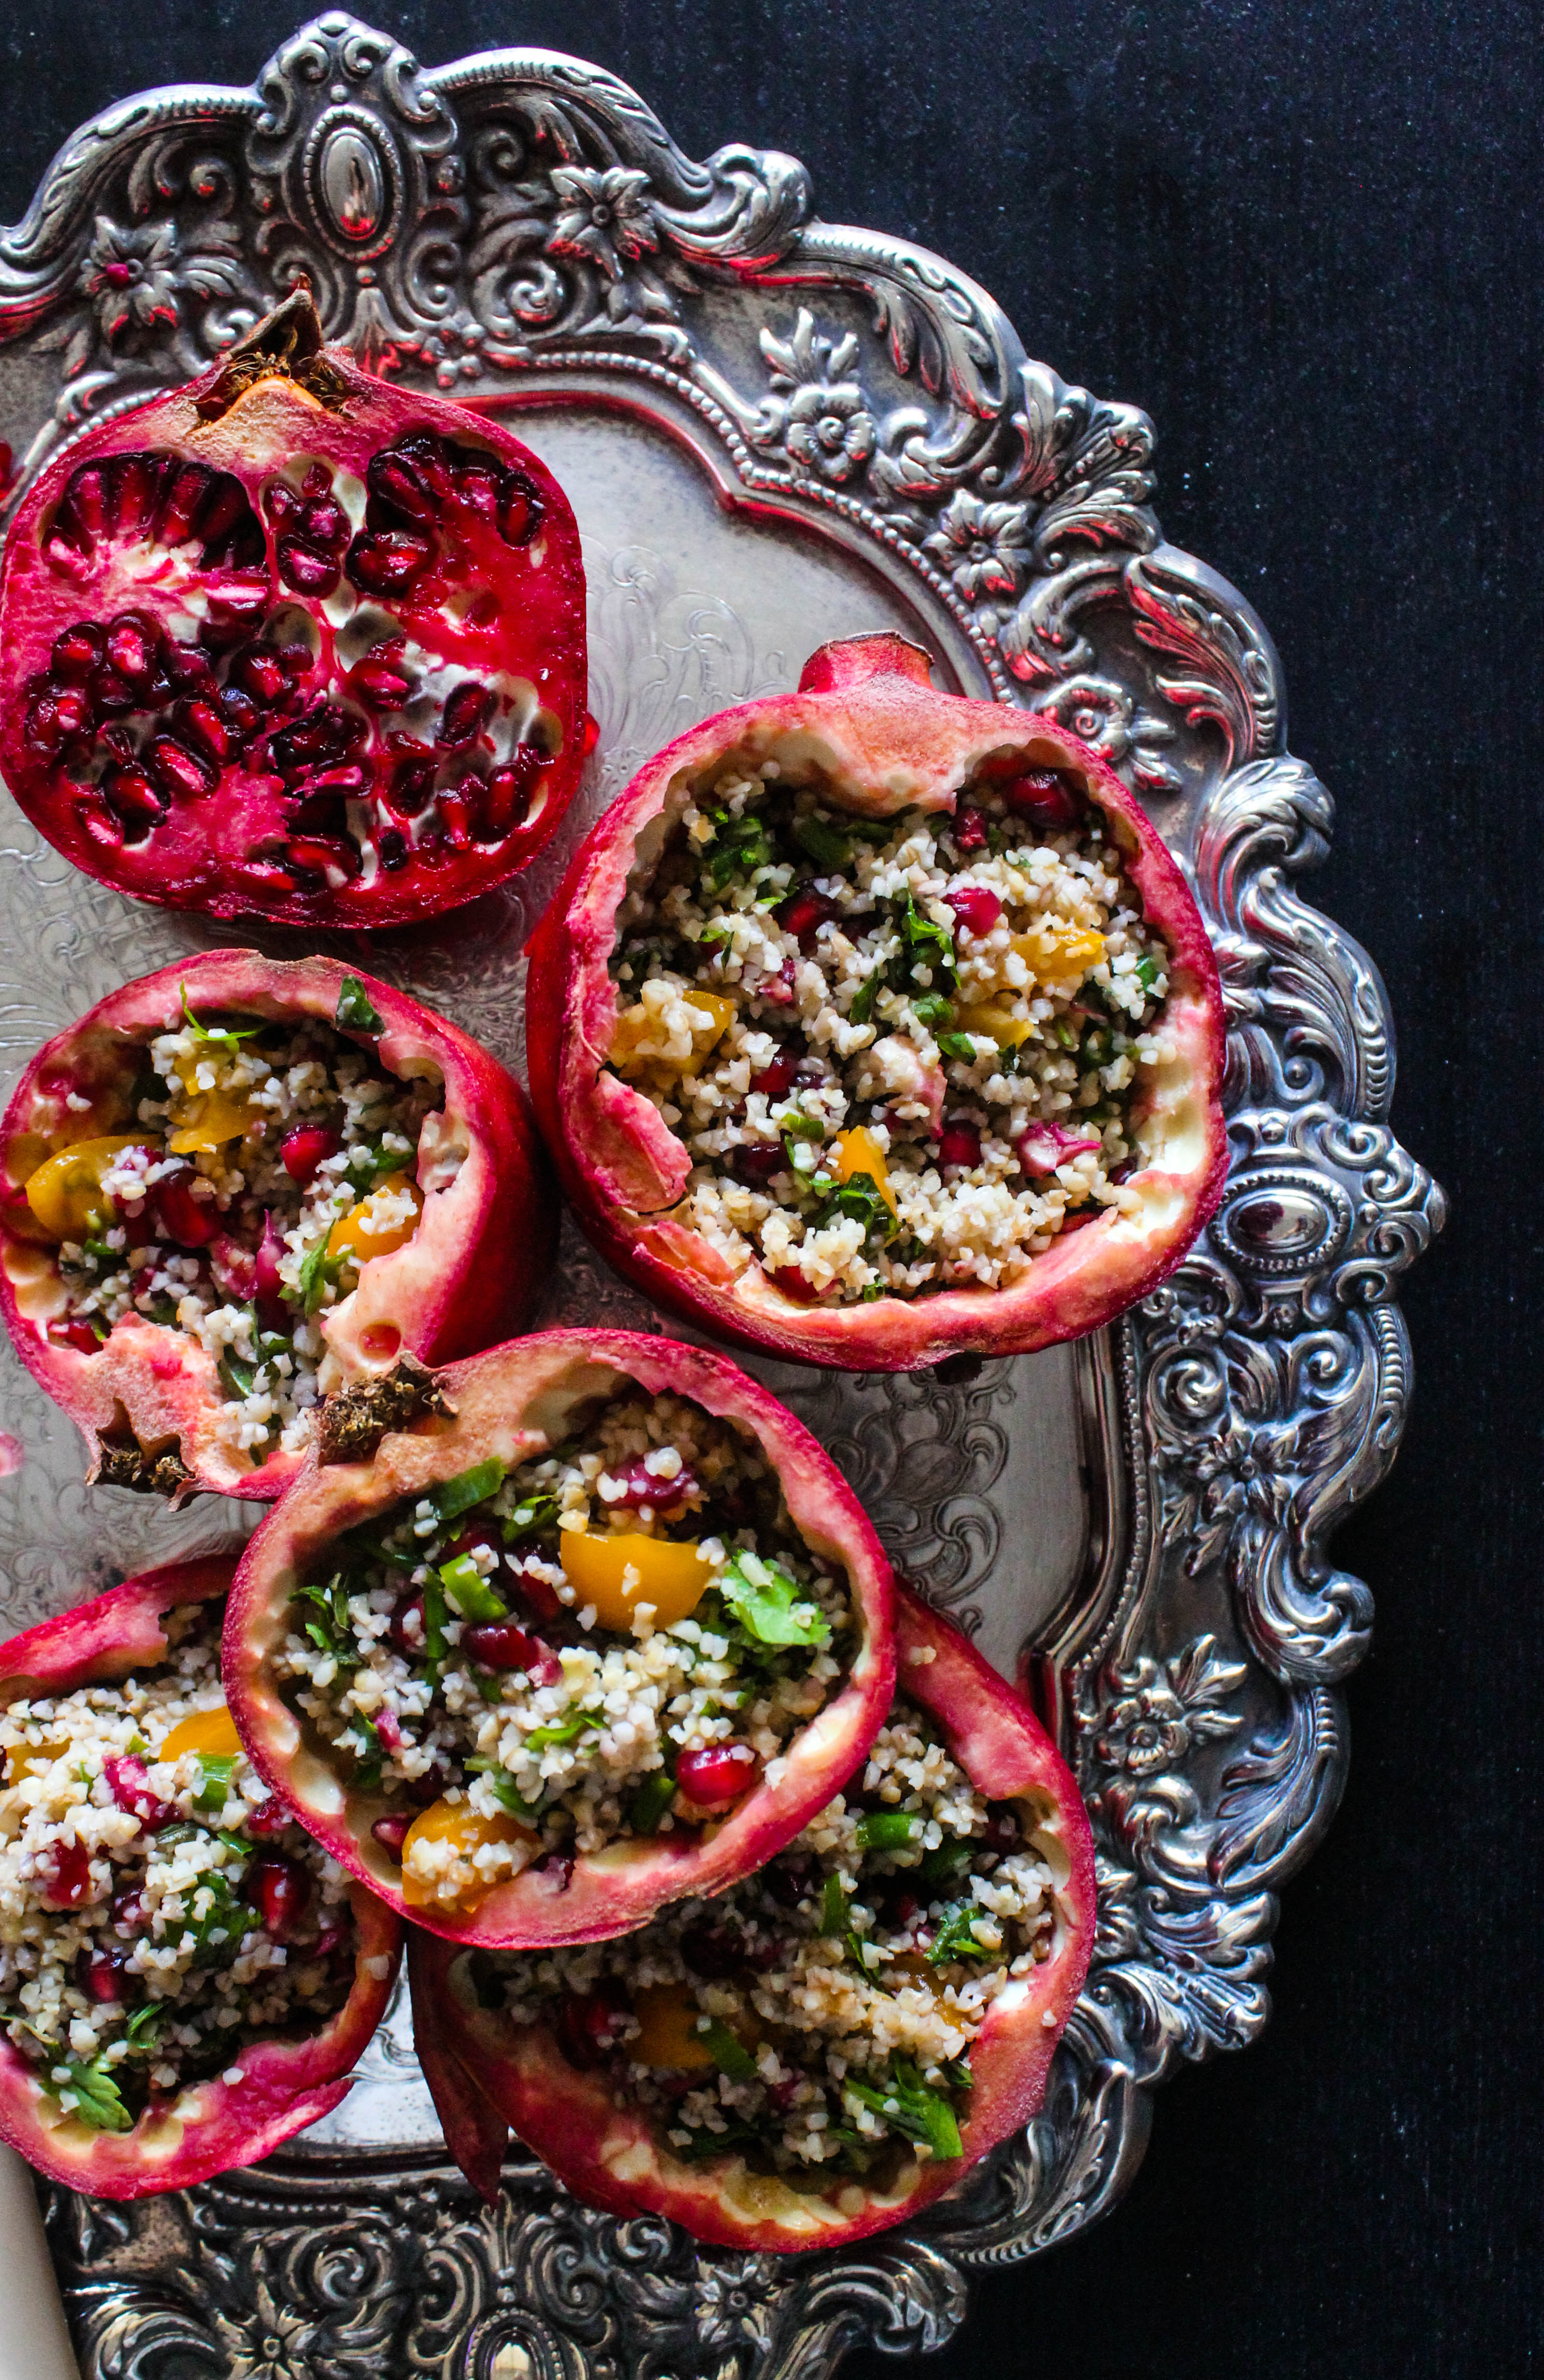
A salad that does not look like a salad. Trust me, it works for people like me who believe in checking the buffet menus backwards in a restaurant. The space and calories in my case, are reserved for the sweeter things in life. Having said that, this is a great salad bursting with flavour, nutrition and natural sweetness from the pomegranate seeds. Not to mention, the colour!

IMG_7925-2

This Middle Eastern inspired salad is light, refreshing, filling and most importantly easy to make. As with most salads there is plenty of room for creativity and variation. Burghul wheat is a great form of whole wheat that has already been cleaned, parboiled, dried and is ready to use. It does not need cooking, just softening in the recipe. The pomegranate shells make for a colourful container to hold the salad while also taking care of portion sizes. The little grains of burghul wheat also help to soak up some of the pomegranate juice that remains in the pomegranate skin after the seeds are taken out.

IMG_7936-3

Burghul wheat (also known as bulgur, bulghur) is available in the health section of supermarkets or in health stores. The salad is great on its own or a perfect side to meat dishes. If you are planning to make it ahead (by a few hours), store it in the refrigerator and spoon into shells just before serving.
IMG_7920

Pomegranate Tabouli Salad
Serves 8

4 pomegranates halved and seeds removed, 1 cup seeds reserved for the salad
(1/2 cup) burghul
(3/4 cup) boiling water
1 cup chopped fresh parsley
3/4 cup chopped fresh mint
3/4 cup tomatoes, finely chopped (I used yellow tomatoes)
1 tbsp. olive oil
1 tbsp. fresh lime juice

Place the burghul in a large heatproof bowl. Add the boiling water and set aside for 10 minutes to soak. Drain.

Add the tomatoes, parsley, mint, pomegranate seeds, oil and lime juice. Season with salt and pepper. Mix until well combined. Spoon into pomegranate shells. Serve


Peanut Butter White Chocolate and Raspberry Cake

15|03|2014

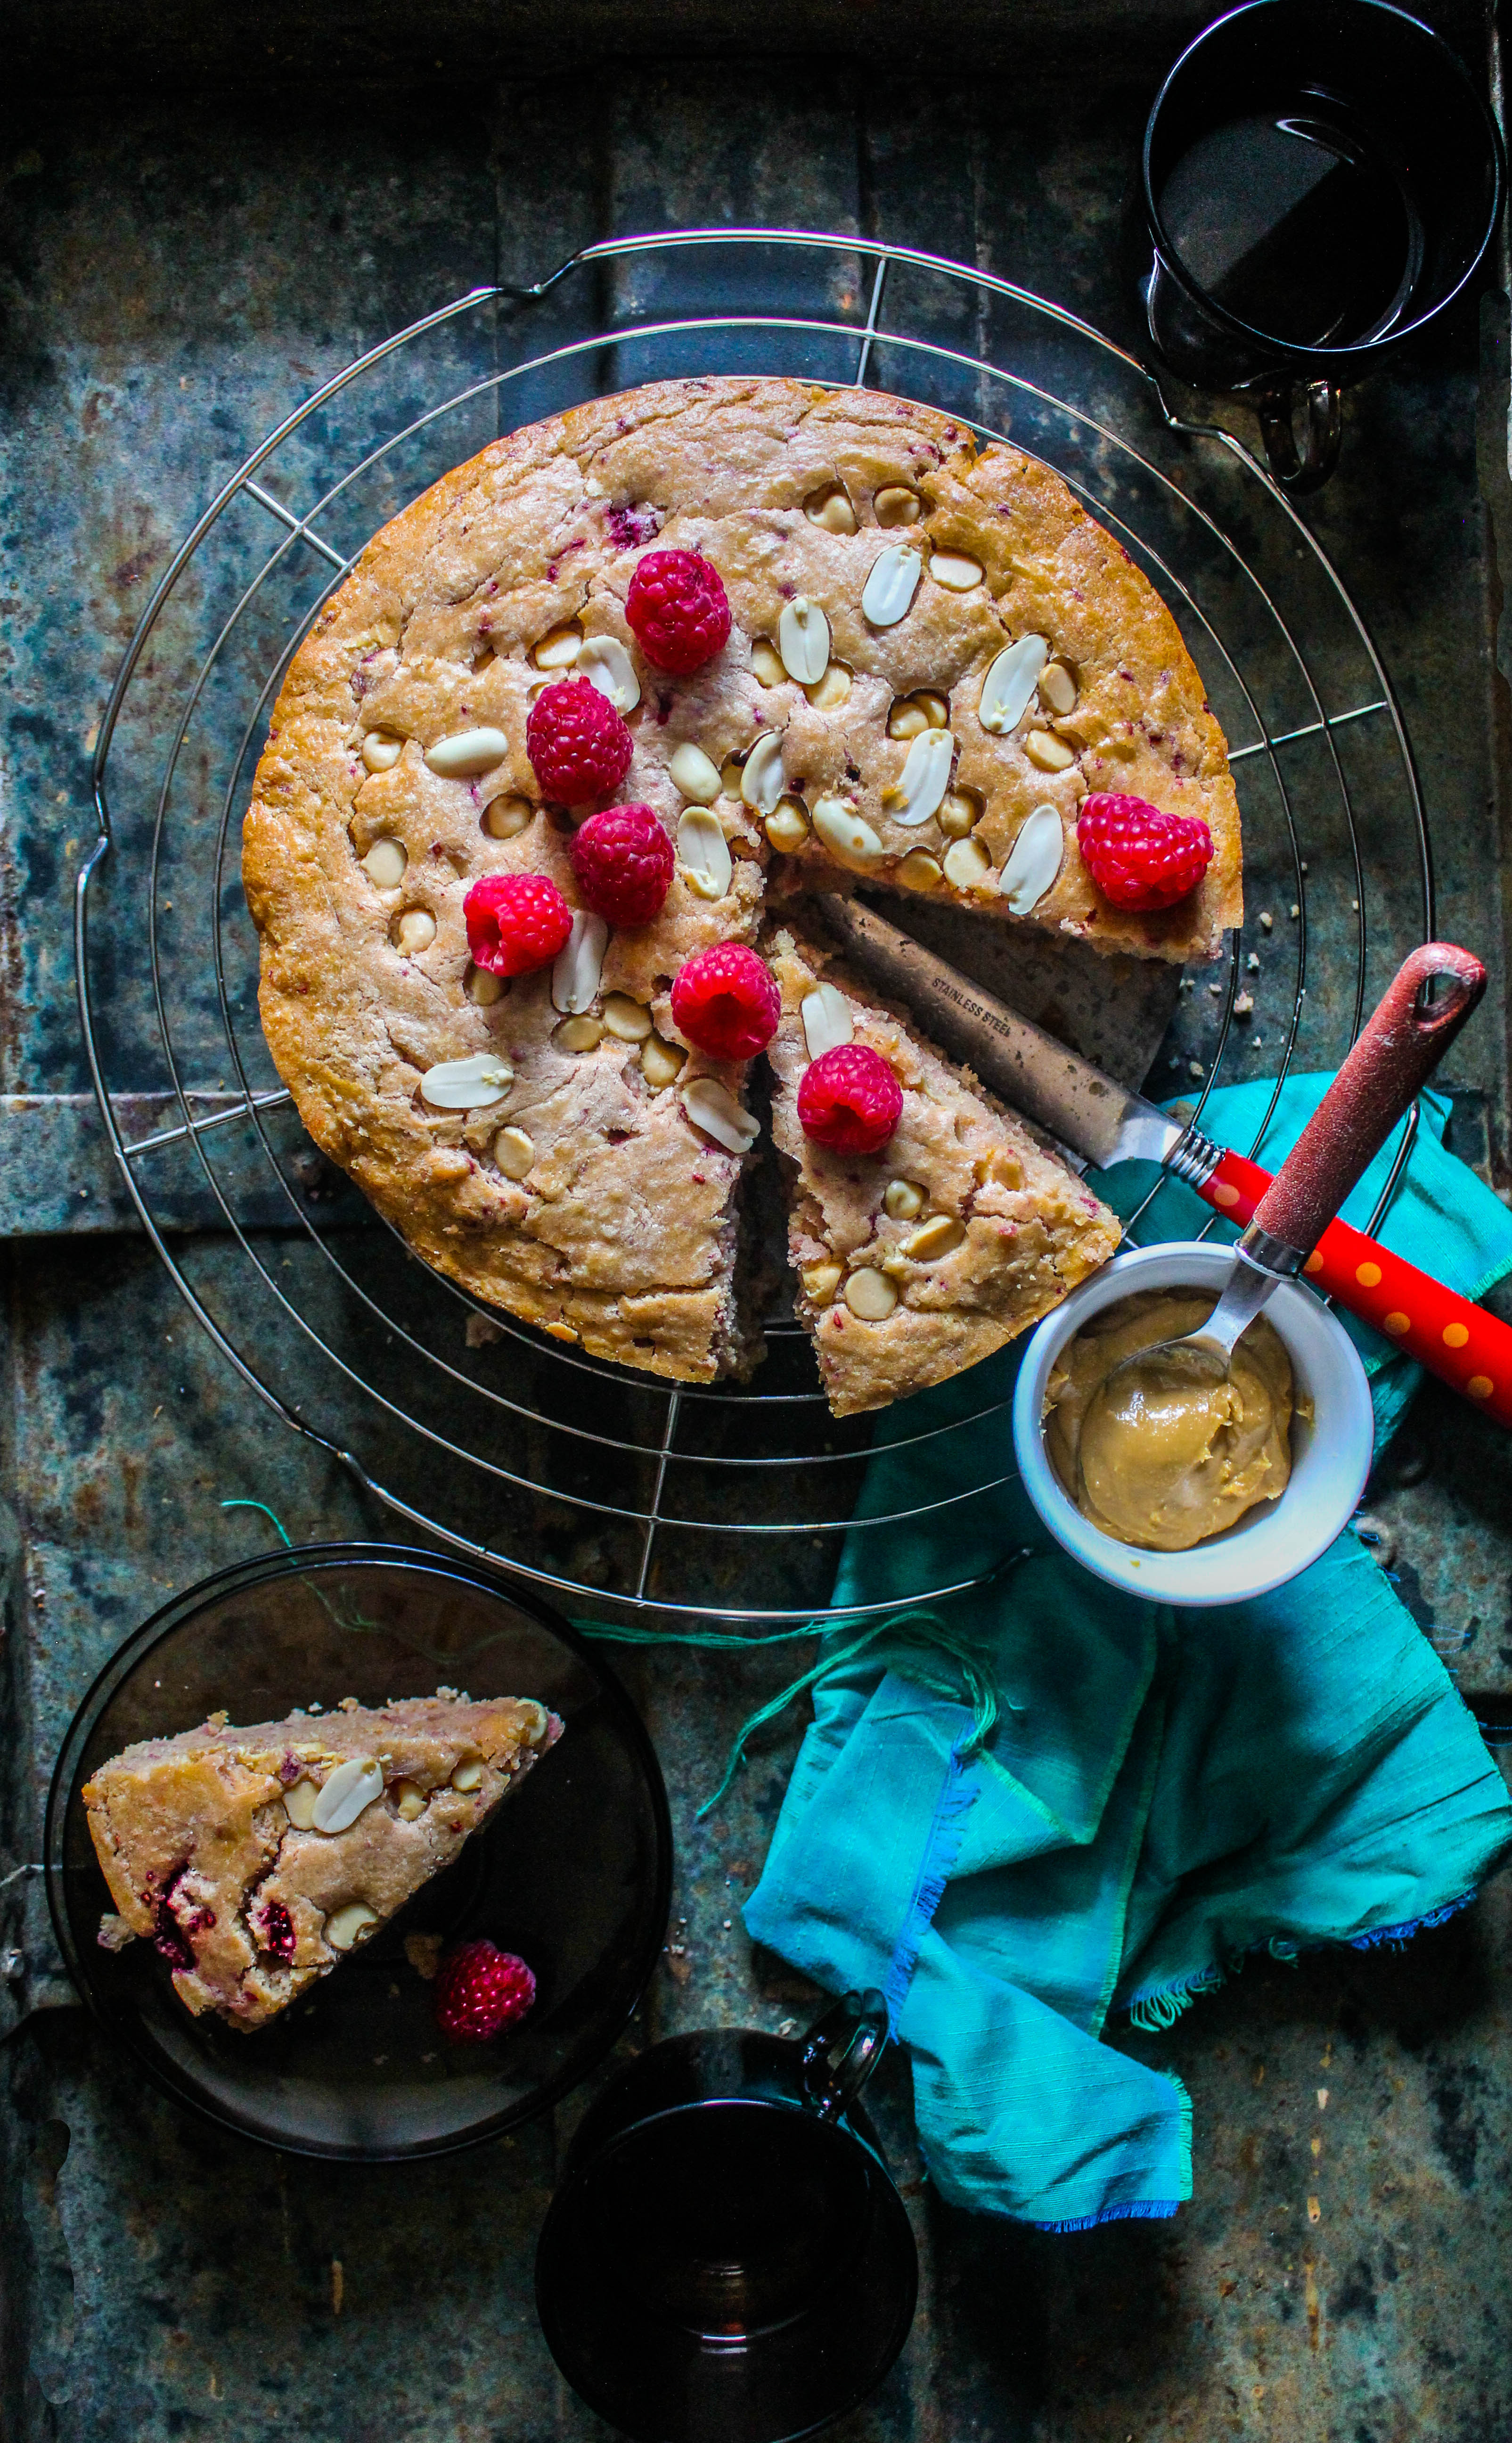
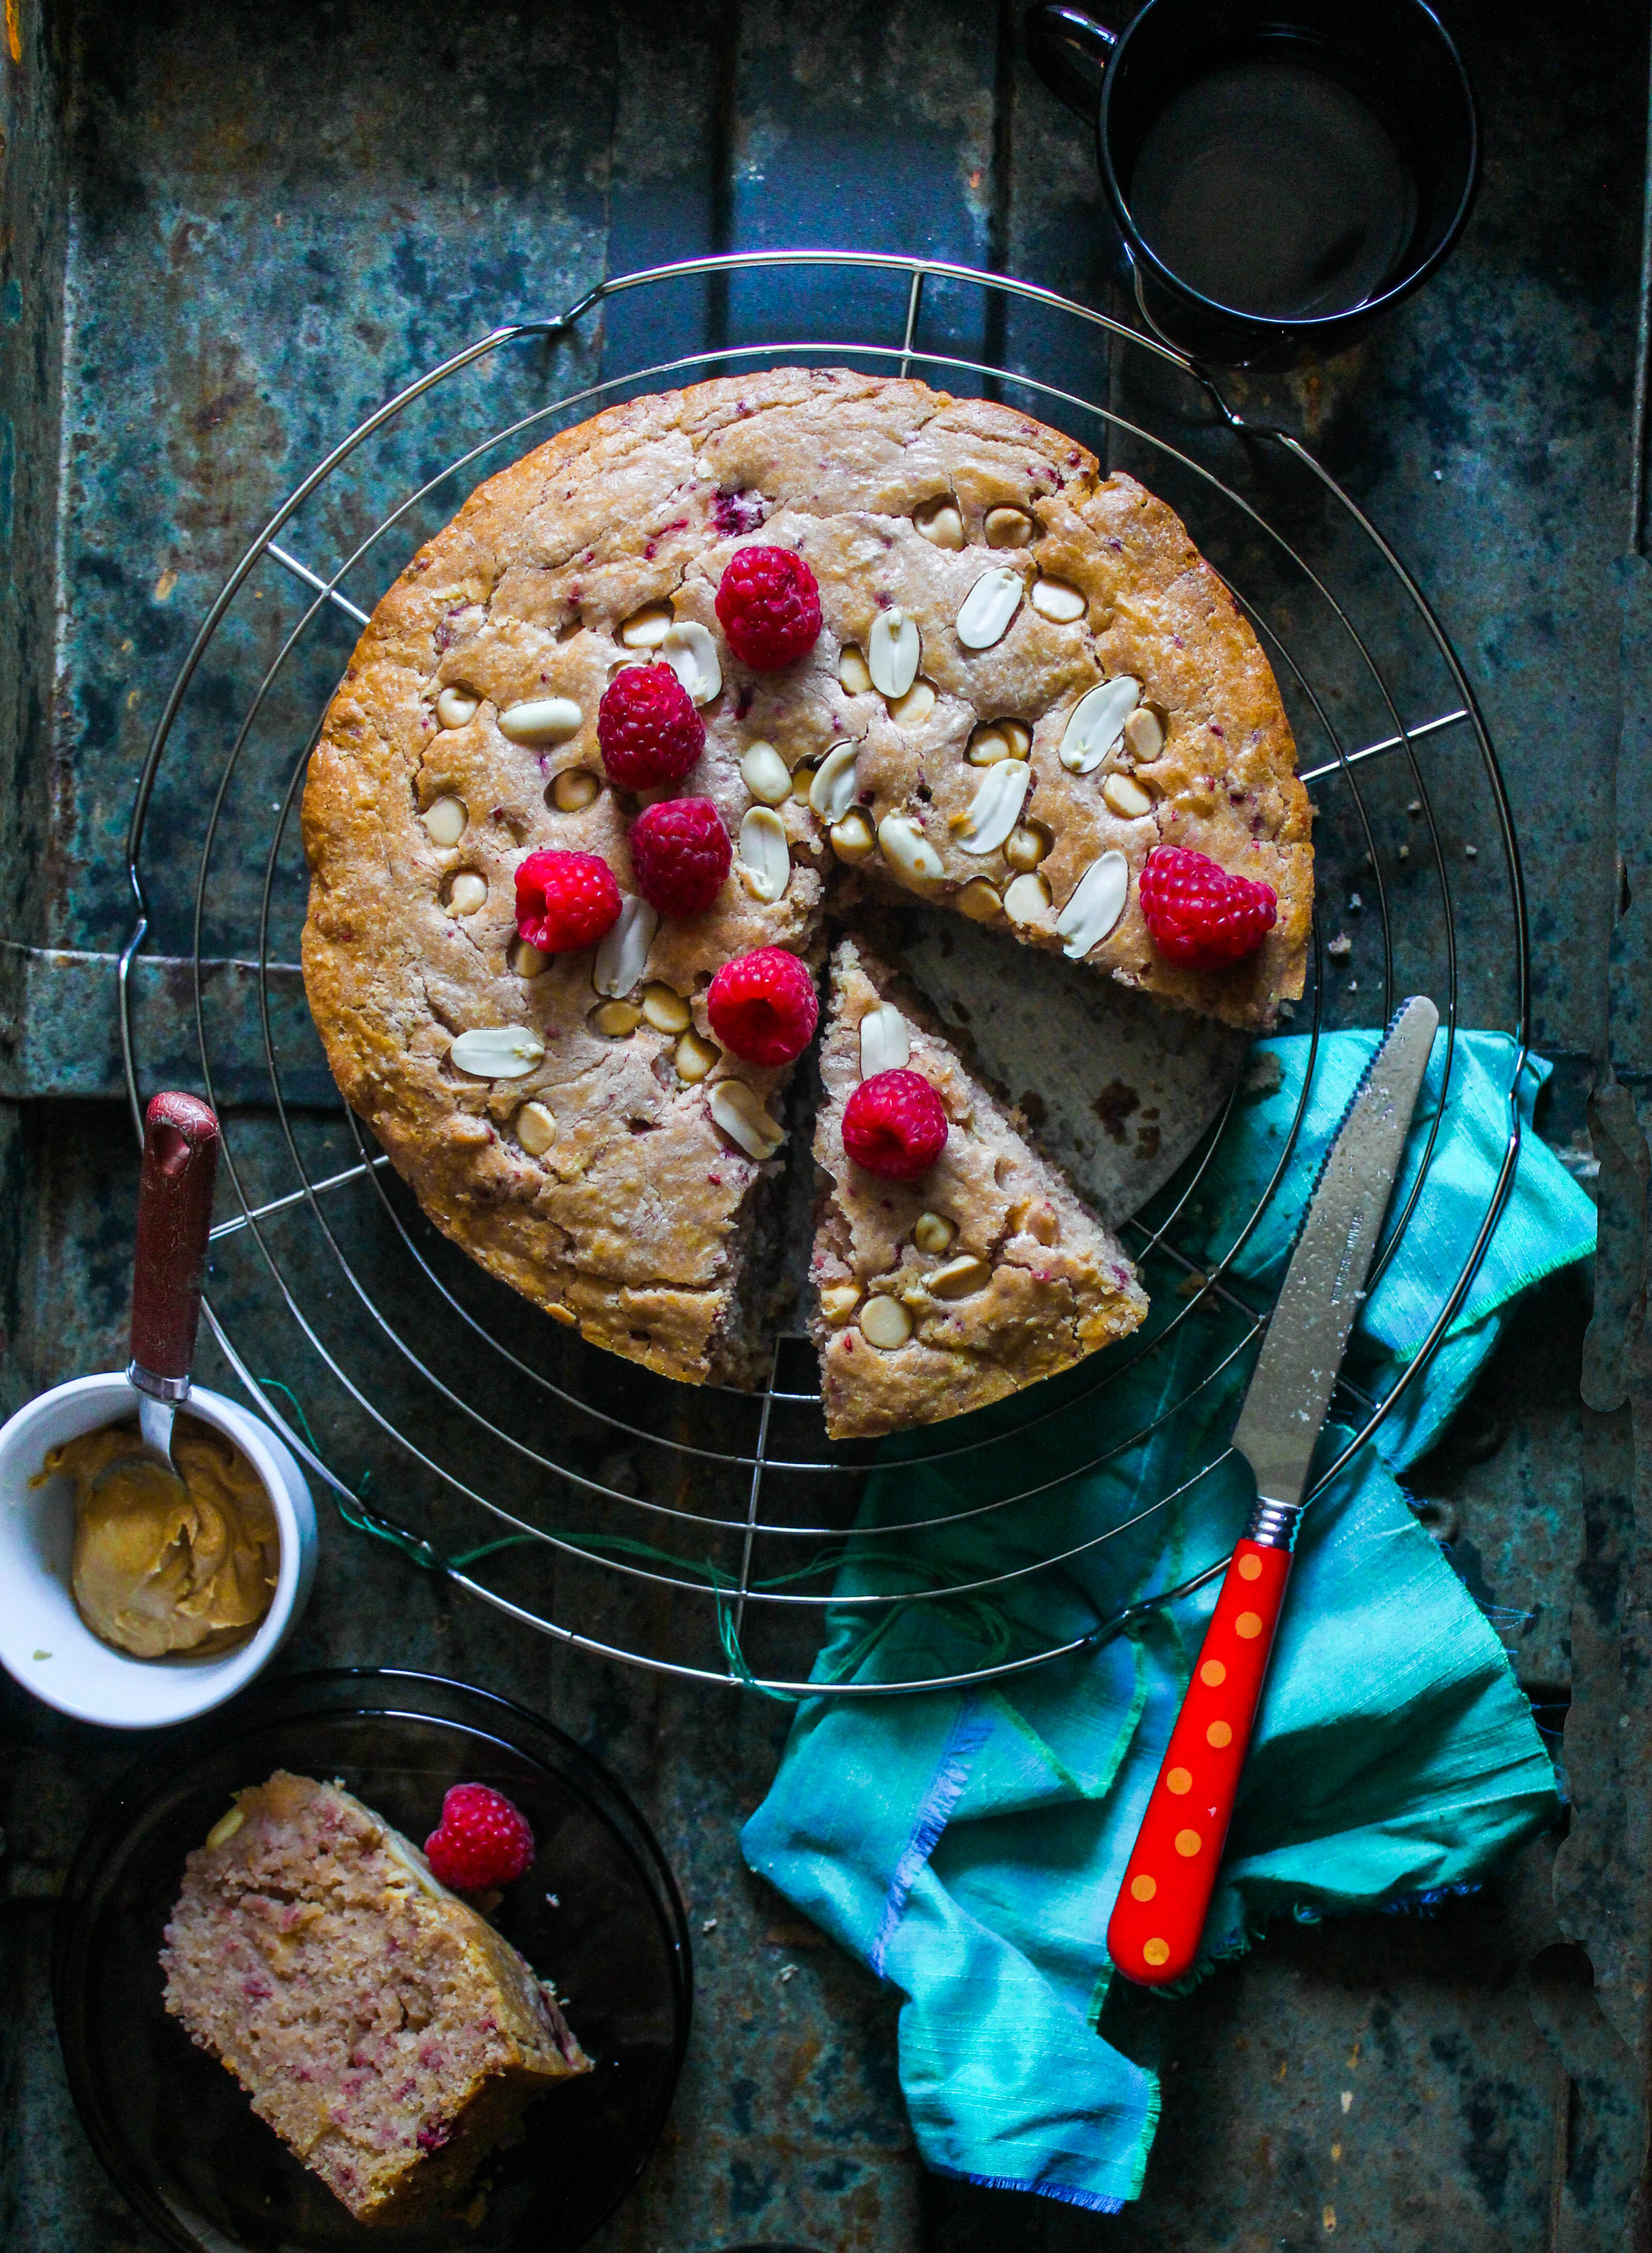
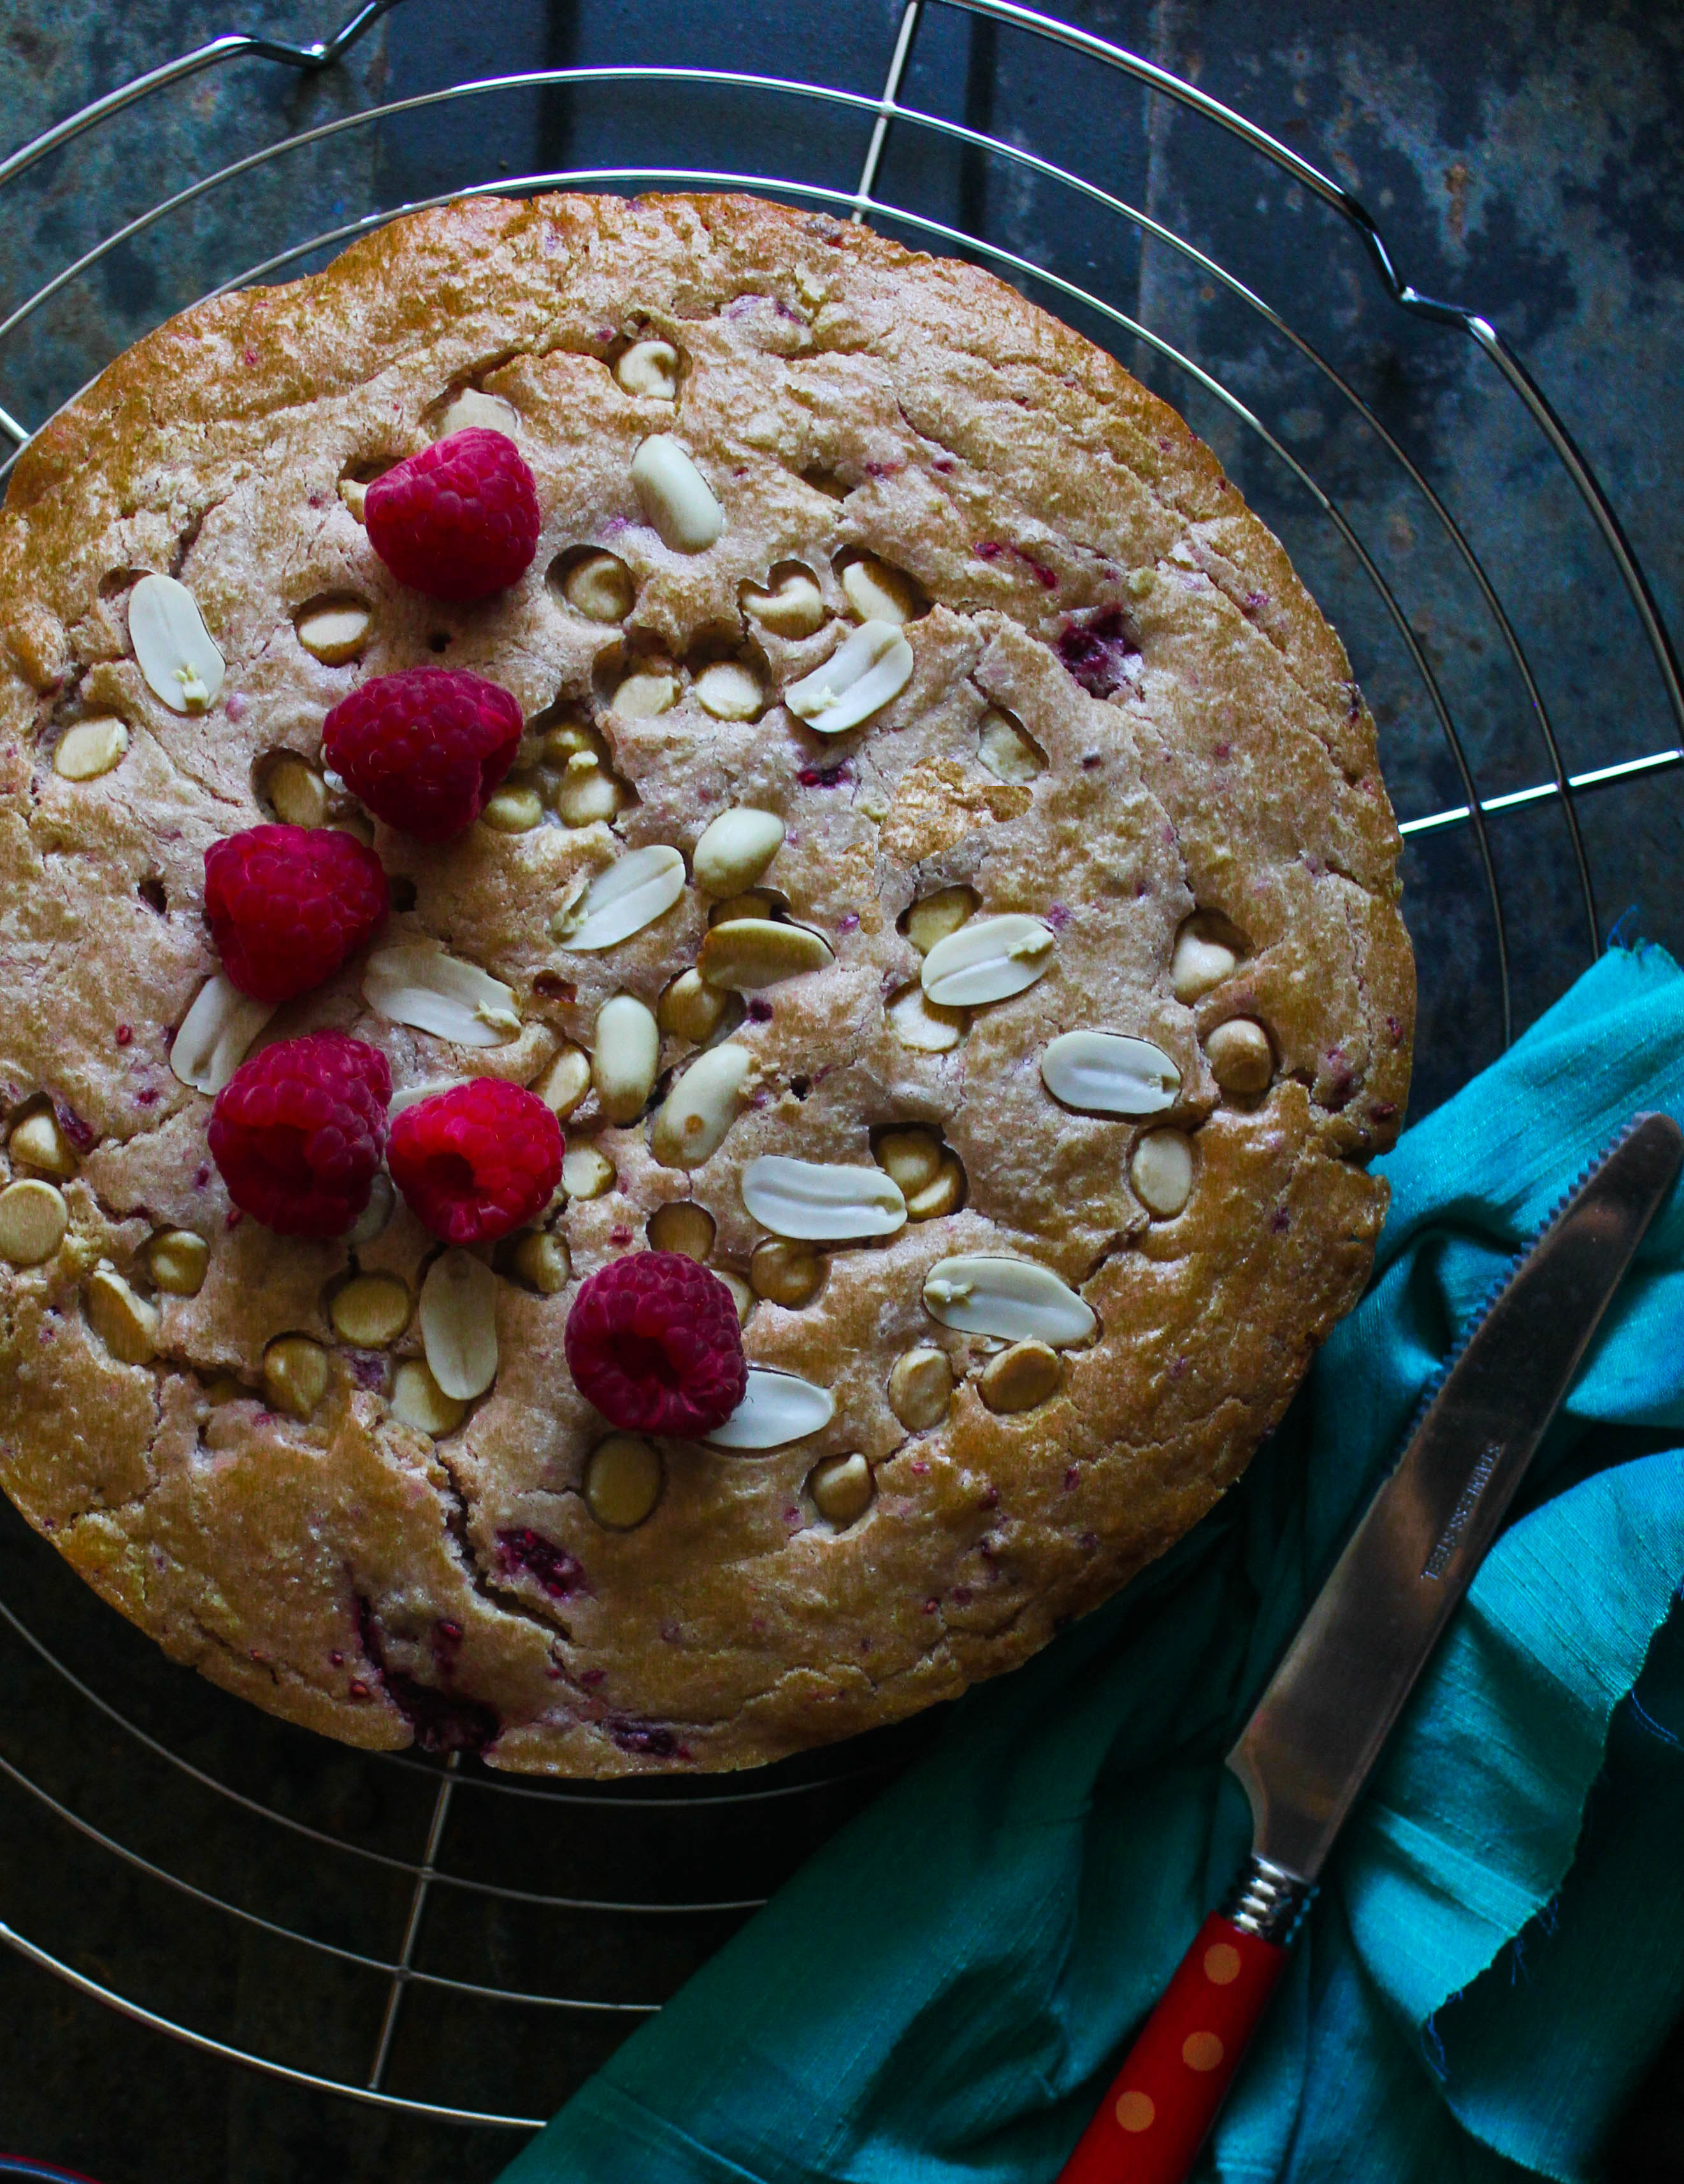
Peanut Butter and me haven’t been friends for long. Weird…I know! We are still getting to know each other. It’s a bit early to say whether its going to turn into a serious love affair but for now I am happy to have it for breakfast. Not on toast…in cakes! Anything that goes down well in a cake ranks high in my eyes. And yes, I can eat cake for breakfast!

IMG_8908-2This is light, moist cake with a subtle taste of peanut butter spiked with the occasional bite of white chocolate chips and raspberries. The last two and me are best friends so its one merry party…this cake! I used this recipe from BBC GoodFood as a base recipe for the peanut butter cake and made a few additions to it. The recipe used yoghurt which tends to leave a sour after taste in cakes in my opinion so I replaced it with sour cream. The cake as a whole is not too sweet so the white chocolate chips are a welcome addition. And raspberries add a little tartness that goes well with the rest of the cake.

IMG_8890-3

The cake is a quick, one bowl process that comes together in minutes. If you like peanut butter, you can probably increase the quantity by a couple of more teaspoons.

IMG_8878

Peanut Butter White Chocolate and Raspberry Cake
Serves 8-10

200g butter
4 tbsp smooth peanut butter
4 large eggs
1 cup castor sugar
1/2 cup sour cream
2 cups self-raising flour
1 cup white chocolate chips
1 cup frozen or fresh raspberries
1/4 cup roasted peanuts for the top (optional)

Preheat oven to 170 degrees C. Grease a 22 cm round cake tin and line the base with baking paper.

Using an electric mixer, beat the butter, peanut butter, eggs, sugar and sour cream together until smooth and creamy. Fold in the flour and 3/4 of the white chocolate chips. Then carefully fold in the raspberries.

Pour the mixture into the prepared pan. Top with remaining chocolate chips and peanuts (if using). Bake for 45-50 mins or until risen and golden.

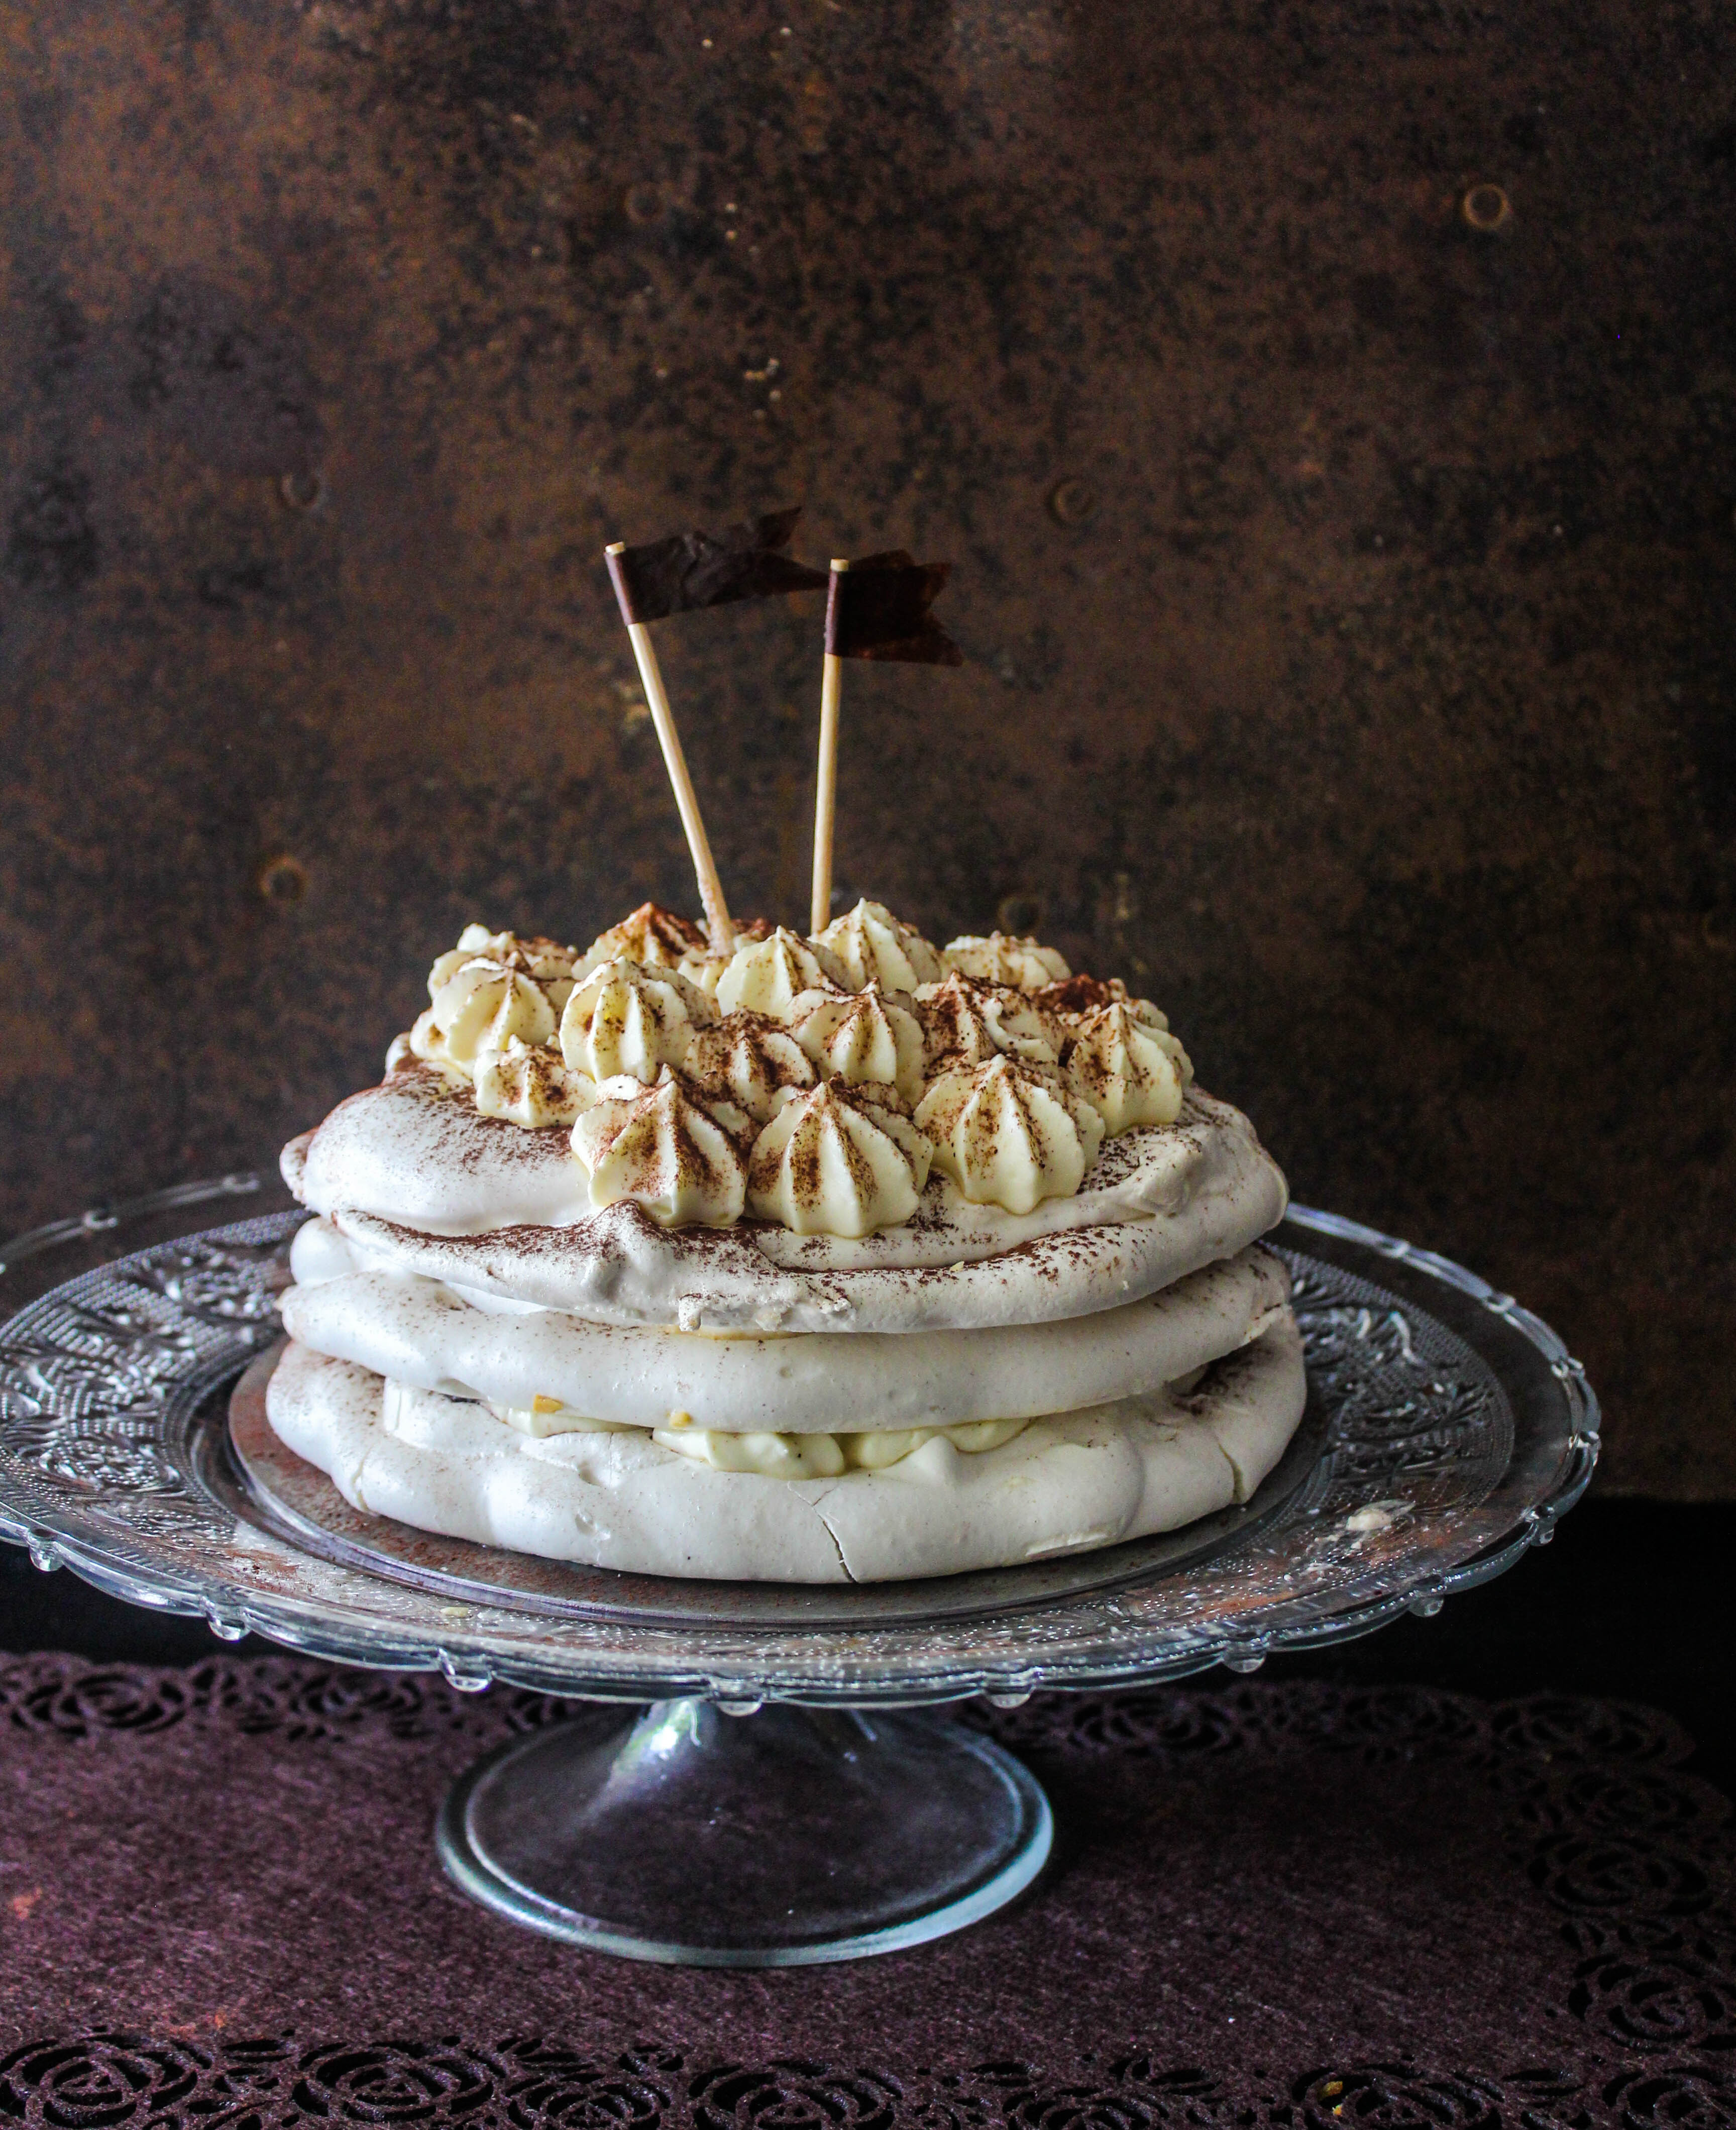
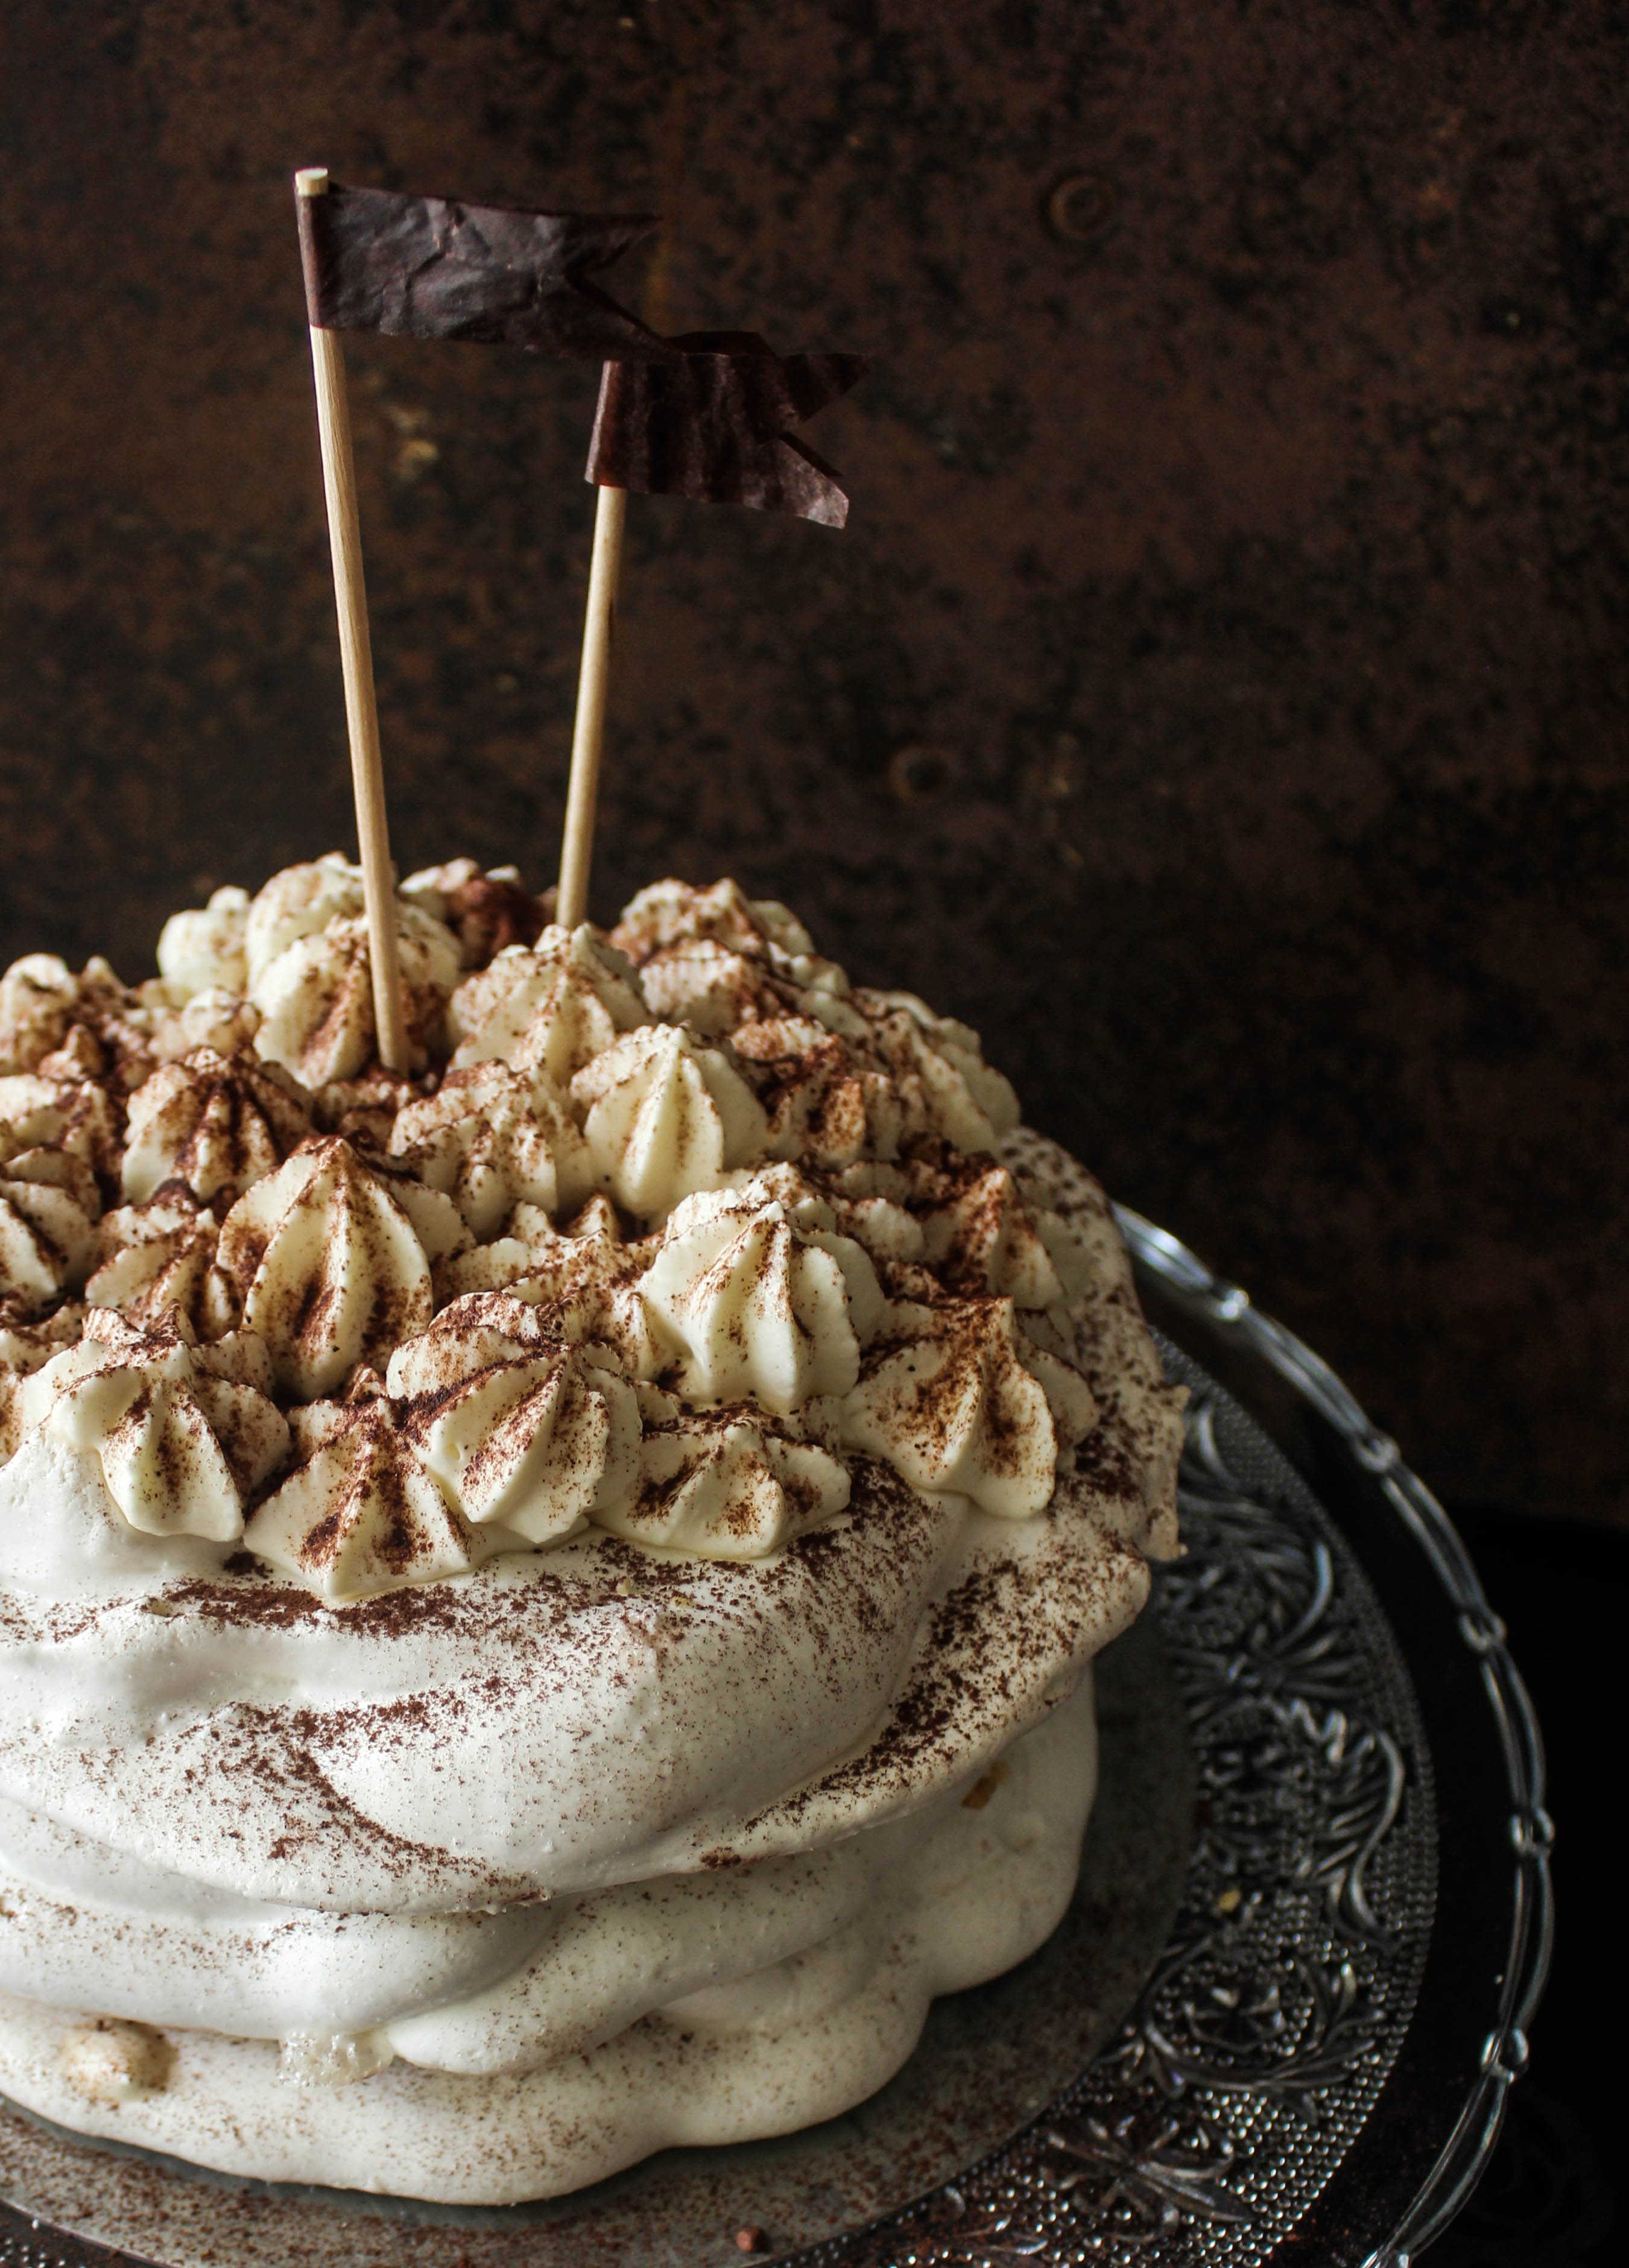
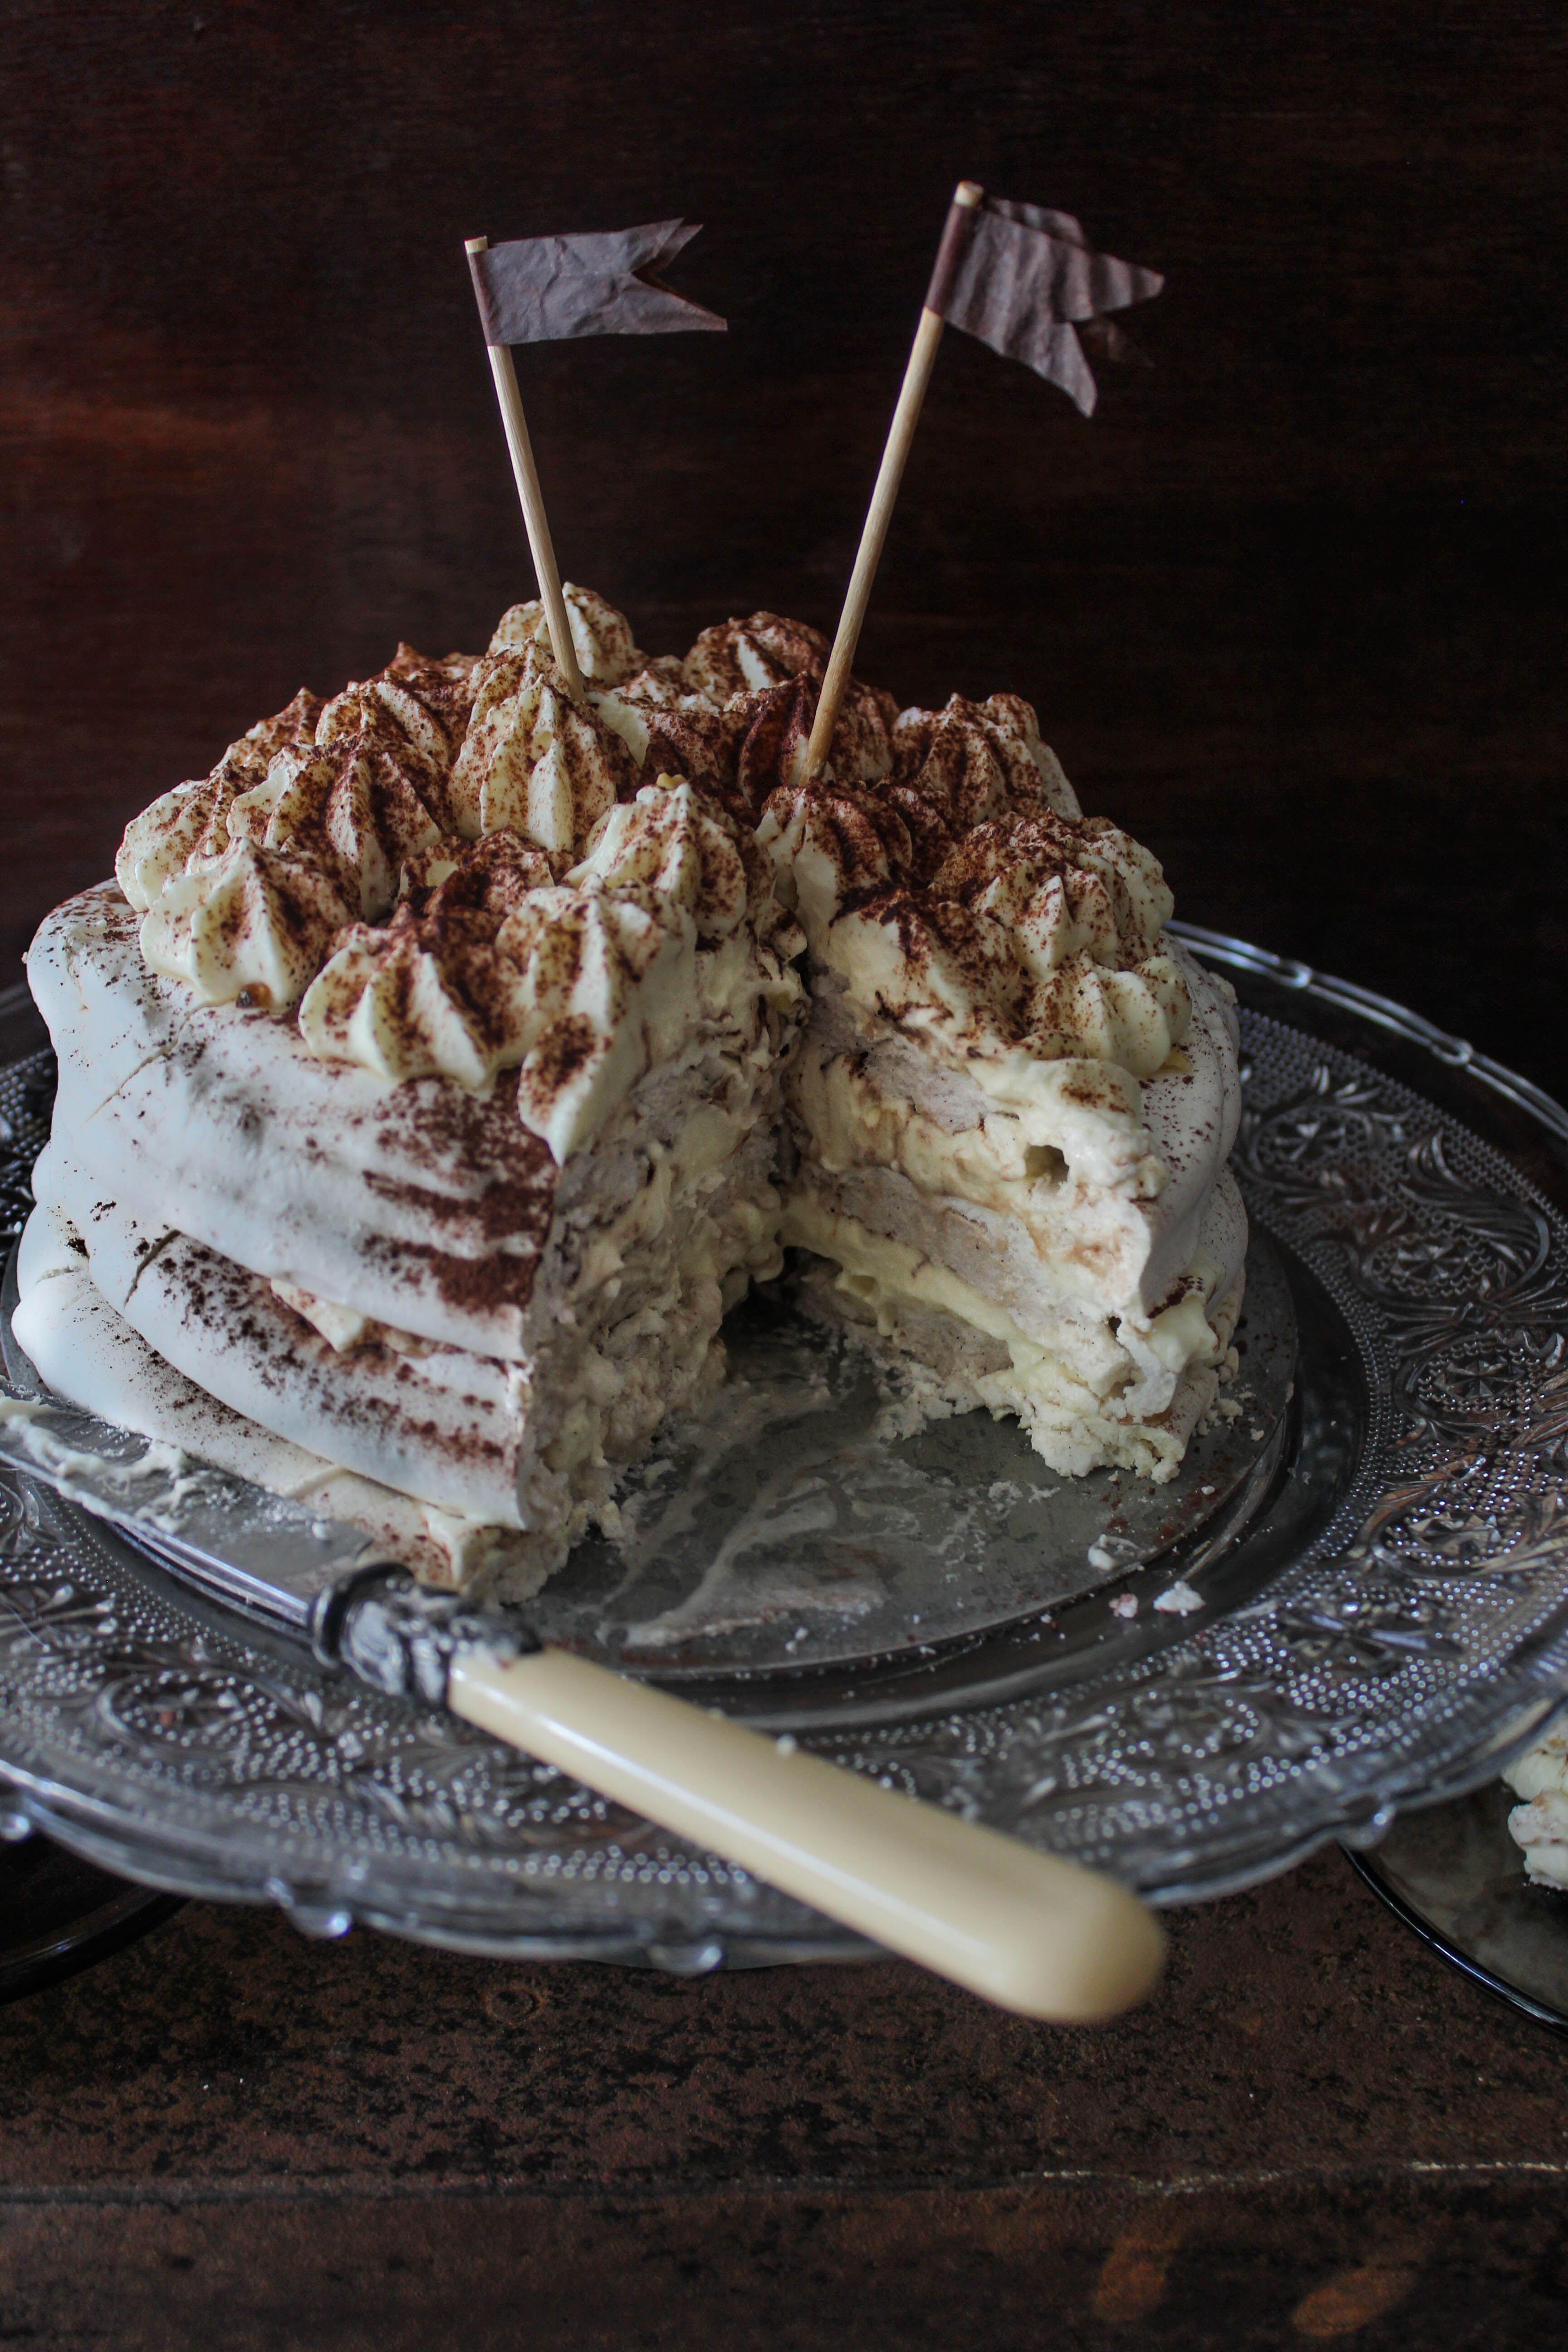
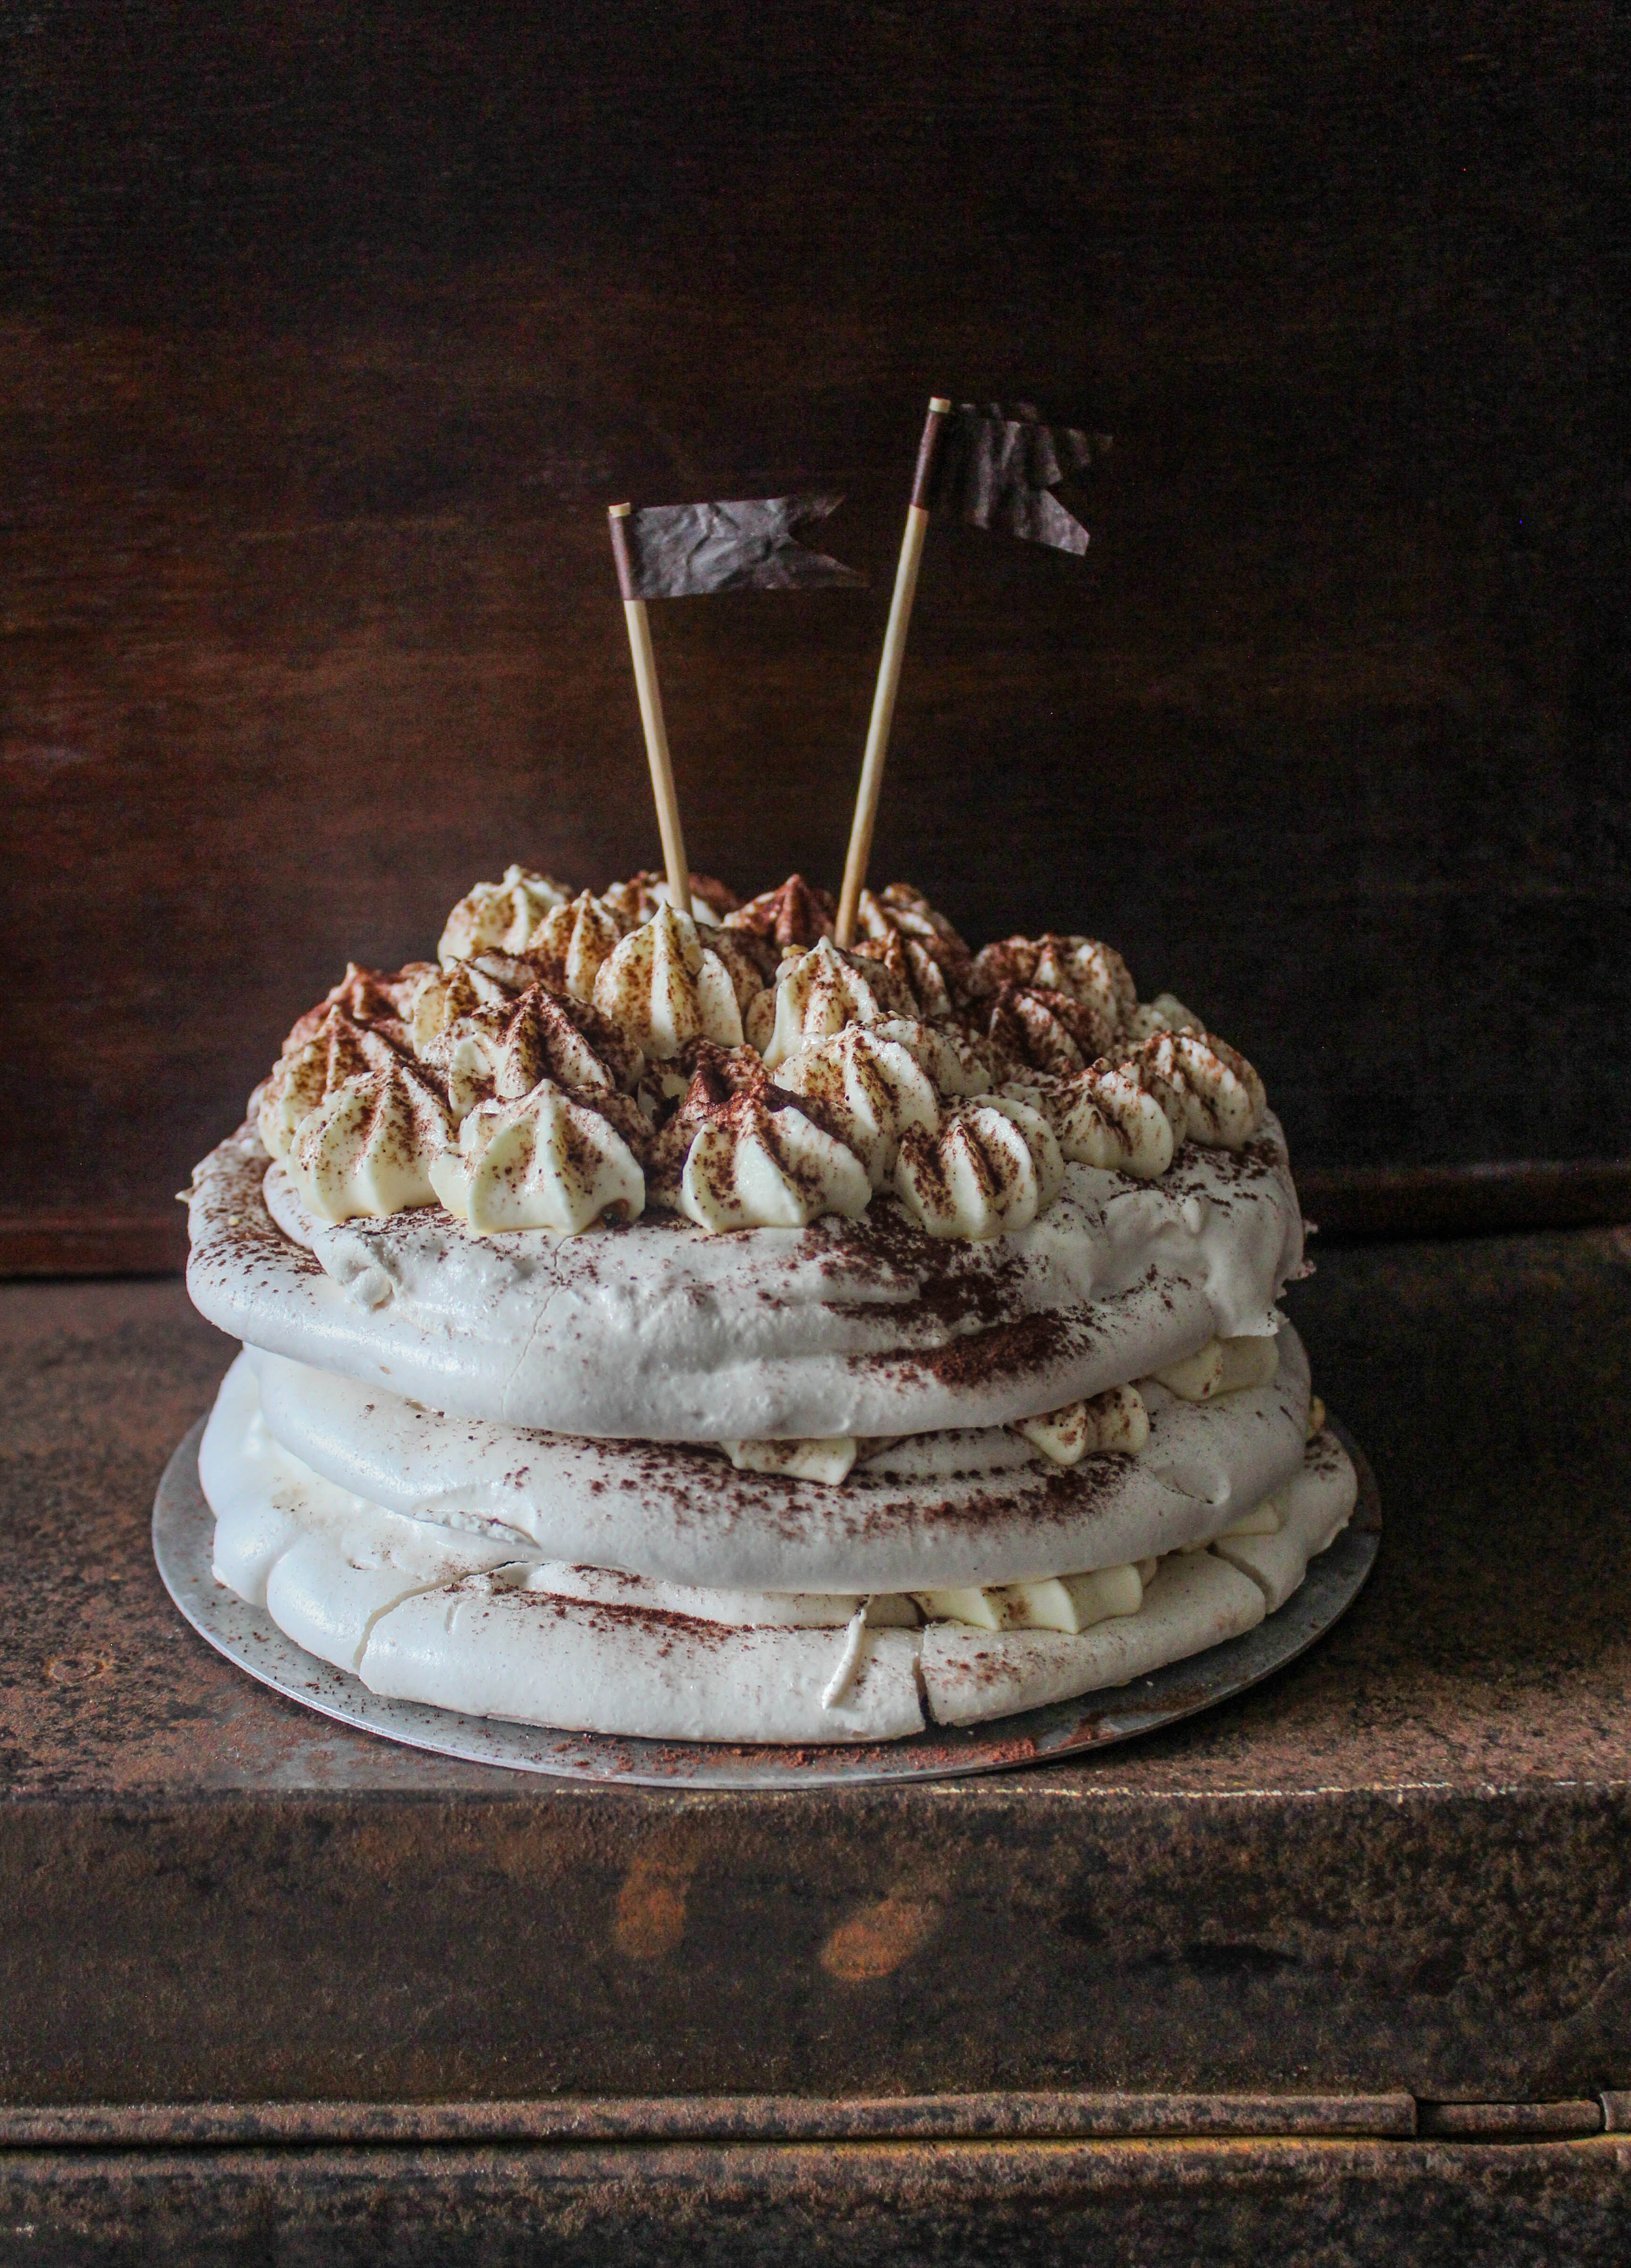
Irish Cream Layered Pavlova

11|03|2014

There is something magical about egg whites. They can transform from a tiny fluid into something magnificent. Capable of existing in different textures, there are innumerable ways in which they can be used. They have the ability to create cakes and baked treats without the presence of fat or even flour. As for me, I can completely lose myself to those clouds of white puff whenever I am working with egg whites. This Irish Cream Pavlova is a an amazing example of this.

Irish cream pavlova

I am a self confessed meringue maniac! I enjoy watching the process as they whip up….as they peak, as they create swirls and patterns with the beaters..as they burn in the most fabulous way when you torch them.  I playfully stick my finger in the mixture several times and love the way a tiny peak curls down and then eventually holds up. Seriously, with a bowl of freshly whipped egg whites I feel sort of empowered. To give shape and structure to the desserts of my imagination.

Irish cream pavlovaI have a fair collection of meringue recipes in my blog but it hit me hard when I realised I don’t have the Pavlova. Pavlovas, big and small are made at my place like cookies at a baker’s home. Also taking pride in the fact that I belong to the land of the Pavlova. There are thousands of recipes and variations of this dessert all over the globe so I wanted to make something different…a different flavour profile and layers instead of the dome shaped dessert. With St Patrick’s Day round the corner and recipes circulating around the theme, it wasn’t difficult to imagine my Pavlova.

Irish cream pavlova

This dessert is actually easier than it looks. Deceptively simple with a few ingredients. The layers of meringue can be made by tracing circles on a baking paper using it as a guide to shape the meringue or inside a cake pan (which I find tricky). However, I find it easier to use the back of a cake pan (upside down). I trace out circles with the baking pans, then cut out rounds to fit the back of the pan (leaving a slight overhang). Then, I pipe or spoon the meringue over the prepared pans. That way they always remain in shape within the circle and are easier to take out.
Bailey’s Irish Cream is available pretty much everywhere today. If you are making it for a different occasion, you can experiment with Kahlua in the cream with a coffee flavoured meringue. Or for that matter any other liquor. To compliment the sweetness of the meringue and the cream, I’ve added a hint of cinnamon to the meringue. They smells amazing together.
The little flag toppers were a last minute addition while photographing the cake. I made them out of the brown cupcake liners I used for my Banana Coconut Chocolate Chip Muffins, bamboo skewers and glue. They took me less than 2 minutes but add great height to the cake and make it look celebratory.

Irish cream pavlova

Irish Cream Layered Pavlova
Serves 6-8

11/2 cups castor sugar
11/2 teaspoons cornflour
1/2 teaspoon ground cinnamon
5 large egg whites (or 6 regular egg whites)
400 ml thickened or heavy cream
1/4 cup icing sugar
4 tablespoons Baileys Irish Cream
Cocoa powder, to dust

Preheat oven to 140 degrees C. Line the back of three 18 cm cake pans (upside down) with baking paper, or lay three 18 cm rounds of baking paper on baking trays.

Combine sugar, cornflour and cinnamon in a bowl.

Using electric beaters, whisk the egg whites in a clean, dry bowl until firm peaks form. Gradually add the sugar mixture, 1 tablespoonful at a time, until the sugar dissolves and the mixture is thick, glossy and holds stiff peaks. Divide among pans or trays and spread over bases. Bake for 1 hour, then leave to cool in switched-off oven for 1 hour. Remove from oven and cool completely.

Whip cream, icing sugar and Baileys to stiff peaks. Place 1 layer of meringue on a cake stand and pipe (or dollop) 1/3rd of the cream. (I used a large open star tip to pipe the cream). Dust with cocoa powder. Continue layering with the remaining meringue discs, cream and cocoa powder, finishing with the cream mixture. Dust generously with cocoa or shaved chocolate or drizzle with chocolate sauce.  Serve immediately. The finished cake can be stored in the refrigerator for a few hours but the meringue tends to lose its texture gradually. If you are making it ahead of time, its best to assemble the cake before serving.

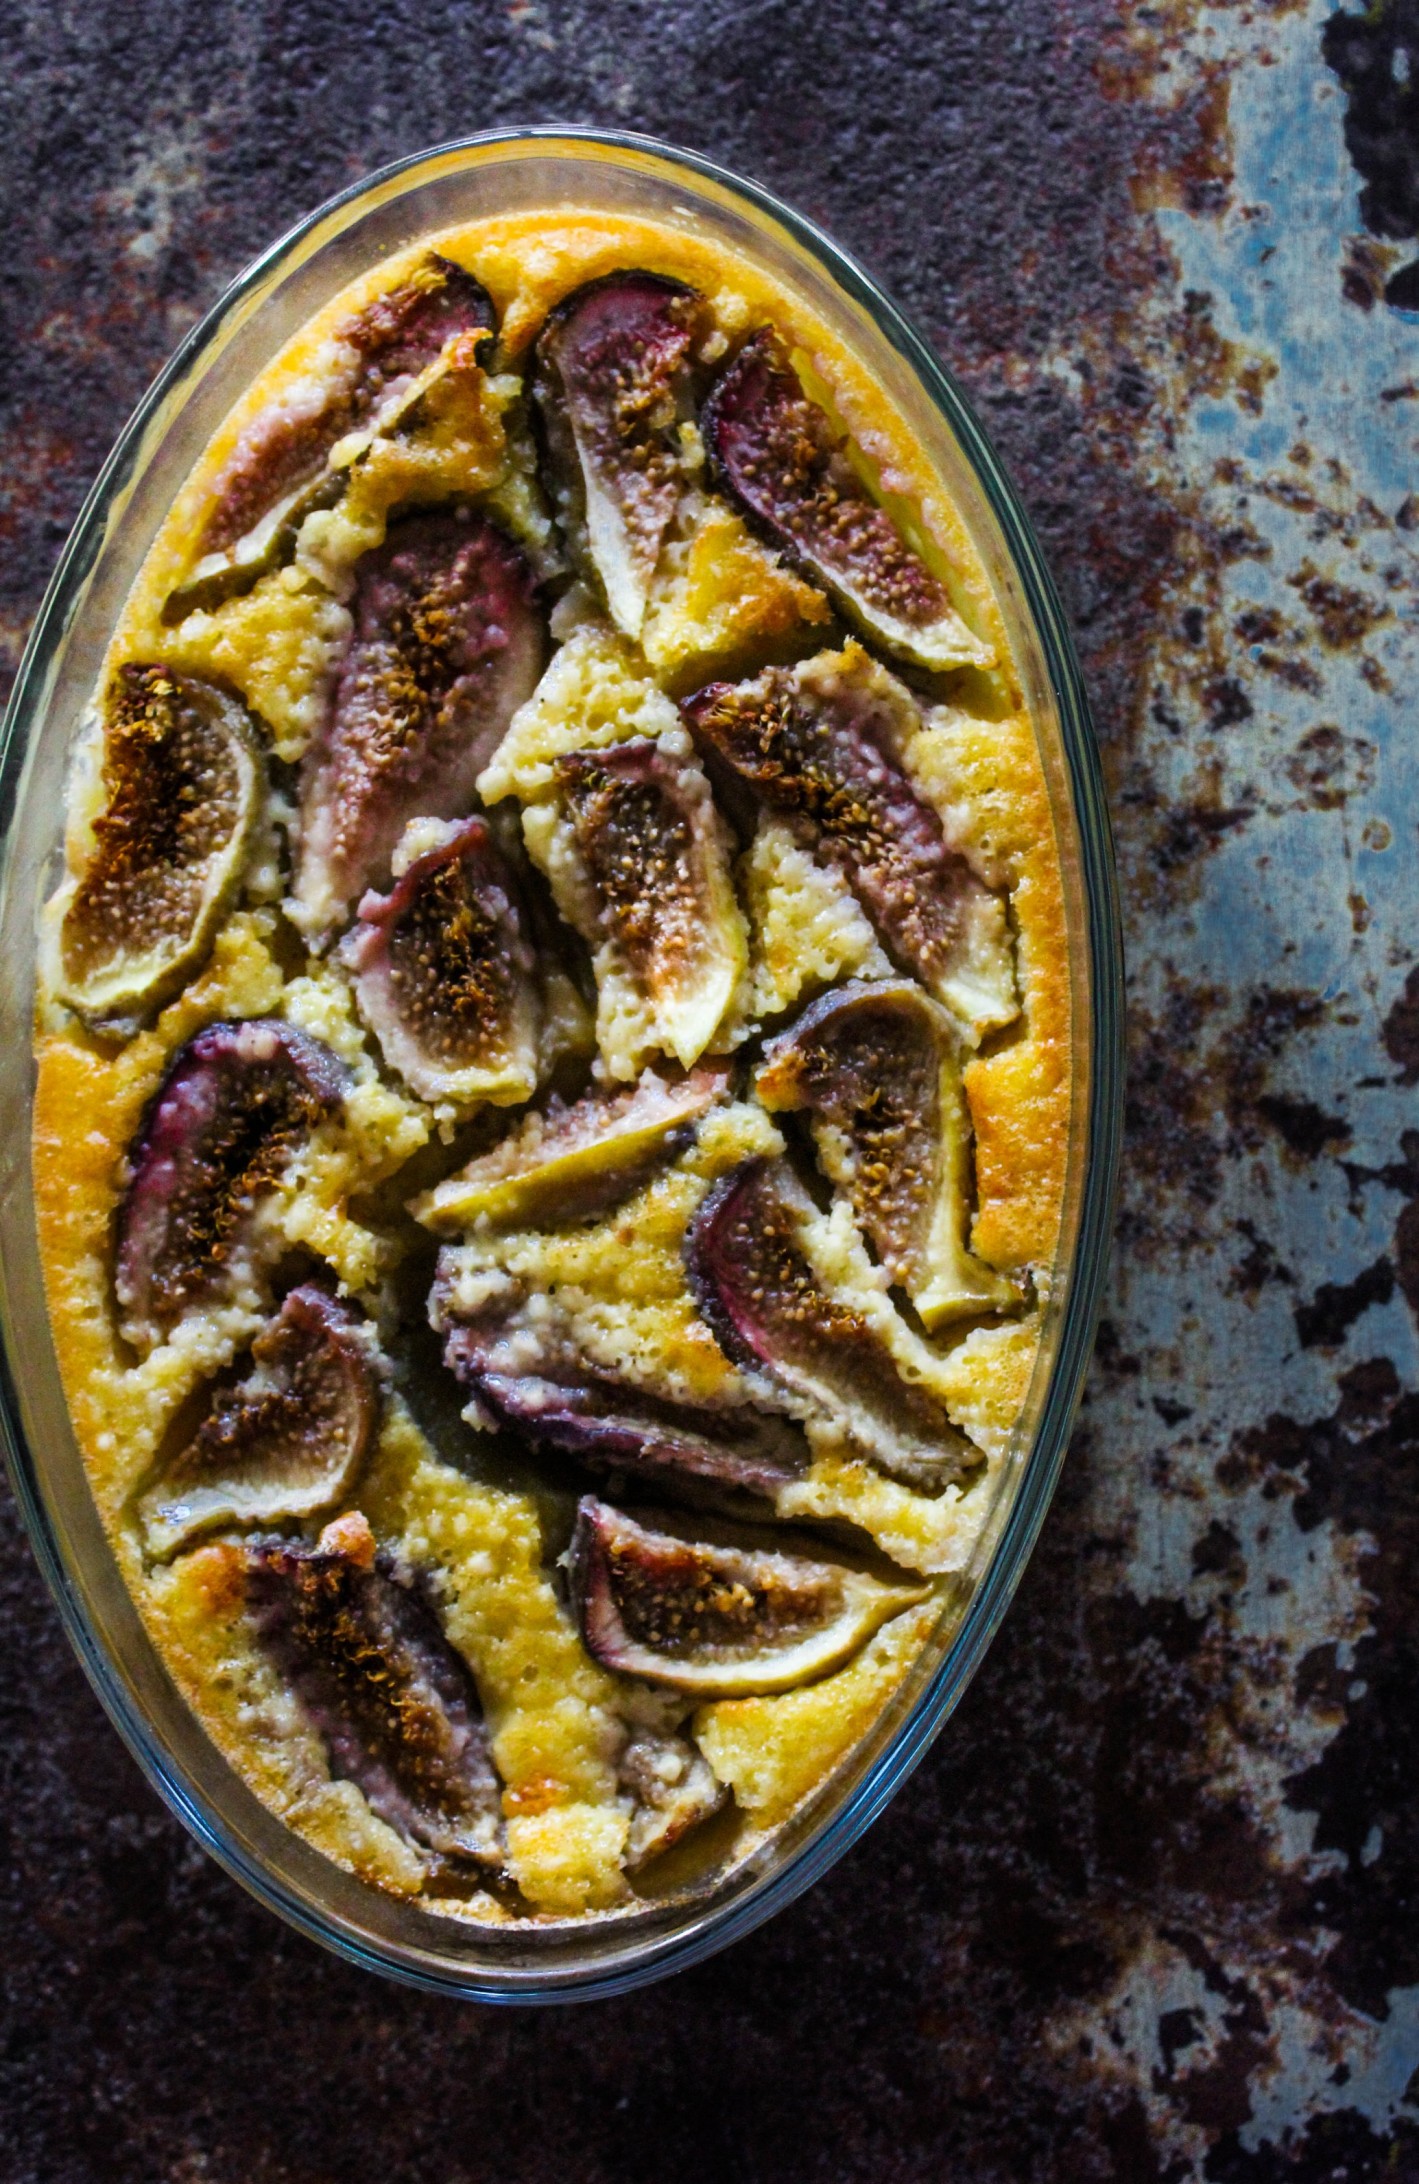
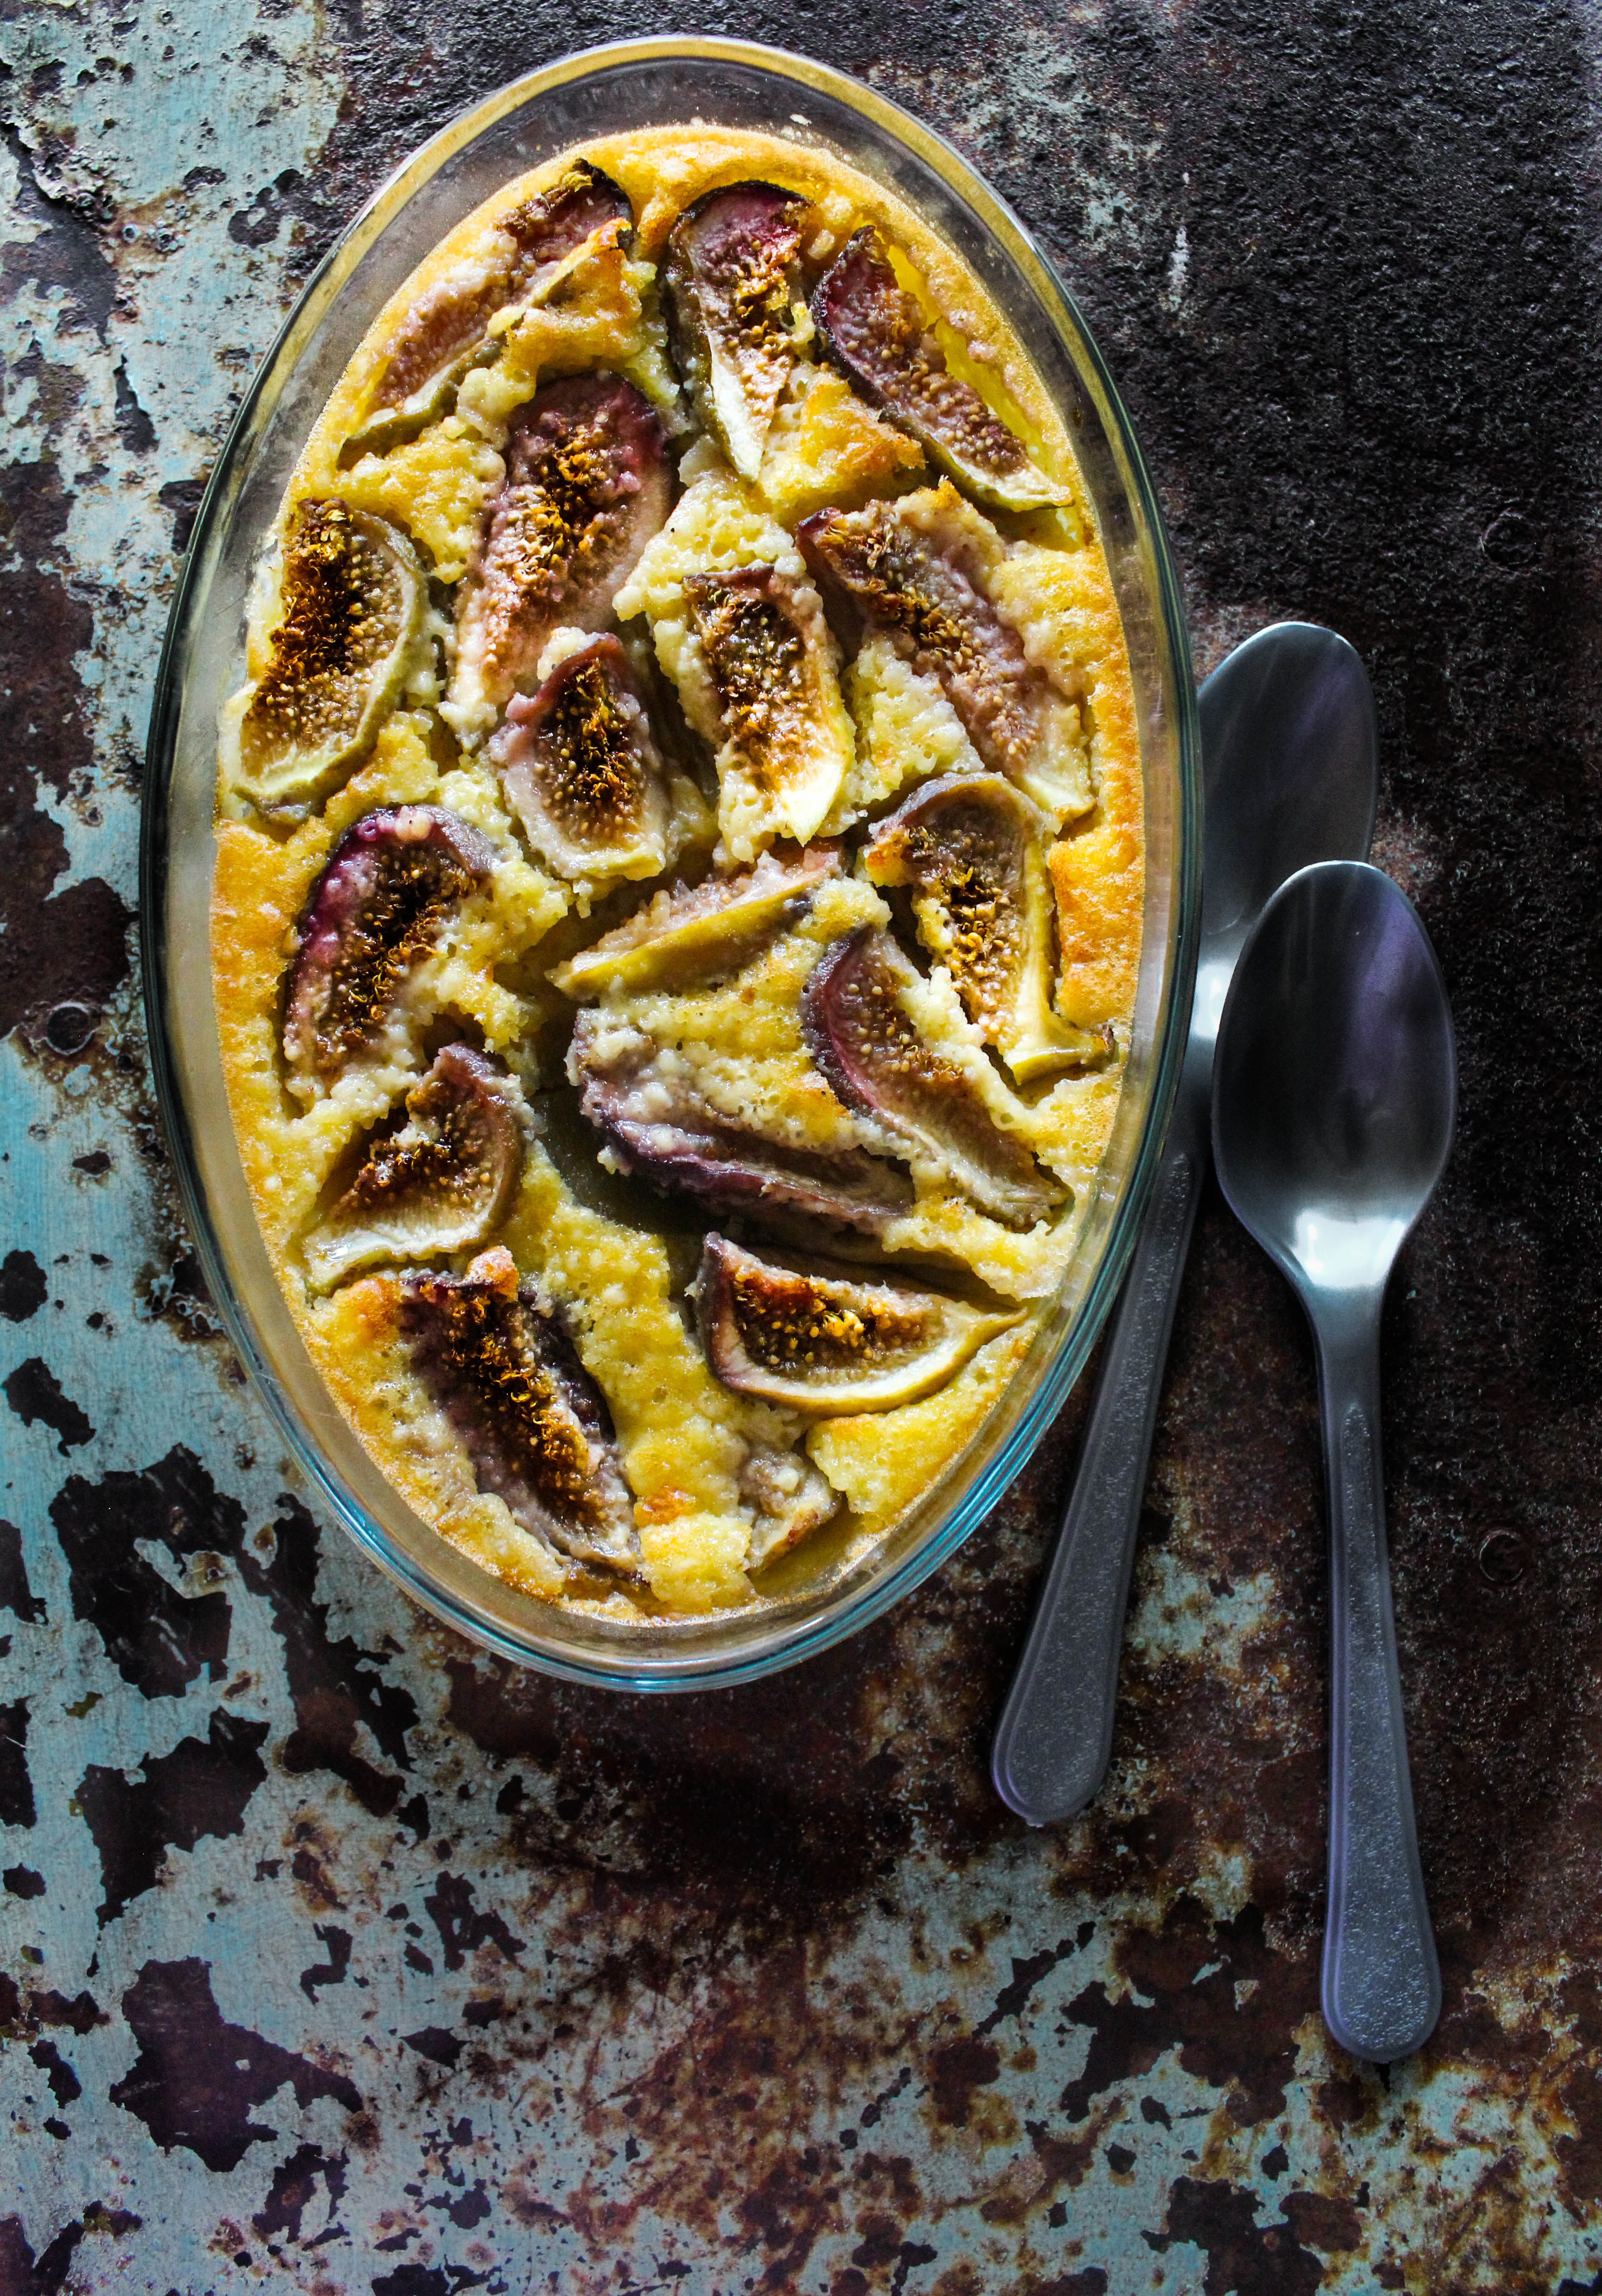
Fig Clafoutis

9|03|2014

I have been so busy this month that I hardly noticed that we have officially stepped into Autumn in Australia. The last I remember was longing for Summer, wanting to gorge in its bounty, planning so many stone fruit recipes. It came and went. Leaving me discontented like every year that I couldn’t do enough justice during its presence.

IMG_8101-2

This recipe is like the fleeting summer in my mind. It comes together…just like that. You have a dessert as an outcome of some quick mixing and stirring. And that is what I love about a Clafoutis. Somewhere between the consistency of a cake and a custard, this sweet treat just so fits the bill when you want to whip up something quick and fruit based.

IMG_8104

Figs make a late summer appearance in our fruit markets and stay on till the first few weeks of Autumn. So this makes a great transitional dessert for us. It is best served warm with some whipped cream or ice cream on the side. Figs can be replaced with any fruit of your choice…peaches, nectarines, plums or more popularly, cherries and blueberries.

Fig Clafoutis
Serves 3-4

7-8 ripe figs, quartered
1/2 cup whipping cream
3 eggs
4 tbsp. castor sugar
1/2 cup plain flour
1 tsp vanilla extract
icing sugar, to dust (optional)
whipped cream, to serve

Preheat oven to 200 degrees C.
Lightly grease a 3 cup capacity oven proof dish. Place the figs over the pan of the baking dish (skin side down).

Place the cream, eggs, sugar, flour and vanilla in a large bowl and whisk to form a smooth batter. Pour the batter over the figs and bake for 30 minutes or until the top is slightly puffed up and golden brown. If you prefer a more custard like consistency, bake for 25 minutes and then switch over to the grill mode to get a brown crust over the top.

Cool slightly and dust with icing sugar. Serve warm with whipped cream.


Apple Blueberry Muffins

5|03|2014

A couple of Saturday’s back, I woke up with the widest smile on my face. It was time for the reunion. At last! A moment I had looked forward to since weeks. The call had come two days before. She was ready. And waiting!

IMG_8204-2

Our apple tree!

IMG_8140

IMG_8163At this stage, I need to take you back to a favourite little post I had done to share my excitement on adopting this apple tree. Time flies! It was almost a year back and with the first signs of Autumn in the air, we knew it was time to re-visit the orchard.

IMG_8675

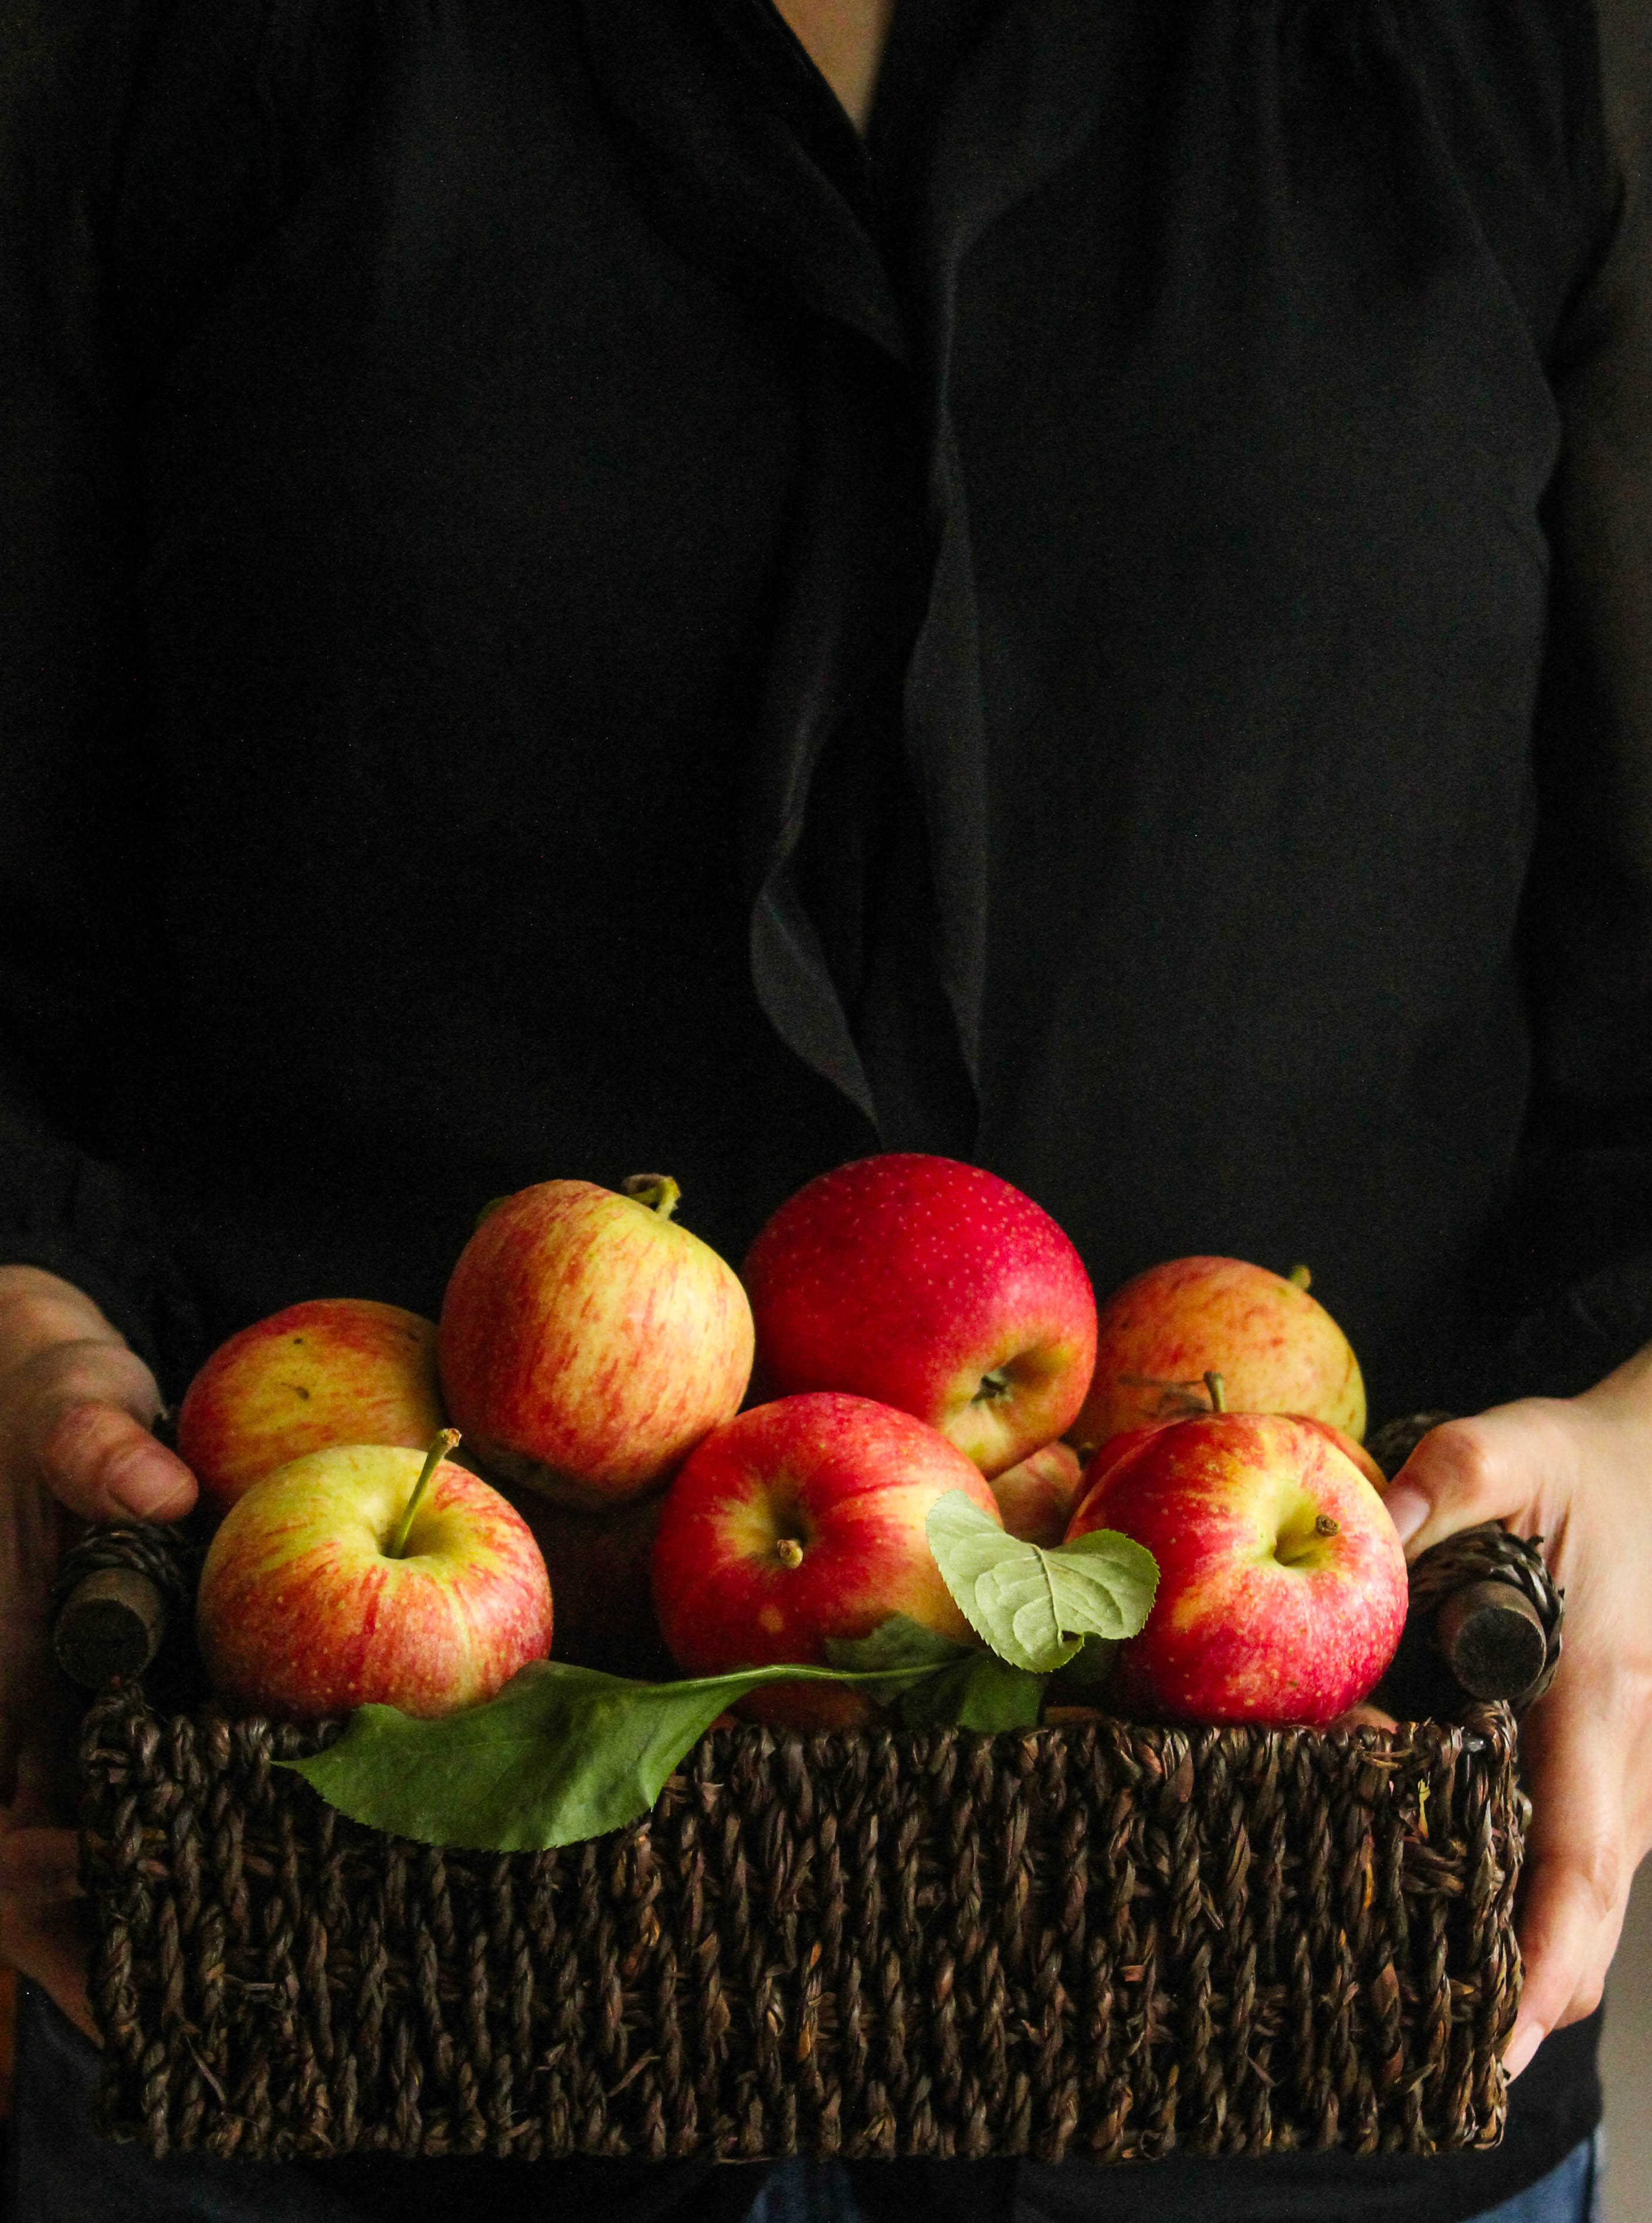
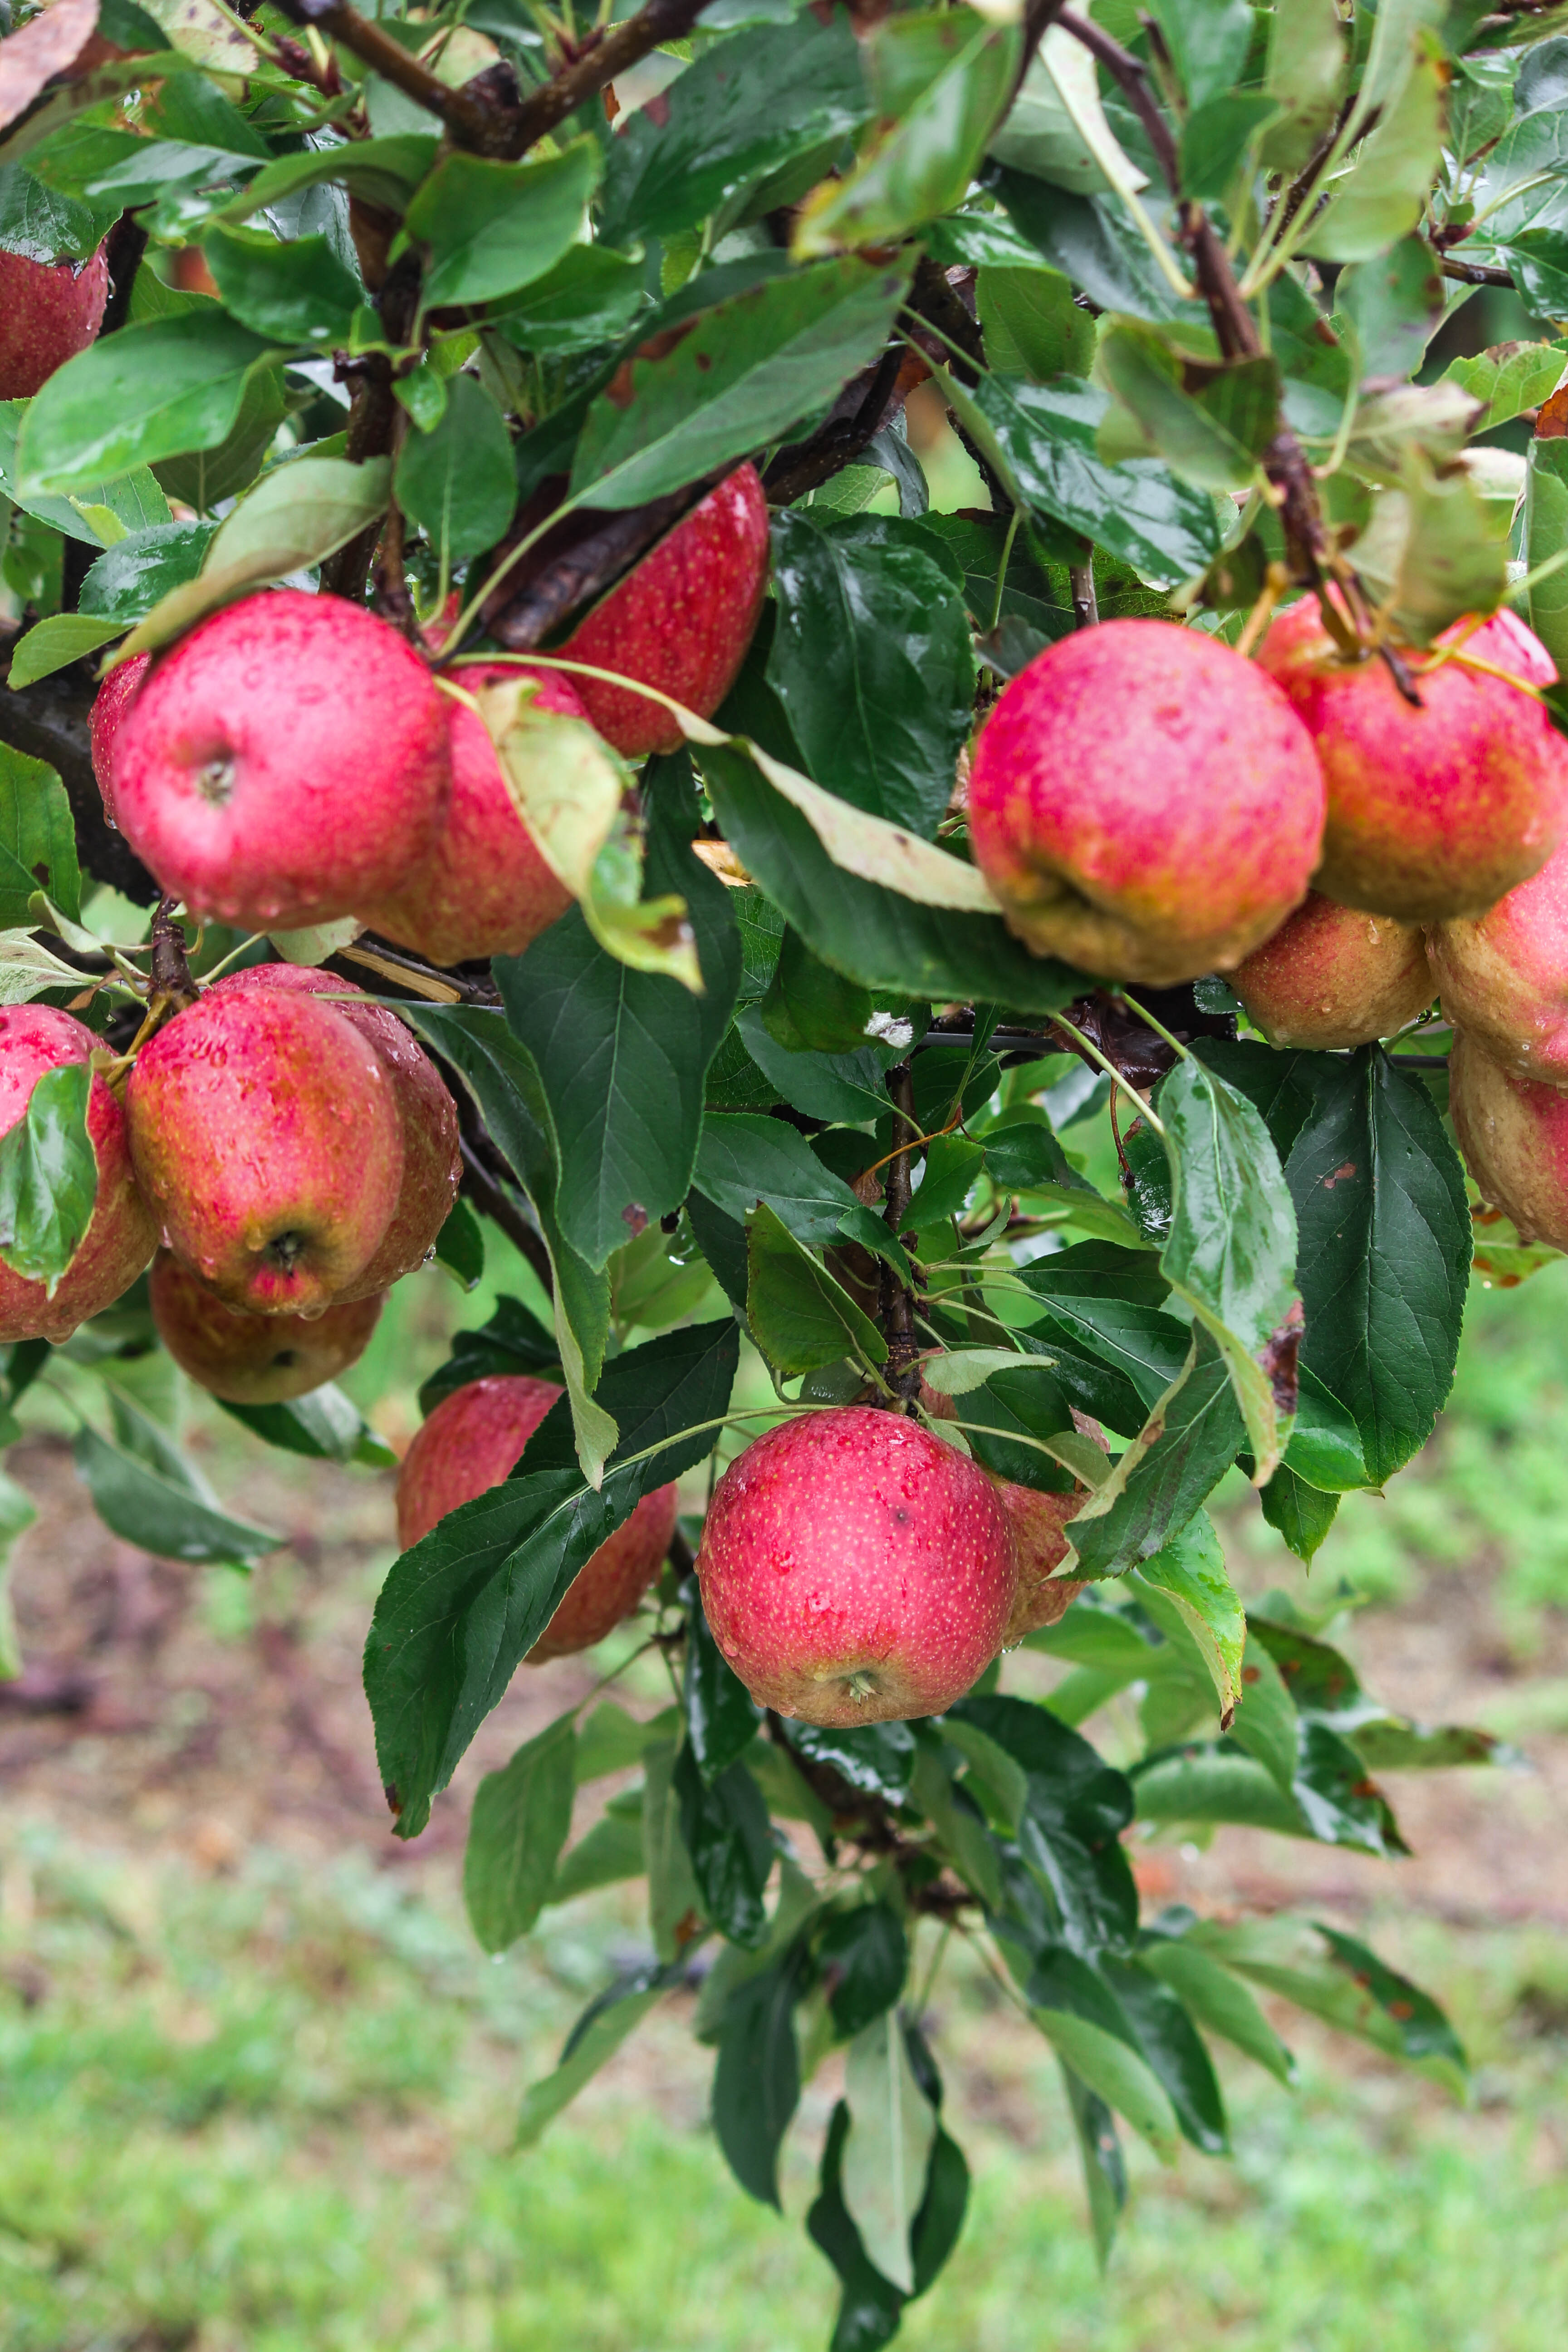
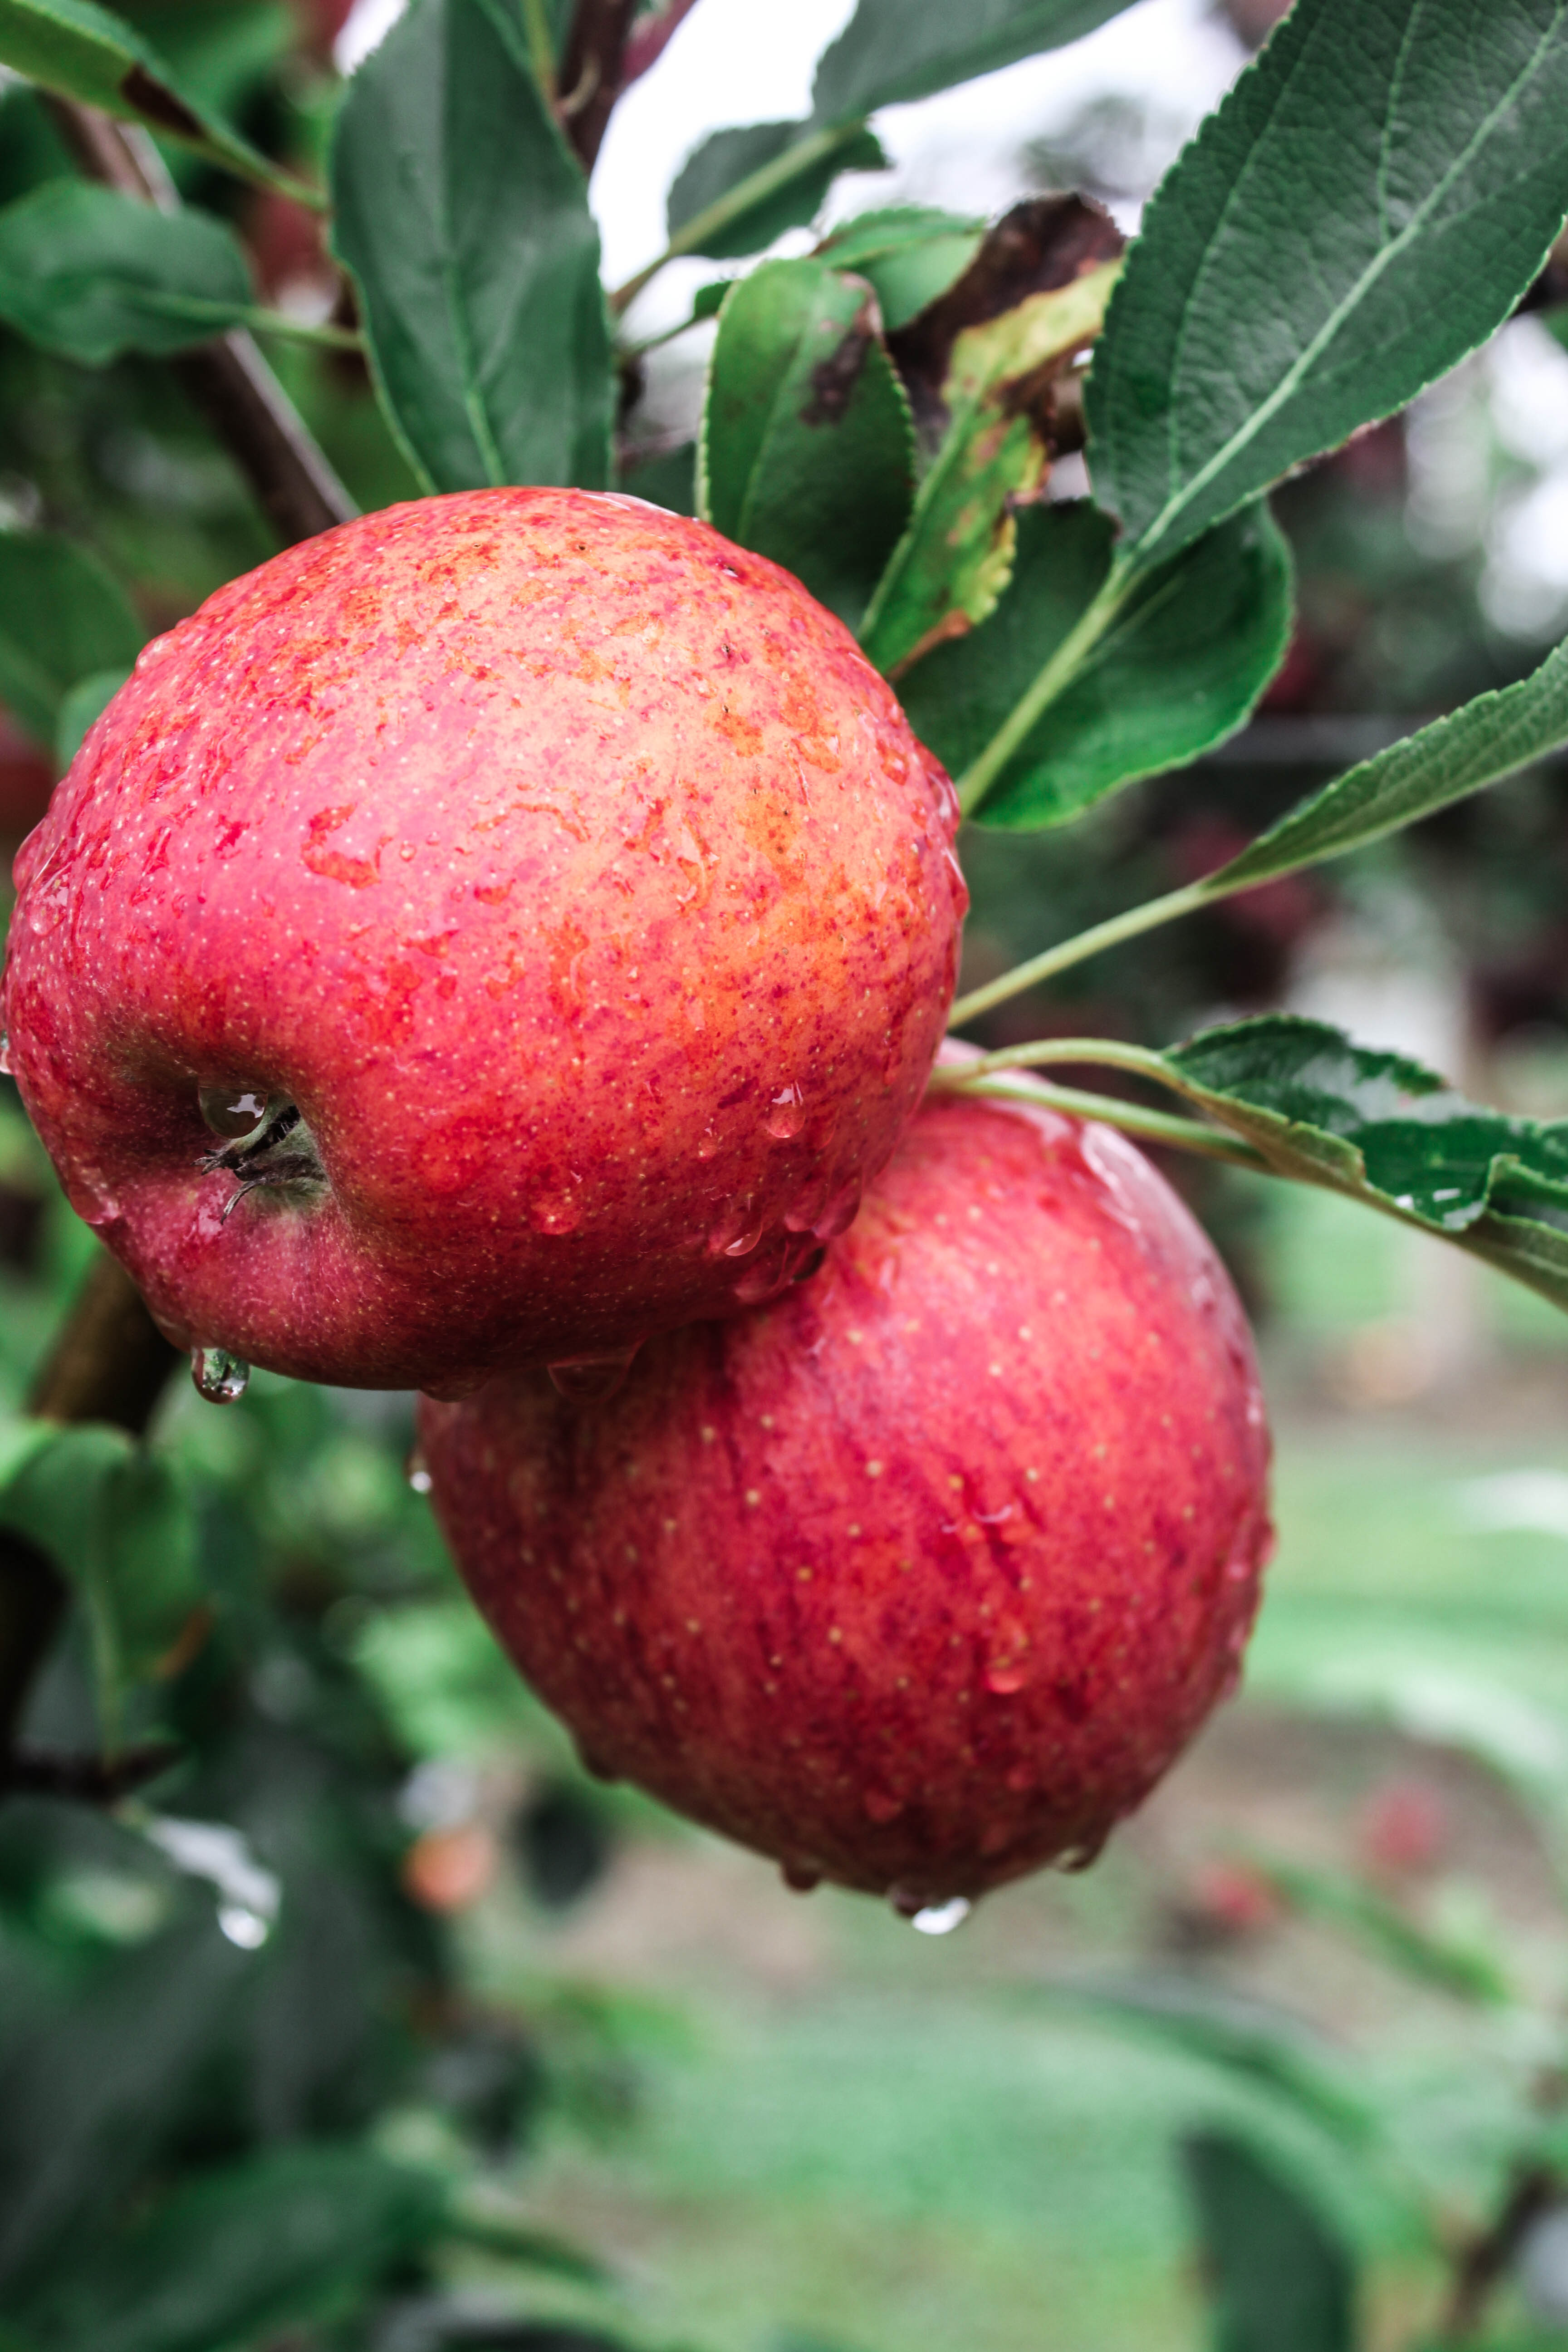
It was a rainy weekend. The ground was wet and the sun was missed. Yet it was a pleasure walking through the rows of red and yellow…surreal, indulging, inviting. Our tree like all the others was laden with sweet red juicy apples…almost sparkling from the rain wash they just received. They were picked in no time.

IMG_8667

We’ve had two full weeks of apple eating but we are still nowhere close to finishing our pick. Neither are we tired of them. Galettes, crumbles, cake, soup and muffins are some of the ways we used them. Yes, there will be more apple recipes and photographs to share with you.

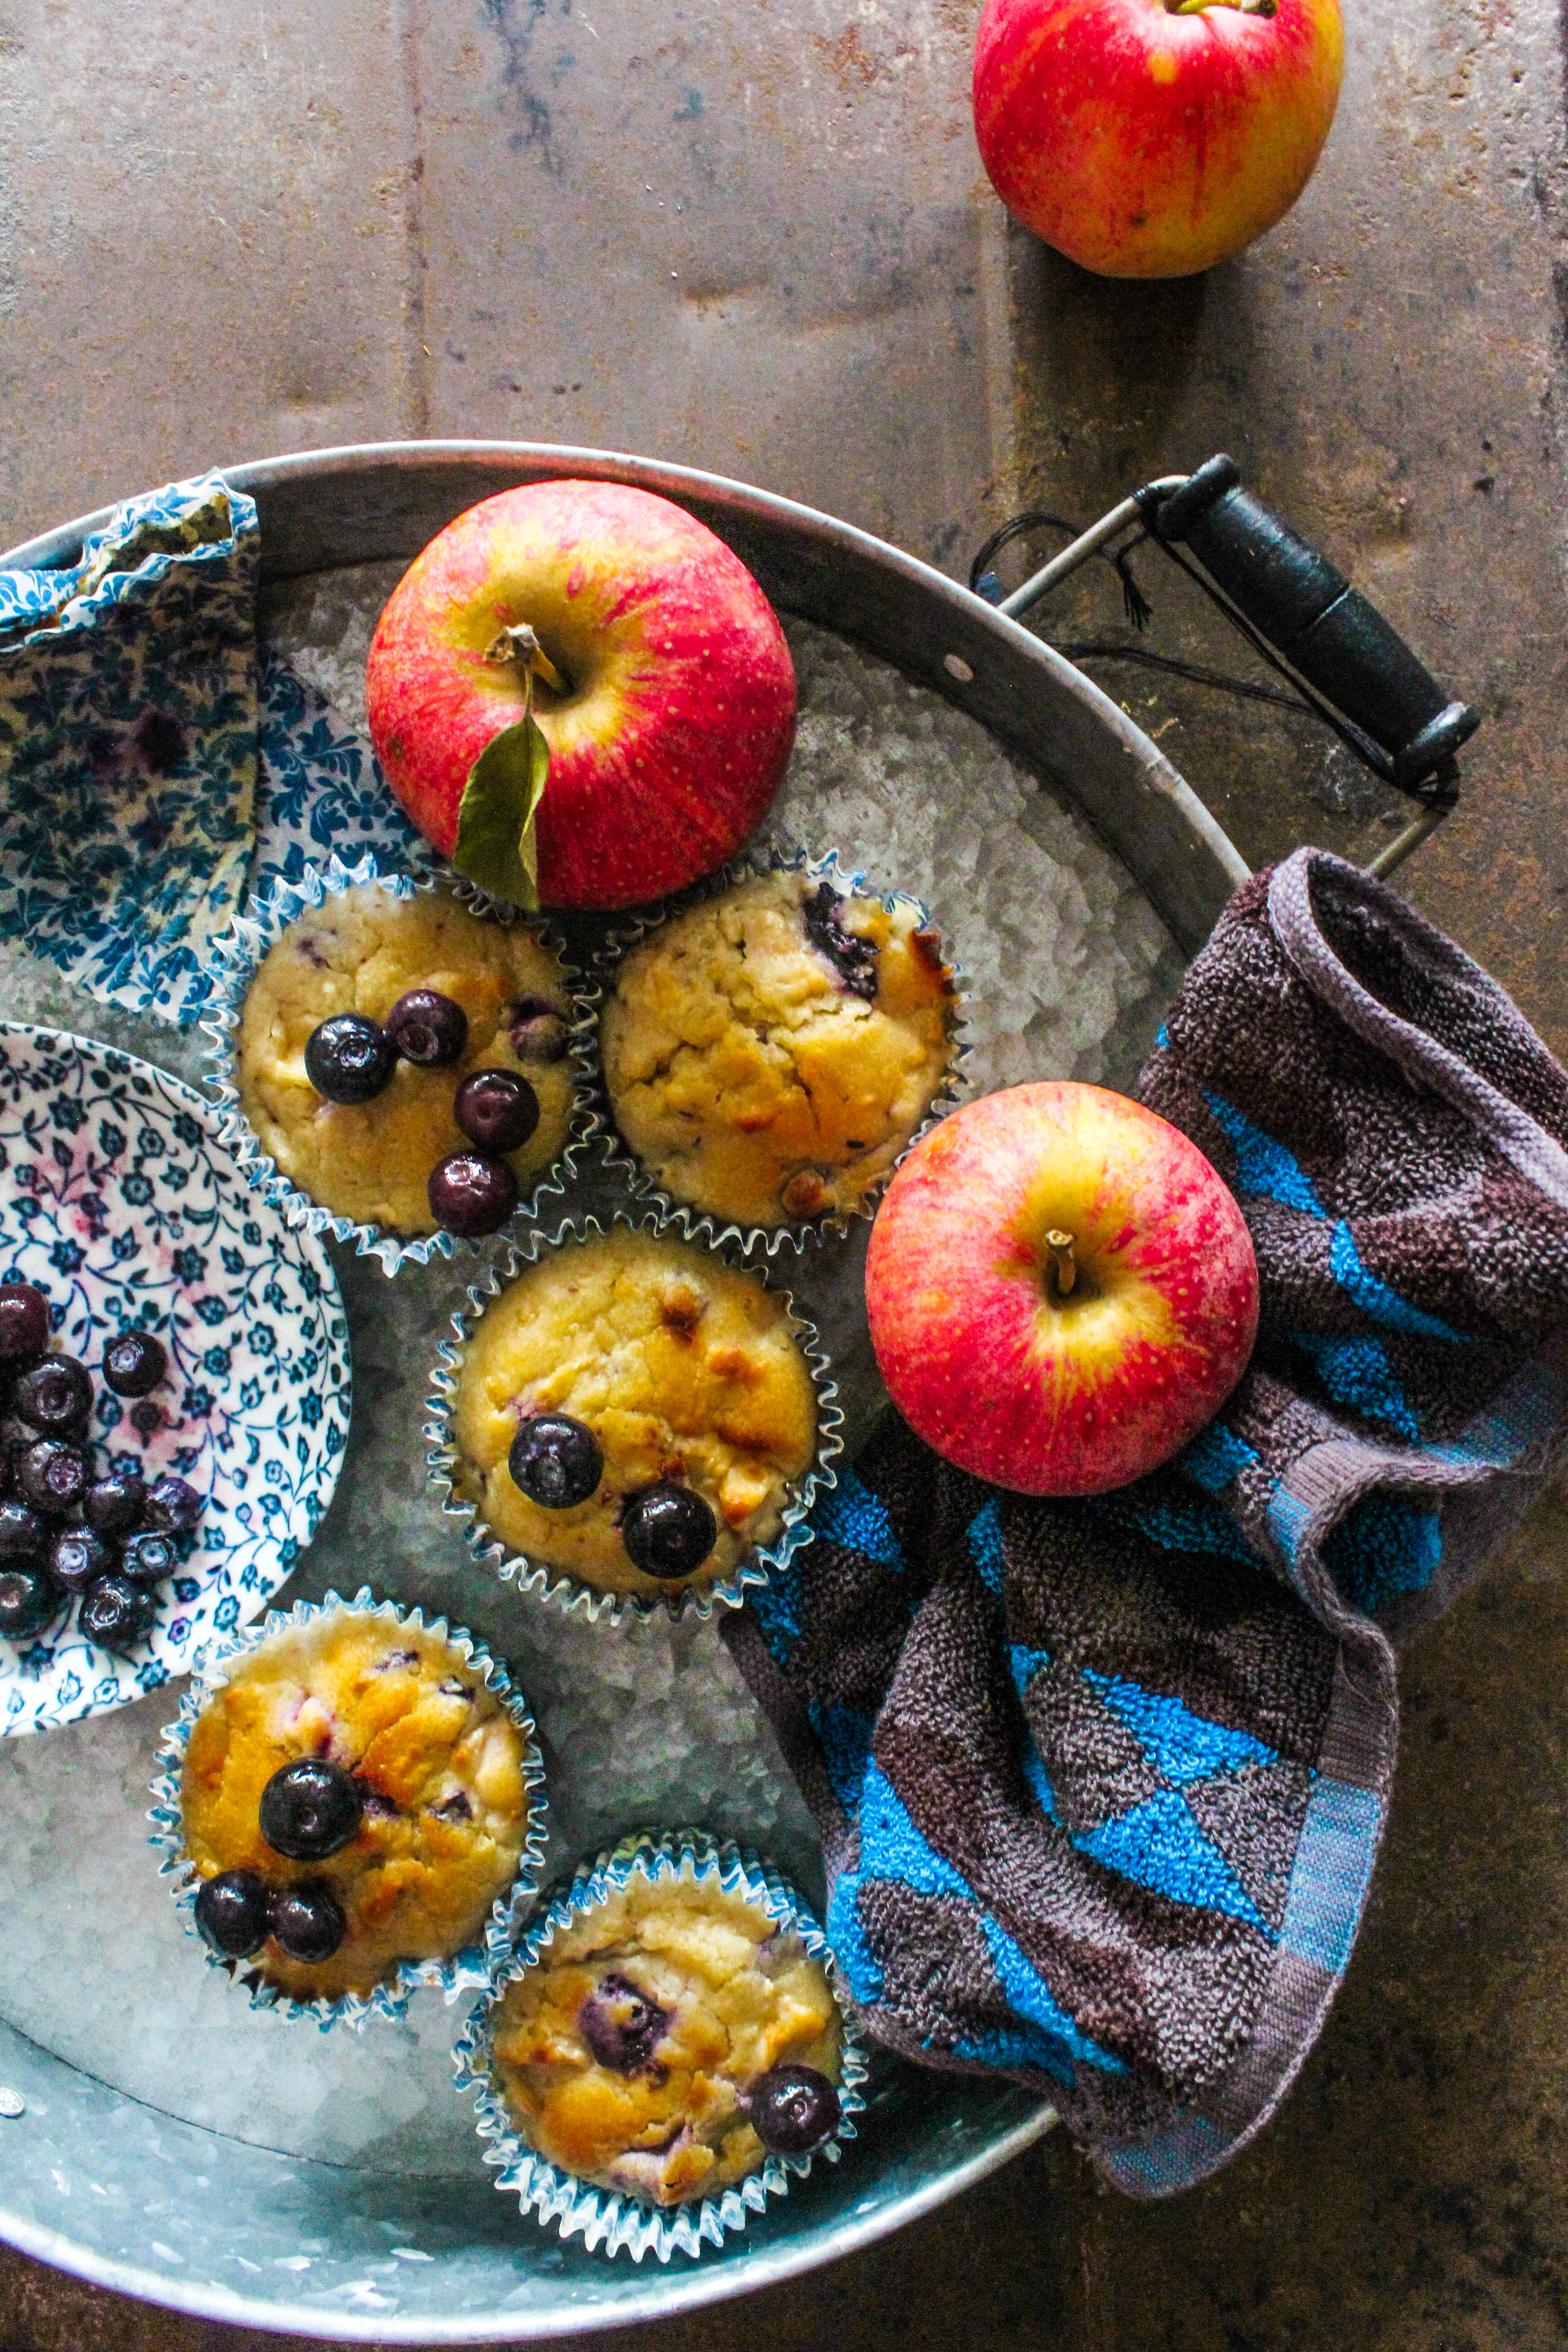
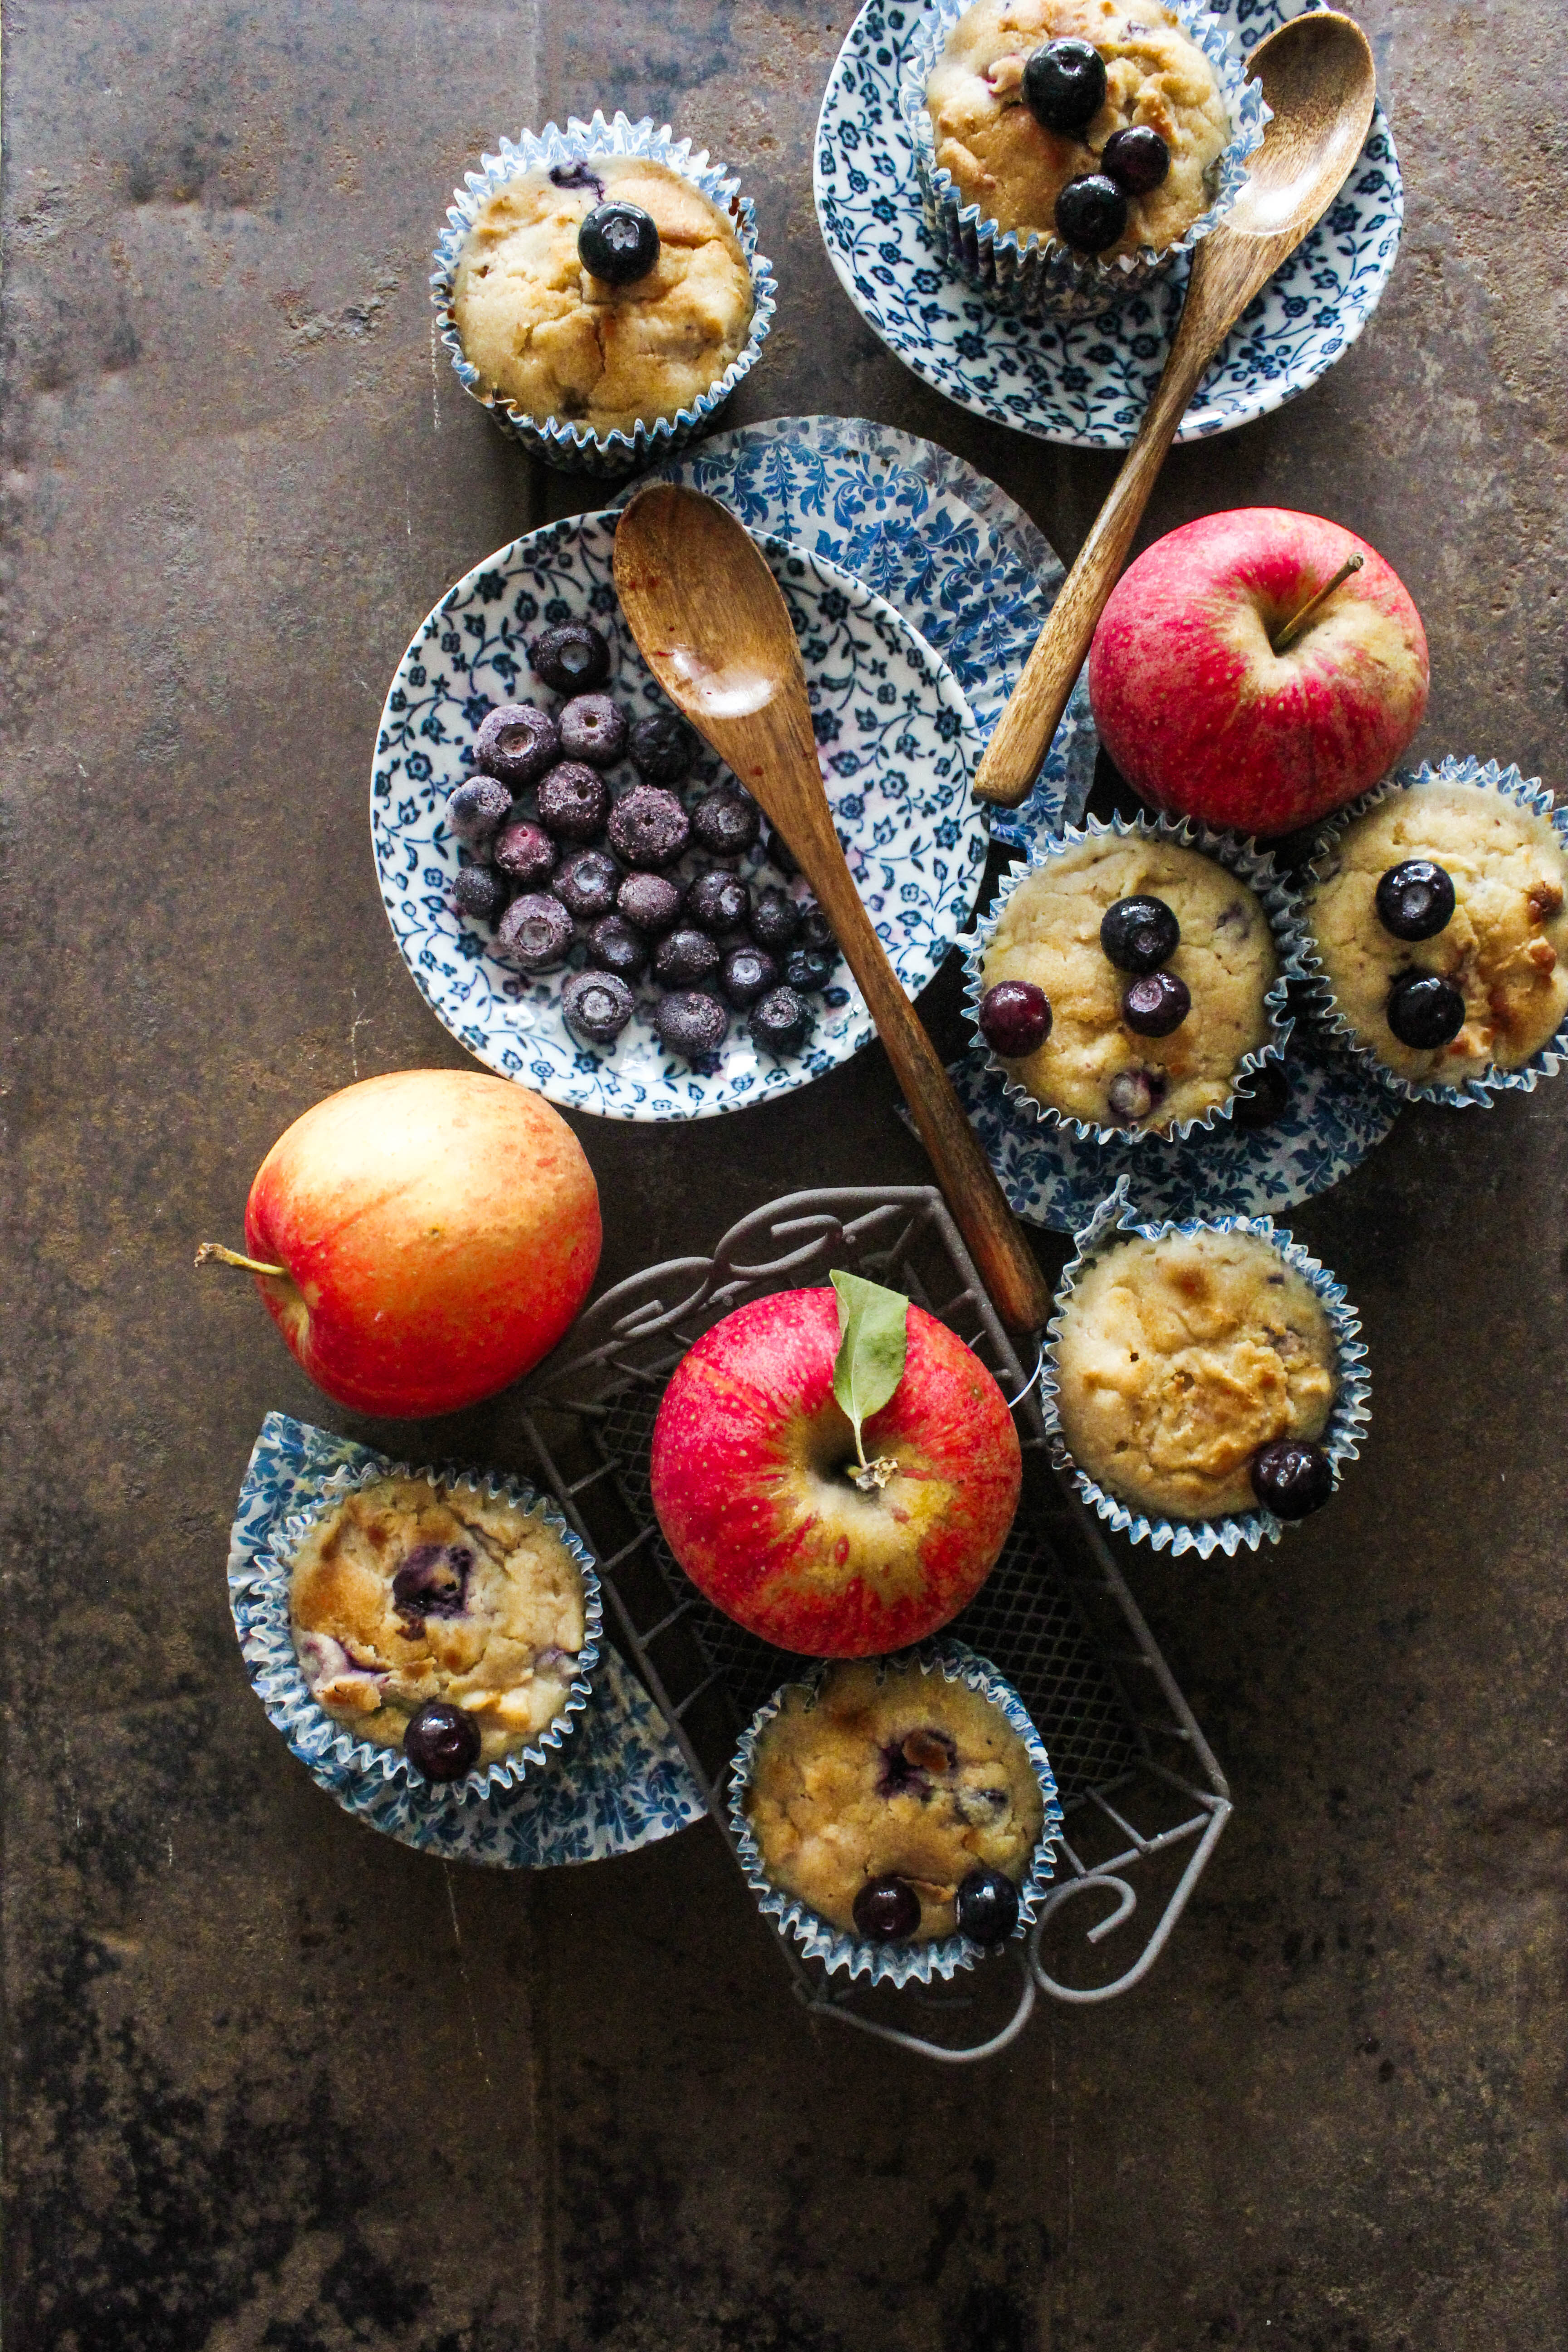
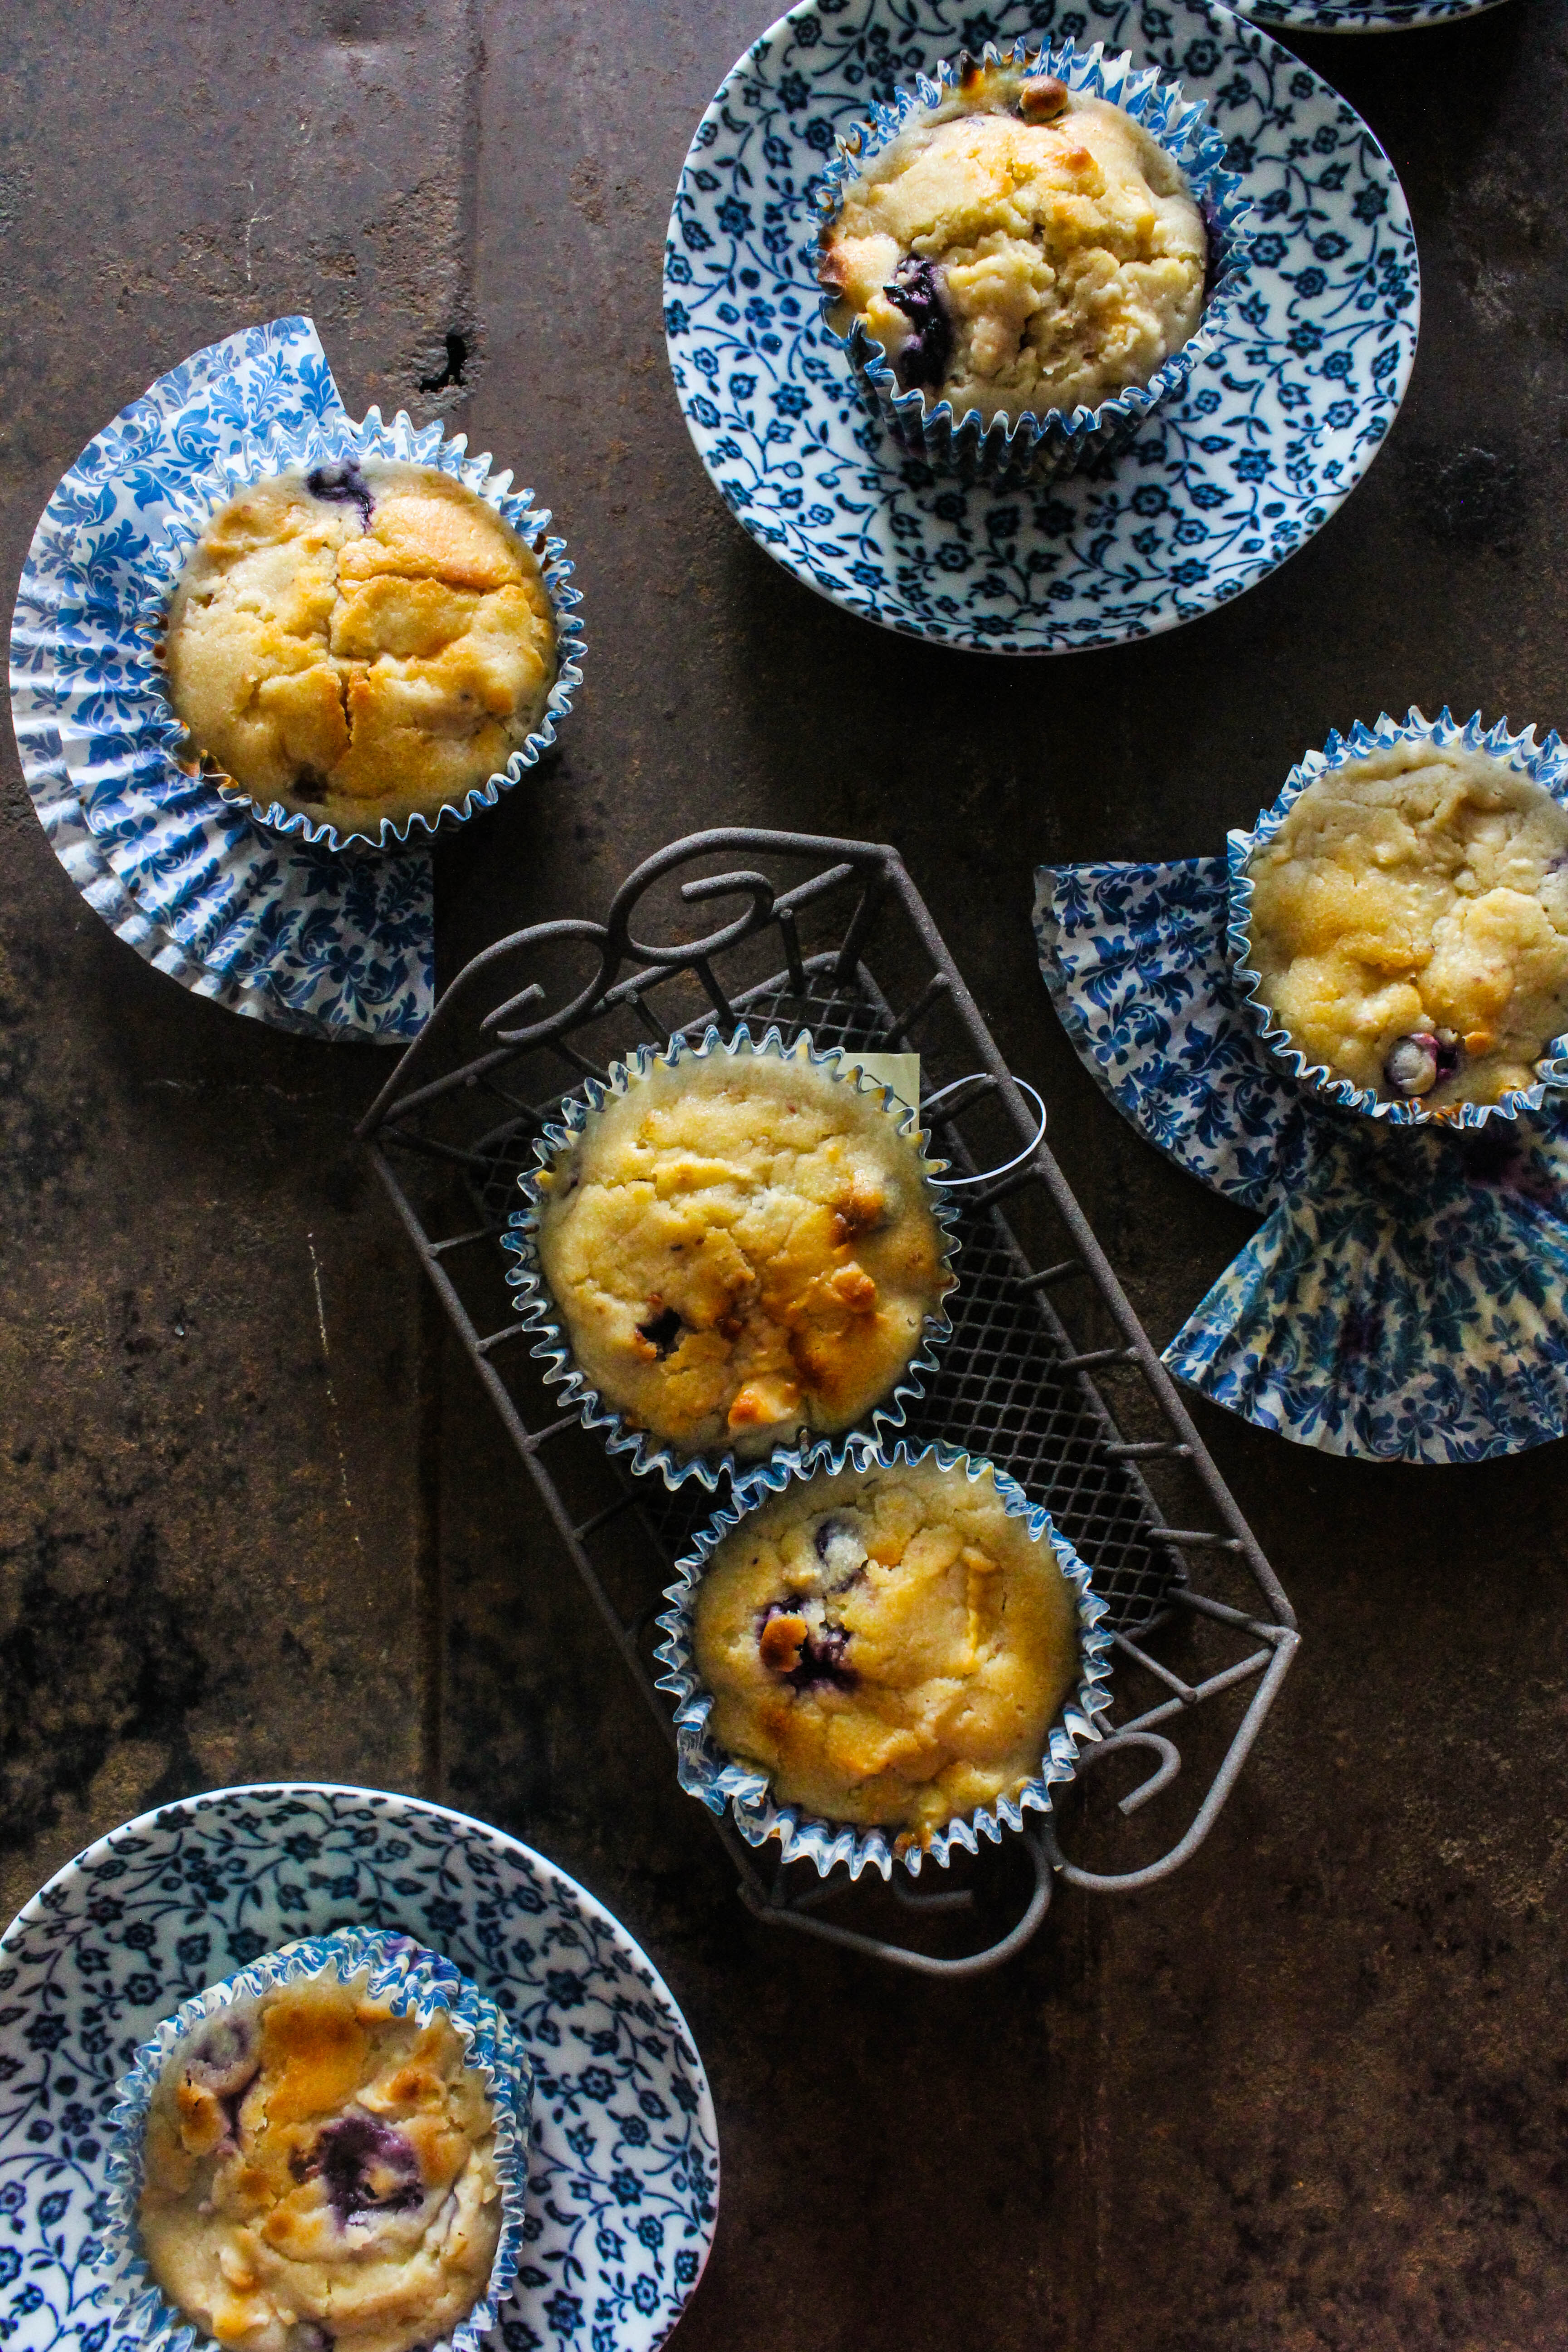
These muffins are quite fluffy and light on account of the buttermilk used in the recipe. Blueberries pair well with apples and a mouthful of these muffins will have you tasting different textures. I have used royal gala apples that are quite sweet. Both fresh and frozen blueberries can be used.

IMG_8645


Apple Blueberry Muffins
Makes 12 muffins

2 cups all purpose flour
3/4 cup Castor sugar
2 tsp baking powder
1/2 tsp baking soda
2 apples peeled, cored and finely chopped
1 cup fresh or frozen blueberries (I used frozen)
1 large egg, lighly beaten
1 cup buttermilk
125 g unsalted butter, melted
1 tsp vanilla extract

Preheat oven to 190 degrees C.
Lightly grease a muffin tray or line with paper liners.

In a large bowl, combine the flour, sugar, baking powder, baking soda, apples and blueberries.

In another bowl, mix together the egg, buttermilk, butter and vanilla extract. Gradually fold in the wet ingredients into the dry ingredients with a spatula, taking care not to over mix the batter.

Spoon the batter into the prepared pan (about 2/3rd full for each muffin) equally. Place in the oven and bake for 20-25 minutes. A toothpick inserted into the centre should come out clean. Transfer to a wire rack and cool for 10 minutes before removing from pan.


Chocolate Raspberry Brownie Cake

1|03|2014

Brownies!!! I can never have enough of them. How about you?
Perhaps this is one sweet treat that one can go on talking about. None of which is new. But the thought of it can make one feel warm and fuzzy and mushy and gooey and like the best things in life make one feel.

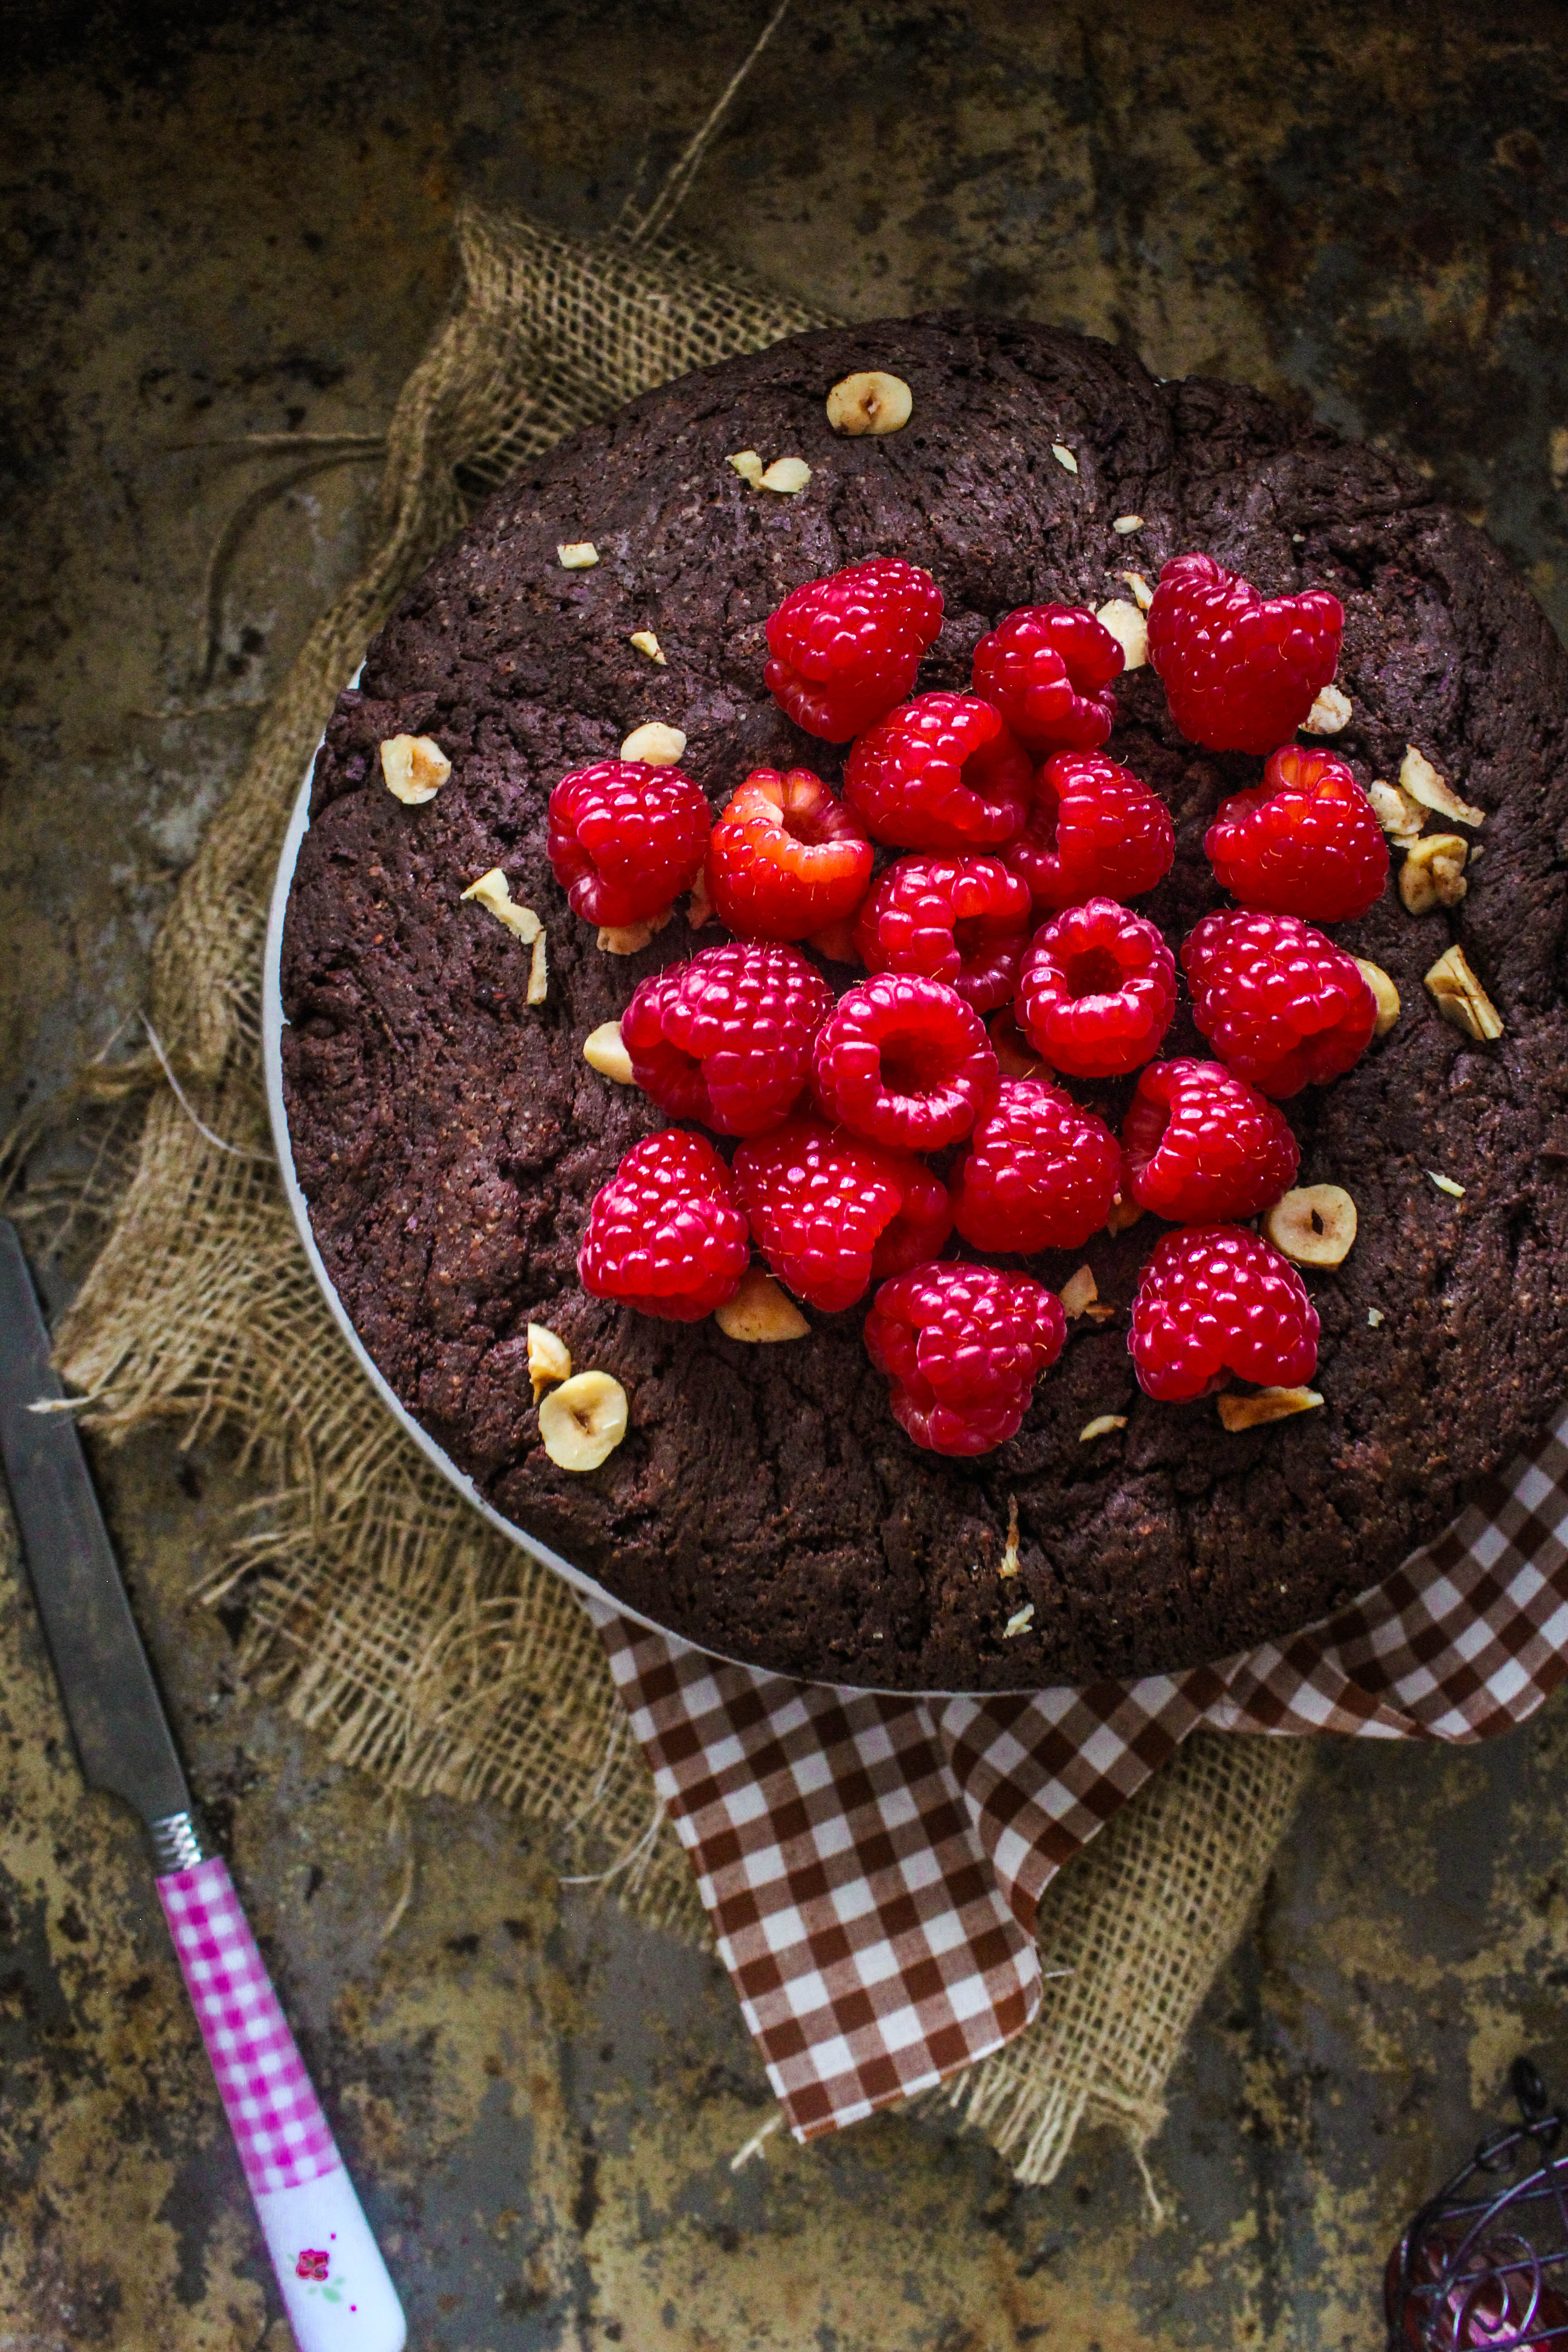
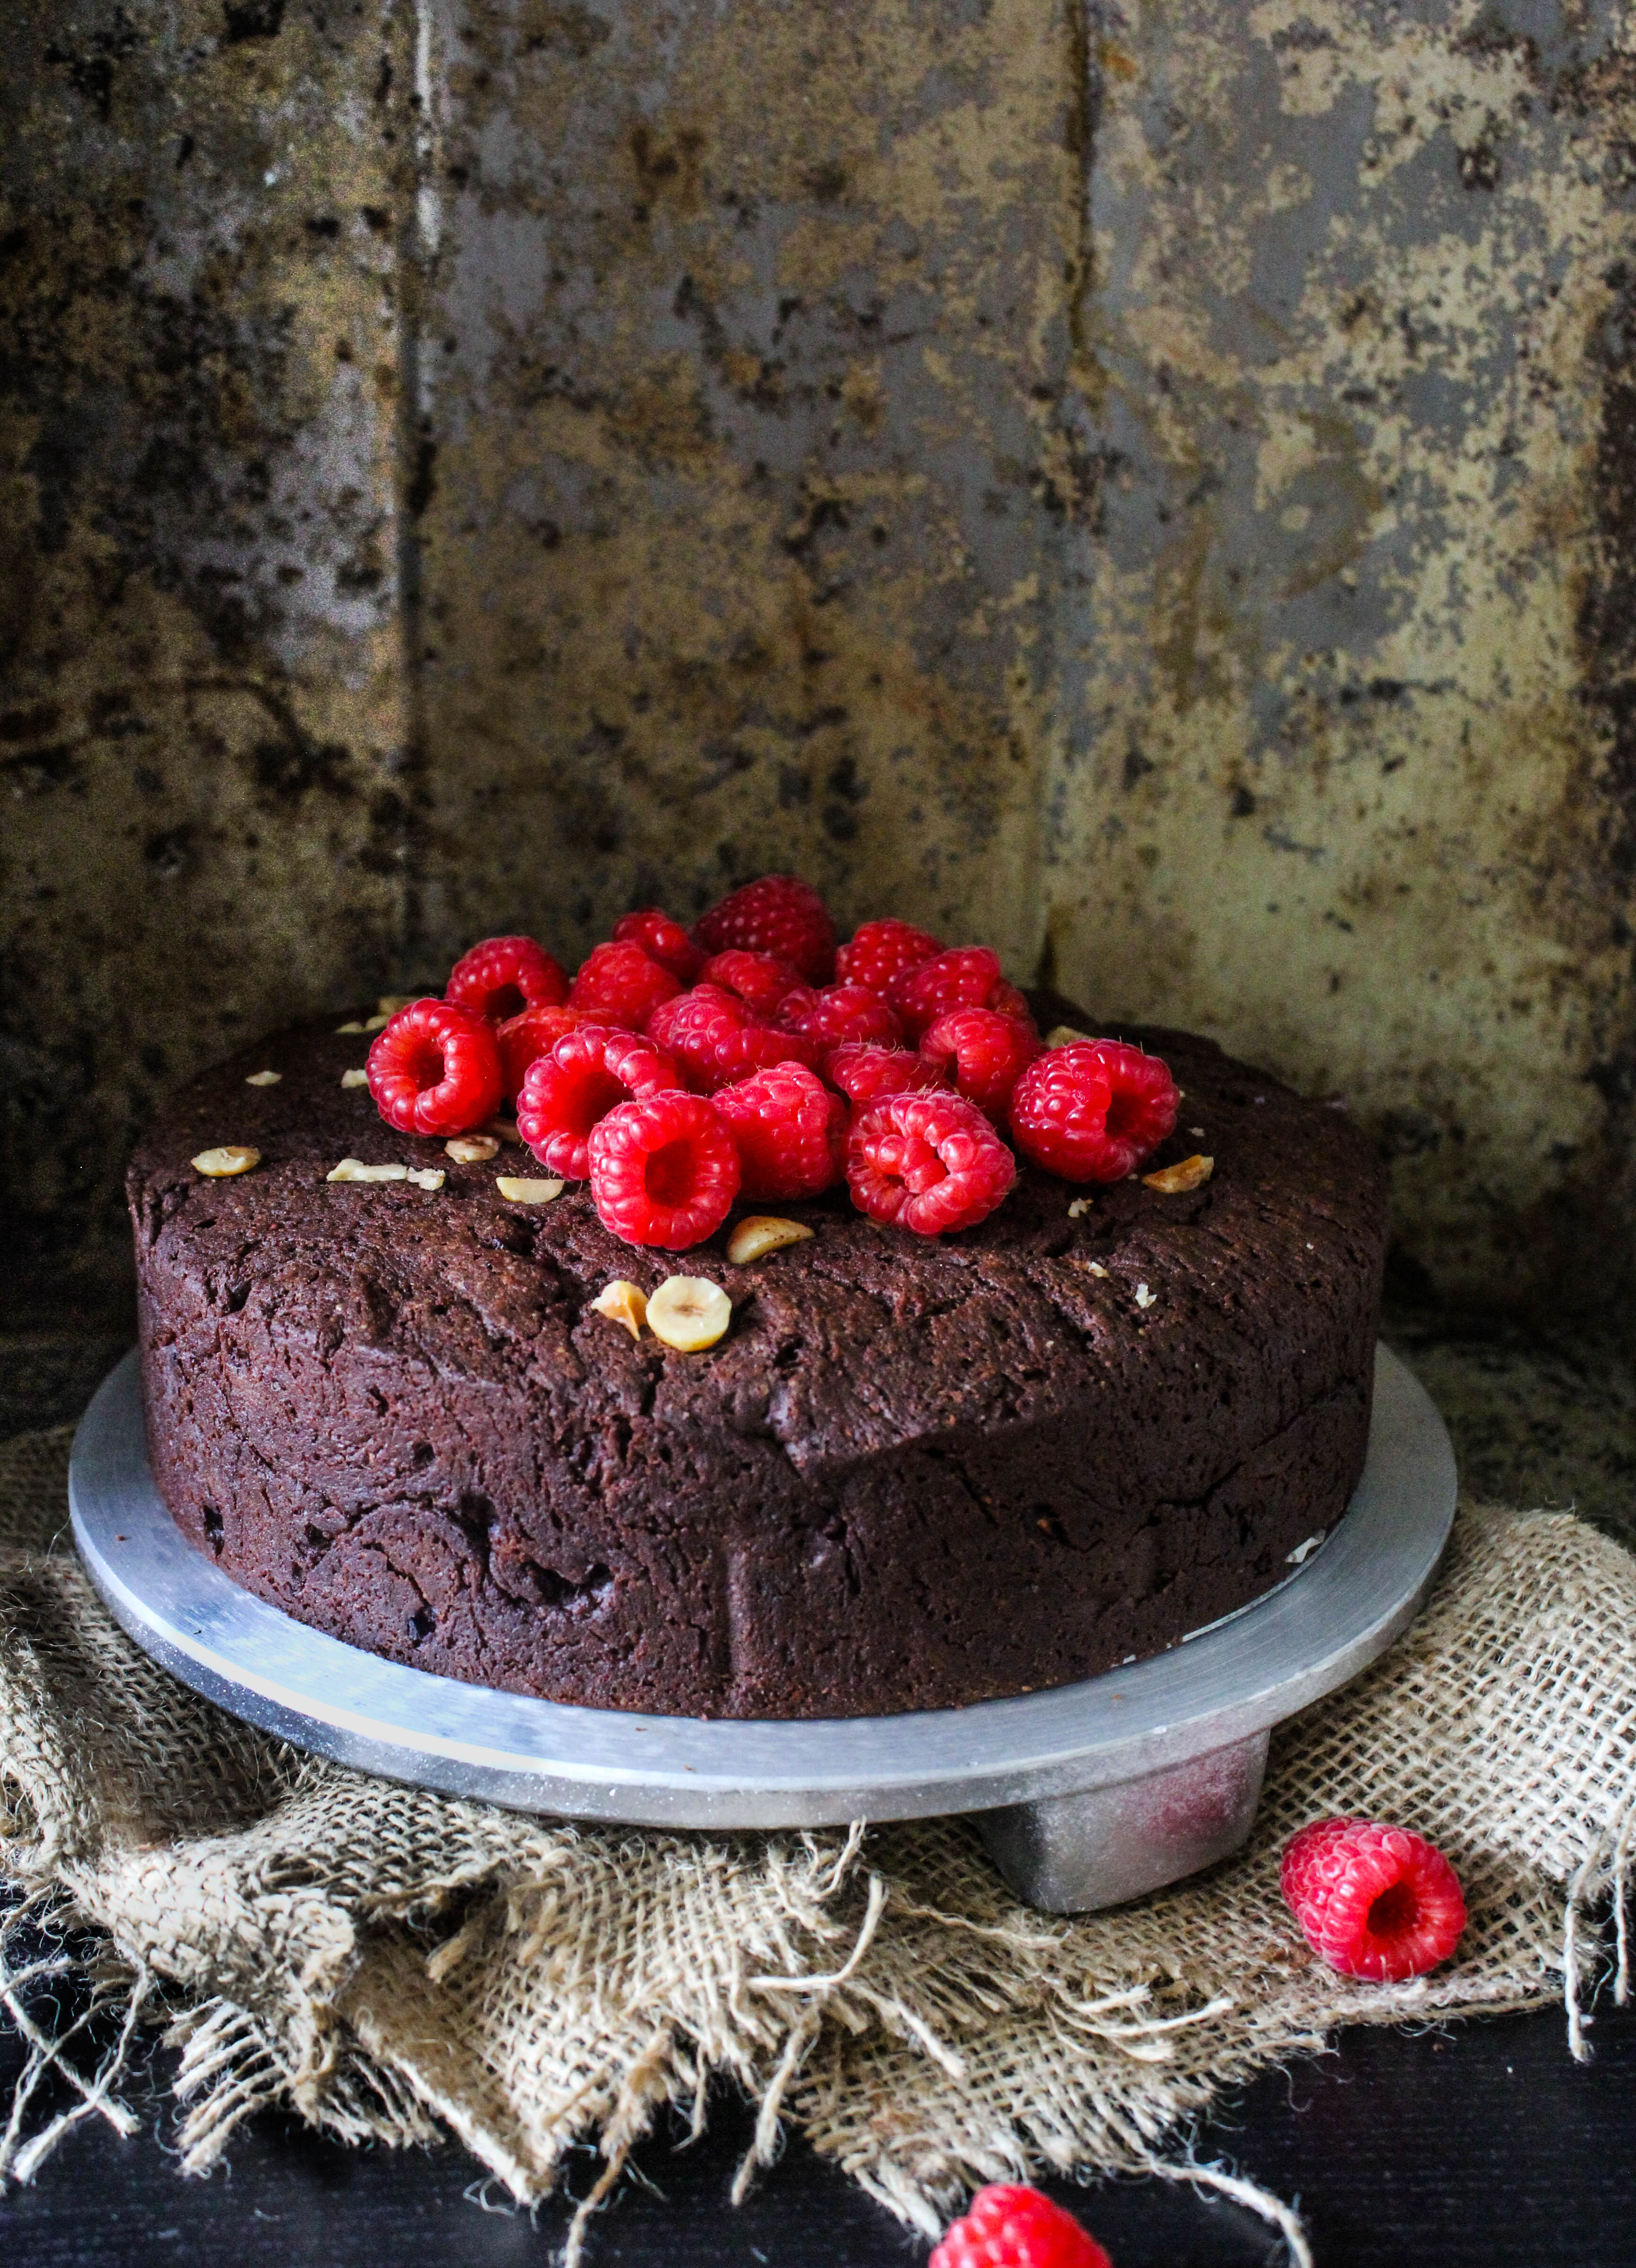
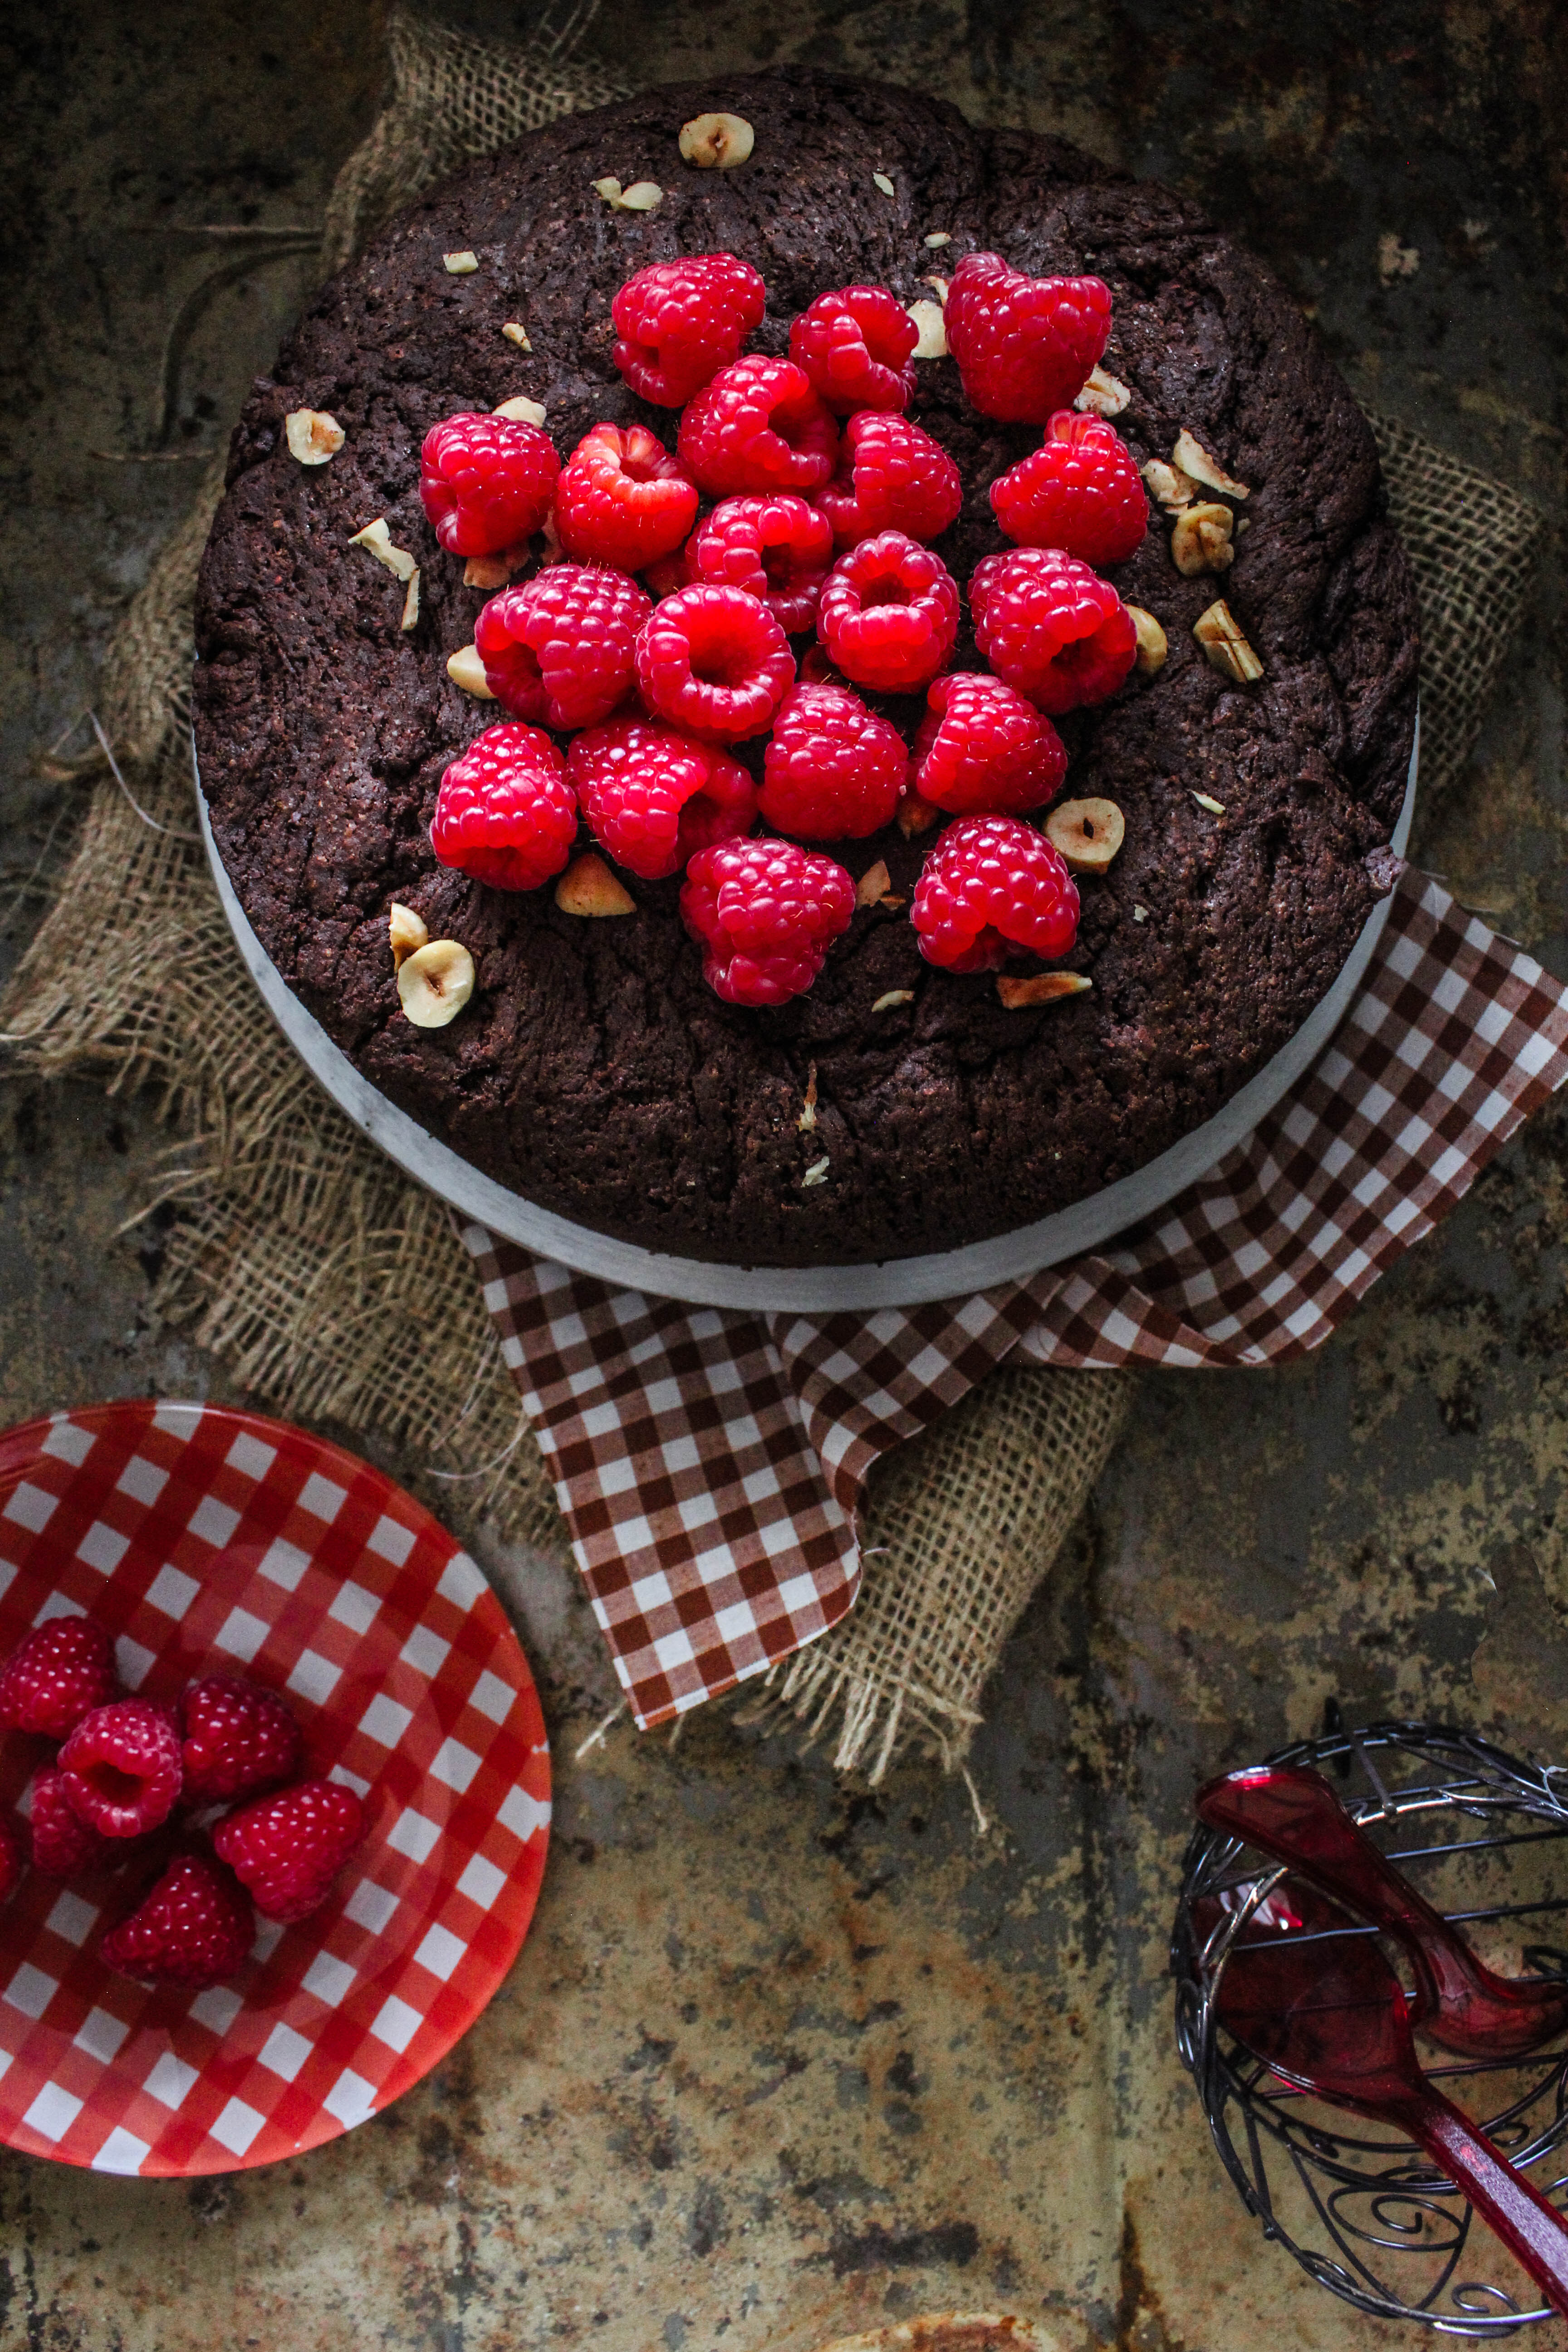
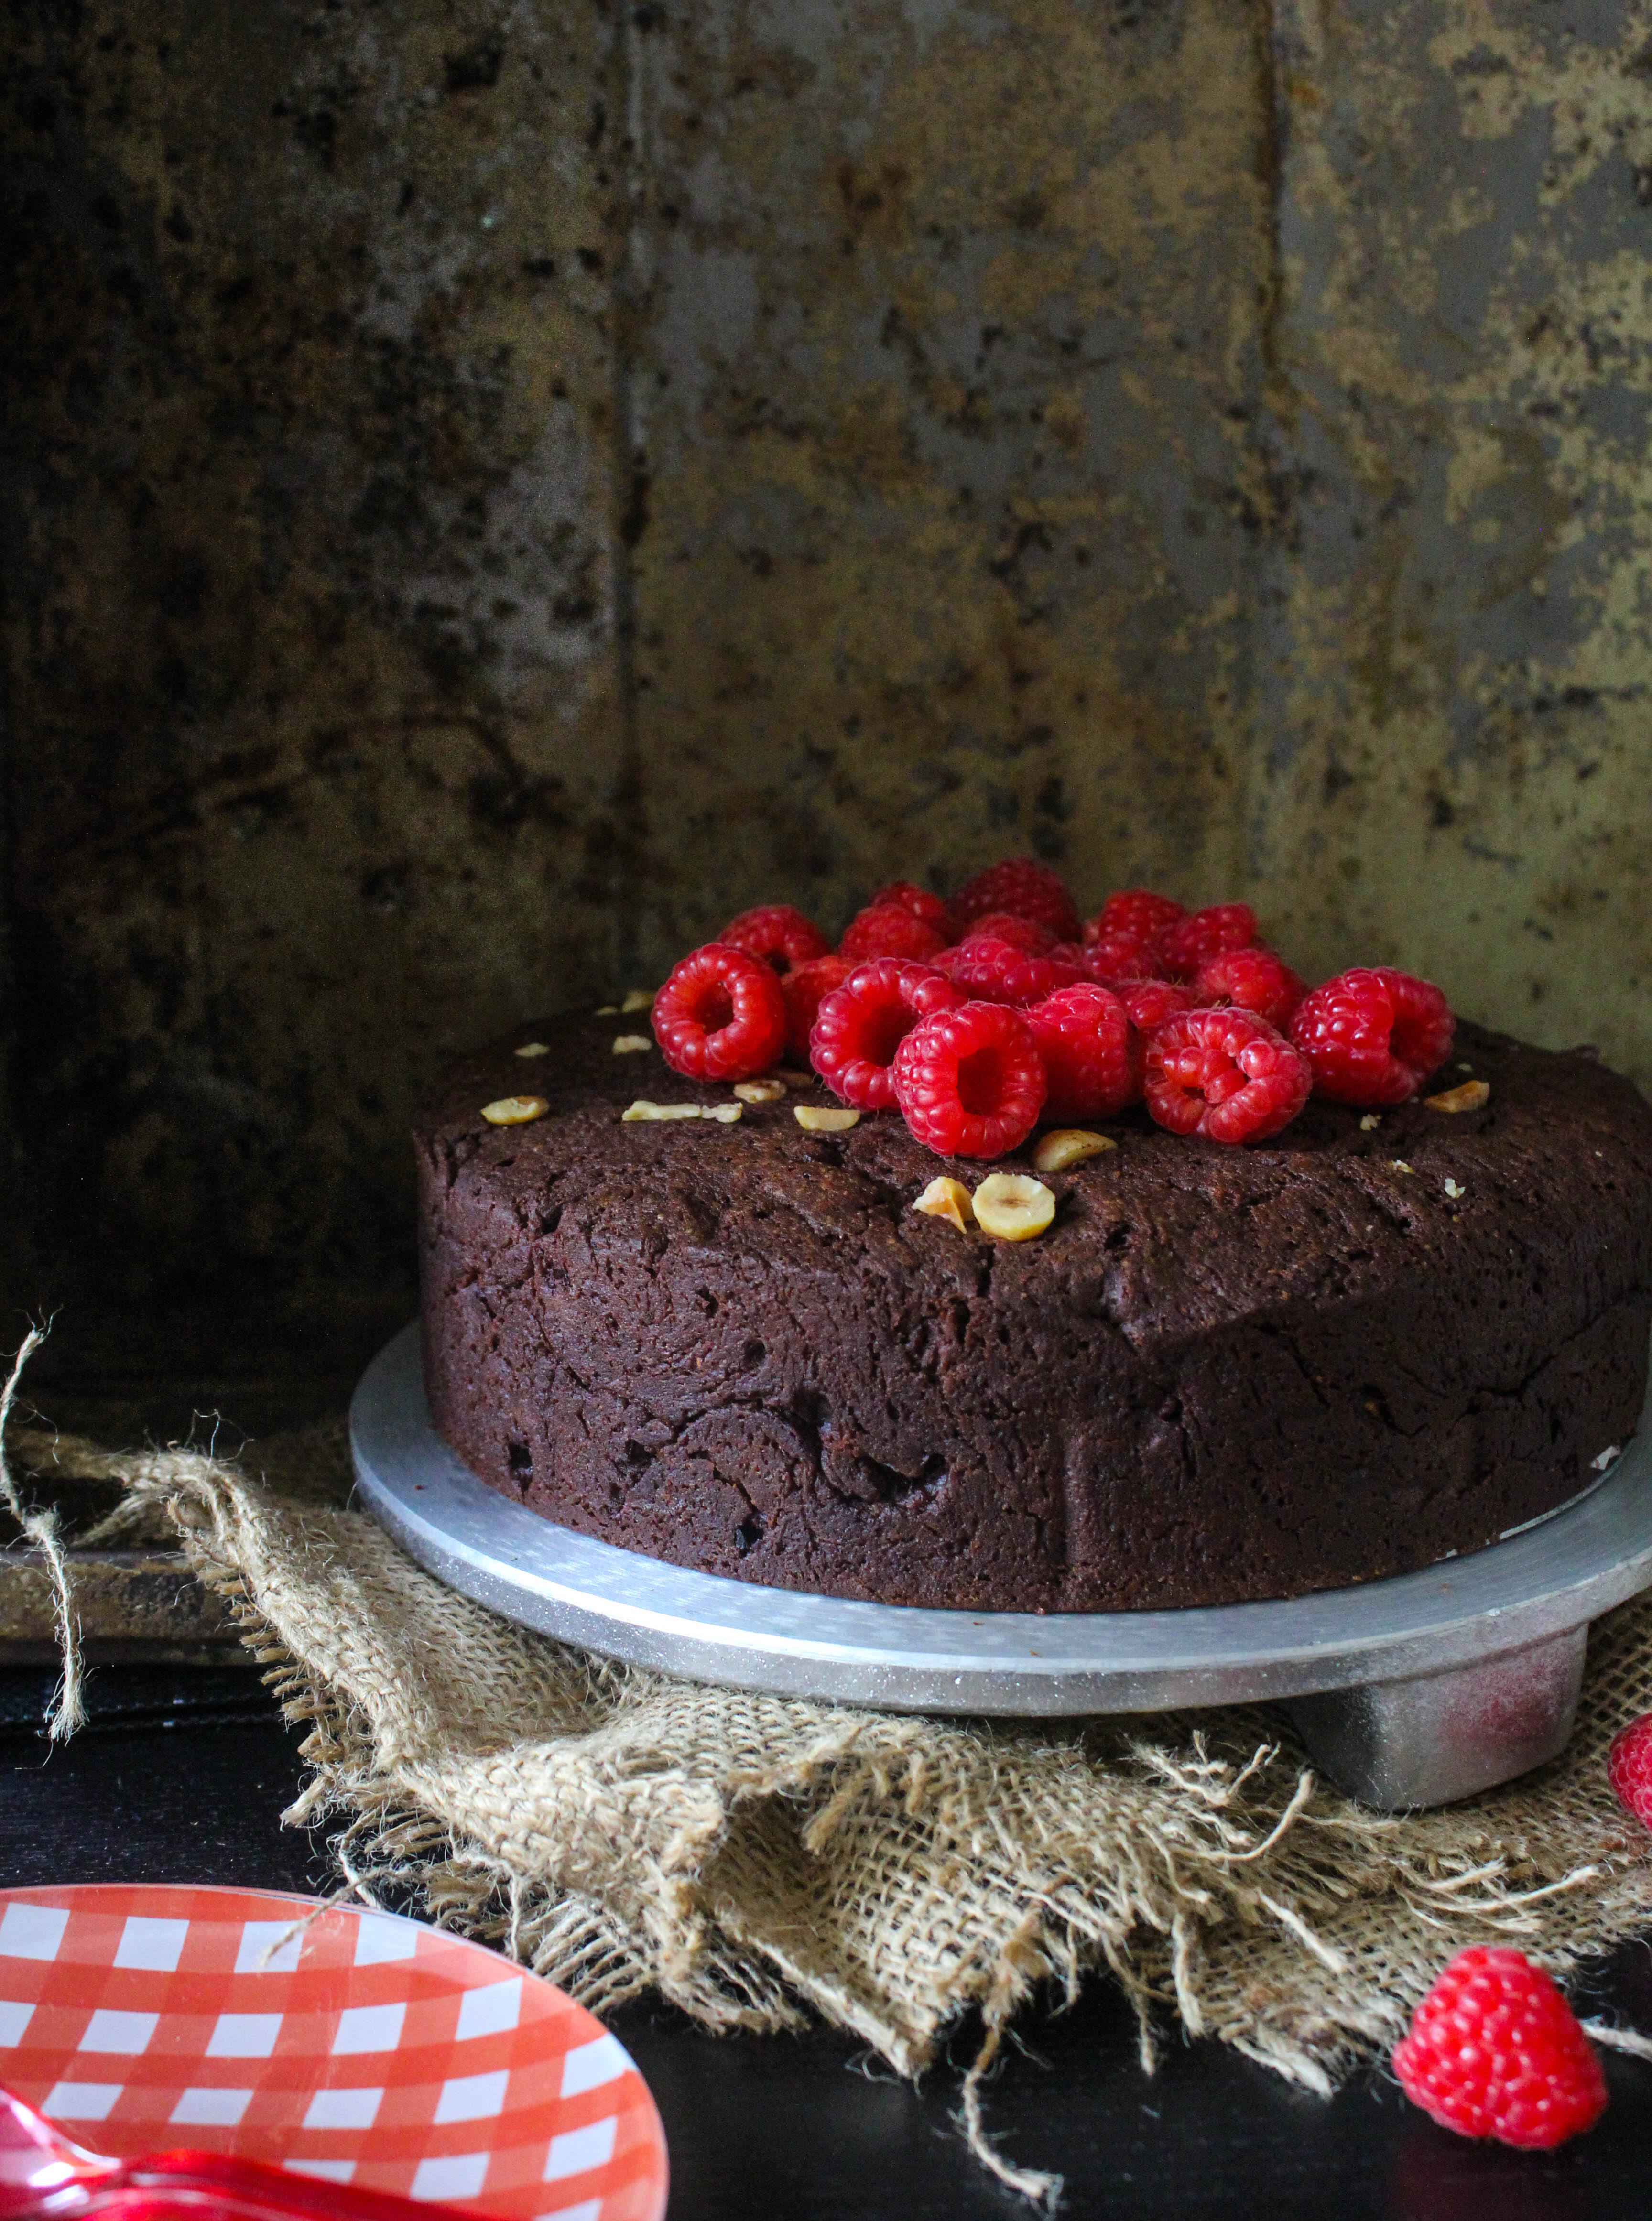
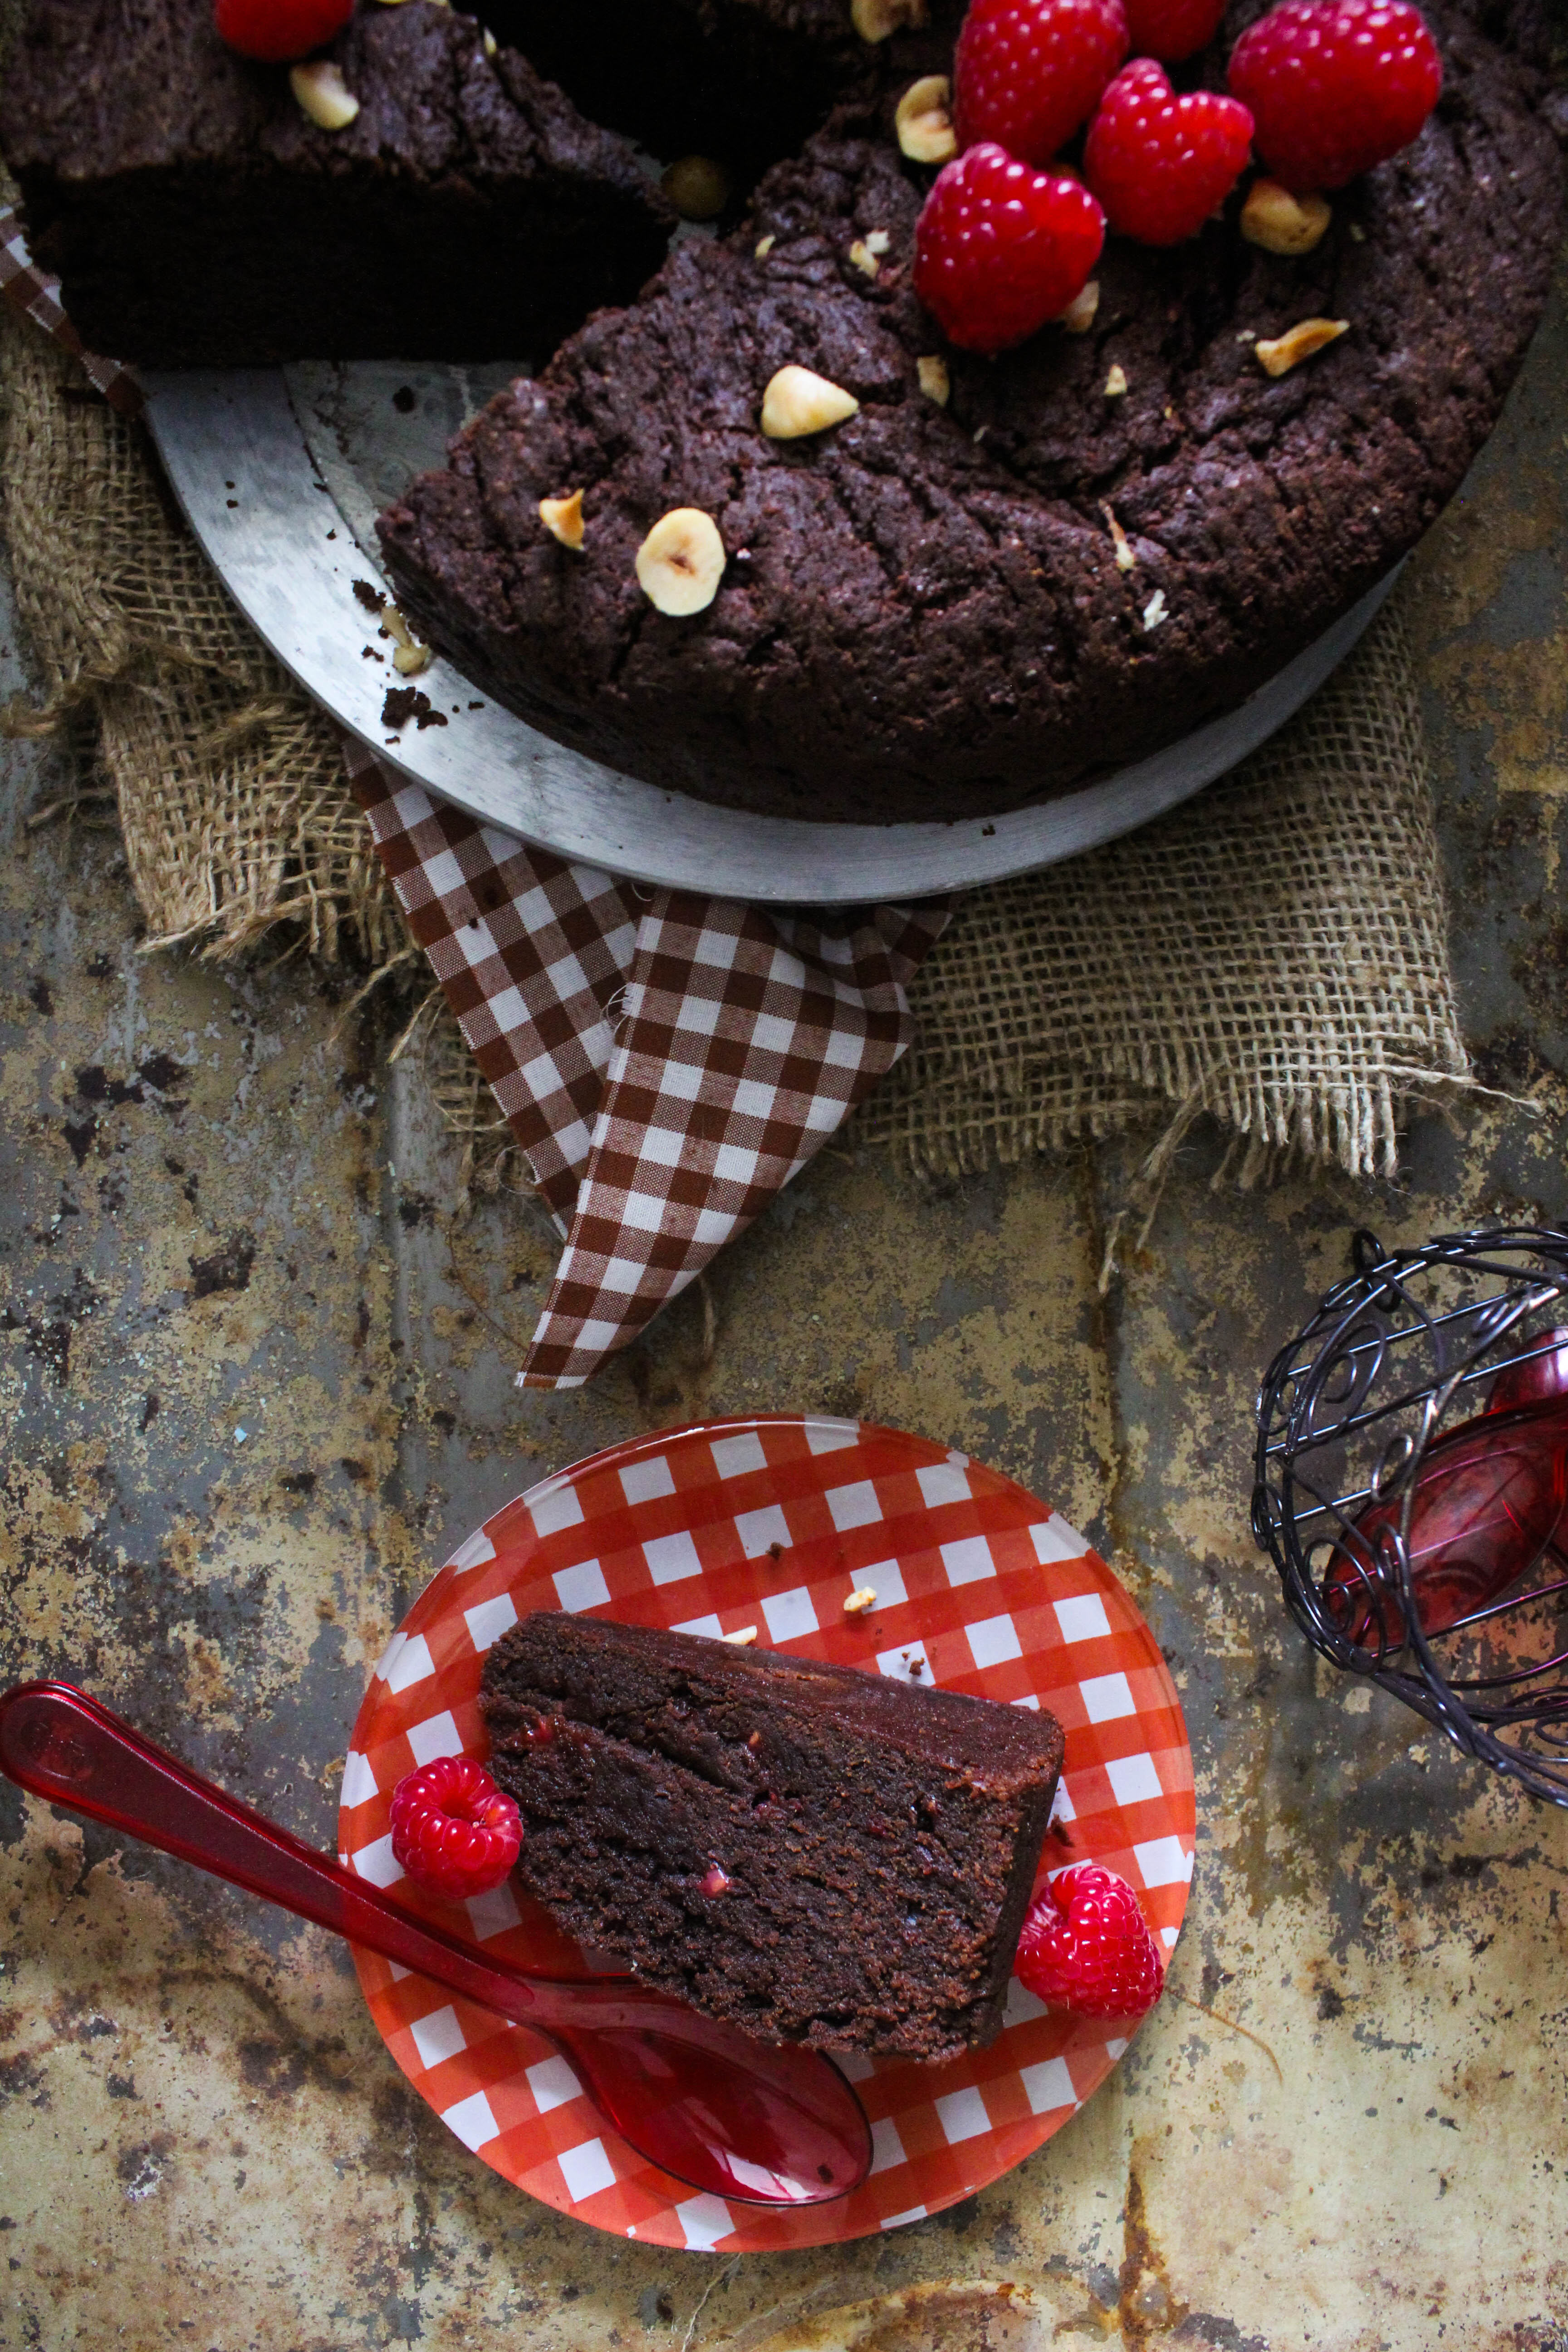
IMG_8603-2If you’ve been with me for a while now, you know my love for raspberries. I would give you brownie points for that one. Or maybe this cake. Combining the best of the two. This cake is fudgy, rich and decadent. Firm on the outside, moist and a tad bit tart from the raspberries. I added a handful of hazelnuts to include an element of crunch.

IMG_8596

IMG_8602

The cake would easily qualify for a celebration cake. It has a good height and texture. While it is extremely easy to put together it is not an everyday dessert. There are frozen raspberries within the batter so it can be made at any time of the year. Feel free to add a ganache topping to make it sinful. Actually, it already is but maybe look wise it can benefit from the ganache. But looks can be deceptive. Like the little shadow that paced my kitchen, peeking through the glass while the oven was doing it’s work.
‘Brownie!!’ He exclaimed. ‘I want a large one!’
Much to my surprise, he ate a large one. Large for his size. Crumbs and all!

IMG_8595

IMG_8618

Chocolate Raspberry Brownie Cake
Serves 10-12

300g butter, roughly chopped
400g dark chocolate, chopped
11/4 cup castor sugar
4 eggs, lightly beaten
2 cups plain flour
2/3 cup self-raising flour
2 tablespoons cocoa powder
1/2 cup hazelnuts, chopped
11/2 cups frozen raspberries (or fresh)
Fresh raspberries, to serve

Preheat oven to 190 degrees C. Grease a 22 cm round cake pan and line the base and sides with baking paper. Place butter and chocolate in a saucepan over medium heat. Cook, stirring occasionally, for 6 to 8 minutes or until smooth and combined. Set aside for 10 minutes to cool.

Add sugar, egg, flours and cocoa. Mix well to combine. Fold in the raspberries and hazelnuts, reserving 2 tbsp of the hazelnuts to place on top. Carefully pour the mixture into the prepared pan. Level top with a spatula or the back of a spoon. Top with reserved hazelnuts. Bake for 40 to 50 minutes or until top of the cake is firm to touch. a skewer inserted in the middle should come out with a few crumbs. Cool completely in the pan. Once cooled, top with fresh raspberries. Serve with whipped cream or ice cream.

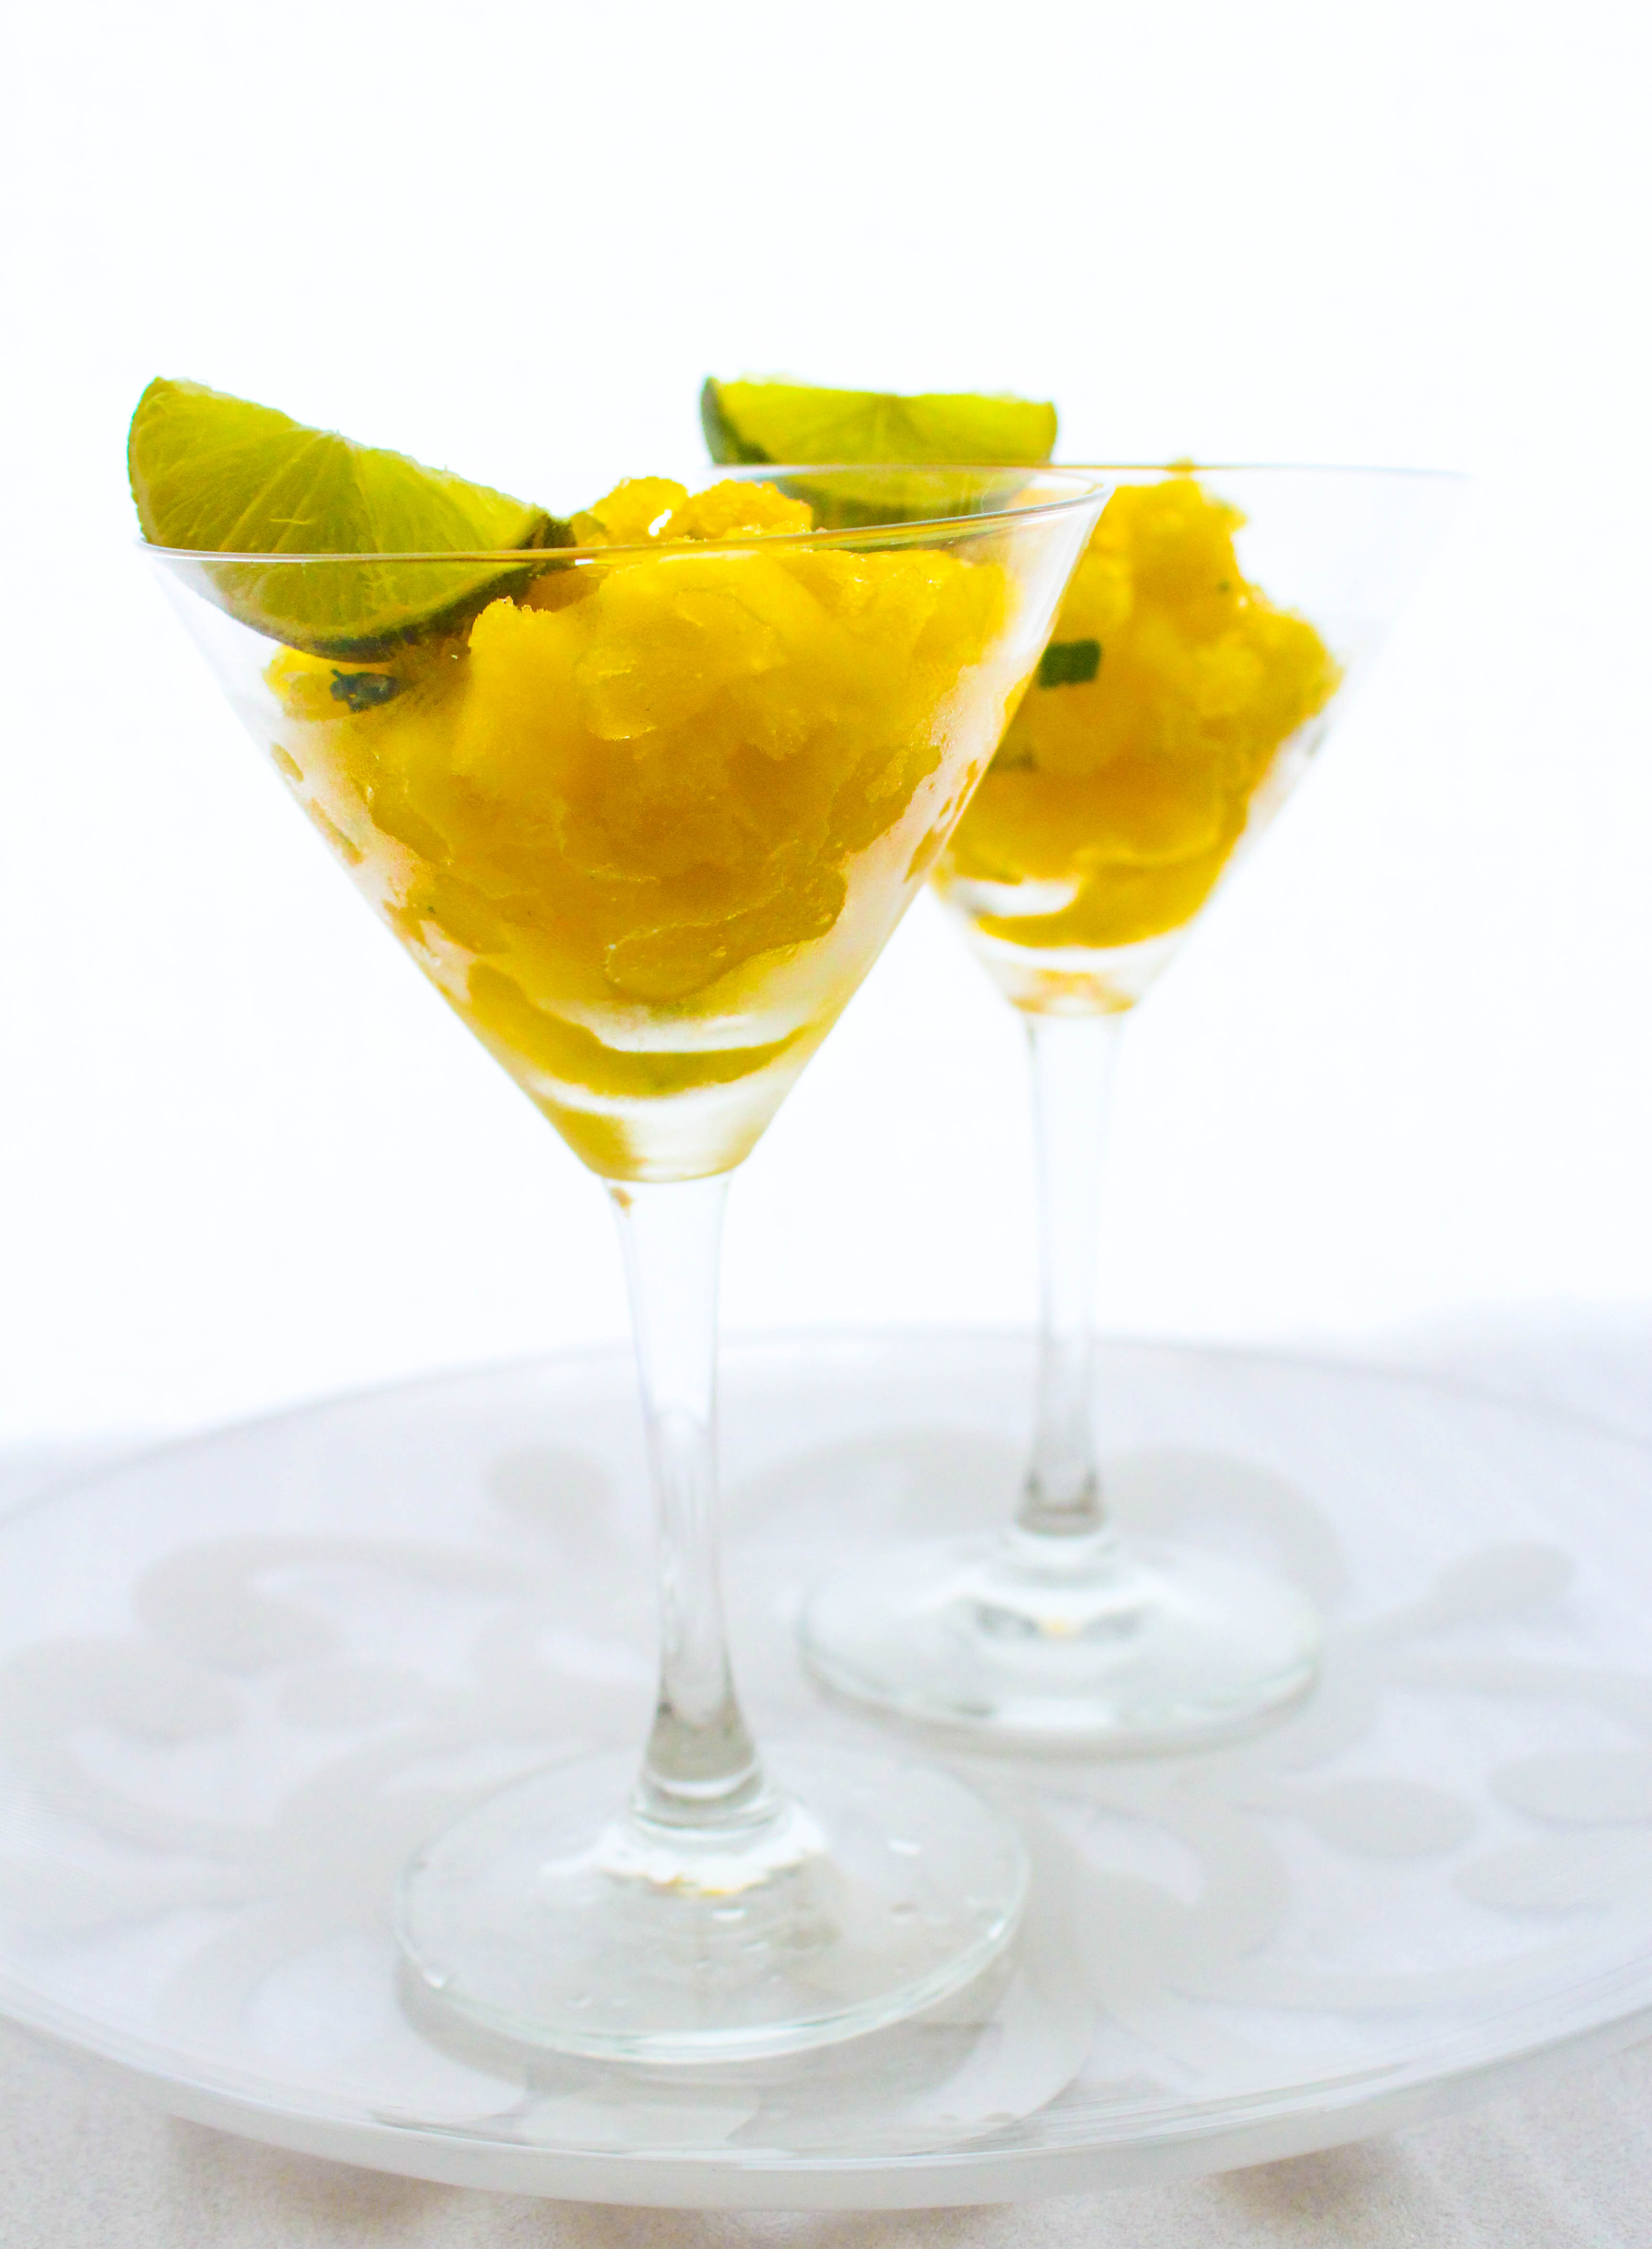
Mango, Mint and Lime Granita

27|02|2014

Mangoes were considered the ‘queen of fruits’ where I grew up. They still are. Everything about them screams summer. The vibrant sunny appearance or the sweet succulent refreshing interior. We owned a large orchard and summer time meant eating tonnes of fruit. The green unripe ones would be used for cooking and the ripe ones would make their way into every corner of the house. Boxes and baskets of fruit to be given away to friends and neighbours. The air subtly scented with smell of sweet mangoes. Meal times made special with platefuls of peeled, cut mangoes to finish off. The varieties endless and names so many that it was hard for one to remember.

IMG_7904

Alas! A glut of mangoes today, is something that exists only in my memory or possibly in my dreams. In the part of the world where I live now mangoes can be expensive. And make a fleeting appearance. So, it’s case of ‘enjoy while it lasts!’ However, thanks to technology there are options. Like canned mangoes and mango juice. No substitute to the fresh ones in my opinion but okay when you crave for a taste of the glorious fruit.

IMG_7727

If mangoes stand for summer, so does ice. While I’ve thoroughly enjoyed my share of ice creams and popsicles this summer, my freezer has been packed with trays of Granita. Using both fresh fruit and store bought juice. They are so fun to make with a bit of this and that. The best part is shaving the ice. You can do it over and over again. Melt, freeze, shave. It’s a great way of adding life into store bought juices. And one can enjoy them even when fruits are not in season.

IMG_7731

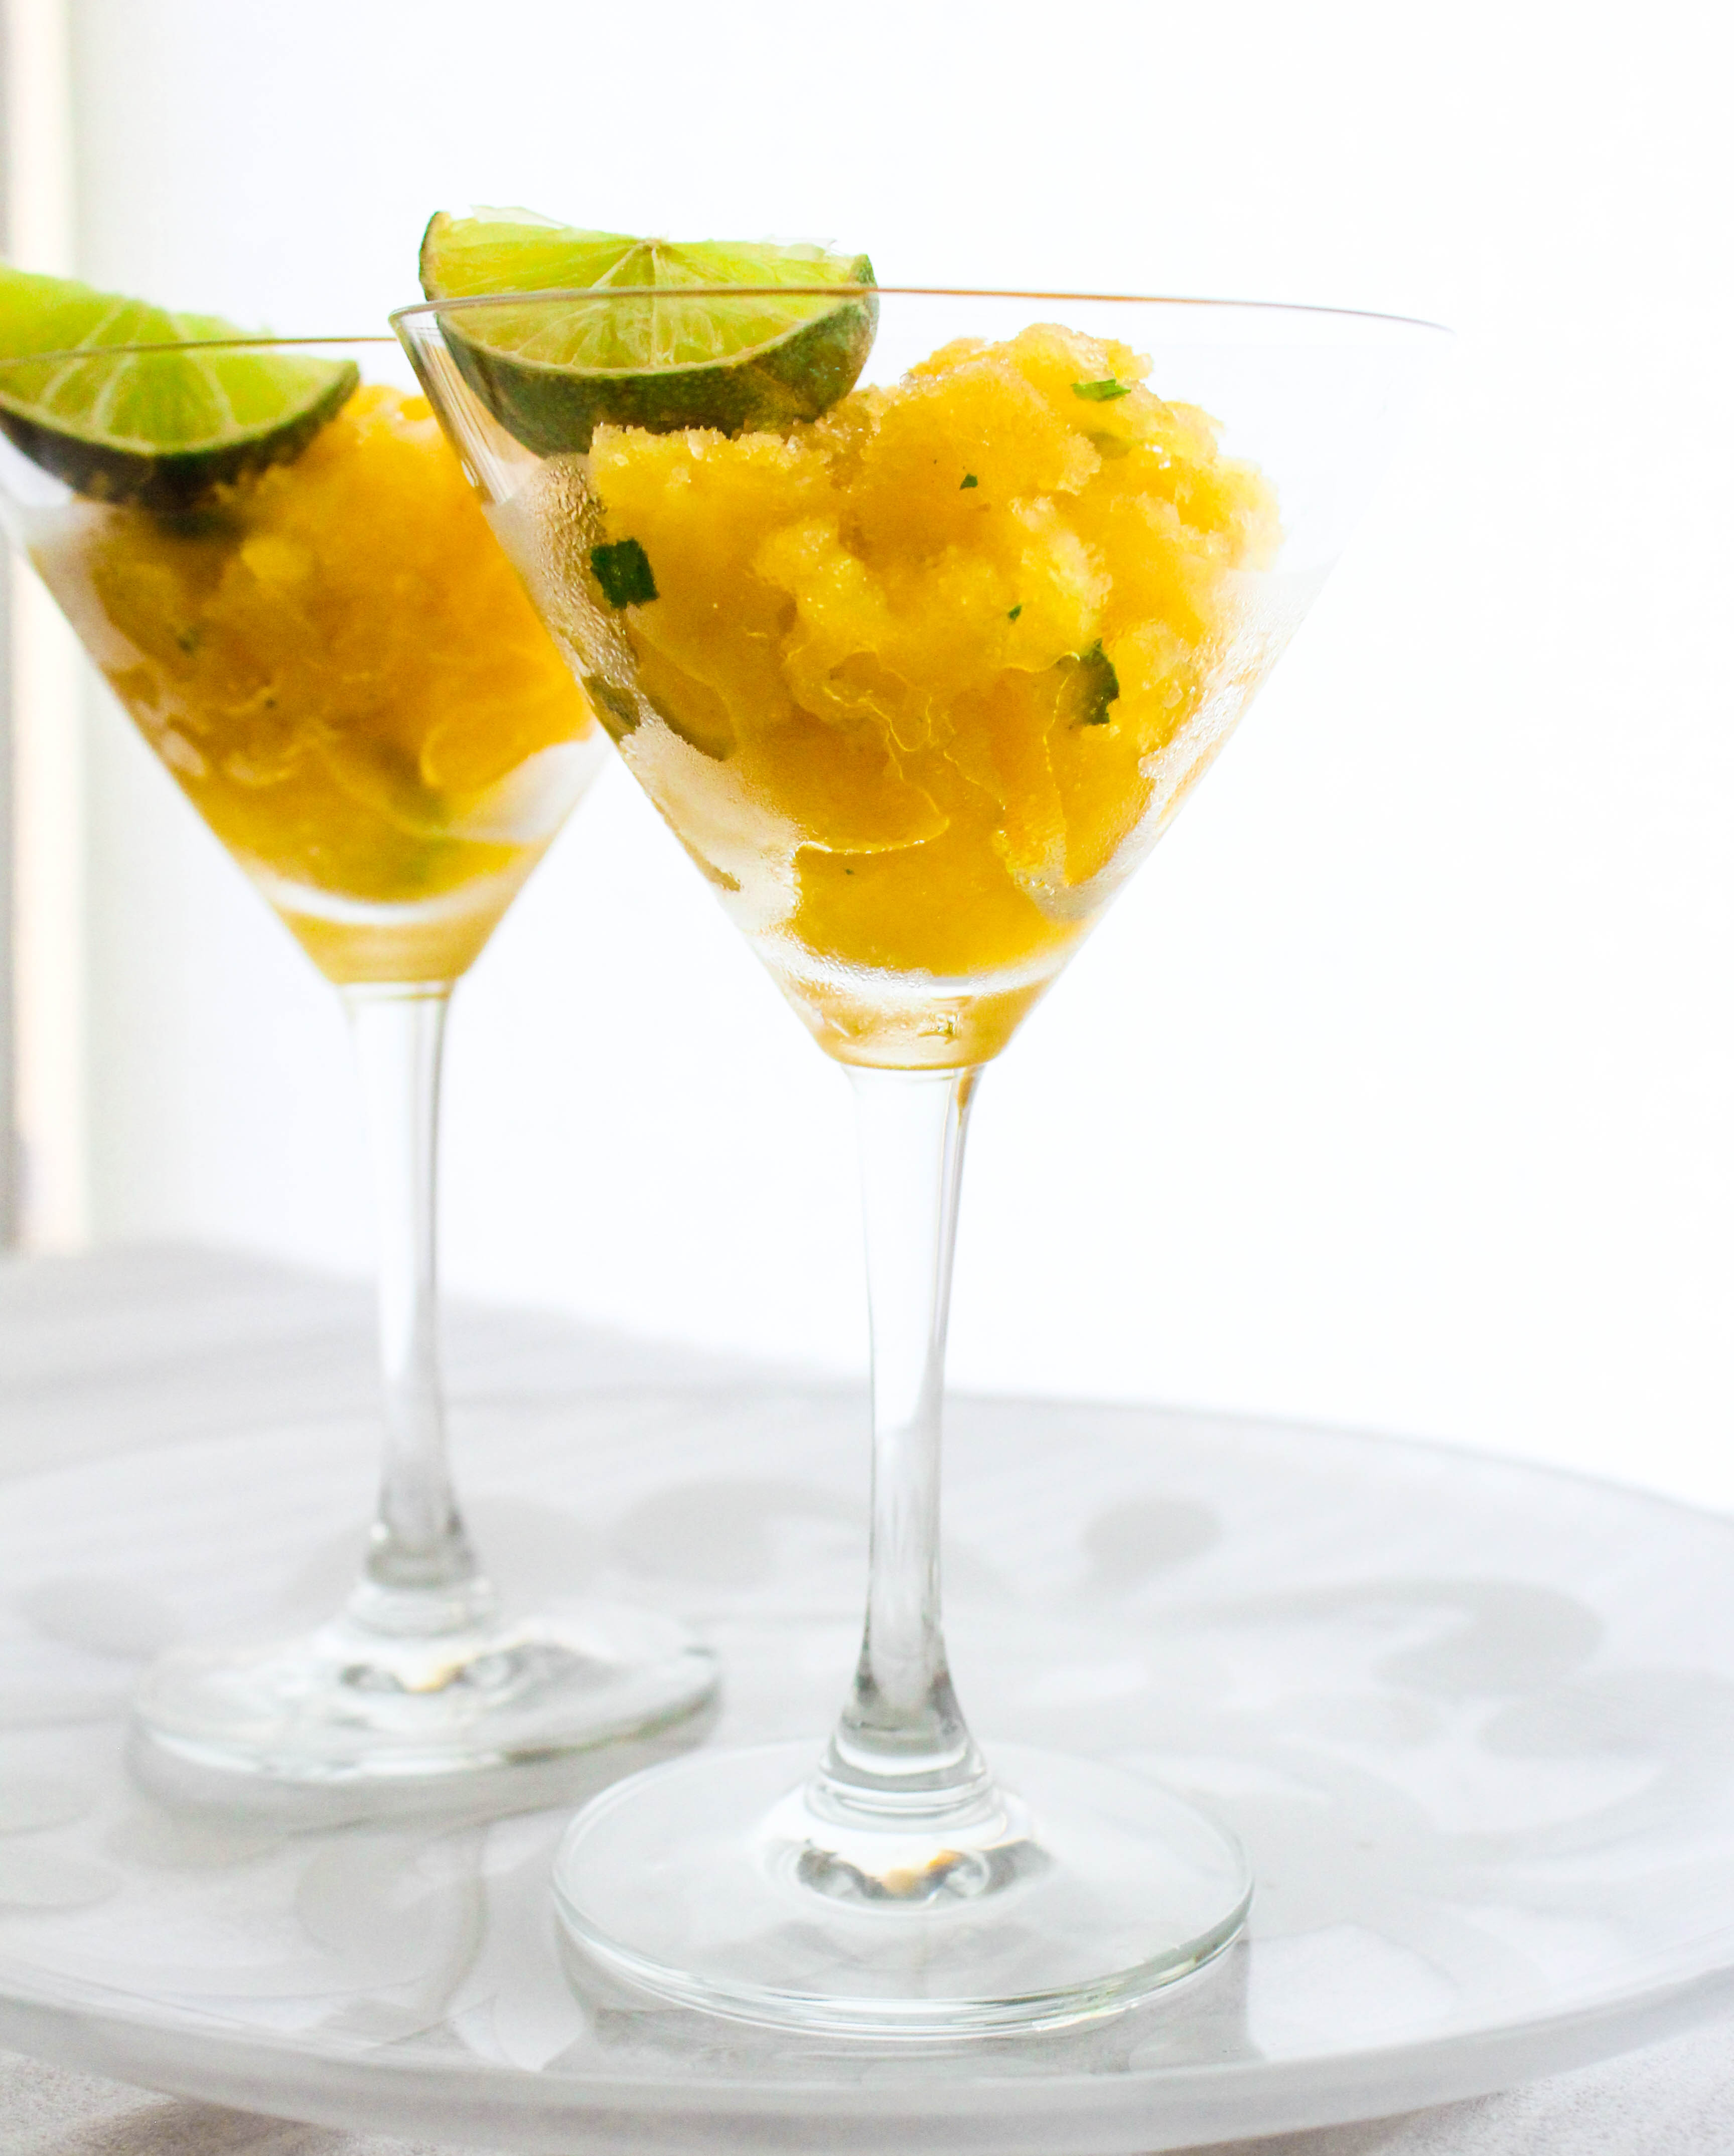
The flavours of this Granita are sensational. You have to taste to know. Mint and lime add a burst of freshness in your mouth which balances the sweetness of the mangoes.

IMG_7740

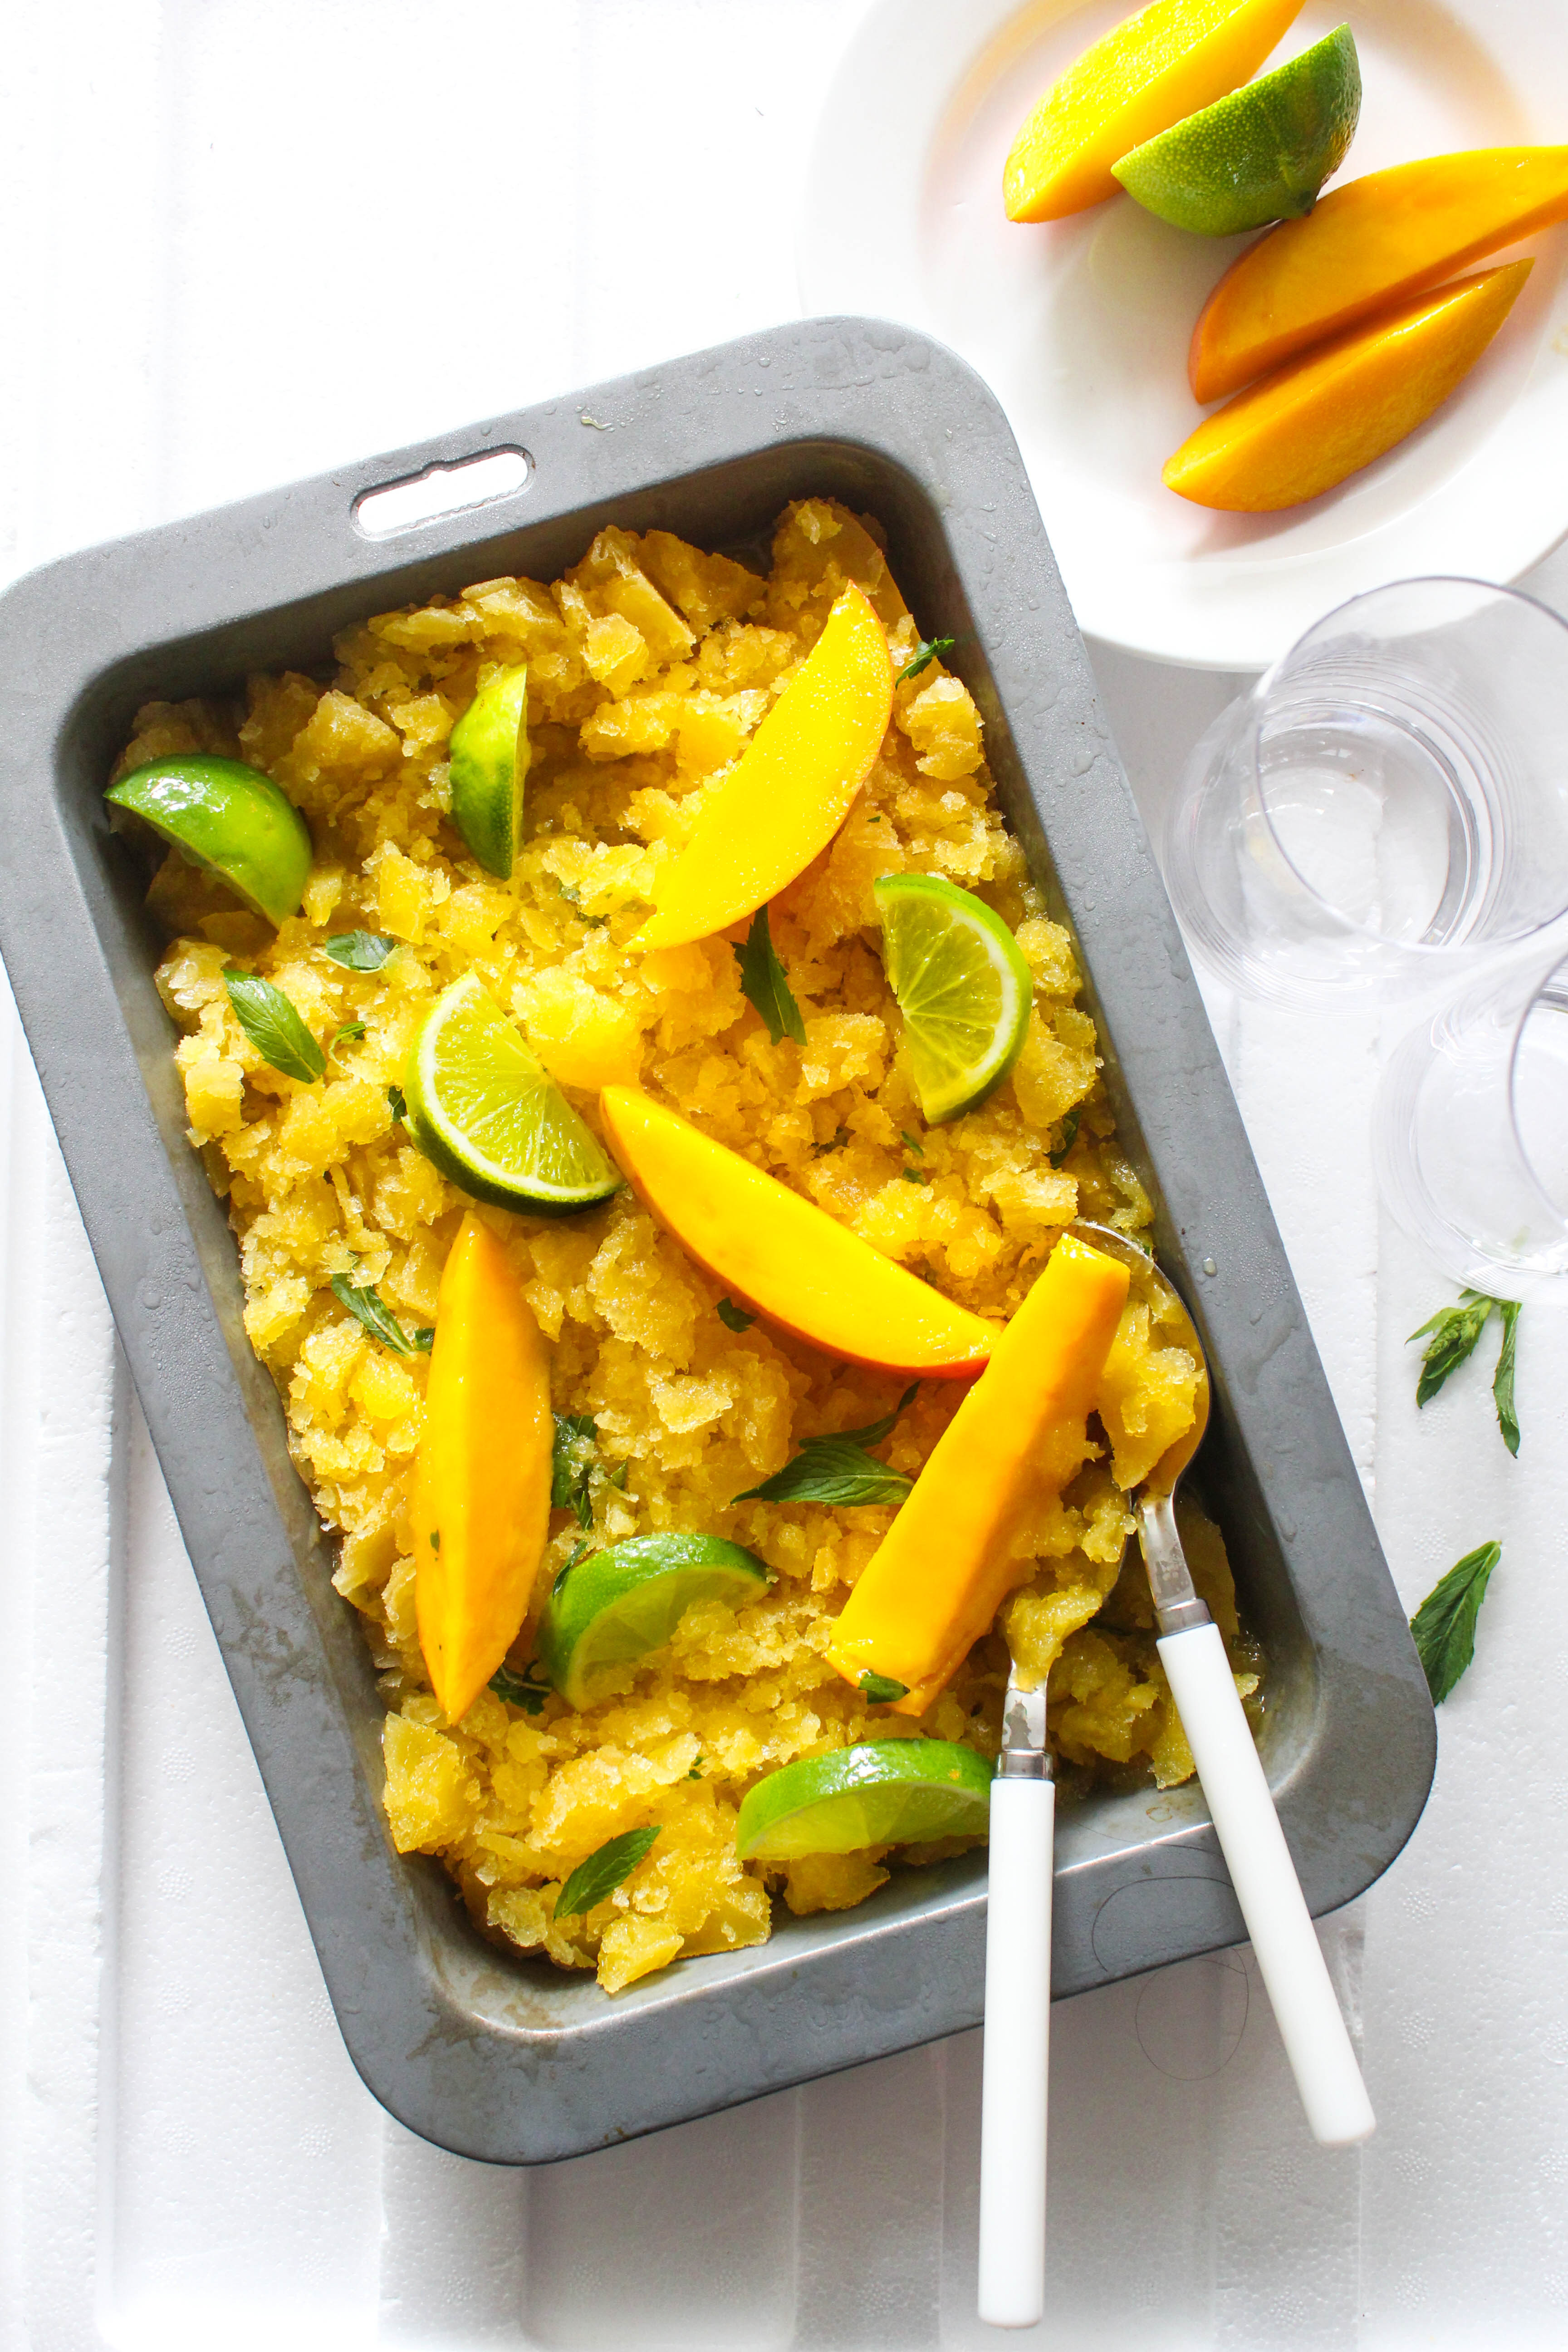
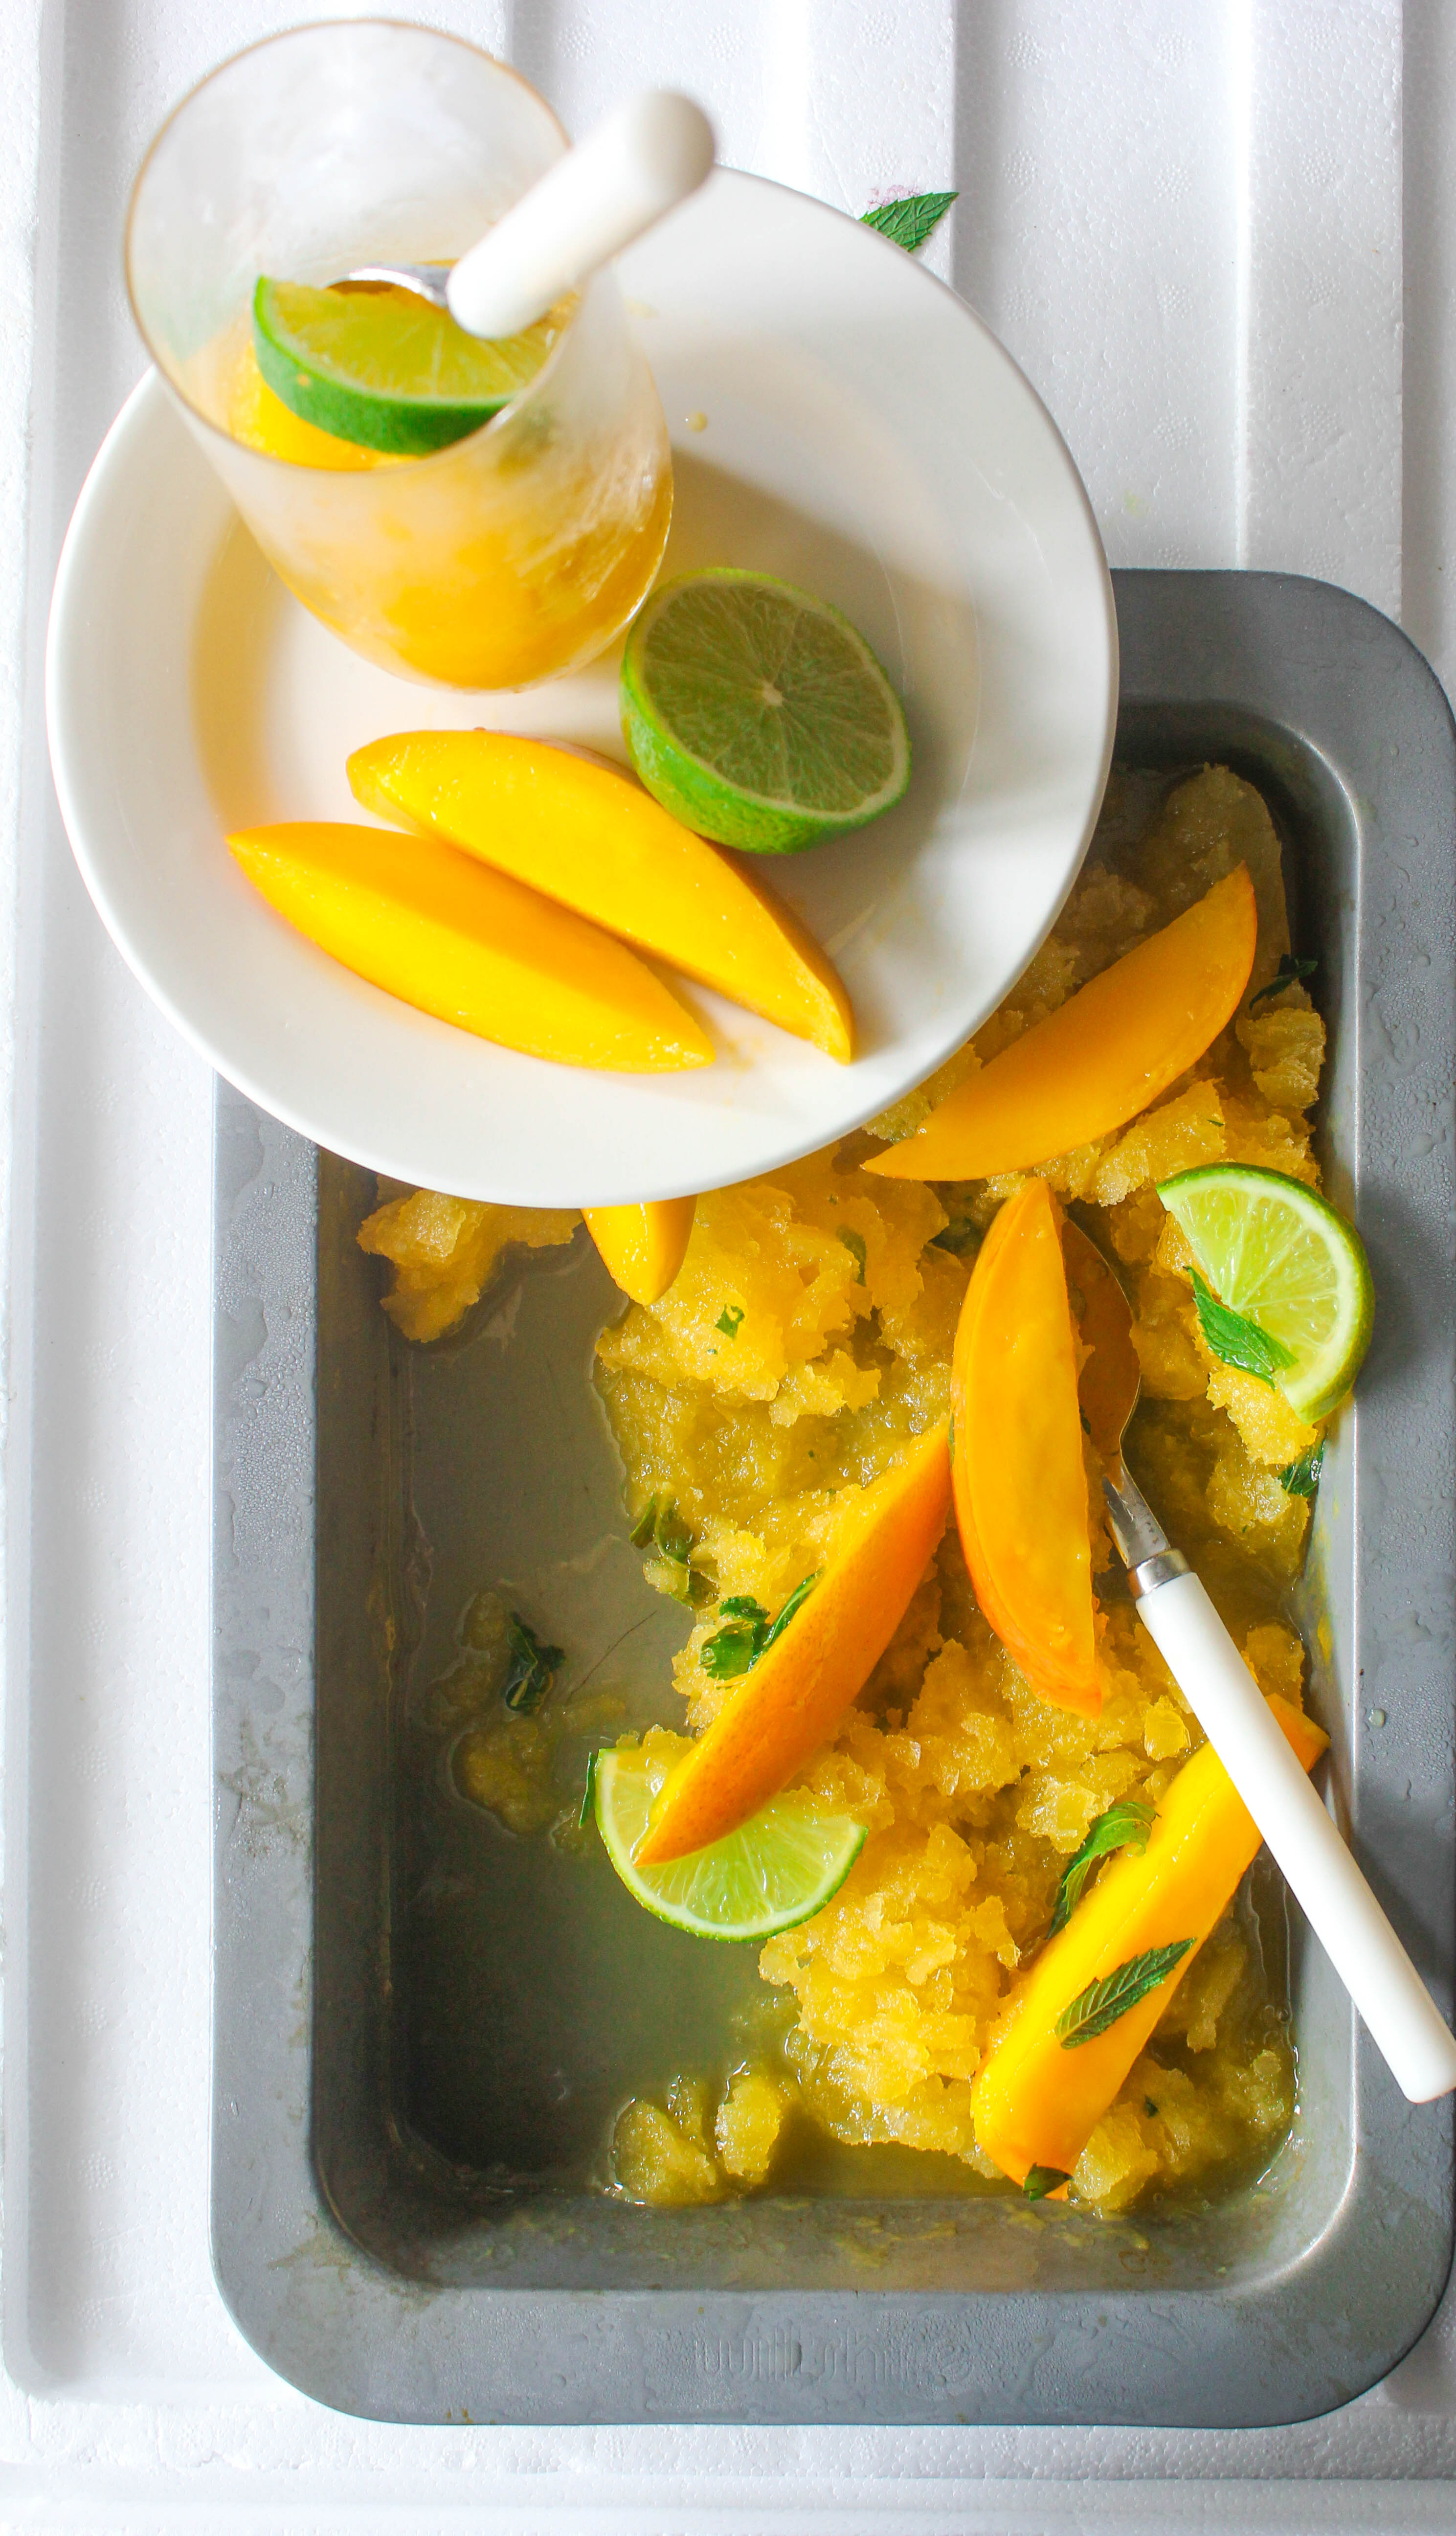
There are no hard and fast rules while making a Granita. One adds flavours of choice, sweetness as per taste. It can be served with fresh fruit, a fruit sauce or even yoghurt or cream. Store bought juices vary in sweetness, so the sugar may need adjustment.

IMG_7902

Mango, Mint and Lime Granita
Serves 6-8

500 ml store bought mango juice
1/4 cup sugar (or as per taste)
1/4 cup fresh mint leaves
Juice of 2 limes

Place the juice and sugar in a large saucepan over medium heat. Stir till sugar dissolves. Remove from heat. Cool slightly and add the mint leaves and lime juice. Pour into a shallow baking tray and cool to room temperature. Don’t discard the mint leaves. They get shredded and distributed during the process of shaving the Granita.

Carefully, transfer the tray into your freezer. Scrape at hourly intervals to form crystals until frozen (4-6 hours)


Tomato Garlic Prawn Risotto

23|02|2014

On my blog birthday, I was excited like a child. I wanted to do all things blog. Fortunately, the kids were at the day care so there wasn’t much coming in the way. Having the day to myself, I created and photographed 4 recipes. The caramelised white chocolate cheesecake was already sitting in the refrigerator. I wanted to cut the cake on the same day so picture taking was left till the last minute. Since, I wanted the berries to be as fresh as possible I had to pick them up on the same day too. With boxes of strawberries, raspberries and blackberries at hand and not wanting to waste them (Not using precious berries for recipes especially photography has been considered ‘wasting’ at our place since the time this blog came into being) I wanted to make a few desserts.

IMG_8354

By lunch time, there were bowls of batter everywhere. Baking trays kept going in and coming out of the oven. My clothes had stains of cocoa and meringue. There were sweet things in excess and no lunch. I have no shame in admitting that had it been me alone I would be happy to lunch on cake batters and dessert. But since it was a question of feeding others…that too parents-in-law, I knew I had to switch gears to savory.

IMG_8355

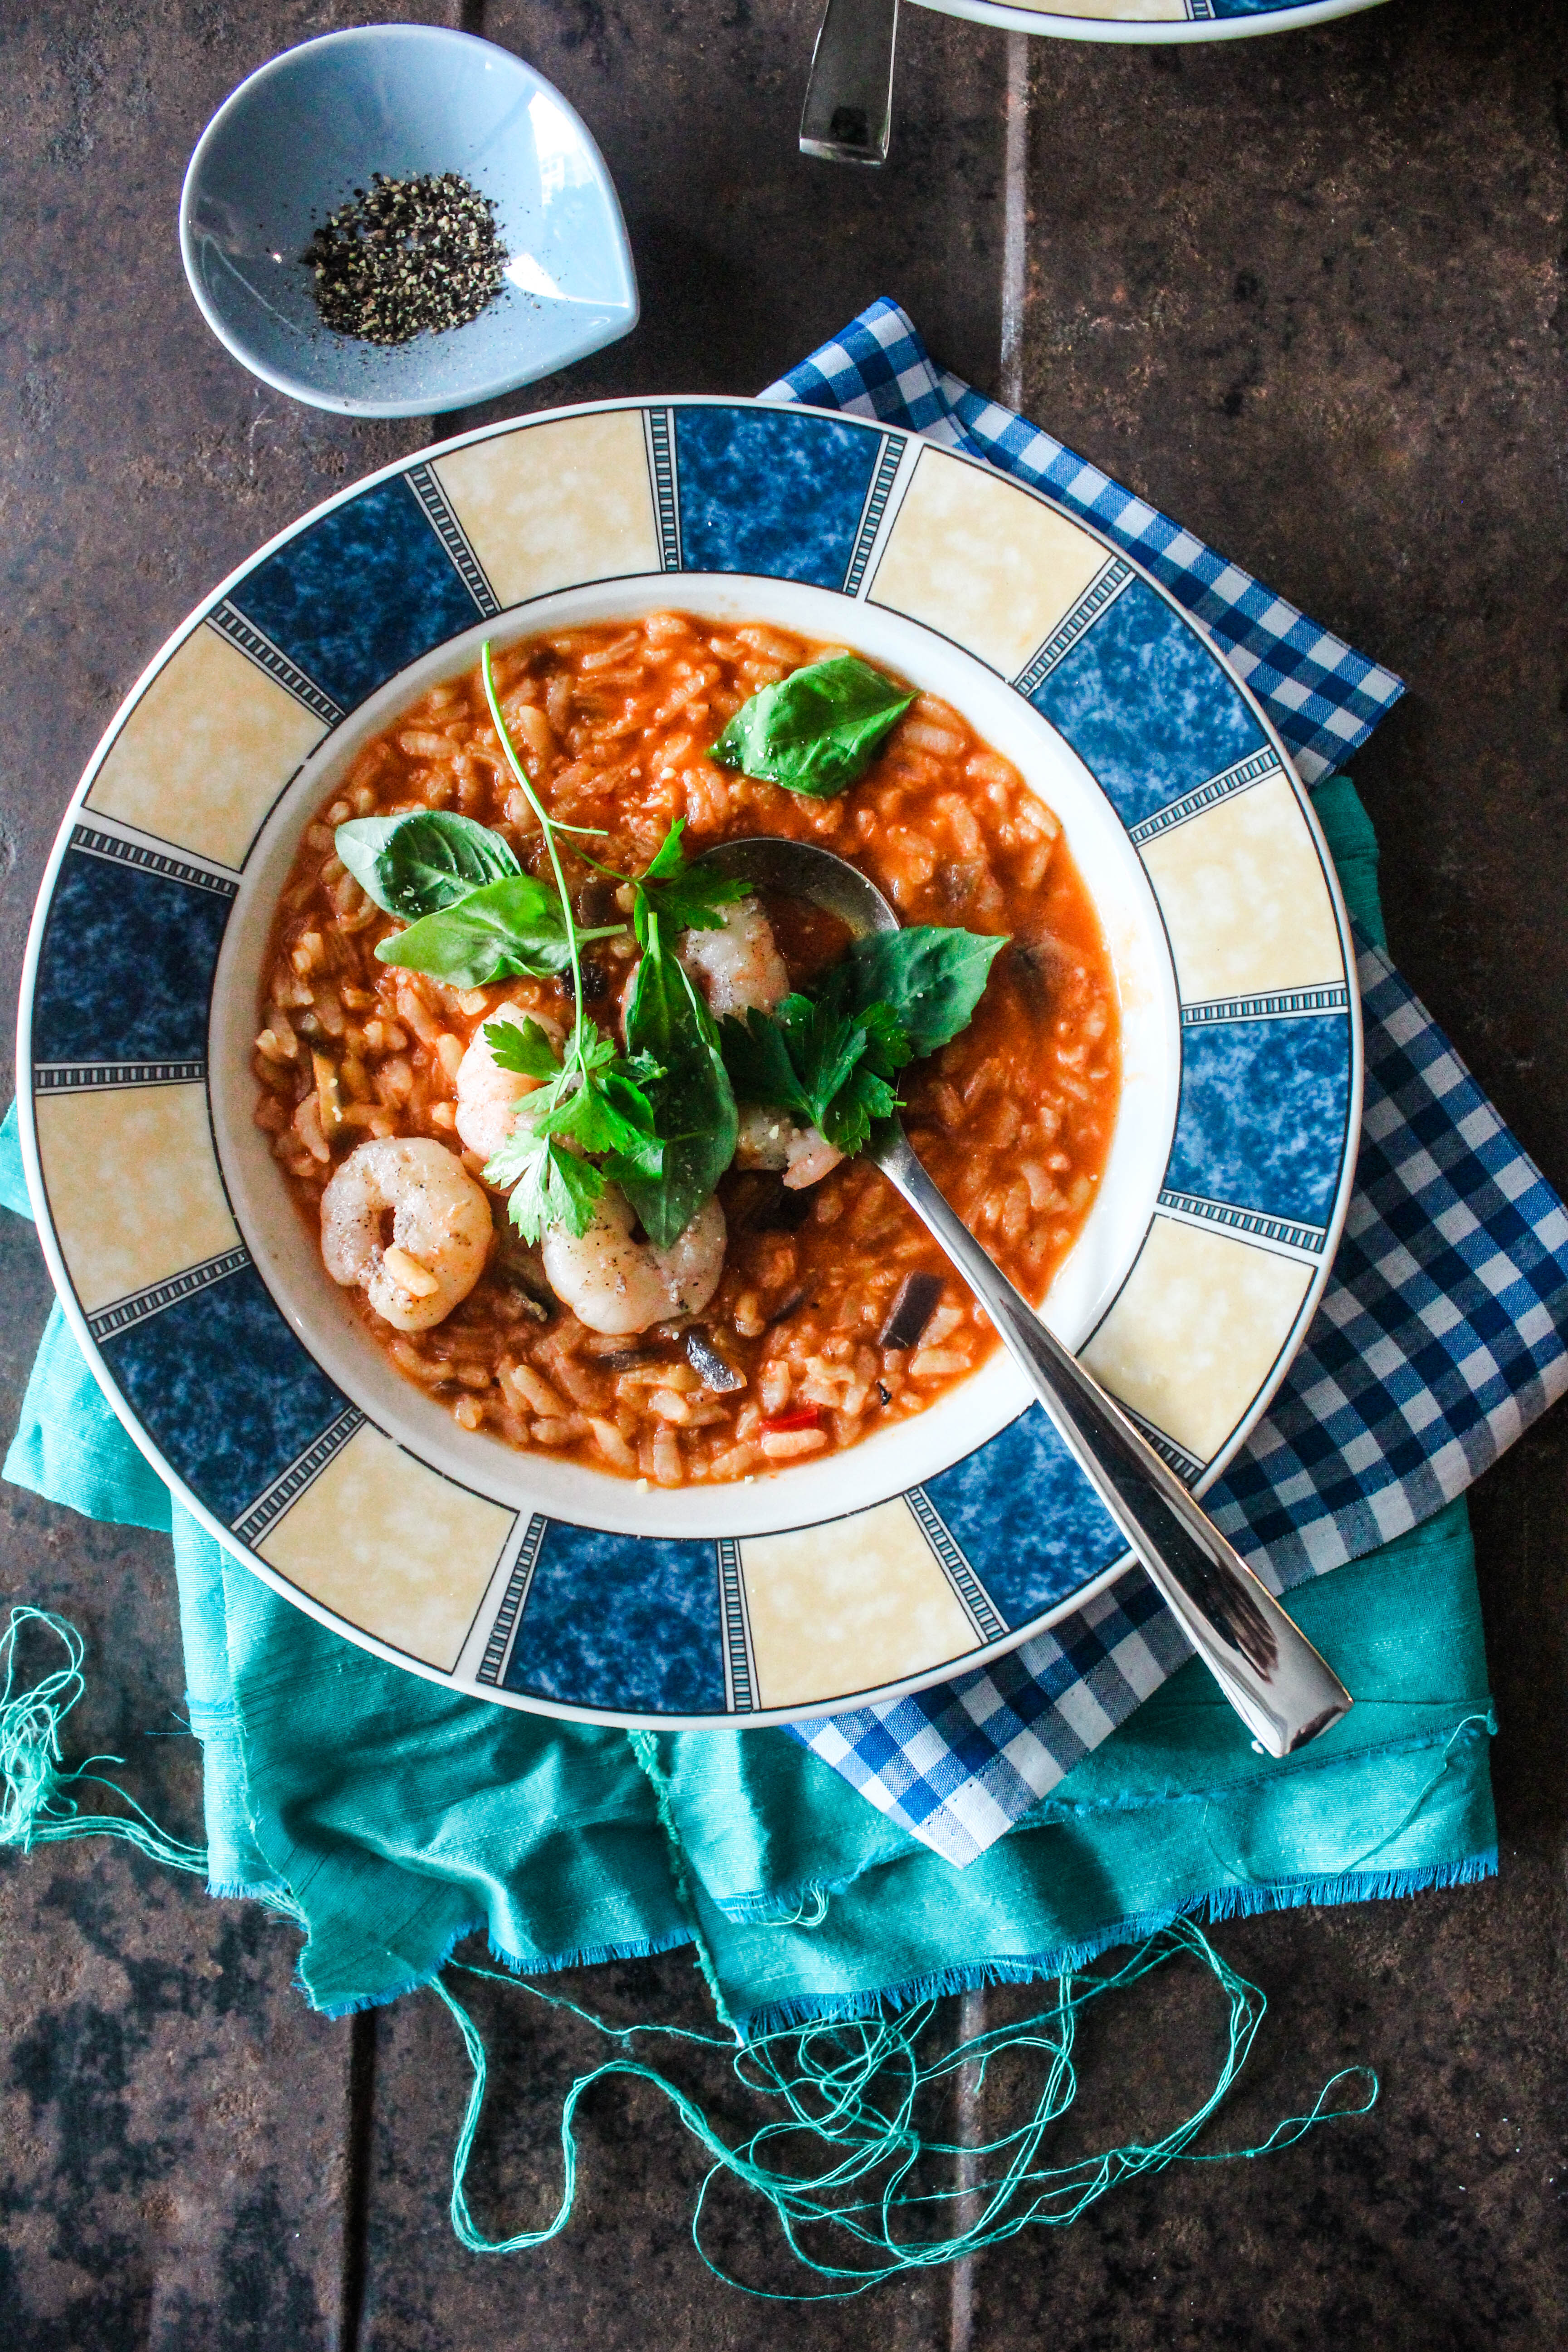
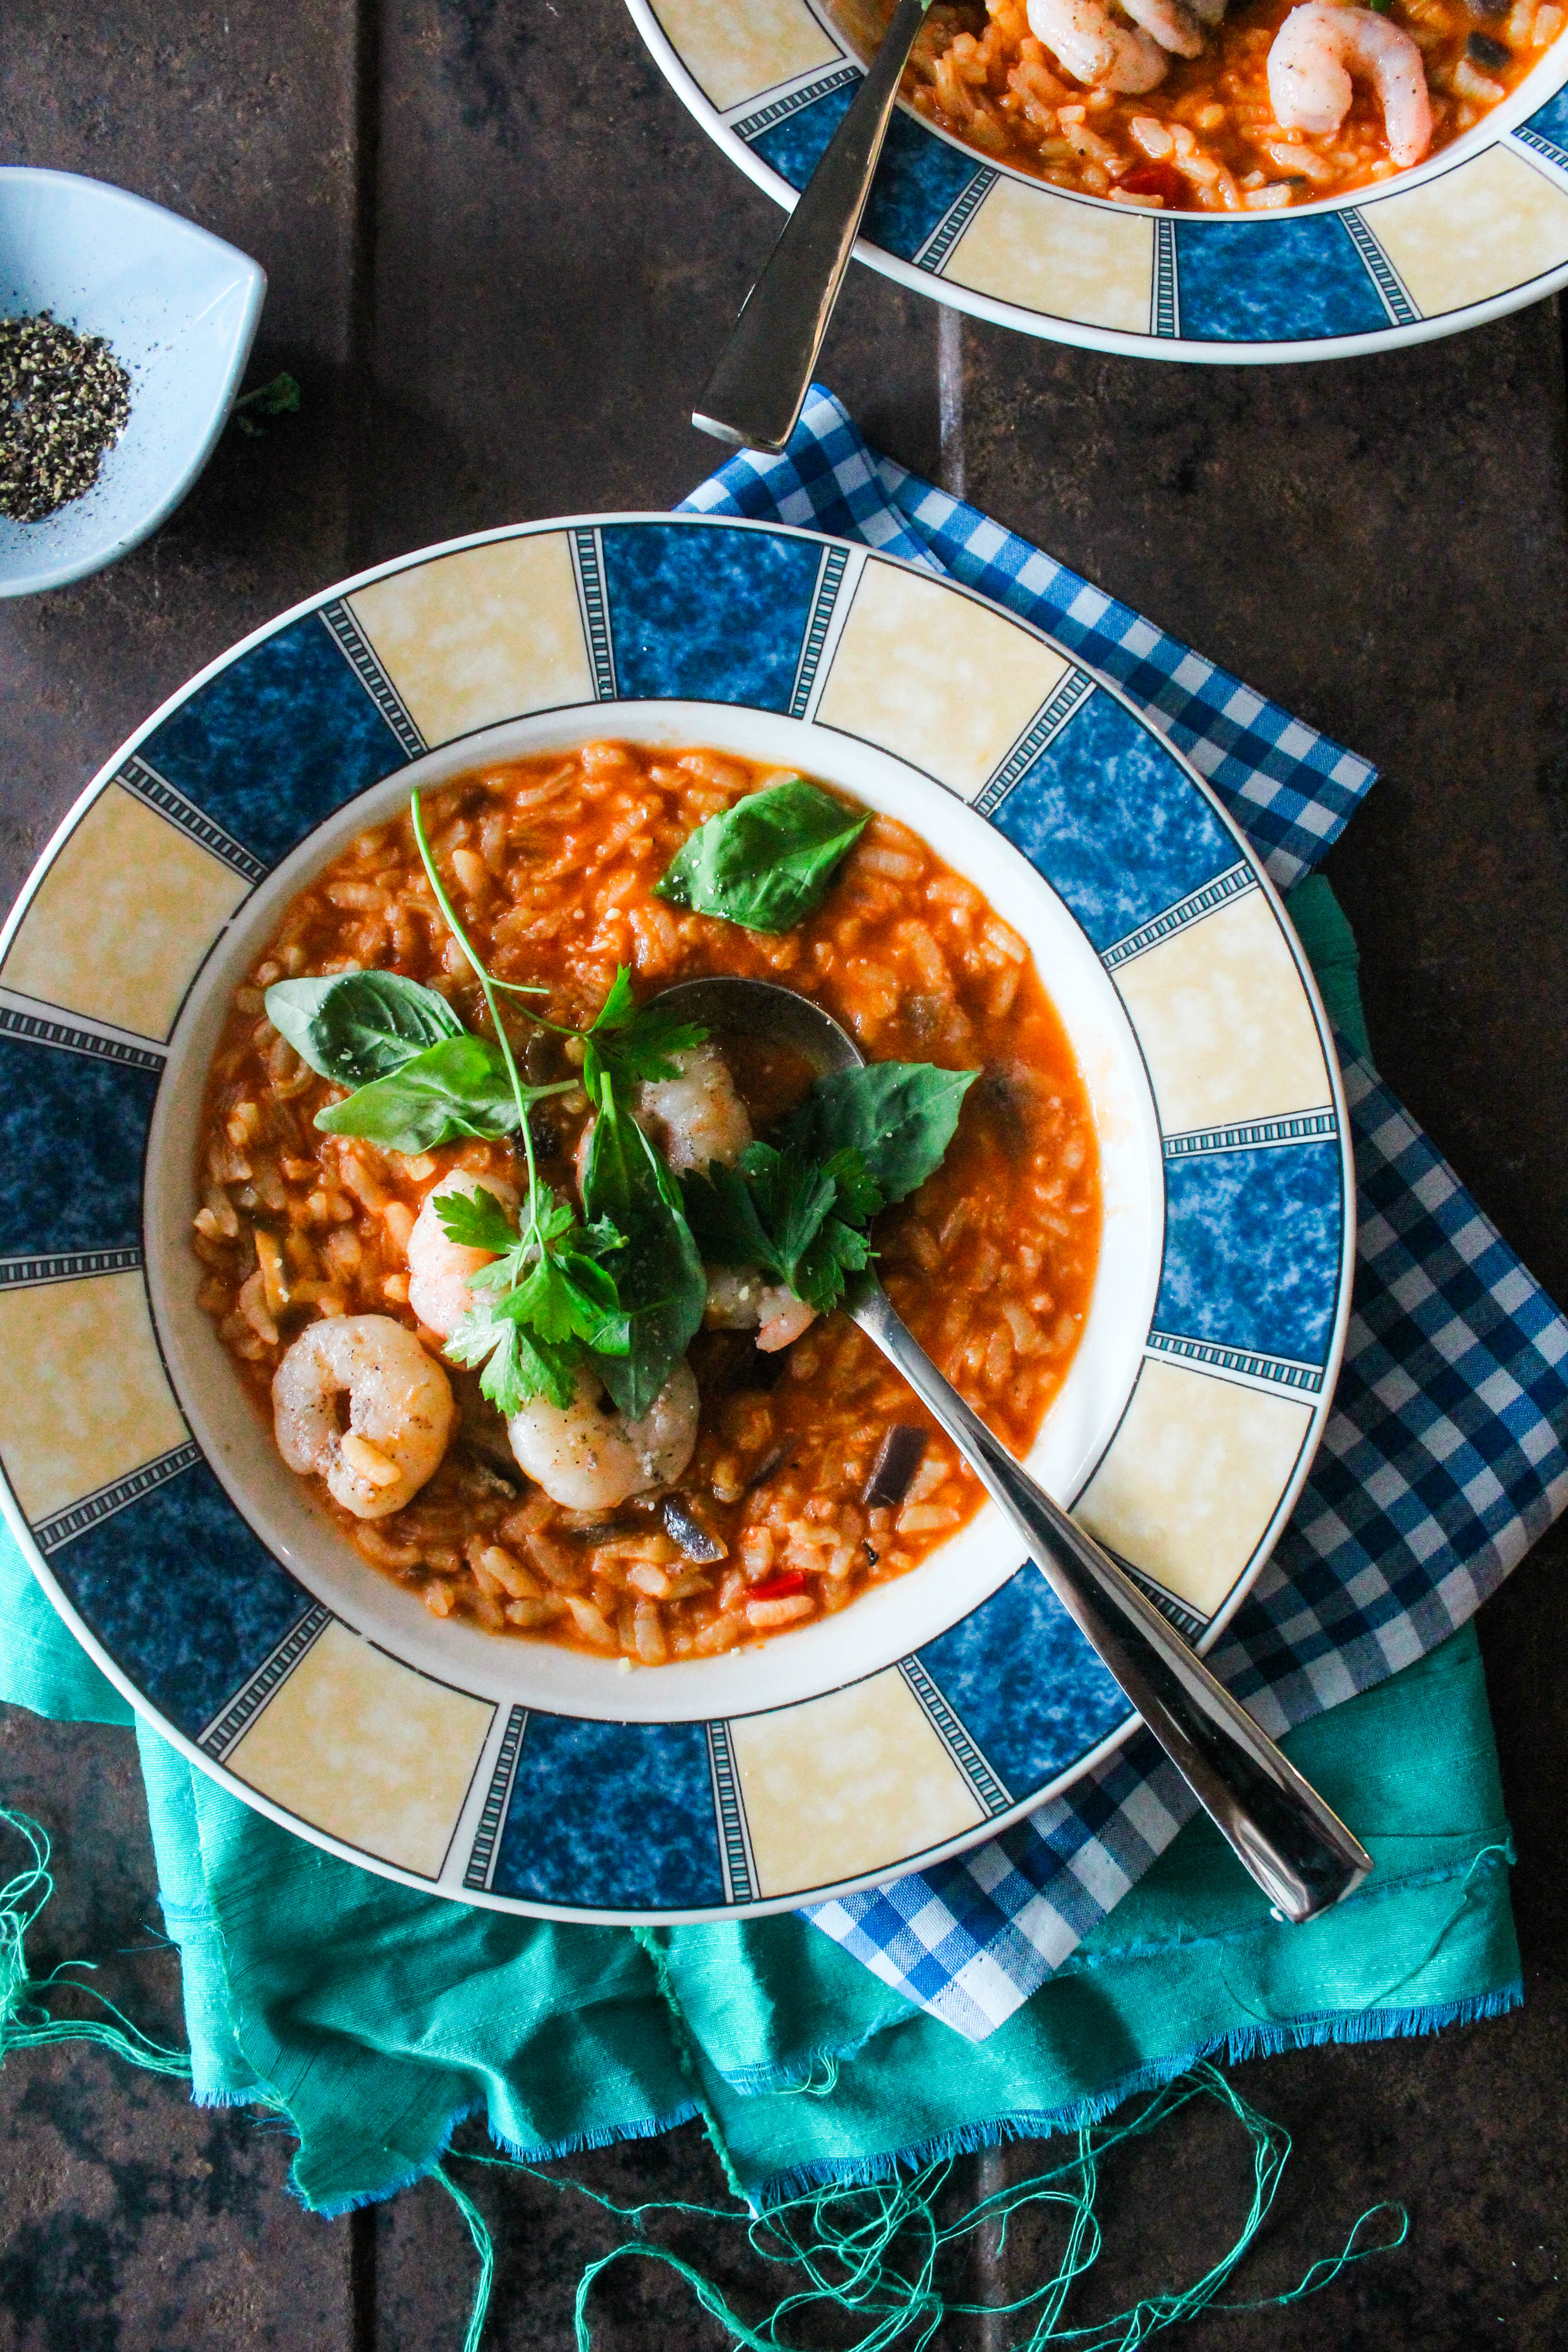
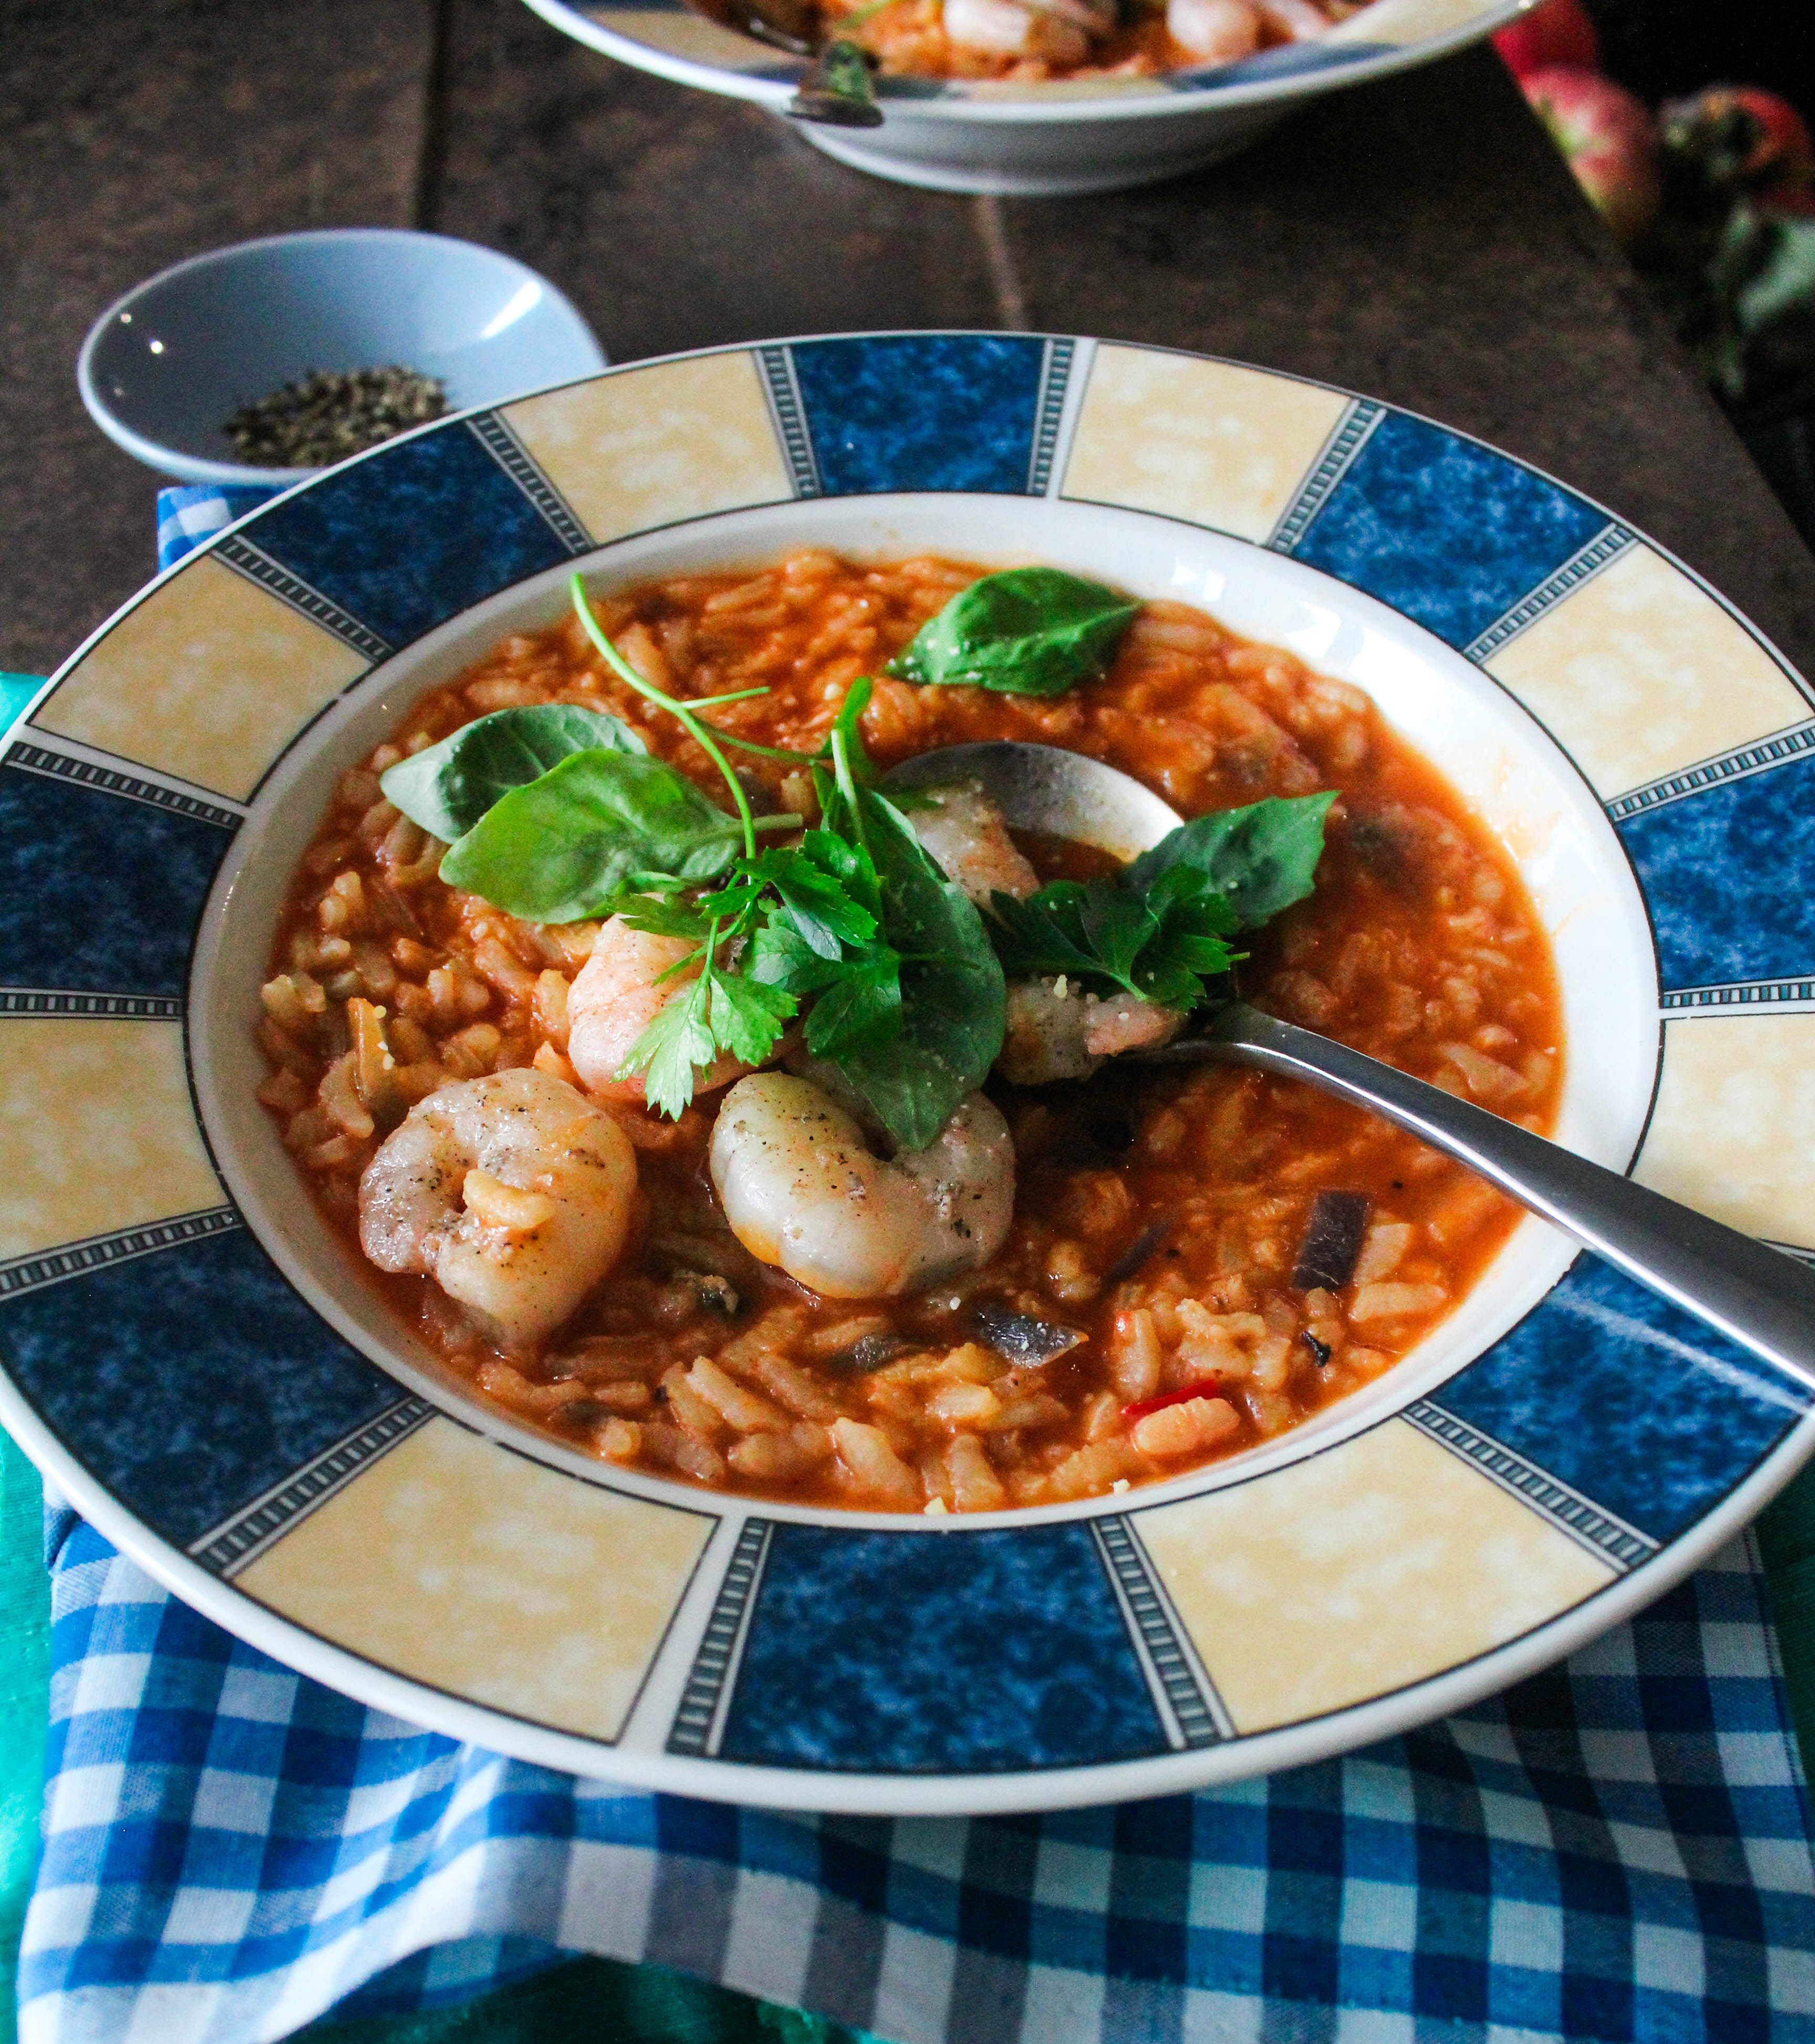
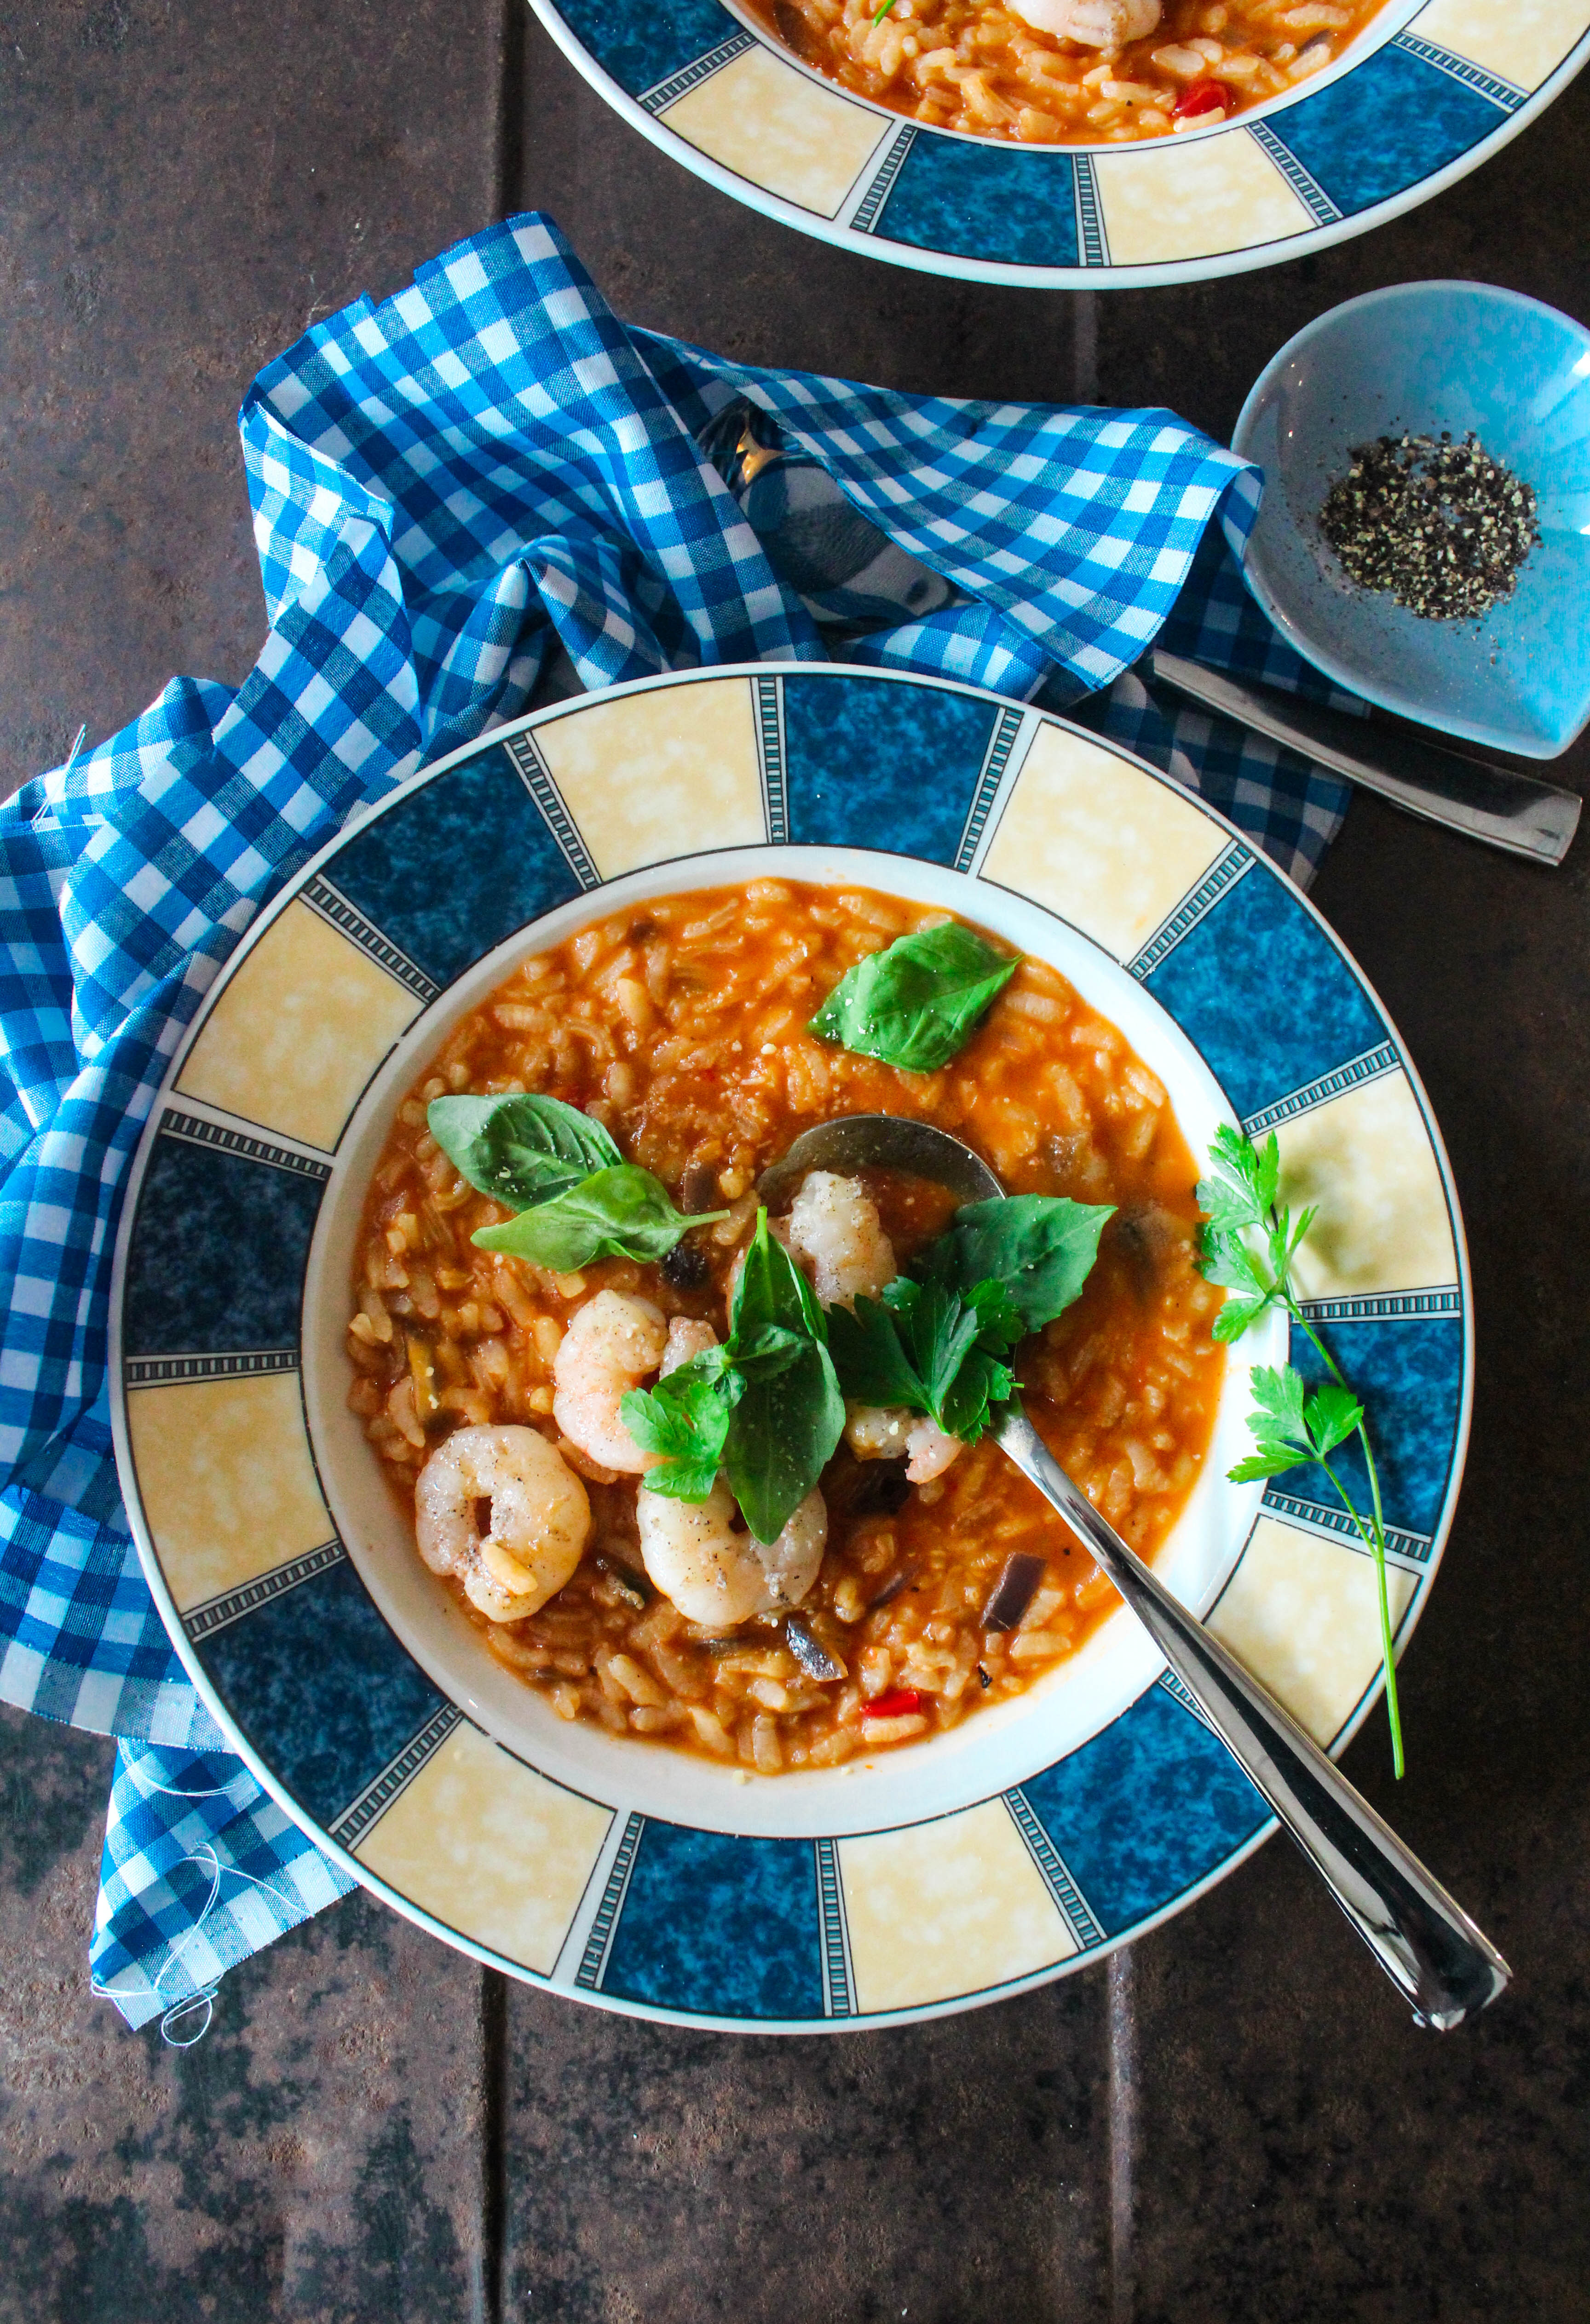
Like most times, lunch came out of tins and cans. Some pasta sauce, Arborio rice, frozen prawns, a splatter of parmesan, fresh herbs from the garden and lunch was on the table. Risotto is made frequently at our place. We are rice lovers so I stock up on all kinds of rice. Since risotto can be easily turned into warm and filling one pot meals, I can cook up one at a short notice.

IMG_8353

I have used frozen prawns on account of convenience. Fresh is always a great option. I usually prefer to keep a pasta sauce with chunky vegetables to add nutrition to the meal. You can go with your preference.

IMG_8347

Tomato Garlic Prawns Risotto
Serves 4-5

3 cups salt-reduced chicken stock
1 cup tomato pasta sauce
2 tablespoons olive oil
1 small brown onion, finely chopped
2 garlic cloves, crushed
1 1/2 cups Arborio rice
1/2  cup finely grated parmesan
20-22 frozen prawns
salt and pepper, to taste
a handful of fresh basil and parsley leaves

Place stock, pasta sauce and 2 cups cold water in a saucepan over medium heat. Cook for 6 to 7 minutes or until mixture starts to simmer.

Heat 1 tbsp. oil in a large pan. Add onion and garlic. Cook, stirring, for 2 minutes or until softened. Add rice. Cook, stirring, for 1 to 2 minutes or until rice is coated. Add 1/3 cup stock mixture. Cook, stirring until stock has absorbed. Repeat with remaining stock, 1/3 cup at a time, until liquid has absorbed and rice is tender.

Meanwhile, heat the remaining oil in a frying pan and add the prawns. Stir fry for 2-3 minutes or until cooked through.

Add prawns to the rice. Stir to mix. Season with salt and pepper. Stir in 1/4 cup of the parmesan. Top with basil, parsley and remaining parmesan. Serve.

  • « Previous Page
  • 1
  • …
  • 34
  • 35
  • 36
  • 37
  • 38
  • …
  • 45
  • Next Page »
Hey Sugar
Cake
Link to my Facebook Page
Link to my Instagram Page
Link to my Pinterest Page
Link to my Mail Page
Subscribe to this site
Fresh Awards
2019 Aus mumpreneur
2019 aus mumpreneur
Mumbrella

Copyright © 2026 · Sugar Et Al · Designed by Smitten Blog Designs · Log in