• Home
  • Recipe Index
    • Recipe Index
    • Breakfast/Brunch
    • Cakes and Puddings
    • Chocolate
    • Cookies and cupcakes
    • Custard and Mousse
    • Gluten Free
    • Ice Cream
    • Mains
    • Other Sweet Treats
    • Snack/Appetizers
    • Soups and Salads
    • Tarts and Pies
    • Vegetarian
  • About
  • Cookbook
  • Portfolio
  • Store
  • Press
  • Work with Me

Sugar et al

Because Life is a blend of flavours...

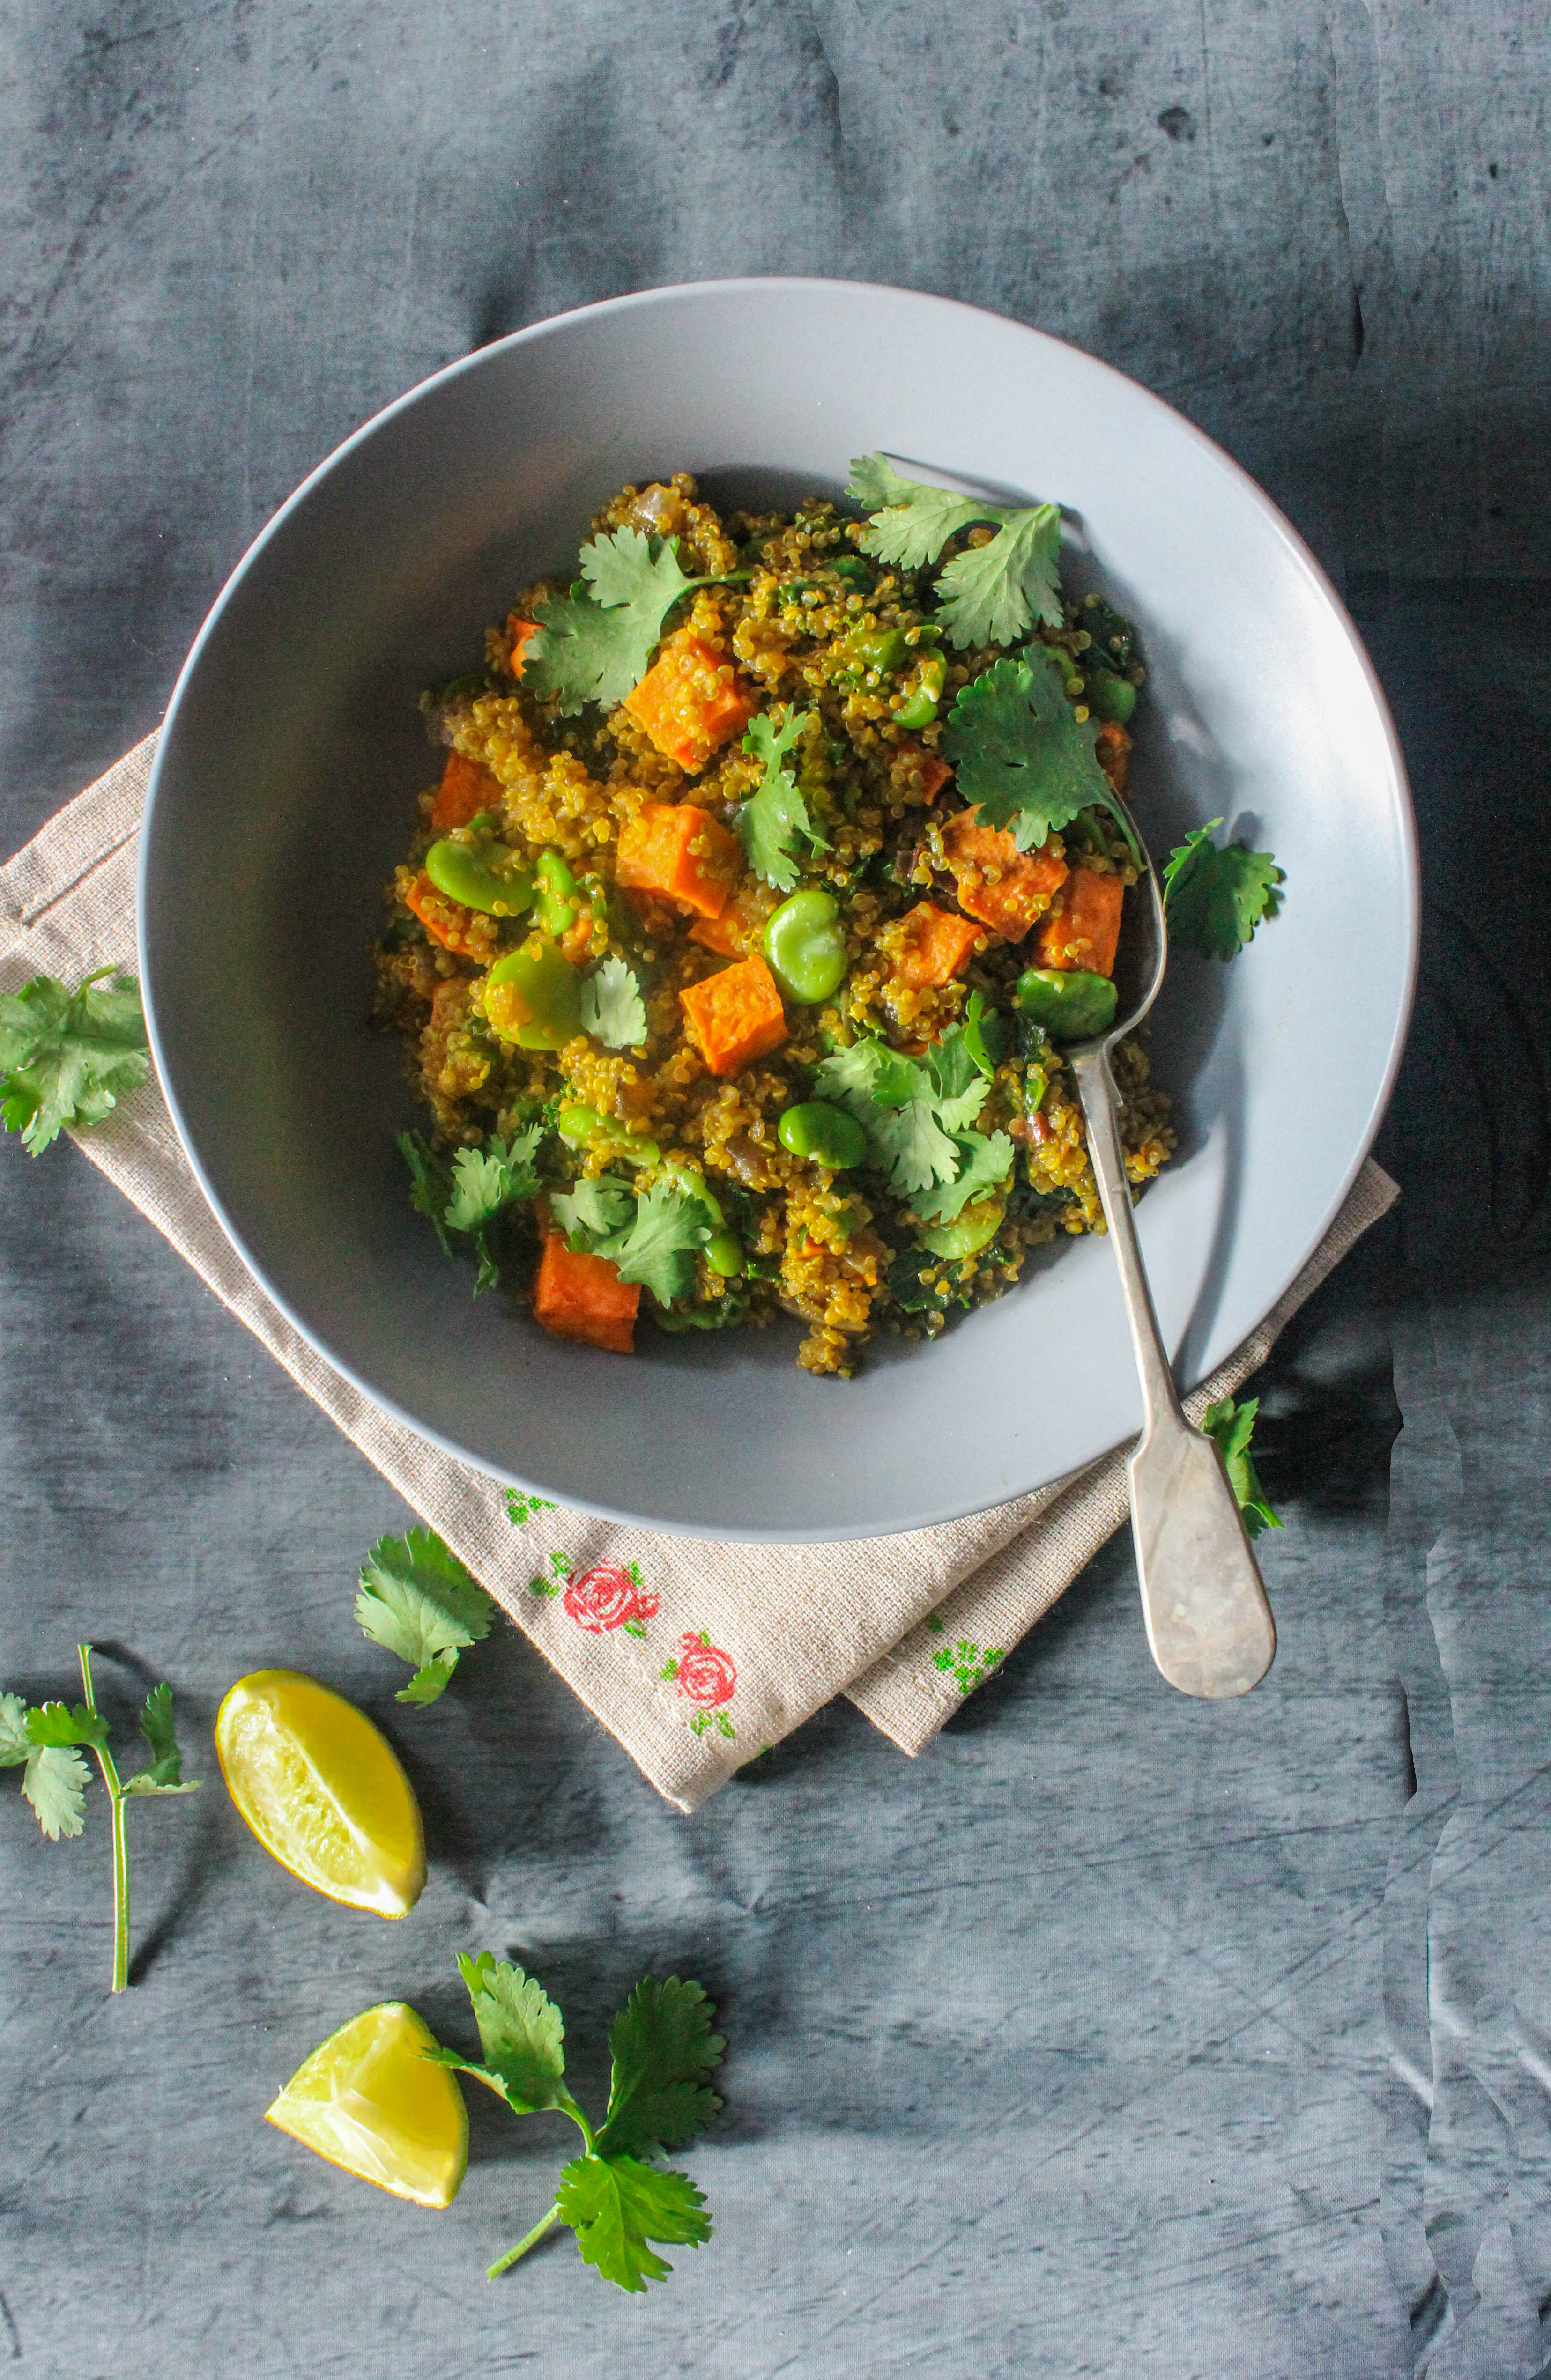
Spicy Kale, Sweet Potato And Broad Bean Quinoa Pilaf

13|05|2014

Quinoa. Everyone apparently wants to include it in their diet, it is increasingly visible in supermarkets and health stores. there are recipes doing the rounds all over the Internet, even in restaurant menus and it is categorised as a Superfood. Right? These are facts that I came to learn about Quinoa since it took the food industry by storm. But despite knowing this I was never convinced to buy quinoa or cook with it. I would come across packaged quinoa every time I would go past the health section of the grocery store, hold it in my hands…take a good look and then return it back on the shelf. Nothing about it appeared different from any other grain.
IMG_9762-2

It was not until recently that I started including quinoa in my meals. I was looking for healthy alternatives to rice that would make a meal by itself without much fuss. More importantly it had to take up flavours well. Though I use couscous at times on account of the convenience of making it, I’ve never been a fan. I was surprised how easy it was to cook with quinoa and it would go with any kind of cuisine. It was easy to blend it into a dish whether Italian, Mexican or Indian.
IMG_9792

But what is a Superfood? And why is Quinoa one? There is so much information on these topics in the Internet but in simple terms, Superfoods are those foods that offer multiple benefits for the body without a high amount of fat or calories accompanying them. Clearly, Quinoa offers many proven nutritional benefits while introducing very little calories and fat to the diet.  It is a tiny grain that cooks up like rice and has a mild, nutty flavor and a light, fluffy texture. High in protein and fibres, it’s benefits have far outdone the benefits of any other grain available. The important thing is that you can incorporate it into your breakfast, lunch or supper as it is versatile.
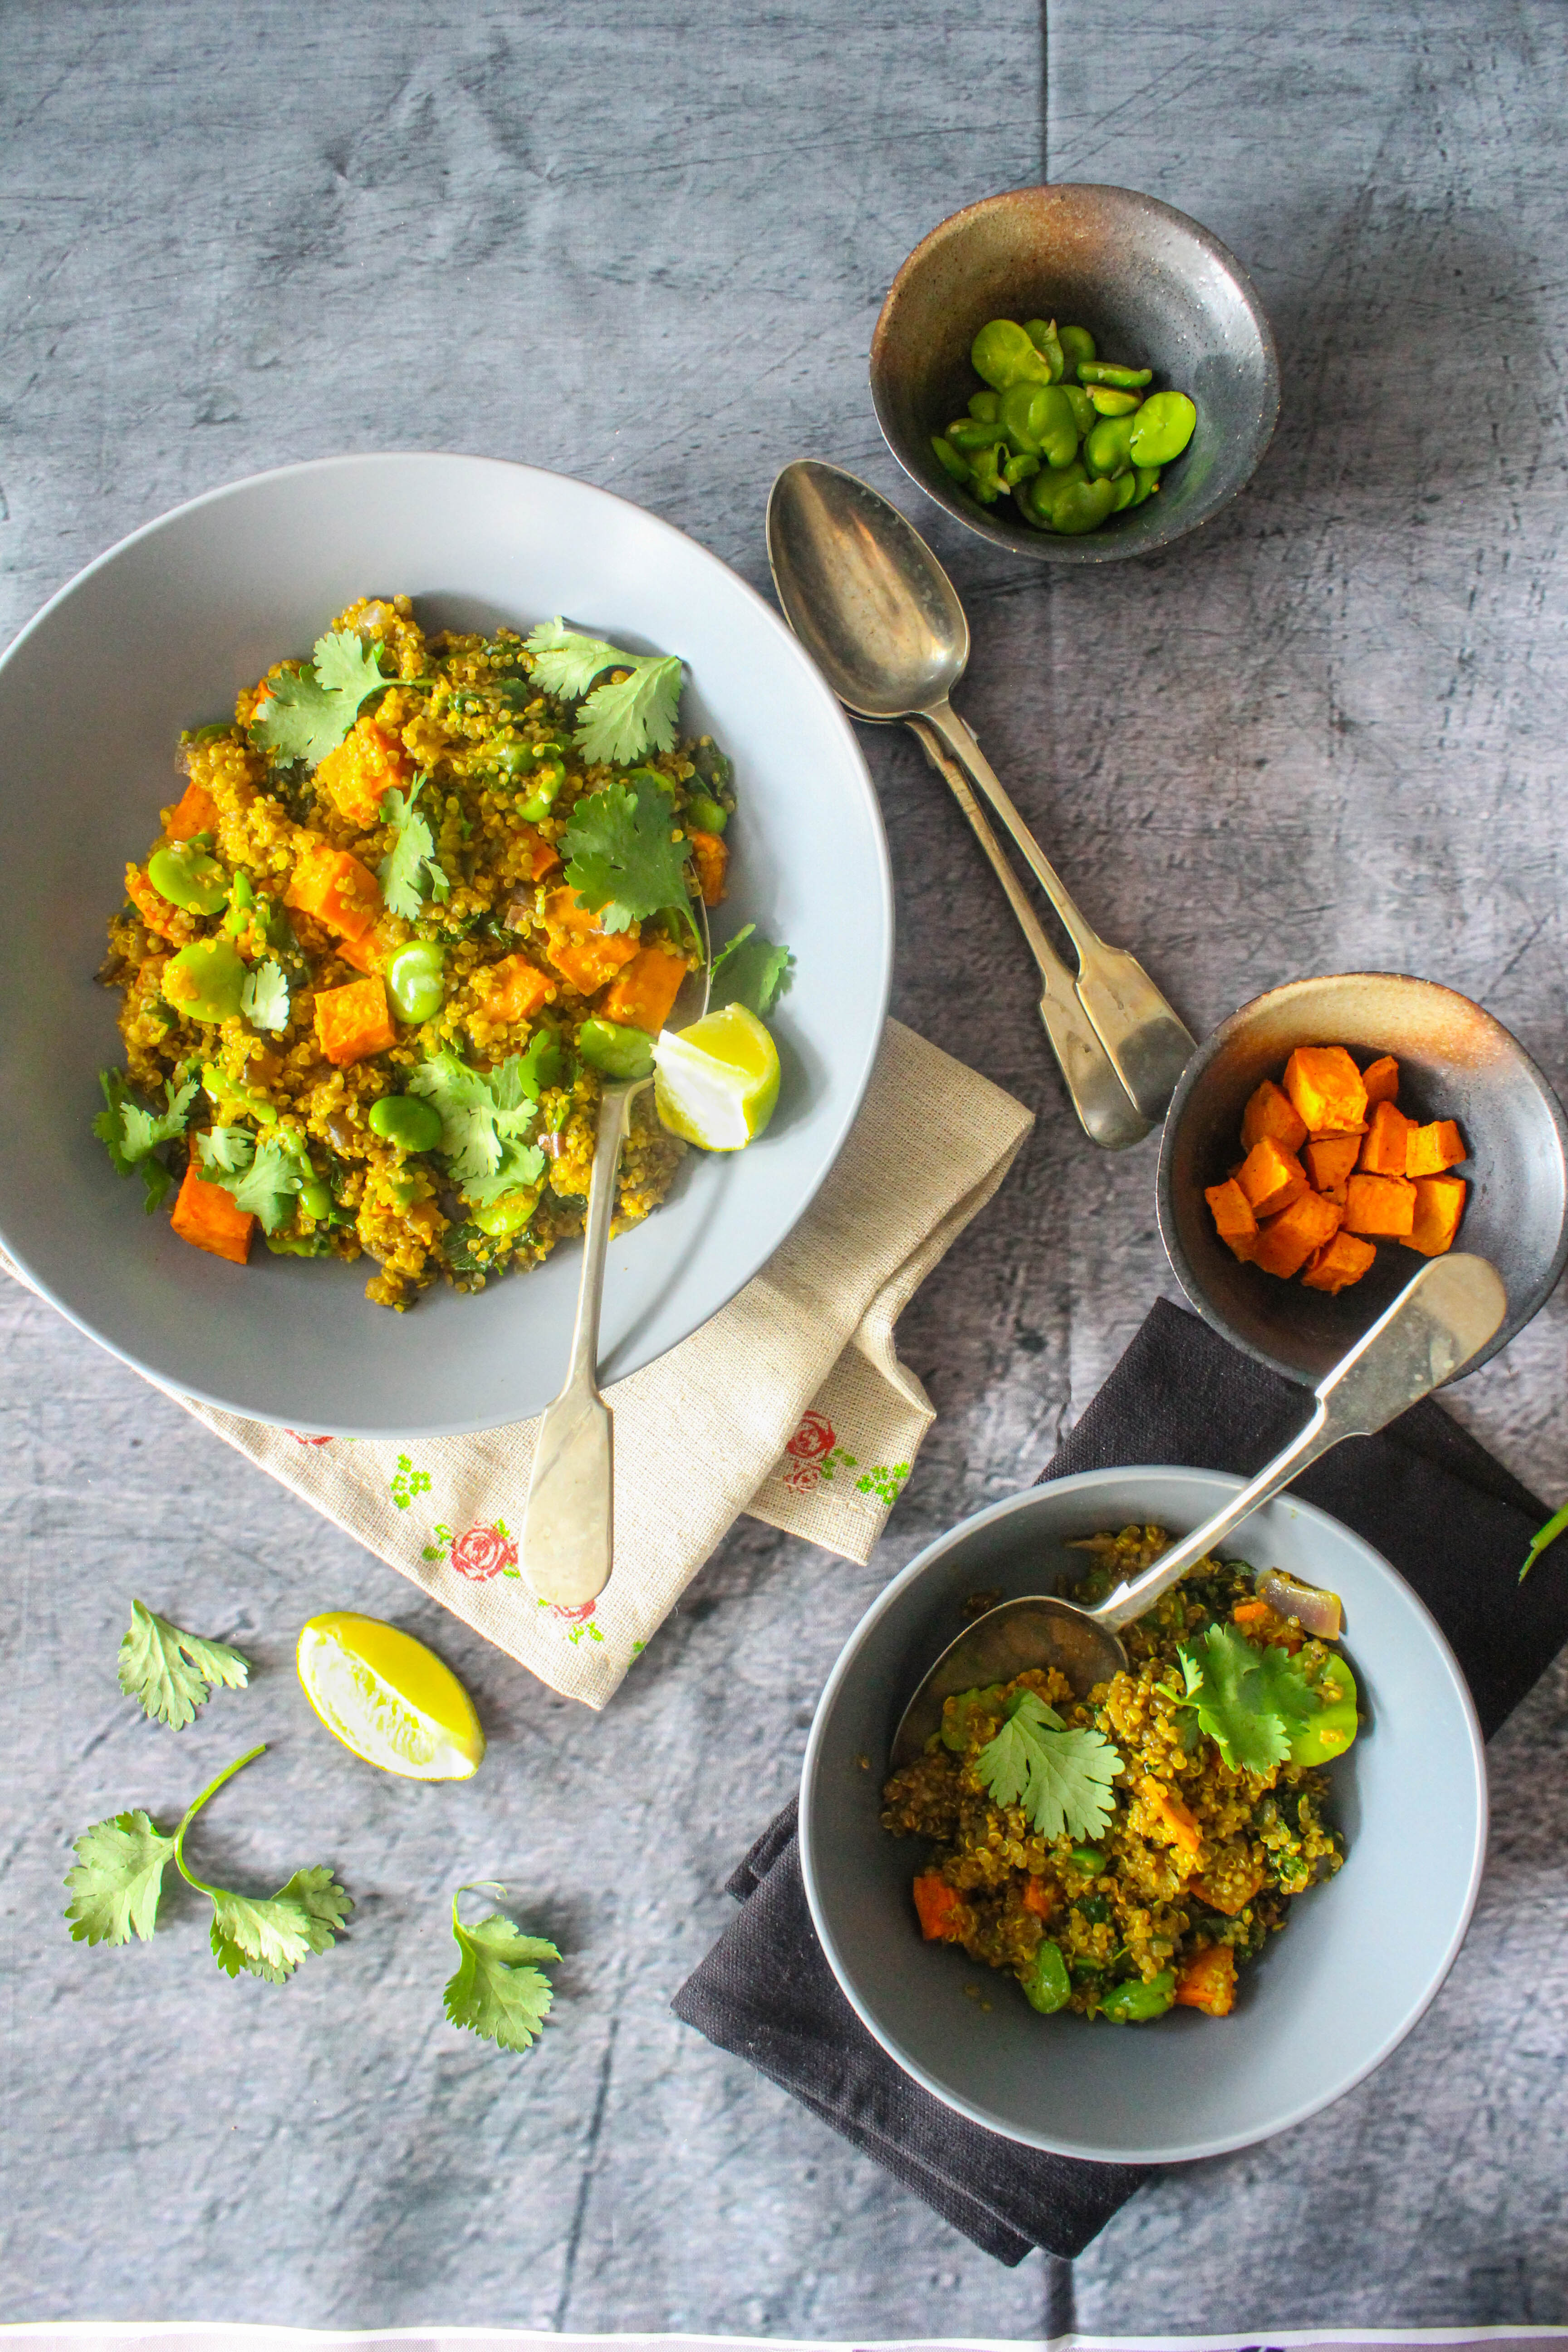
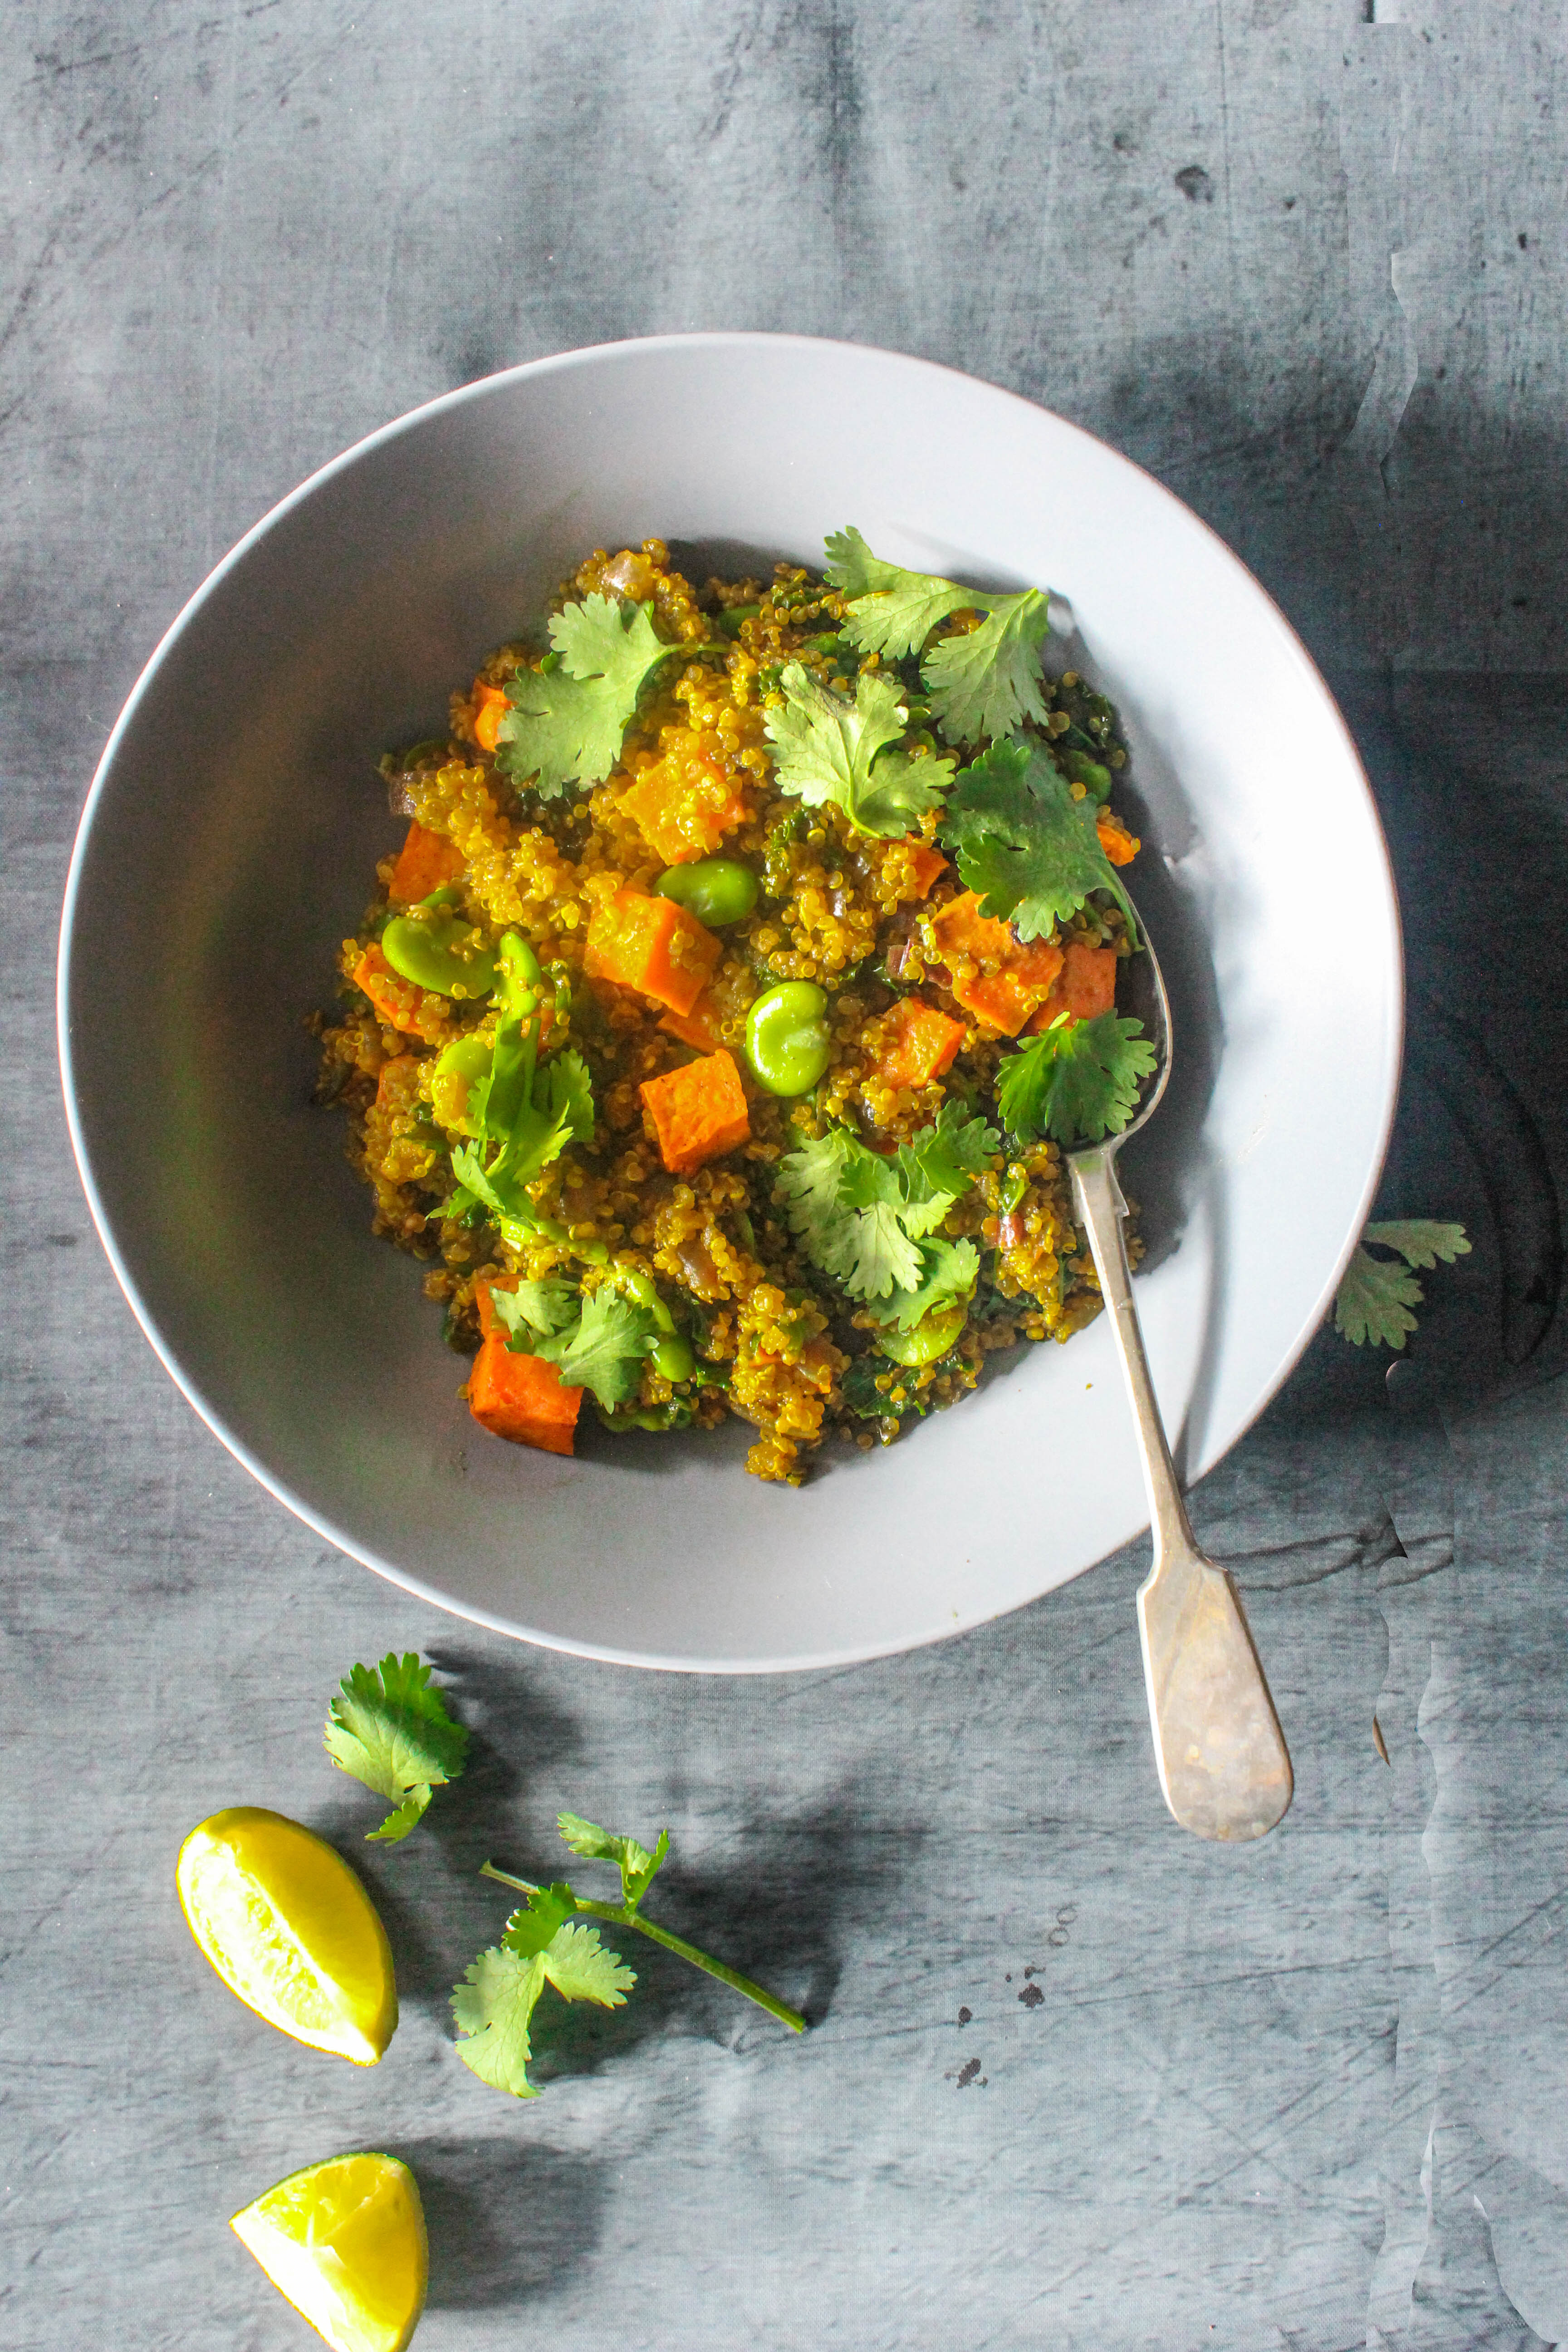
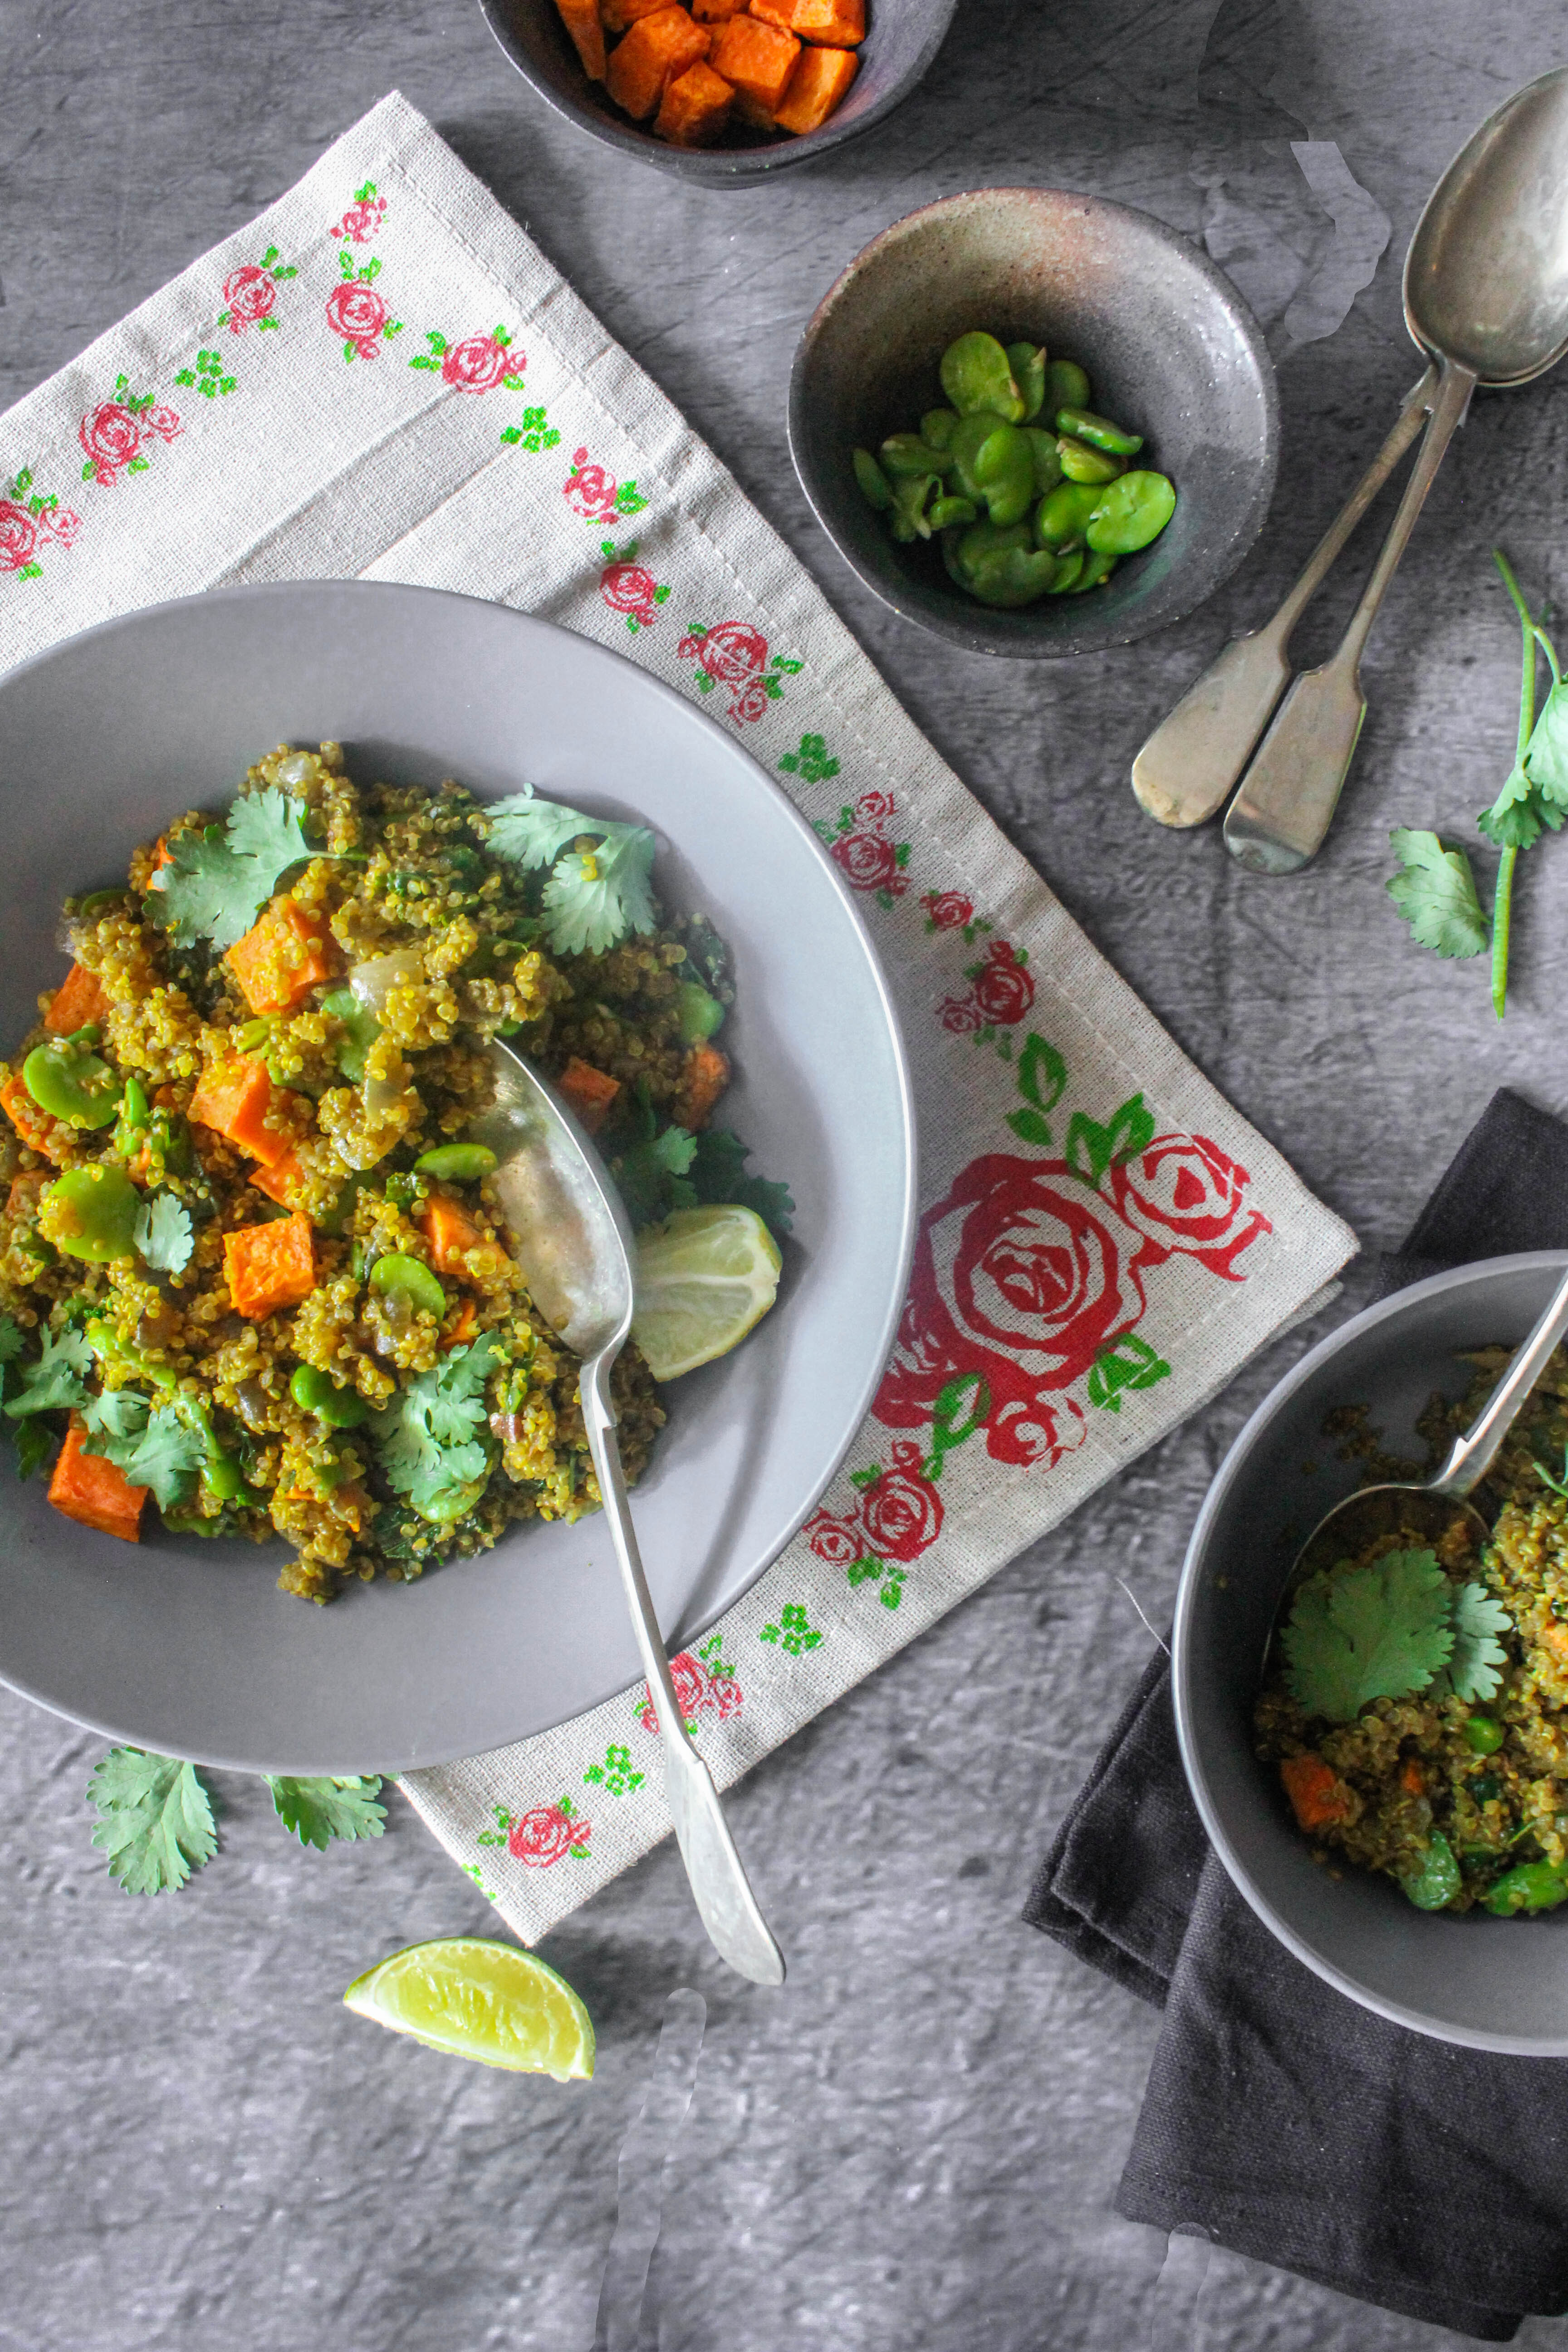
IMG_9775-2In this recipe, I’ve gone with spices and it tastes delicious. I found this recipe on Taste magazine which is generally my go-to for simple recipes.It is easy to prepare and you can use your choice of vegetables. It took me about 20 minutes to make this. While the quinoa was cooking, my sweet potatoes were roasting in the oven while I prepped my broad beans. I’ve been generous on the turmeric as I like the curry kind of look for this dish. You could reduce it or leave it out if you want to.
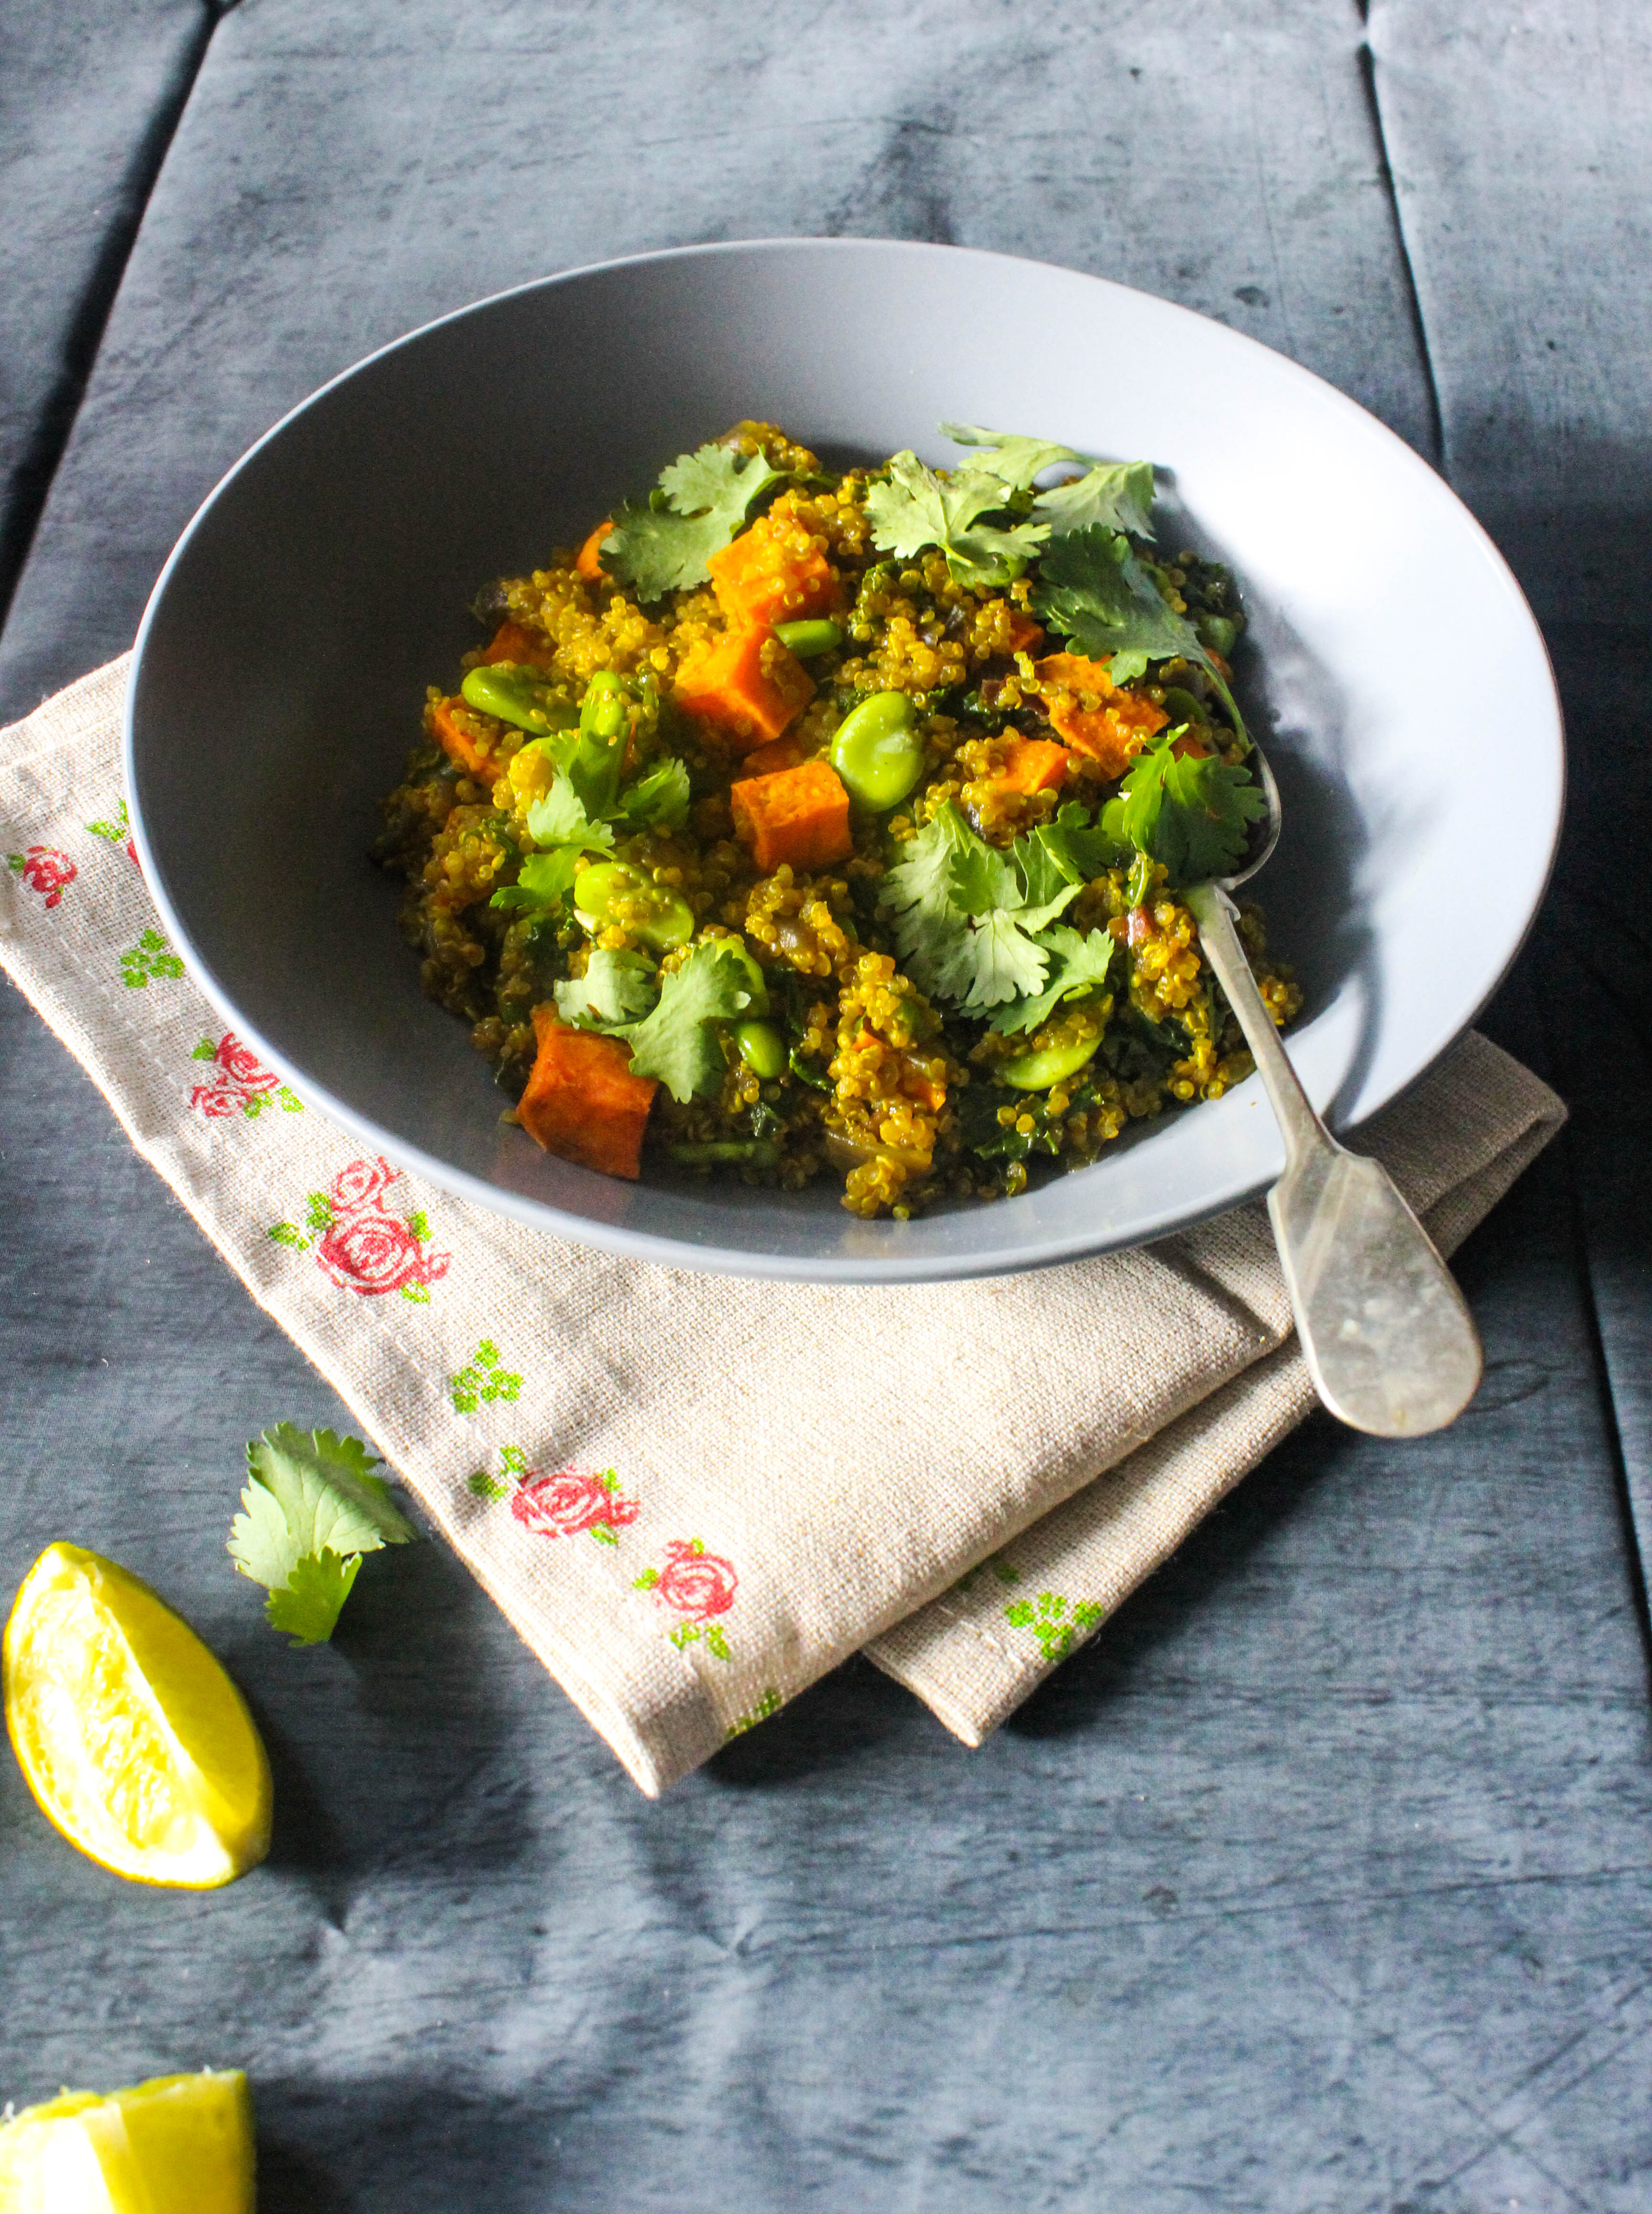
IMG_9767This dish is healthy, vegan, gluten-free and packed with flavours. I am eating this for lunch often with a combination of different vegetables. Frozen vegetables are also easy to incorporate if you want to eat it as a quick, hassle free midweek dinner.

The other discovery I made about Quinoa- it is hard to overcook. So many reasons to bring Quinoa into your life.
IMG_9769

Spicy Kale, Sweet Potato And Broad Bean Quinoa Pilaf (adapted with variation from Taste.com)
Serves 4

150g (1 cup) frozen broad beans
1 tablespoon olive oil
1 large orange sweet potato, peeled, cut into 2cm cubes
1 red onion, finely chopped
2 teaspoons finely grated ginger
1 teaspoon ground cumin
1 teaspoon ground coriander
1 teaspoon ground turmeric
1 teaspoon ground paprika
190 g (1 cup) quinoa, rinsed, drained
500 ml (2 cups) vegetable stock (can be substituted with chicken stock if not vegan)
1 bunch kale, stems trimmed, shredded
1/2 cup coriander leaves
Salt and Pepper, to taste
Lemon wedges, to serve

Preheat oven to 200 degrees C. Line a baking tray with baking paper. Place the sweet potato on the lined tray and drizzle with half the oil. Season with salt and pepper. Roast for 20 minutes or until tender.

Meanwhile, cook the broad beans in a medium saucepan of boiling water for 2 minutes or until heated through. Refresh under cold running water. Drain well. Peel broad beans and set aside.

Heat remaining oil in a large saucepan over a medium heat. Add onion and cook, stirring, for 5 minutes or until softened. Add the ginger, cumin, coriander, turmeric and paprika; cook, stirring, for 1 minute or until aromatic.

Add quinoa and stock and bring to the boil. Reduce heat to low, cover and simmer for 15 minutes or until liquid evaporates and quinoa is al dente. Stir through kale until just wilted. Add the sweet potatoes and broad beans and season with salt and pepper. Divide among serving bowls and sprinkle with coriander. Serve with lemon wedges.
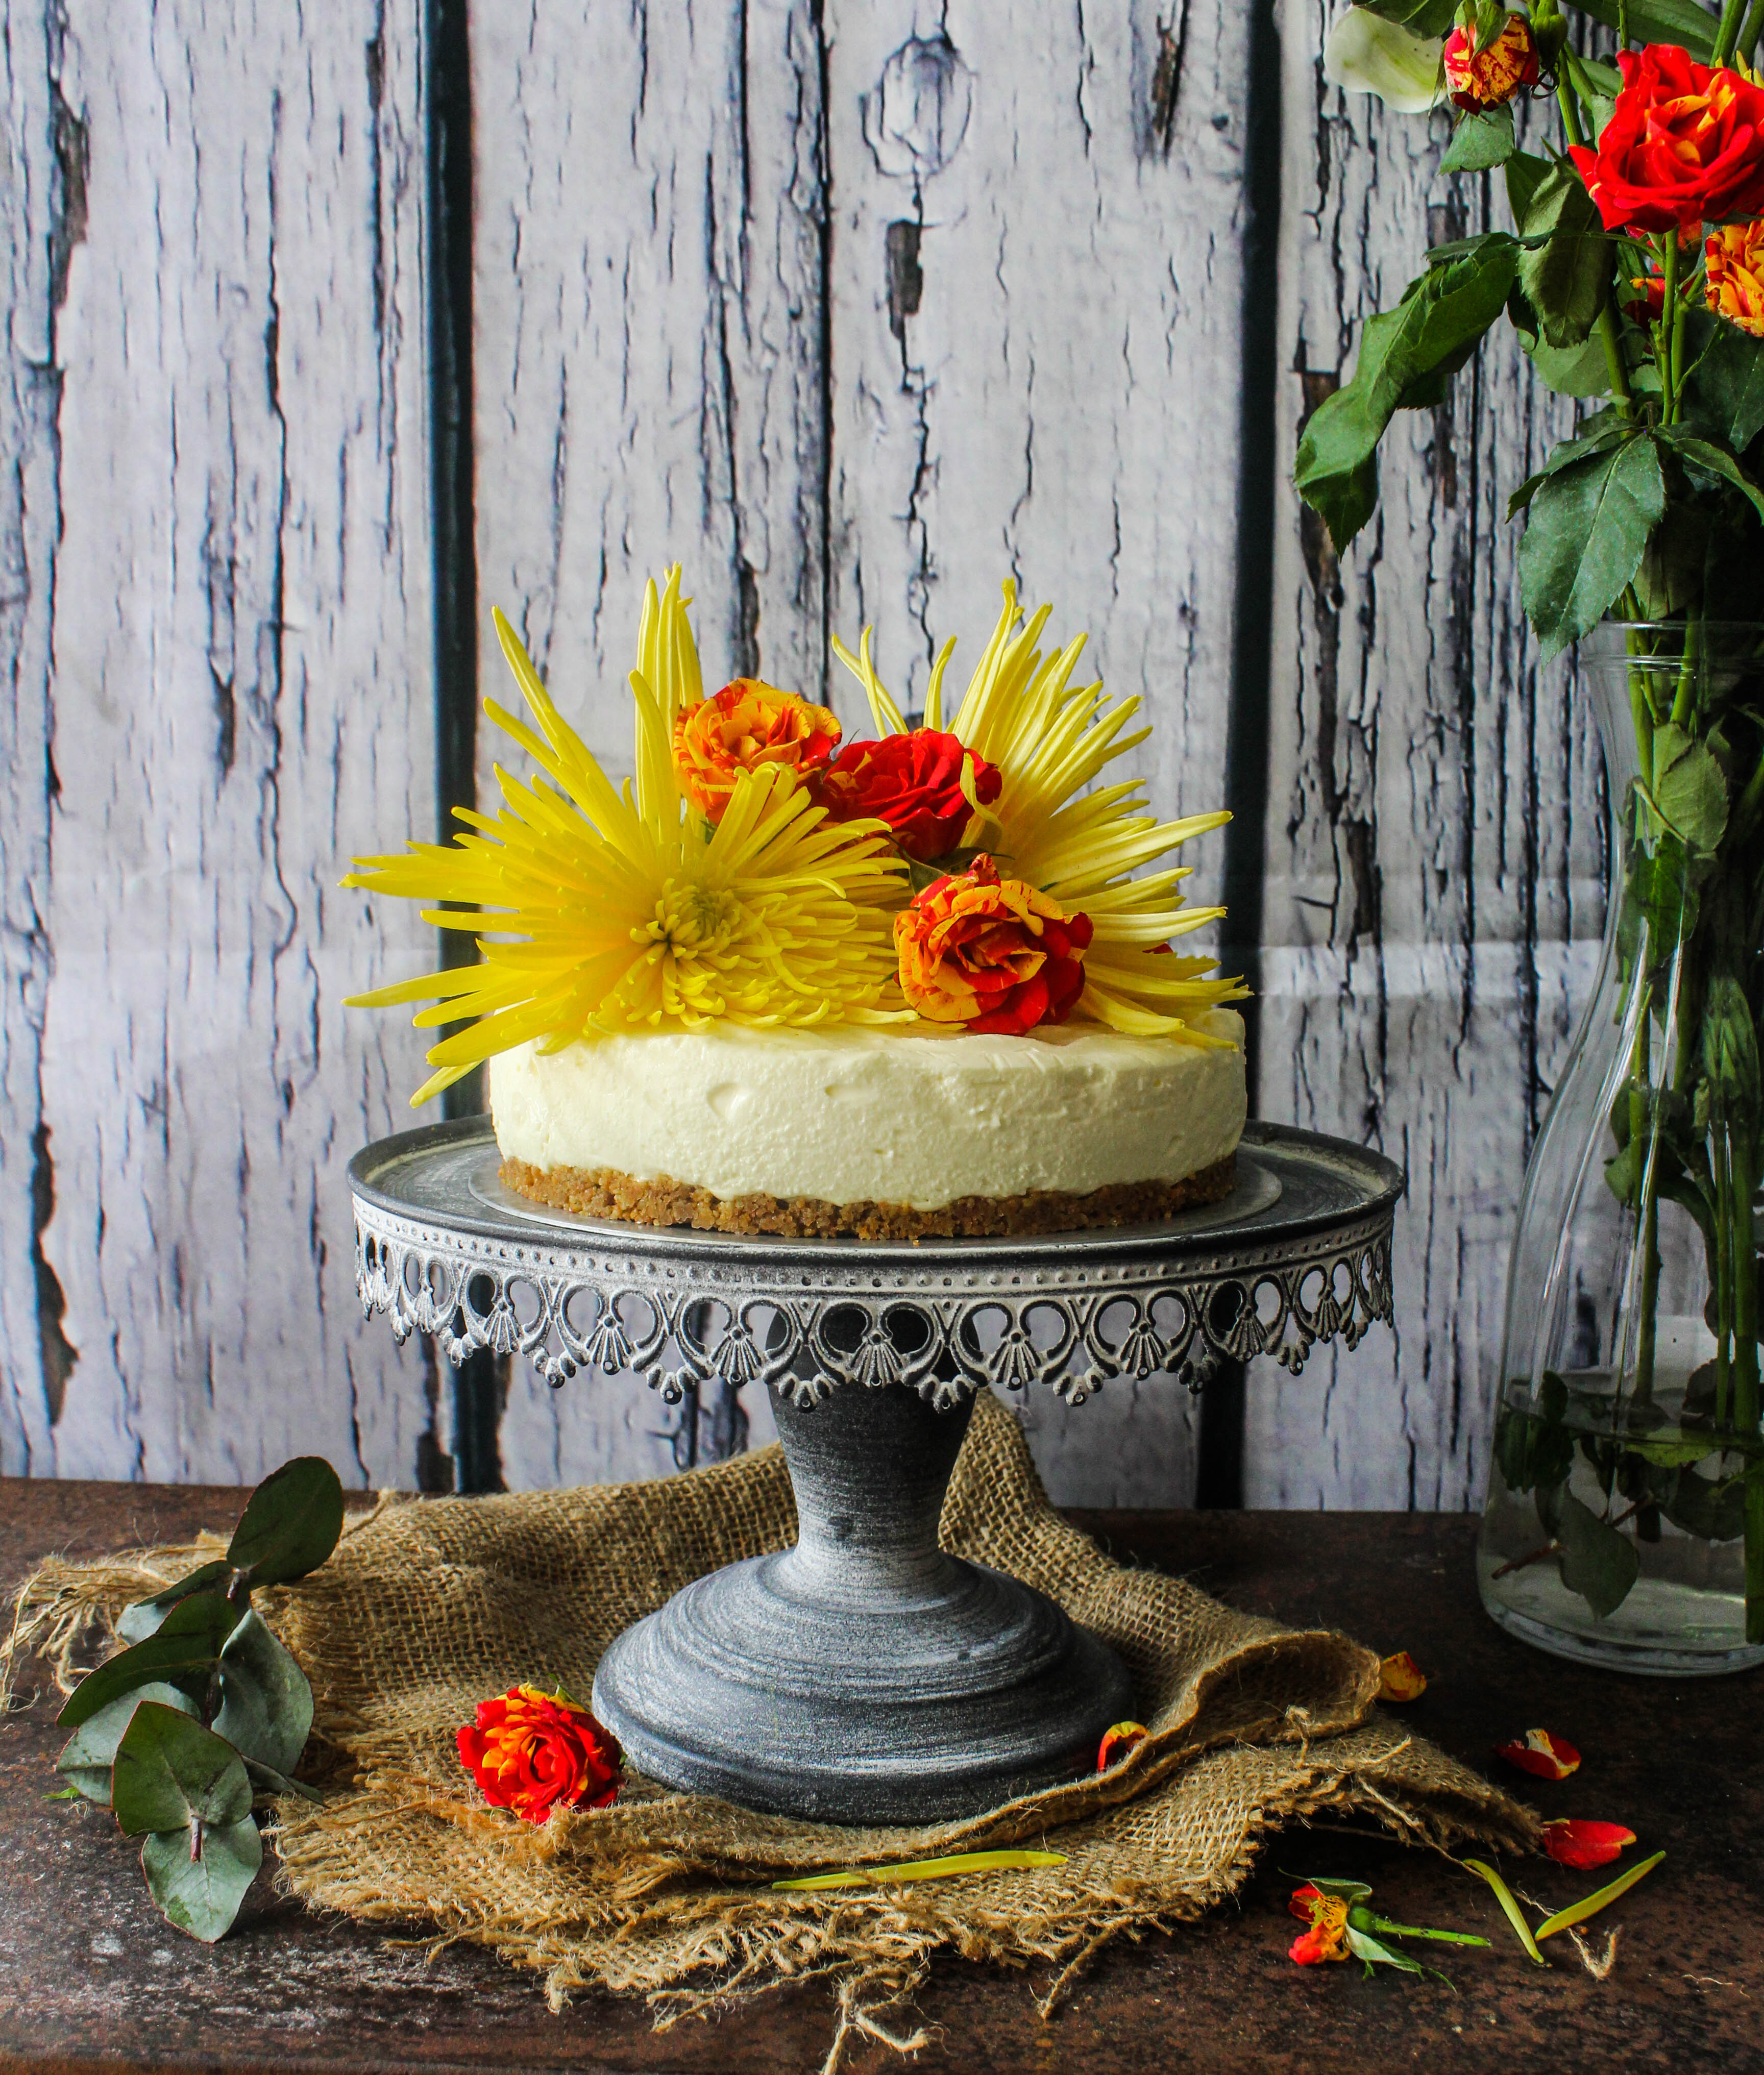
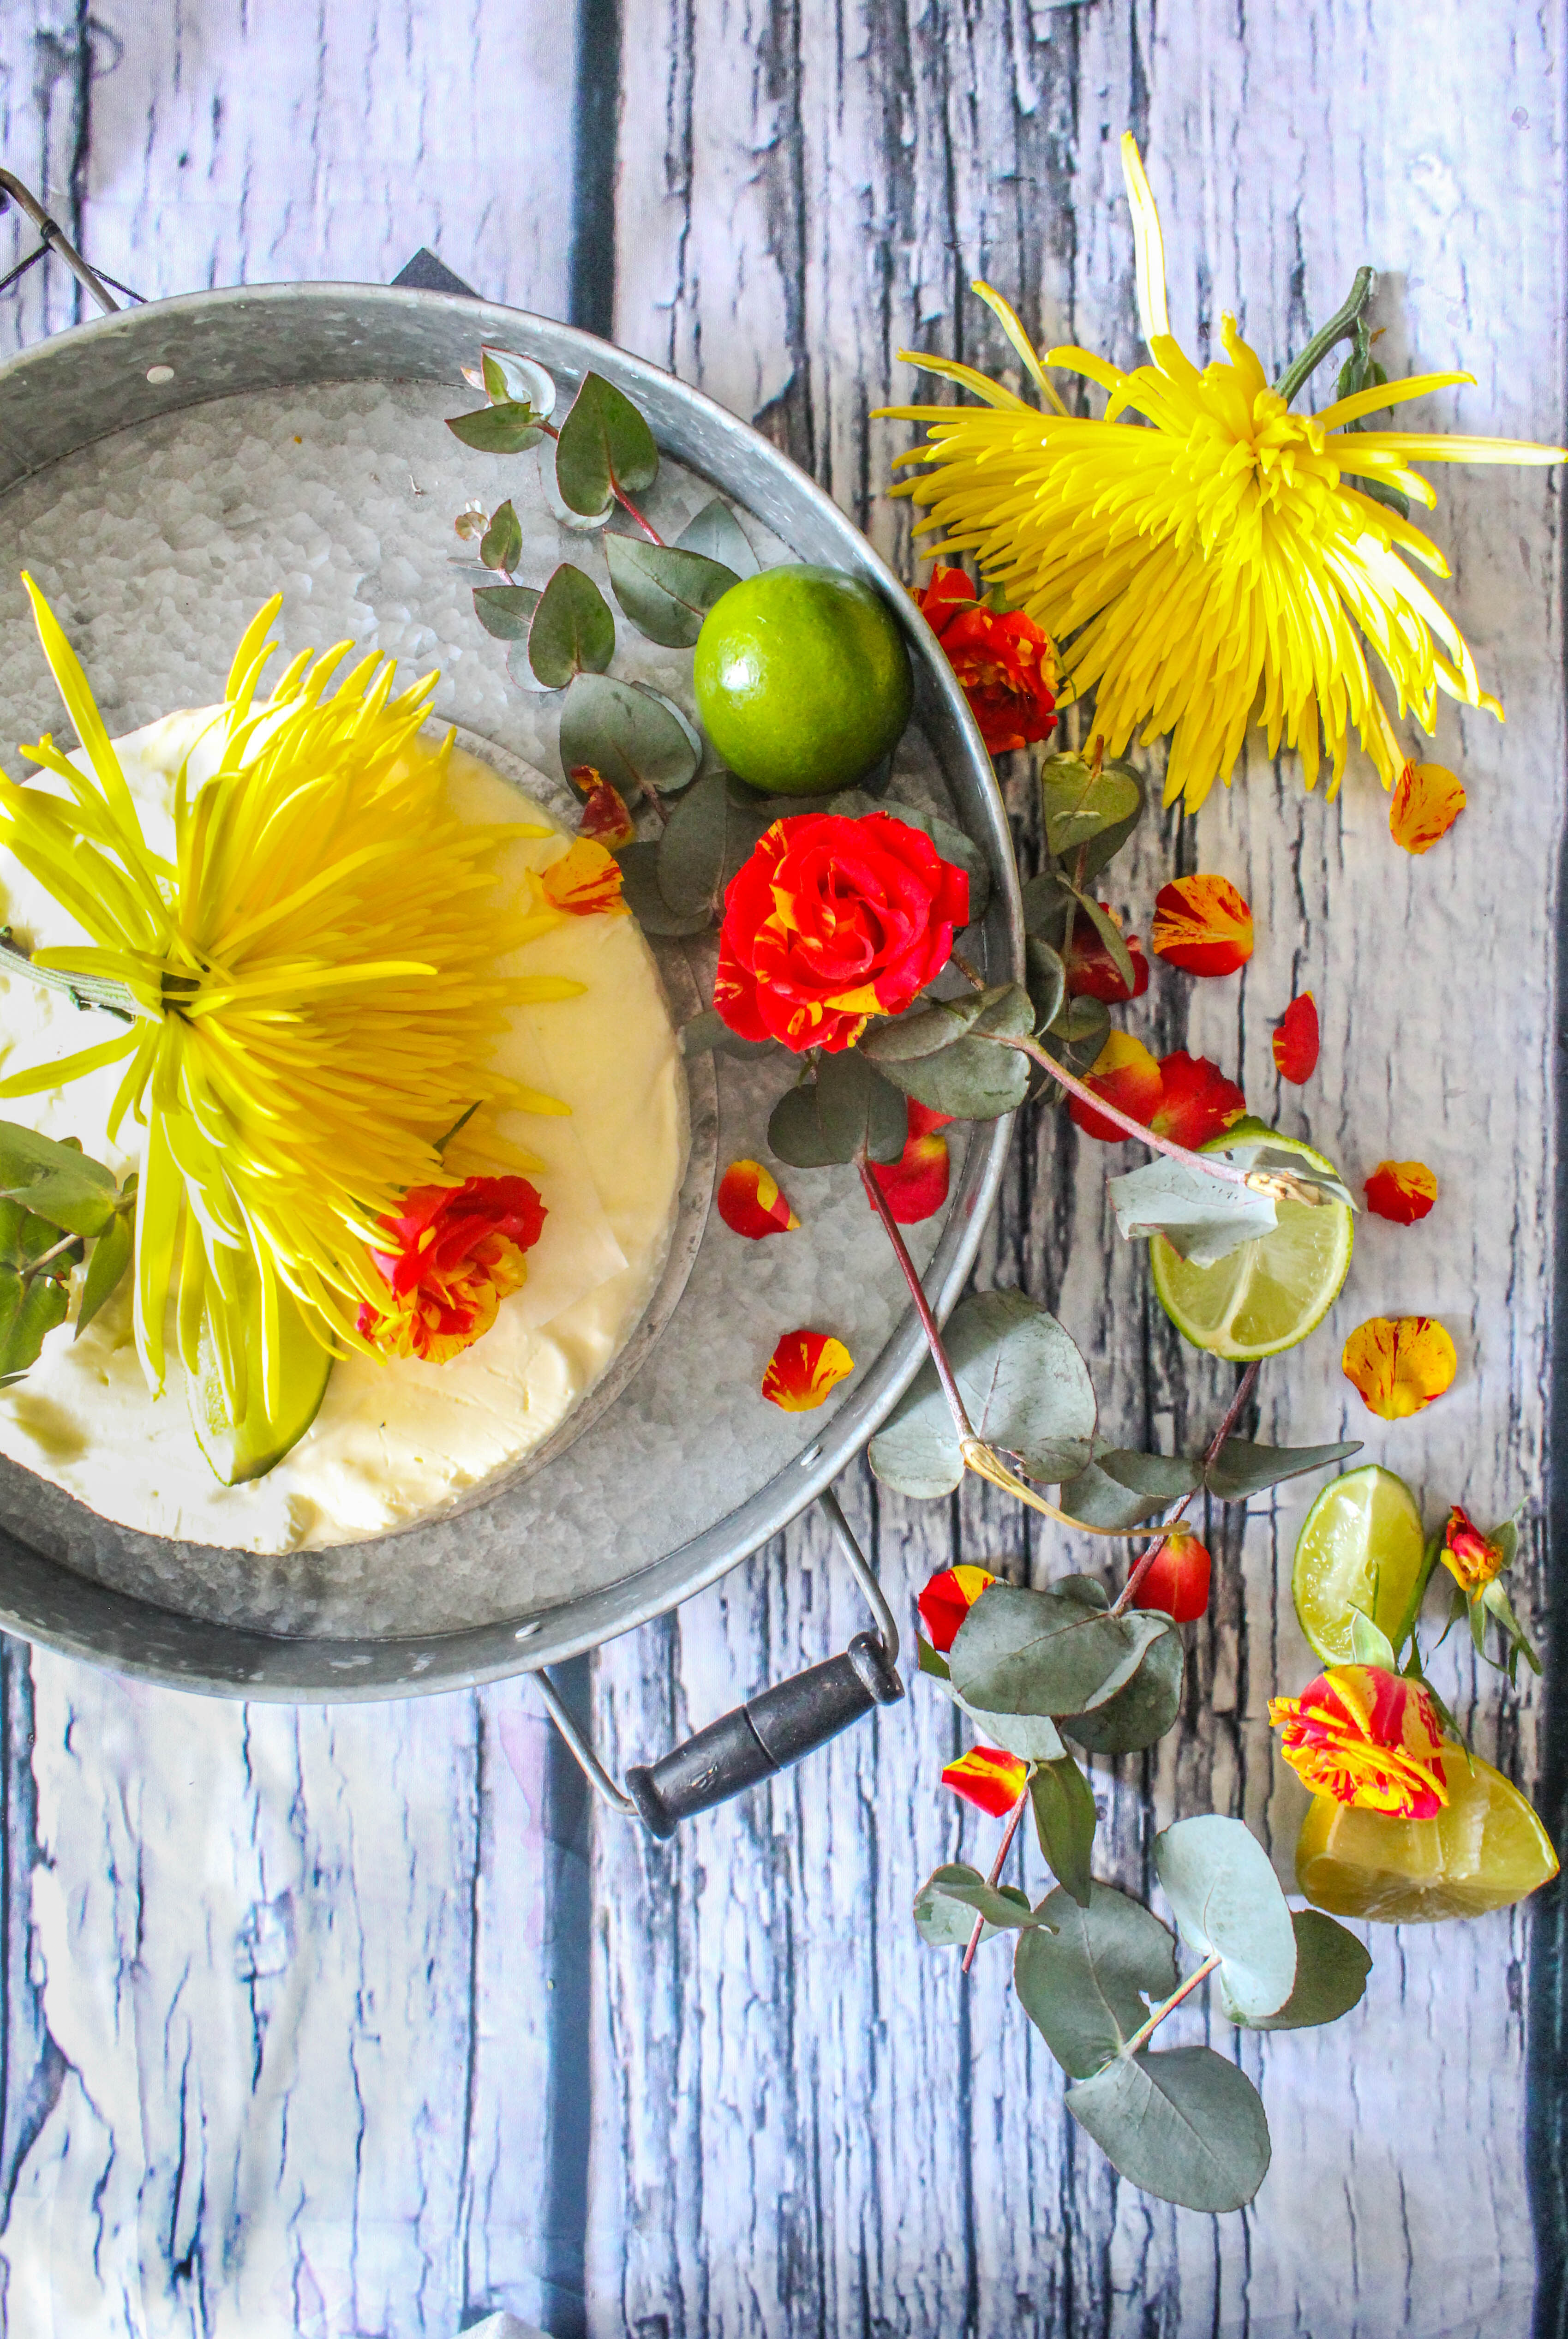
 

No-Bake Lemon And Lime Cheesecake. A Mother’s Day Post.

10|05|2014

You know I’ve never told my Mom ‘I love you Mom’. Not in so many words. I’ve always marvelled at her strength, the way she’s able to embrace situations…for being the Mommy who has a solution for everything. I wanted to tell her ‘Hey Mom..you are a Super woman’. But I didn’t. Ever. Perhaps I’ve just taken her for granted all along or maybe like many of us, I’ve assumed that she would know. But motherhood, since it happened to me 4 years ago, it changed my perception about every big or little relationship in my life. Unlike me, my little boys are quite vocal about their affection towards their mother.  And I am ever so ready to hear them, to read the little love notes scribbled in crayons or get hugged over and over again. A million times over.

IMG_9753

I will be meeting my Mommy at end of this month, after a year. Something that I am really looking forward to. I’d love to bake for her and also get her into the kitchen to cook all my favourite dishes. Ironically, my mother is diabetic…to the highest degree. So was my grandmother. It runs in the family so I need to keep a tab on my blood sugar levels. Funny, considering that sugar is the core of my creations, the basis of this blog.

IMG_9737-2

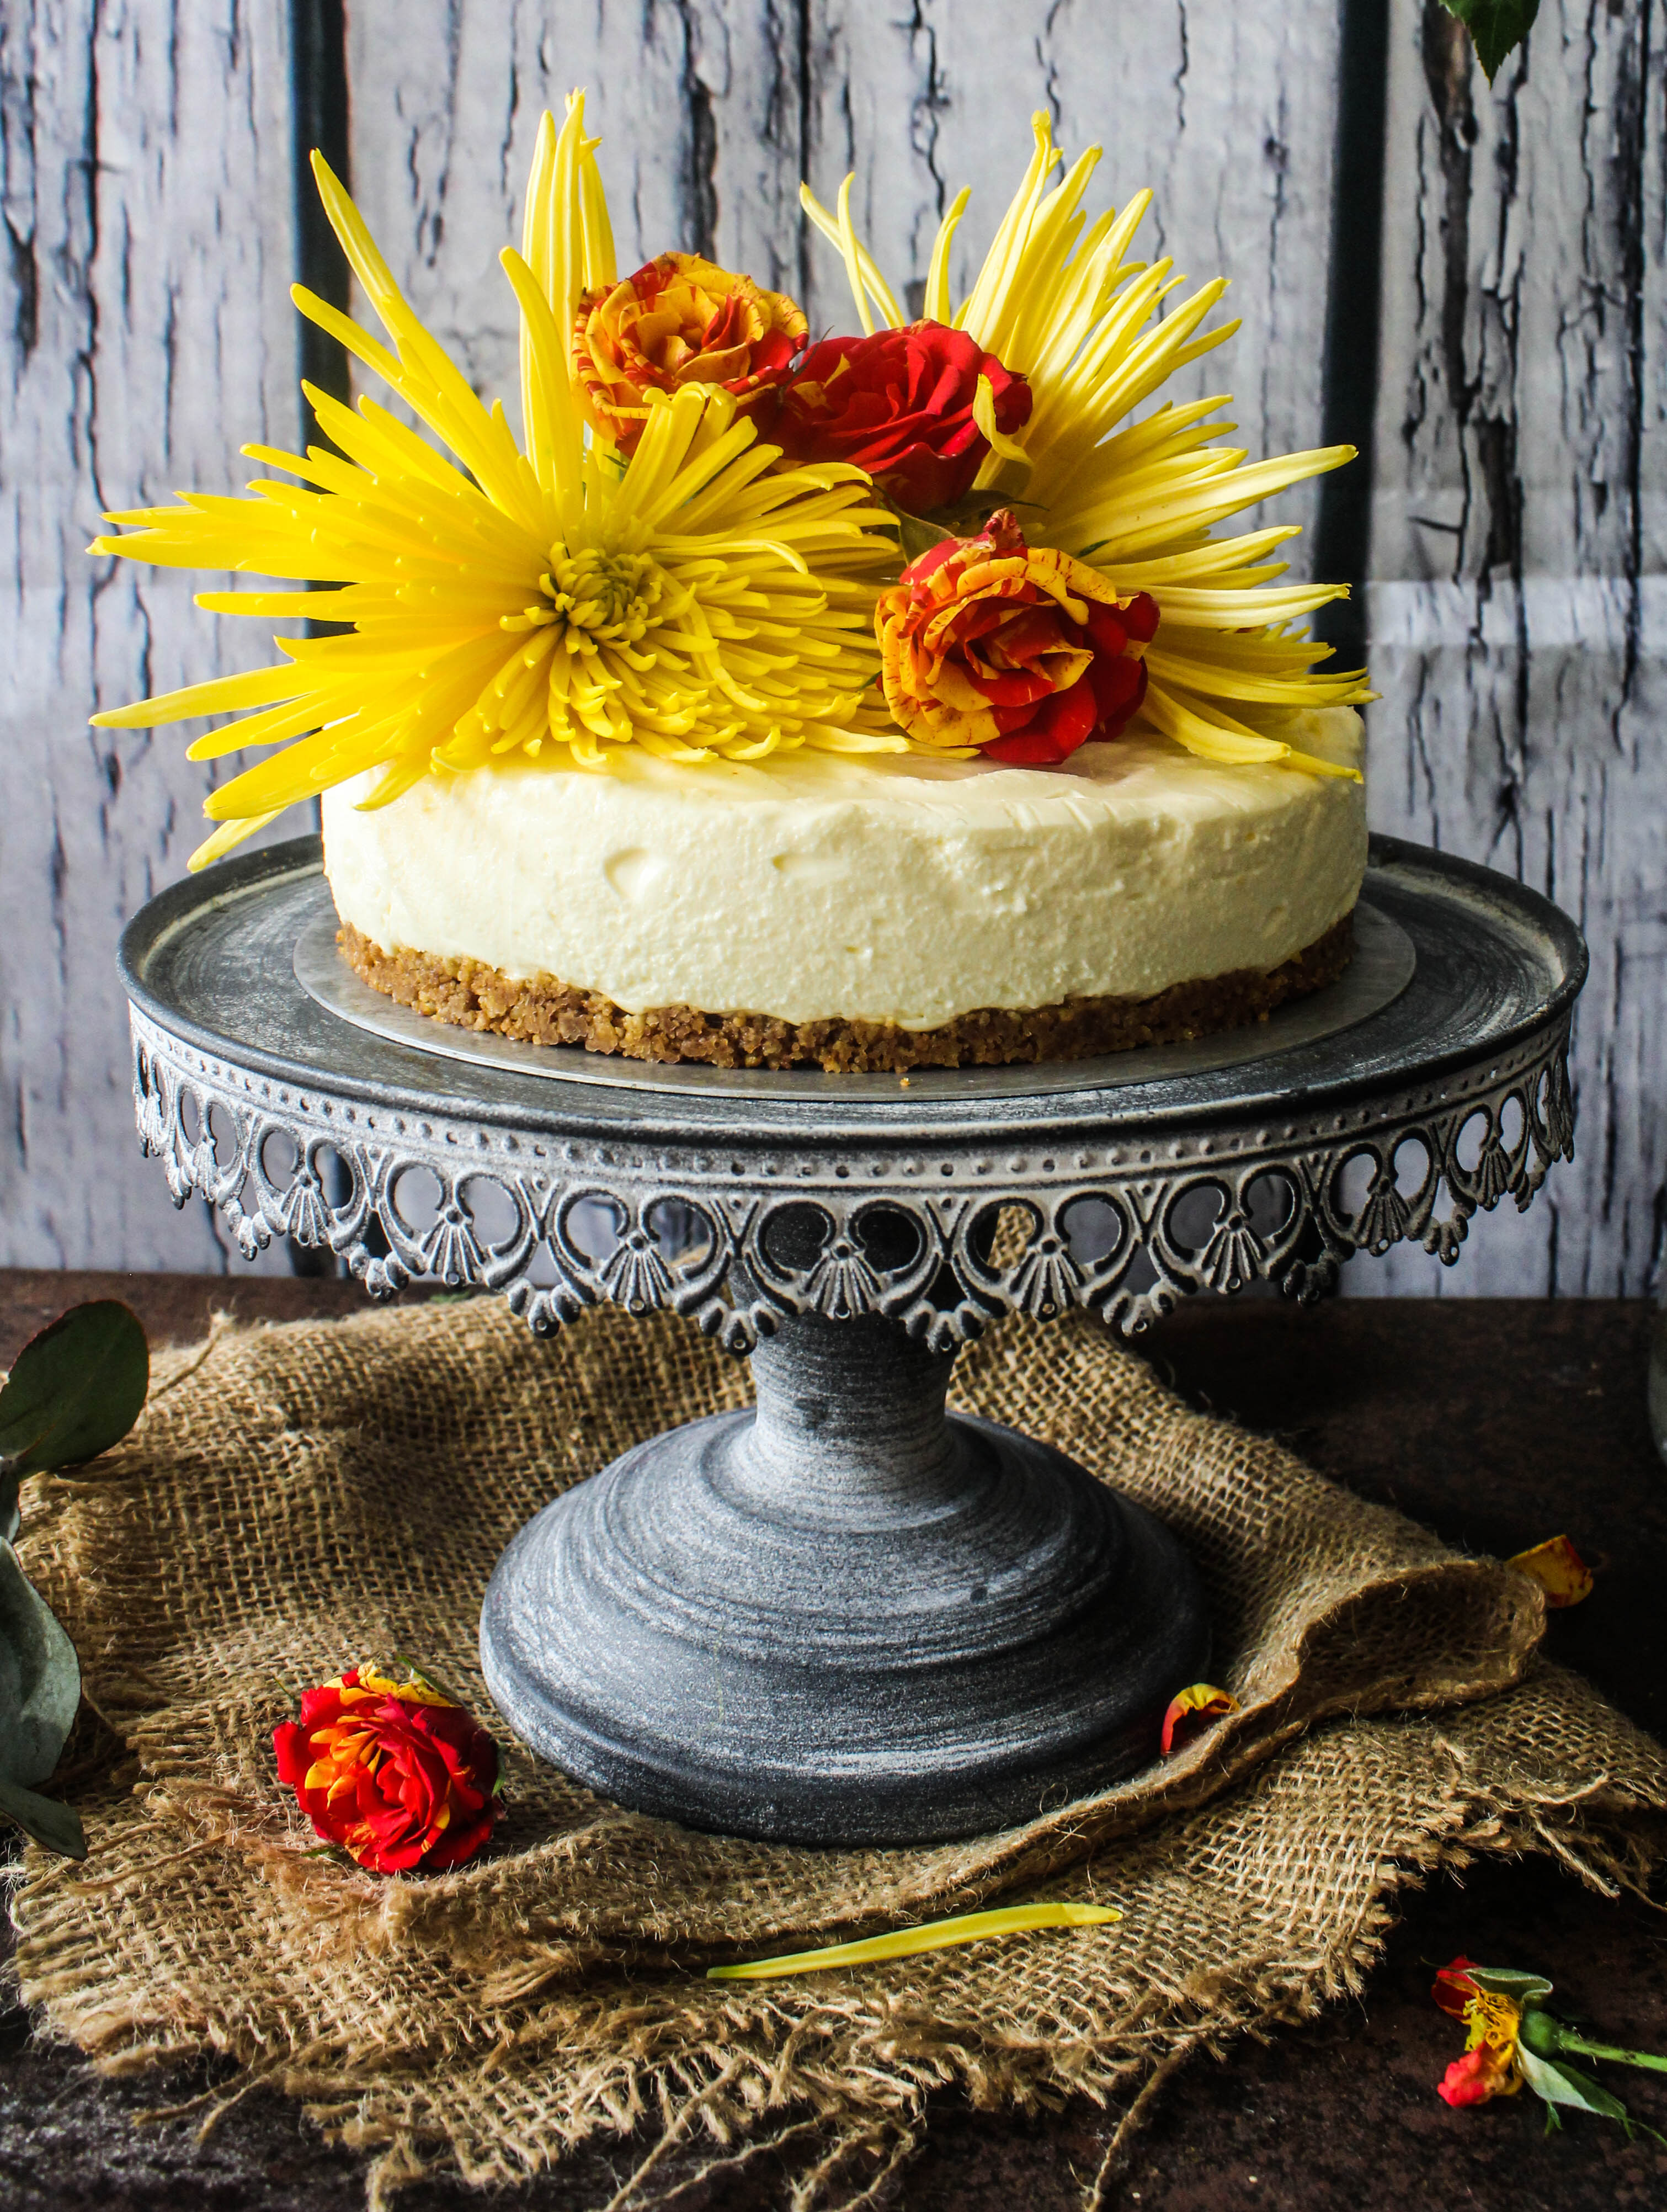
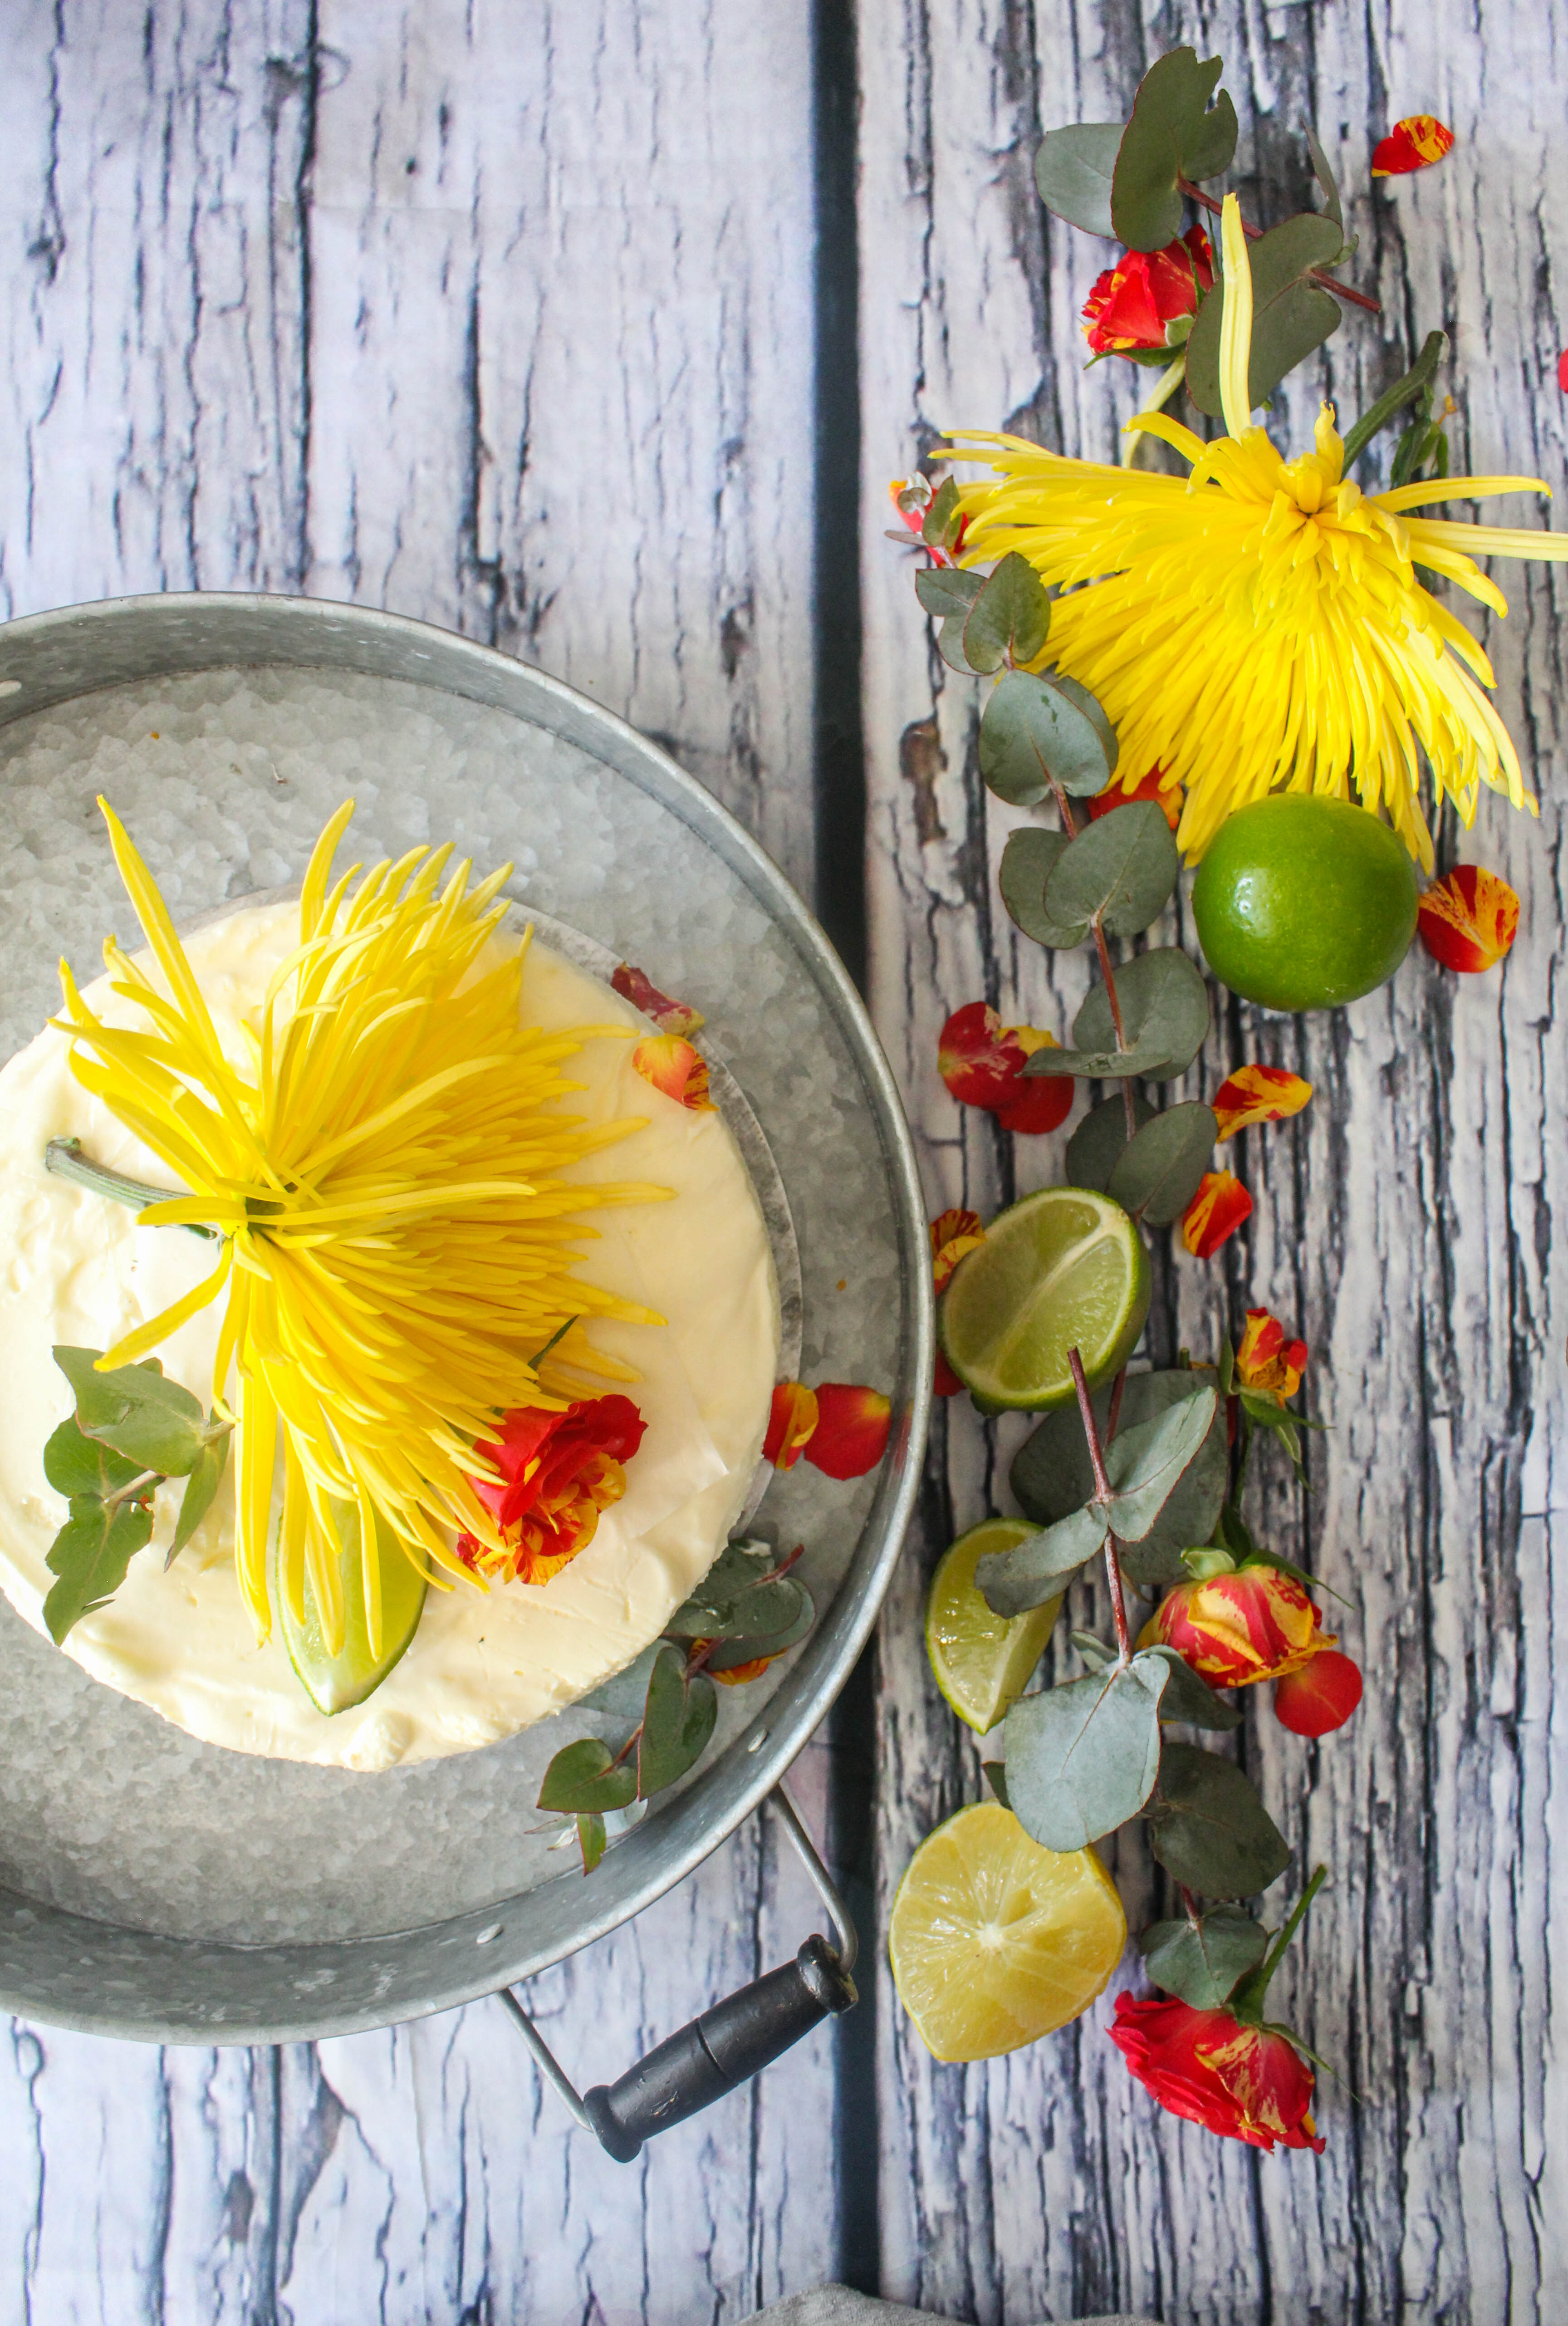
I’ve kept my Mother’s Day cake simple…just like I would do if she was eating it. I’ve made this many times before and I love this cheesecake, the flavours, the simplicity of a straightforward cake. The natural essence of lemon and lime. I’ve chosen the flowers inspired by the Autumn colours at the moment. These colours are stuck in my head as the Autumnal, colour changing leaves are one of the first things I intend to show her before we lose the leaves to Winter.

IMG_9752-2
If you are still deciding on what to make for your Mommy, go ahead with this cake. You wont regret it. So few ingredients, 10 minutes of prep time and such an amazing blend of flavours. Of course, it can be made for any other celebration too.

IMG_9742

My little boys have been participating in a few secret meetings with their Daddy. They come out giggling and full of excitement after the closed- door meetings. We’ve planned a little picnic on Sunday next to the waterside near our place. I cant wait to find out more.

IMG_9747

Happiest of Mother’s Day to all you wonderful mothers, grandmothers, soon-to-be mothers and all those who build a family of love, strength and gratitude.
And to my dearest Mom, I love you…with the heart and brain of a 2-year-old. Even today!

IMG_9724

Lemon and Lime Cheesecake (minimally adapted from Taste.com)
Serves 8-10

150g sweet biscuits, processed to fine crumbs (I used Butternut Snap cookies)
50g butter, melted, cooled
500g cream cheese, softened (I used Lite Cream cheese)
3/4 cup castor sugar
1 lemon, zest finely grated, juiced
2 limes, zest finely grated, juiced
1 1/2 tablespoons lime juice
1 1/2 tablespoons lemon juice
3 teaspoons powdered gelatine
300 ml thickened or heavy cream, whipped to soft peaks
Fresh flowers, to decorate

Grease and line base and sides of a 19 cm (base) springform pan with baking paper. Combine biscuit crumbs and butter. Press into base of prepared pan. Refrigerate while preparing filling.

.Heat 1 1/2 tablespoons lemon juice, 1 1/2 tablespoons lime juice and gelatine in a small saucepan over medium heat, stirring with a fork until hot and gelatine is dissolved. Set aside to cool. Using an electric mixer, beat cream cheese and sugar until smooth. Beat in the lemon and lime zest. Beat gelatine into cream cheese mixture until well combined. Fold in cream, mixing until well combined.

Spoon filling over base. Smooth surface. Refrigerate for 4 hours or until set. When ready to serve, gently place a circle of baking paper, smaller in circumference than the cake on top of the cake. Place the fresh flowers. Serve chilled.


Spiced Chocolate Streusel Cake

8|05|2014

On a cold  day, nothing warms up my soul than the smell and taste of spice. Spices are a part of my heritage..they are built into my palate, they spell the word comfort to me…even more than chocolate. They can take me back in time when I woke up to the sound of the mortar and the pestle every day as a little girl. My mother would fill up jars of freshly ground cumin, cinnamon, cardamom, coriander or nutmeg after dry roasting them and the house would smell wonderful for hours. Spices are a constant in my kitchen too and consciously or otherwise I play around with them in my cooking and my recipes. If you are reading this blog for a while, you know that I love to pair them up in my desserts too.

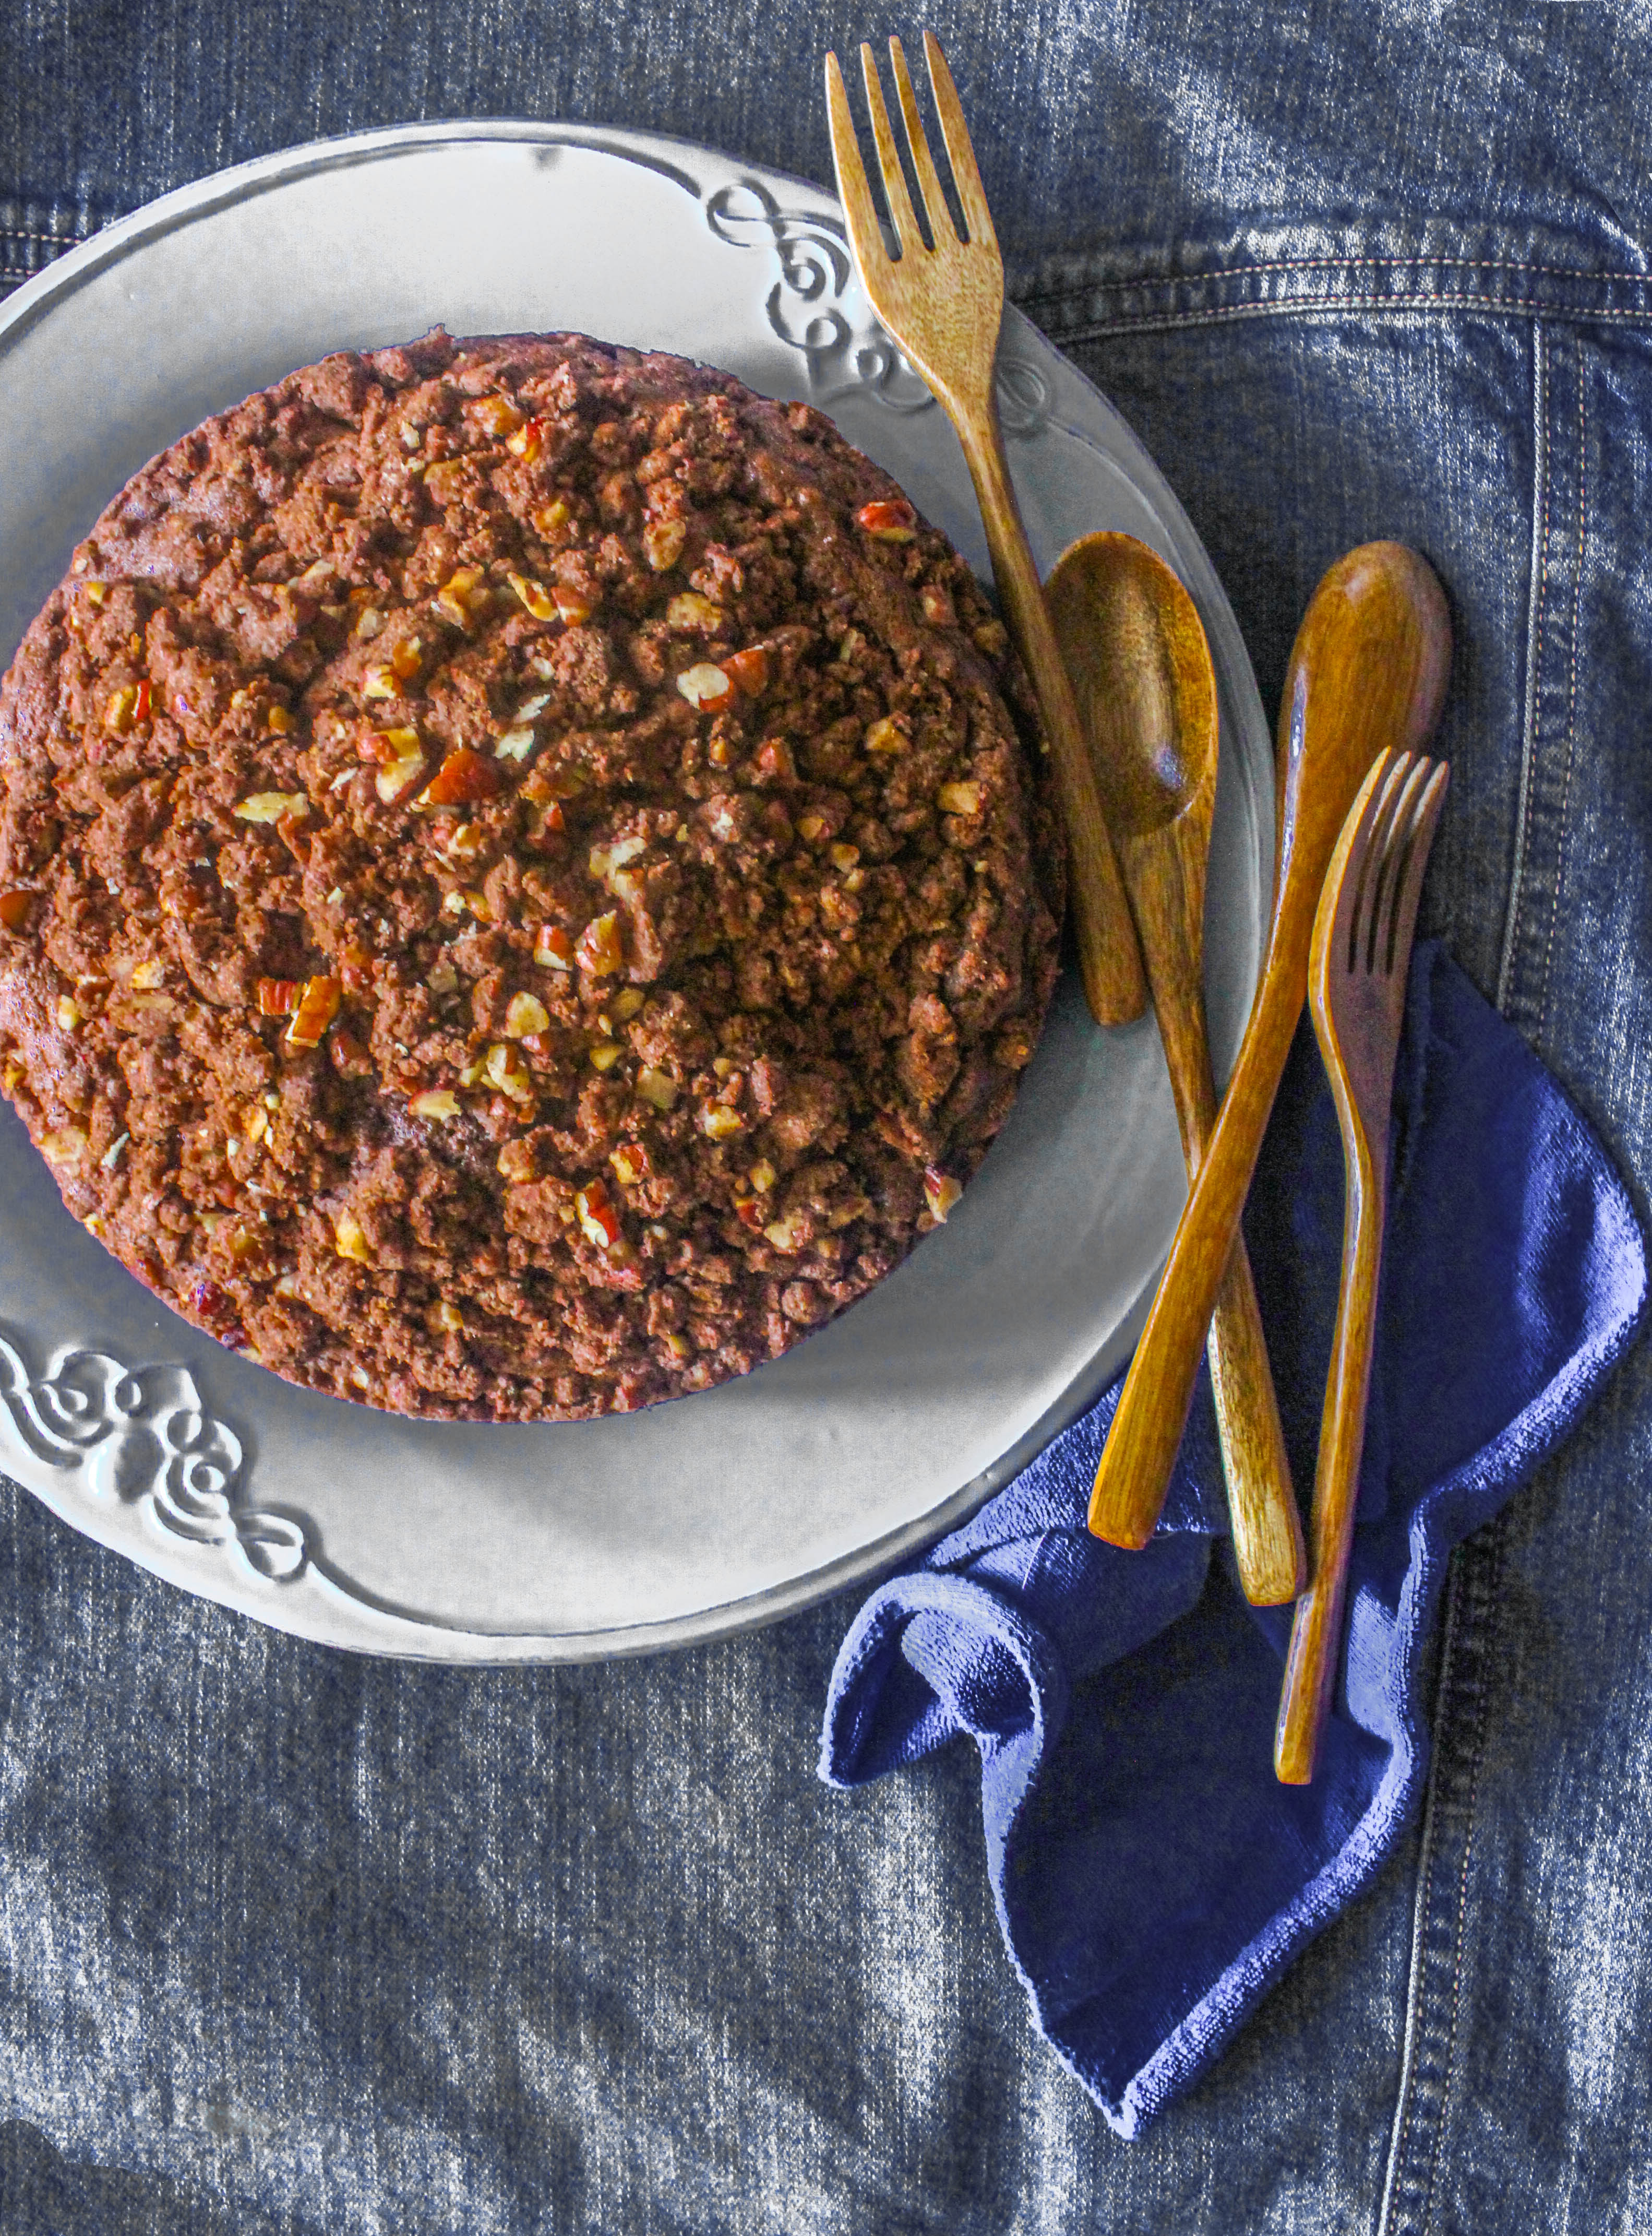
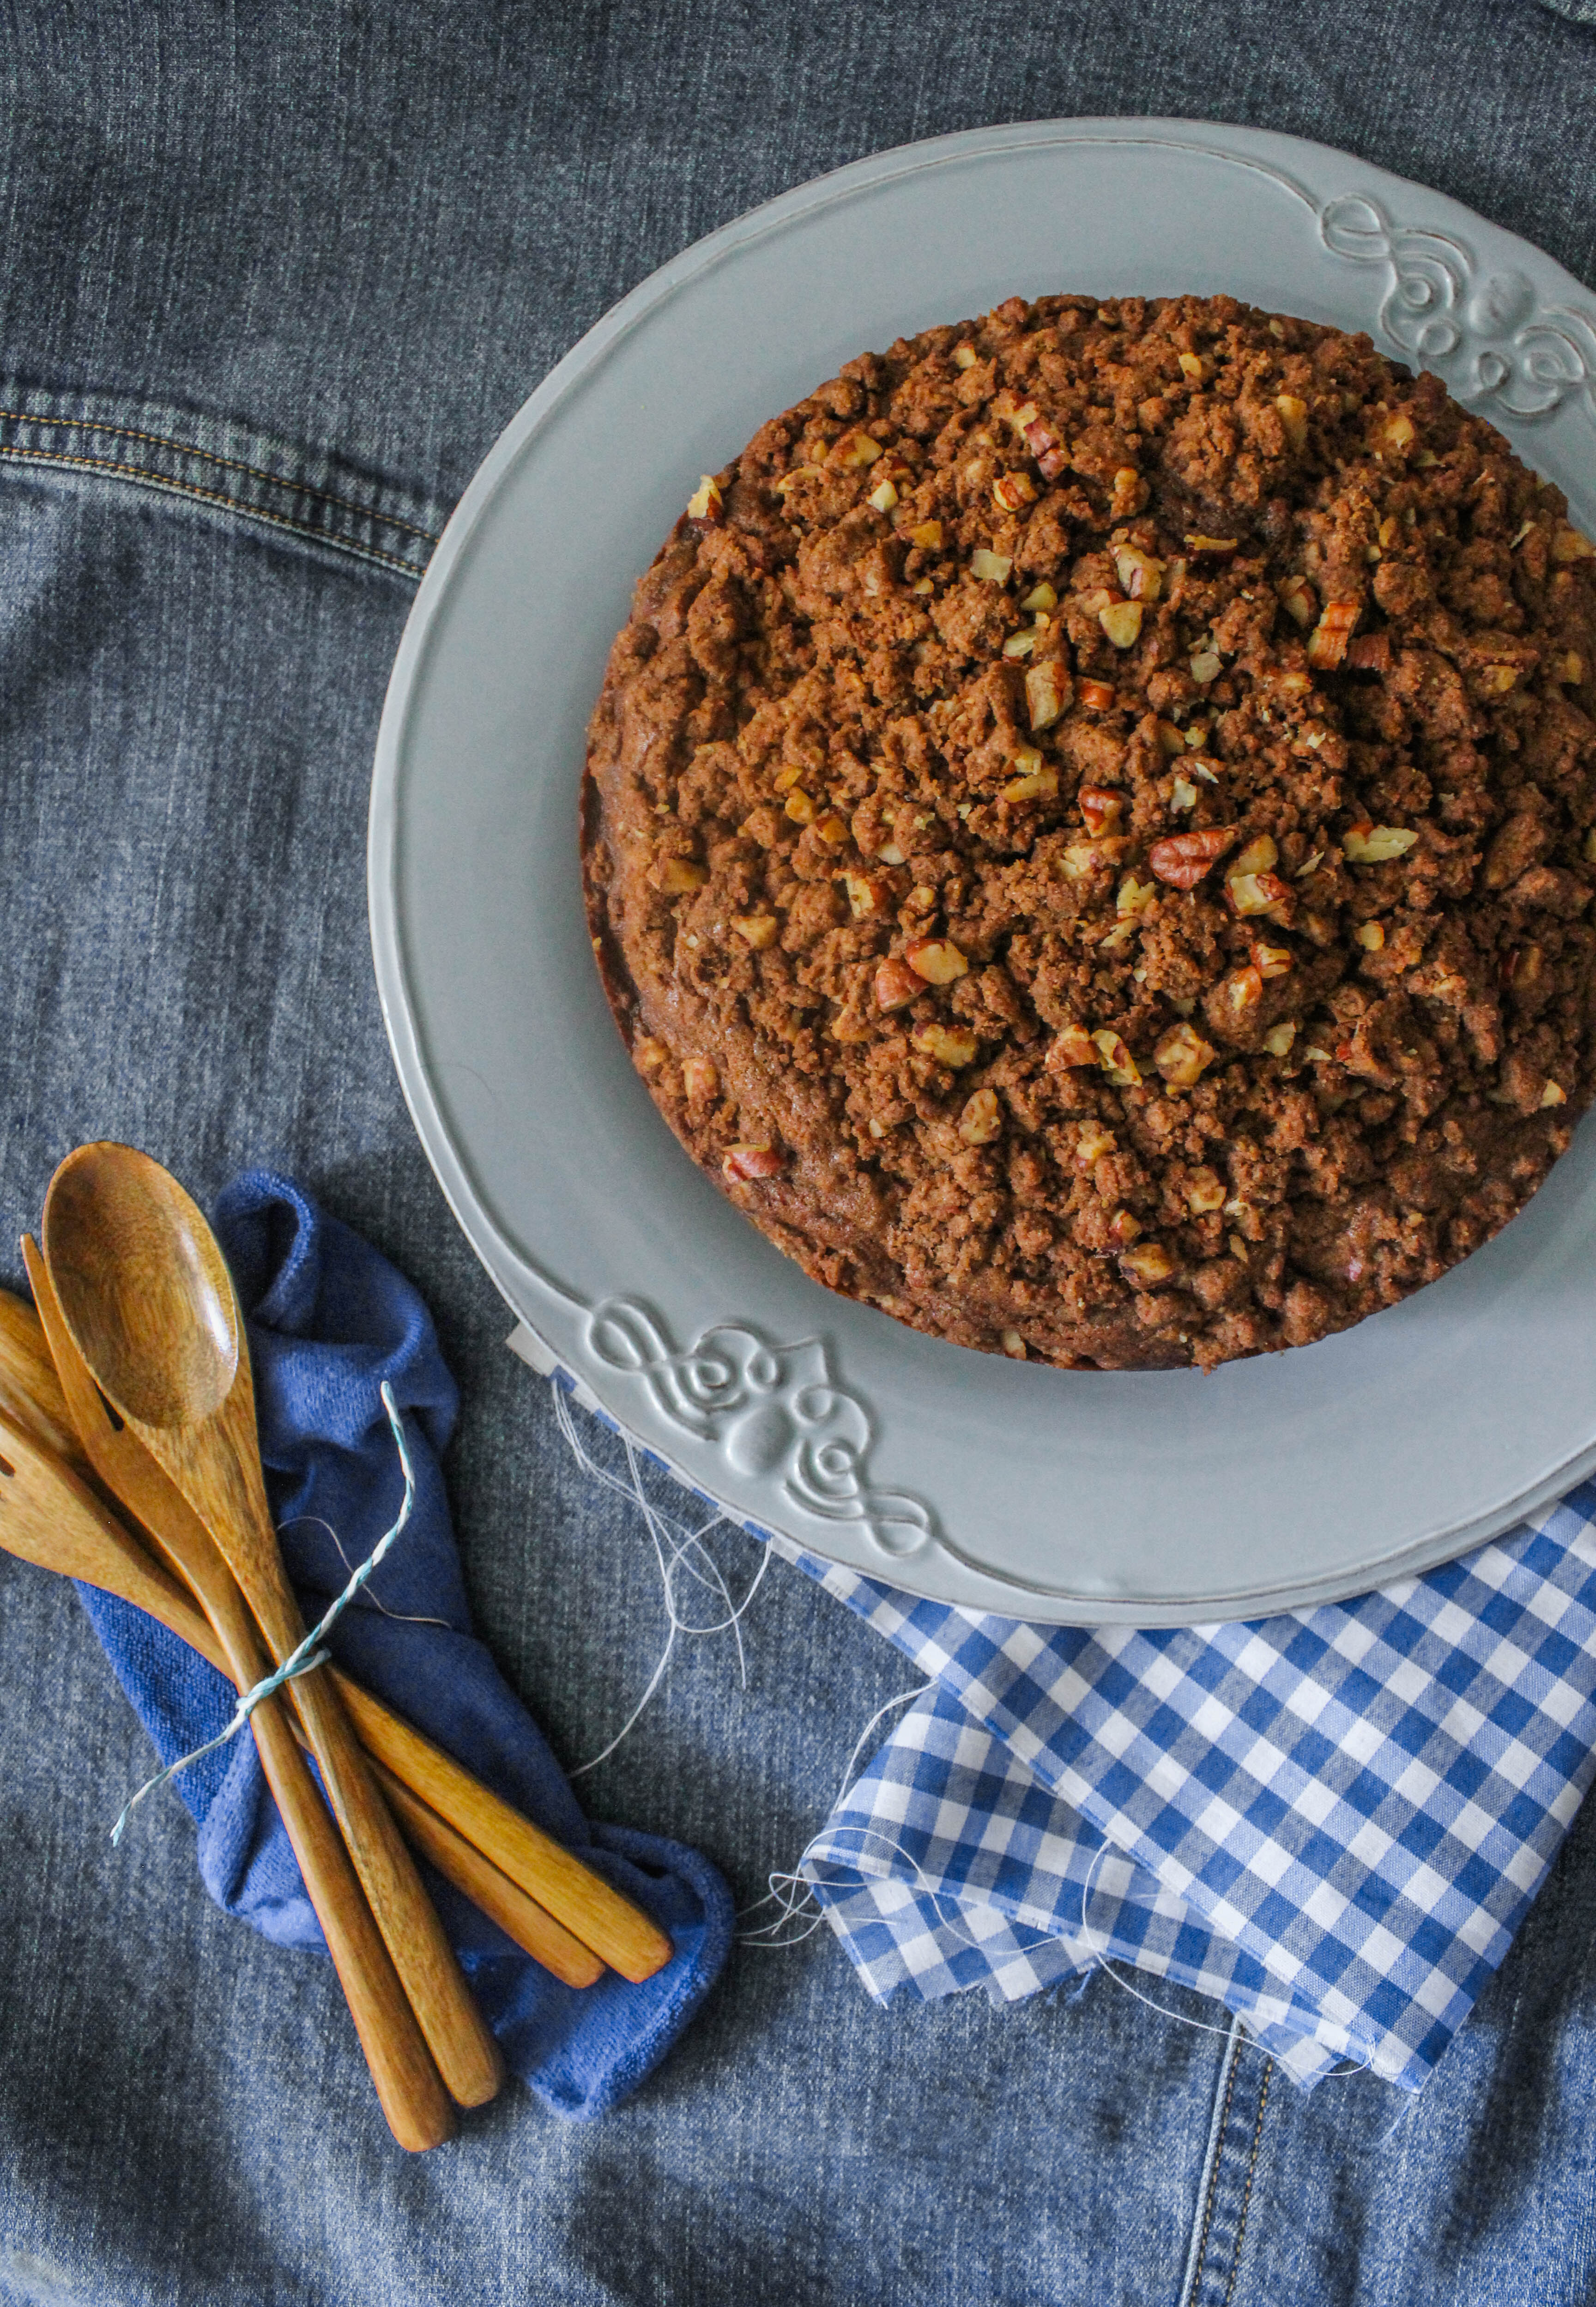
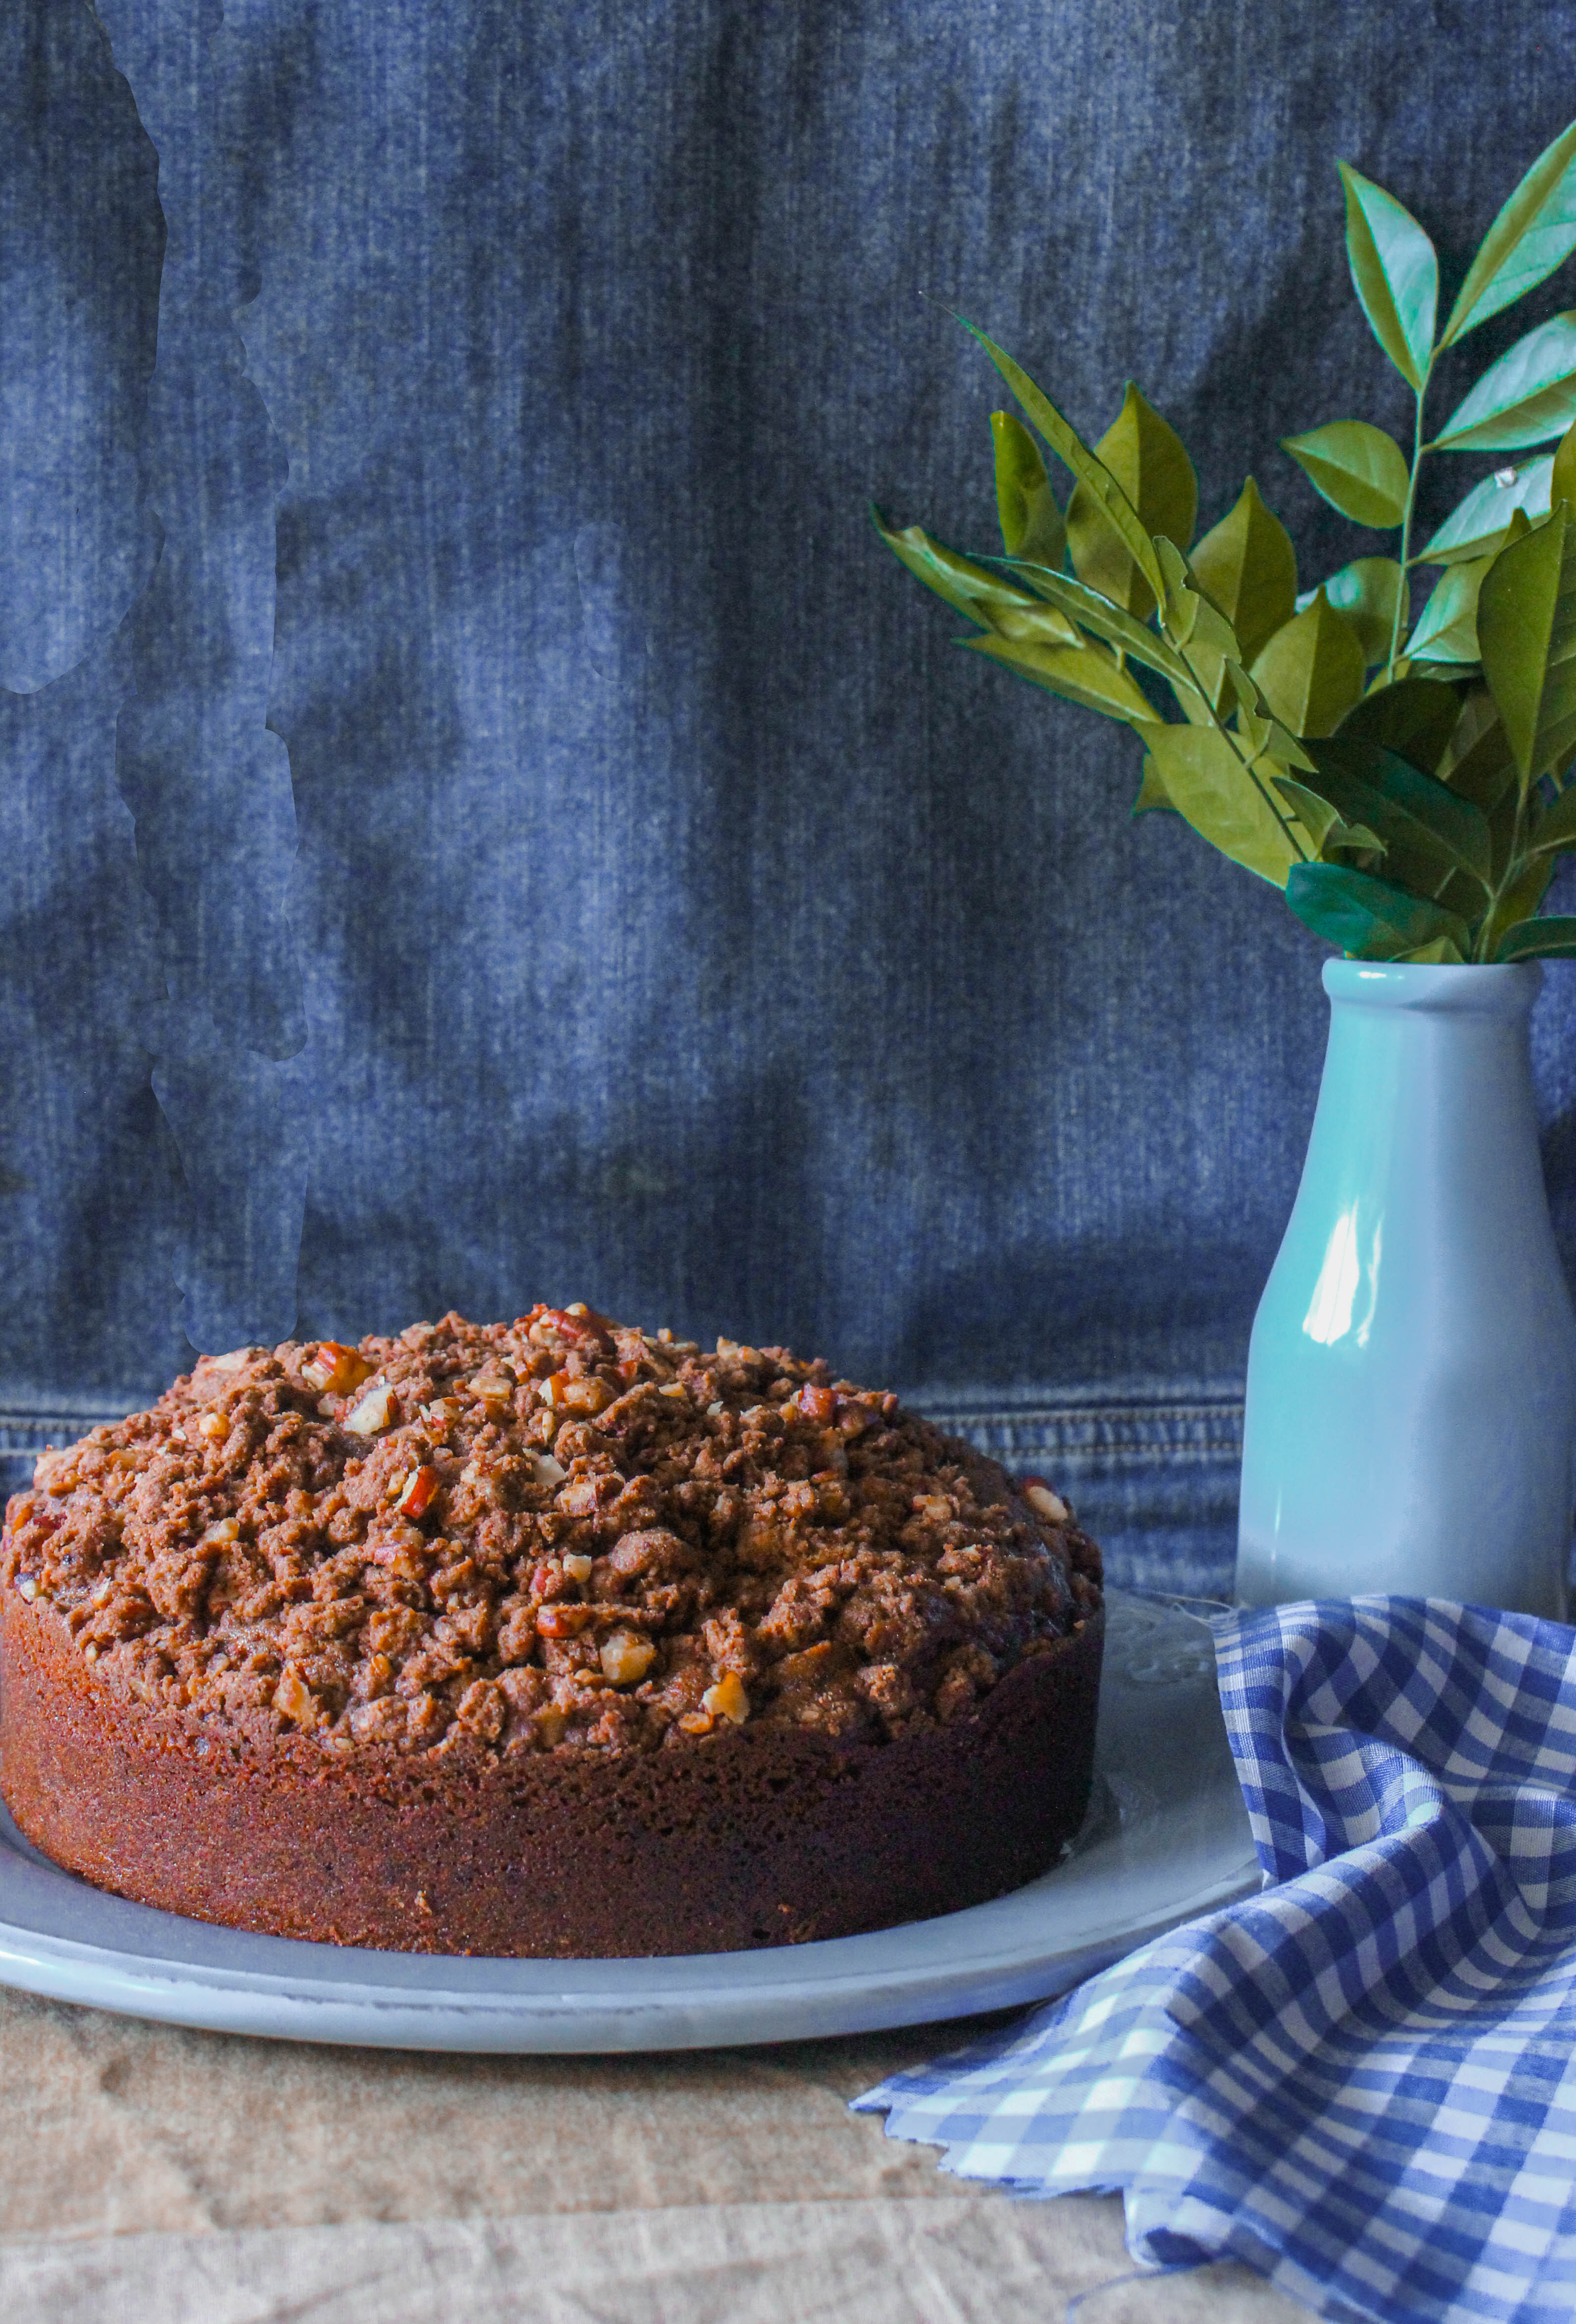
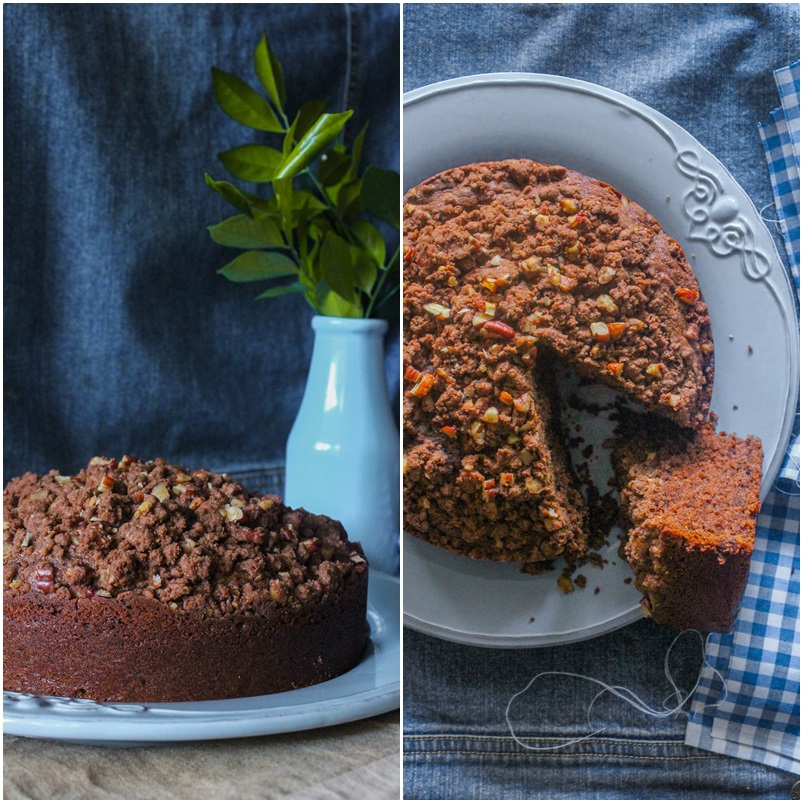
IMG_9661-6I was a bit unsure of whether I should call this a chocolate cake in the first place. The obvious reason for that is that there is no chocolate in it. The cake and the streusel use cocoa powder. In the era of the ‘chocolate chunk’ baked goods this would be rather old-fashioned or out of place….is what I thought. But one bite into the cake and I immediately loved it. It has all the qualities of a good chocolate cake minus the richness. It’s moist and light and the crumble or streusel totally compensates for a frosting. The spice is subtle in the cake but shines through in the topping.

IMG_9650-2A cake like this is hassle free and easy. It’s easy to make and easy to store and carry in your lunchboxes. If you adore spice, this is certainly delicious. A dollop of whipped cream or ice cream with a few berries on the side makes it a lovely dessert. My husband who is not a lover of rich, frosted cakes went in for seconds which was a pleasant surprise considering the fact that he stays away from most of the sweets at home.

IMG_9679-2

You could leave out the spice if you want a plain chocolate cake. It would still taste good with the crumble on top but the spice takes it to a different level. The cake is best served warm or at room temperature.

page

Spiced Chocolate Streusel Cake
Serves 6-8

1 1/3 cups plain flour
1 teaspoon bicarbonate of soda
1/3 cup cocoa powder
1 cup castor sugar
1/2 tsp cinnamon
1/4 tsp nutmeg
1/2 tsp powdered ginger
1 cup buttermilk
2 eggs
125g butter, melted, cooled
1 teaspoon vanilla essence

For the streusel topping
1/2 cup plain flour
50 g butter, chilled and chopped into cubes
1/4 cup brown sugar
1/3 cup pecans or any nut of your choice, finely chopped
1/4 tsp cinnamon
1/4 tsp ginger

Preheat oven to 180 degrees C. Lightly grease a 18 cm round cake pan. Line base with baking paper. Sift flour, bicarbonate of soda, cocoa powder and spices into a large bowl. Add in the sugar. Combine buttermilk, eggs, melted butter and vanilla in a jug. Make a well in centre of flour mixture. Pour in buttermilk mixture. Using an electric mixer, beat on low-speed until combined. Increase speed to high. Beat for 3 to 4 minutes or until thick and creamy. Pour mixture into prepared pan.

To make the crumble topping, place all the ingredients in a bowl. Use your fingertips to rub the butter into the mixture until the mixture contains large and small crumbs.

Sprinkle the crumble topping over the cake batter in the prepared pan.

Bake for 50 to 55 minutes or until a skewer inserted in the centre comes out clean. Allow to cool in pan for 5 minutes. Remove gently from the pan and cool on a wire rack. Serve warm or at room temperature.


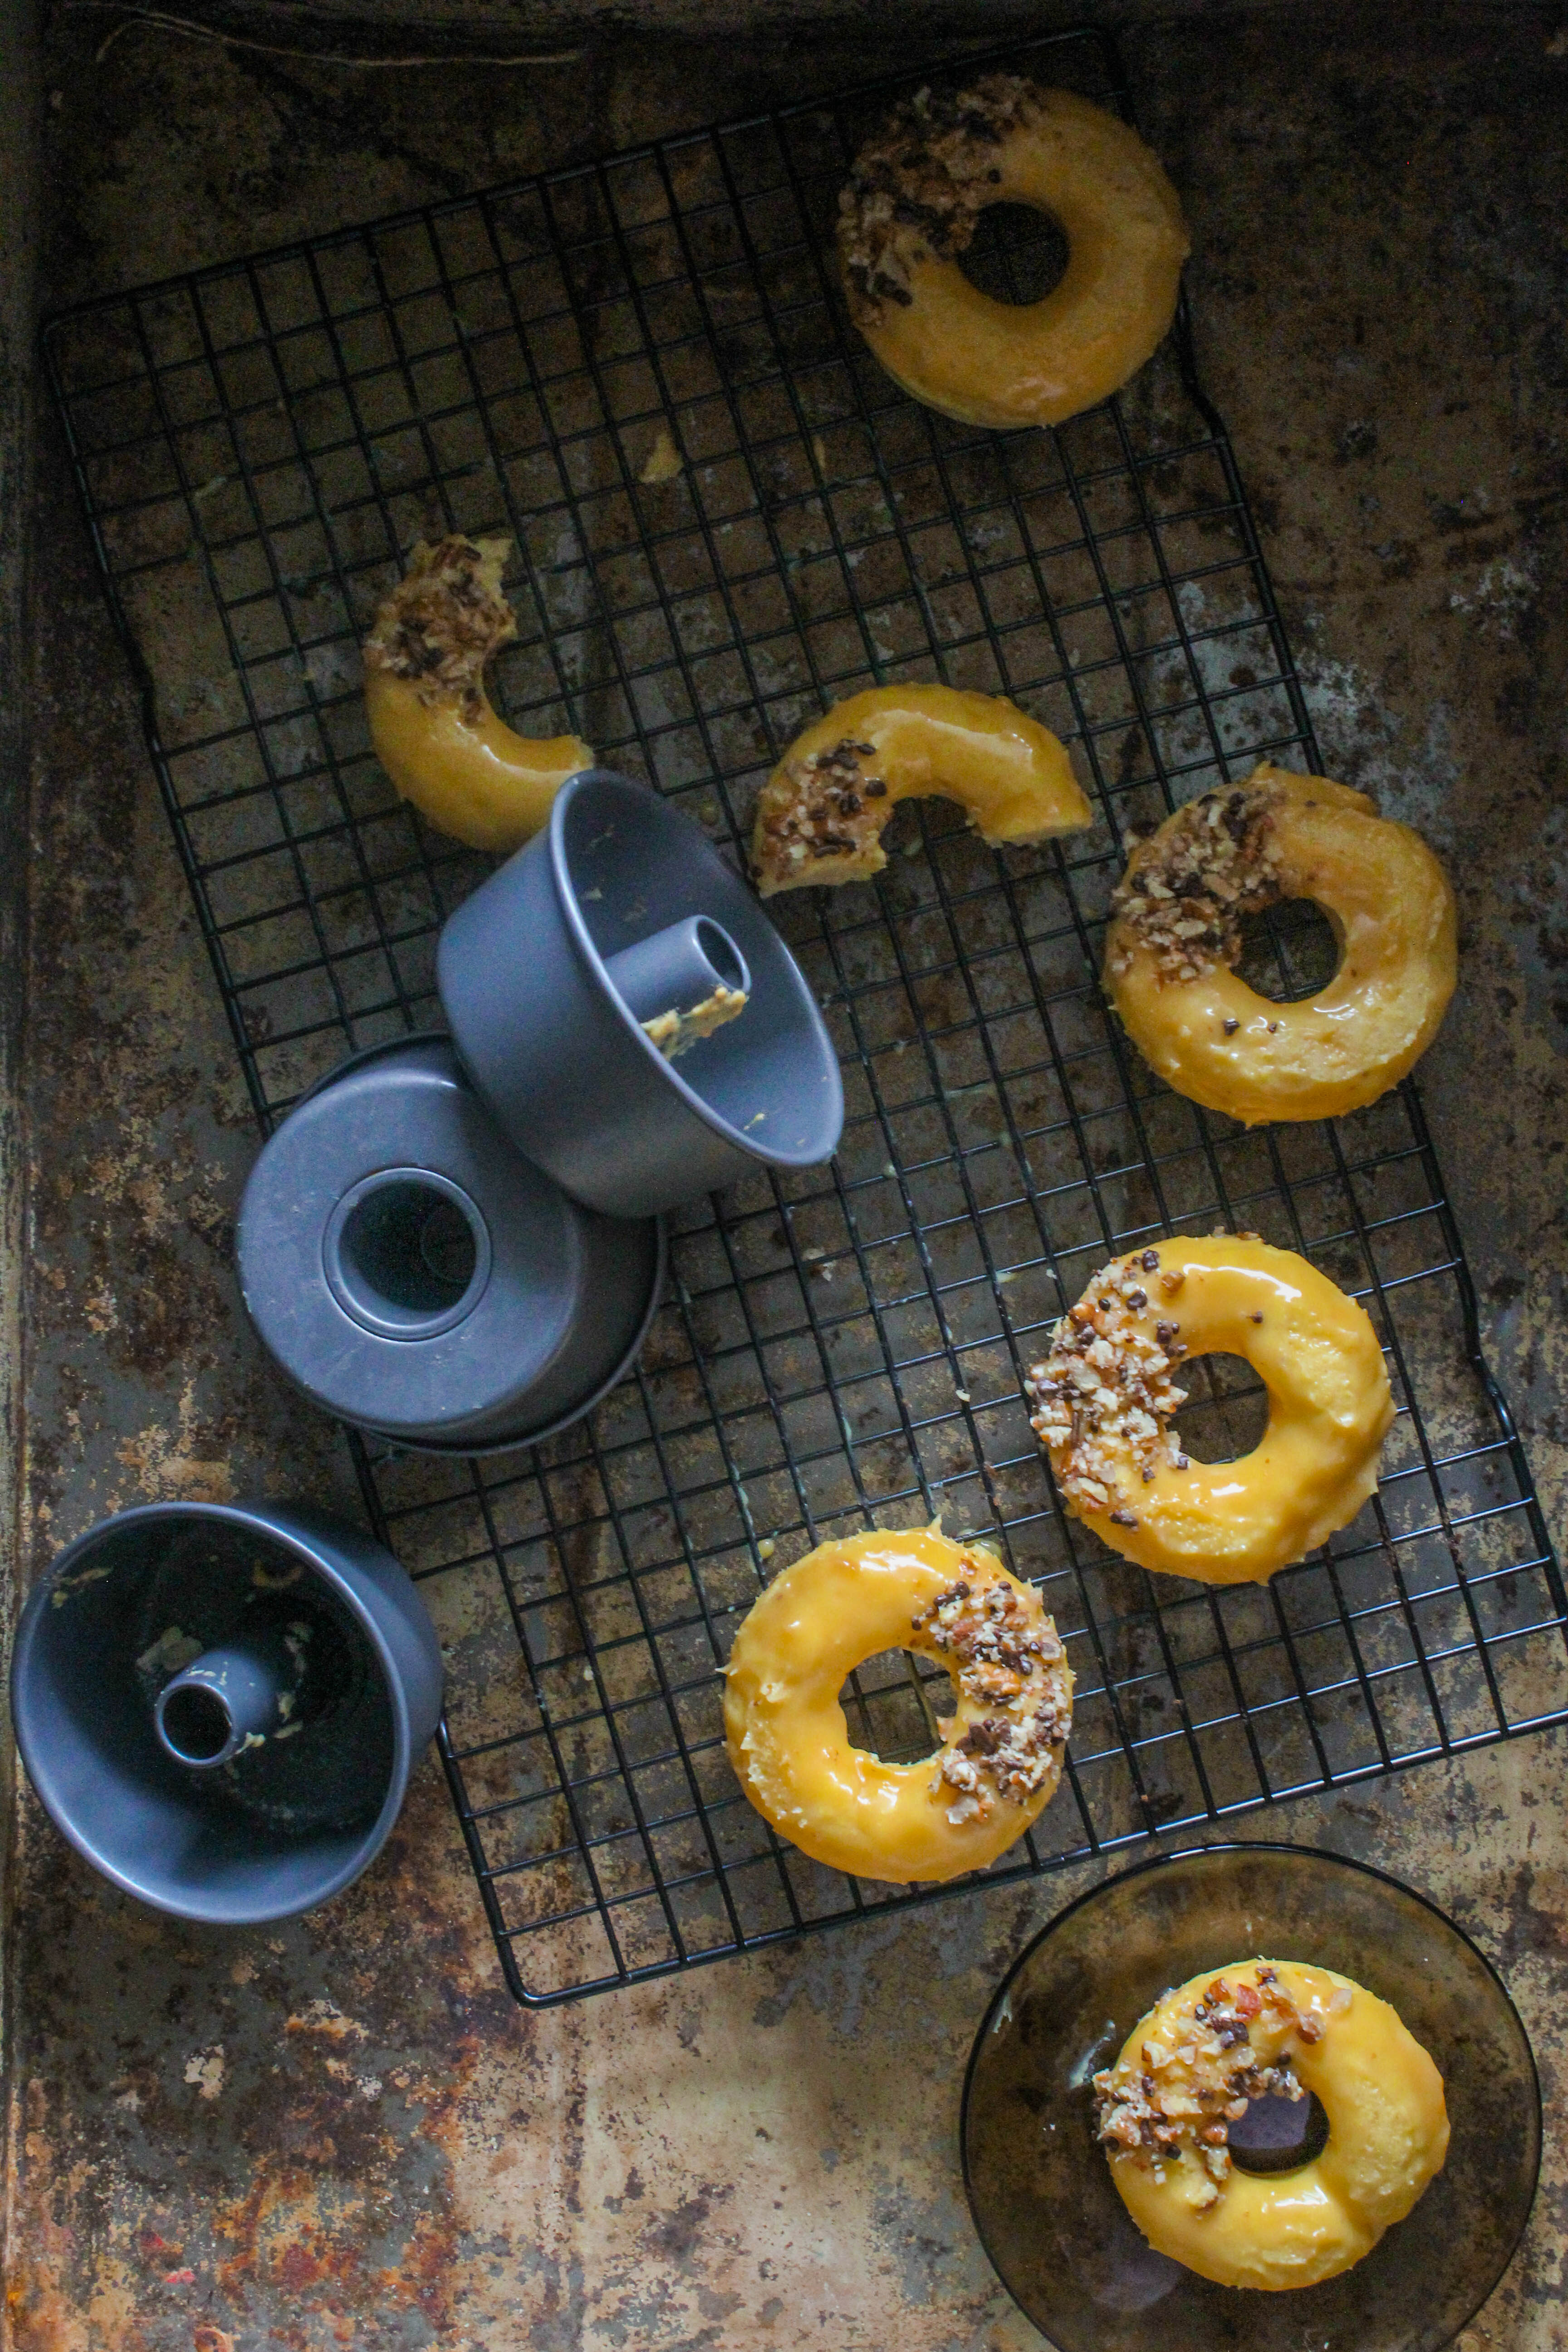
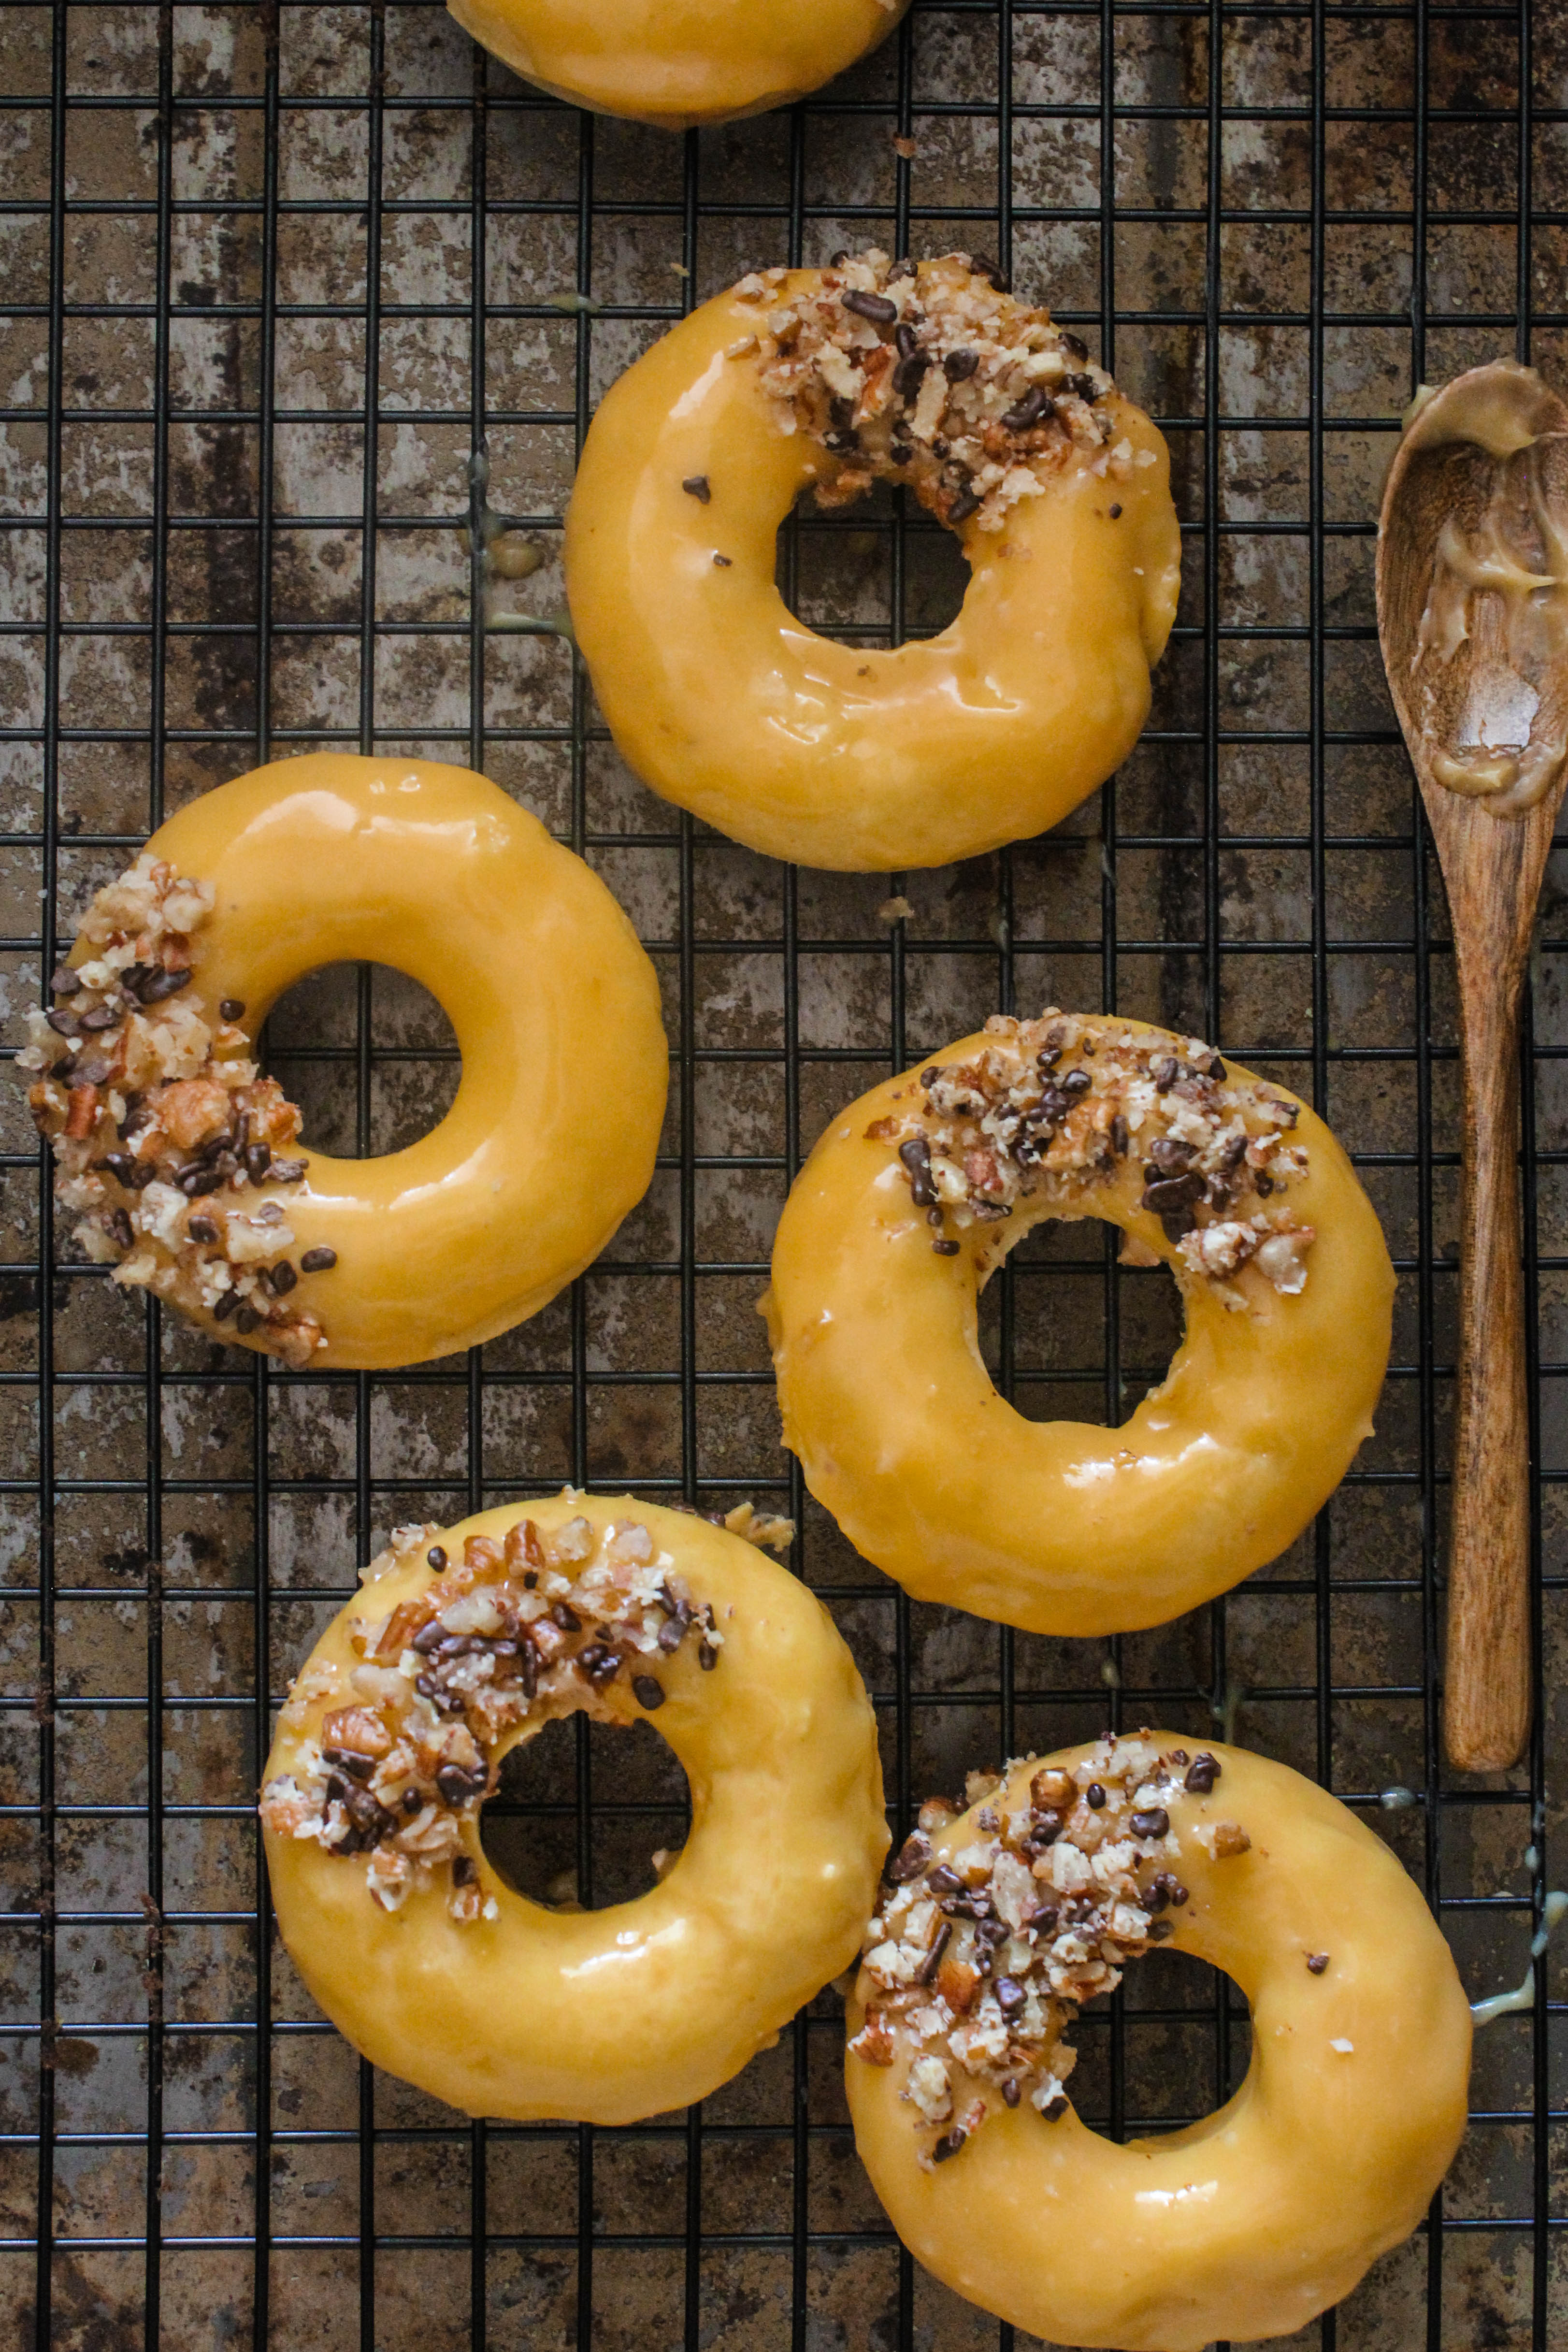
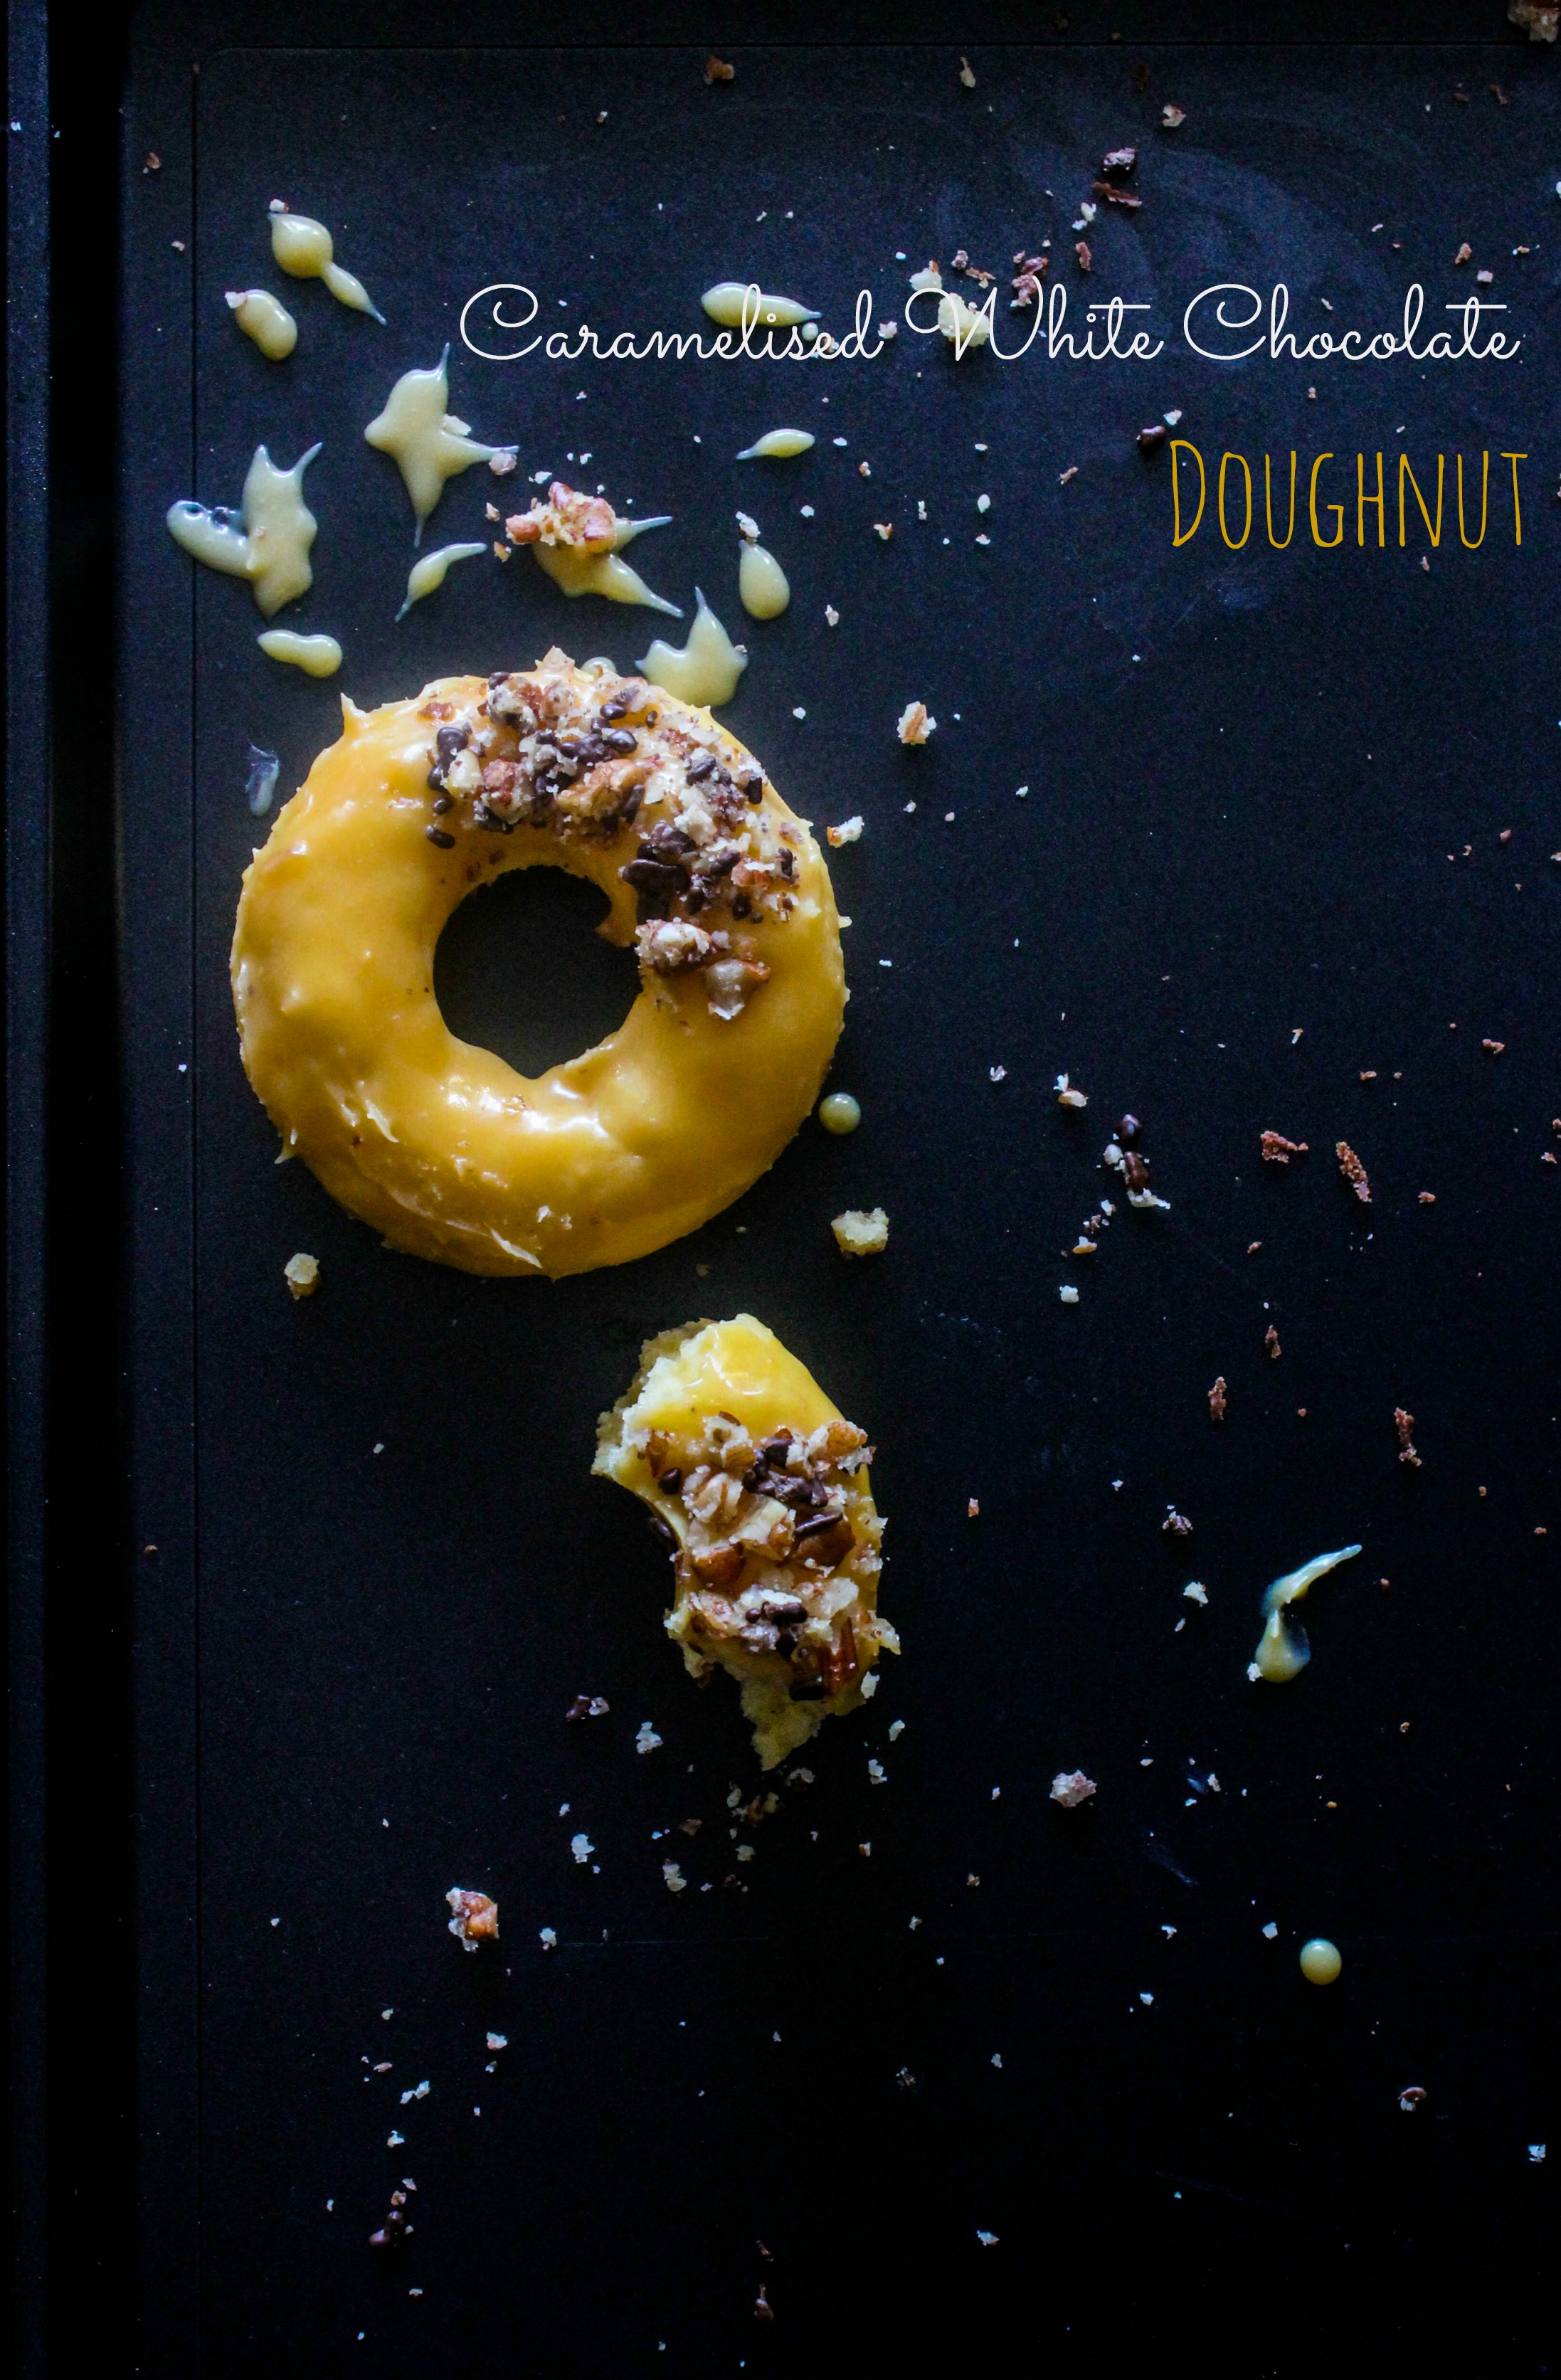
Caramelised White Chocolate Doughnuts

4|05|2014

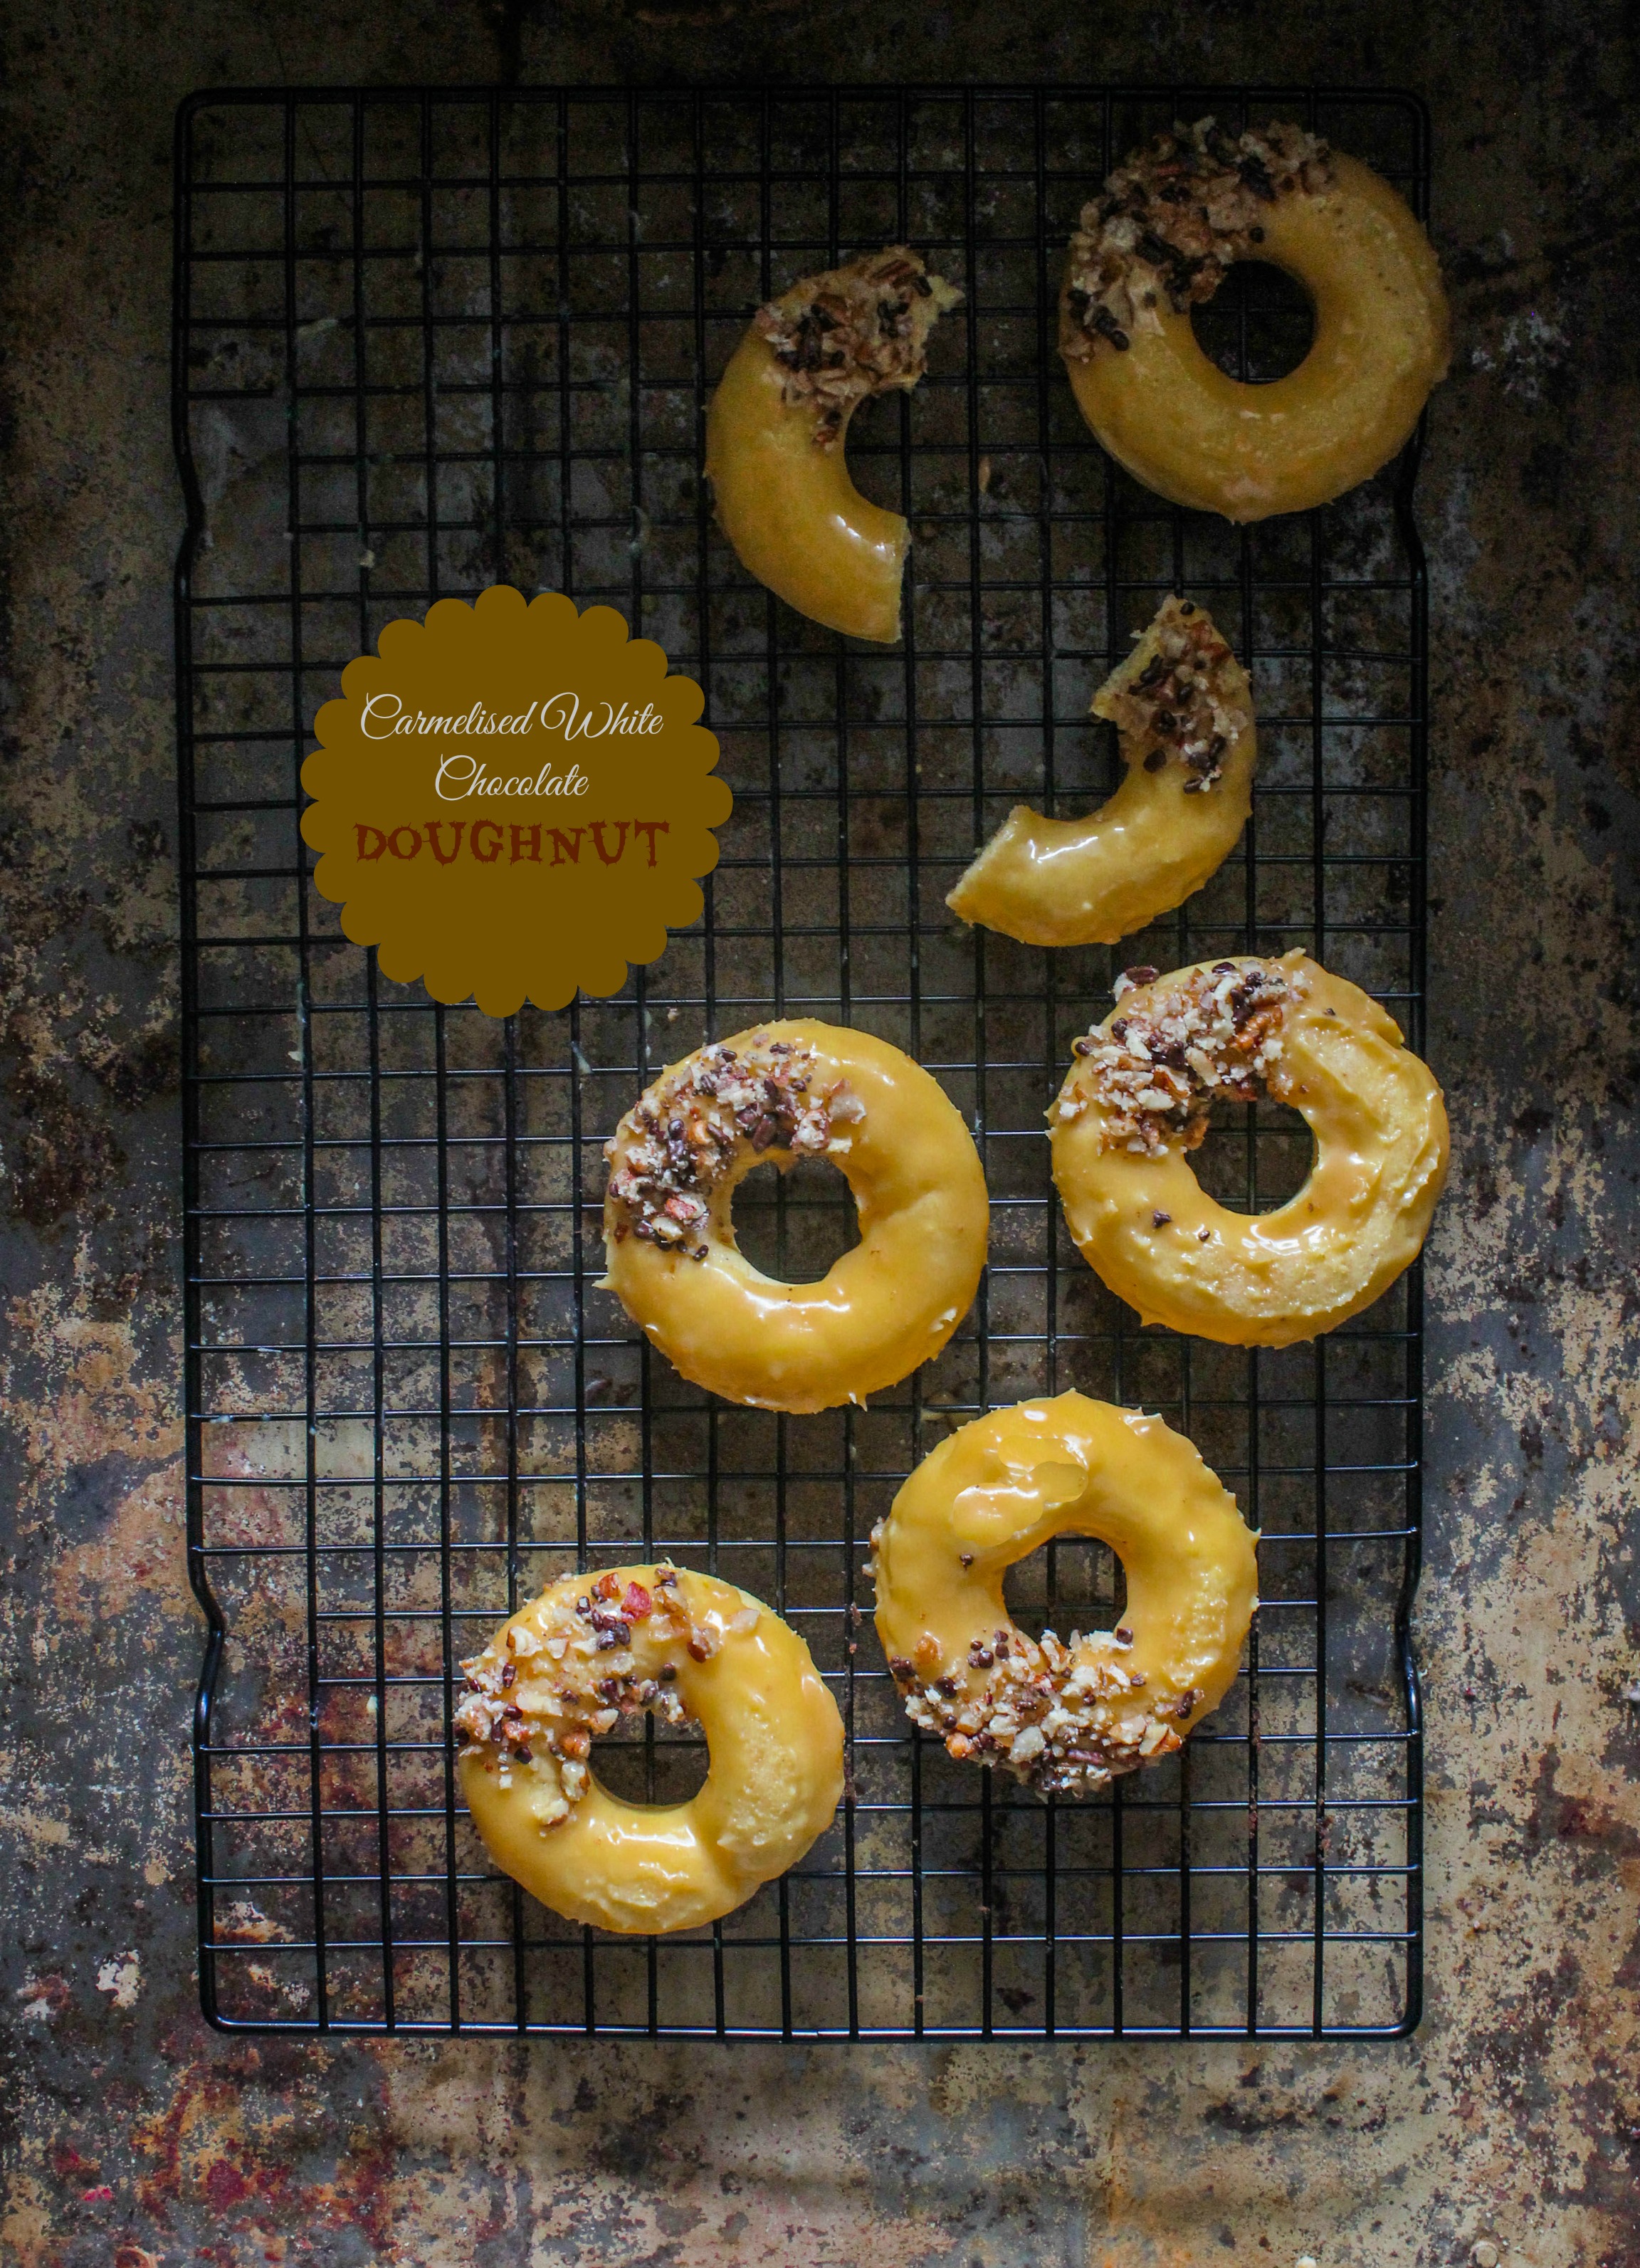
I share a little shopping ritual with my twin boys. If they are joining me on a grocery trip to the supermarket, they would get to pick and choose and eat their favourite doughnuts. The supermarket is located inside a busy shopping centre and though many of the popular doughnut outlets also happen to be on the same floor, they always want to pick the doughnuts from the bakery section in the same supermarket. The obvious reason for that is the colourful inviting displays are very suitably placed within the eye level and even reach of a small child. Marketing strategy at its best. So each time not one but two of the combo packs tinted in bright shades and strewn with colourful sprinkles land up on my shopping trolley.IMG_9591-2With a constant supply of outsourced doughnuts, my blog has completely missed the opportunity to make some at home. But since the time I’ve discovered caramelised white chocolate I’ve developed an uncontrollable urge of dunking everything into it…muffins, cupcakes, eclairs, cookies and even store bought doughnuts. That is if I am able to convince the boys to buy the non-glazed ones, especially cinnamon doughnuts. Caramelised chocolate with a little spice is the next thing to Heaven…is all I can say. So I thought it was time to post a doughnut recipe.

IMG_9615-2

I’ve tried out a few baked doughnut recipes before but they’ve never turned great so I was on the lookout for one. This one is way better (from Sally’s Baking Addiction) than the rest and is soft with a great texture. Though I personally feel that a baked doughnut never measures up to a fried one,  keeping health and convenience in mind these are pretty good. You can use the fried ones as well and I am sure they would taste amazing too. The caramelised white chocolate is the star of the show so really anything dunk-able would do.

IMG_9633

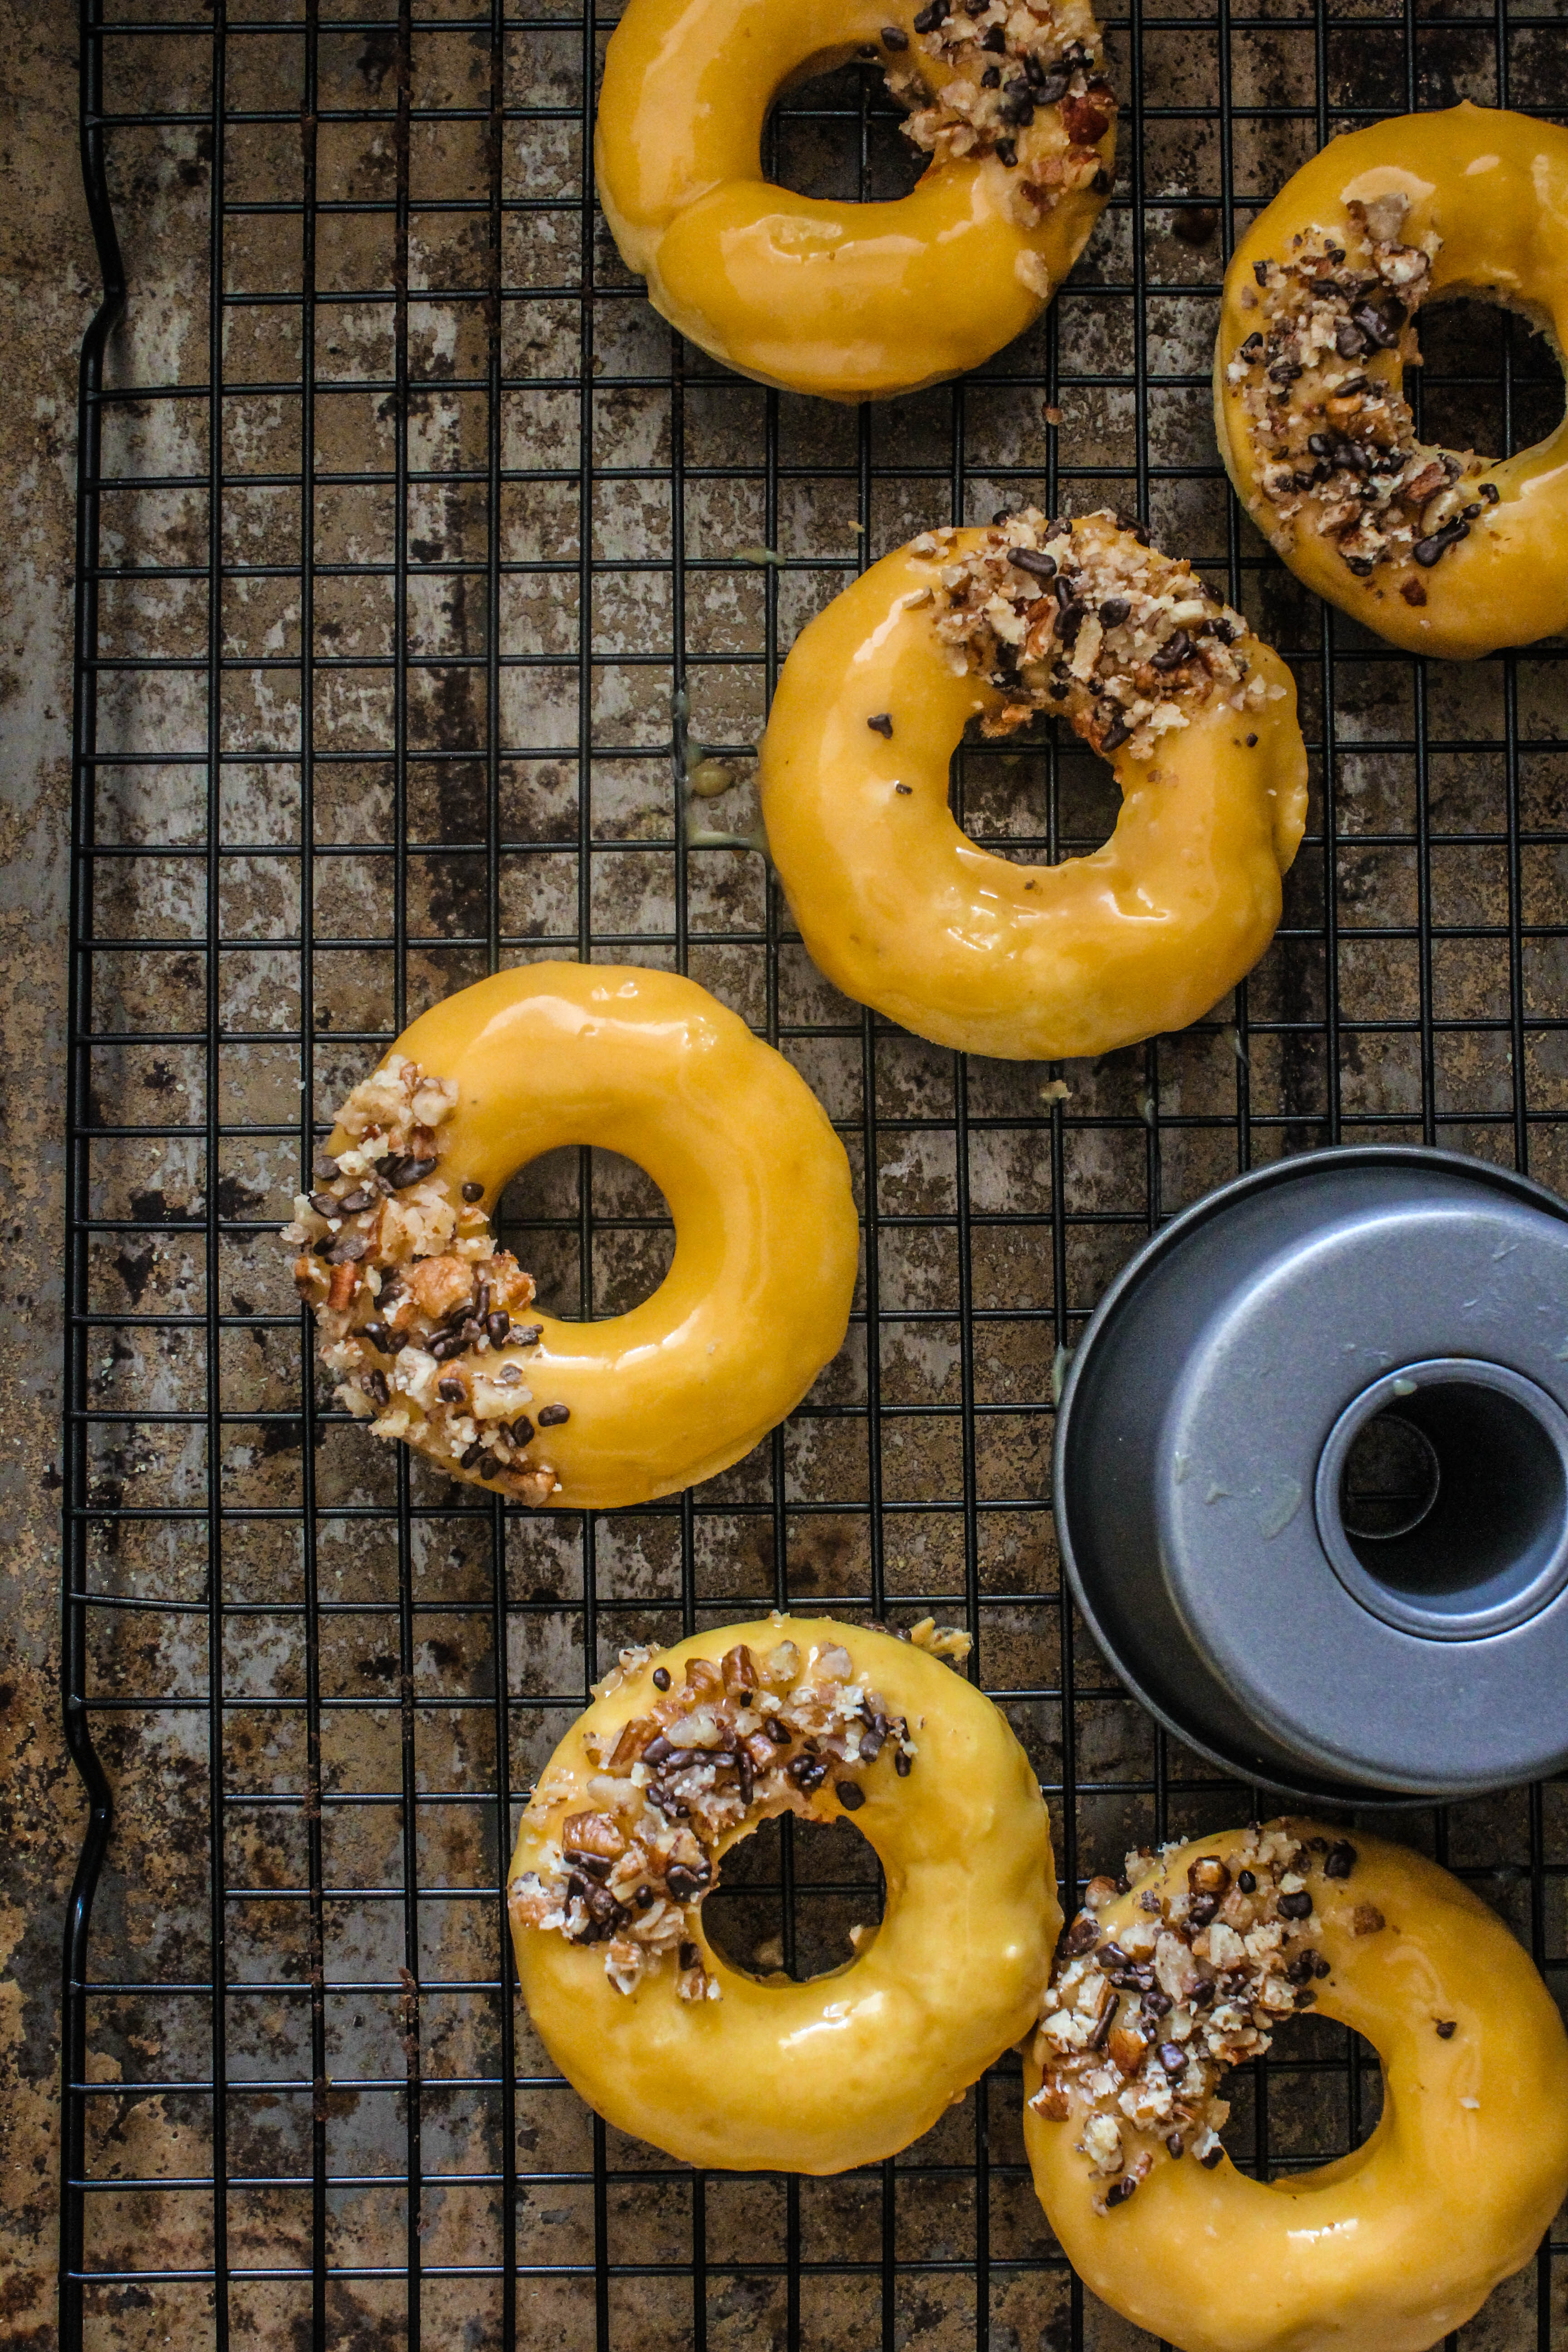
I think I have mentioned before that I use David Lebovitz’s recipe and method for caramelising the white chocolate. It always works for me. It is a simple process (explained really well) and all that it requires is some patience. The results are worth it. The recipe will yield more caramelised white chocolate than needed to glaze the doughnuts. To use up the rest of the chocolate, you may want to look at this cheesecake or this mousse. I’ve added toasted chopped pecans mixed with a little bit of chocolate sprinkles to decorate the doughnuts. Feel free to play around with the decorations.

IMG_9593

The original recipe for the doughnuts using a doughnut pan made 8 doughnuts. Since I used individual pans which may be slightly bigger than the size of a regular doughnut, I got 6 out of the batter.

IMG_9638-4

Caramelised White Chocolate Doughnuts
Yields 6 large or 8 medium doughnuts

For the baked donuts (adapted from Sally’s Baking Addiction)
1 cup (125g) all-purpose flour (careful not to over measure)
1 teaspoon baking powder
1/4 teaspoon baking soda
1/4 teaspoon ground nutmeg
1/3 cup (65g) granulated sugar
1/4 cup (60ml) milk
1/4 cup (60g) Greek yogurt
1 large egg
2 Tablespoons (30g) unsalted butter, melted
1 and 1/2 teaspoons vanilla extract
1 recipe caramelised white chocolate ganache, lukewarm
1/4 cup toasted, finely chopped pecans, to decorate
chocolate sprinkles, to decorate

For the caramelised white chocolate ganache (makes about 2/3 cup)
1/2 cup caramelised white chocolate (using David Lebovitz’s recipe)
1/4 cup heavy or thickened cream

For the baked doughnut: Preheat the oven to 180 degrees C. Spray a donut pan with non-stick spray. Set aside.

Whisk the flour, baking powder, baking soda, nutmeg, and granulated sugar together in a medium bowl. Set aside.

Whisk the milk, yogurt, and egg together until smooth. Add the melted butter and vanilla, whisking until fully combined. Pour the wet ingredients into the dry ingredients and stir until just combined. Do not over mix. The batter will be very thick.

Pipe the batter or spoon the batter into the doughnut cups. Since the batter is quite thick it is easier to pipe it in. You can use a ziplock bag in case you don’t have a piping bag. Cut a corner off the bottom of the bag and pipe the batter into each donut cup.

Bake for 9–10 minutes or until the edges are lightly browned. Allow the donuts to slightly cool before glazing.

For the Caramelised White Chocolate Ganache: Place the caramelised white chocolate in a medium bowl. Bring the cream to a boil over medium heat. Remove from heat and pour over the chocolate. Leave aside for 5 minutes and stir with a spoon till smooth. Cool slightly before glazing the doughnuts.

The chocolate ganache sets completely when cooled so the glazing would have to be done before the ganache cools completely. In case, it becomes hard, warm slightly while stirring with a spoon and it turns to a liquid consistency.

To Assemble : Dip the cooled doughnuts into the caramelised white chocolate ganache and turn to coat evenly. Transfer each doughnut onto a wire rack over a baking sheet to catch the glaze drippings. Take each doughnut and dunk again if you have enough glaze leftover. Sprinkle with toasted pecans and chocolate sprinkles in your desired pattern.

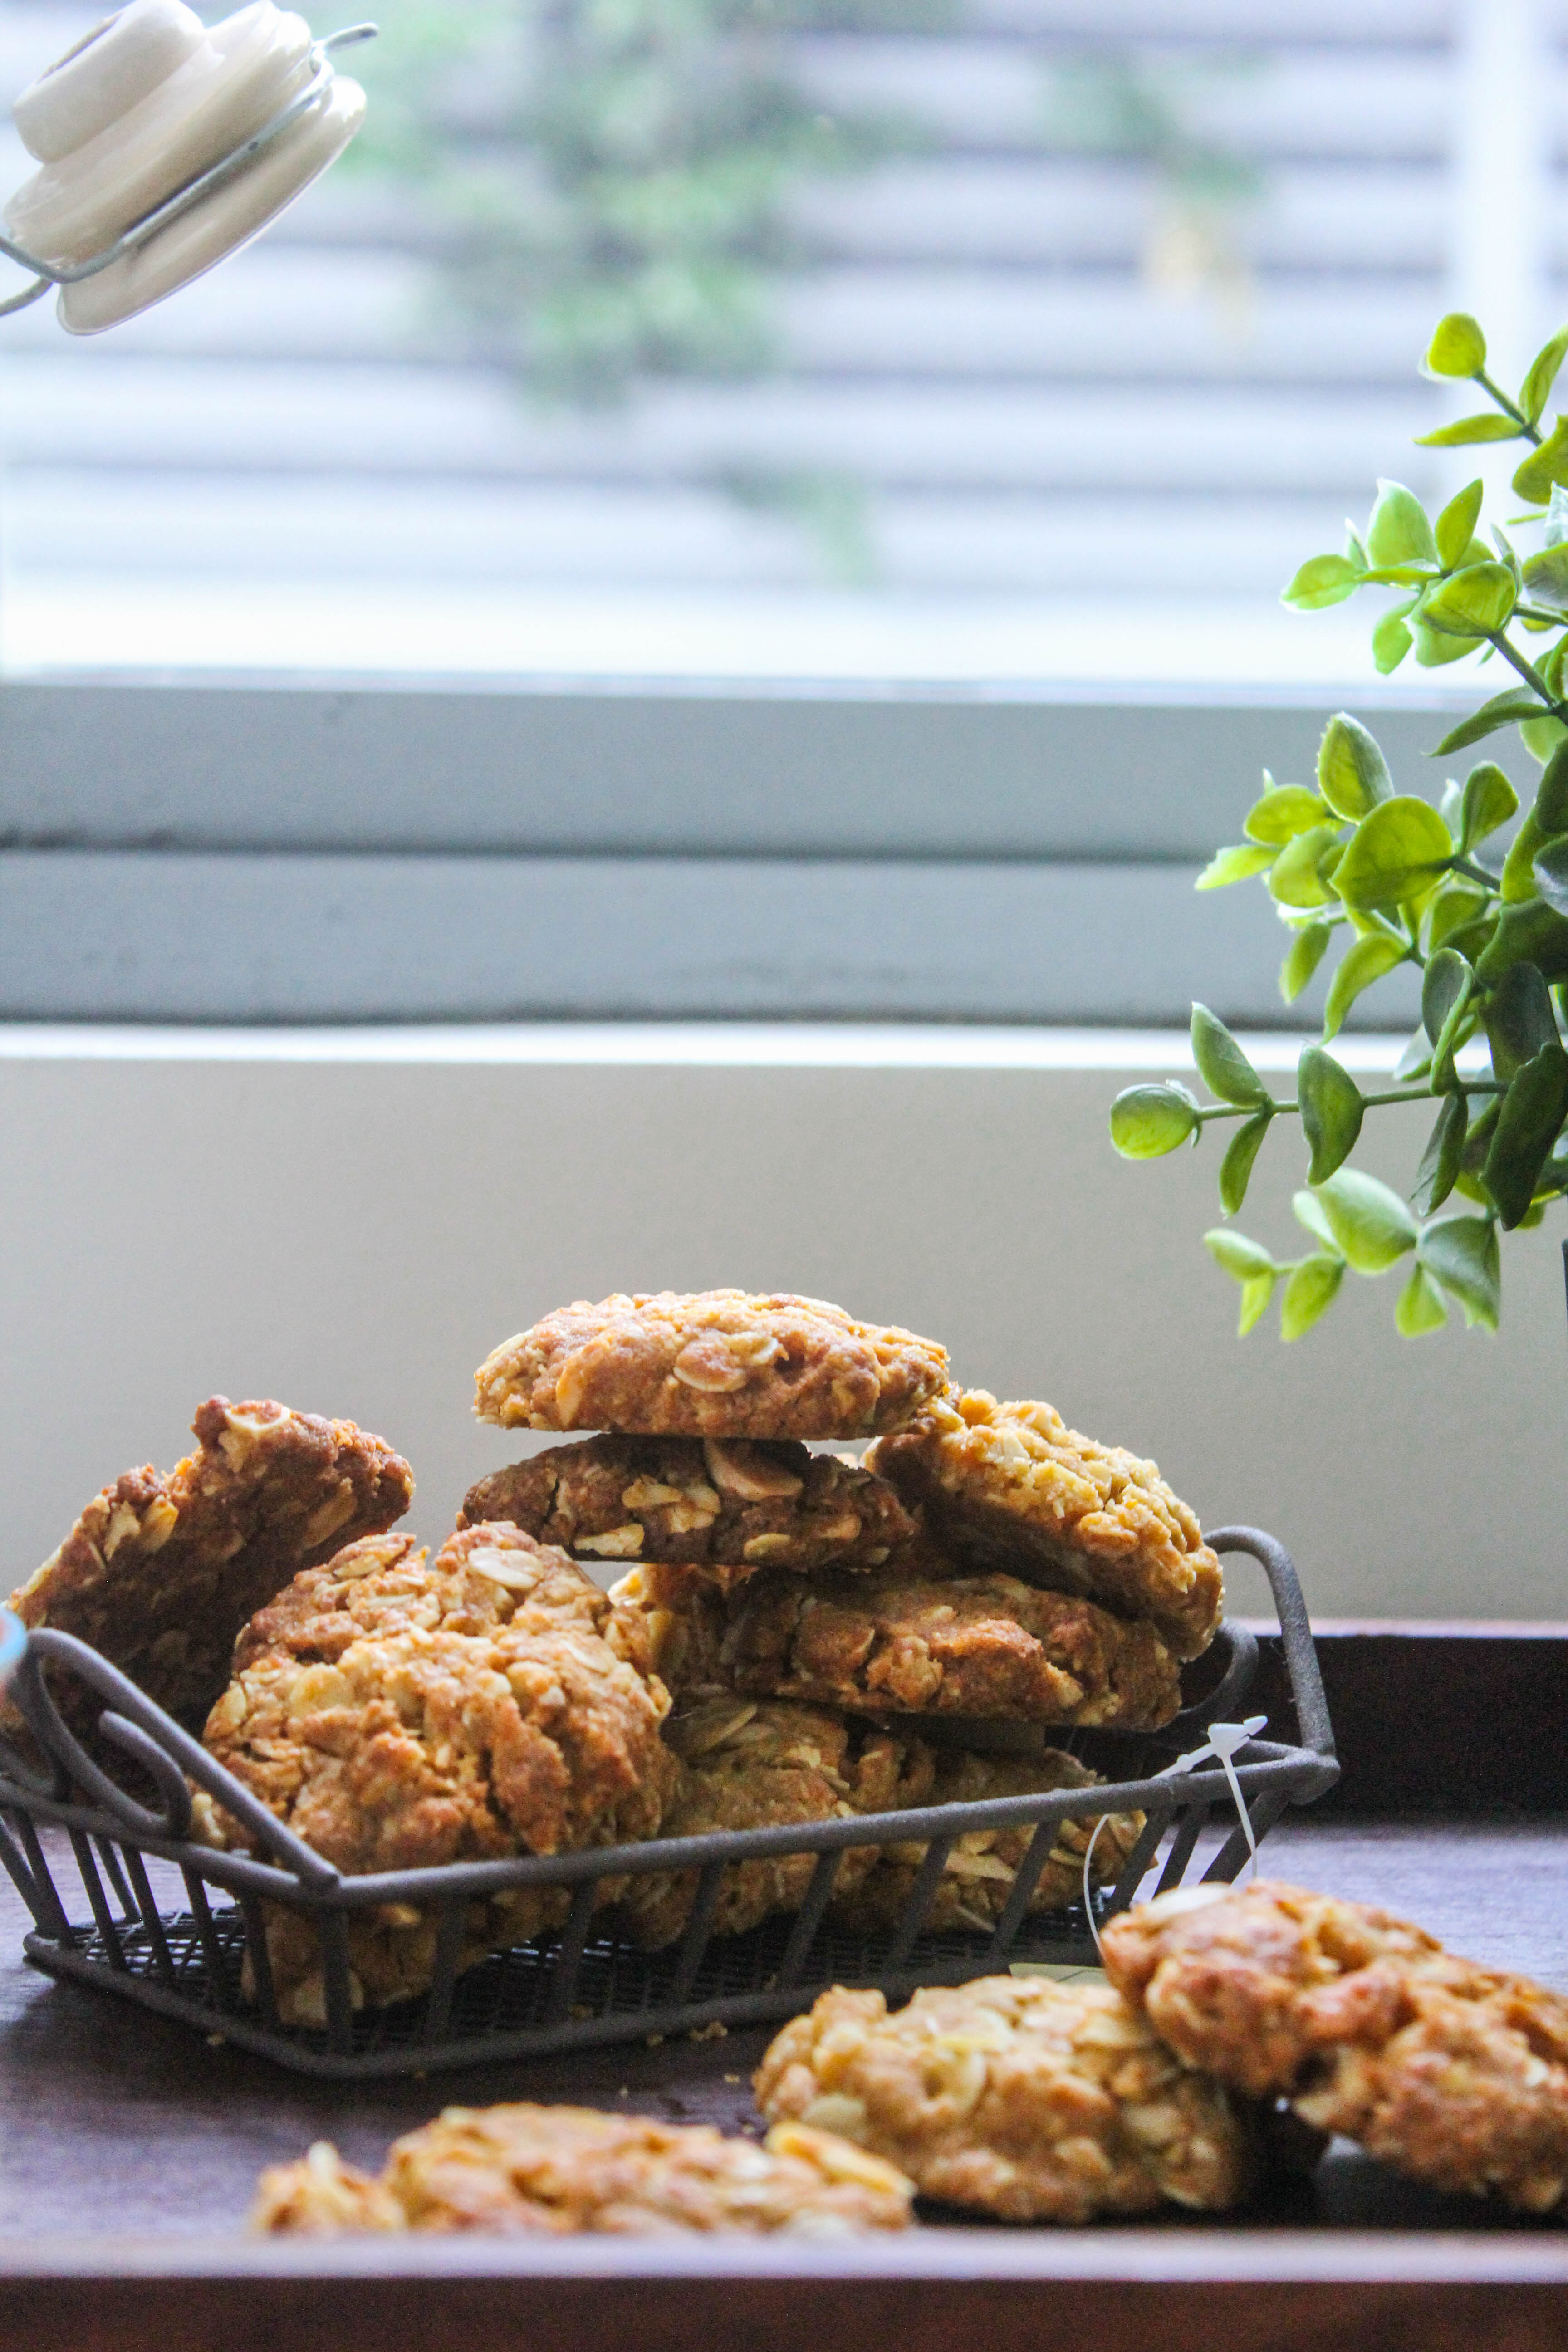
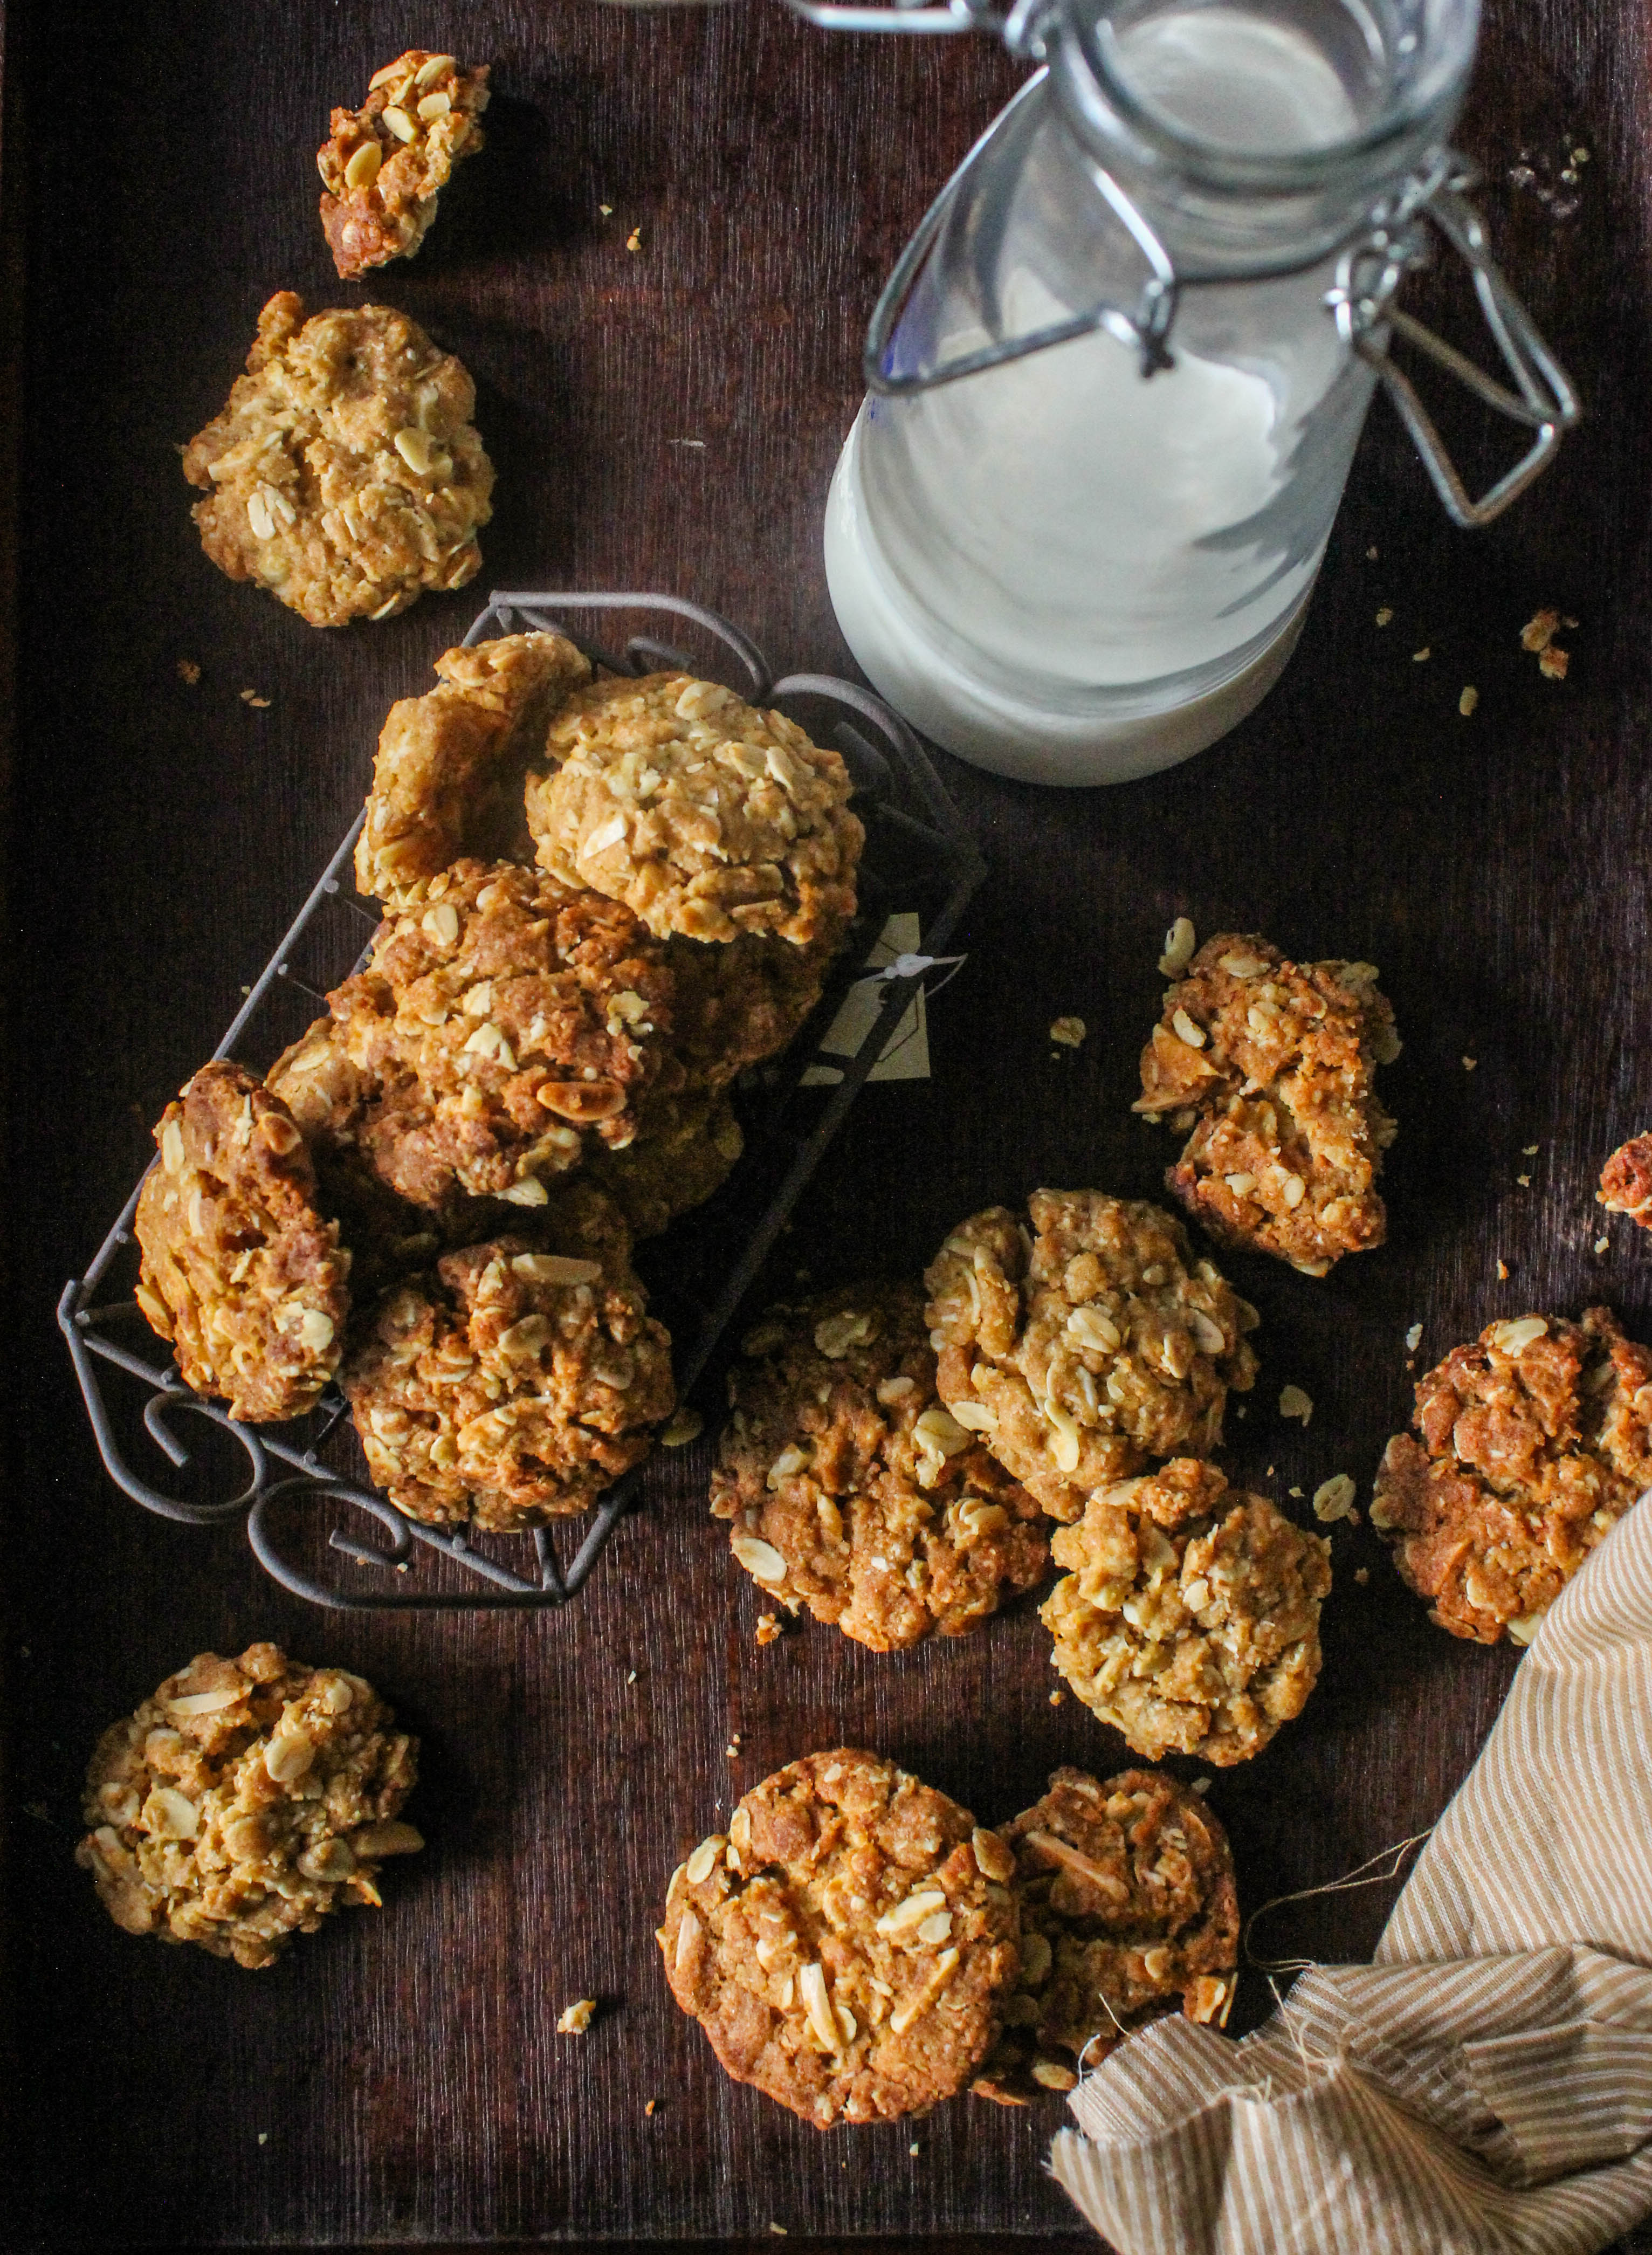
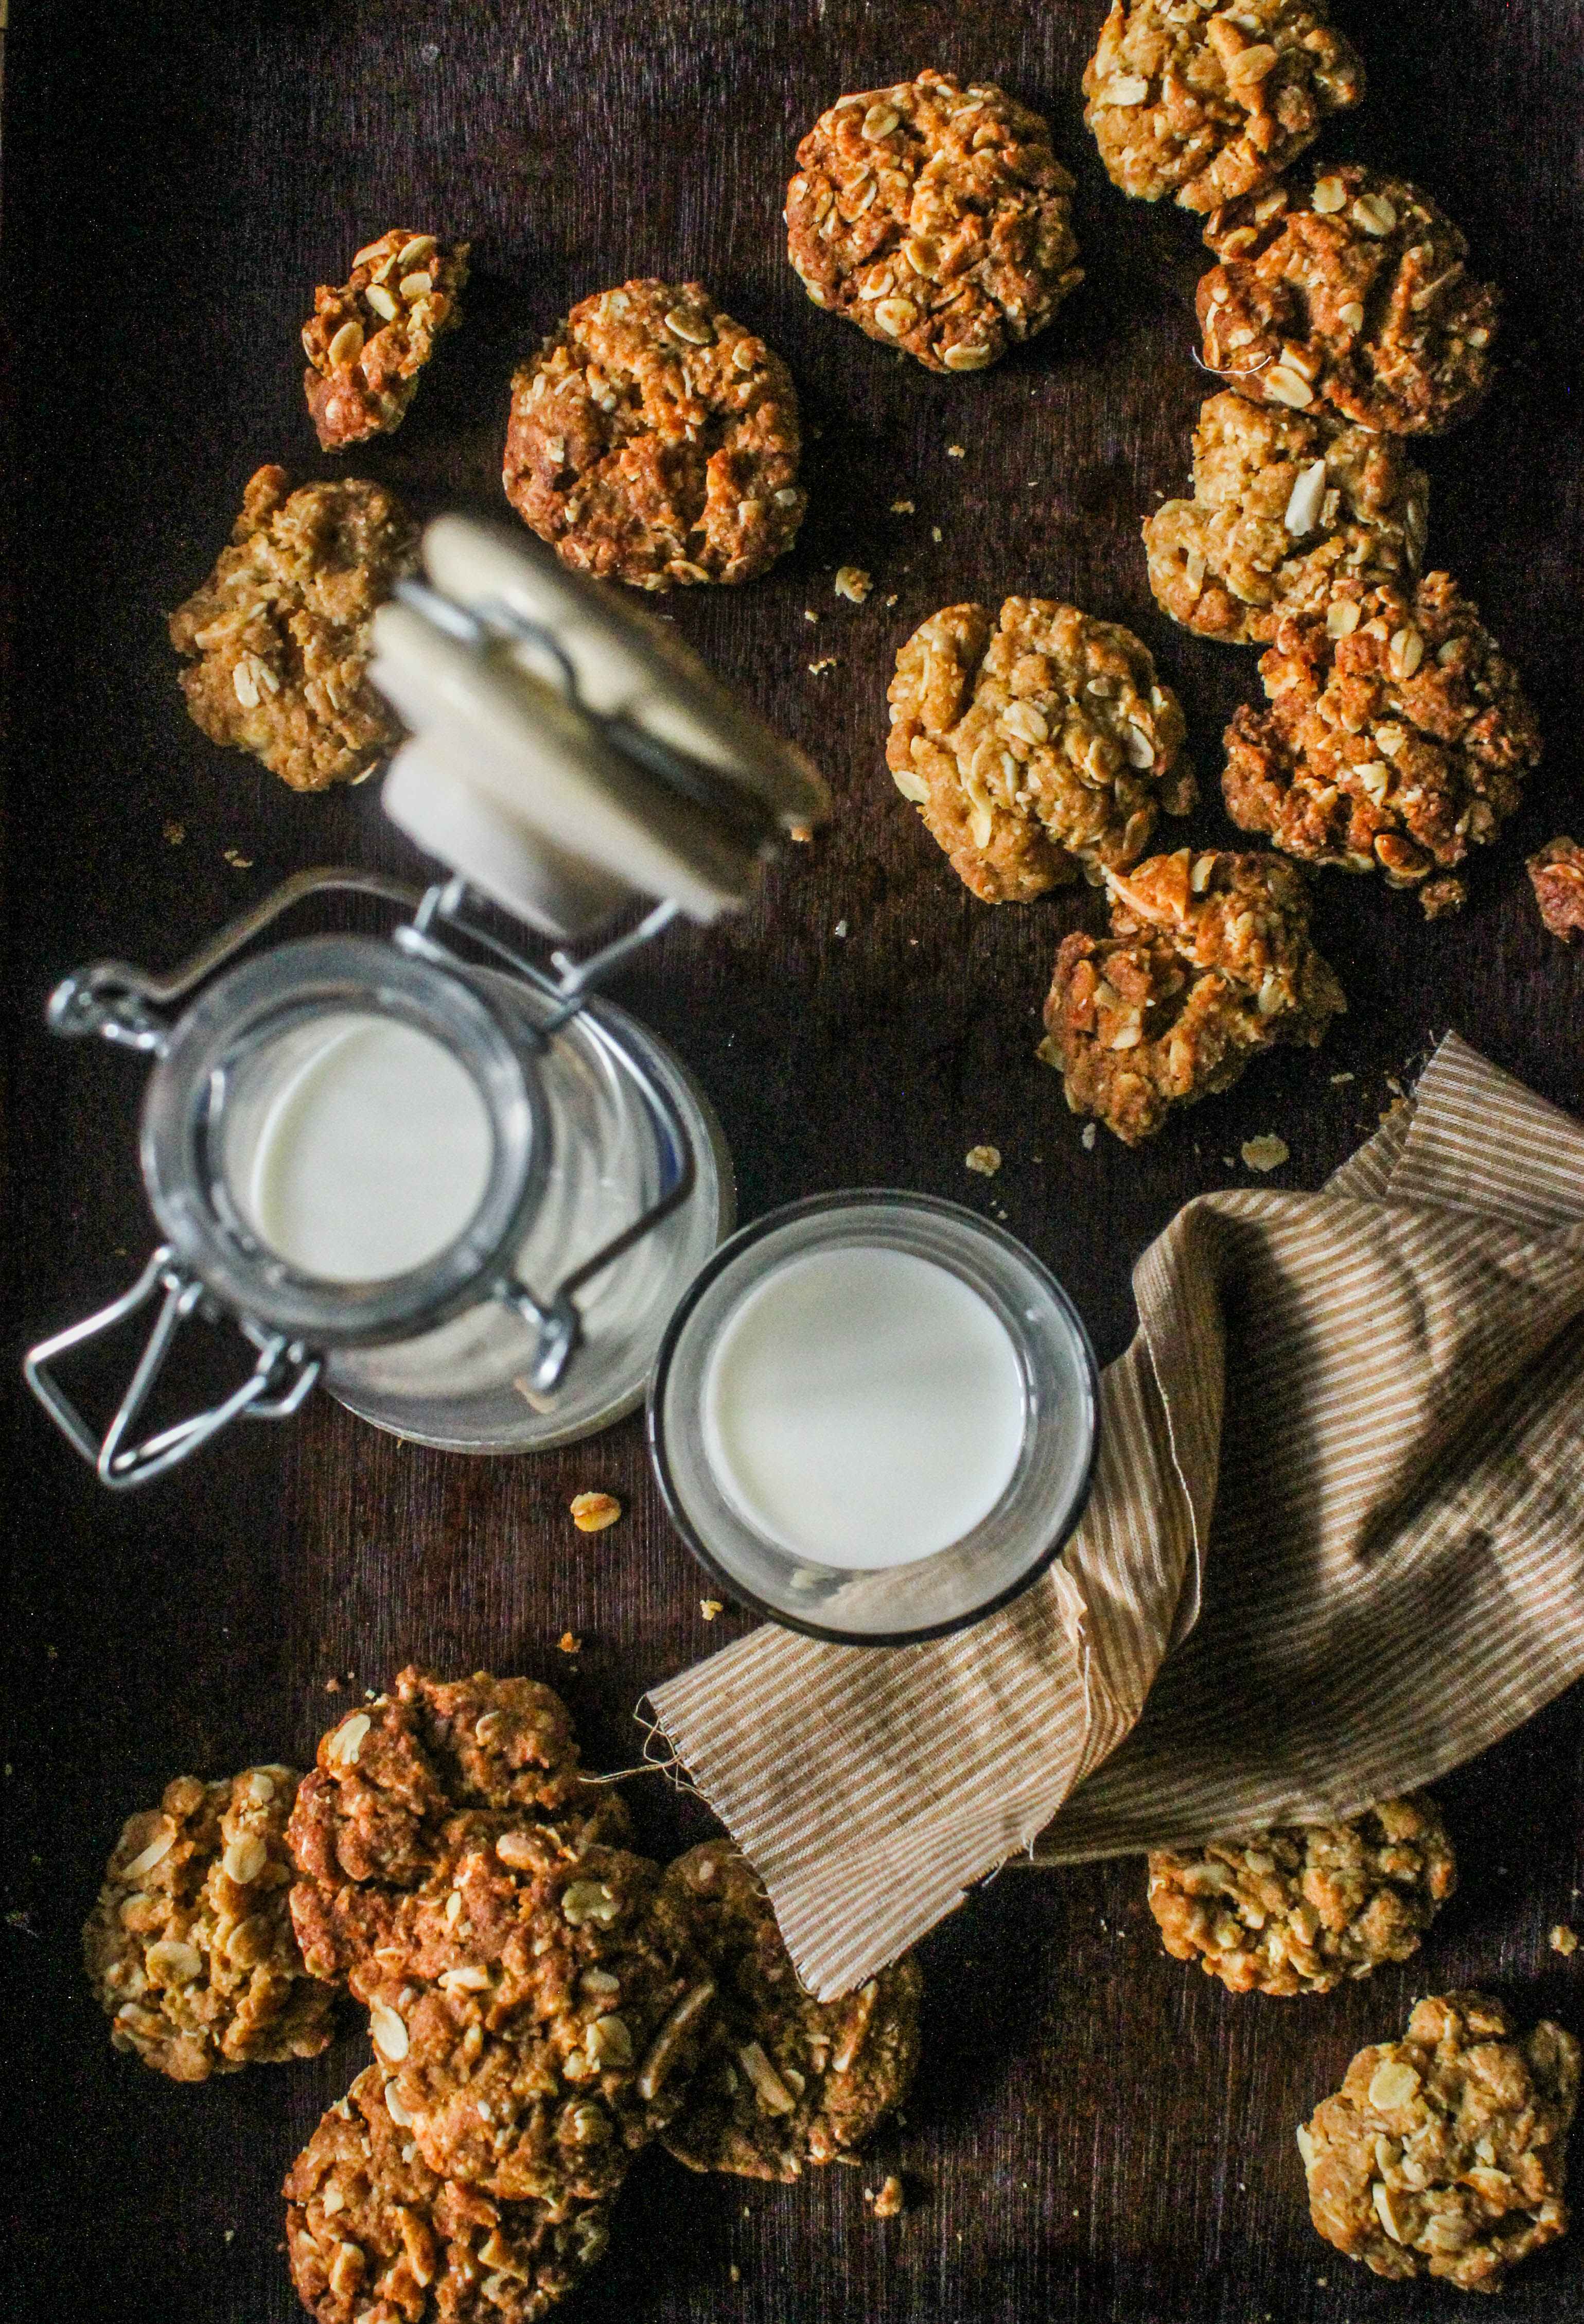
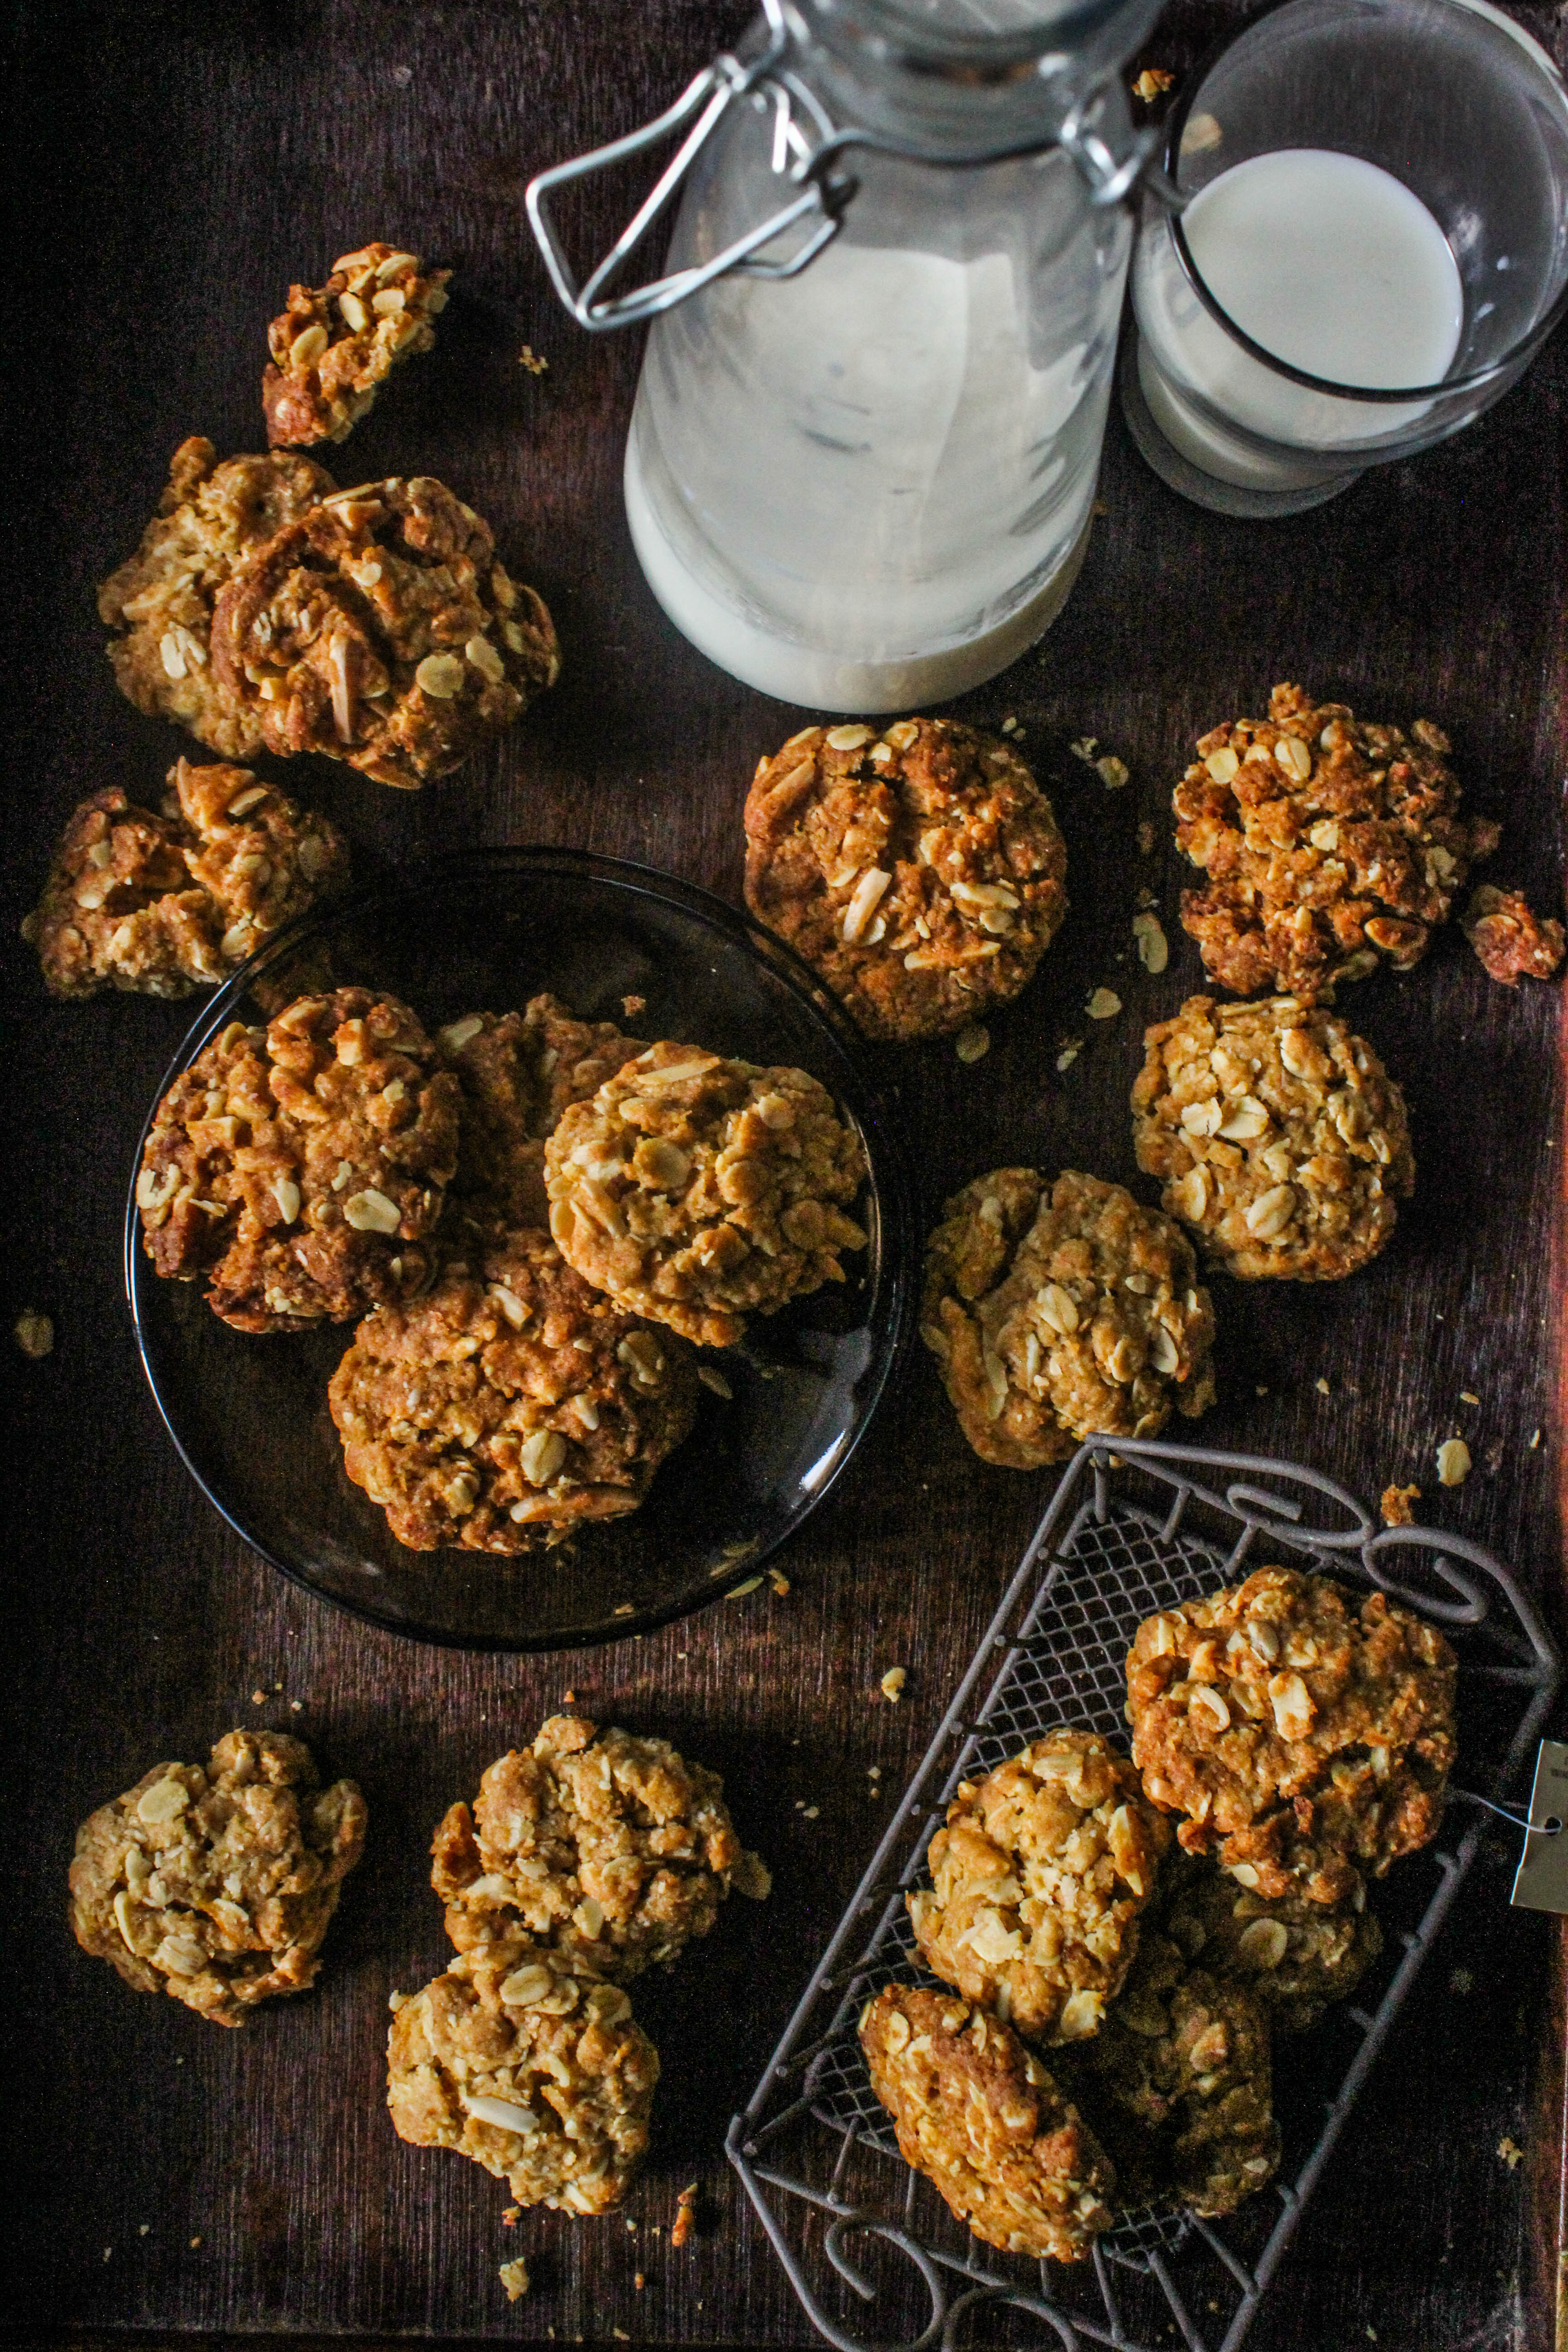
Orange+Almond+Oats+Coconut (Anzac) Biscuits

30|04|2014

A few days ago, I was reading an article in Good Housekeeping (via the Kitchn) about ’10 foods that make you sleepy and 10 that keep you up’. Since I frequently deal with sleep problems, I thought it was quite appropriate for me. Incidentally, a batch of these were baking in the oven as I was reading through. Topping the list of things that help one sleep better were oats and almonds, both of which were present in these biscuits. I almost found myself wishing that all that was written in the article were true and I could eat biscuits and go to bed. How does that sound?

IMG_9548

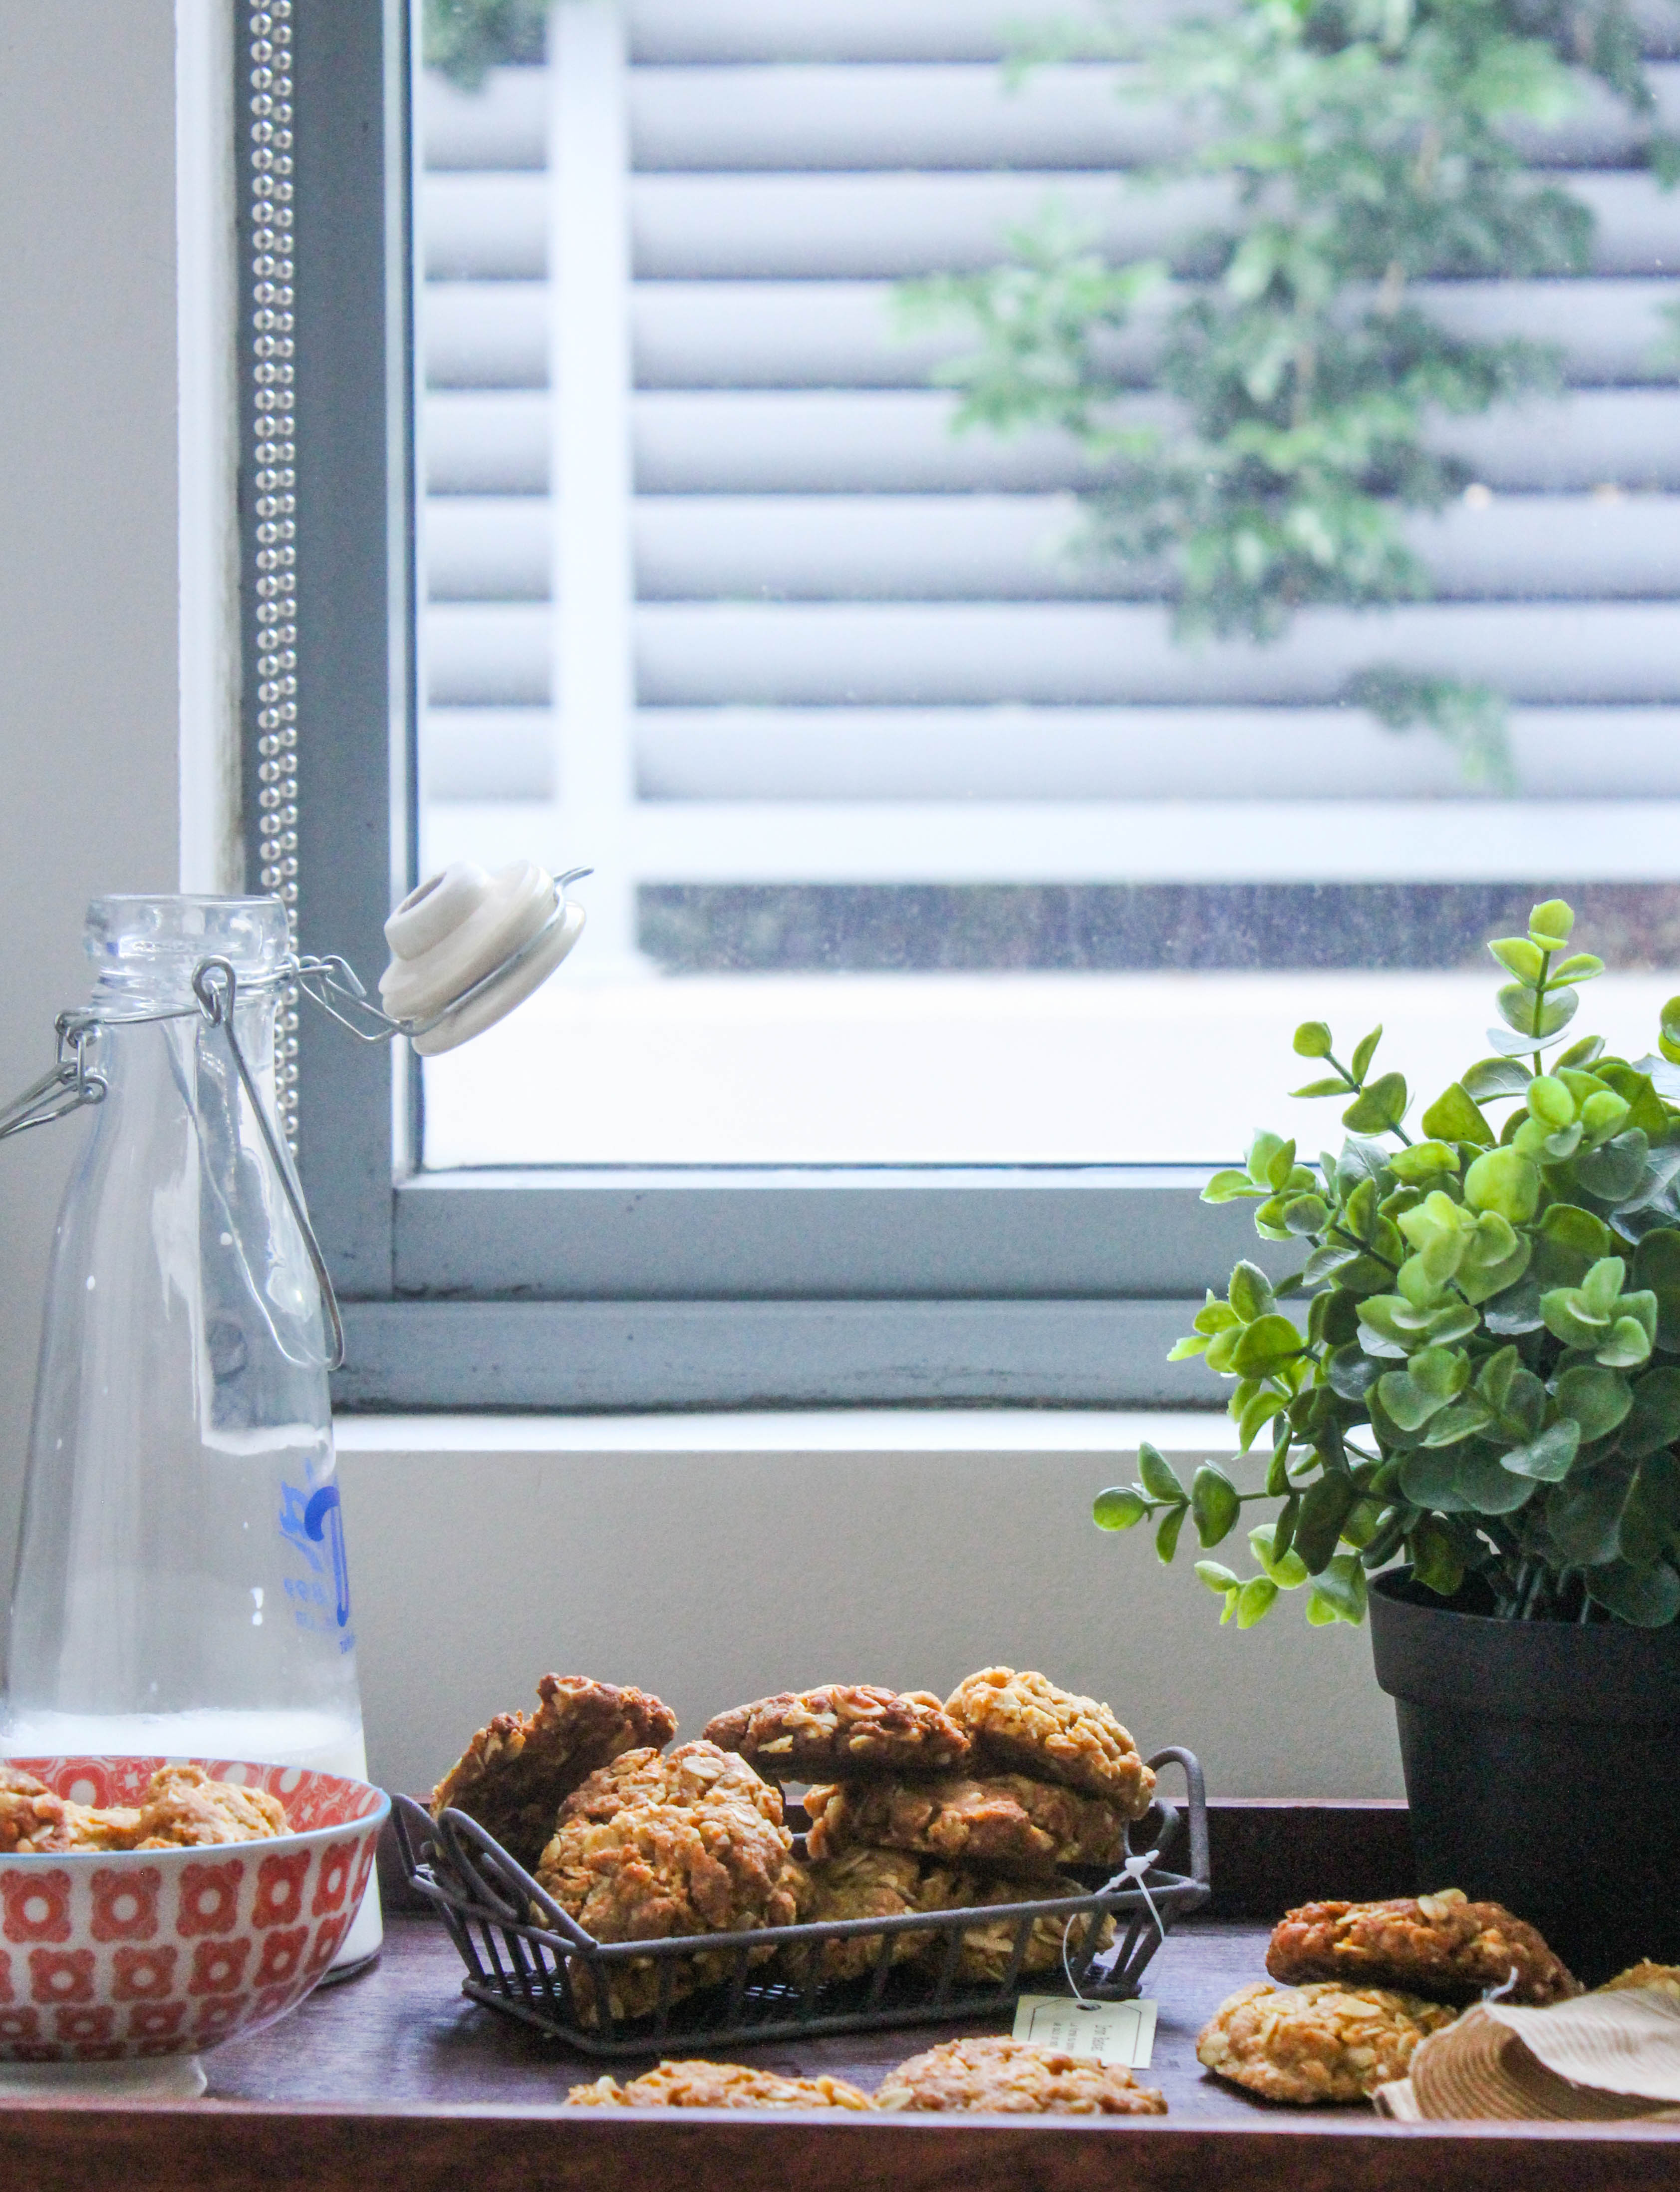
To be honest, these have nothing to do with sleep. Partly true. That is if you are not dreaming of them. They are deliciously addictive biscuits with a gorgeous caramel like flavour, accompanied by a slight chew from the coconut, a nutty bite from the almonds and a mild flavour and fragrance from the orange. Too many good things happening there.

IMG_9551

IMG_9562

We enjoyed two long weekends this month..first Easter and then Anzac Day. And that is precisely why I made these in the first place. These are perhaps biscuits that are held in the highest regard in Australia. I made 3 different versions of the traditional Anzac biscuits and we ate them all though the weekend.

IMG_9569-3Did I sleep better?
I did. Whether it has any connection with the ingredients at all or not, I had plenty of activity, winter shopping, cooking and eating to get my mind tired.

IMG_9578-2Orange Almond Anzac Biscuits (adapted with variation from Taste.com)
Makes 20 biscuits

1 cup plain flour
1 cup whole rolled oats
1 cup dessicated coconut
1/2 cup almond slivers
3/4 cup firmly packed brown sugar
1 tablespoon finely grated orange zest (I used a Navel Orange)
125g butter (use Earth Balance for lactose free)
2 tablespoons golden syrup
2 tablespoons water
1/2 teaspoon bicarbonate of soda

Preheat oven to 160 degrees C. Line 2 large baking trays with non-stick baking paper.

Combine the flour, oats, coconut, almonds, sugar and orange zest in a large bowl. Stir the butter, golden syrup and water in a small saucepan over medium heat until the butter melts and the mixture is smooth.

Stir in the bicarbonate of soda. Add to the oat mixture and stir until well combined.

Roll level tablespoons of the mixture into balls and place, about 5cm apart, on the lined trays. (If you find the mixture too crumbly to roll, place the mixture in the fridge for 10 minutes.) Flatten until about 1cm thick. Bake, swapping trays to upper and lower oven shelves halfway through cooking, for 18 minutes or until light golden.

Set aside for 10 minutes to cool before transferring to a wire rack to cool completely.


Lemon Curd and Yoghurt Eton Mess

27|04|2014

If there is something that is always present in my refrigerator, greatly appreciated by my family and finds its use in multiple savory or sweet dishes cooked in my kitchen, it has to Greek Yogurt. Because of it’s thick creamy consistency, slightly acidic taste and significantly high health benefits, I find myself including it in my everyday diet, slowly using it instead of cream (single or double) sour cream and even cream cheese in recipes that require their usage.

IMG_9340-5
In Australia we have easy access to Greek yogurt. On account of that, it is widely used to replace mayonnaise in burgers, in salad dressings, dips, marinades, cakes and of course frozen yogurt. My latest way of using it is in a Greek inspired home made lamb pizza in the form of a  tzatziki topping (recipe coming soon). What are benefits of Greek Yoghurt over regular yoghurt, you may ask. The answer lies in the way it has been processed. Extra steps in straining the yoghurt results in a more concentrated, thicker consistency which is higher in protein, lower in sugar and carbohydrates. Basically, it keeps you feeling full longer.

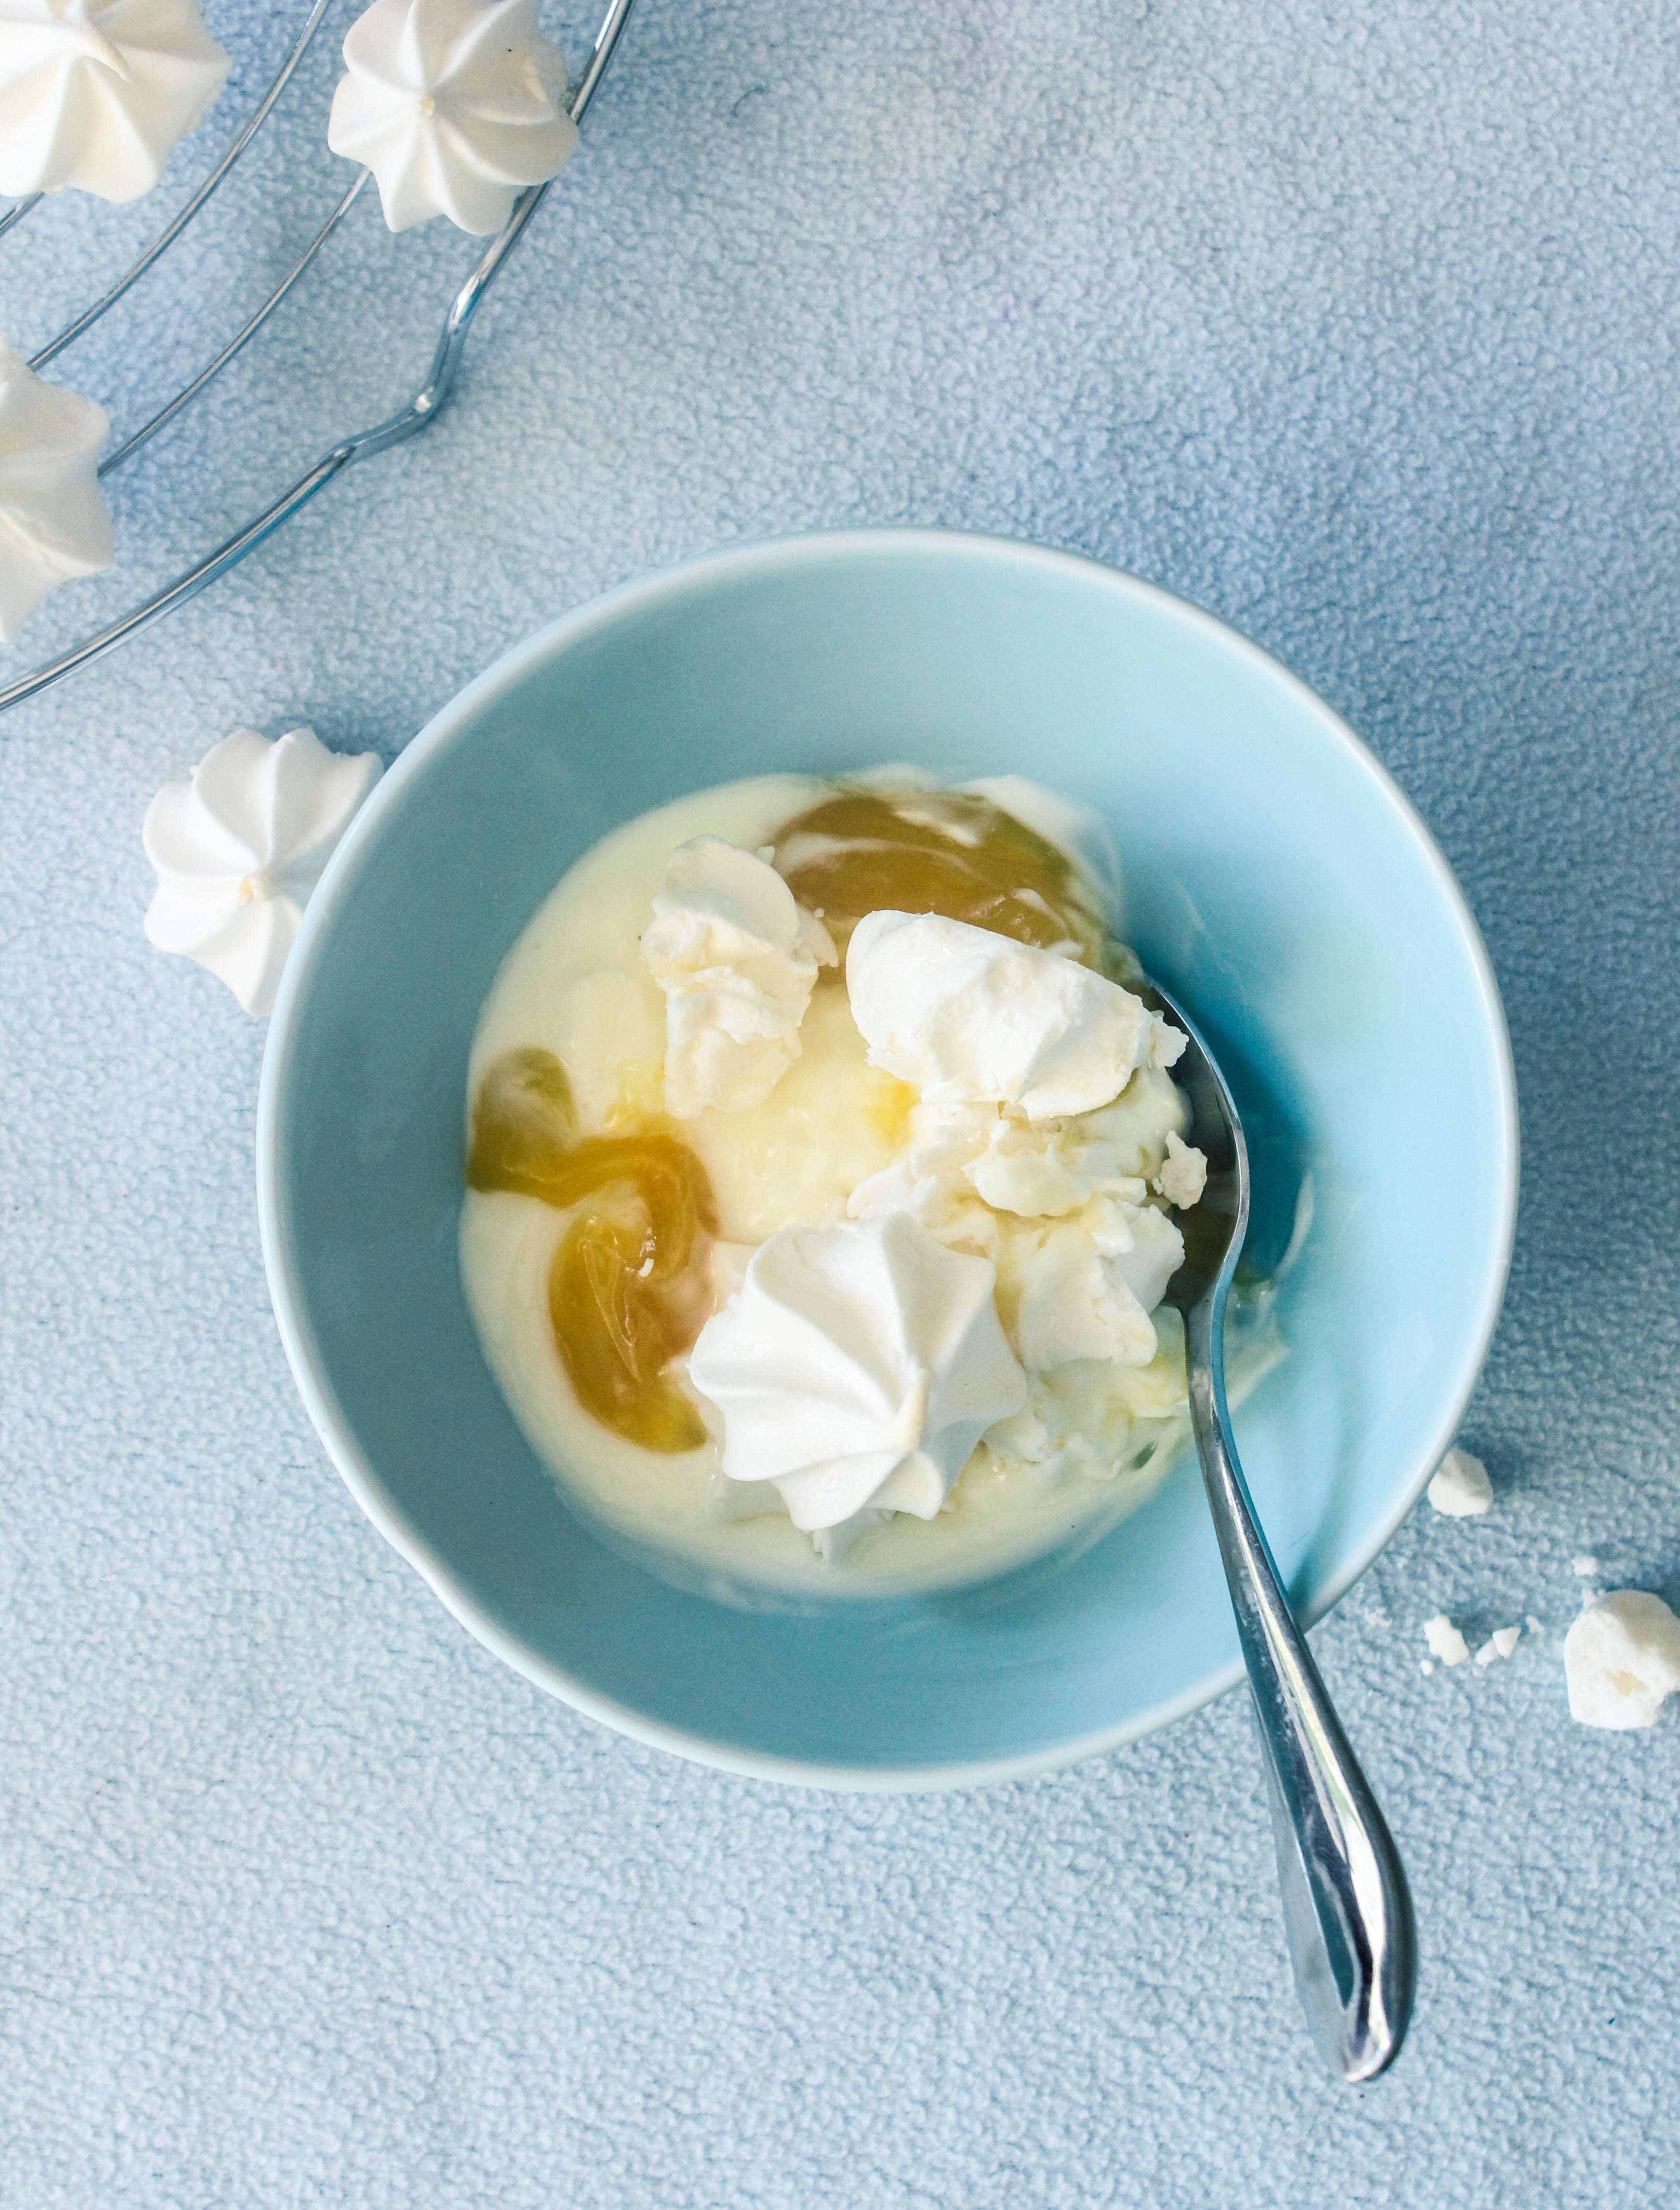
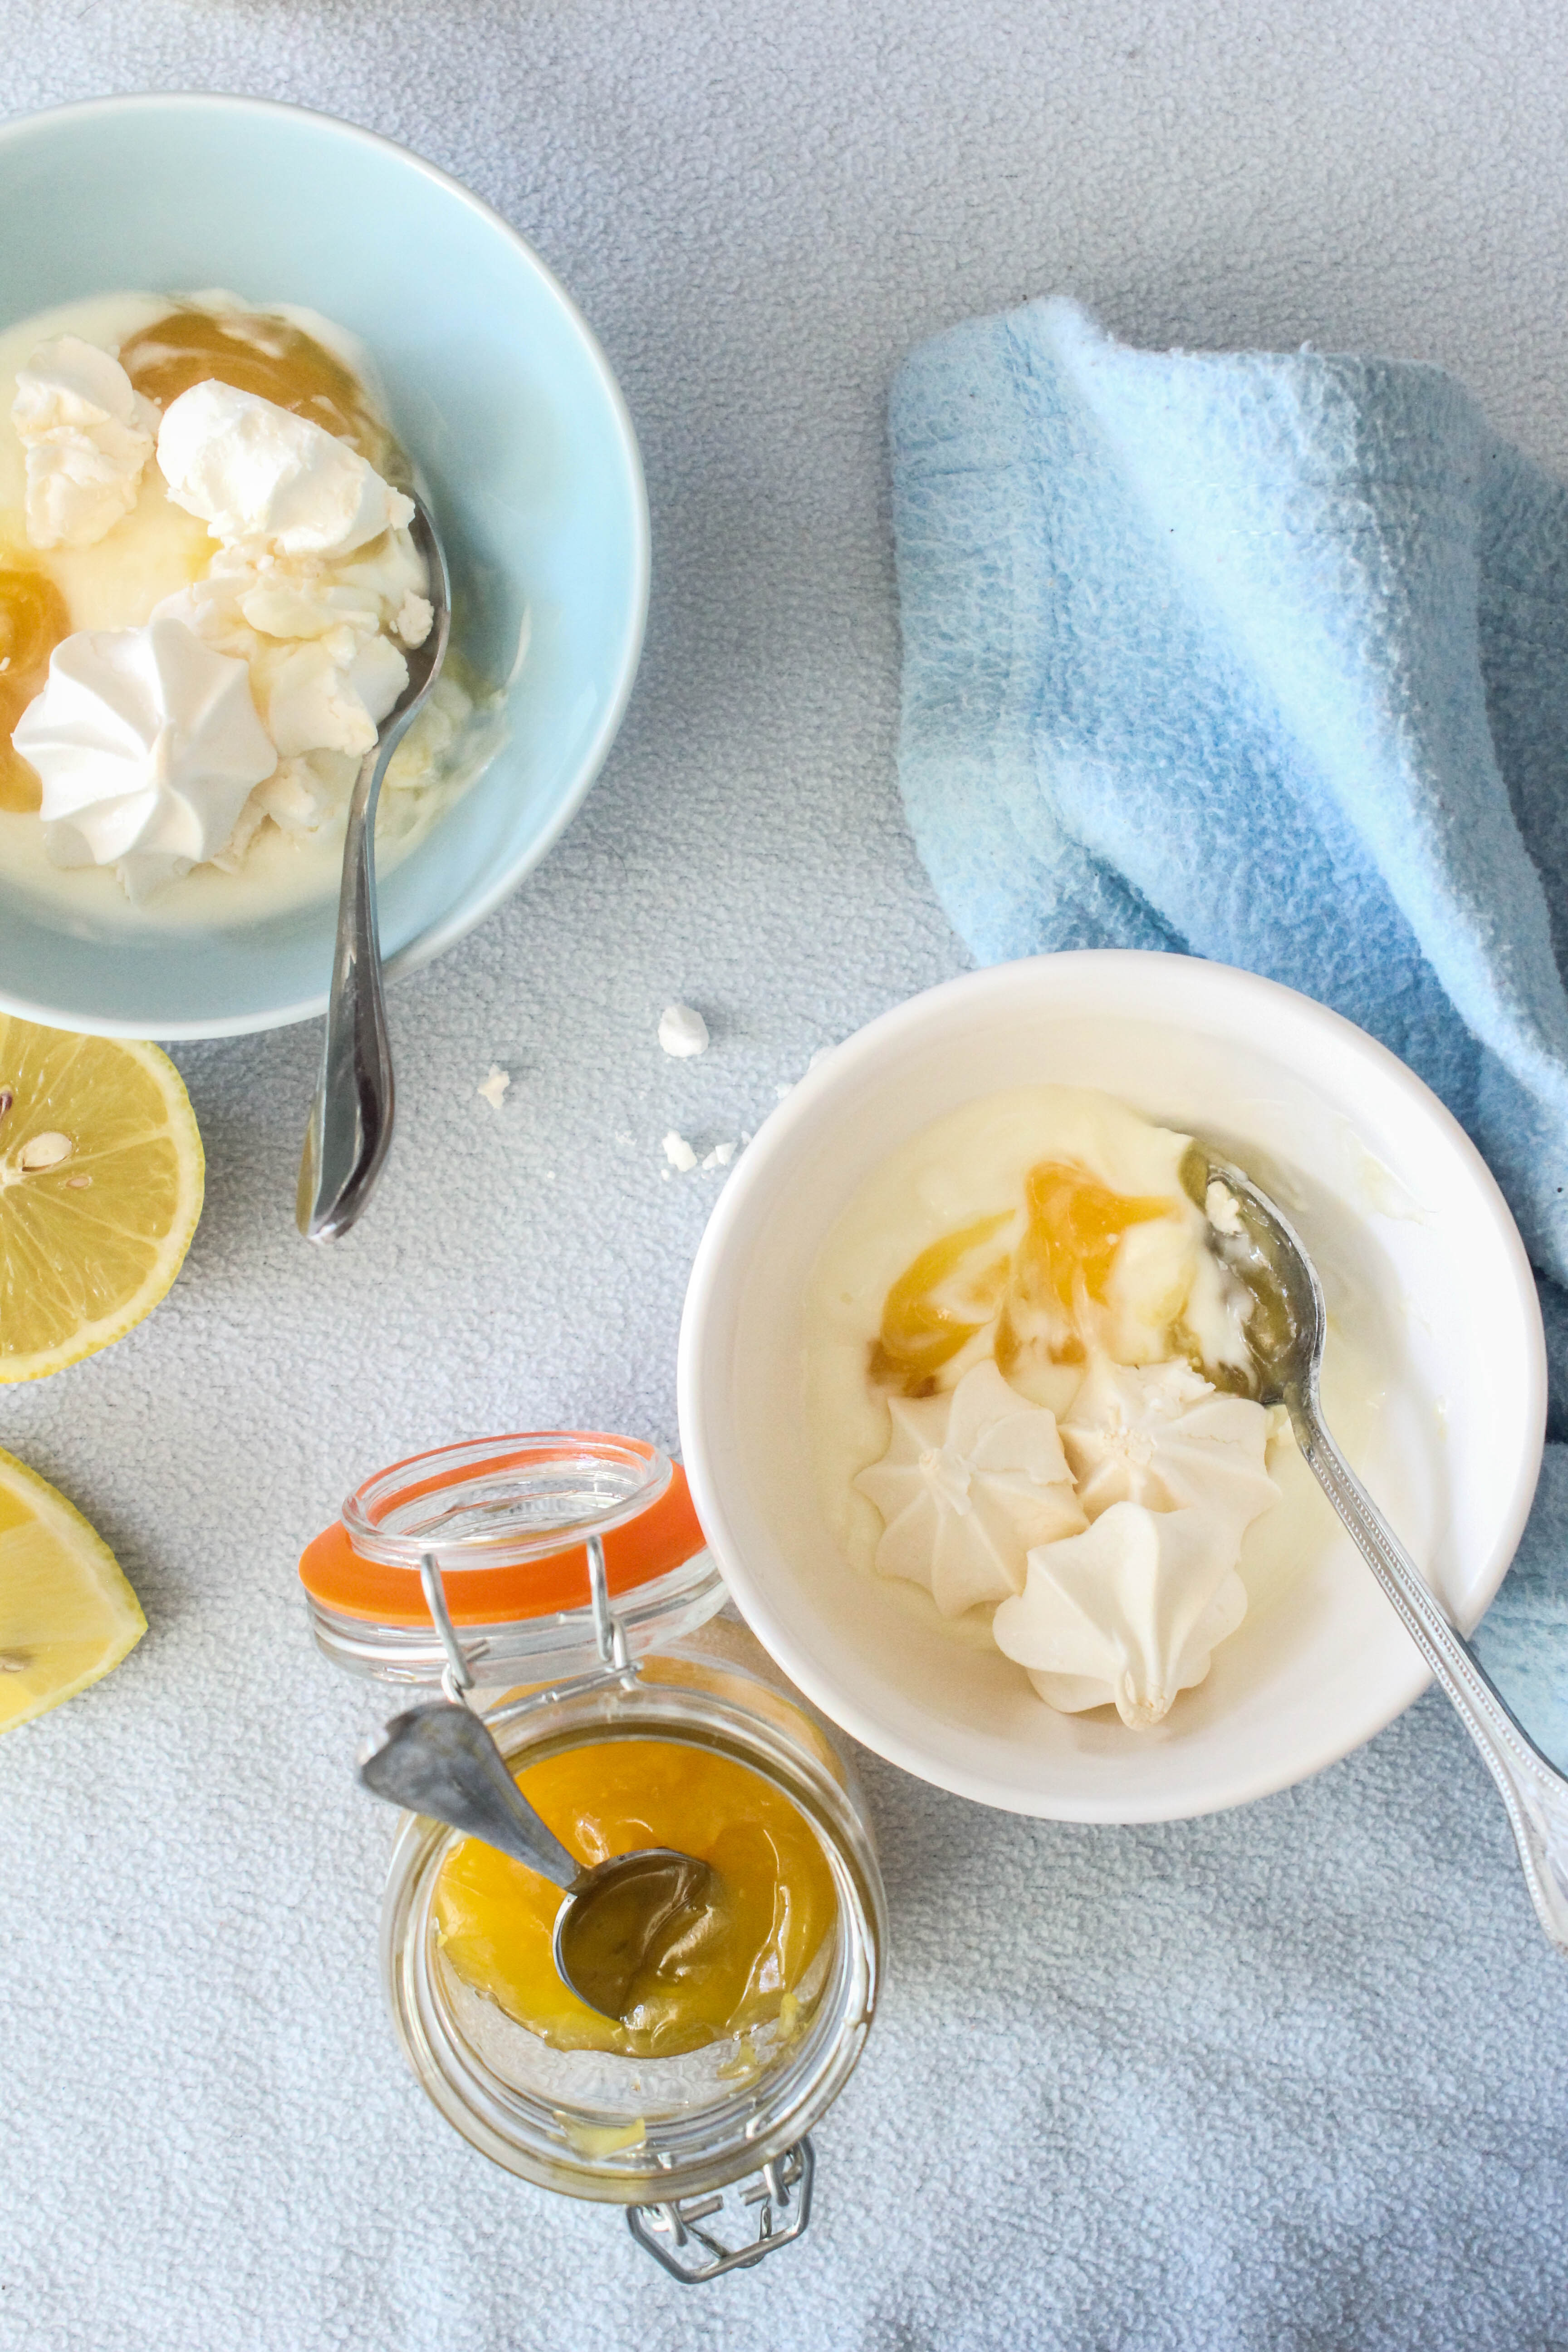
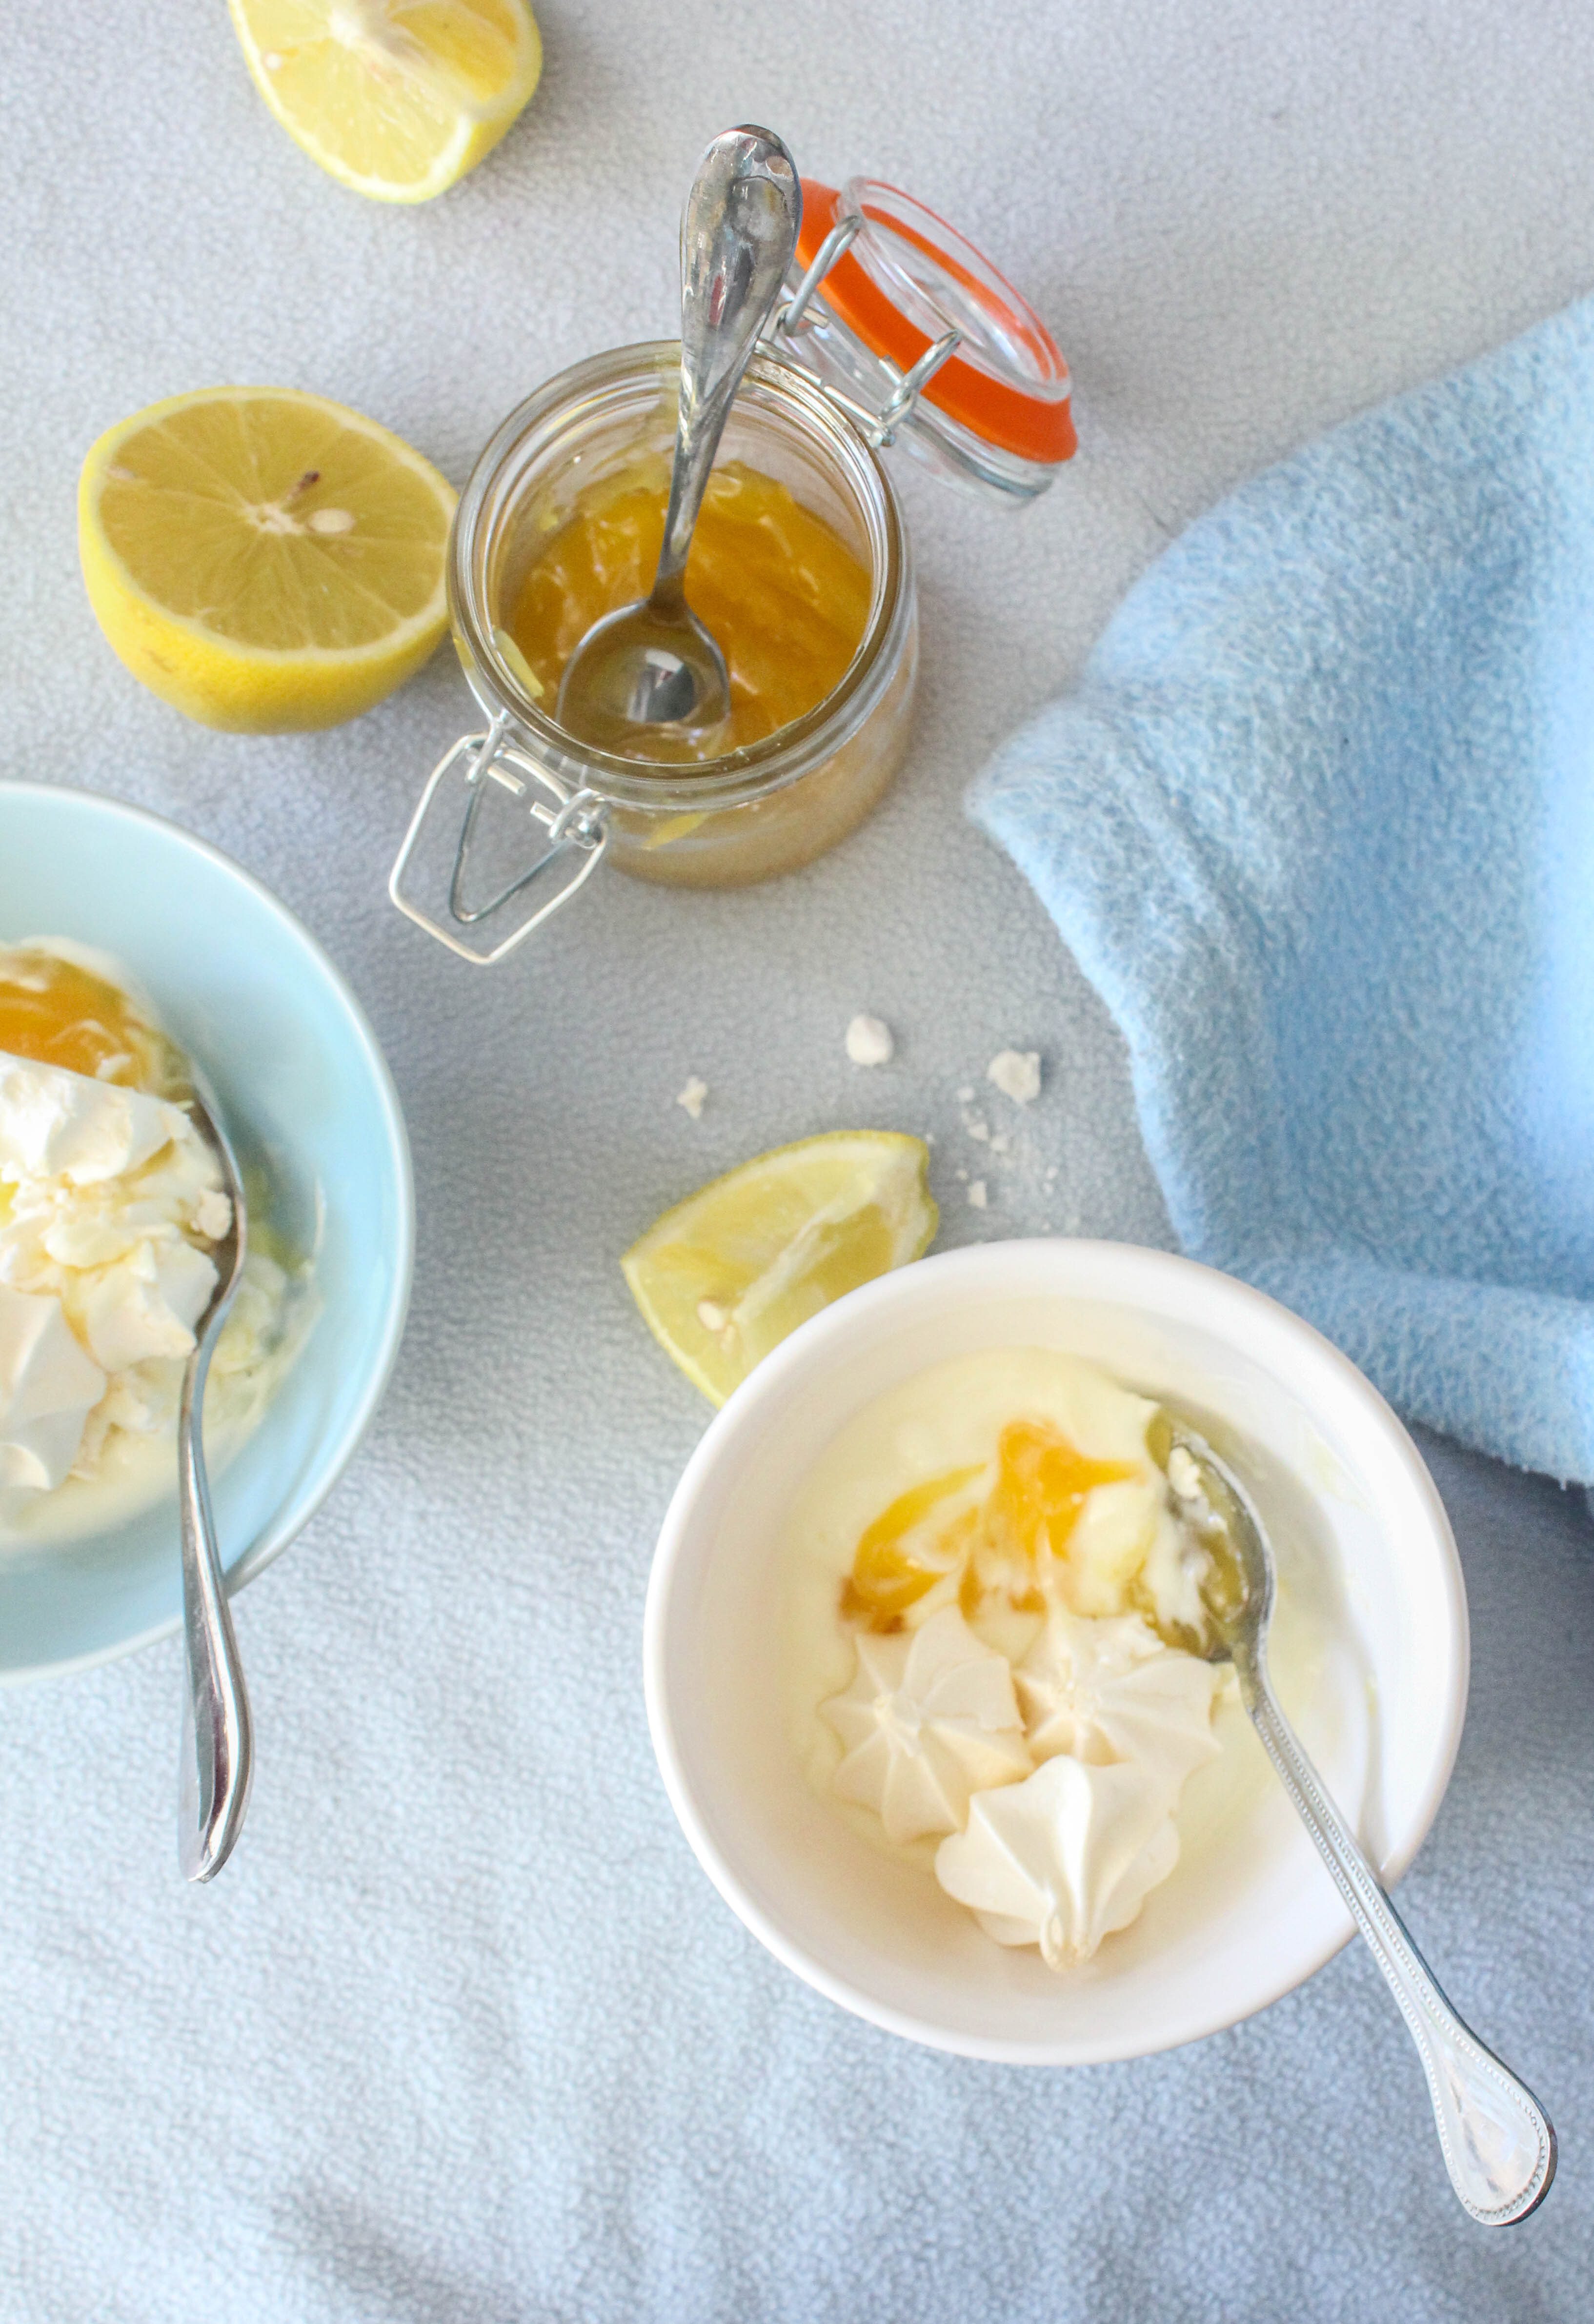
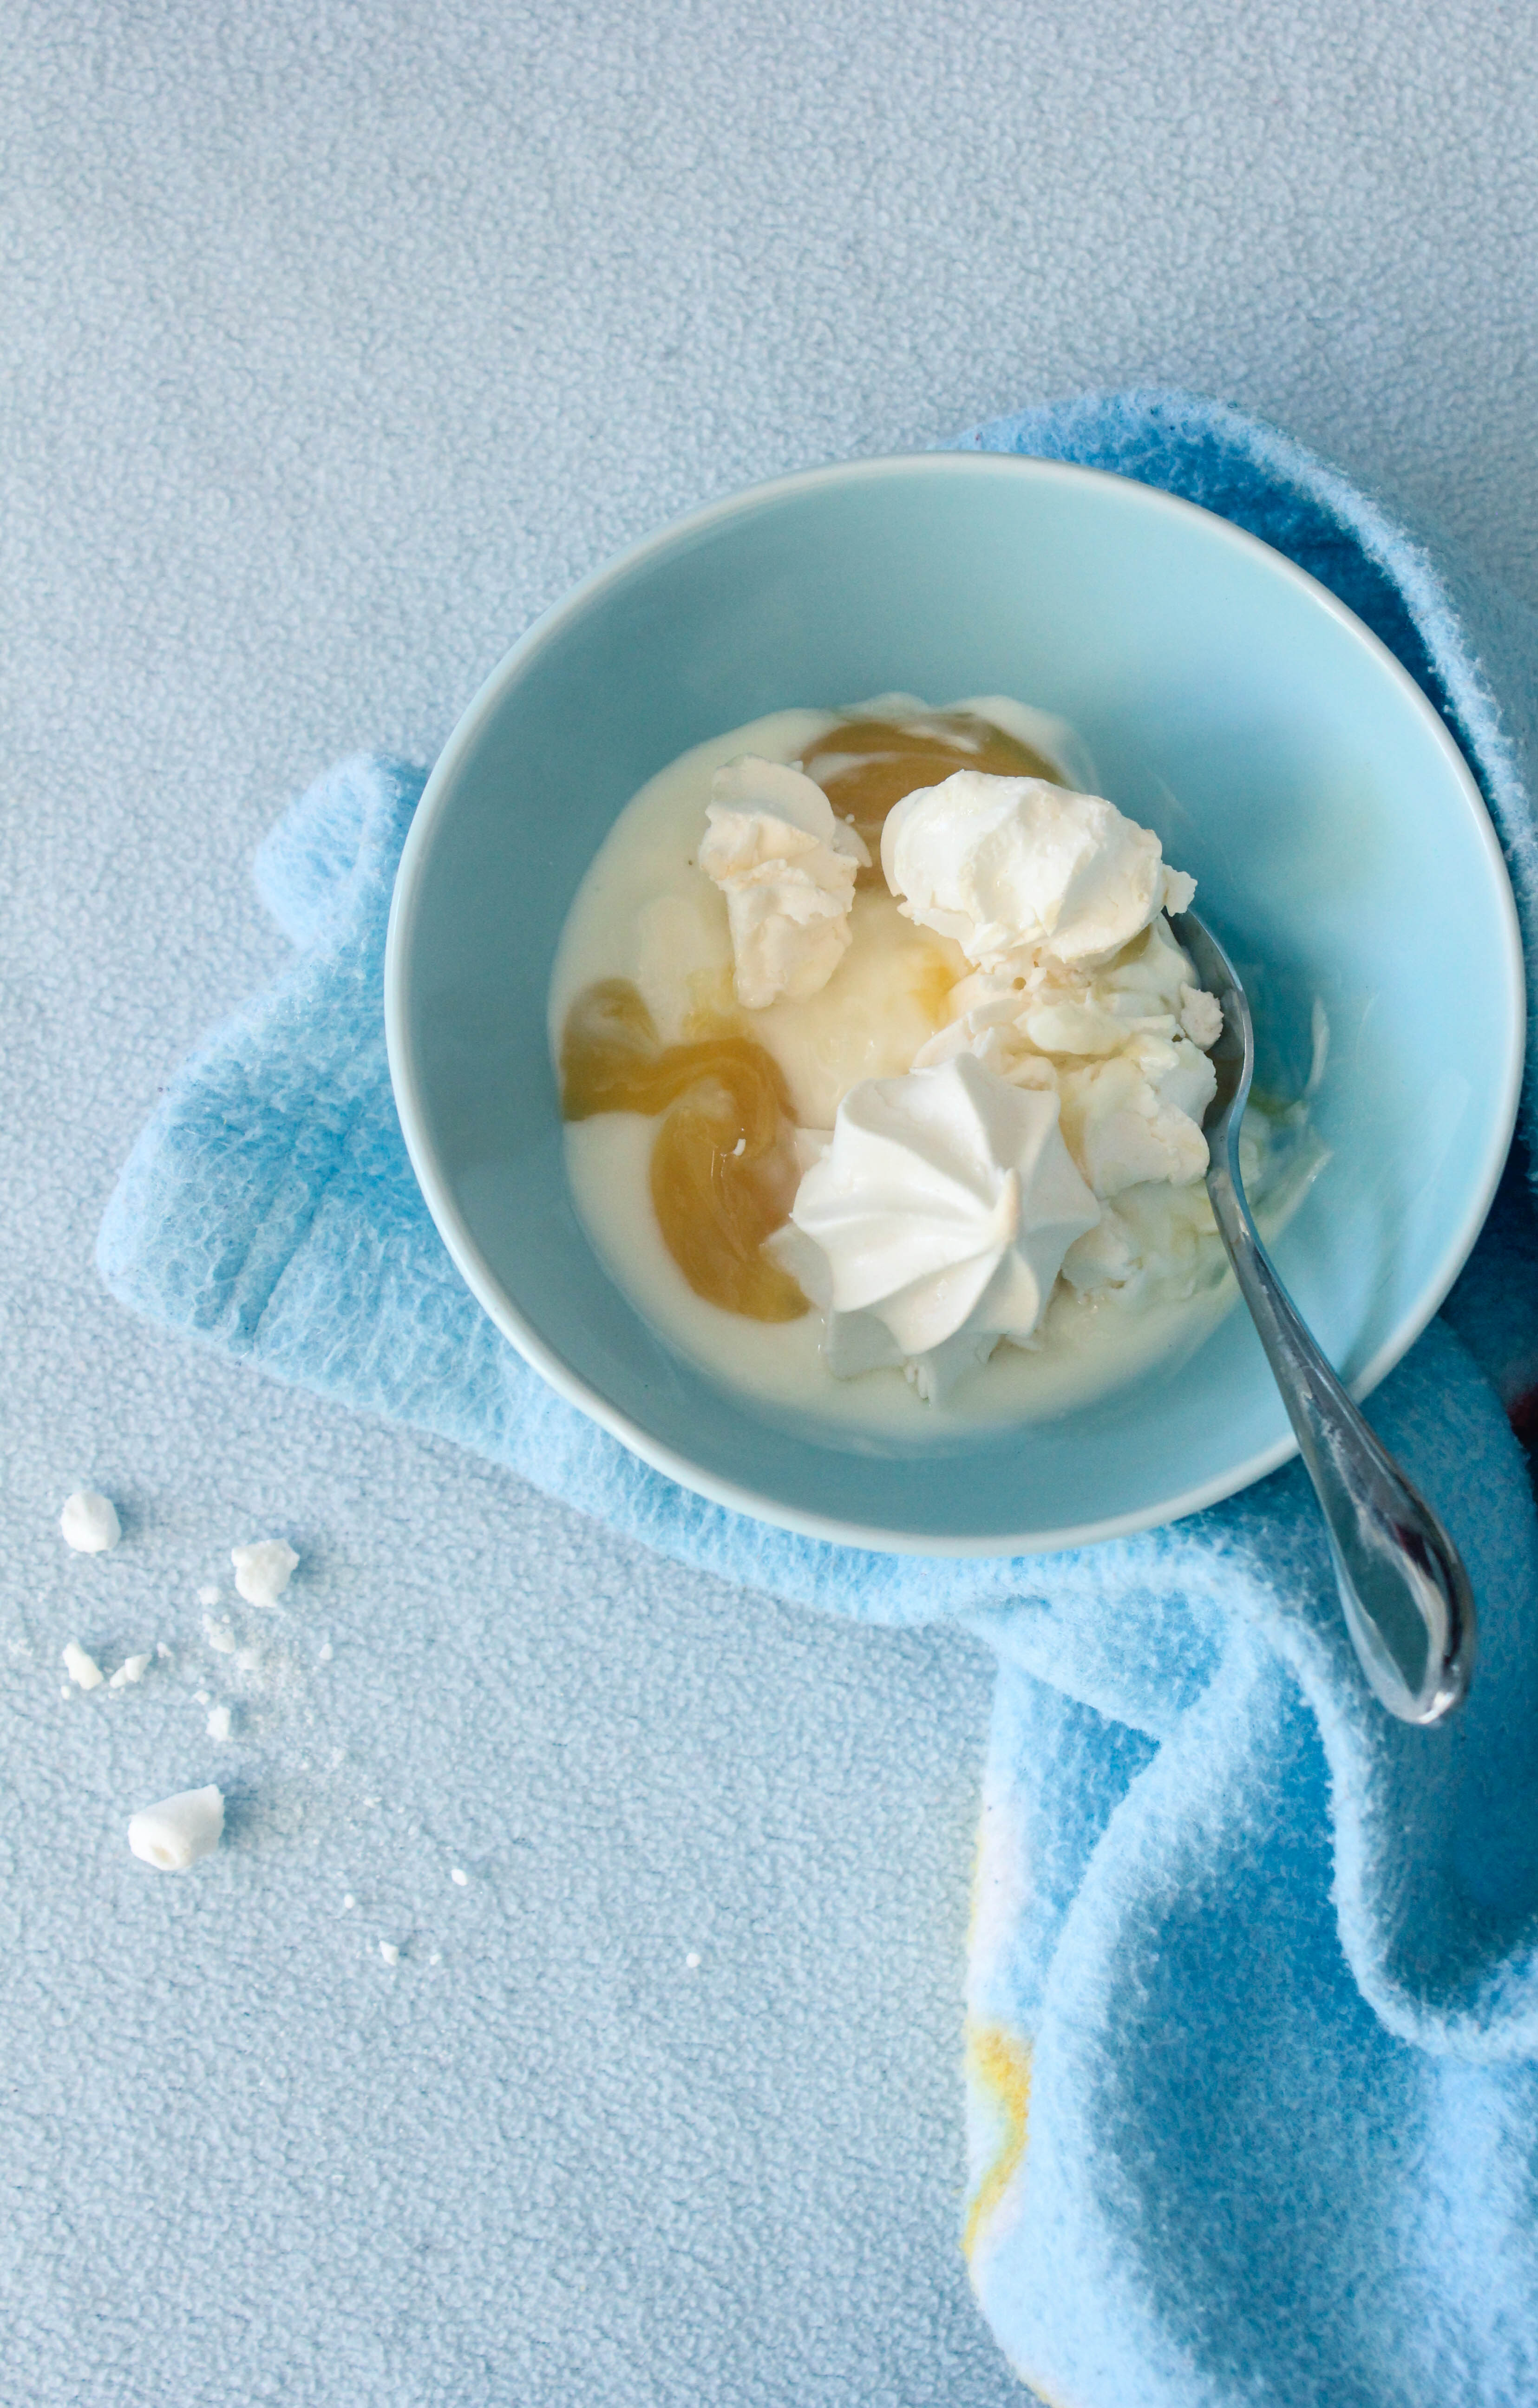
IMG_9353-3It is no secret to my regular readers how much I love meringue…making it and eating. I usually don’t have leftover egg whites at home as they are quickly turned into meringue. Home made lemon curd on the other hand is again another lemony treat that frequents my fridge. It’s easy to make and dolloping it on any sweet treat takes the sweet to a different level. I have been combining the 3 together for a quick, light sweet fix since years and the combination is always appreciated. Being gluten free and rich in probiotic goodness makes it what it is…guilt free!

IMG_9352

The greatest thing with this dessert is that the individual elements can be made ahead and stored separately. Better still, for those who may find it hard to make meringue or lemon curd, go ahead and use store bought and assemble before serving. If you are making meringue (or meringue nests) at home, particularly for a Eton Mess, you don’t have to be neat or use a piping bag. It’s supposed to be messy and that is how it is enjoyed. Therefore dolloping whipped egg whites with a spoon is just fine. Just make sure that the sizes (big or small)  are more or less uniform so they are baked evenly.

IMG_9344-3

Lemon Curd and Yoghurt Eton Mess
Serves 4

400 g Greek Yoghurt (Plain or Vanilla), slightly cold
24 meringue kisses (or 4 meringue nests), a few crushed (recipe below)
1/2 cup Lemon Curd (recipe here)

In a medium bowl, whisk the Greek Yoghurt slightly to make it light and airy (about a minute). Spoon it into 4 serving bowls. Divide the meringue kisses and lemon curd equally between the bowls. Swirl slowly with a spoon. Serve immediately.

Meringue Kisses (Makes 24-26 meringue kisses)

3 egg whites
3/4 cup Castor Sugar

Preheat oven to 110 degrees C. Line 2 baking trays with baking paper.

Using an electric mixer, beat eggwhites until stiff peaks form. Add caster sugar. Beat for 8 minutes or until sugar has dissolved.

Place mixture into a piping bag fitted with a star or plain nozzle. Pipe 3cm wide meringue rounds or kisses onto prepared trays, allowing 2cm between each for spreading. Bake for 30 minutes or until meringues are firm to touch. Turn off oven and allow to cool in the oven with door slightly ajar.


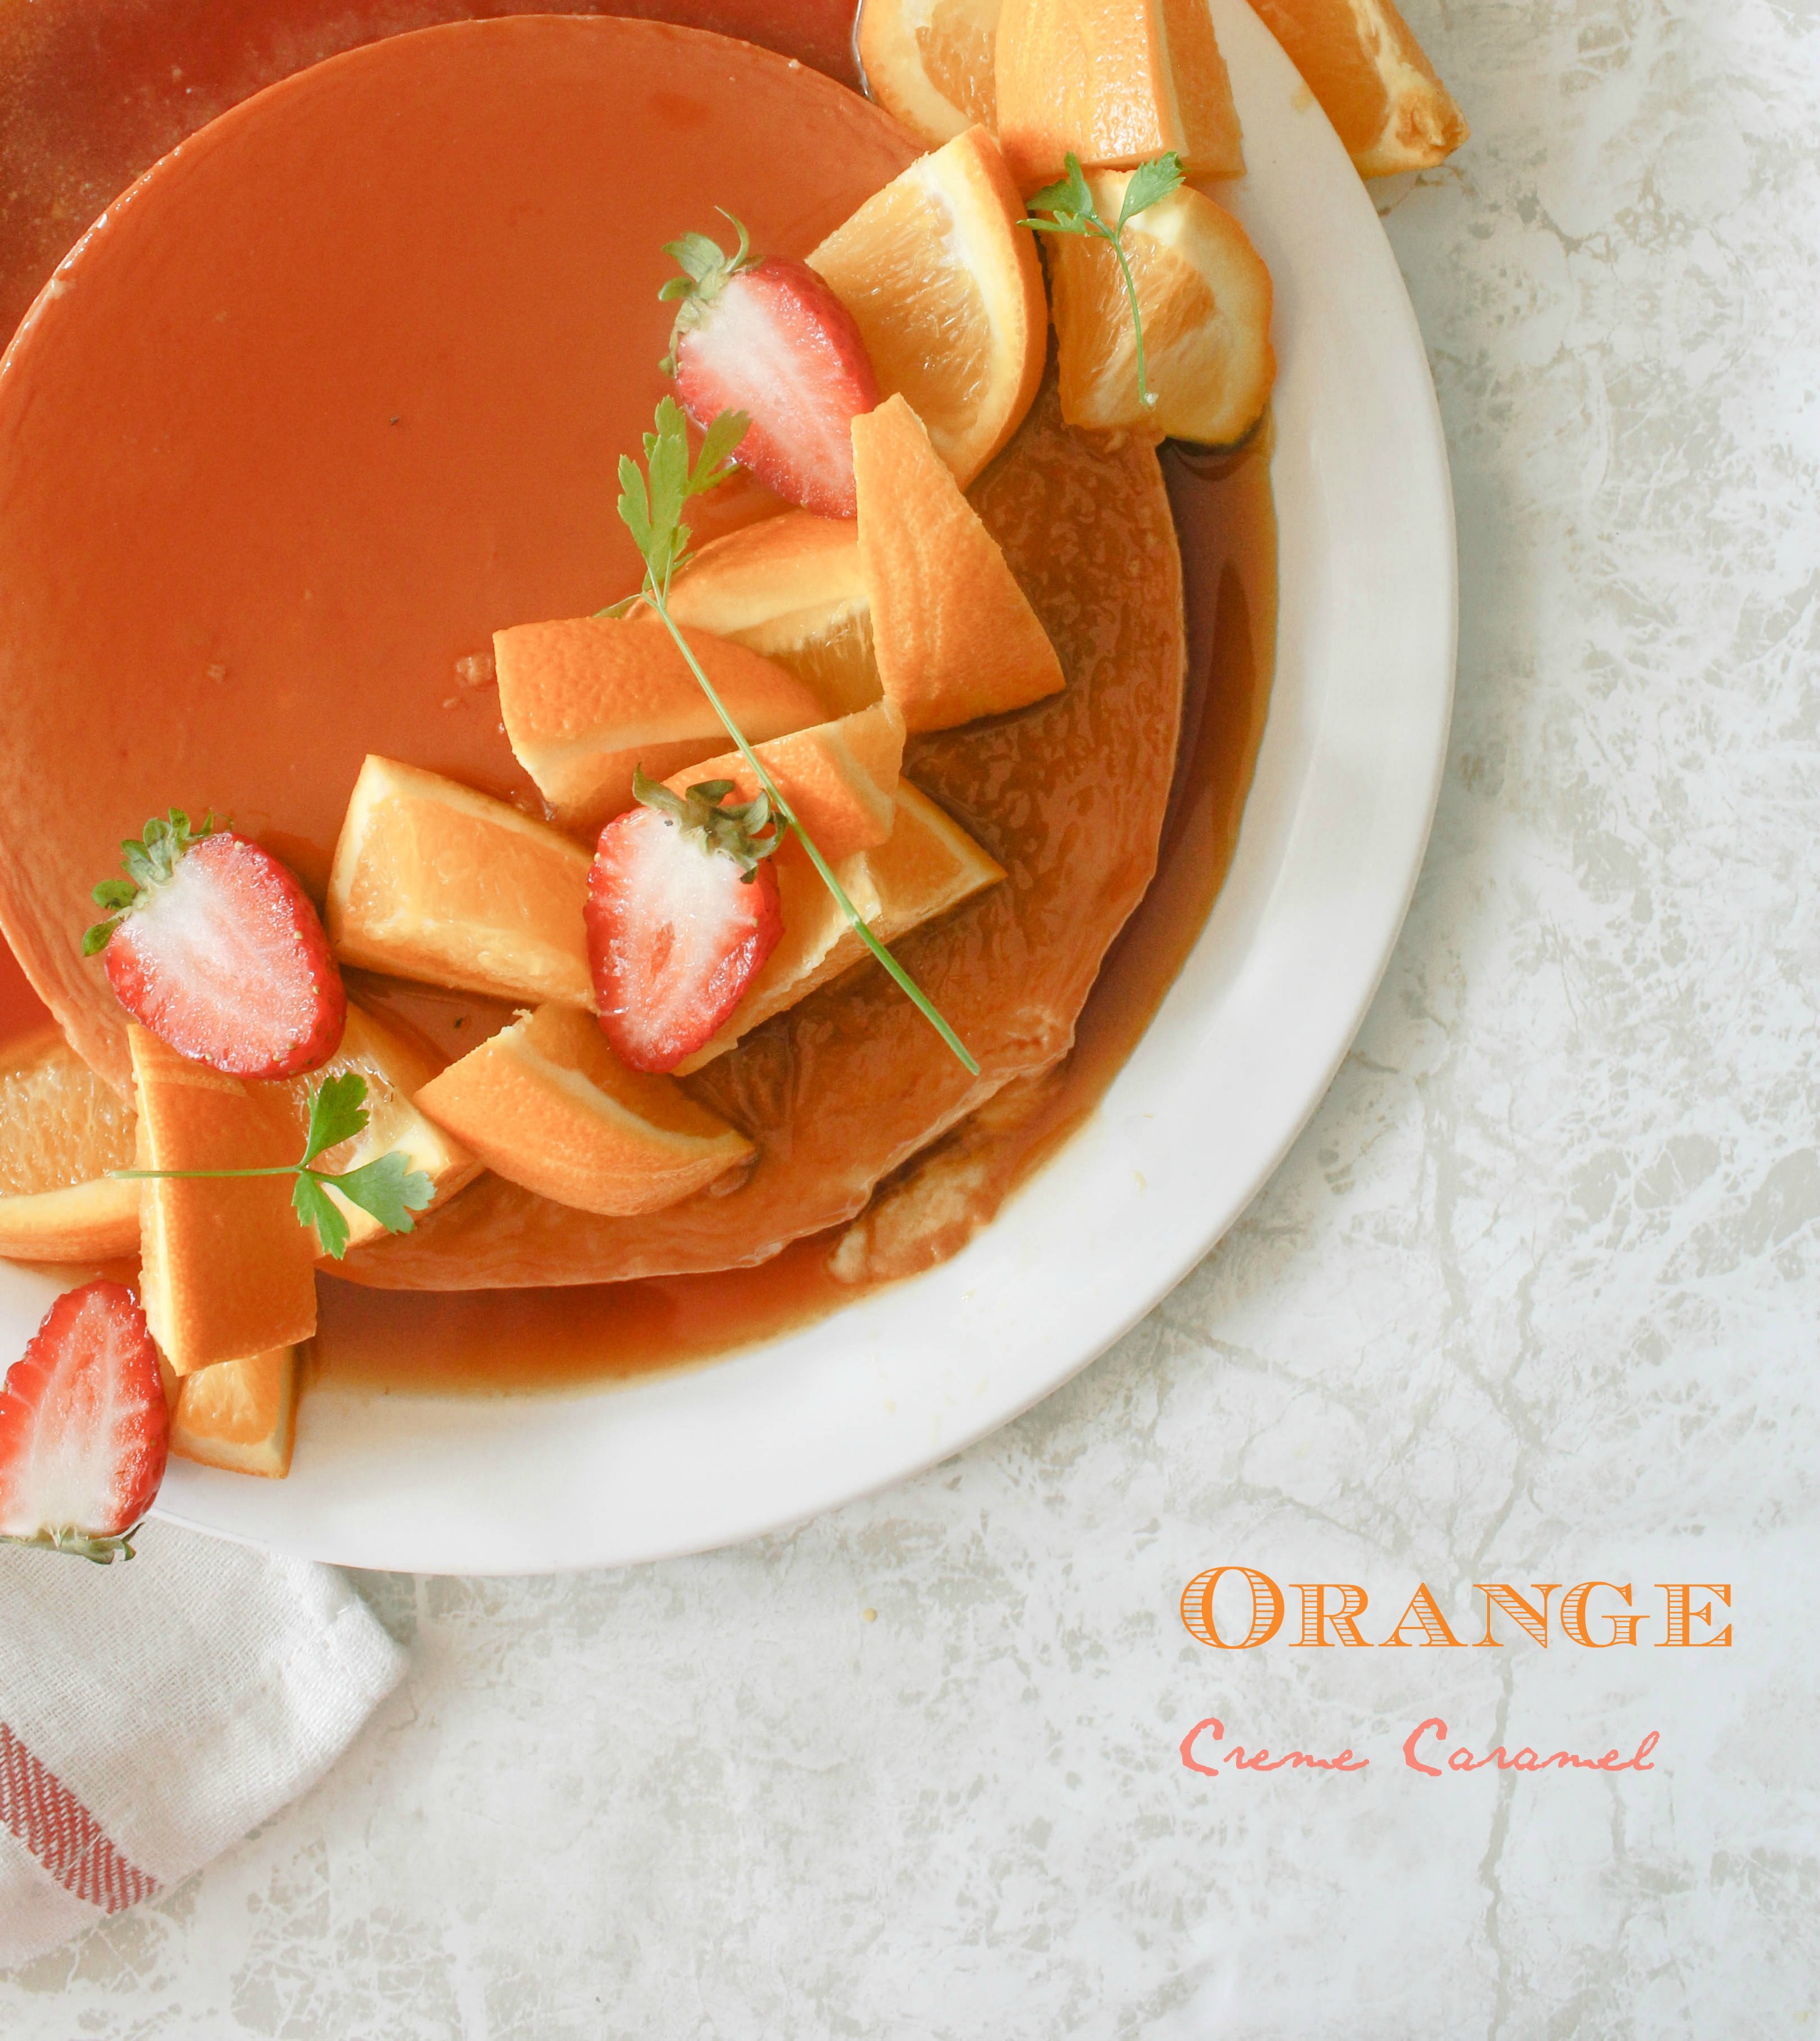
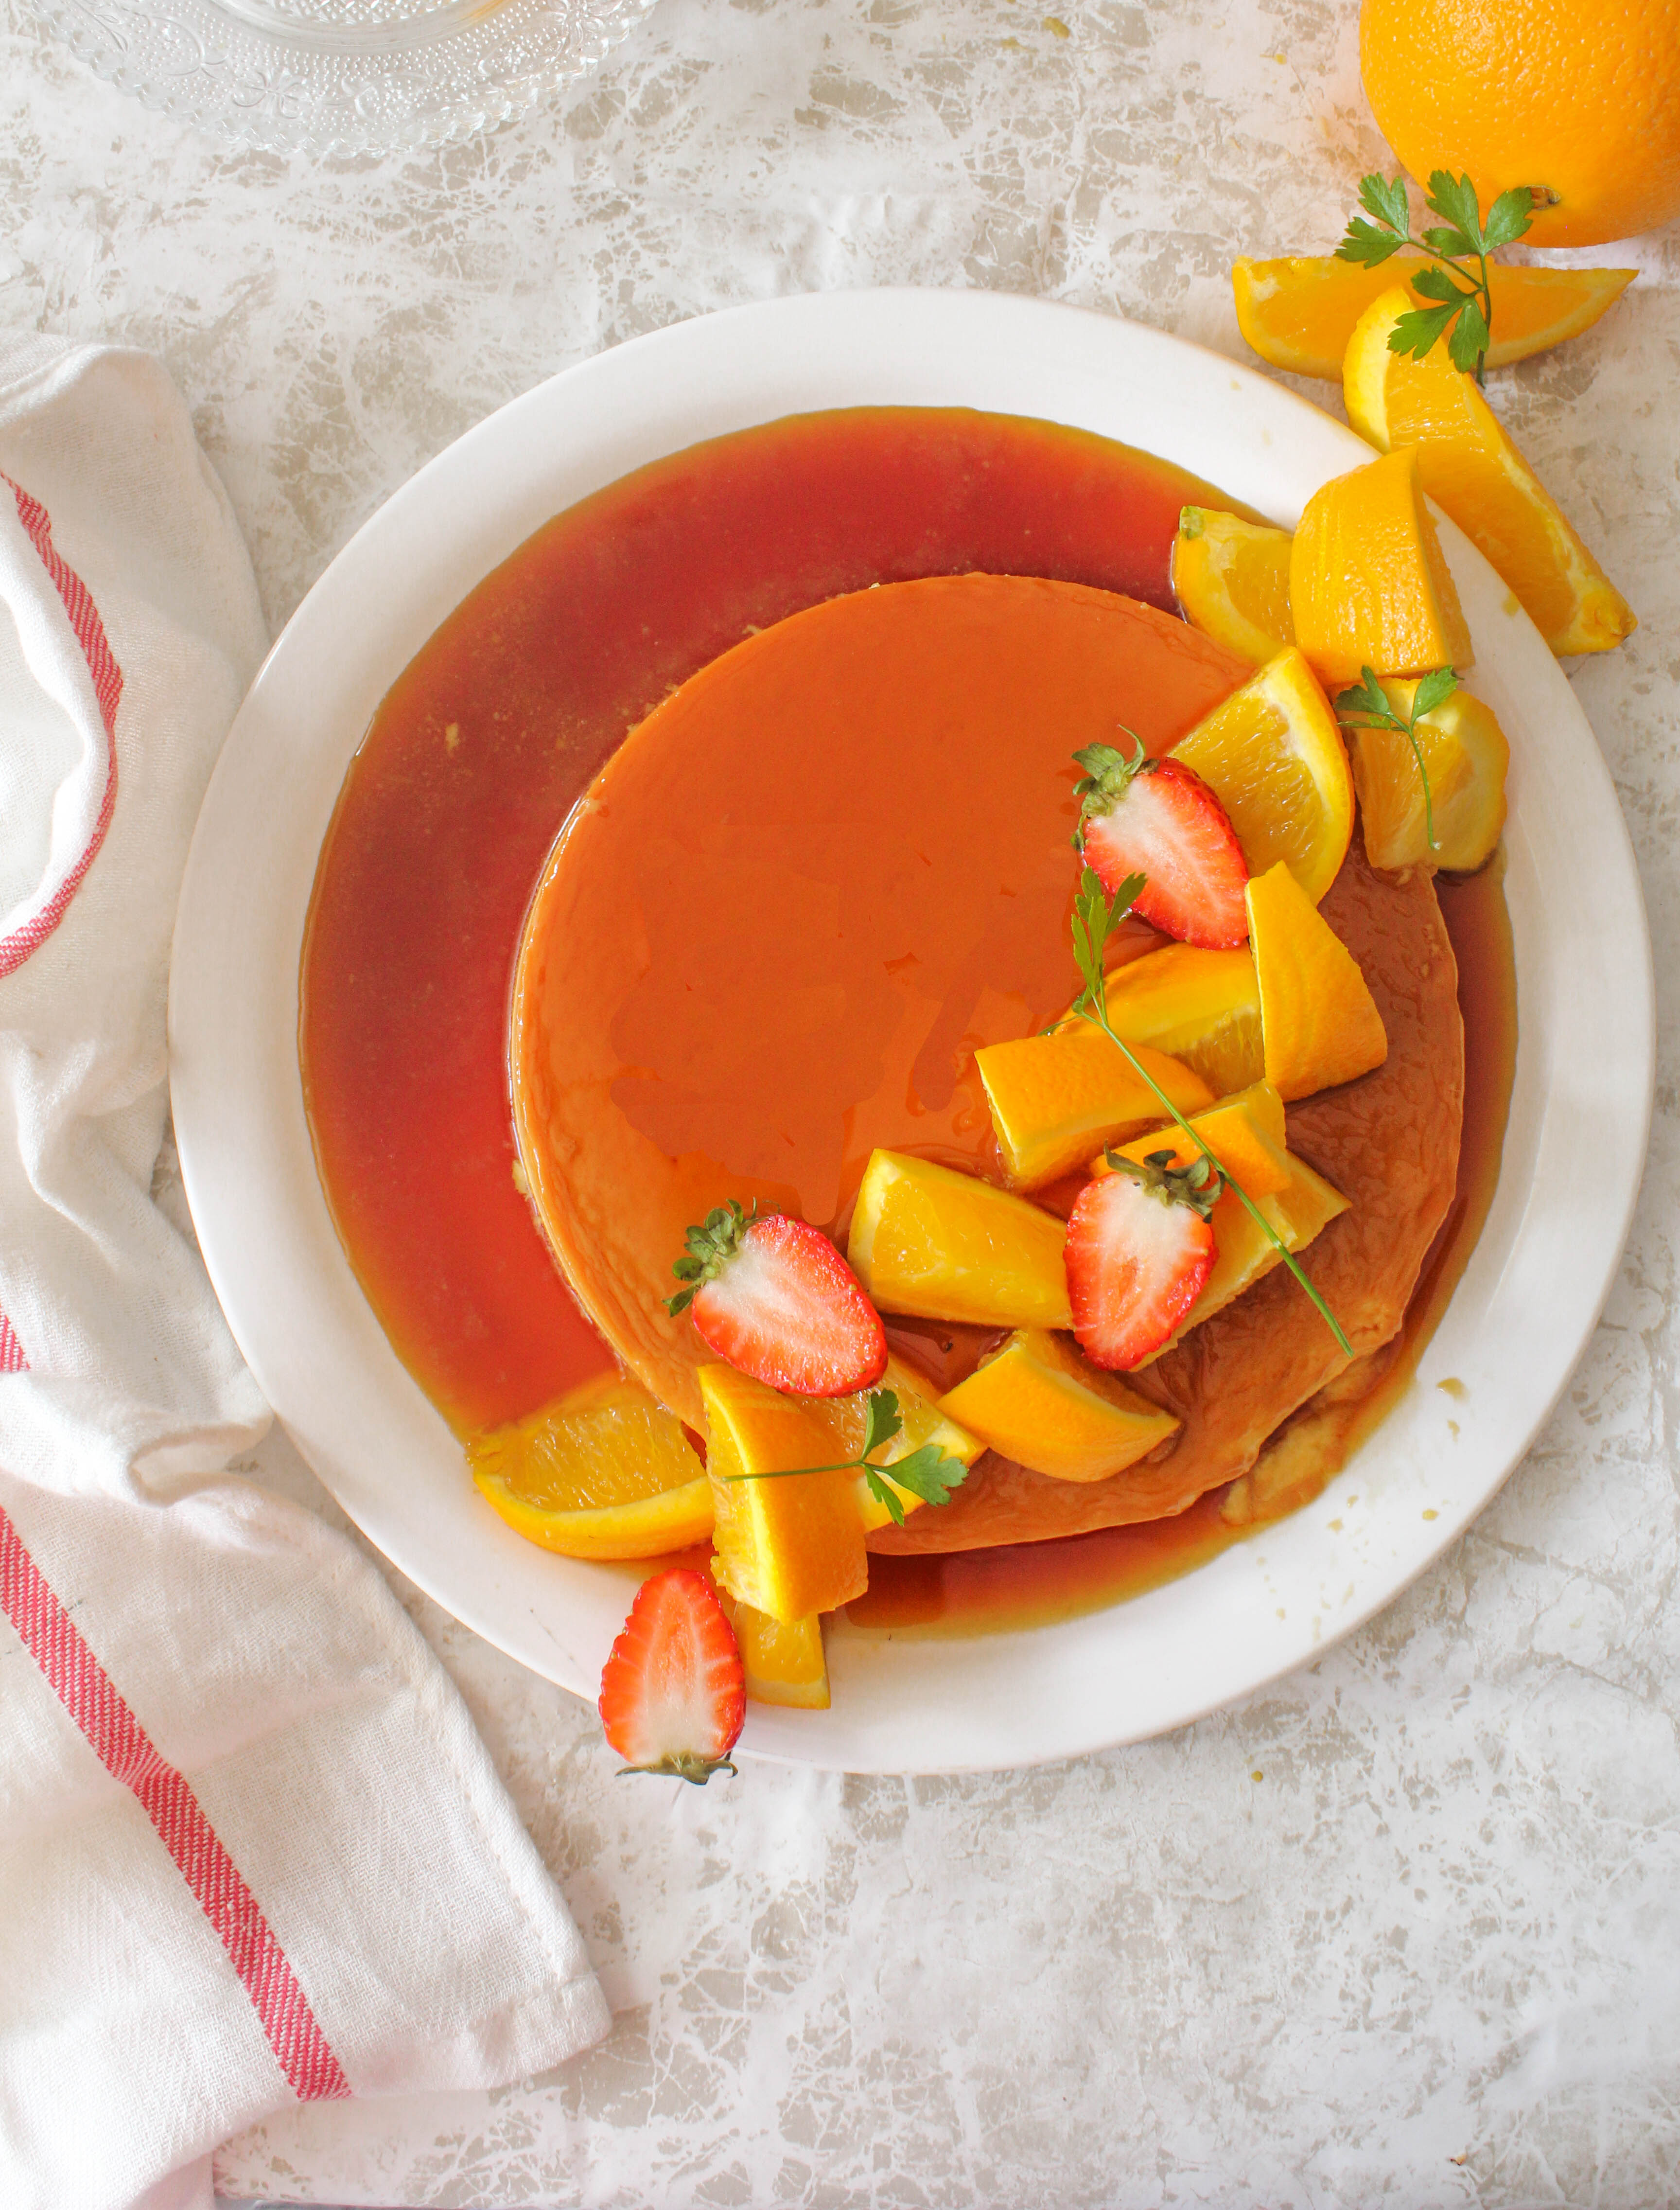
Orange Creme Caramel

21|04|2014

Peeking through my cold frosted window every morning, hoping to get a glimpse of the sun, I am coming to embrace the changes of the season. The sun is late in rising and so are we. Perhaps that is a convenient way for me to interpret the changes that come about with cold weather. Sleep is so dear and so welcome. Or is it Citrus that makes it obvious. Citrus fruits are everywhere and the only excuse for not using them in a recipe is probably eating them as they are. Maybe not lemon and lime. My new way of enjoying them are squeezing the juice into tea. But Oranges..there are more dishes to try on my wish list than I could fit into one season.

IMG_9248-4-text

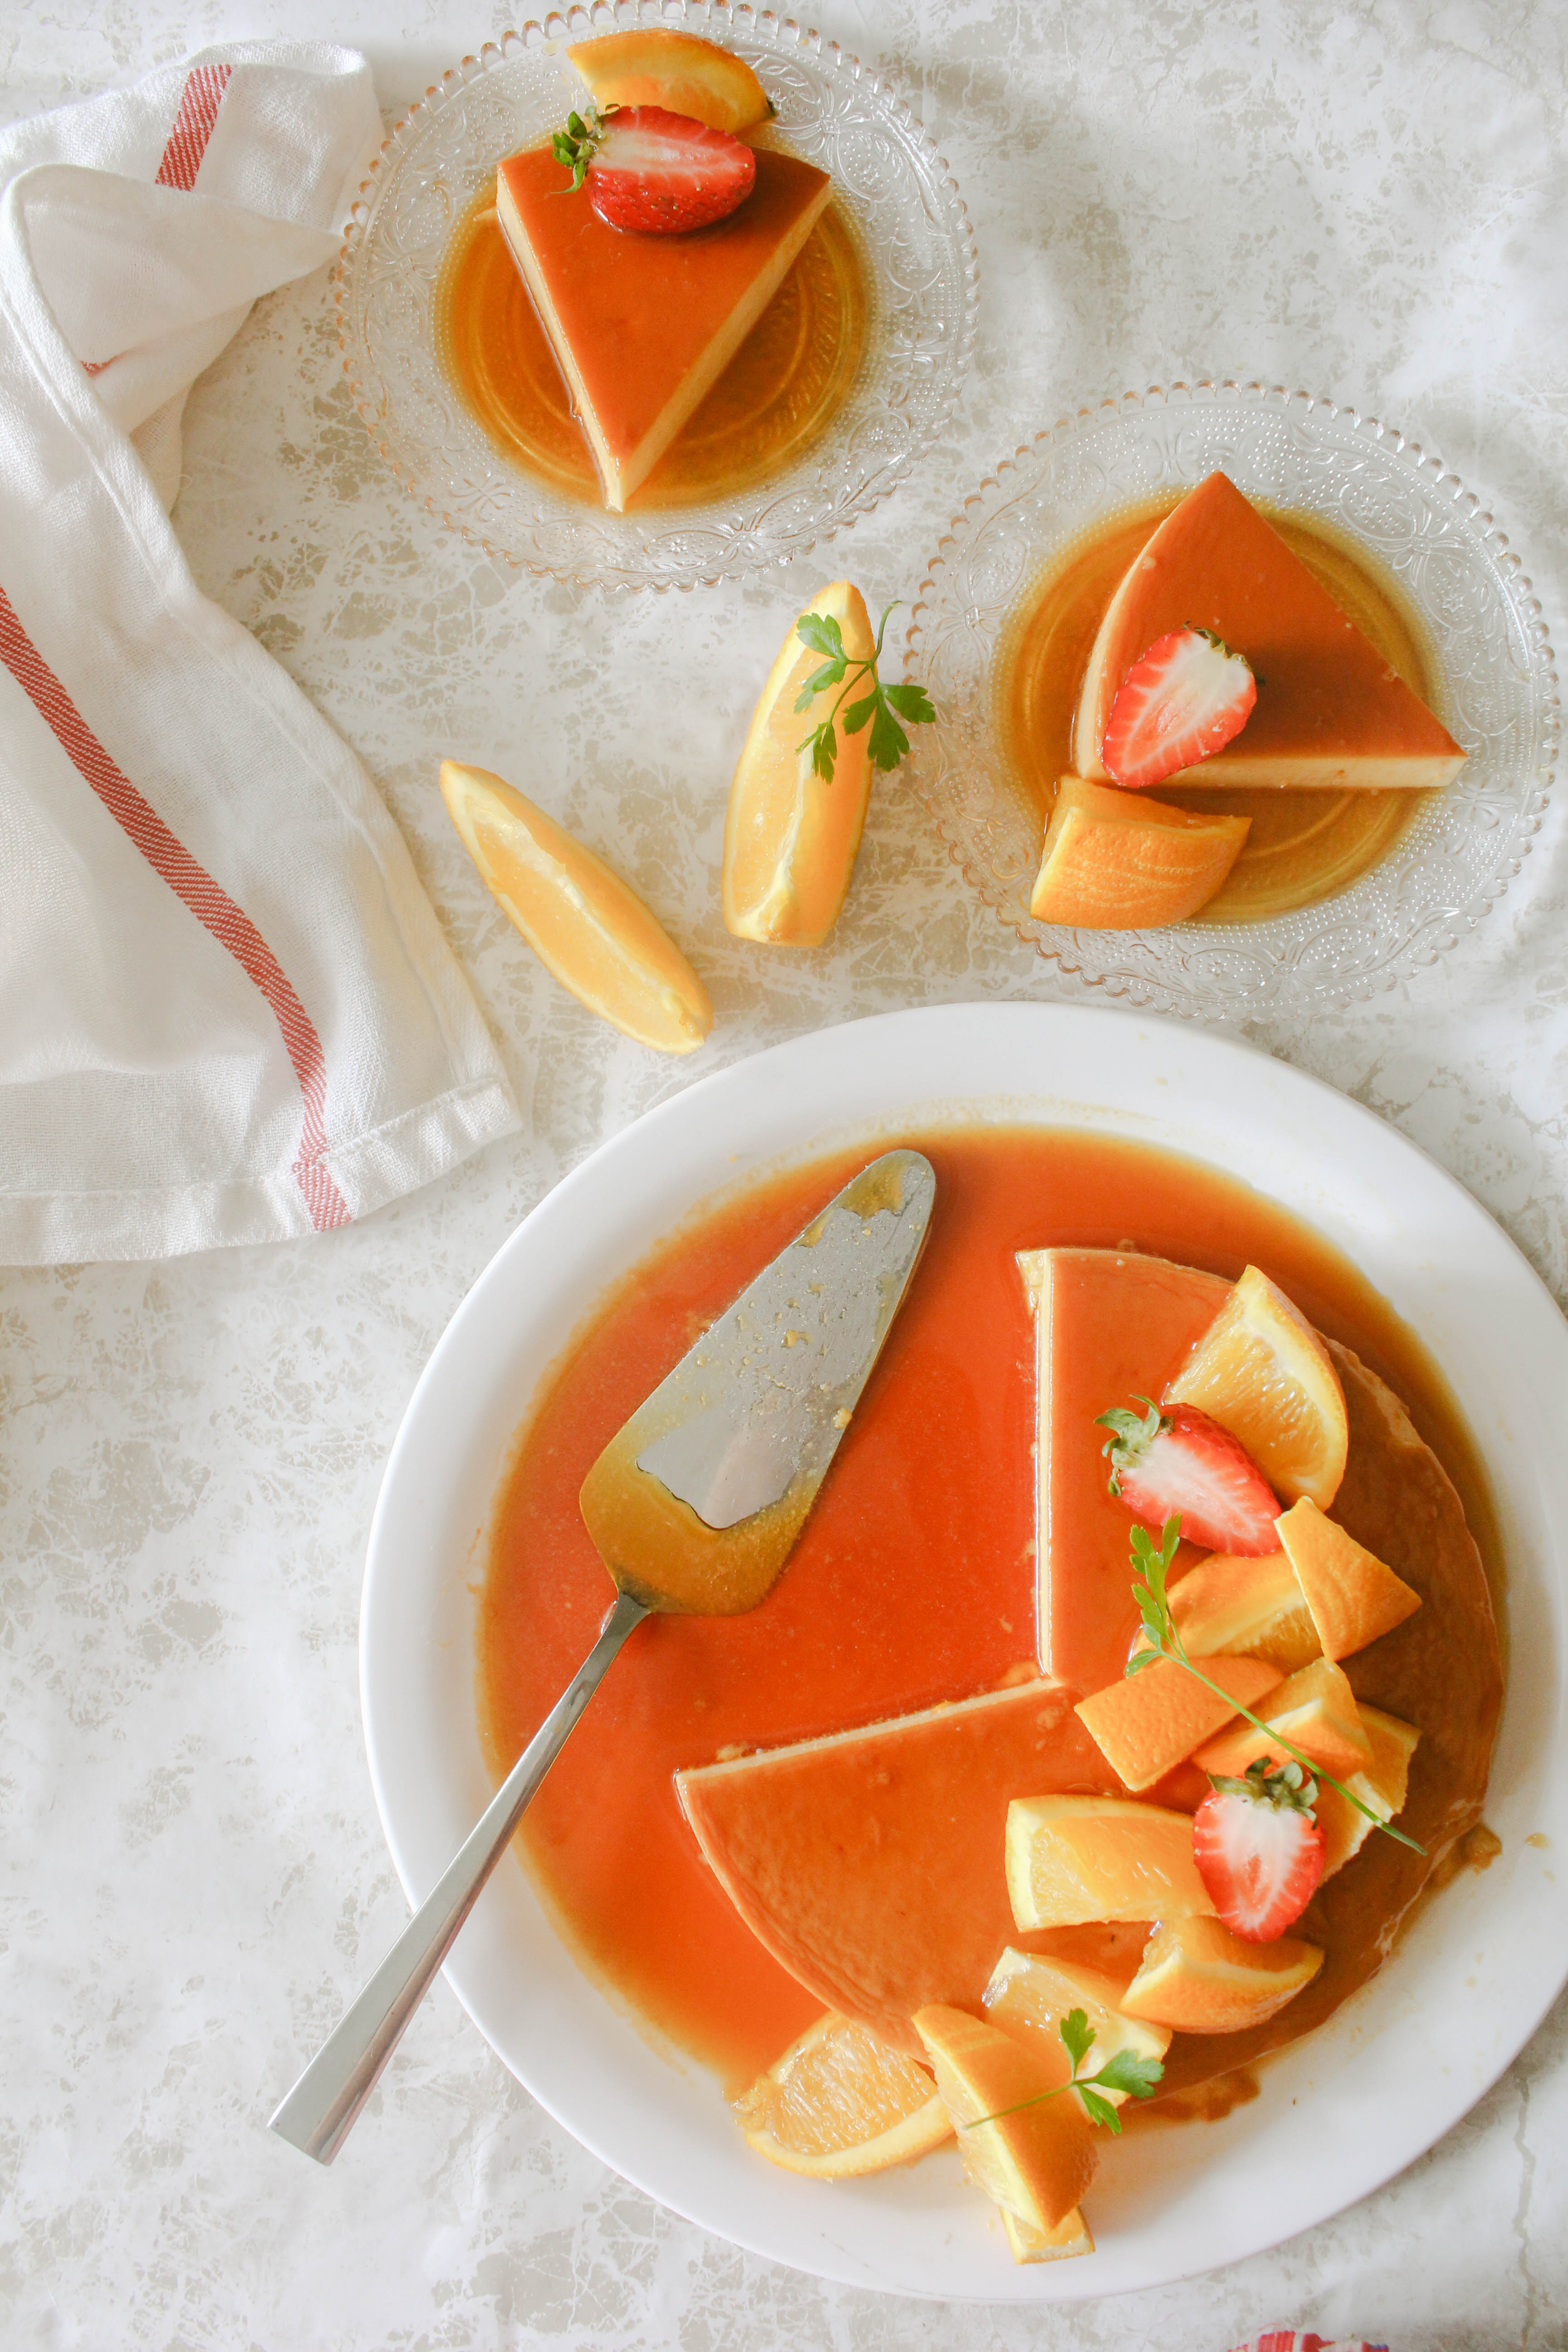
Crème Caramel, a dessert that I can associate with my growing up years. When tortes, tarts or for that matter even mousse was not that popular where I lived. It was served in smaller individual portions and I liked it that way. But today, convenience takes precedence over anything else and a single round pan works great for me. It has the charm of a after-dinner centrepiece much like a cake without a lot of effort.

IMG_9241-4There are many flavour variations of this dessert out there and a few different recipes too. I have tried out a few and I find that a combination of eggs and egg yolks yields a fabulous texture. Smooth, creamy but enough to hold shape and can be easily sliced into portions.

IMG_9259-2

Orange Crème Caramel (adapted with variation from Coles recipes)
Serves 6

3/4 cup castor sugar (for the caramel)
1/4 cup water
1 cup milk
300 ml heavy or thickened cream
2 tsp orange zest
1/4 cup castor sugar (for the custard)
3 eggs
3 egg yolks
1 orange, sliced into small wedges
1/2 cup strawberries, hulled and sliced

Preheat oven to 160 degrees C. Place sugar in a medium saucepan with 1/4 cup water. Stir over low heat, without boiling, until sugar has dissolved. Increase heat slightly and bring to the boil. Cook, without stirring, for about 7 mins, or until mixture is a deep golden-caramel colour. Use a wet pastry brush to brush away any crystals from the side of the pan.

Stand a 19 cm round cake tin in a baking dish, and pour the caramel over the base of the cake tin (take care as the tin will get hot). Set aside to cool completely.

Combine milk, cream and orange zest in a saucepan. Bring to the boil, then immediately turn off the heat. Stand for 5 mins.

Whisk extra sugar, eggs and yolks until combined. Pour milk mixture onto egg mixture, stirring constantly. Strain the custard into cake tin over the caramel. Pour hot water around the tin to come halfway up the sides. Bake for 50 mins to an hour, or until set. Cool completely, then refrigerate overnight. Turn out onto a serving plate and cut into wedges. Serve with fresh oranges and strawberries
Dark and White Chocolate Gypsy Cake

15|04|2014

Responsibility is a such a big word. To some it means power…ownership to others…trust..possession and perhaps so much more to the rest. As the eldest of three children, the very first responsibility I was entrusted with was my baby sister. I was five something when she came. And to me that responsibility meant a metamorphosis. A slow but steady transformation of my entire being.

IMG_9306-text

As much as many would like to disbelieve today (yes, I talk a lot), I was a quiet and introvert-ish child. Perhaps the only conversations I would have were with my dolls, blankets and pillow. I would refuse to go to anybody or play with other children and hide behind the comfort of my mother’s back when I spotted another human being. Being a mother myself today, I can only imagine what a stress I might have been to my parents. Then came the little girl, cooing and gurgling into my world. At times I hated her for taking away the attention of my parents but unable to resist her charm as she stuck out her little fingers every time I went near her and returning my cold stares with her toothless grin. As I grew to love her, confide in her..I found myself being so utterly protective of my sister. That remains even today. With her arrival, I found my voice..I learnt to share..to open up and the world became a happier place for me. We grew closer, bonded like only sisters would and shared a friendship that was comparable to none other. We still do.

IMG_9304

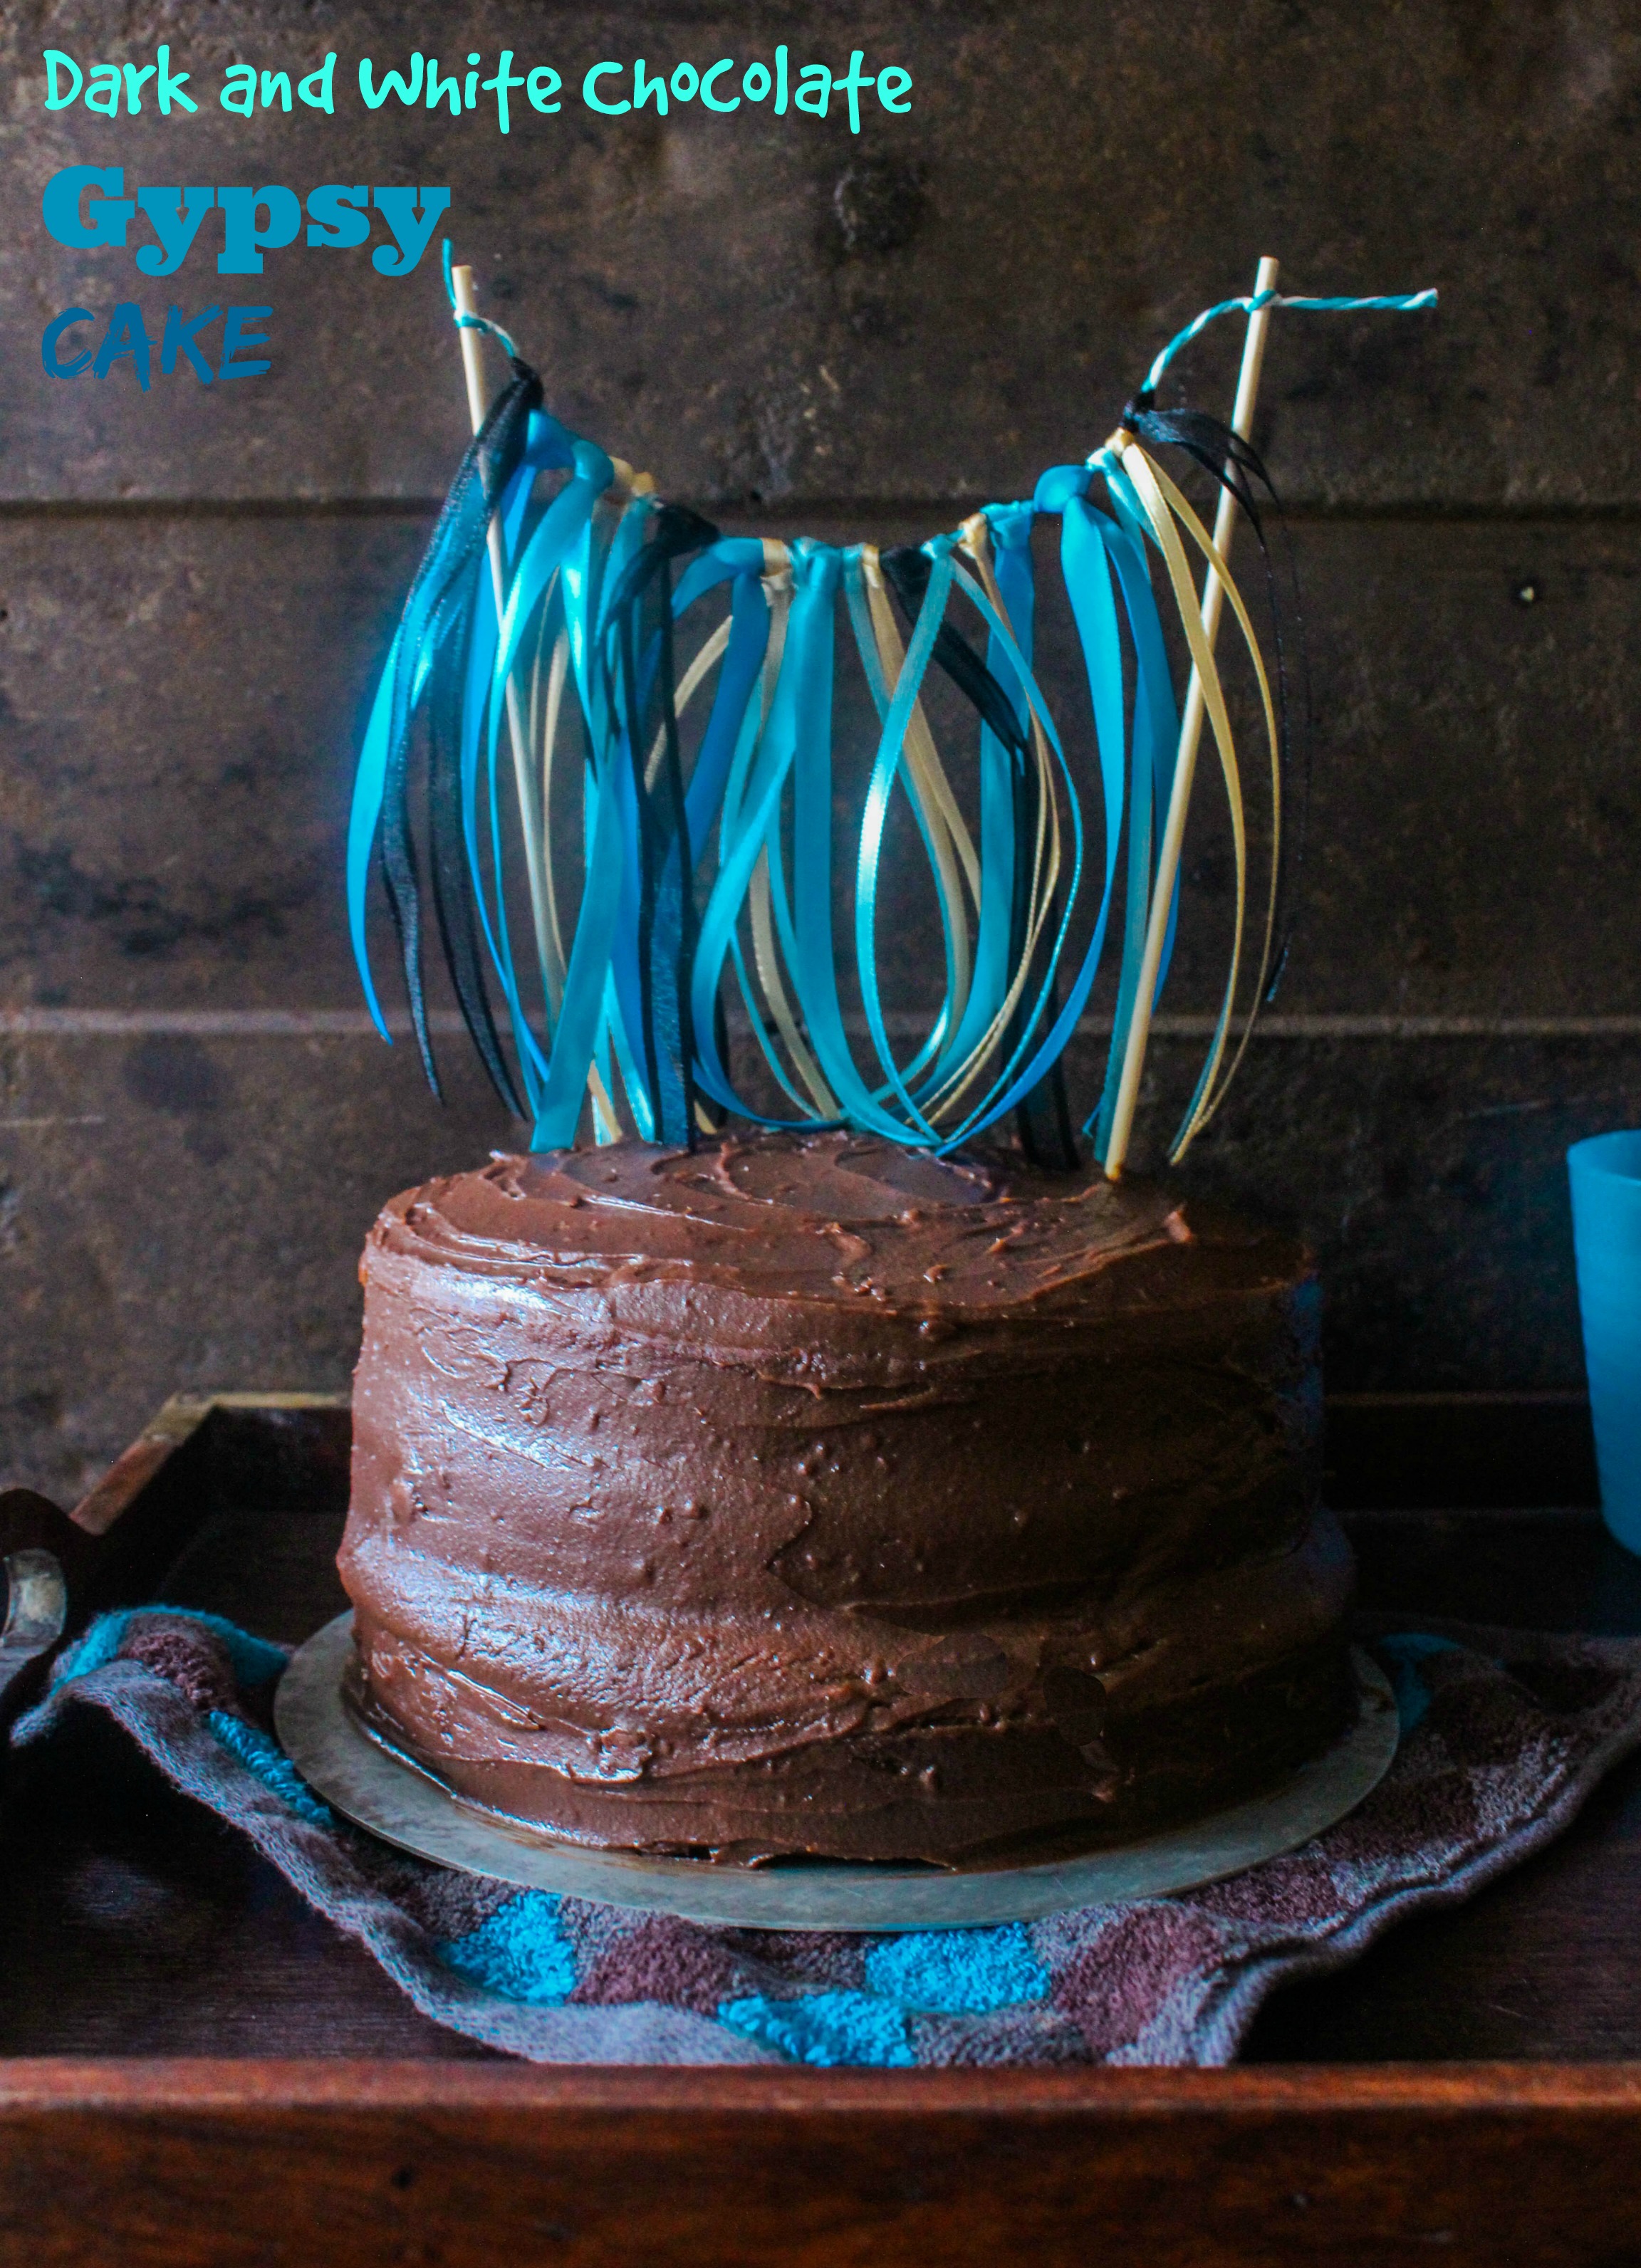
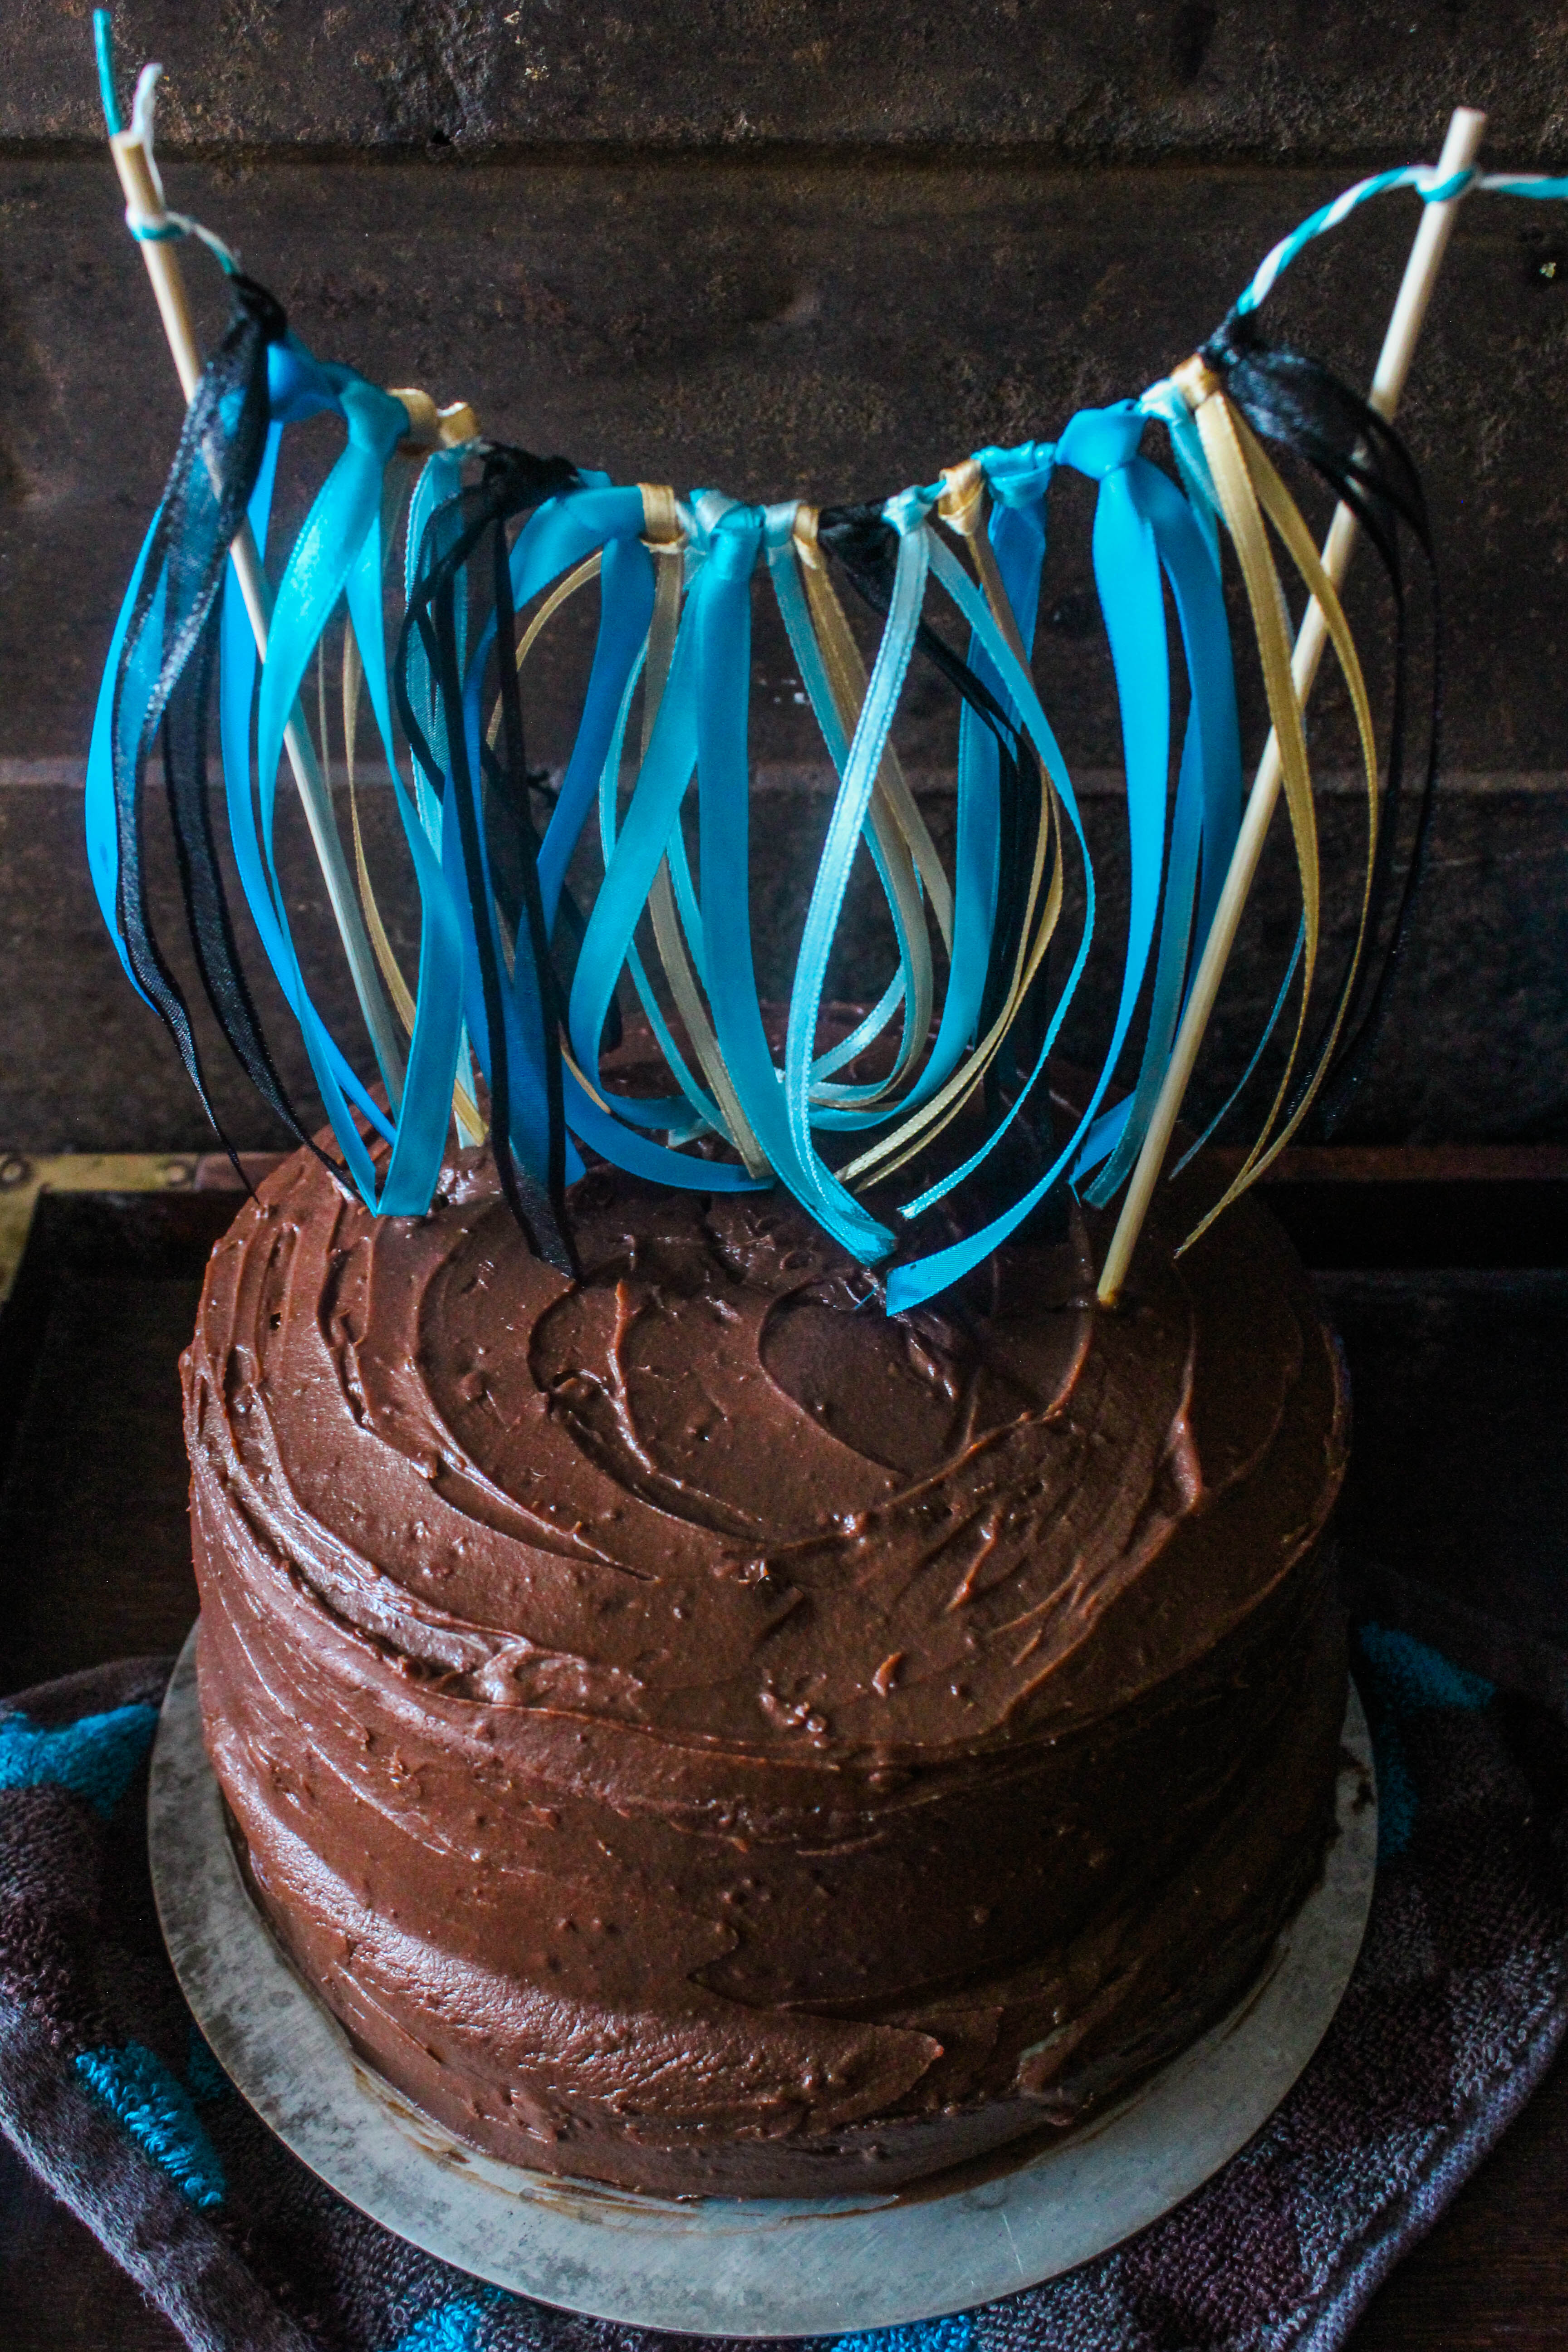
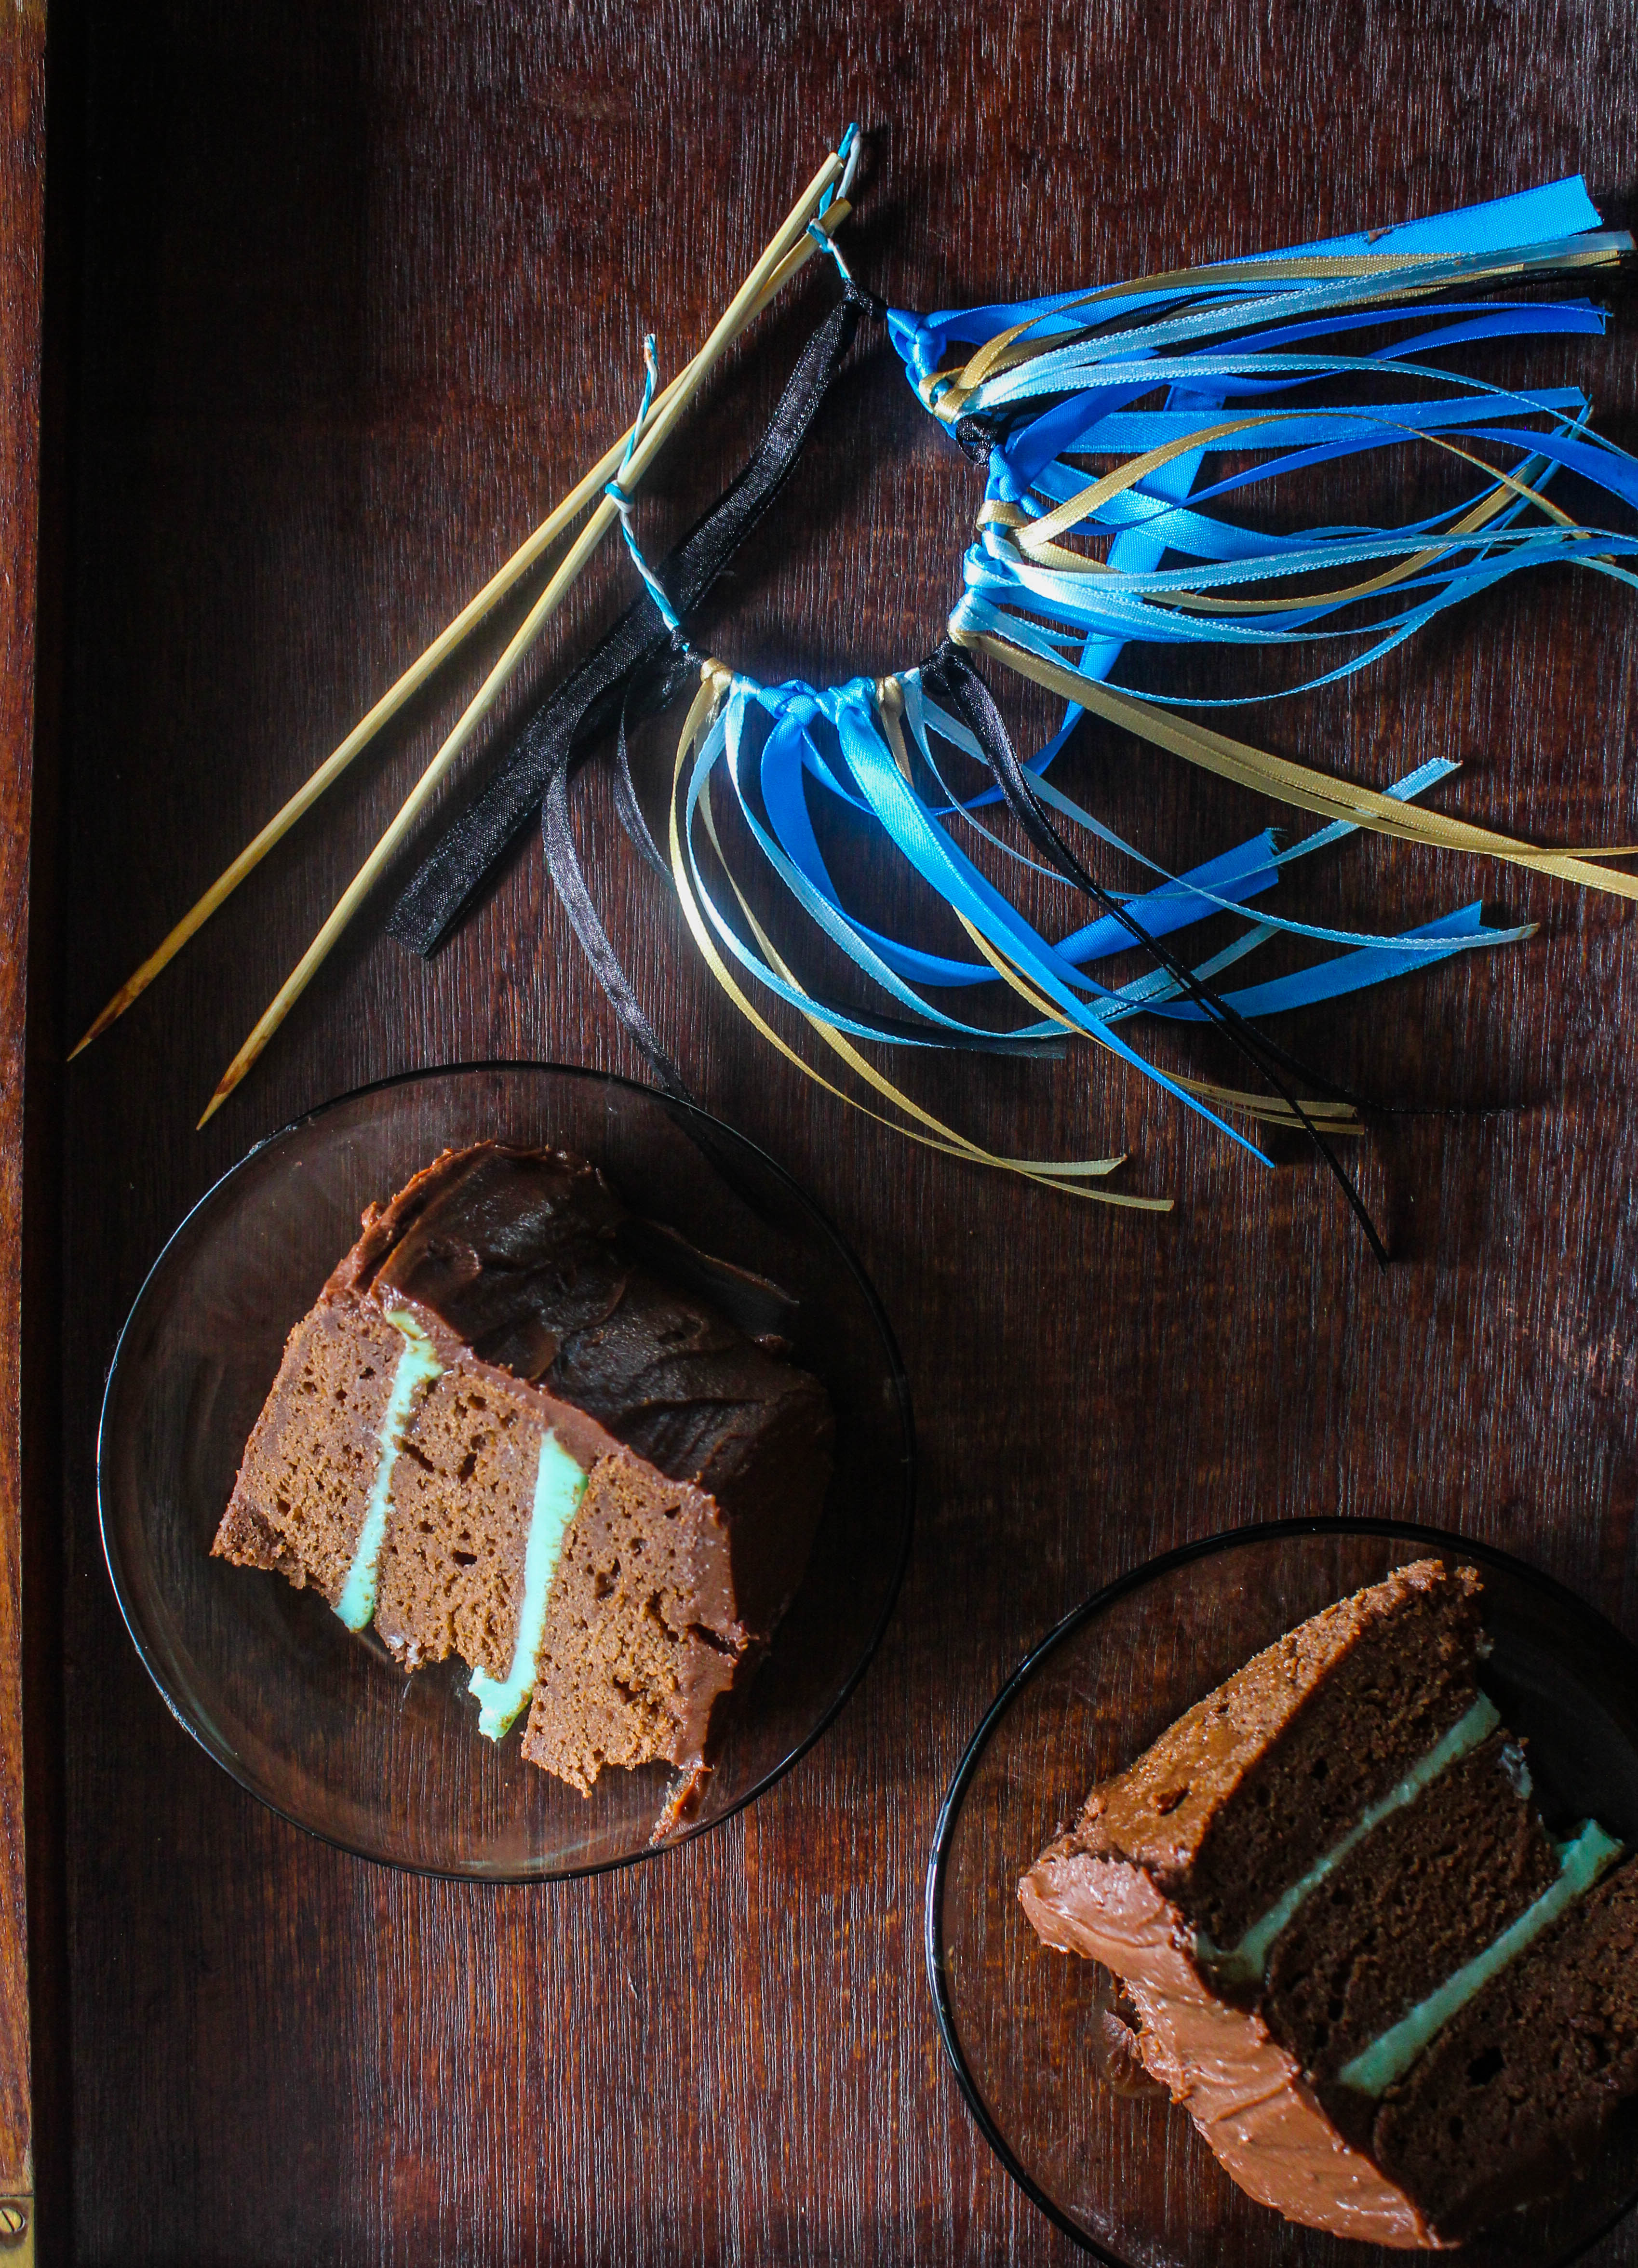
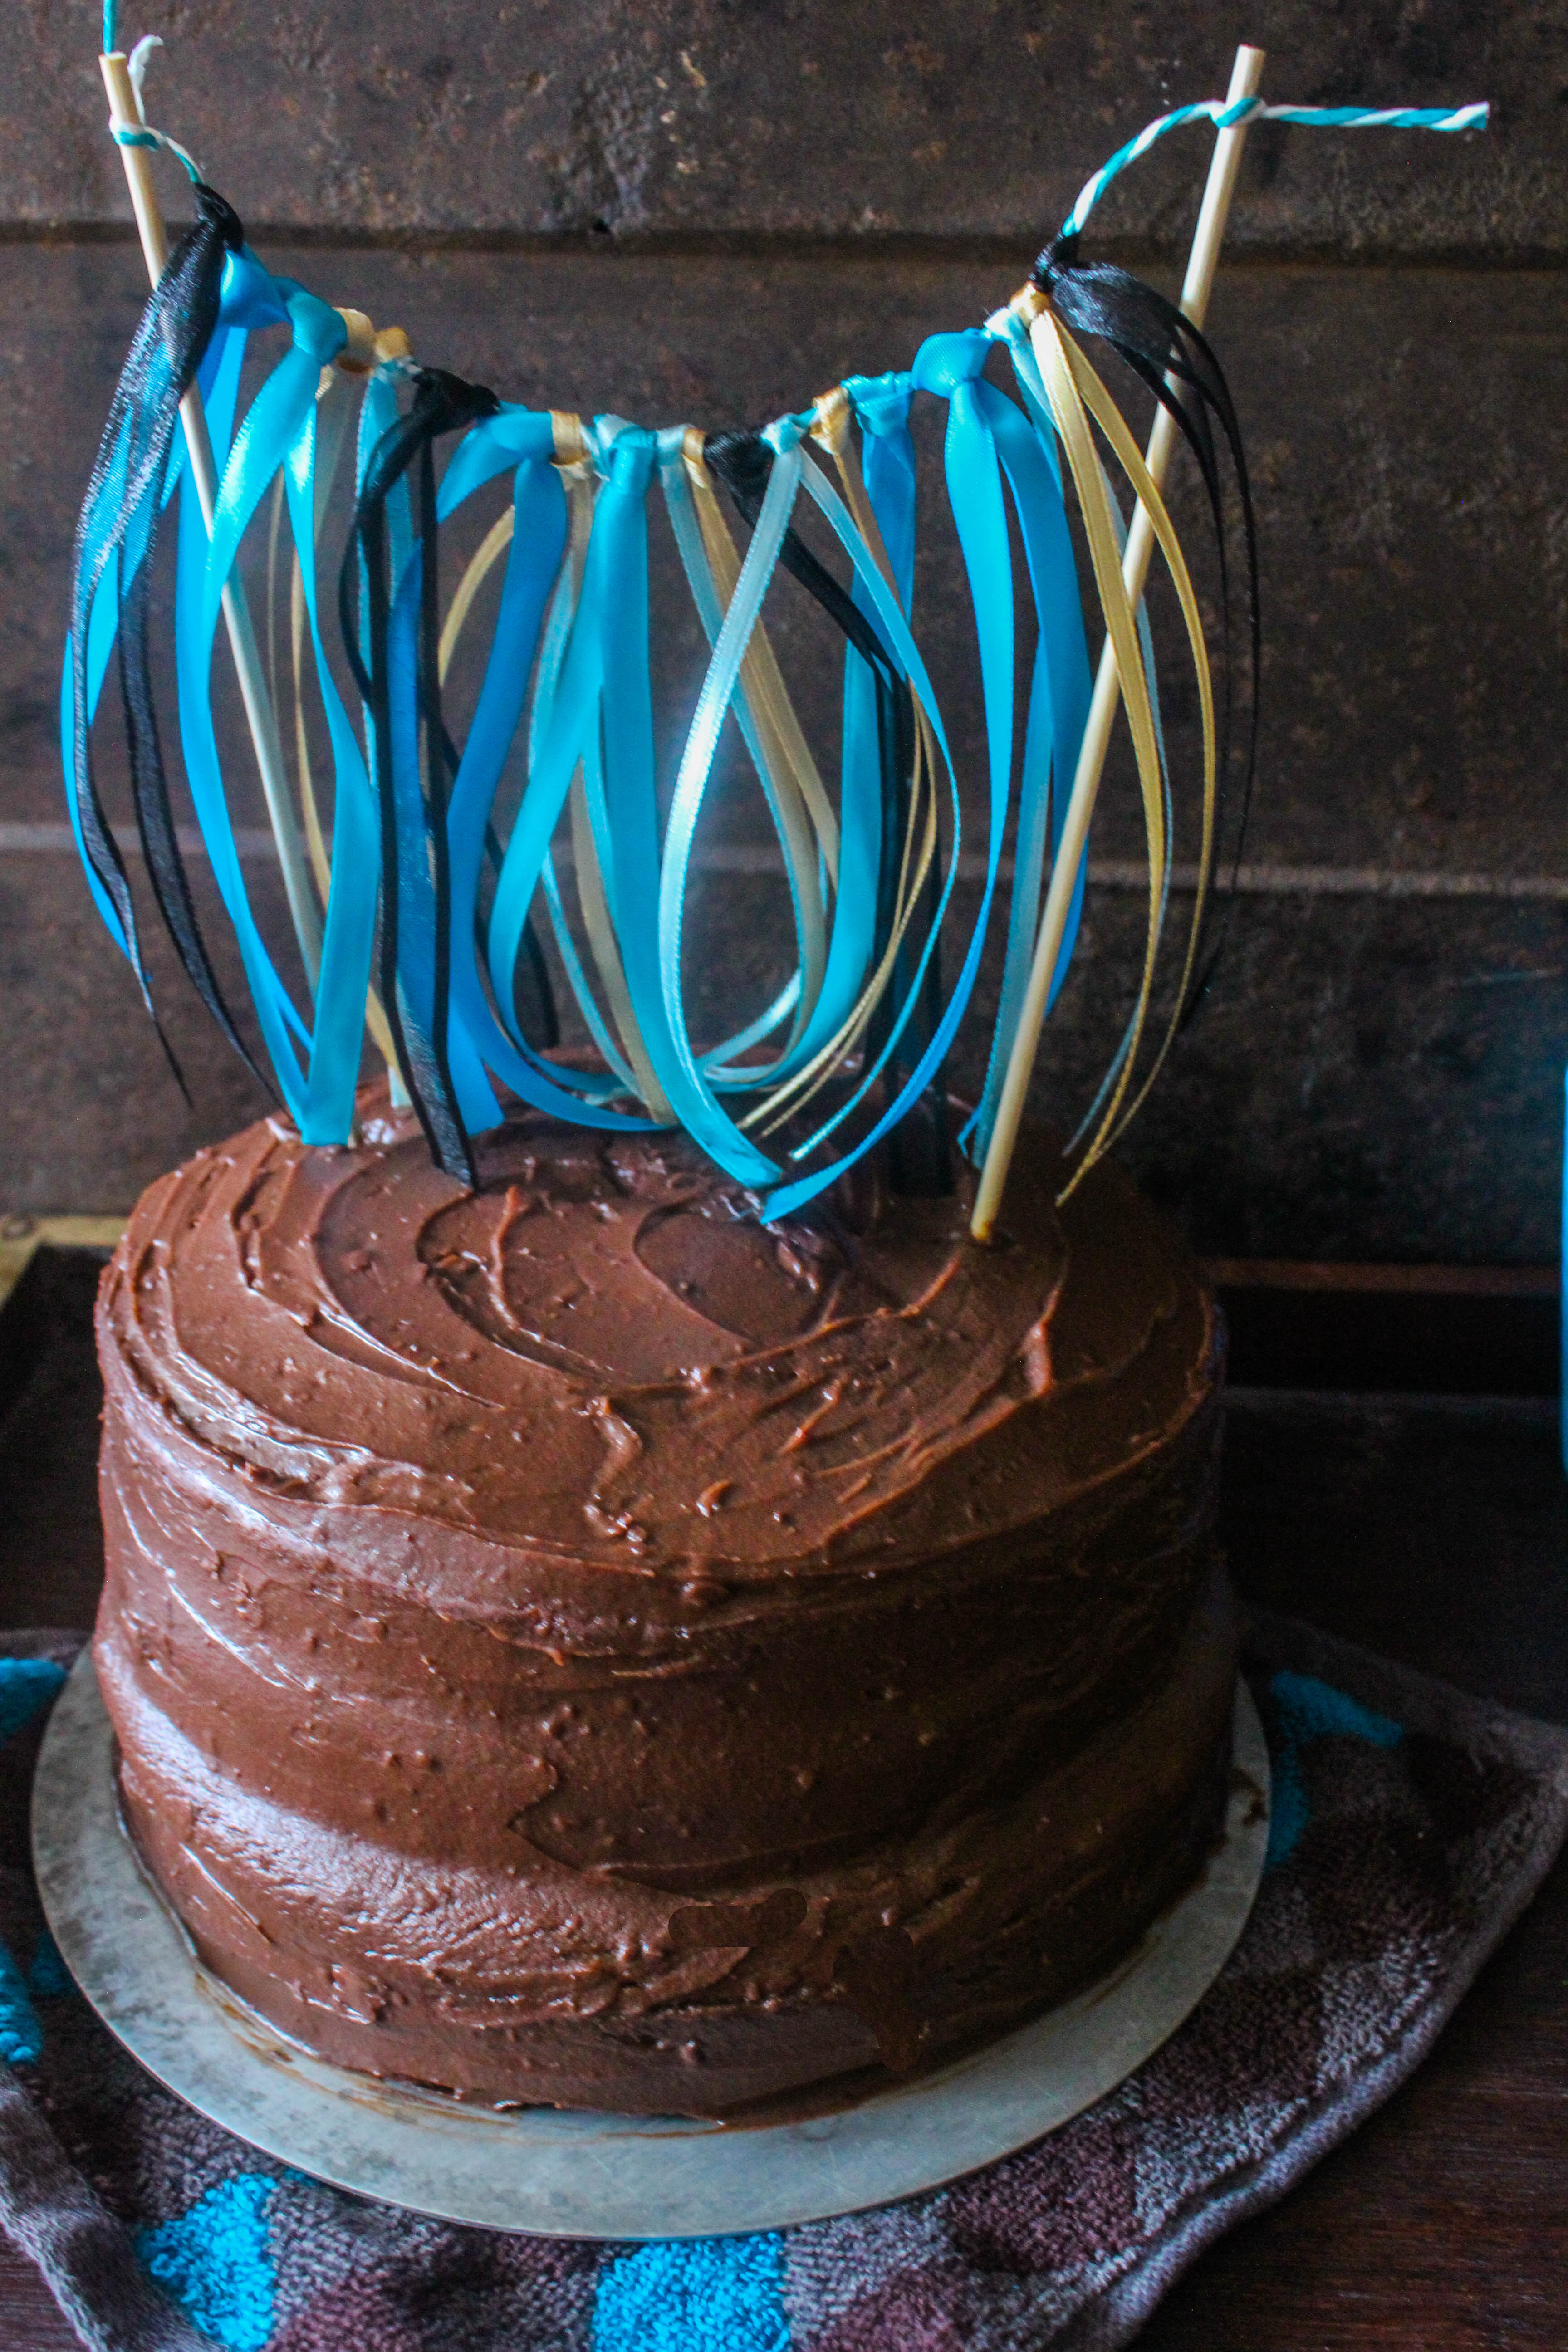
The little sister of mine celebrates her birthday today. Miles away but she knows I will be baking a cake for her. She wanted ‘a chocolate cake with a lovely topping…walnuts, almonds, orange’. But instead of a topping, I made a bunting filled with things she loves..frills, shiny ribbons, bold, bright blues. When my husband walked in from work in the evening..he took a good look at it and said ‘it’s got a gypsy-like appearance’. So the cake got a name.
IMG_9322

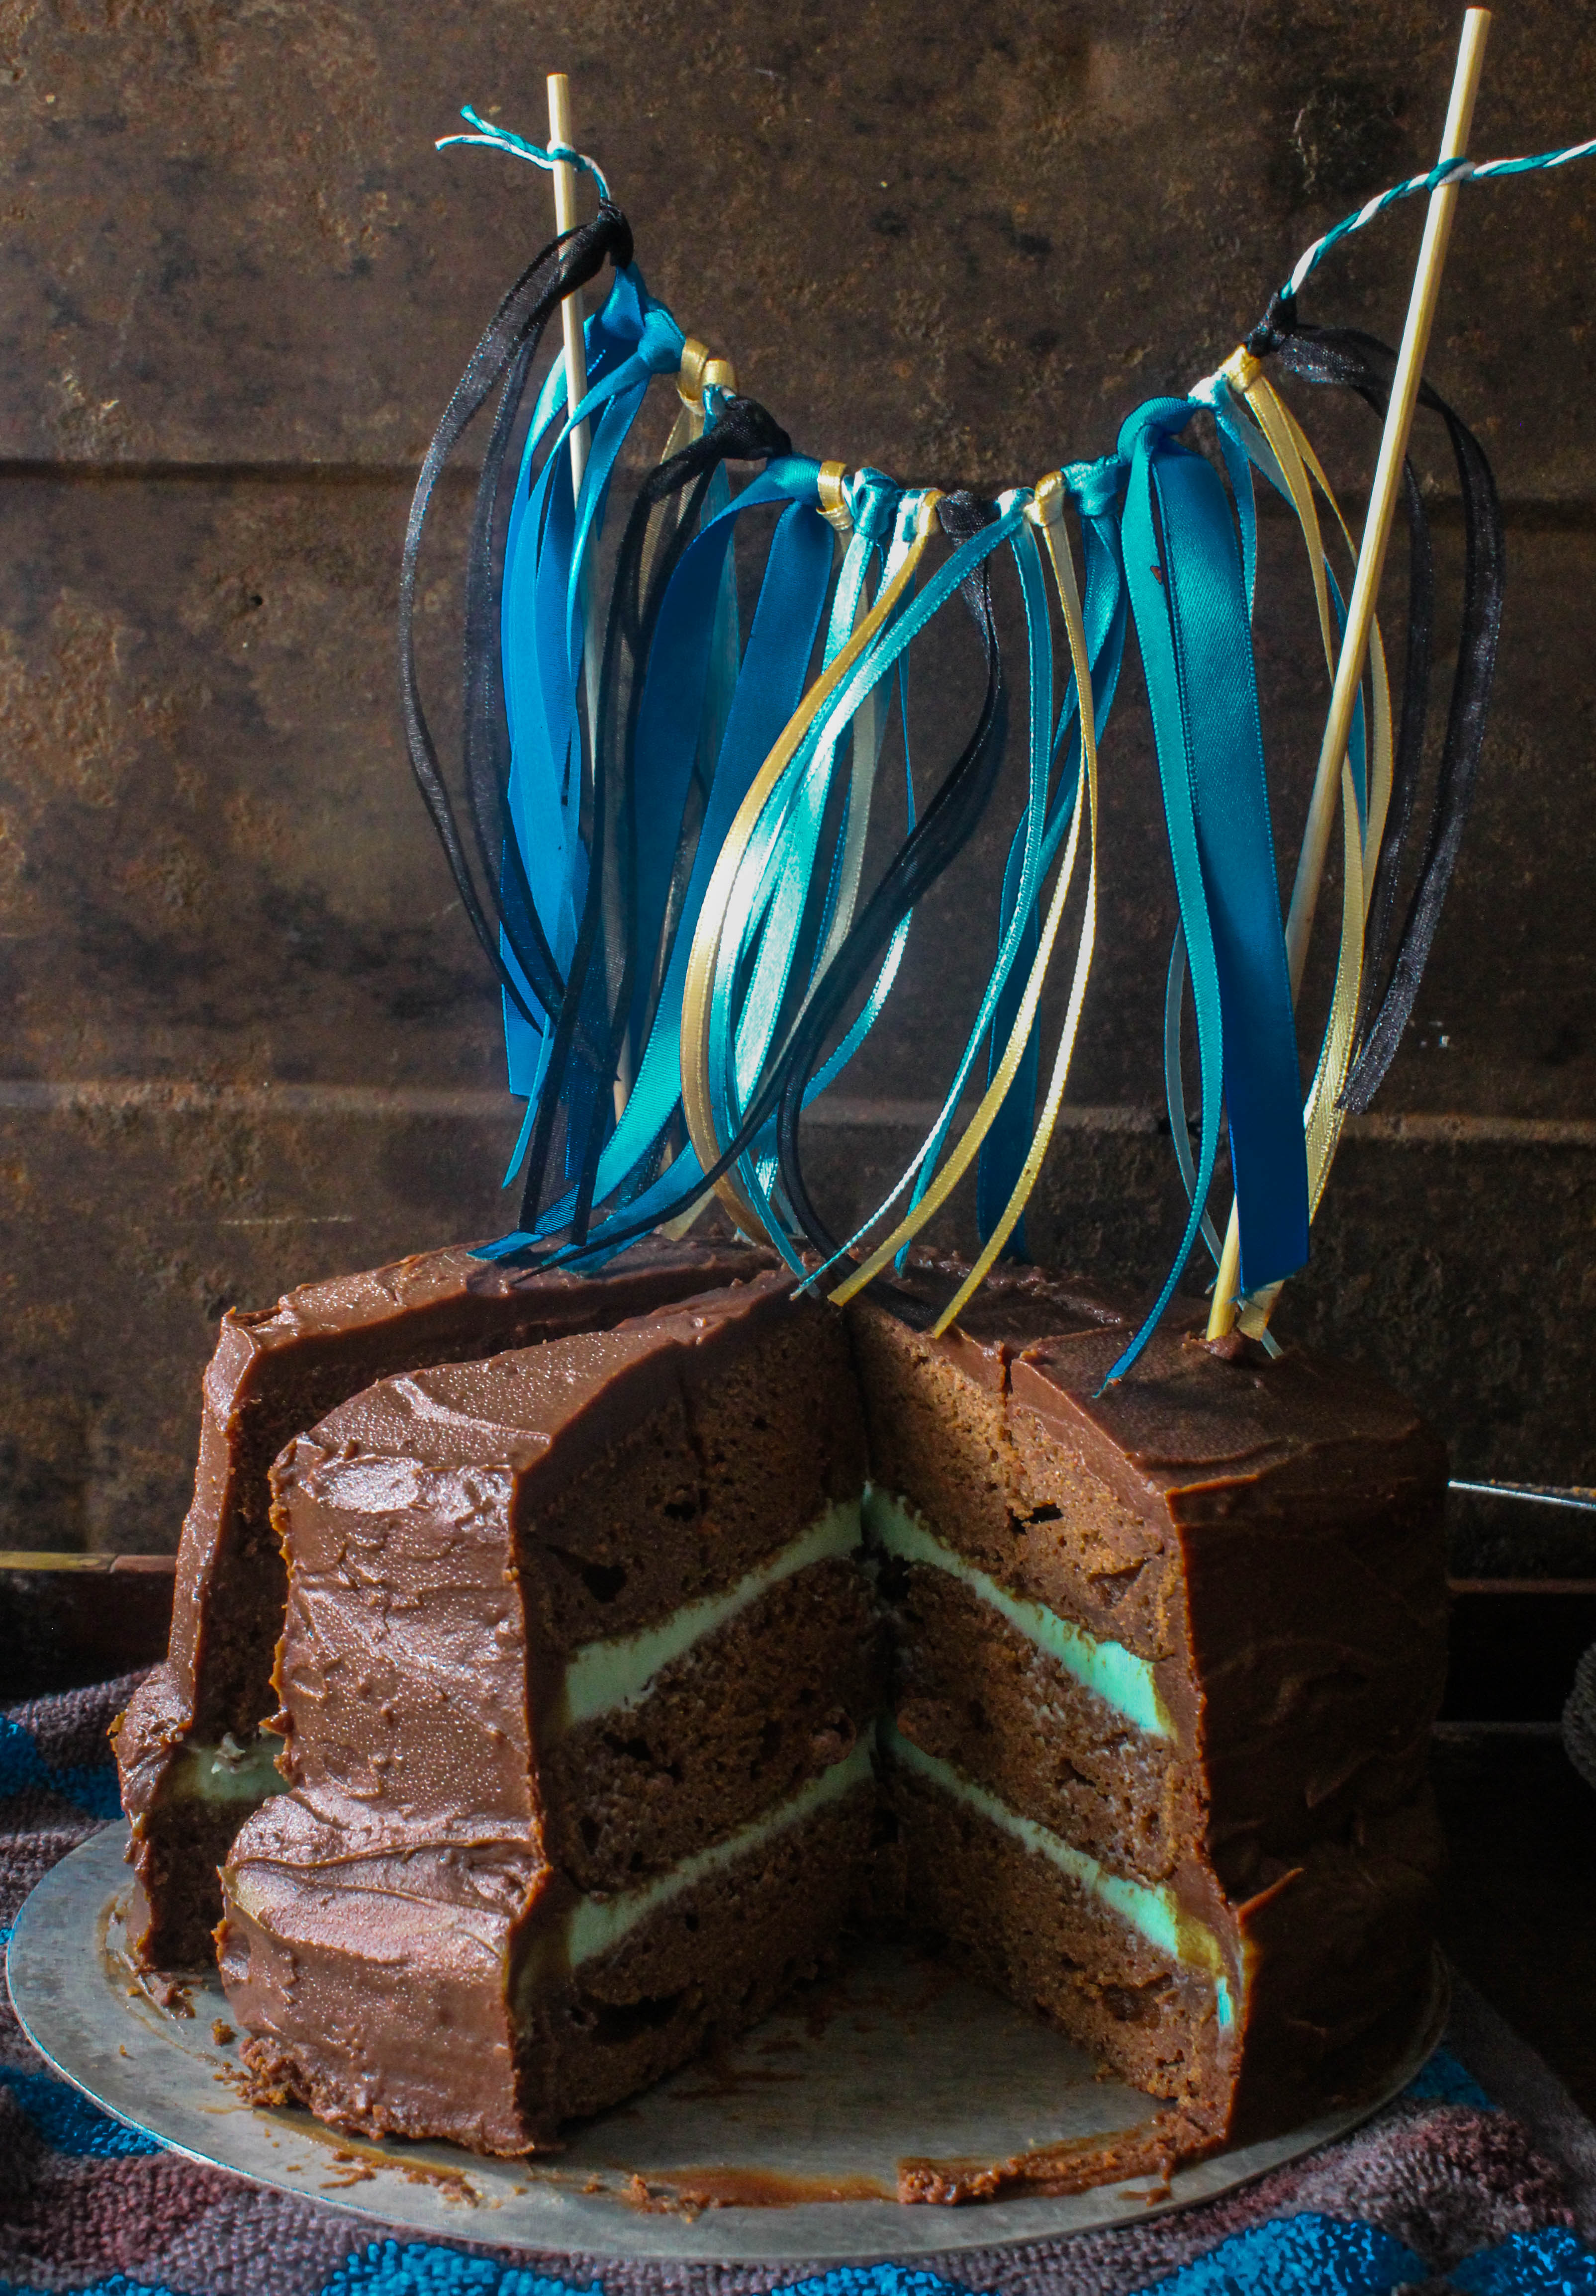
The cake is a devil’s food cake with layers of white chocolate ganache sandwiched between the cake and covered in a combination of dark and milk chocolate ganache. The white chocolate ganache has been tinted blue to go with the bunting. Basically, this is a gorgeous celebration of chocolate. I baked the layers in three 7 inch pans. Not very difficult to make because you can reduce the number of layers or make one cake and split it into layers. The dark and white chocolate ganache don’t require a lot of effort and you can go as fancy or as simple as you want with covering the cake with frosting. I’ve used a combination of dark and milk chocolate as my little boys are yet to enjoy the bittersweet flavour of dark chocolate. You can use dark chocolate alone, if that suits you. If you are concerned about the presence of mayonnaise in the cake, I was too but you don’t taste it at all. Instead it adds a richness and moisture to the batter. The bunting is a great way of sprucing up a simple cake and giving it a celebratory appearance and you can certainly go crazy with colours and prints.
IMG_9336

As you can see, I had to cut the cake and eat it myself, thinking of my sister all the way. The cake will go but the frills will remain. At least I will know I have a part of the cake specially reserved for her. Till we meet. And the good news is.. that day is not far.

IMG_9305

Dark and White Chocolate Gypsy Cake (adapted from Sweetapolita which in turn has been adapted from Fine Cooking)
Serves 8-10

For the Cake:
3/4 cup (170 g) unsalted butter, softened
2 cups (460 g) packed dark brown sugar
2 teaspoons (10 ml) pure vanilla extract
3 eggs, at room temperature
1-3/4 cups (220 g) all-purpose flour
3/4 cup (90 g) unsweetened Dutch-processed cocoa powder
1-1/4 teaspoon (7 g) baking soda
1 teaspoon (5 g) baking powder
1 teaspoon (10 g) kosher salt
1-1/2 cup (360 ml) buttermilk, at room temperature
1/4 cup (59 ml) mayonnaise

For the White Chocolate Ganache

250 g good quality white chocolate, finely chopped
150 ml thickened or heavy cream
Blue Food Colouring (optional)(I used a gel based food colour)

For the Dark Chocolate Ganache

300 g dark chocolate, finely chopped
100 g milk chocolate, finely chopped (can be left out if using dark chocolate only)
300 ml thickened or heavy cream

To make the Cake: Preheat oven to 180 degrees C.  Butter three 7-inch round cake pans, line with parchment rounds, and dust with flour, tapping out the excess.

In a stand mixer fitted with the paddle attachment, beat the butter, brown sugar and vanilla on medium-high speed until lighter in color and slightly increased in volume, about 5 minutes. Lower the speed to medium and add the eggs, one at a time, mixing until each is fully incorporated before adding the next.

Sift the flour, cocoa powder, baking soda and baking powder into a medium bowl. Add the salt to the dry ingredients after sifting, and whisk dry ingredients.

Alternate dry ingredients and buttermilk into creamed mixture, beginning and ending with dry ingredients. Mix until just incorporated, or finish by hand gently. Fold mayonnaise into batter with a whisk, until just blended.

Divide the batter evenly between the prepared pans. If possible, weigh the batter in each cake pan for a uniform weight. This ensures even layers. Smooth with small offset palette knife, and bake for about 30 minutes, rotating once after 20 minutes. Cake is done when toothpick or skewer comes barely clean. Try not to over-bake.

Let pans cool on wire rack for 20 minutes, then invert cakes onto racks, gently, peeling away parchment rounds. Let cool completely. Cake can be baked the night before and stored in an airtight container overnight before assembly

To make the White Chocolate Ganache: Place chocolate in a large mixing bowl. Heat cream over low-medium heat in saucepan until just boiling, pour over cream and set aside for 5 minutes. Use a whisk to combine mixture until smooth. Add food Colouring if using, little at a time till the desired shade is reached.

To make the Dark Chocolate Ganache: Place chocolate in a large mixing bowl. Heat cream over low-medium heat in a saucepan until just boiling, pour over cream and set aside for 5 minutes. Use a whisk to combine mixture until smooth. Chill until it thickens and just holds
its shape but is still pourable.

Assembly: I find it best to chill the cakes before frosting. Place one layer of chocolate cake on your cake stand and cover with white chocolate ganache.
Sandwich second layer on top and repeat. Using a spatula, spread the dark chocolate ganache over the outside of the cake. Chill cake before serving. Remove from refrigerator at least 30 minutes before serving.

Banana Poppy Seed Cake with Cream Cheese Frosting

10|04|2014

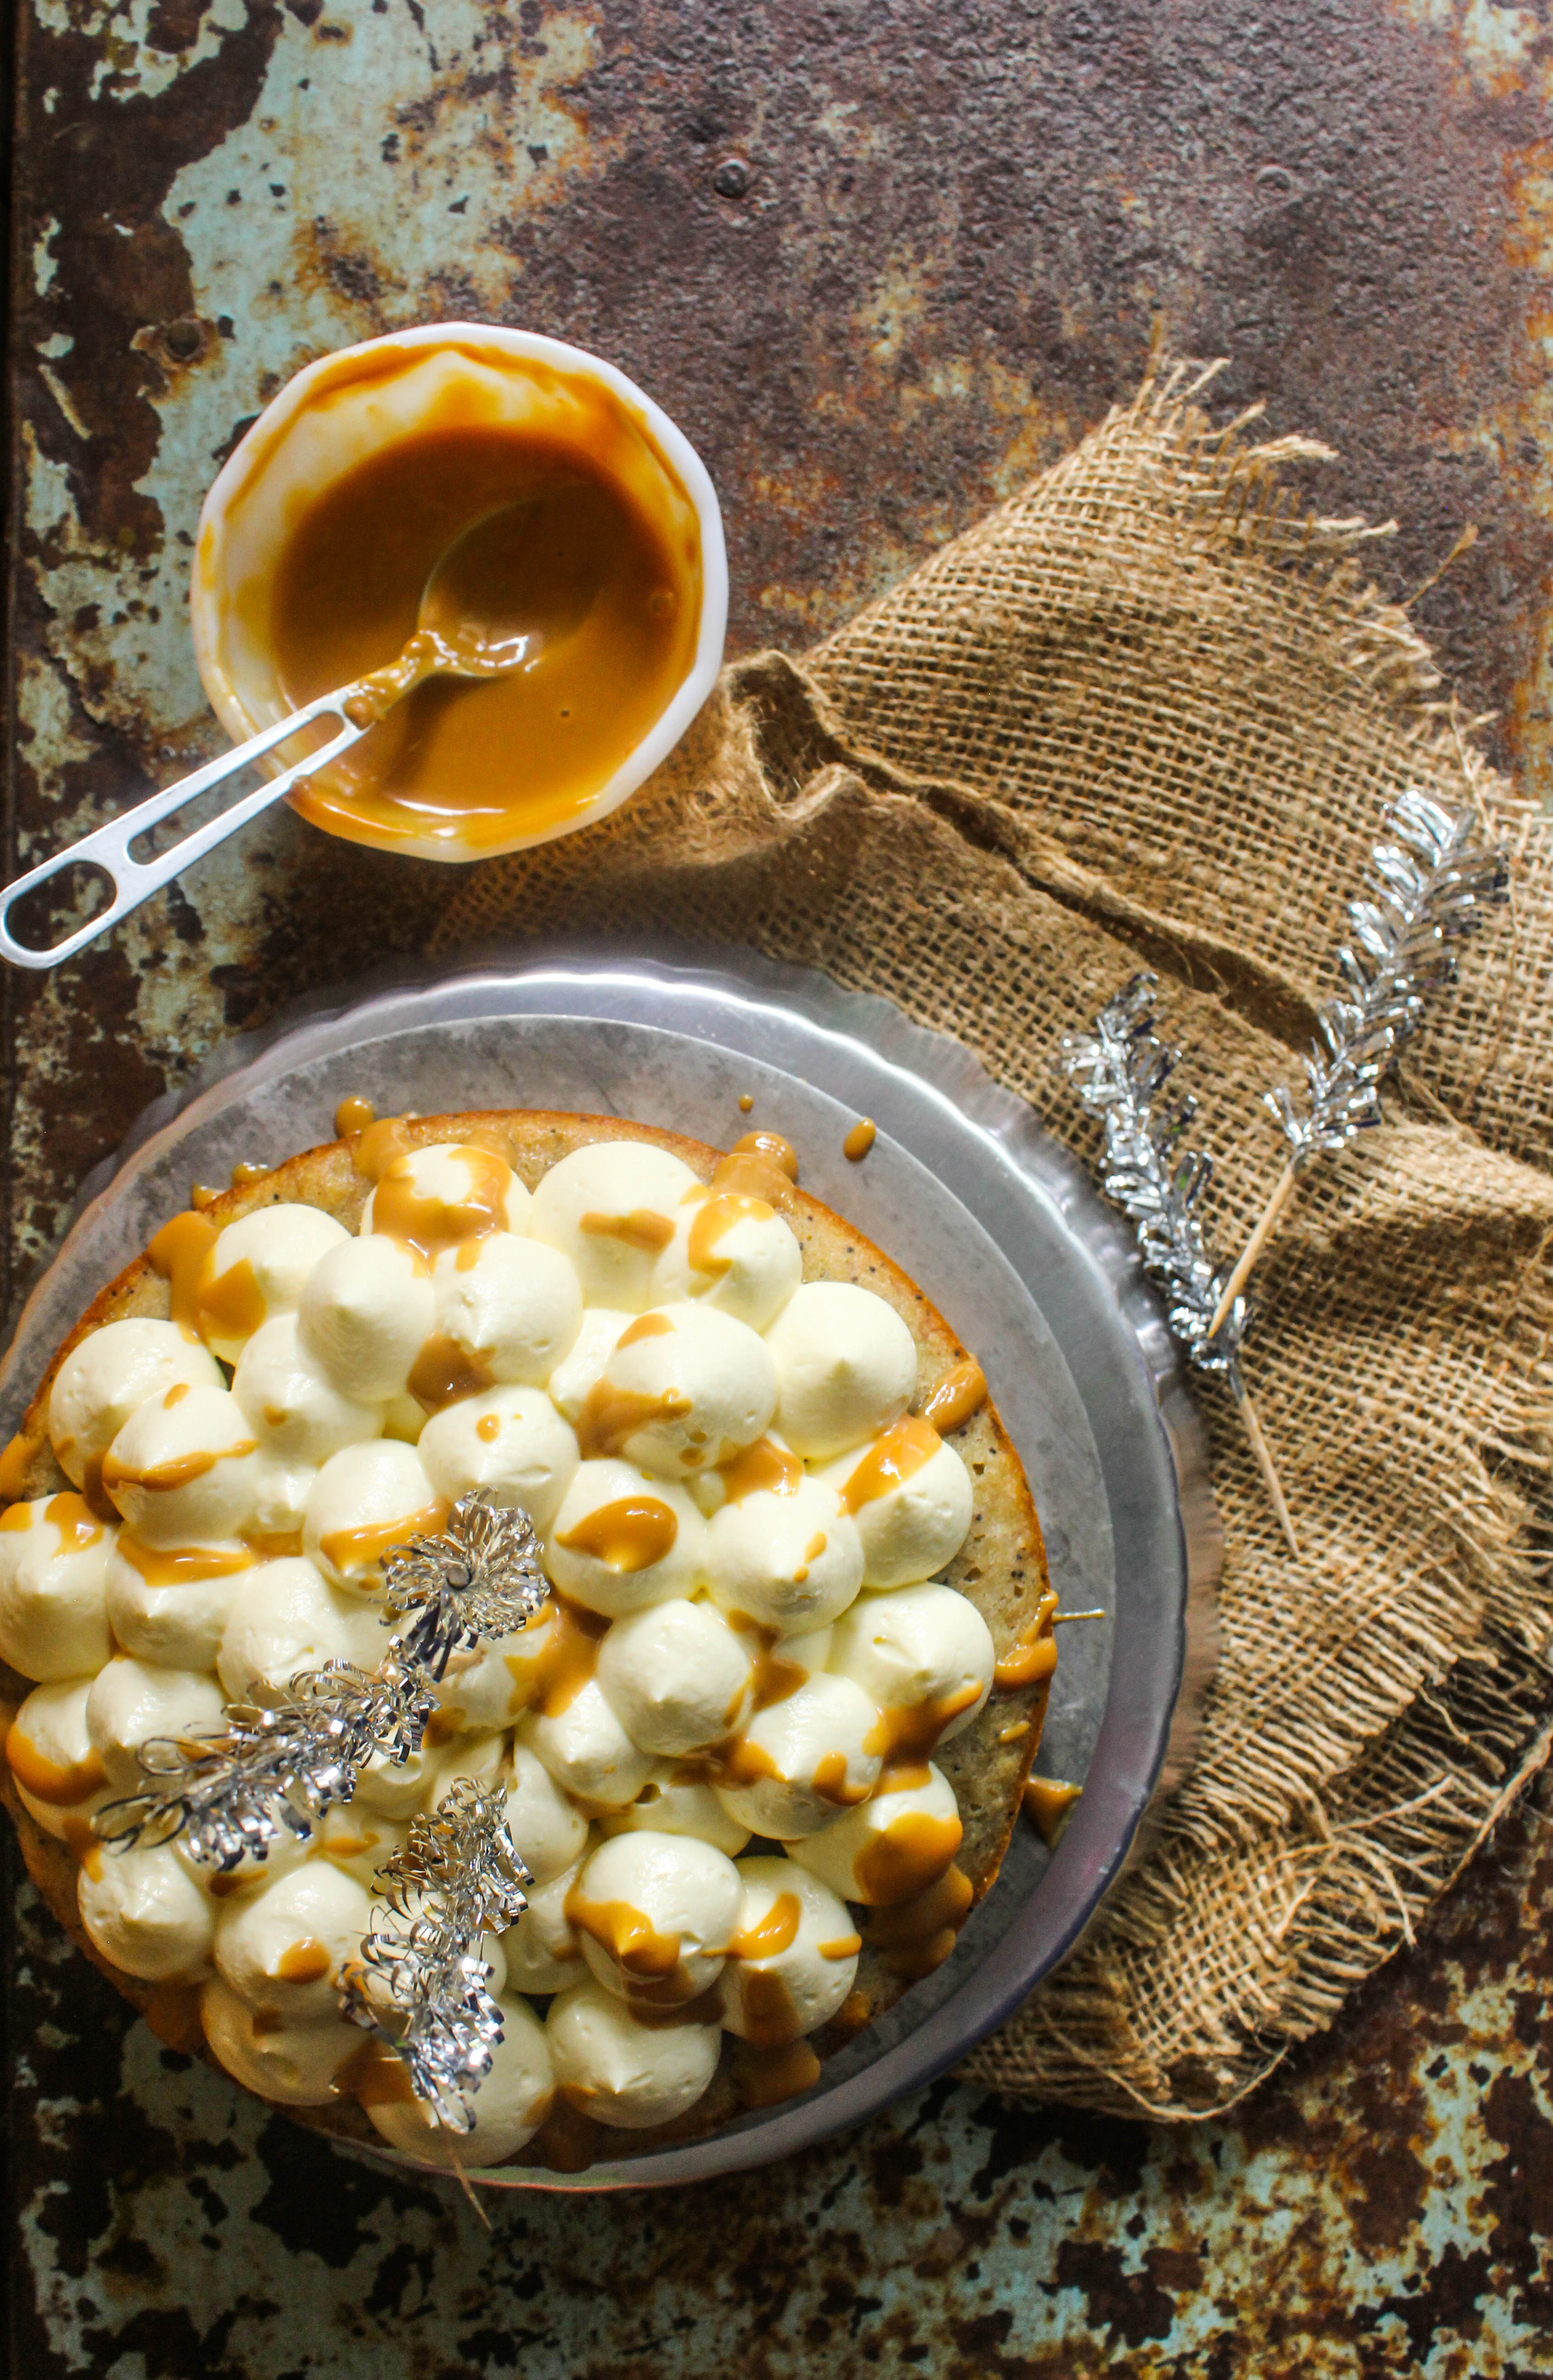
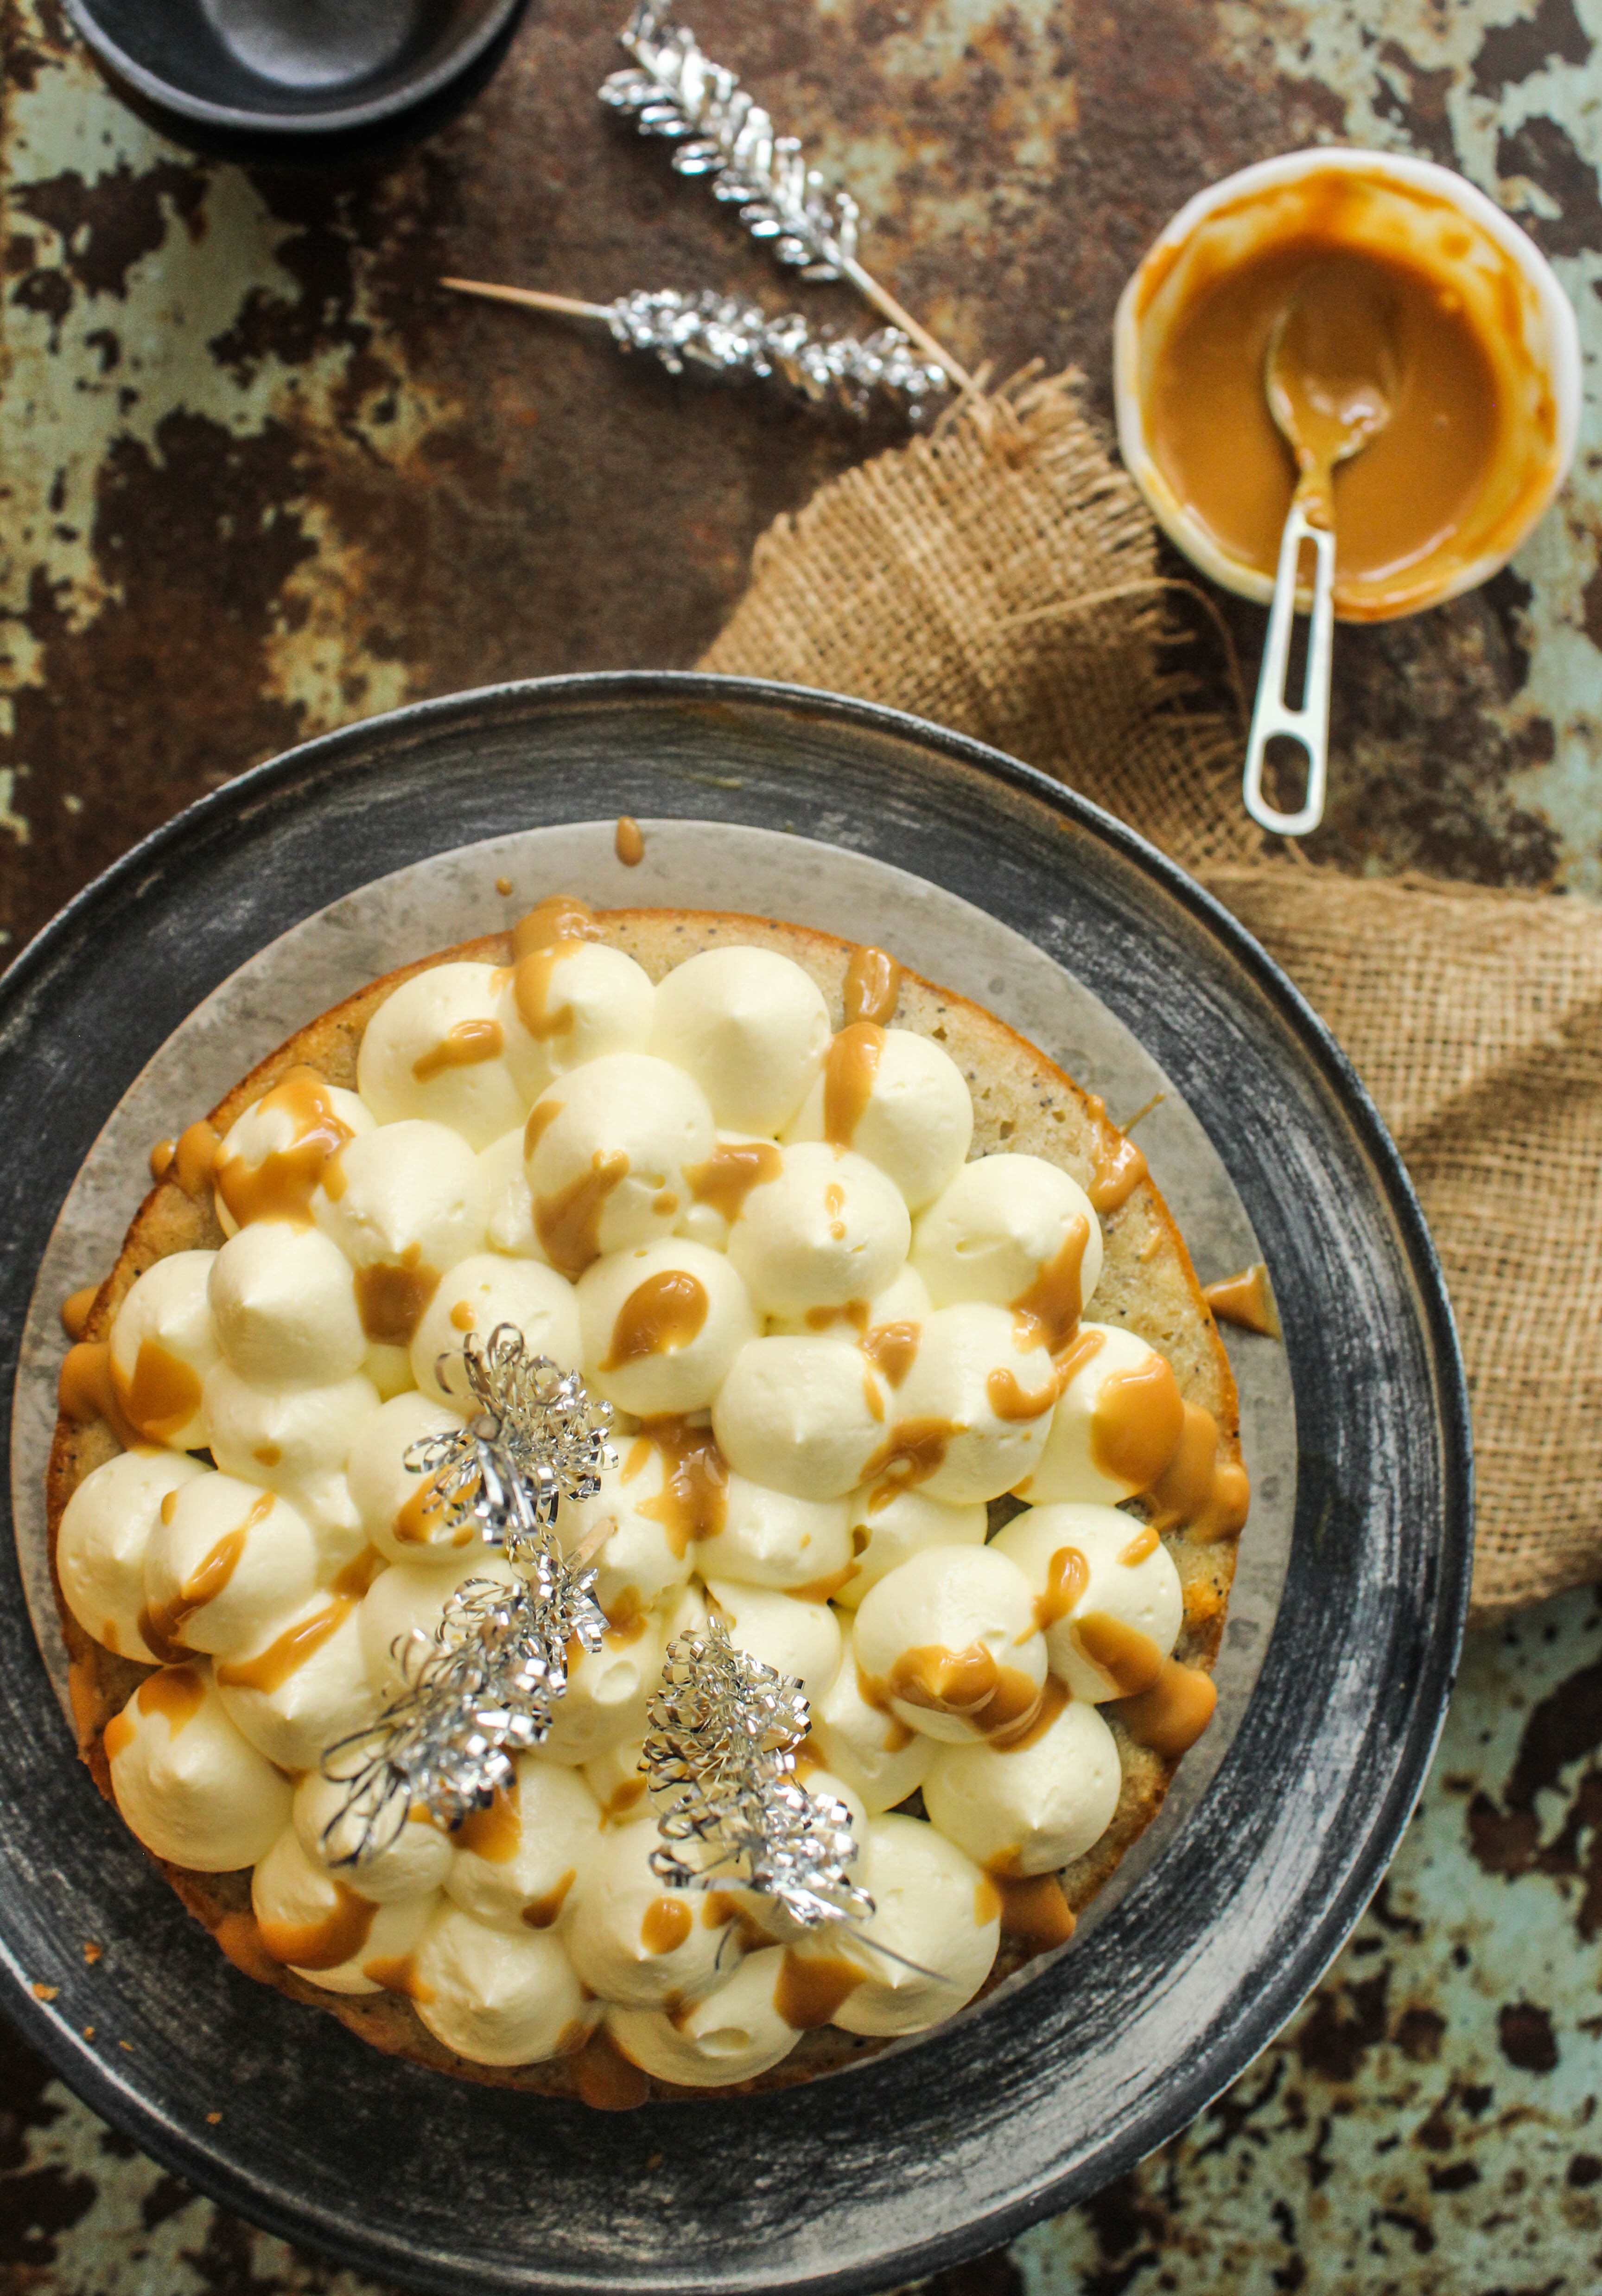
If this banana cake is looking anything different to you than…well, a banana cake, let me assure you this is the same one, you and me bake in a loaf pan and slice up for breakfast or bake into muffins to put into your lunchboxes. Yeah, the same one that transforms the fate of overripe bananas and they end up with some dessert love (a lot of love in my house) than entering the dustbin.
IMG_9211

I started out the usual, predictable way. Ignoring the bananas while they turned black and made the cupboard smell serving as a reminder each time I opened the door that it was time to use them up. I put the batter together intending to bake it in my loaf tin. But the loaf tin was nowhere in sight. And that was because it was sitting in the freezer with a semifreddo I made a few days back. I didn’t want muffins so the batter landed up in a cake pan.

IMG_9213-2

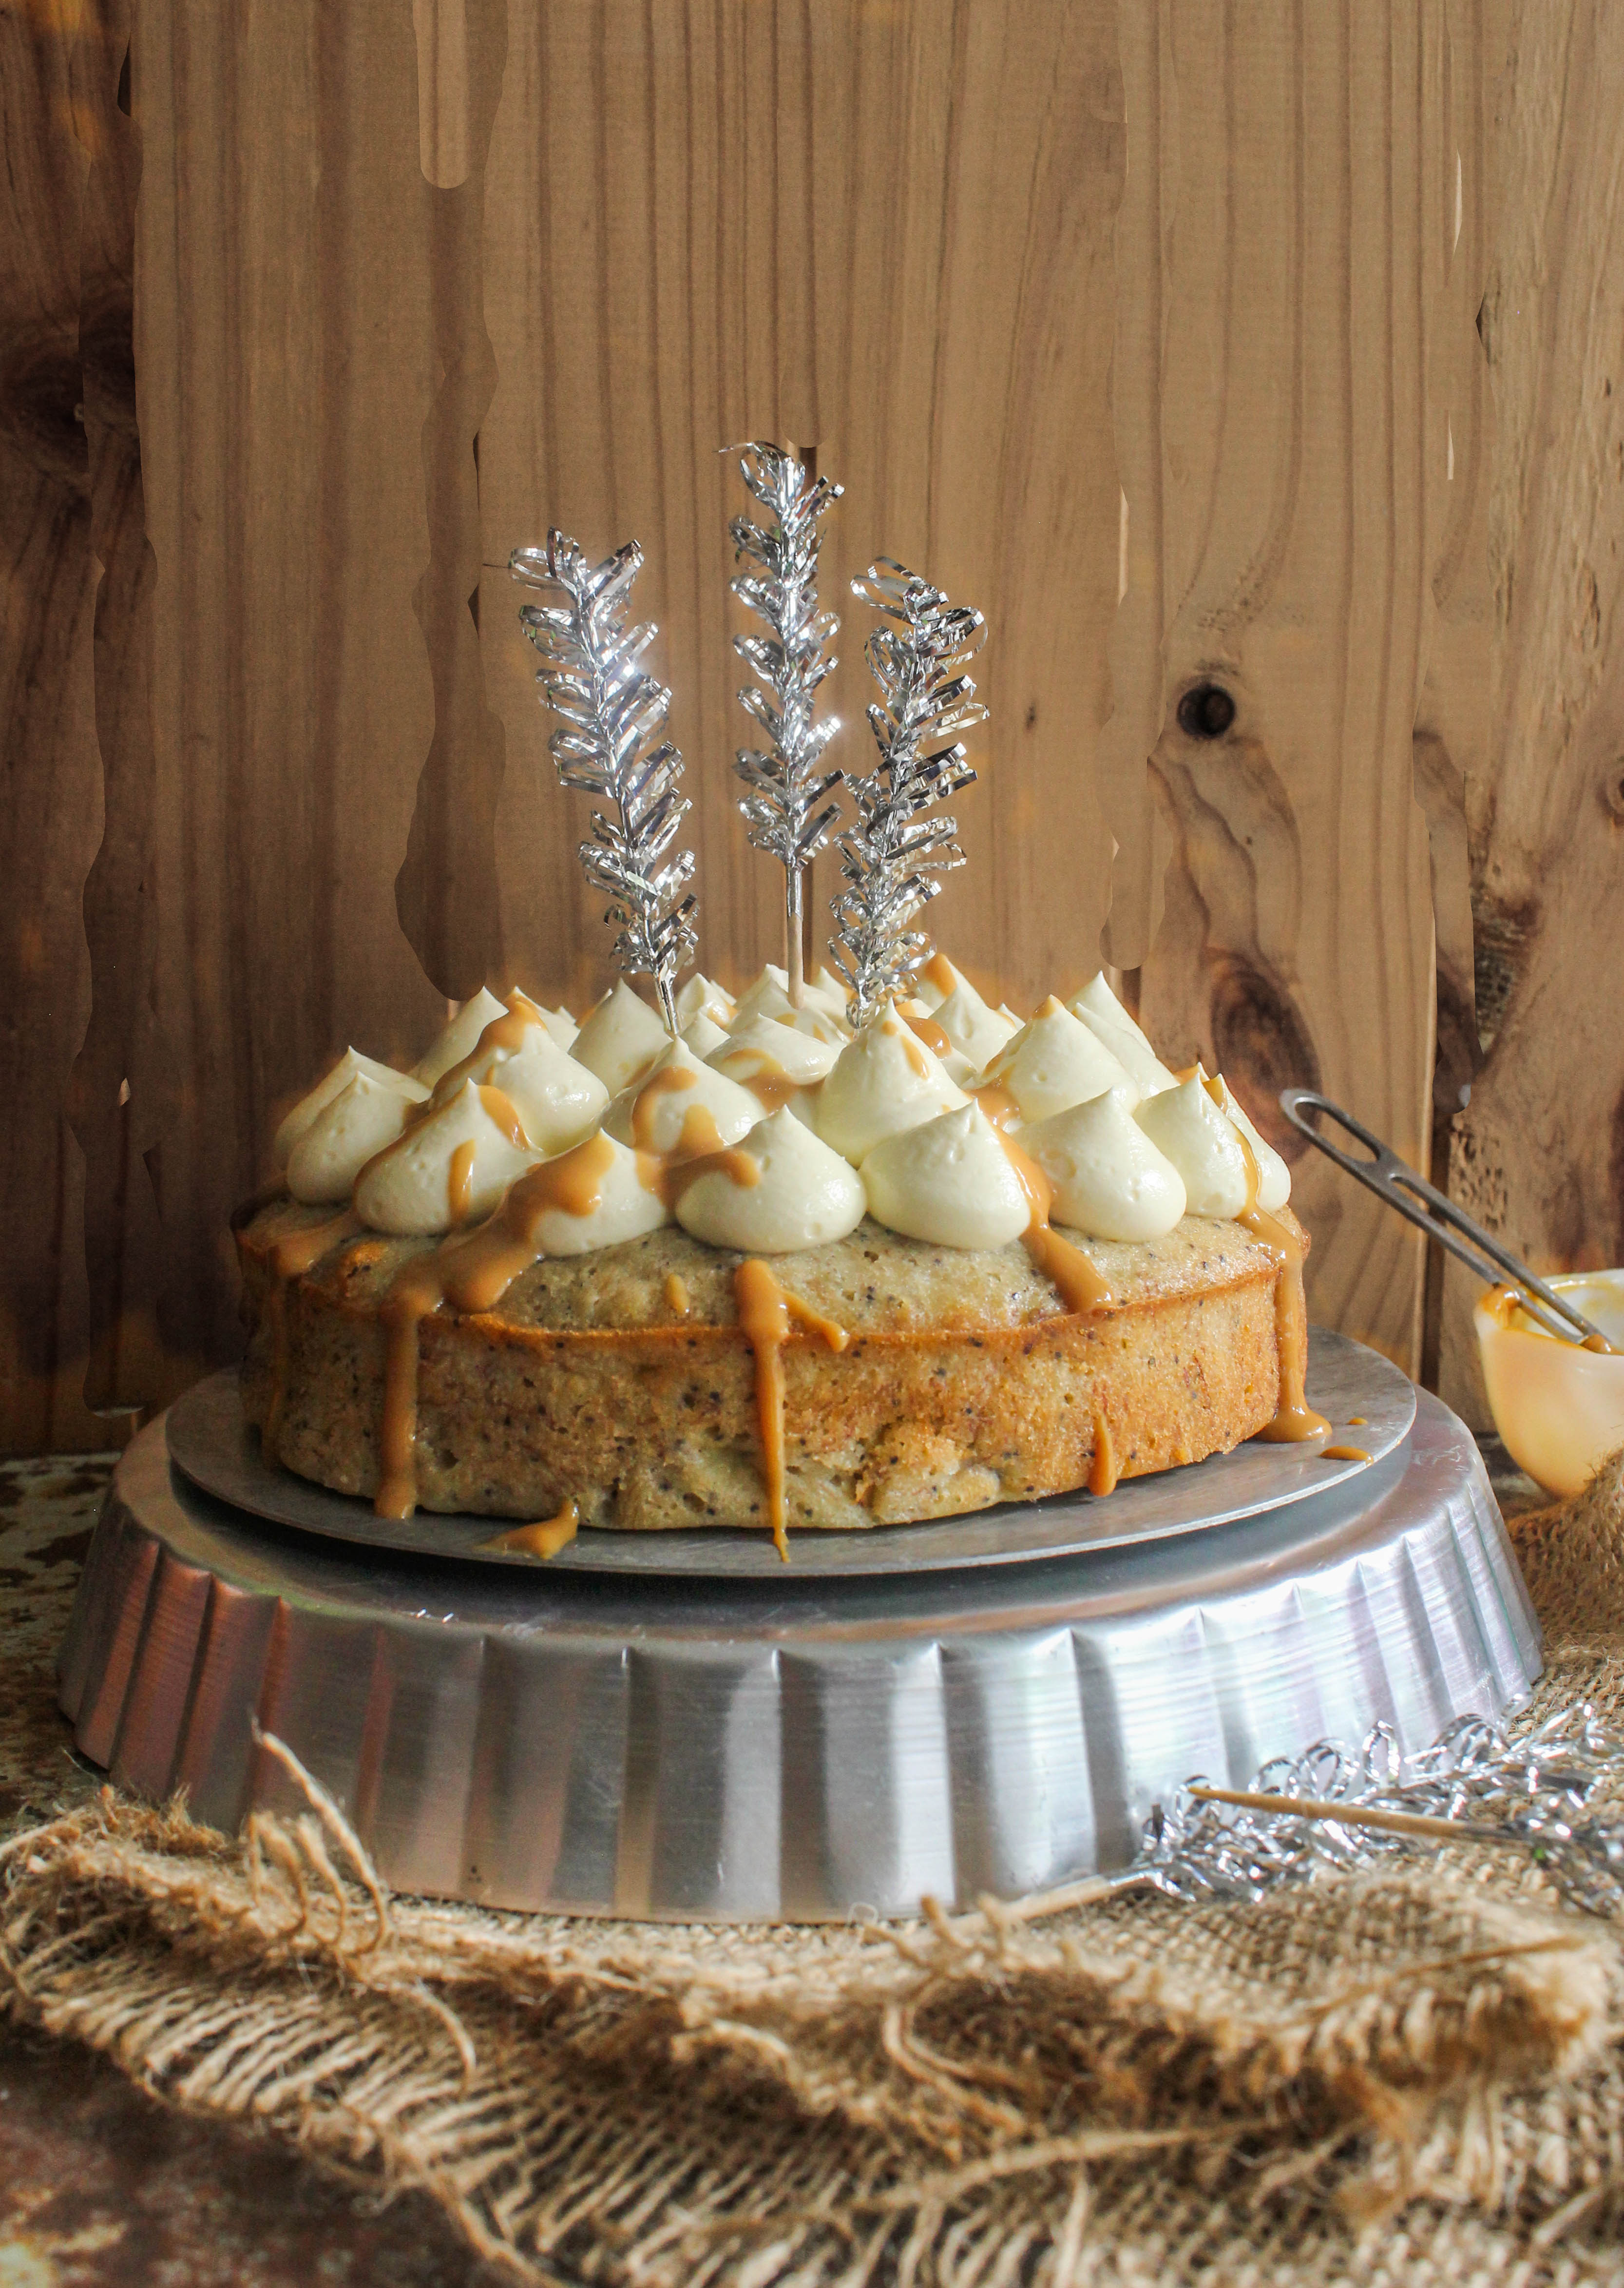
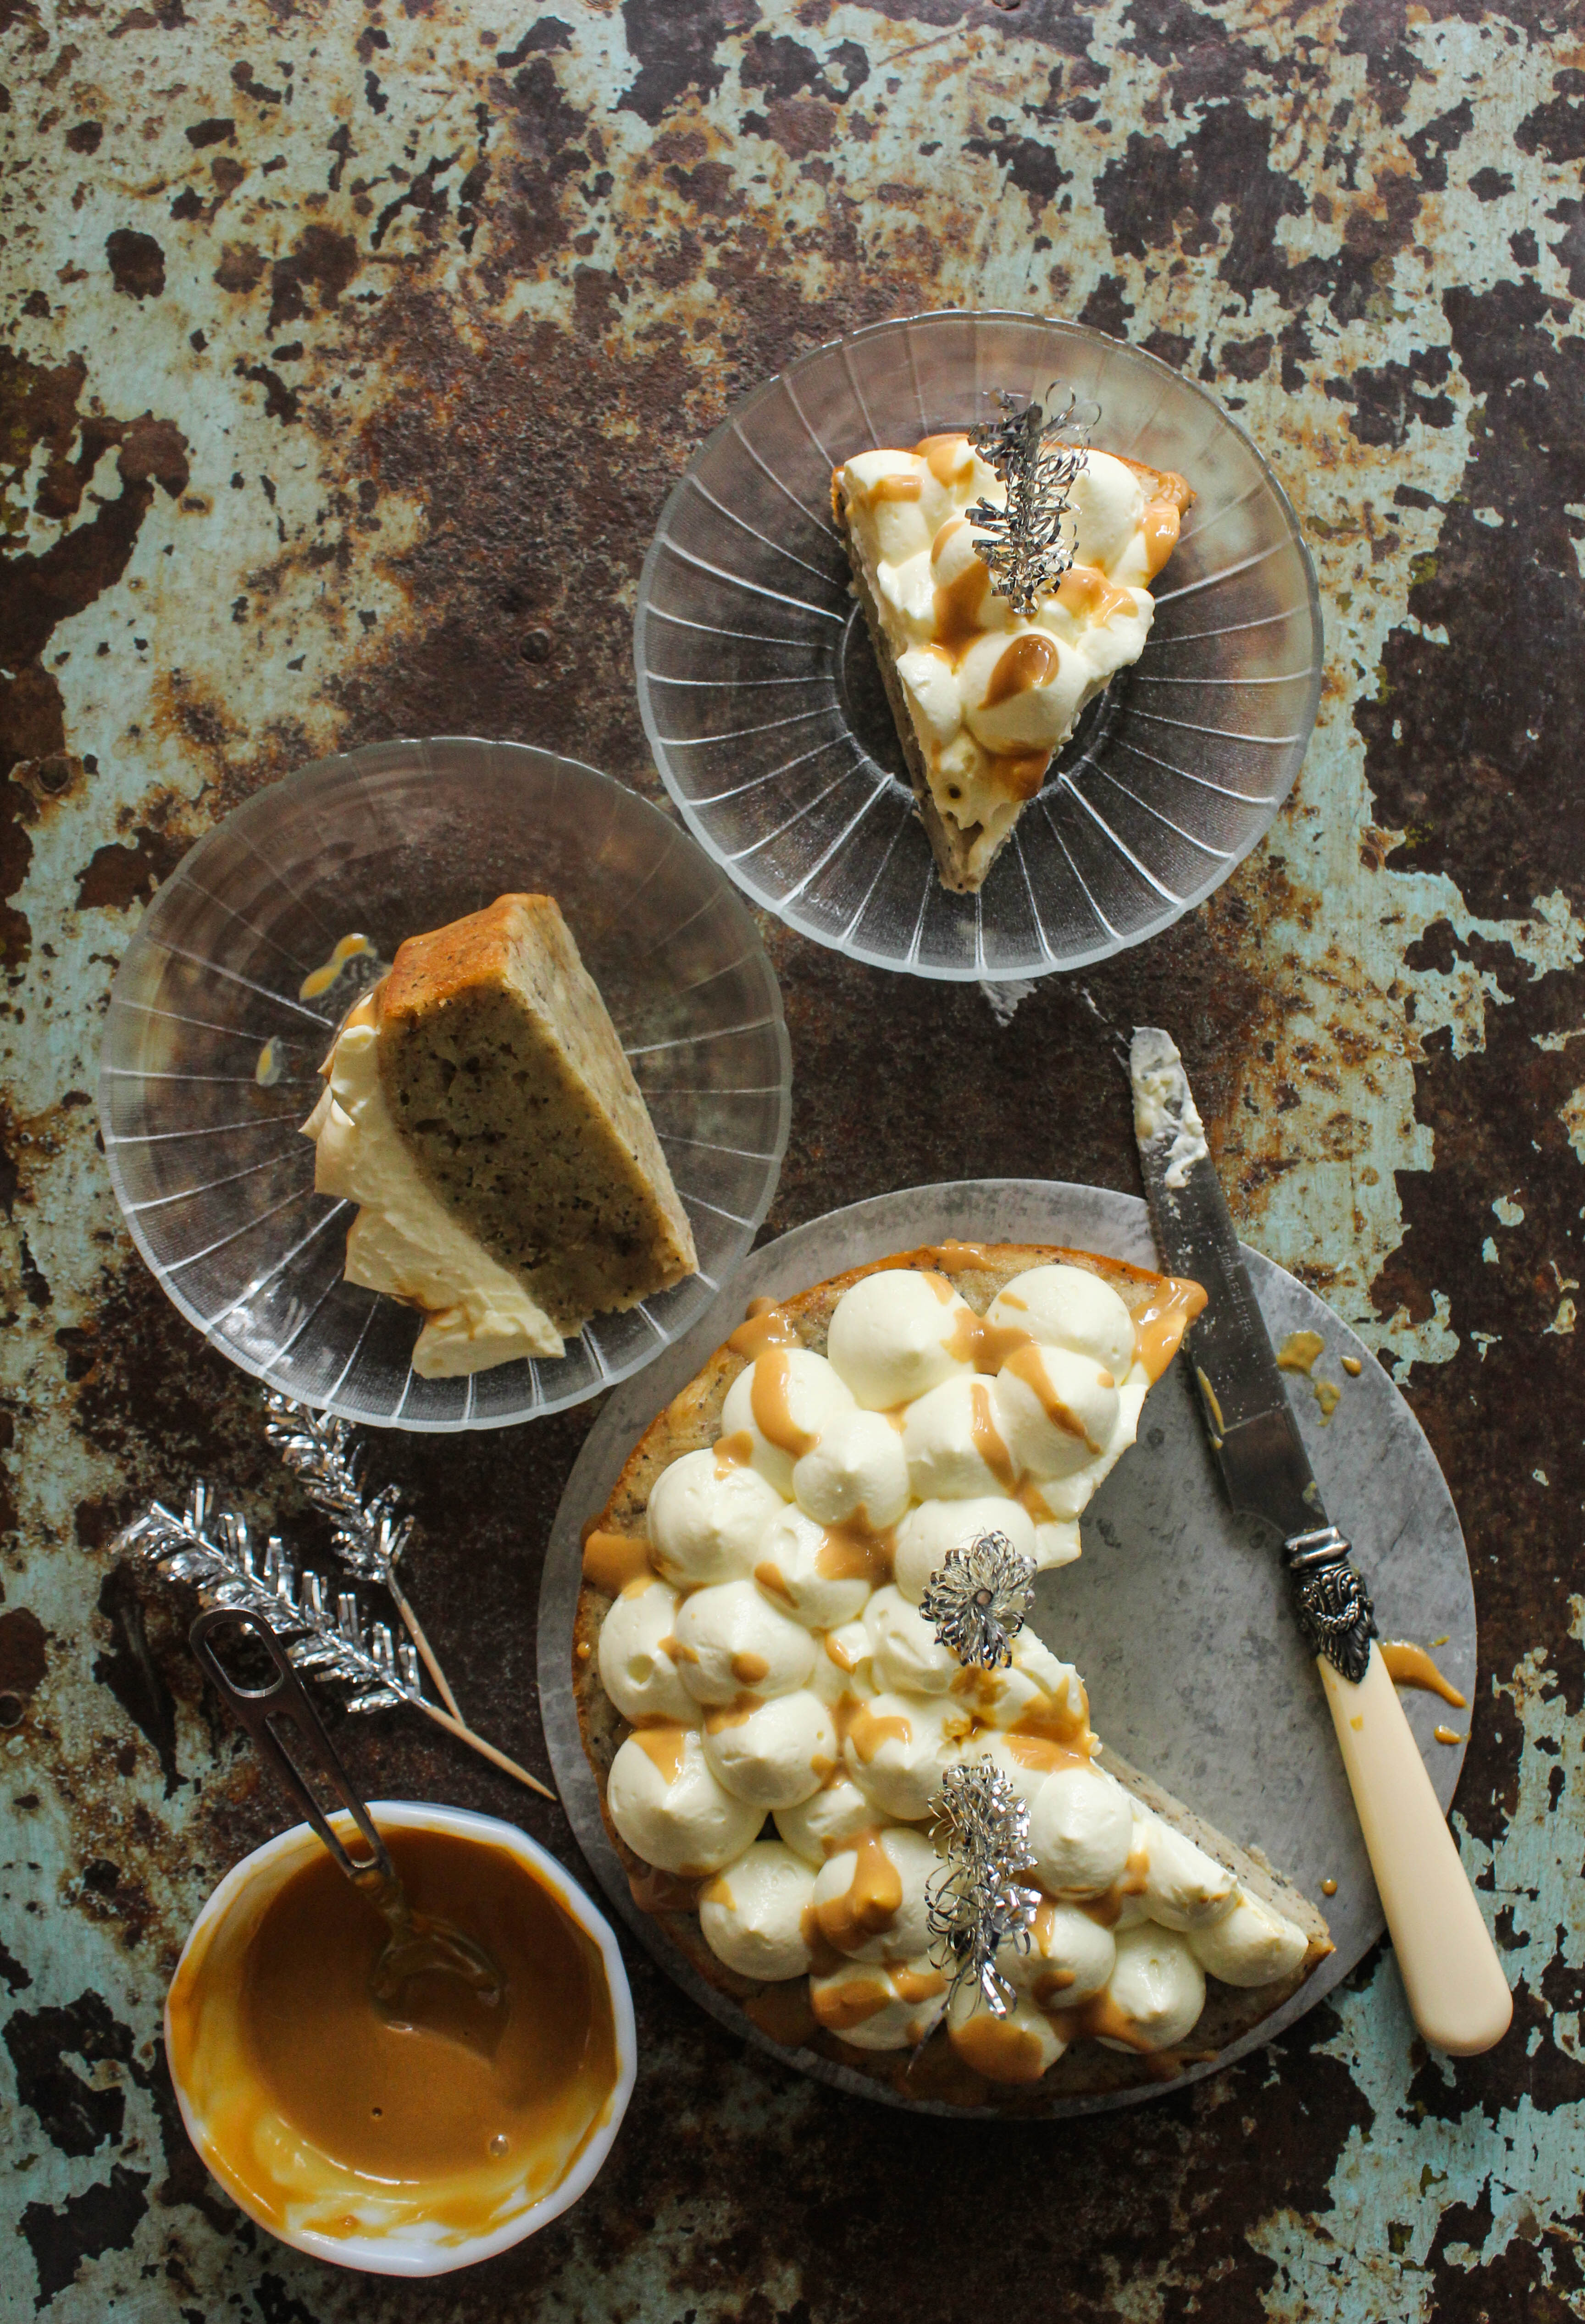
You know I have a weakness for round cakey objects. I feel the urge to spice it up or add nuts or anything that would go with the cake.And frost and decorate and just do something to it. So, before it hit the cake pan I added some poppy seeds to the batter. I frosted it with a quick cream cheese frosting which I’ve been meaning to try out in a while. This one uses whipped cream instead of butter along with the cream cheese so it is lighter and naturally uses far less sugar to get a piping consistency. The frosting can be easily spread on top of the cake if you are not comfortable with piping bags. A drizzle of caramel sauce (store bought) finished the cake. Both the recipe for the cake and the frosting have been separately adapted with some variation from Joy Of Baking

IMG_9196-2

The flavours are lovely together. I was amazed how good the poppy seeds tasted in a banana cake. I think this is by the far the easiest cakes I have made despite having a dressed up look.

IMG_9221

Banana Poppy Seed Cake with Cream Cheese Frosting
Serves 6-8

For the Banana Poppy Seed Cake
13/4 cups all purpose flour
3/4 cup castor sugar
1 tsp baking powder
1/4 tsp baking soda
1 tsp ground cinnamon
2 tbsp. poppy seeds
2 eggs, lightly beaten
1/2 cup (113 g) unsalted butter, melted and cooled
3 large ripe bananas, mashed with a fork
1 tsp vanilla essence
Cream Cheese Frosting, to frost
3-4 tbsp. thick caramel sauce, to drizzle (I used store bought)

For the Cream Cheese Frosting
125g cream cheese, room temparature
1/2 tsp vanilla extract
1/4 cup icing sugar, sifted
1/3 cup cold whipping cream or heavy cream.

Preheat oven to 180 degree C. Grease and line the base of a 19 cm round cake tin with baking paper.

In a large bowl, combine the flour, sugar, baking powder, baking soda, cinnamon and poppy seeds.
In a medium sized bowl combine the mashed banana, eggs, melted butter and vanilla with a wooden spoon. Lightly fold the wet ingredients into the dry ingredients just until combined. Take care not to over mix the batter or it might result in a rubbery cake. Pour the batter into the prepared cake tin and bake for about 35-40 minutes or until a toothpick inserted into the centre come out clean.

Remove the cake from the oven and keep aside for 5 minutes. Carefully turn the cake onto a wire rack and cool till room temperature. Once cooled, pipe or dollop cream cheese frosting onto the cake. Drizzle with caramel sauce.

To make the cream cheese frosting: In the bowl of your electric mixer, or with a hand mixer, beat the cream cheese  until smooth. Add the vanilla and confectioners sugar and beat until smooth. Gradually add the heavy cream and whip until the frosting is thick enough to pipe. Add more sugar or cream as needed to get the right consistency. In case you are using a brand of heavy cream that does not whip easily, then whip the cream separately to stiff peaks and fold it gradually into the cream cheese mixture. Refrigerate till needed.


Chocolate Fudge Cake with Red Berry Ganache

5|04|2014

I experience a unique thrill when I am posting a cake. More than satisfaction…more than excitement. Some kind of inexplicable joy. Right from the planning…the cake pans…dressing the cake, the props that will go alongside…the mood…the post processing to actually eating the cake. It’s almost like painting a picture. I finish with one and before that I am thinking about the next one.

IMG_9161-2

When I made the Chocolate Raspberry Brownie Cake, I remember telling myself that there wasn’t going to be a red-brown combo my blog for a while. I was worried I was giving you an overdose of chocolate and raspberries in my posts. I even resisted the urge of pouring luscious chocolate ganache over the brownie cake. And maybe that’s why I had good reason to post a sauce dripping chocolate cake this time.

IMG_9121

IMG_9145

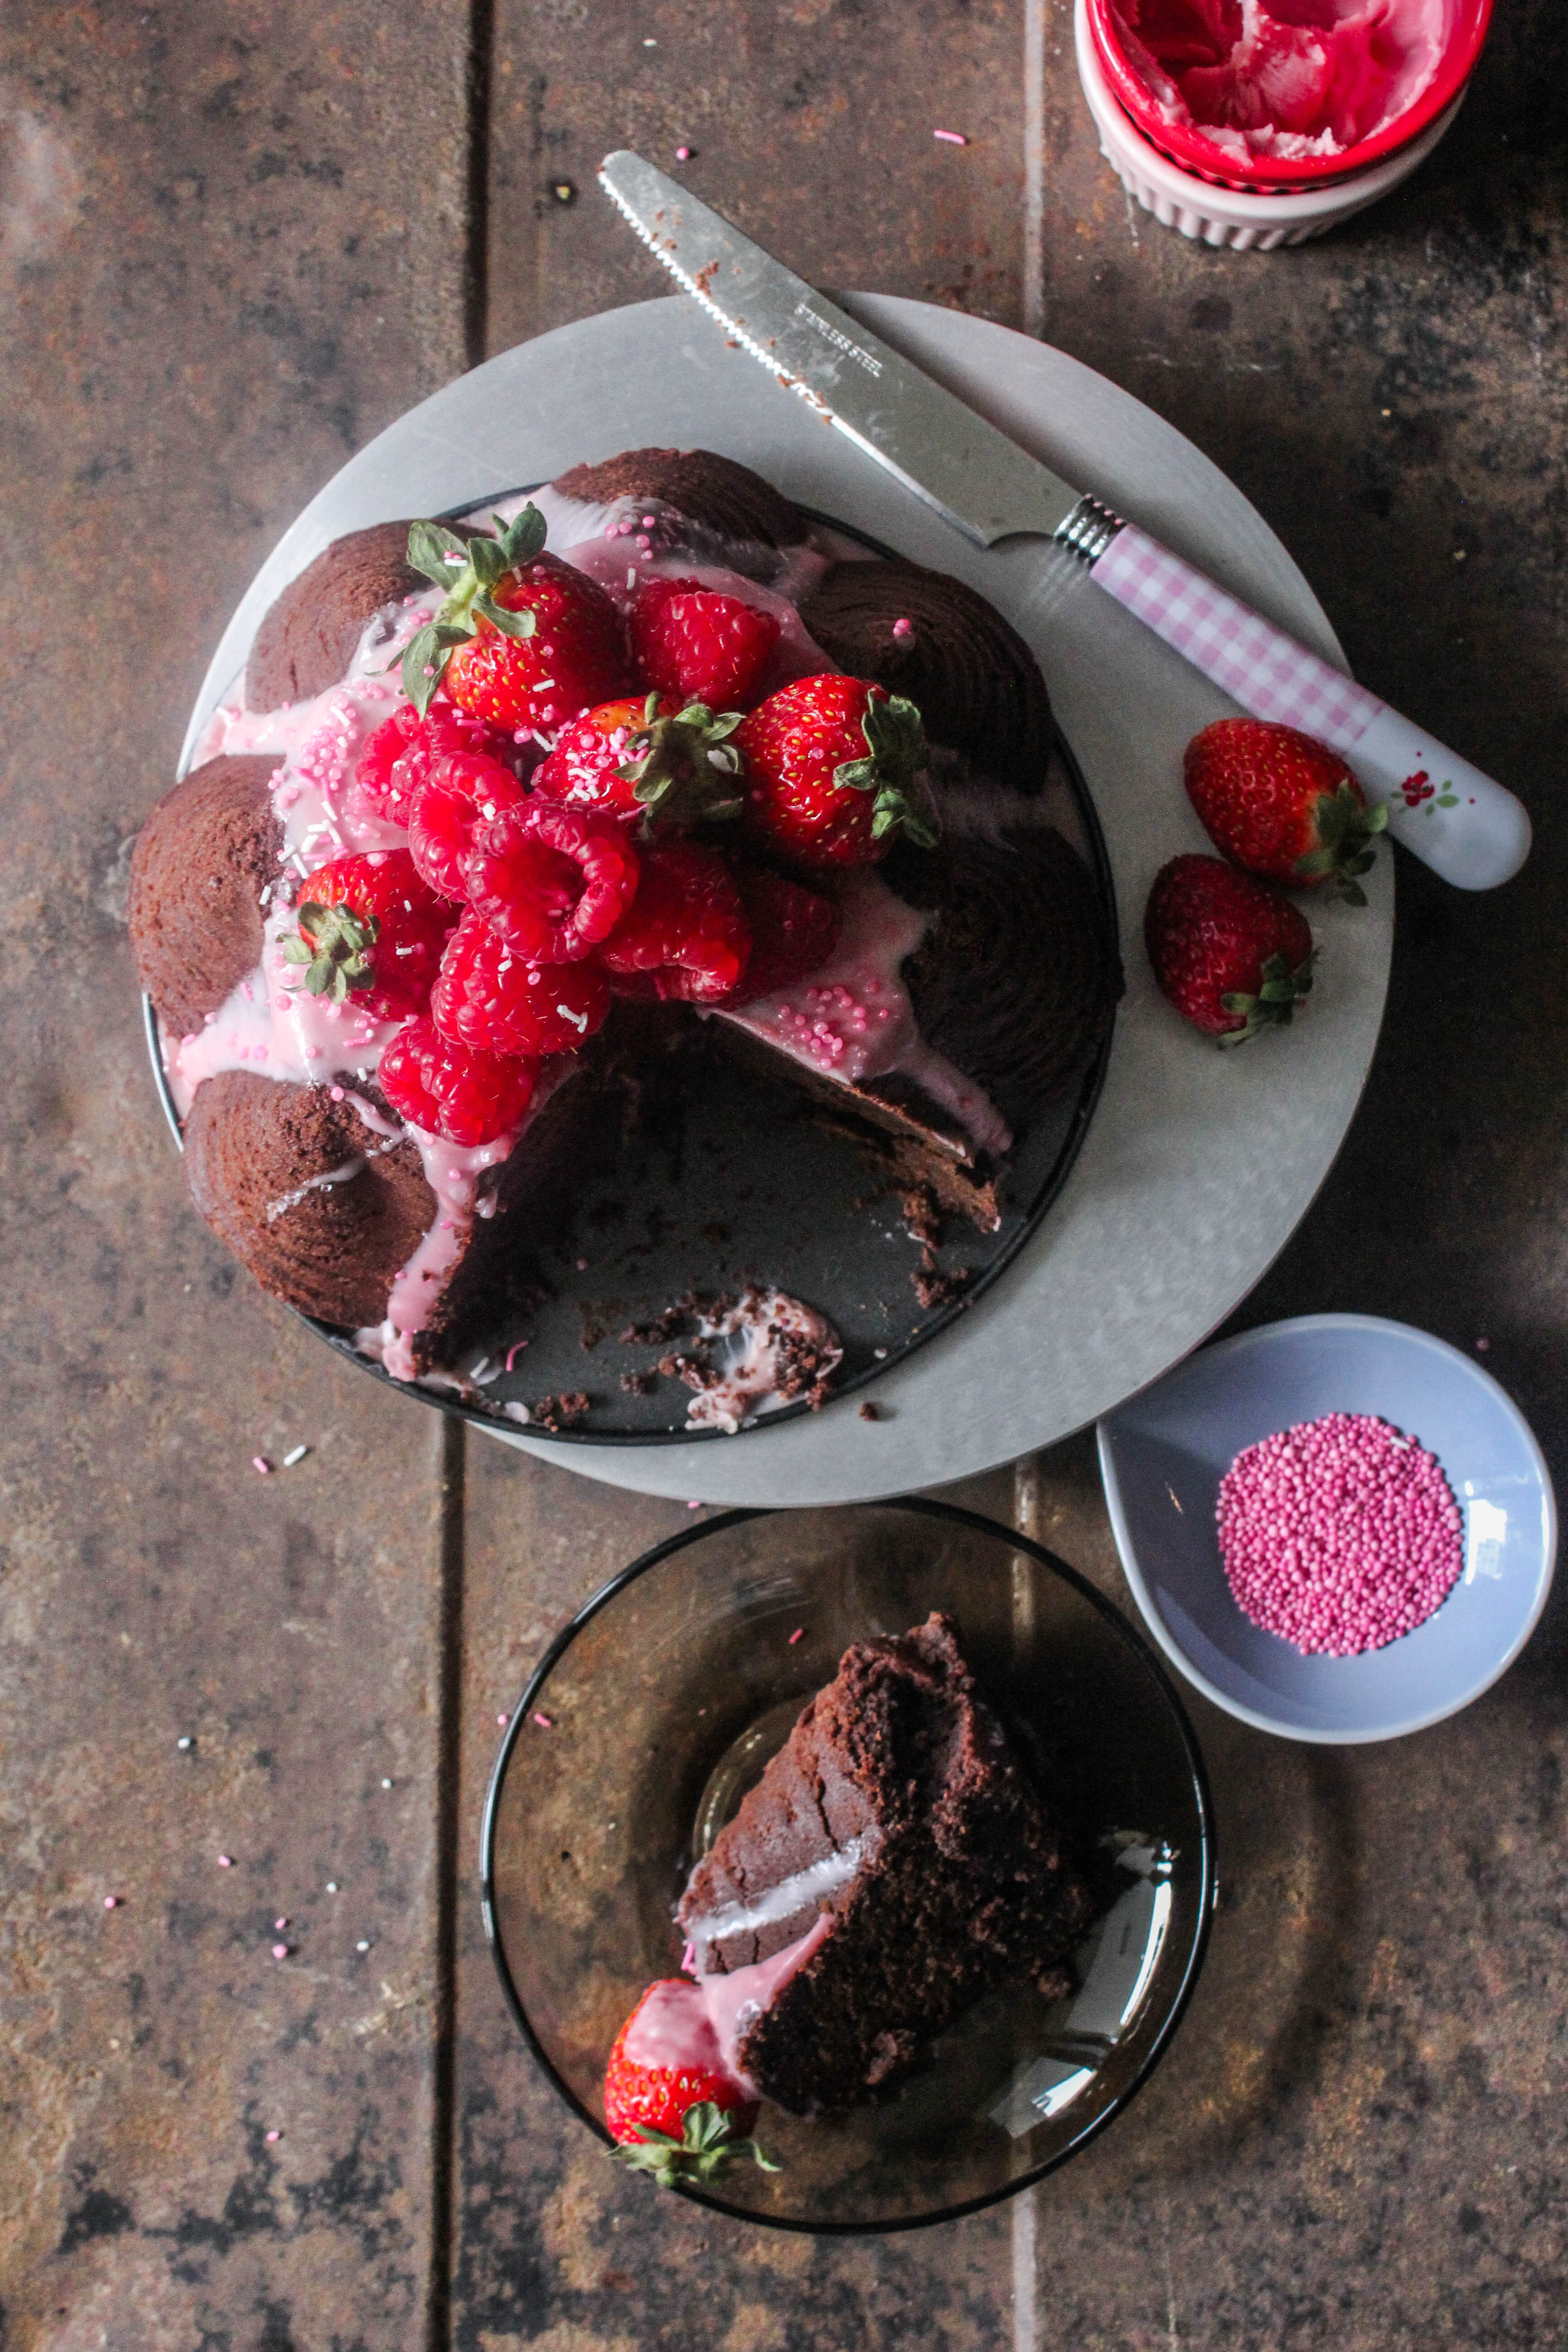
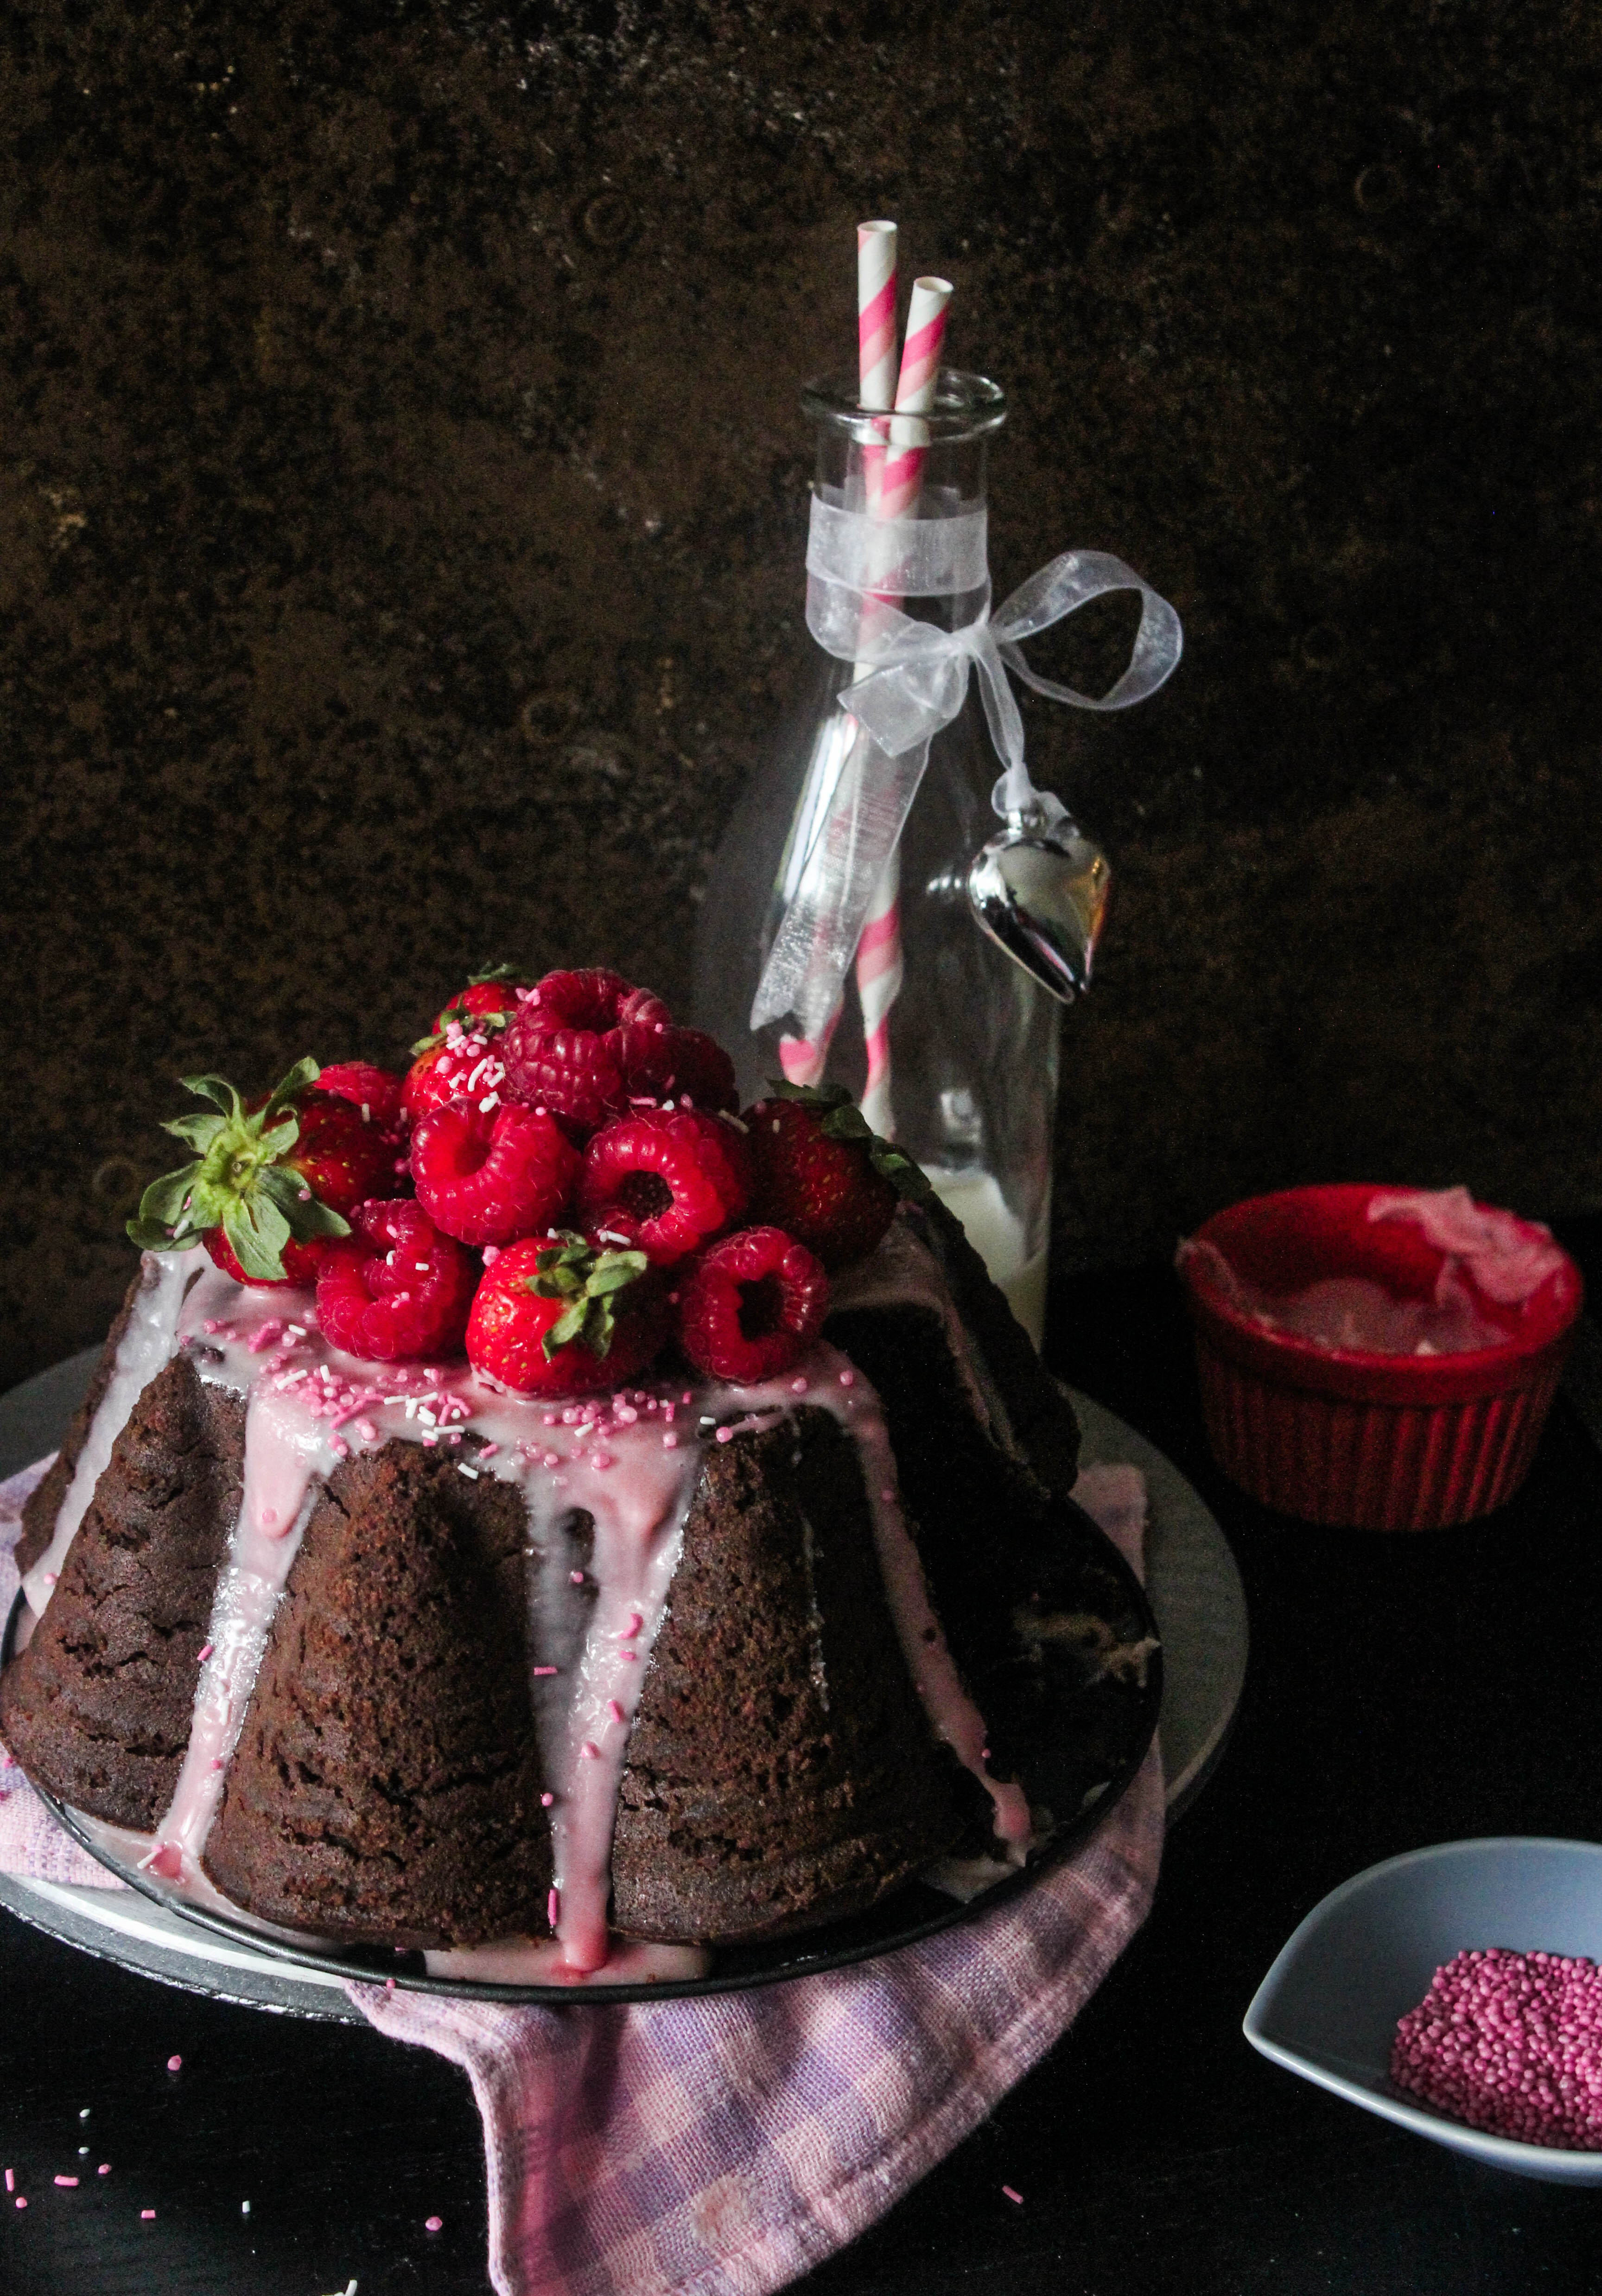
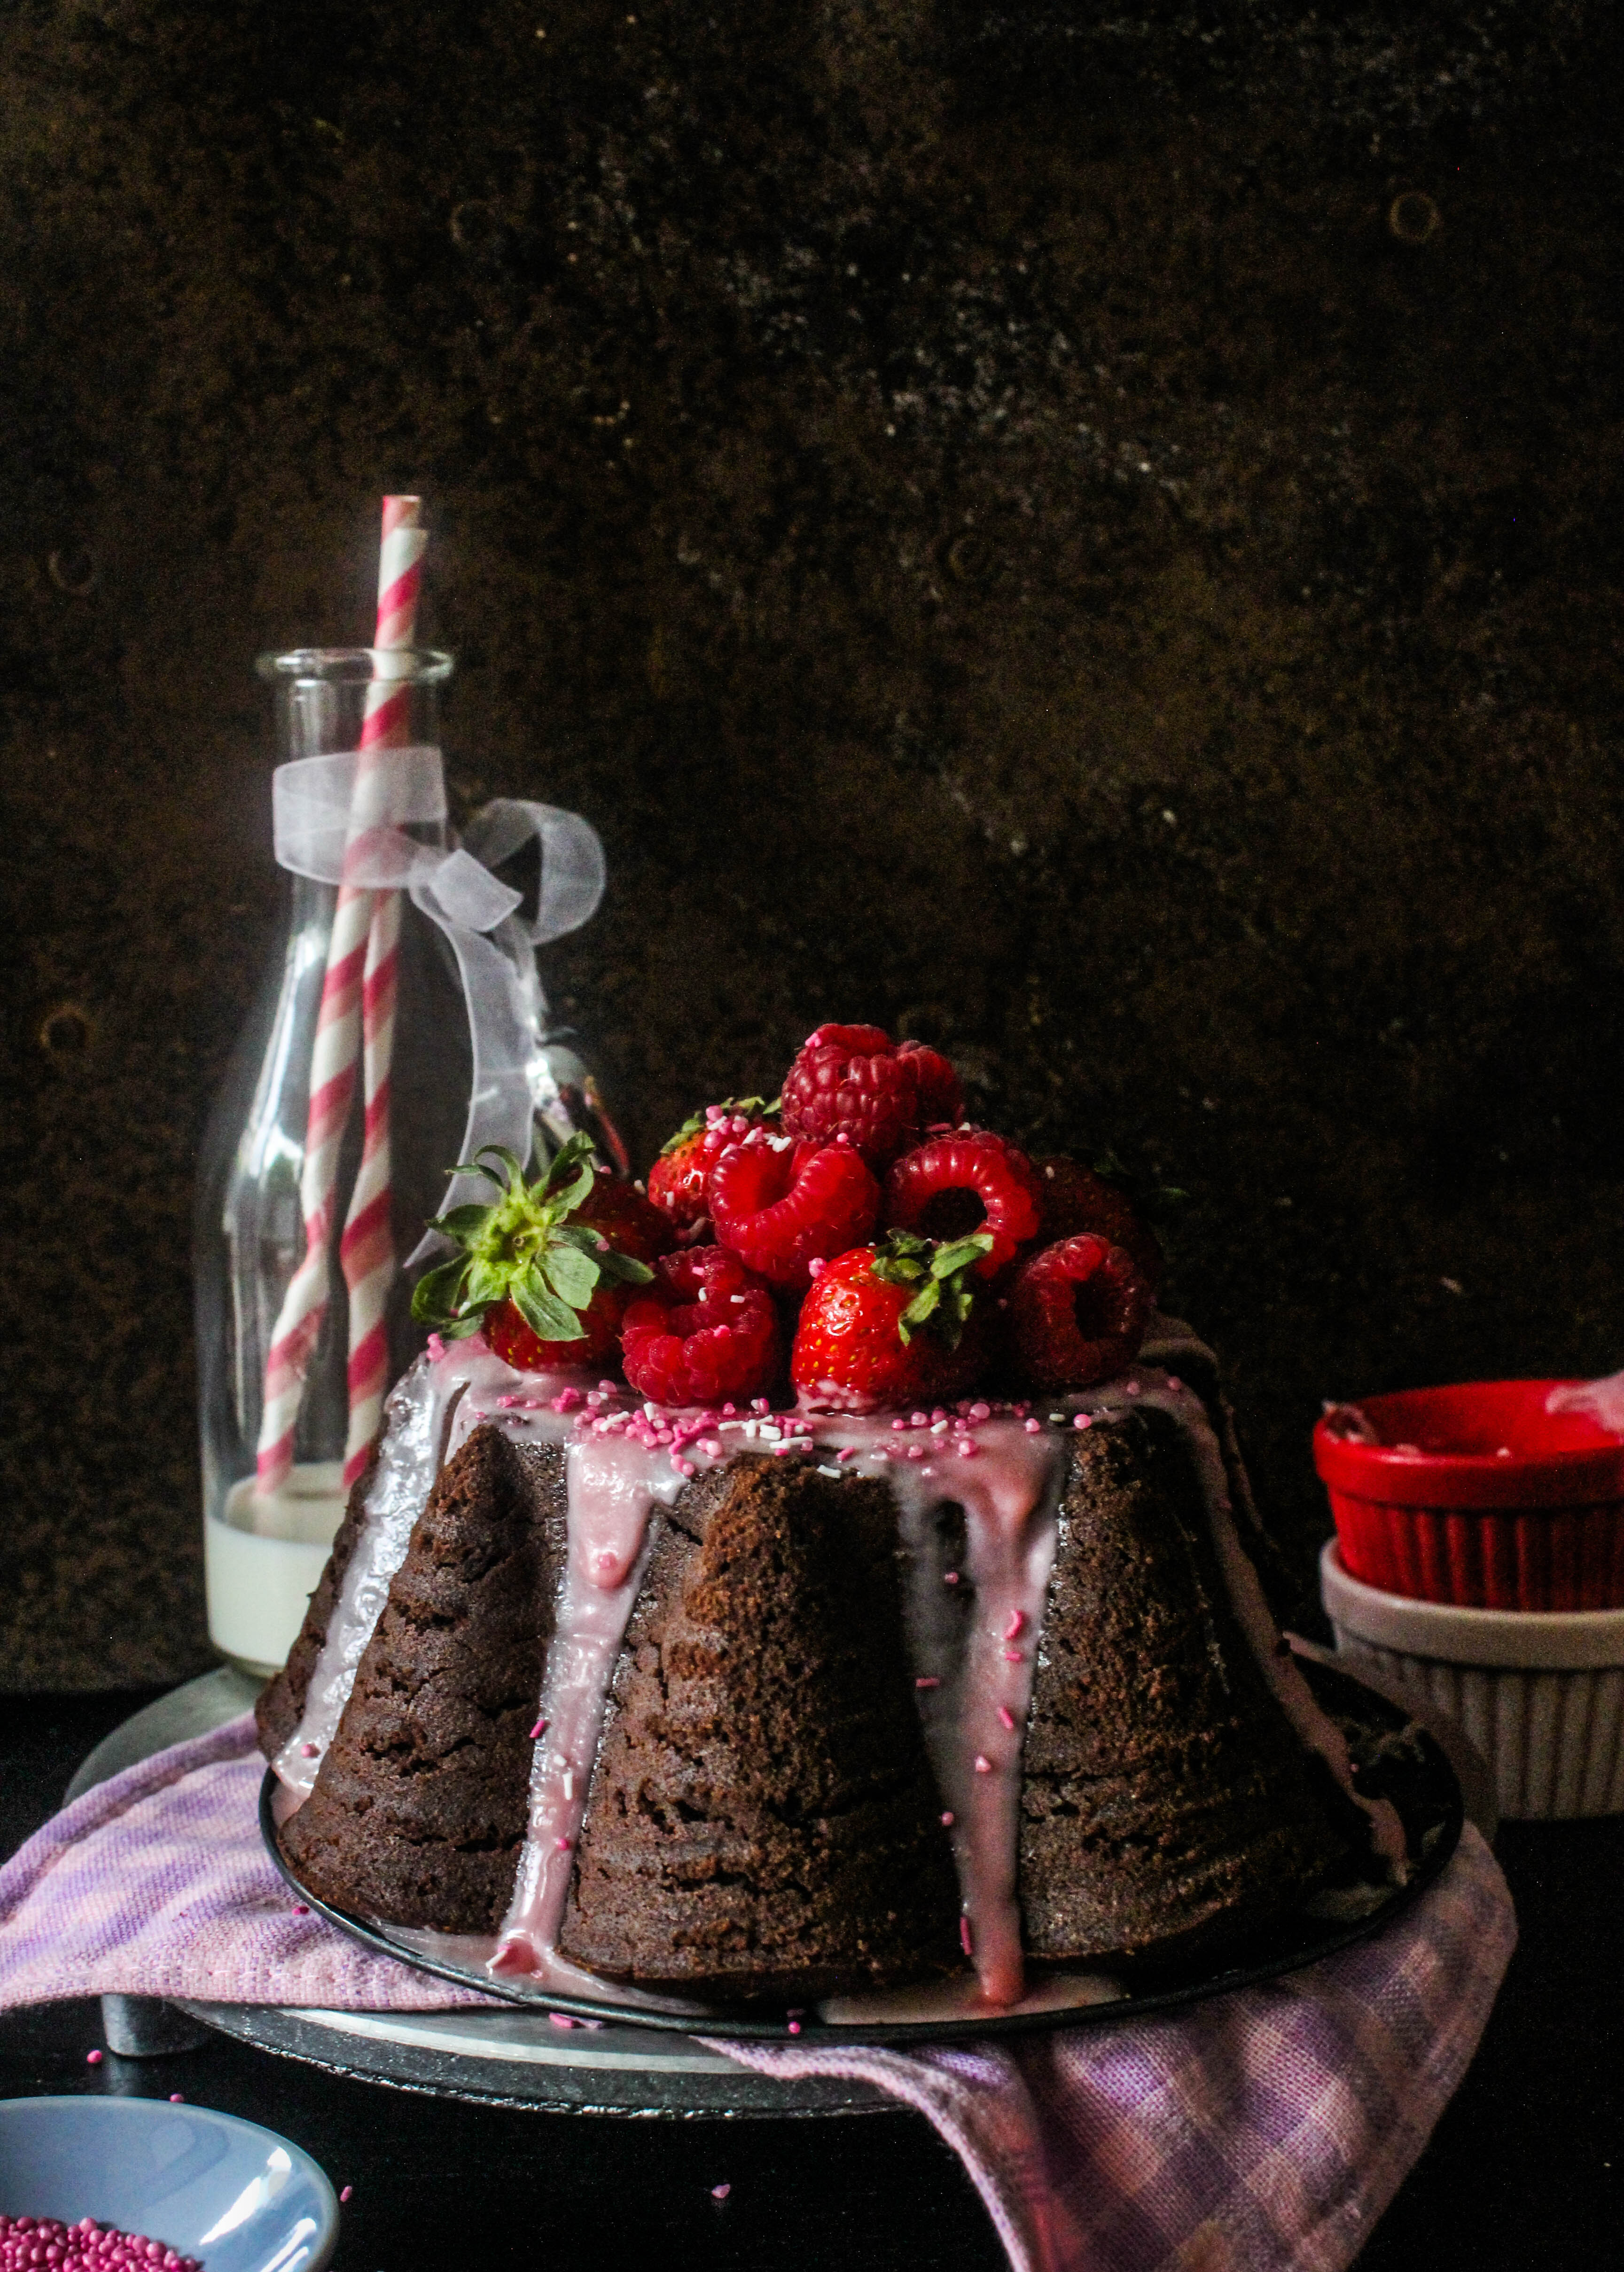
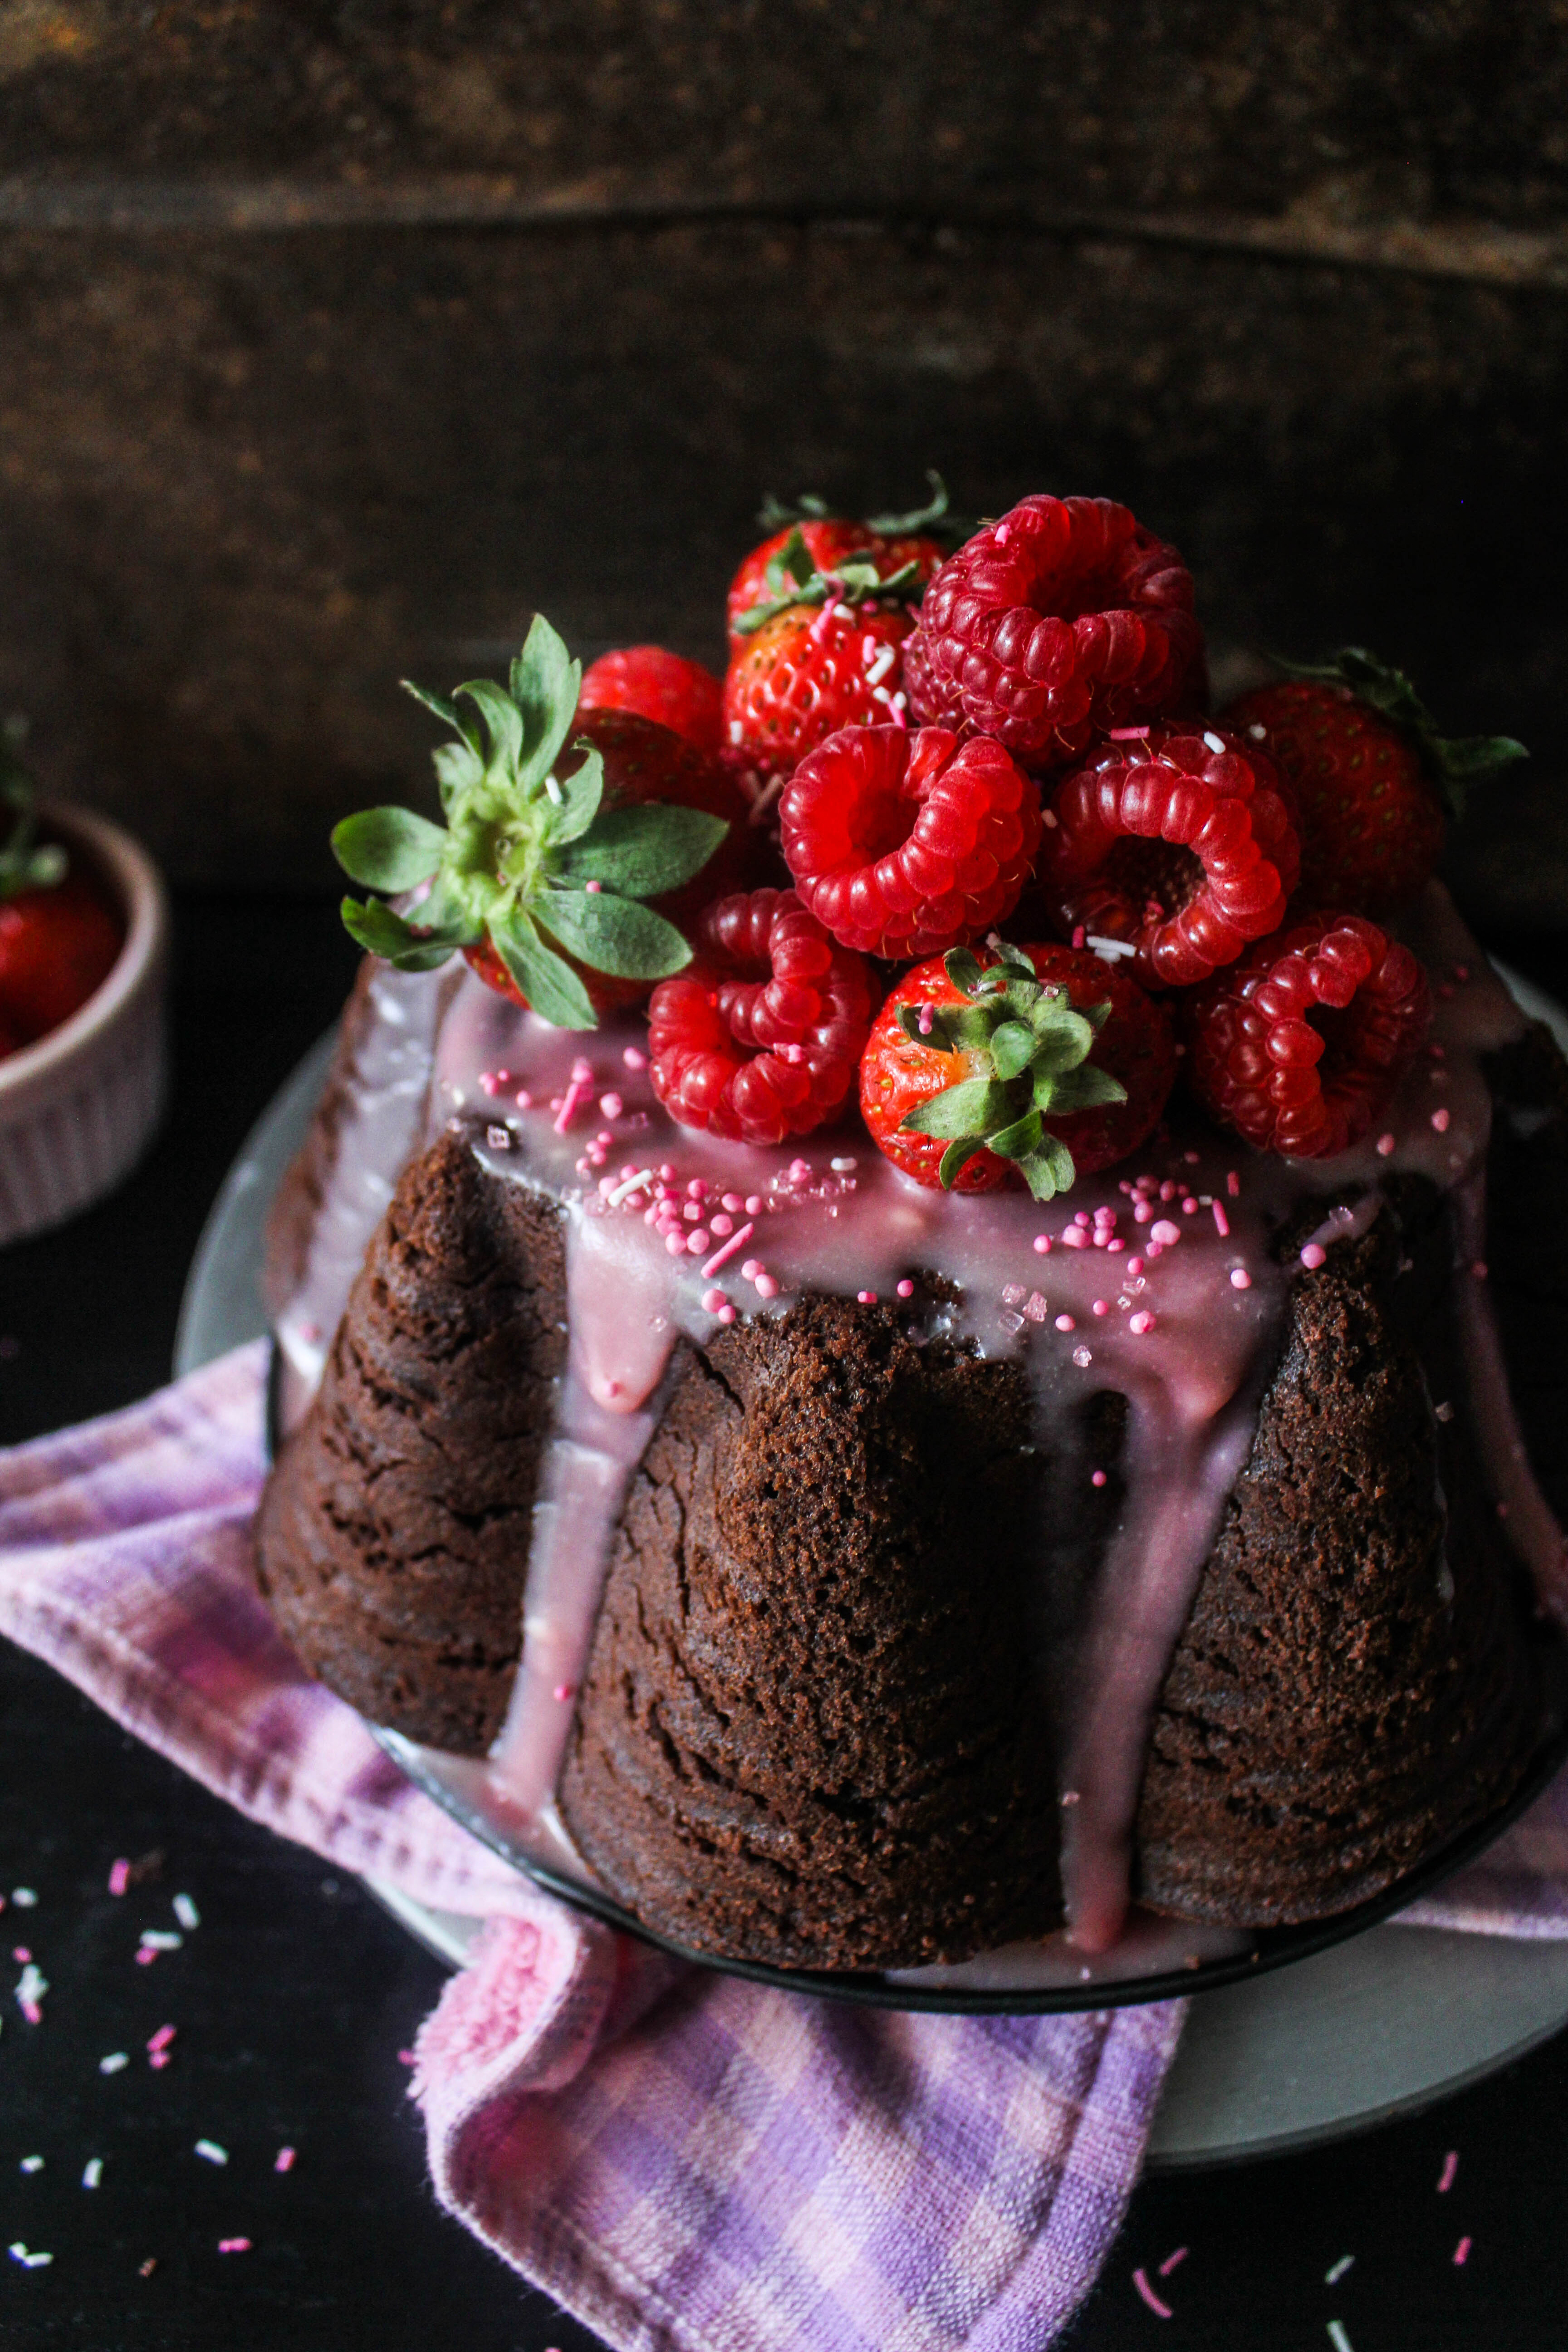
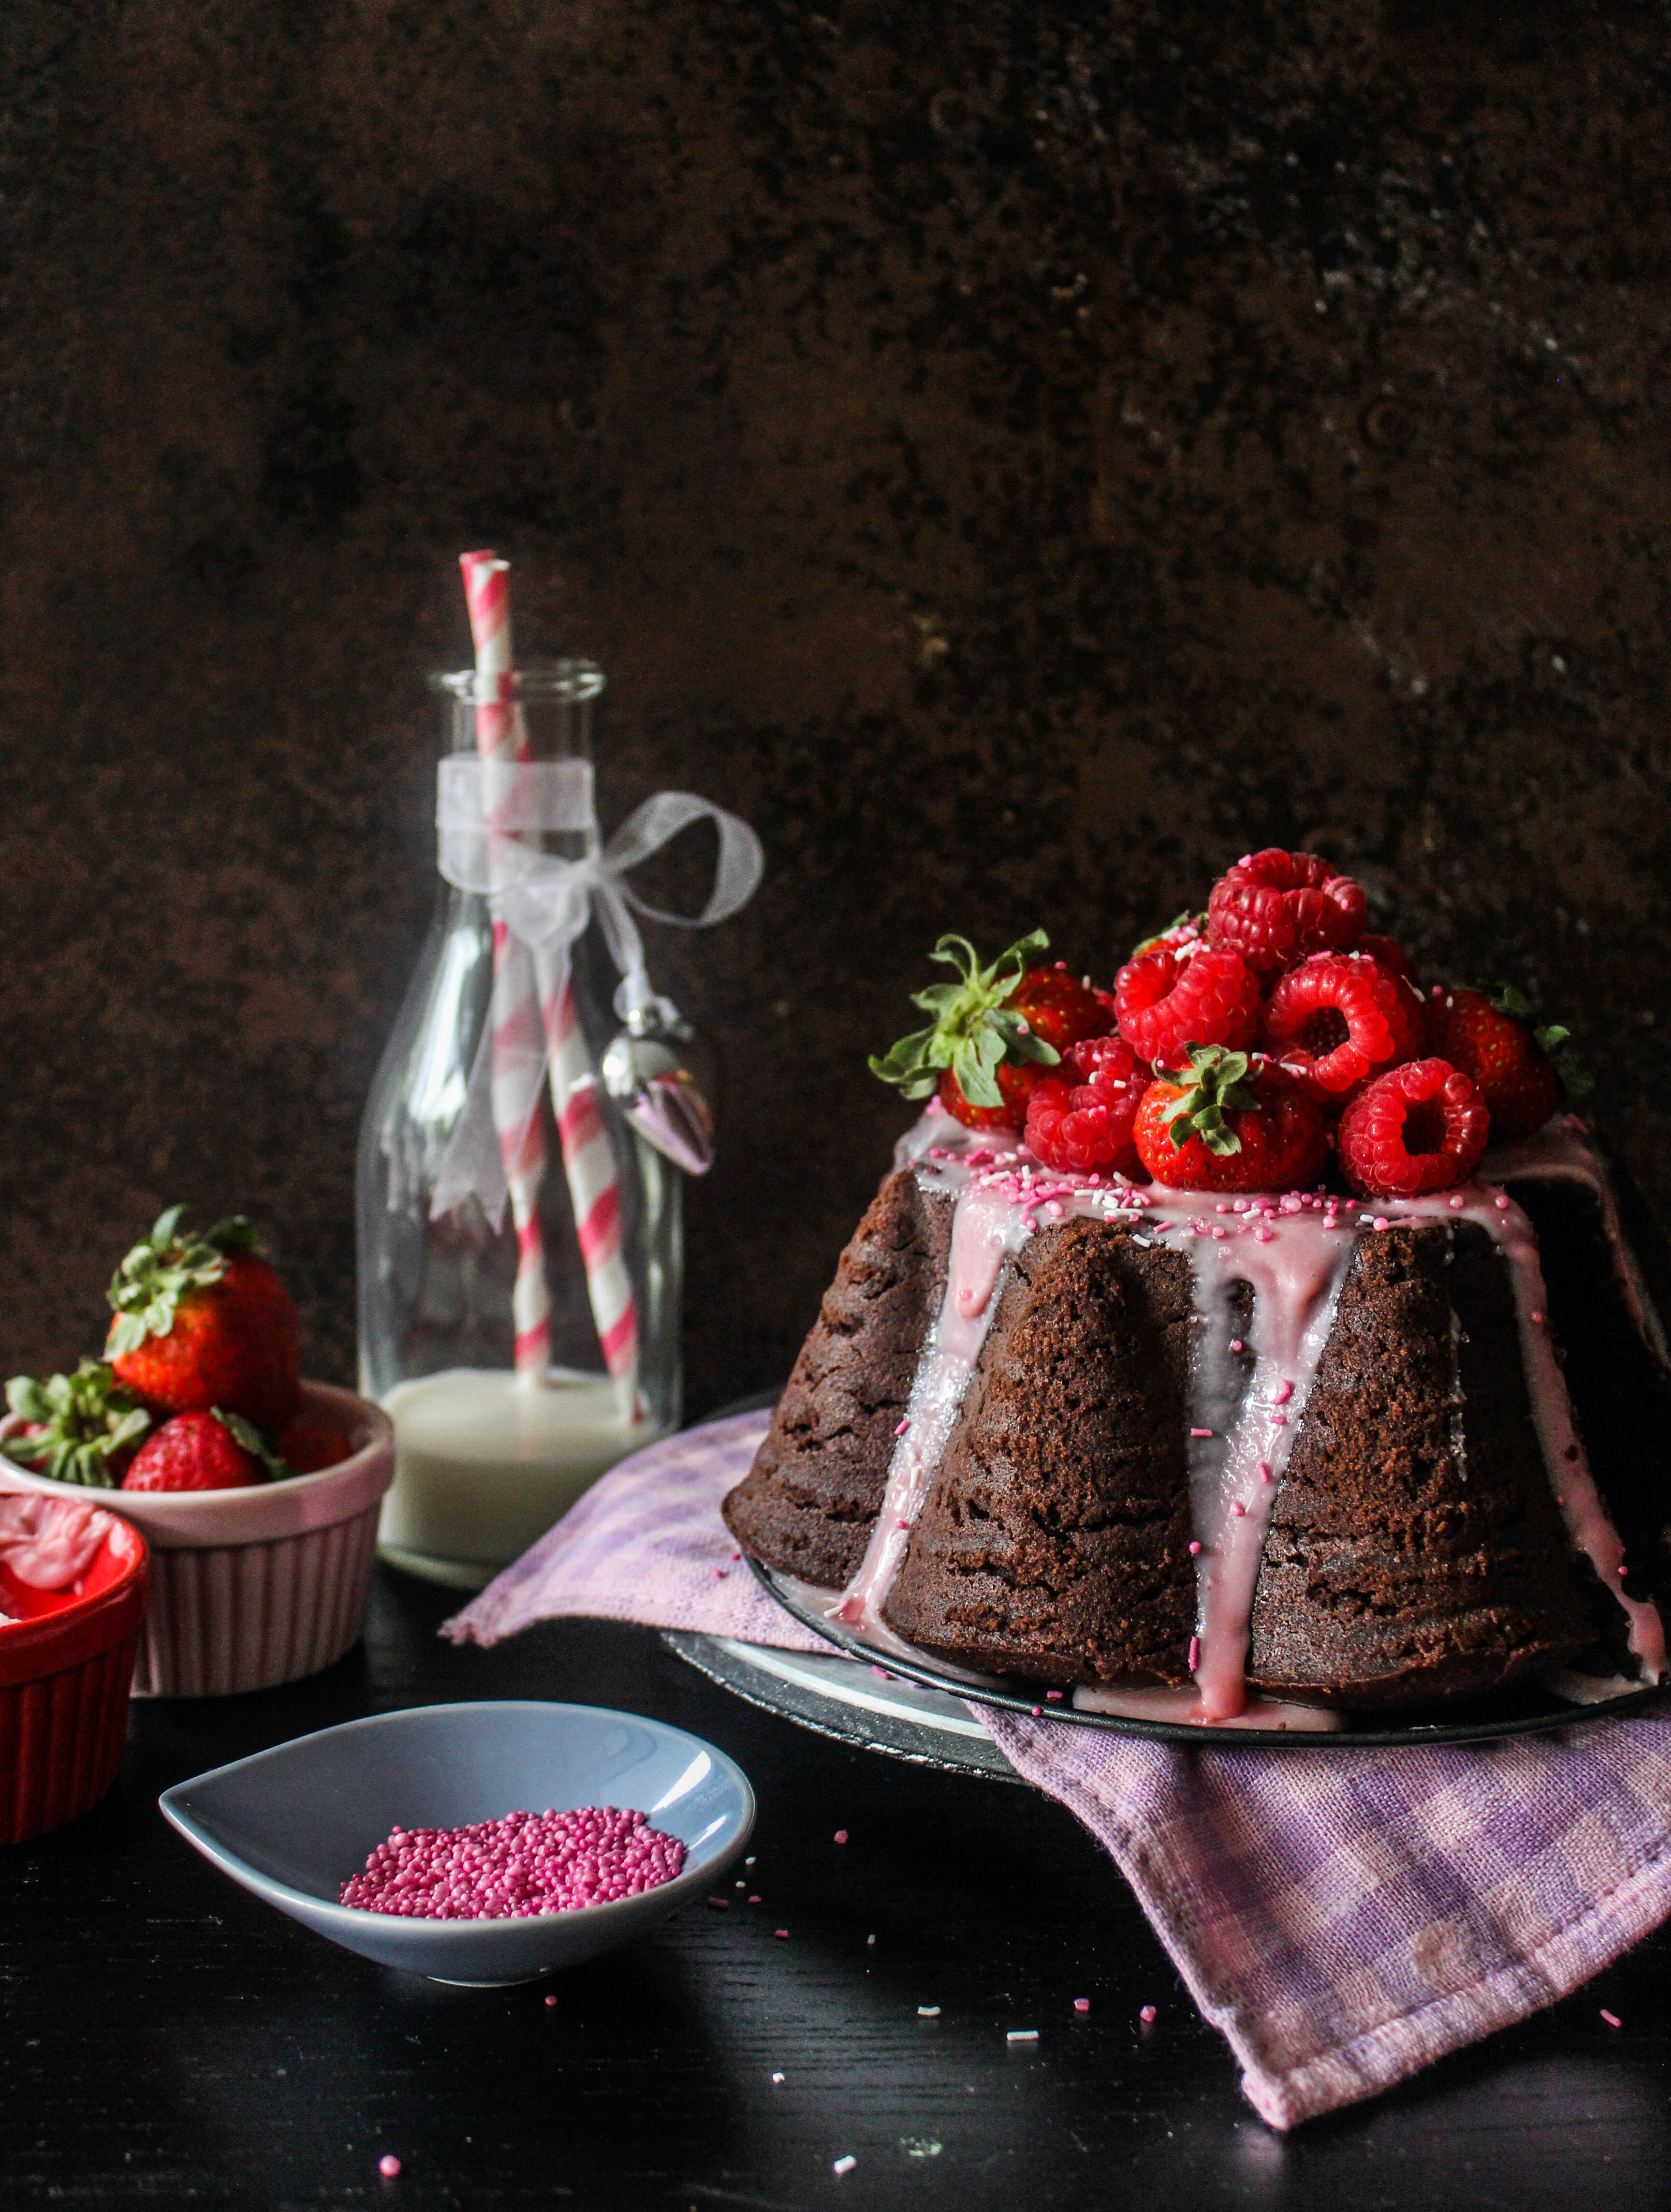
This a fudge cake therefore it is rich. The sweet berry ganache pairs well with the bittersweet fudgy cake. Pink is such a beautiful colour . And the sprinkles make it shine. Overall, this is quite simple to make with a great outcome. The texture is great for a bundt cake pan as it holds shape well.

IMG_9167

IMG_9156

Chocolate Fudge Cake with Red Berry Ganache
Serves 6-8

Chocolate Fudge Cake (adapted with variation from Taste.com)
250g butter, chopped
200g dark chocolate, chopped
1 cup castor sugar
1/3 cup cocoa powder, sifted
2 cups, cold water
2 eggs, lightly beaten
1 1/2 cups plain flour, sifted
1 cup self-raising flour, sifted
Fresh Strawberries and Raspberries, to decorate
Pink Sprinkles, to decorate

Red Berry Ganache
10-12 Strawberries and/or Raspberries (I used a mix), cleaned and hulled (fresh or frozen)
100 g white chocolate, roughly chopped
1/3 cup thickened or heavy cream
2-3 drops of pink food colouring (optional)

Preheat oven to 160 degrees C. Lightly grease a 20 cm bundt cake pan.

Place butter, chocolate, sugar, cocoa and 2 cups cold water in a saucepan over medium heat. Cook, stirring, for 8 to 10 minutes or until melted and smooth (do not boil). Remove from heat. Cool for 20 minutes.

Add eggs. Whisk to combine. Add plain flour and self-raising flour. Whisk until smooth. Pour into prepared pan. Bake for 40-50 minutes or until a skewer inserted in cake comes out clean. Cool in pan for 20 minutes. Turn out onto a wire rack to cool completely.

To make the ganache: Puree and strain the berry mixture to discard seeds. Combine chocolate and cream in a heatproof bowl and place over a saucepan of simmering water (don’t let the bottom of the bowl touch the water). When chocolate is about halfway melted, remove bowl from pan. Stand, stirring occasionally, until chocolate has melted and mixture is smooth. Add the strained berry puree and stir till well blended. Add food colouring if using. Cool for 10 minutes and pour over the cake. Ganache will thicken and set on cooling. Top with fresh berries and decorate with sprinkles.


  • « Previous Page
  • 1
  • …
  • 33
  • 34
  • 35
  • 36
  • 37
  • …
  • 45
  • Next Page »
Hey Sugar
Cake
Link to my Facebook Page
Link to my Instagram Page
Link to my Pinterest Page
Link to my Mail Page
Subscribe to this site
Fresh Awards
2019 Aus mumpreneur
2019 aus mumpreneur
Mumbrella

Copyright © 2026 · Sugar Et Al · Designed by Smitten Blog Designs · Log in