• Home
  • Recipe Index
    • Recipe Index
    • Breakfast/Brunch
    • Cakes and Puddings
    • Chocolate
    • Cookies and cupcakes
    • Custard and Mousse
    • Gluten Free
    • Ice Cream
    • Mains
    • Other Sweet Treats
    • Snack/Appetizers
    • Soups and Salads
    • Tarts and Pies
    • Vegetarian
  • About
  • Cookbook
  • Portfolio
  • Store
  • Press
  • Work with Me

Sugar et al

Because Life is a blend of flavours...

Chocolate Yoghurt Cake

30|03|2023

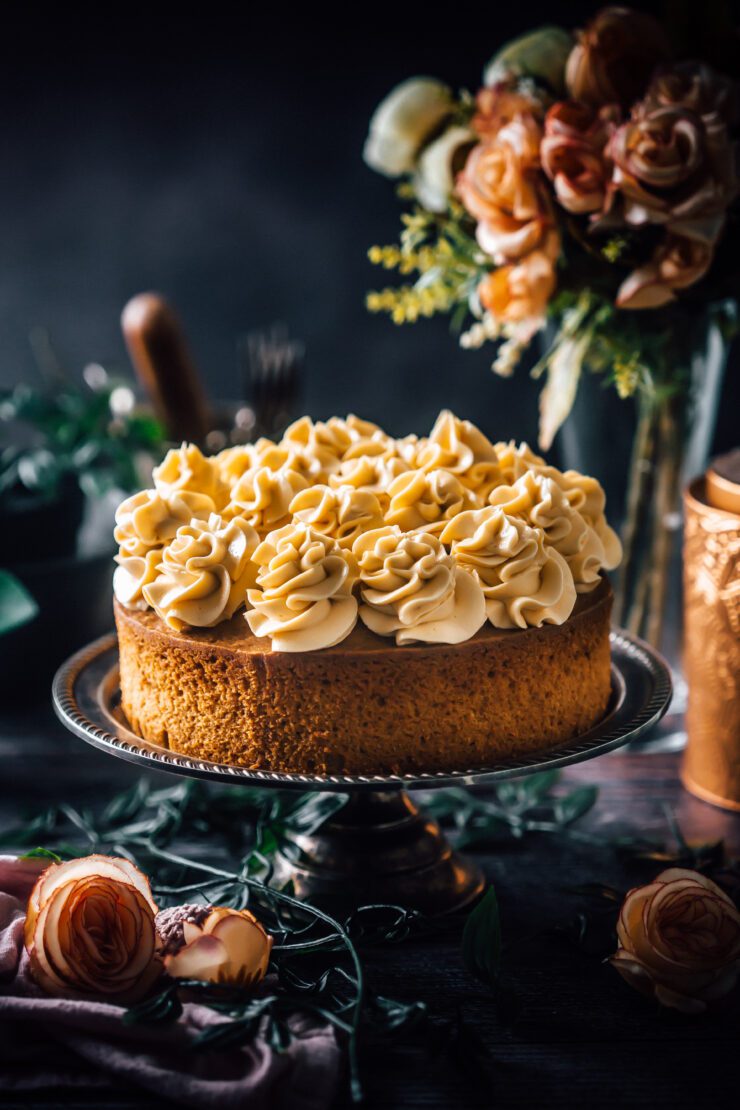
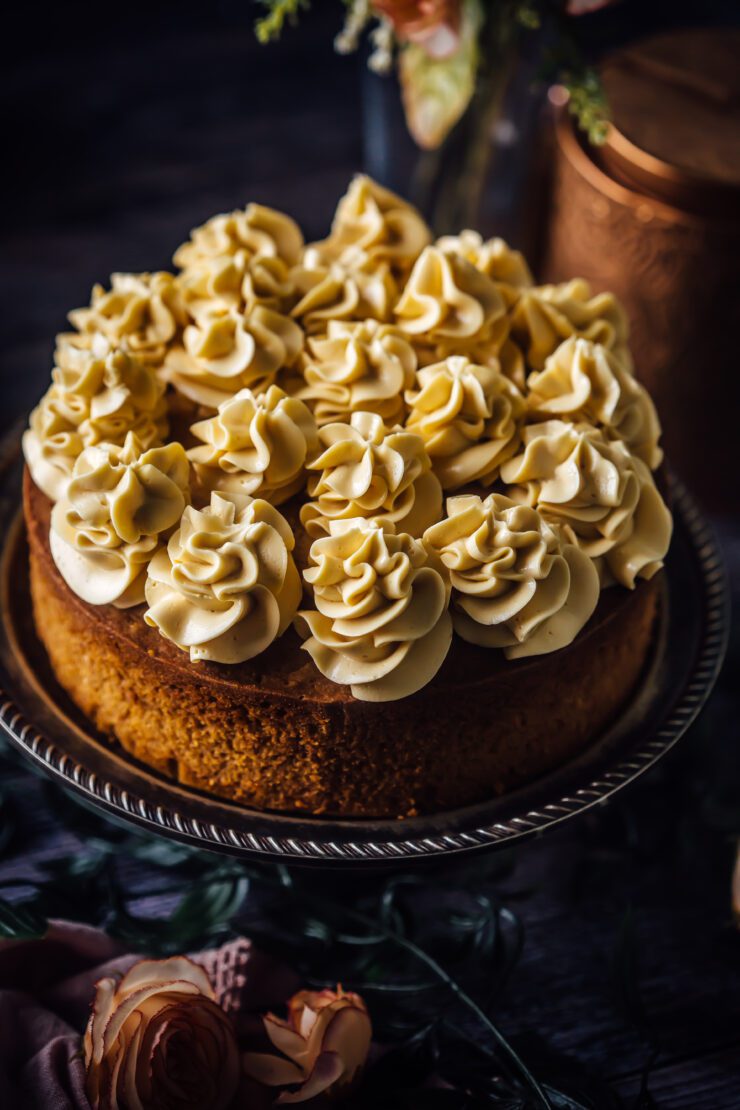
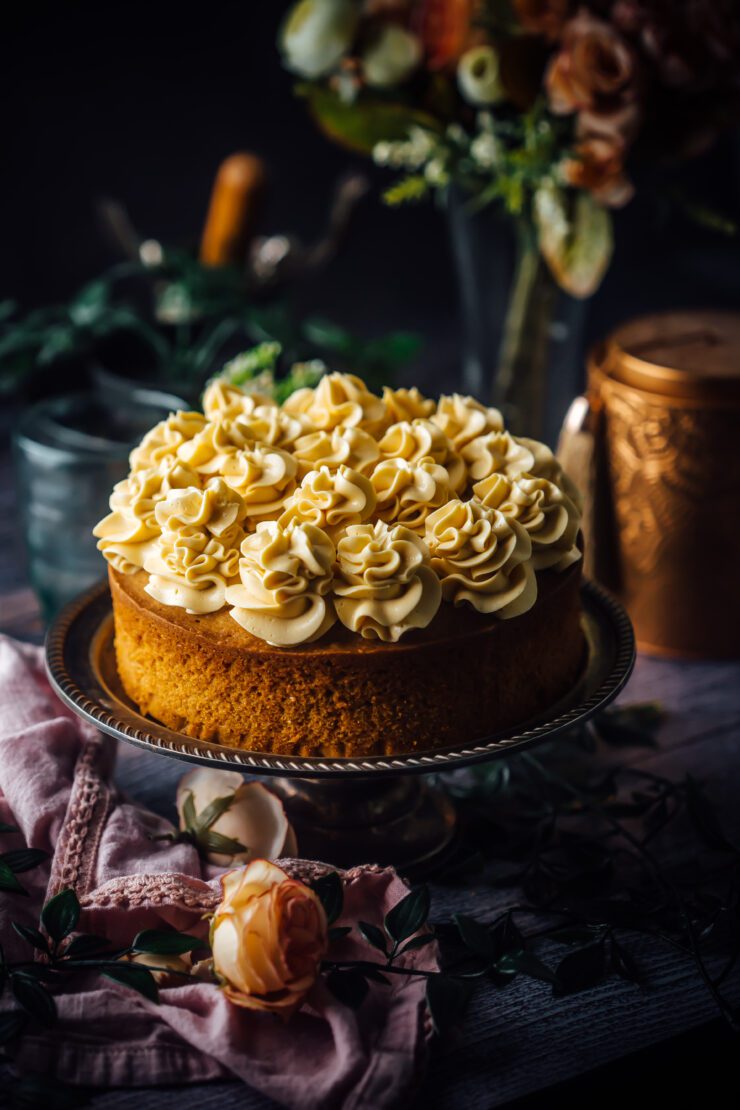
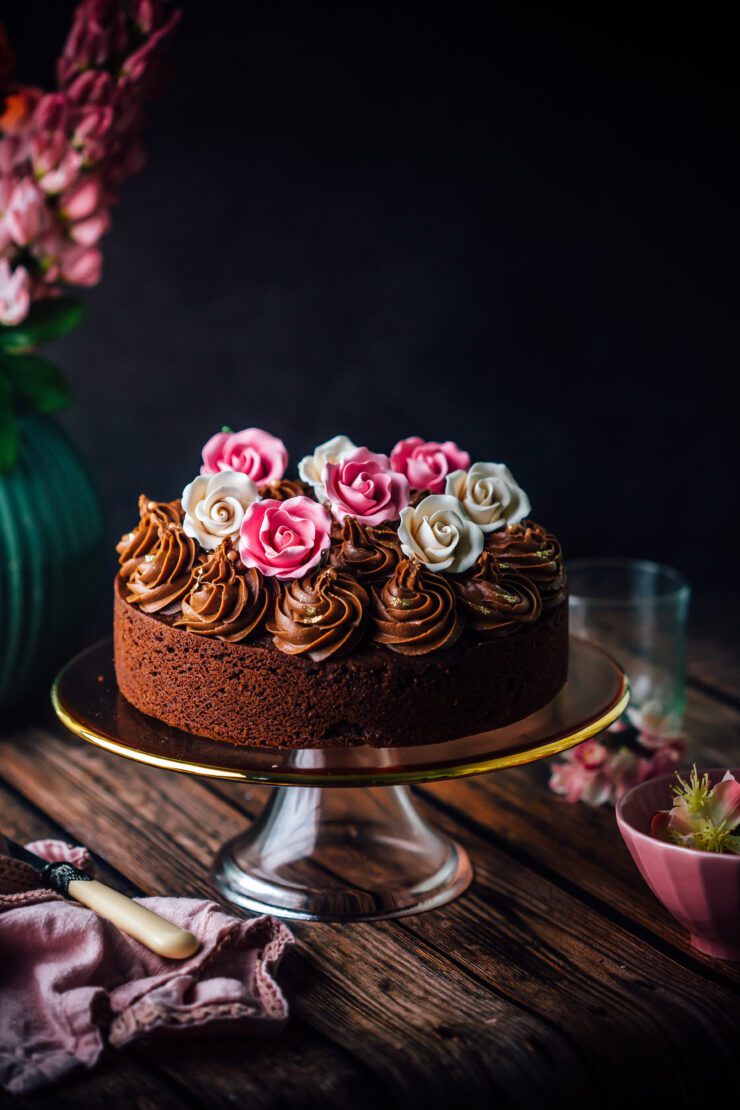
It sounds like an unusual combination but so many good, moist cakes have yoghurt in them. But the star of this cake is not the really the Chocolate Yoghurt Cake but the frosting. Rich, glossy, easy to whip up easy to pipe and ridiculously delicious.
Chocolate Yoghurt Cake

It’s time to move over ganache or buttercream and try this frosting. Who knows, maybe this is going to become your favourite new frosting.
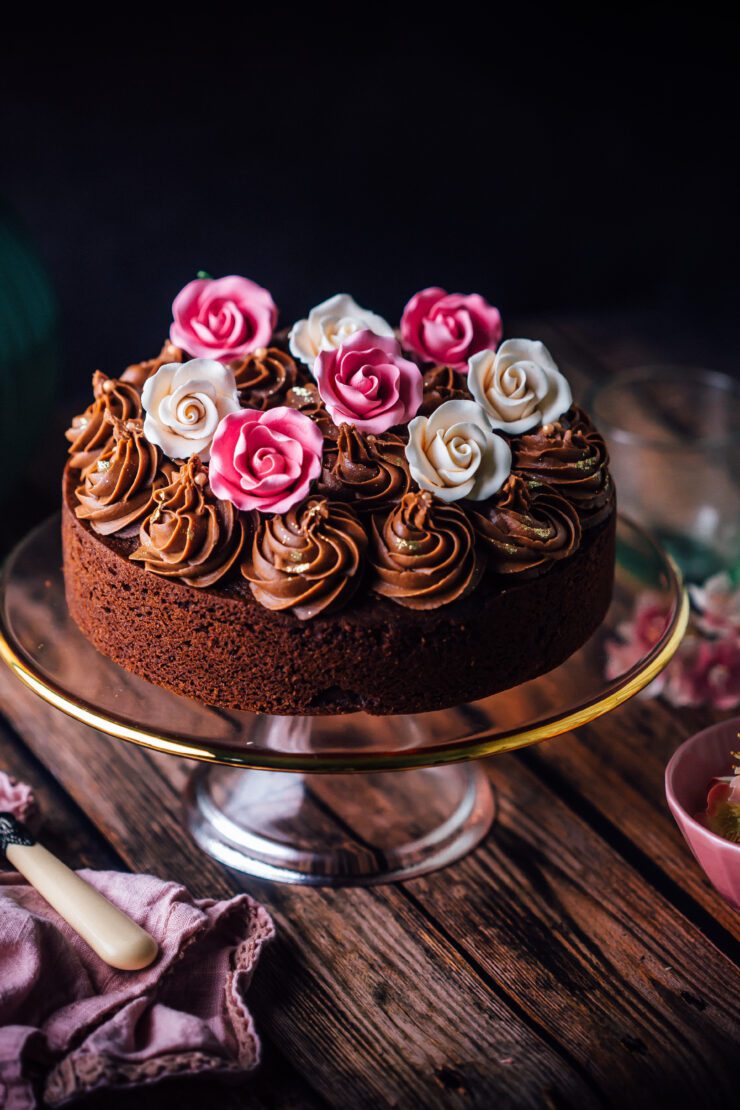
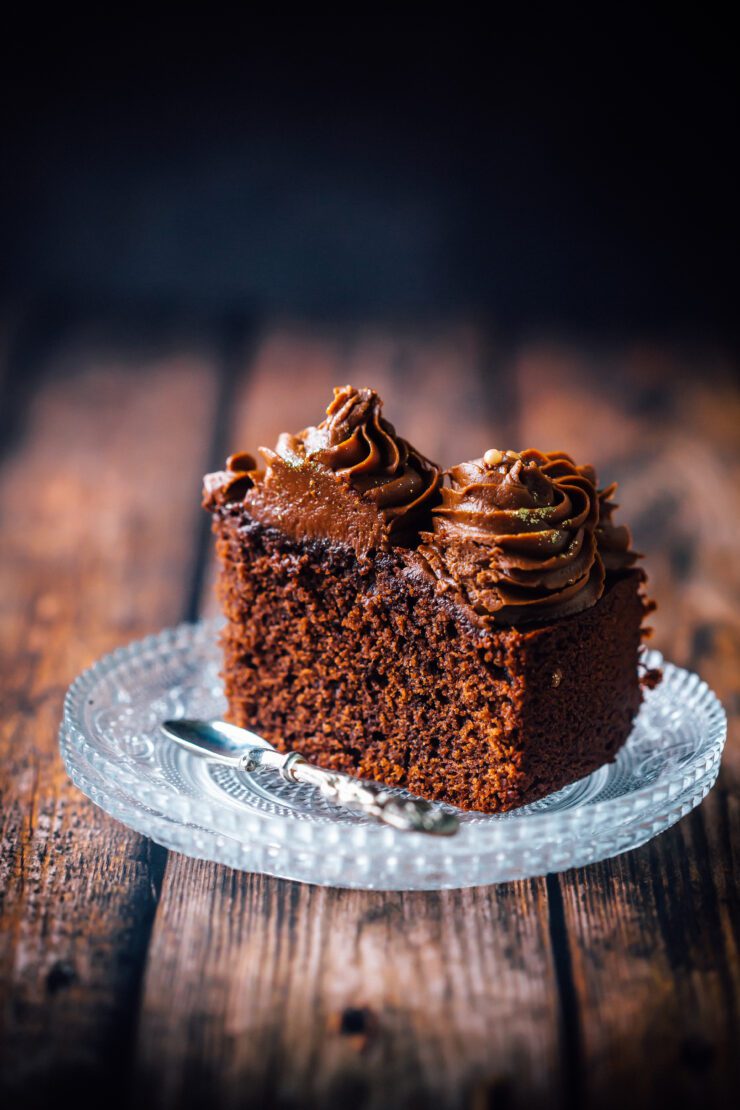
The Chocolate Yoghurt cake cannot be any easier. It’s made by throwing all the ingredients into one bowl. Don’t you just love one bowl recipes?
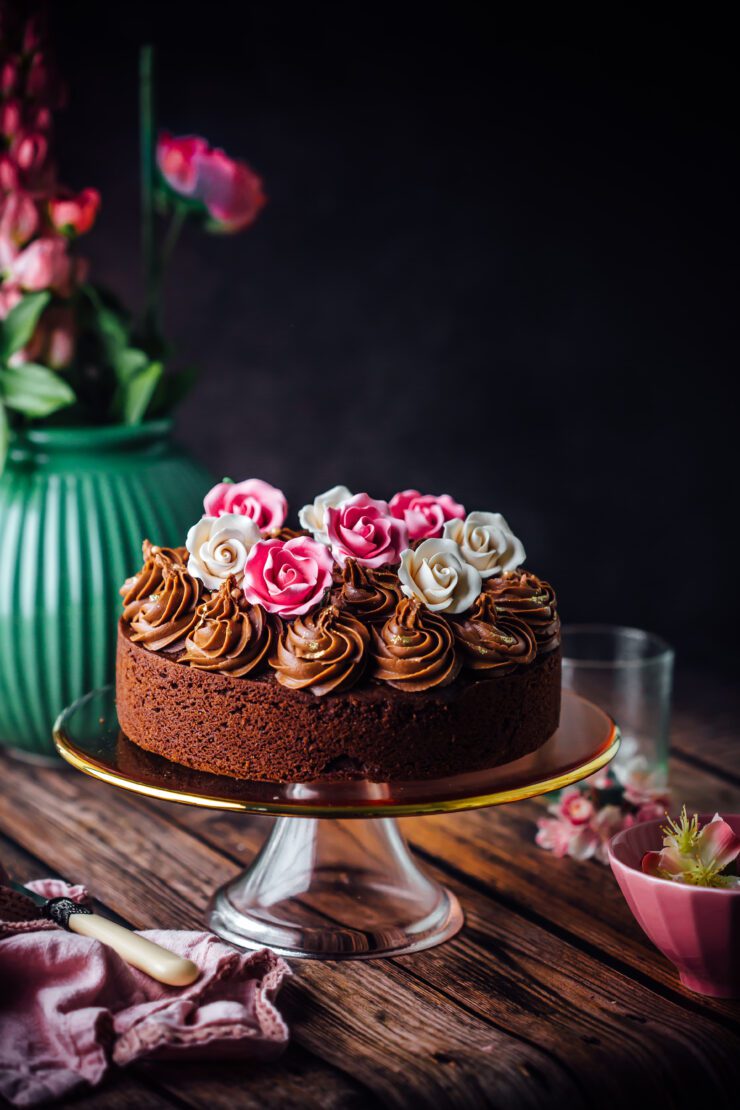
Chocolate Yoghurt Cake

Love a good chocolate cake? Try my Easy Chocolate Cake with Raspberries or my Chocolate Oilve Oil cake

Chocolate Yoghurt Cake
Makes an 8 inch round Cake 

1 1/2 cups self-raising flour (188 g)
1/3 cup (40 g) Dutch processed cocoa powder
1 1/4 cup (275g) brown sugar 
1/2 cup (120 g) Greek yoghurt 
3 eggs, lightly whisked
3/4 cup +2 tbsps (approx 200 g) unsalted butter, melted 

Chocolate Yoghurt Frosting 
4 oz (113) grams dark chocolate, roughly chopped
1/4 cup ( 57 grams) unsalted butter
3 cups (360 g) icing sugar
1/3 cup (80 g) Greek yoghurt

Method: Preheat oven to 160°C. Grease and line the base of an 8 inch round pan. In a large bowl, place the self-raising flour, cocoa and brown sugar. Stir to mix. Add the yoghurt, eggs and melted butter. Beat until just combined. 

Bake for 65 to 75 minutes or until a skewer inserted in the middle of the cake comes out clean. Remove from oven, leave aside for 5 mins, then your onto a wire rack to cool completely. Once cool, pipe pr spread with chocolate yoghurt frosting. 

To make the frosting 

In a small saucepan melt the butter and chocolate. Remove from the heat and pour into a mixing bowl. Add the sugar and yogurt and mix at the lower speed until smooth. Gradually increase speed and beat until thickened. Place the bowl in the fridge for about 10 minutes to firm up.

ReplyForward

Mini Black Sesame Cake

17|03|2023

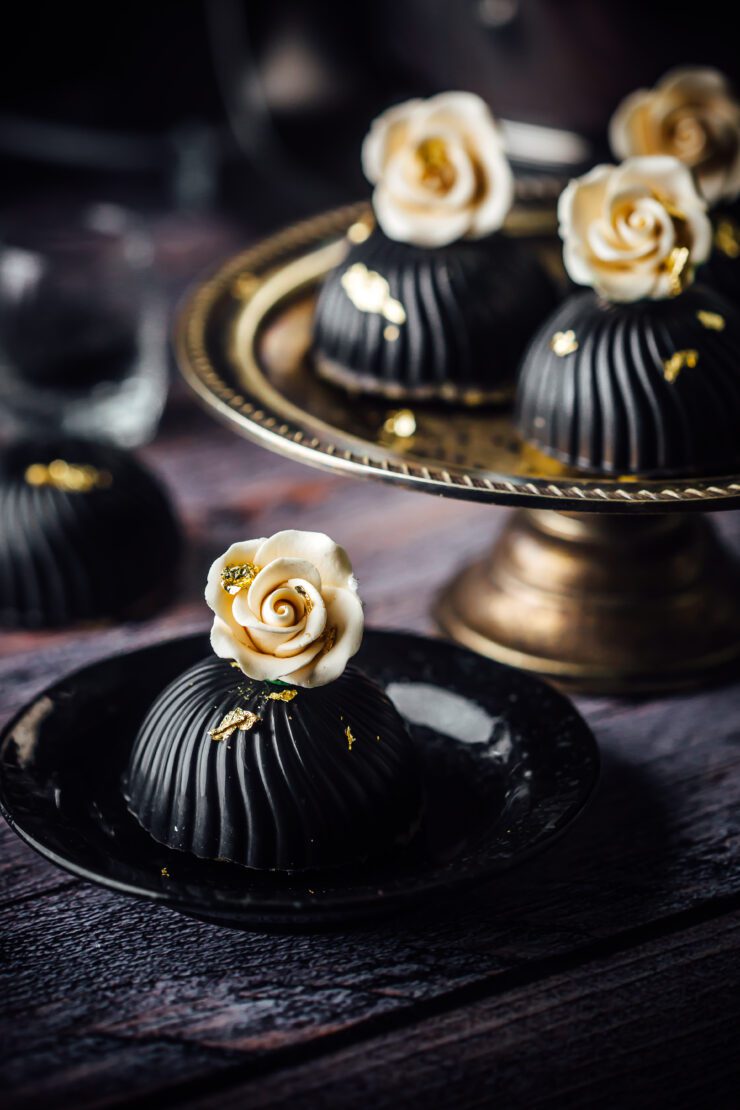
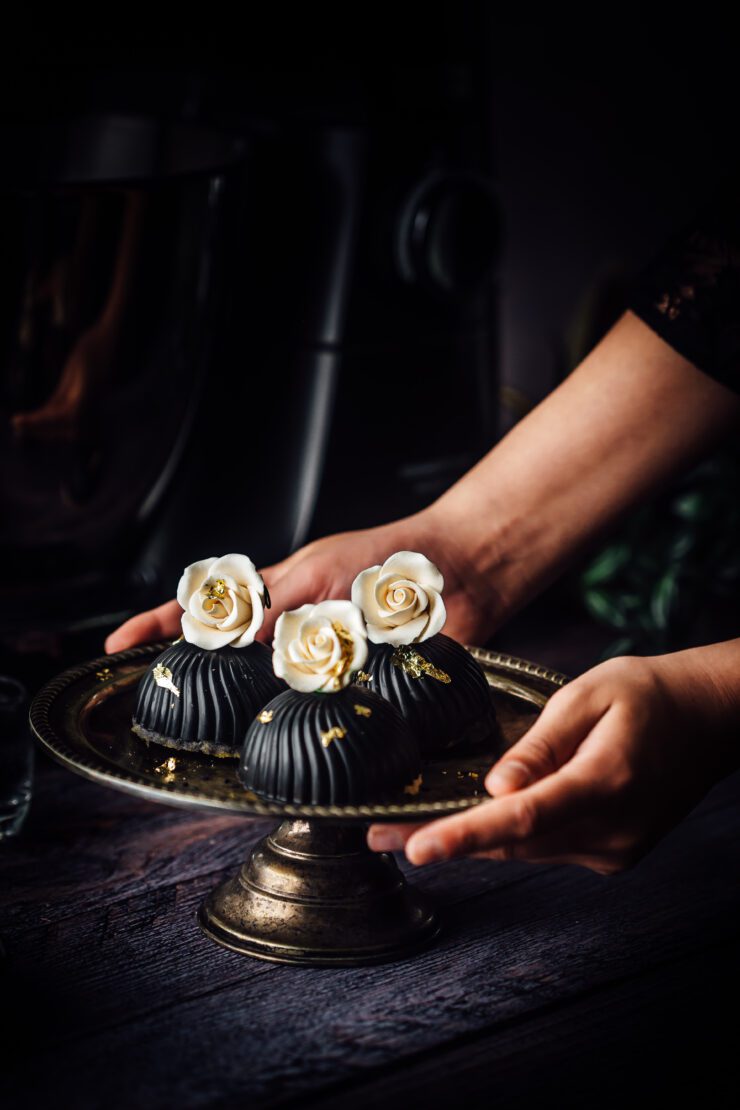
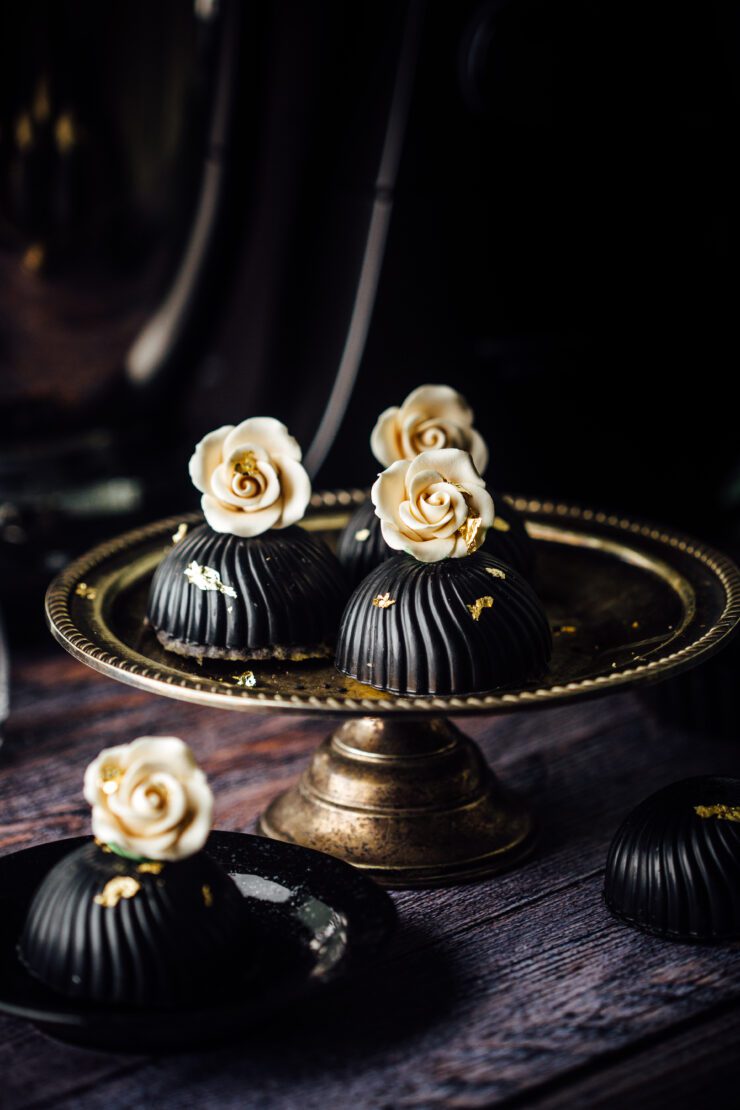
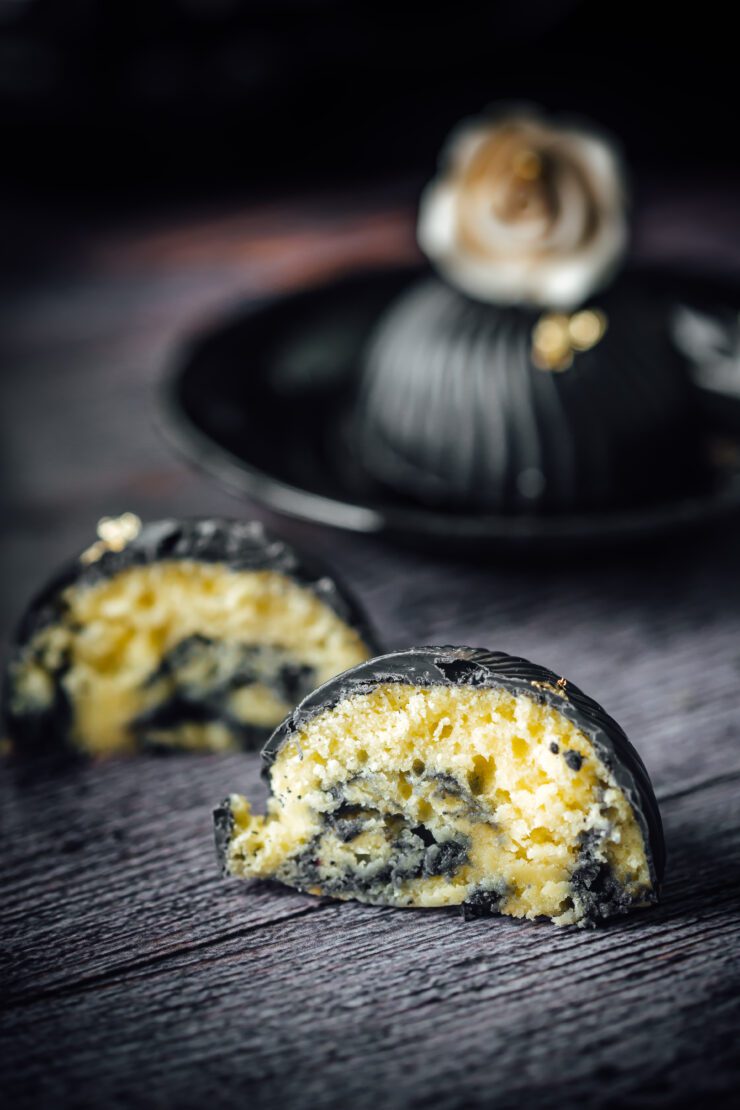
A mini black sesame cake or cakes have everything in them that makes you want to go back for seconds. They are nutty, warm, the swirls are striking to look at when you cut a cross section and they’re mini, indivudial sized portions. What is not to love, right?

Mini Black Sesame Cake

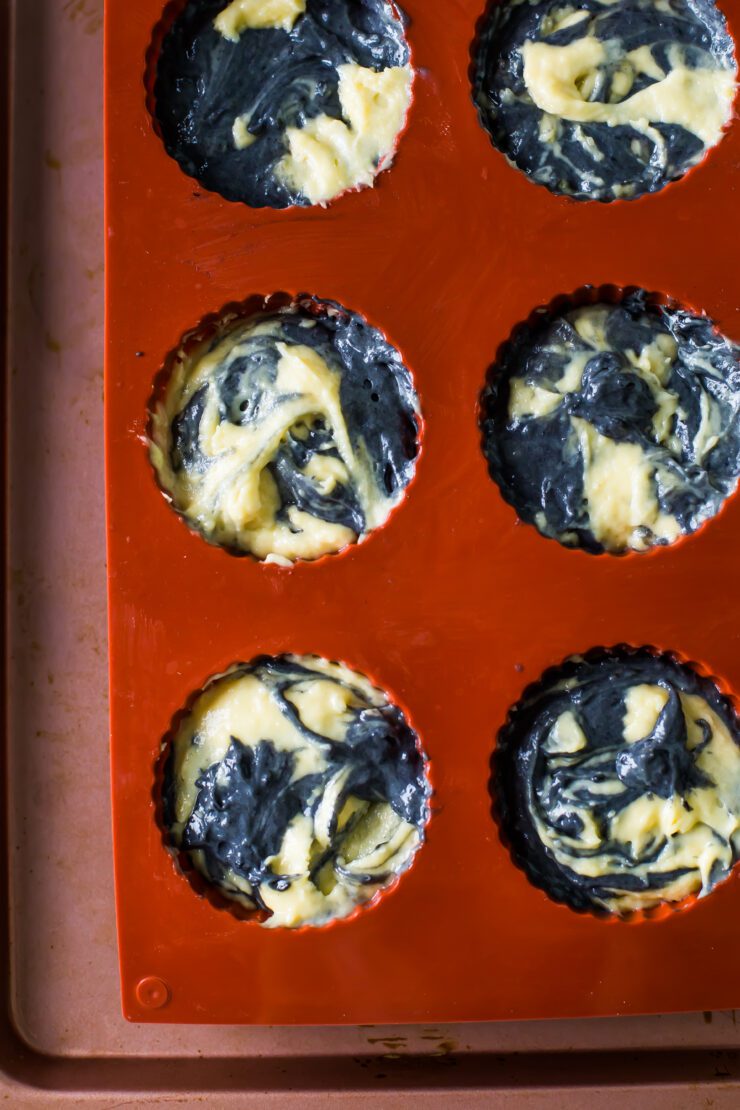
Though it doesn’t look like it, the mini black sesame cake is actually really simple to make. The swirl is made from the same batter so it’s only a matter of mixing black seasme powder into a part of a vanilla batter. Black sesame powder can be found in supermarkets and asian stores or you could make your own by gringing black seasme seeds in a grinder or mortal and pestle.

To make these, I’ve used my favourite molds that provide a beautiful shape to the cakes. You can find them at my store under Mousse and Cake Molds. You also use any round or hemisphere mold.

If you love mini cakes, don’t forget to check out these Blueberry Mini Cakes or Mini Pistachio Cakes

Mini Black sesame cake

Mini Black Sesame Cakes
Makes 6

1/3 cup (75 g) unsalted butter
1/2 cup (100 g ) castor sugar
1 egg
1 cup + 1 tbsp (133 g) self-raising flour
1/2 cup (120 ml) yoghurt
1 tsp vanilla extract
1 tbsp black sesame powder
black food colour, optional
5.3 oz (150 g) black candy melts/white chocolate tinted with black colour, melted

Preheat oven to 180 degrees C. Lightly grease/spray 6 silicone molds.
Beat the butter and sugar together until pale and fluffy. Add the eggs, one at a time, beating well after each addition until combined.
Stir in half the flour and yogurt until just combined. Stir in the remaining flour, yogurt and vanilla until combined.
Remove 1/3 of the batter into a small bowl. Add the black sesame powder and food colour if using. Dollop some of the uncoloured batter into the molds, followed by the black sesame batter. Swirl using a wooden skewer. Bake for 20 mins or until a skewer comes out clean. Remove from oven. Gently unmold and cool to room temperature.

Spread molds with melted candy melts. Place cakes back into each mold. Allow to set in the fridge (15 mins). Unmold and decorate. Enjoy!

Caramel Cake with Caramel Condensed Milk Buttercream

2|03|2023

I don’t know which one I love more. The caramel cake or the condensed milk buttercream. Maybe I like the second one a tad bit more. If you’ve never tried condensed milk buttercream before, this is one frosting that is smooth, silky, not too sweet and very easy to make.

caramel cake with caramel condensed milk buttercream

There is no requirement for sugar, so a mess free frosting. The cake is dense, moist and rich as a mud cake should be. The flavour is absoloutely beautiful, tasting richly of caramel. The condensed milk buttercream reminds me of swiss meringue buttercream minus the hassle.

caramel cake with caramel condensed milk buttercream

If you can’t find golden syrup which is quite an important ingredient in this cake, you could substitute with honey, however the cake will not taste the same. Golden syrup adds to the caramel flavour but the texture will be the same.

If you like caramel flavoured desserts, don’t forget to check out this Ginger cake with Salted Caramel poached pears.

Caramel Cake with Caramel Condensed Milk Buttercream
Makes an 8 inch round cake

3/4 cup + 2 tbsp (198 g) unsalted butter, roughly chopped
7 oz (200 g) white chocolate, roughly chopped
1 cup (220 g) brown sugar
3/4 cup (180 ml) hot water
1 tbsp (15 ml) golden syrup
1 tsp vanilla essence
2 eggs
1 cup (125 g) plain flour
1 cup (125 g) self-raising flour

Caramel Condensed Milk Buttercream
1 cup + 2 tbsp (255 g) unsalted butter, room temperature
7 oz (200 g/half tin) sweetened condensed milk
1/4 cup caramel sauce (home made or store bought)

Make the cake : Preheat the oven to 320 degrees F/160 degrees C. Grease an 8 inch round pan and line the base with baking paper.

Place the butter, white chocolate, brown sugar, water, golden syrup and vanilla in a medium saucepan. Stir over medium-low heat with a wooden spoon until chocolate melts and mixture is smooth. Set aside to cool.
Add the eggs and both the flours. Beat until smooth and well combined. Pour into prepared pan. Bake for 50-60 mins or until cooked through. Remove from oven. Turn onto a wire rack to cool. Once cool, first with caramel buttercream.
Make the buttercream, beat butter until light and fluffy. Add the condensed milk and continue to beat until blended and smooth. Add caramel. Beat until buttercream is glossy and thick.

Assemble : Place the cooled cake on a cake stand or plate. Using an open star tip and a piping bag, pipe swirls of frosting onto the cake. Slice and enjoy!

Easy White Chocolate Cake

24|02|2023

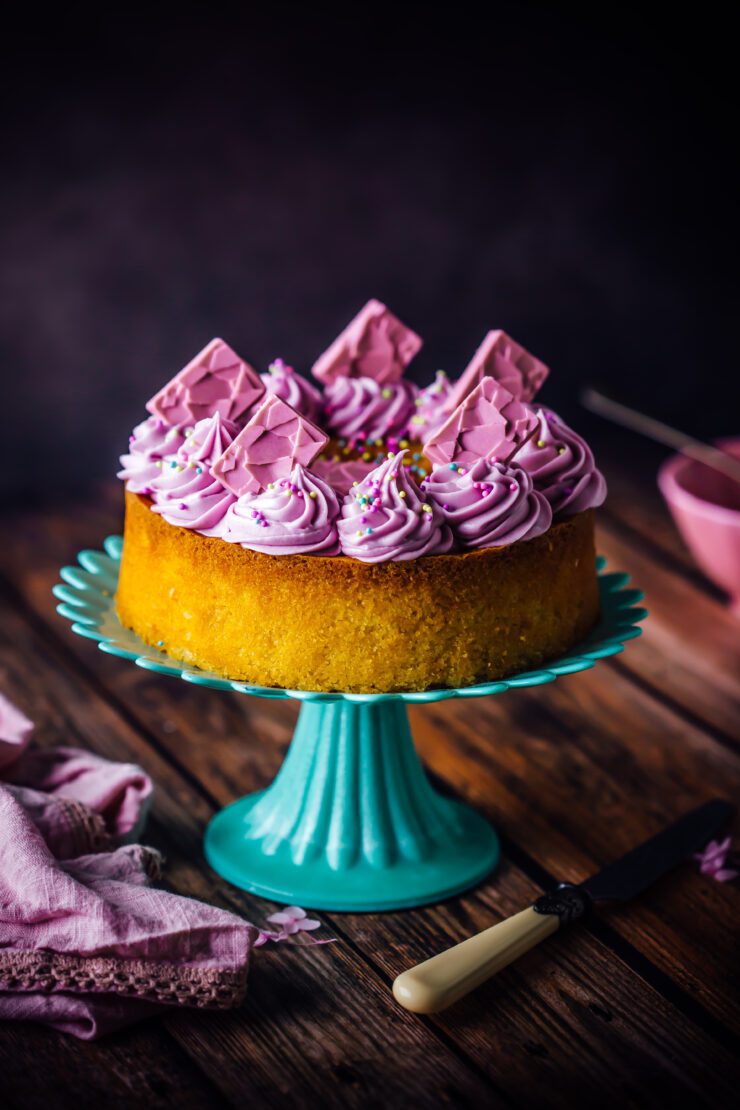
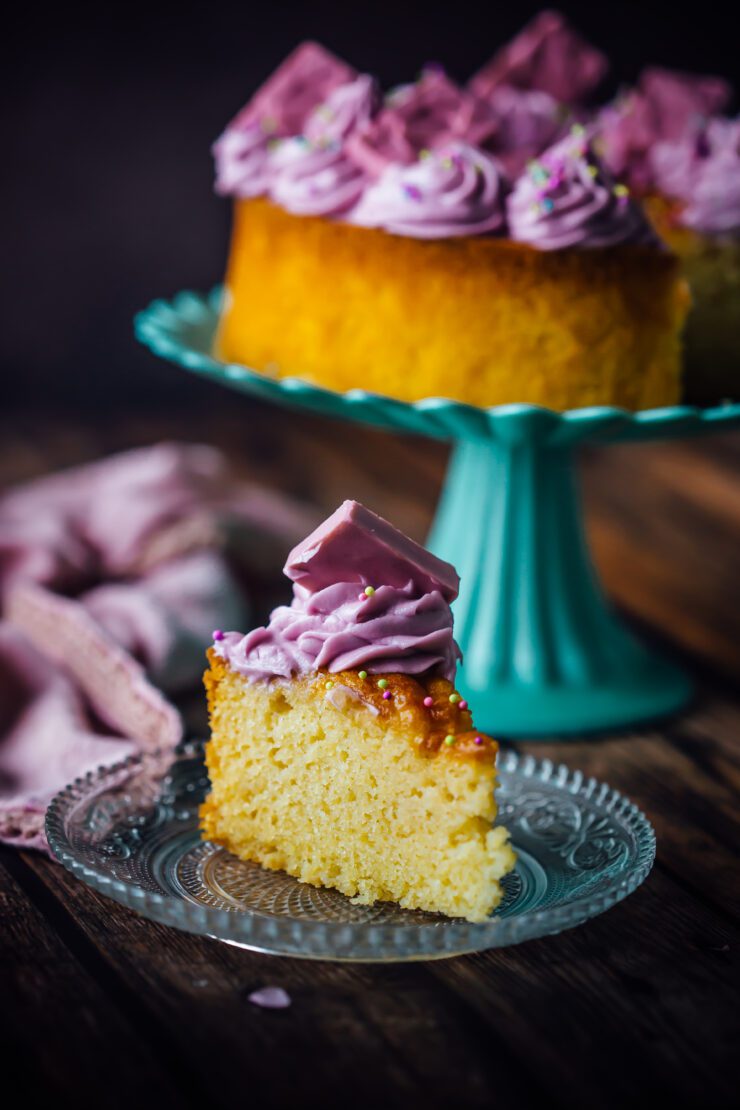
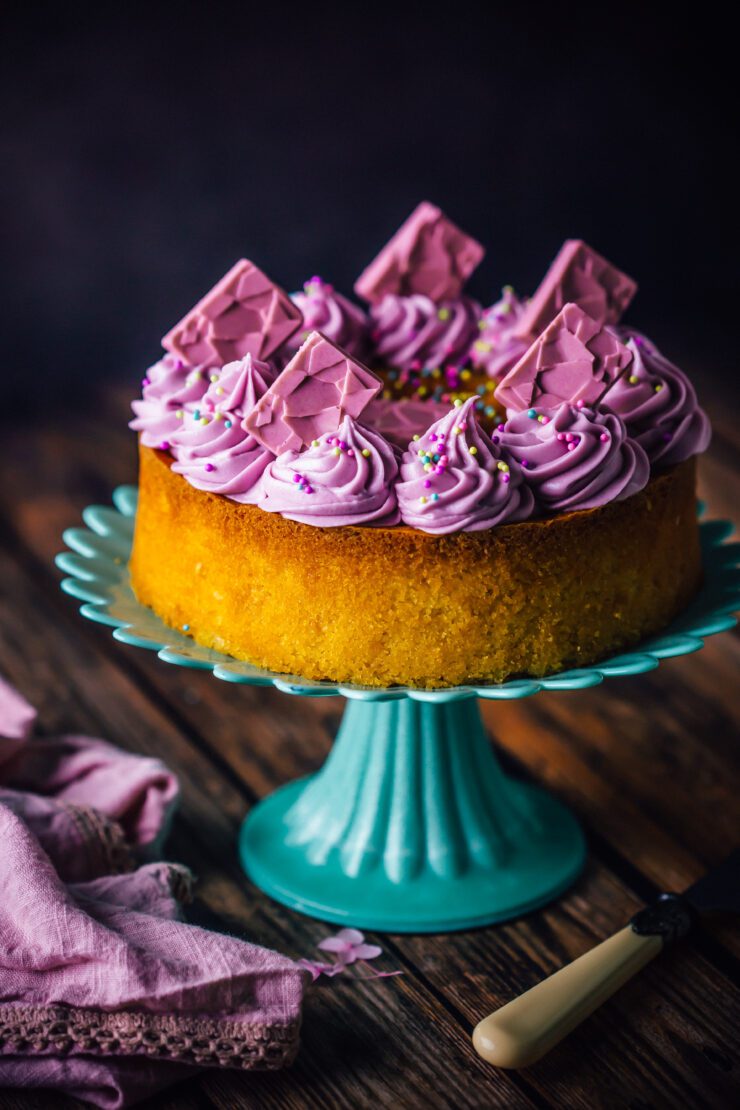
I think everyone should have a recipe for an Easy White Chocolate cake in their arsenal. When looking for a good white chocolate cake, I often come across mud cakes that are delicious but too rich and dense. For a long time I’ve been experimenting to come up with a cake where the white chocolate shines through but the cake is also light and not cloyingly sweet. I guess, I found the one!

Easy white chocolate cake

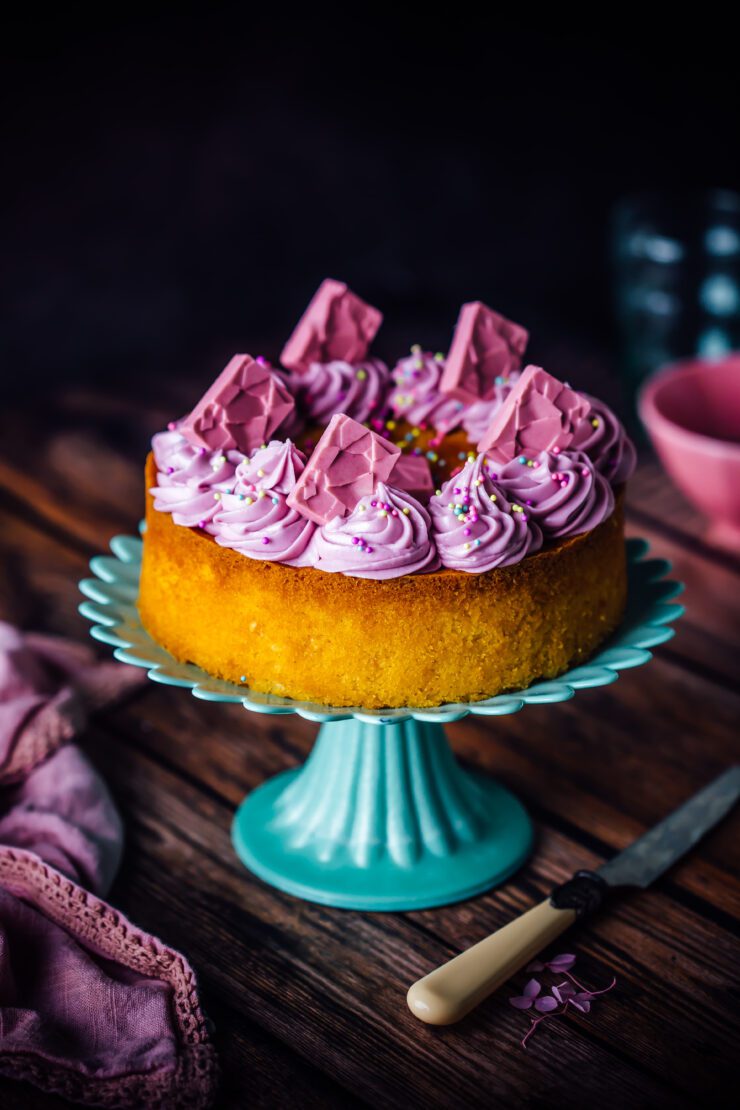
The best part about this Easy White Chocolate Cake is that it comes together in one bowl. No melting the chocolate in a separate saucepan and no elaborate techniques. Just simple mix and bake.

Easy white chocolate cake

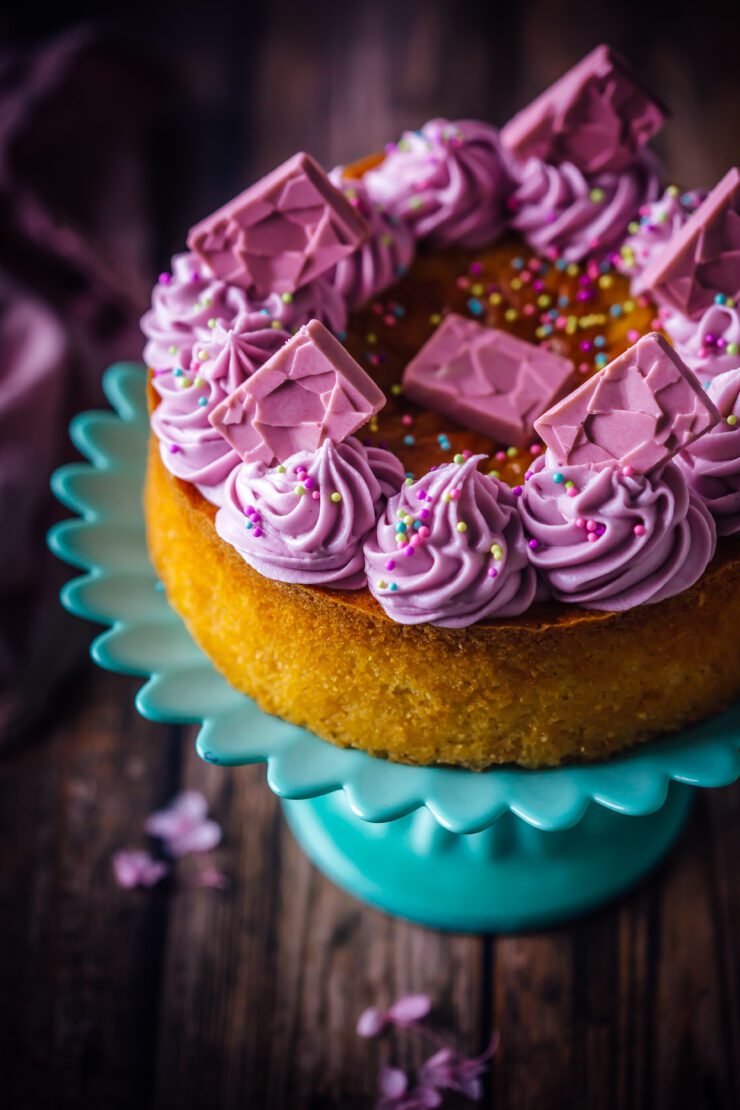
To complement the beautiful taste of white chocolate, I’ve used a vanilla cream cheese frosting that is equally simple to make. If you are familiar with cream cheese frosting, you know how creamy and lovely it is. If you haven’t tried it yet, please go for it. It will become your go to frosting in the future.

The little chocolate decorations are there to enhance the colour and add another layer of white chocolate for the white chocolate lovers. You can get the silicone mold here.

Easy white chocolate cake

If you love white chocolate, check out this White Chocolate and Strawberry tart
For tartlets are your thing try this Chocolate and Rhubarb tart

Easy White Chocolate Cake
Makes a 7 inch round cake

2/3 cup (150 g) unsalted butter, room temperature
3/4 cup (150 g) castor/granulated sugar
3 eggs
1 tsp vanilla extract
11/4 cup (156 g) self-rising flour
1/4 cup (60 ml) milk
3.5 oz (100 g) white chocolate bar, finely chopped 

Vanilla Cream Cheese Frosting

4 oz (113 g) cream cheese (not low-fat), room temperature
¼ cup (57 g) unsalted butter, room temperature
1 ¼ cup (150 g) icing/powdered sugar
1 tsp vanilla extract
purple gel food colour (optional)

White Chocolate Decorations

3.5 oz (100 g) white chocolate, finely chopped + pink gel food colour
OR
Pink chocolate melts

Make the White chocolate cake : Preheat the oven to 350°F (177°C). Grease the base and sides of a 7-inch (18-cm) round pan with 3-inch (8-cm) height and line the base with baking paper.

In a large bowl, beat the butter and sugar mixture until pale and fluffy. Add the eggs one at a time, beating well after each addition. Add the vanilla extract.

Fold in the flour alternating with the milk and mix until well combined. Fold in the white chocolate.

Transfer the batter to the prepared cake pan. Bake for 50-55 minutes or until a skewer inserted in the middle of a cake comes out clean. Remove the cake from the oven. Leave it aside for 10 minutes, then gently run a blunt knife around the edges to loosen the cake. Carefully turn it onto a wire rack to cool completely.

Make the cream cheese frosting : In a medium bowl, beat the cream cheese and butter together until smooth, about 2 minutes. Using a rubber spatula, scrape down the sides of the bowl to ensure that the mixture is evenly mixed. Beat in the icing/powdered sugar, a little at a time until well incorporated. Add the vanilla extract and food colour, if using. Mix until combined and frosting is smooth.

Make the white chocolate decorations : Place the white chocolate pieces in a microwave safe bowl. Microwave at low power for 20 seconds, remove and stir. Return to the microwave and repeat the process until all the chocolate has melted and has turned into a smooth liquid. Alternately, the chocolate can be melted by placing it in a heat proof bowl that is placed over a saucepan of simmering water. Add the gel food colour and mix.

Spoon the chocolate carefully into chocolate bar shaped silicone mold that is placed on a small baking tray or plate for ease of movement into the fridge.  Place the mold in the fridge to set, about 15 minutes. Gently unmould and store in an air tight container in the fridge until needed.

Assemble : Once the cake has cooled to room temperature, pipe cream cheese frosting swirls using a piping bag fitted with an open star tip. You could also spread the frosting with a spatula if you don’t want to pipe. Decorate with mini white chocolate bars. Slice and enjoy!

Strawberry and Cardamom Cake with Rosewater Glaze

17|02|2023

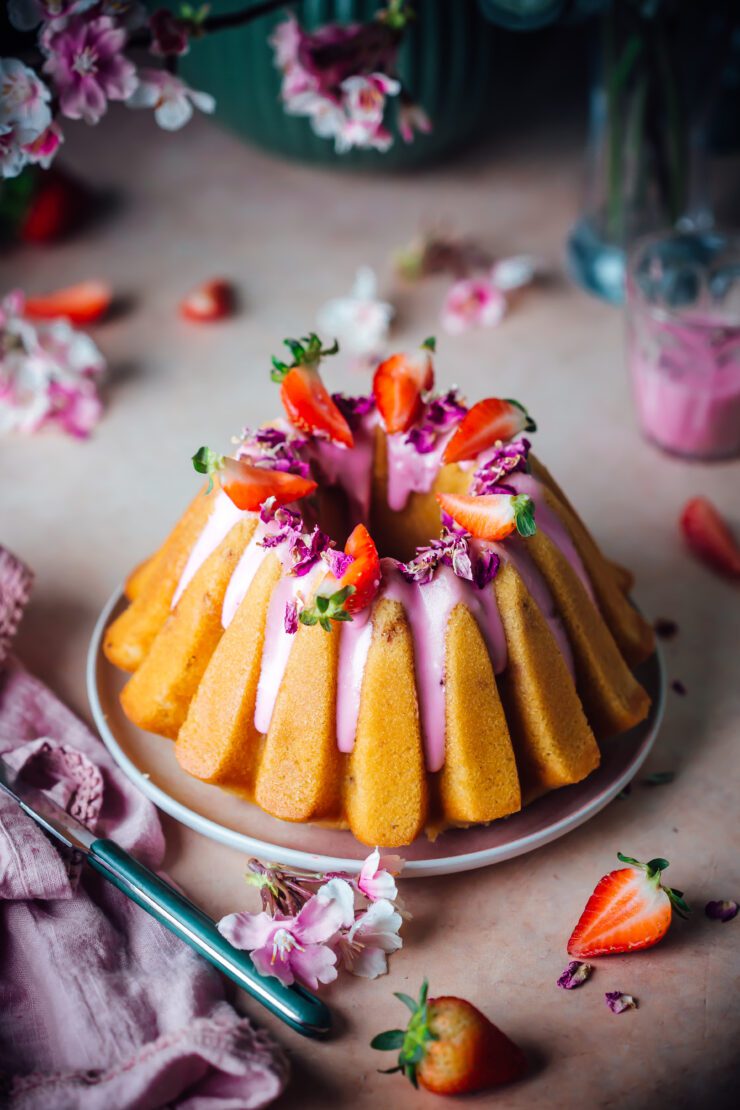
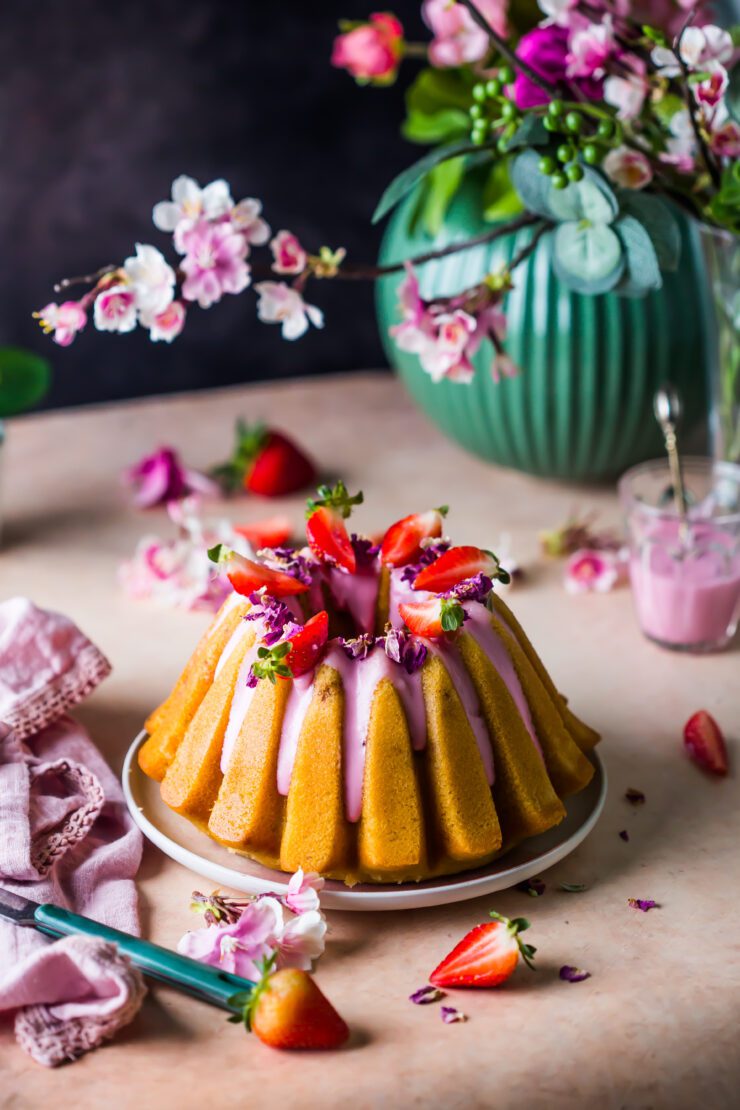
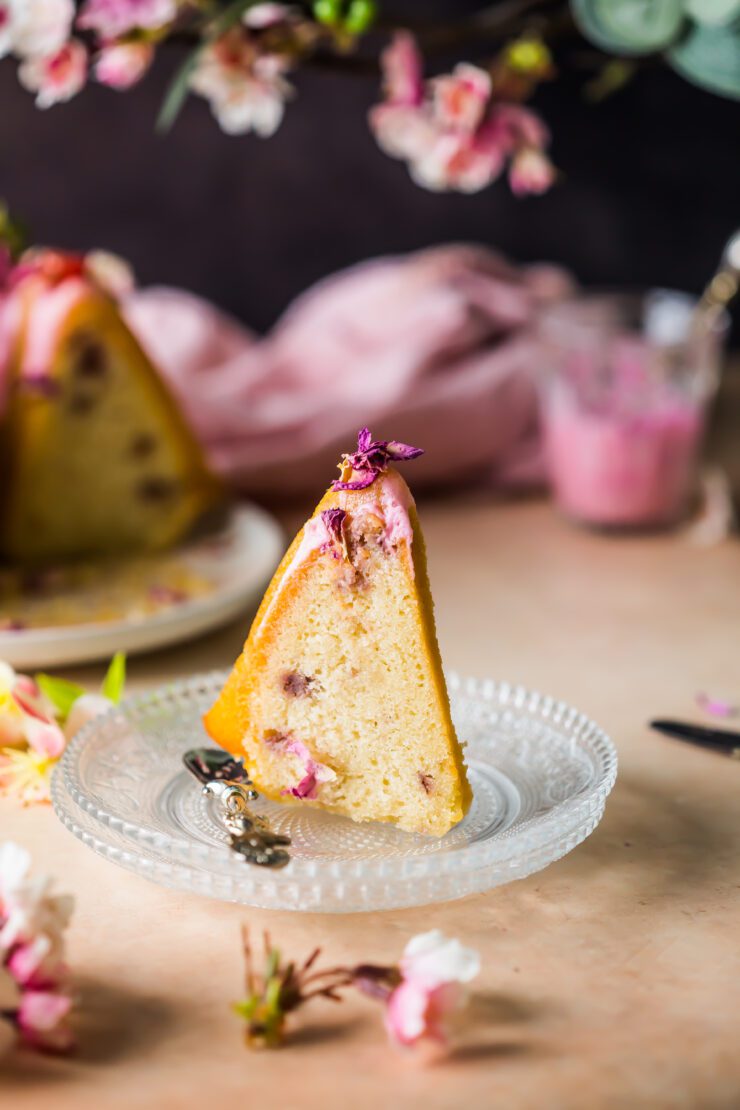
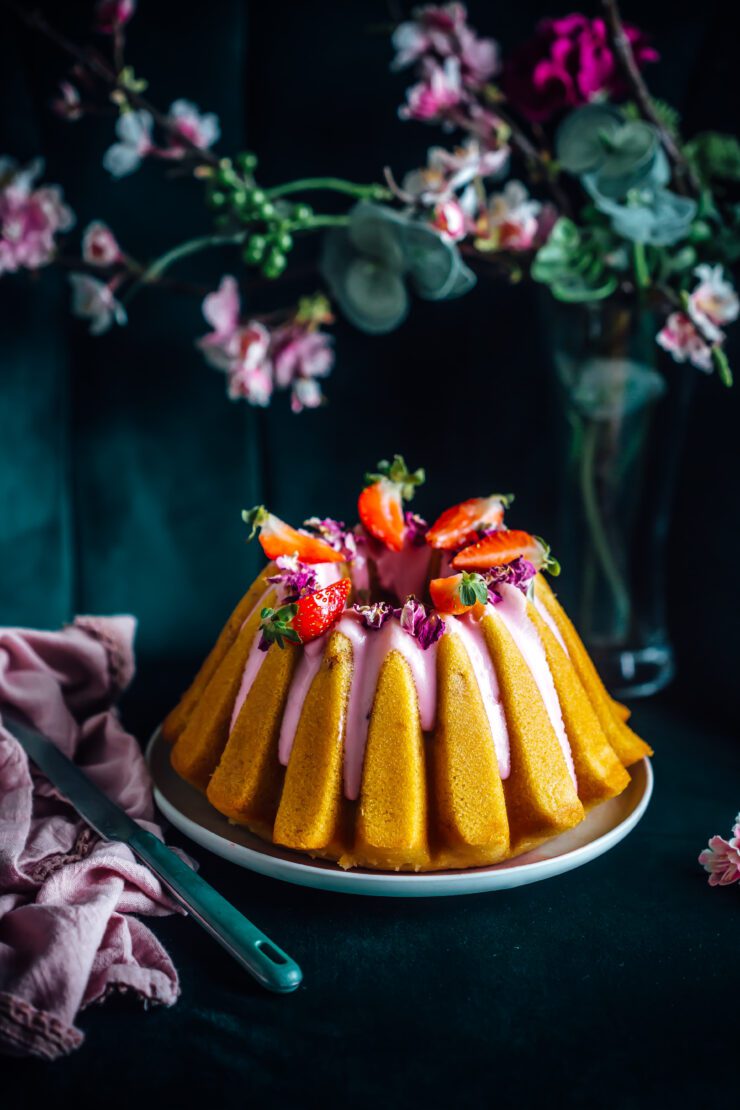
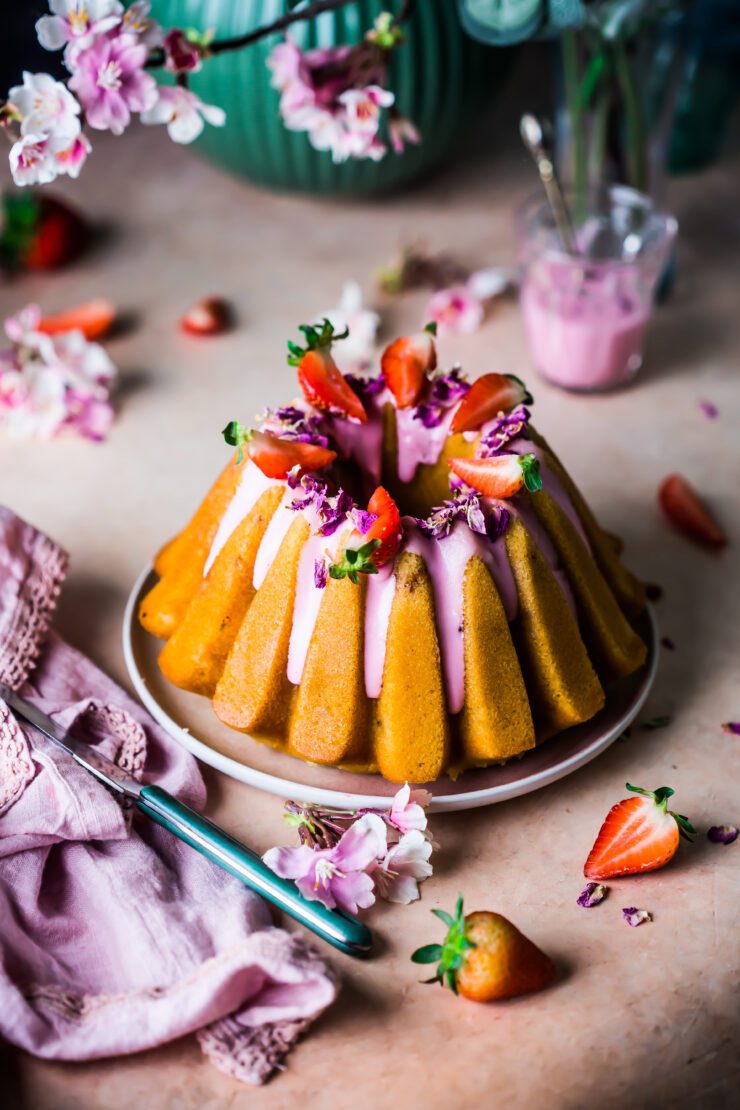
A cake like this is always remembered. Fragrant, pretty on account of a beautiful bundt shape and refreshing with a combination of juicy strawberries and subtle tones of cardamom, this strawberry, cardamom and rosewater bundt cake is something that can be whipped up any time.

Strawberry and Cardamom Cake

A sour cream glaze is my go to for most cakes. Because It’s not sugary like a typical glaze and can be flavoured without any hassle, it’s the best choice for icing a cake. Replace strawberries with any other berry if you like.

Strawberry and Cardamom Cake

Cardamom is such a beautiful spice if used in the right proportions. In India where I grew up, people also used it as a mouth freshner. It was too strong for my liking so I really just wanted to reserve the flavour and smell for a delicious aromatic, savoury curry or a creamy, lush dessert.

Strawberry and Cardamom Cake

If you like the taste of cardamom in your cakes, don’t forget to try out my Blackberry, Sour cream, Cardamom Cake

Strawberry and Cardamom Cake with Rosewater Glaze
Makes a 8-cup bundt cake

1 cup (125 g) self raising flour, sifted
3/4 cup (71 g) almond meal/ground almonds
1 tsp powdered cardamom
3 large eggs
3/4 cup (150 g) granulated sugar
1/2 cup + 1tbsp (135 ml) vegetable oil
3/4 cup (180 ml) buttermilk
1/2 cup (72 g) strawberries, roughly chopped

Rosewater Sour Cream Glaze

2/3 cup (79 g) powdered sugar
2 tbsp (30 ml) sour cream
1 tsp rosewater
pink gel food colour (optional)

Make the cake : Preheat the oven to 325°F (163°C). Grease an 8-cup bundt pan really well.

In a medium bowl, place the flour, almond meal and cardamom.

Beat the eggs and the sugar until pale and fluffy, about 5 minutes. Add the oil and continue to beat until combined. Add the buttermilk. Beat the mixture slowly until blended.

Fold in the flour mixture until just combined. Do not over-mix the batter.

Pour the batter into the prepared pan and bake for 50-60 minutes or until cooked through (a skewer inserted in the middle should come out clean.

Make the sour cream glaze : In a small bowl, sift the powdered sugar. Add the sour cream and rosewater. Stir the mixture with a spoon until well combined. Add the colour as desired (insert a toothpick in the colour and use that to colour the glaze). Mix until smooth and no white streaks appear.

Assemble: Once the cake has cooled completely, pour the glaze over the sides and the top of the cake. Decorate with fresh strawberry slices and dried rose petals.


Mini Pistachio Cakes

13|02|2023

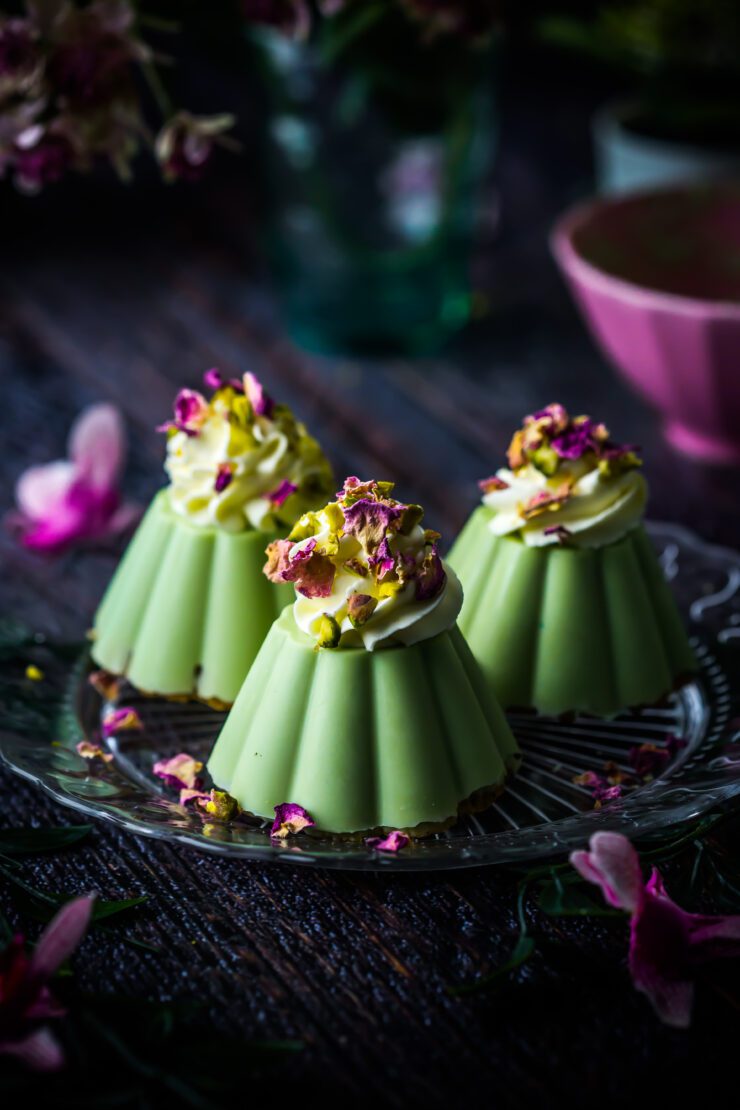
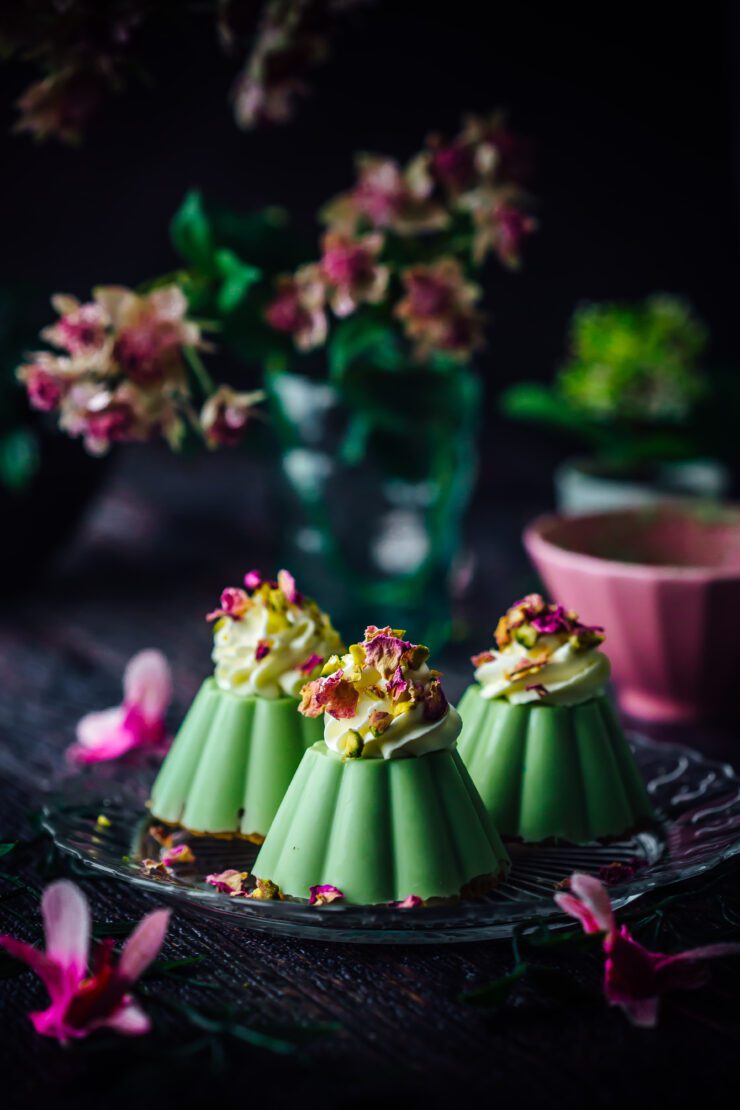
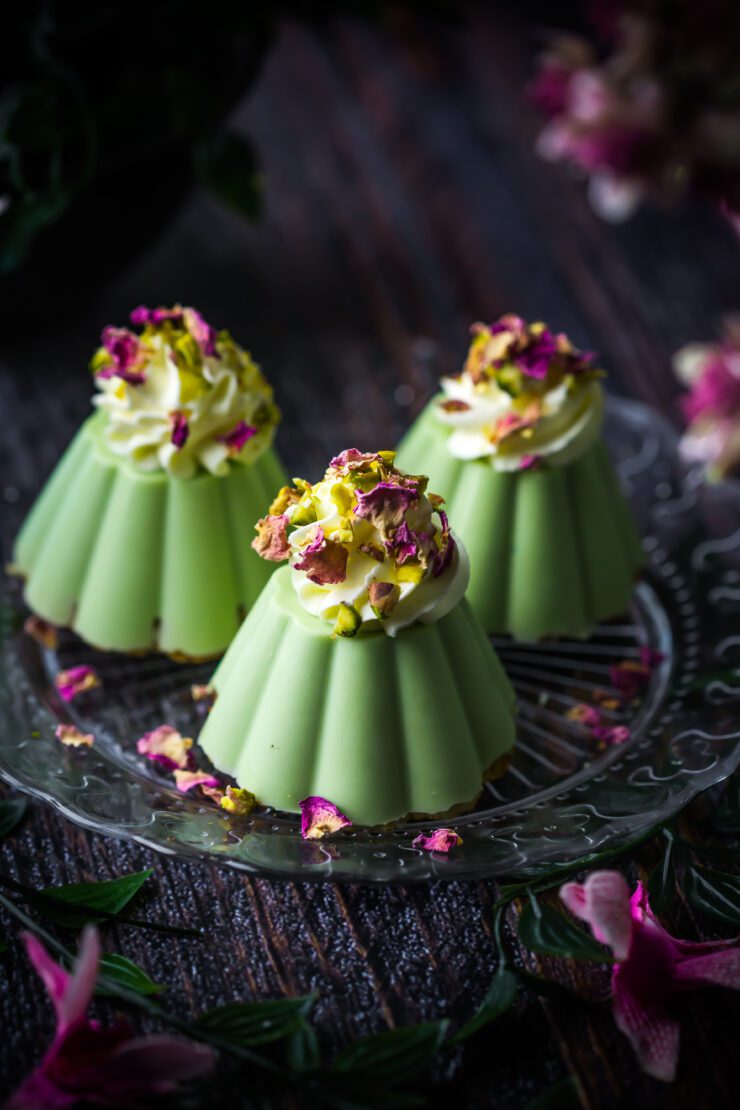
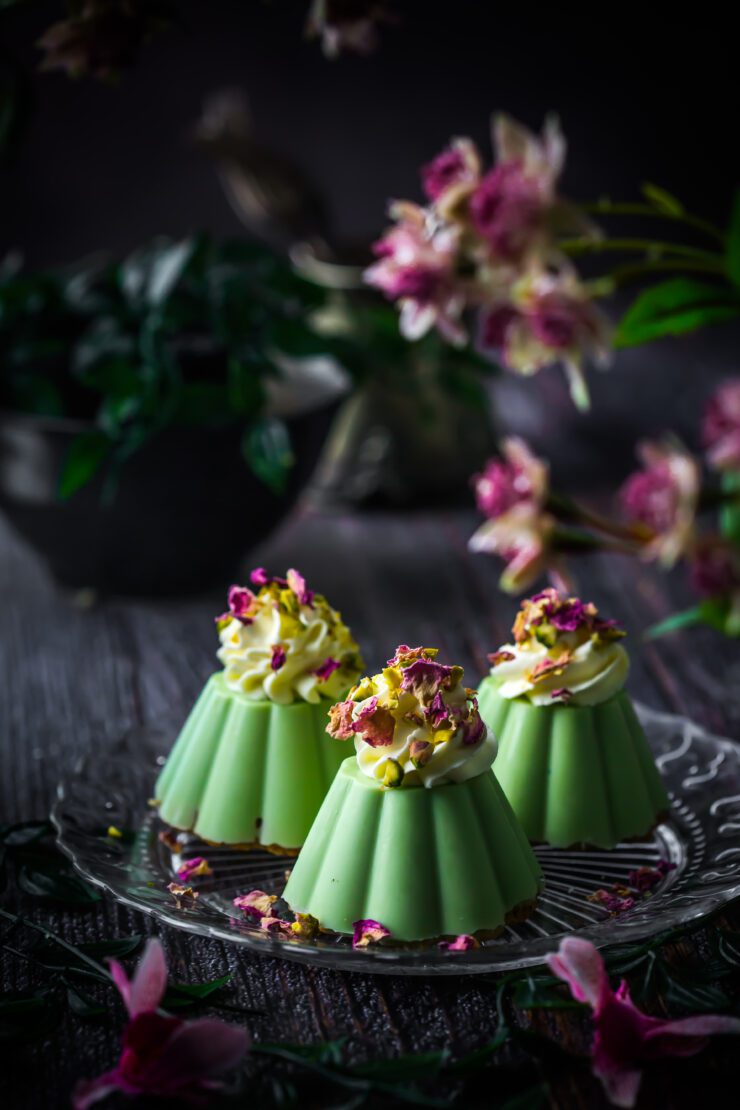
Nothing beats the beautiful colour and unforgettable flavour of pistachios. Paired with rosewater, it can create a treat that is divine. The Mini Pistachio Cake recipe involves creating the pistachio cakes first, then coating them in white chocolate that gives it the lustrous shine and gorgeous green colour.

Mini Pistachio Cakes

Pistachios have been my favourite nut since childhood. They were present abundantly in both sweet and savoury dishes but I Ioved them the most in ice cream. the flavour was known as ‘kesar pista’ meaning saffron pistachio ice cream. Oh the beautiful taste, takes me on a walk down memry lane! Even a sprinkle of chopped pistachio is a dish adds flair and colour.

These pistachio cakes are pretty simple to make if you can get hold of a sillicone mold. A sillicon muffin mold will work as well even if you don’t find it in the fluted shape.

Mini Pistachio Cakes

If you like mini cakes , dont forget to check out these Blueberry Mini Cakes

Mini Pistachio Cakes
Makes 6

1/2 cup (113 g) unsalted butter, room temperature
1/2 cup (100 g) castor/granulated sugar
2 eggs
1/2 cup (63 g) self raising flour
1/2 tsp baking powder
100 g ground pistachios
1 tbsp (15 ml) milk
1 tsp rosewater (optional)
150 g Green chocolate melts or white chocolate + green gel colour
Whipped cream, to serve

Preheat oven to 190 degrees C. Lightly grease molds.
Beat the butter and sugar till fluffy. Add the eggs one at a time beating well after each addition.
Add the flour, baking powder, pistachios, milk. and rosewater Beat until just combined.
Using a piping bag or a spoon, pipe batter into molds. Bake for 18-20 mins or cooked through.
Remove from mold. Allow to cool.
Once cooled, spread cleaned mold with melted chocolate. Quickly insert cakes in the mold. Place in fridge to set (approx 15 mins).
Serve with whipped cream and edible rose petals.

Blueberry Ricotta Cake

2|09|2022

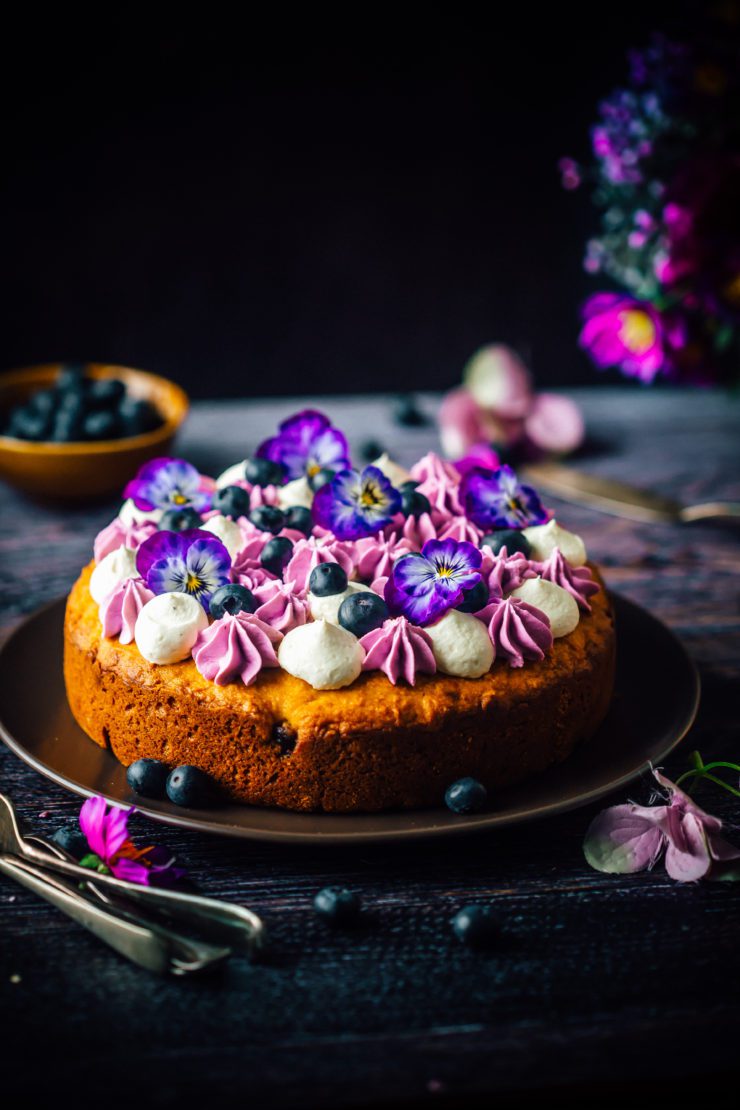
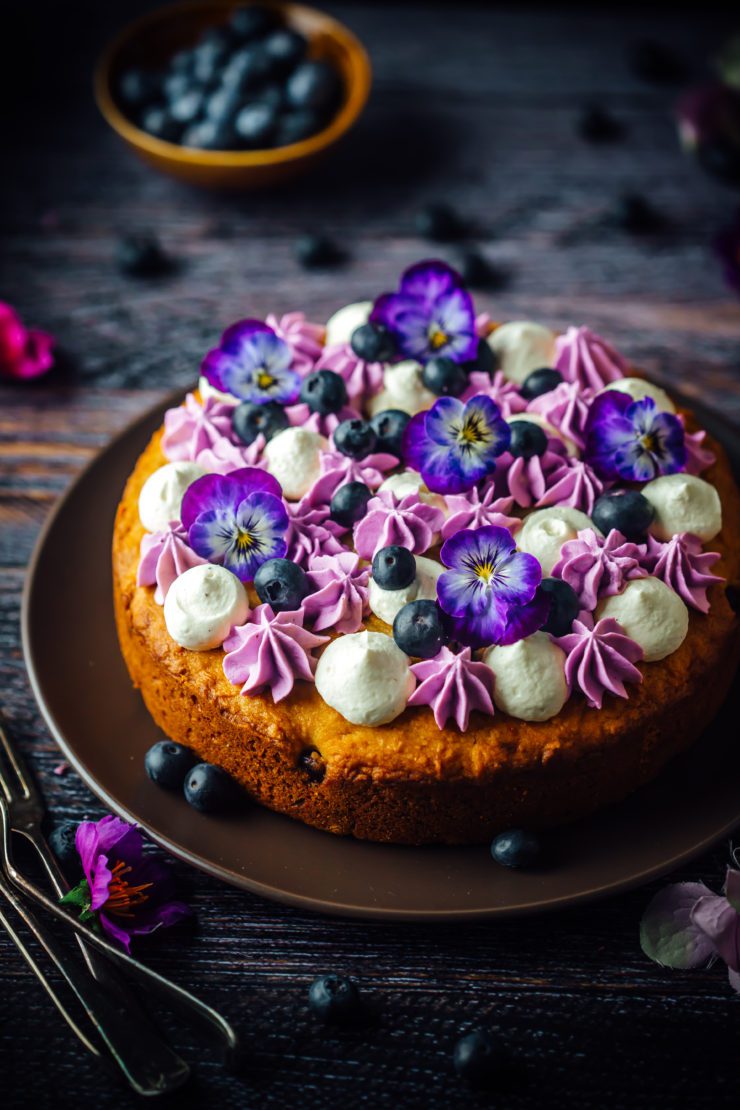
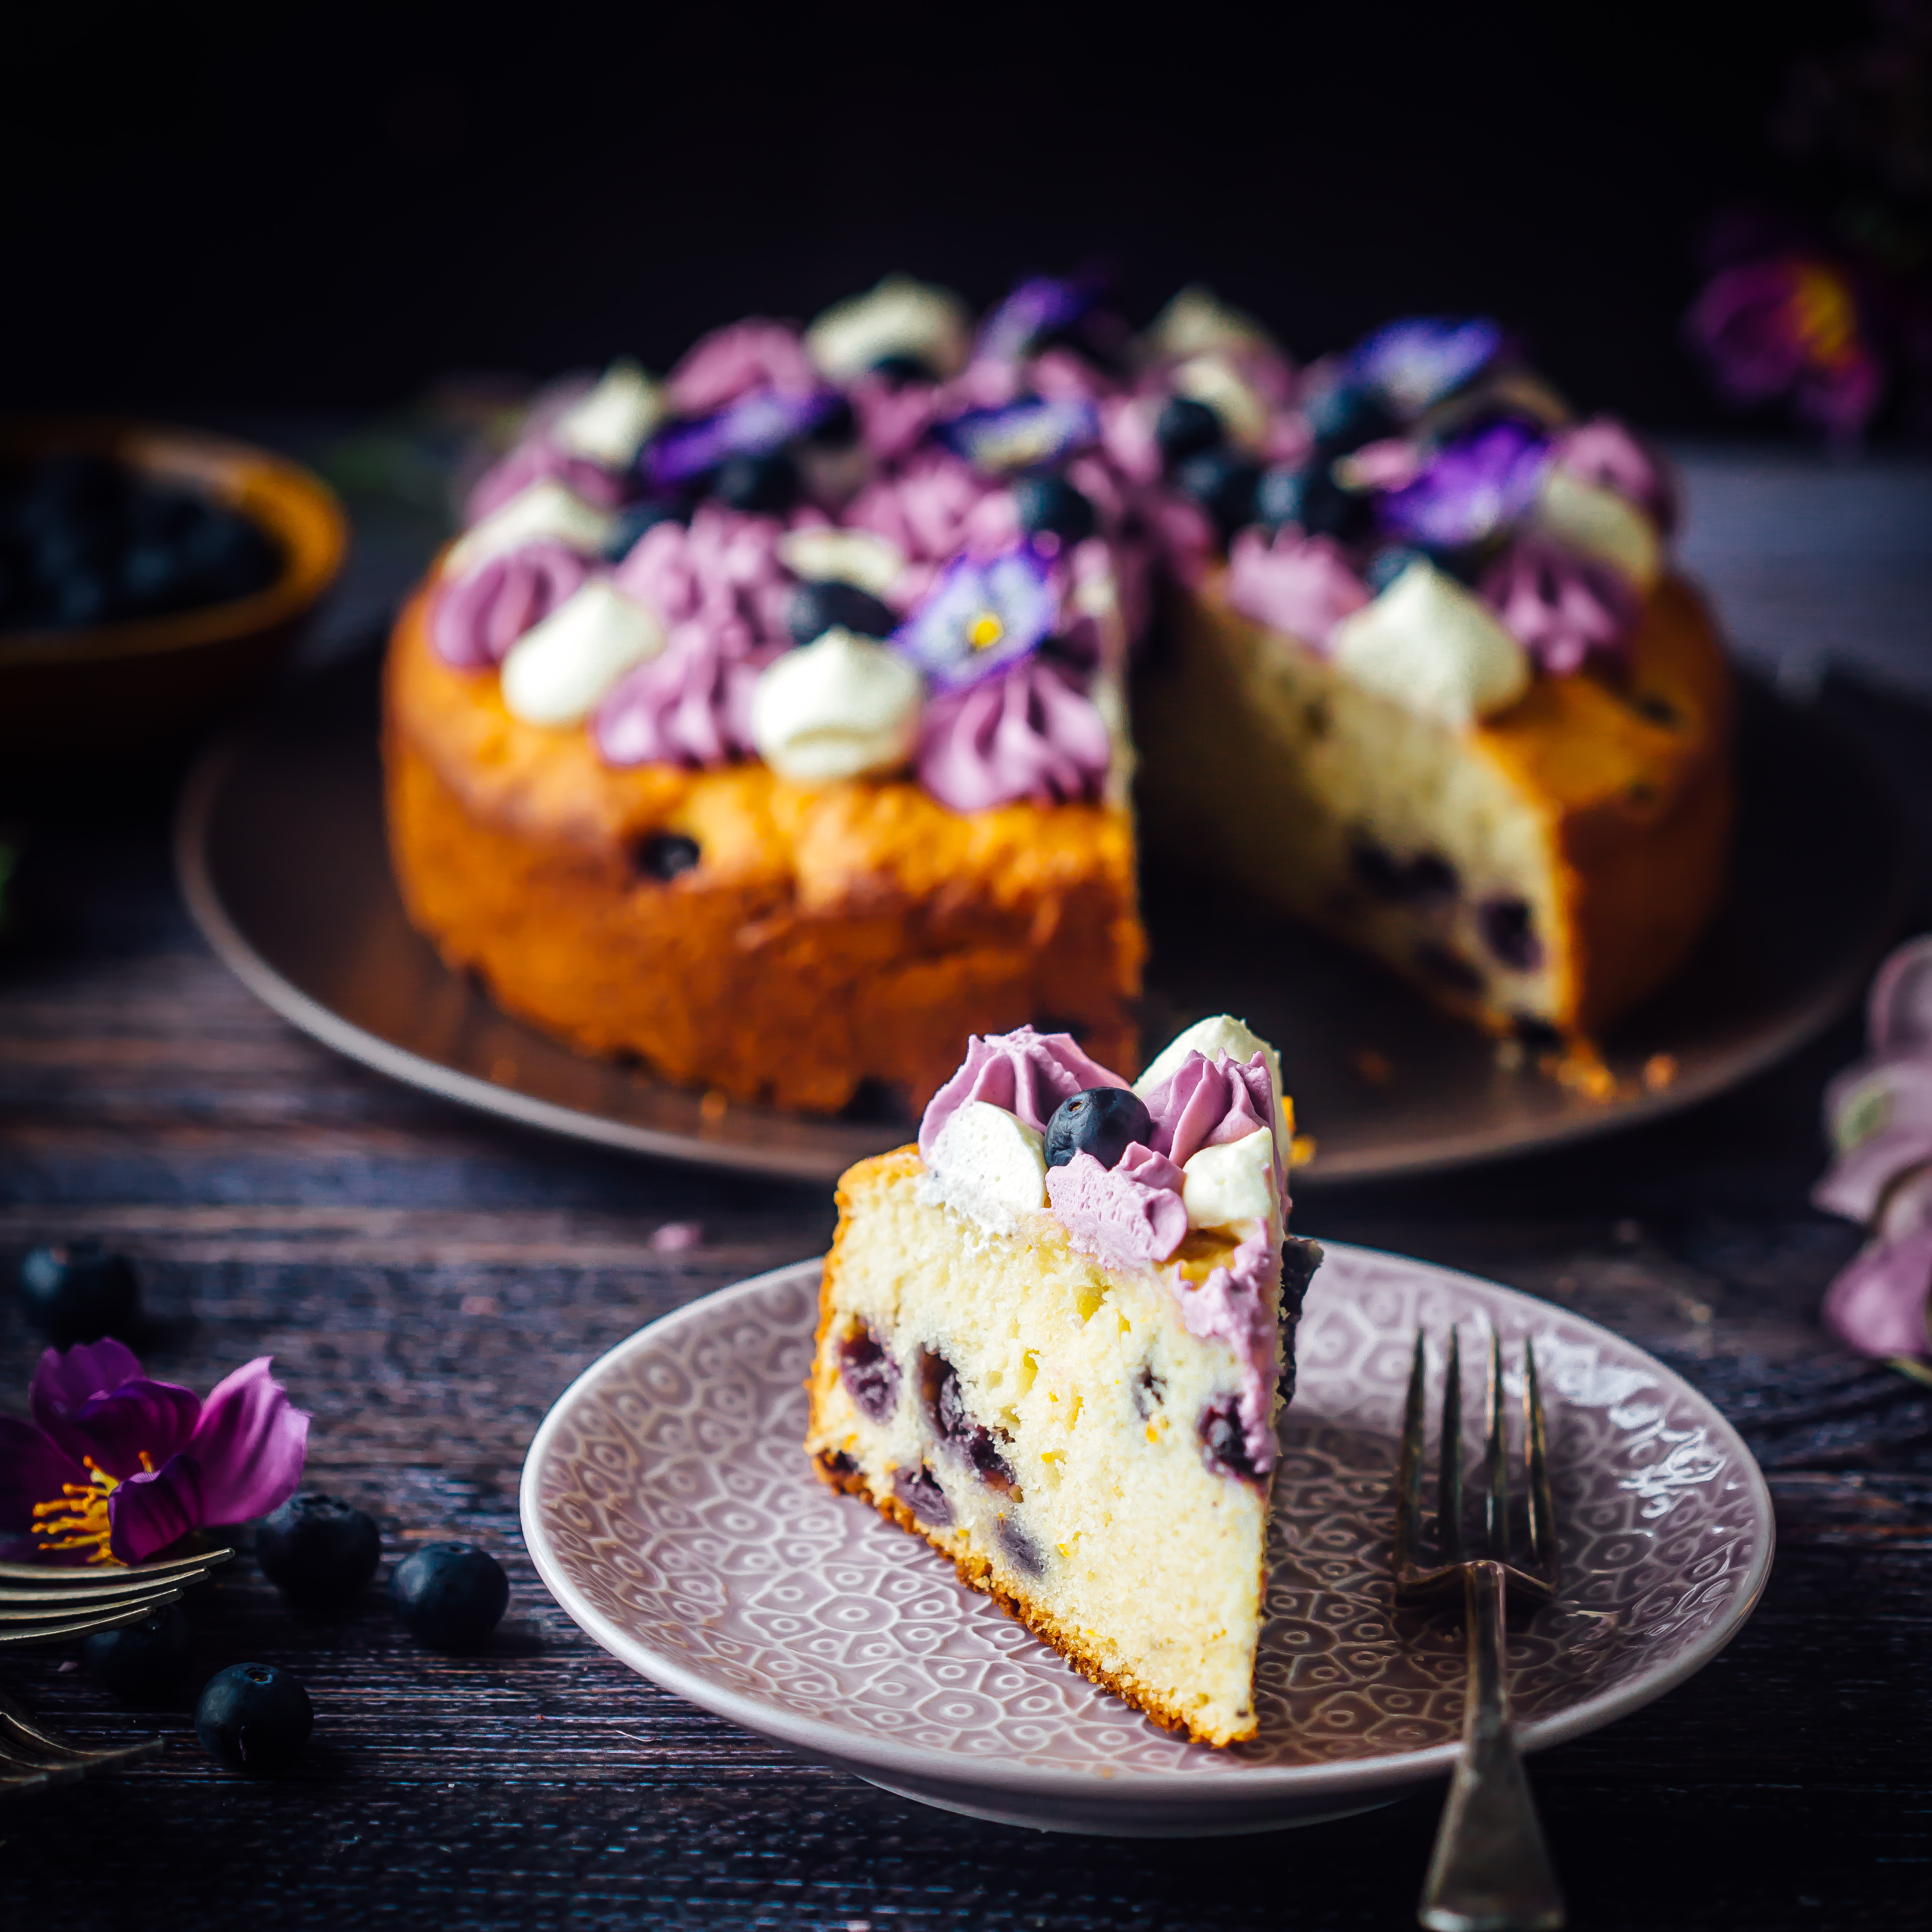
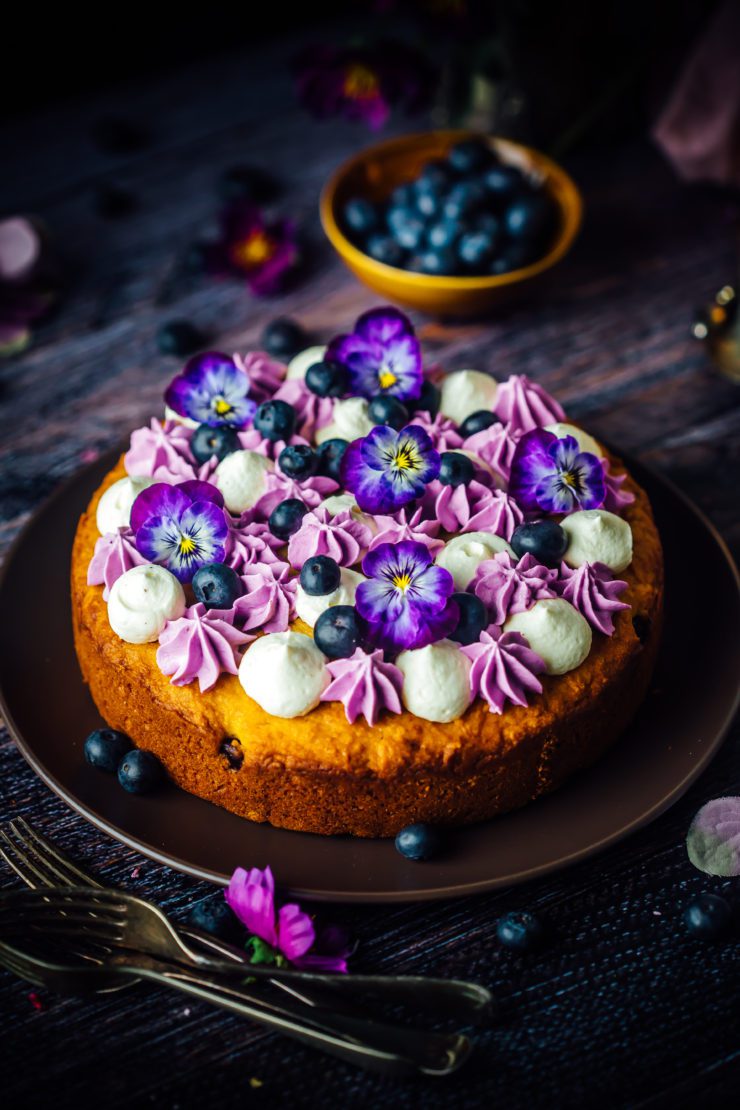
Cake or Cheesecake, which one do you love? What if you could have something in between? This blueberry ricotta cake is just that. It has a soft, moist texture dense enough but not creamy like a cheesecake. Fresh blueberries add a burst of sweetness while the addition of citrus zest adds flavour and freshness. It is truly such a delicious combination.

Ricotta Cake with blueberries

It’ not only a very simple cake to make where everything is pretty much mixed in one bowl, I’ve kept the frosting simple by using whipped cream. It looks so colourful but it is basically just whipped cream, part of which is colored and then piped onto the cake. A simple dusting of icing sugar would work as well if a frosting is not your thing.

Ricotta Cake with blueberries

If you’re fond of creamy Ricotta cheese, you will love my Baked, Ricotta Cheesecake and 3 Delicious Ways to use Up Leftoover Ricotta Cheese

Blueberry Ricotta Cake
Makes an 8 inch round cake

250g smooth ricotta, room temperature
2/3 cups castor sugar
2 eggs, at room temperature
90g unsalted butter, melted
1tbsp freshly grated orange zest (or lemon zest)
1/4 cup fresh orange juice (or 1tbsp lemon juice)
1 1/2 cups self-raising flour, sifted
1/2 cup almond meal
1/2 cup fresh or frozen blueberries
Extra blueberries, to decorate

Preheat oven to 180°C. Grease the base and sides of an 8-inch round pan with 3-inch height and line the base with baking paper.

In a large bowl, beat the ricotta, sugar and eggs until well blended. Add the butter, orange zest and juice. Beat for 1/2 a minute. Fold in the flour and almond meal until just combined. Fold in the blueberries.

Pour the batter into the prepared pan. Bake for 45-55 minutes or until cooked through. A skewer inserted in the middle of the cake should come out clean. Remove from oven. Set aside for 5 minutes, then gently turn onto a wire rack to cool.

Once completely cool, pipe or dollop whipped cream. Decorate with fresh blueberries.

Blood Orange Olive Oil Cake

25|08|2022

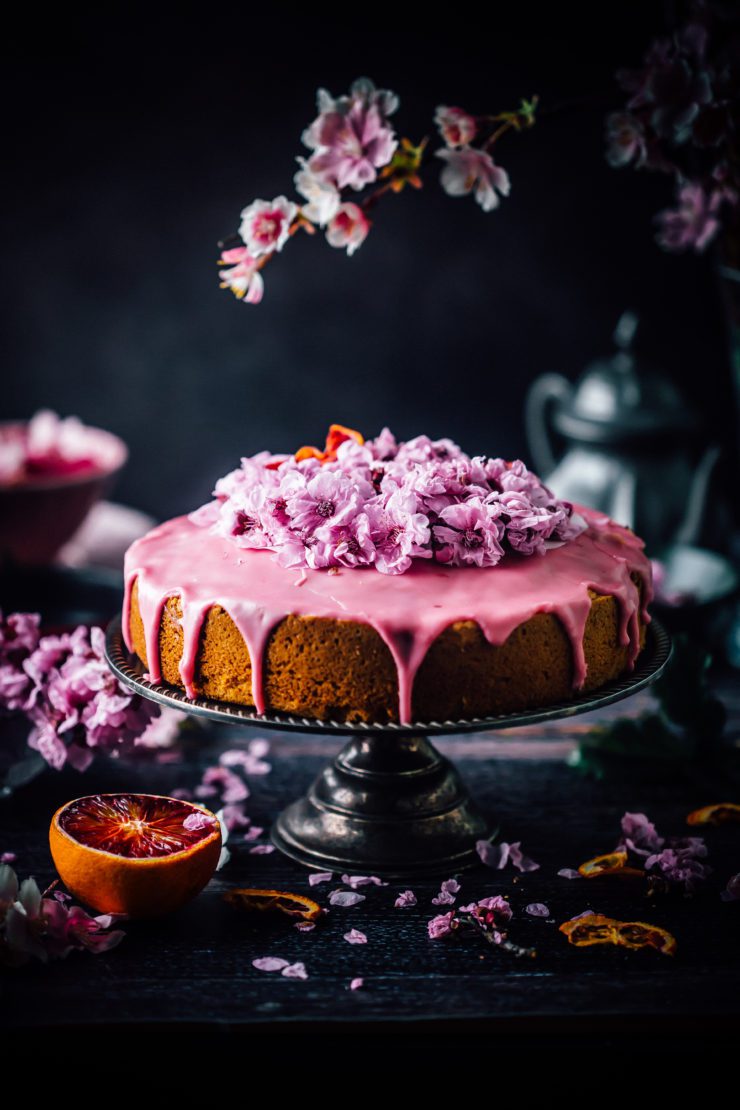
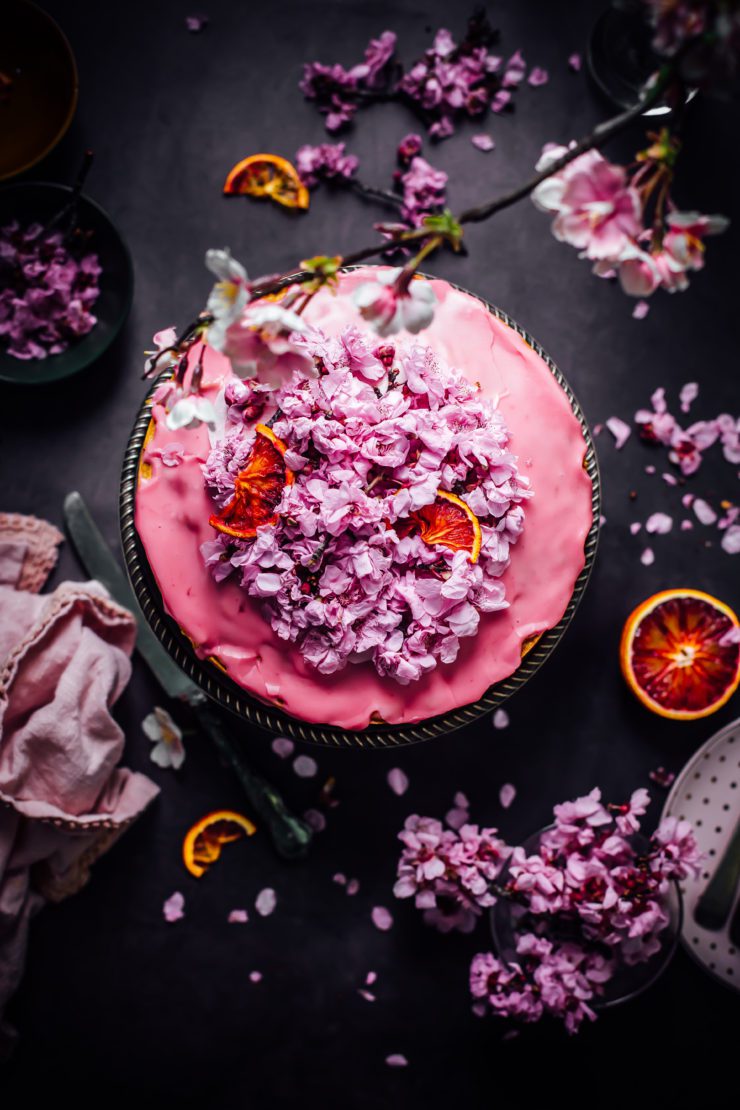
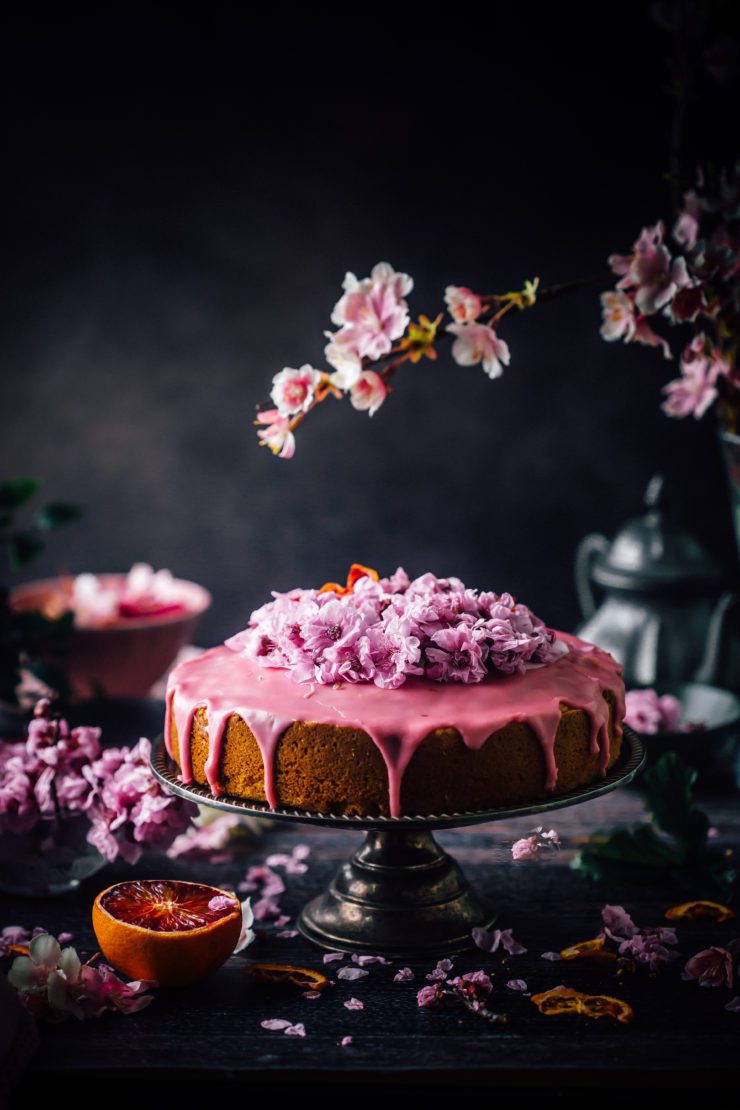
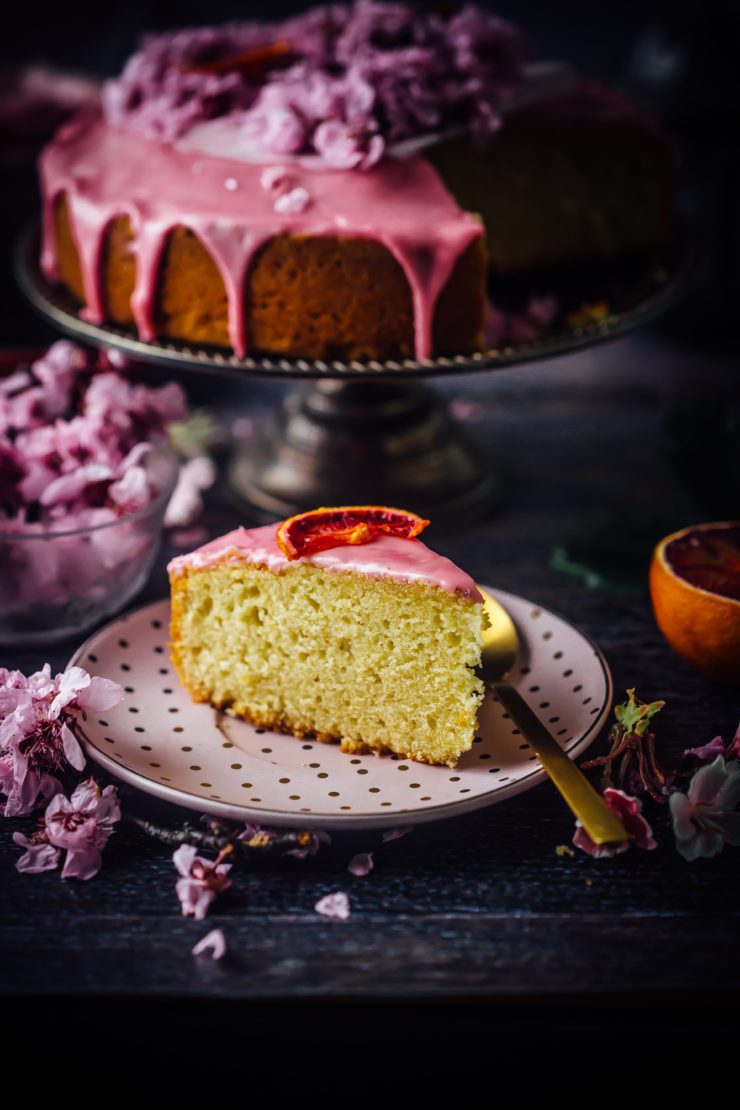
It’s probably a good thing that blood oranges aren’t available all year or I would be baking three blood orange cakes every week. They are just the most beautiful citrus fruits to cook/bake and eat, not to metion how beautiful they are to look. This blood orange olive oil cake is light, bright and refreshing.

Blood Orange Olive Oil Cake

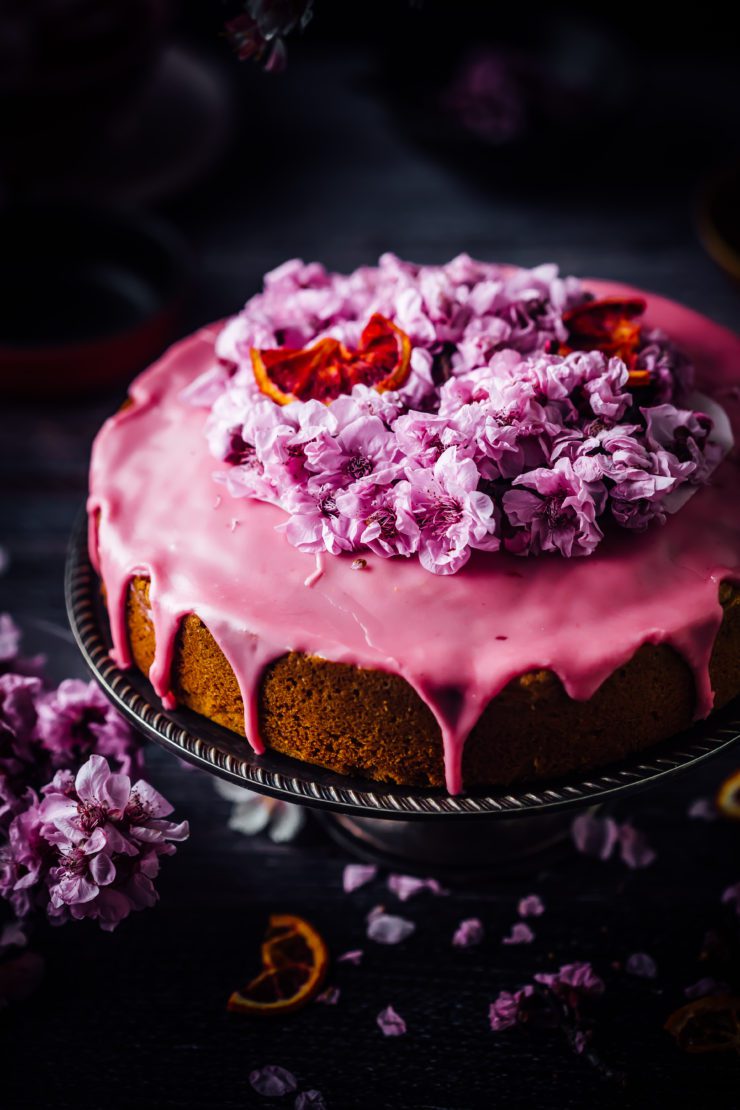
The cake like any olive oil cake, is light, full of texture from the almonds with a subtle flavour of citrus. Hoever, it is the glaze that makes the cake so special. There is no colour added to it. The bright pink colour comes from the blood orange juice.

It is just about spring here in Austraila and the trees look spectalcular with blossoms adorning every corner of my neighbourhood. They made the perfect decoration fo this cake.
PS : If you’re using fresh flowers on a cake, make sure the stems are either covered or you place a piece of baking paper between the flowers and the cake. Unless of course you are sure that they are suitable for consumption.

Blood Orange Olive Oil Cake

If you’re a fan of the beautiful crimson hued blood oranges, don’t forget to try my Blood Orange Cheesecake

Blood Orange Olive Oil Cake
Makes an 8 inch round cake

3 eggs
1 cup (215g) caster sugar
3/4 cup (185ml) extra virgin olive oil
1/4 cup (60ml) freshly squeezed orange juice
1 cup (150g) self raising flour
1/2 cup (55g) almond meal
1 tbsp finely grated blood orange zest

Blood Orange Glaze
3 tbsp freshly squeezed blood orange juice
1 cup icing sugar (powdered sugar )

Make the cake : Preheat oven to 180°C. Grease and line the base of a round 8 inc (20cm) pan with baking paper.
Using an electric mixer beat the eggs and sugar in a bowl until thick and pale. Add the oil and juice and beat until just combined.
Add the flour, almond meal and zest and use a metal spoon to gently fold until combined. Do not over-mix. Pour mixture into the prepared pan. Bake for 45 minutes or until a skewer inserted in the centre comes out clean. Remove from the oven. Gently loosen the sides using a blunt knife. Turn onto a wire rack to cool completely before glazing the cake.

Make the glaze : Sift the sugar into a medium bowl. Add the blood orange juice, continuously whisking until smooth and a glossy pink glaze is created. The glaze will set with time so pour it onto the cake (at room temperature) as soon as possible. Allow to set in the fridge for 15-20 minutes. Decorate, slice and enjoy!


Blood Orange Cheesecake

14|08|2022

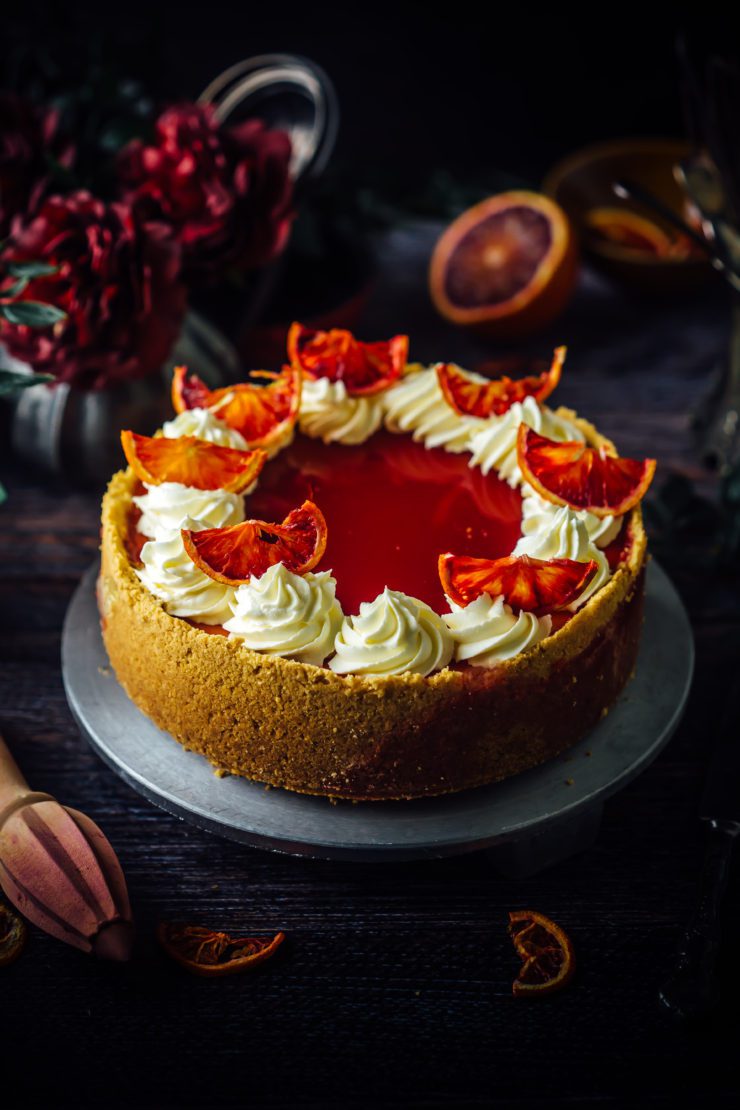
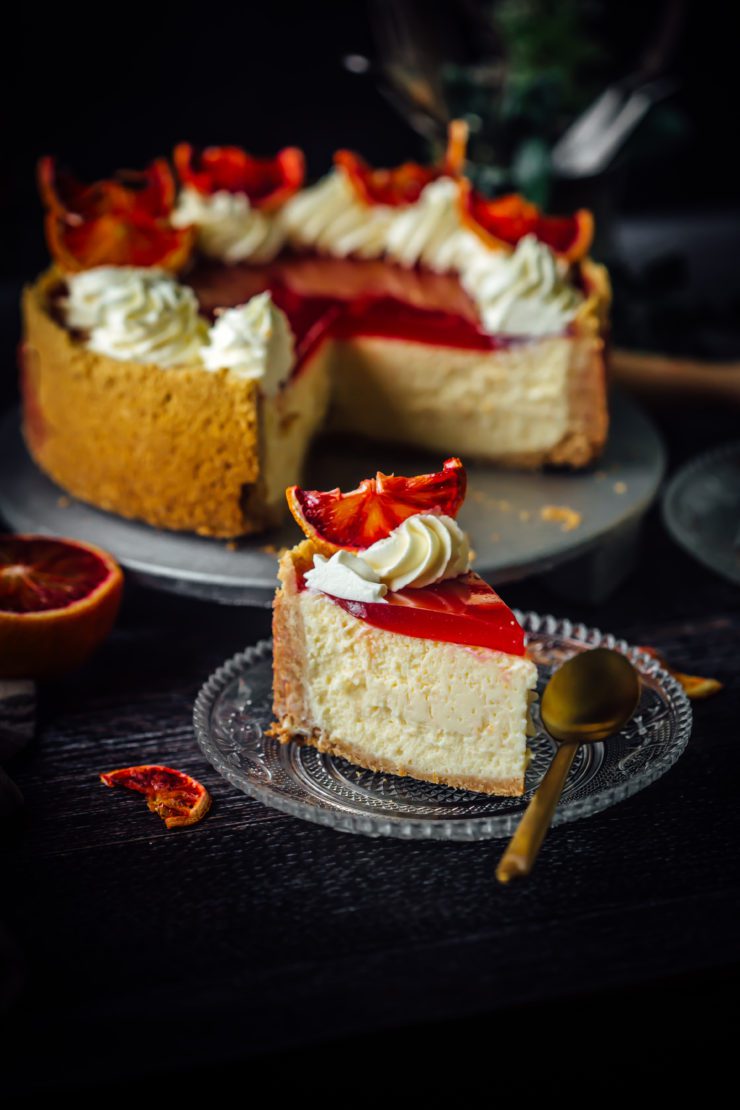
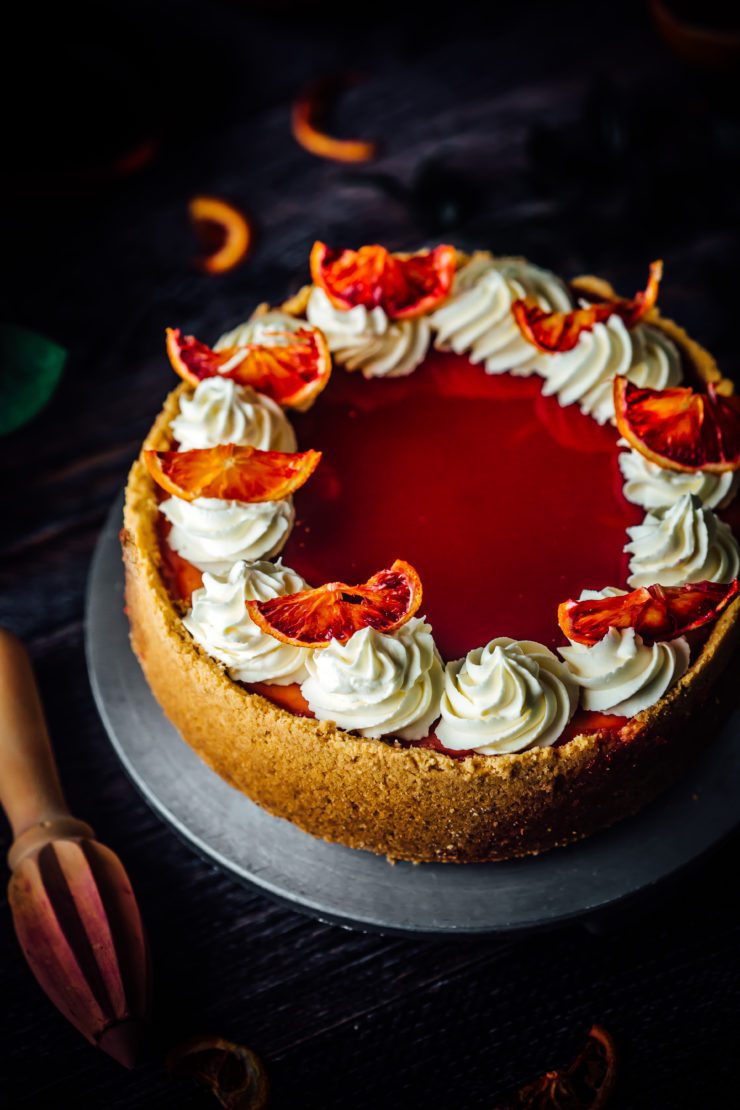
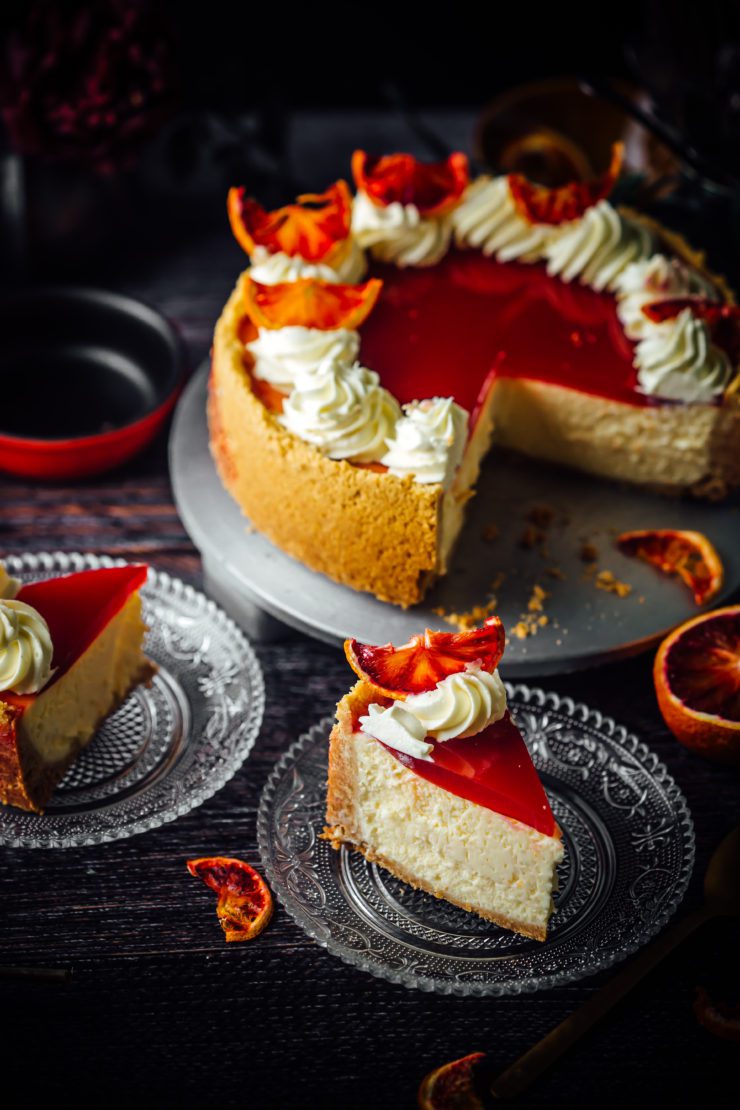
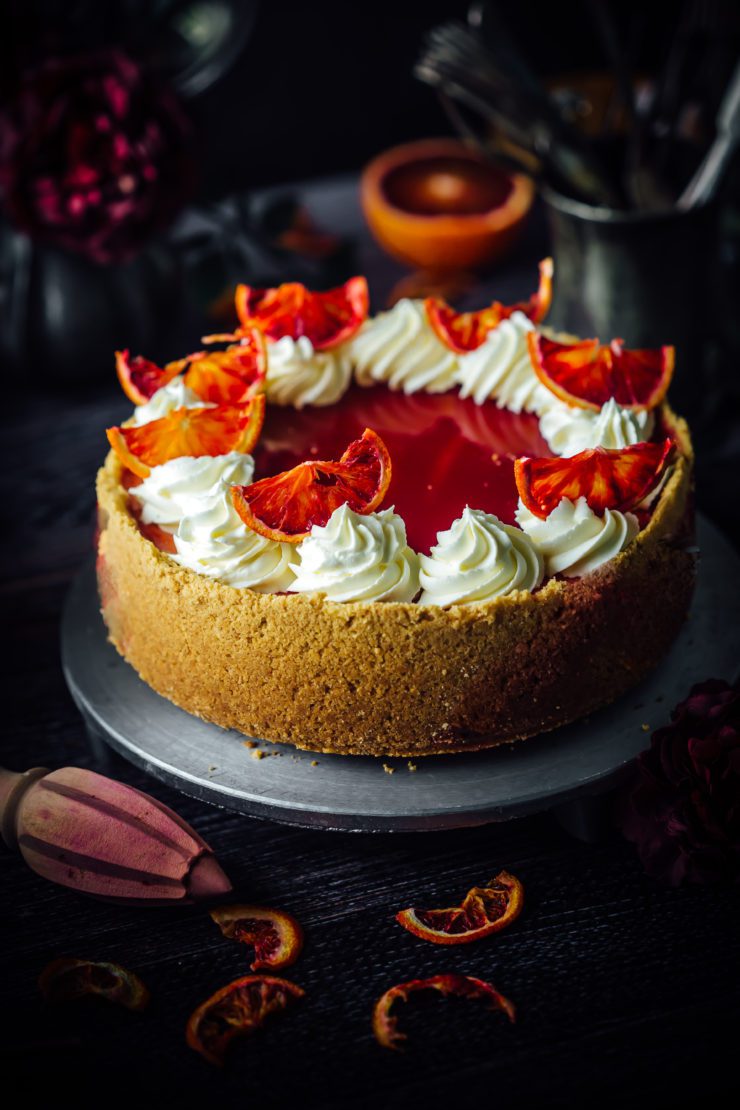
It’s blood orange season in Australia. The best time of the year since it’s also beginning to look like spring. How bloody amazing are blood oranges! I wish they didn’t have such a short season and I could come up with a hundred recipes. That may be difficult but this one recipe of Blood Orange Cheesecake makes up for everything. It is absolutely DIVINE to taste.

Blood orange cheesecake

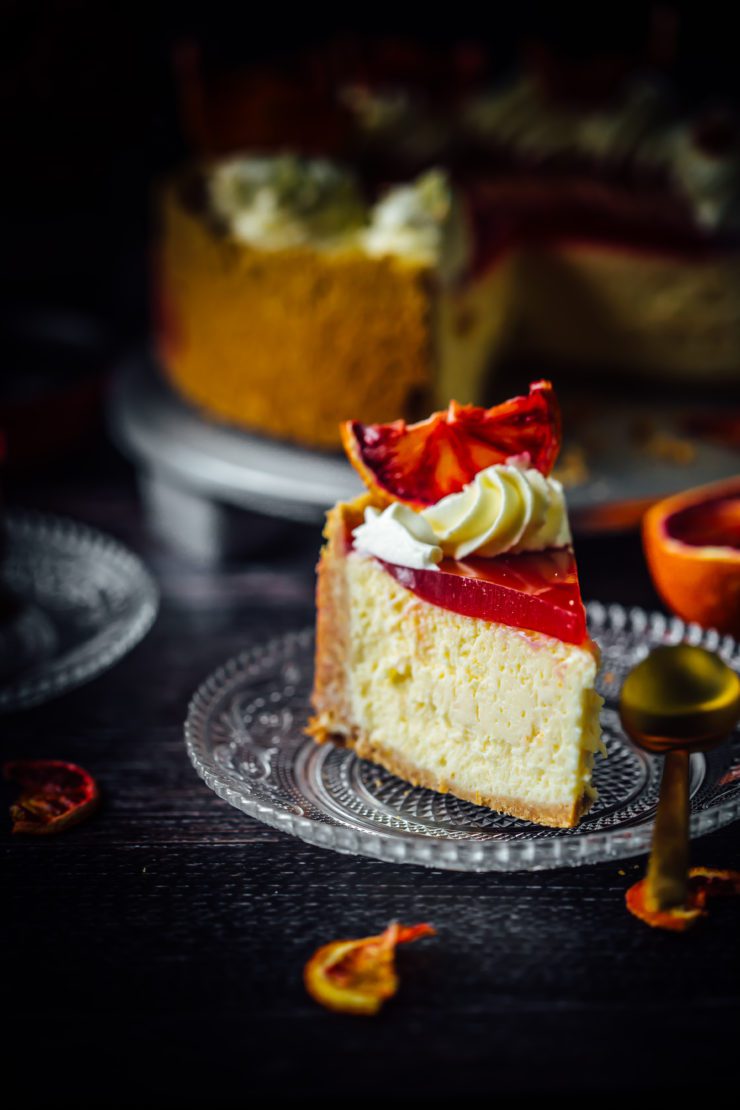
This is a baked cheesecake with a biscuit crust a blood orange infused filling and blood orange jelly on the top made from freshly squeezed oranges. The smooth and creamy filling is balanced out beautifully by the strong citrus notes in the jelly. And for an outcome so amazing, there is barely any effort. All the layers can be made ahead and assembled later. The cheesecake takes a bit of time in the oven (first cooking, then cooling) and you need loads of patience to not slice it already.

Needless to say, if blood oranges are not in season, you could go with regular oranges. The only thing to be mindful of is the sweetness of your oranges. Adjust the sweetness in the jelly as required.

Blood orange cheesecake

If you love blood oranges, don’t forget to check out my Blood orange Olive Oil Cake

Here is a fabulous Ricotta cheesecake for the cheesecake lovers.

Blood Orange Cheesecake
Makes an 8 inch (20 cm) round cheesecake

Cheesecake
250 g digestive biscuits
150 g butter, melted
500 g cream cheese, room temperature
1/2 cup sour cream
1 cup castor sugar
3 eggs
1 tsp vanilla extract
zest and juice of 1 Blood Orange
whipped cream, to decorate
dehydrated blood orange slices, to decorate

Blood Orange Jelly
Freshly squeezed juice of 4 large Blood Oranges (approx 1 cup), strained
1/2 cup + 1 tbsp castor sugar
2 tbsp water
1 and 1/2 tsp powdered gelatine

Preheat oven to 160 degrees C. Grease the base and sides of a springform pan and line the baking paper. Use a square sheet of baking paper larger than the base of the pan so there is an excess paper sticking out. This helps to move the baked cheesecake easily when done. Place the springform pan on a baking tray so it is easy to move it in and out of the oven.

Process biscuits until they resemble fine crumbs. Add butter . Process until combined. Press mixture over base and side of prepared pan. Refrigerate for 30 minutes.

Meanwhile beat the cream cheese, sour cream and sugar until combined. Add eggs , one at a time, beating until combined. Add vanilla extract, blood orange zest and juice . Beat for 1 minute. Pour mixture into prepared pan, ensuring there is room on the top for the jelly so it does not overflow from the sides.

Bake for 60-70 minutes or until filling is just set (mixture should be slightly wobble in centre). Cool in oven with door slightly ajar. Refrigerate for at least 4 hours before adding the jelly layer. 

Make the jelly : Place the juice and sugar in a medium saucepan and stir over medium heat until sugar dissolves, then remove from heat.
Combine gelatine and water in small bowl. Microwave for 10-20 seconds or until dissolved, then stir into hot juice mixture. Ensure there are no lumps and mixture is smooth. Strain again if required. Cool to room temperature, then pour gently on the top of the cheescake filling. Refrigerate until set (approx 2 hours). Gently release the sides of the cake pan and tranfer the cheesecake onto a plate or cake stand (it should slide off easily due to the baking paper underneath.

Decorate with whipped cream and dehydrated orange slices. Slice and enjoy!

Caramilk and Strawberry Madeleines

11|08|2022

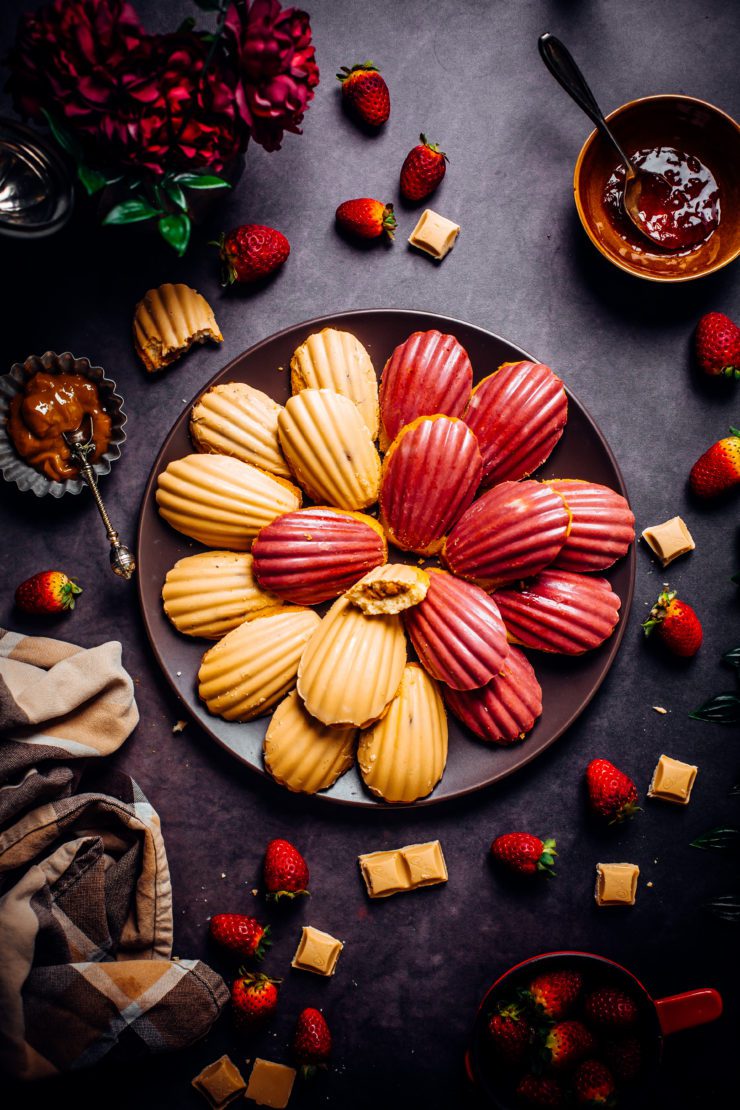
Wow! Two back to back madeleine recipes. You might be wondering if there is a madeleine obsession happening here. Well, let me tell you that once you start baking these dainty Madeleines/french cakes aka caramilk cookies and strawberry cookies, you’re going to make them over and over again. So easy to flavour and decorate but thats not even the best part. The best bit is that the batter can be made ahead and stored in the fridge for upto 3 days. When you want them fresh, just bake them with your favourite fillings.

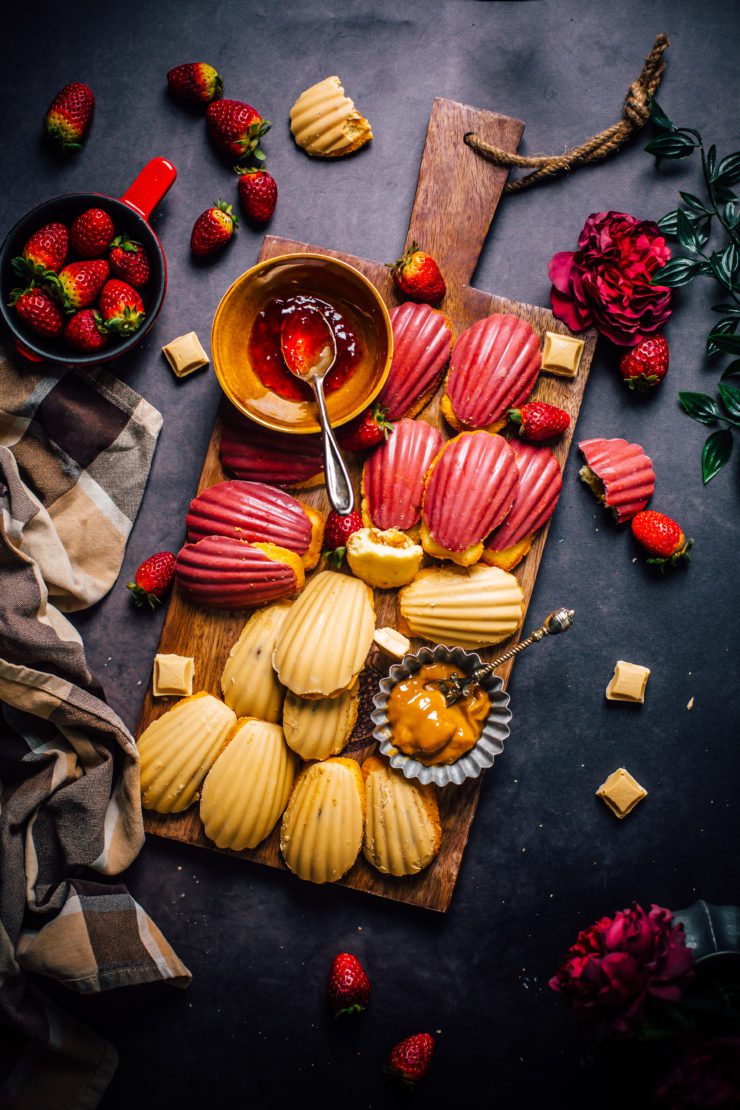
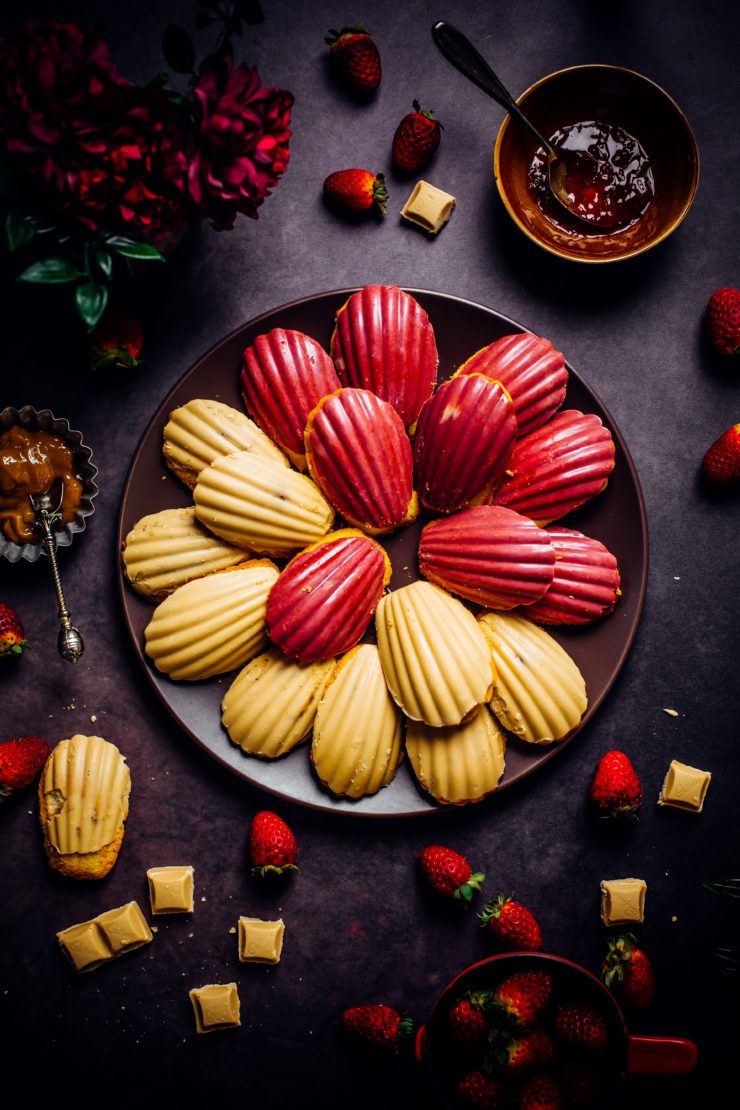
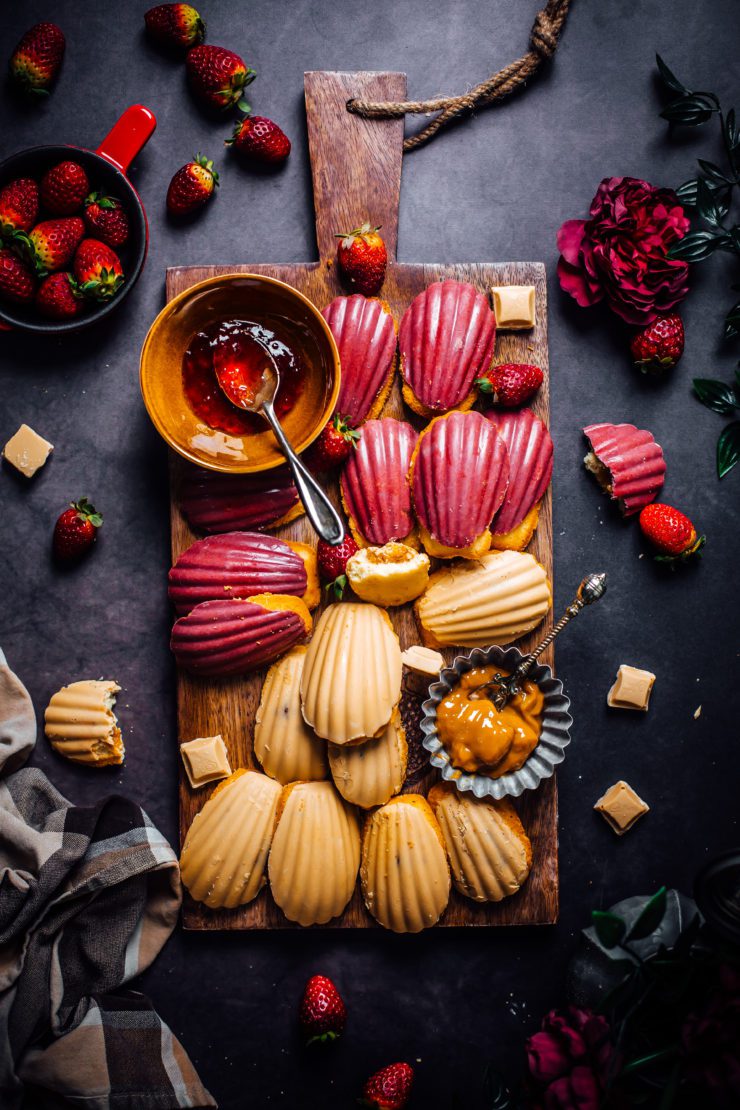
Madeleine Cramilk Cookies

I filled half my batch with caramel sauce, then coated them in caramilk which is nothing but roasted white chocolate. The other half were filled with strawberry jam and coated in white chocolate (colored red).

I used these Madeleine molds to make them that make for easy release of the cookies.

The caramel sauce I used was was store bought and thick, almost the texture of dulce de leche. A thinner sauce might not hold up and get lost in the batter. That’s the only thing to be mindful of. Otherwise they are very simple and very delicious.

Madeleine Cramilk Cookies

If you love Madeleine cookies, you’d love these Rosewater and Cardamom ones

Caramilk and Strawberry Madeleines
Makes 18

3 eggs
1/2 cup caster sugar
1/2 tsp vanilla extract
3/4 cup plain flour
1/4 tsp baking powder
60g unsalted butter, melted and cooled
1/2 cup caramel sauce or dulce de leche
1/2 cup strawberry jam
100 g Caramilk, melted
100 g white chocolate, melted
red gel food colouring

Preheat oven to 200°C. Grease well, a 12-hole madeleine baking pan.
Place eggs, sugar and vanilla into a large bowl. Using an electric mixer, beat until thick, pale and doubled in volume. Gently fold in flour, baking powder and butter using a metal spoon. Cover bowl with cling film and place in the fridge for 30 mins or up to 3 days.

Pipe or place approx half a tablespoon of mixture into each prepared madeleine moulds. Pipe or carefully spoon 1/2 tsp of caramel sauce or strawberry jam. Cover with 1/2 tbsp of madeleine batter to encase the filling. Bake for 15-20 minutes or until golden and cakes spring back when pressed in the centre. Cool slightly before removing from moulds. Place on a wire rack to cool completely.

For the Caramilk cookies , pipe or spoon about 1.5 tsp of melted Caramilk into each clean mold of the pan. Gently place madeleines over the chocolate, pressing slighly. Place pan in freezer to set. About 25 mins. Remove from freezer. Madeleines should easily come off the pan. Store in an air tight container in room temperature.
For the strawberry madeleines, colour the white chocolate with 2 drops of red gel food colouring. Pipe (or spoon) small amount of melted white chocolate into a clean mold. Gently place madeleines over the chocolate. Repeat with remaining madeleines. Place pan in freezer to set. About 25 mins. ⁣
Remove from freezer. Madeleines should easily come off the pan. Store in an air tight container in room temperature.

  • « Previous Page
  • 1
  • …
  • 3
  • 4
  • 5
  • 6
  • 7
  • …
  • 45
  • Next Page »
Hey Sugar
Cake
Link to my Facebook Page
Link to my Instagram Page
Link to my Pinterest Page
Link to my Mail Page
Subscribe to this site
Fresh Awards
2019 Aus mumpreneur
2019 aus mumpreneur
Mumbrella

Copyright © 2026 · Sugar Et Al · Designed by Smitten Blog Designs · Log in