• Home
  • Recipe Index
    • Recipe Index
    • Breakfast/Brunch
    • Cakes and Puddings
    • Chocolate
    • Cookies and cupcakes
    • Custard and Mousse
    • Gluten Free
    • Ice Cream
    • Mains
    • Other Sweet Treats
    • Snack/Appetizers
    • Soups and Salads
    • Tarts and Pies
    • Vegetarian
  • About
  • Cookbook
  • Portfolio
  • Store
  • Press
  • Work with Me

Sugar et al

Because Life is a blend of flavours...

Chocolate and Coconut Slice

22|06|2014

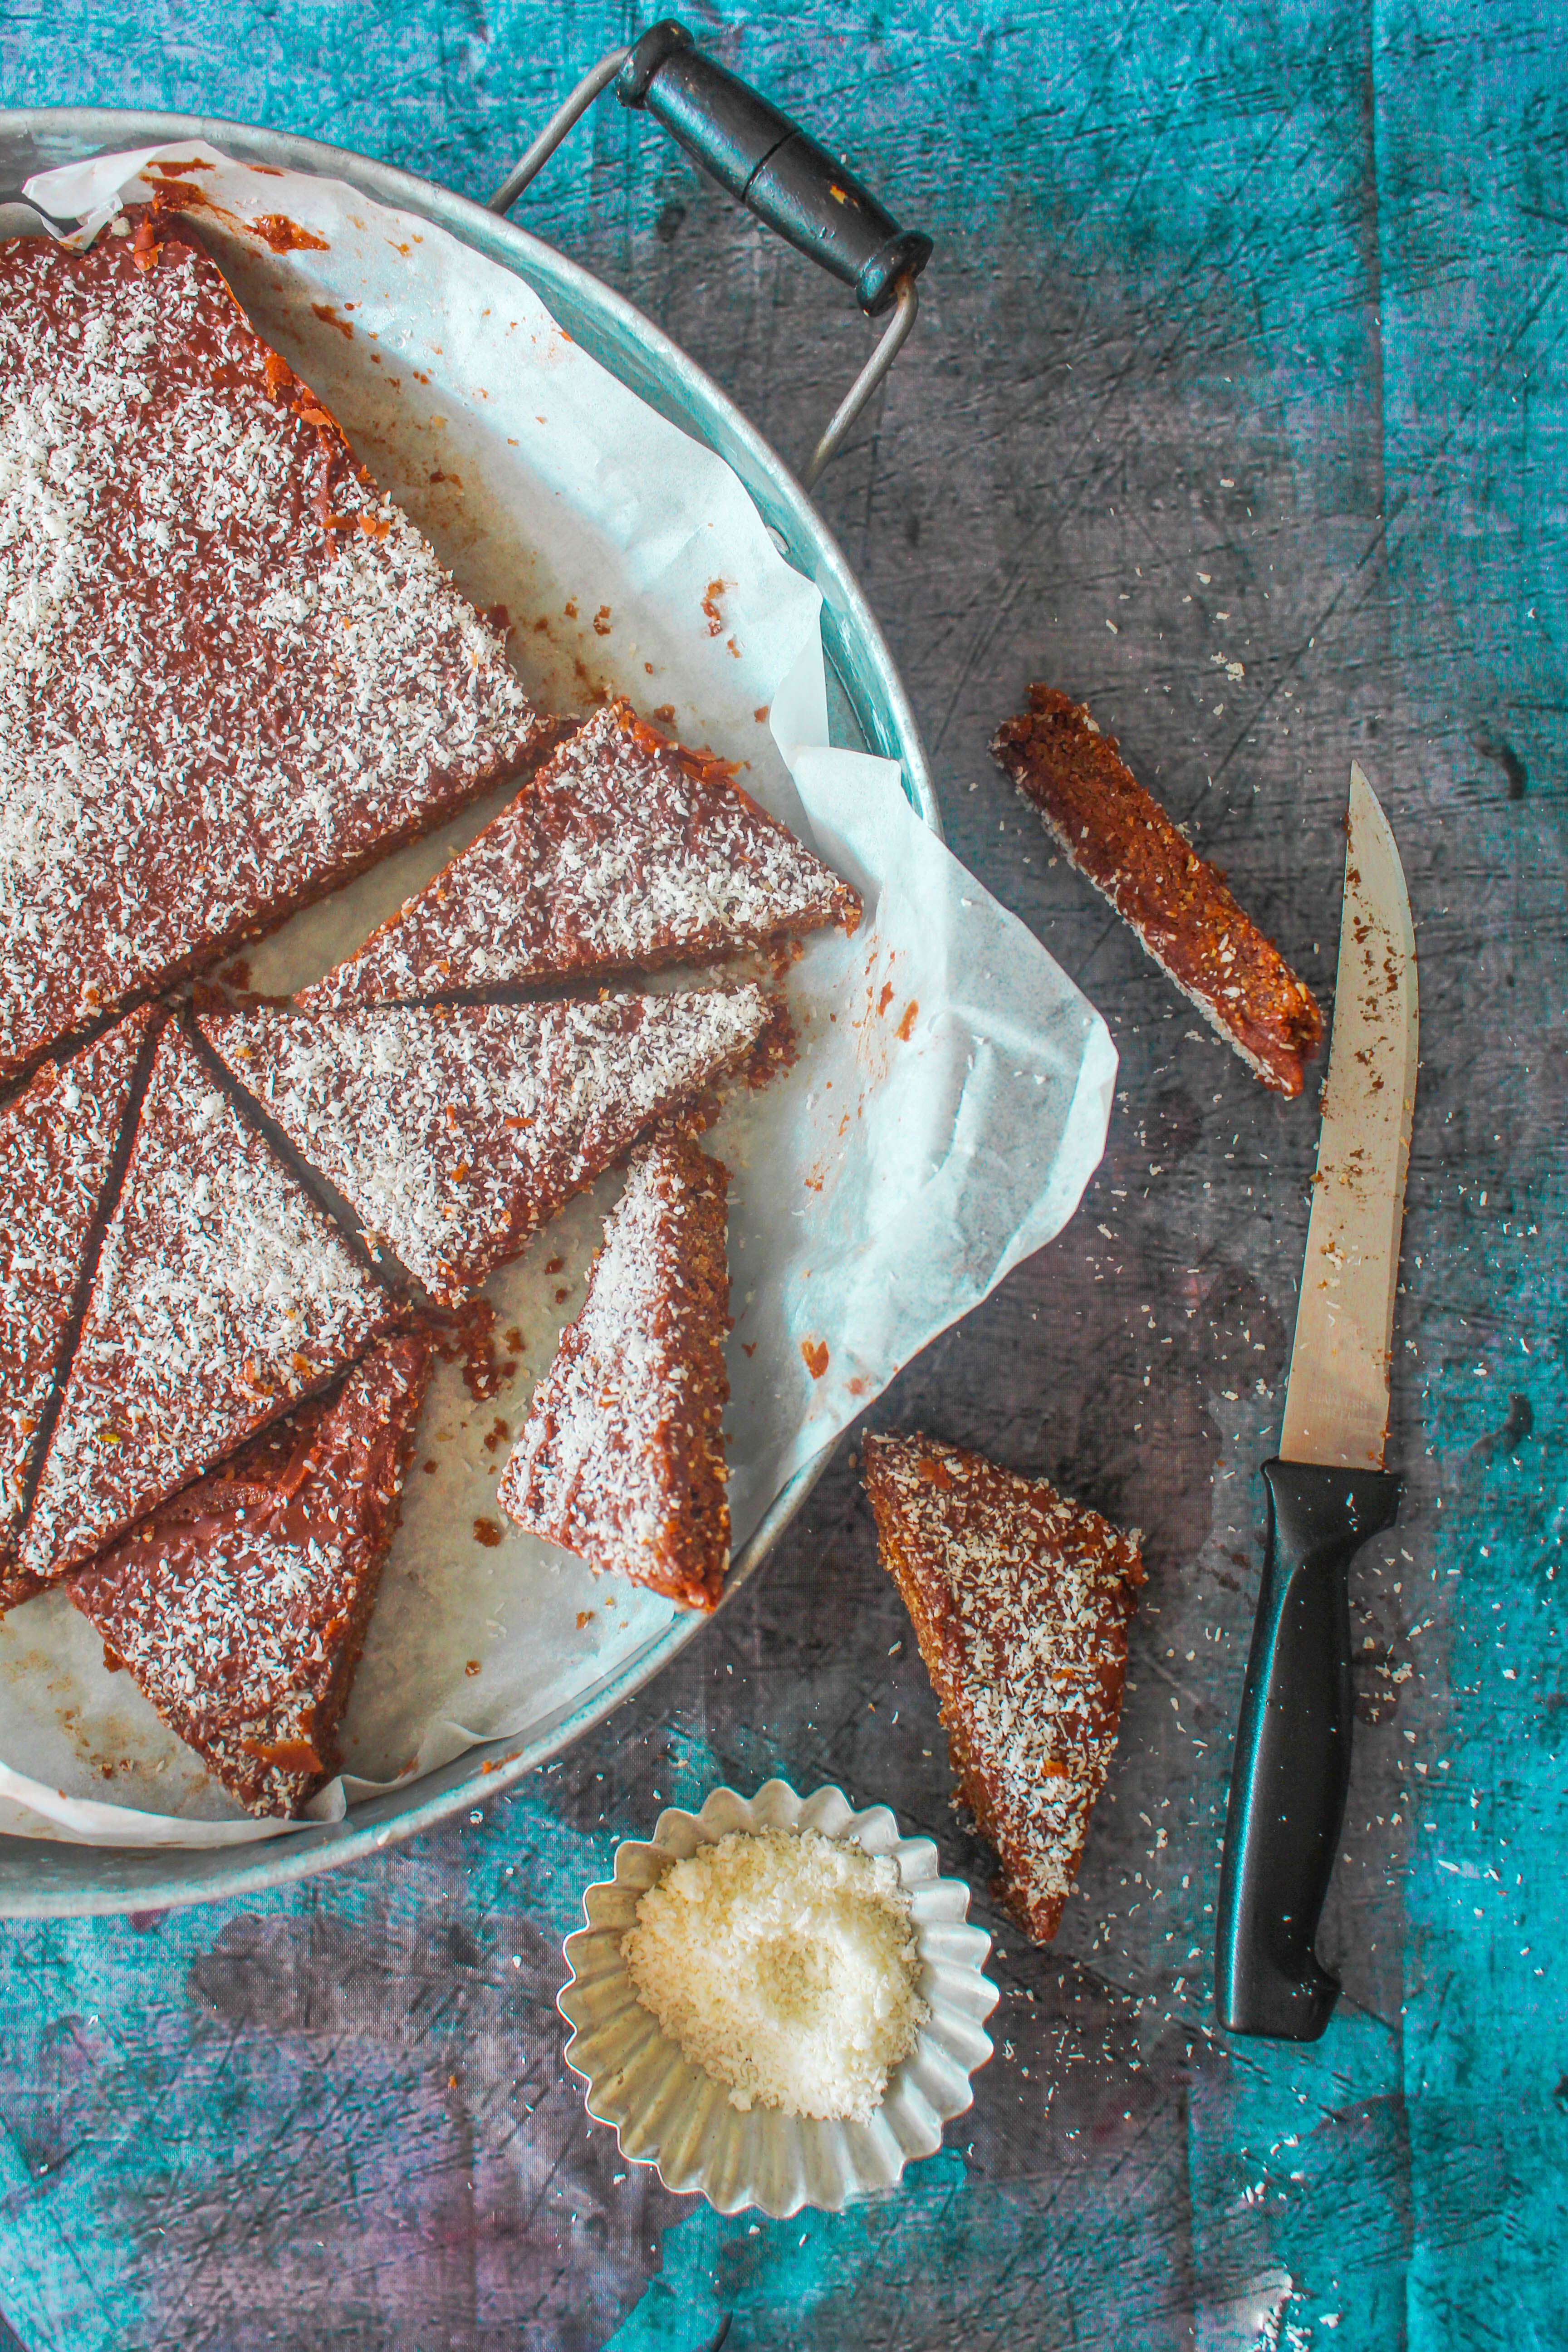
I love recipes that can be made without prep or planning. Shopping for ingredients is always fun but once in a while it’s nice to be able to make something with regular pantry ingredients. One-bowl recipes make life so much easier. The last thing you want to do in winter is wash heaps of dishes. And the one thing in winter that you love to do is use the oven.
IMG_0457-2

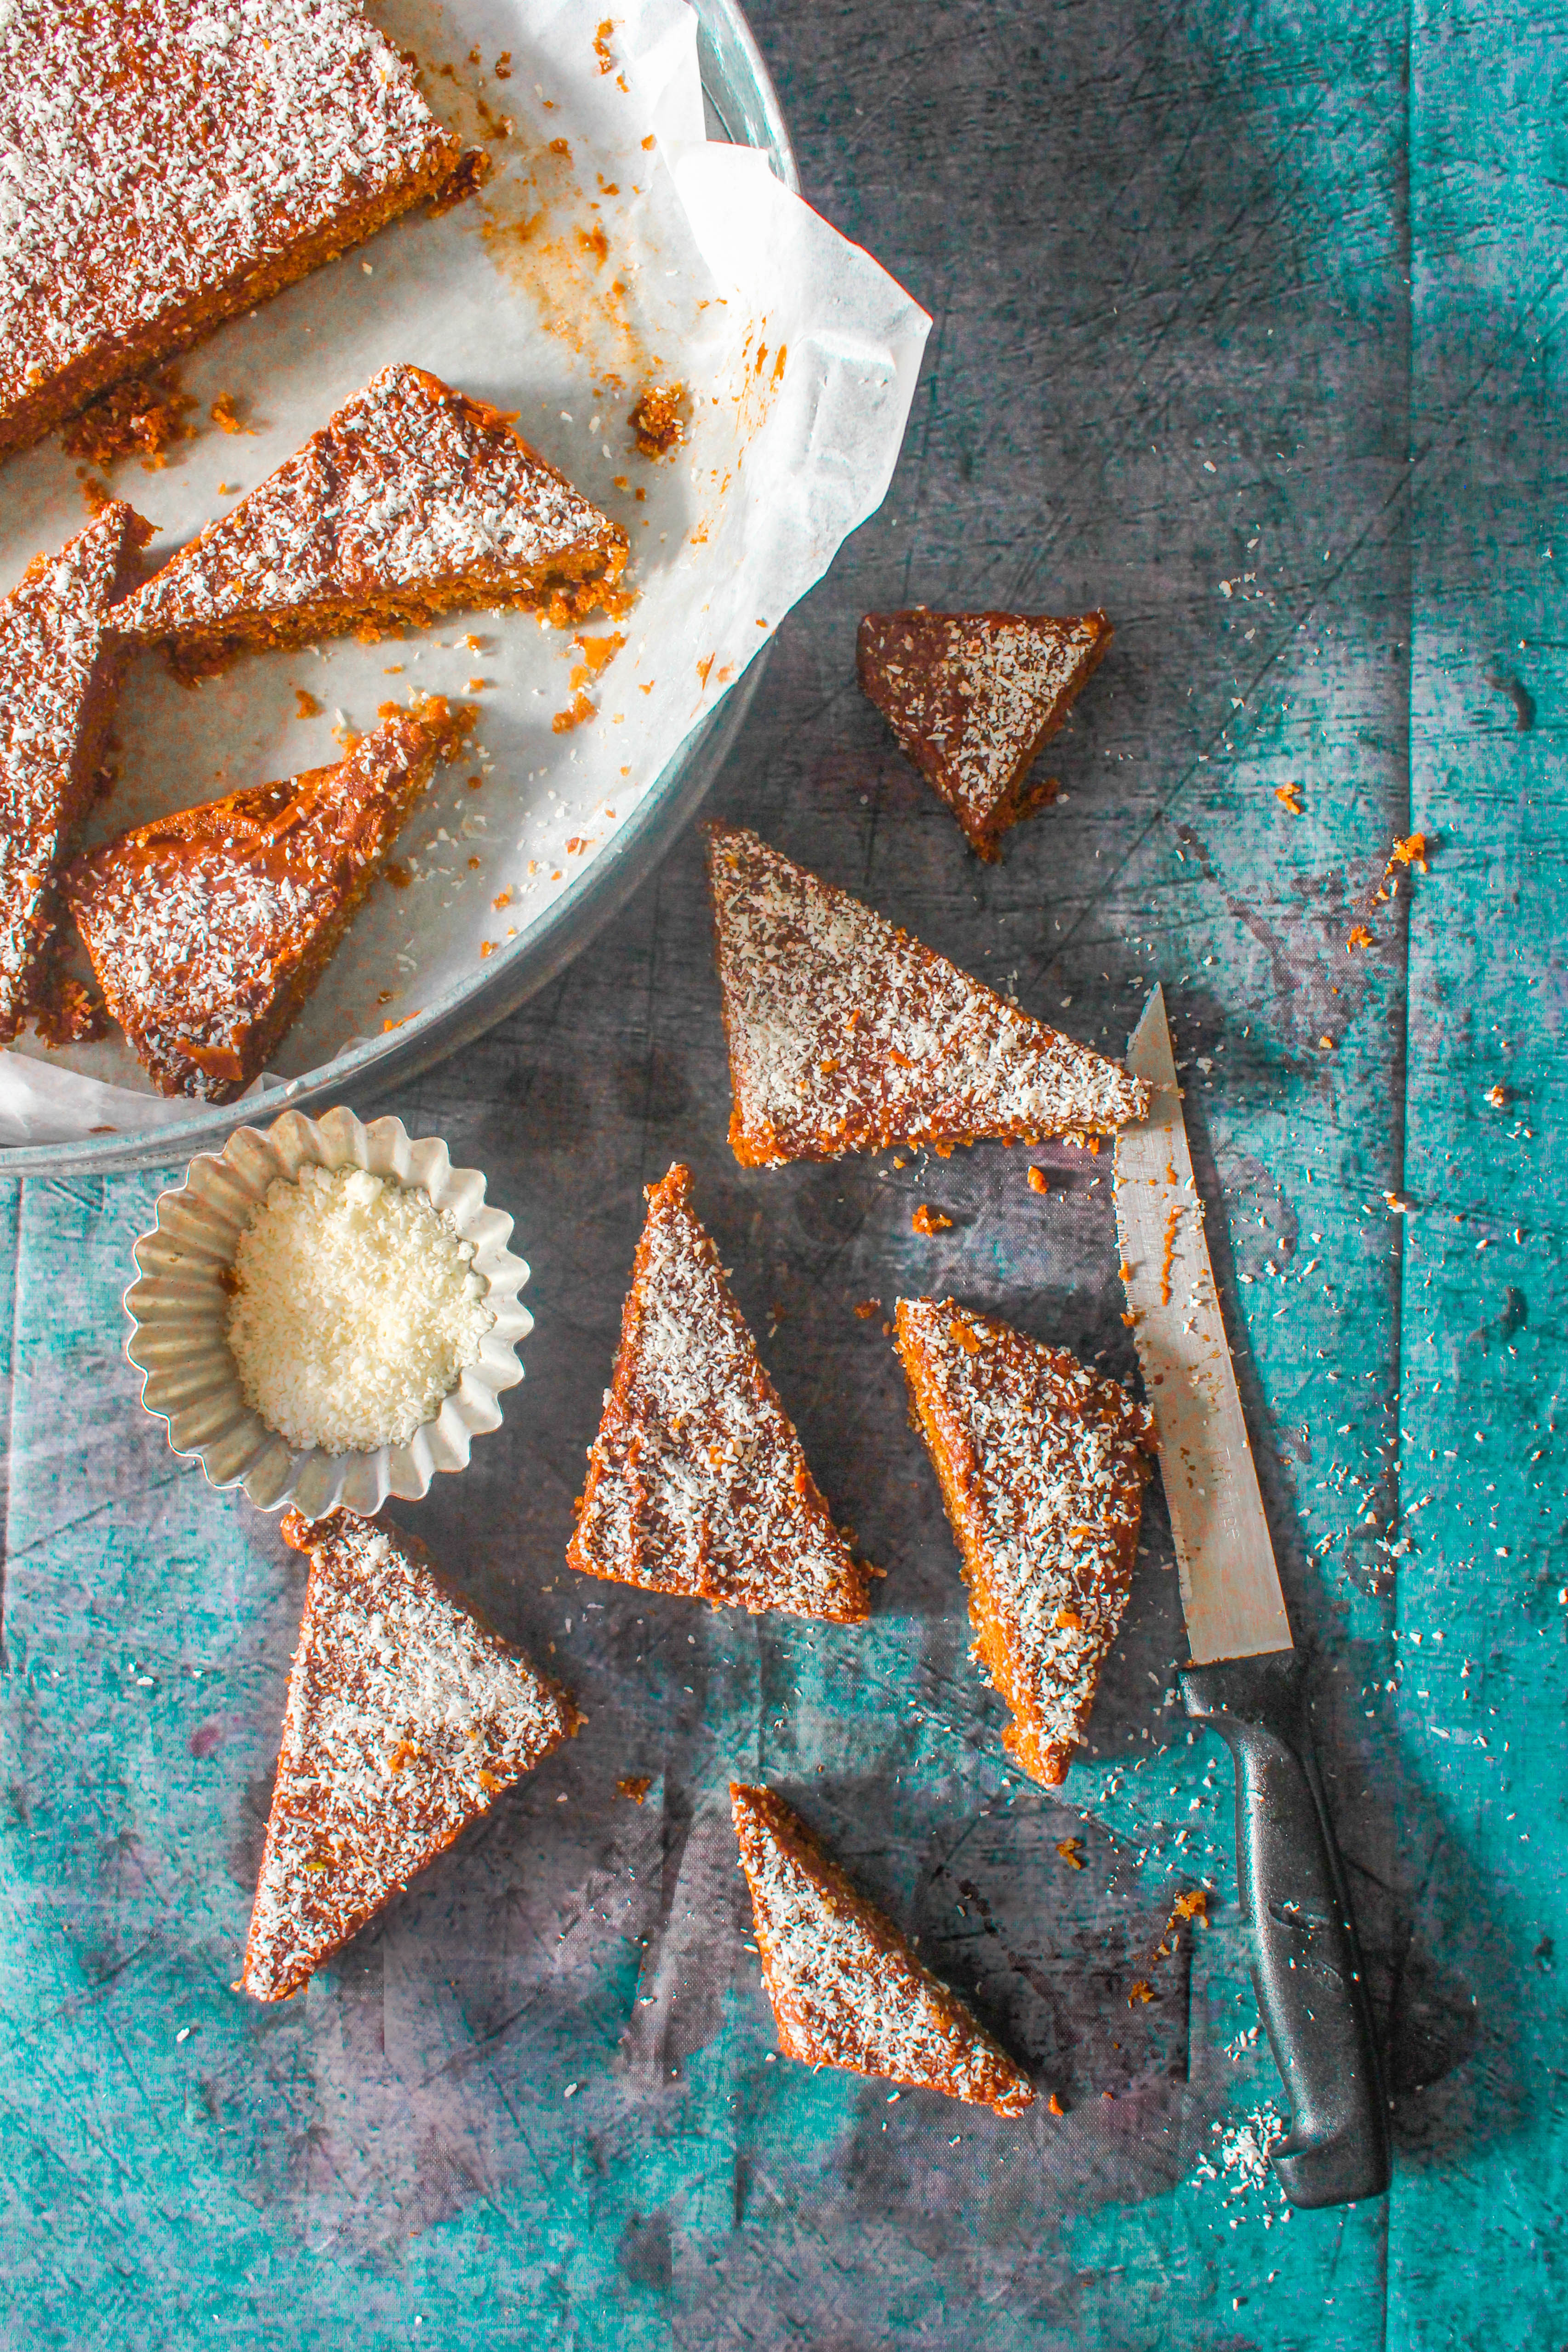
This recipe is all of the above and tastes amazing. I discovered chocolate and coconut as a combination only recently. Individually I’ve cooked or baked with both for as long as I can remember. Put together in a slice or bar, I found it hard to stop eating them.
IMG_0466

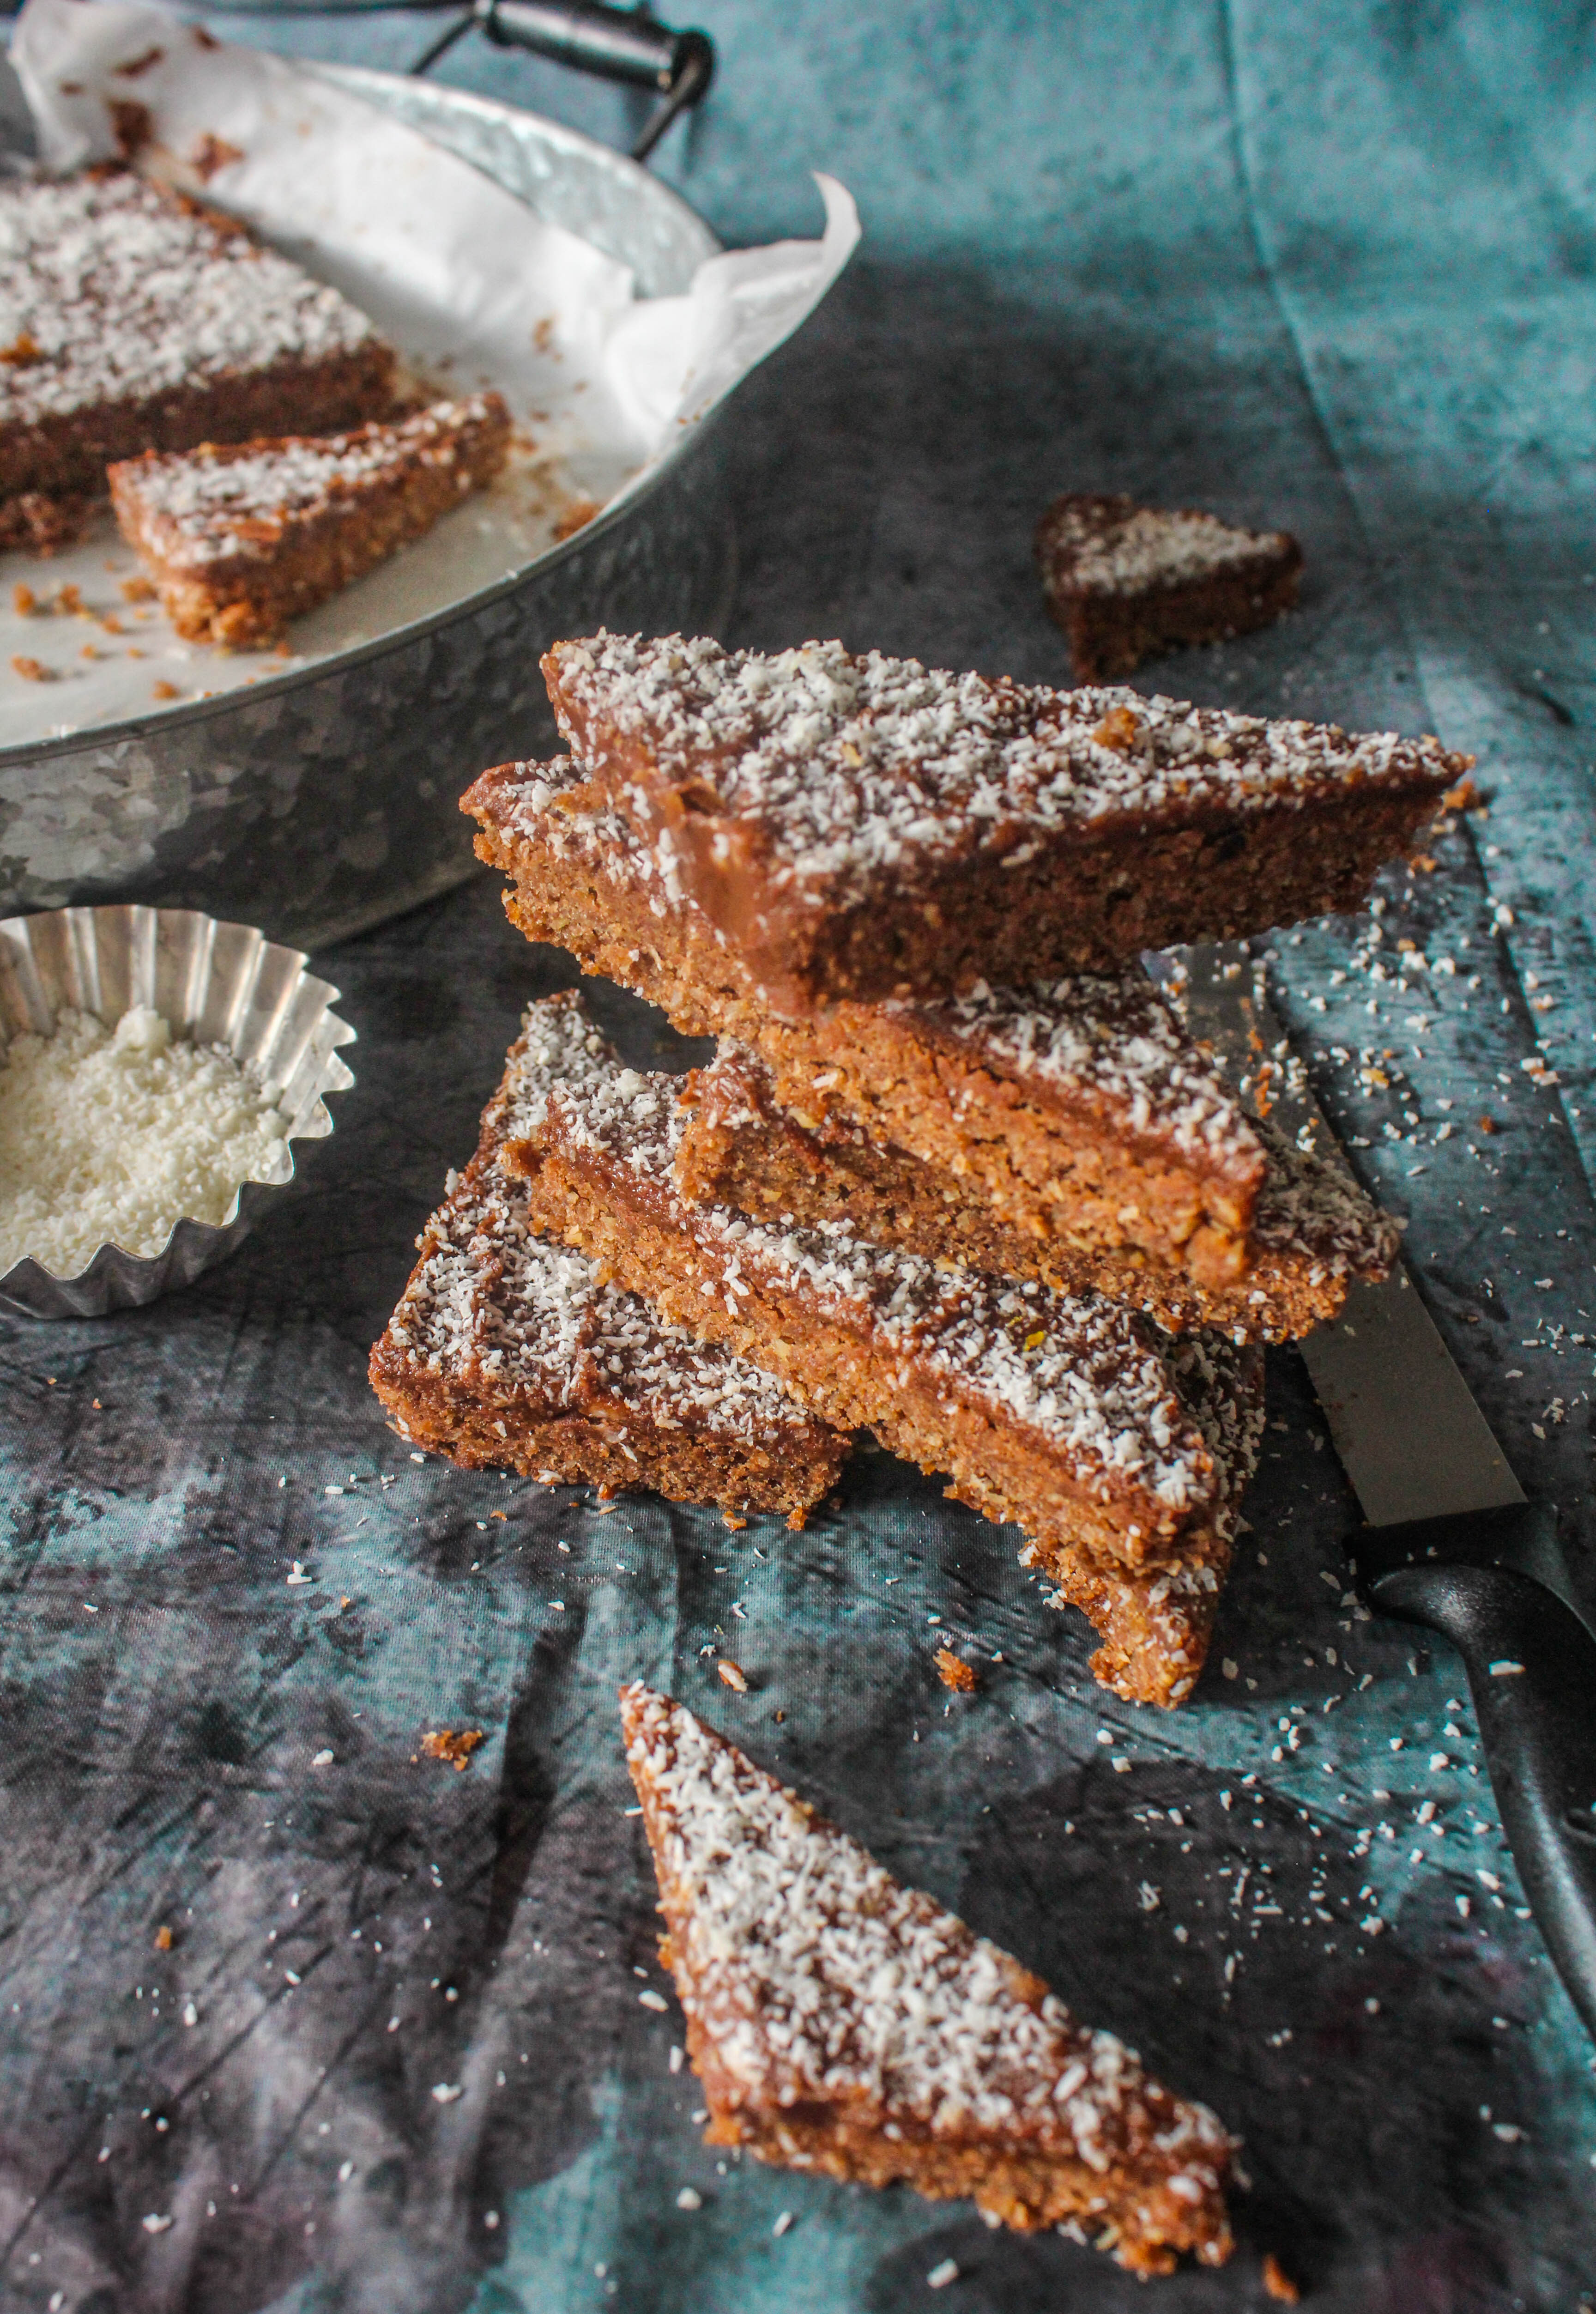
Technically, there is no chocolate in the recipe however it tastes as good as chocolate. They are fudgy almost like brownies but not soft. They have a great texture and the icing makes them really indulgent.
IMG_0469

Chocolate and Coconut Slice (adapted with variation from Taste.com)
Yields 16 slices

150g butter, melted, cooled
1 cup firmly packed brown sugar
1 egg, lightly beaten
1 teaspoon vanilla extract
1/2 cup plain flour
1/3 cup self-raising flour
1/4 cup cocoa powder
3/4 cup desiccated coconut

Chocolate Icing
1 cup icing sugar mixture
1/4 cup cocoa powder
2
0g butter, finely chopped
2 tbsp. boiling water

Preheat oven to 180 degrees C. Grease a 20cm x 30cm rectangular pan and line with baking paper extending paper 2cm from edge of pan at long ends.
Place butter, brown sugar, egg and vanilla in a large bowl. Stir until well combined. Sift over flours and cocoa. Add 1/2 cup coconut. Stir to combine. Spread mixture into prepared pan. Bake for 25 to 30 minutes or until firm to touch

Make Chocolate icing: Sift icing sugar and cocoa into a medium heatproof bowl. Add butter and boiling water. Stir until smooth. Spread hot slice with icing. Sprinkle with remaining coconut. Set aside to cool completely in pan. Cut into pieces. Serve.
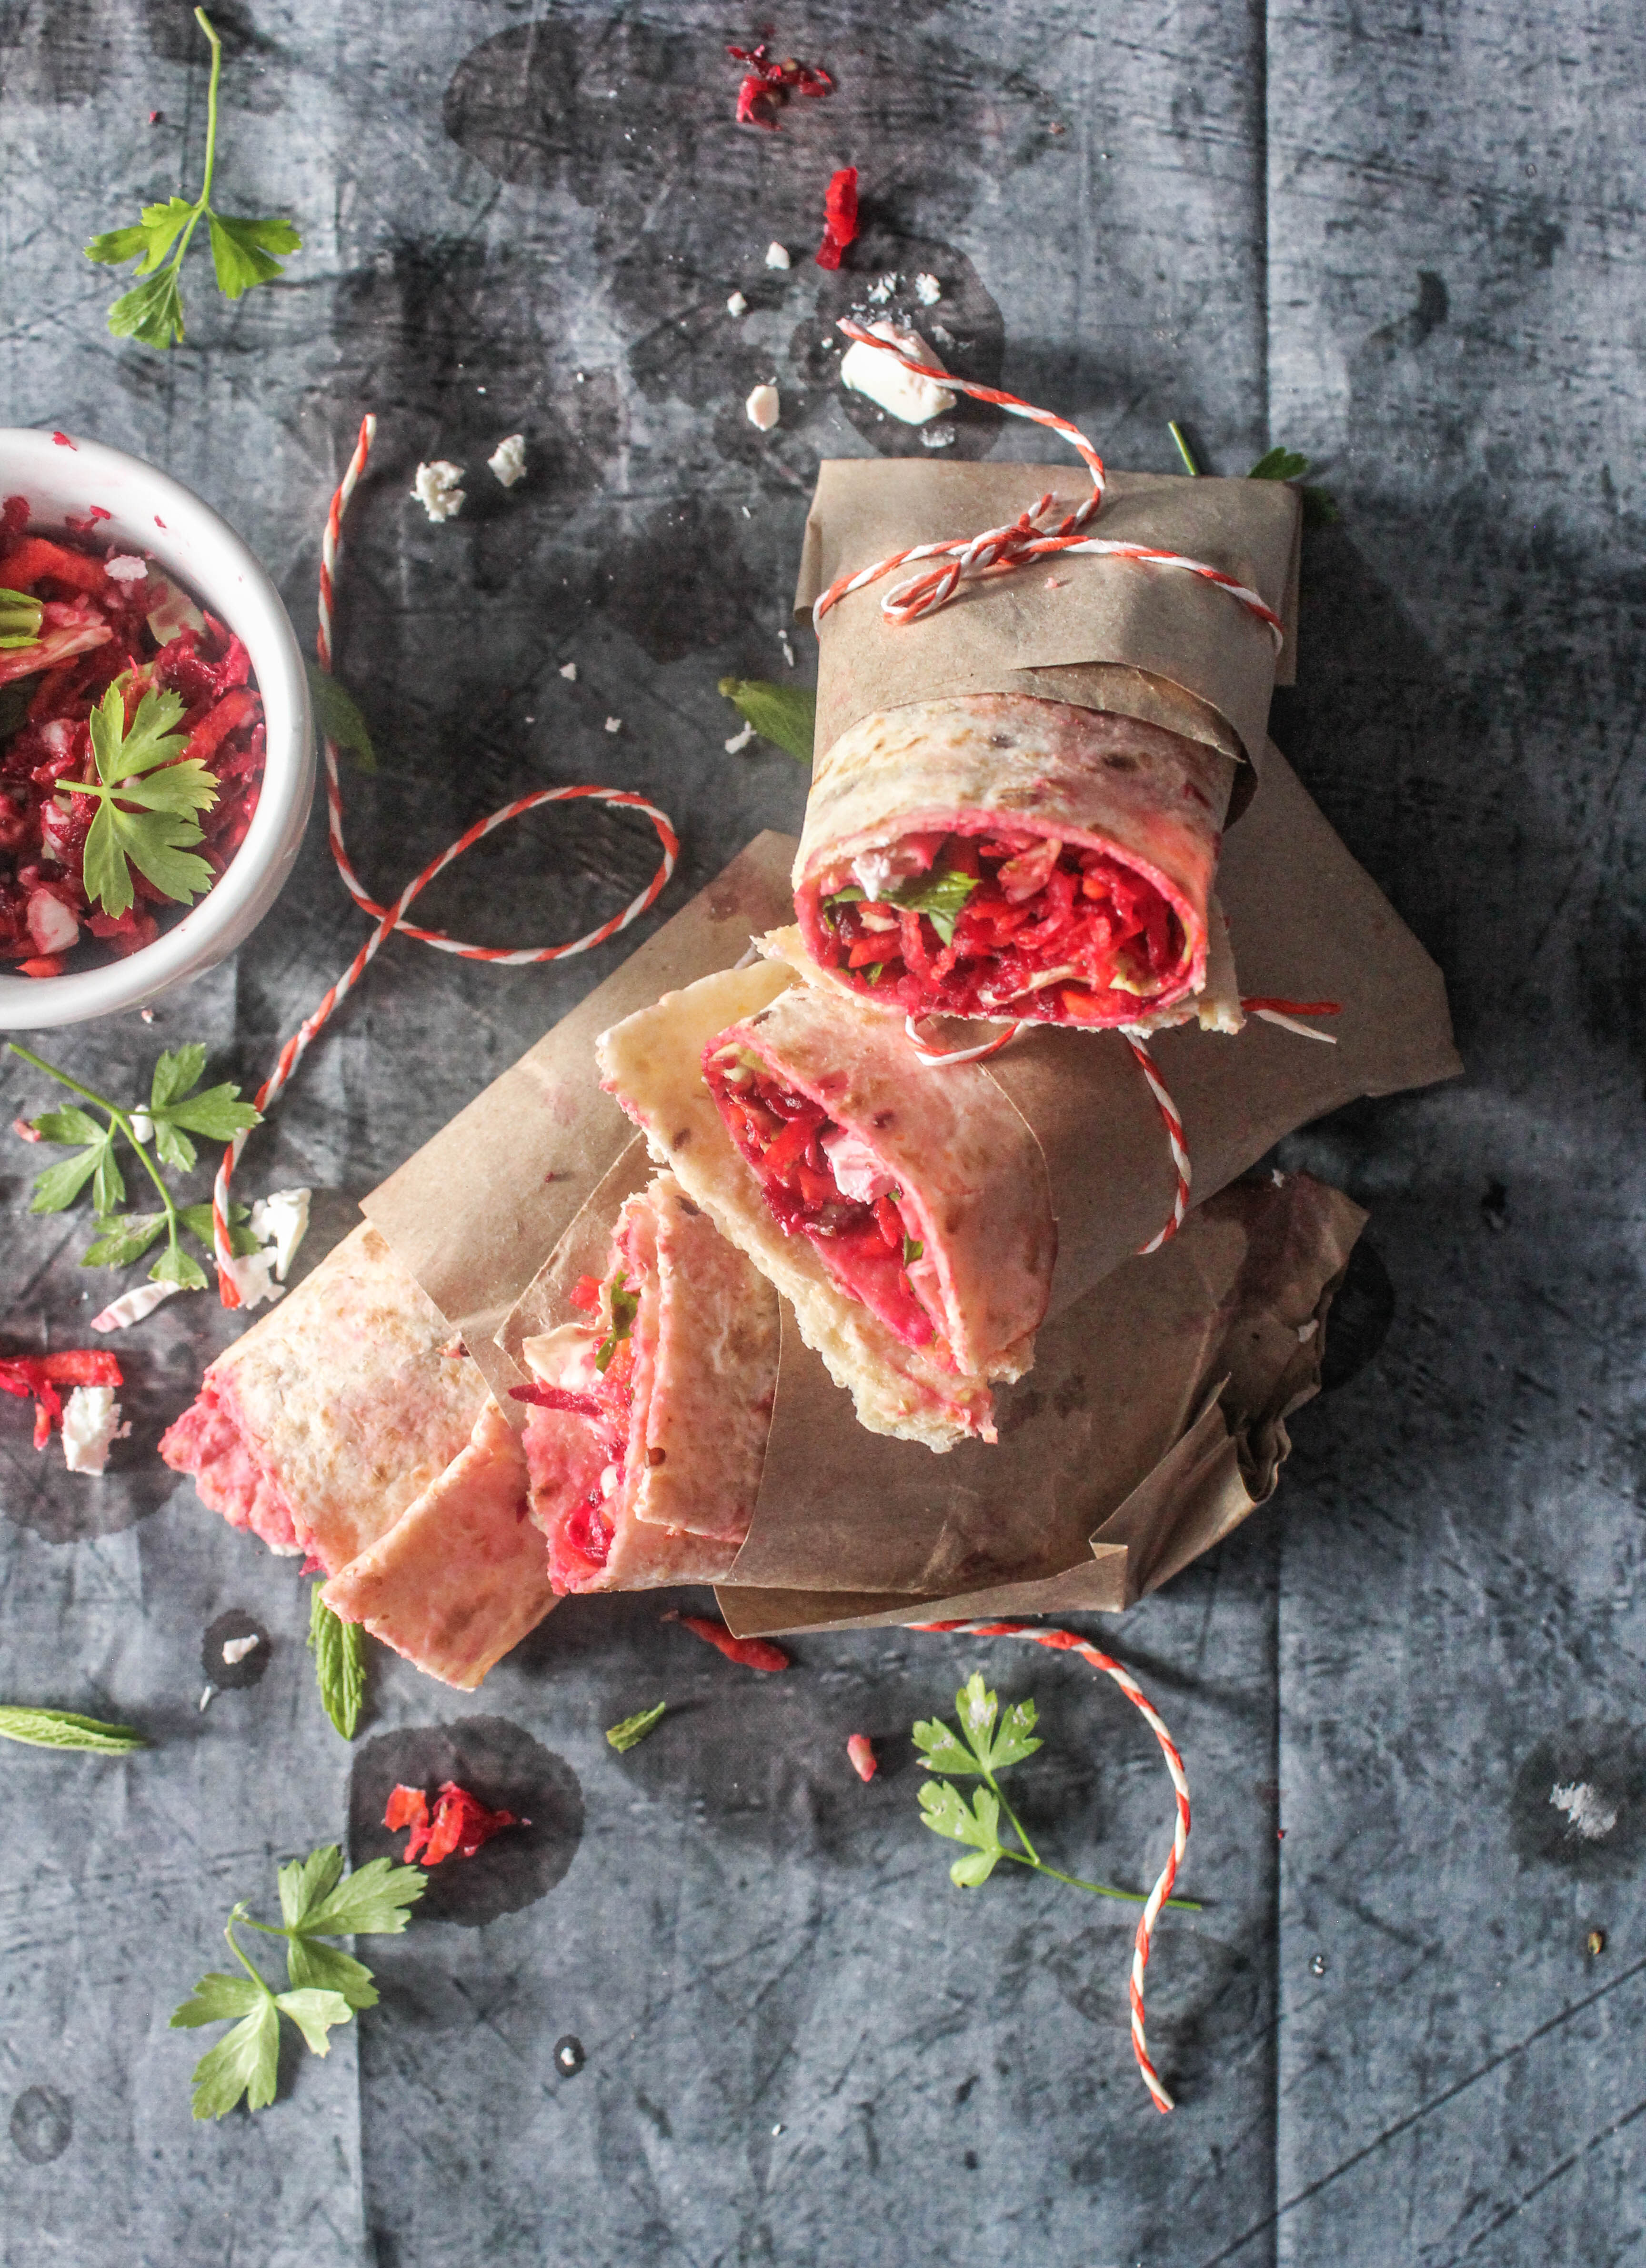
Rainbow Veg Wraps

20|06|2014

A few months from now, my twin boys will be starting school. Along with the excitement there is also a tiny bit of anxiety about how we will cope up with the new changes as a family. It is a big transition, after all. Among the various things that I have been dwelling upon, lunchbox is certainly one of the top things on my list.

IMG_0449-2

I am on the lookout for portable, nutritious, exciting and of course tasty food that makes the settling process fun for the little ones. It’s almost like carrying a bit of home..our culture..our traditions and some emotions lovingly put together in a box. Food is comforting. Food makes everything better. Doesn’t it? As a child I remember how excited I was to take a peek into my lunchbox and finish it all up in seconds.

IMG_0451

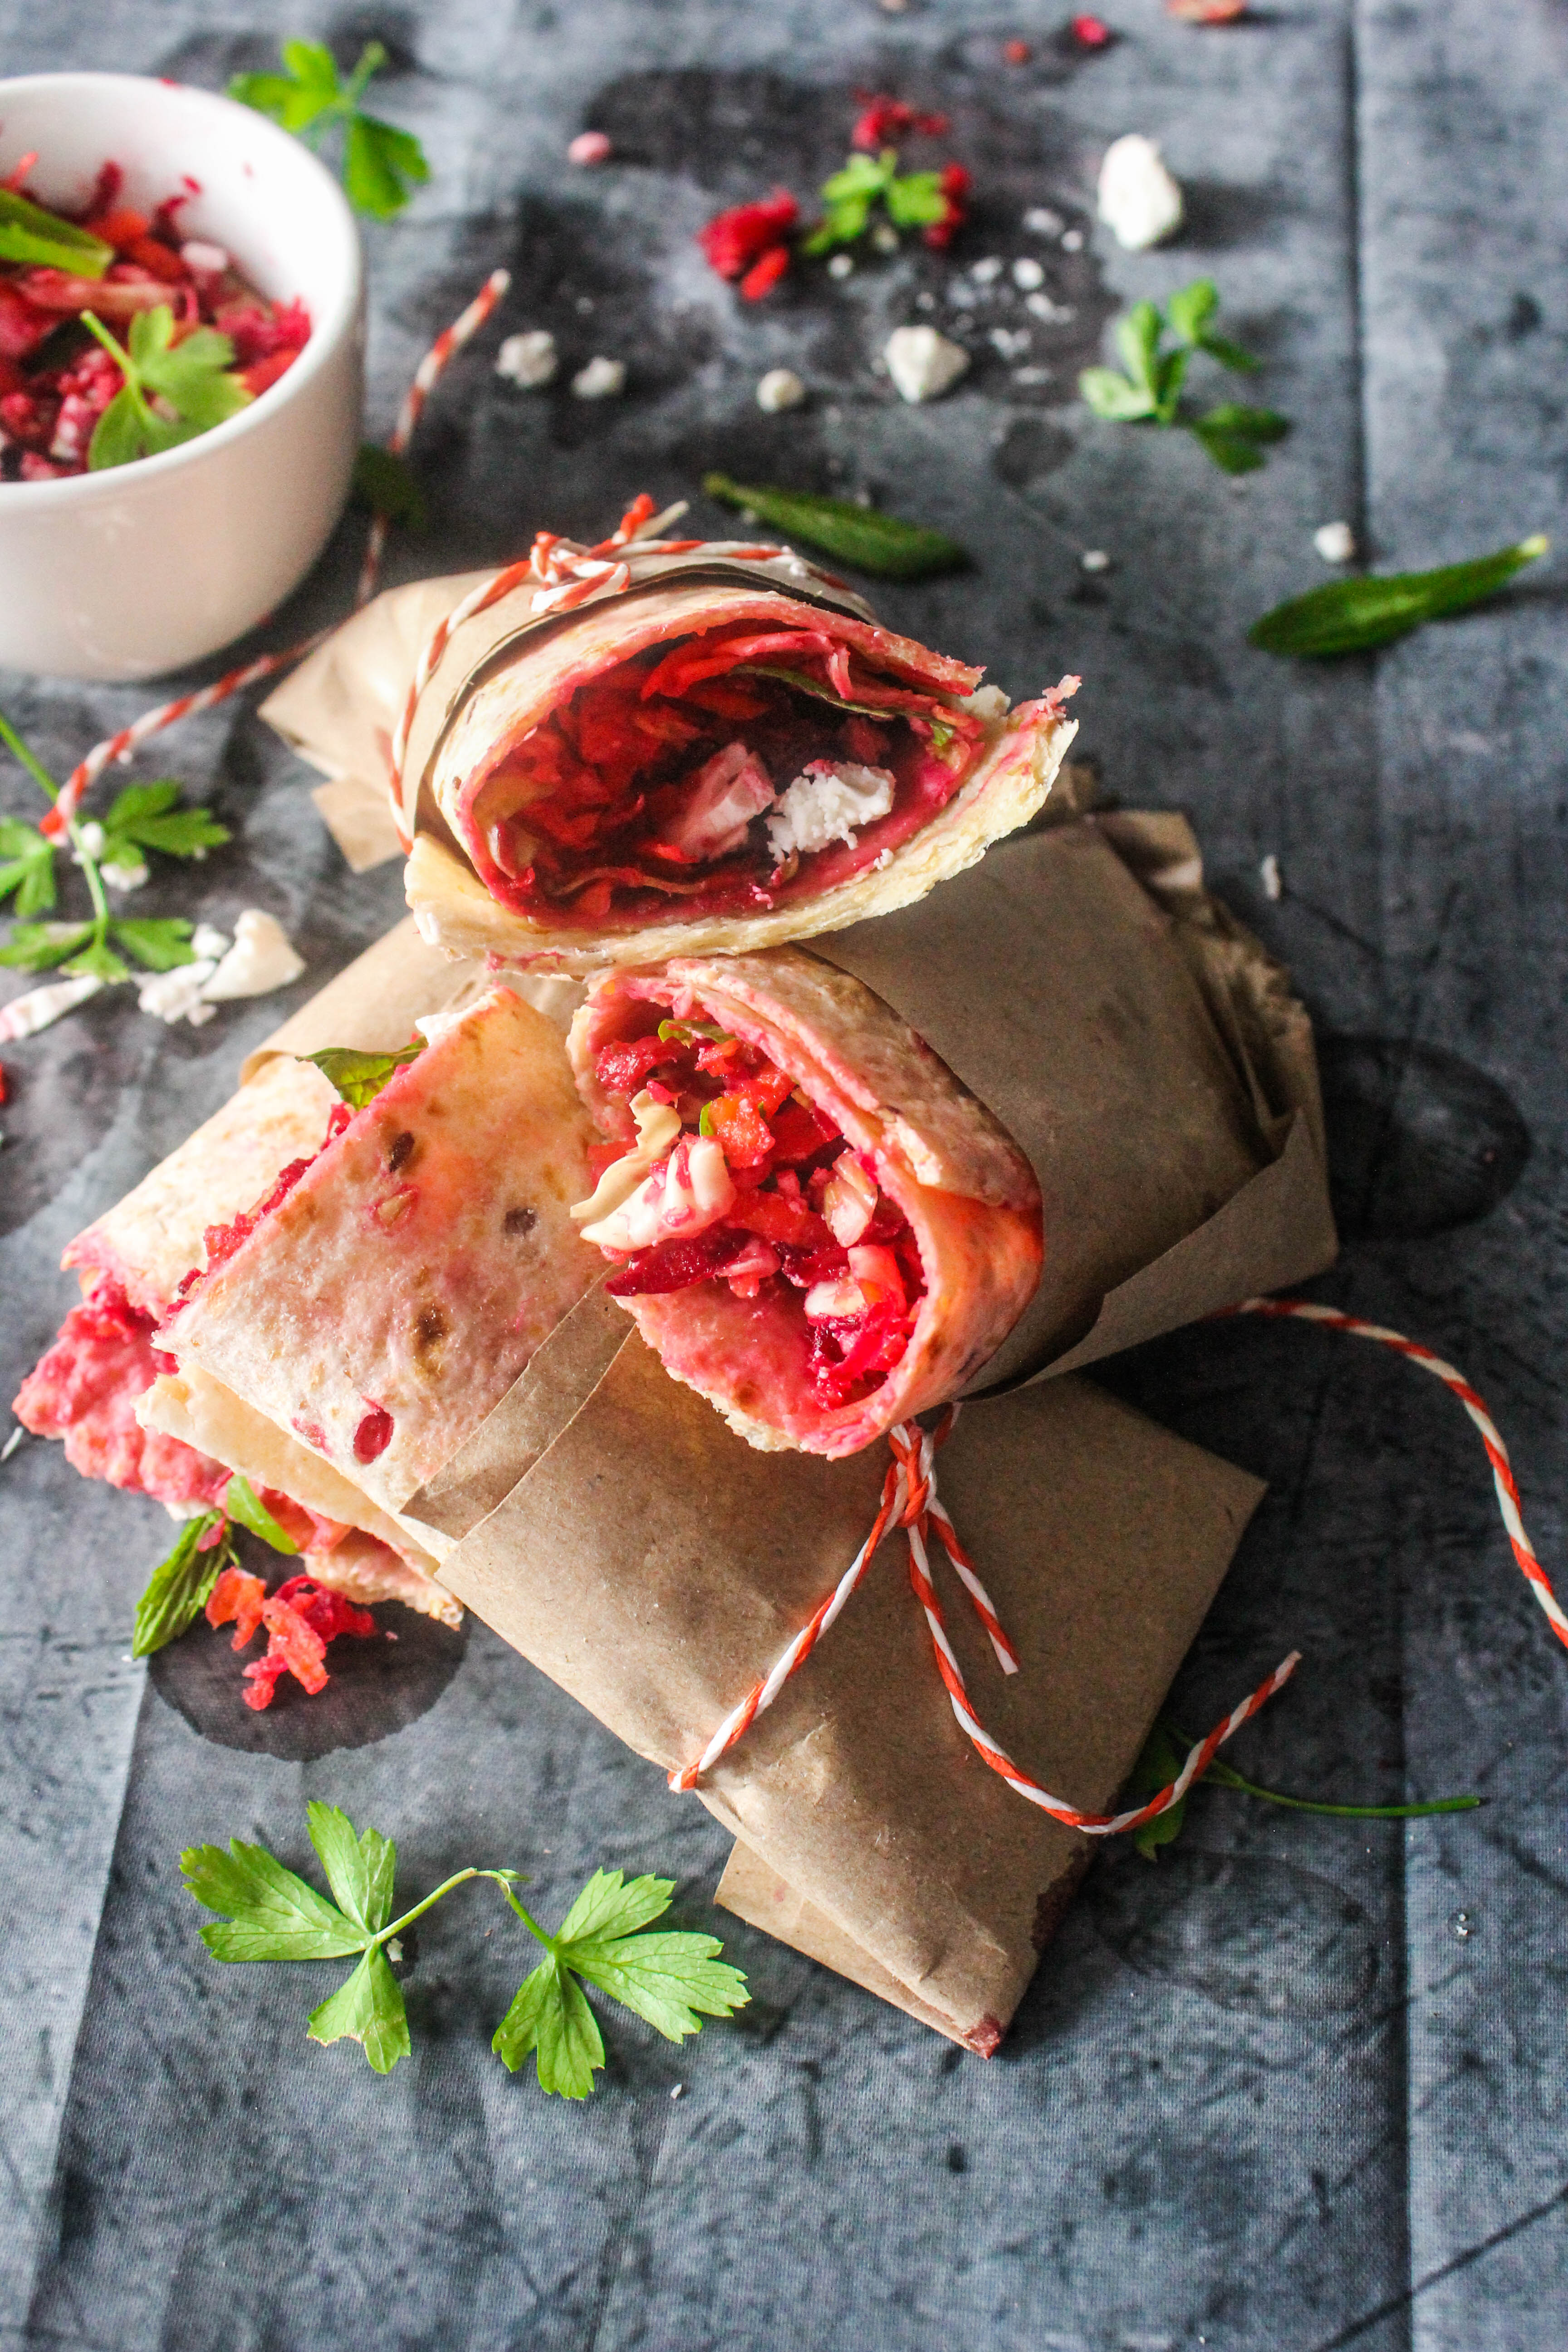
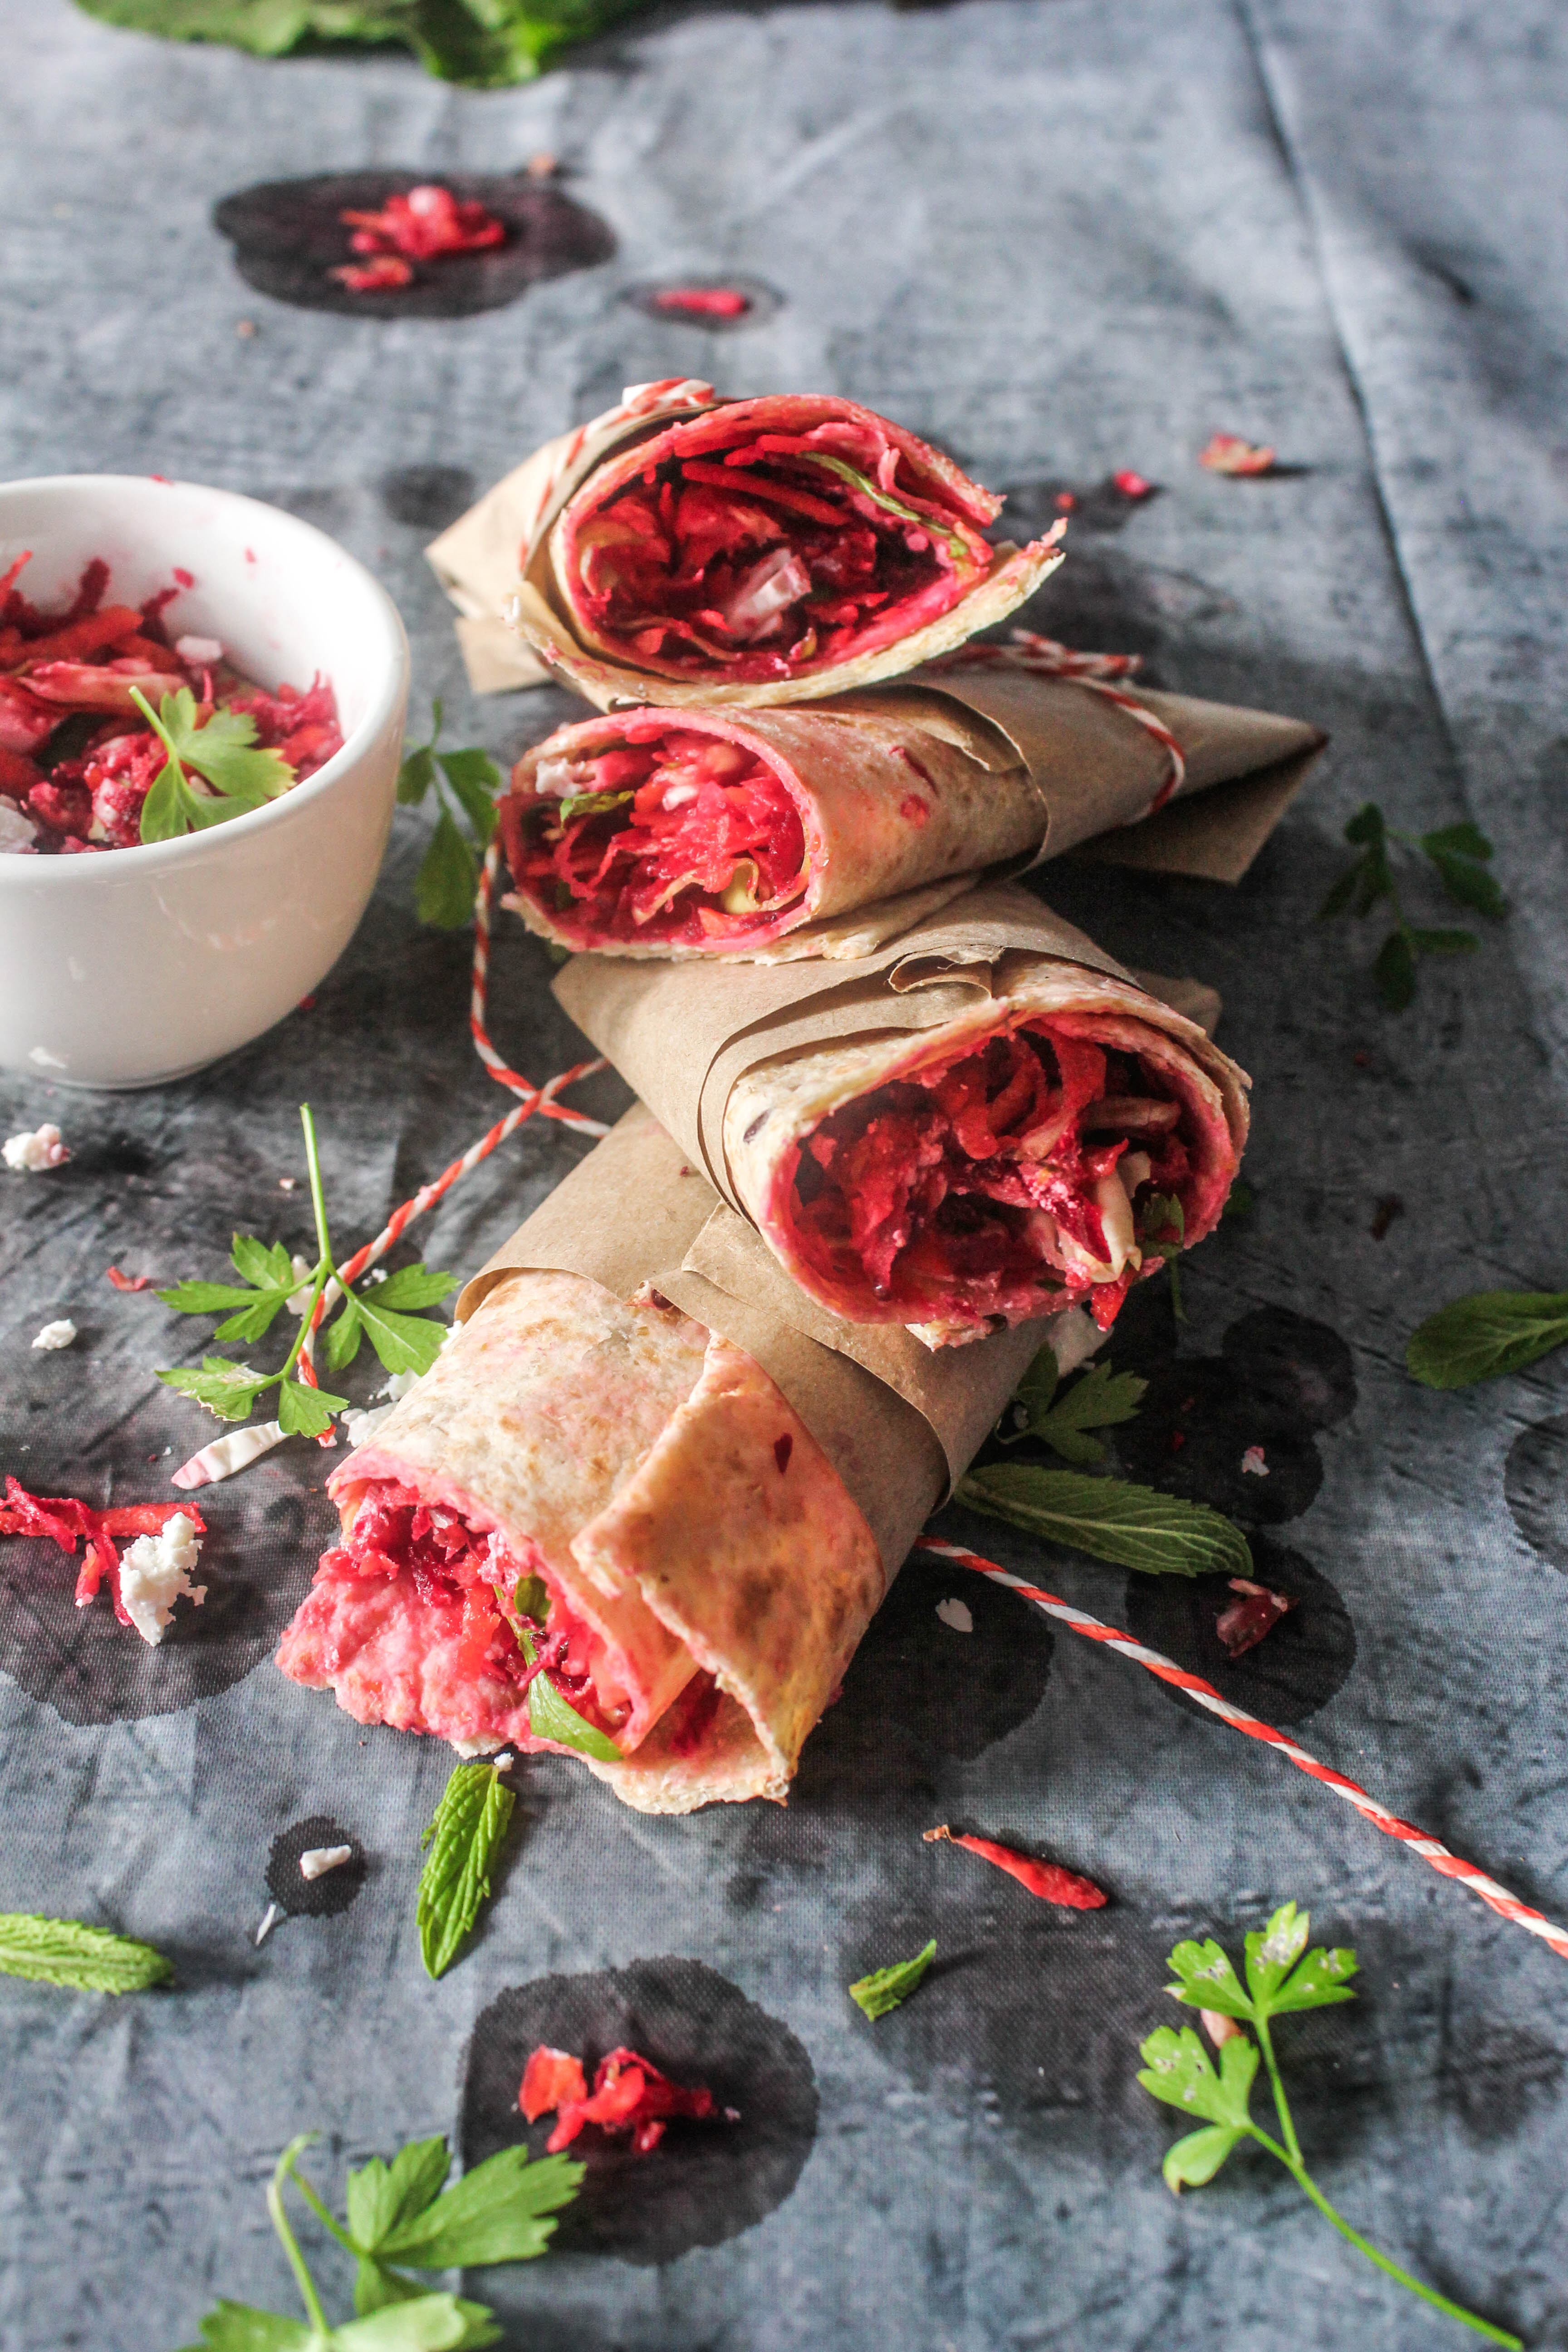
I came across this recipe idea by Jamie Oliver in a magazine. There were no specifics, just the ingredients to be mixed, filled and rolled up in a wrap. I have used quantities in the filling that I thought would be enough for two. The wraps are not only delicious but filling and healthy.

IMG_0455-2

Rainbow Veg Wraps (inspired by Jamie Oliver)
Serves 2

1 cup finely grated carrots
1 cup finely grated beetroot
1 cup finely grated cabbage
1 tbsp. lemon juice
1 tbsp. extra virgin olive oil
A handful, parsley and mint
2 small wholegrain tortilla wraps
1/4 cup feta, crumbled
sesame seeds, toasted (optional)

Mix the carrots, beetroot and cabbage together in a bowl. Add the mint and parsley leaves. Toss in the lemon juice and olive oil. Divide between the wraps. Crumble over the feta. Sprinkle with sesame seeds. Roll up the wraps, tucking them in at the sides. Cup in half, wrap and pack.


Strawberry Almond Cake with Lemon Sour Cream Frosting

15|06|2014

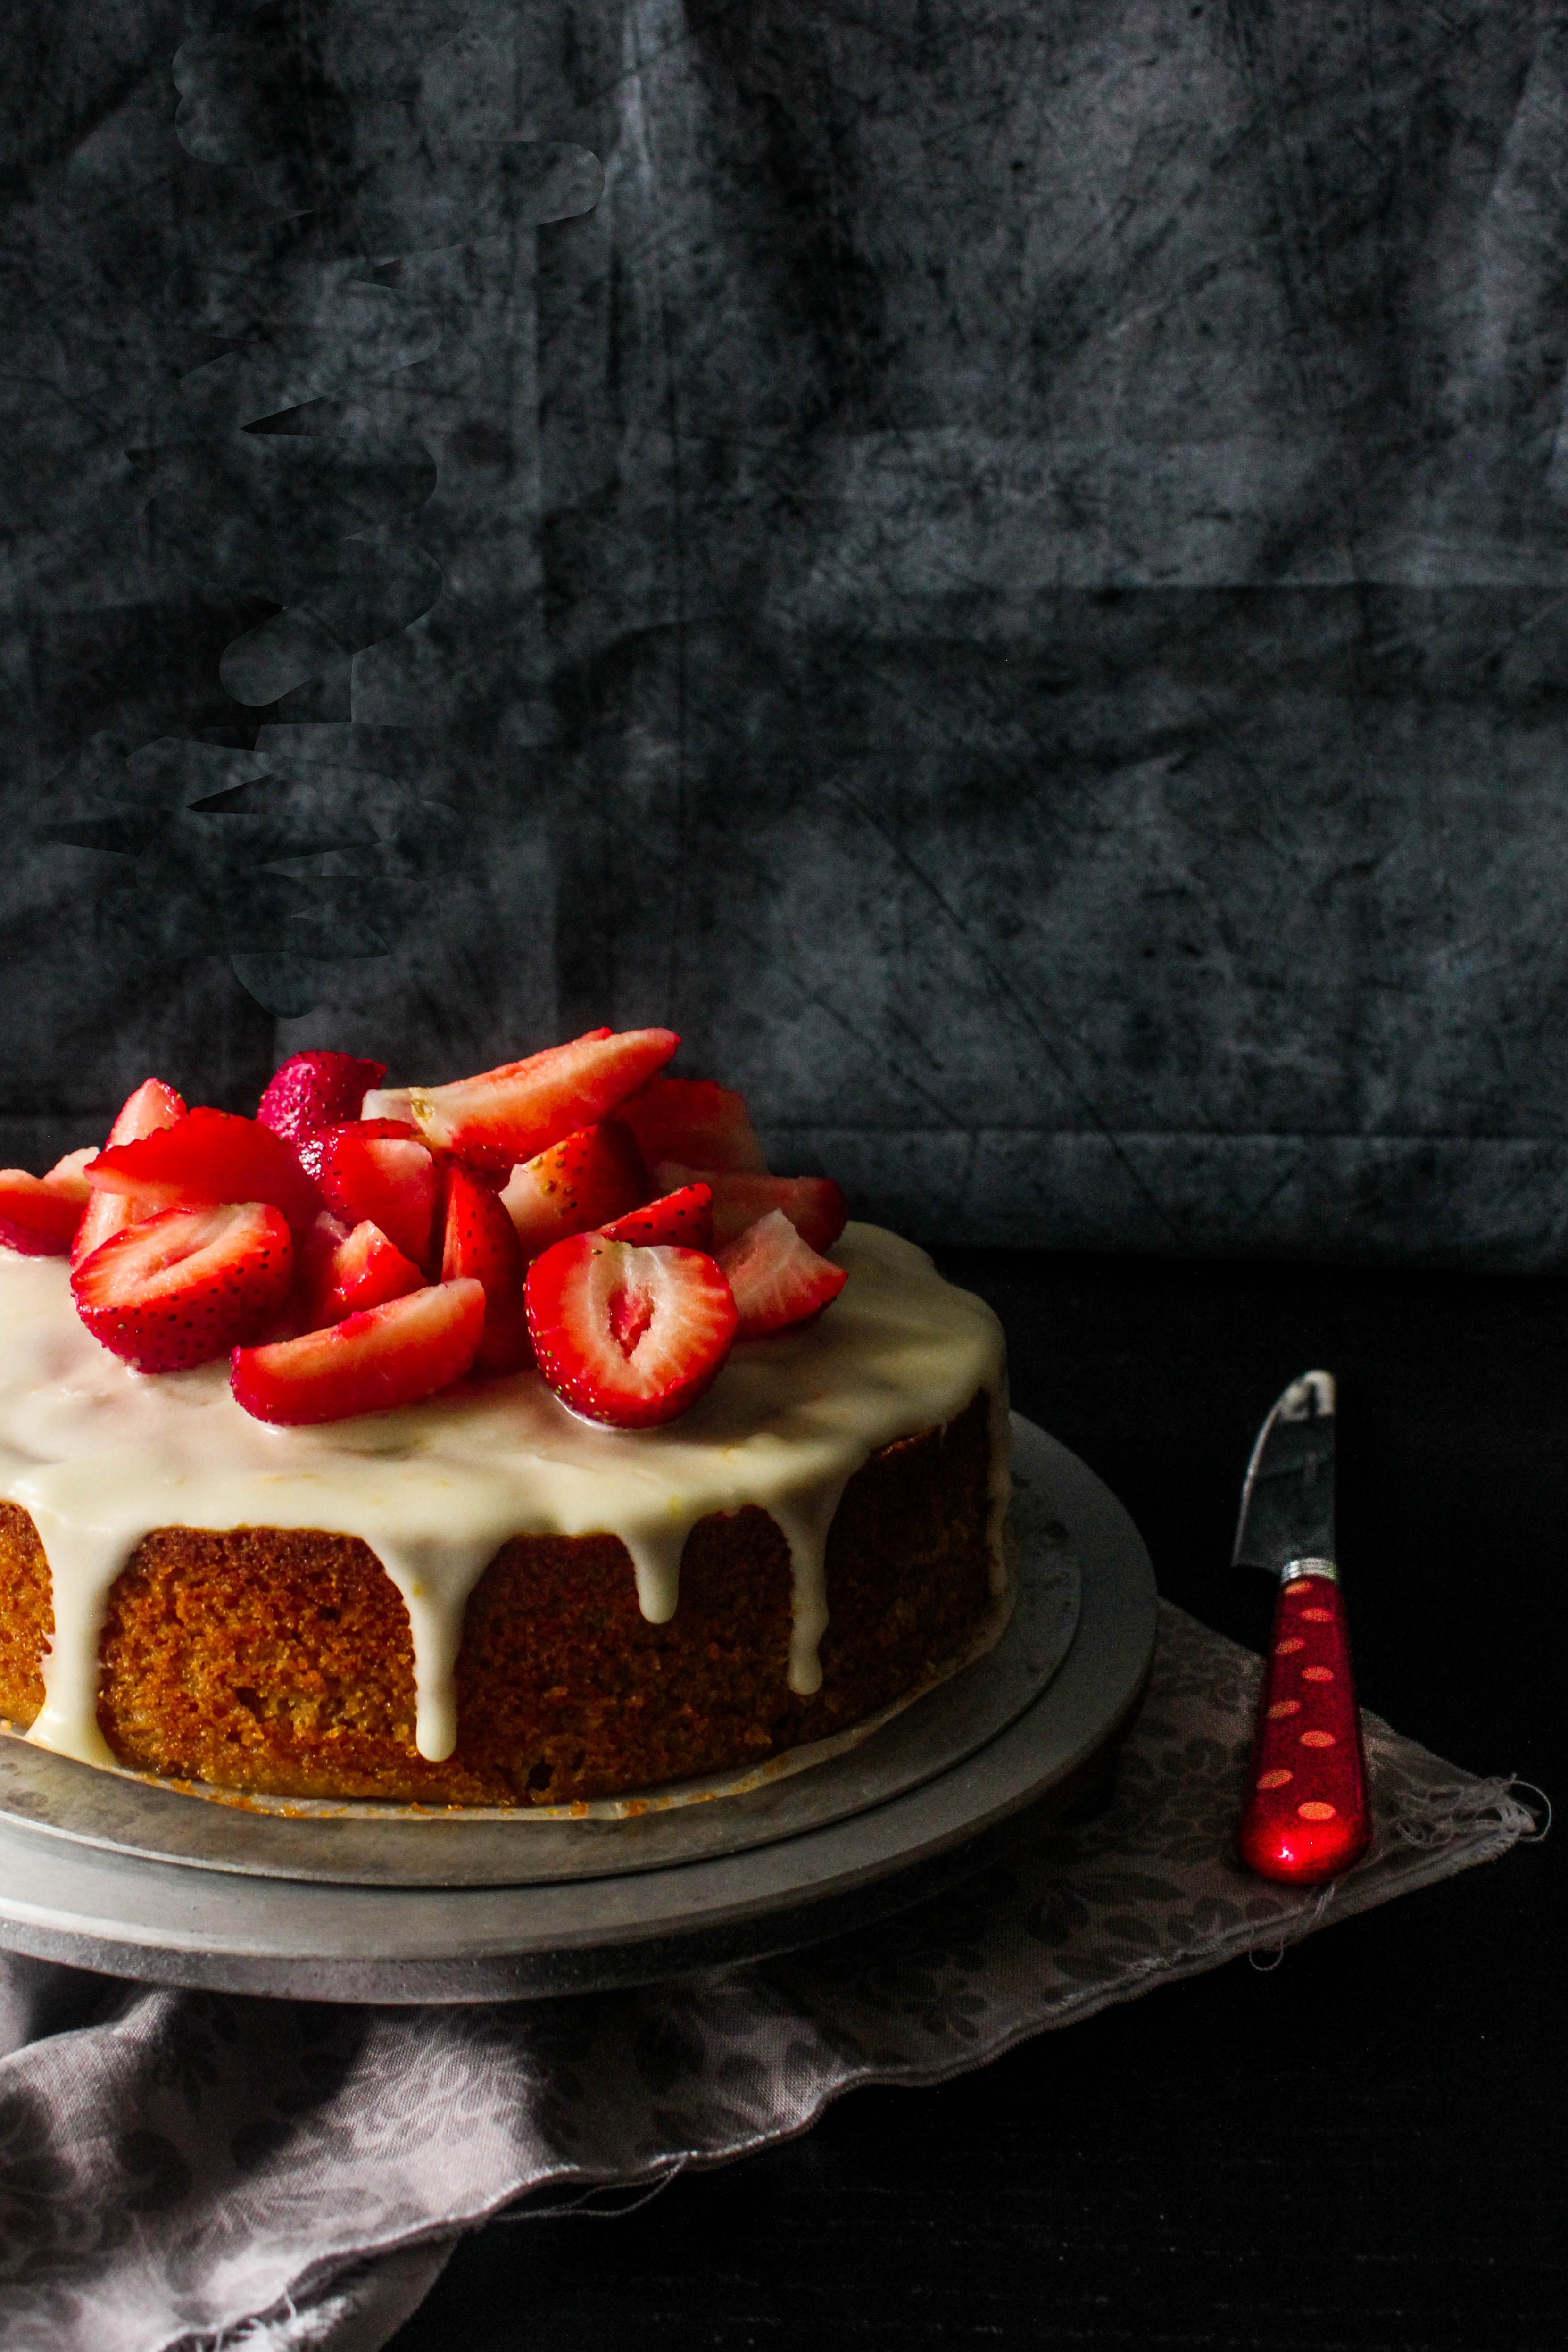
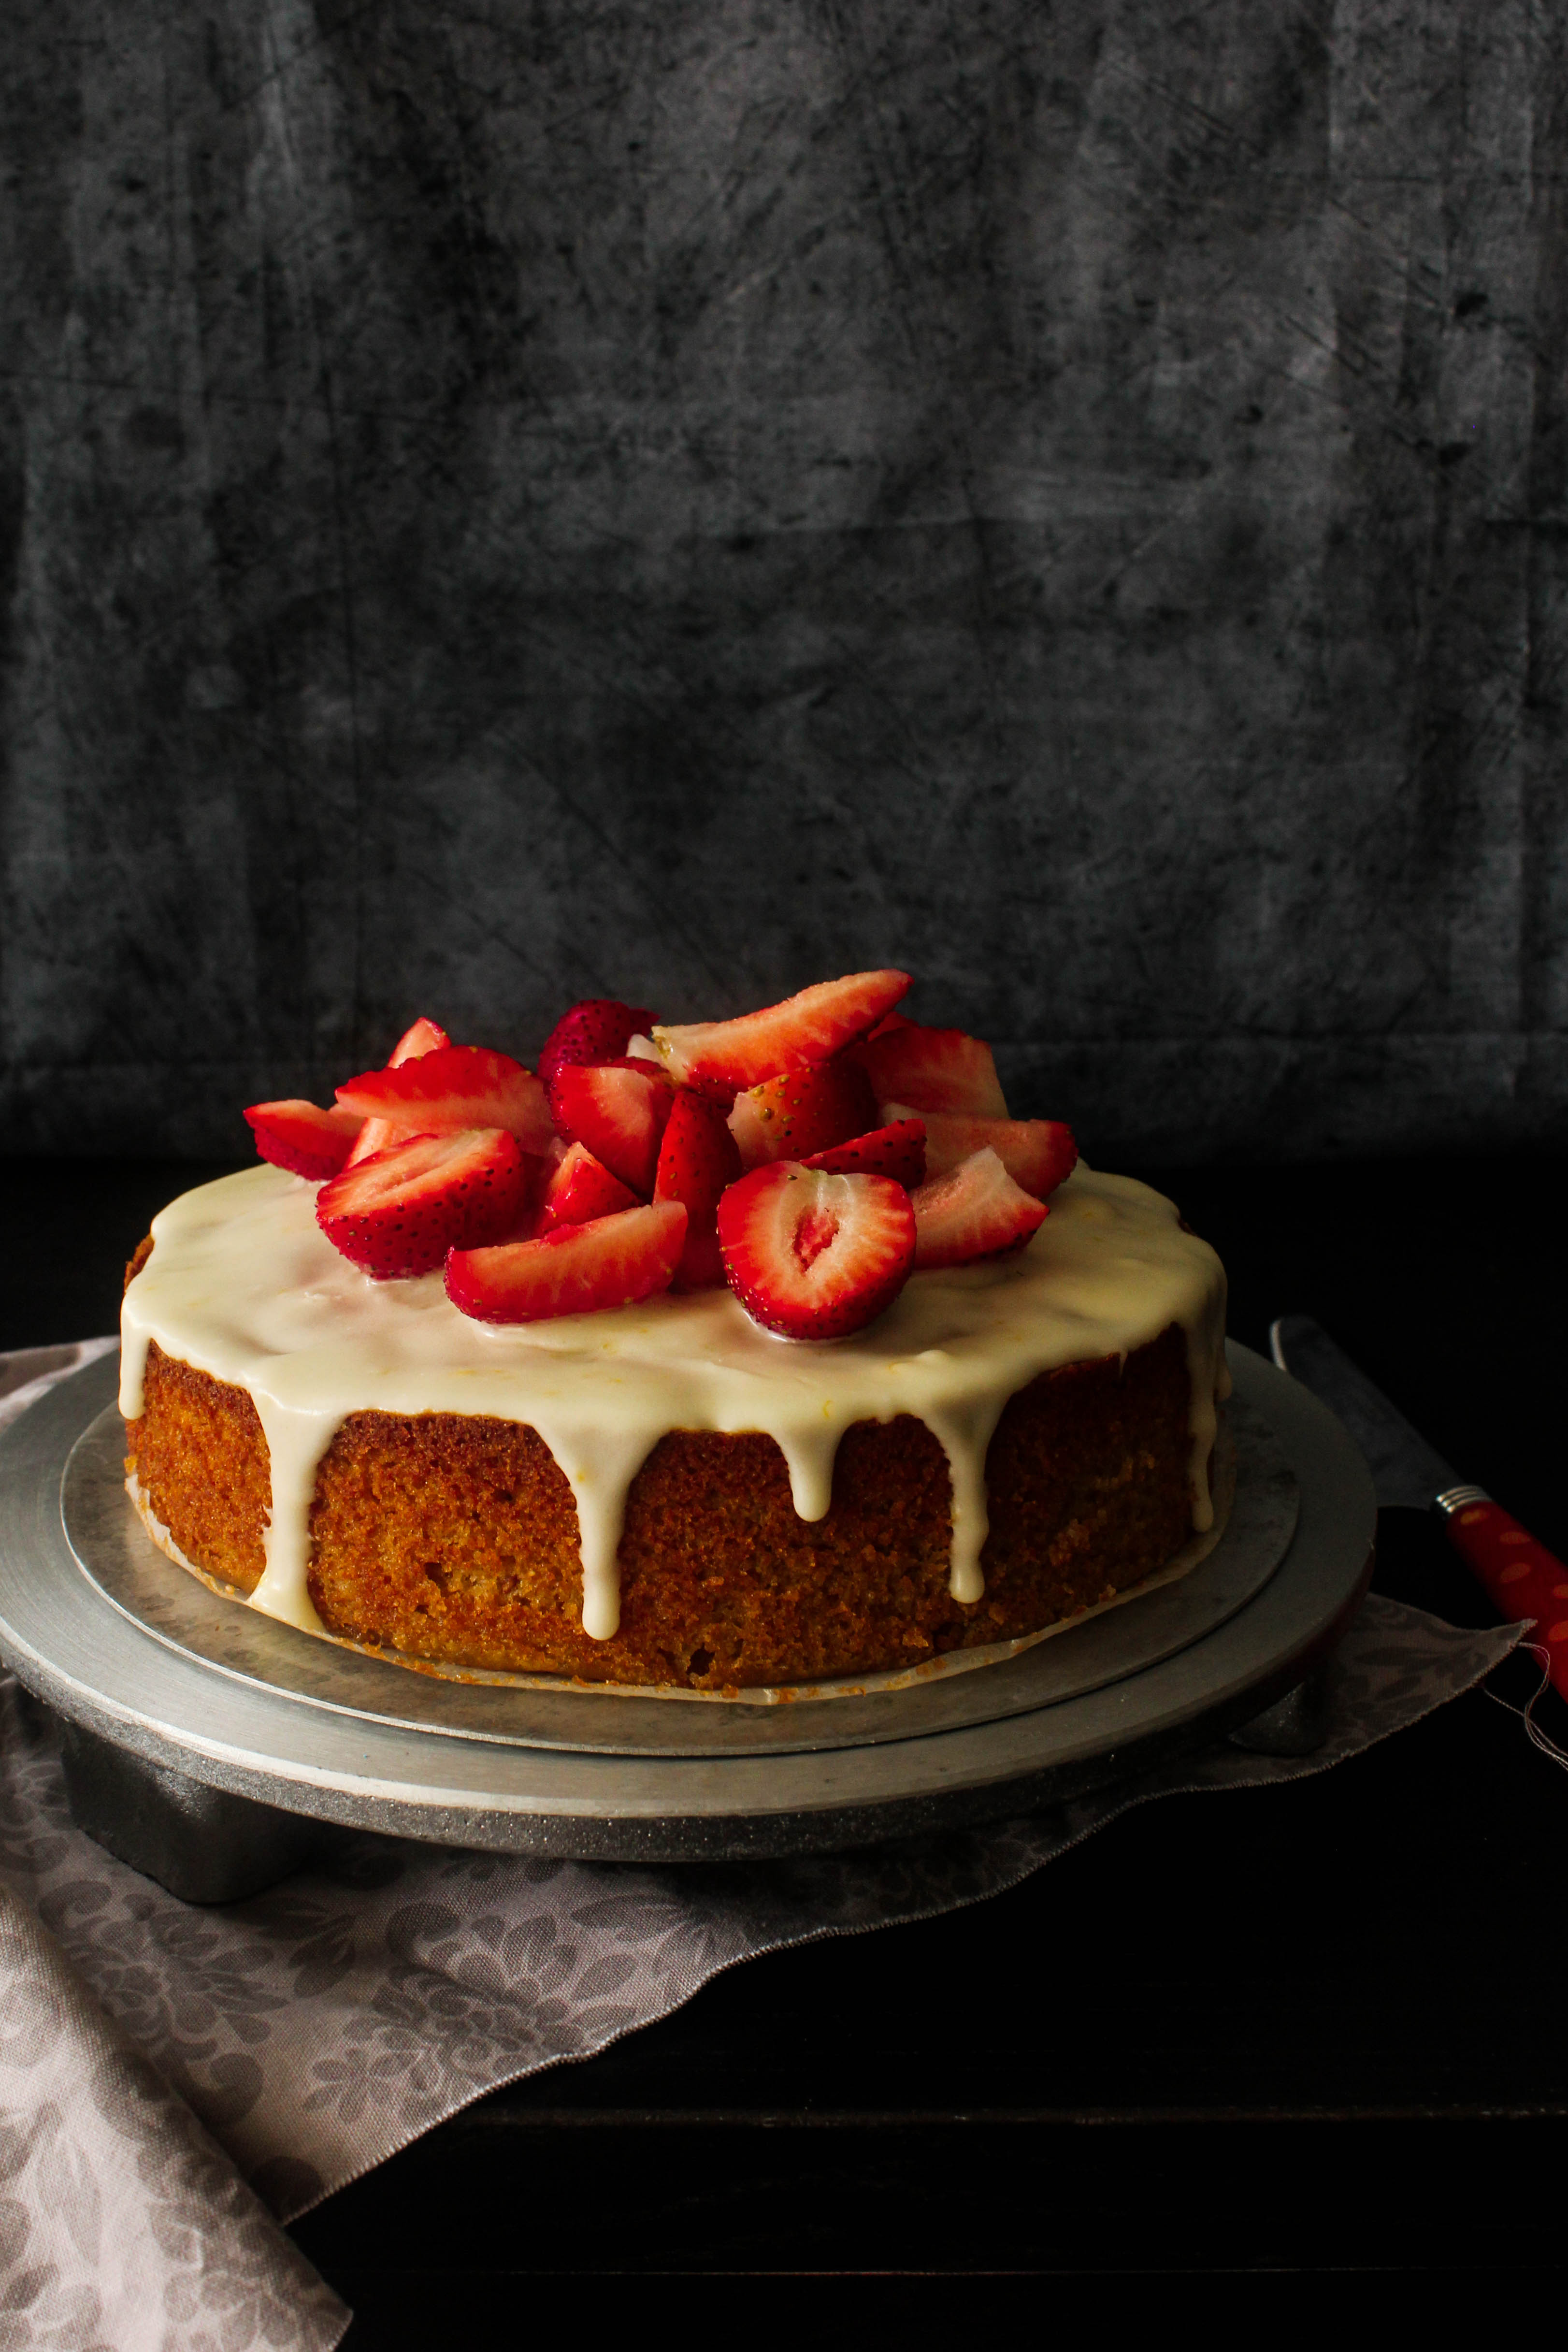
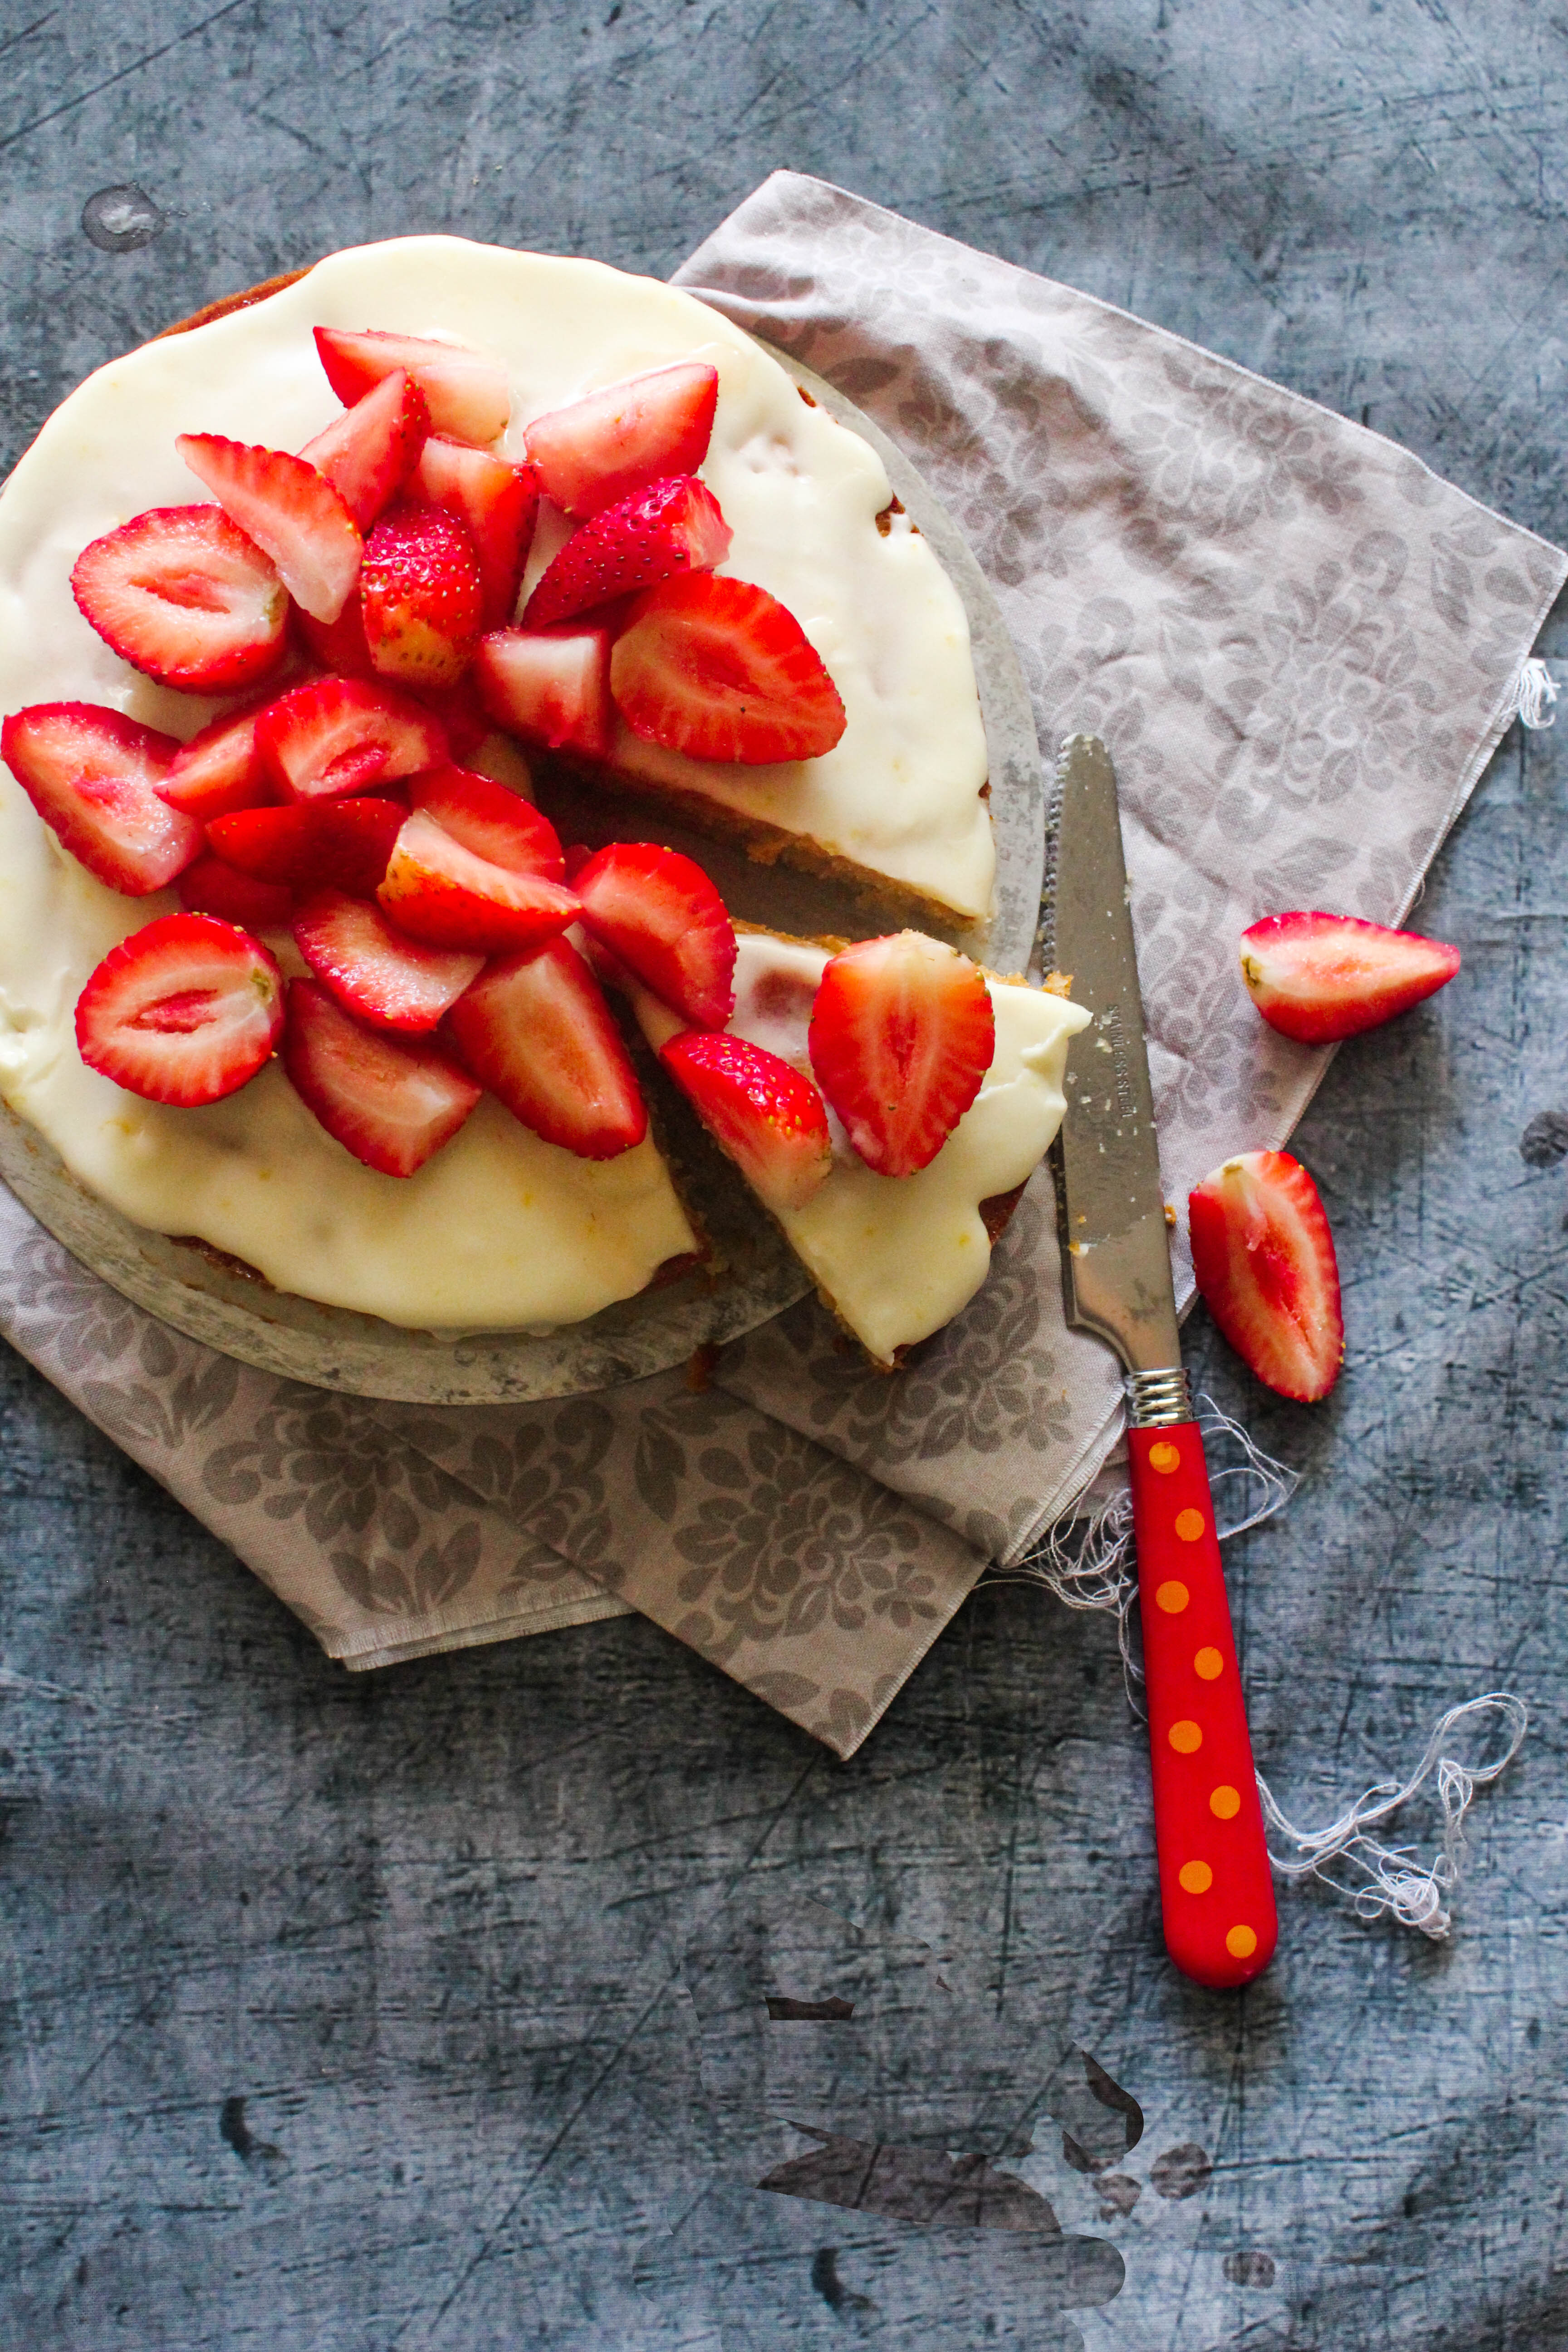
Almond cake with strawberry jam for a delicious nutty texture and an easy lemon sour cream frosting and fresh strawberries to top the cake. 

I’ve not been feeling like myself over the last few days. Rather, I’m feeling like my old-self before I became a mother. Carefree, energised, relaxed and slightly funny. Because even that takes some getting used to. My parents and my sister, who are staying with us at the moment apparently decided that I would be on a break till they are around and they are sharing the day-to-day responsibilities between themselves.

strawberry almond cake

‘Take a break’ they told me. So, I took long showers, watched movies in fast forward mode, slept on the couch afterwards, visited a craft store I’ve been meaning to since months, eaten calories laden curries and flatbread. And baked cakes. For me, that has always been a way of de-stressing. With people to share them with, it just got a lot more exciting.

strawberry almond cake

The cake uses strawberry jam for a subtle strawberry flavour. Almonds give it a moist nutty texture which is only typical of a nut-meal based cake. The great thing about the cake is that it is so simple to make by just throwing everything together in a bowl, that it can be created at the spur of the moment. The lemon sour cream frosting is equally quick and easy. Overall, this is one cake you would want to make over and over again for its simplicity yet refined flavours.

strawberry almond cake

Strawberry Almond Cake with Lemon Sour Cream Frosting (adapted with variation from Taste.com)
Serves 5-6

Strawberry Almond Cake
175 g butter, at room temperature, roughly chopped
3/4 cup castor sugar
3/4 cup self-raising flour, sifted
3/4 cup almond meal
1/4 cup strawberry jam
3 eggs, at room temperature, lightly whisked
Fresh Strawberries, to serve

Lemon Sour Cream Frosting
1 1/2 cups icing sugar mixture
1/4 cup sour cream
1 lemon, rind finely grated

For the Strawberry Almond Cake: Preheat oven to 180 degrees C. Lightly grease a round  19 cm cake pan and line the base with baking paper.
Use electric beaters to beat the butter, sugar, flour, almond meal, jam, almonds and eggs in a large bowl until combined.
Pour the cake mixture into the prepared pan and use the back of a spoon to smooth the surface. Bake in the oven for 45-50 minutes or until a skewer inserted in the centre of the cakes comes out clean. Remove from oven and set aside to cool completely.

For the Lemon Sour Cream Frosting: Sift icing sugar into a bowl. Add sour cream and lemon rind. Stir until well combined. Pour icing over cake. Allow to set. Decorate with fresh strawberries. Serve.


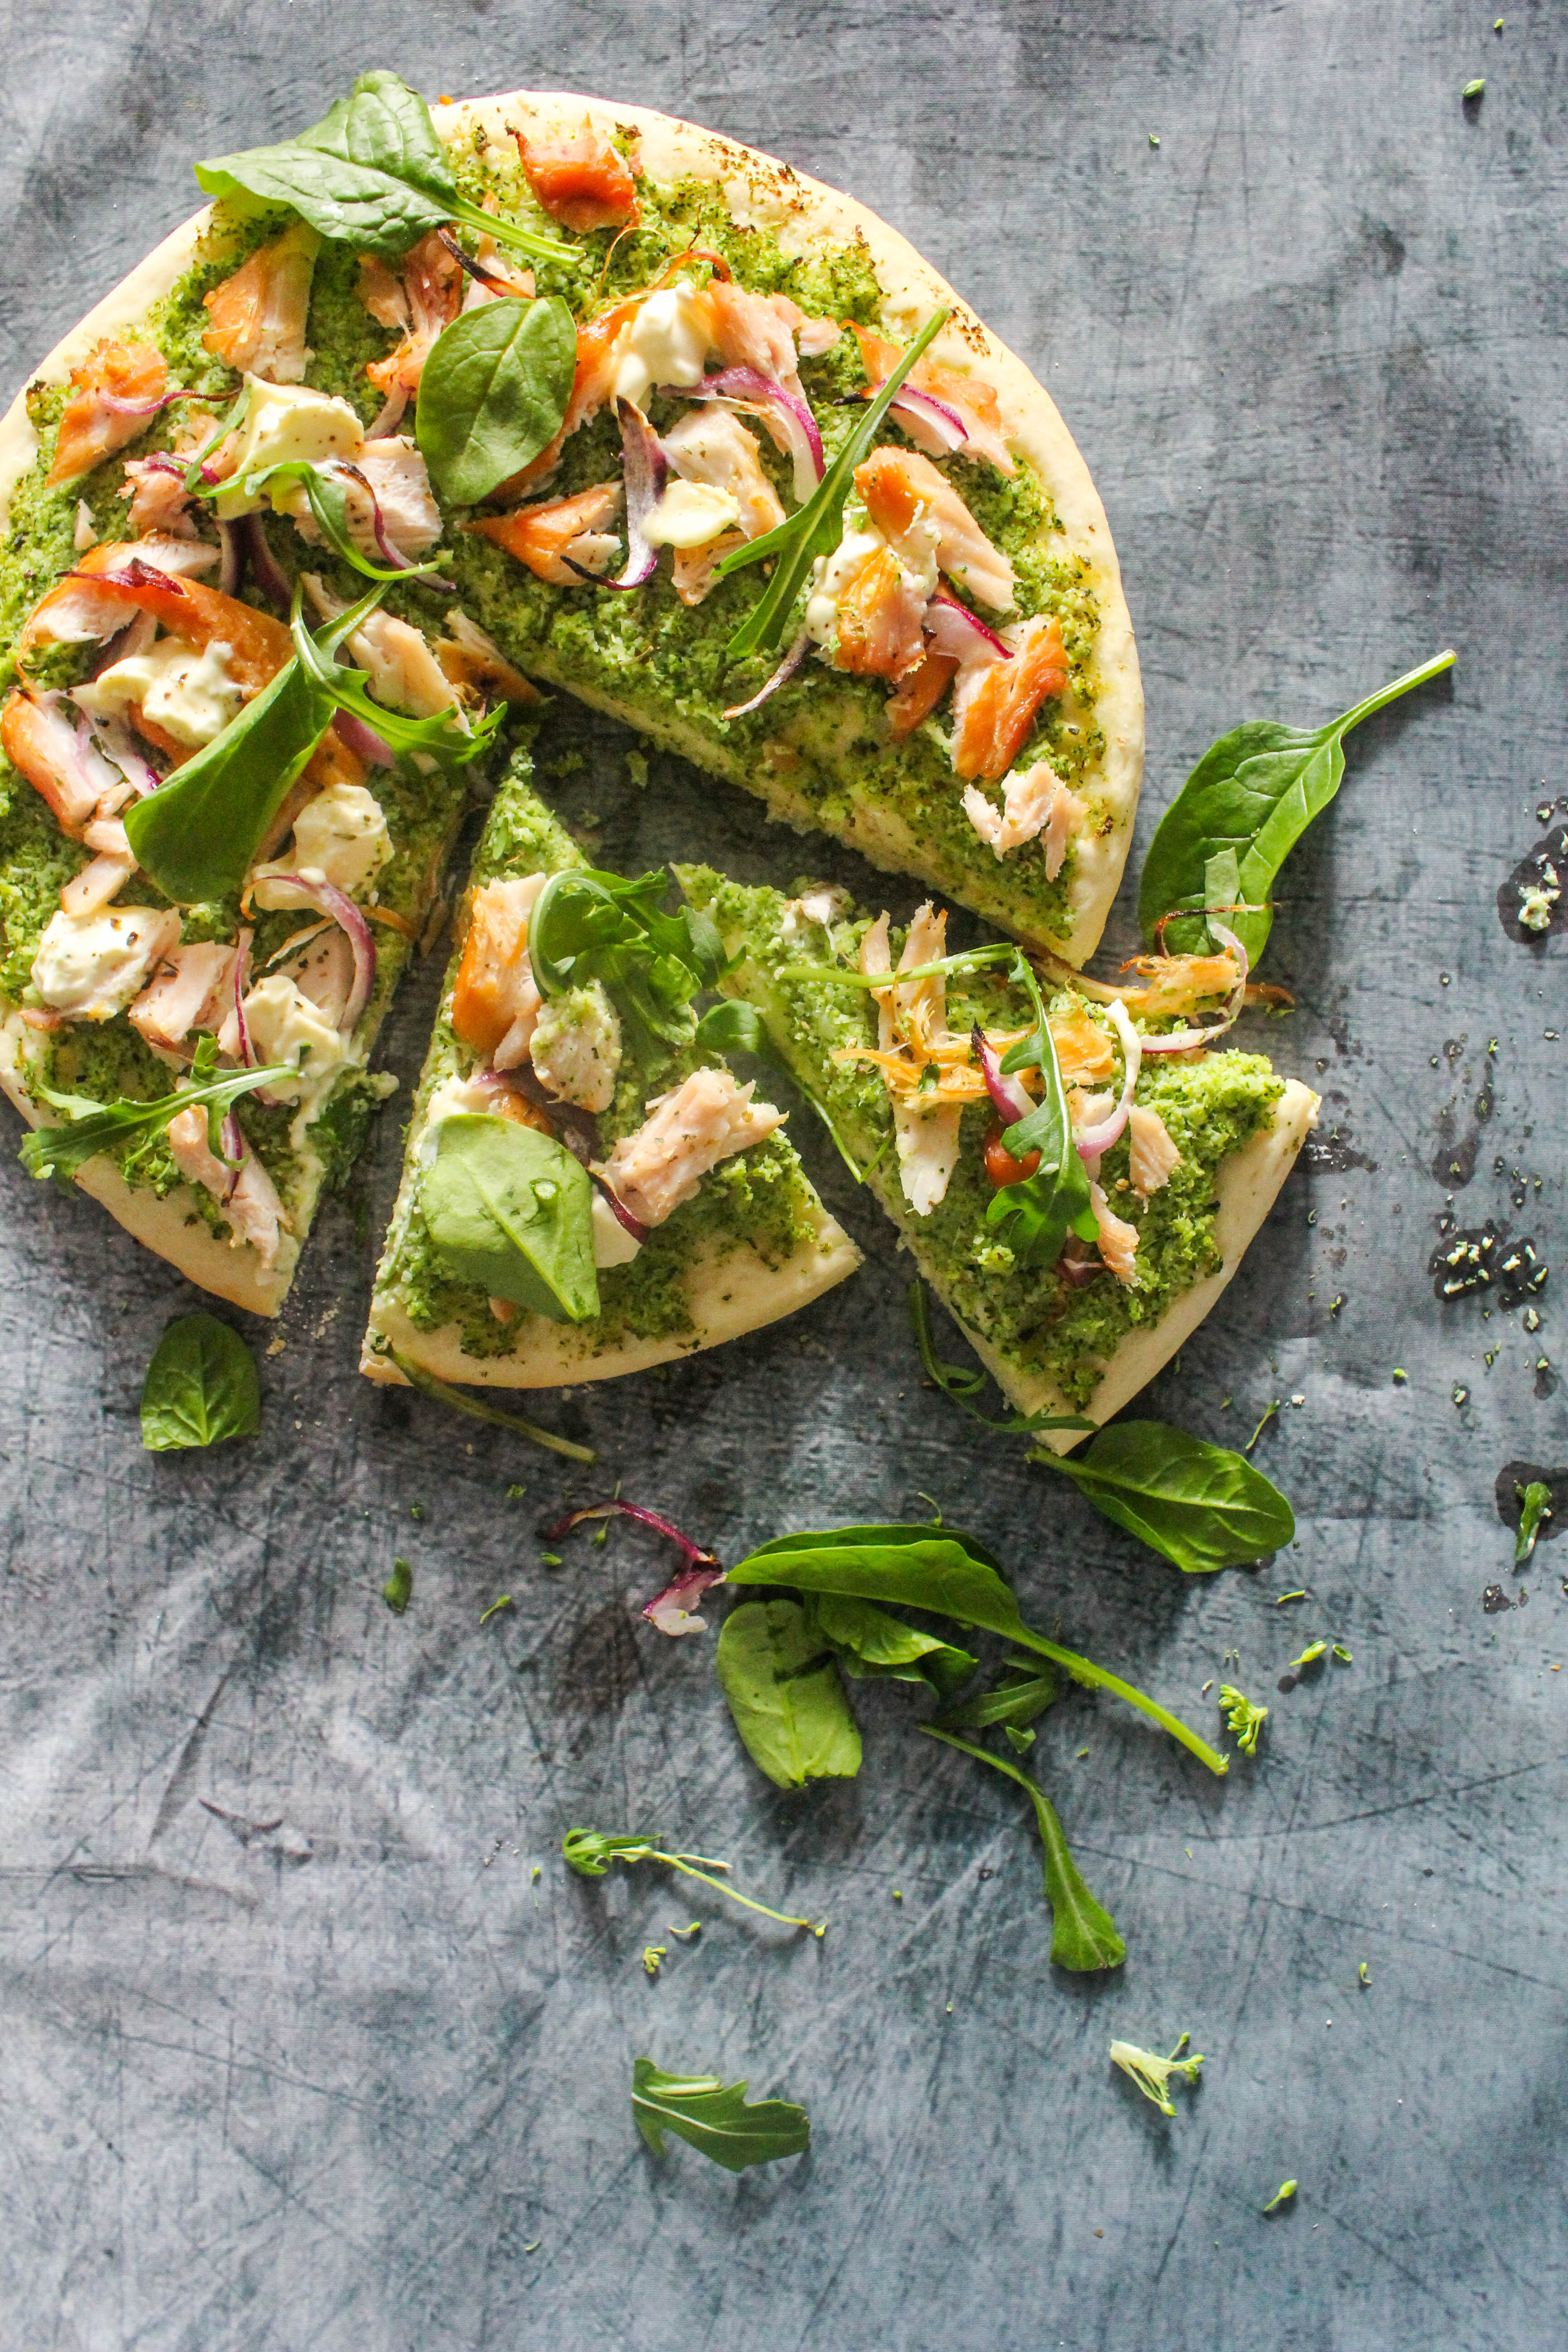
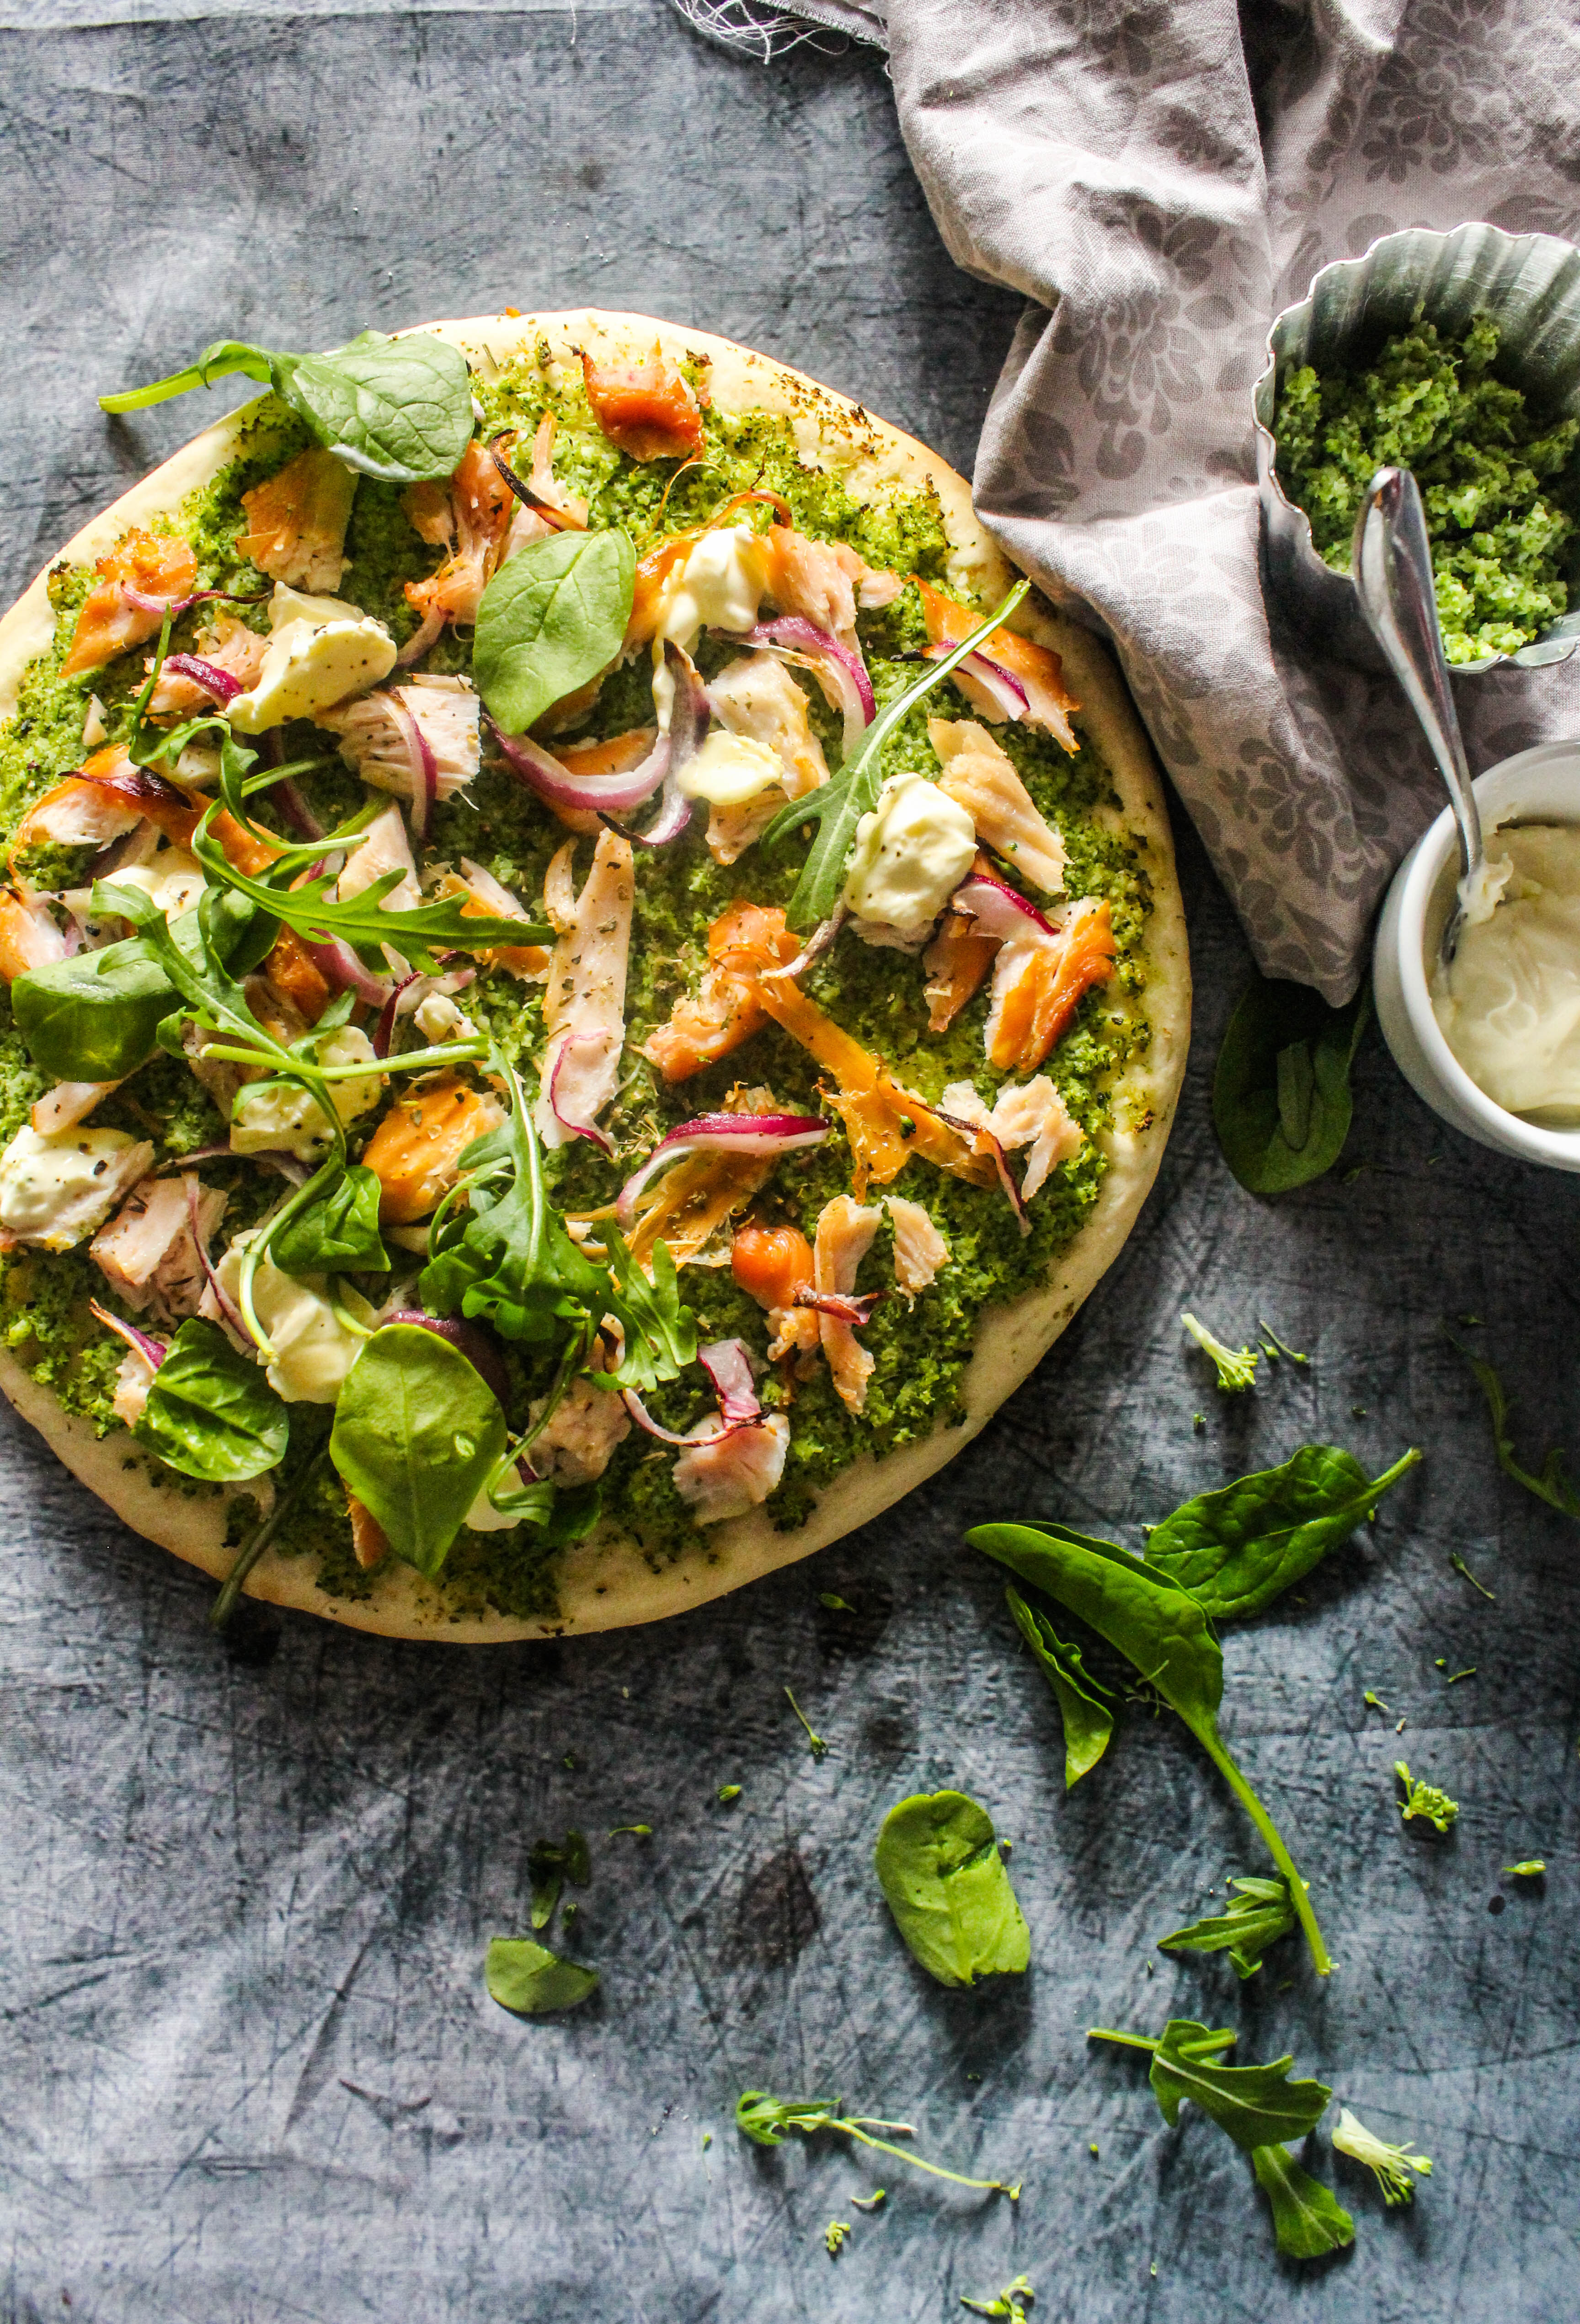
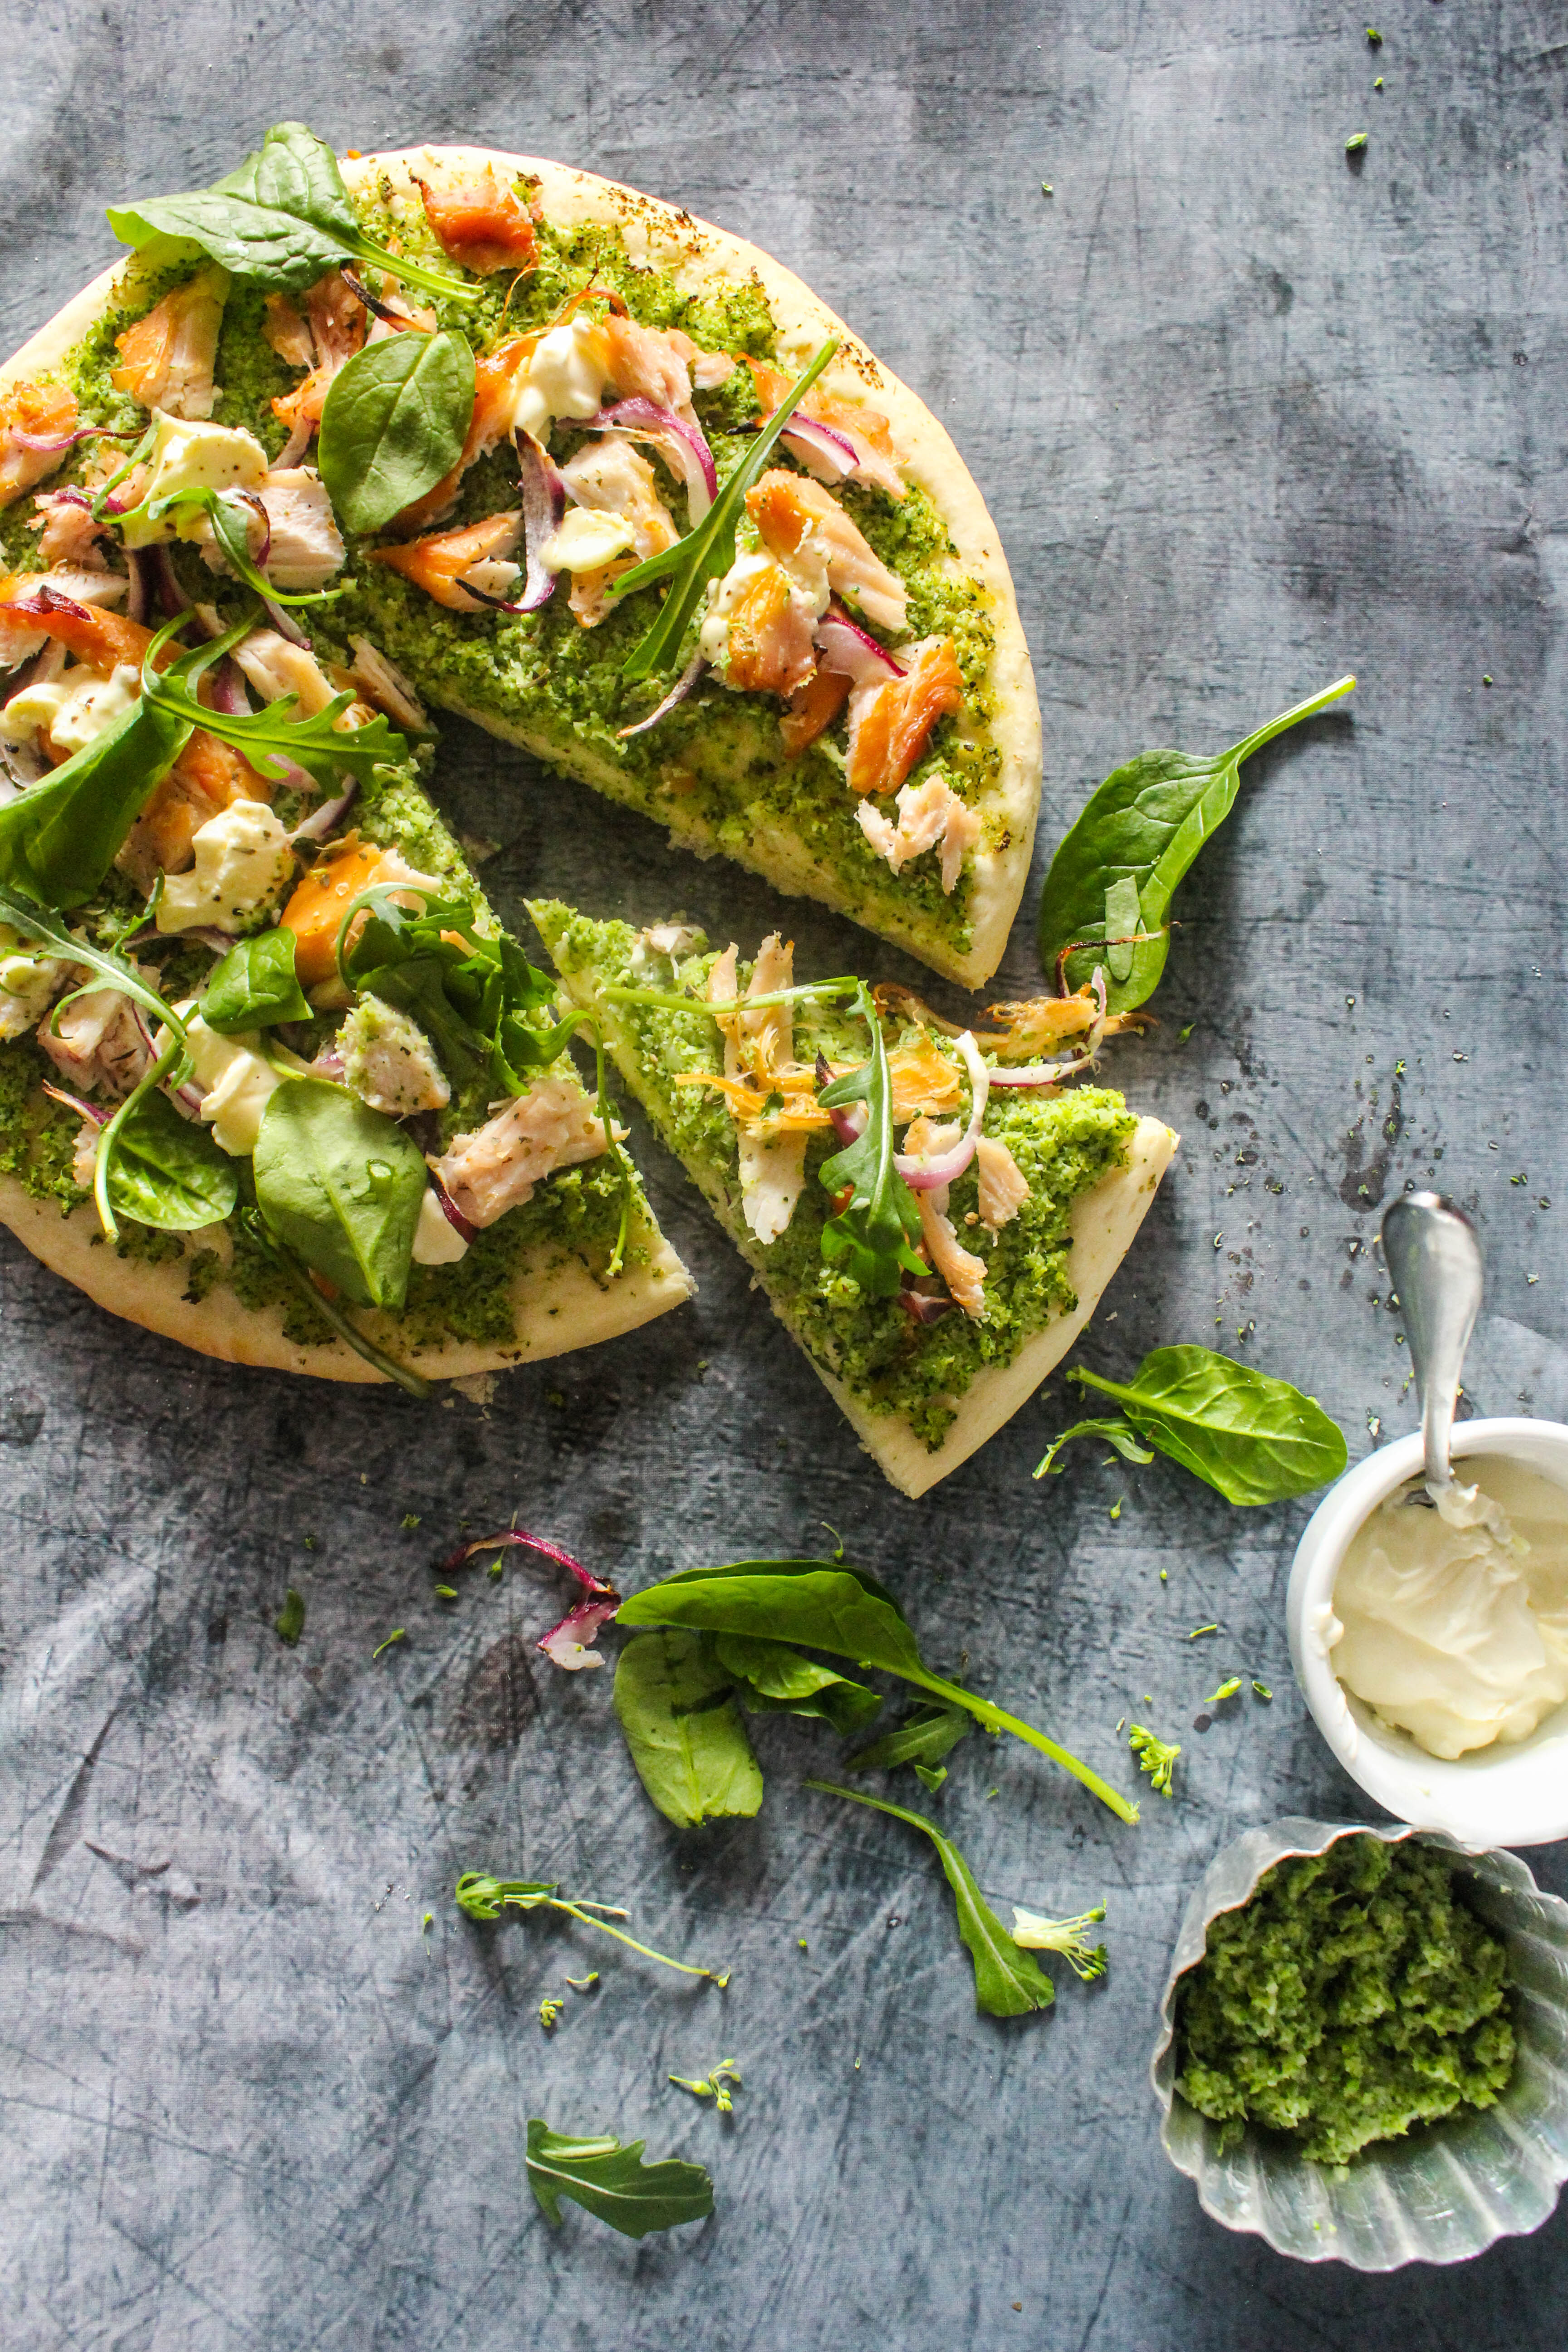
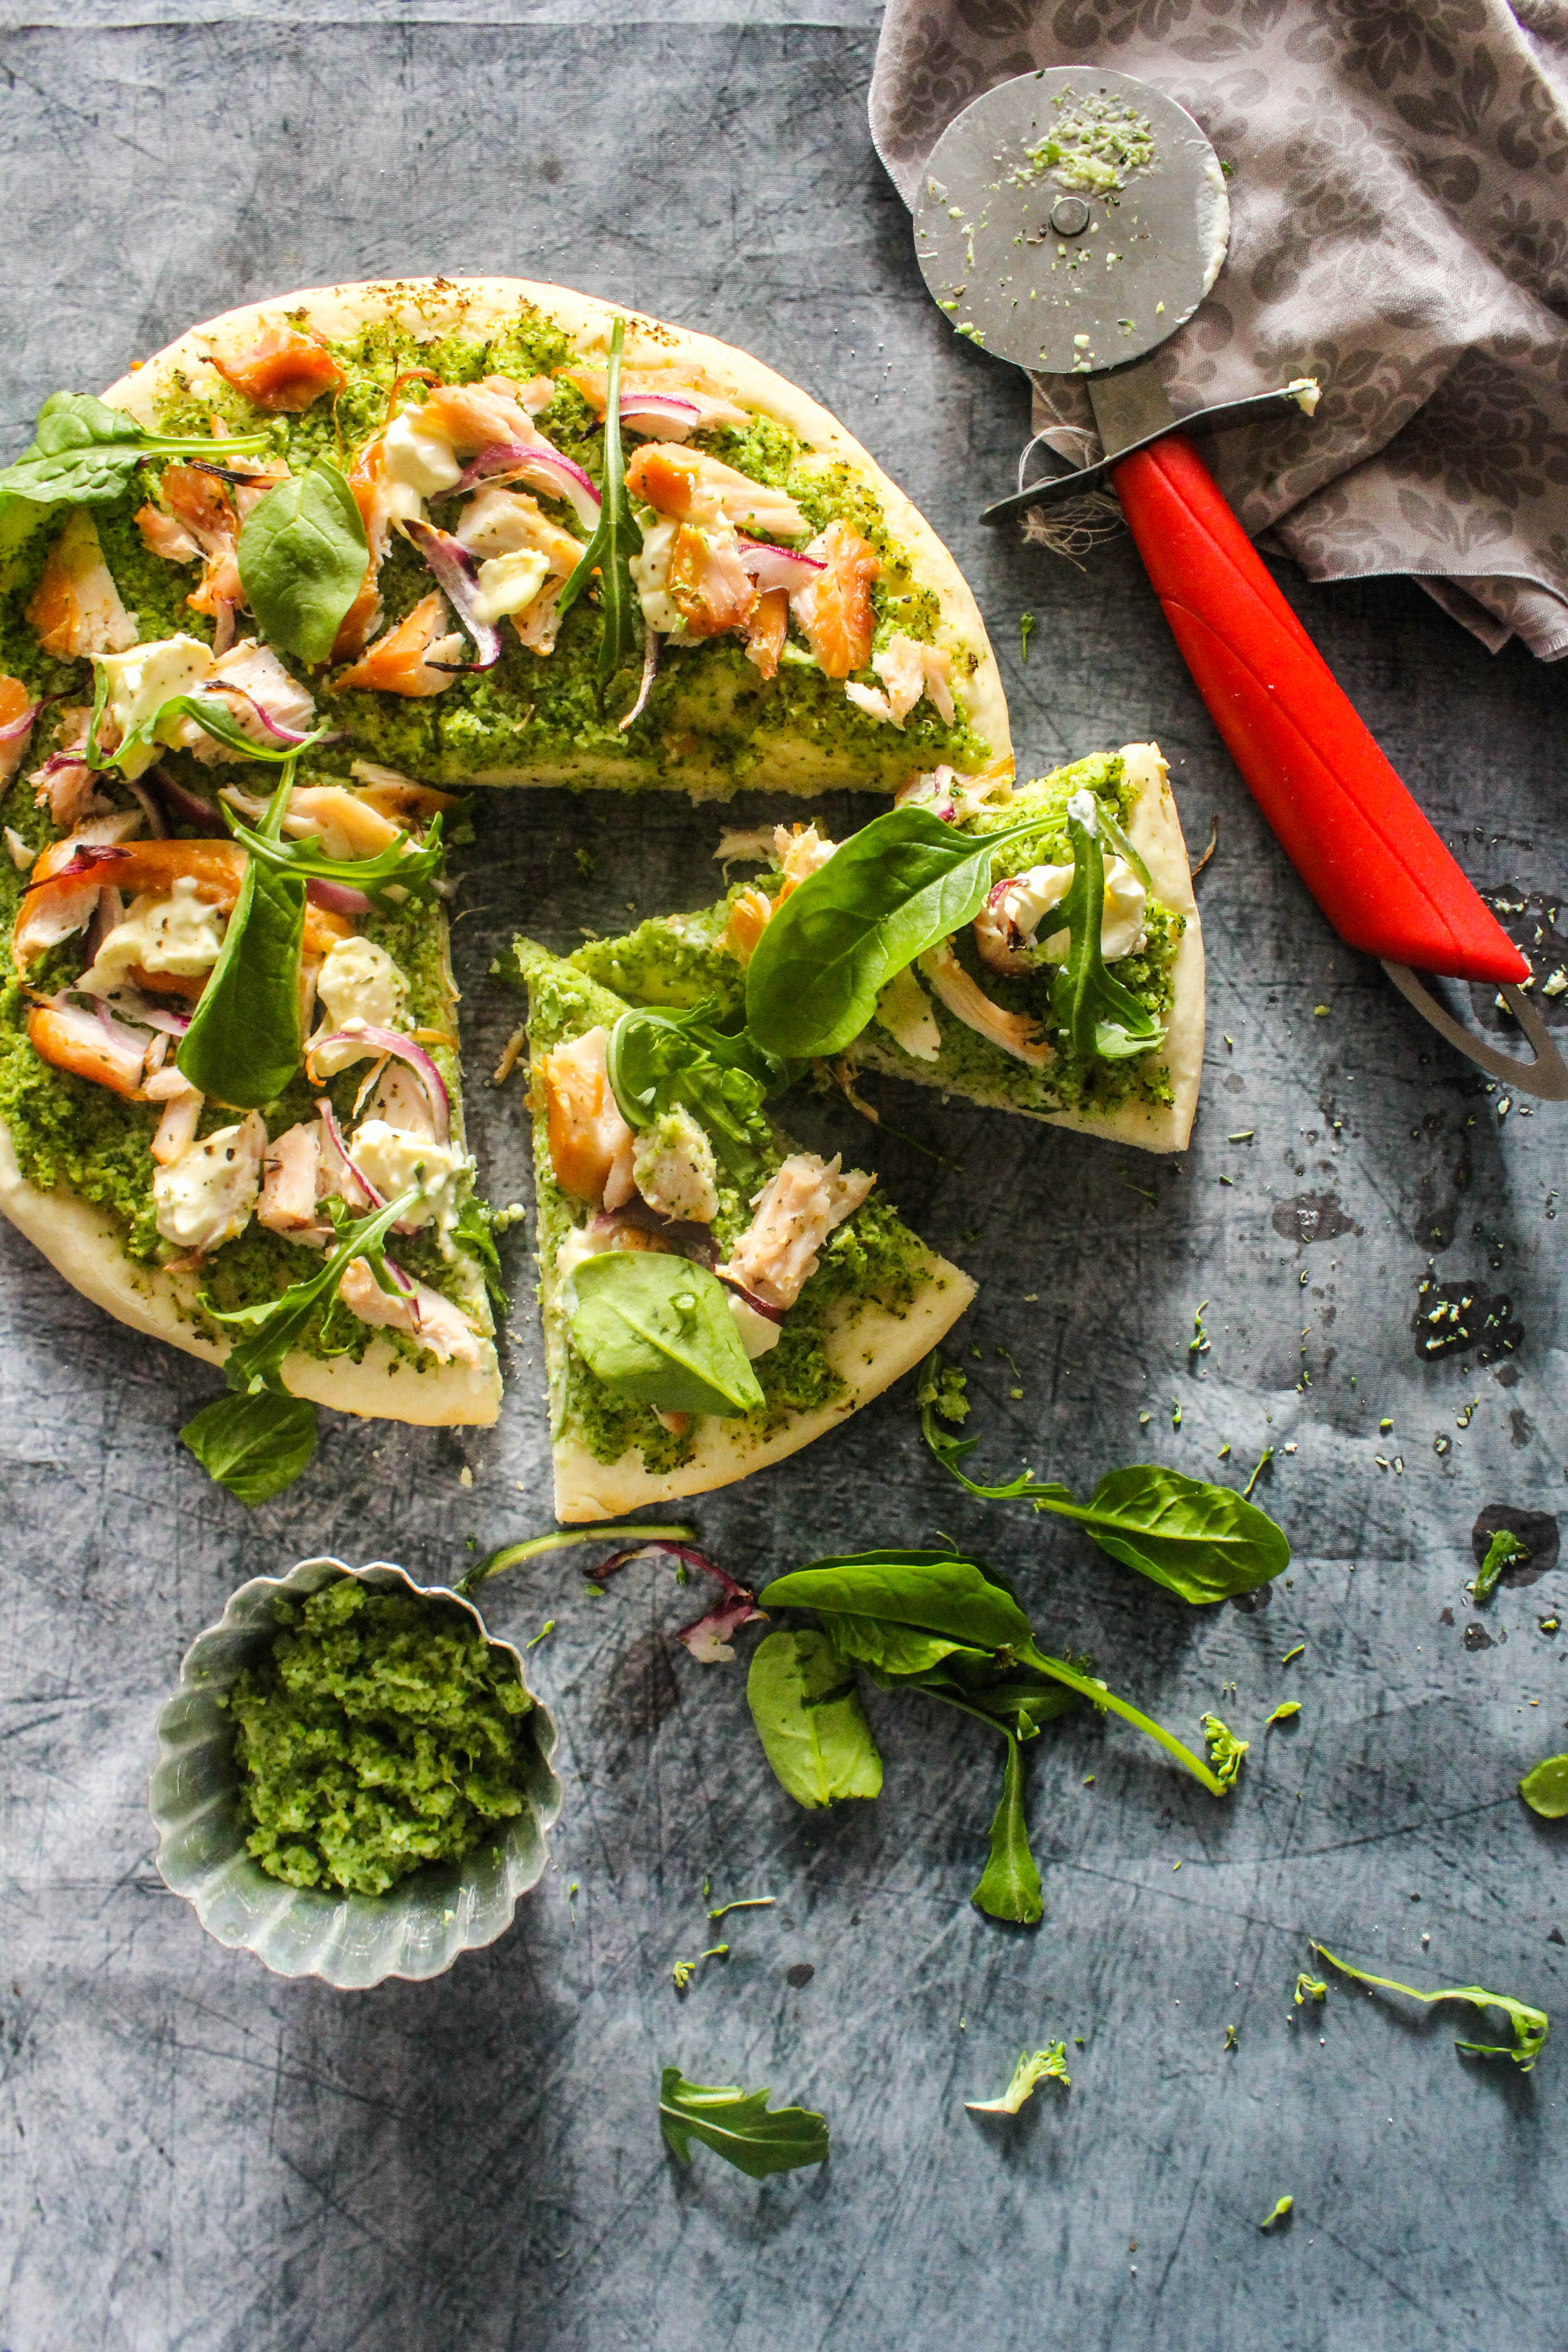
Green No-Cheese Pizza with Broccoli Pesto, Chicken and Sour Cream

12|06|2014

I am on a Pesto making mission. I have two jars permanently dedicated to it. The sight of it makes me feel good like nothing else. This feel-good is different from the one I get from baking cakes:-) But I guess it’s fierce and it’s related. One exists on account of the other. Well, it’s hard to describe but let’s say I have a place and passion for both in my life. Weird?

IMG_0278

You know there are times I tell my husband that I would like to have my own little chicken farm, have them lay eggs and then bake with them. That is my favourite culinary dream. It’s not impossible but at the moment I cannot even imagine squeezing in a teeny-weeny responsibility into my daily routine. On the other hand however, I have a little herb garden that doesn’t take up too much of my time but it provides so much of the flavour, nutrition and green that is needed to complete my meals.

IMG_0270

I don’t follow a strict recipe anymore while making pesto. Most often, it is a bit of this and that (herbs and nuts) to bring together my magic green potion. That is the amazing thing about pesto. It is versatile, adaptable and personal. The kale pesto I posted a couple of weeks ago turned out to be an instant hit so I decided to share my broccoli pesto. Unlike the kale pesto, this one goes down well with my kids. Kids seem to love broccoli. And if you love broccoli, you are going to love this pizza too. I don’t like my pizzas loaded with toppings…a few complementing flavours that you can identify as you eat does it best for me.

IMG_0273

While broccoli is the core ingredient here, you can substitute the other herbs and nut as per convenience and availability. I’ve made this pesto with green chillies earlier but If kids are eating, I prefer to leave them out. The pesto is flavourful enough to replace tomato and cheese in a pizza. So it is certainly healthier. I LOVE cheese but it’s nice to try out different things. In this recipe I have used store-bought smoked chicken which is handy to dish out quick meals. I also tend to use leftover roasted chicken from the previous day which I reserve for making quick curries and snacks. Frozen pizza dough, a jar of home-made prepared pesto, leftover chicken and a dollop of sour cream…it is as simple as that to make your pizza from scratch.
The broccoli pesto can also be used with pasta, on toast and soups. Vegetarians can replace the chicken with tofu or mushrooms.

IMG_0280

Now for the winner of the Harris Coffee give away who receives a fabulous Harris coffee pack.
The winner is Krissie from Pearls of Style. Congratulations Krissie! You will be receiving your package shortly.

Green No-Cheese Pizza with Broccoli Pesto, Chicken and Sour Cream
Serves 3-4

Pizza Dough (makes two 12 inch pizzas)
3 cups Plain Flour
2 tsp/7g/1 sachet dried yeast
1/2 tsp castor sugar
1/2 tsp salt
1 1/4 cups warm water
1 tbsp olive oil
Olive oil, for brushing
Semolina or Polenta, to dust

Pizza Topping
1 recipe Broccoli Pesto
1 smoked chicken breast (or fresh, cooked chicken), roughly chopped
1/2 red onion, finely chopped
1/2 cup sour cream
Baby Spinach and Rocket leaves, for garnish
Cracked Pepper, to serve
Extra virgin olive oil, to drizzle (I use garlic infused extra virgin olive oil)

Broccoli Pesto
1 head broccoli (about 400 g), cut into florets
3 cloves garlic,
1 tbsp. almonds, toasted and roughly chopped
1/4 cup basil leaves
2 springs thyme
1 tbsp. freshly squeezed lemon juice
salt and pepper, to season
2 tbsp. extra virgin olive oil

Make the dough: Combine the dry ingredients in a large bowl and make a well in the centre. Add the warm water and olive oil. Mix together and use your hands to bring it to a soft dough. Knead it on a floured surface to make it smooth and pliable. Return it to the mixing bowl that has been brushed with oil. Add the dough and turn to coat.
Cover with a damp tea towel. Set aside in a warm place for 30 minutes or until dough doubles in size. Punch down dough with your fist. Remove the dough from the bowl and knead it gently for a minute. Halve the dough (for one 12 inch pizza) and roll it out to the desired portion and thickness.

Make the Pesto : Heat 3/4 cup salted water on medium heat in a saucepan. add the broccoli and simmer for 3- minutes until just tender. Most of the water would be absorbed by now. Cool the mixture slightly. Add to the processor along with garlic, basil, thyme, almonds, lemon juice. Process to a coarse paste. Season with salt and pepper. Add the olive oil and mix until smooth. Store in the refrigerator until needed.

Make the pizza: Preheat the oven to 220 degrees C. Dust pizza tray with semolina or polenta. Place the rolled out dough onto the prepared tray. Spread a thick layer of broccoli pesto around the base of the pizza. Top with smoked chicken and red onion. Season with salt and pepper and drizzle with olive oil. Bake for 10 minutes or until base is crisp. Remove the pizza from the oven, dollop with sour cream and top with leafy greens. Serve with an extra drizzle of extra virgin olive oil and cracked pepper.

Chocolate and Hazelnut Praline Mousse

8|06|2014

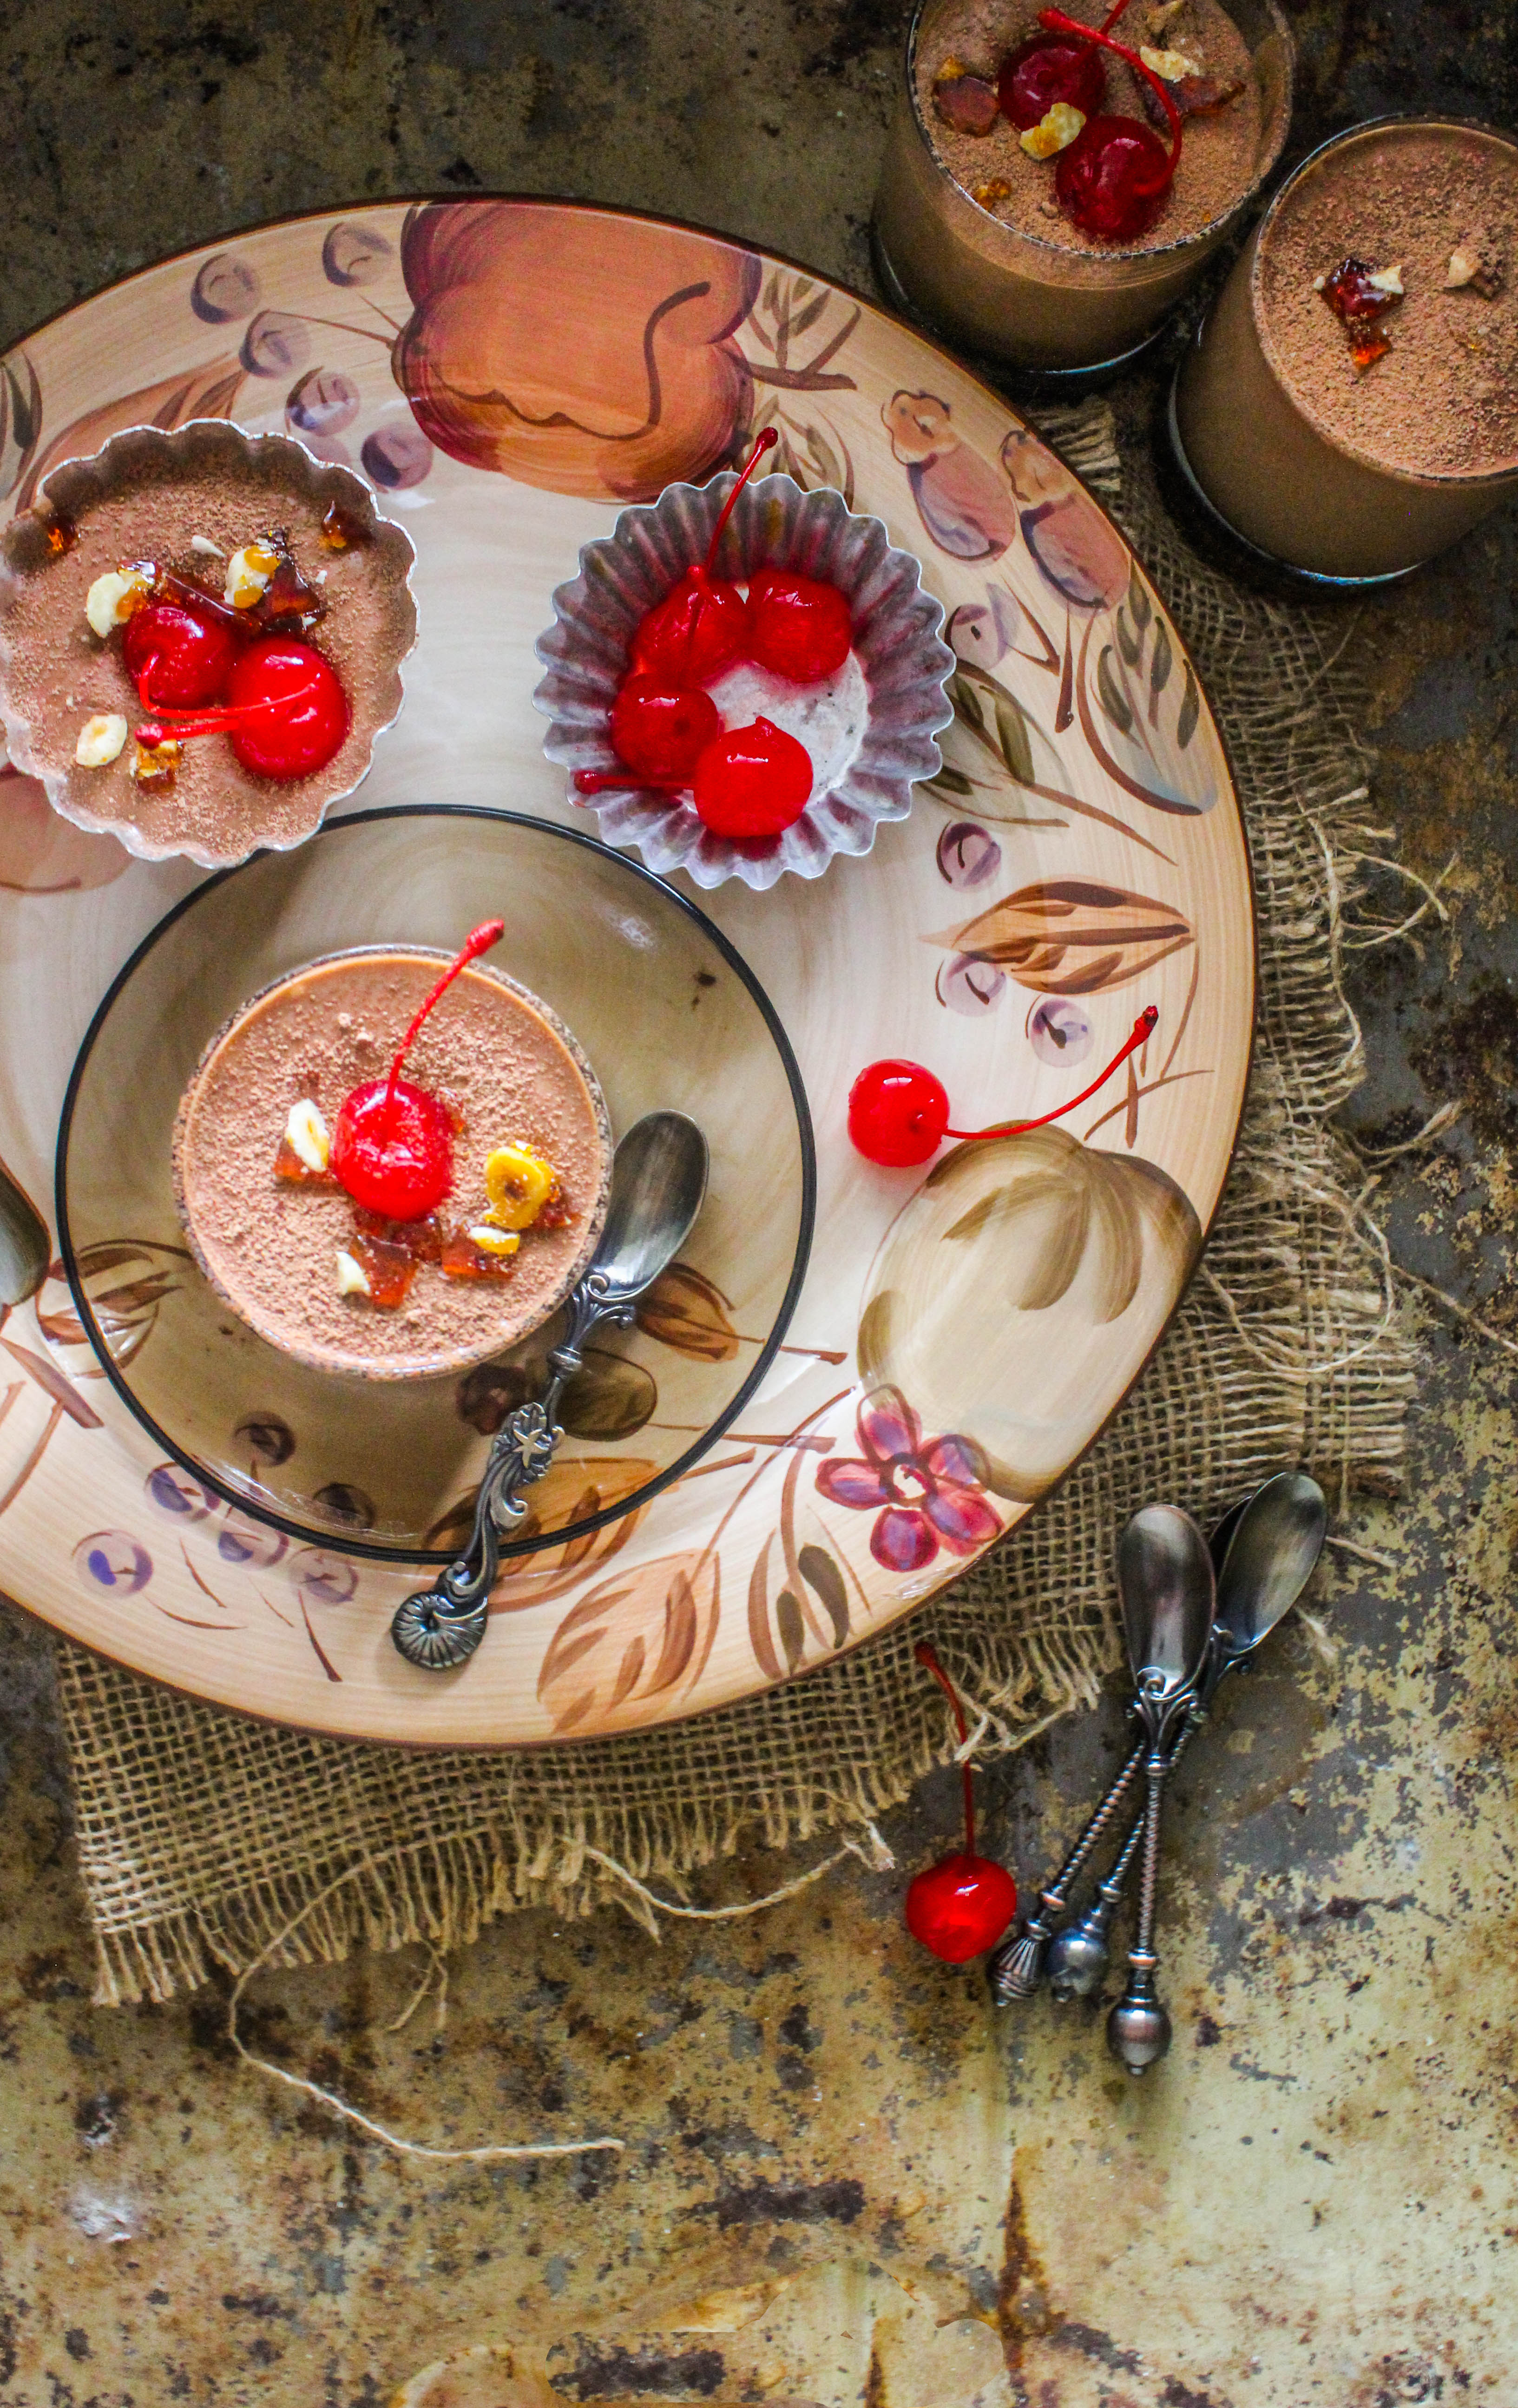
When I think of posts for my blog, there are a few things that drive my decision. Amazingly enough , the driving factors have changed from the time I started out about a year ago. In the beginning, it was primarily recipes. Some favourites, some I had developed by simply playing with ingredients and many that were inspired by fresh produce, cookbooks, blogs I followed, trends and so on. Today, though recipes continue to form the crux of my inspiration, there are other aspects that come to play while I consider a post. Styling, colours, photography, individuality, what my readers, pinners and followers want from me. I find myself constantly experimenting and that is probably what makes blogging so exciting. A lot has changed but a few things haven’t. Some constants. Like Chocolate.

IMG_0197-2

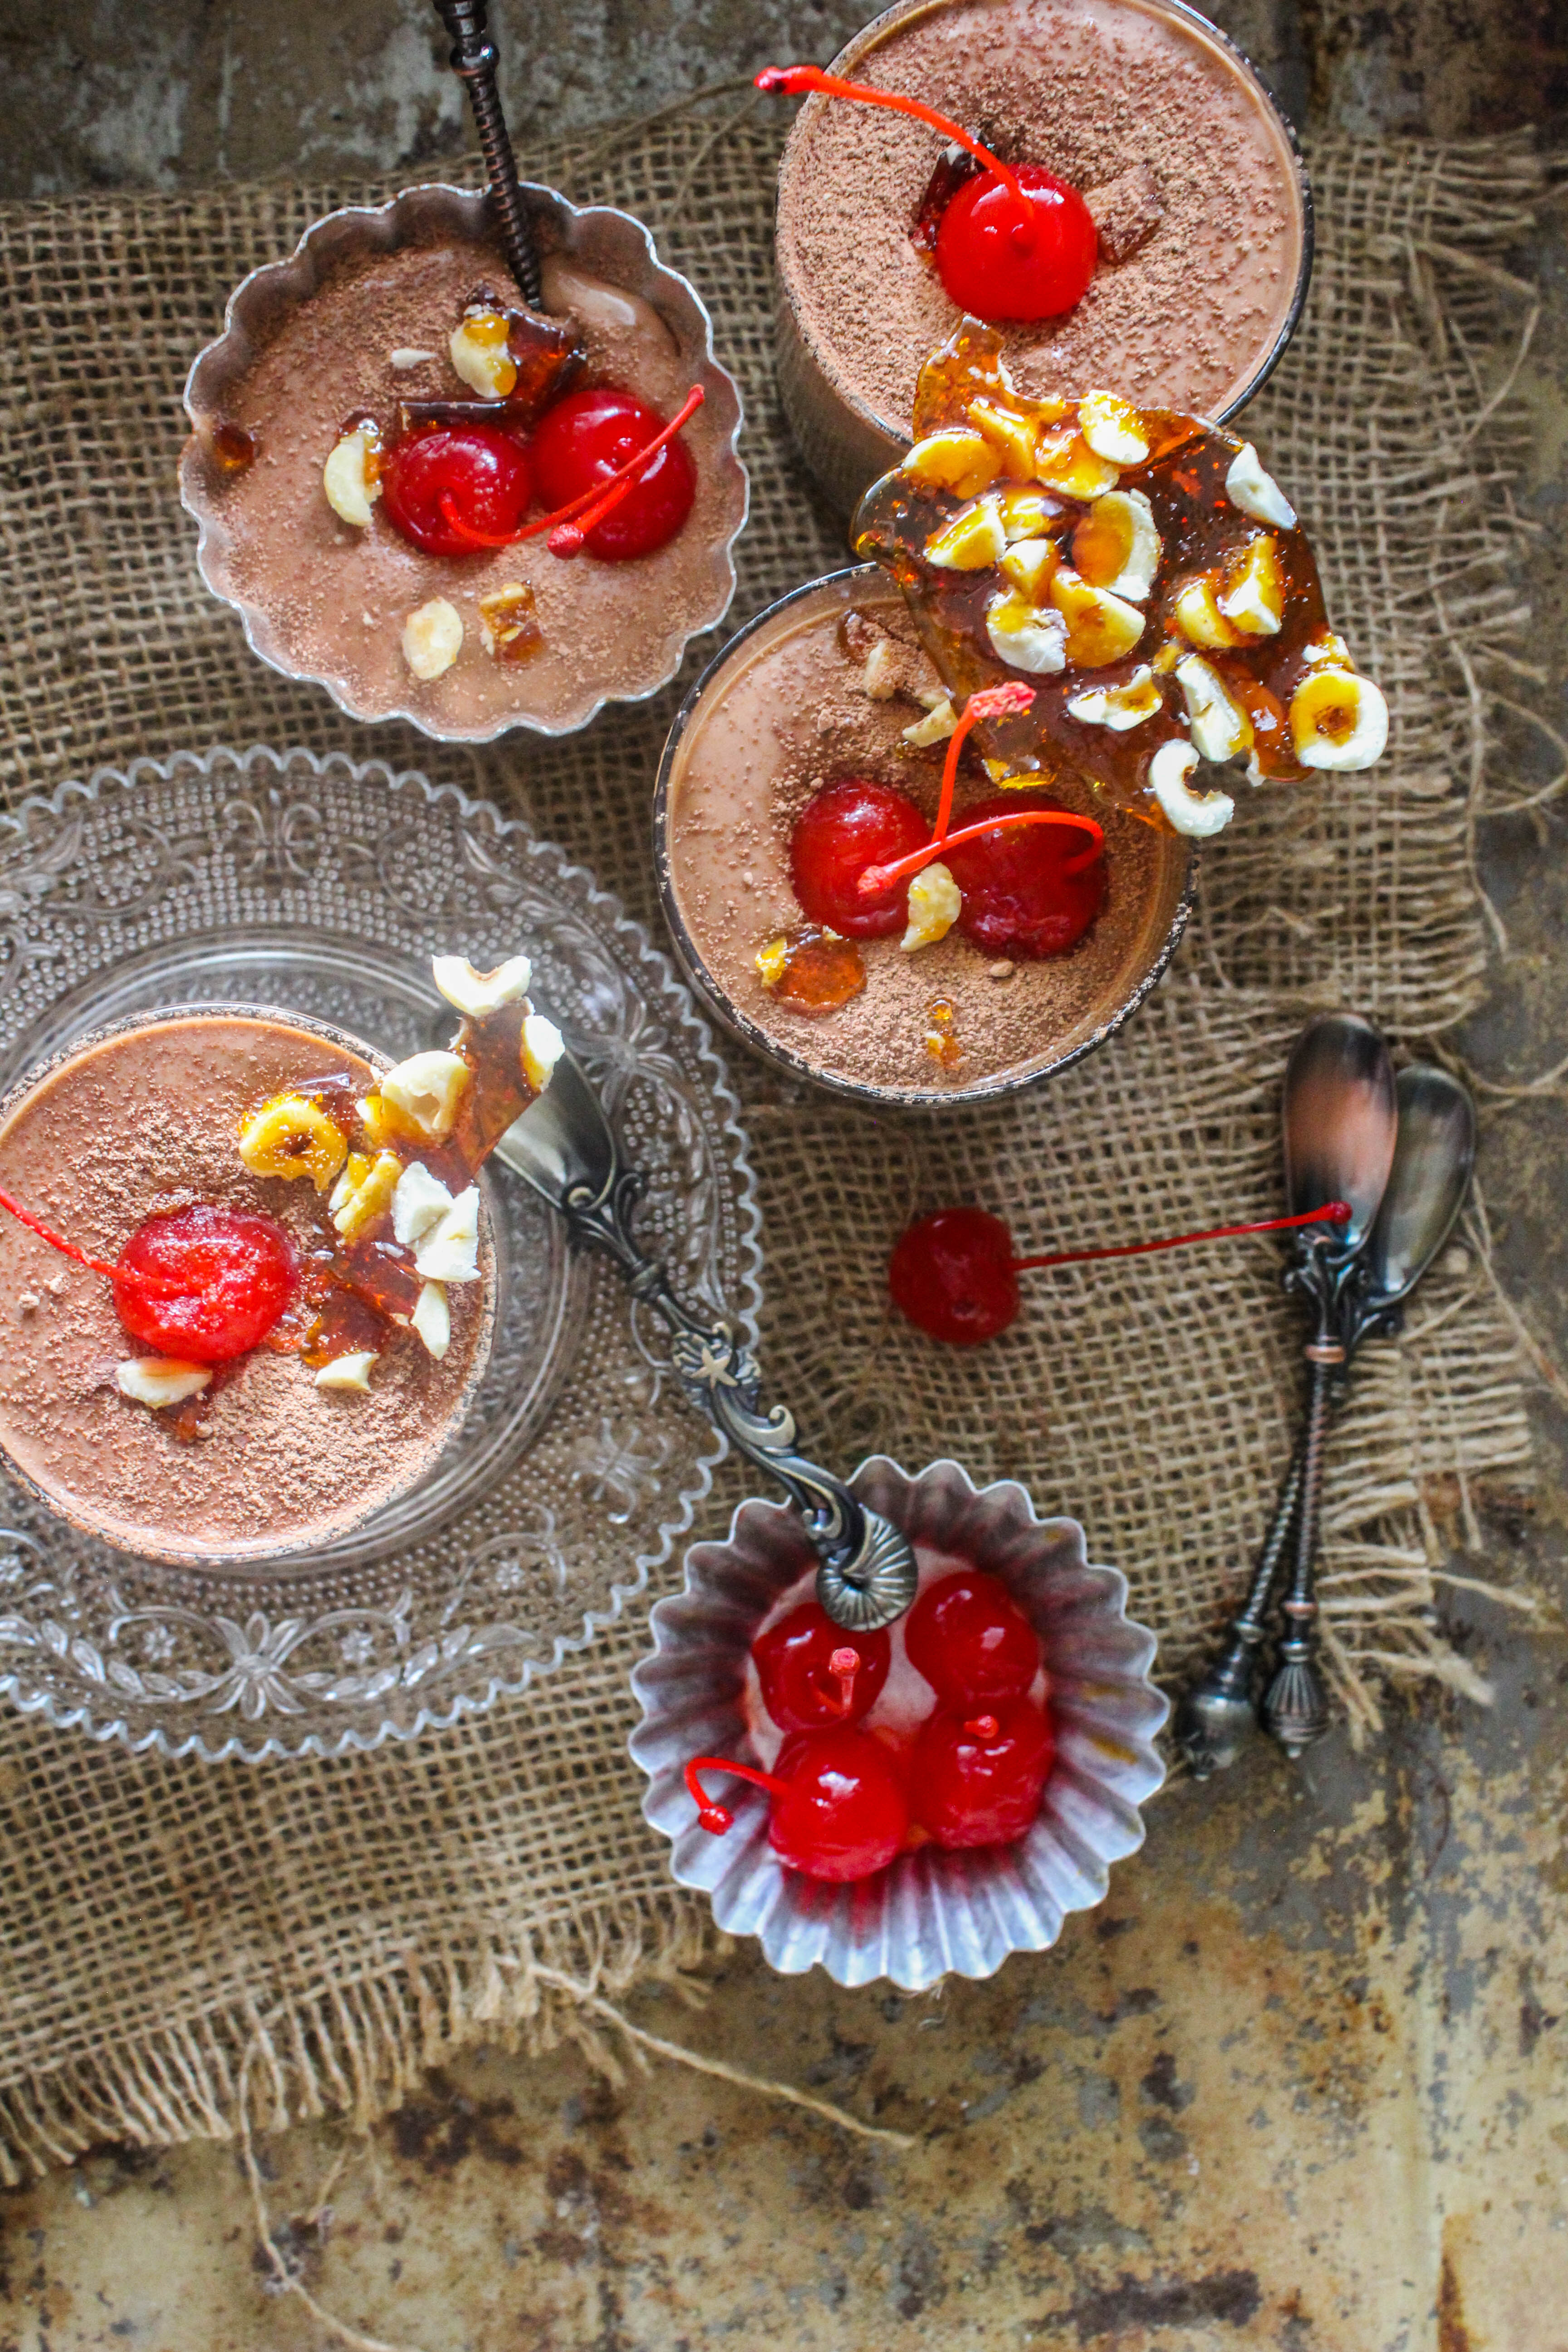
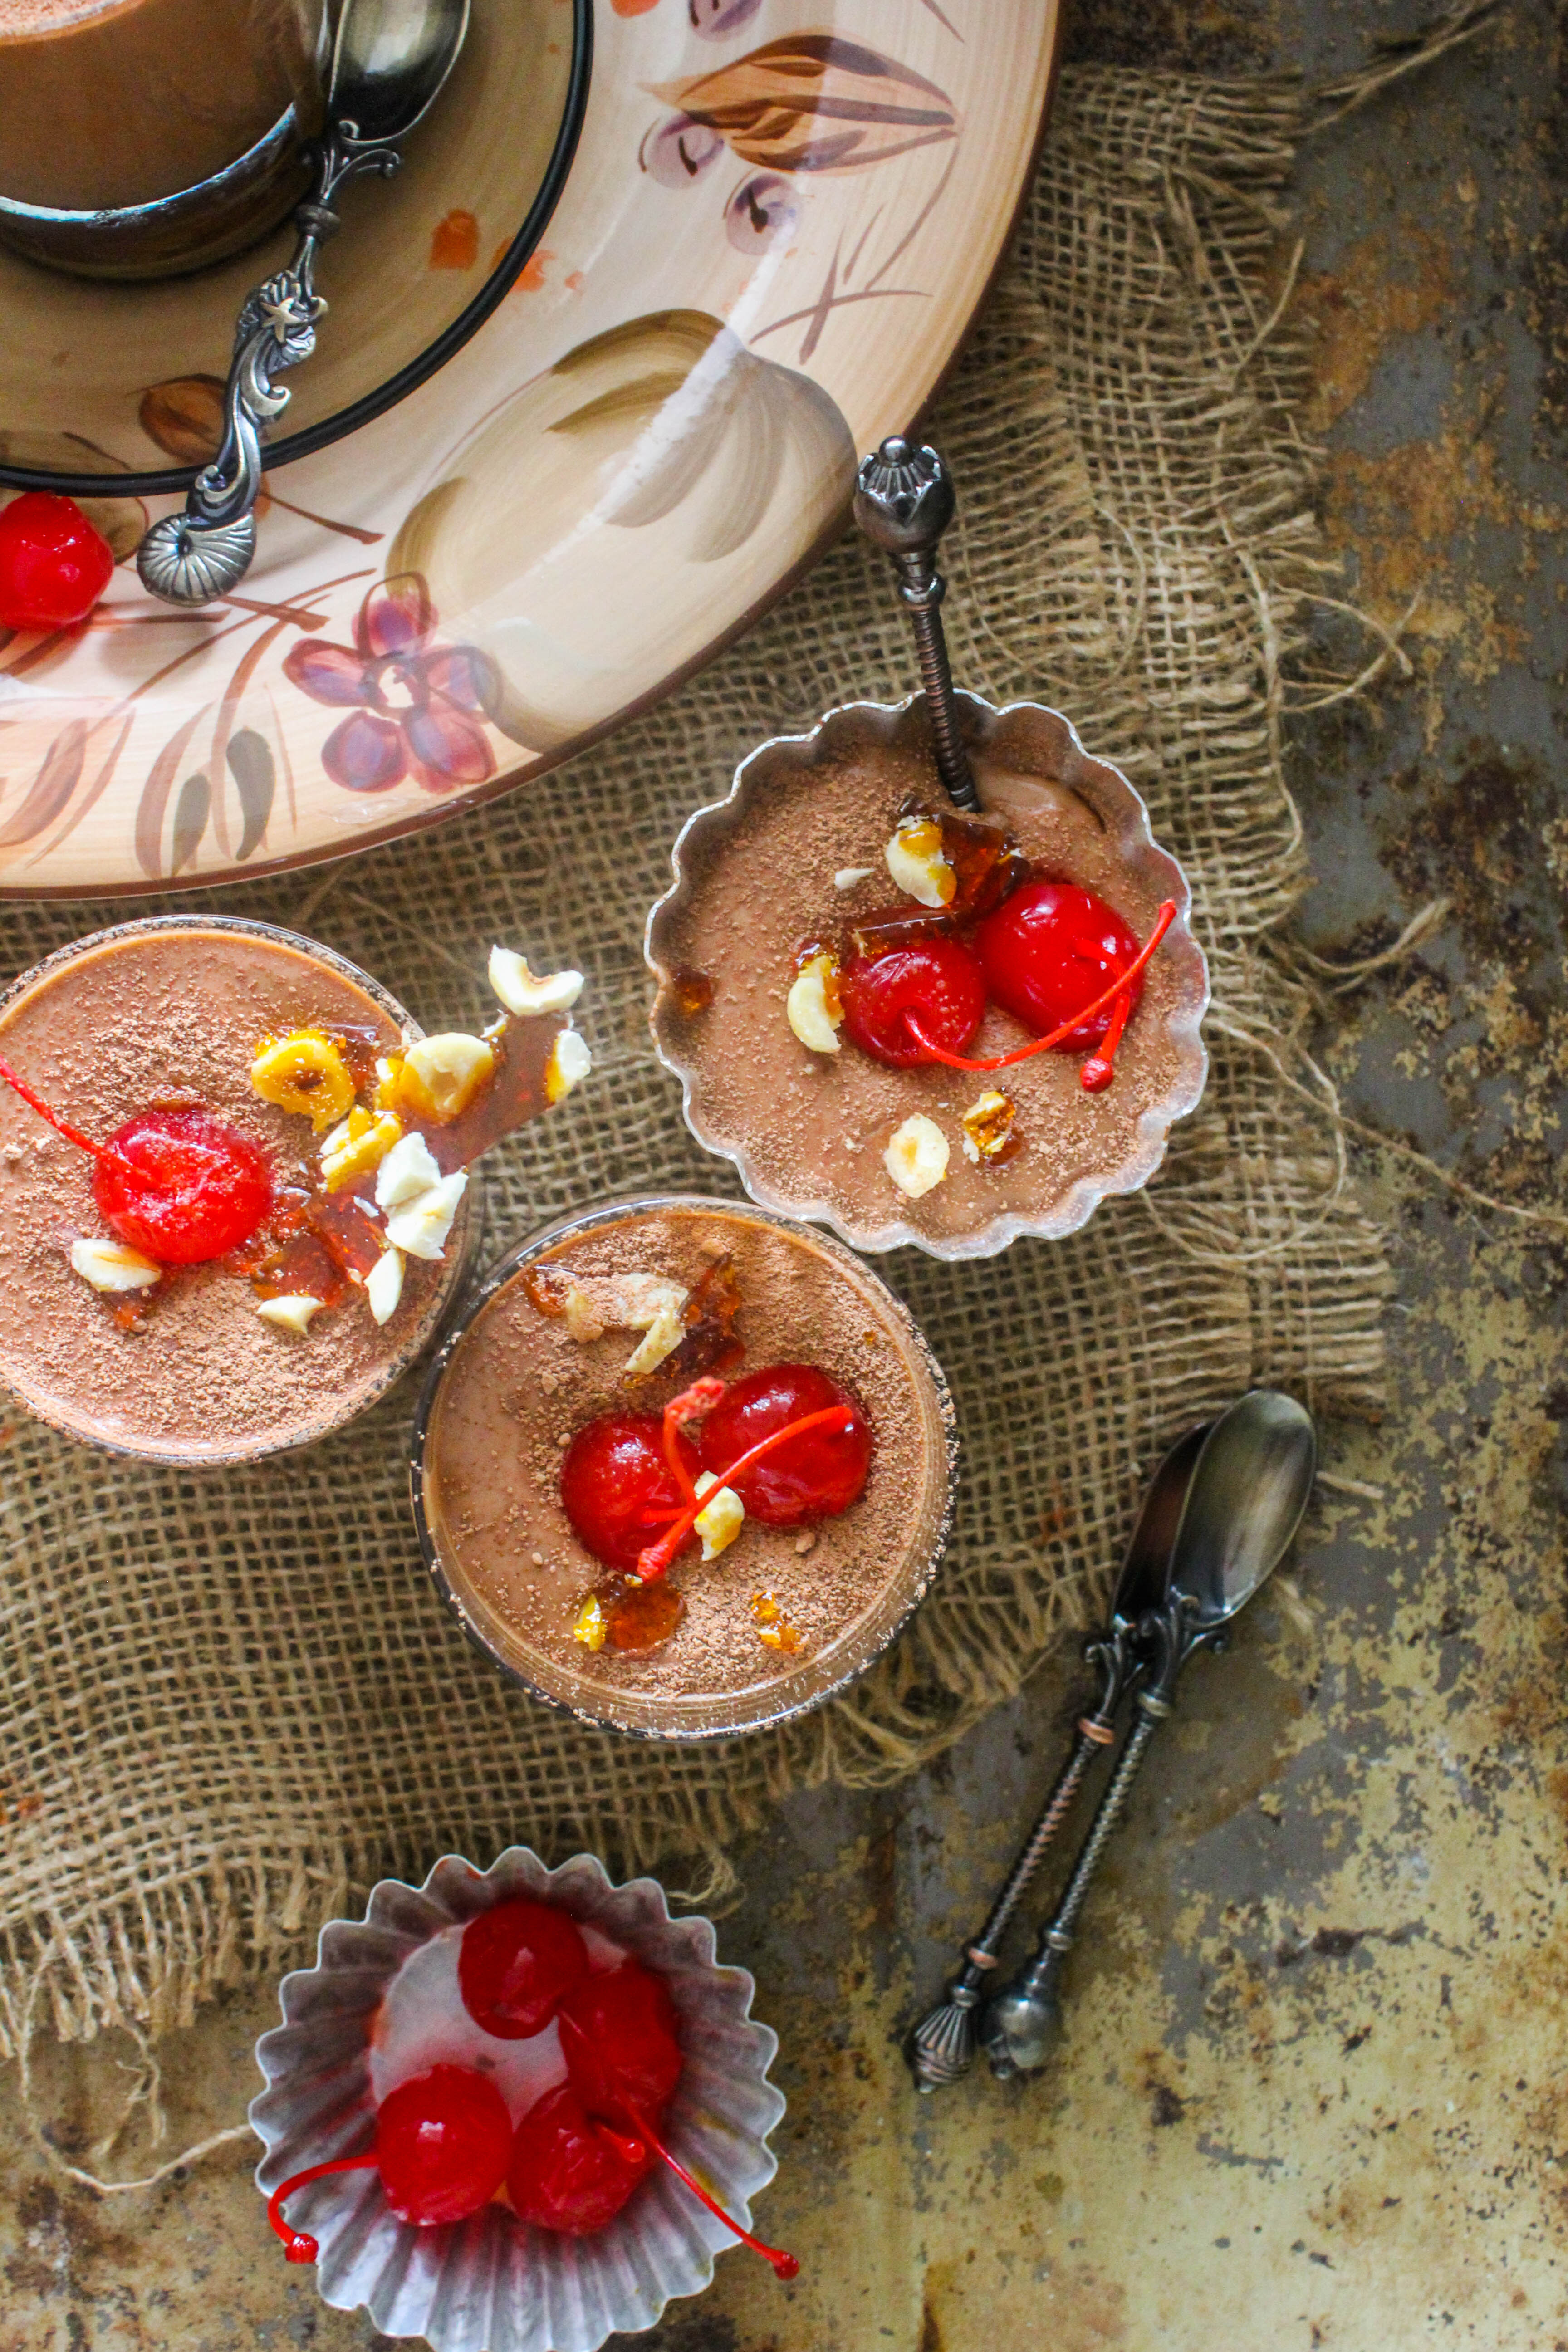
It is no secret how much this blog loves Chocolate. I can never be short on inspiration with Chocolate as a cooking ingredient.  When I buy chocolate, I have a hundred ideas about why I need it. When I melt chocolate…another hundred recipes racing through my mind. Often I start with a single recipe and end up with two recipes. Then I photograph them in at least more than one way (like I’ve done here). There is something mesemerizing about Chocolate…the look, the feel, the intensity. I love photographing Chocolate desserts as much as I enjoying cooking them.

IMG_0172

I have used my favourite mousse base for this recipe that uses egg yolks. I don’t think I have much to say about the taste. With Chocolate and Hazelnut Praline together in a dessert, there’s no doubt how indulgent this would be. The texture is intensely creamy with crunchy bits of praline within the mousse. Top them with cherries, berries or shaved chocolate and you have an impressive dessert in your hands.

IMG_0182

IMG_0180

Talking about Chocolate, I am delighted to connect with Chocolate lovers all over the world through Roxana’s lovely Chocolate Party where Chocolate is paired with different ingredients. This month Chocolate has been paired with Hazelnuts and if you are equally excited, do check out all the creations by other bloggers here.

IMG_0193

untitled

Chocolate and Hazelnut Praline Mousse
Serves 4

For the Praline:
100 g hazelnuts, roughly chopped
100 g castor sugar
1 tbsp. water

For the Dark Chocolate Mousse
½ Cup heavy cream
4 Egg Yolks
¼ Cup Sugar(or to taste)
3/4 Dark Chocolate, chopped
1 Cup Heavy Cream, whipped to stiff peaks
Maraschino Cherries, to serve

For the Praline :Heat the sugar and water in a heavy-based saucepan without stirring until it caramelises and turns a golden colour. Add the hazelnuts and pour the praline mixture onto a sheet of greaseproof paper. Take care as the mixture is extremely hot.
Allow the praline to cool to room temperature. Using a rolling pin smash the praline into small pieces.

For the Chocolate Mousse:  Heat the ½ cup cream over medium heat in a saucepan.

Beat the egg yolks and sugar together in a bowl till light and fluffy (2-3 minutes). When the cream reaches boiling point take it off the heat, add it to the egg mixture slowly, whisking constantly. This is done gradually so as to ensure that the eggs don’t scramble on pouring the hot cream. Return the egg-cream mixture to the pan.

Heat the mixture under a medium-low flame, again whisking constantly till the mixture thickens enough to coat the back of a spoon. The mixture will resemble a thick custard.

Place the dark chocolate in a bowl. Remove the custard from heat and pass it through a sieve into the bowl of chocolate. Let the mixture remain undisturbed for a while. Stir to smoothen out the chocolate. Cool to room temperature. While the custard is cooling, whip the remaining 1/2 cup cream to stiff peaks. Store in the refrigerator till needed.

When the chocolate mixture has cooled down completely add it to the whipped cream little at a time & fold in till no white streaks appear. Gradually fold in the crushed praline. Pour into serving glasses. Refrigerate till set, about 4 hours or preferably overnight. Garnish with shaved chocolate or fresh fruits. Serve cold.

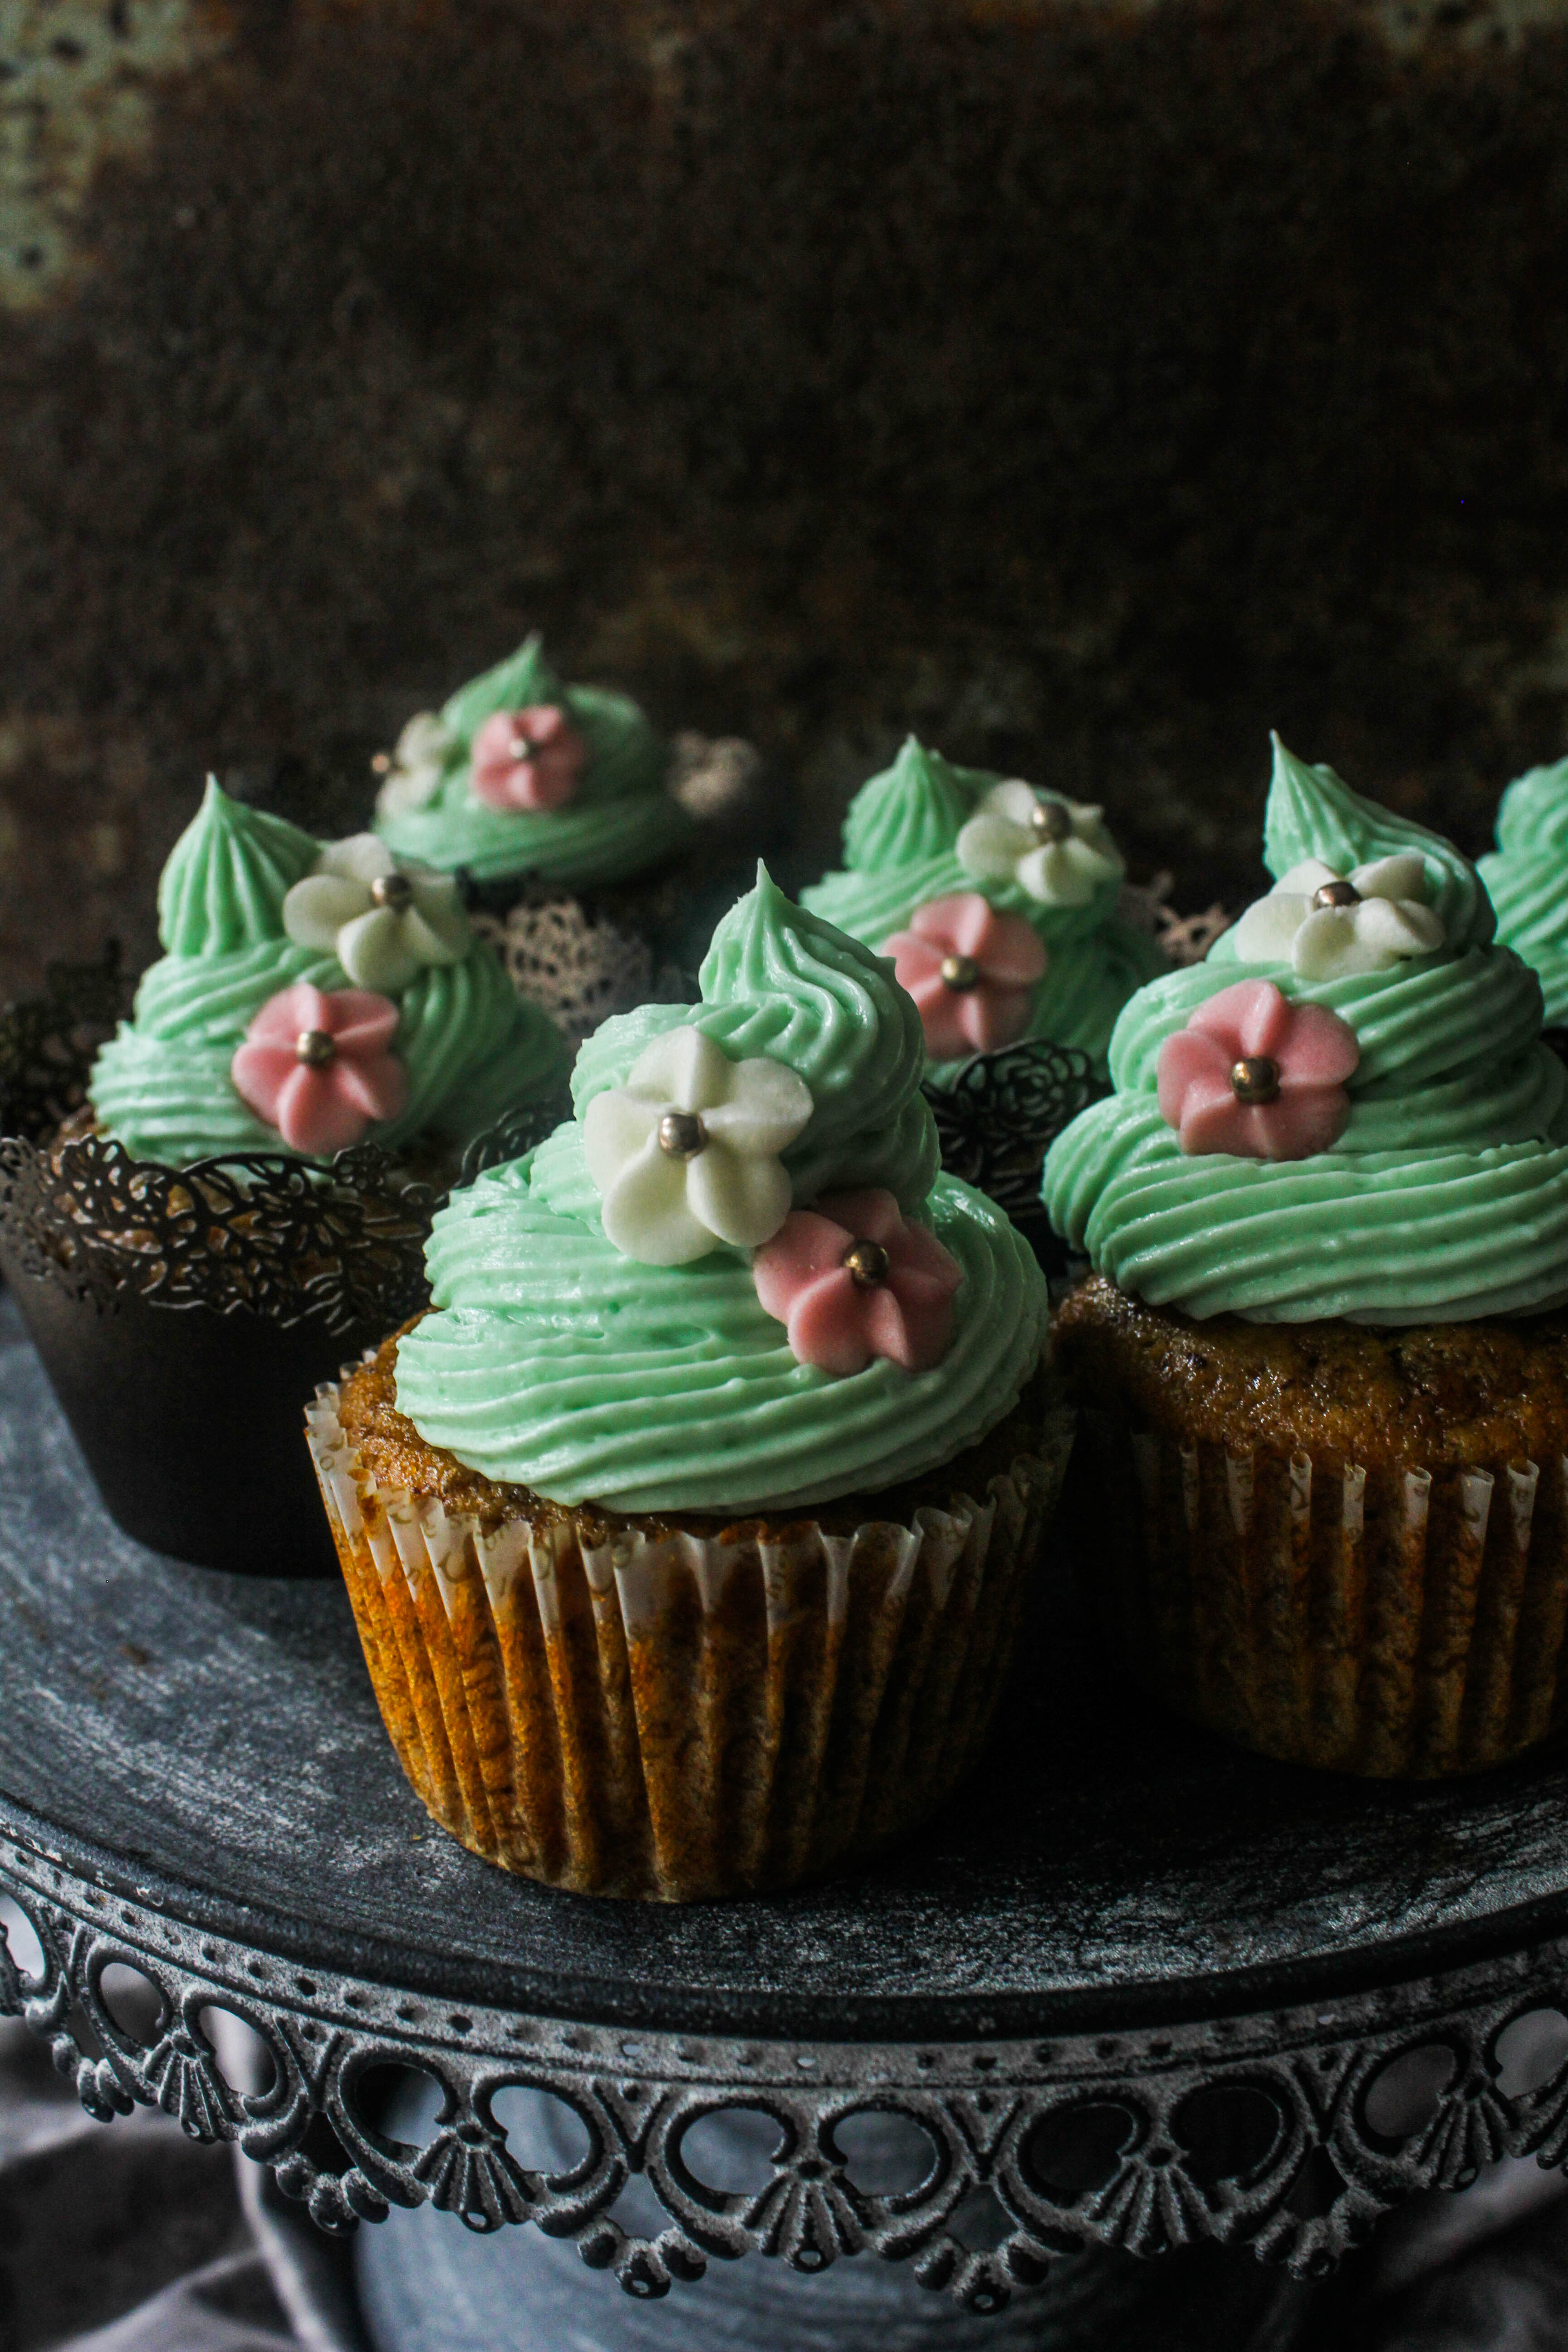
Date Cupcakes with White Chocolate Ganache Frosting

4|06|2014

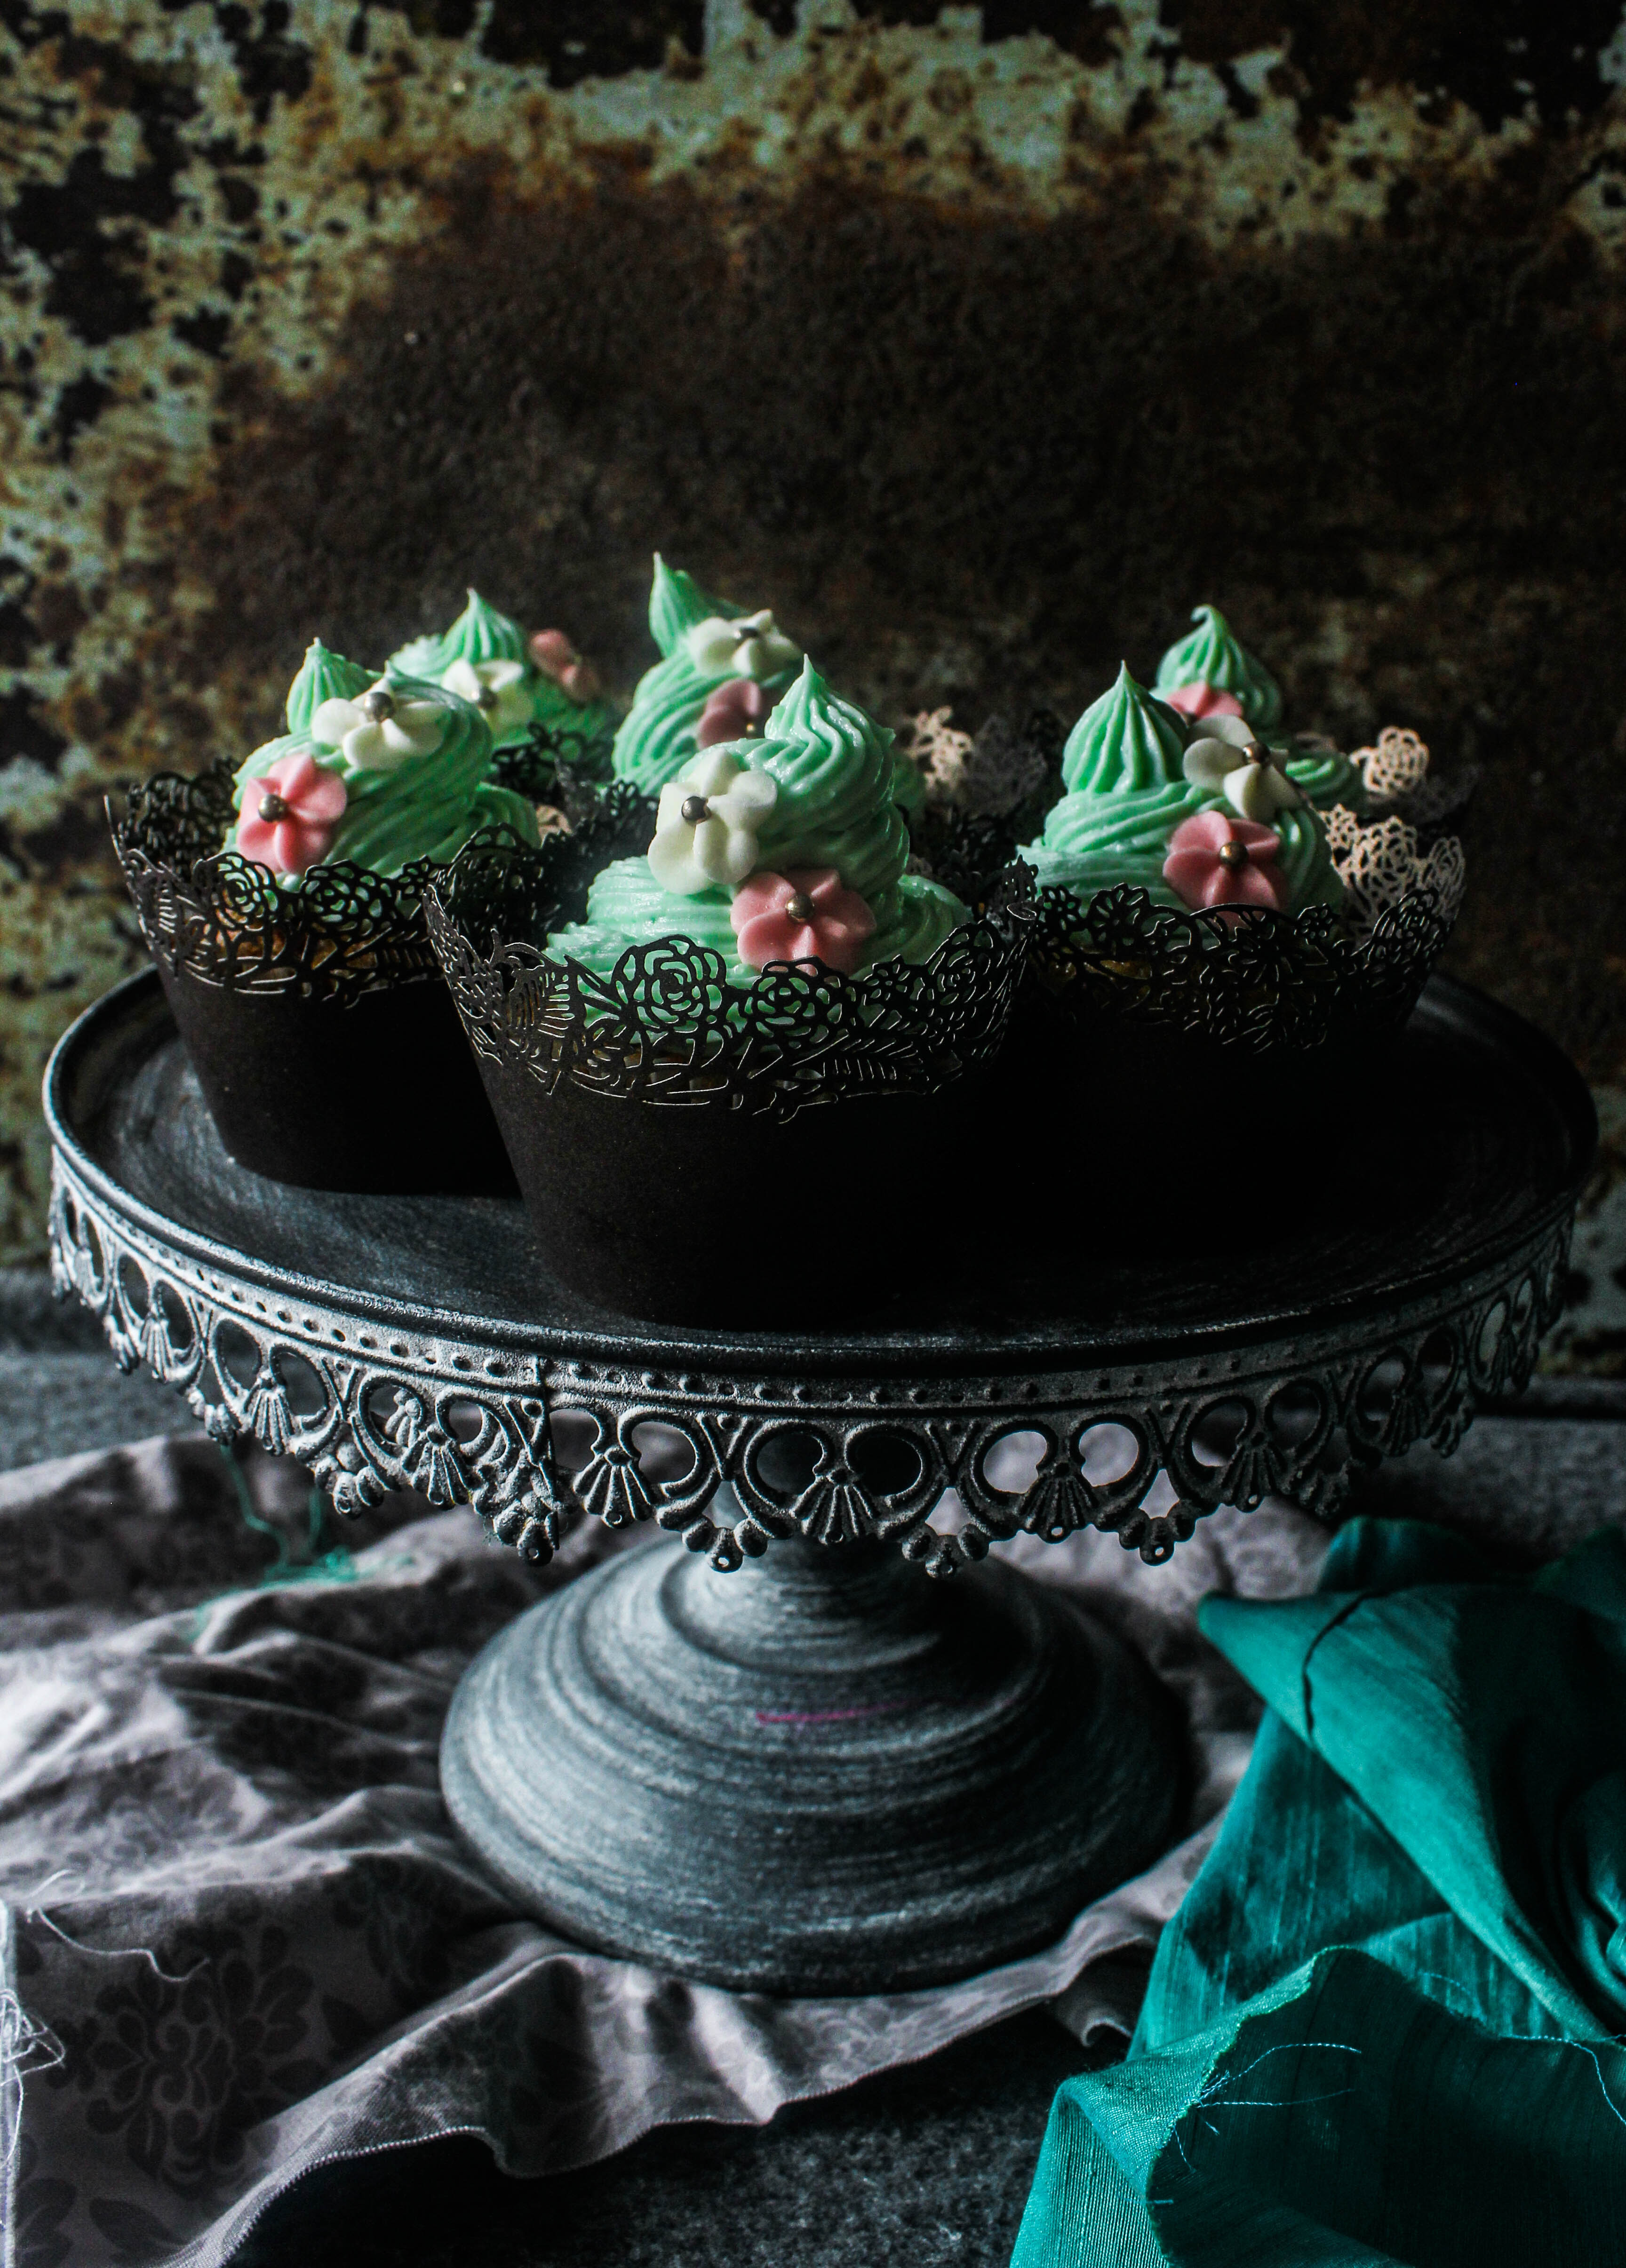
Sticky Date Pudding. Just saying those words make me feel warm and fuzzy inside. Puddings and winters are just so made for each other. This winter, I have been a bit obsessed with puddings. It just seems so easy when you leave it to the moulds or ramekins to give shape and structure to your desserts. And in this case, cupcake liners. I turned the date puddings into cupcakes. Instead of the butterscotch sauce, I frosted them with a white chocolate ganache.

IMG_9515-4

These cupcakes are moist, buttery and taste like caramel which is what makes them so delicious. But they are not overly sweet which is why they can be paired with white chocolate ganache. I was a bit worried initially if the combination would work. Or the resulting cupcake would be too sweet. Coming to think of it, most buttercream frosted cupcakes are high on the sweet too. These were perfect for me because I am all about caramel and ganach-y goodness. If you are making this and you are worried about the sweetness, you can add a teaspoon of lemon or orange zest to the frosting. That should add a touch of citrus tang which balances out the sweet.

IMG_9537-3The date cupcakes are the same recipe as the sticky date puddings I had posted earlier. The puddings traditionally are cooked in a water bath so they are gooey and extra sticky. To make cupcakes, I baked them directly and they were the right consistency for a cupcake. The ganache is the one I used in this cake recipe. Since it was already tinted at the time I made the cake, it was just a matter of whipping it up and decorating with sugar flowers.

IMG_9541-2

Date Cupcakes with White Chocolate Ganache Frosting
Yields 8

180g dates, pitted and roughly chopped
1 1/4 cups (310ml) water
1/2 tsp bicarbonate of soda
3/4 cup (165g) firmly packed brown sugar
60g butter, softened chopped
2 eggs
1 cup (150g) self-raising flour
White Chocolate Ganache Frosting, to decorate (recipe below)
Sugar flowers, to decorate

For the White Chocolate Ganache Frosting
250 g good quality white chocolate, finely chopped
150 ml thickened or heavy cream
Blue Food Colouring (I used a gel based food colour)

For the Date Cupcakes: Preheat oven to 180 degrees C (160 degrees C fan-forced). Lightly grease a 12 capacity muffin tray or line with paper liners. Place dates and water in a saucepan and bring to the boil over a high heat. Remove from the heat. Add bicarbonate of soda, stir until dates start to break down, set aside to cool, stirring occasionally.               
Beat butter and sugar in a bowl using a hand beater, gradually add eggs one at a time, beat until light and fluffy. Add date mixture, stir to combine. Carefully fold through sifted flour, divide mixture evenly between the muffin liners, until 2/3 full.

Bake for 15-20 minutes or until golden and a skewer inserted into the centre comes out clean. Cool to room temperature. Once cooled pipe frosting onto the cupcakes. Decorate with sugar flowers.

For the White Chocolate Ganache Frosting:

Place chocolate in a large mixing bowl. Heat cream over low-medium heat in saucepan until just boiling, pour over cream and set aside for 5 minutes. Use a whisk to combine mixture until smooth. Add food Colouring if using, little at a time till the desired shade is reached. Cool slightly in the refrigerator and whip up to a pipeable consistency using an electric mixer.


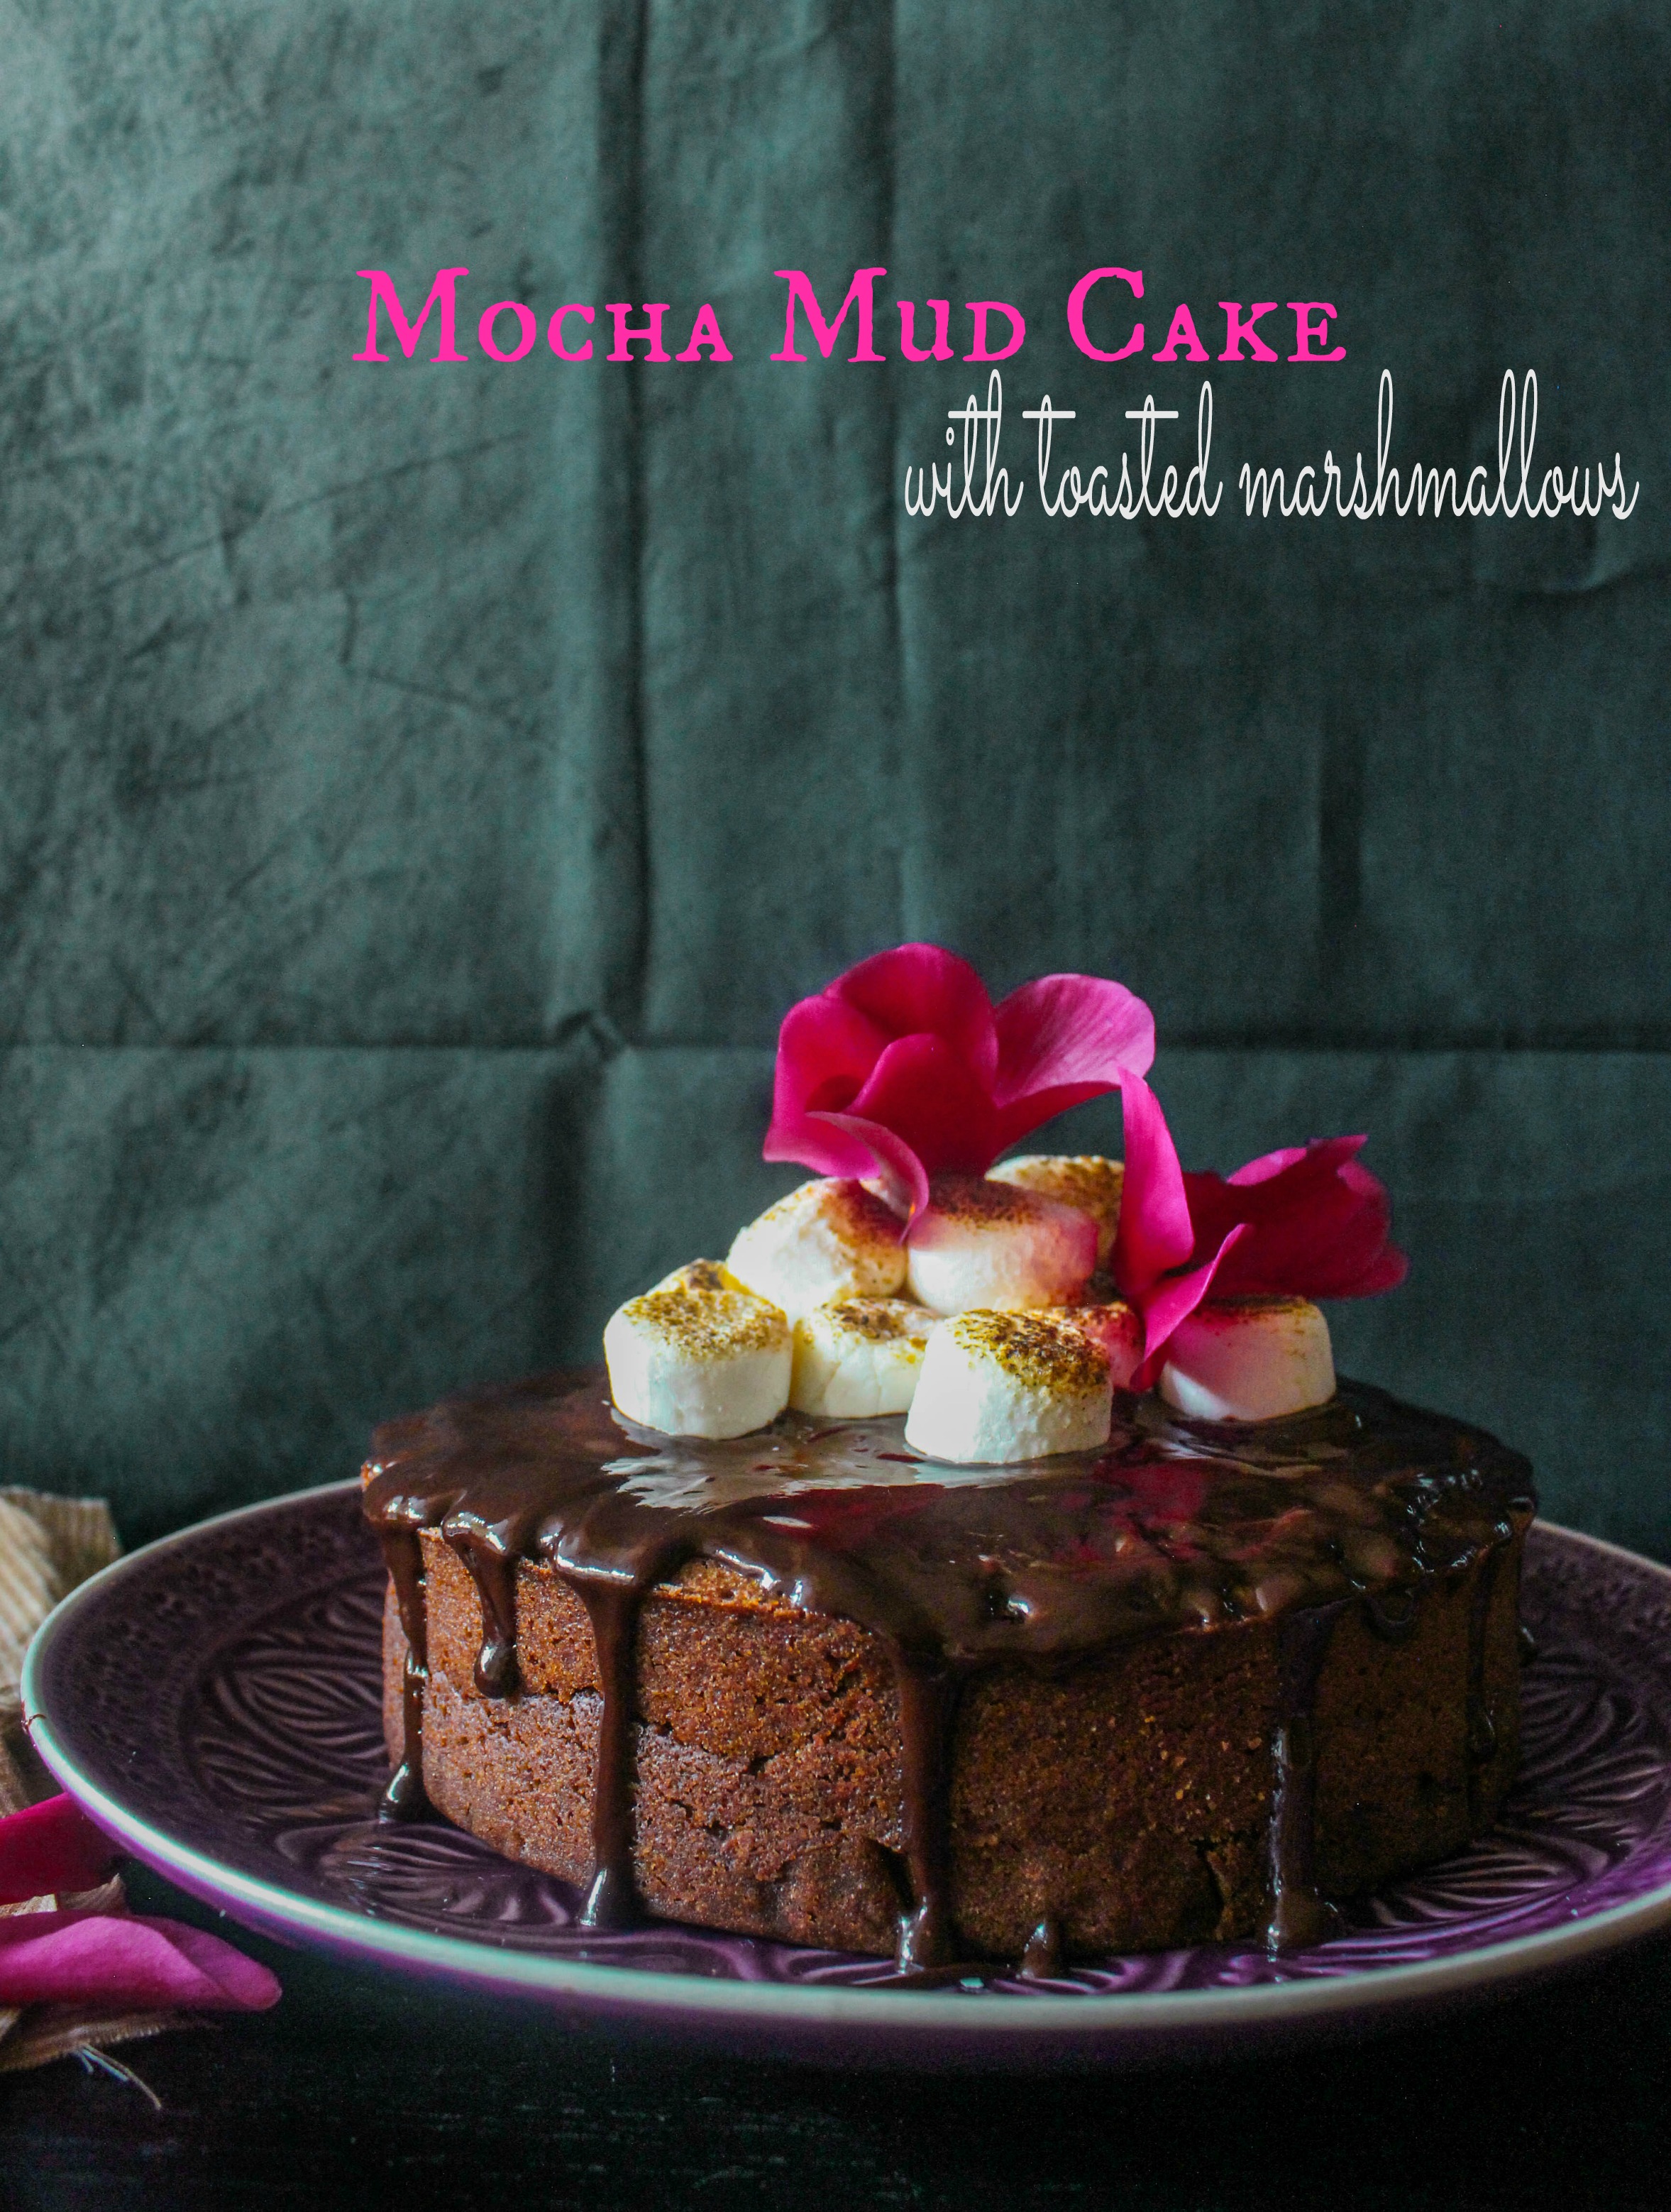
Harris Coffee, a Mocha Mud Cake and a Give Away

29|05|2014

Disclaimer: This is a sponsored post, however the opinions expressed are honest and entirely my own. This post is brought to you by Nuffnang and Harris Coffee.

Do you believe in ‘waking up and smelling the coffee’? Or are you like me..the other way round? That’s right! I need to smell my coffee  to wake up. A freshly brewed cup of coffee is what it takes to get me moving in the morning.  And sometimes during the day too.

mocha cake

Admittedly, I am no coffee connoisseur. Neither am I addicted. But I do appreciate a good cup of coffee.  If I trust something to kick start my day, it has to be great, doesn’t it? By that I mean, coffee that not only tastes great but is of a superior quality, crafted and handled by experts and produced locally. Why local? Because local means it’s source is known to me, the processes it goes through are familiar to me and the coffee beans have travelled fewer miles to reach my cup.

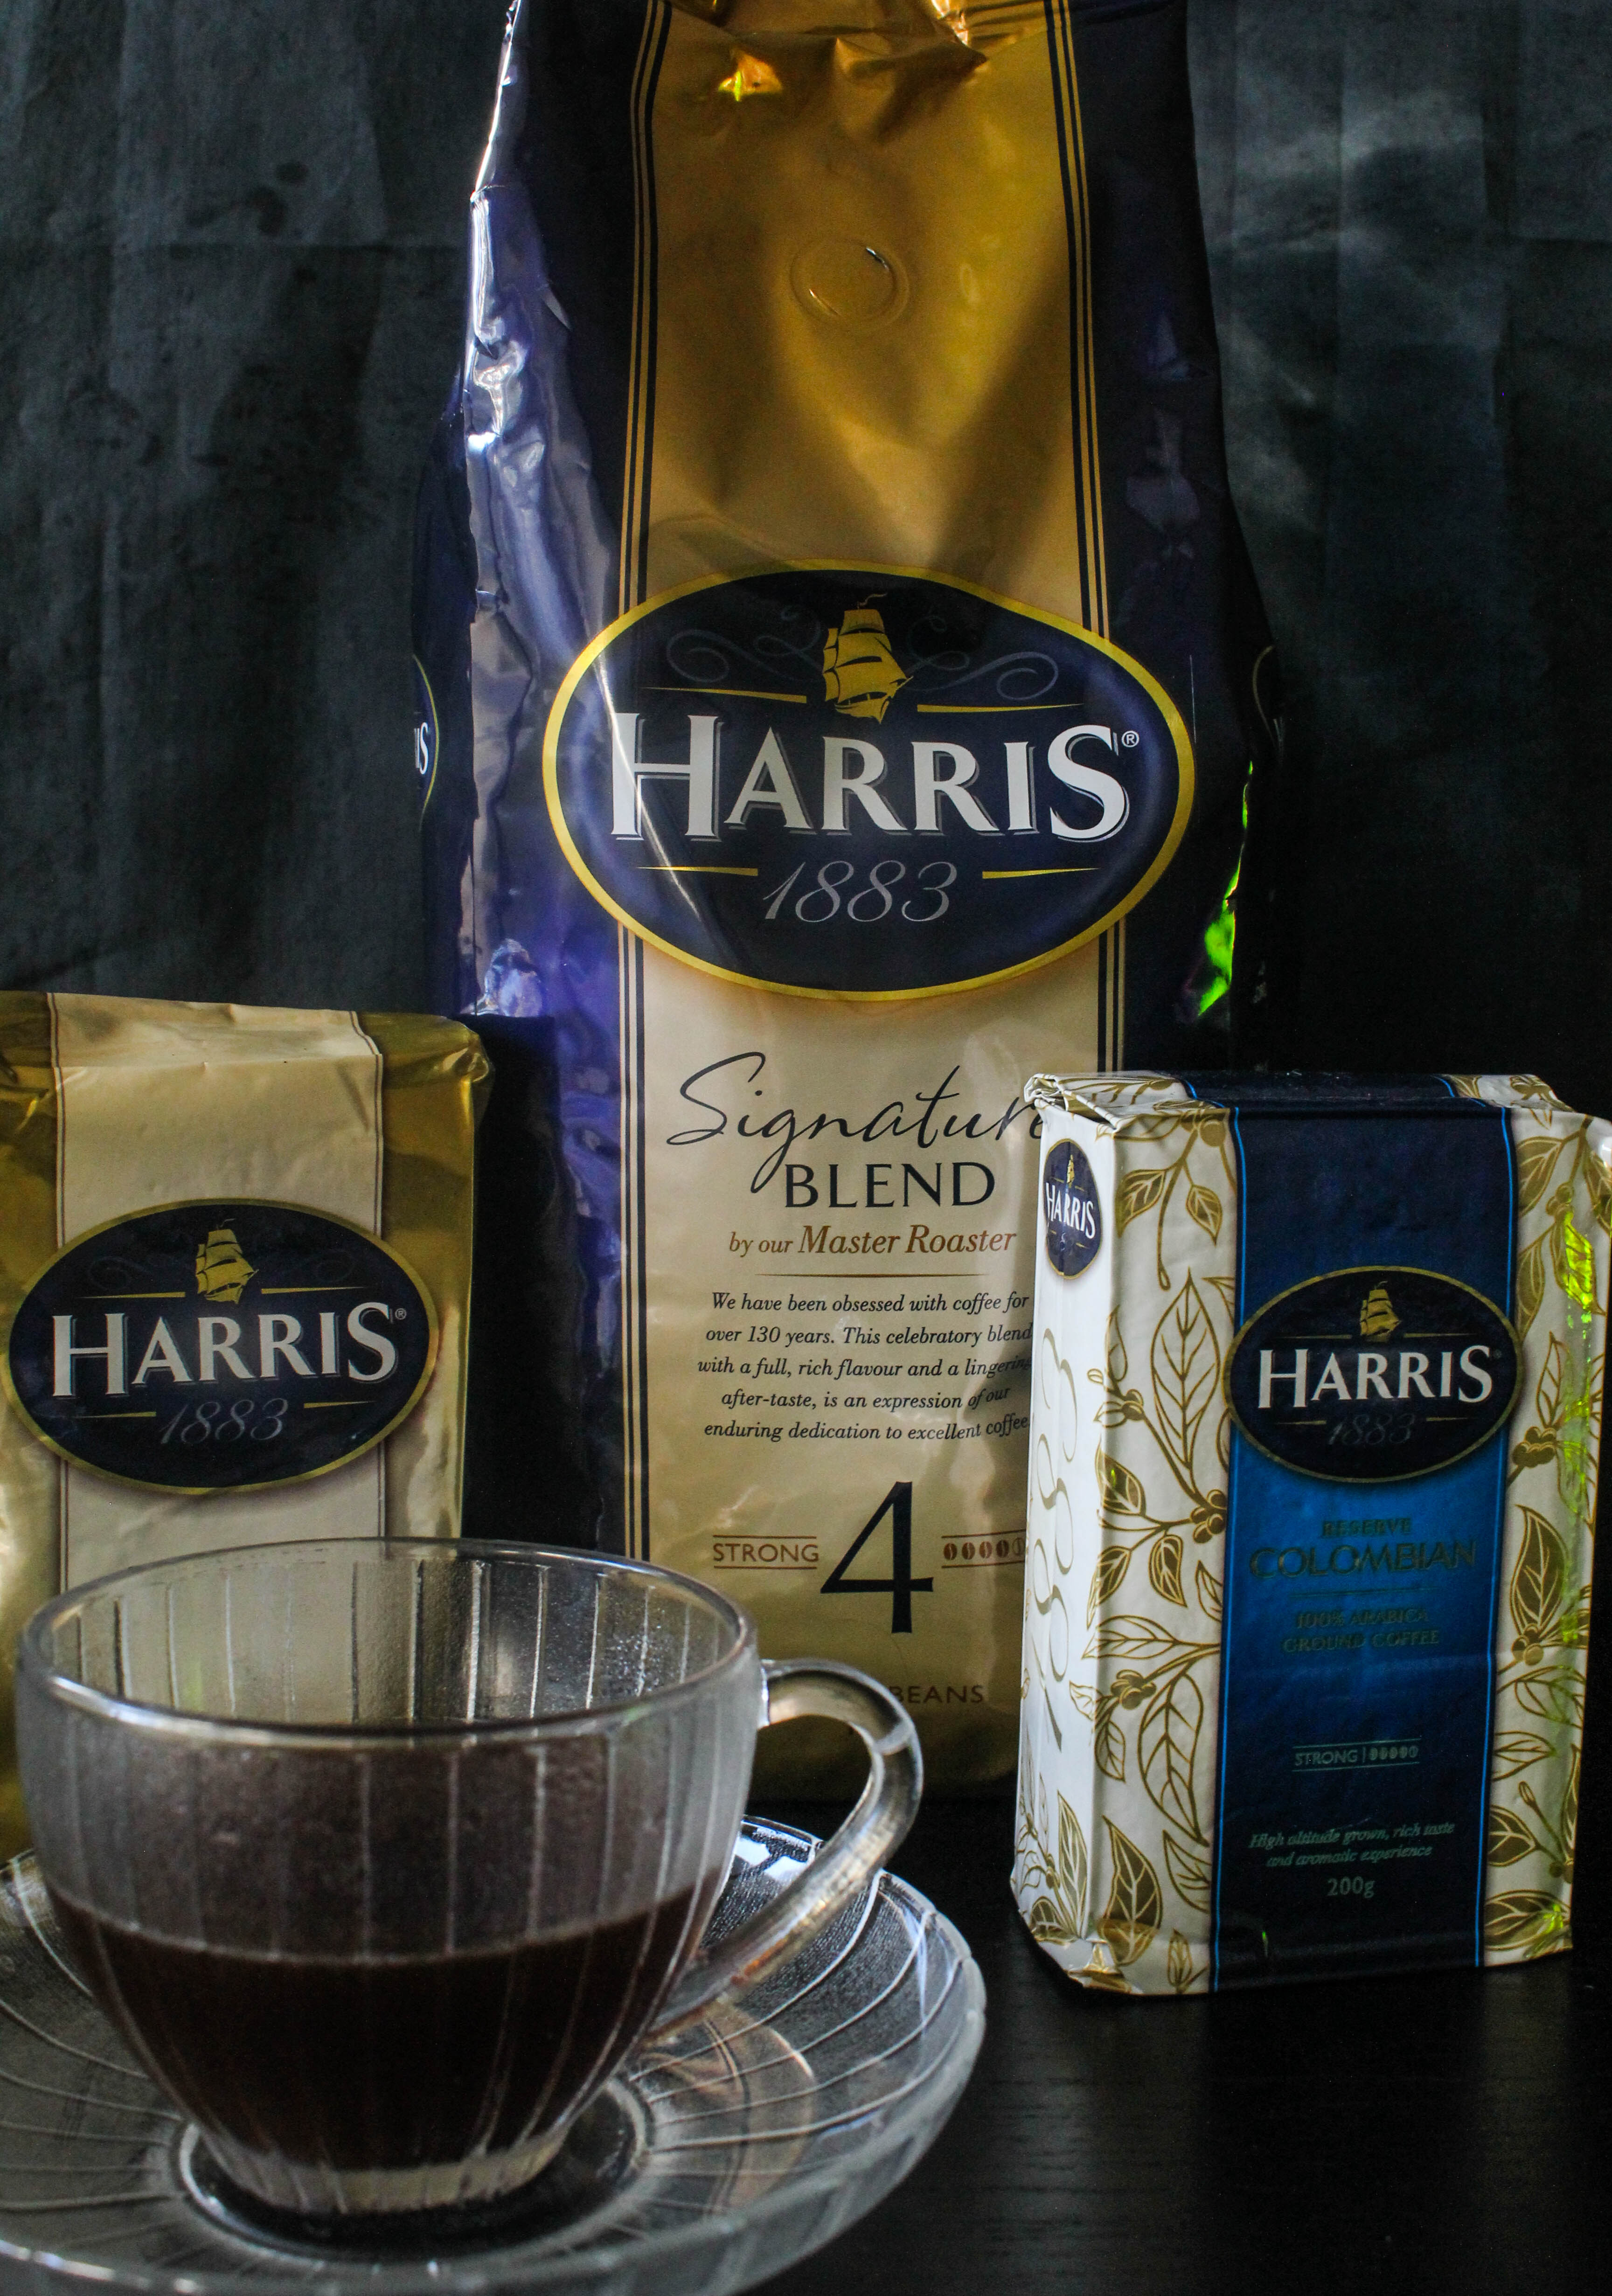
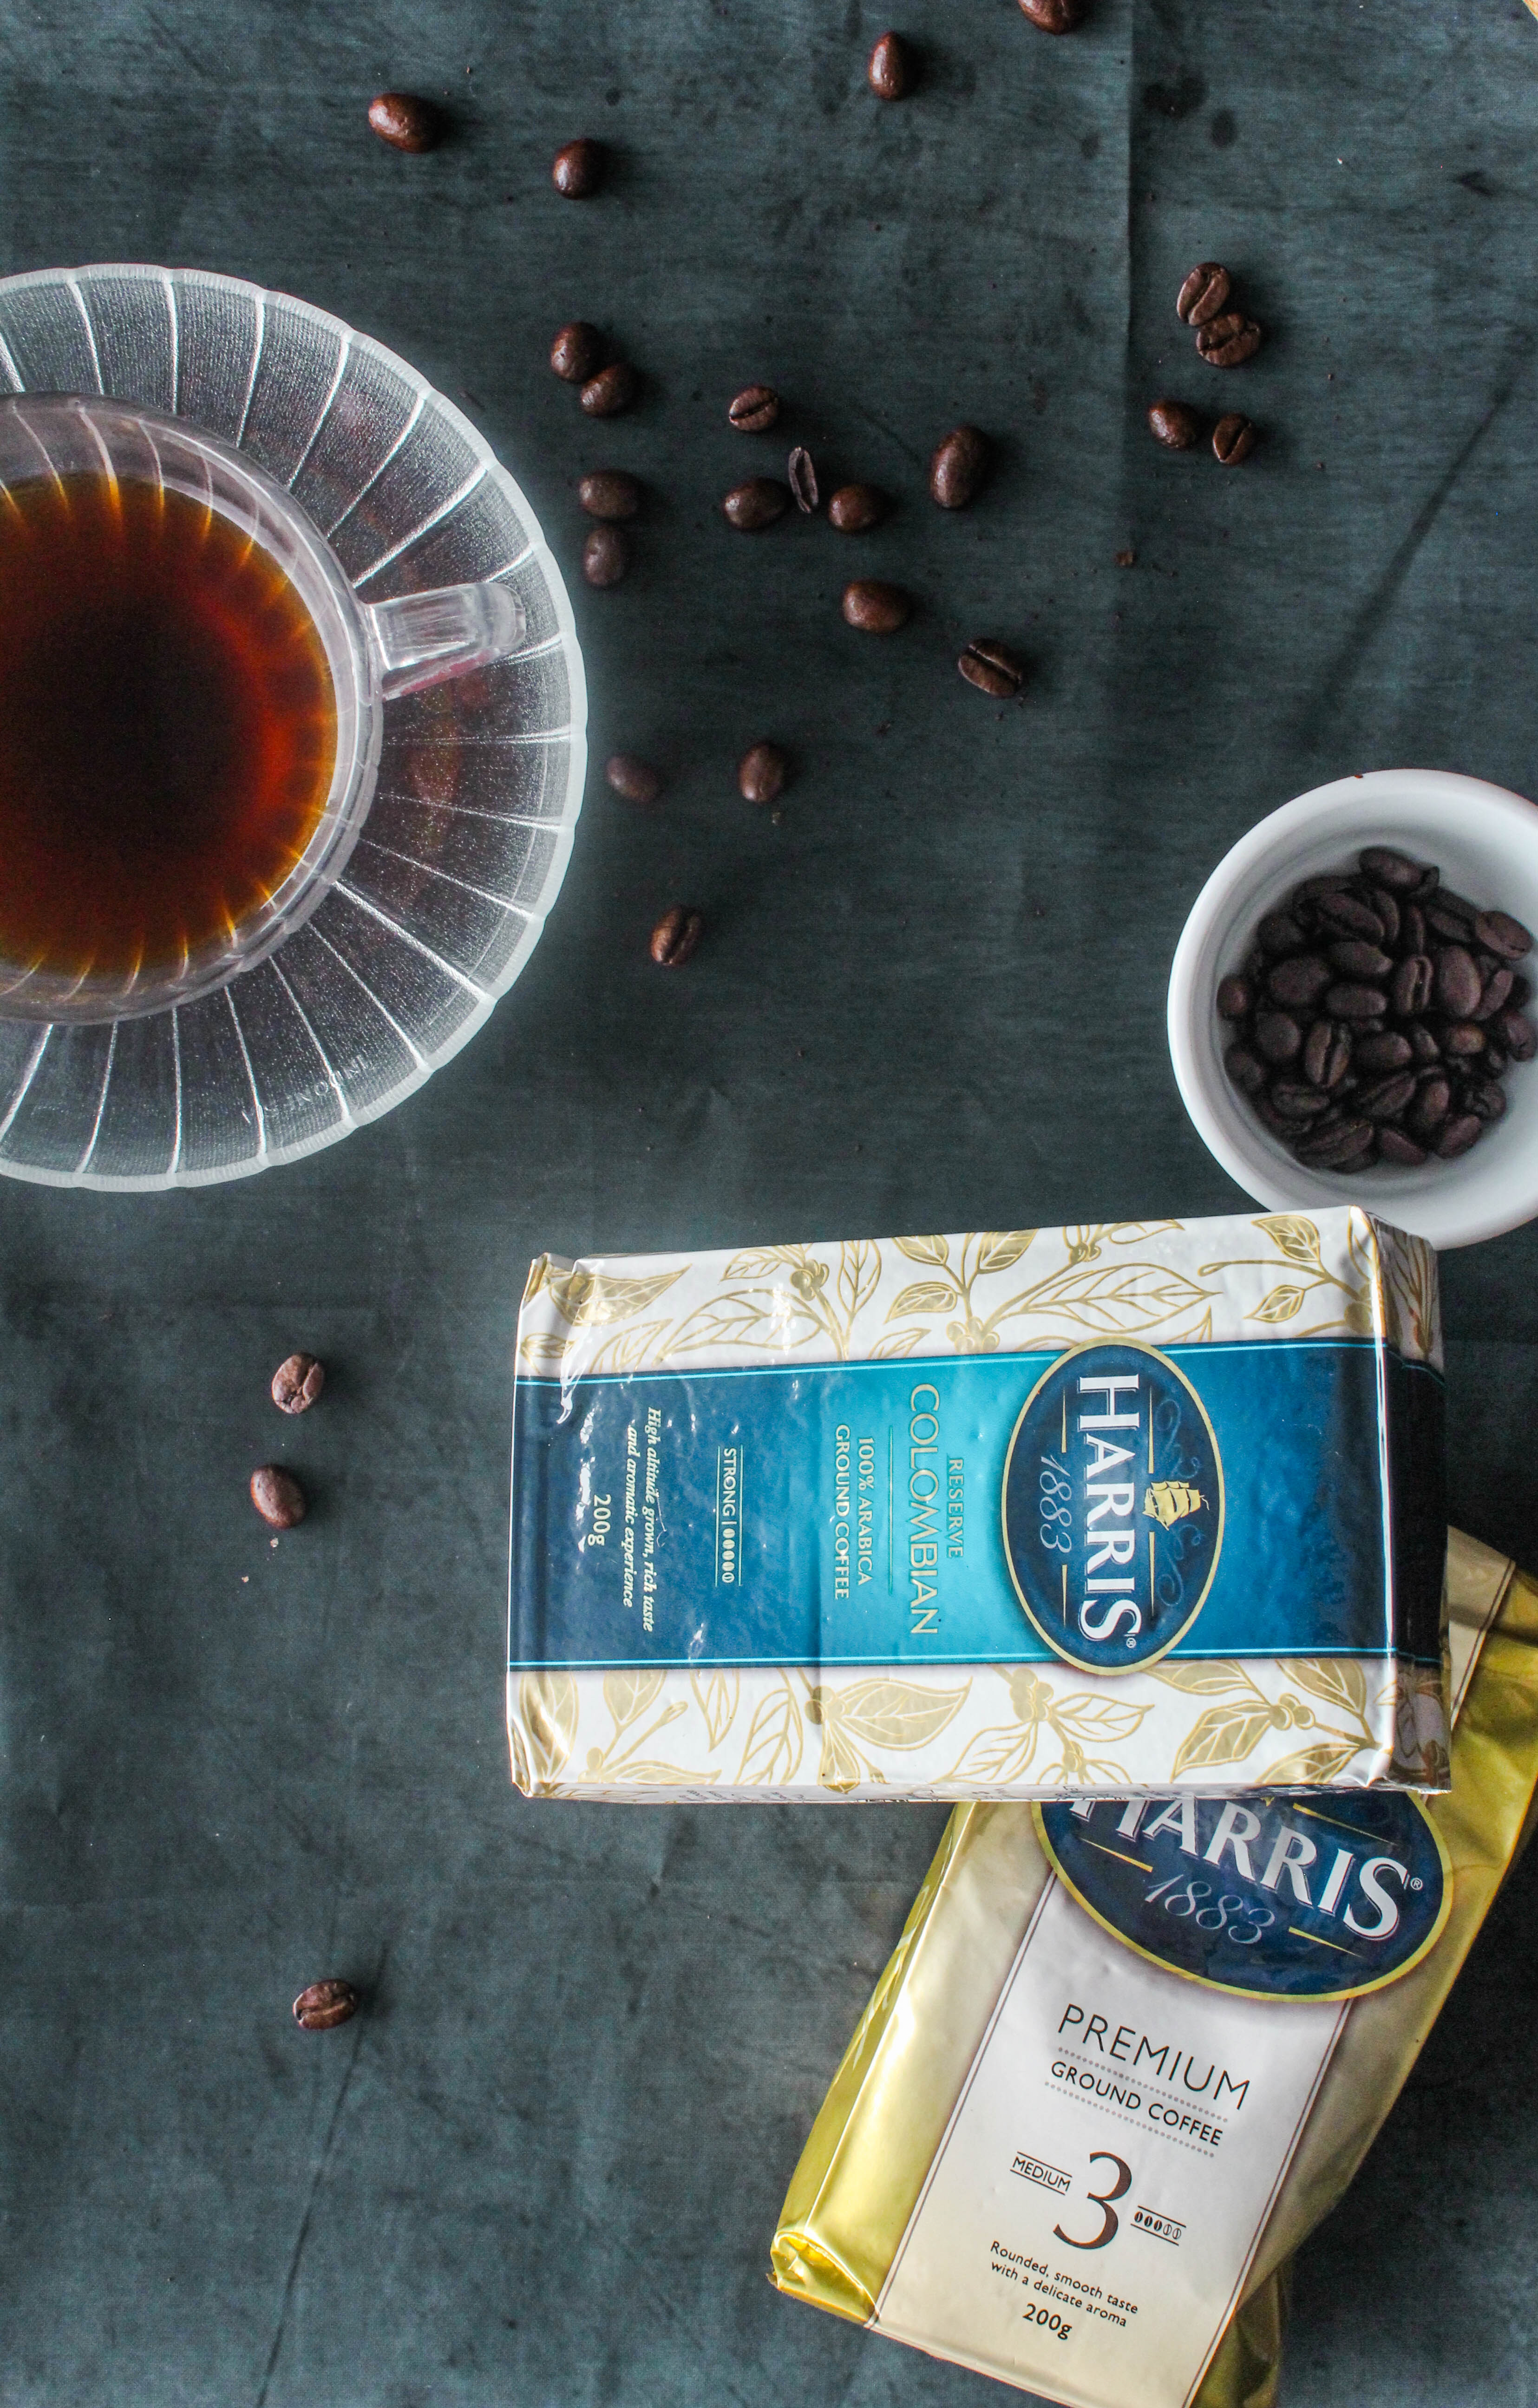
All of Harris’ beans are roasted and blended in Australia which drastically enhances everything about the bean, including the taste, quality and freshness, shelf-life and flavour dynamic. With great reverence for the bean, Harris takes considered care from bean to cup and the Master Roaster and Blender is part of the process every step of the way. And they have been doing so over the last 130 years to suit Australian tastes.

mocha cake

The Harris range consists of both ground coffee and fresh beans in six varieties- Espresso, Premium, Black Label, Signature Blend, Reserve Colombian and Decaffeinated. There’s one to suit every kind of taste. Isn’t that amazing?

My personal favourites are the Signature Blend and the Premium. To check out the Harris range and for more information, visit http://harriscoffee.com.au

mocha cake

It’s not hard to get your caffeine fix at your local coffee shop or espresso bar. But the truth is that it can turn out to be an expensive habit especially if you are used to drinking several cups in a day.  Don’t get me wrong! I do enjoy a bit of latte art on my cuppa but I certainly won’t nurse a habit when I know I could be potentially blowing away hundreds of dollars on something that I can experience at my own convenience, within my own kitchen and more importantly that suits my personal taste.
Harris Coffee offers carefully crafted locally roasted blends that you can enjoy in the comfort of your own home, so can make the perfect cuppa for a fraction of the price.

mocha cake

Here are a few useful tips to make the perfect cup of coffee at home that Daniel Vergnano, Harris Master Roaster and Blender has shared with us. I have to say that these tips have helped to create a world of difference in my coffee.

1.   It all starts with the machine. Whether you are using a plunger, percolator, grinder or espresso machine, you need to understand what works best for what you have!
2.    From there, it’s all about the bean. The beans need to be fresh, and the grind has to be perfect for your machine. If you’re grinding, only put the amount of beans you plan to use at the top of the grinder, and don’t grind them until just before you’re about to extract the coffee – it’s best to use your coffee grinds within 10mins of grinding them, to keep them fresh. If you are using a plunger or percolator, grind your beans coarsely. This is key – if your grind isn’t big enough, your coffee will be over-extracted and will be too bitter.
3.    Always use fresh coffee – rather than buy in bulk, buy in small quantities, as this drastically changes the taste
4.    Heat up your cup, but keep your milk cold! The colder your milk, the longer you will have to get the spin required from a steamer (if using) to make those creamy, thick micro bubbles. To heat your cup, fill it with boiling water before making coffee to pre heat it.
5.    For a plunger, scoop your coffee into the plunger and heat your water separately. You should use around 15mL (1 tablespoon) coffee for about 90mL water (you can adjust to your taste though).
It’s better to use full cream milk – light or skim doesn’t have enough protein, but the key is to make sure you don’t over heat it. The ideal temperature is around 60 degrees, anything over that will get a ‘burnt’ flavour
6.   Keep your equipment clean! Wipe it down thoroughly between each use and wash it regularly
7.  It’s best to store your coffee in an opaque, air-tight container in a dark, cool and dry place, like a pantry. Try and keep it away from moisture, especially wet spoons.
8.  Don’t refrigerate or freeze your beans because it will affect the coffee’s oils and absorb flavours from other foods

mocha cake

The lovely people at Harris Coffee have decided to give away a Harris Coffee pack to one lucky reader of Sugar et al. This would include

Harris Espresso Ground 200g
Harris Premium Beans 500g
Harris Black Label Ground 200g
Harris Signature Blend ground 200g
Harris Reserve Colombian Beans 1kg

To be eligible you have to be 14 years or above and have an Australian address. To win the coffee pack, all you have to do is

a)‘Like’ the Sugar et al page on Facebook.
b)’Like’ the Harris Coffee page on Facebook
c)Leave a comment below in 2 or 3 sentences before 6th June 2014, how you would best enjoy a cup of Harris Coffee.

The entry with the most creative answer will be selected as the winner and announced on 10thth June 2014. Please do ensure you leave a valid email address for me to contact you if you win.
View terms and conditions of the giveaway here. Good Luck!

mocha cake

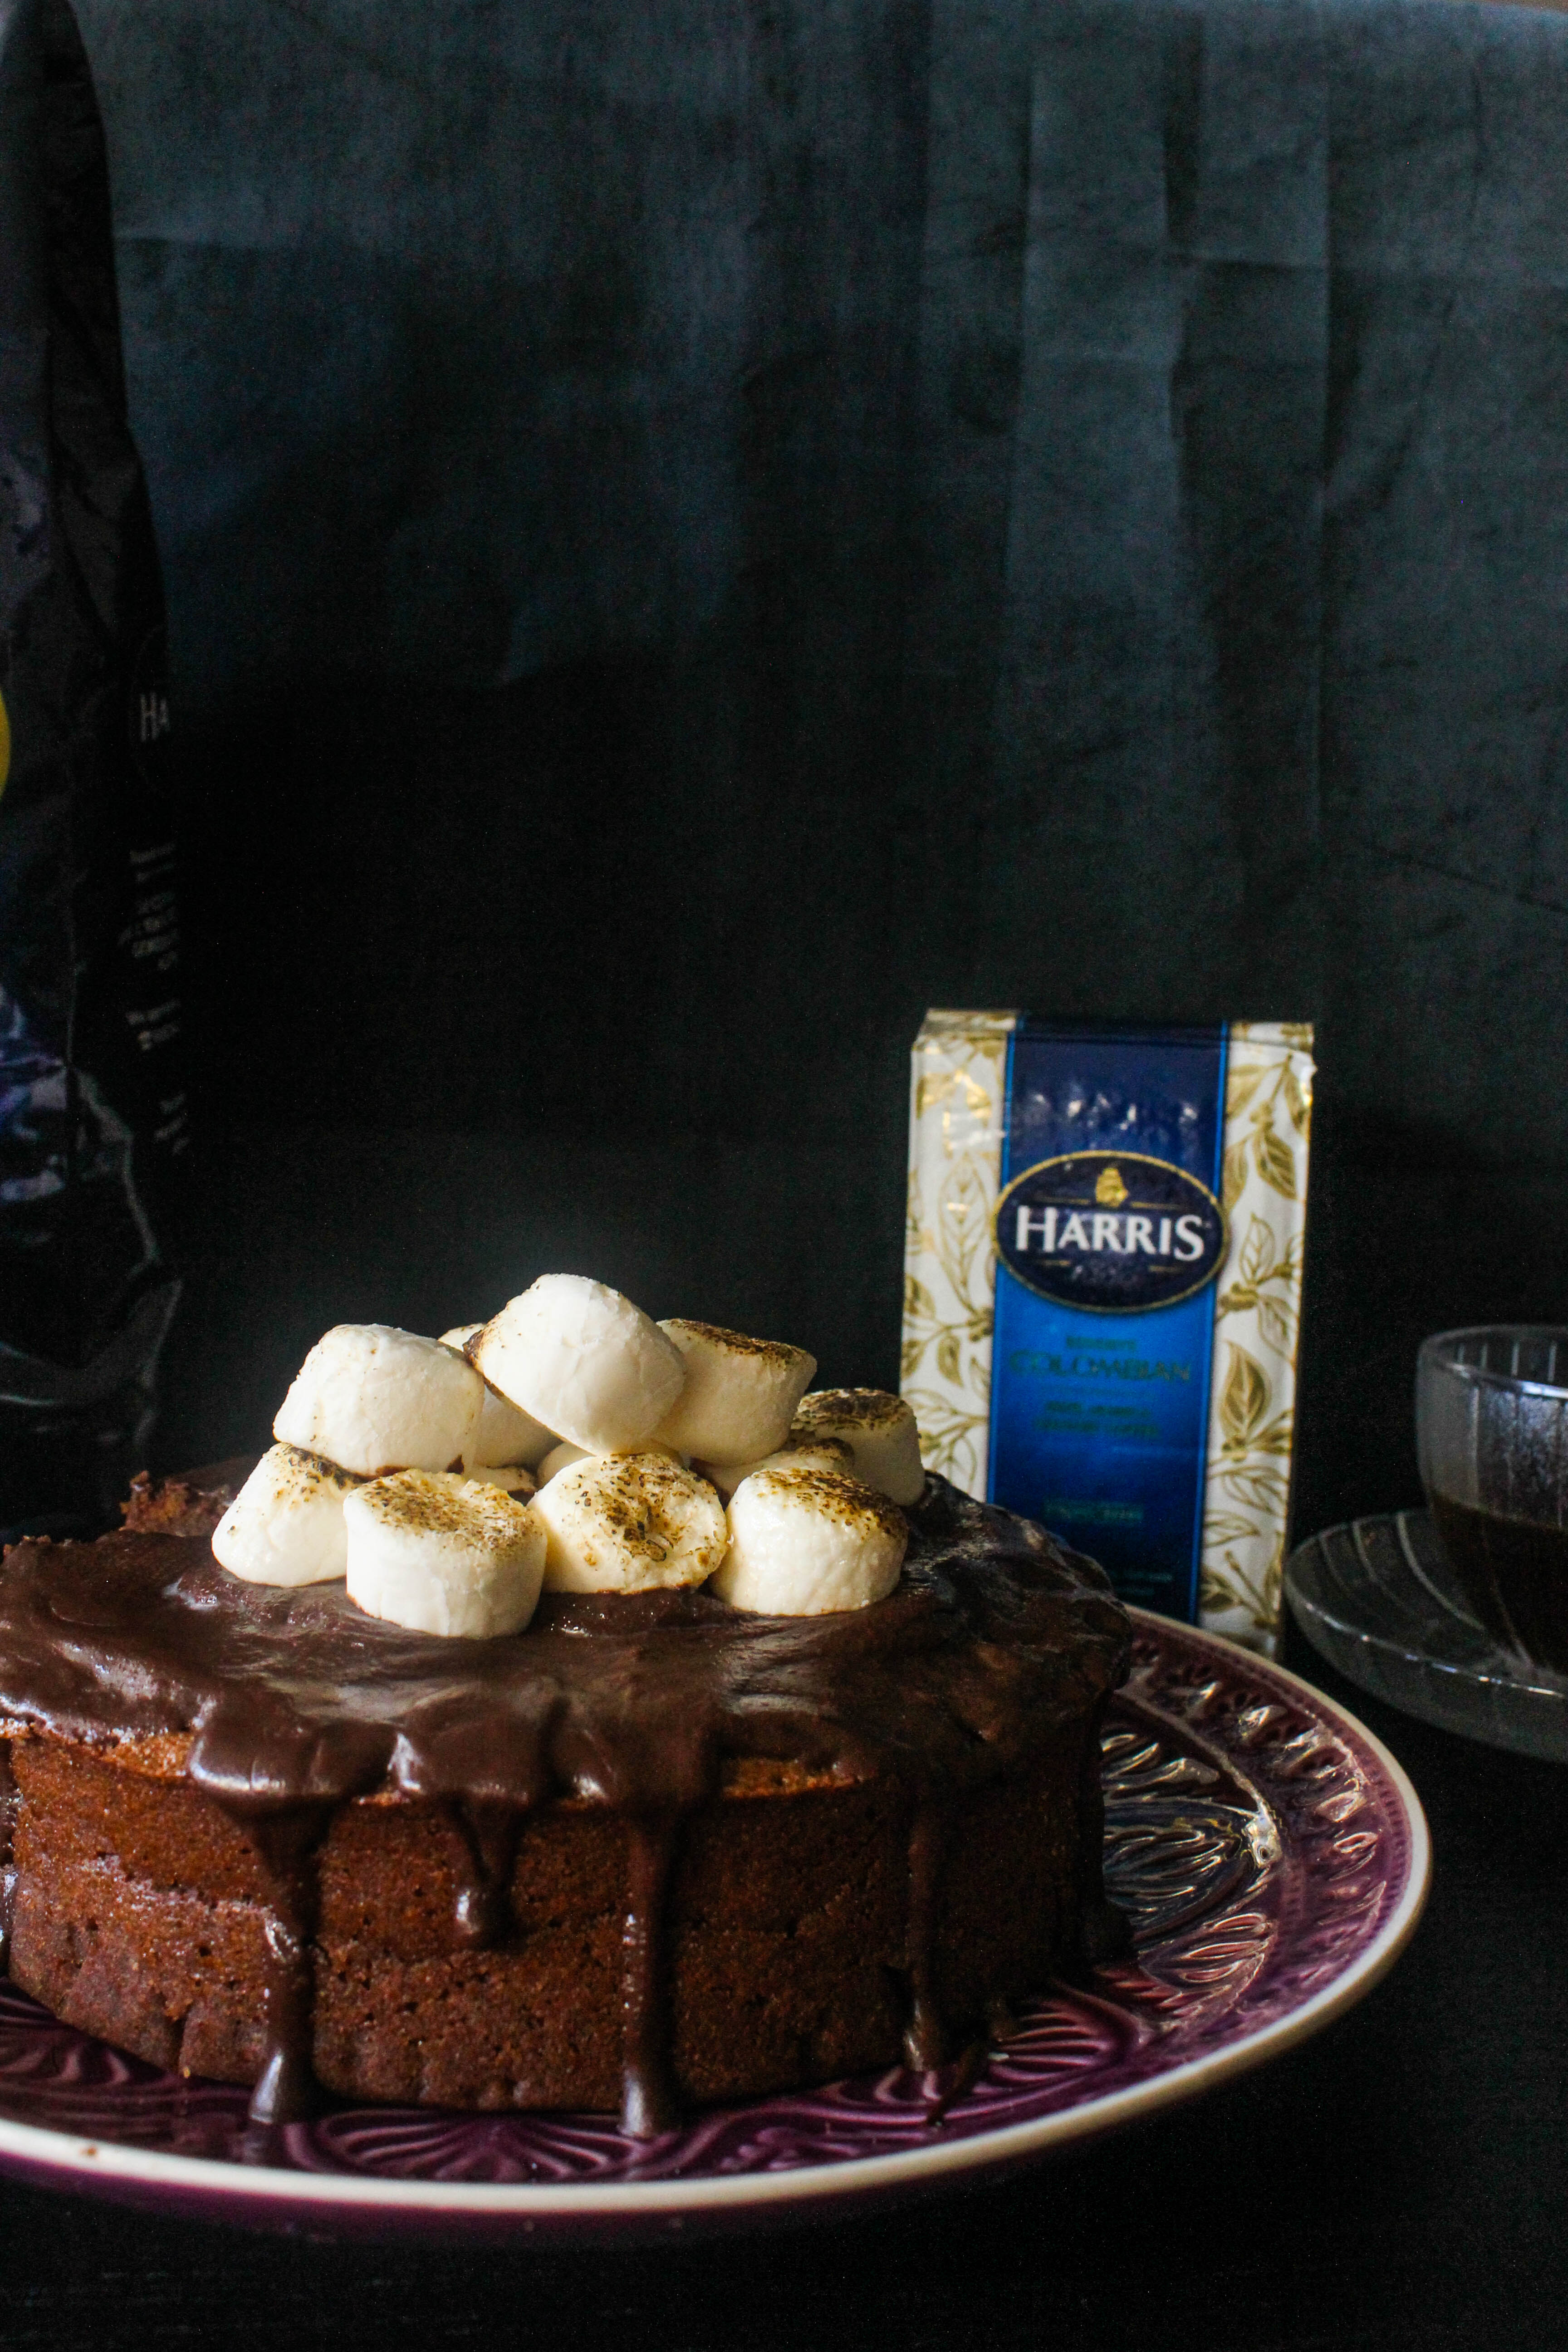
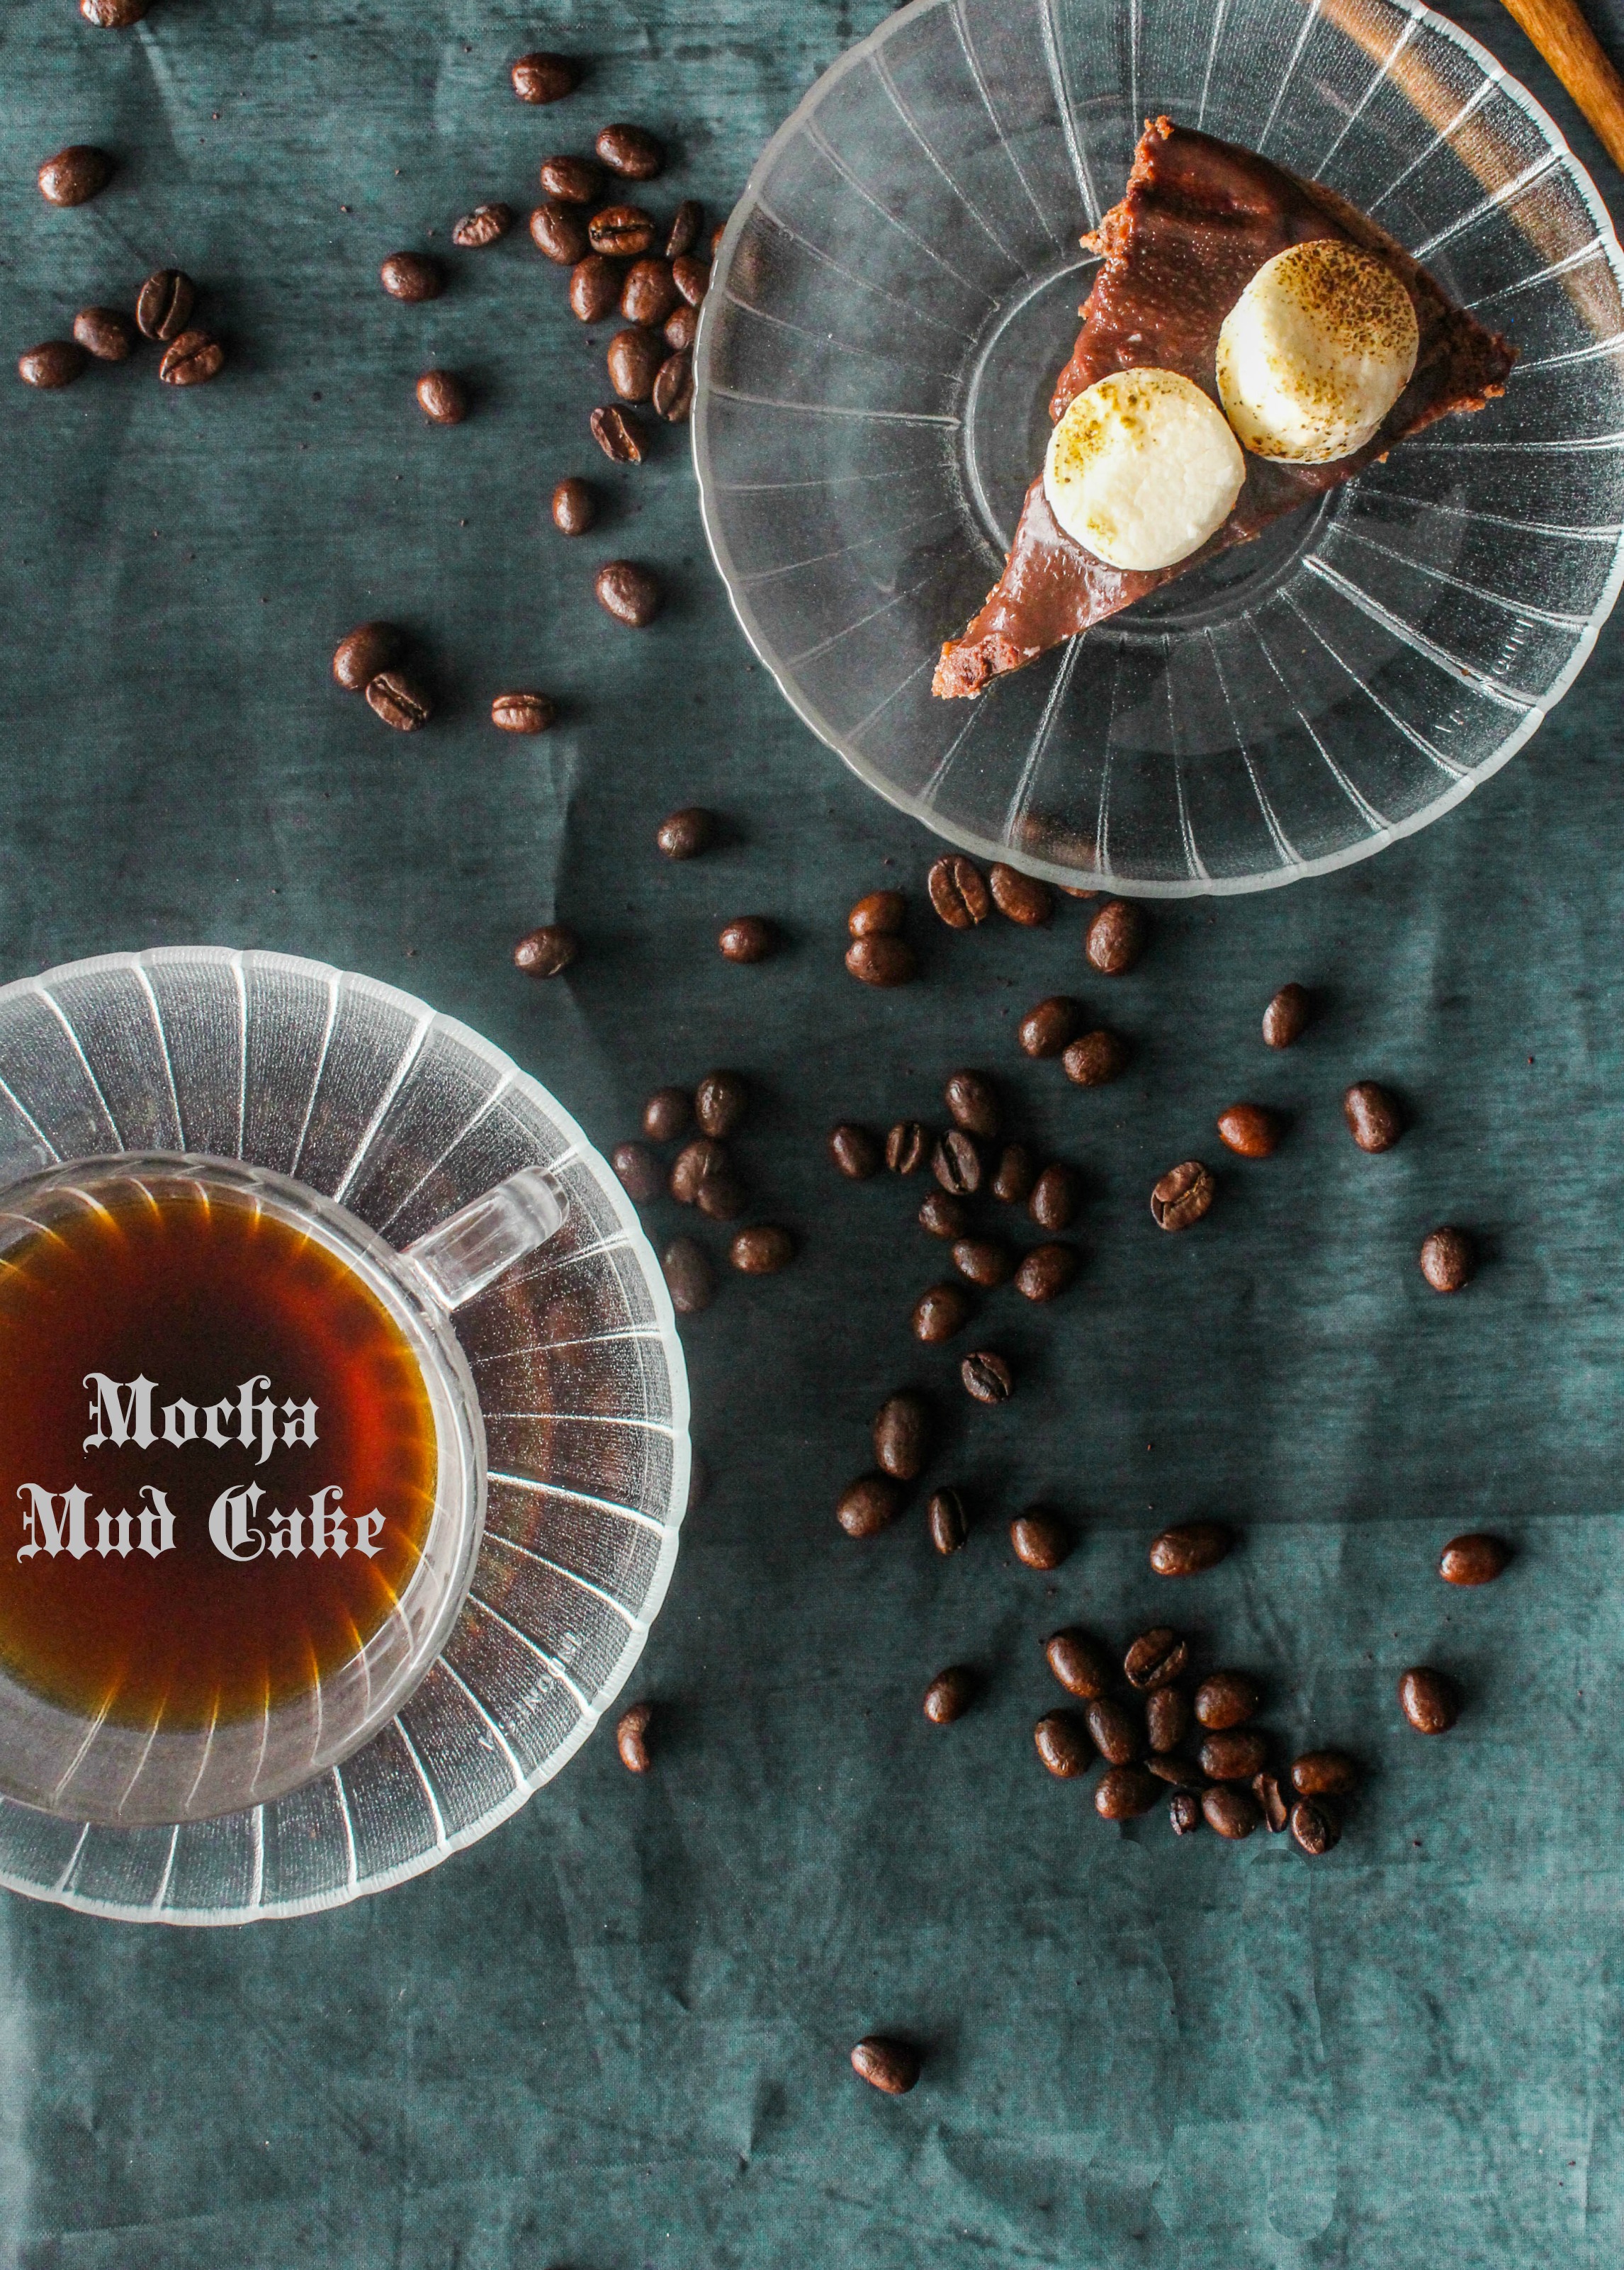
Now, let’s talk about cake which is my favourite way of enjoying Harris Coffee at home. A double dose of coffee, basically… in my cup and in the cake. There are several ways of using coffee other than drinking it and one amongst that is to use it is cakes and desserts. This mud cake is not only easy to make (all you need is a bowl and a whisk), it celebrates coffee and chocolate and is perfect for someone who loves coffee. So, as you can imagine, the flavour will depend entirely on the quality of coffee and chocolate used. A good quality coffee like Harris Coffee is necessary to make a fantastic mocha mud cake. You can skip the ganache if you want to keep things simple but it only takes a couple of minutes

Mocha Mud cake with Toasted Marshmallow Frosting (Mud cake recipe adapted with variation from Taste.com)
Serves 12

250g butter, chopped
200 g good-quality dark chocolate, coarsely chopped
11/4 cup freshly brewed strong Harris coffee
11/4 cup castor sugar (or more depending on the strength of the coffee you are using)
2 eggs, lightly whisked
300 g (2 cups) plain flour
2 teaspoons baking powder
Chocolate ganache, for icing (recipe below)
10-12 vanilla flavoured marshmallows, to decorate

Chocolate Ganache

200ml pure (thin) cream
200g good-quality dark chocolate, chopped

To make the cake: Preheat oven to 160 degree C. Grease and line the base and sides of a 20 cm round cake pan with baking paper.

Place butter, chocolate and Harris Coffee in a saucepan over low heat. Cook, stirring, for 5 minutes or until chocolate melts and mixture is smooth. Remove from heat and set aside for 5 minutes to cool.

Pour chocolate mixture into a large bowl. Add sugar and egg, and use a wire balloon whisk to whisk until well combined. Sift flour and baking powder over chocolate mixture and stir with the whisk until well combined. Pour into prepared pan. Bake in preheated oven for 1  1/4 hours or until crumbs cling to a skewer inserted into the centre of the cake (cover with non-stick baking paper halfway through cooking if it browns too quickly). Remove from oven and set aside for 1 hour to cool.

Once cooled pour the Chocolate Ganache over the cake. Place marshmallows on top. Using a blow torch toast the marshmallows.

To make the chocolate ganache :  Place the cream in a small saucepan over medium heat and bring to just below boiling point. Place the chocolate in a bowl and pour over the hot cream. Stir together until melted and smooth. Allow to cool for 15 minutes before pouring over the cake.


Plum Cream Cheese Swirl Cake

24|05|2014

This post reminds me of my favourite time of the year..Summer! I adore everything about Summer. But what sets it apart from the other seasons for me, is the abundant choices it brings along when it comes to fruits and vegetables. I’m far from Summer at the moment…quite the opposite to be precise but the last I remember of Summer was filling up my baskets with loads of sweet, luscious stone fruits at the markets and biting into them as soon as I reached home.

IMG_9891

Plums are still available here though its winter (I spotted them at Coles yesterday) but I like to buy them in season. So this is one of those recipes I promised I would pull out from my reserves for my friends in the northern hemisphere. I actually have quite a few Summer recipes that are yet to be posted. A small consolation I guess, as we get past the colder months.

IMG_9936

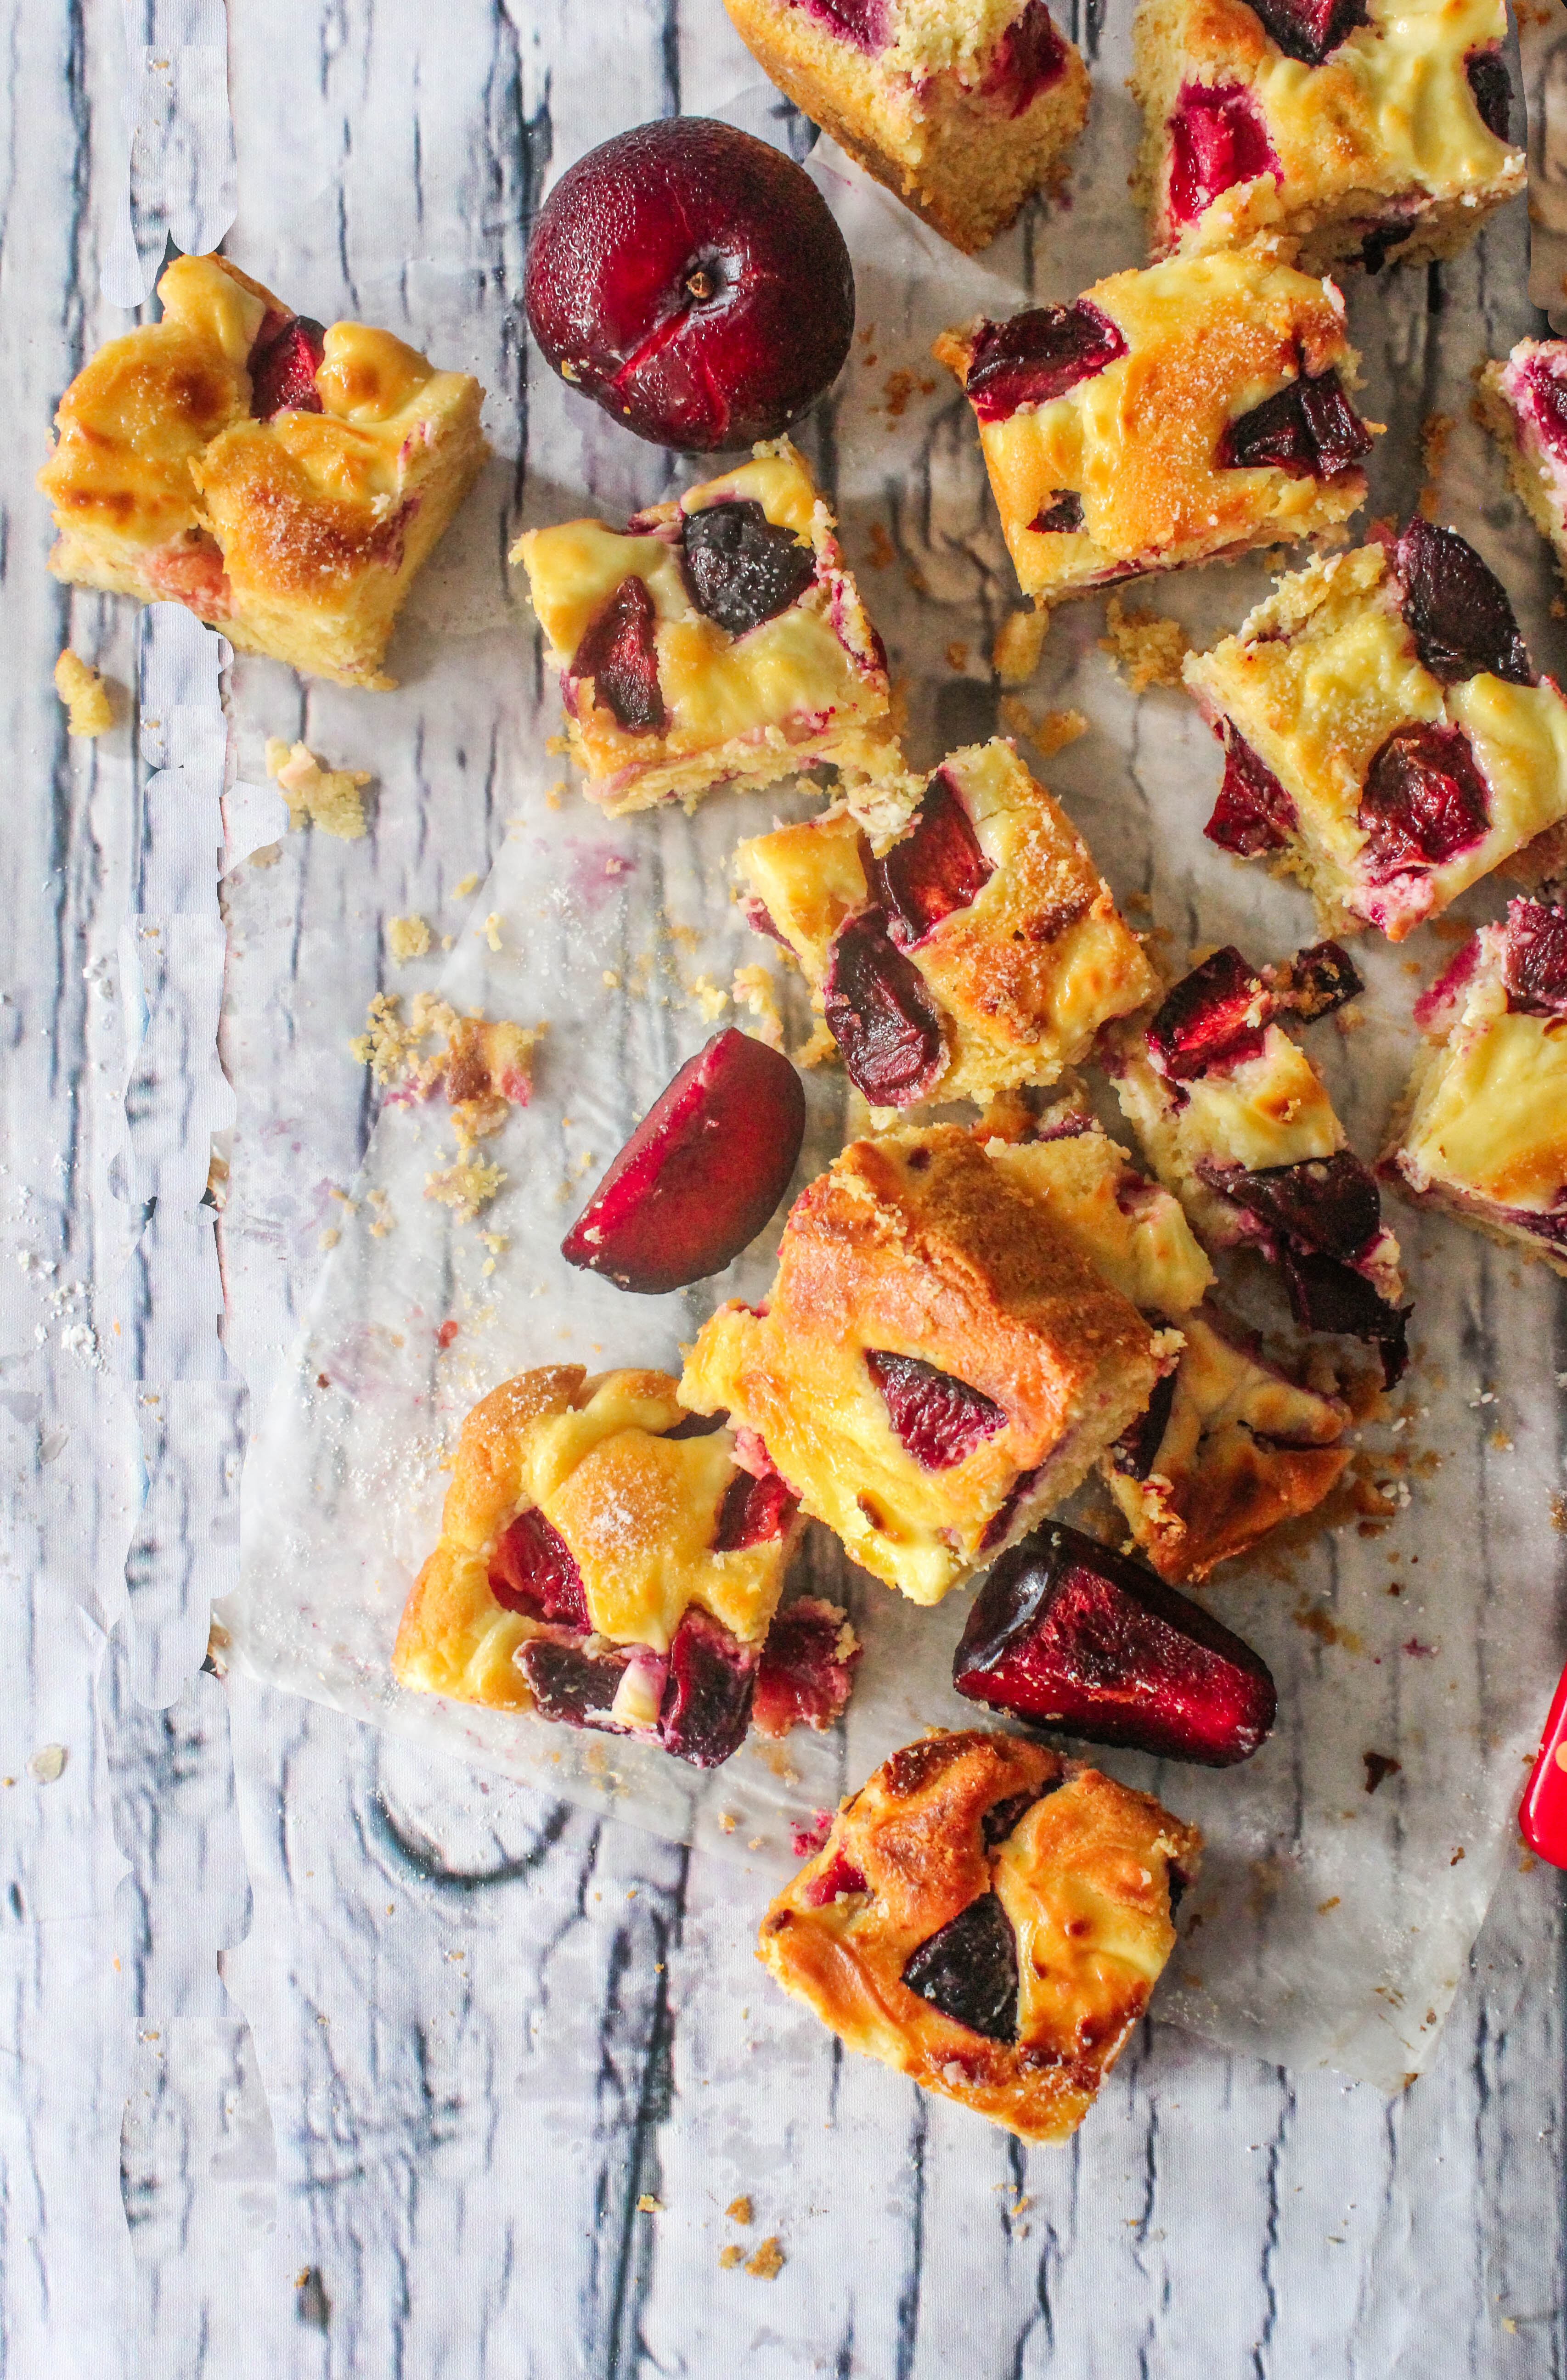
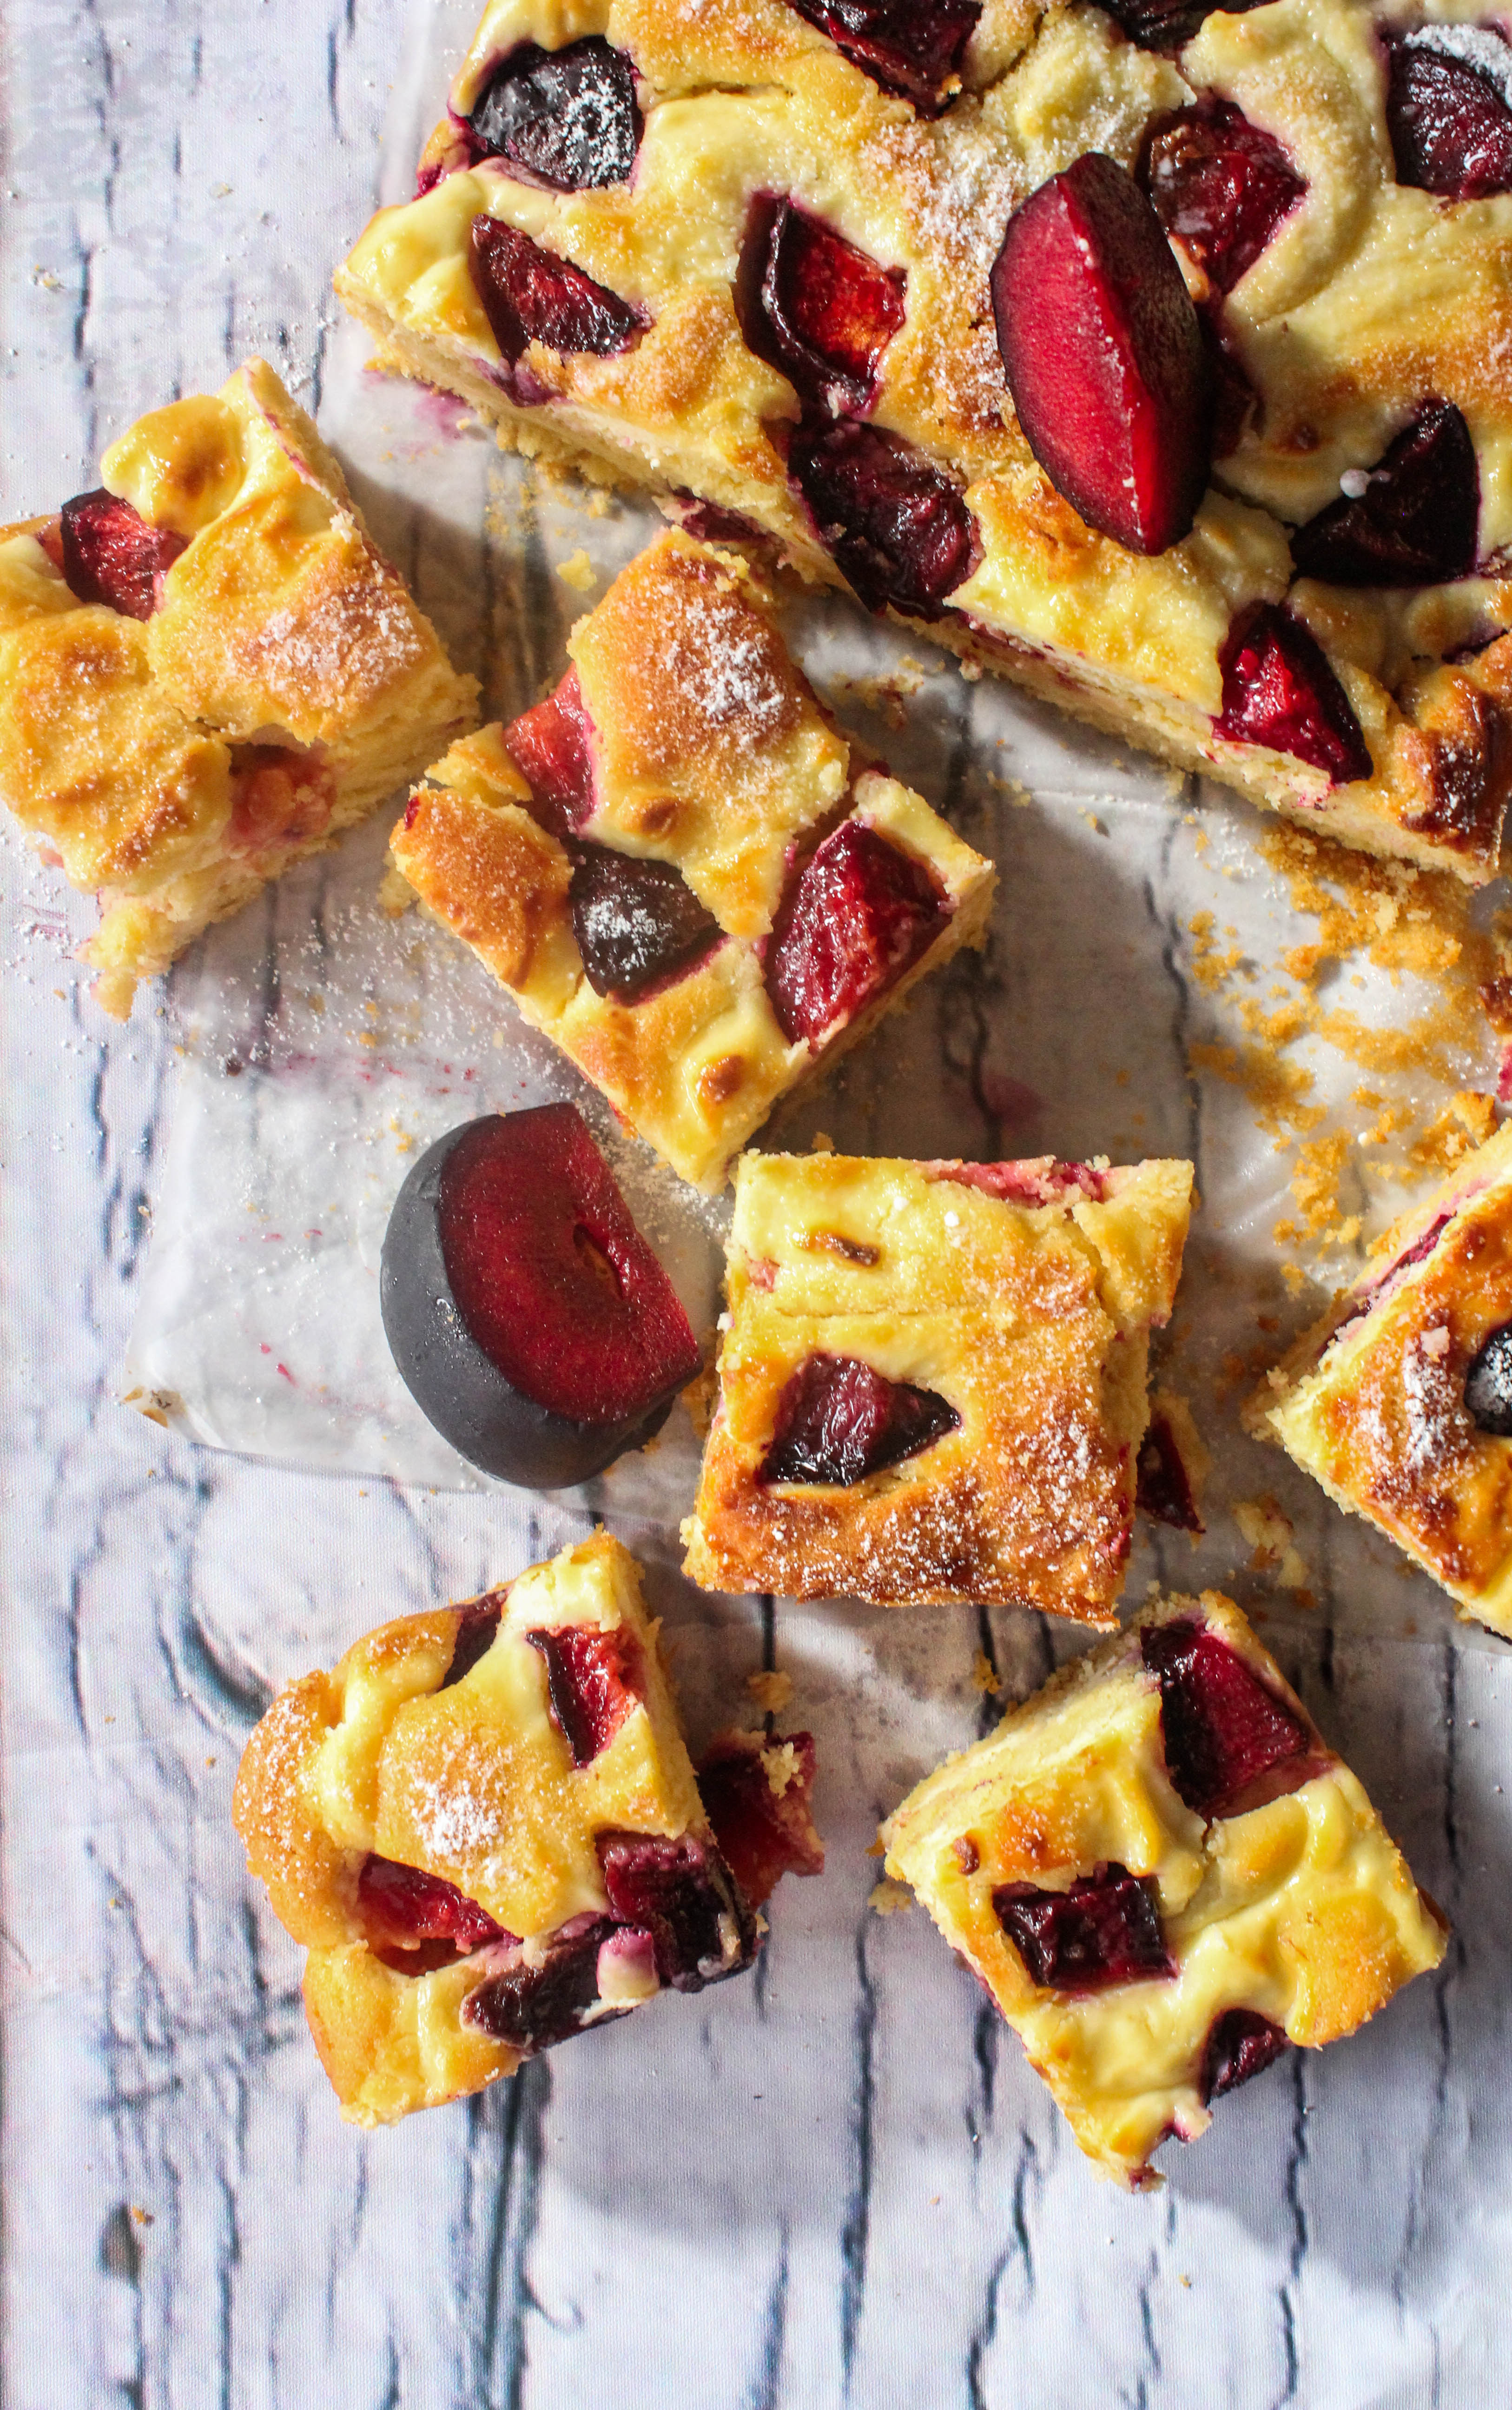
This is a lovely tray-bake cake. Easy to make yet combining the best of two worlds. A baked cheesecake and a regular moist cake with fruit in it. There are multiple textures that come to play as you take a mouthful. The plums can be replaced with any other stone fruit or even berries. The cake tastes best when warm with a custard or whipped cream on the side.

IMG_9898

Plum Cream Cheese Swirl Cake (Adapted with variation from Delicious Magazine, March 2012)
Serves 10

250g cream cheese, at room temperature
1 teaspoon vanilla extract
1/4 cup (55g) castor sugar
4 eggs
175g softened unsalted butter
175g brown sugar (about 7/8th of a cup)
200g self-raising flour, sifted (about 2 cups)
400g plums, seeds removed, sliced
Icing sugar, to dust

Preheat the oven to 180 degrees C. Grease and line an 18cm x 28cm lamington (rectangular) pan.

Add cream cheese, vanilla, castor sugar and 1 egg to the bowl of an electric mixer and beat for 2-3 minutes until smooth.

Place butter, brown sugar, flour and remaining 3 eggs in a clean bowl and beat for 2-3 minutes until creamy. Spread half the flour mixture in the tray followed by half the cream cheese mixture, swirling to gently combine, then top with half the plums. Top with remaining flour mixture, cream cheese mixture and plums. Bake for 45 minutes or until golden.

Dust with icing sugar, slice and serve warm with a custard or whipped cream.


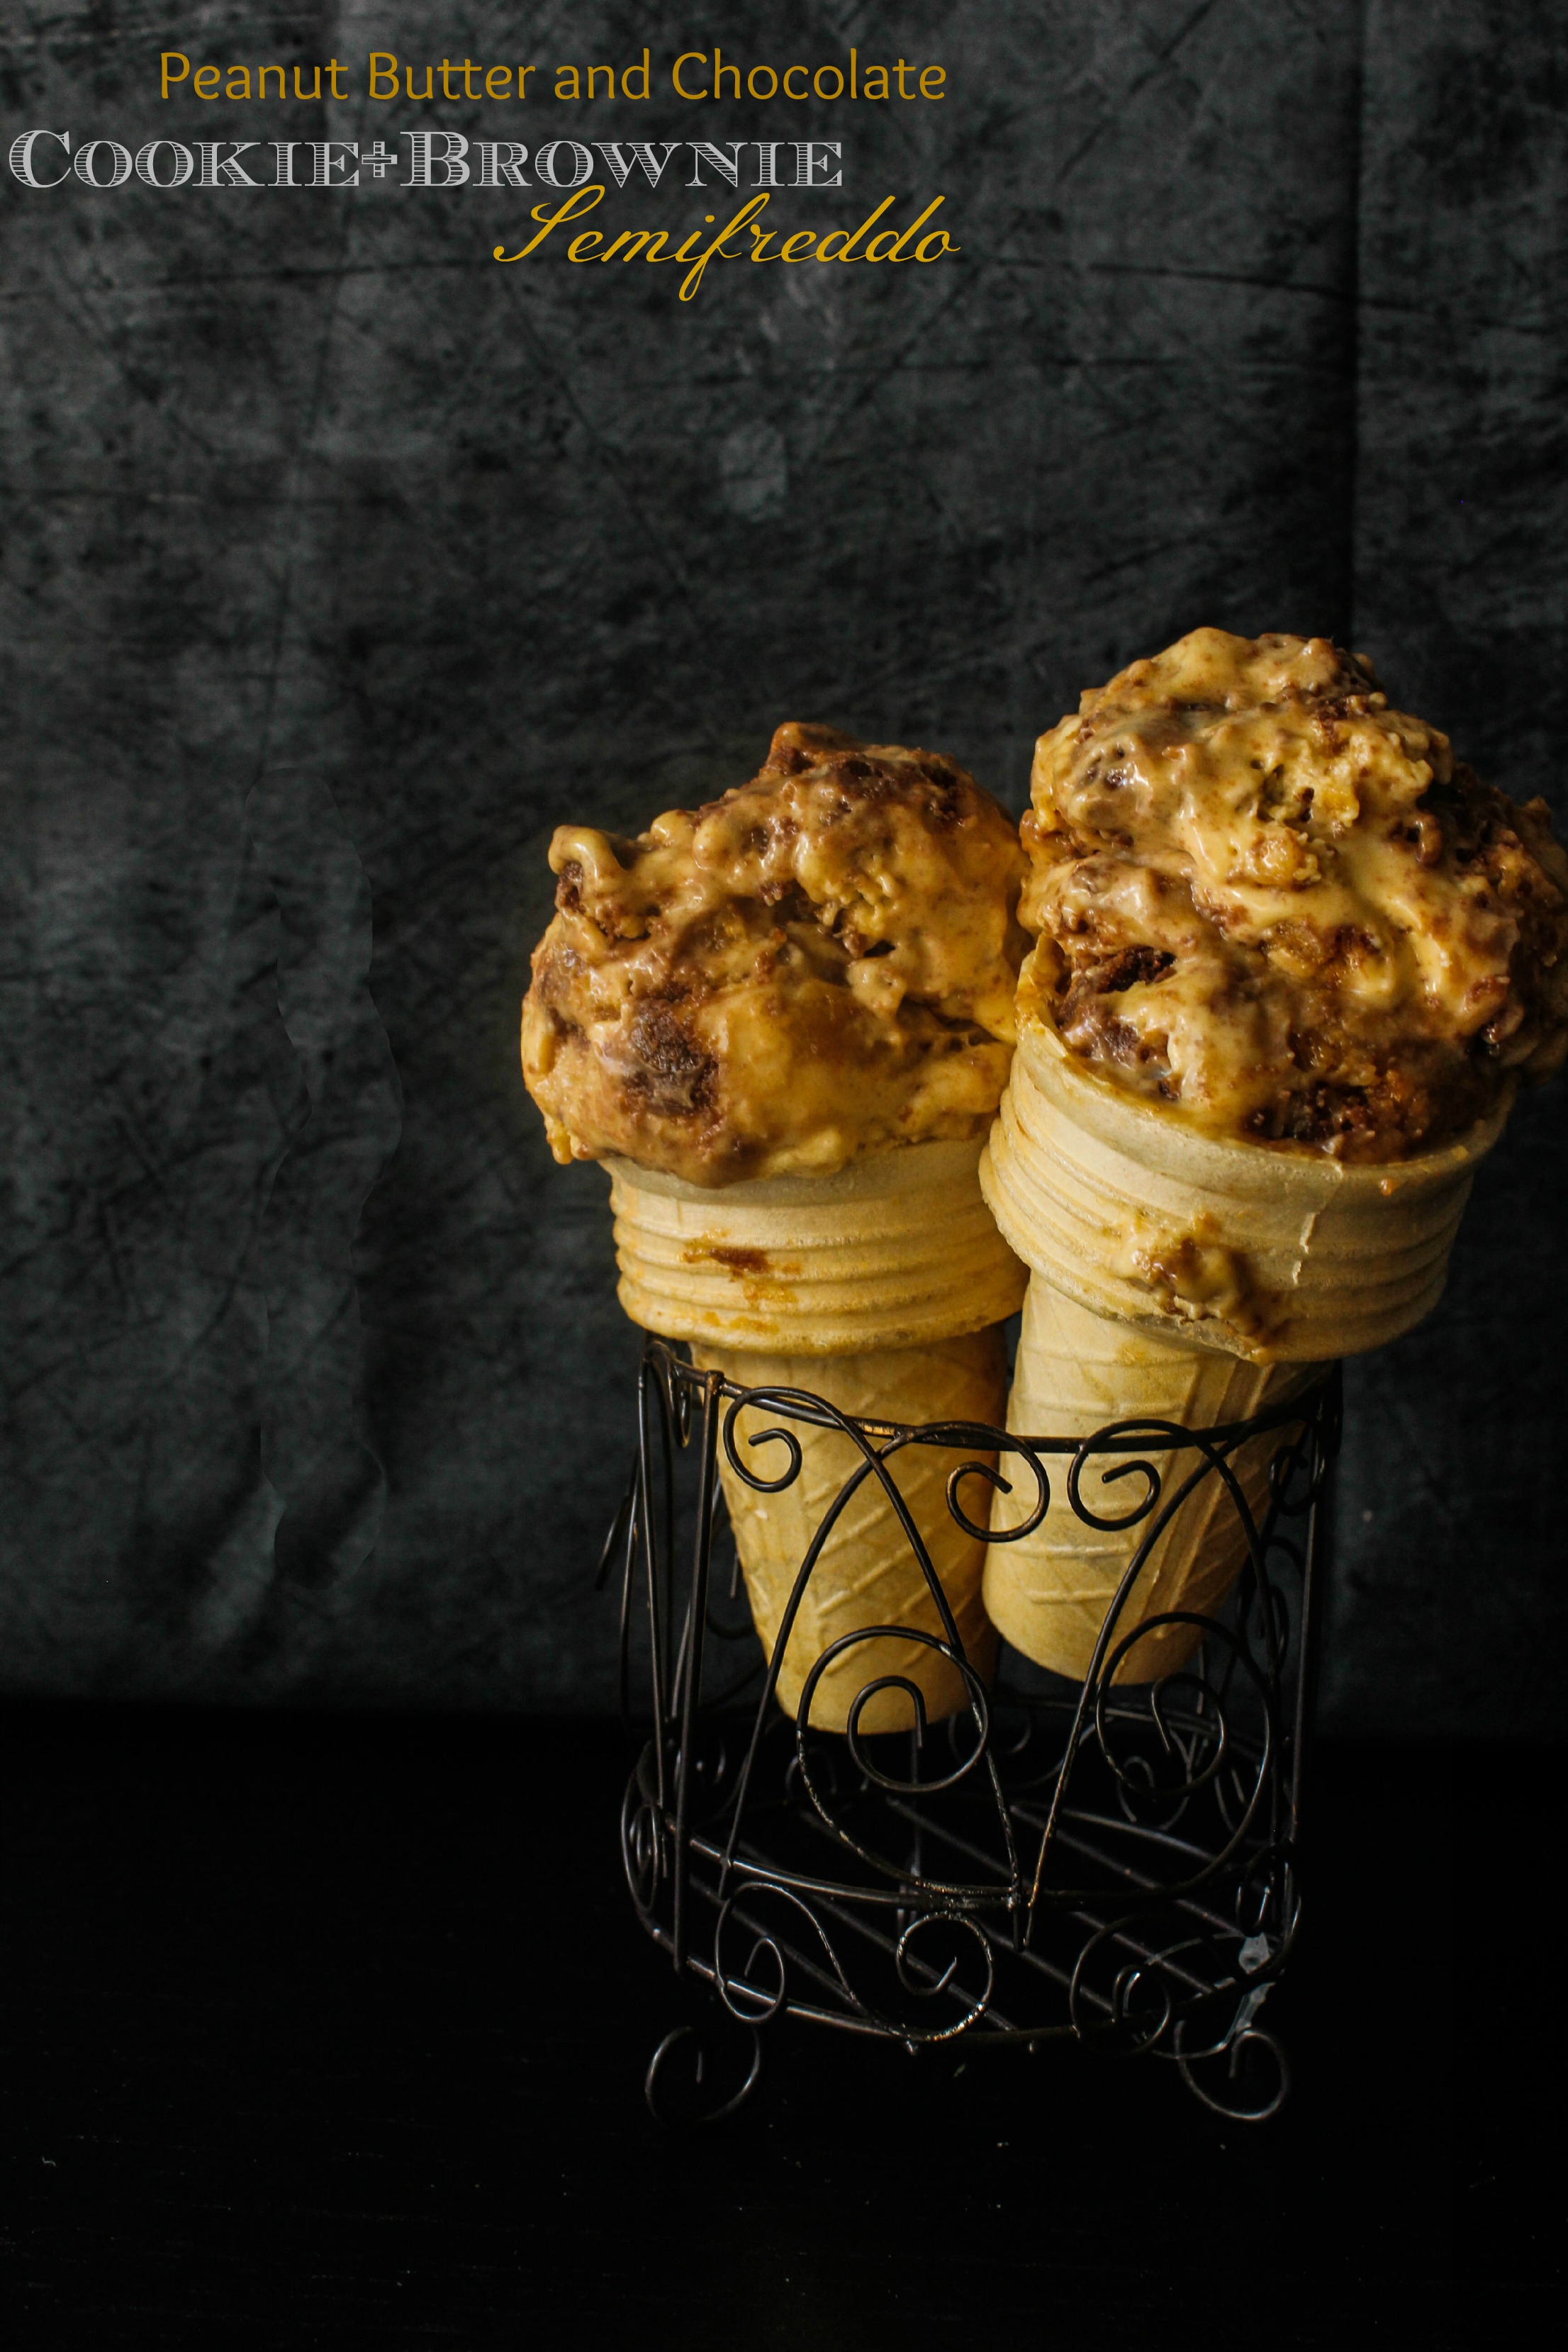
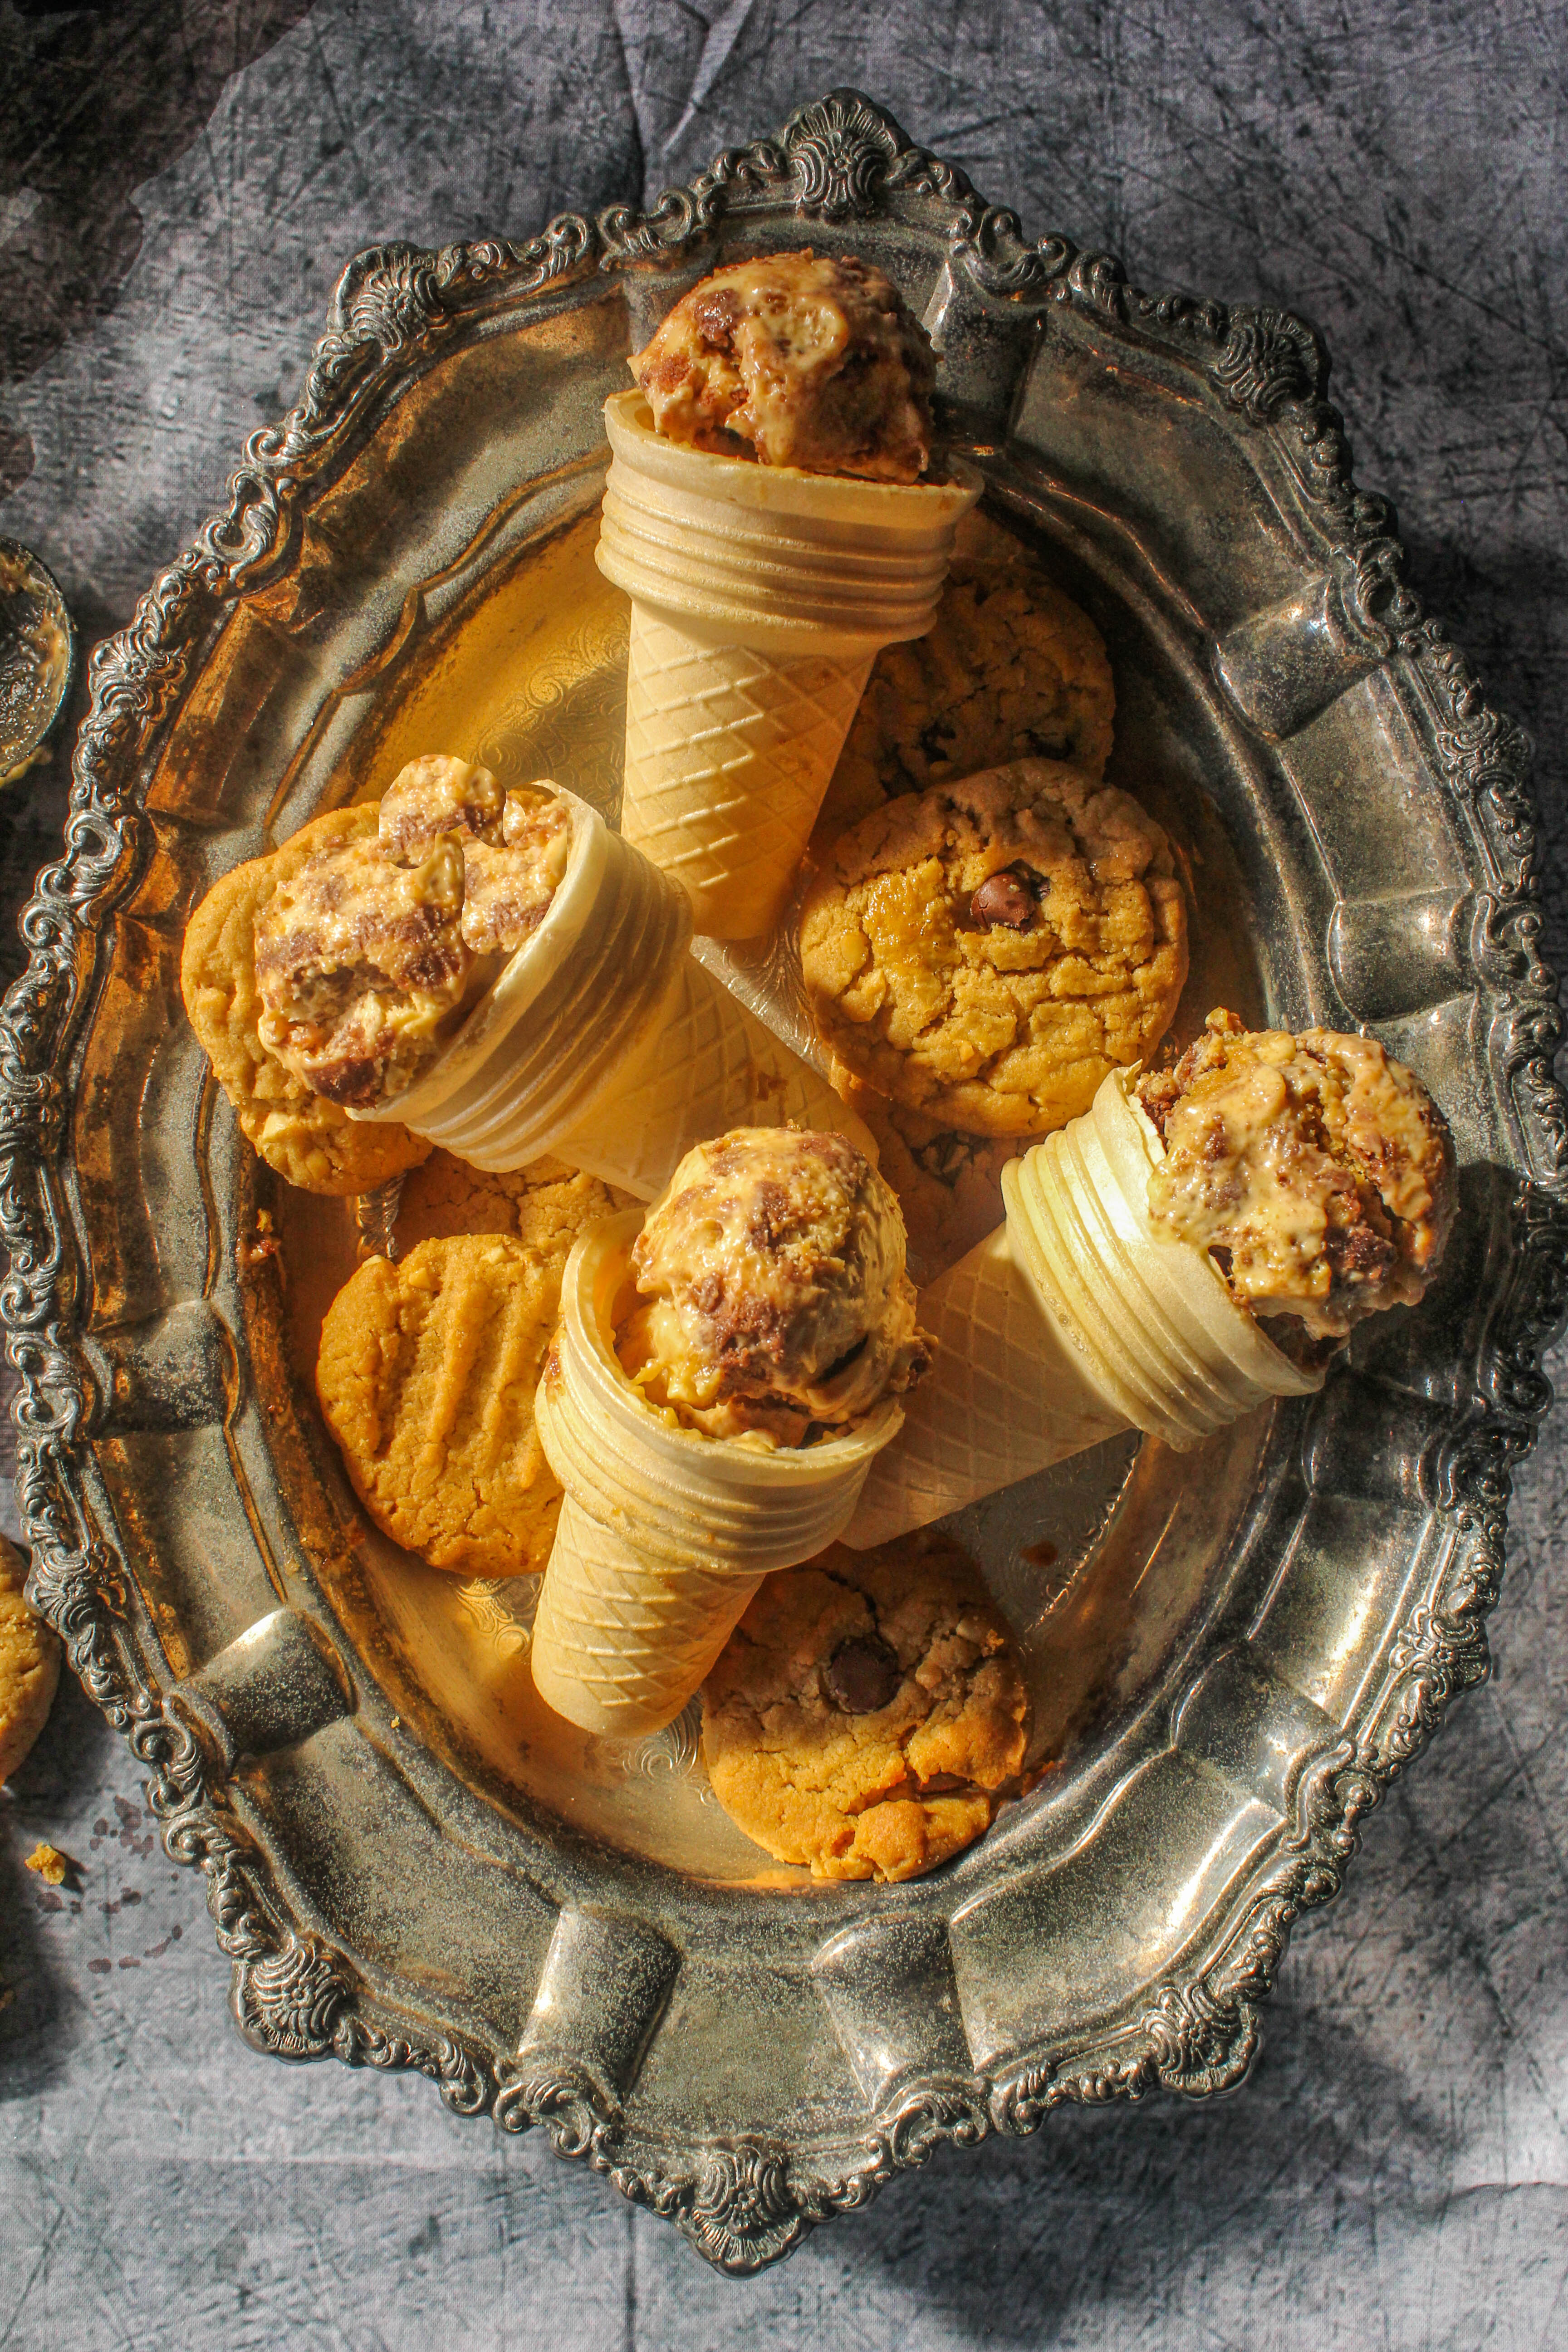
Peanut Butter and Chocolate Cookie+Brownie Semifreddo

20|05|2014

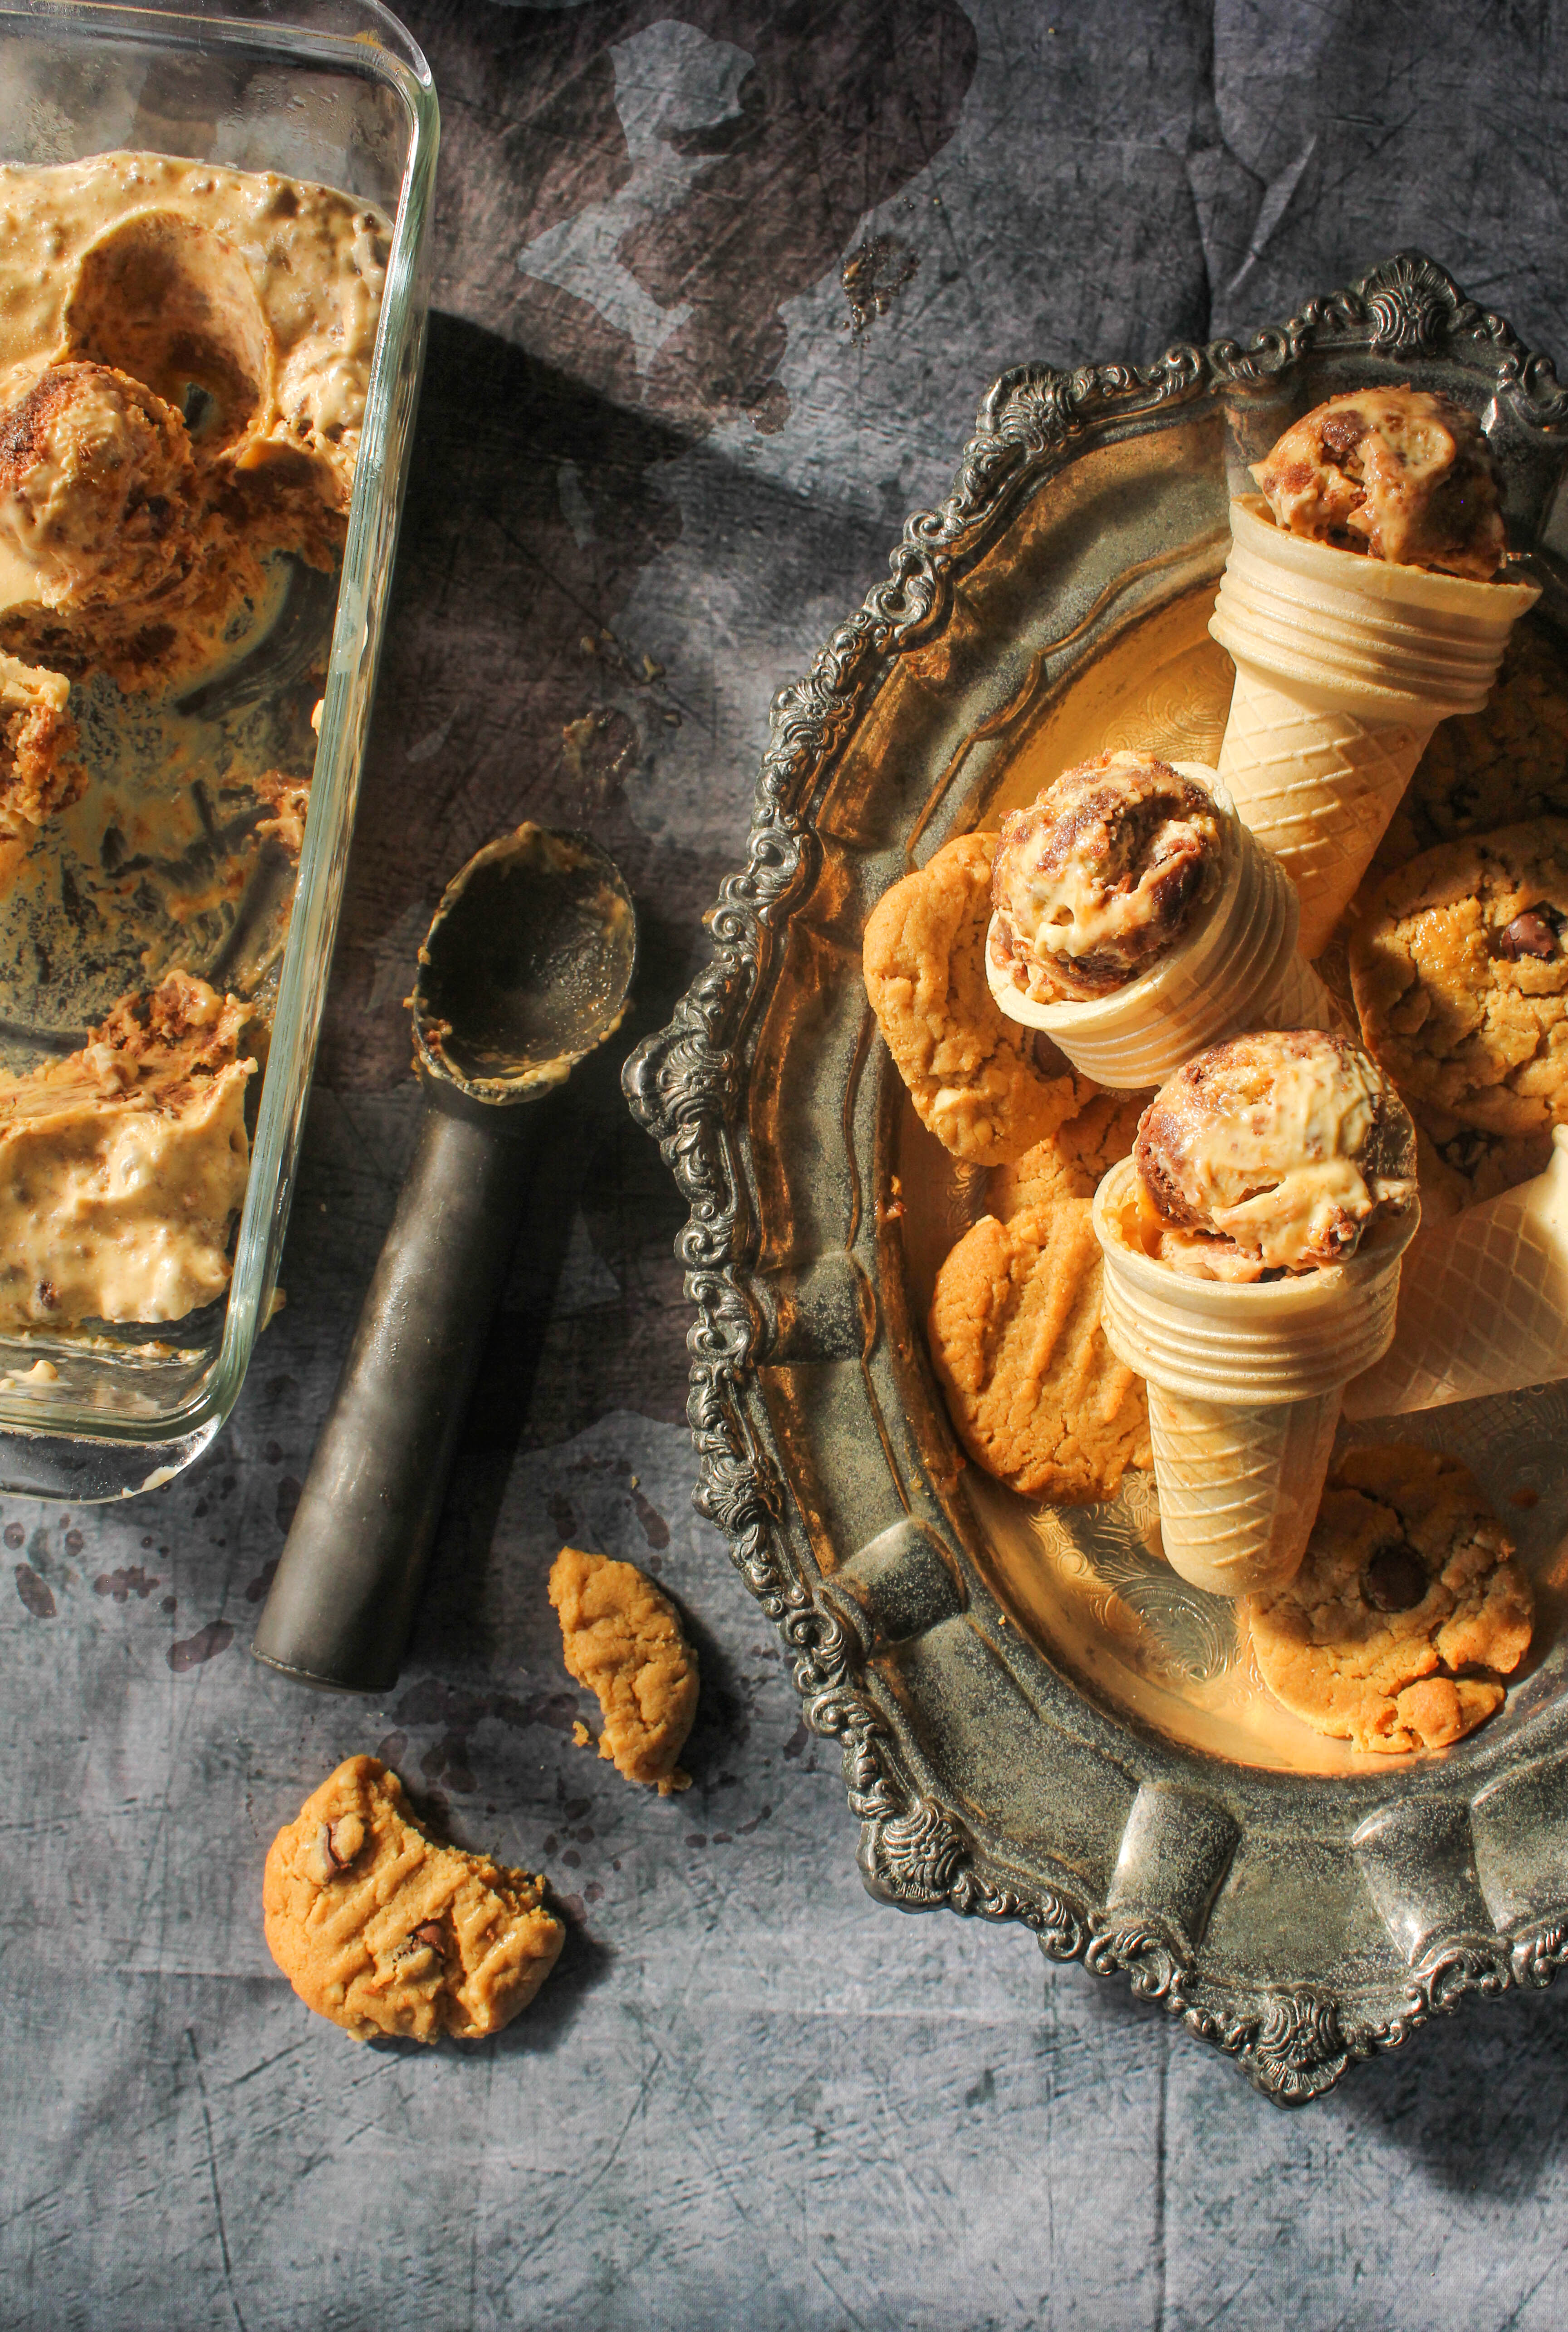
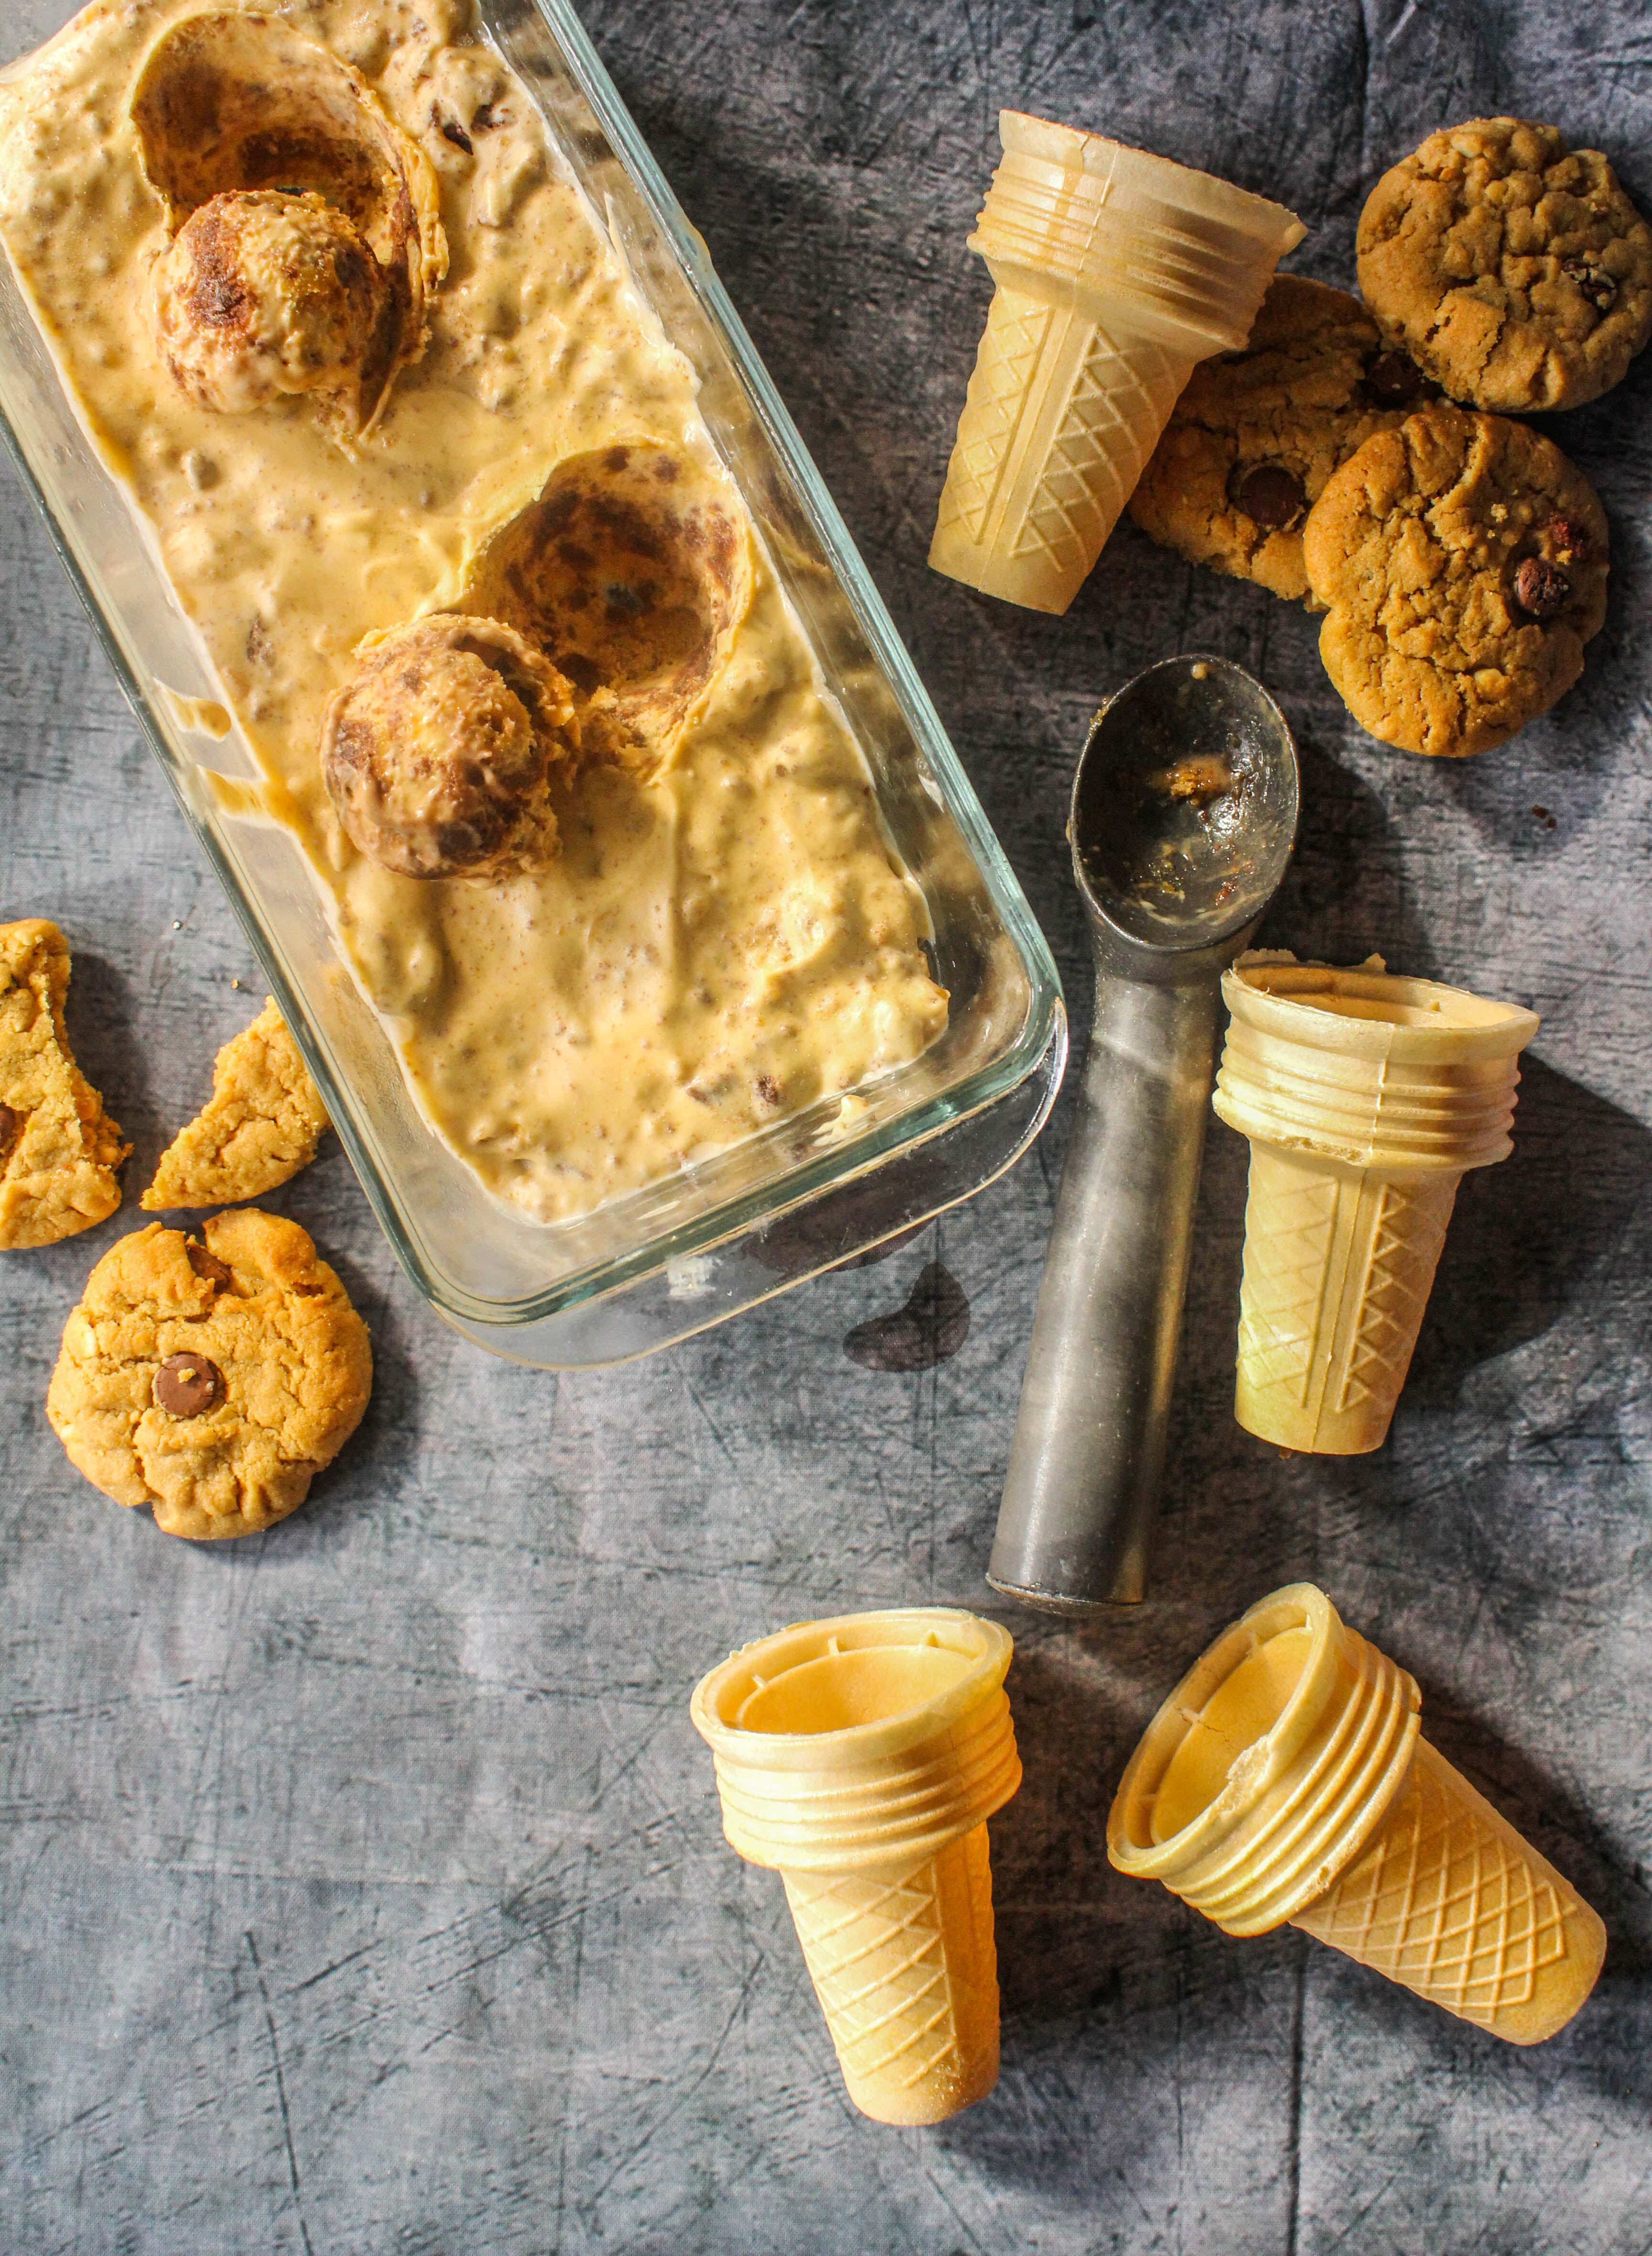
Cookies anyone? Brownies? How about ice cream? Don’t even bother to answer that. Because I am going to give you all of these in one mammoth-ly delicious recipe. And you don’t even need an ice cream machine! Make it, freeze it and eat it the way you like. In scoops or cut it up into slices.

IMG_9874-1There are 3 elements in the recipe. The star of the show…which is the peanut butter semifreddo, peanut butter chocolate chip cookies and nutella brownies. Appears like a lot of work but trust me, it’s not. Here’s why. The cookies are a 5-ingredient wonder that take less than 20 minutes to make from start to finish, including baking time. And they are gluten free.  Exactly the same way, the brownies are made with 3 ingredients and baked in ramekins. So you see it’s all about quick and smart cooking. You always have the choice of using store bought cookies and brownies but it really isn’t that hard to make them at home. Both are one-bowl recipes. And the outcome is so worth it.

IMG_9856-2

You will be left over with plenty to cookies to eat later. The texture of the cookies are slightly different from those that use flour. I found them to be slightly crumbly which was great for the semifreddo but they would not store very well otherwise. I think I would freeze the dough next time and bake them as I need. I baked the brownies in ramekins and I managed to get 6 large ones. Feel free to halve the recipes if you don’t want a lot of extras.

IMG_9859

This post is my contribution to Roxana’s Chocolate Party, this months smashing combo being Chocolate-Peanut butter. I’m terribly late this time but nevertheless I couldn’t miss the opportunity to unite with my fellow Chocolate lovers.

IMG_9849

Peanut Butter and Chocolate Cookie+Brownie Semifreddo
Serves 6

3 egg yolks
1 egg
1/4 cup castor sugar
1 tsp vanilla essence
1 cup thickened or heavy cream, whipped to soft peaks
1/2 cup smooth peanut butter (increase if you want a stronger taste)
1 nutella brownie, finely chopped (recipe below)
6 peanut butter cookies, crumbled (recipe below)

Use an electric mixer to whisk the egg, egg yolks and sugar in a medium heatproof bowl until thick and creamy. While continually whisking, place the bowl over a saucepan of simmering water and whisk for 5 minutes or until mixture almost doubles in size. Remove from heat and set aside.

When egg yolk mixture has cooled down slightly, add the peanut butter and stir with a fork to blend in. Add half the cream to the egg mixture and fold in until combined (The peanut butter mixture thickens up quite a bit but adding cream would lighten it). Add the remaining cream, fold through till no white streaks appear. Gently fold in the brownie and cookies.

Pour into a 1 litre capacity metal or pyrex loaf tin. If you plan to serve the semifreddo in slices, you will need to line the base and sides of the pan with plastic wrap, allowing the sides to overhang. Place in the freezer for 6 hours or overnight until firm.

Flourless Peanut Butter Chocolate Chip Cookies (adapted from Taste.com)
Makes 24 cookies

1 cup (260g) crunchy peanut butter
1 cup (200g) brown sugar
1 teaspoon bicarbonate of soda
1 egg, lightly beaten
1 cup (185g) dark choc bits

Preheat oven to 200 degrees C. Lightly grease two baking trays and line with non-stick baking paper. Combine peanut butter, sugar, bicarbonate of soda and egg in a bowl. Stir in choc bits.

Roll teaspoonfuls of the mixture into balls and place on the prepared tray. Press lightly with a fork. Bake for 8-10 minutes or until light golden. Leave to cool on the trays then place into an airtight container.

3 Ingredient Nutella Brownies (adapted from this recipe)
Makes 6 brownies

1 cup (280 g) Nutella
2 eggs
10 tbsp. (62 g) plain flour

Preheat oven to 180 degrees C.

Place all the ingredients together in a mixing bowl. Mix till smooth. Spoon into muffin cases or a baking tray or ramekins. Bake for 30 minutes (longer if you are using a baking tray) or until a skewer inserted into the centres comes out with a few crumbs. Remove from oven, cool for 5 minutes and turn onto a wire rack to cool completely.

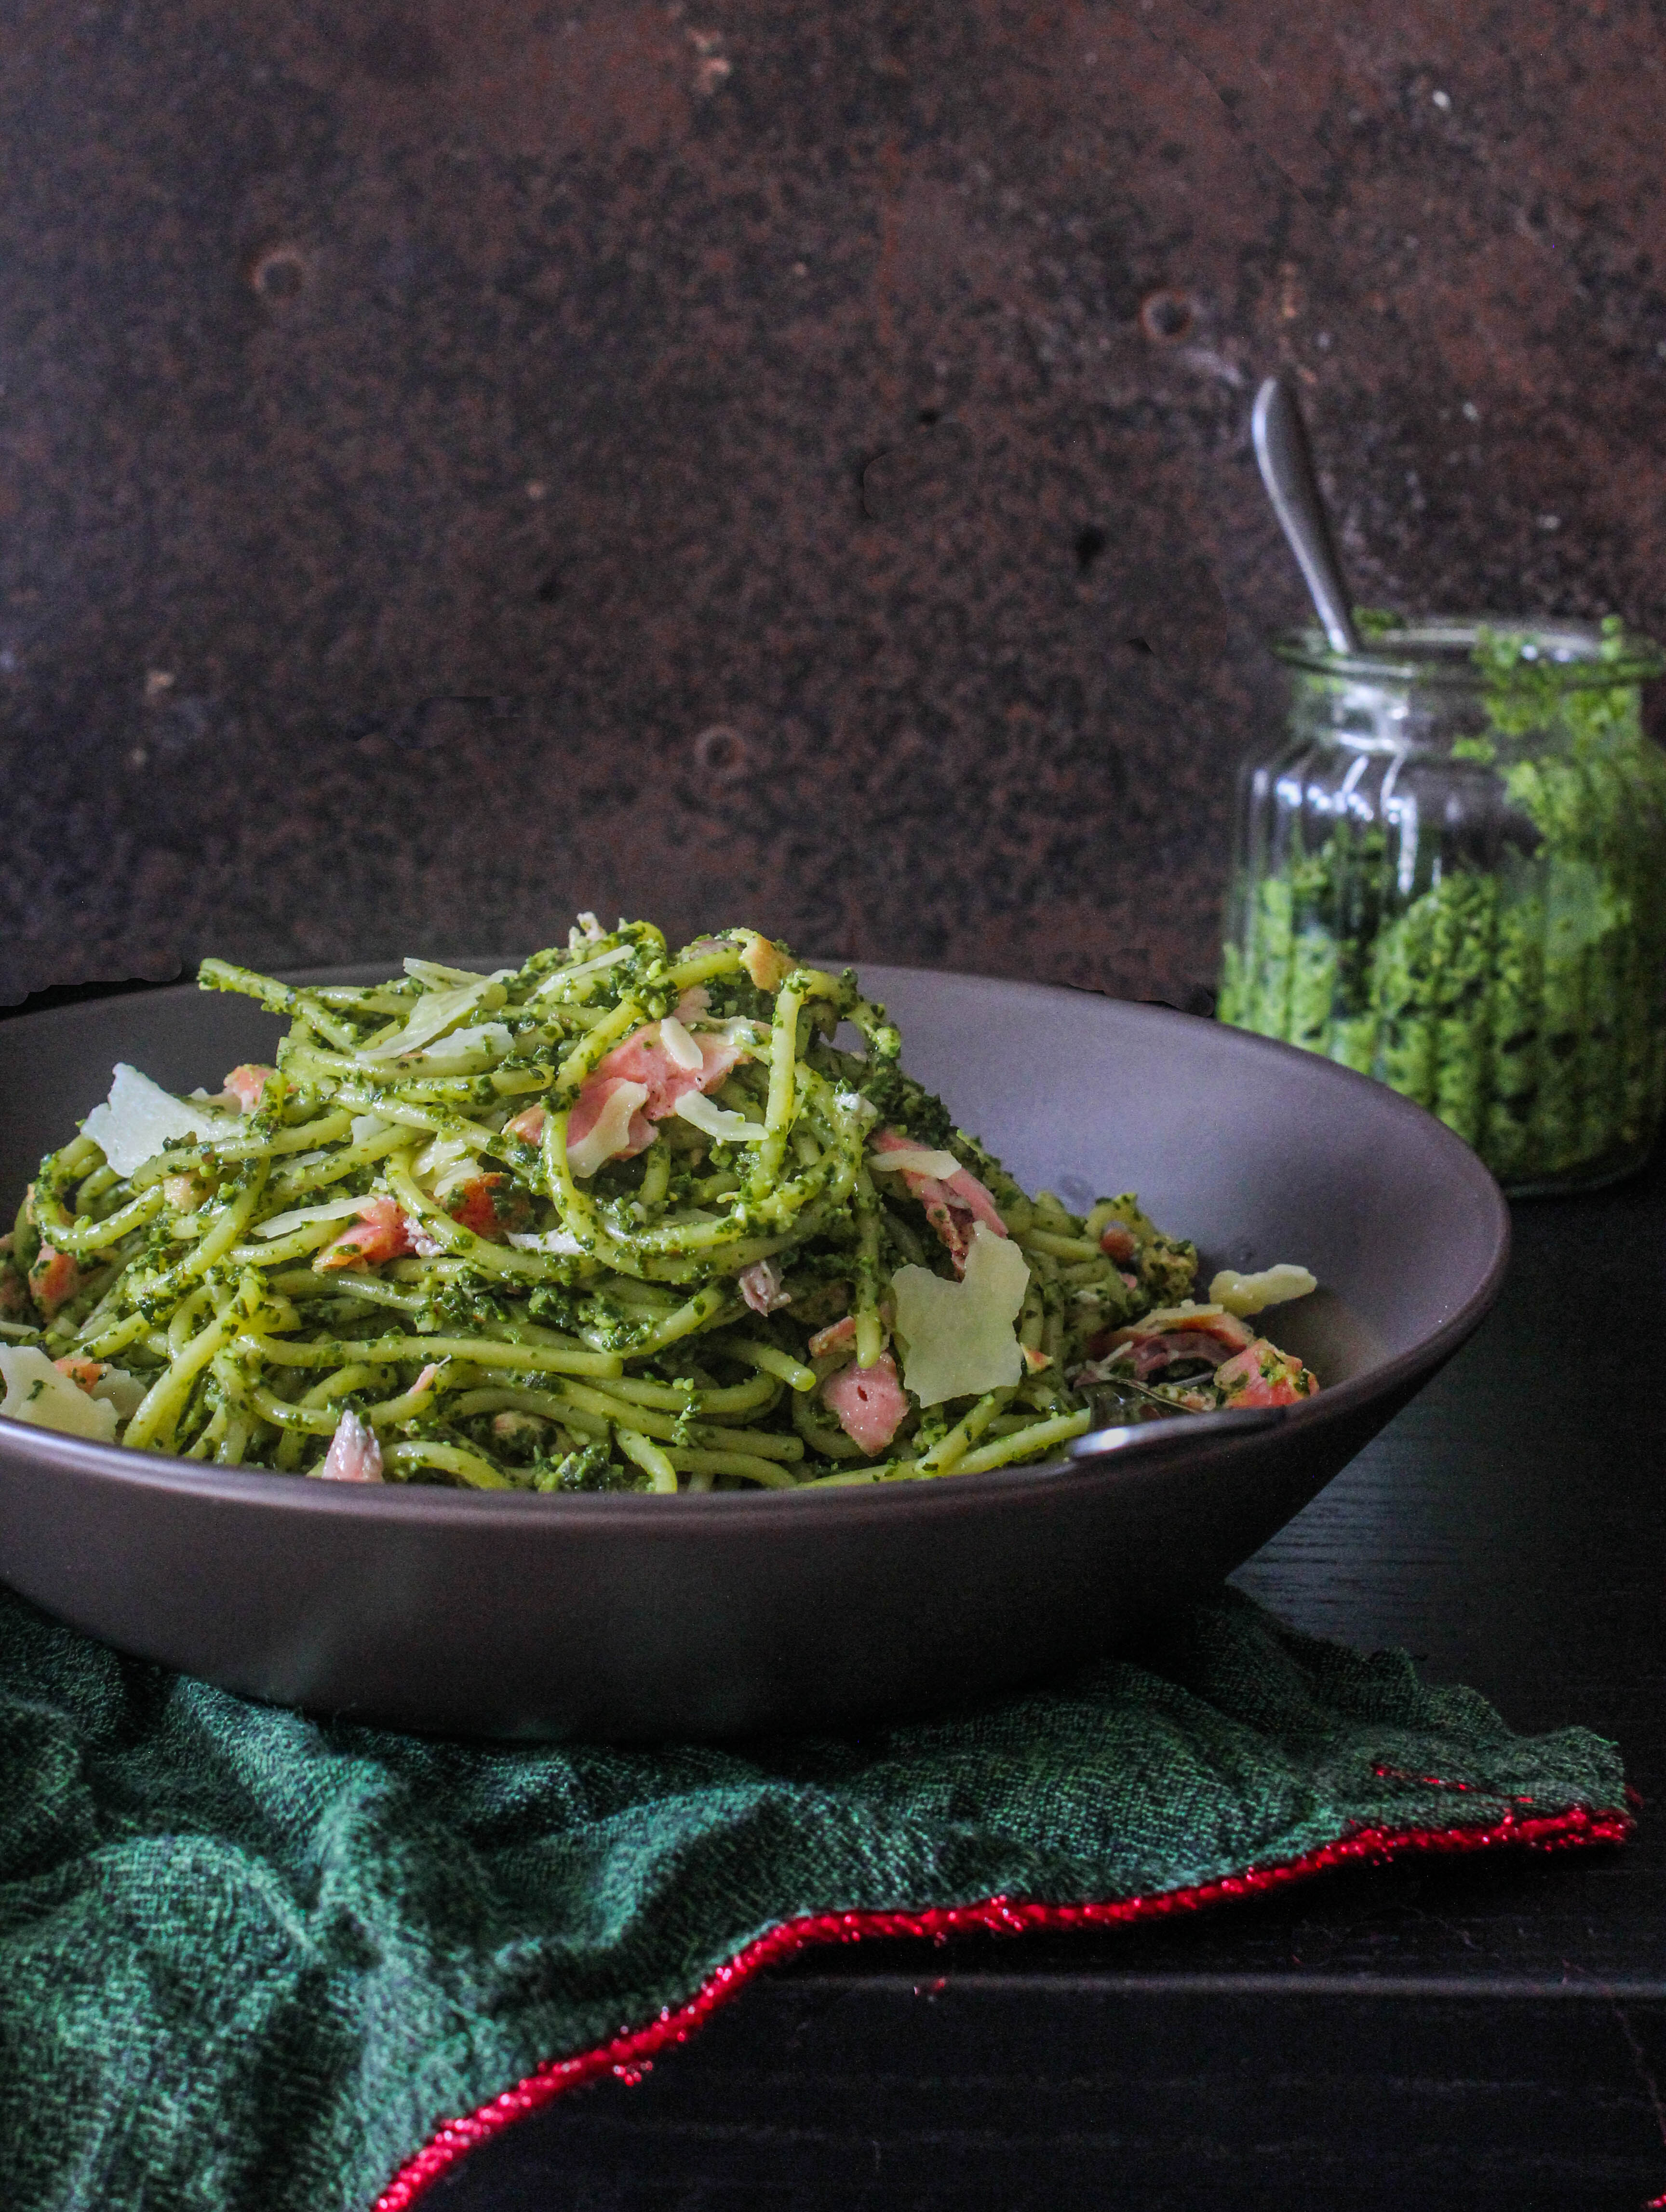
Pasta with Kale-Almond Pesto and Salmon

18|05|2014

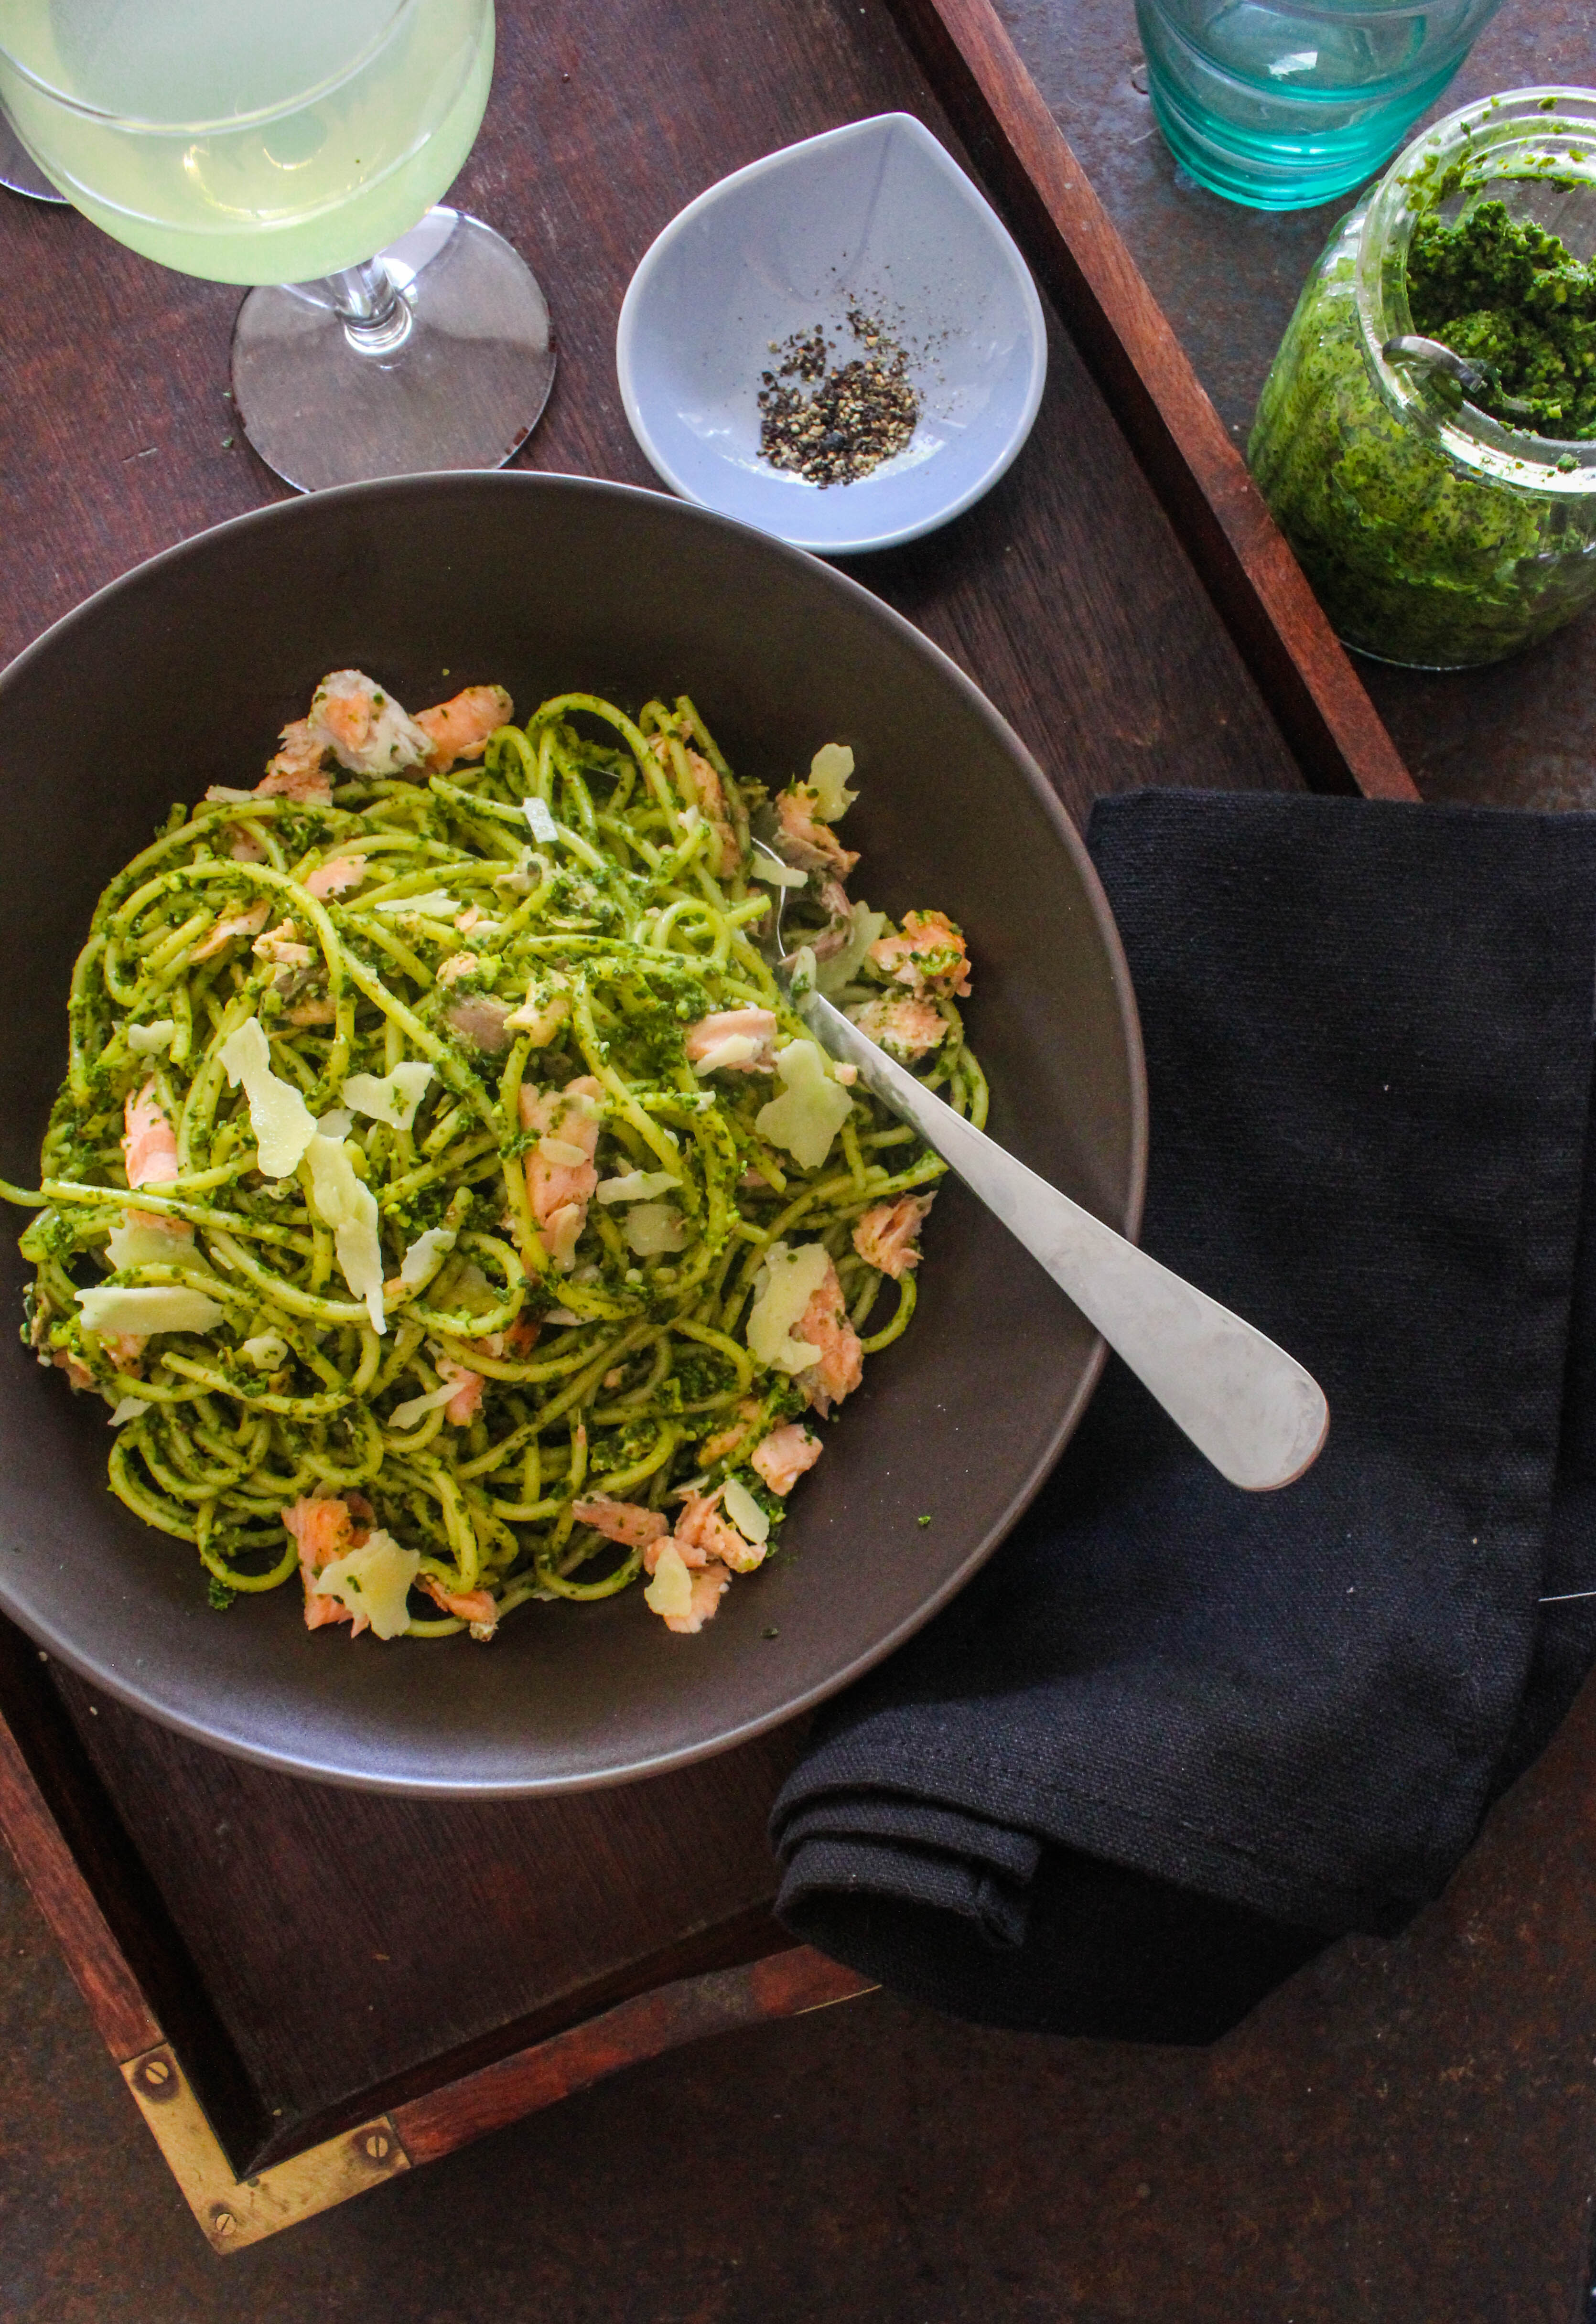
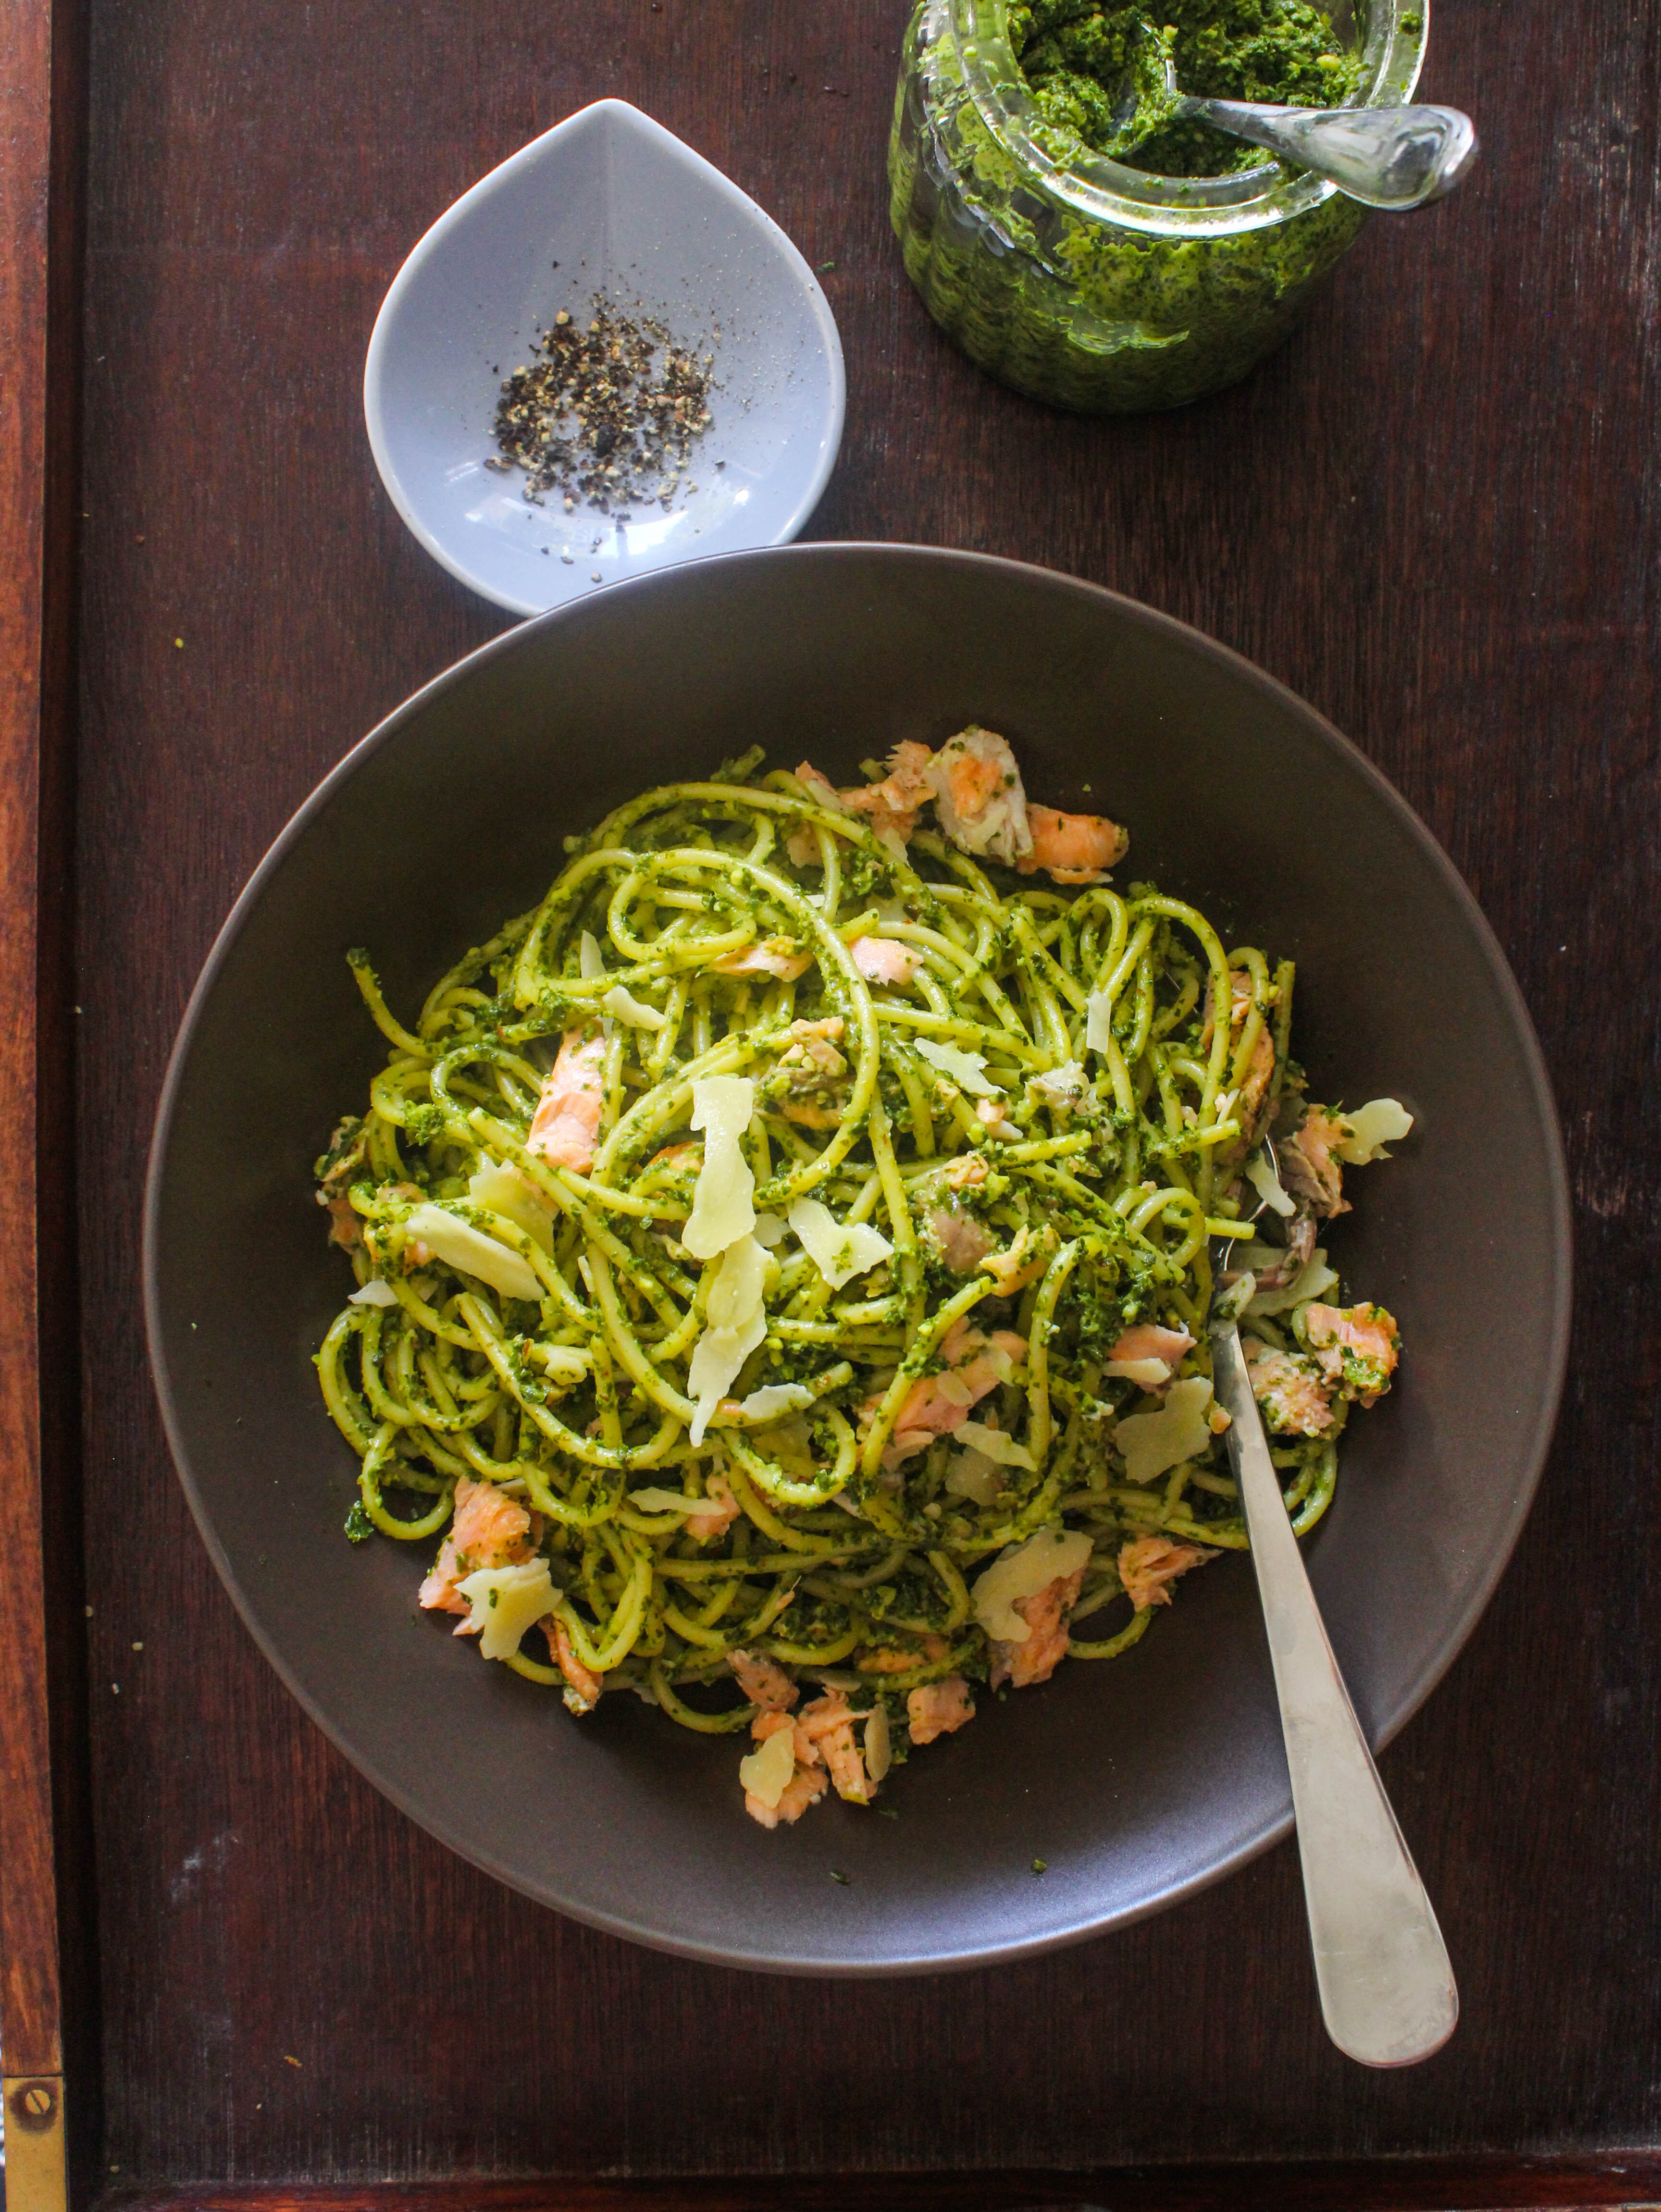
A delicious pasta dish made with kale pesto sauce and served with salmon to make a great weeknight dinner.

t’s been a while since I shared a quick weeknight dinner recipe in this space. Weeknights haven’t changed, neither has there been a dearth of exploring new recipes or ingredients. But weeknights are all about quick cooking and quick eating. Tired feet, hungry stomachs, the evening chill and no natural light. There is little or no room for photography. And food that looks delicious and tastes better, deserves to be photographed and shared.

kale pesto pasta with salmonHaving said that, there is always excitement around dinner. With little prep and planning, the stress is taken away from cooking a meal from scratch and a warm nutritious dinner is ready to be savoured without the guilt of consuming loads of calories.

kale pesto pasta with salmon

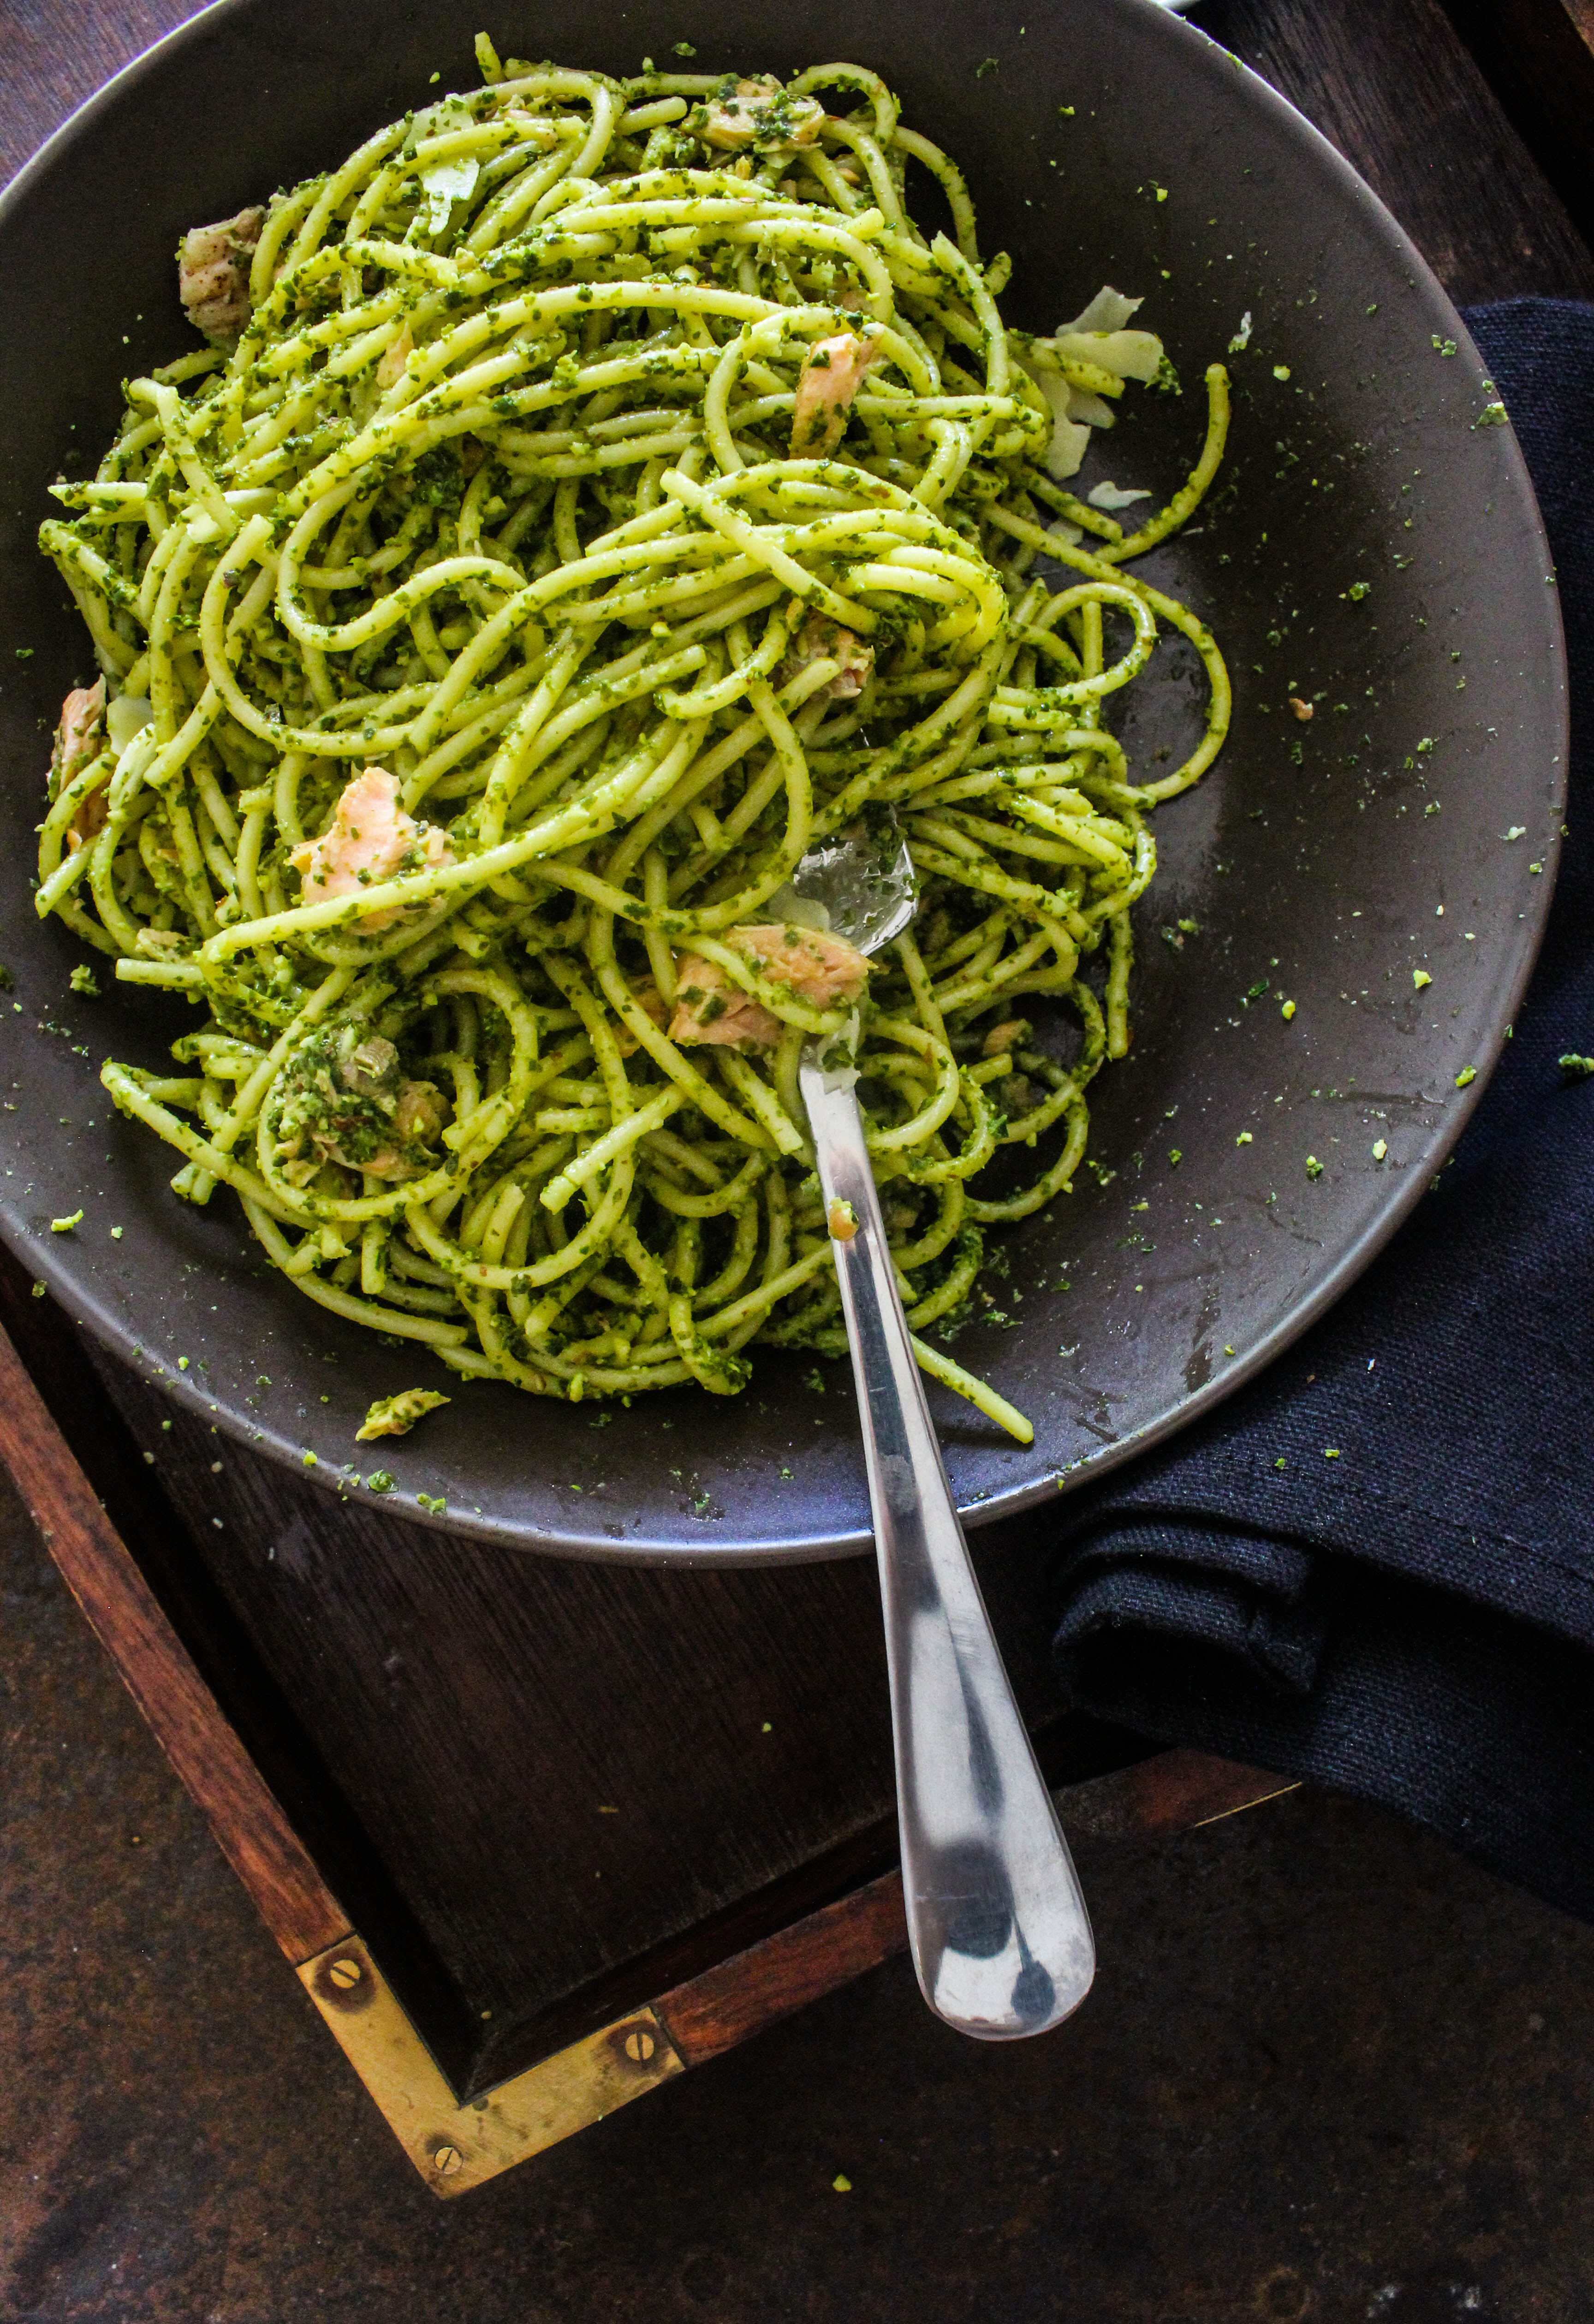
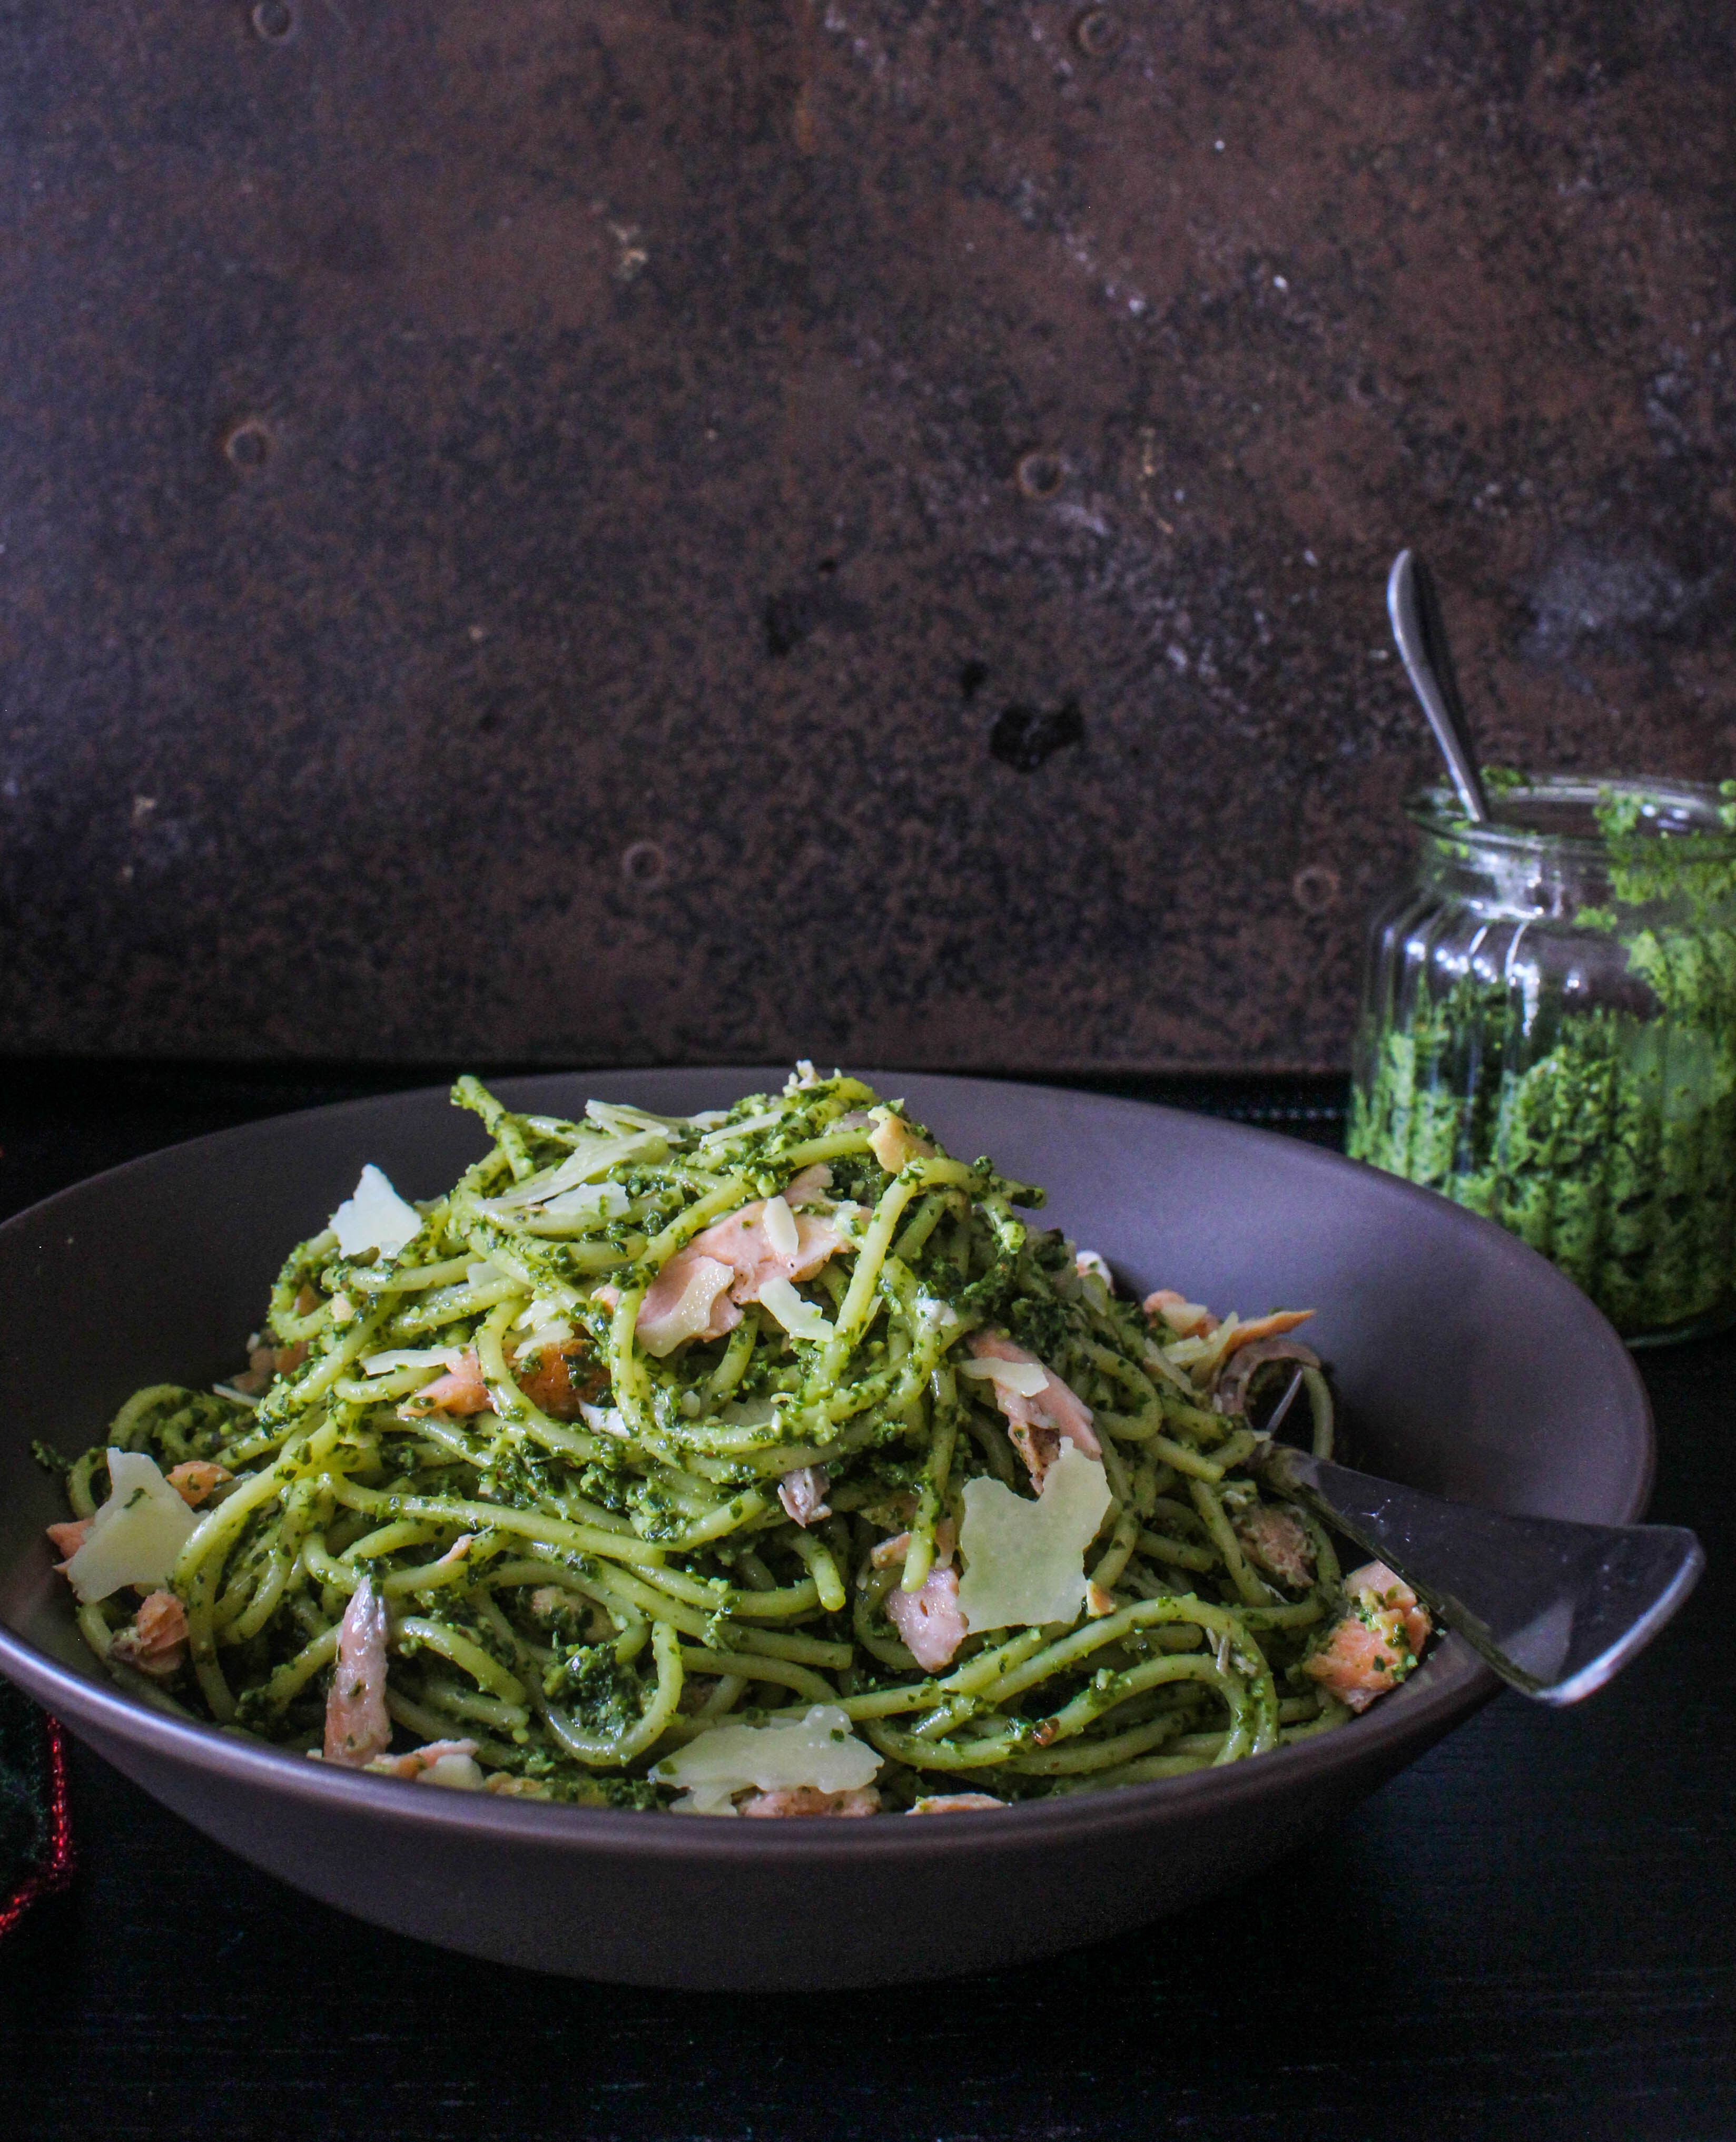
Jars of homemade pesto have come to my rescue for years of cooking simple delicious meals. How convenient is it when dinner is a matter of opening a jar and stirring through its contents through a pot of freshly cooked pasta. To spruce up the dish are flakes of pan fried salmon, a generous shaving of parmesan and a drizzle of extra virgin olive oil. And that is all. Does that mean it lacks in flavour? By no means. The flavours are packed inside the jar of homemade pesto.

kale pesto pasta with salmon

I’ve tried numerous variations of herbs in pesto. In fact, I feel there are no hard and fast rules when making pesto at home. The only factor that remains unchanged for me is the presence of herbs, nuts and olive oil. I add a mix of herbs from my garden as I go. Its all about building flavours and of course nutrition. Kale is great in a pesto. It turns to a coarse paste which coats the pasta really well. If you do not like heat, leave out the chillies in the pesto.

kale pesto pasta with salmon

I am not a fan of rich sauces in my pasta so this recipe is great for a simple stir-through. Salmon can be replaced with any protein of your choice. I like the flavour of fresh pan fried salmon. You can skip this step and use canned salmon flakes instead. It would certainly make the recipe simpler and quicker. For a vegetarian version replace salmon with roasted pumpkin or sweet potato.

kale pesto pasta with salmon

Pasta with Kale-Almond Pesto and Salmon
Serves 4

1 tbsp. olive oil
2 fillets of salmon, skin and bones removed
salt and pepper, for seasoning
375 g spaghetti (or pasta of your choice)
1 cup kale-almond pesto
Shaved Parmesan, to serve
Freshly cracked pepper, to serve
Extra Virgin olive oil to serve

Kale-Almond Pesto
1/3 cup almonds
1 long red chilli
3 cloves garlic, unpeeled
150 g kale leaves, stems removed and blanched
1/2 cup flat leaf parsley leaves
2 tbsp. oregano leaves
1 tbsp. lemon juice
salt and cracked pepper
1/2 cup olive oil
1/4 cup grated parmesan

Combine salmon, salt and pepper in a bowl. Heat the olive oil a non-stick frying pan over medium-high heat. Cook salmon for 3-4 minutes on each side till cooked on the sides and still pink in the centre.or until cooked to your liking. Remove from heat and cool slightly. With  a fork divide into flakes.

Cook pasta in a large saucepan of salted boiling water until al dente. Drain, reserving 60ml (1/4 cup) cooking liquid. Return pasta to pan.

Add the pesto and reserved cooking liquid to pasta and toss to combine. Add the salmon and stir through. Divide among bowls, top with shaved parmesan and cracked pepper. Drizzle with extra virgin olive oil.

To make the pesto: Place the almonds, chilli and garlic on a small baking tray and drizzle with oil. Roast for 8-10 minutes or almonds are golden brown.
Squeeze the garlic from their skins and deseed the chilli.
Place the almonds, chilli and garlic in a food processor with kale, parsley, oregano, lemon juice, salt, pepper and olive oil. Process to a coarse paste. Stir through the grated parmesan. Store in the refrigerator till needed.


  • « Previous Page
  • 1
  • …
  • 32
  • 33
  • 34
  • 35
  • 36
  • …
  • 45
  • Next Page »
Hey Sugar
Cake
Link to my Facebook Page
Link to my Instagram Page
Link to my Pinterest Page
Link to my Mail Page
Subscribe to this site
Fresh Awards
2019 Aus mumpreneur
2019 aus mumpreneur
Mumbrella

Copyright © 2026 · Sugar Et Al · Designed by Smitten Blog Designs · Log in