• Home
  • Recipe Index
    • Recipe Index
    • Breakfast/Brunch
    • Cakes and Puddings
    • Chocolate
    • Cookies and cupcakes
    • Custard and Mousse
    • Gluten Free
    • Ice Cream
    • Mains
    • Other Sweet Treats
    • Snack/Appetizers
    • Soups and Salads
    • Tarts and Pies
    • Vegetarian
  • About
  • Cookbook
  • Portfolio
  • Store
  • Press
  • Work with Me

Sugar et al

Because Life is a blend of flavours...

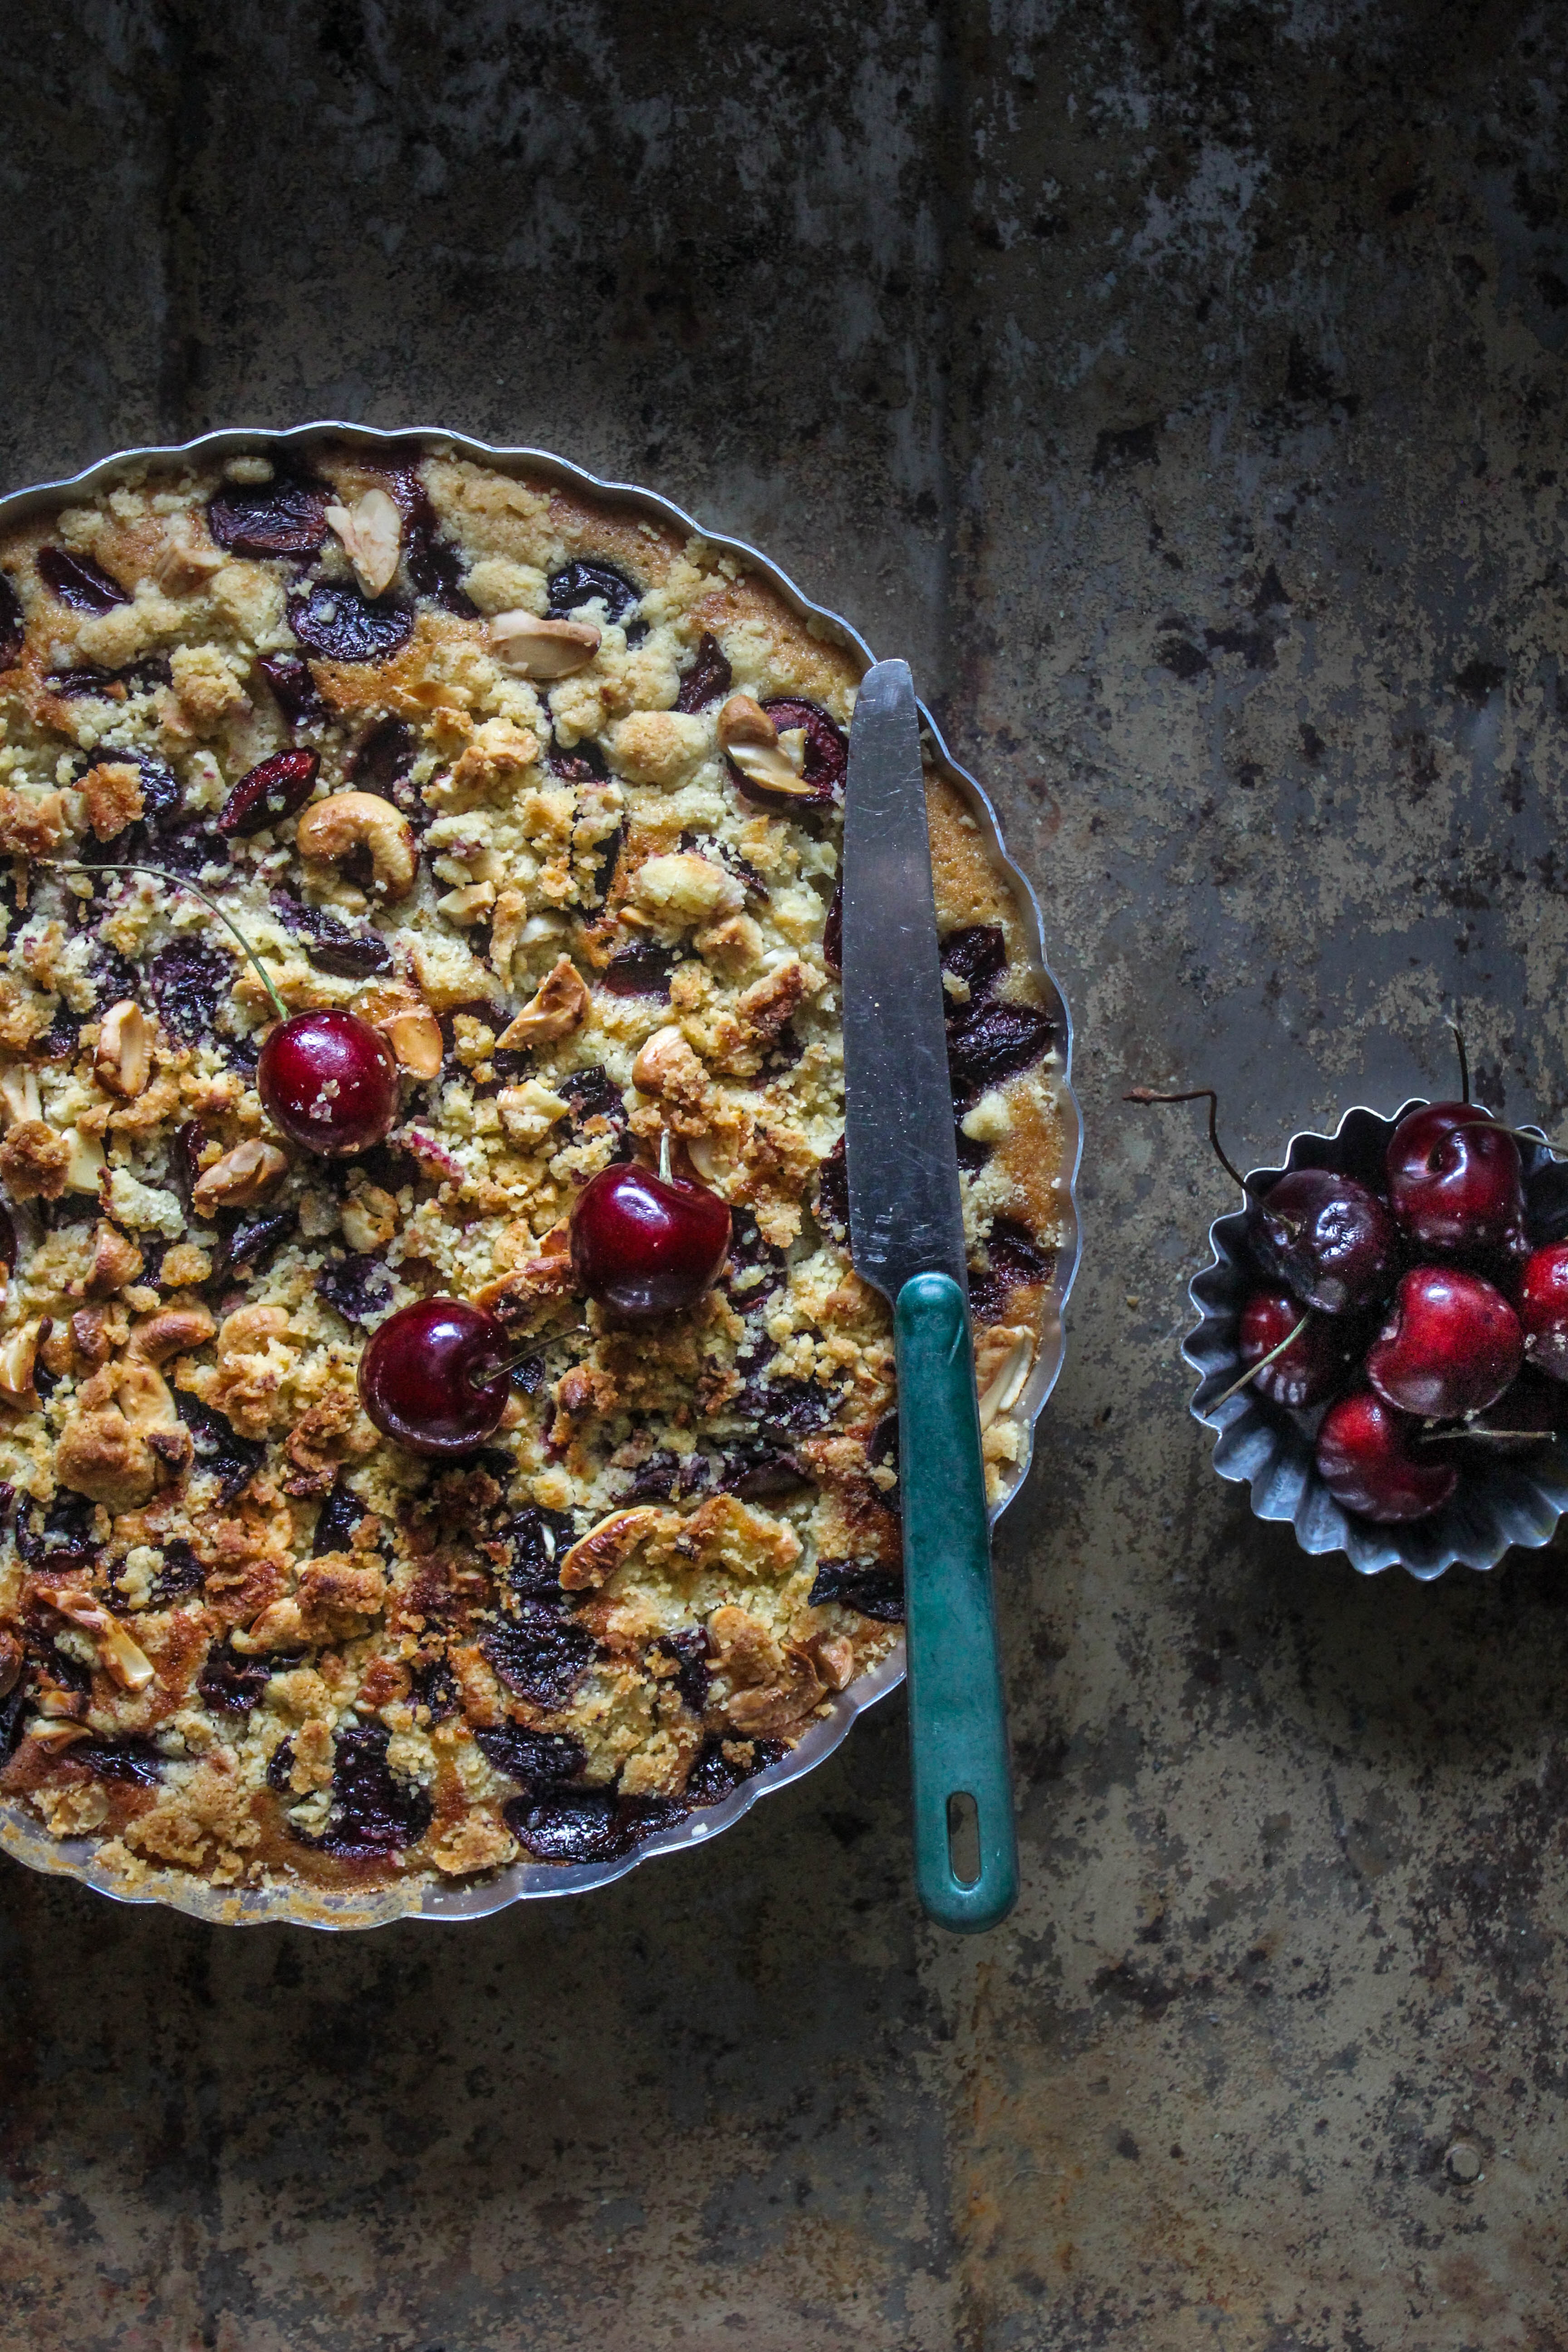
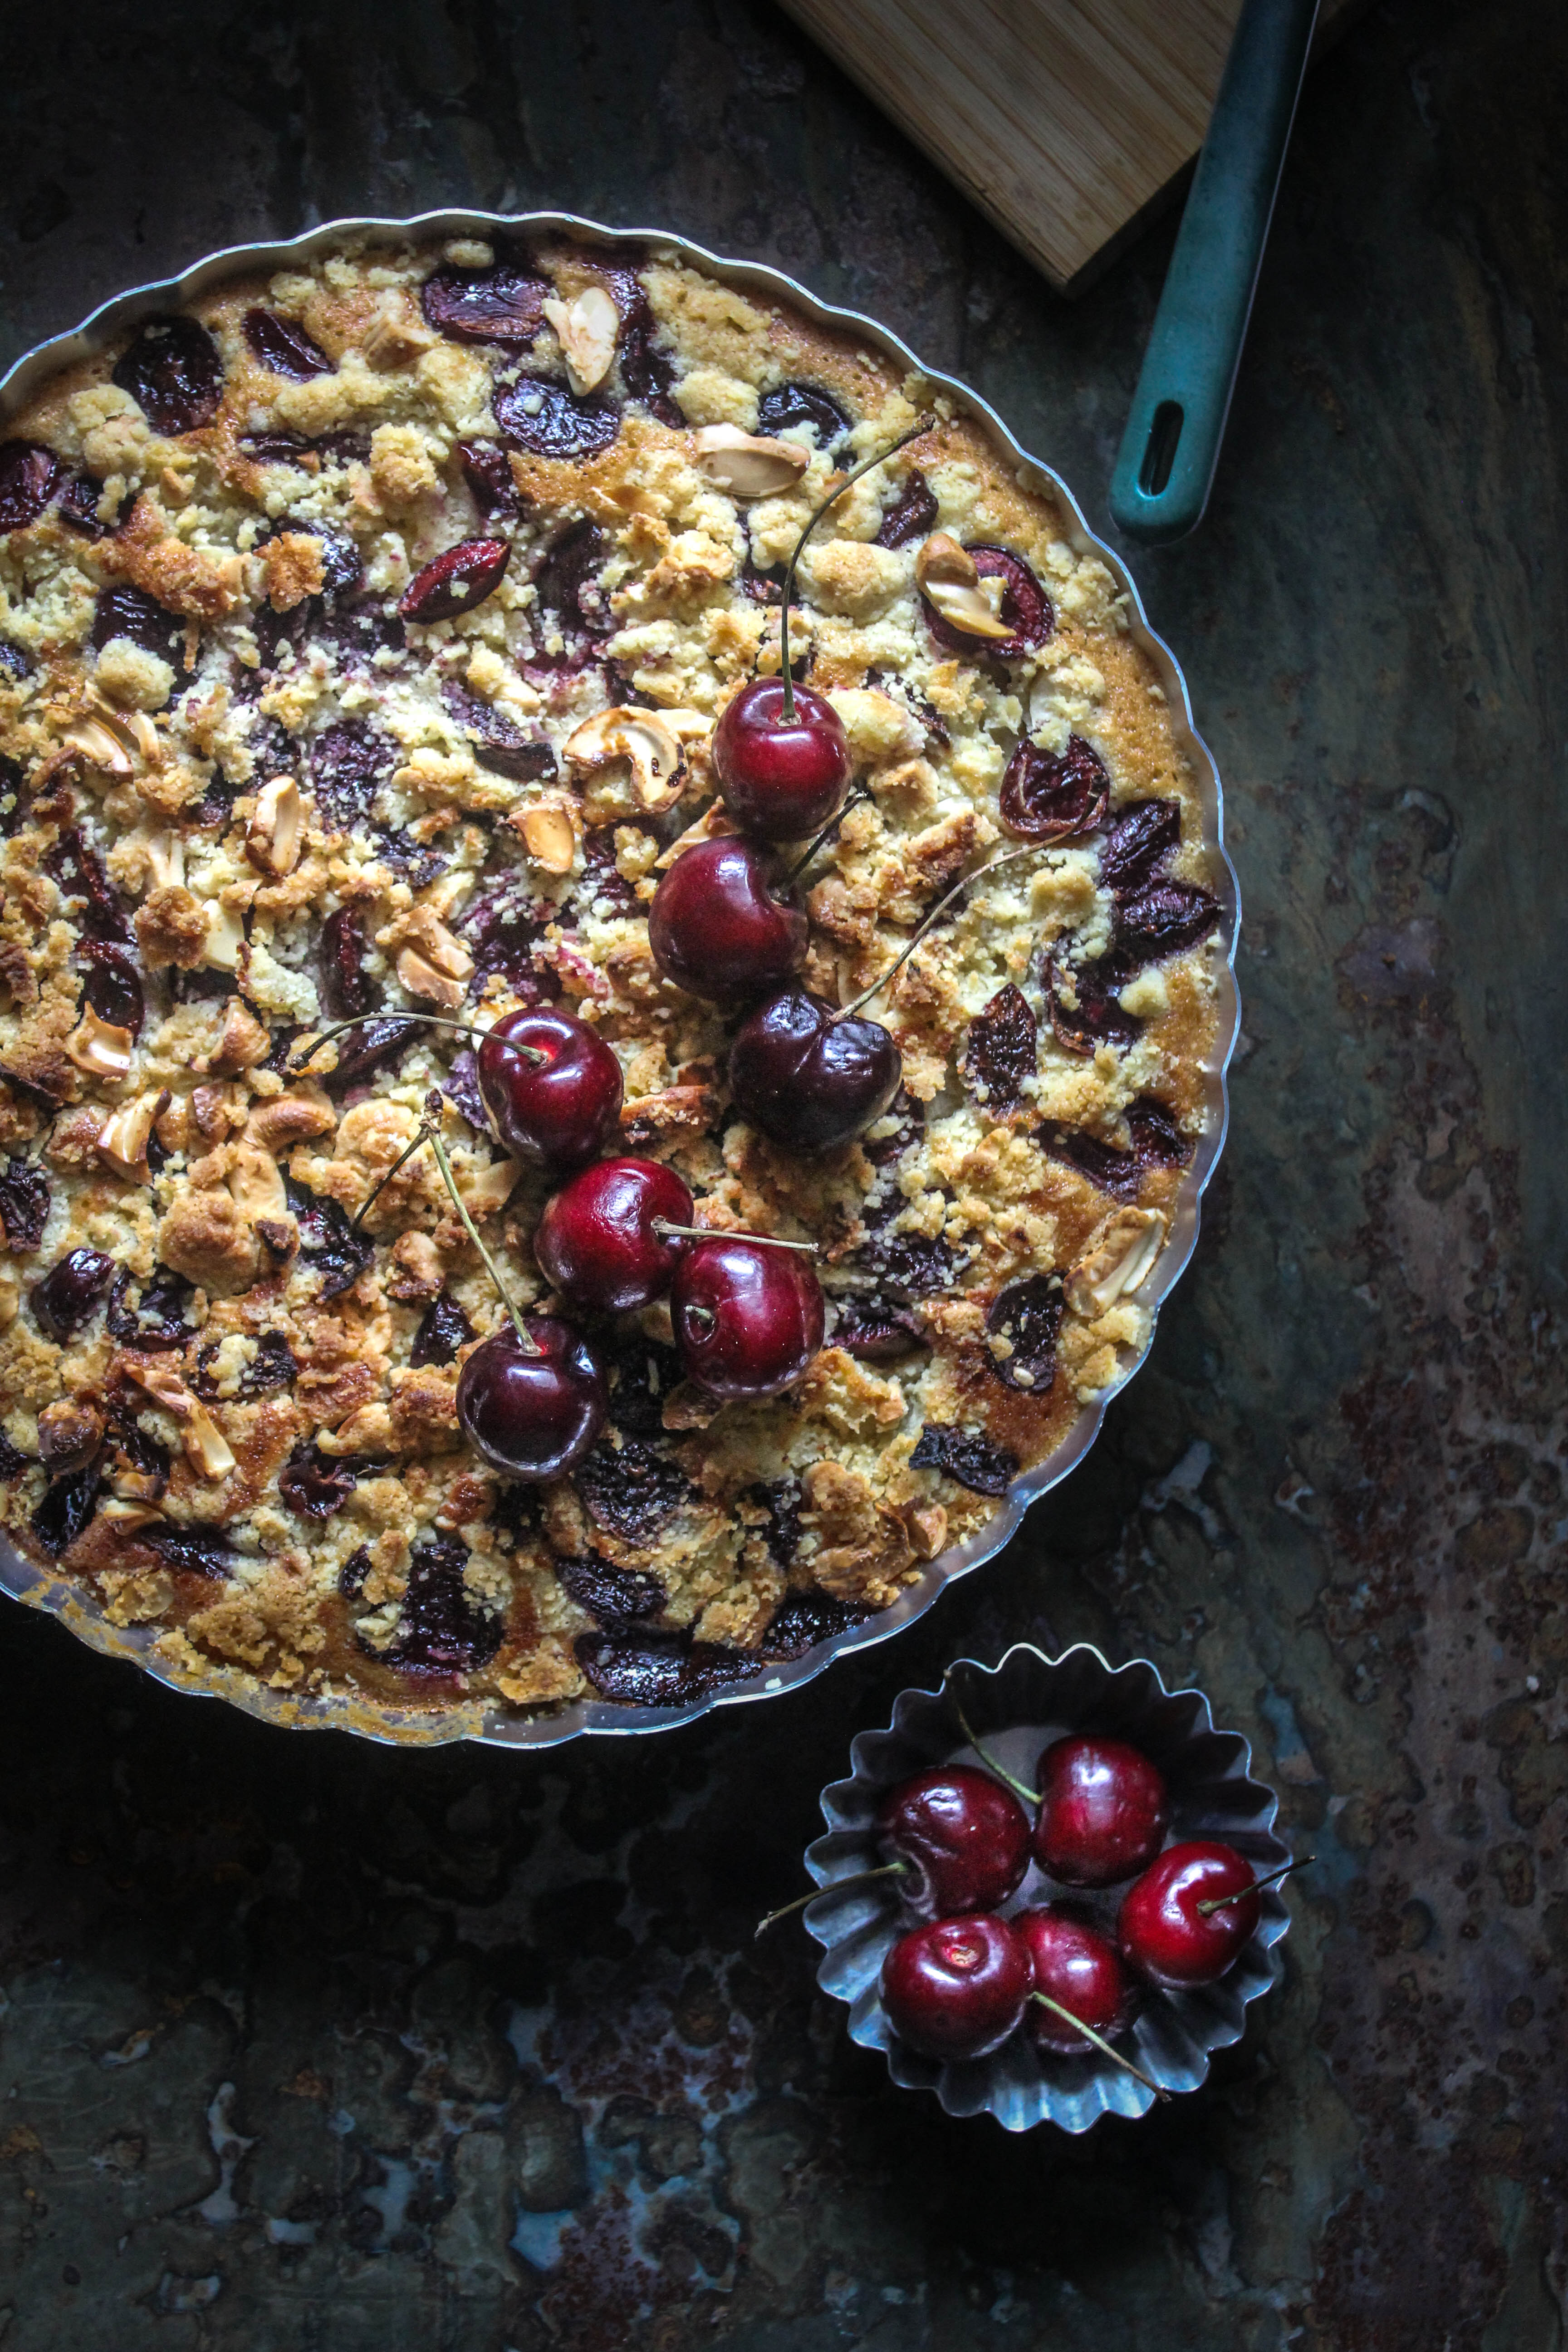
Cherry and Cashew Nut Streusel Cake

27|07|2014

Fridays have fascinated me all my life. Like a lot of people, It has remained my favourite part of the week since I was a child. At different stages of life though, the interpretations varied. Before the twins came, I was employed with a bank where I worked for several years. I handled various roles and though the nature of work and work load were different, Fridays were always a treat. Most of the times, it meant long lunches at new restaurants each week with colleagues and friends. I had a printed list pinned on the board next to my cubicle and would tick away as we explored places, old and new.
IMG_1167-5

After the birth of my boys, Fridays brought relief. The promise of a weekend. Of support and respite. It meant eating at the table. Eating food on a plate ,while my husband shared the responsibility of dealing with two infants who needed to be fed, consoled, carried, changed at a tiring pace. Time flew. The children grew up and help was outsourced in the form of Child Care. They would go twice during the week and Friday was one of them. Precious hours that I had all to myself, I would want to do things that made me happy. Like bake cakes. Sometimes one, sometimes more. The prospect of eating cake throughout the weekend made the twins excited as well. Win win. So Fridays turned out to be Cake days. It became a ritual.
IMG_1148-2

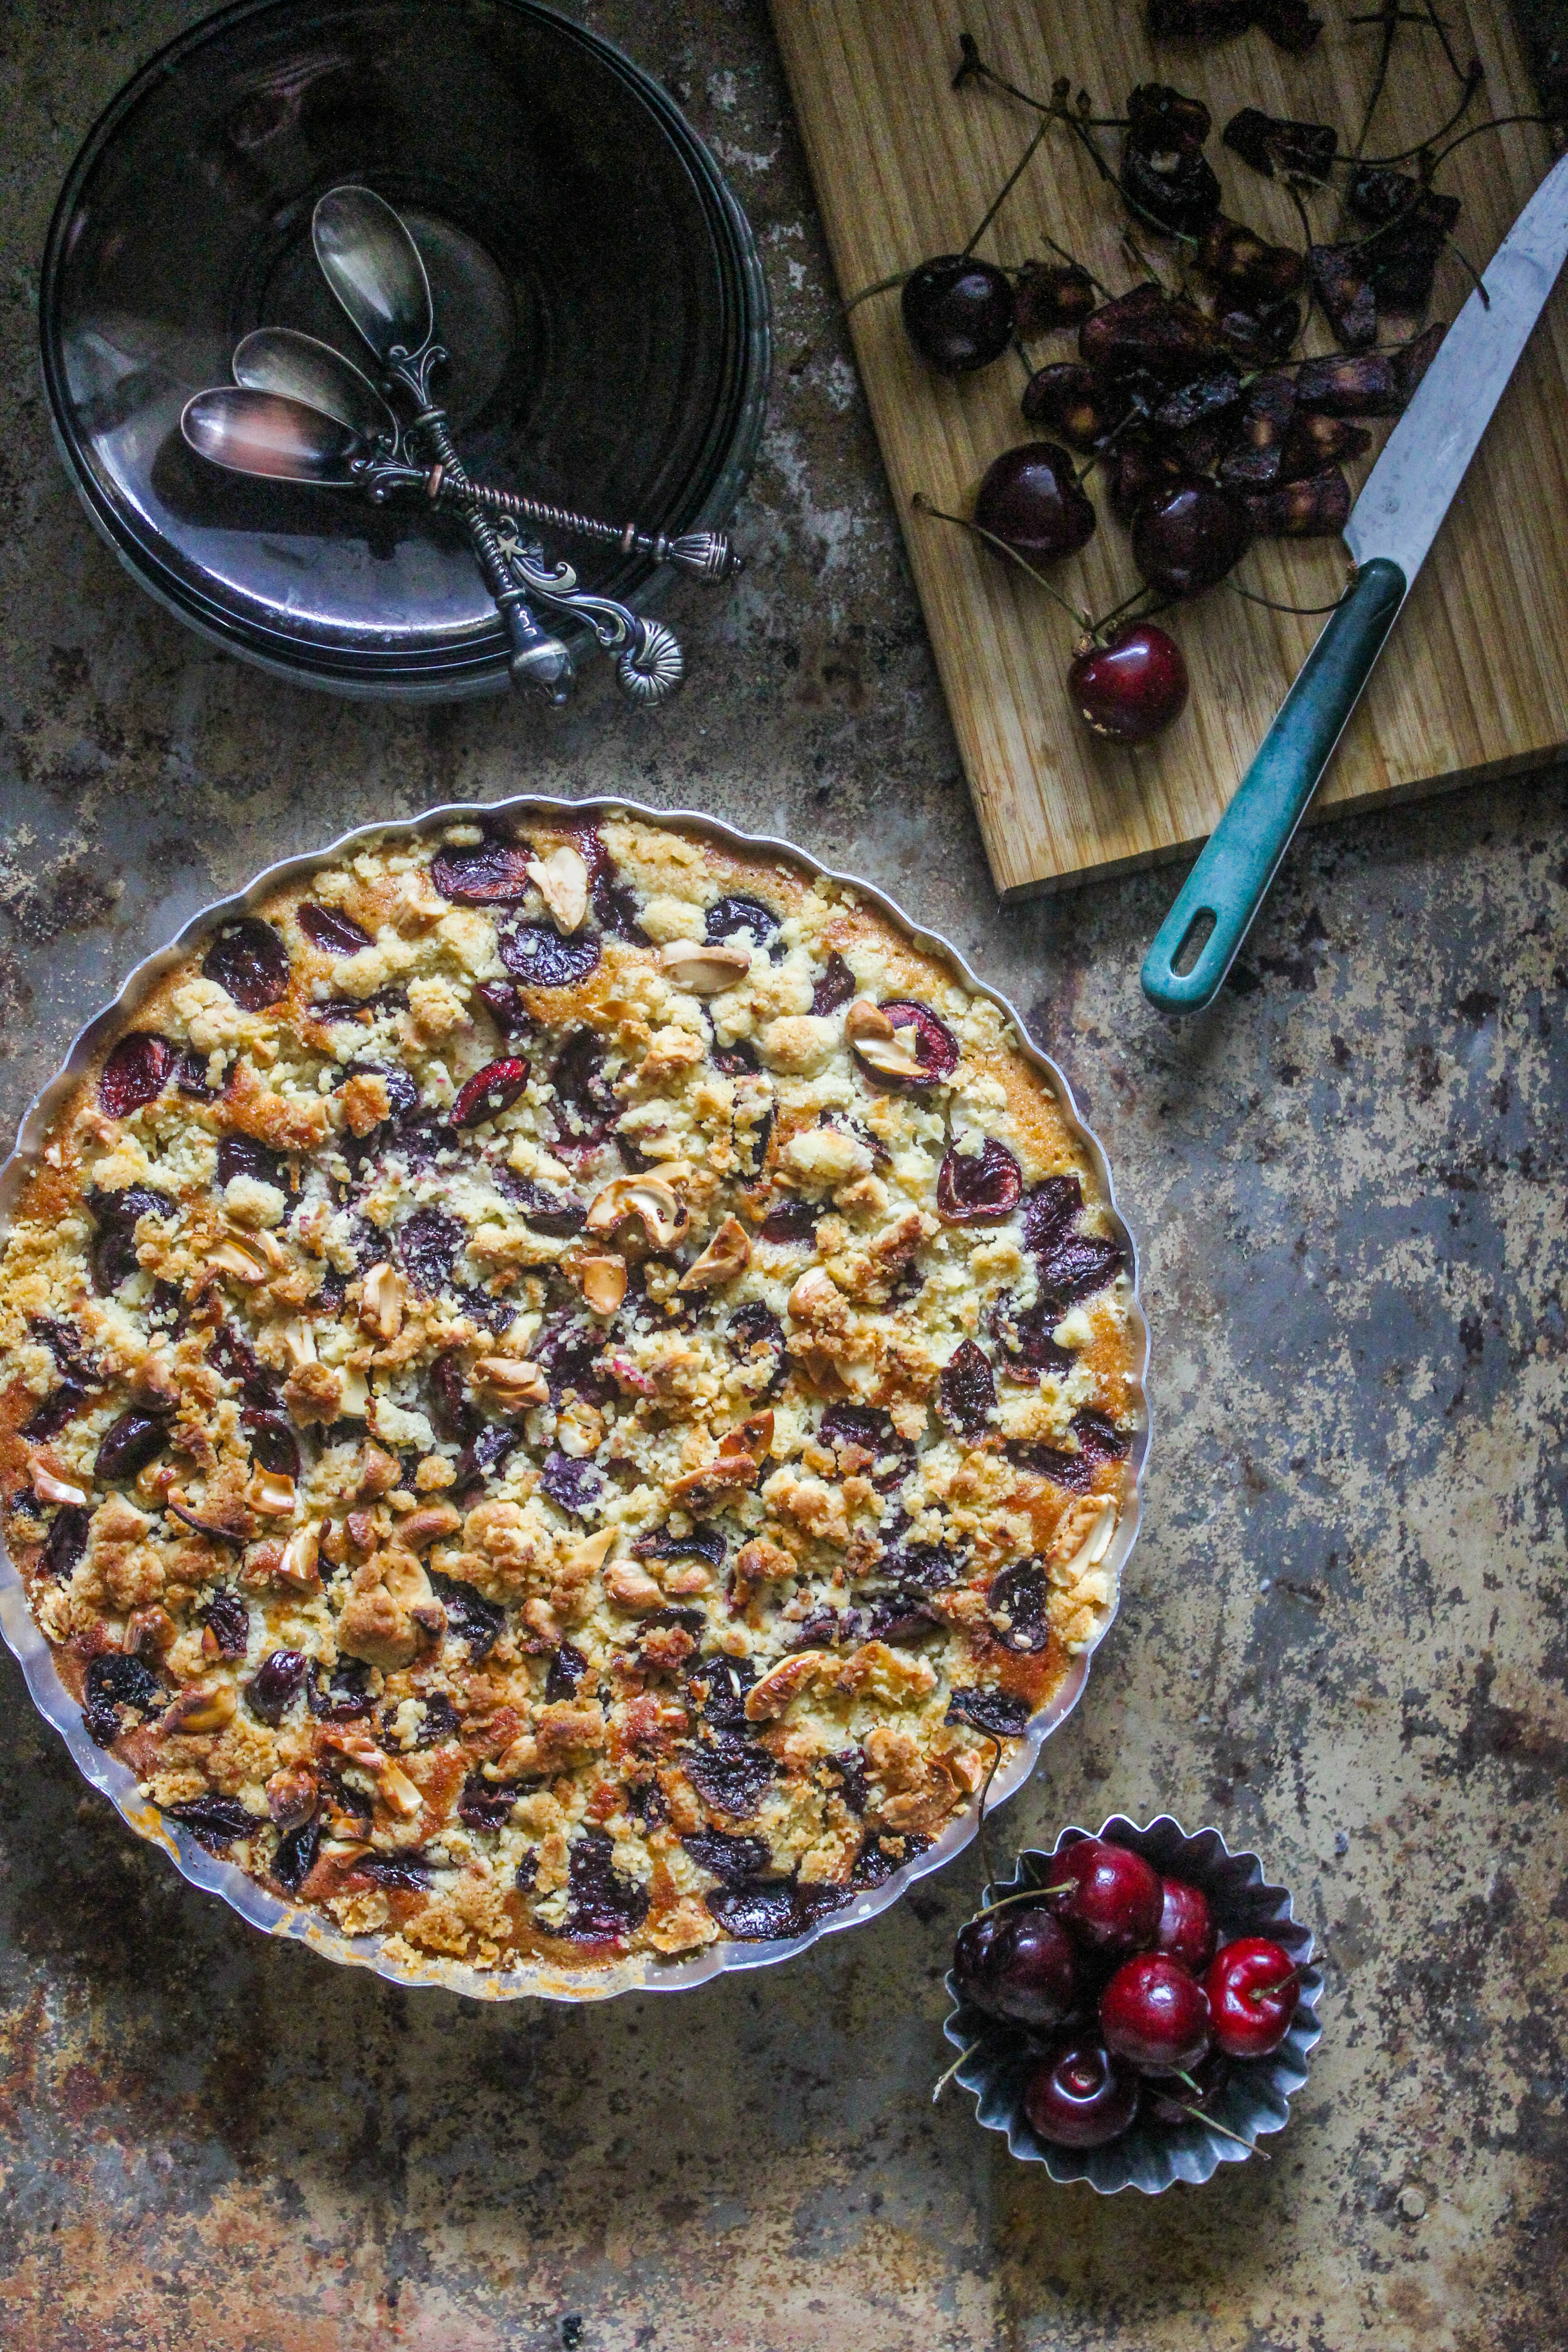
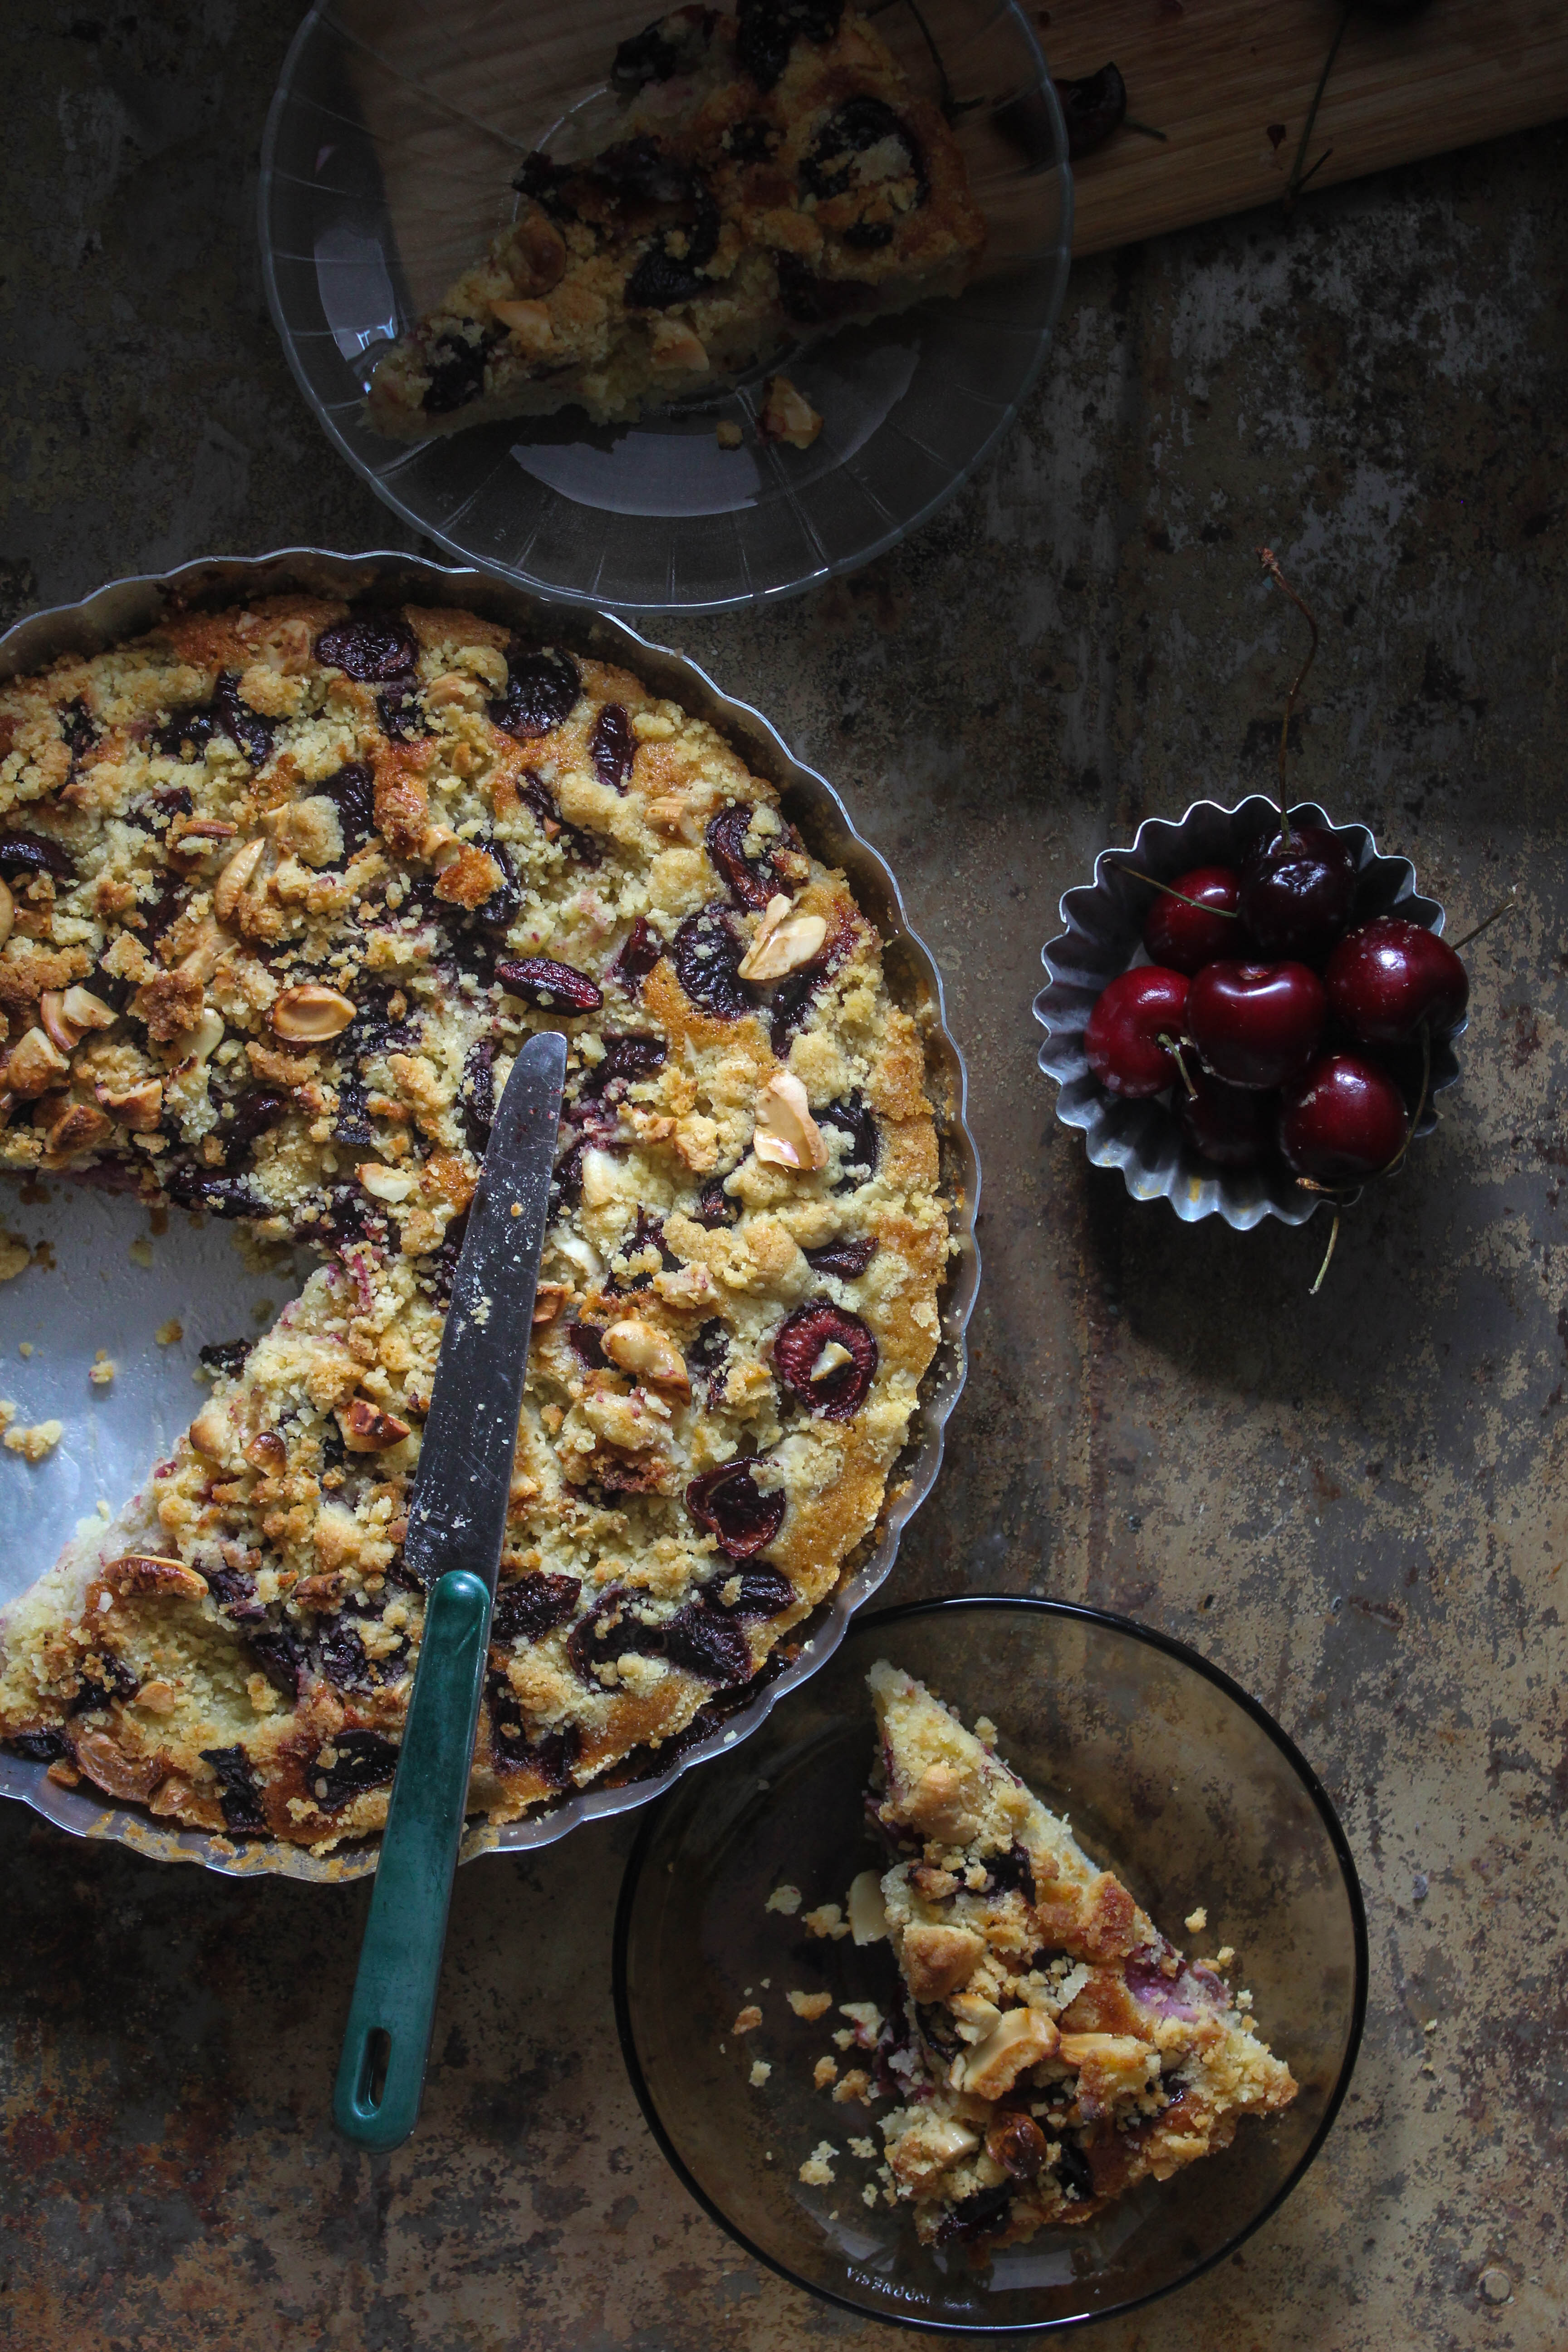
Cakes were my blank canvas to play around with flavours, textures or look and my favourite subjects to photograph. I belong to the group of people who believe that with eggs, butter and sugar, there is little that can go wrong. The rest is left to one’s personal taste and creativity. For me, the best cakes are full of texture. And the simplest way to achieve that is to substitute the flour component, completely or partly with a nut meal (ground nuts). There are so many nuts to choose from. Fruits to go with them. The options are unlimited. As much as I love frosted cakes, the simplicity of a nutty and fruity cake freshly baked and served warm with a dollop of whipped cream on the side has a greater appeal. In this cake, along with ground cashew nuts, the texture is enhanced in the form of a crispy sweet crumble.
IMG_1158-2

Cherries have started to show up at the markets. Although they are not exactly cheap at the moment, they are tempting. Since I love them so much, it was hard to go past them without buying a punnet. These were not very sweet but they were perfect for the cake. Cashew nuts have more bite to them than hazelnuts or almonds (which I use more often) so if you are nuts about nuts, this is a cake not to be missed. However, any nut or fruit would work.
The recipe uses egg whites but does not need to whipped up. In other words, this is a one bowl cake that takes minutes to put together. I have used a tart pan (with a non-removable base) to get a large but shorter (in height) cake. You can go with a 20 cm cake pan instead for a regular sized cake. In that case the baking time will need to be increased.

Do you have a favourite day in the week? Do you have a ritual that you would never like to miss?
IMG_1172

Cherry and Cashew Nut Streusel Cake
Serves 8-10

200 g cherries, pitted and roughly chopped
6 egg whites
170g unsalted butter, melted and cooled
50g (1/2 cup) plain flour
1 teaspoon ground cinnamon
125g ground cashew nuts
3/4 cup castor sugar


For the streusel topping

1/2 cup plain flour
50 g butter, chilled and chopped into cubes
1/4 cup brown sugar
1/3 cup cashew nuts, roughly chopped

To make the crumble topping, place all the ingredients in a bowl. Use your fingertips to rub the butter into the mixture until the mixture contains large and small crumbs.

Preheat oven to 190°C. Grease a 23 cm round cake tin and line the base with baking paper. Place the egg whites, butter, sugar, flour, cinnamon and ground cashew nuts hazelnuts in a bowl. Mix gently until just combined. Spoon into tin, scatter with half the crumb topping, then cherries, then remaining topping. Bake for 35 minutes or until firm. Cool in tin for 10 minutes. Serve warm or at room temperature.
Banana Blueberry Almond Popsicles

24|07|2014

A little box followed me back home on a recent trip to the grocer’s. I always took pride in being an ardent almond fan but here I was, intently studying the back of a carton of almond milk. Almonds in different forms adorn the shelves in my cupboard yet I had never tried out almond milk. Perhaps I thought it was a bit too ‘healthy’ for me and my blog. I did not buy it so I assumed that it was placed by mistake in my shopping bag by the people at the store.

IMG_1125-2

The long list of checked boxes at the back…Gluten Free, Cholestrol Free, Lactose Free, Suitable for Vegetarians, No Cane sugar and so on caught my eye. I went back to return the carton and here’s what I did. I bought one for myself. Since the blog is not just about me but also my dear readers, I thought it was worth a try, And it had almonds in it, so it was certainly a safe bet.

IMG_1129-2

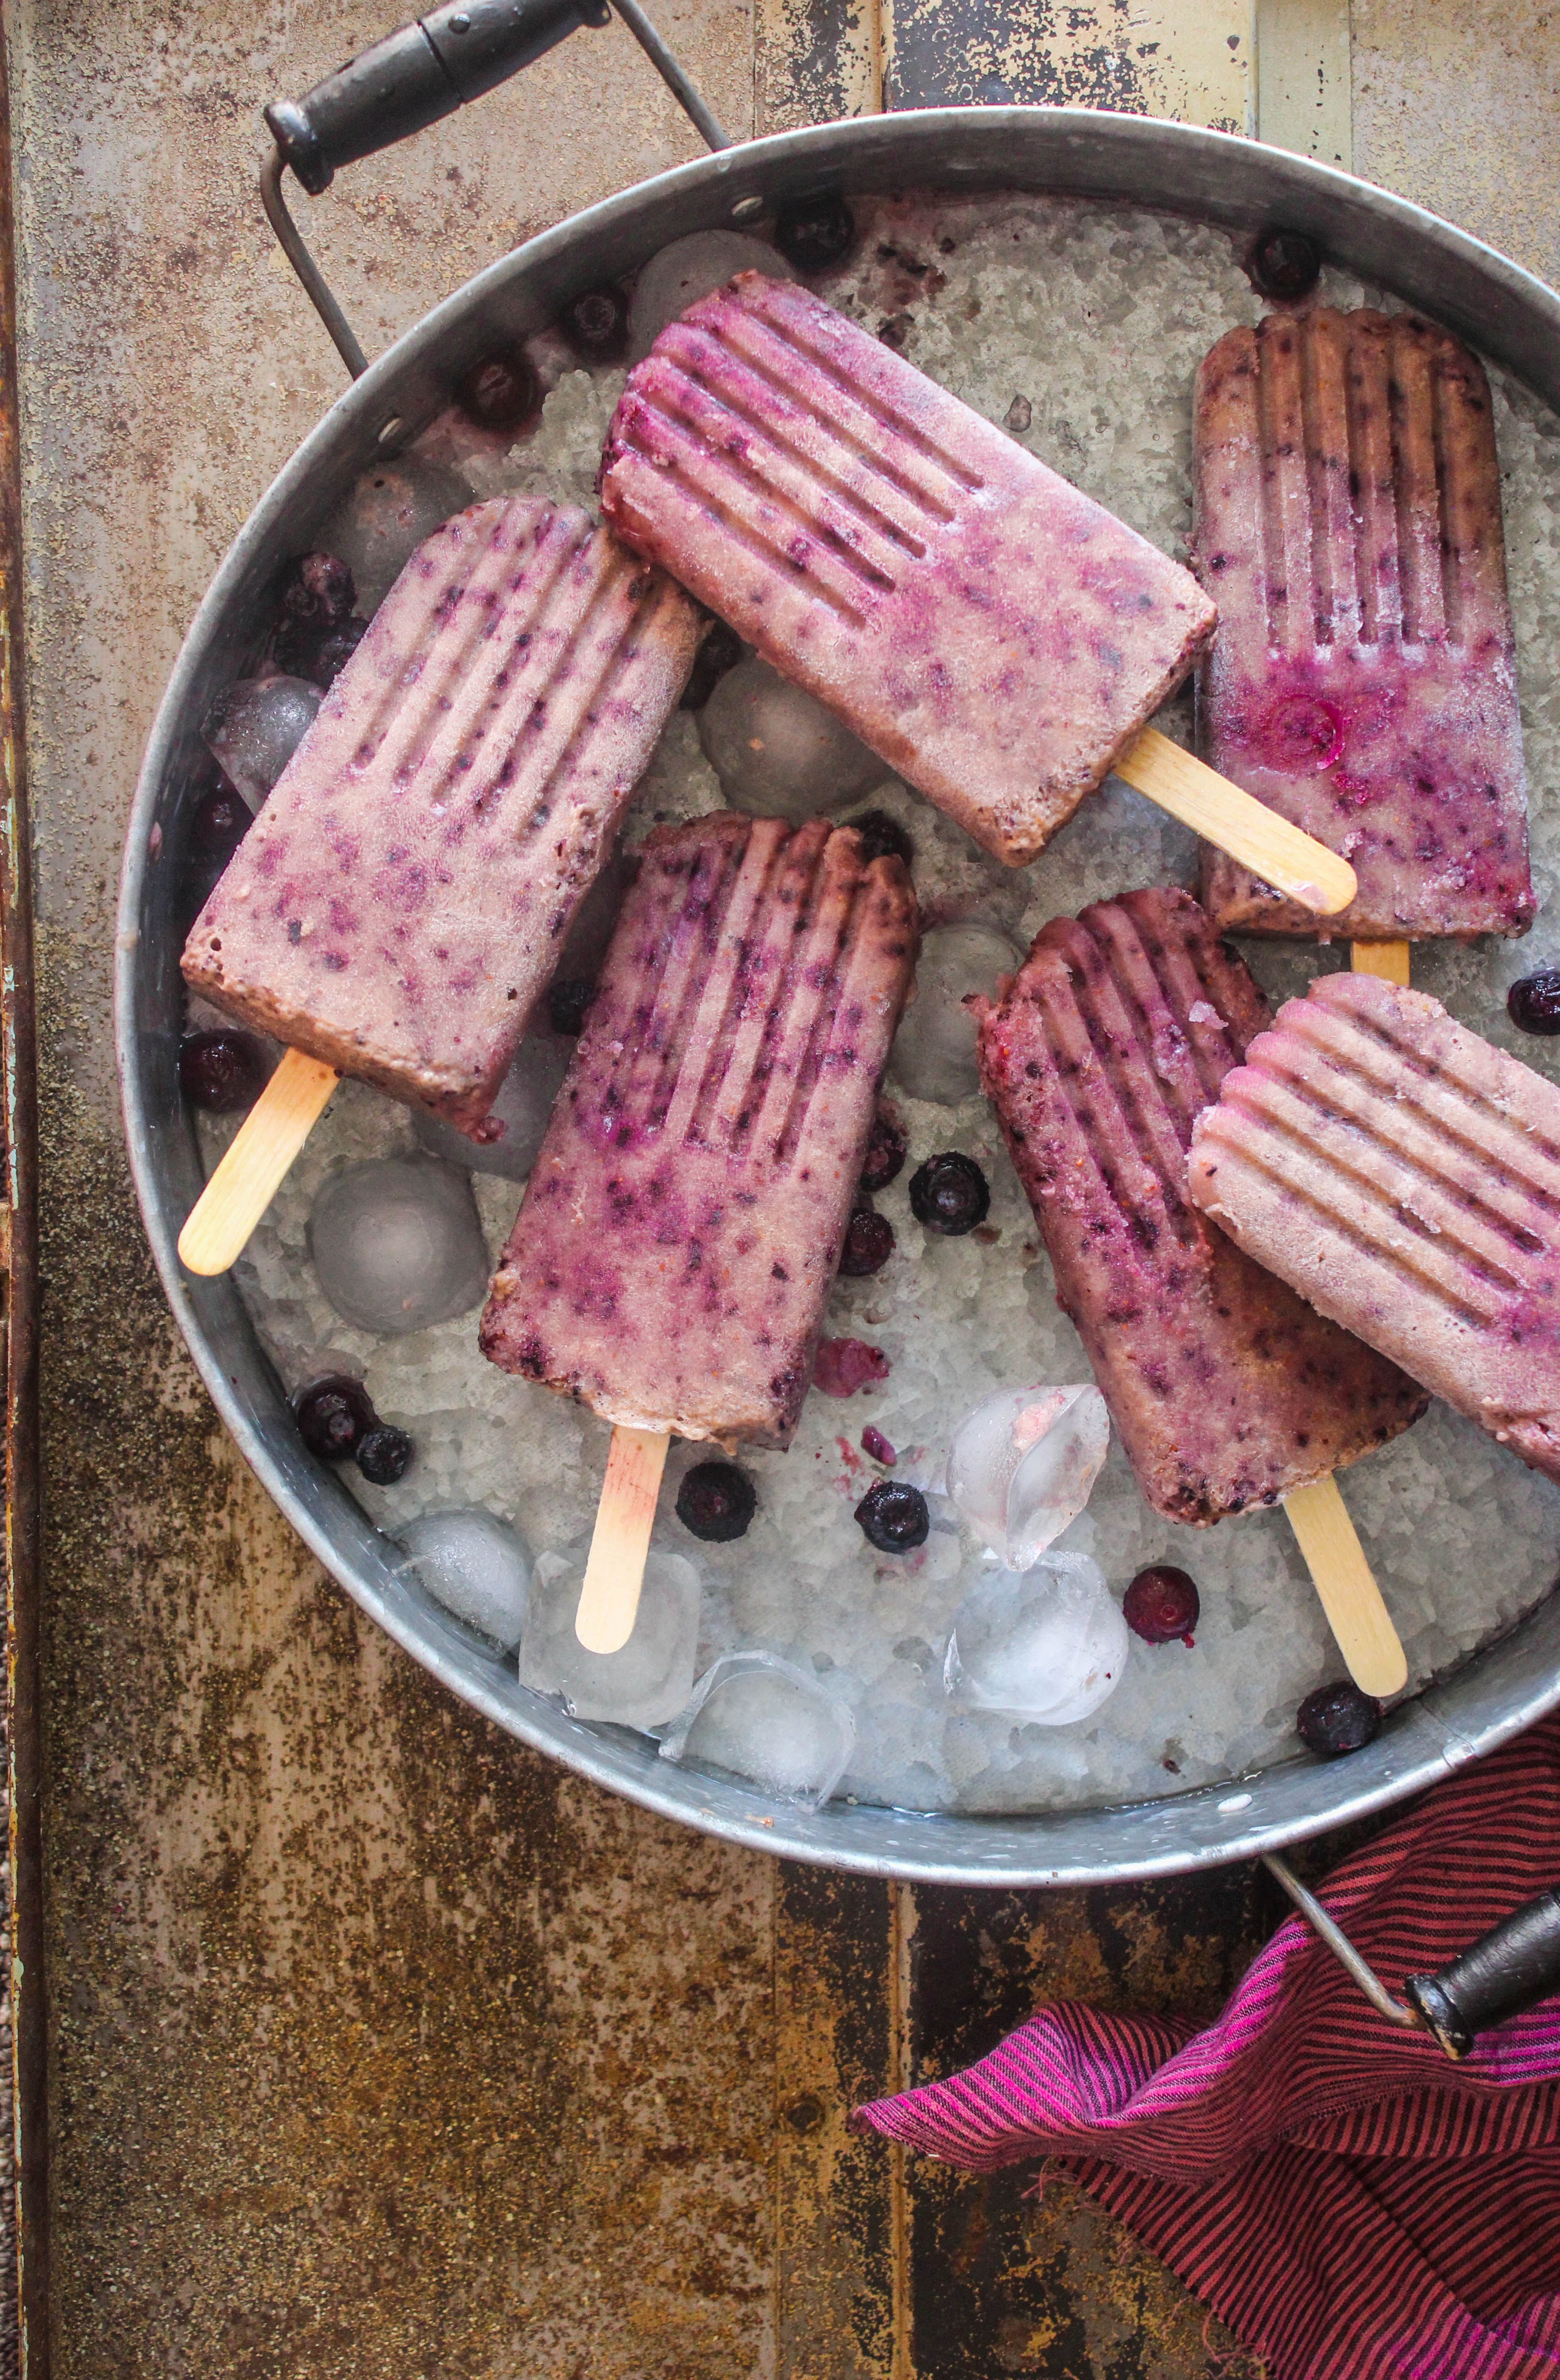
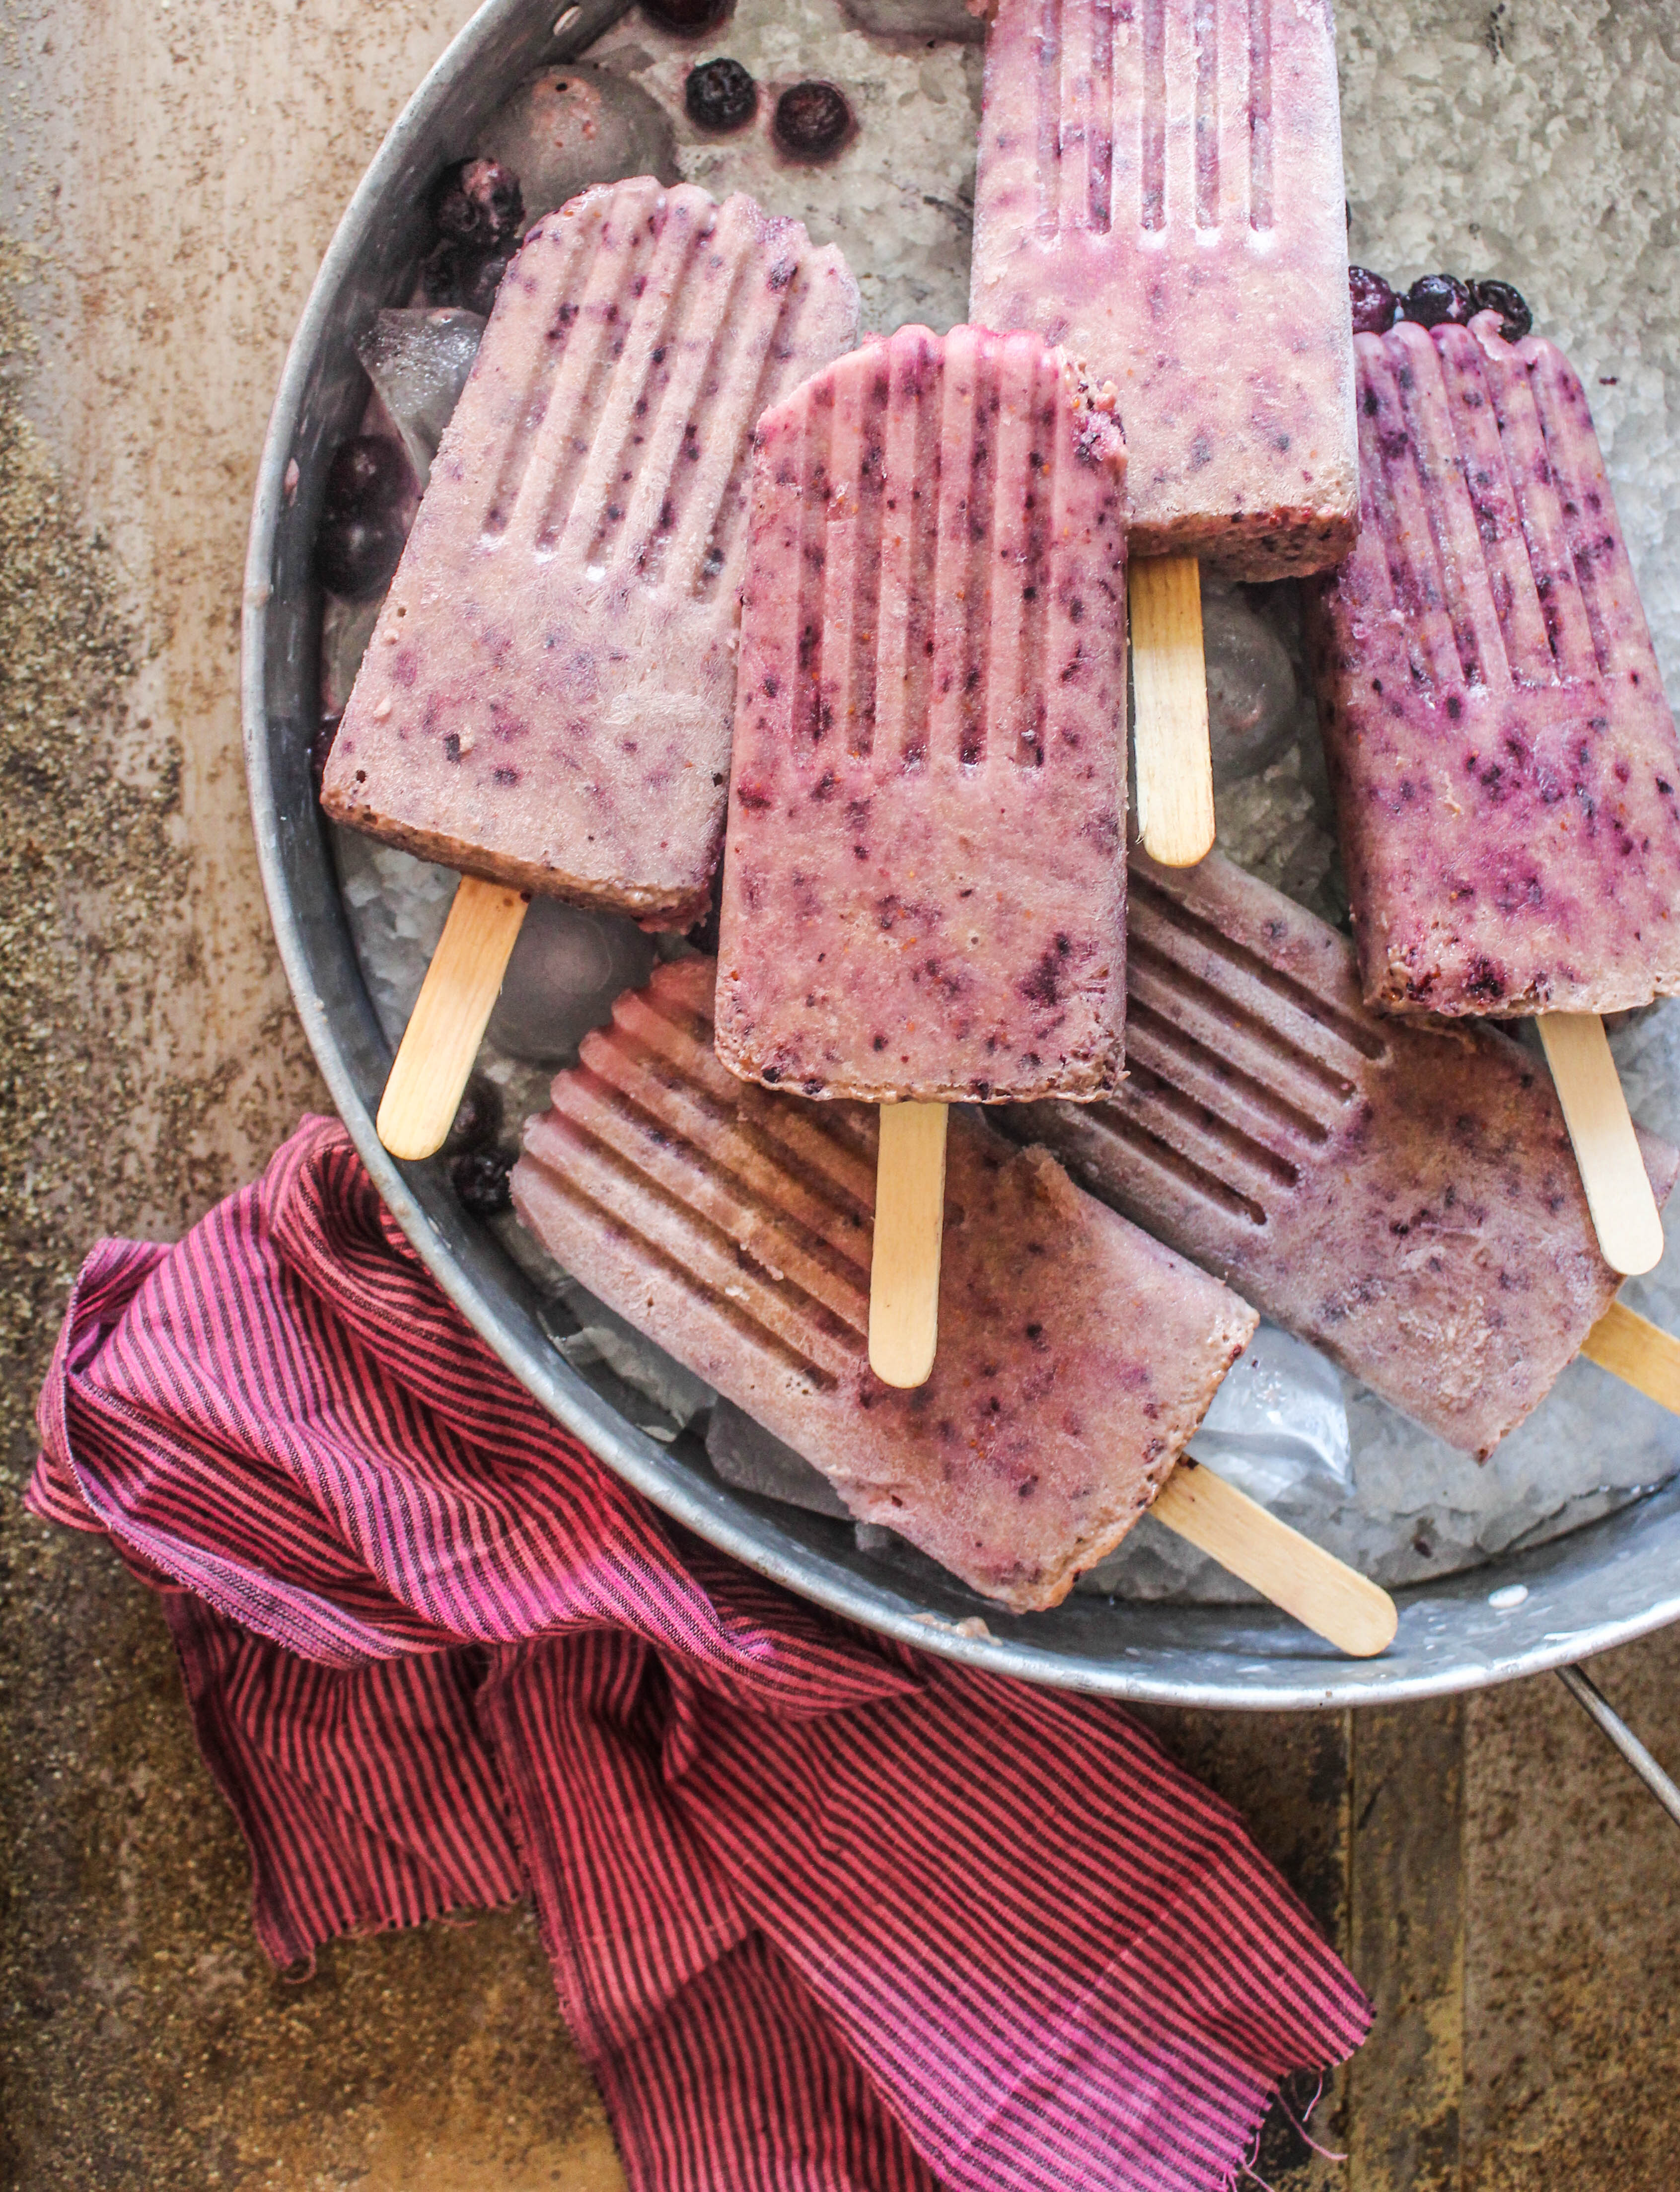
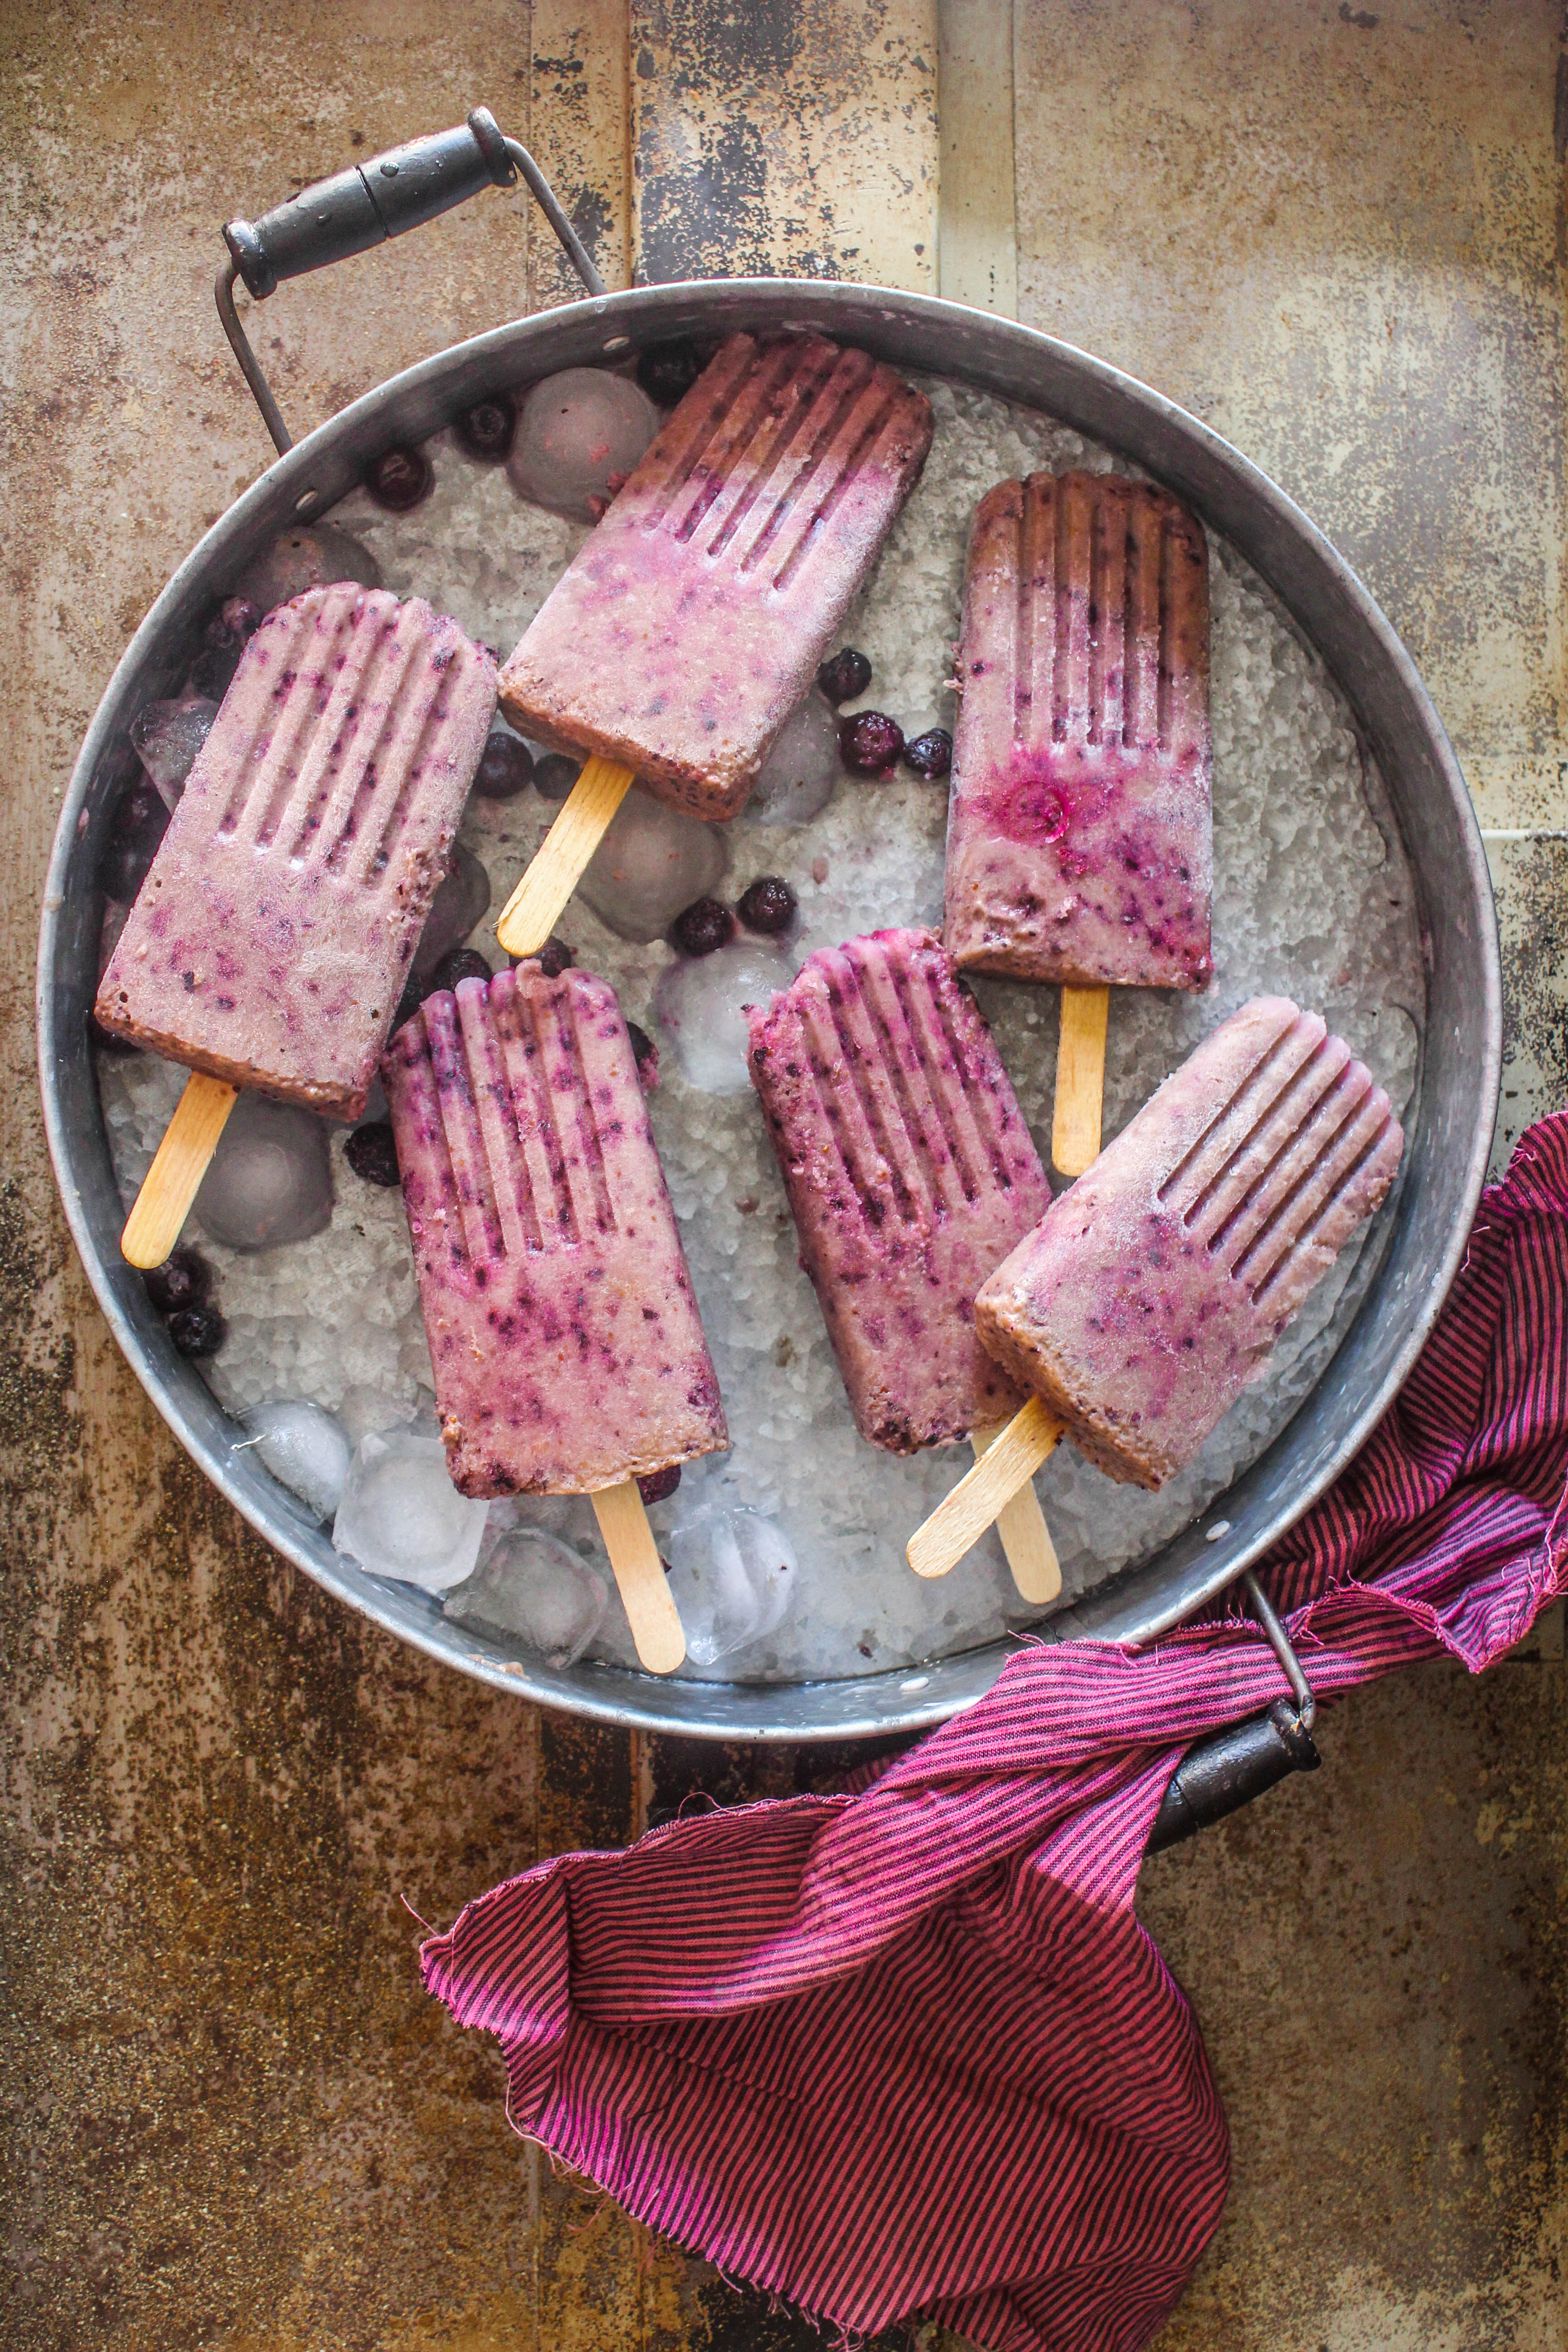
You don’t mess around with a healthy ingredient and add sugar and butter to it. Or do you? Actually, we will keep that for later. Right now, sticking to the healthy philosophy, I preferred to add fruits and honey and turn it into a frozen milkshake. A popsicle, in other words.  These days, things look better on a stick than in a glass. Especially to my four year olds.

IMG_1123-2

So all you do is put everything together in your processor and blend. Blueberries are beautiful, they add a touch of purple to anything they are added to. Feel free to increase or decrease the quantities in the ingredients. If you are not concerned about sugar, substitute sugar for honey. Then freeze and enjoy your super healthy popsicles.

Banana Blueberry Almond Popsicles

2 cups Almond Milk
1 large banana
1 cup frozen blueberries
2 tbsp. honey

Place the ingredients in the bowl of your food processor and process until smooth. Pour into popsicle moulds and freeze for an hour. Insert sticks and freeze until firm (about 3 hours).


Ombre Triple Chocolate Cheesecake Tart (No Bake)

21|07|2014

Let’s talk about colours! Or the absence of them. Can you imagine a world without colours? How boring would that be! Colours contribute to our visual experience. They help us to relate to our environment. They stimulate imagination and creativity. One of the earliest and basic things we learnt as kids were to recognise and differenciate between colours. We painted the yellow sun, wanted to dive into the blue sea, ride the red bike and messed up the brown cake. Most of us loved it. Because it simplified our understanding of the big world around us and gave us our first powers. The power of choice! I can tell you how big and powerful I felt at 4 years when I was allowed to choose the colour of my birthday dress.

IMG_1098-5

As bloggers, photographers, food enthusiasts colours have never been more important to us. How much do we love Pinterest!  Being a colour fanatic myself, I love what I can do with the pictures and recipes on of my blog. I feel empowered, in a humble way. On the topic of colours, Ombre is amazing! It is a feast for the eyes. When you add Chocolate and Cheese to it, it is a feast for the soul.

IMG_1107

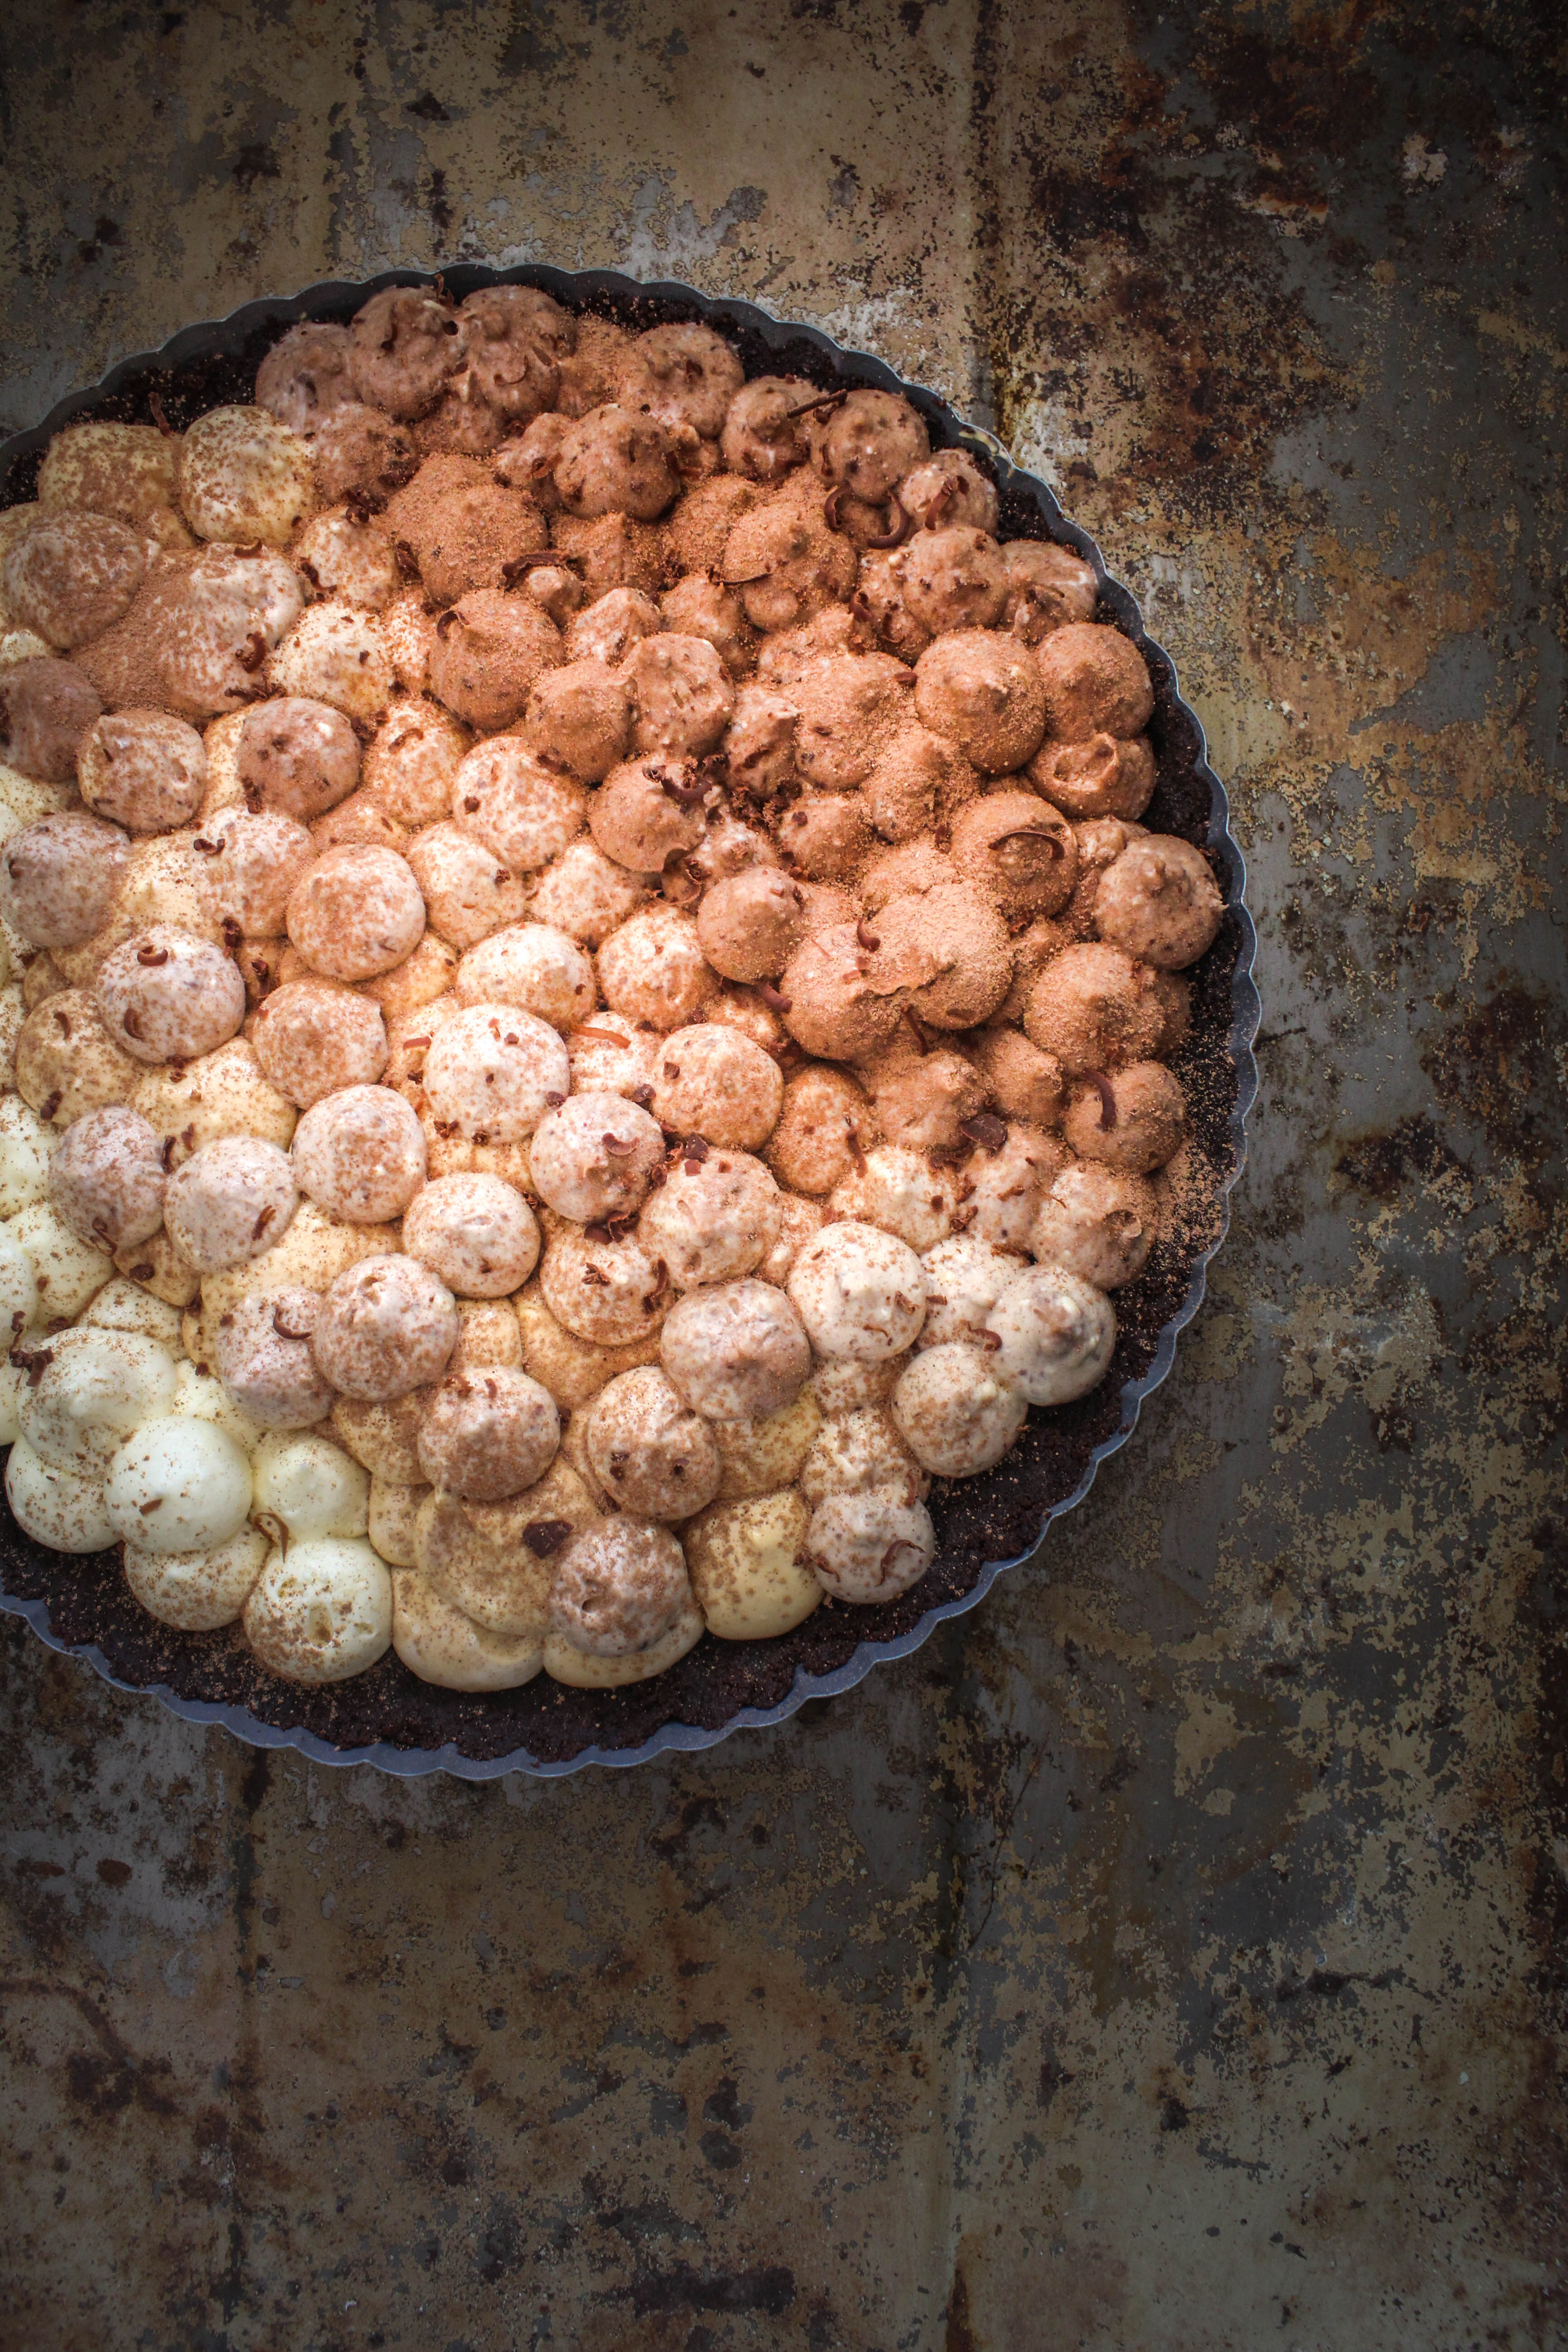
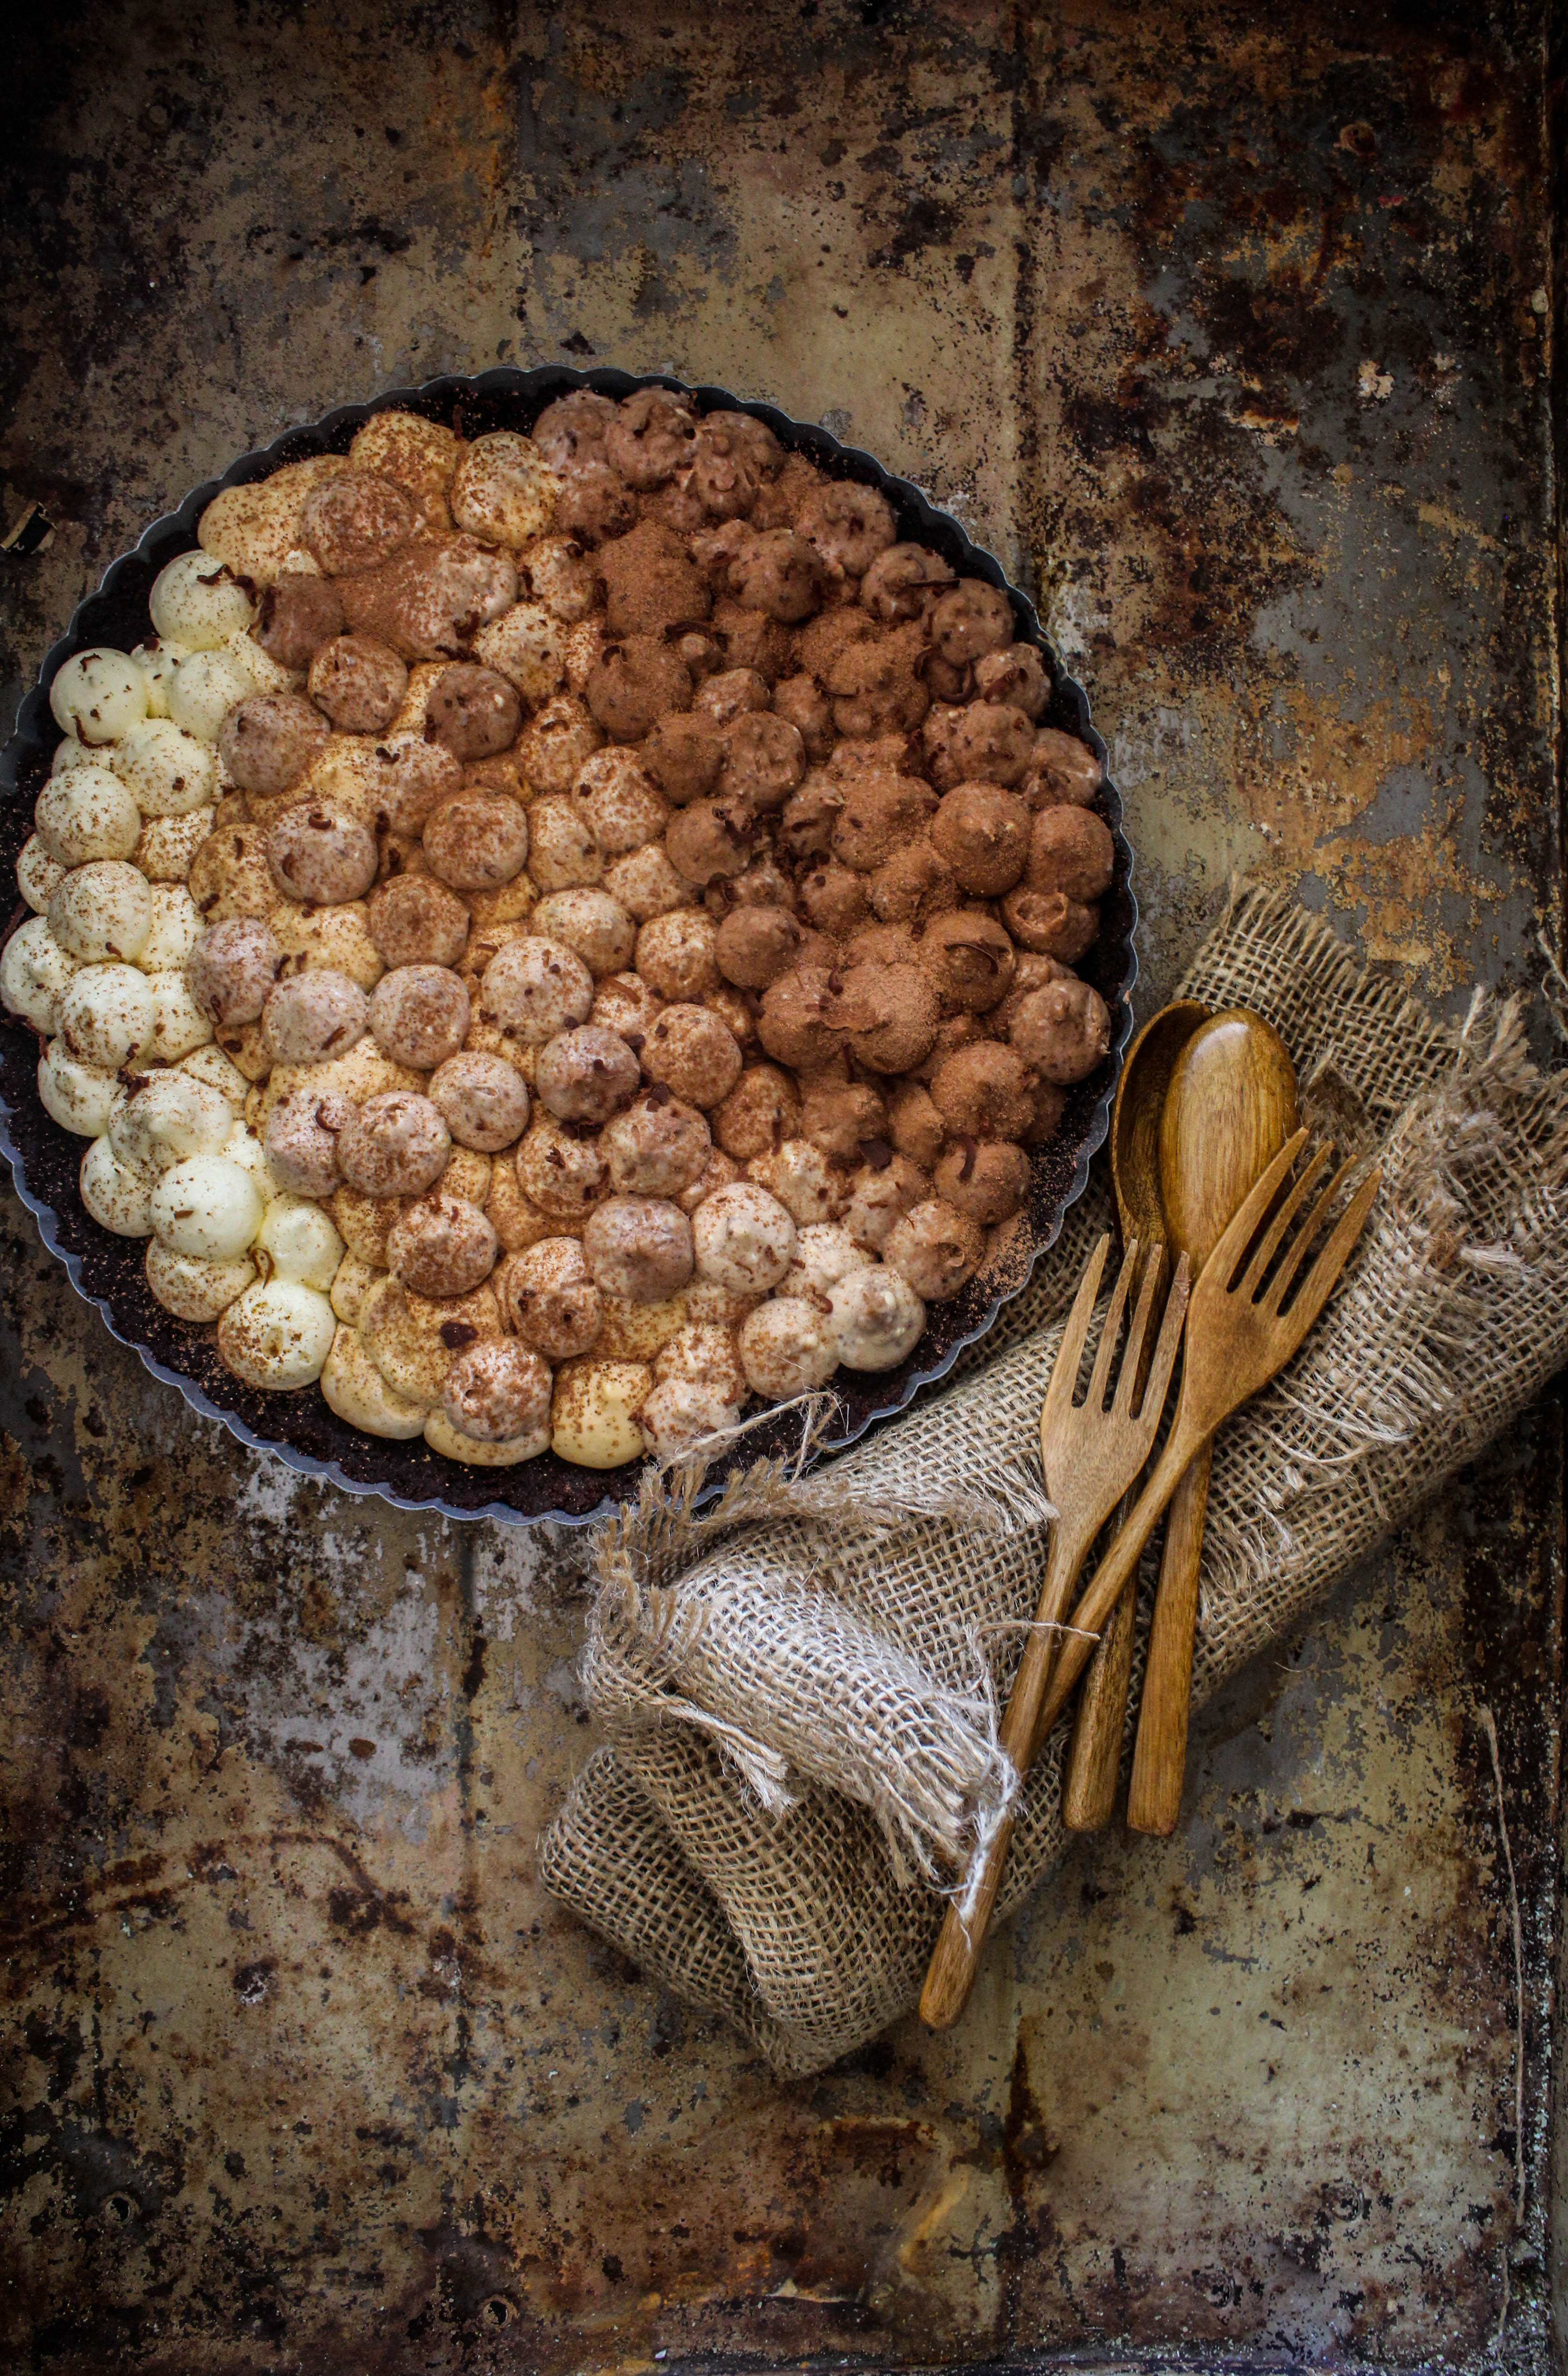
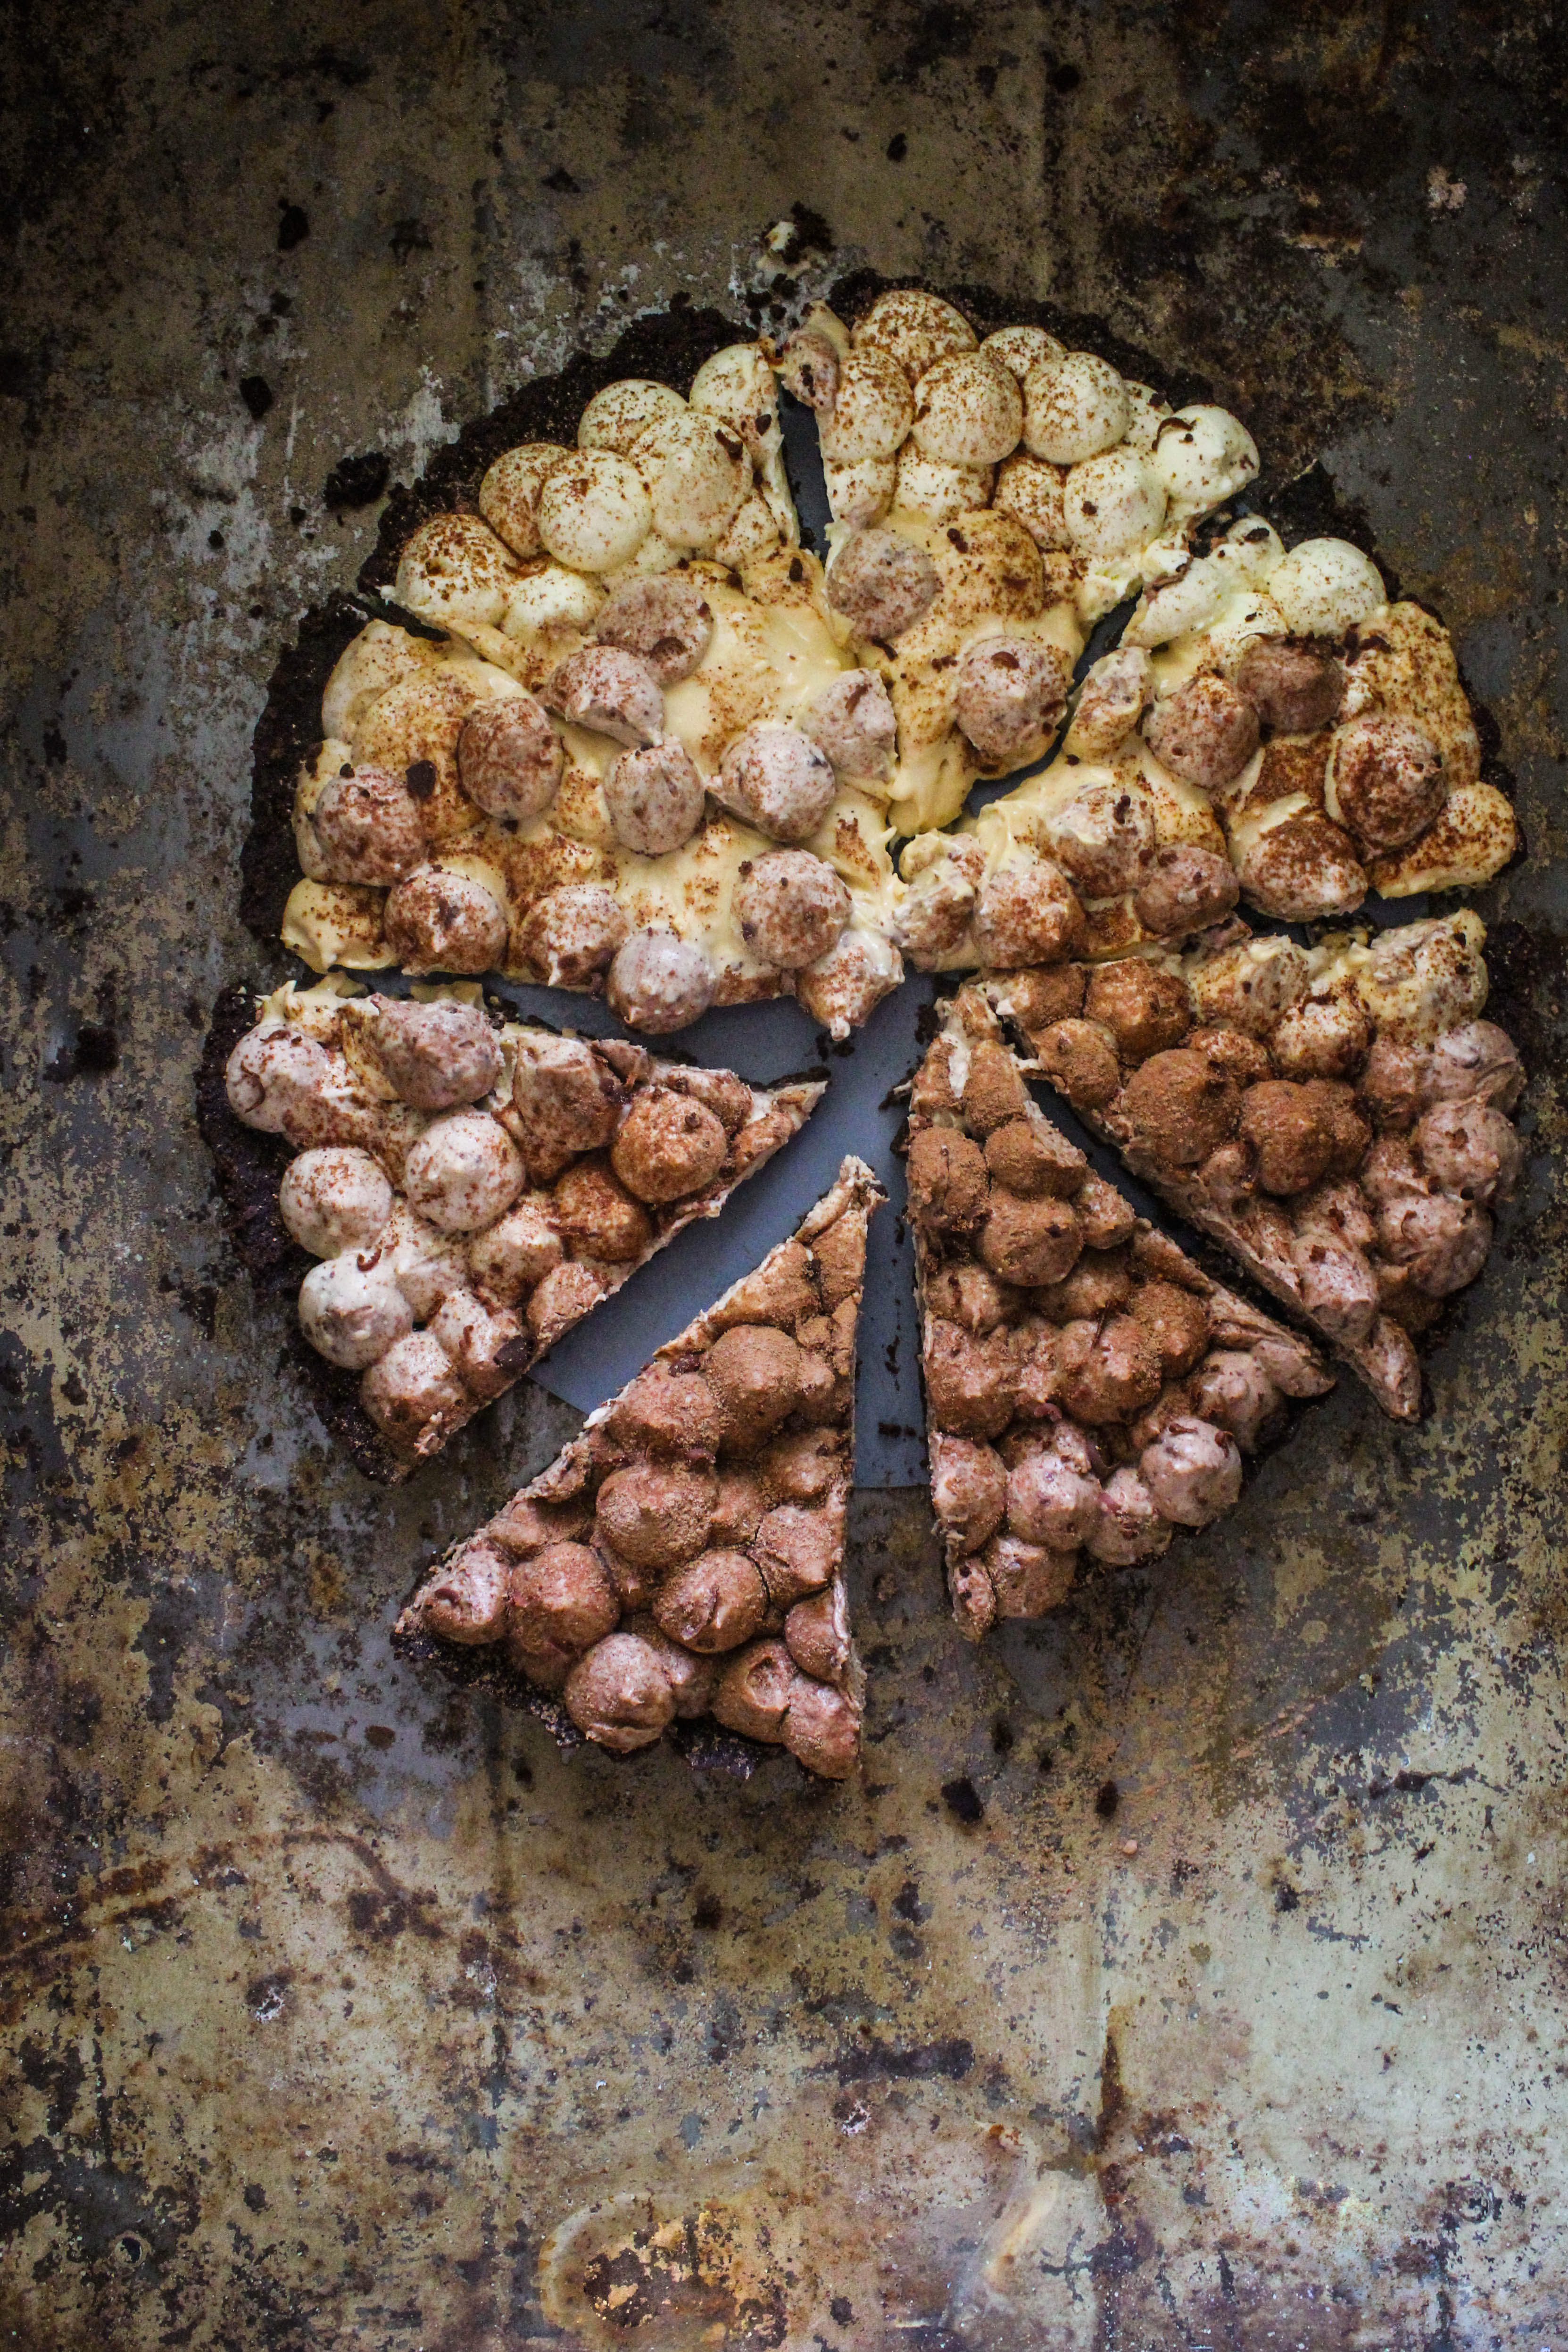
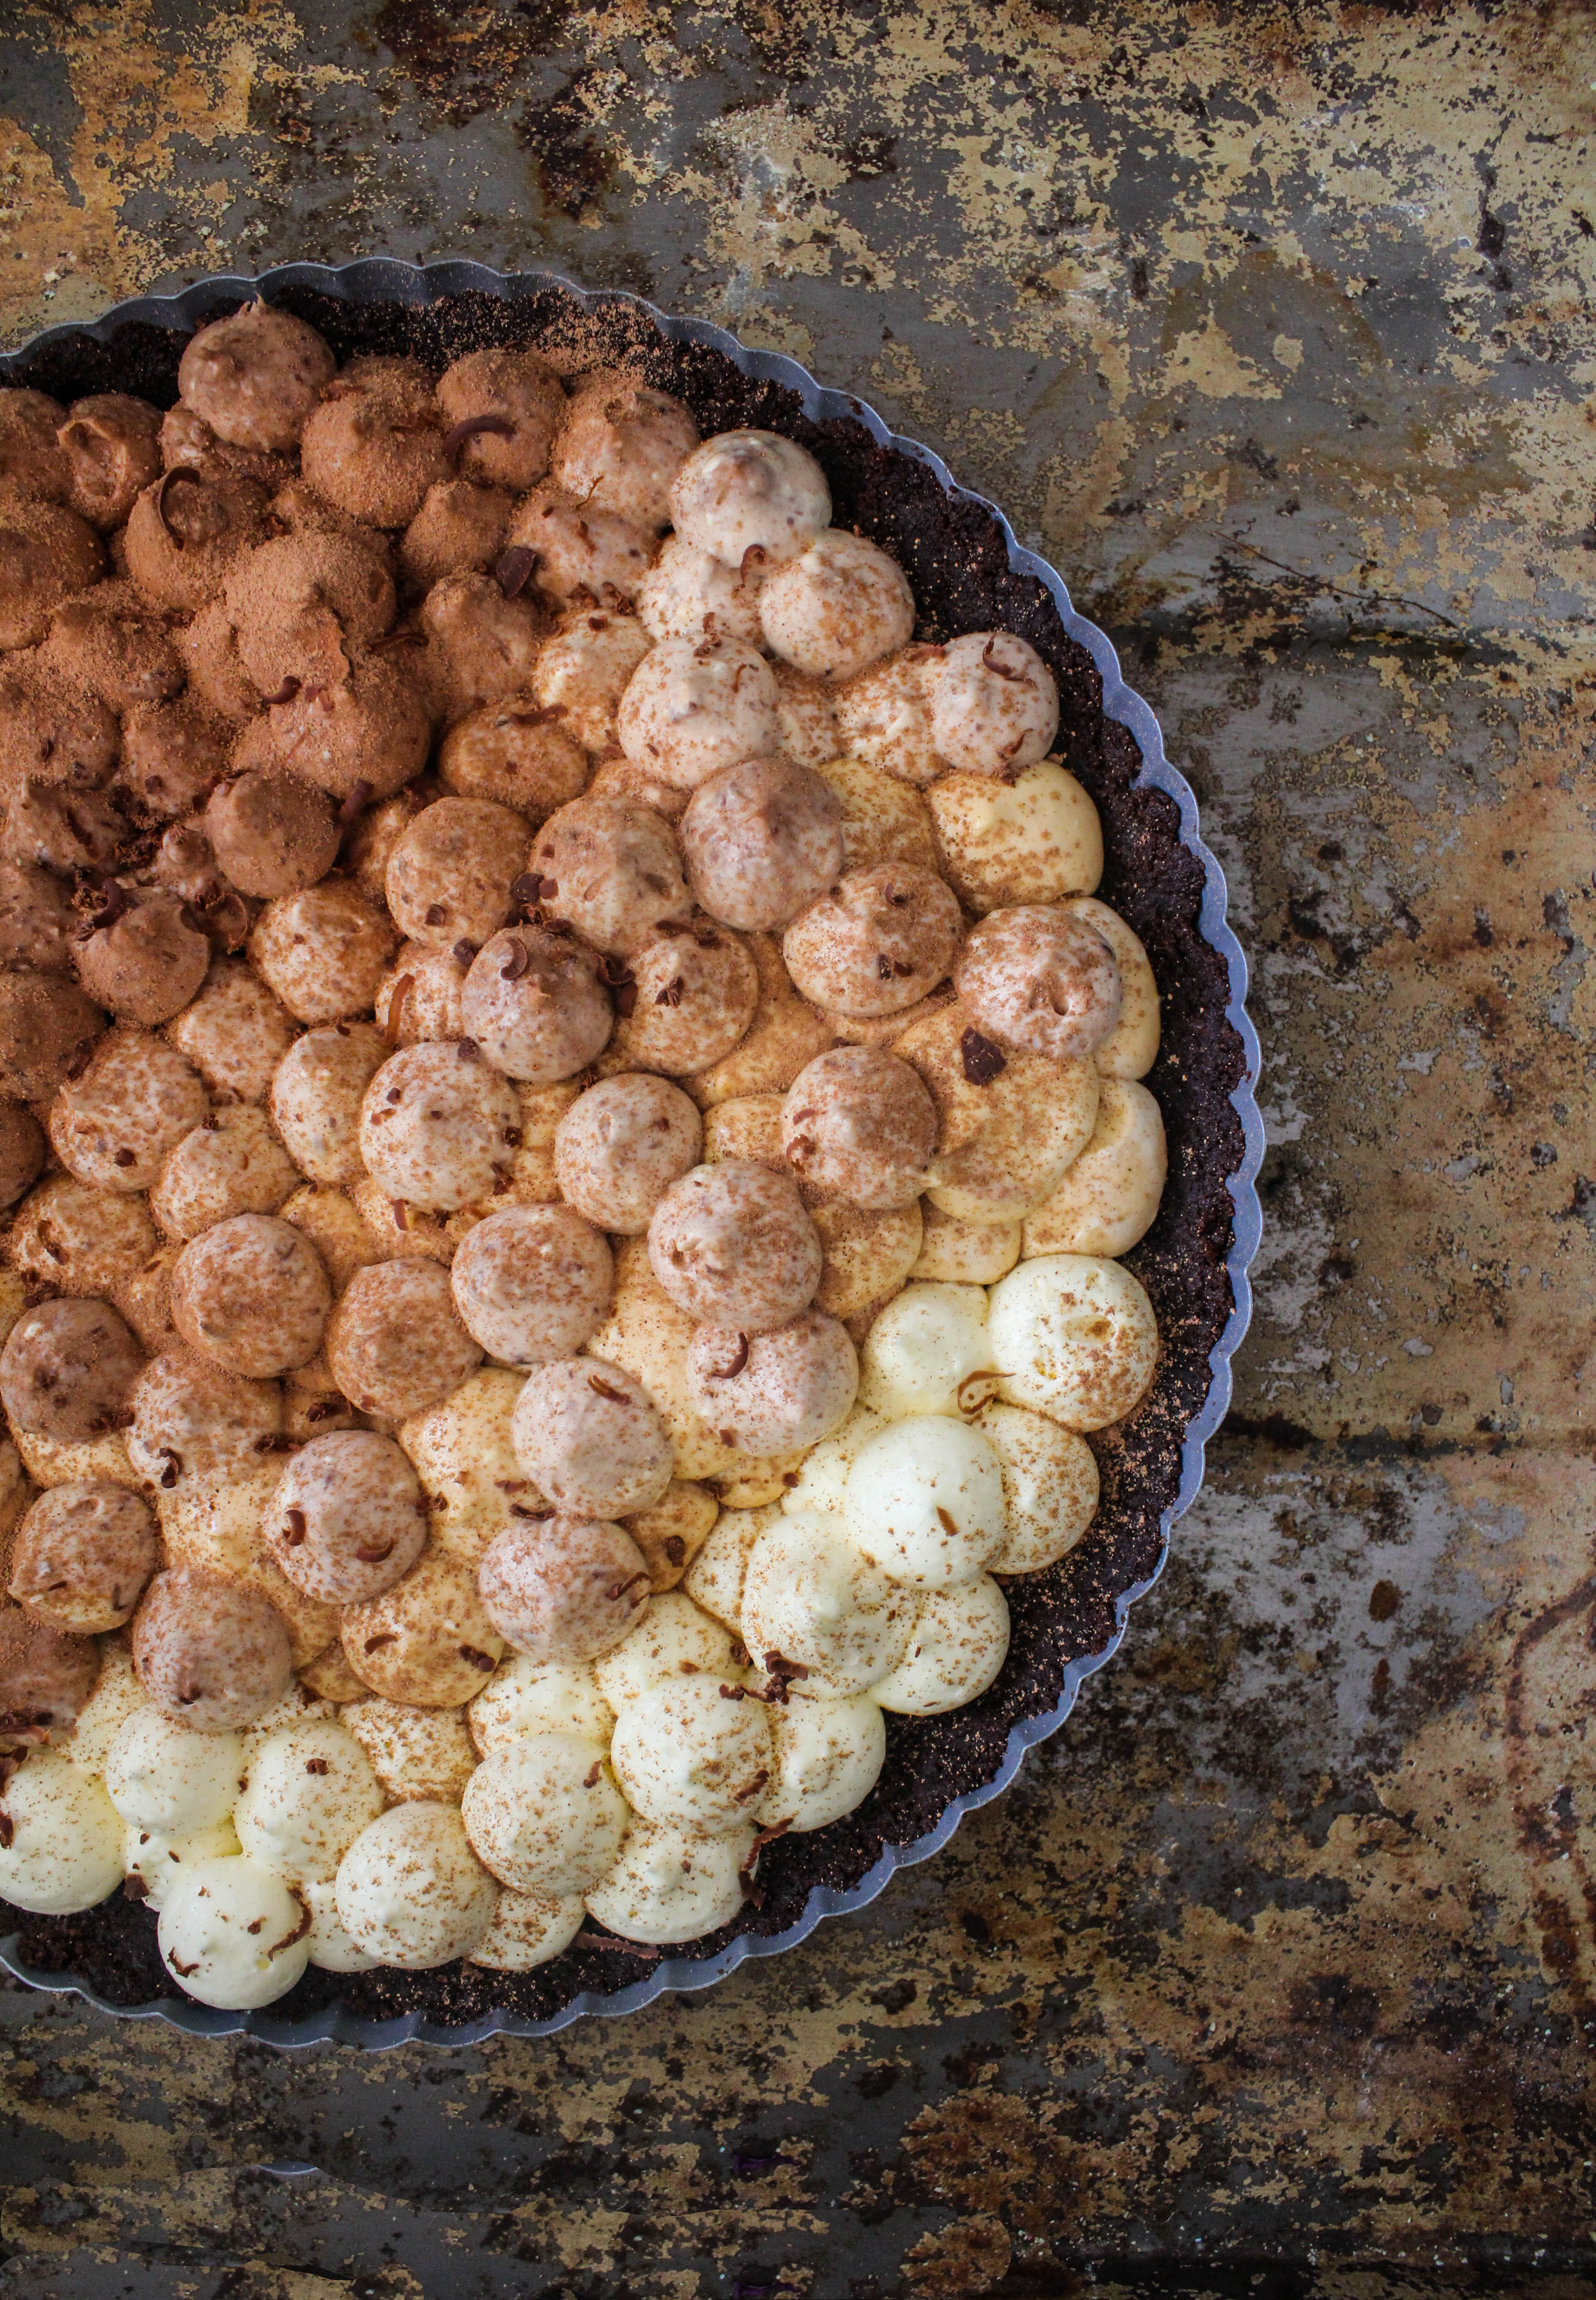
Getting the Ombre effect on a tart was impossible without piping the filling onto it. I didn’t want to make a cake as there are plenty of beautiful ones out there. So I decided to go with the usual no-bake crust that I use to make my cheesecakes, only in tart form. I started out with a base cheesecake mixture, then divided it into three bowls and mixed the 3 types of chocolate individually. Then it was a matter of filling up a piping bag and piping in the filling (starting with white) in a shaded effect.

IMG_1121

This recipe is easier than it looks. Like a no-bake cheesecake, this is best stored in the refrigerator. Because this is a large tart, the tart  crust might be slightly delicate to deal with, so do be carful while releasing the sides of the tart pan. I have not used gelatine in this recipe, which I would usually do to get a firmer texture for my cheesecake. Since, I intended to pipe the cheesecake filling, I reduced the heavy cream content so it was firm enough to hold shape. If you are going to use a single piping bag, needless to say, it is best to start with the white chocolate filling.

This Ombre tart is my contribution to the Sweet Adventures Blog Hop for the month of July. This is hosted by the lovely JJ of 84th &3rd and the theme as you might have guessed is Ombre. Do check out the other creations at the bottom of the post.

Starting with something sweet on a Monday morning is my best start to a week. I hope you are off to a colourful & sweet start too!

IMG_1101


Ombre Triple Chocolate Cheesecake  Tart (No Bake)
Serves 8-10

300g chocolate cookies
100g unsalted butter, melted
200g dark chocolate, melted and brought to room temperature
150g milk chocolate, melted and brought to room temperature
150g white chocolate, melted and brought to room temperature
500g cream cheese, room temperature
1/2 cup Castor sugar
250 ml heavy or thickened cream
cocoa powder, to serve
chocolate shavings, to serve

Grease a 23 cm Tart pan (with a removable base) and line the base with baking paper.
Place the cookies in a food processor. Process until fine crumbs. Add melted butter and mix to combine. Using your fingertips, press biscuit mixture over base of prepared pan. Refrigerate for 30 minutes or until firm.

Using an electric mixer, beat cream cheese and sugar in a large bowl until smooth. In a separate bowl, whip heavy cream to stiff peaks. Fold through cream in the cream cheese mixture, gradually. Divide this mixture equally among 3 bowls. Mix the dark, milk and white chocolate individually into a bowl of the cream cheese mixture. Fold in till smooth and blended.

Fill up a piping bag fitted with a large round nozzle with the white chocolate cheesecake filling. Meanwhile, refrigerate the other two bowls. Pipe cheesecake kisses onto 1/3rd of the tart base. (I have done two overlapping layers). Repeat with the milk and dark chocolate cheesecake fillings till the entire tart base is covered. Refrigerate for 4 hours or until set. Sprinkle with cocoa. Decorate with chocolate shavings. Serve cold.


Masala (Spiced) Coke Popsicles

19|07|2014

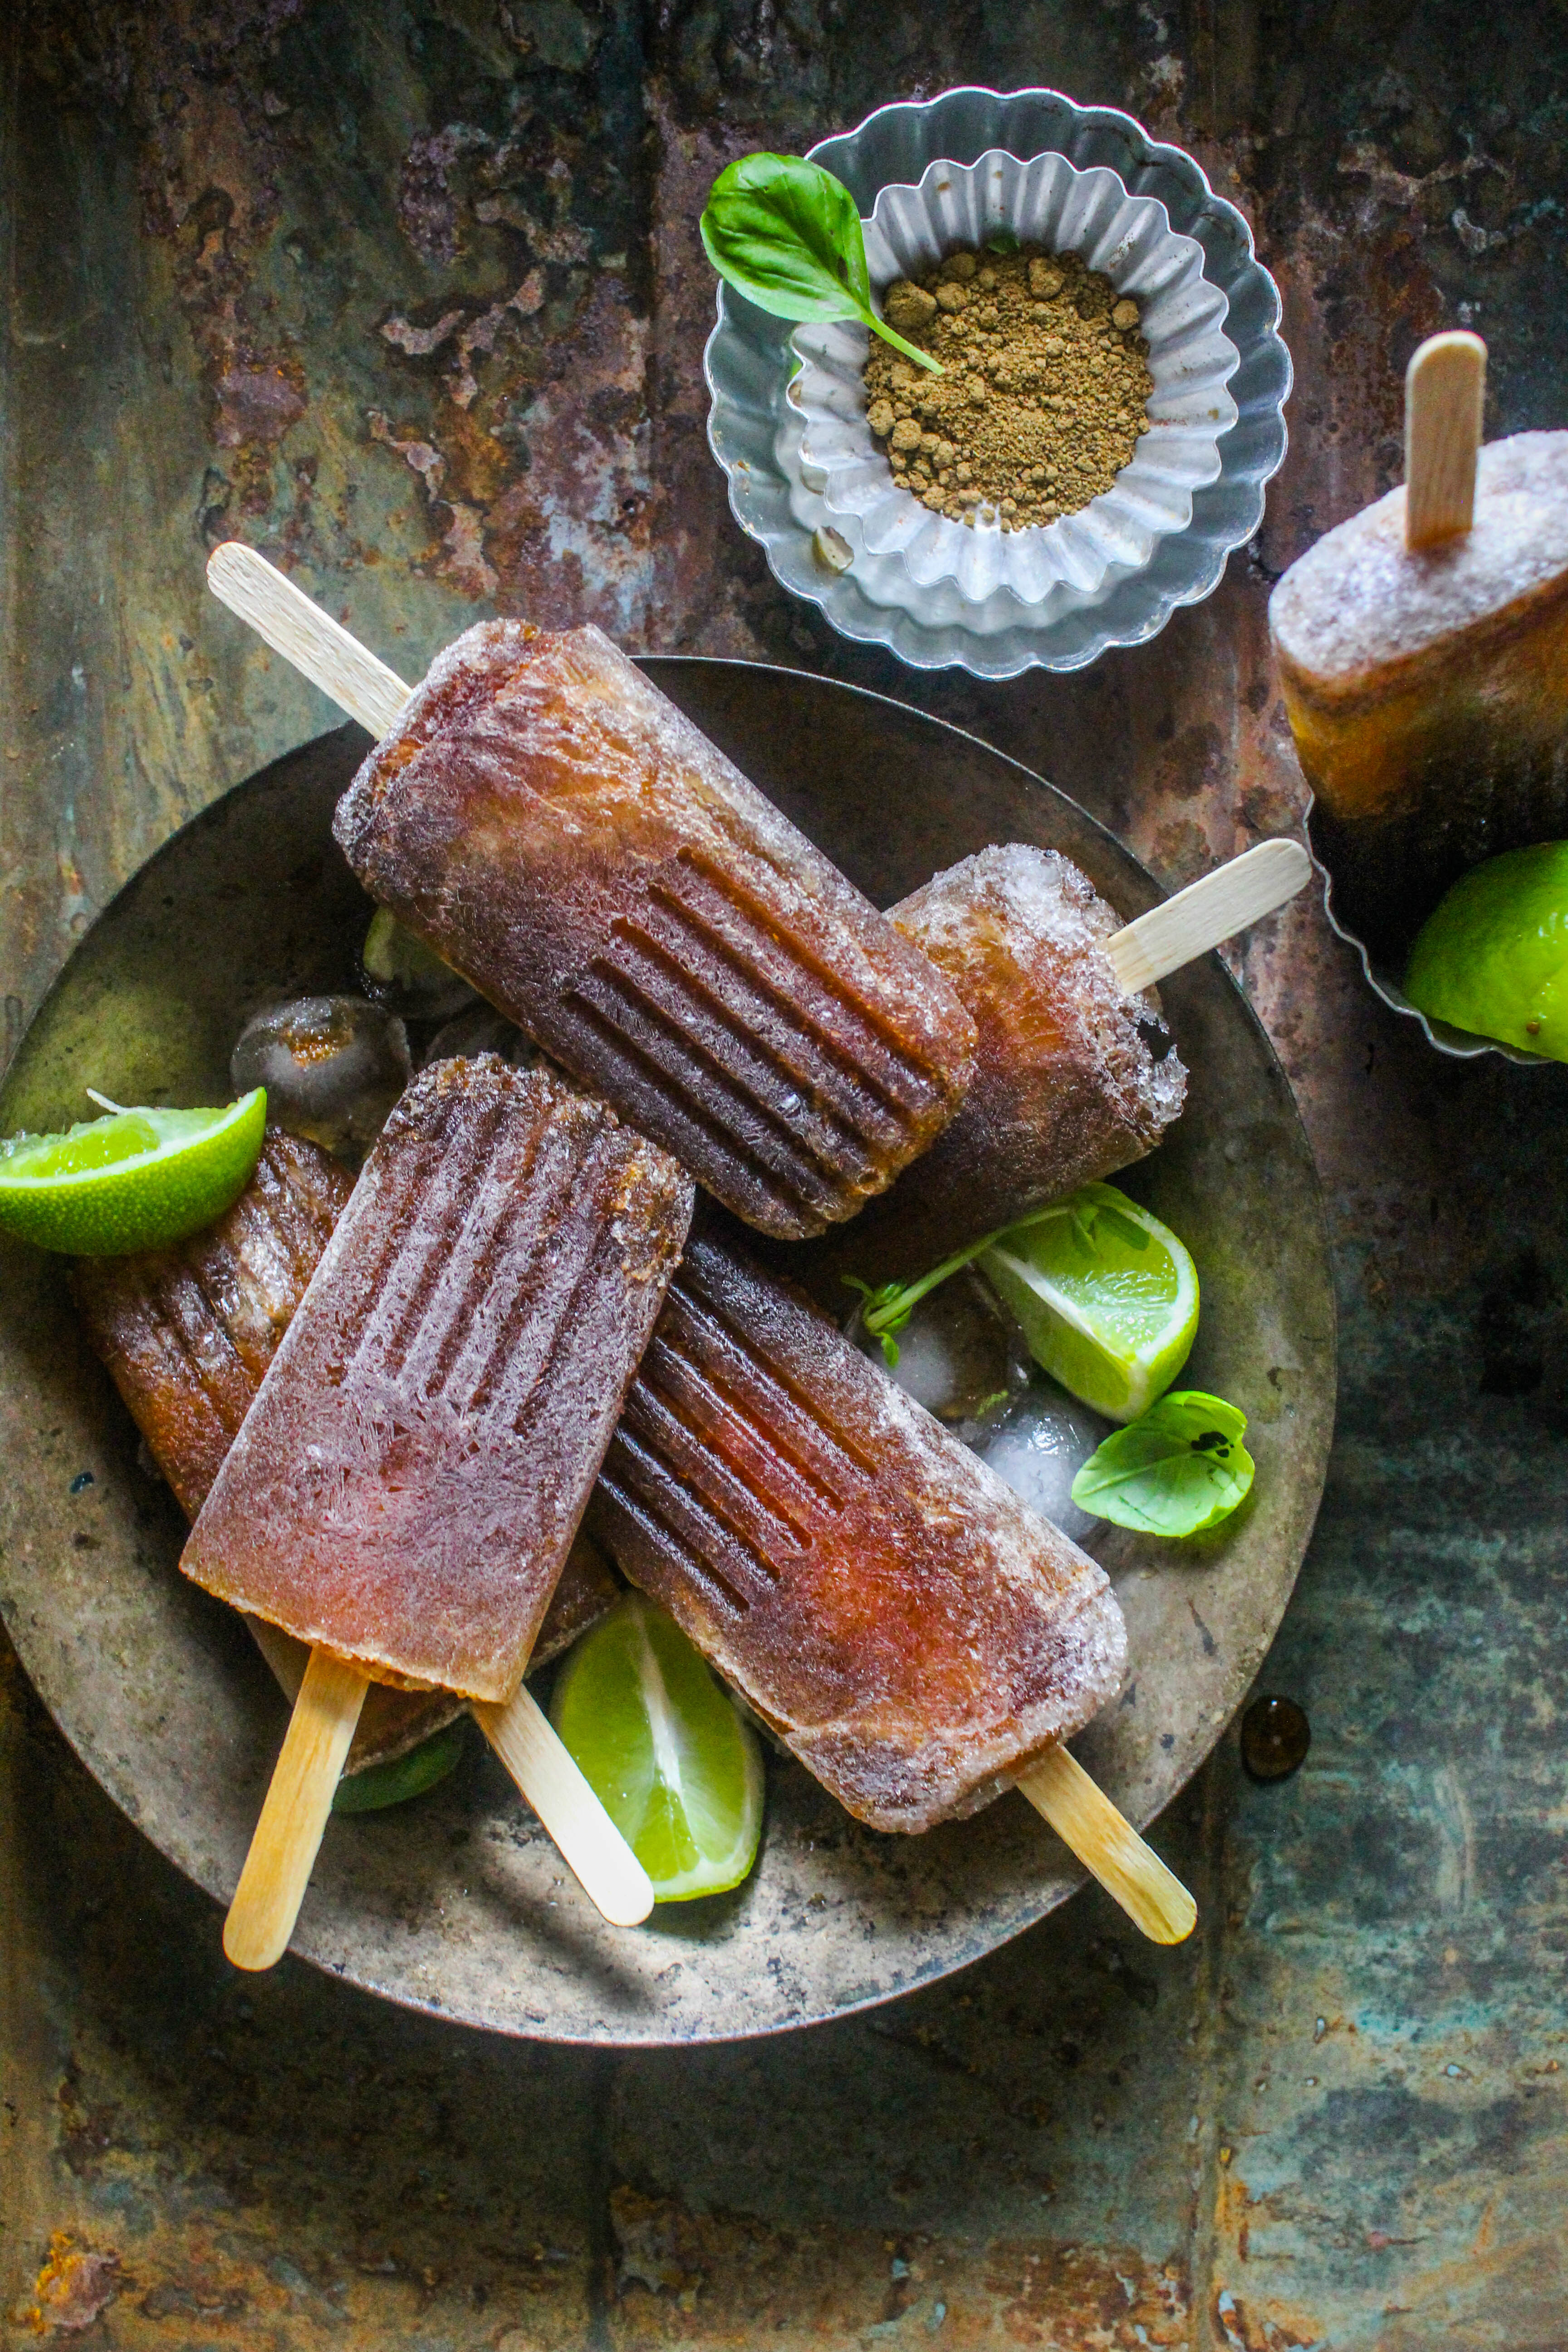
The sidewalks in India are home to some amazing Indian food. Street food, as it is popularly known is not only cheap and convienient but also authentic. This kind of food may also be available in big and small restaurants but rarely measures up to the taste and feel of food from the vendors. There is something incredibly exciting about watching the food being assembled right before your eyes.. the sultry weather coupled by the smoke escaping the sizzling tawas (large frying pans), crowds of people waiting for their turn, the fiery heat of the chillies as they are generously sprinkled over Chaat or Chicken rolls or for that matter any food originating from these makeshift stalls. It is an experience in itself. To go with this kind of food there are refreshing thirst quenchers that send flavours splattering across your palate. The key to this can only be one. Spice!

IMG_1050

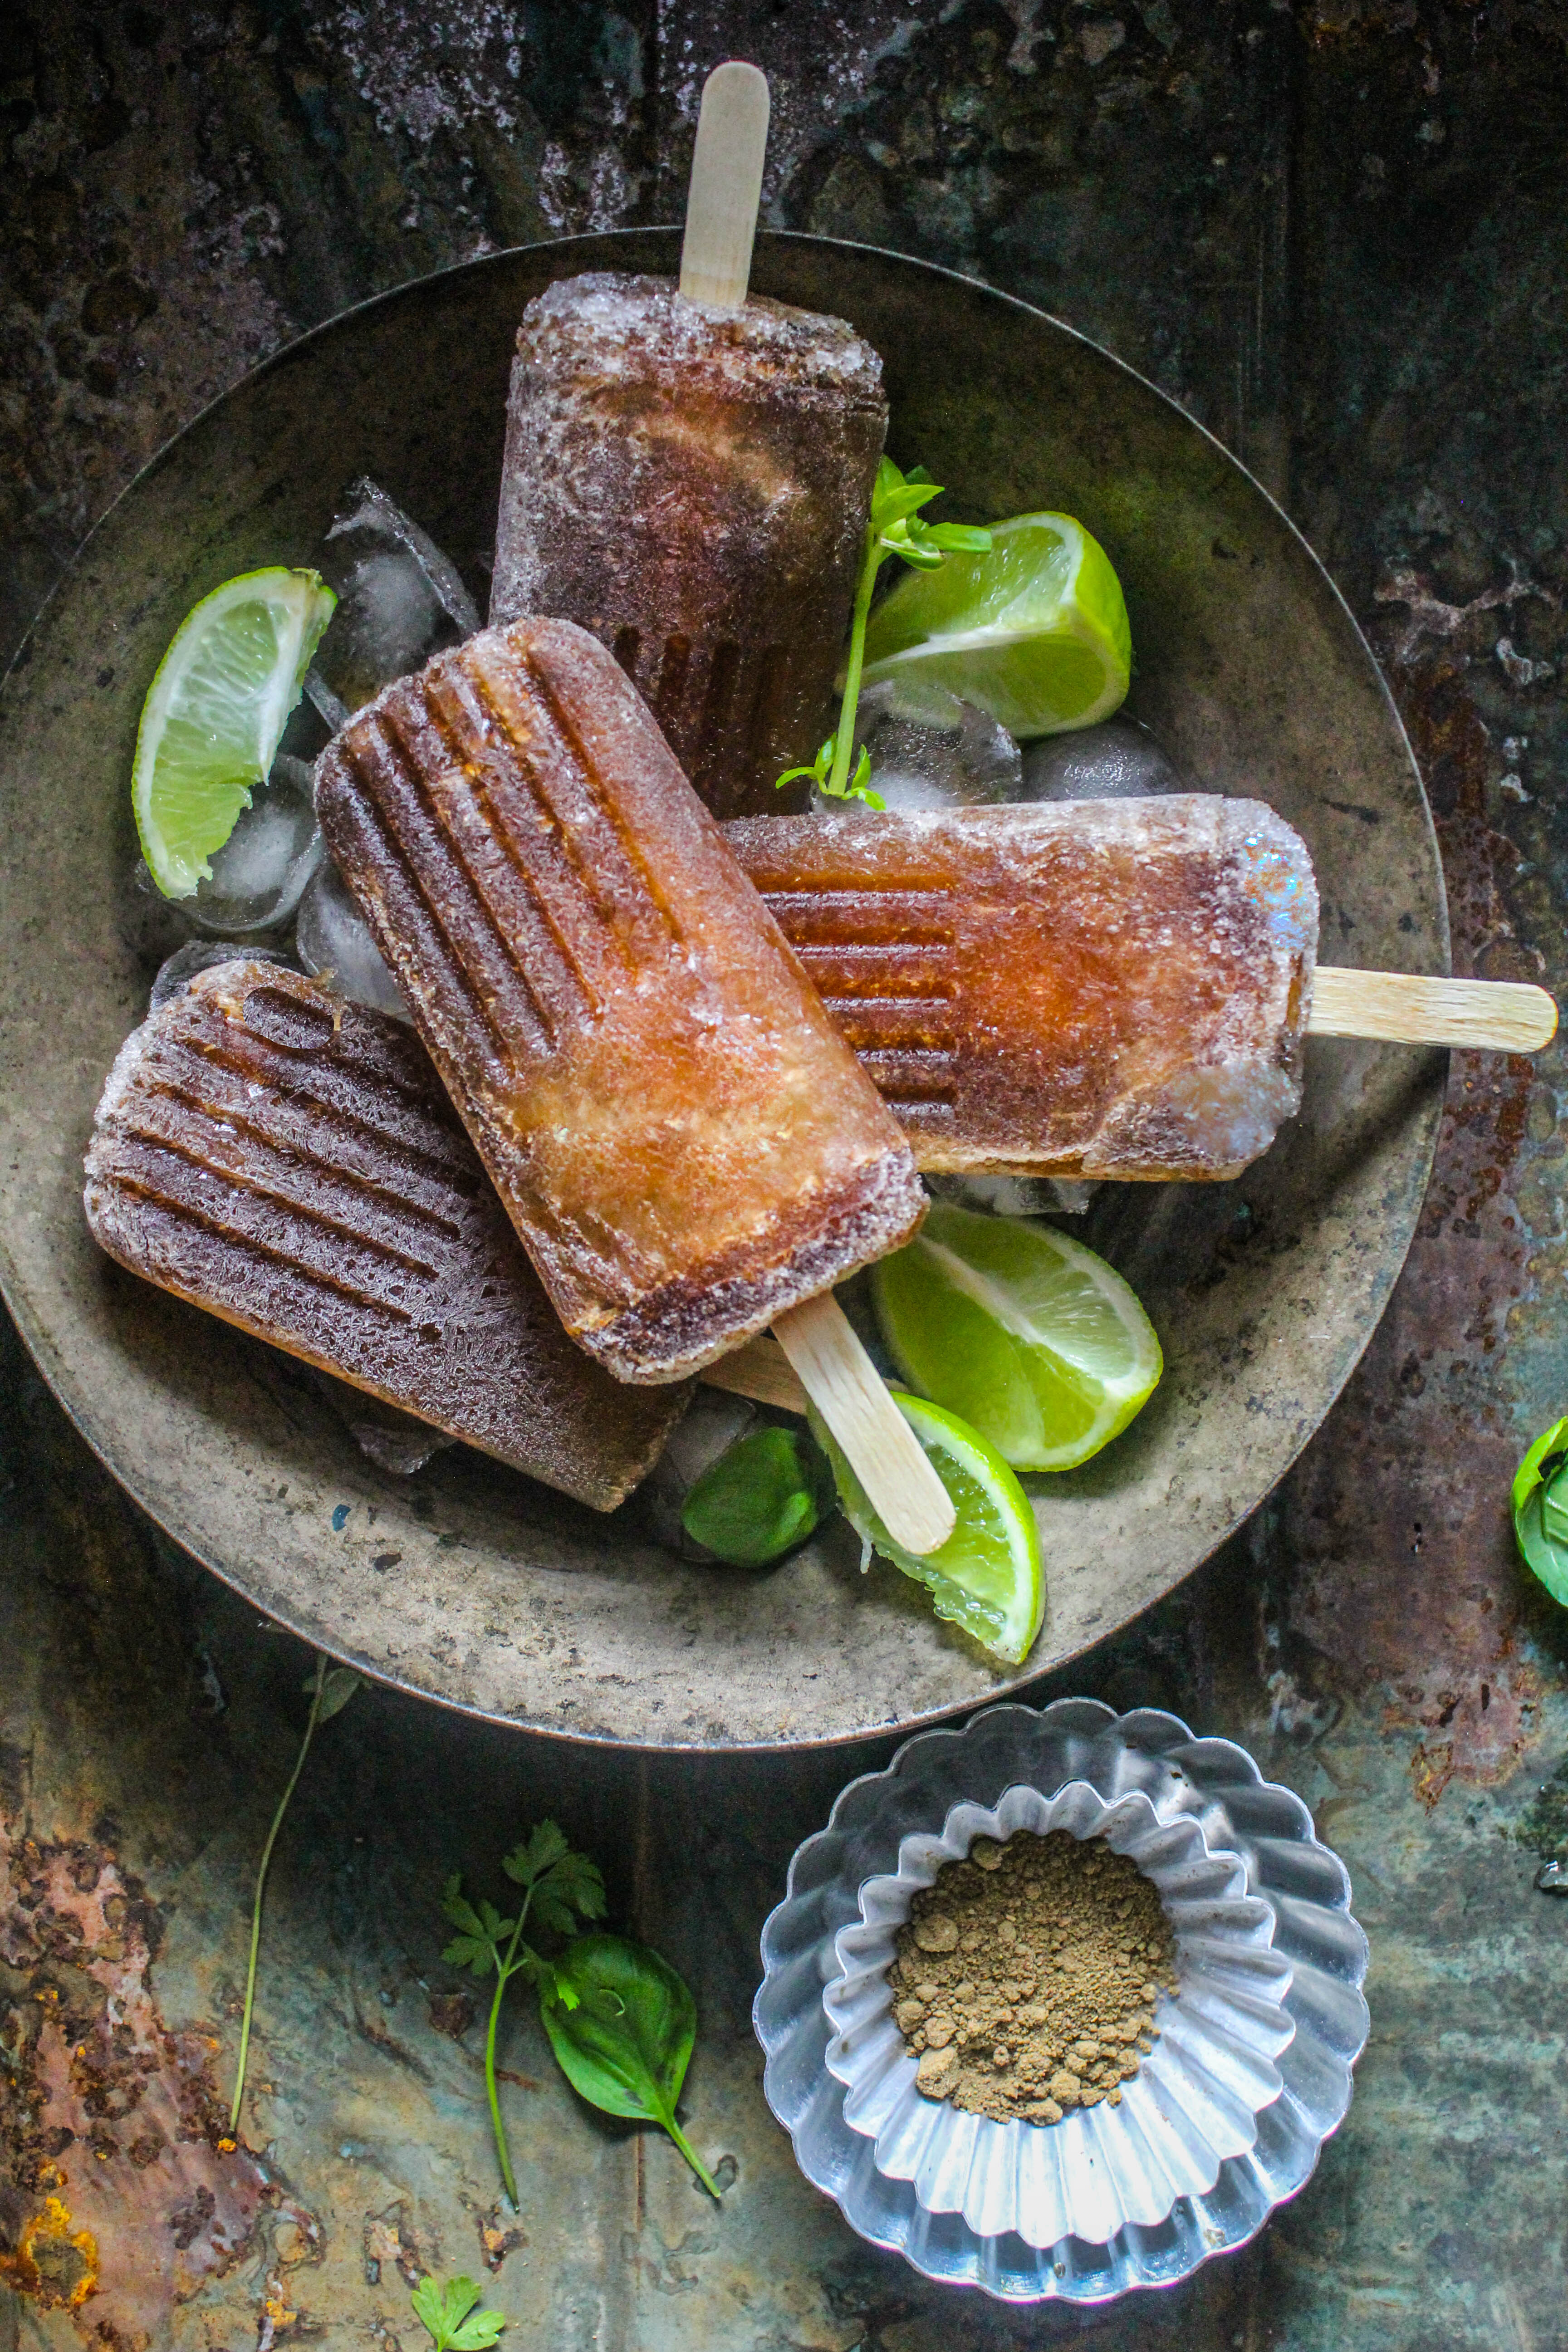
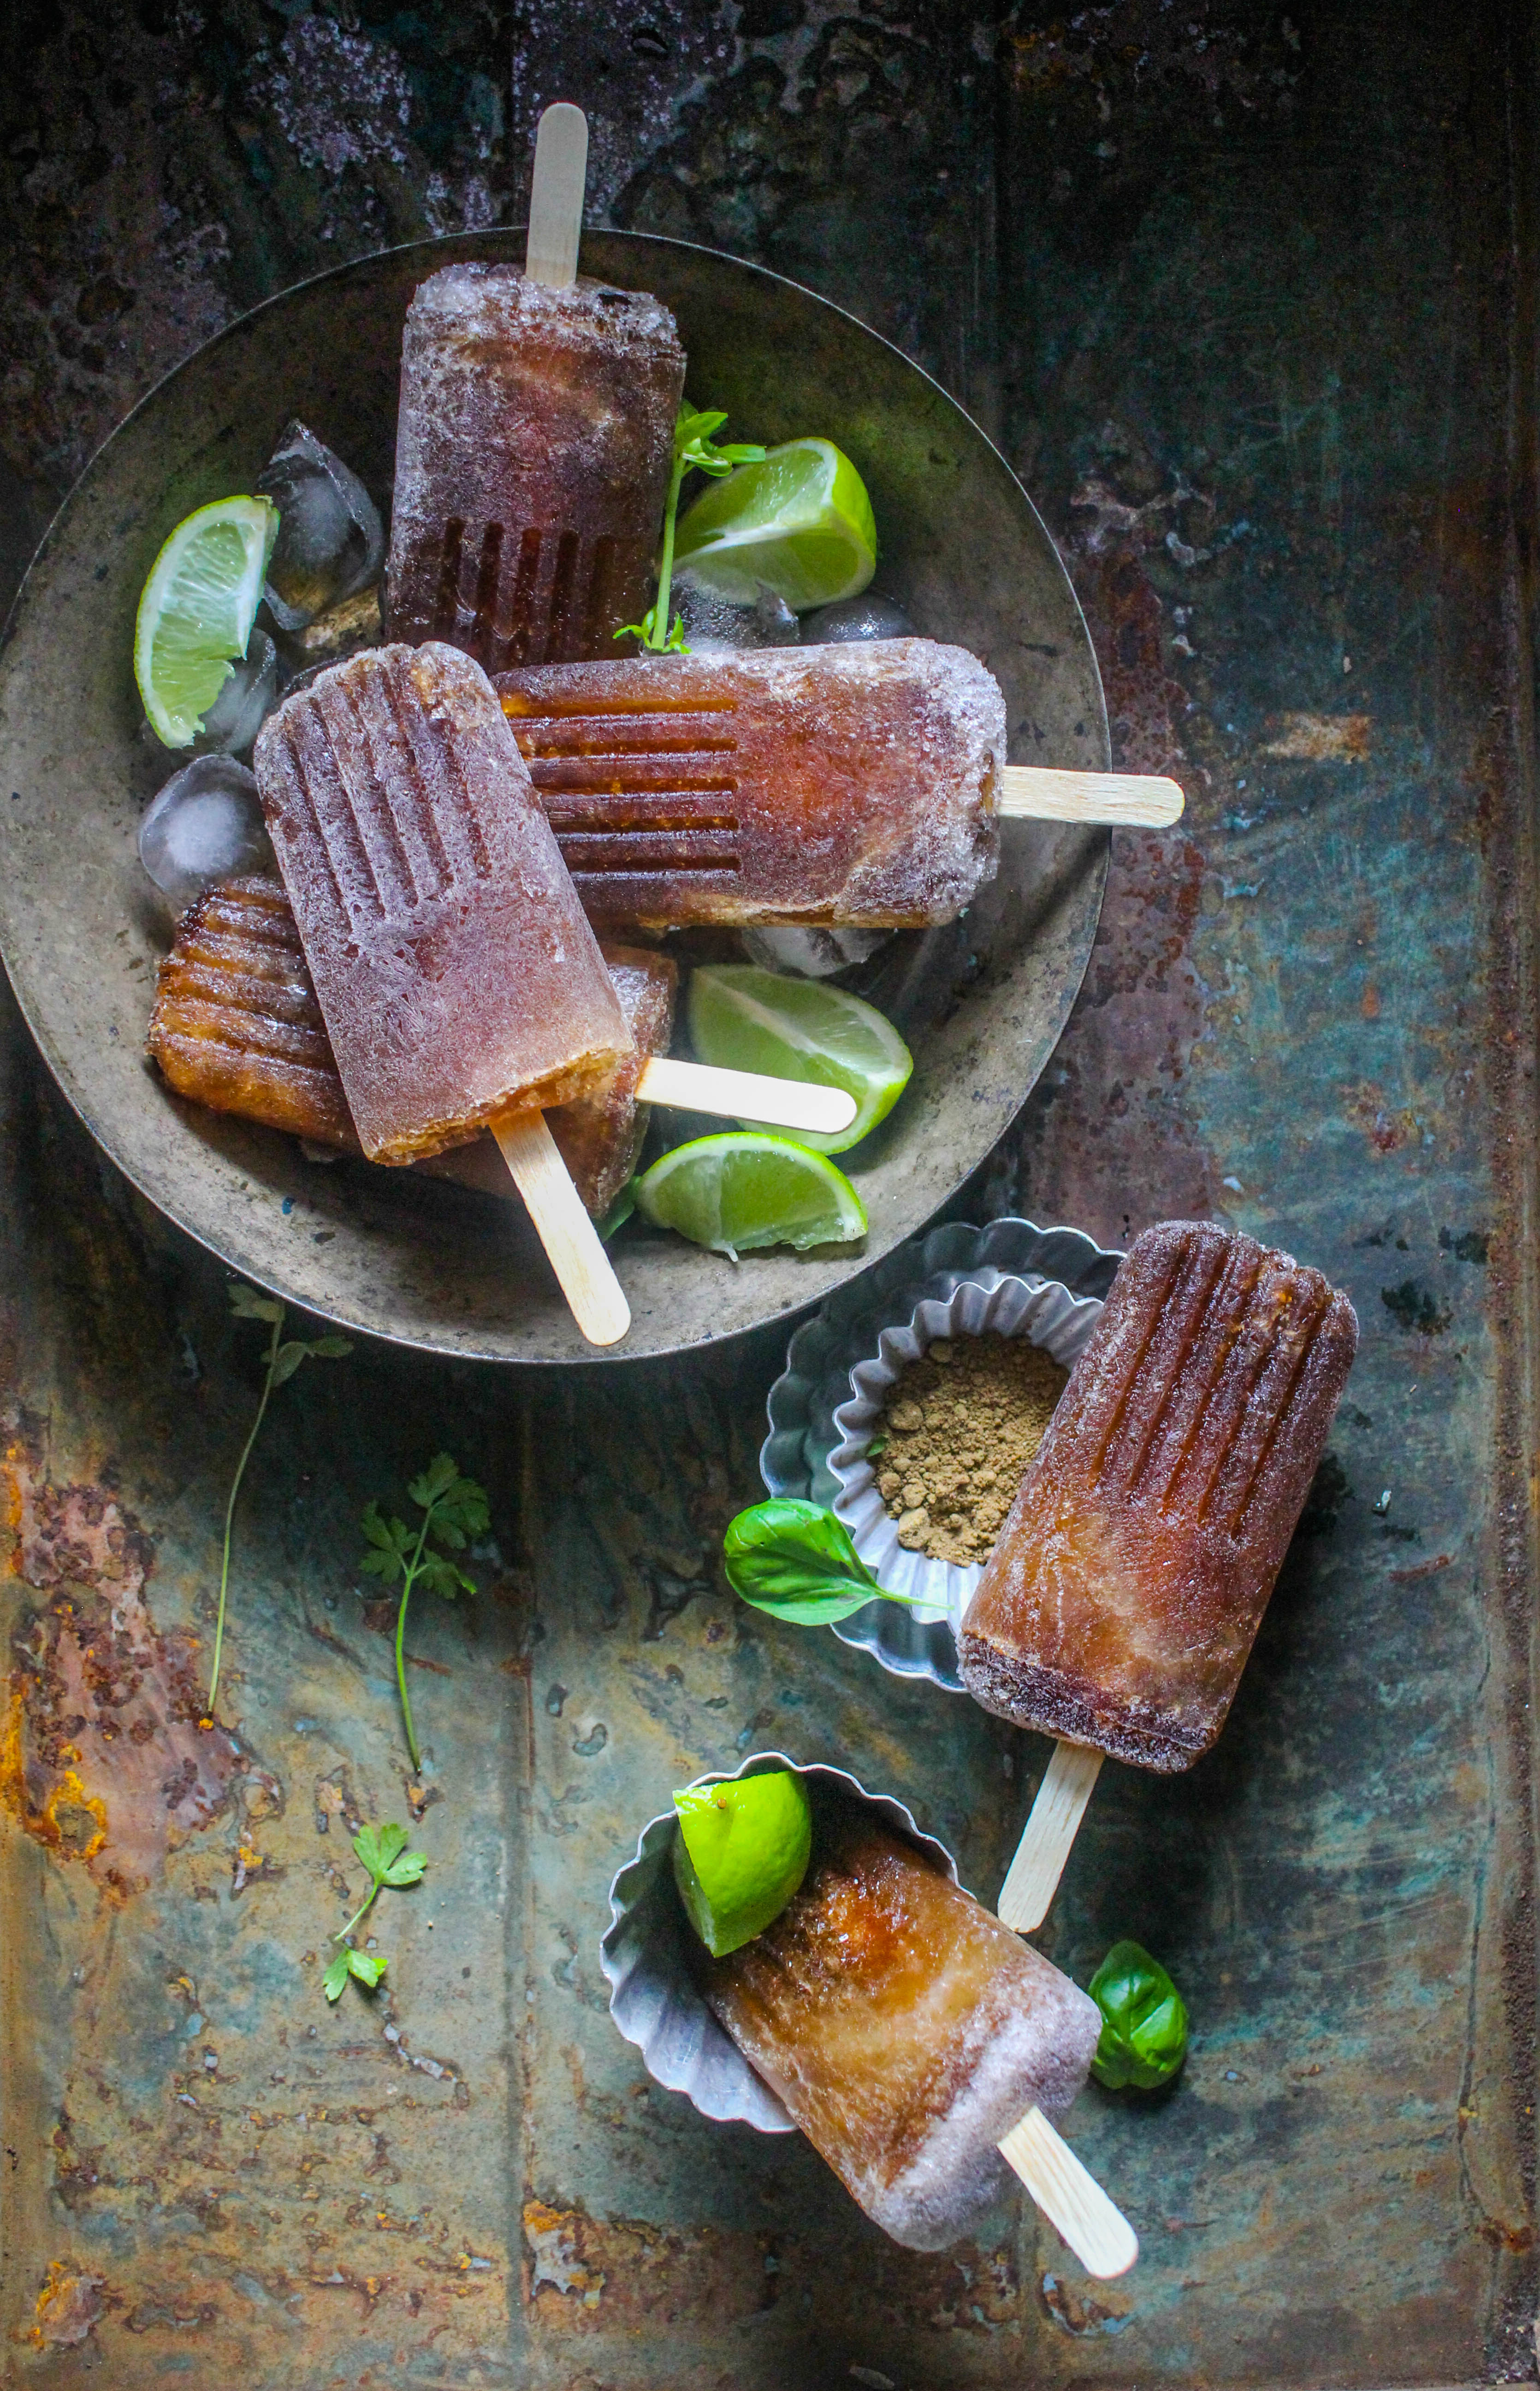
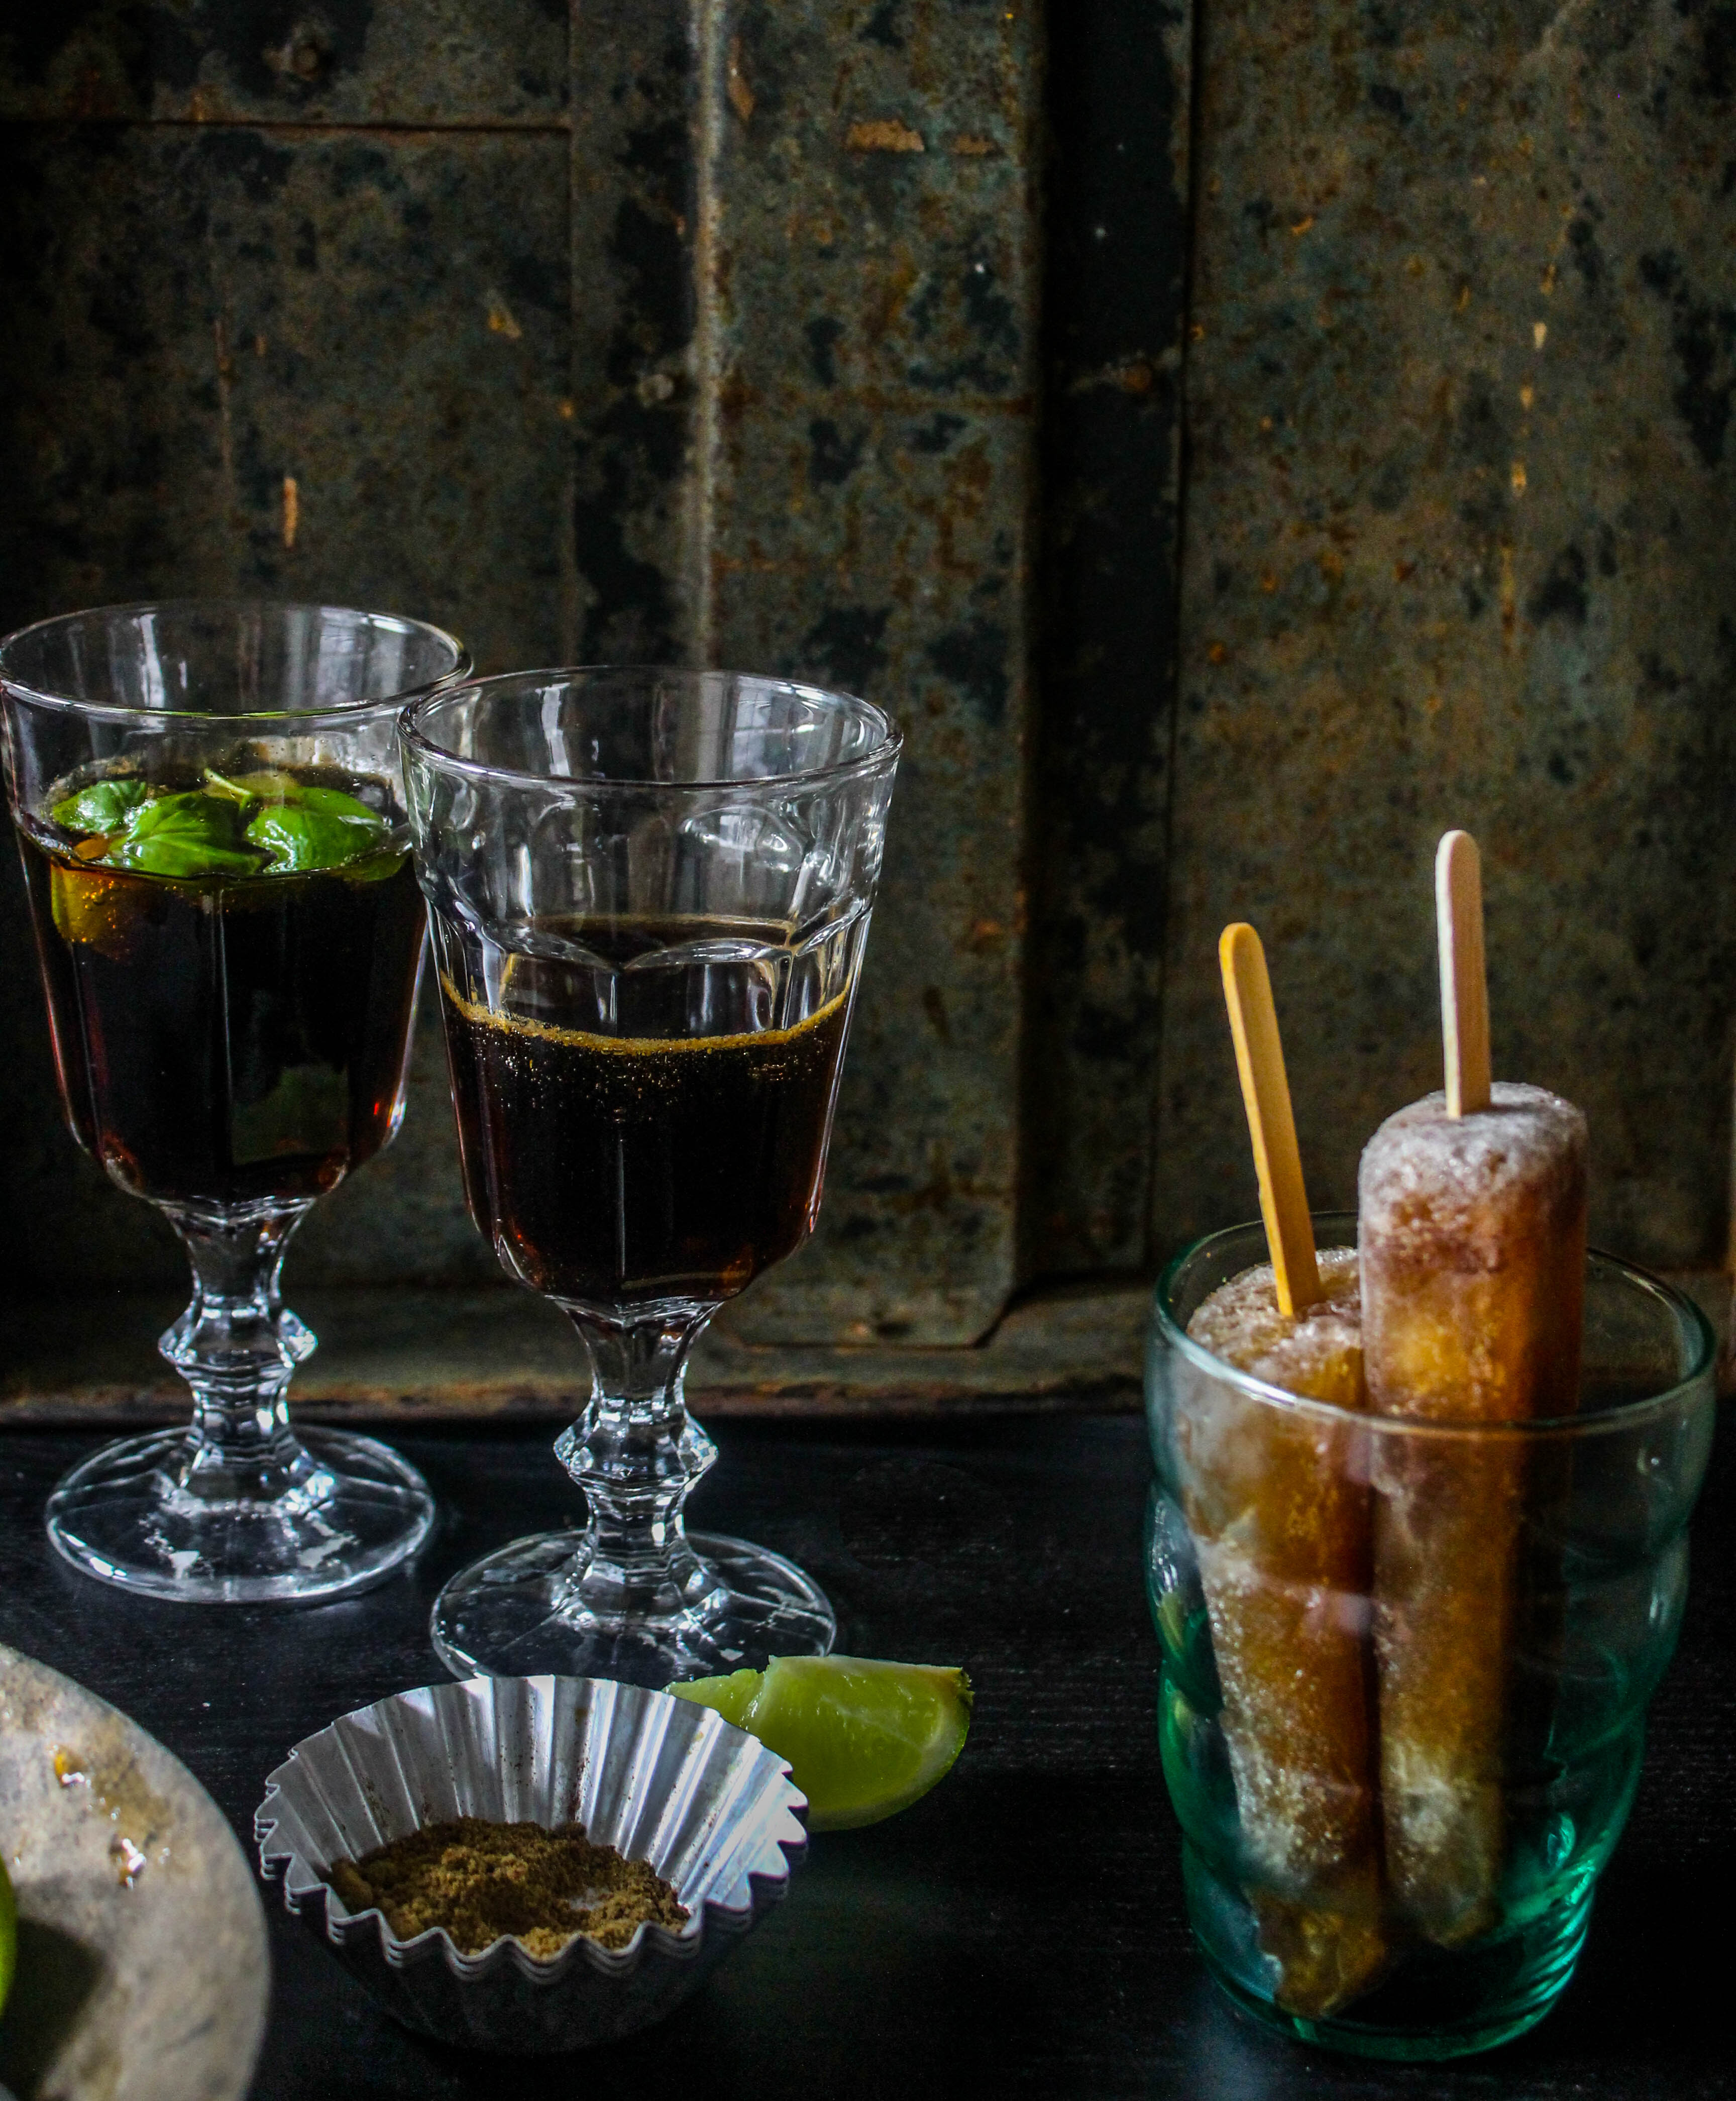
Masala Coke is nothing but a spiced up version of Coke. Adding spice and salt to a cola drink not only lifts up its flavour but leaves your senses refreshed and energised. The after-taste is incomparable, trust me! The spice blend or seasoning in this case is Chaat Masala, a tangy, zingy, mildly hot mix that is a must-have in most Indian households. Unlike some spices, it does not require to be cooked down so it can be easily substituted for seasonings in savoury dishes. I would recommend this spice, not only for this popsicle recipe or the drink, but also on salads, fritters and vegetarian dishes. If you love spice, this is a great investment to store in your pantry. Try it on fruit, you are sure to get hooked on! Here in Sydney, Chaat Masala should be available in any Indian store.

IMG_1053

These popsicles are easy to make. I’ve been making these for as long as I can remember. Put all the ingredients together in a large jug and leave aside for 30 minutes. This is necessary for the flavours to blend and the aeration to escape or the popsicles tend to expand and become uneven in size. Needless to say, this recipe would work on any drink of similar variety.

IMG_1057

IMG_1059

Masala Coke Popsicles
Yields 6

500 ml Coke
Juice of 1 Lime
2 tsp Chaat Masala
1/4 tsp salt (optional)
1 tsp ground black pepper
Fresh herbs, mint and/or basil

Place all the ingredients together in a large saucepan. Cover loosely and leave aside for 30 minutes. Remove fresh herbs and pour into popsicle moulds. Freeze for 2 hours and insert popsicle stick. Freeze for 4-6 hours (preferable overnight).


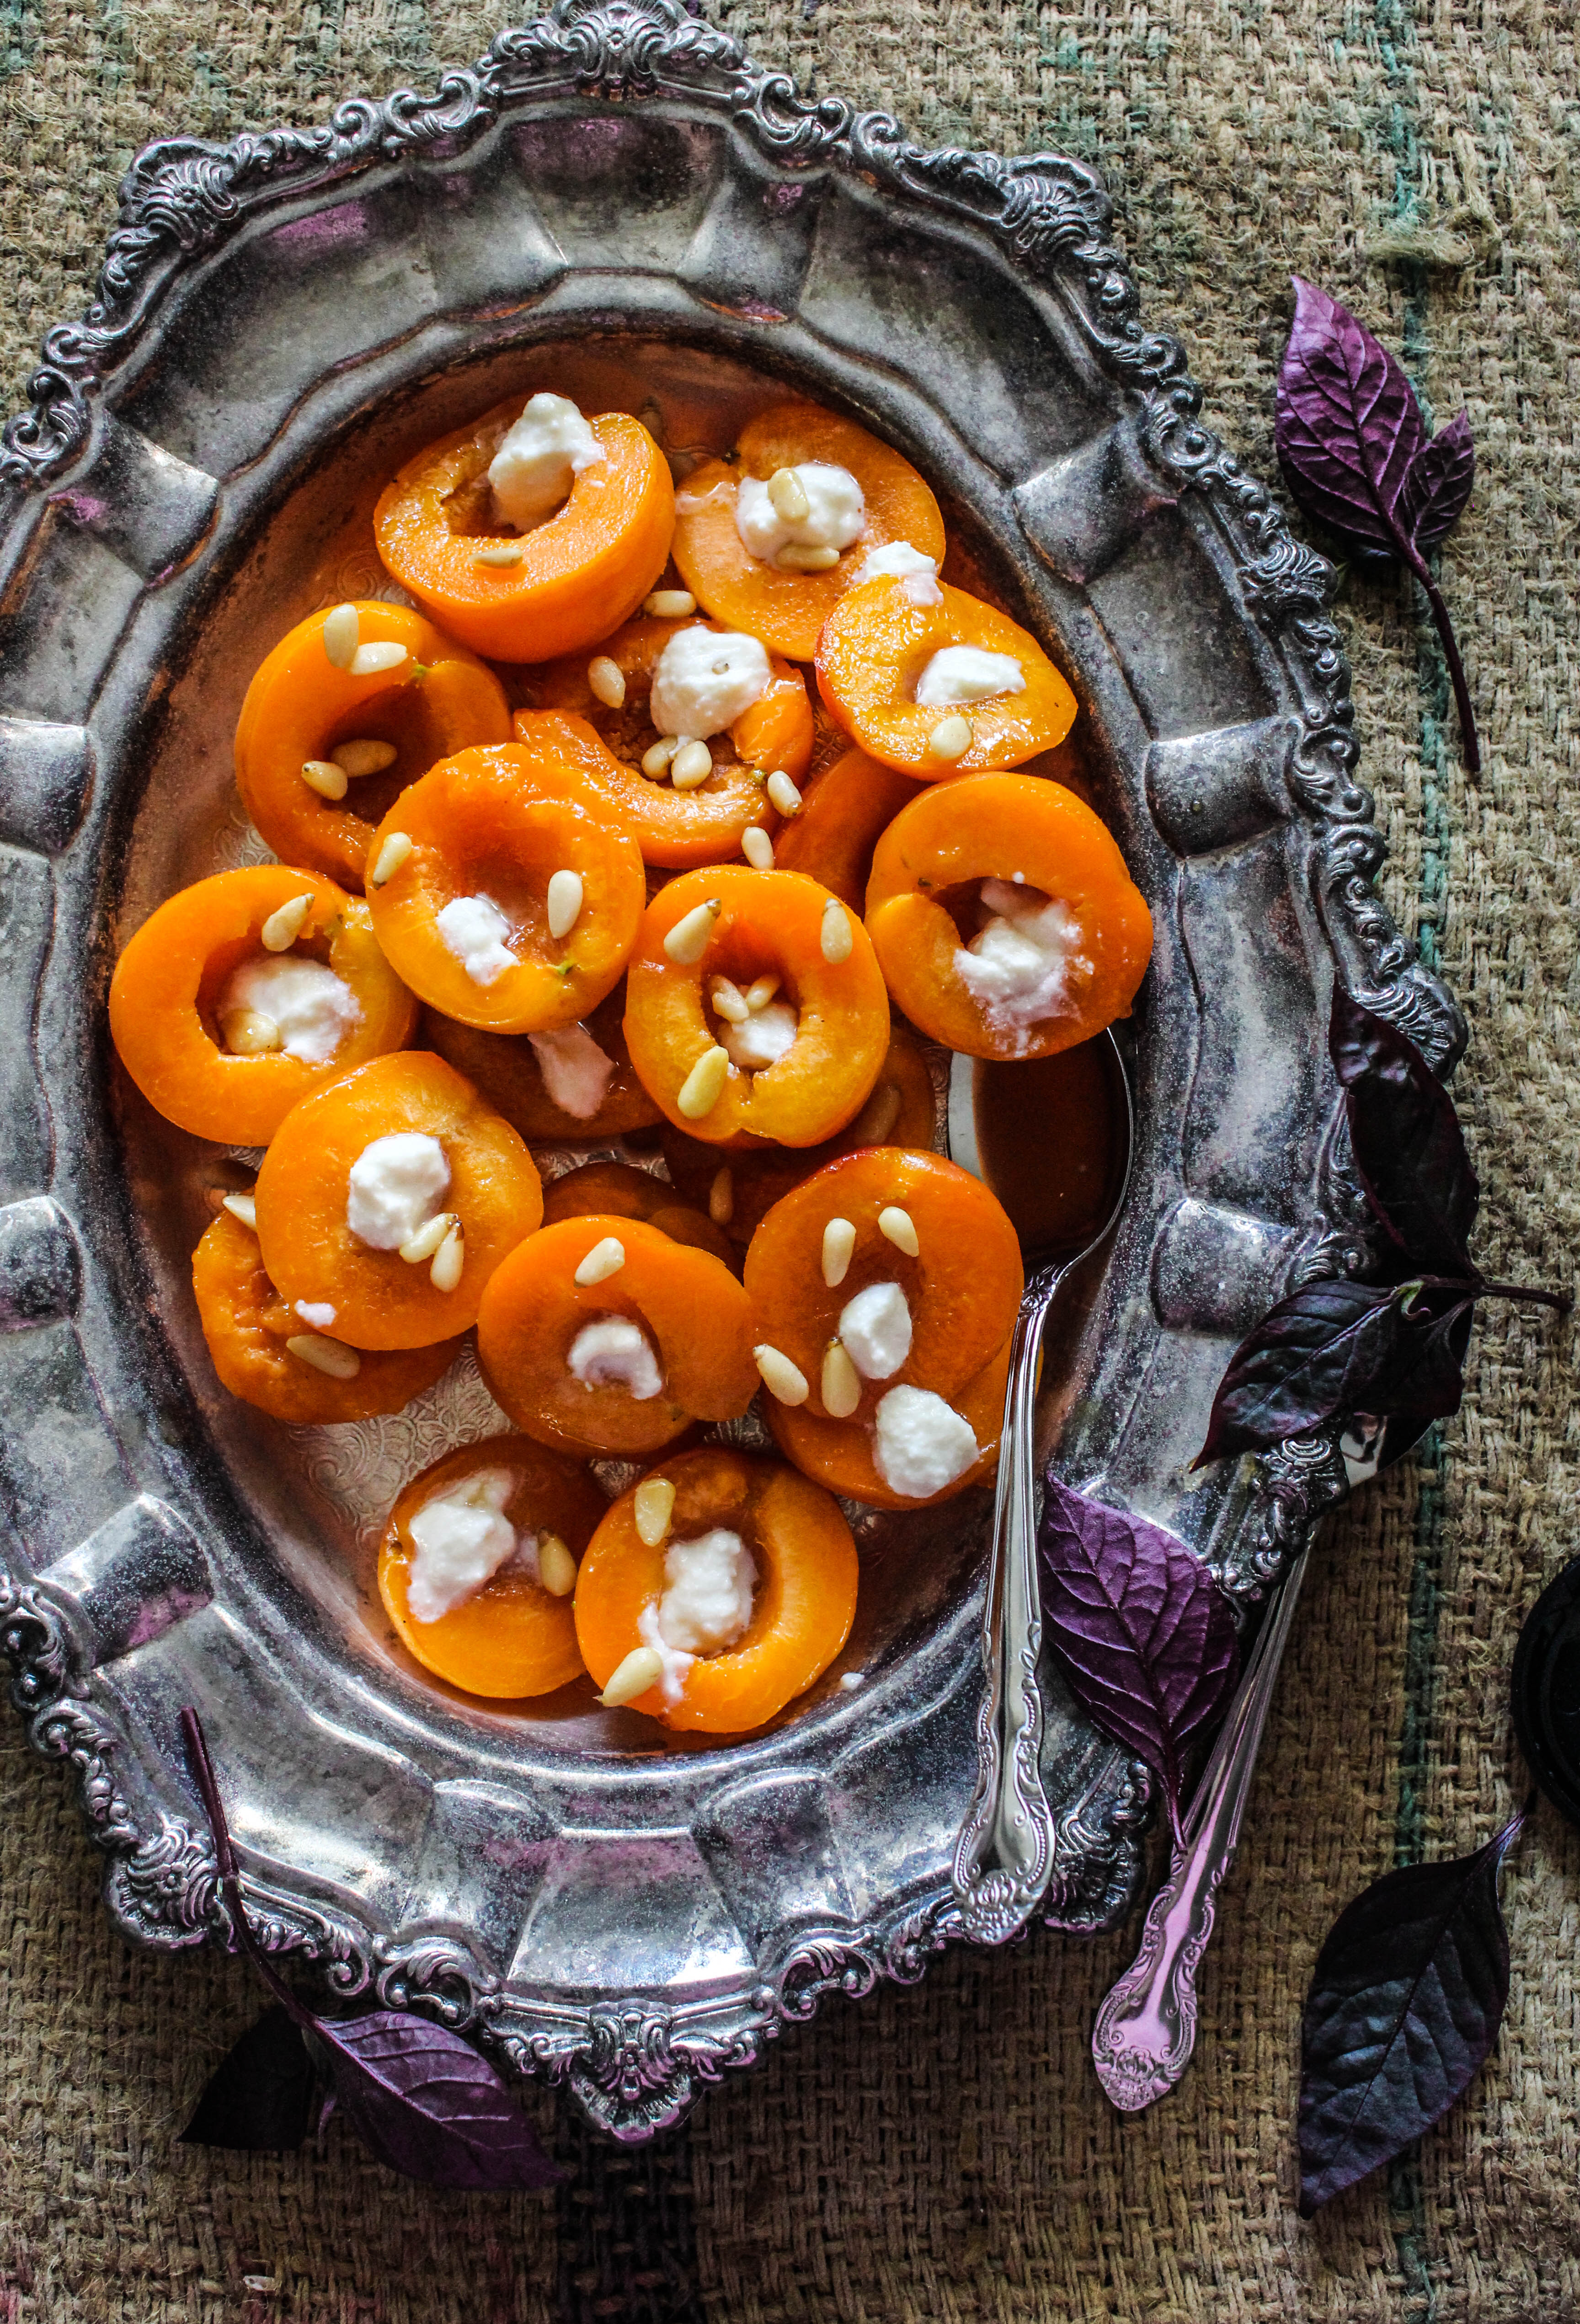
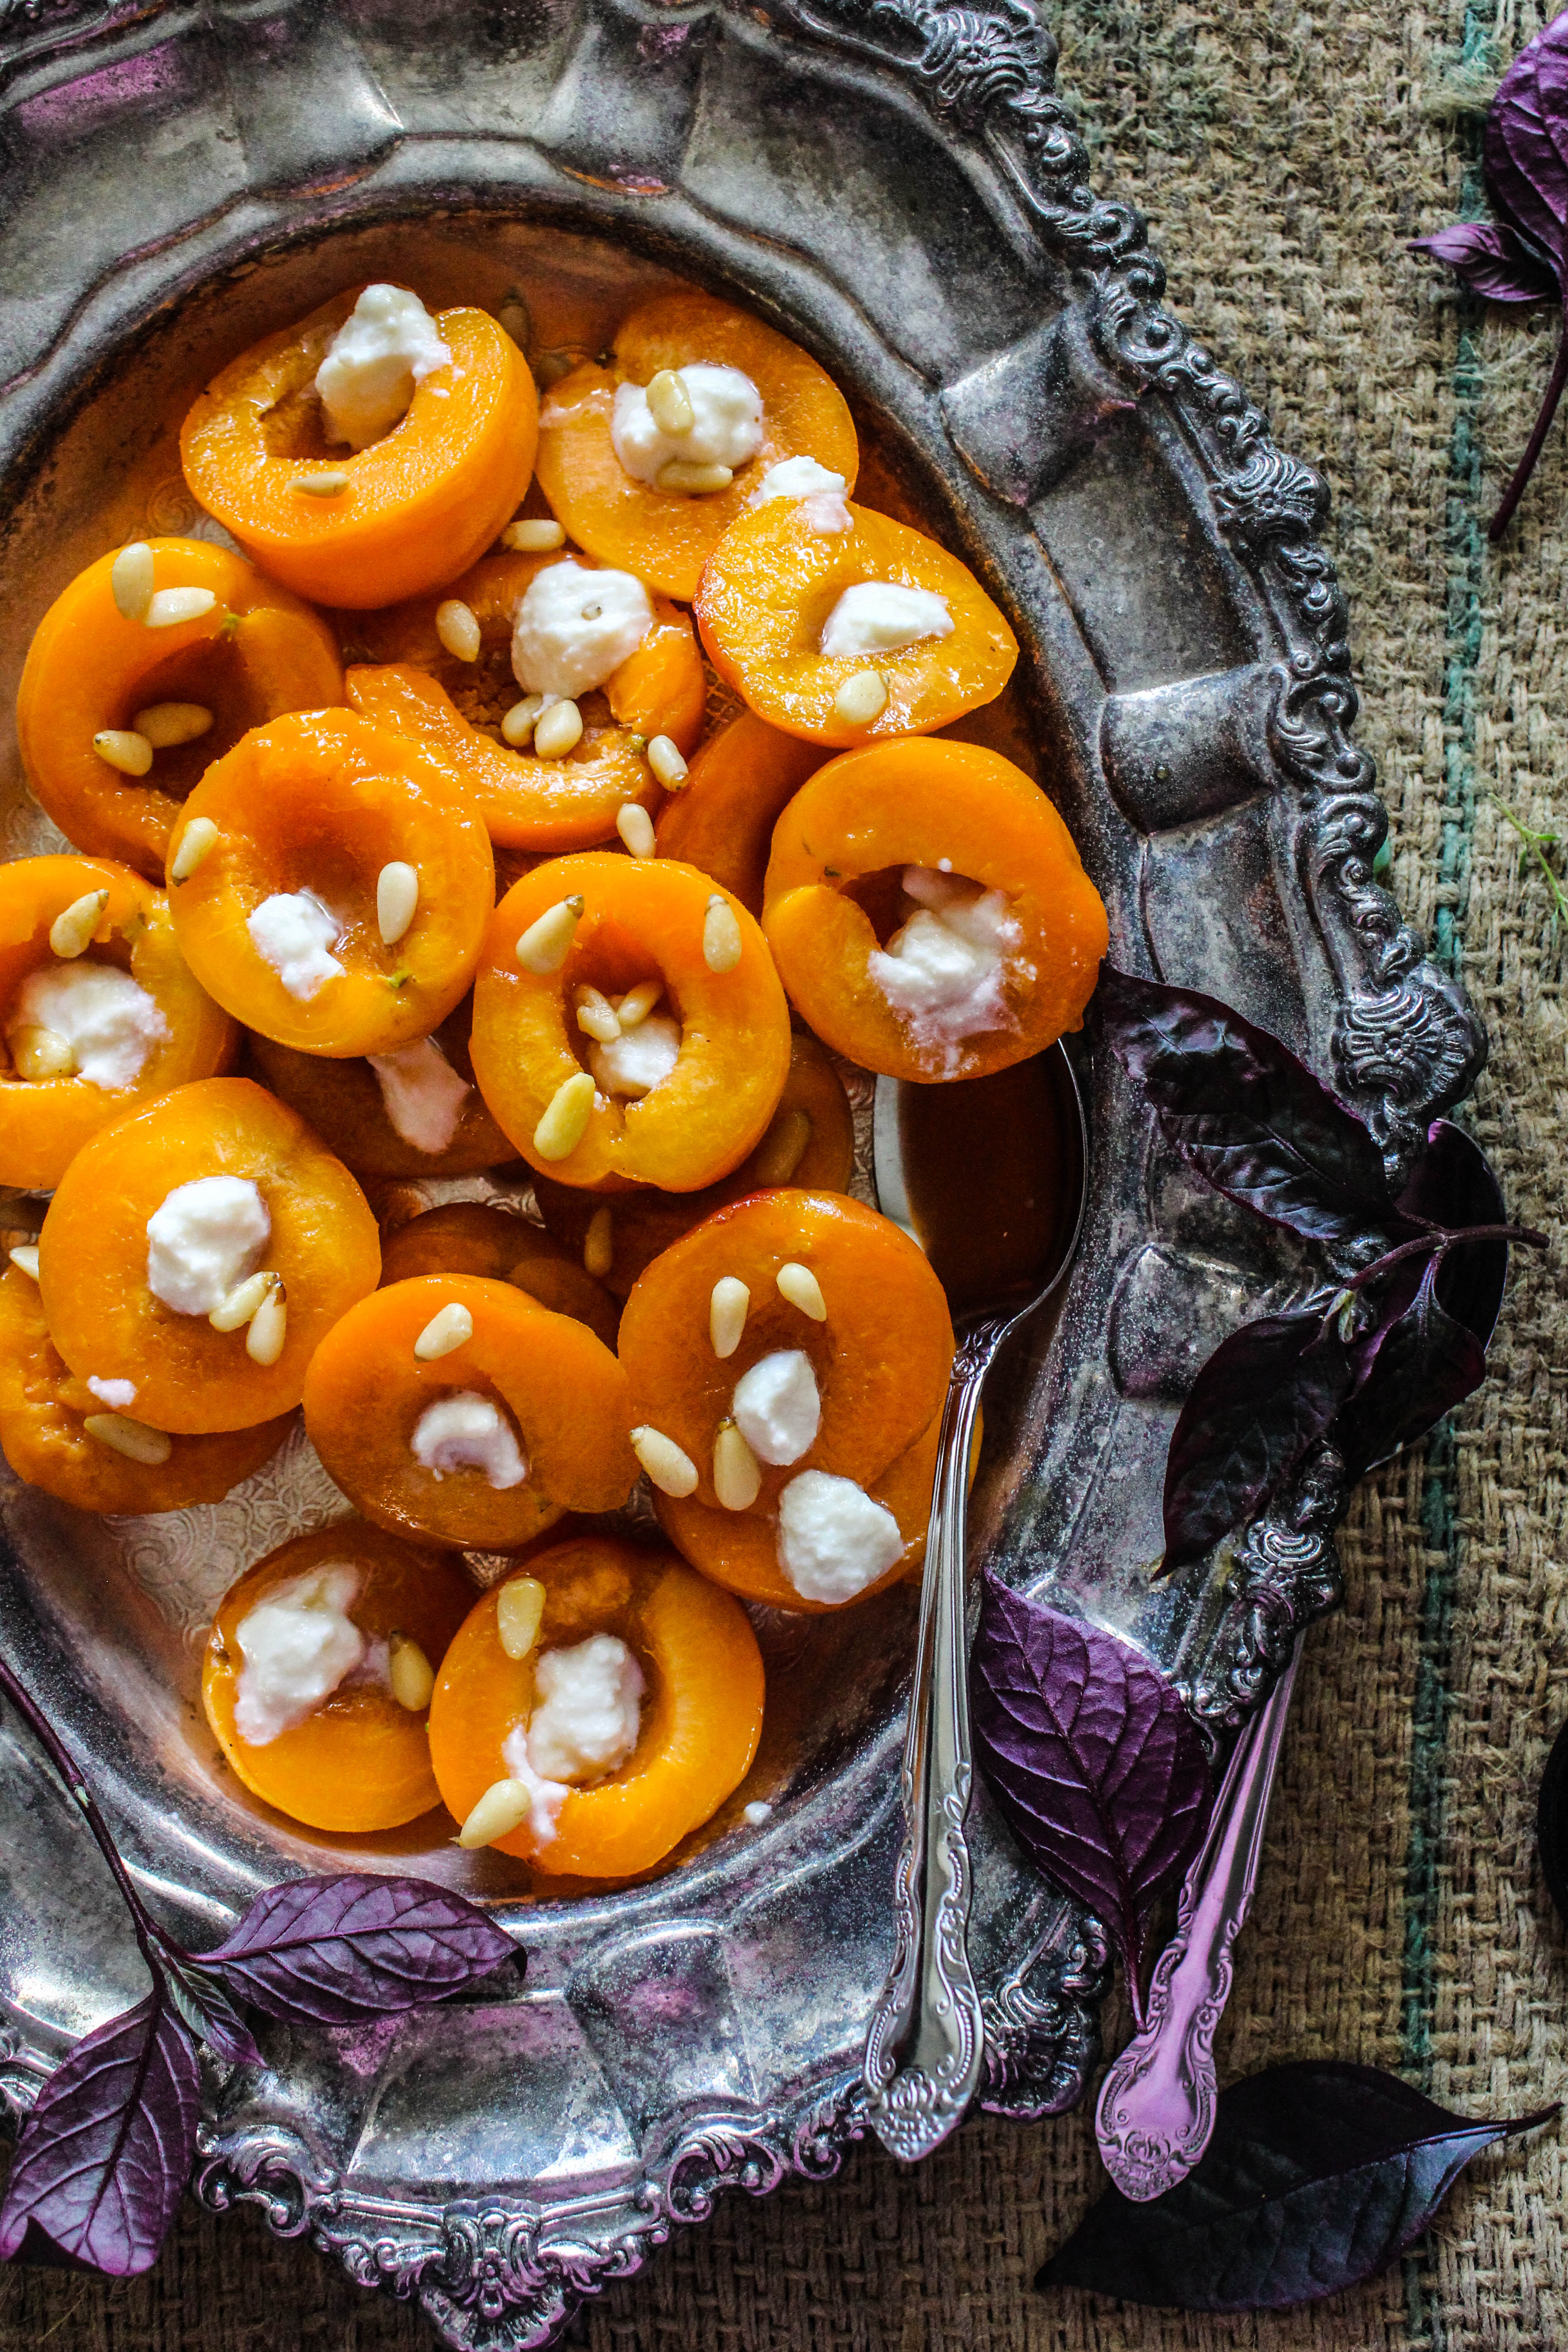
Sauteed Apricots with Honey, Goat’s Cheese and Pine Nuts

15|07|2014

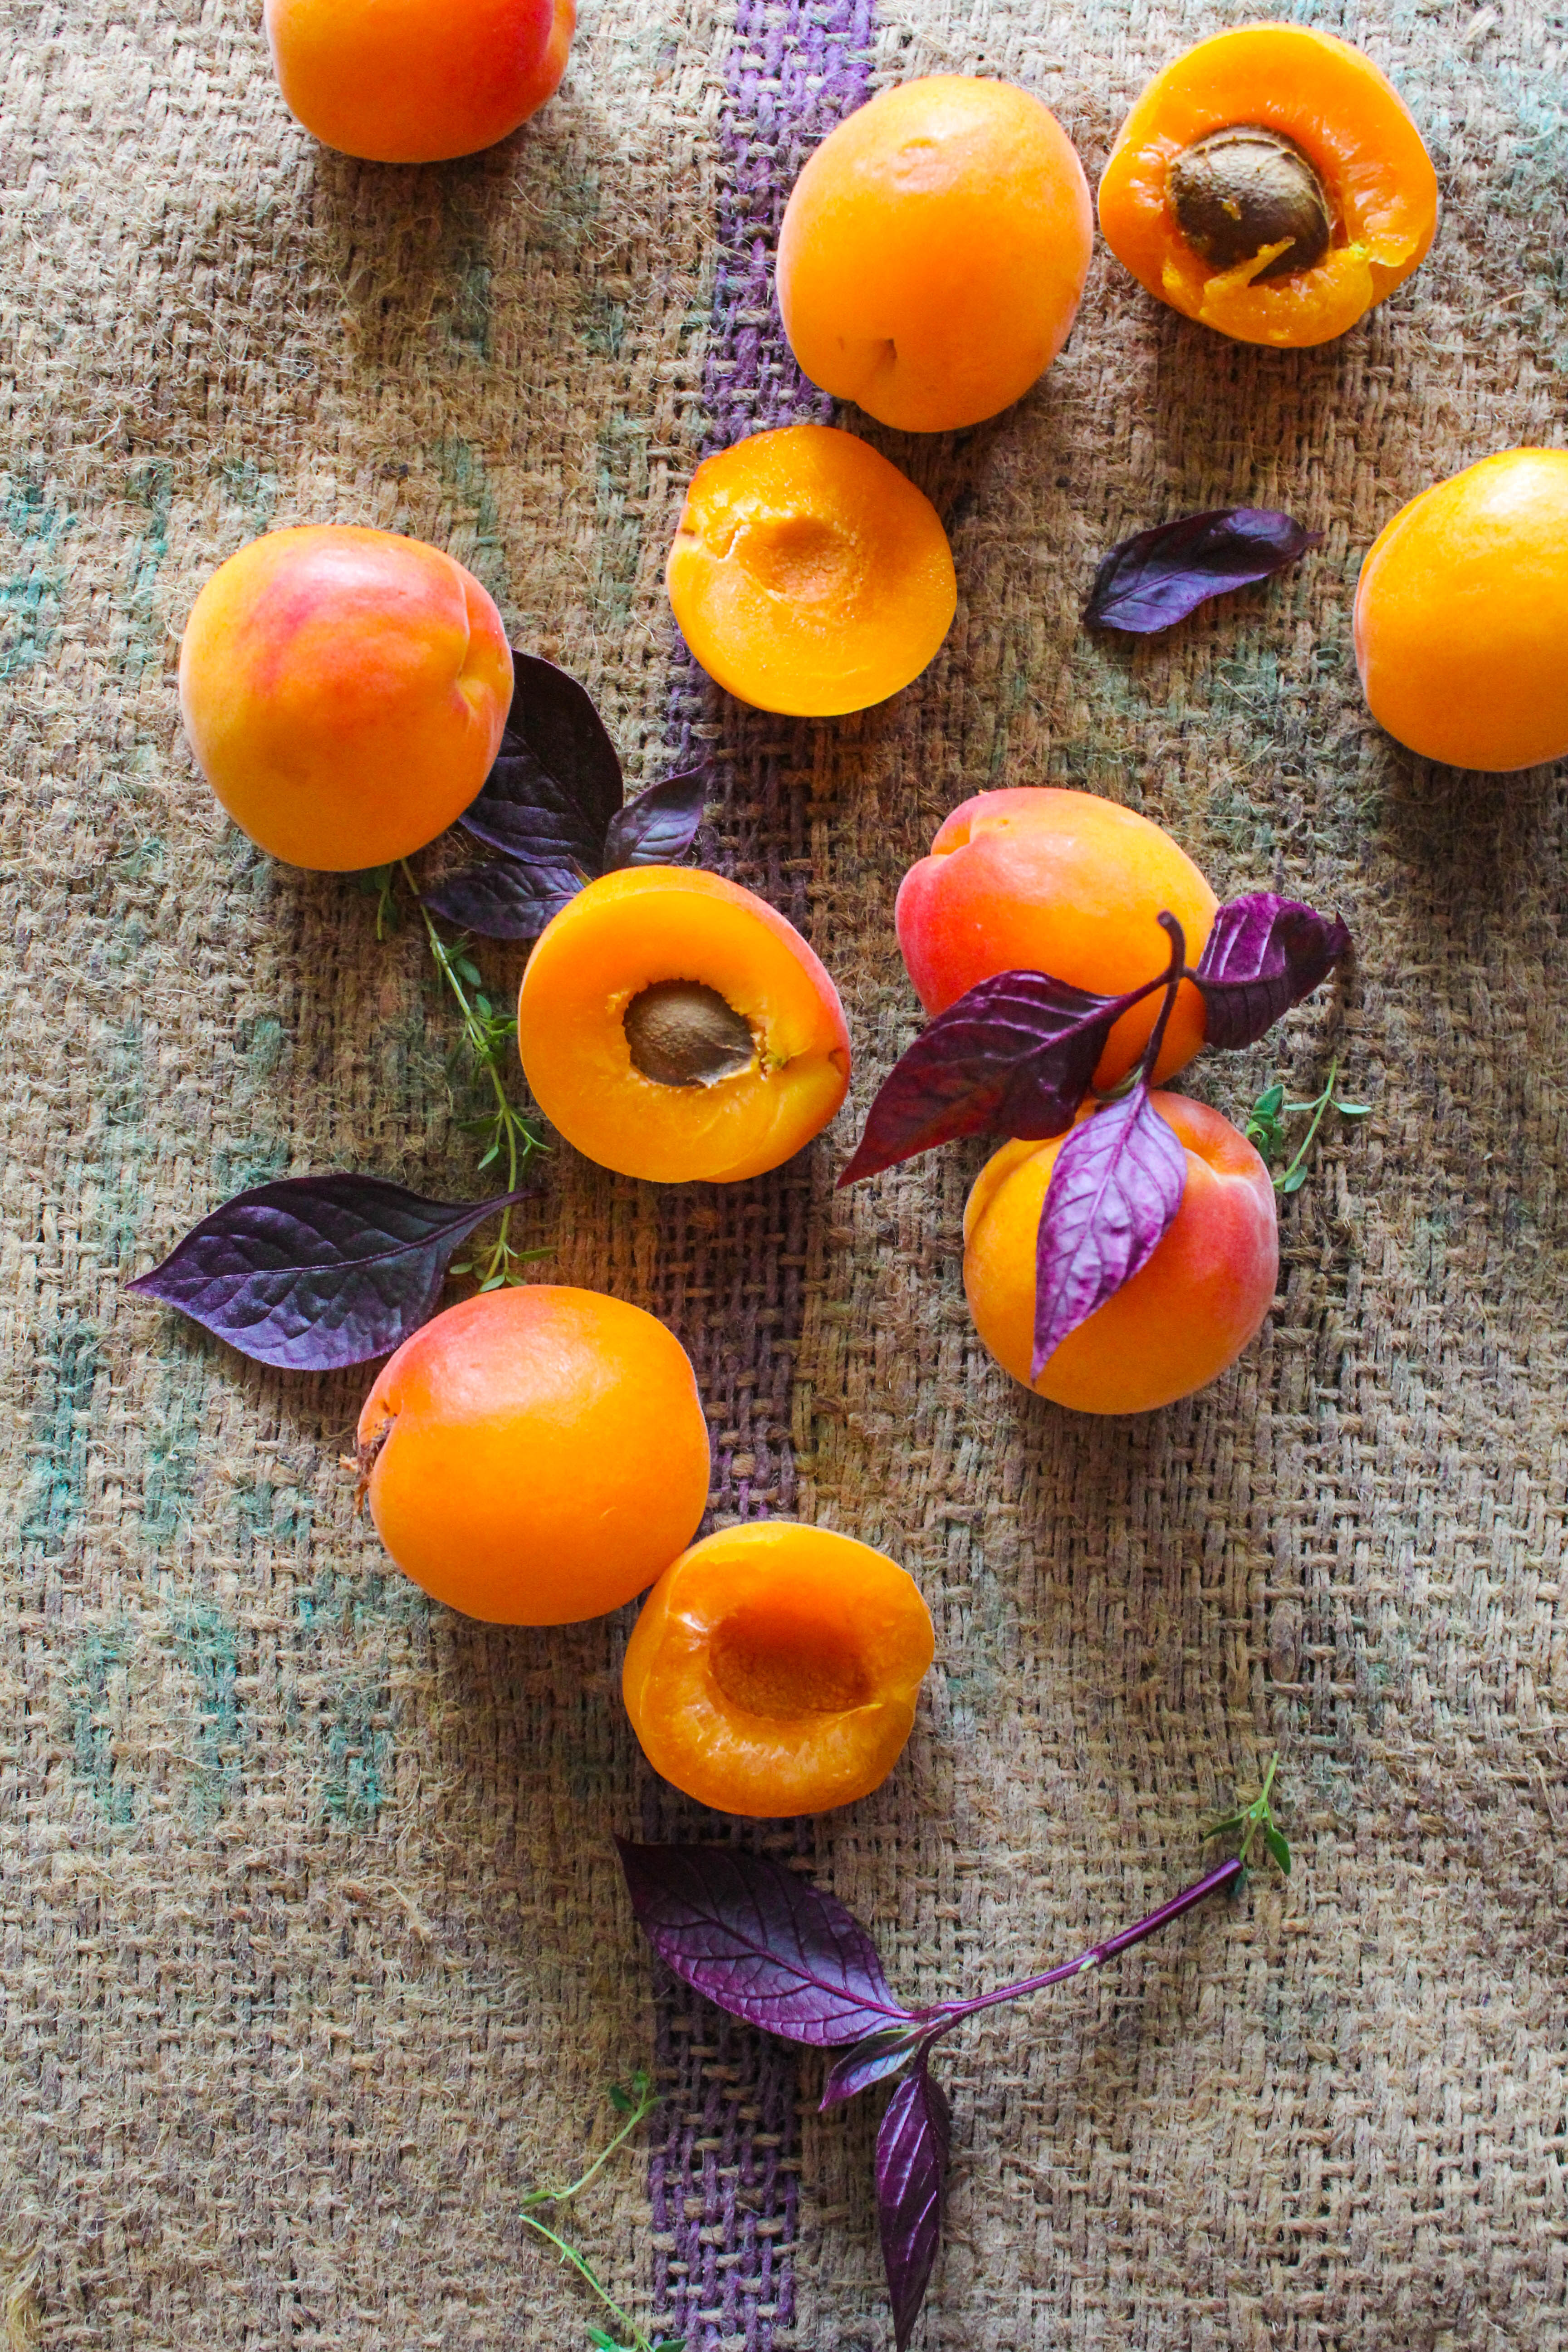
Where did I find apricots at this time of the year? I would love to give so many different answers, my favourite being..the farmer’s markets. Alas! That is a hardly a possibility in the dead of winter. I am constantly dreaming of Spring and Summer, of juicy stone fruits, sunny beaches, of ice pops and every kind of summery treat. I have been doing the last two, though (beaches and ice pops). Being in Sydney, you can’t escape the beaches but it’s never like Summer.

IMG_8334

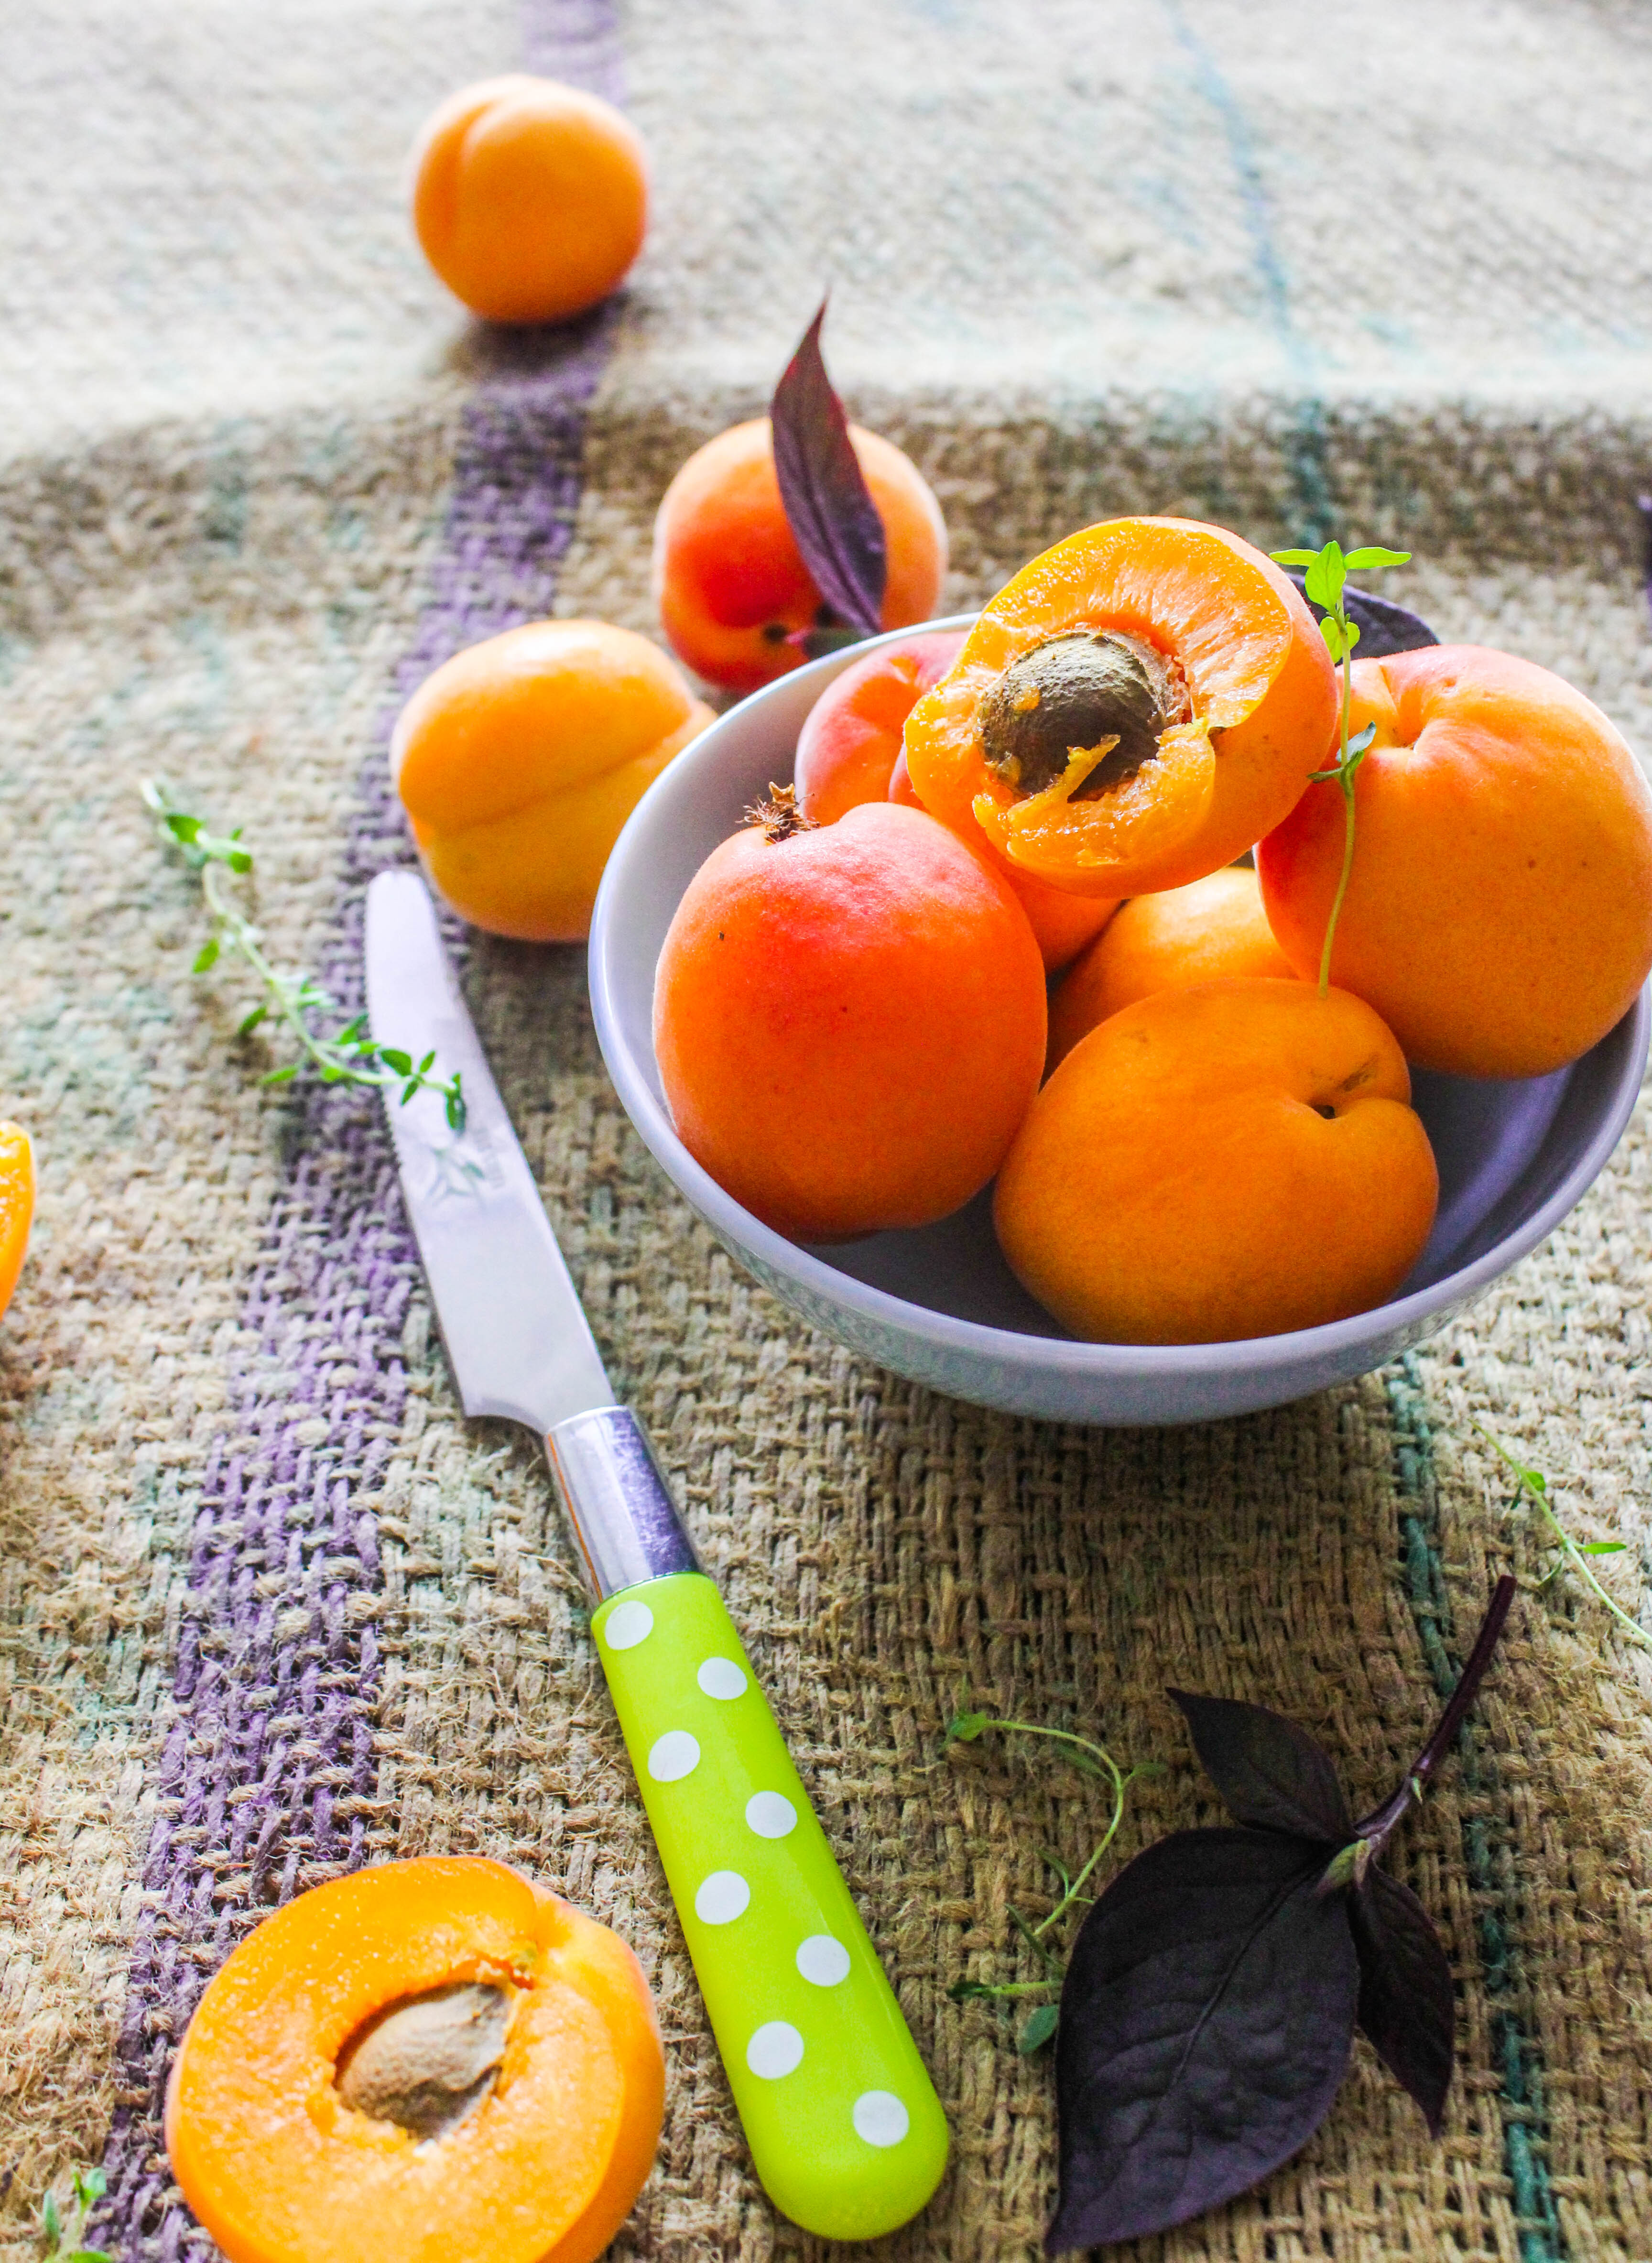
I had a glut of apricots last summer and that is when I had cooked with these. I think, I liked them so much from a photography perspective that I wanted to keep them as simple and intact as possible. Apricots in season are so sweet and juicy by themselves that I best enjoy them plain.

IMG_8322

There is really no recipe. You wouldn’t need one. I halved the apricots and removed the stones. I sautéed them in a little butter till they were slightly golden. On removing from the heat, I placed them on a serving tray. Drizzled a bit of honey (whilst they are warm), spooned over goat’s cheese and scattered with toasted pine nuts.

IMG_8338

Apricots are versatile so this dish is open to all possible variations. Mascarpone or Ricotta can be used in place of goat’s cheese. Replace pine nuts with almonds or pistachios. Add mint or basil for an extra herby punch. Spice works too. A sprinkling of powdered cinnamon, ginger or cardamom elevates the flavours to a whole new level.

IMG_8337


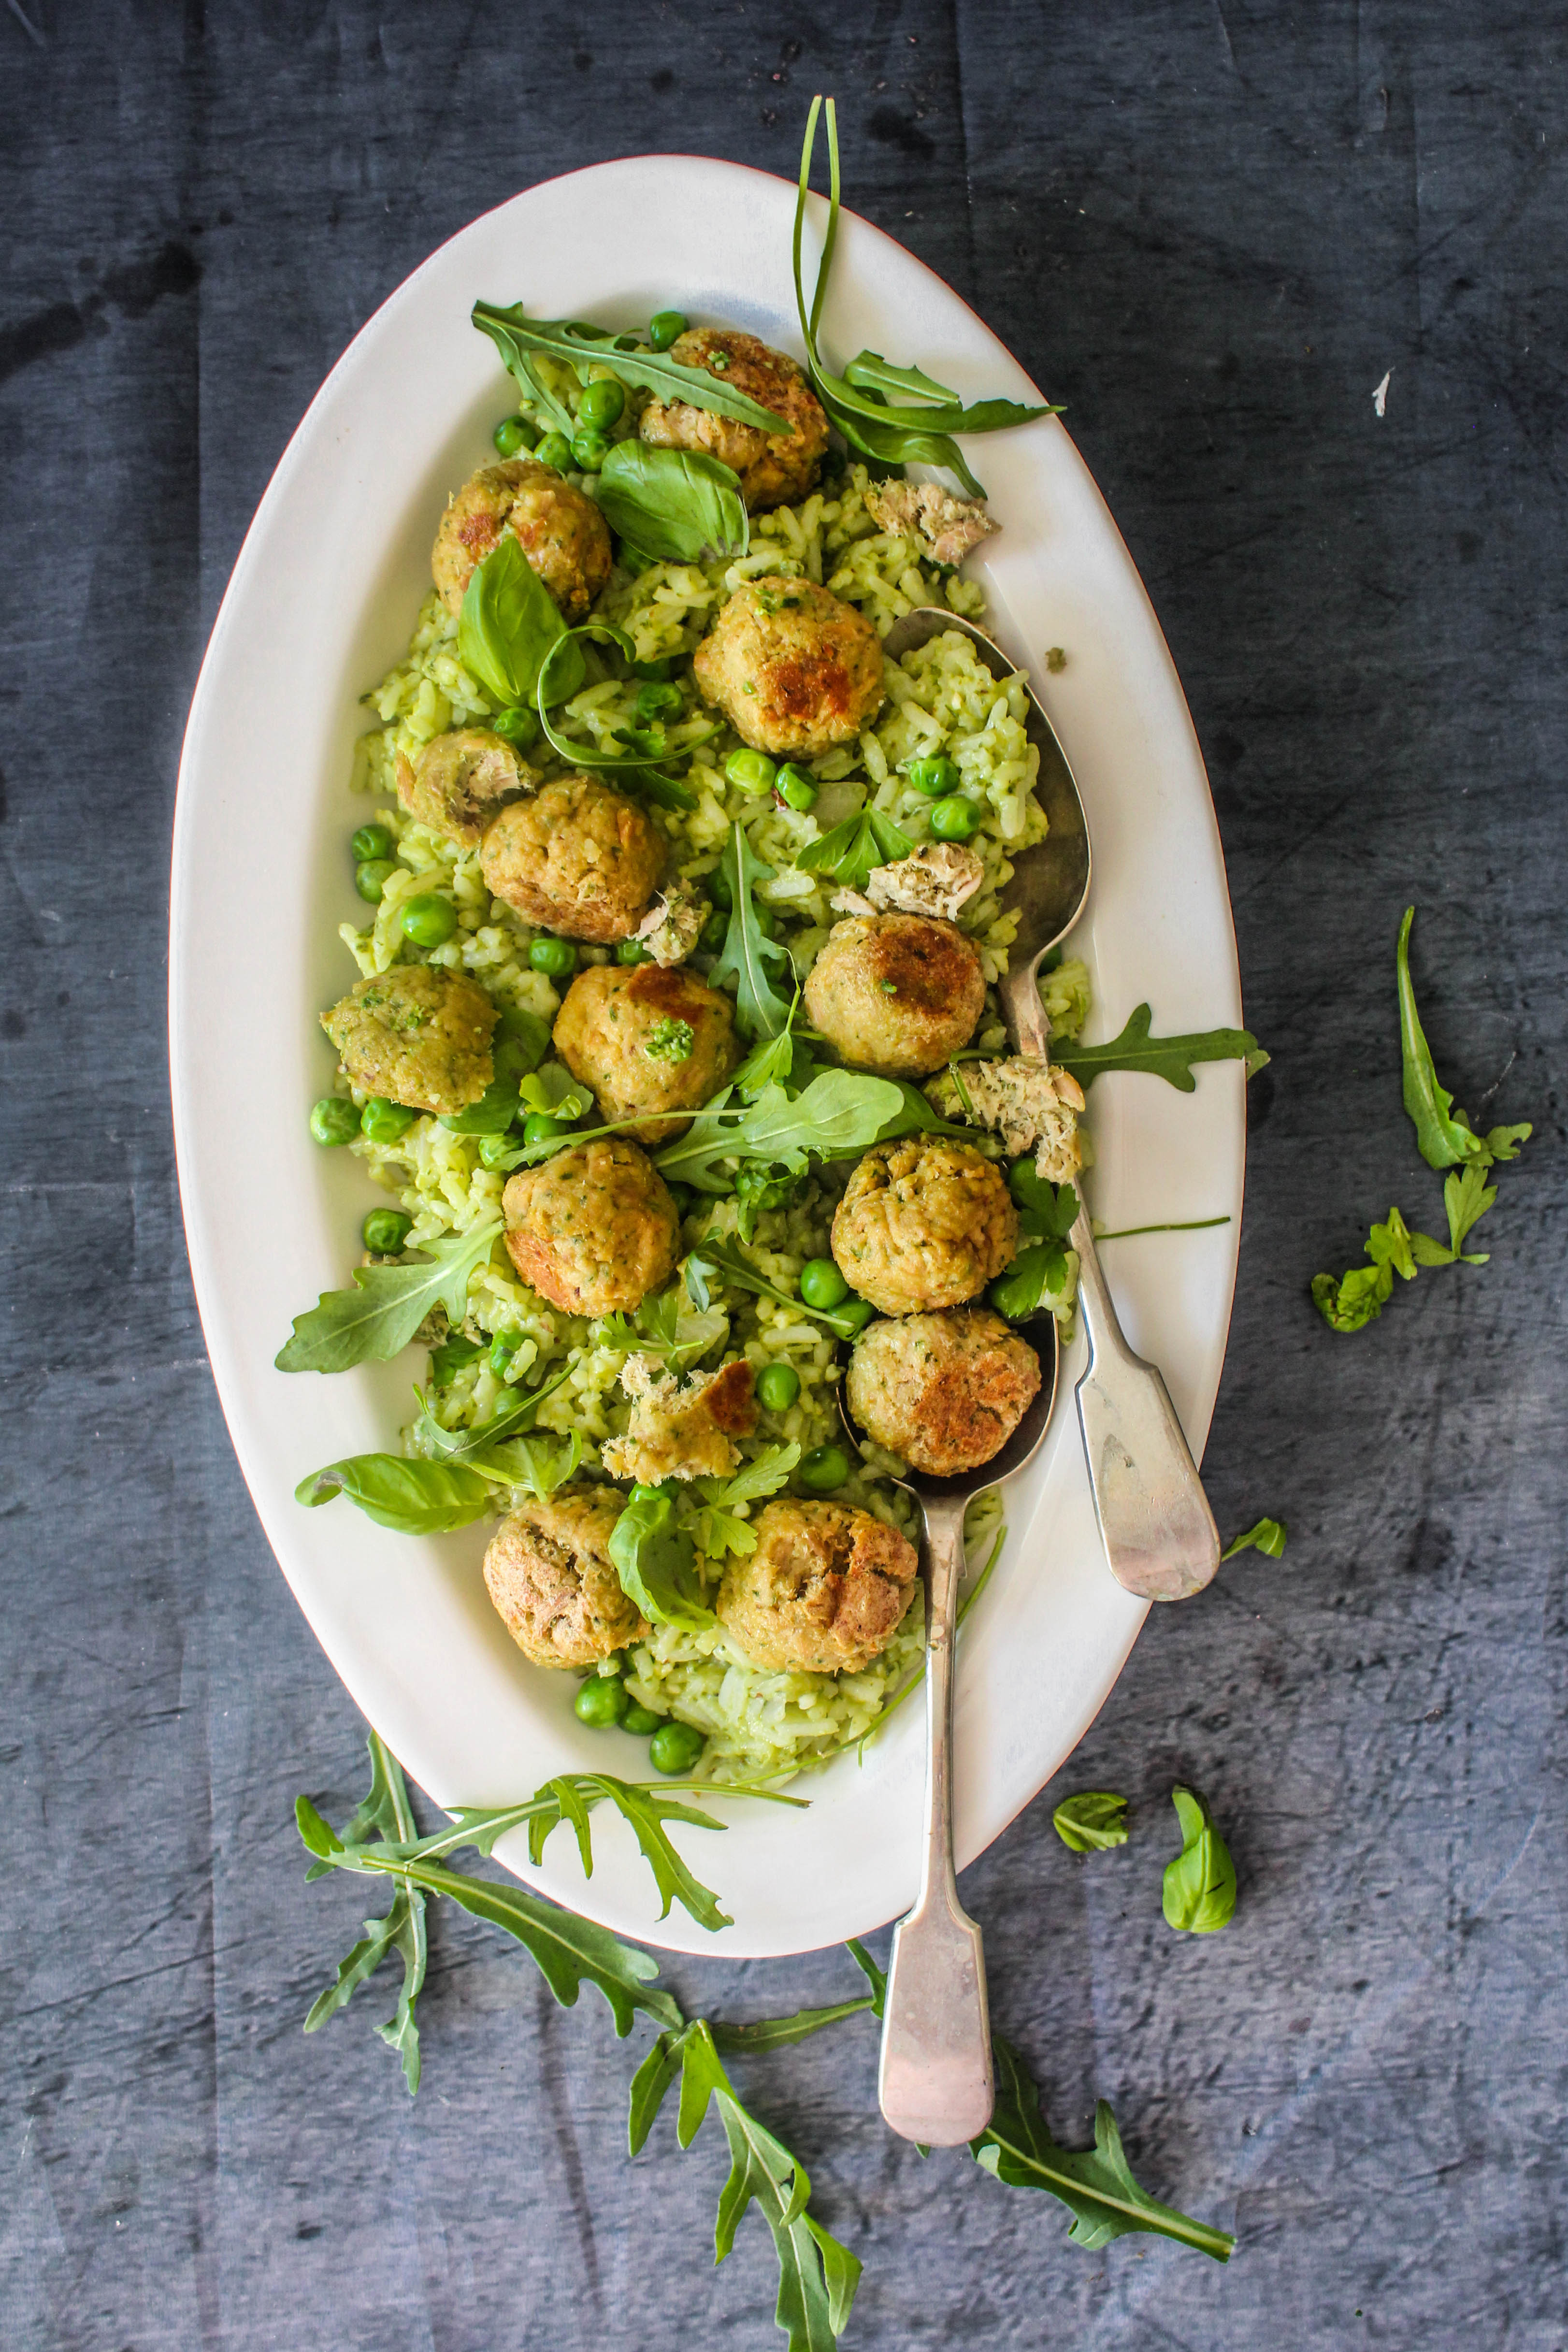
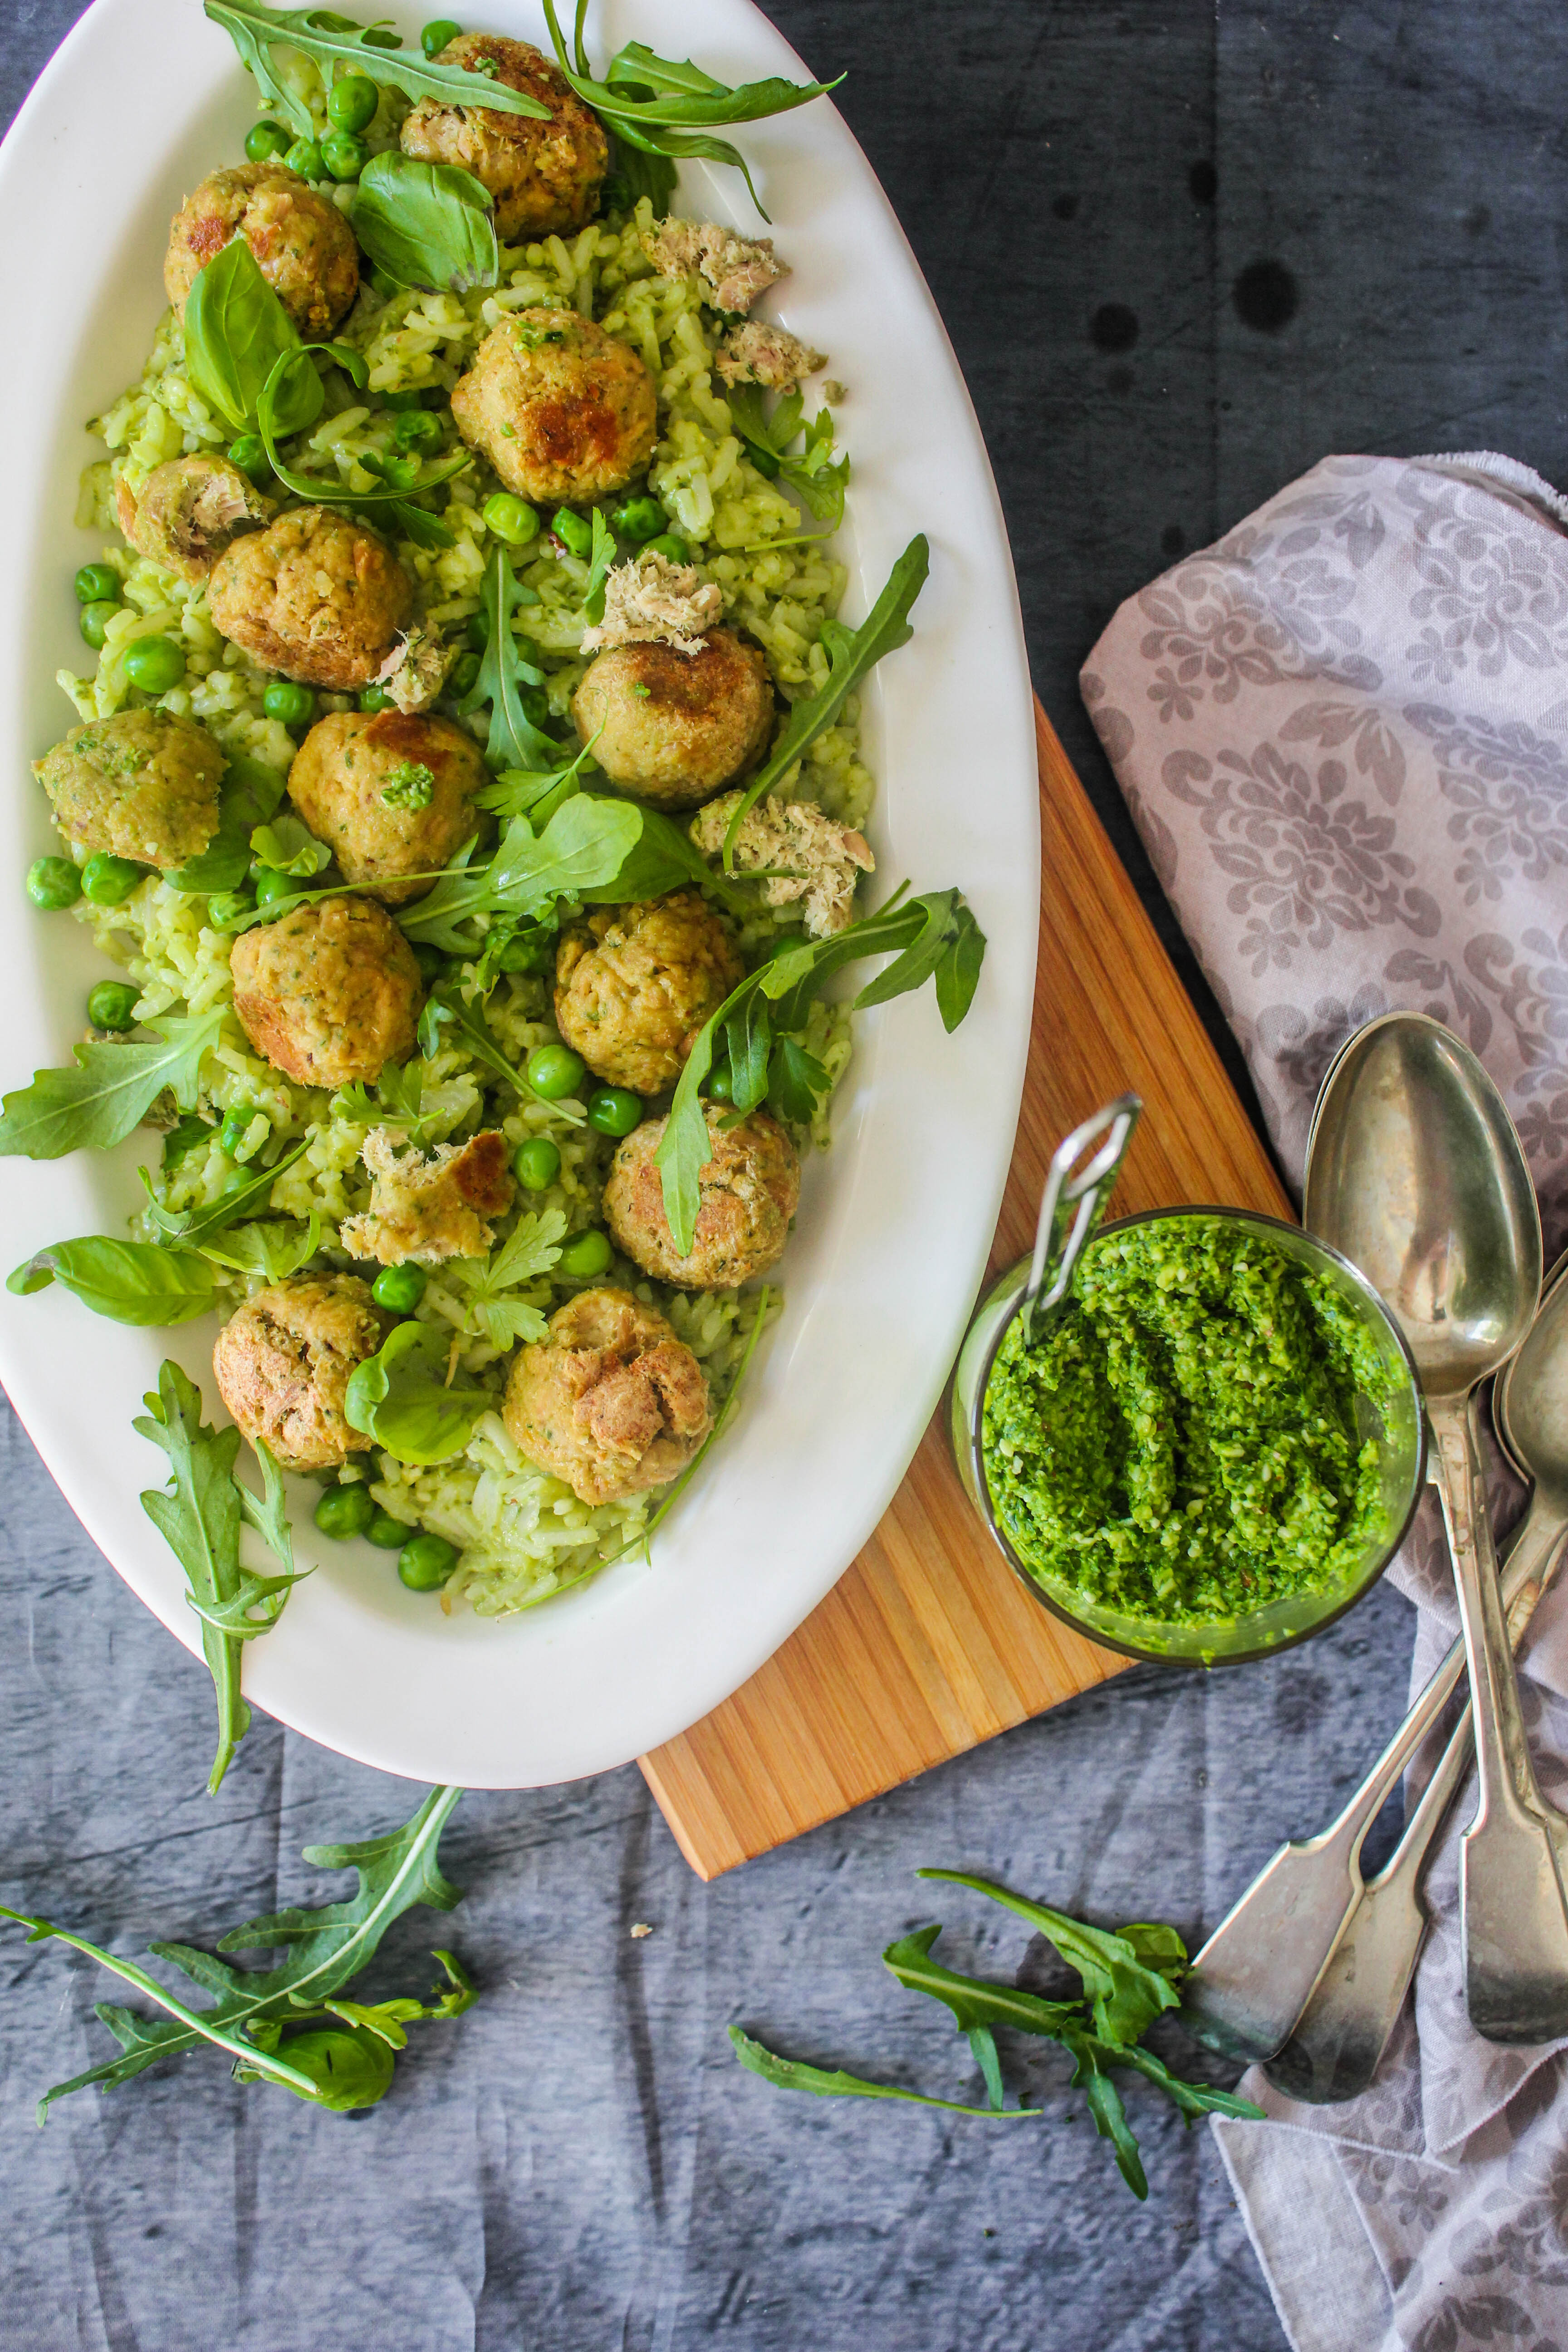
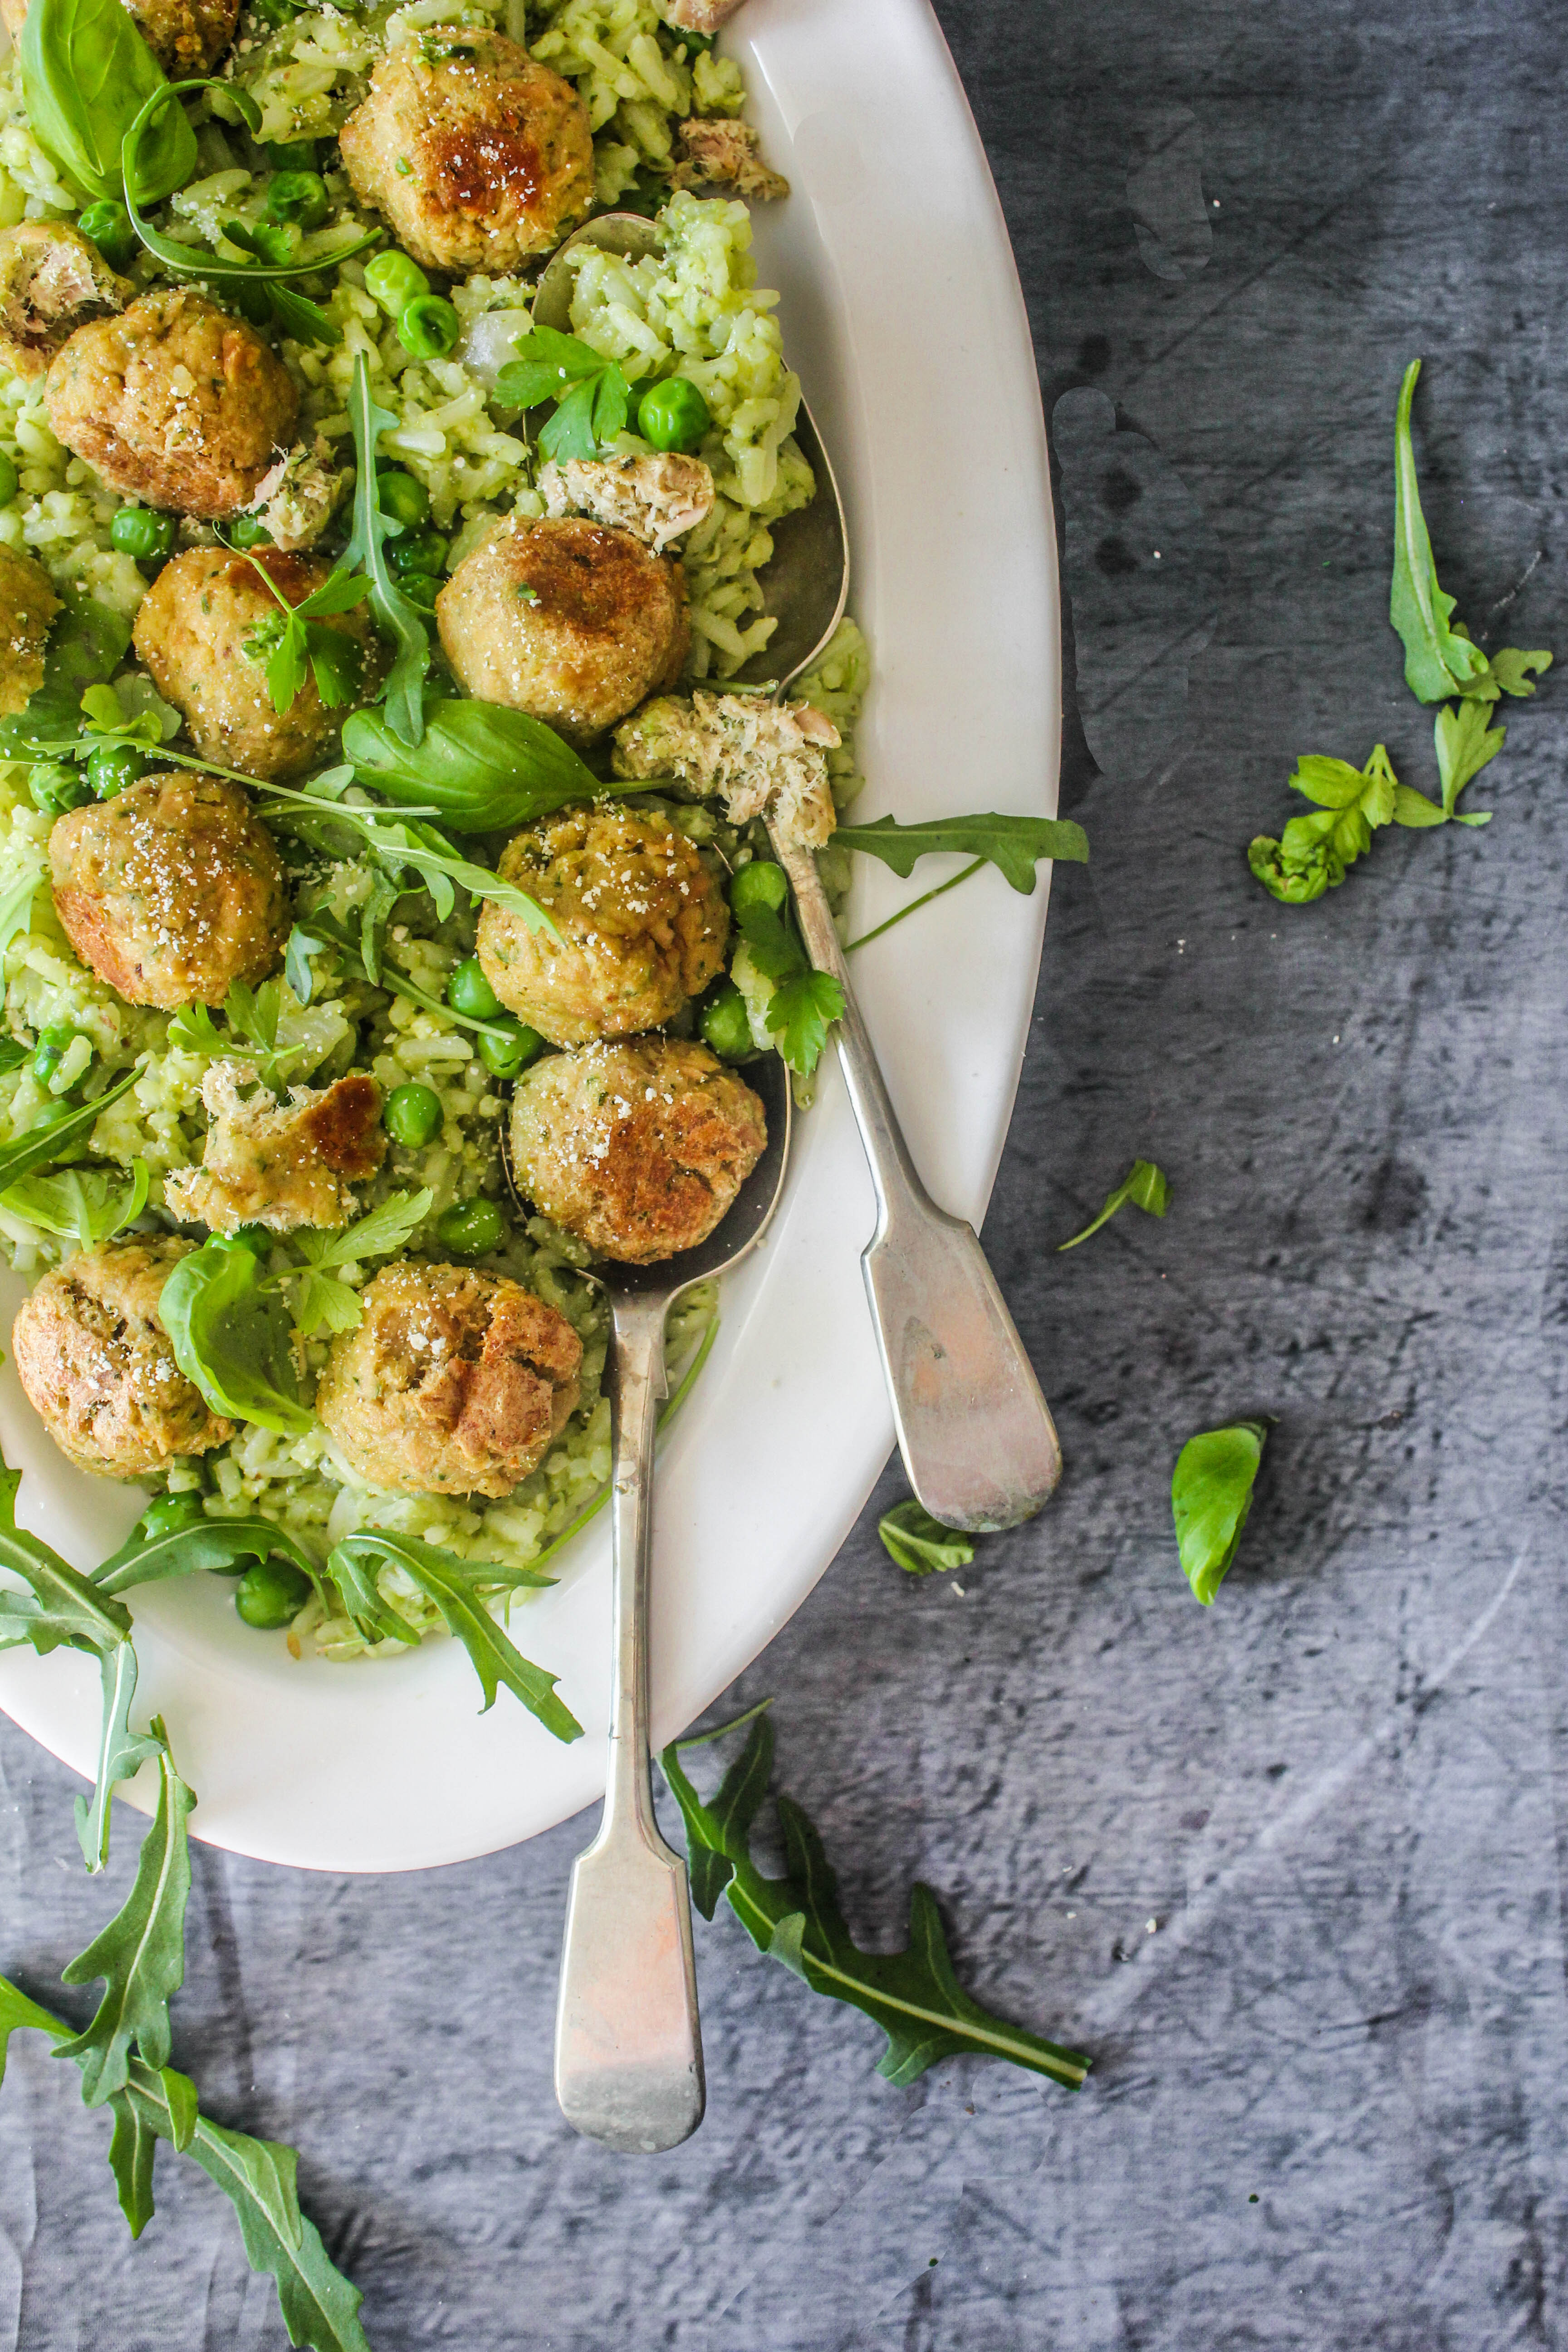
Rice with Spring Onion Pesto and Tuna Meatballs

12|07|2014

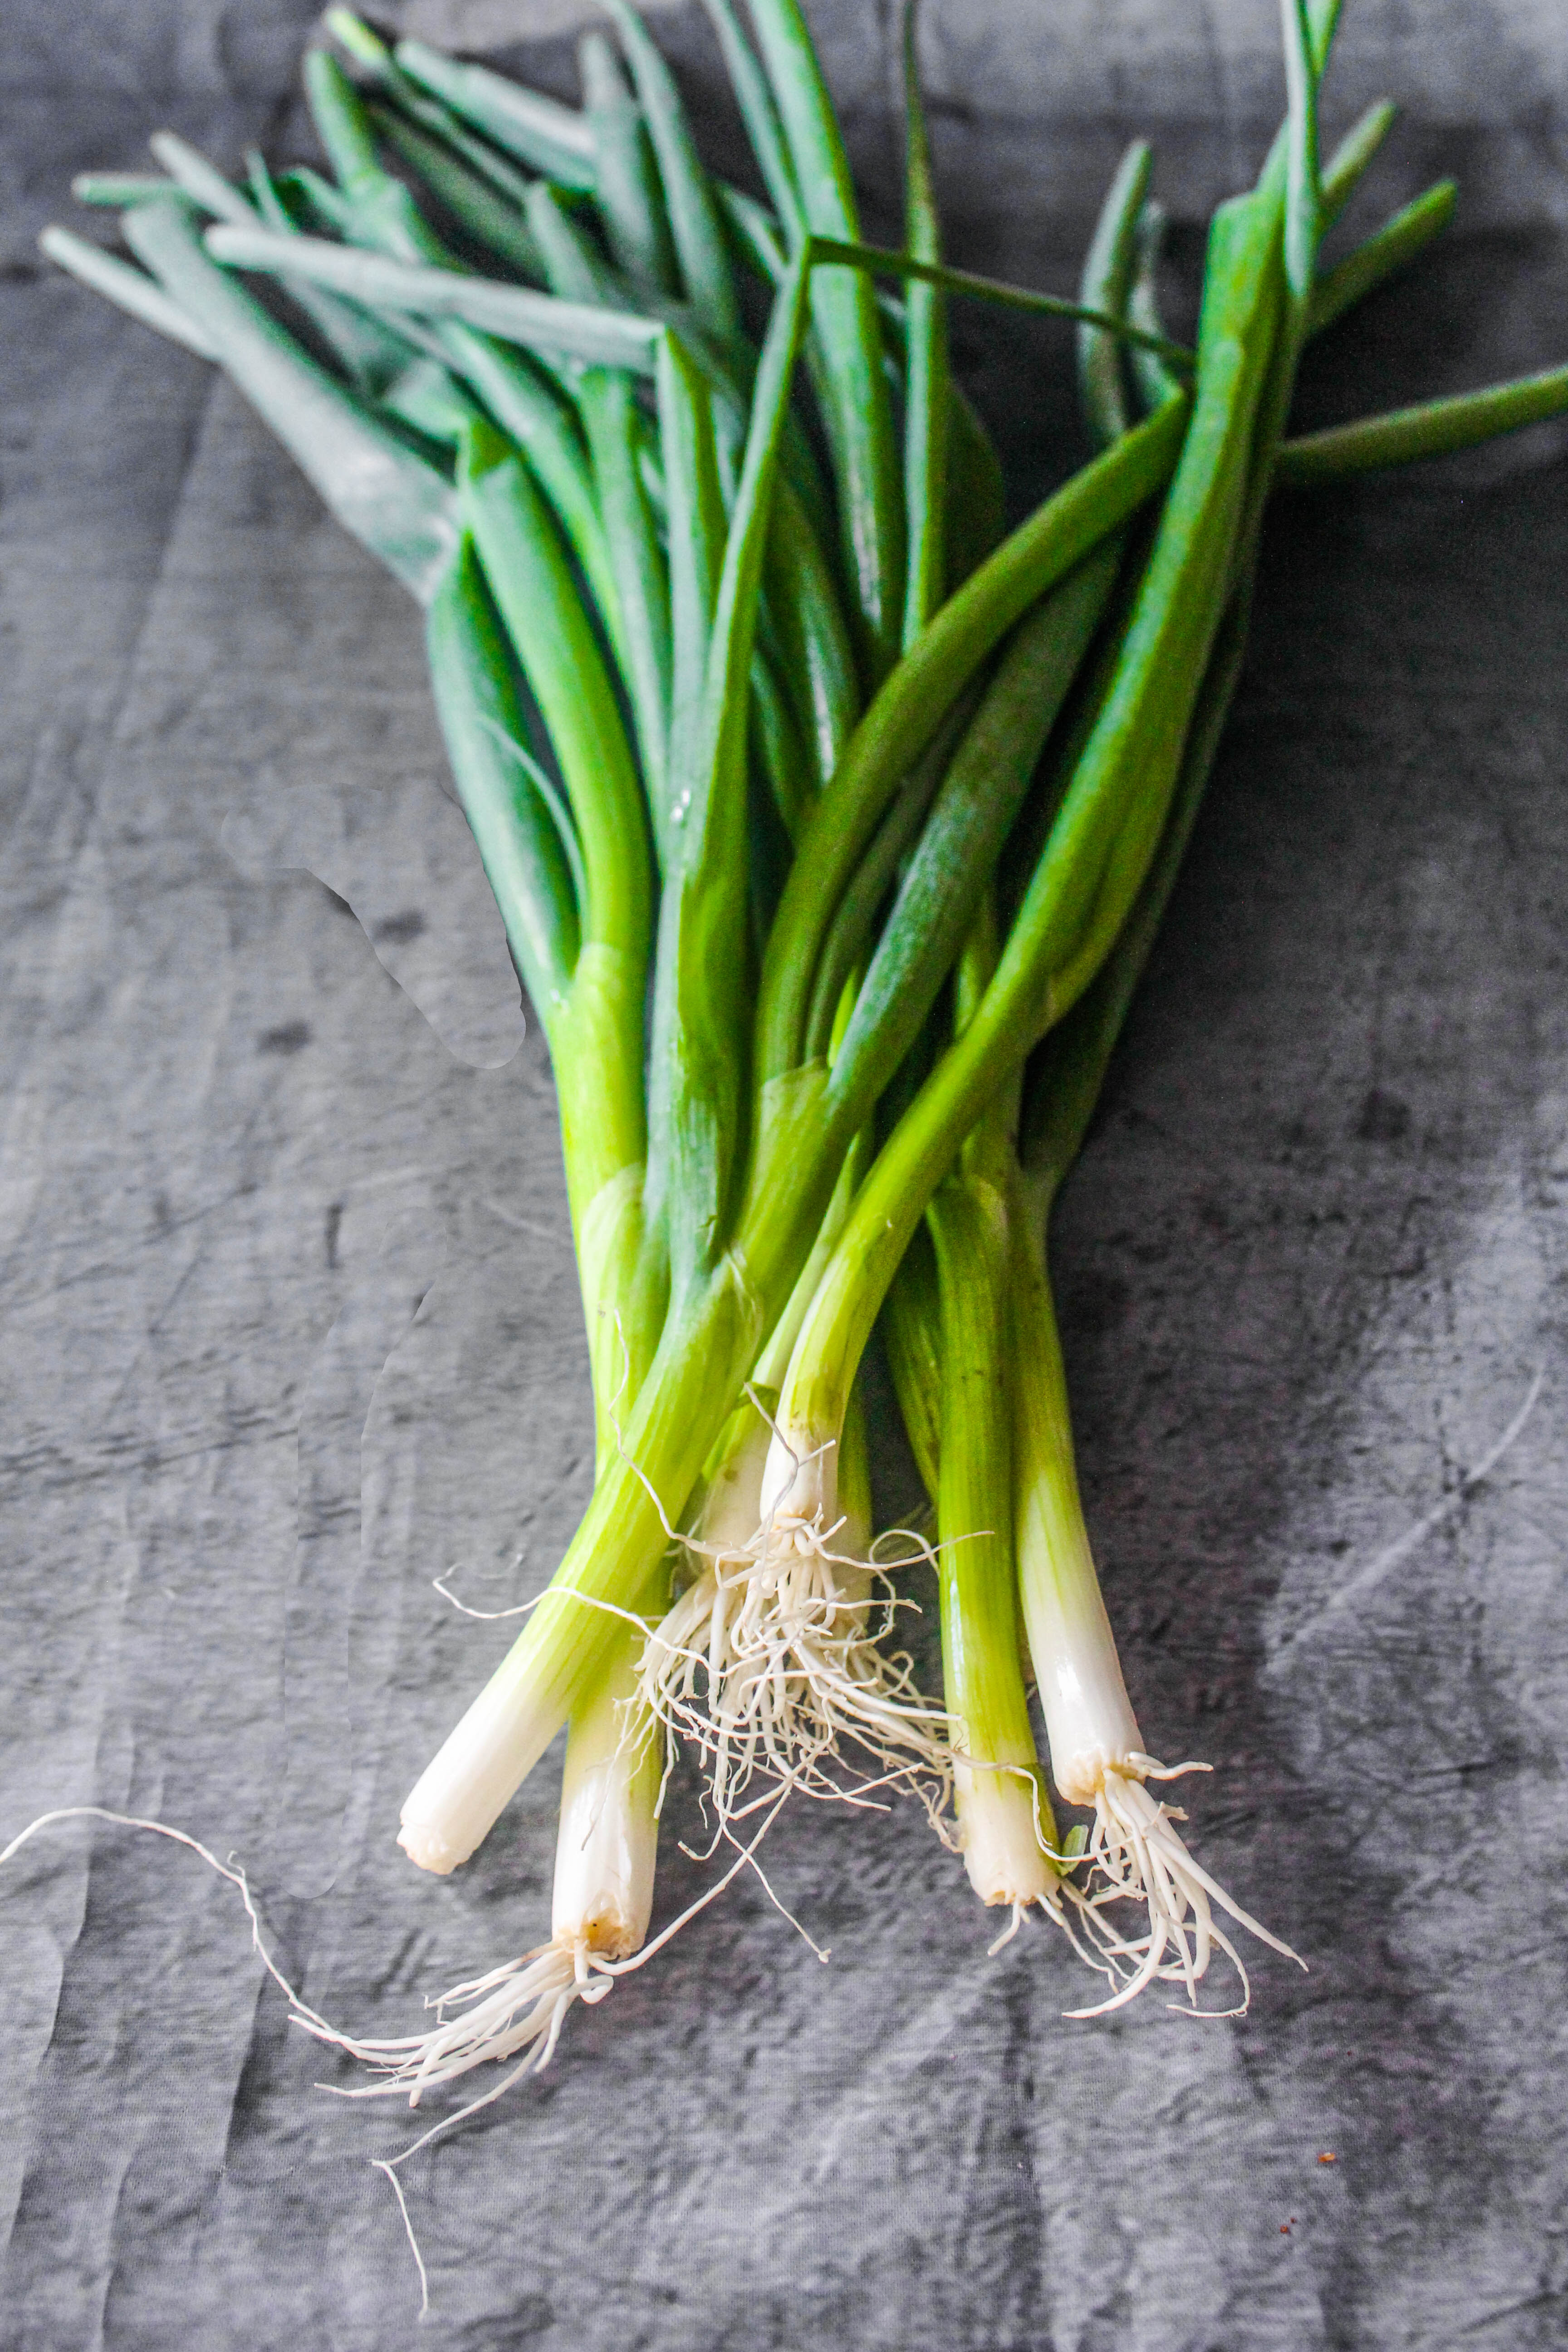
Perhaps the very best taste, I have enjoyed of Spring Onions have been in Chinese Spring Onion/scallion pancakes. Until now.
This pesto has changed that and it has assumed an important place in my weeknight menu lately. It is no secret how much I love making and eating Pesto. While I absolutely love the traditional basil-pine nut pesto, I find that there is plenty of room for variation in the classic ingredients for convenience, preference or variety. I’ve already shared it with you here and here.

IMG_0858

IMG_0863


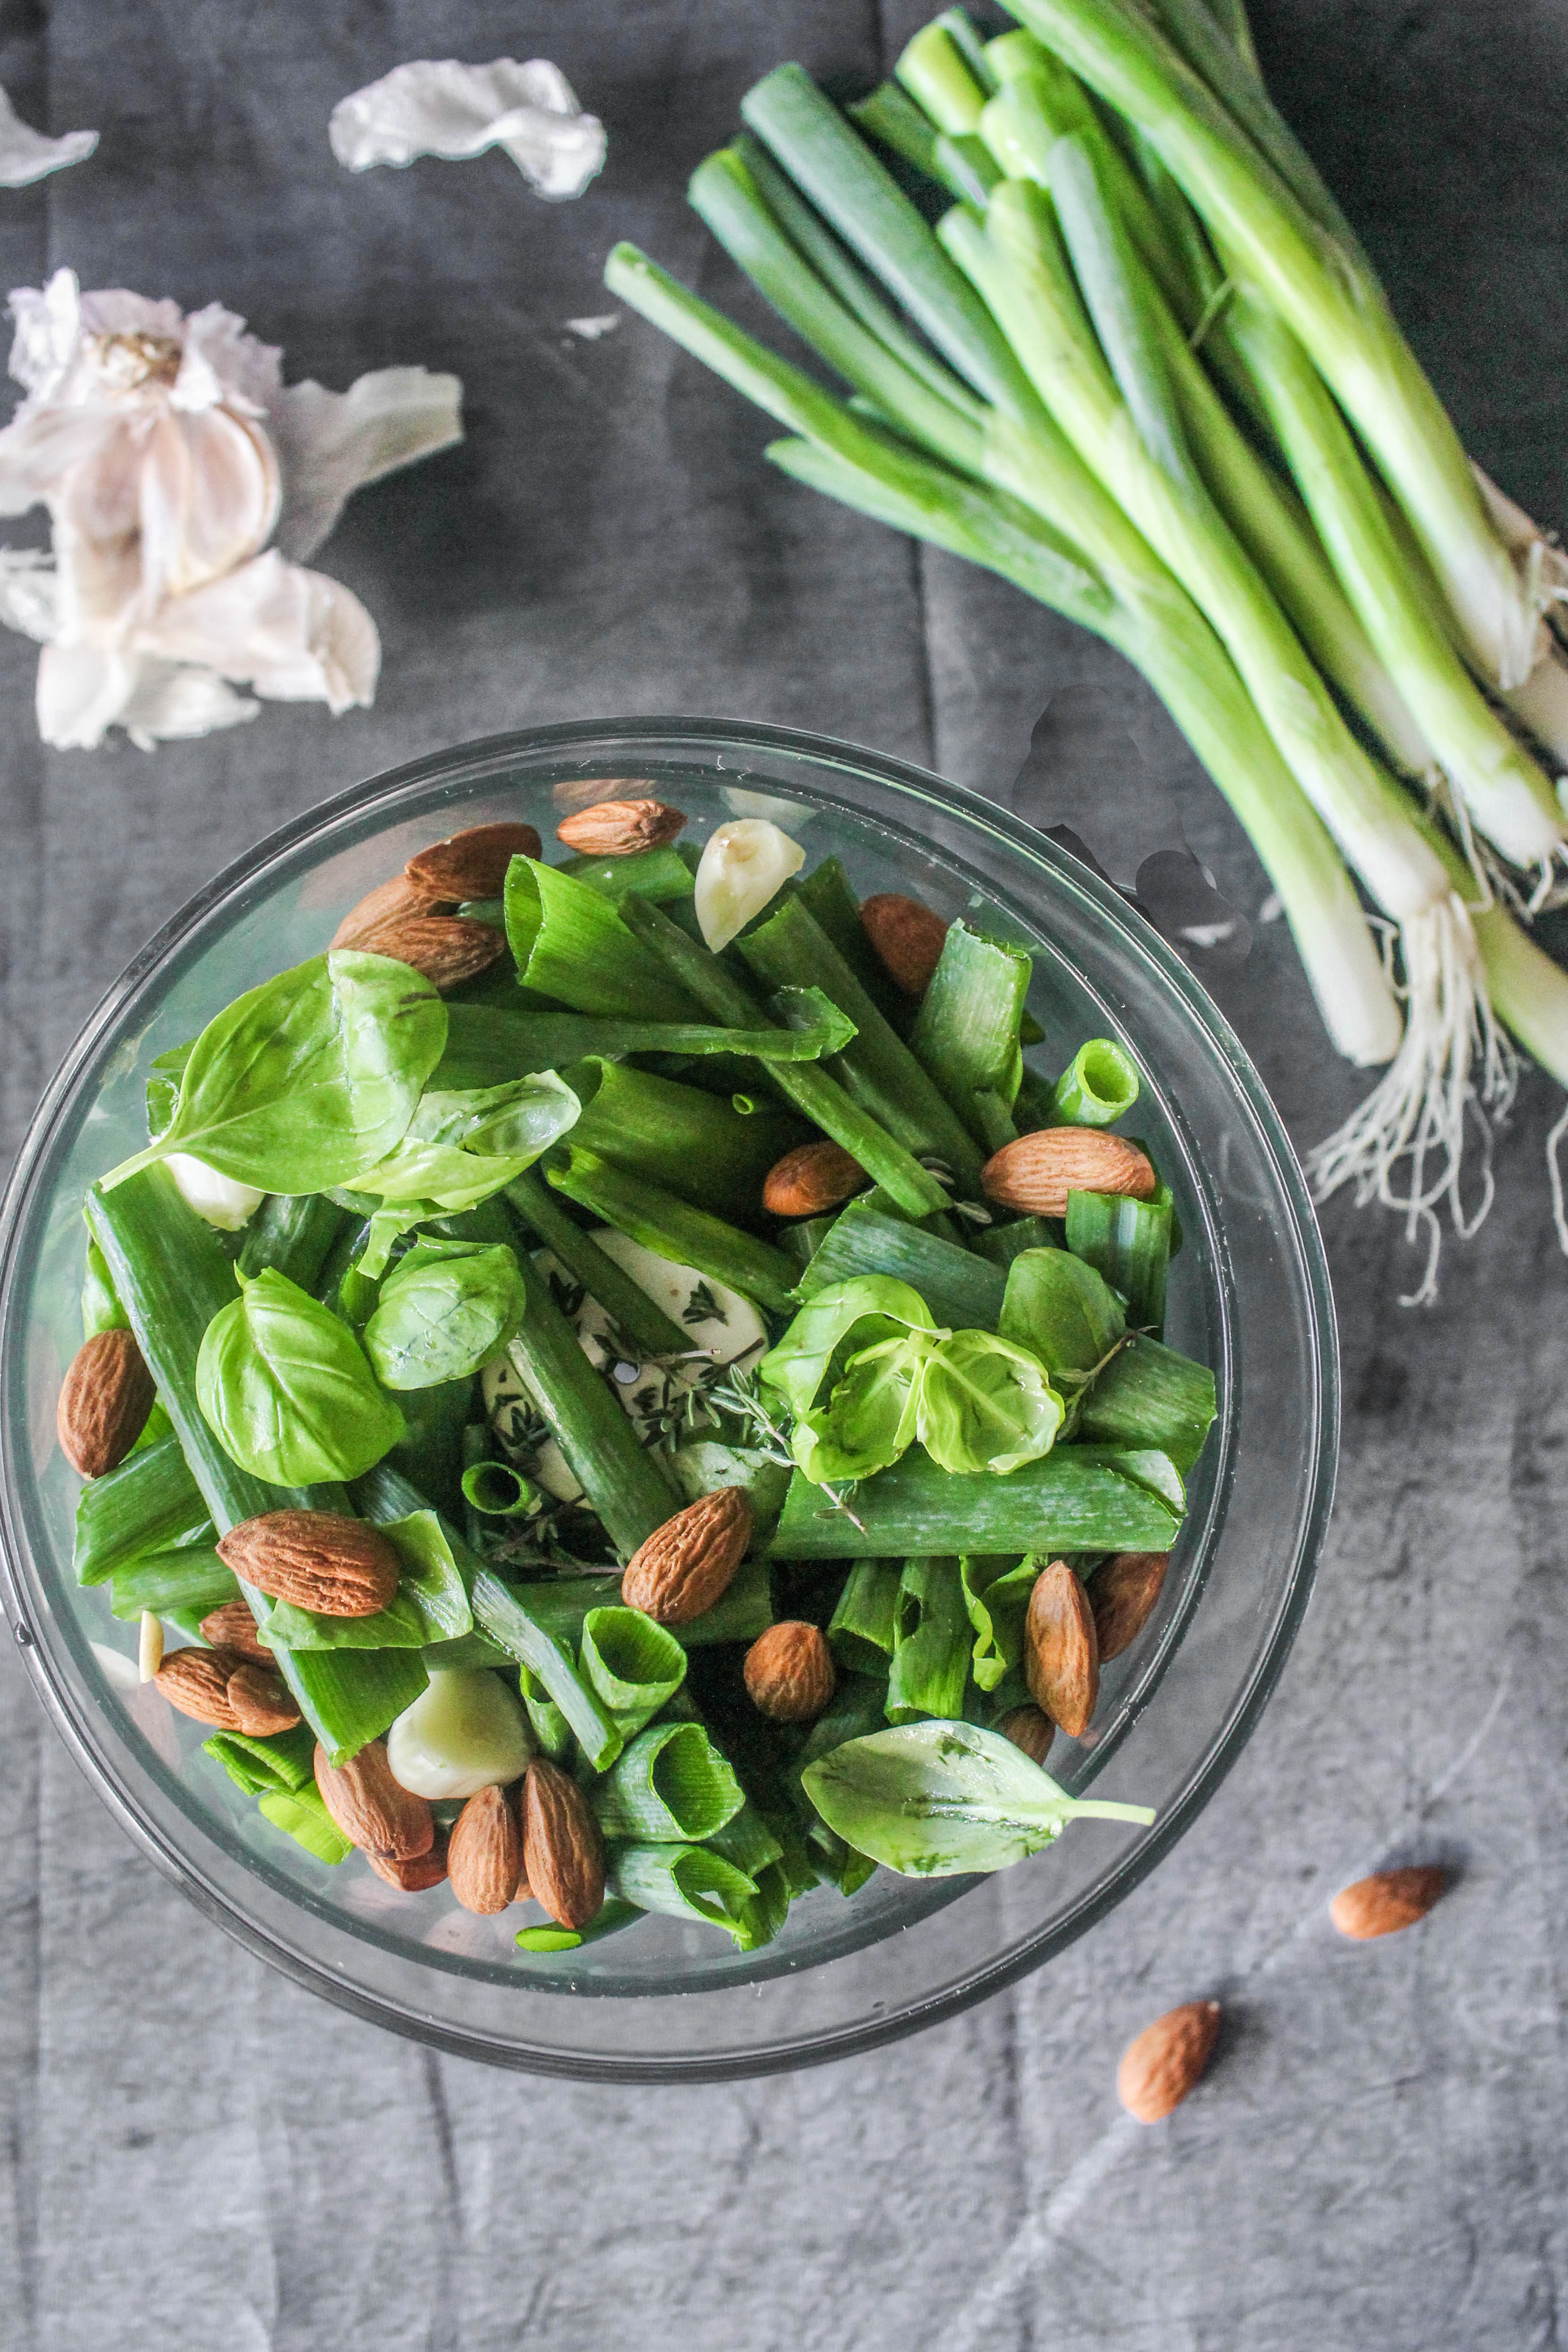
The mild onion flavour of spring onions along with garlic, almonds, some basil, thyme, parsley (basically any herb that you have at hand), a bit of parmesan and olive oil yields a pesto that is so versatile and flavourful that you can spoon it over any savoury dish to make it taste delicious. The vibrant green reminds me of spring. So aptly called Spring Onion.

IMG_0875-3


IMG_0870-2I like to stock up on canned Tuna for rainy days. Unopened, it stays for months and there is no prep required to cook with it, which is great for dishing out meals under 30 minutes. The Tuna meatballs take less than 10 minutes to put together and are then baked in the oven. Both the Pesto and meatballs can be made ahead. Then dinner is just a matter of cooking the rice with pesto and adding in the meatballs.
The recipe will yield more pesto than needed for the rice. You can store leftover pesto it in the refrigerator and use it on pasta, soups, sandwiches or as a marinade for chicken skewers like I did.

IMG_0881-3

 Rice with Spring Onion Pesto and Tuna Meatballs
Serves 4

1 tbsp. olive oil
1 brown onion, finely chopped
1 cup long grain rice
11/2 cups chicken stock
1/2 cup spring onion pesto (recipe below)
1/2 cup frozen peas
Tuna meatballs (recipe below)
salt and pepper, to season

Spring Onion Pesto
1 bunch spring onions, white part removed, roughly chopped
3 cloves garlic
1/4 cup fresh basil
1/4 cup fresh parsley
2 sprigs thyme
1/2 cup whole almonds
1/2 cup grated parmesan
1 tsp sugar (optional)
1 tsp lemon juice
1/2 cup olive oil

Tuna Meatballs
450 g canned Tuna (in spring water or Brine), drained
1/2 cup fresh breadcrumbs, from a day old whole grain bread (to make, just run a slice of bread through the food processor)
1 tbsp. Spring Onion Pesto
2 tbsp. grated parmesan
1 tbsp. grated lemon zest
1 egg lightly beaten
Salt and pepper to season

Make the pesto: Place the spring onions, garlic, basil, parsley, thyme, almonds, parmesan and sugar in the bowl of your food processor. Process until finely chopped. With the motor running, gradually add the lemon juice and oil in a thin steady stream until well combined. Season with salt and pepper. Refrigerate till needed.

Make the tuna meatballs: Preheat oven to 200 degrees C. Brush a baking tray with olive oil
Place the canned tuna, breadcrumbs, parmesan, pesto, lemon zest, salt and pepper and mix with your hand until well combined. Add egg and mix well. Roll into medium meatballs between your palms.
Place on the oiled baking tray and brush with oil. Bake for 15 minutes or until form and slightly golden brown. Once cooked, set aside.

Make the rice: Heat oil in a large sauce pan. Add onion, cook, stirring for 5 minutes or until onion softens. Add rice and stir to combine. Add chicken stock and bring to the boil. Reduce heat to low; cook, covered, for 12 minutes or until stock is absorbed and rice is tender.  Add pesto and peas and gently fold through. Remove from heat, add the meatballs. Divide rice and meatballs among serving bowls. Garnish with fresh herbs (basil, parsley, rocket) and parmesan. Serve warm


Beetroot and Feta Tart

9|07|2014

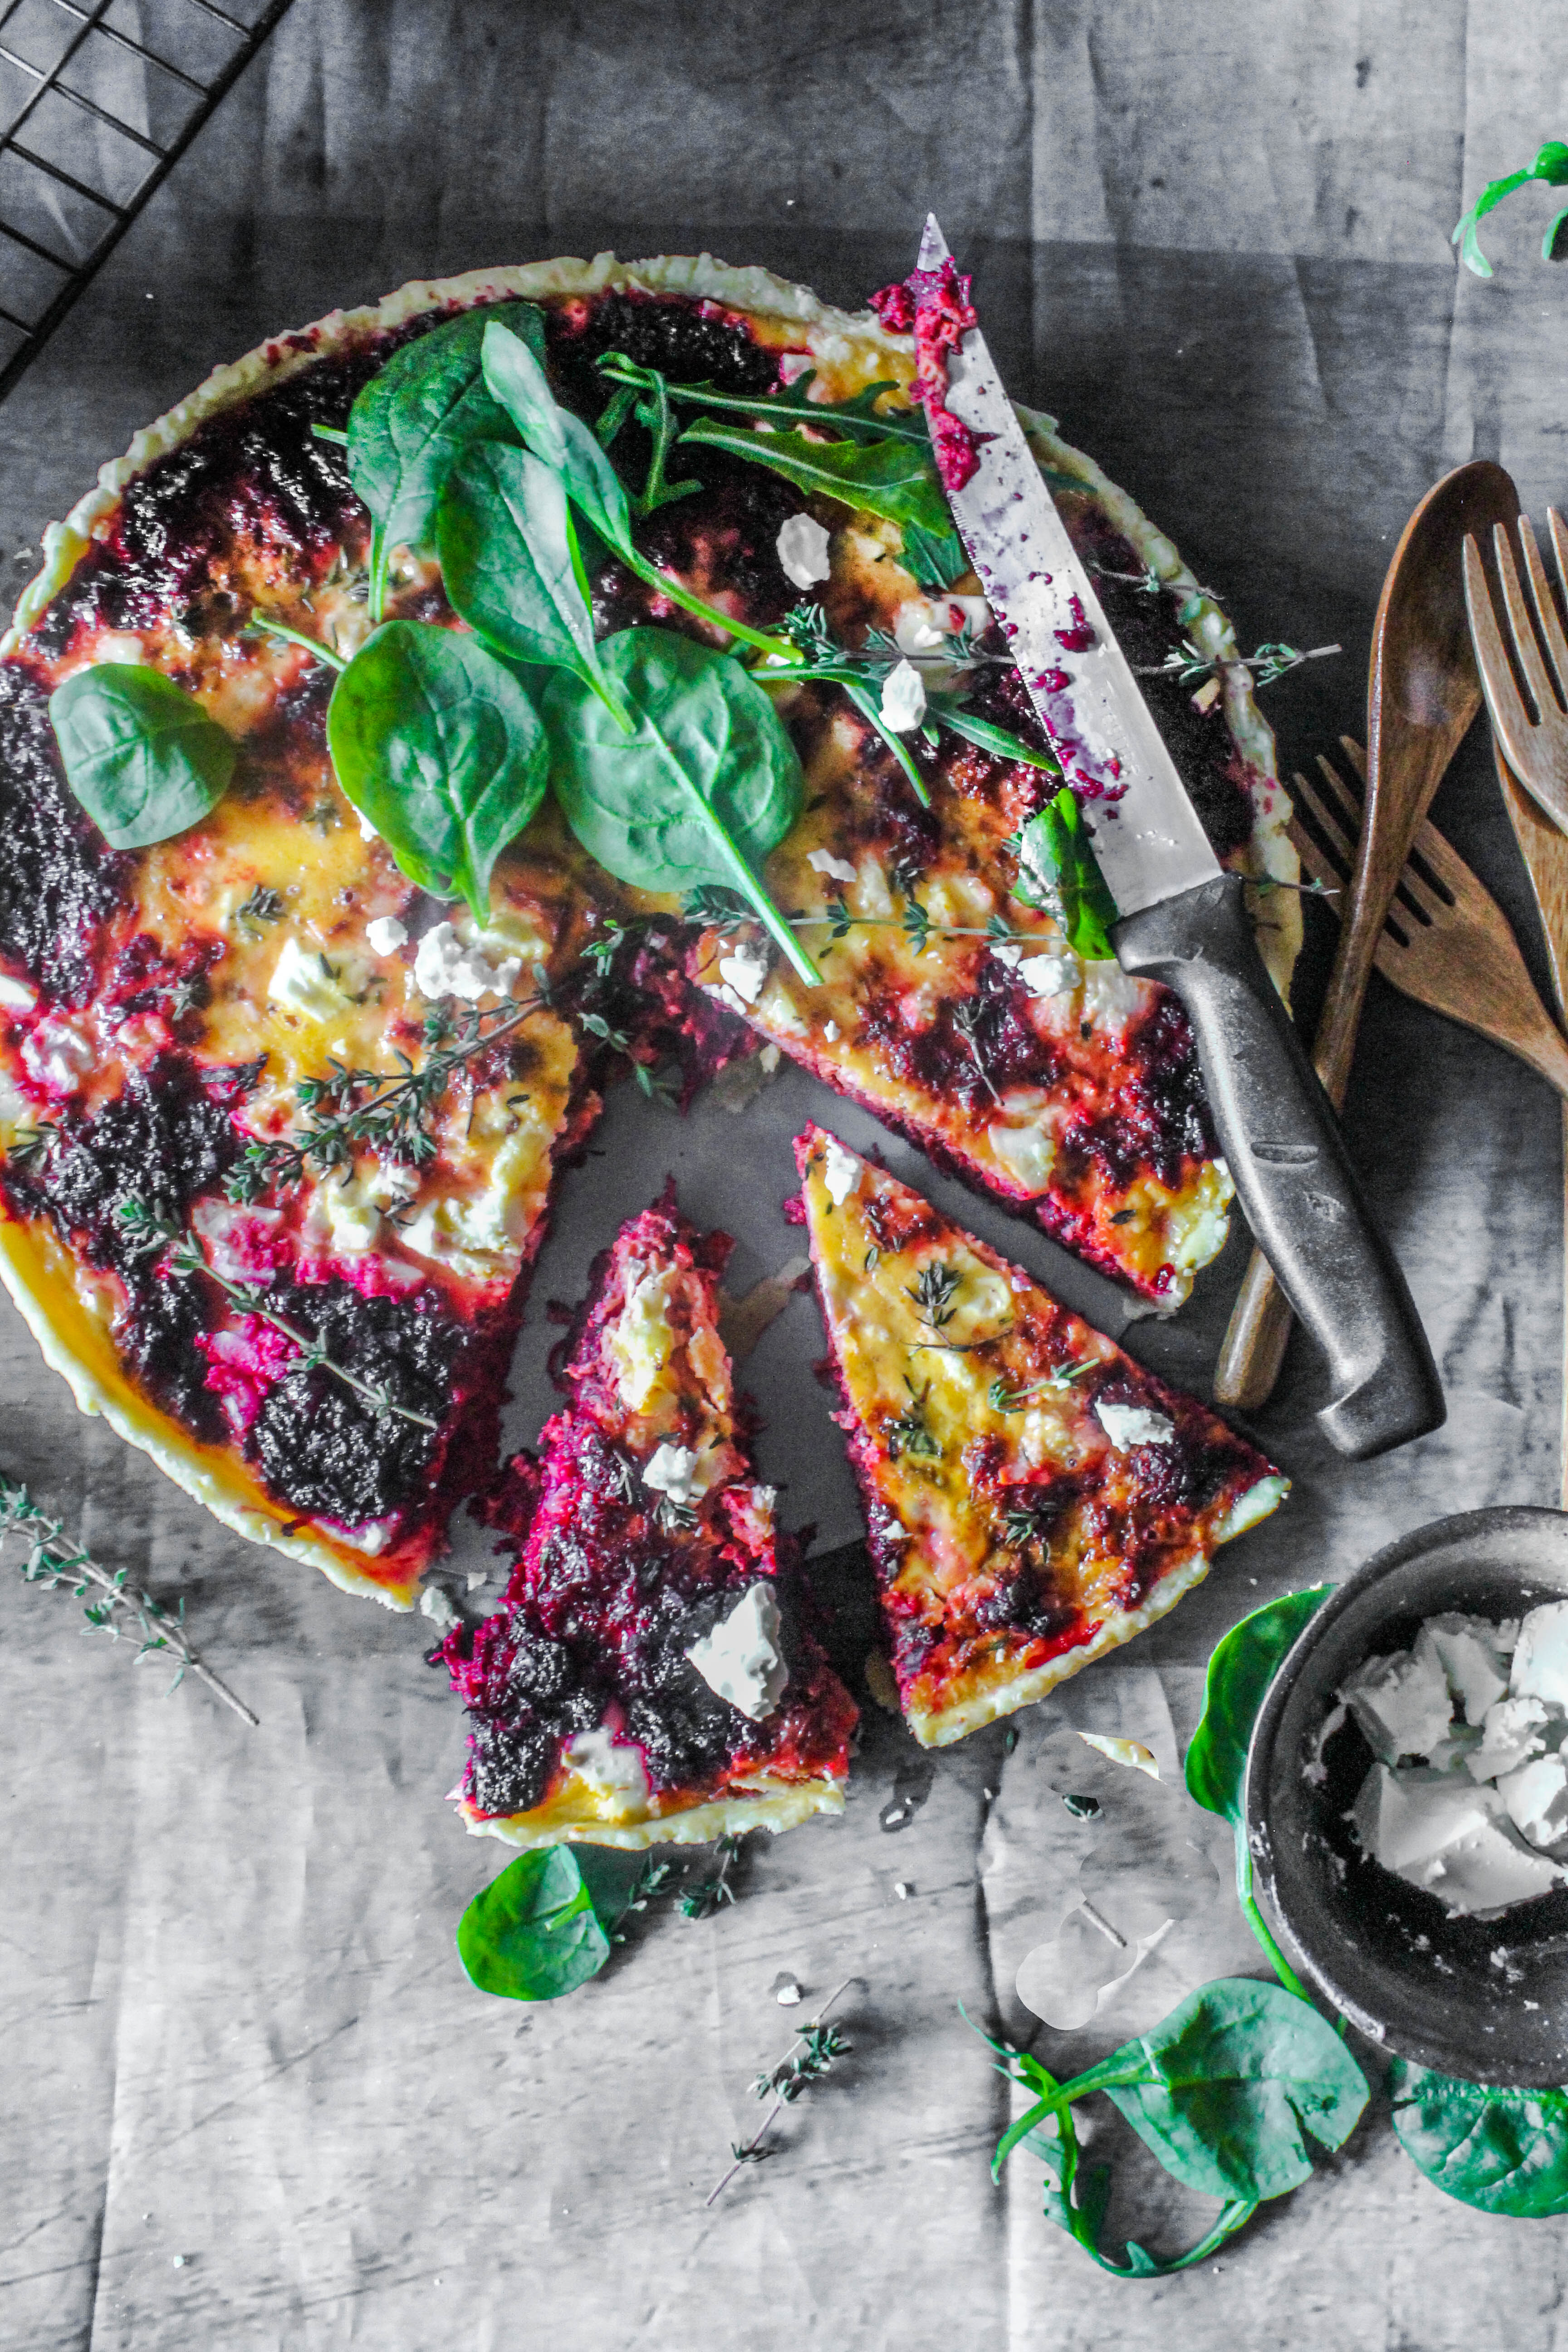
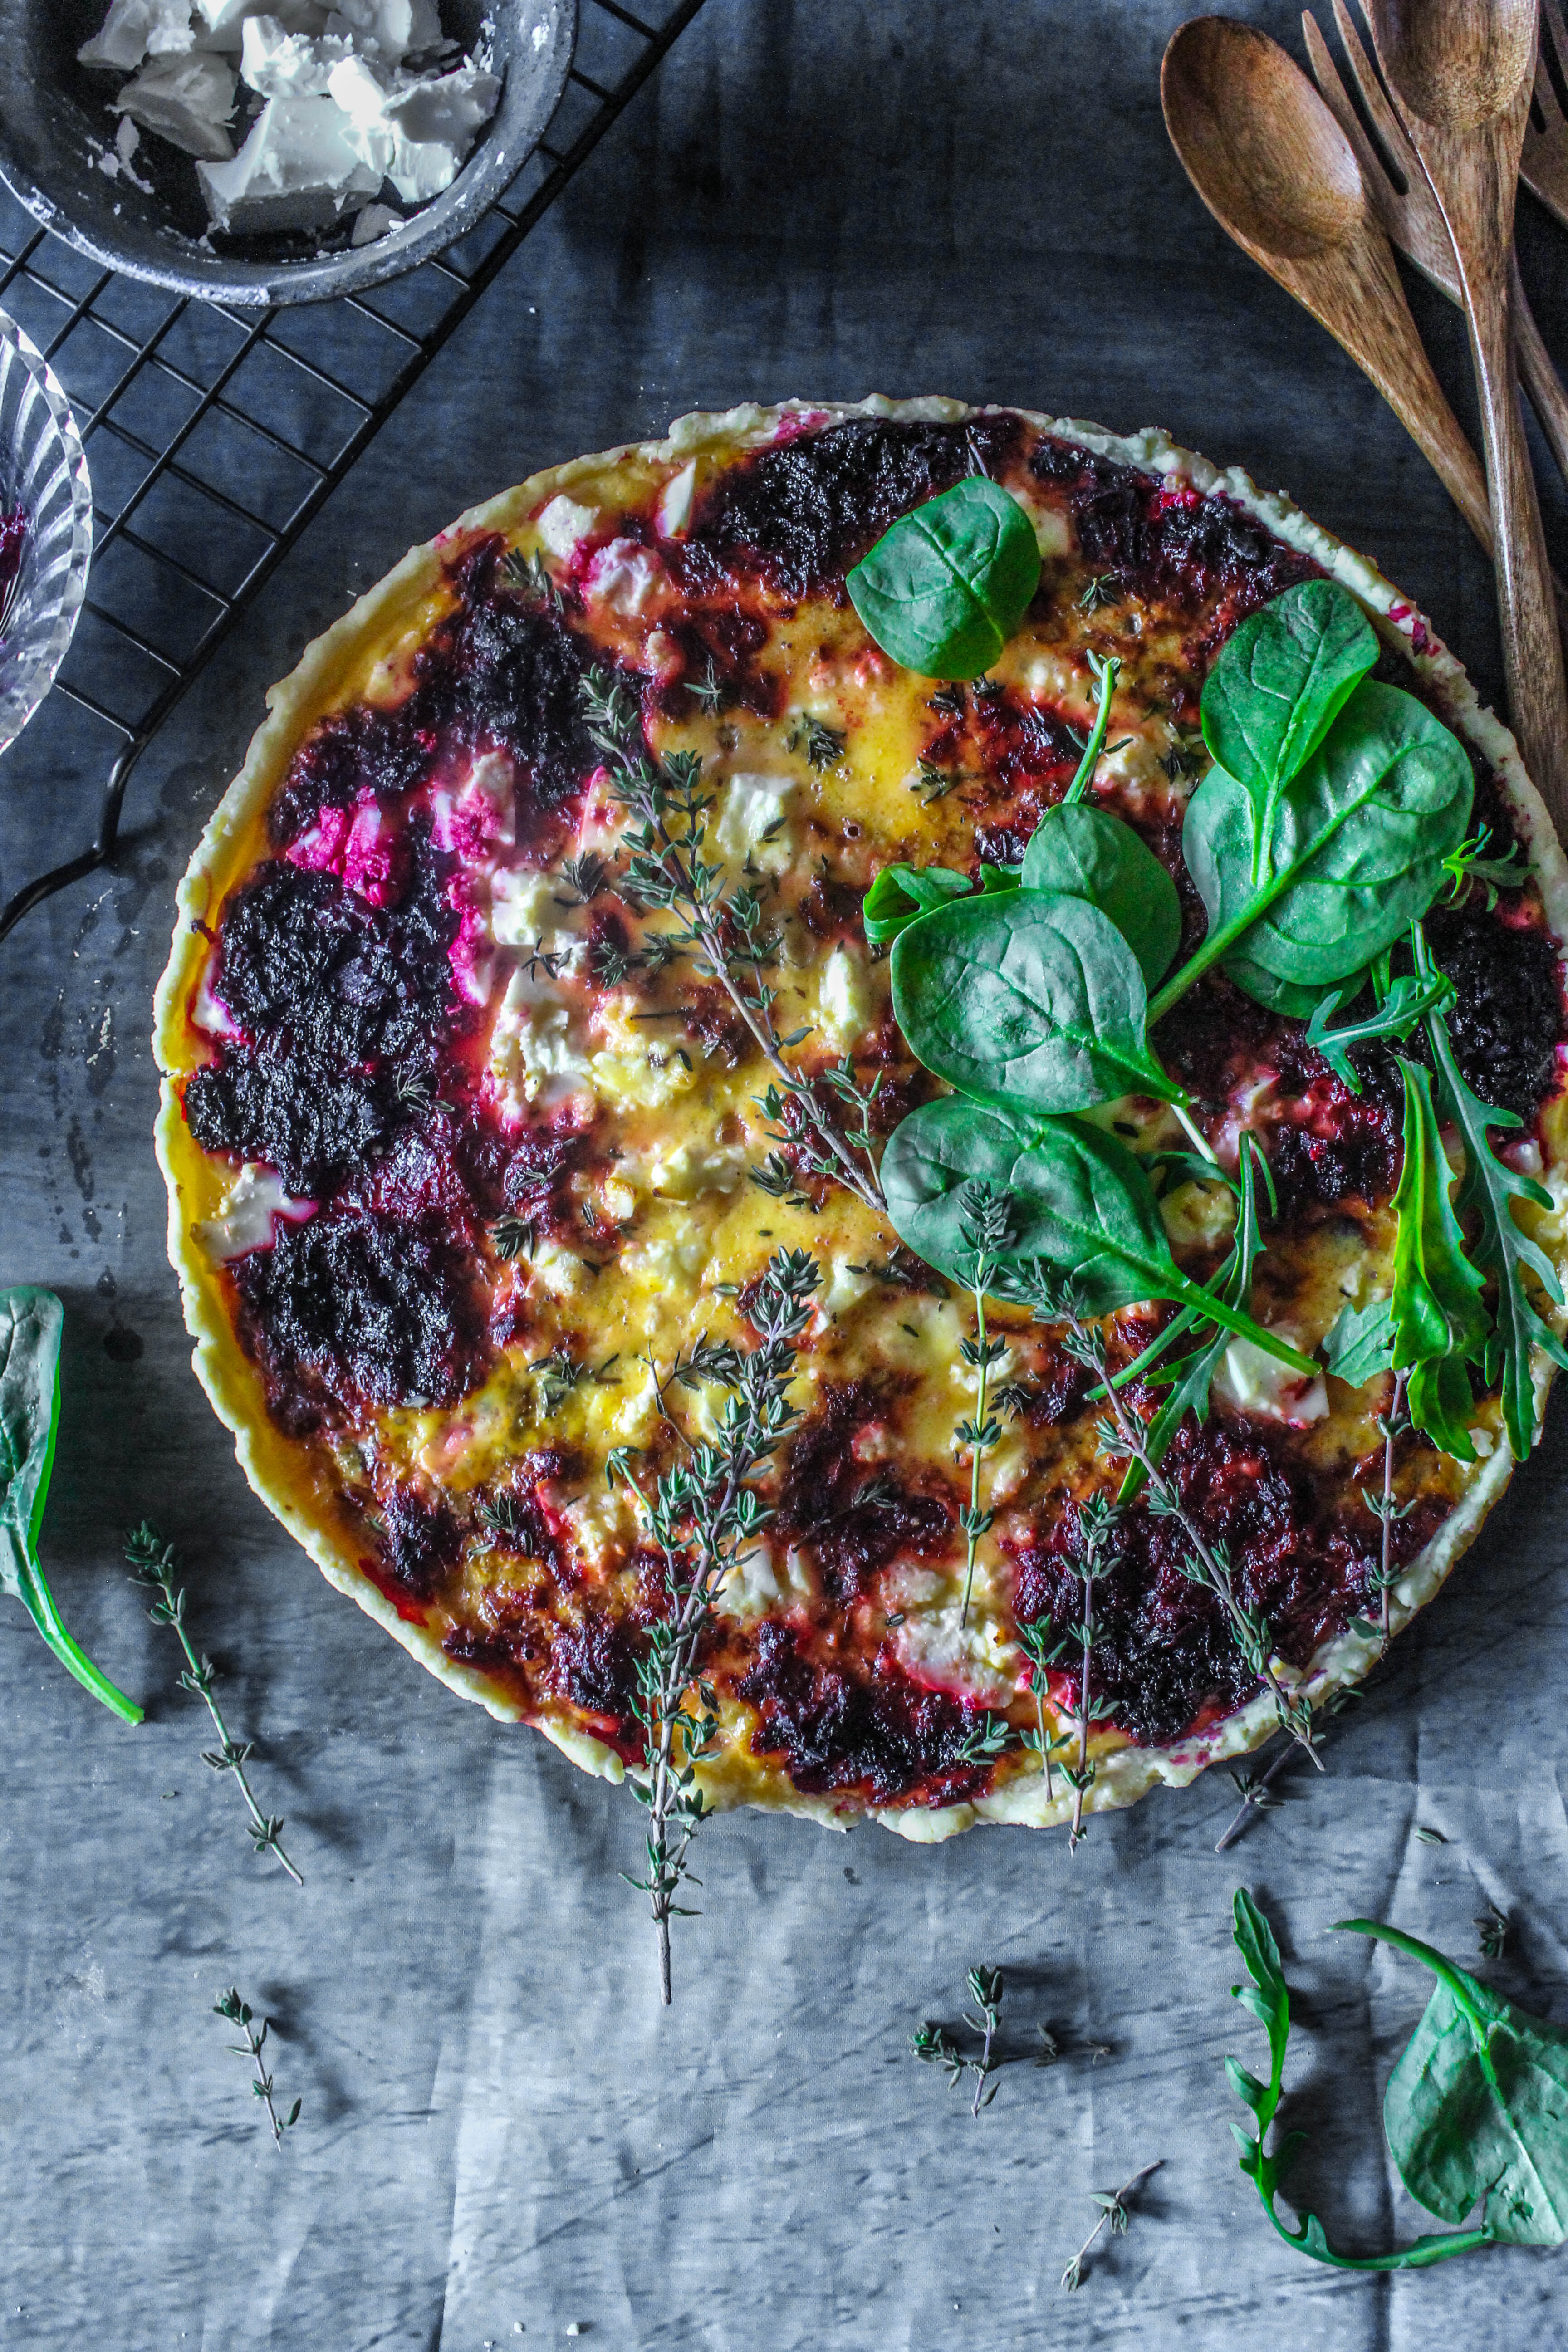
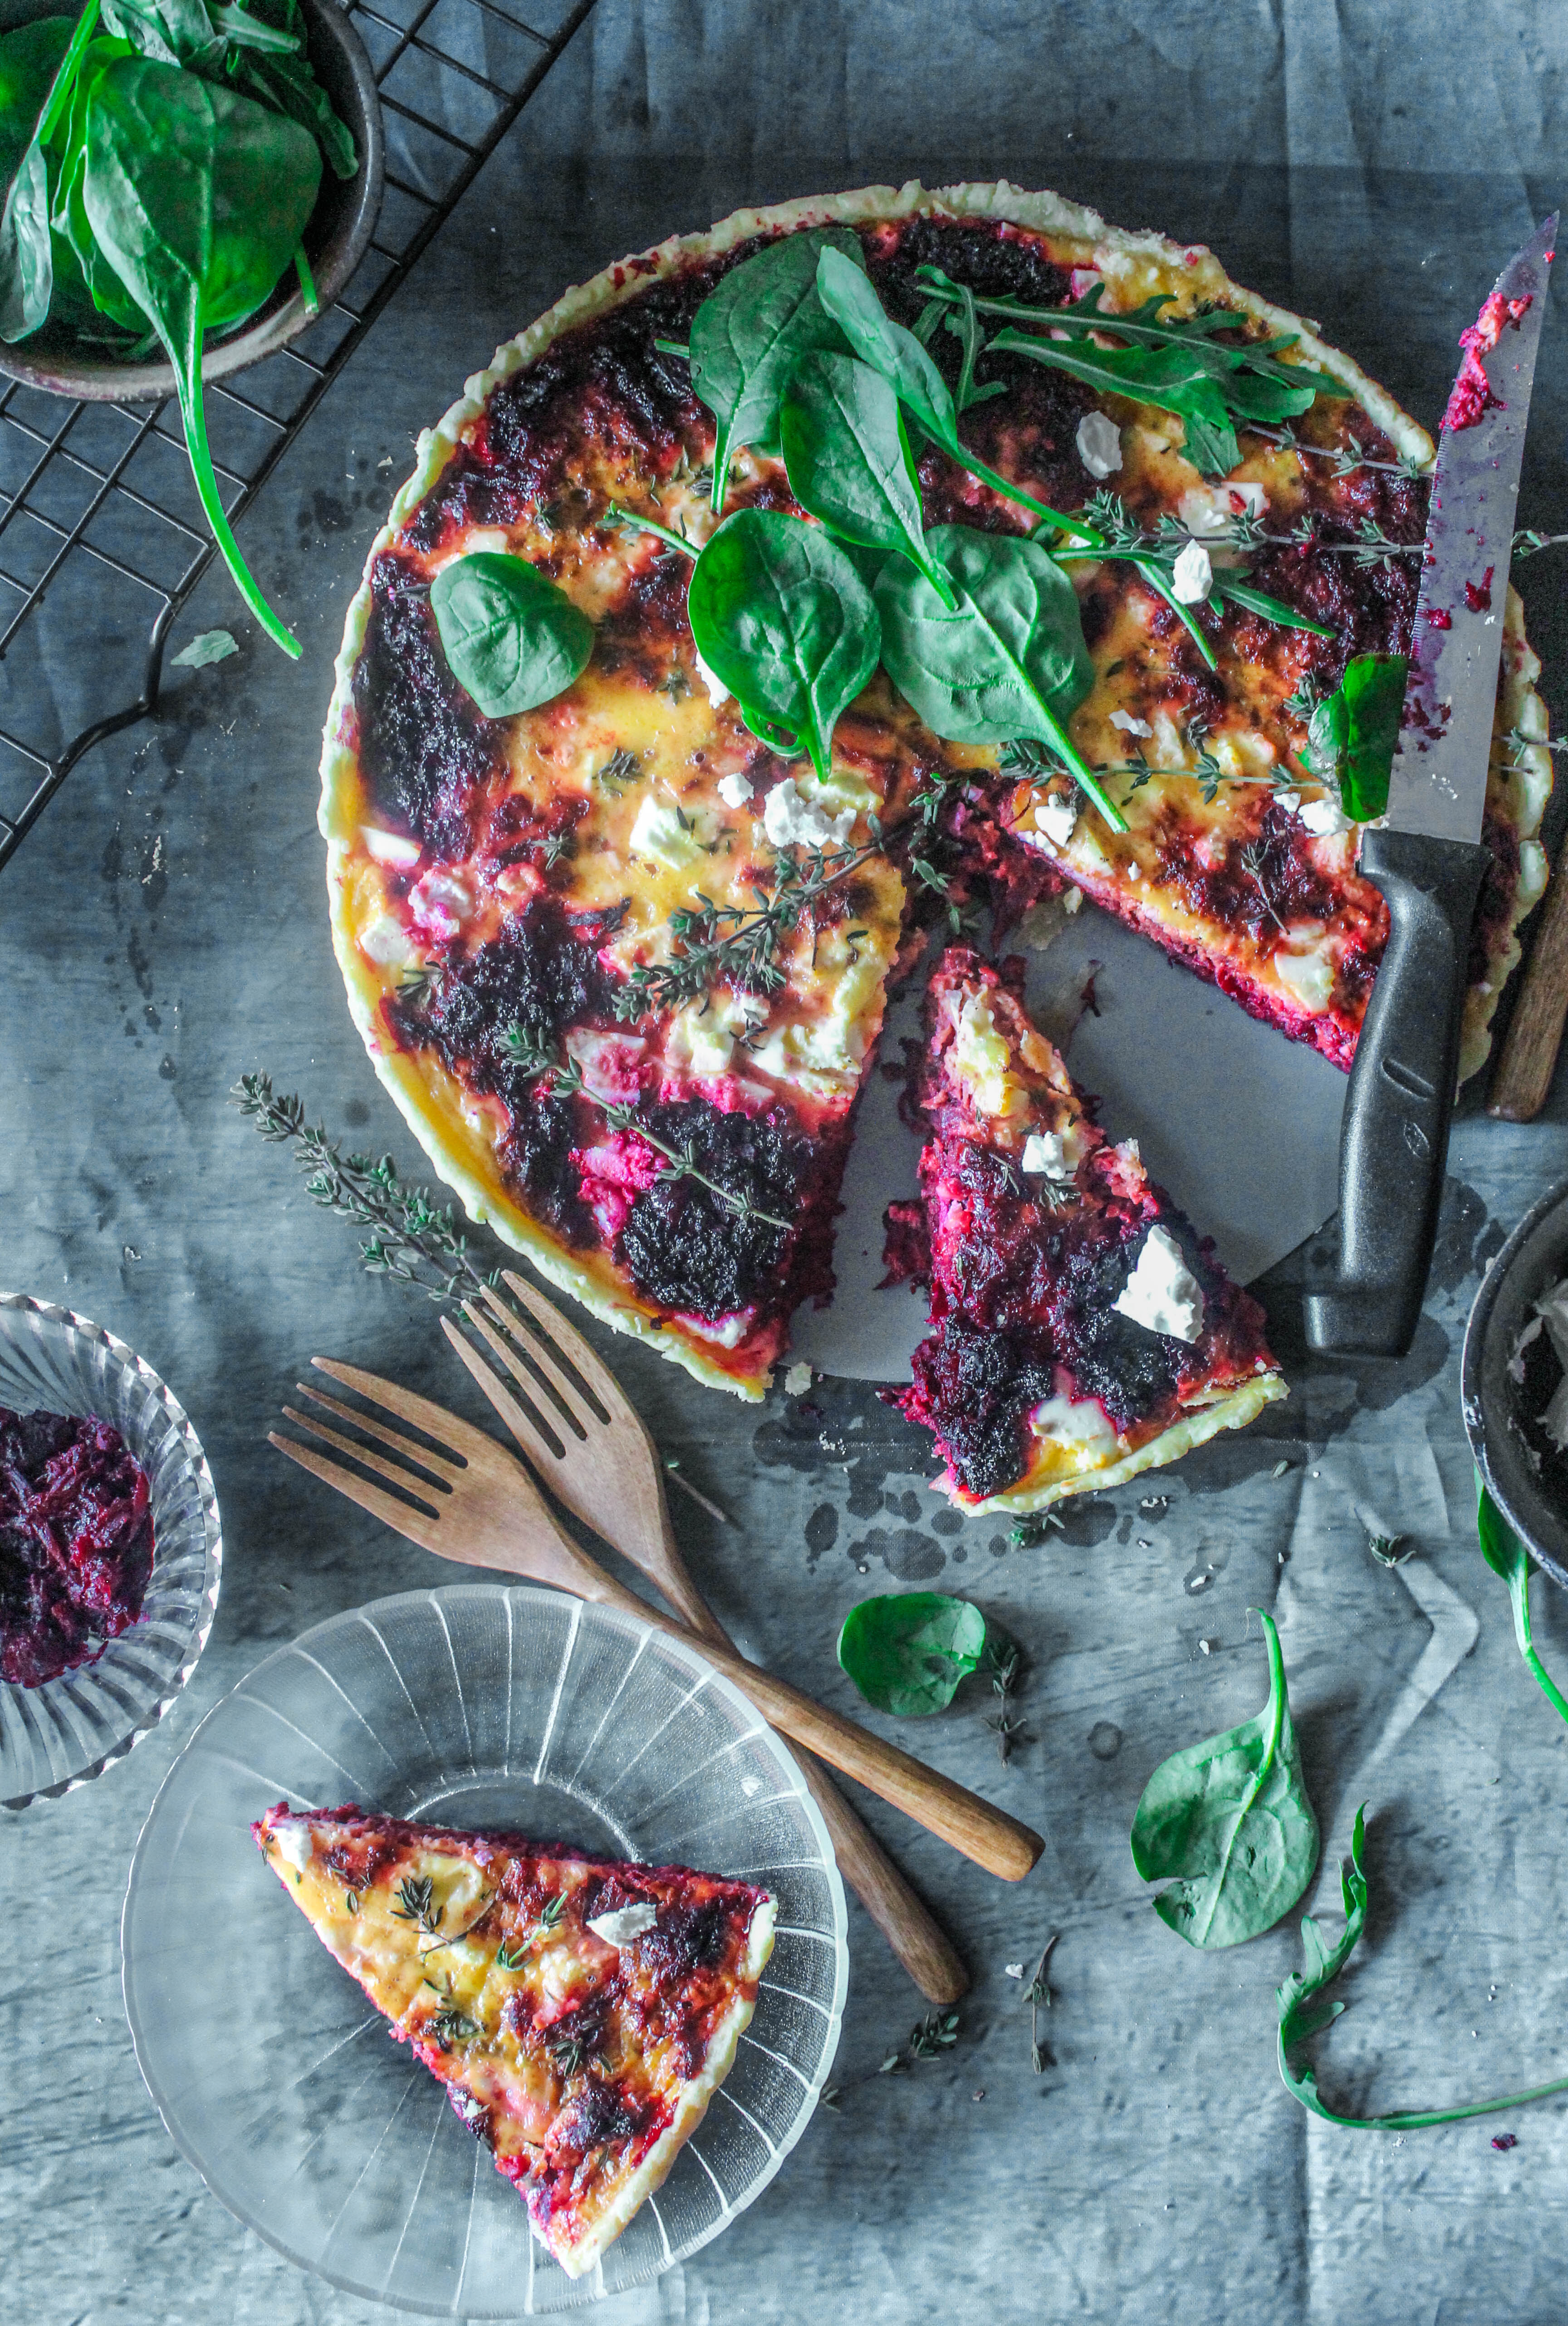
When I was a little girl, my mother would cook a beetroot stew. I am not sure if there was a recipe or her own creation but I didn’t quite like the look of it. Beetroot was cooked in the pressure cooker with other vegetables and the resulting colour wasn’t very appealing. The potatoes would turn orange, spinach looked black, the onions were lost somewhere and then we would stand facing the mirror with our tongues out after consuming it . Without a doubt it tasted delicious, but that colour! Today, I love beetroot. I love the way it stains my hands and my kitchen counter. I love the way it looks and tastes. I use this root vegetable to pack variety and nutrition into the meals I make for my children. I feel an irresistible urge to take out the camera every time I notice it’s powerful purplish existence in a dish. It has the natural ability to make food look vibrant and attractive.

Beetroot-And-Feta-Tart

Beetroot is often paired with goat’s cheese. In tarts, especially. I think it’s an amazing combination but it does pair well with other cheeses as well.  I like how it tastes with feta, mascarpone and ricotta. The saltiness and creamy texture of feta is just perfect to balance the sweet, moreish flavour of beetroot. Balsamic vinegar adds a lovely depth to the filling in this tart and thyme makes it aromatic. I adapted the concept of this tart from here but pretty much changed everything from the ingredients to the method of making it.

Beetroot-And-Feta-Tart

This is one tart that you would want to make over and over again. There is so much flavour in it. It makes for an impressive starter or a snack. If you are not comfortable making the tart shell, use a premade shell for the sake of the tart. You wont be disappointed. The filling can be made the day before and stored in the refrigerator. The tart is best baked the same day.

Beetroot-And-Feta-Tart

Beetroot And Feta Tart
Serves 8-10

2 large beetroot (about 400g), trimmed, peeled and coarsely grated
1 tbsp. olive oil

1 red onions thinly sliced
1/4 cup balsamic vinegar
2 teaspoons thyme leaves
1 tablespoon brown sugar
150g smooth feta
2 eggs, lightly beaten
150ml thickened cream
Extra thyme springs, to scatter
Fresh herbs, to serve

For the pastry
1 1/3 cups (200g) plain flour
100g chilled unsalted butter, chopped

To make the pastry, place flour, butter and  a pinch salt in a food processor and whiz until the mixture resembles breadcrumbs. Add 1/4 cup (60ml) chilled water, then process until the mixture comes together in a ball. Enclose in plastic wrap and chill for 30 minutes. Lightly grease a 23 cm loose-bottomed tart pan. On a lightly floured surface, roll out pastry to 5mm thick, then use to line the tart pan. Chill for 15 minutes.

Preheat oven to 180 degree C. Line pastry with baking paper and fill with pastry weights or uncooked rice. Bake for 10 minutes. Remove the paper and weights, then bake for 5 minutes or until dry and pale golden. Remove from oven and leave aside to cool.

Heat the oil in a fry pan over medium heat. Add onions and 1 teaspoon salt, then cook, stirring occasionally, for 6-8 minutes until softened. Add beetroot, vinegar, thyme, brown sugar and 1 cup water, then cook for 12-15 minutes (stirring in between to prevent burning) until thickened and tender. Cool the mixture.

Spread beetroot mixture over the tart base, then crumble over feta cheese. Whisk egg and cream together, then pour into tart case. Scatter with extra thyme. Bake for 35 minutes or until set. Slice and serve with a leafy green salad.

Whole Spice Roasted Cauliflower

4|07|2014

This winter seems so long. And colder than I like it. I think I say this every year and by July I am almost desperate to get to the other side of winter. I can’t wait to feel the rays of the sun on my bare skin and the daylight to linger on till it’s time to go to bed. I can’t wait for the change in scenery and the spring blooms. Having said that, there are some joys of winter that I treasure. Catching up with friends over cups of hot chocolate. Bowlfuls of steaming hot Laksa. And sharing a hearty winter roast with family.

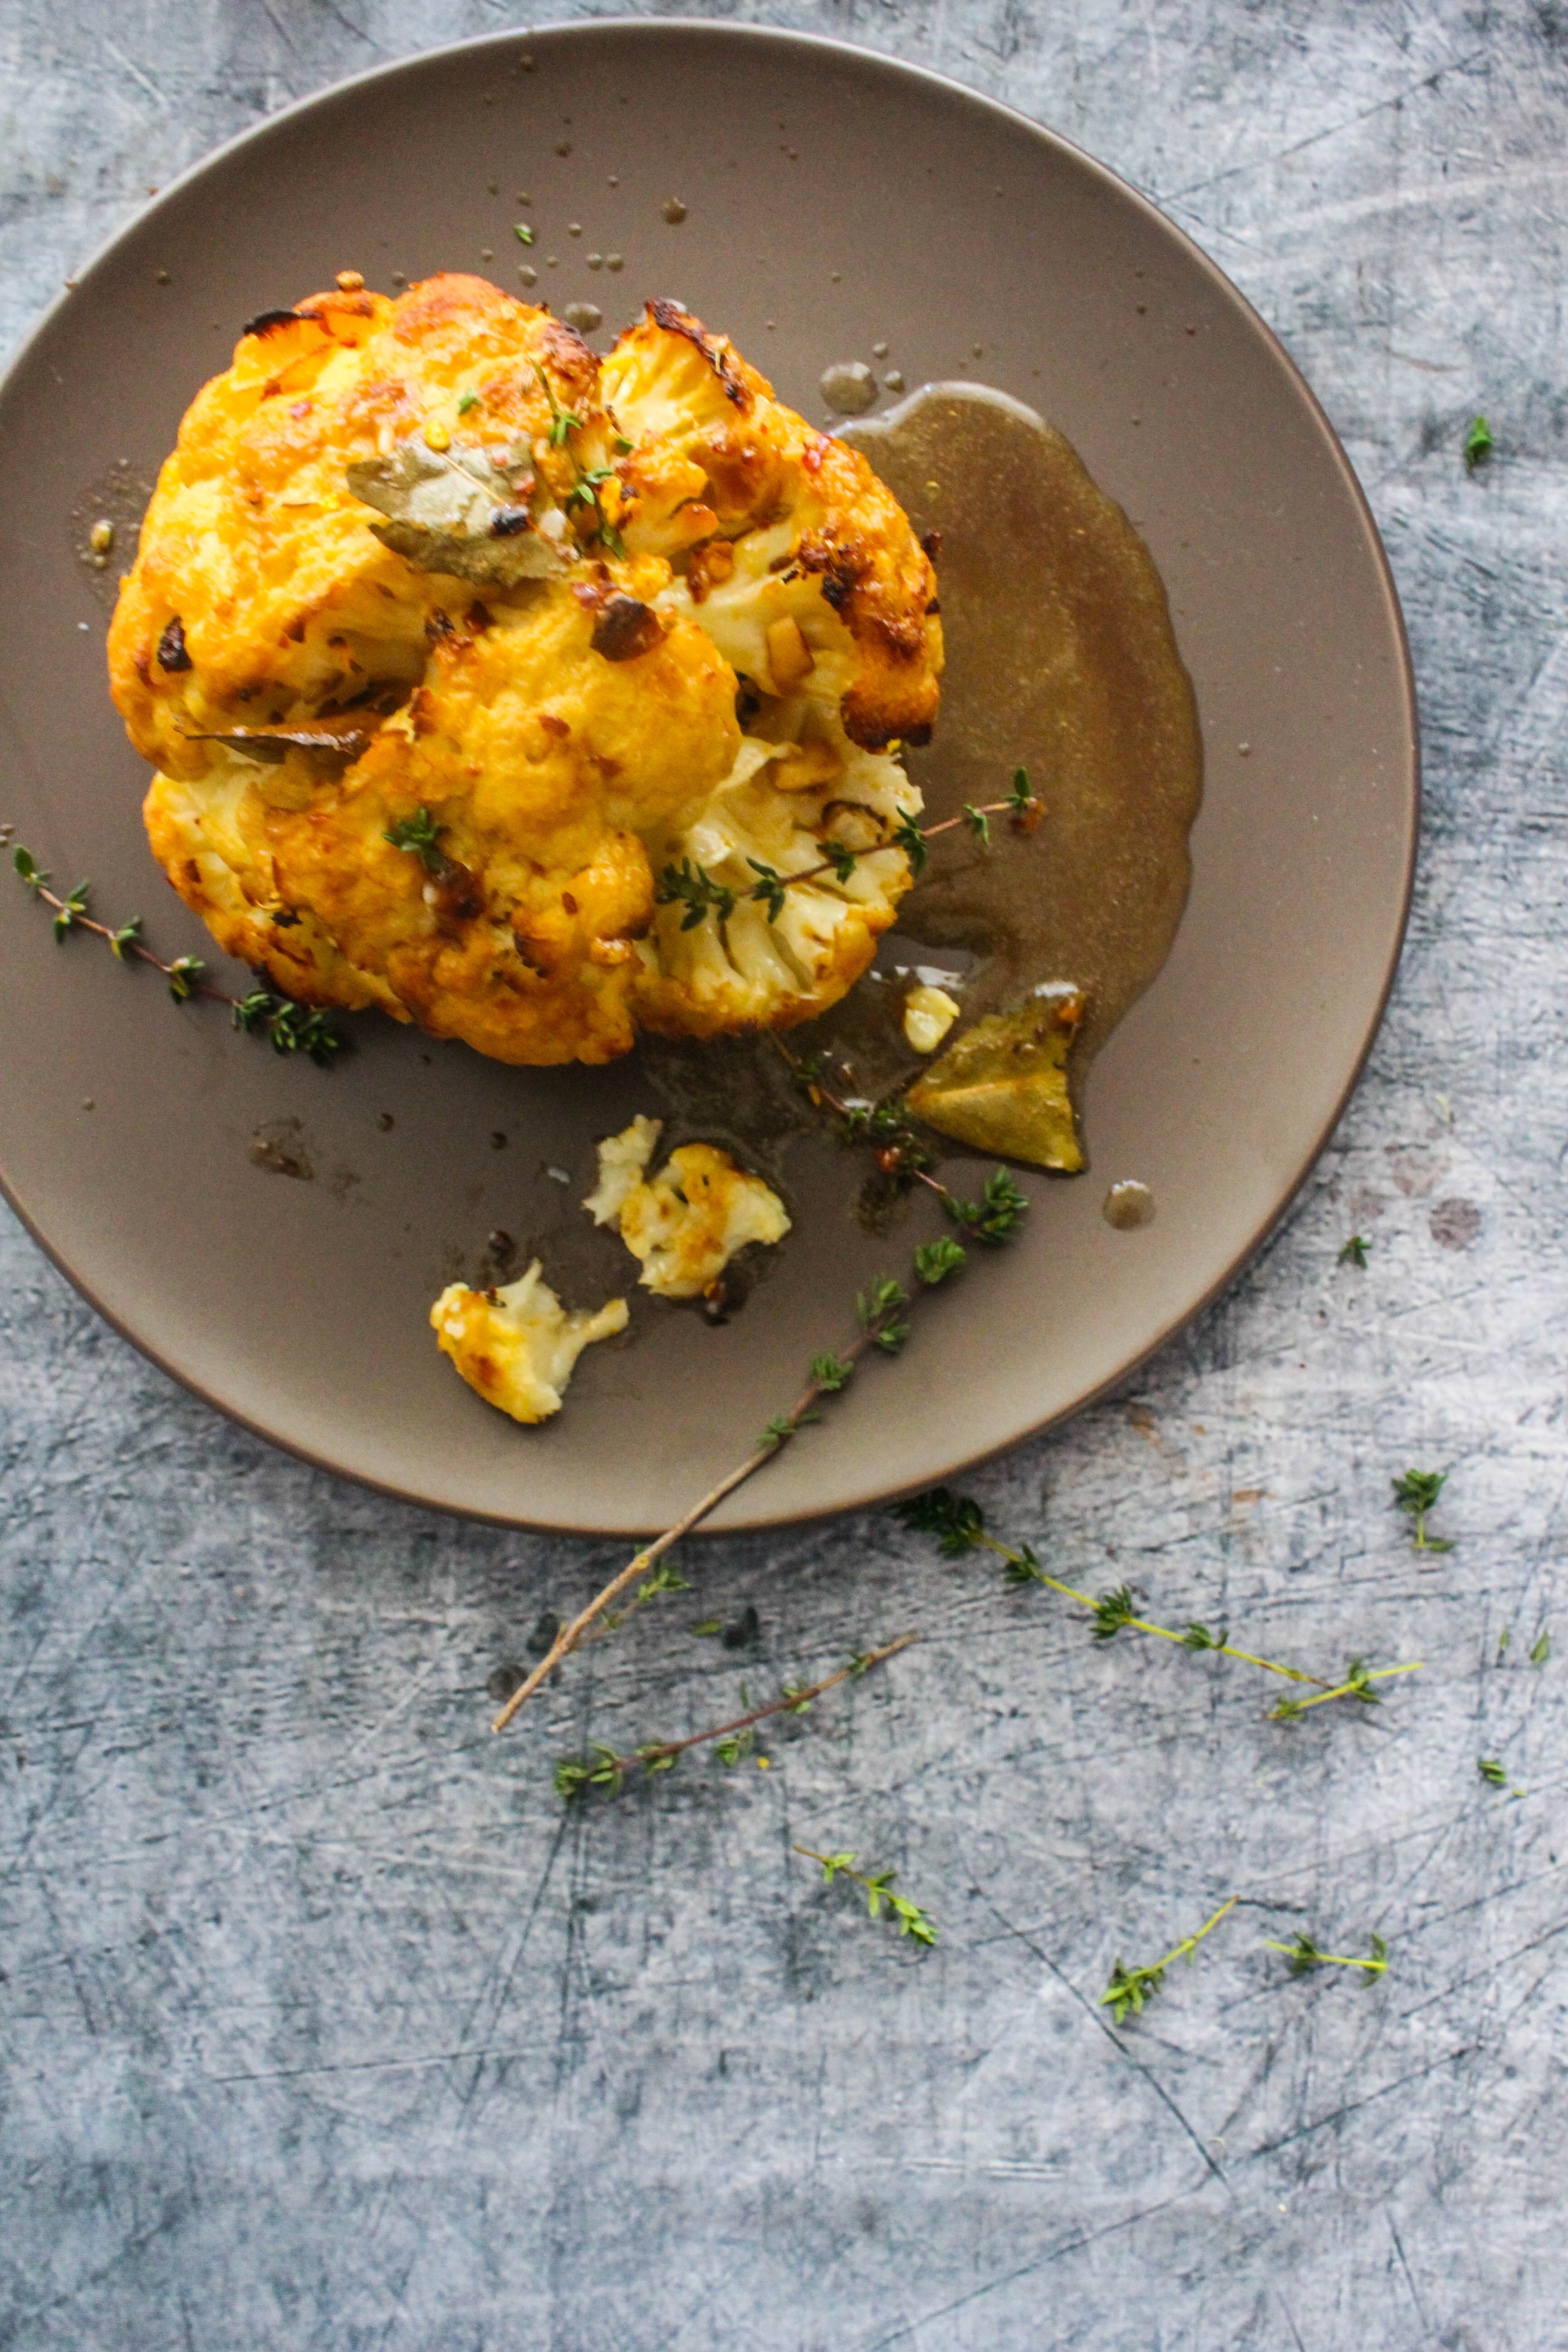
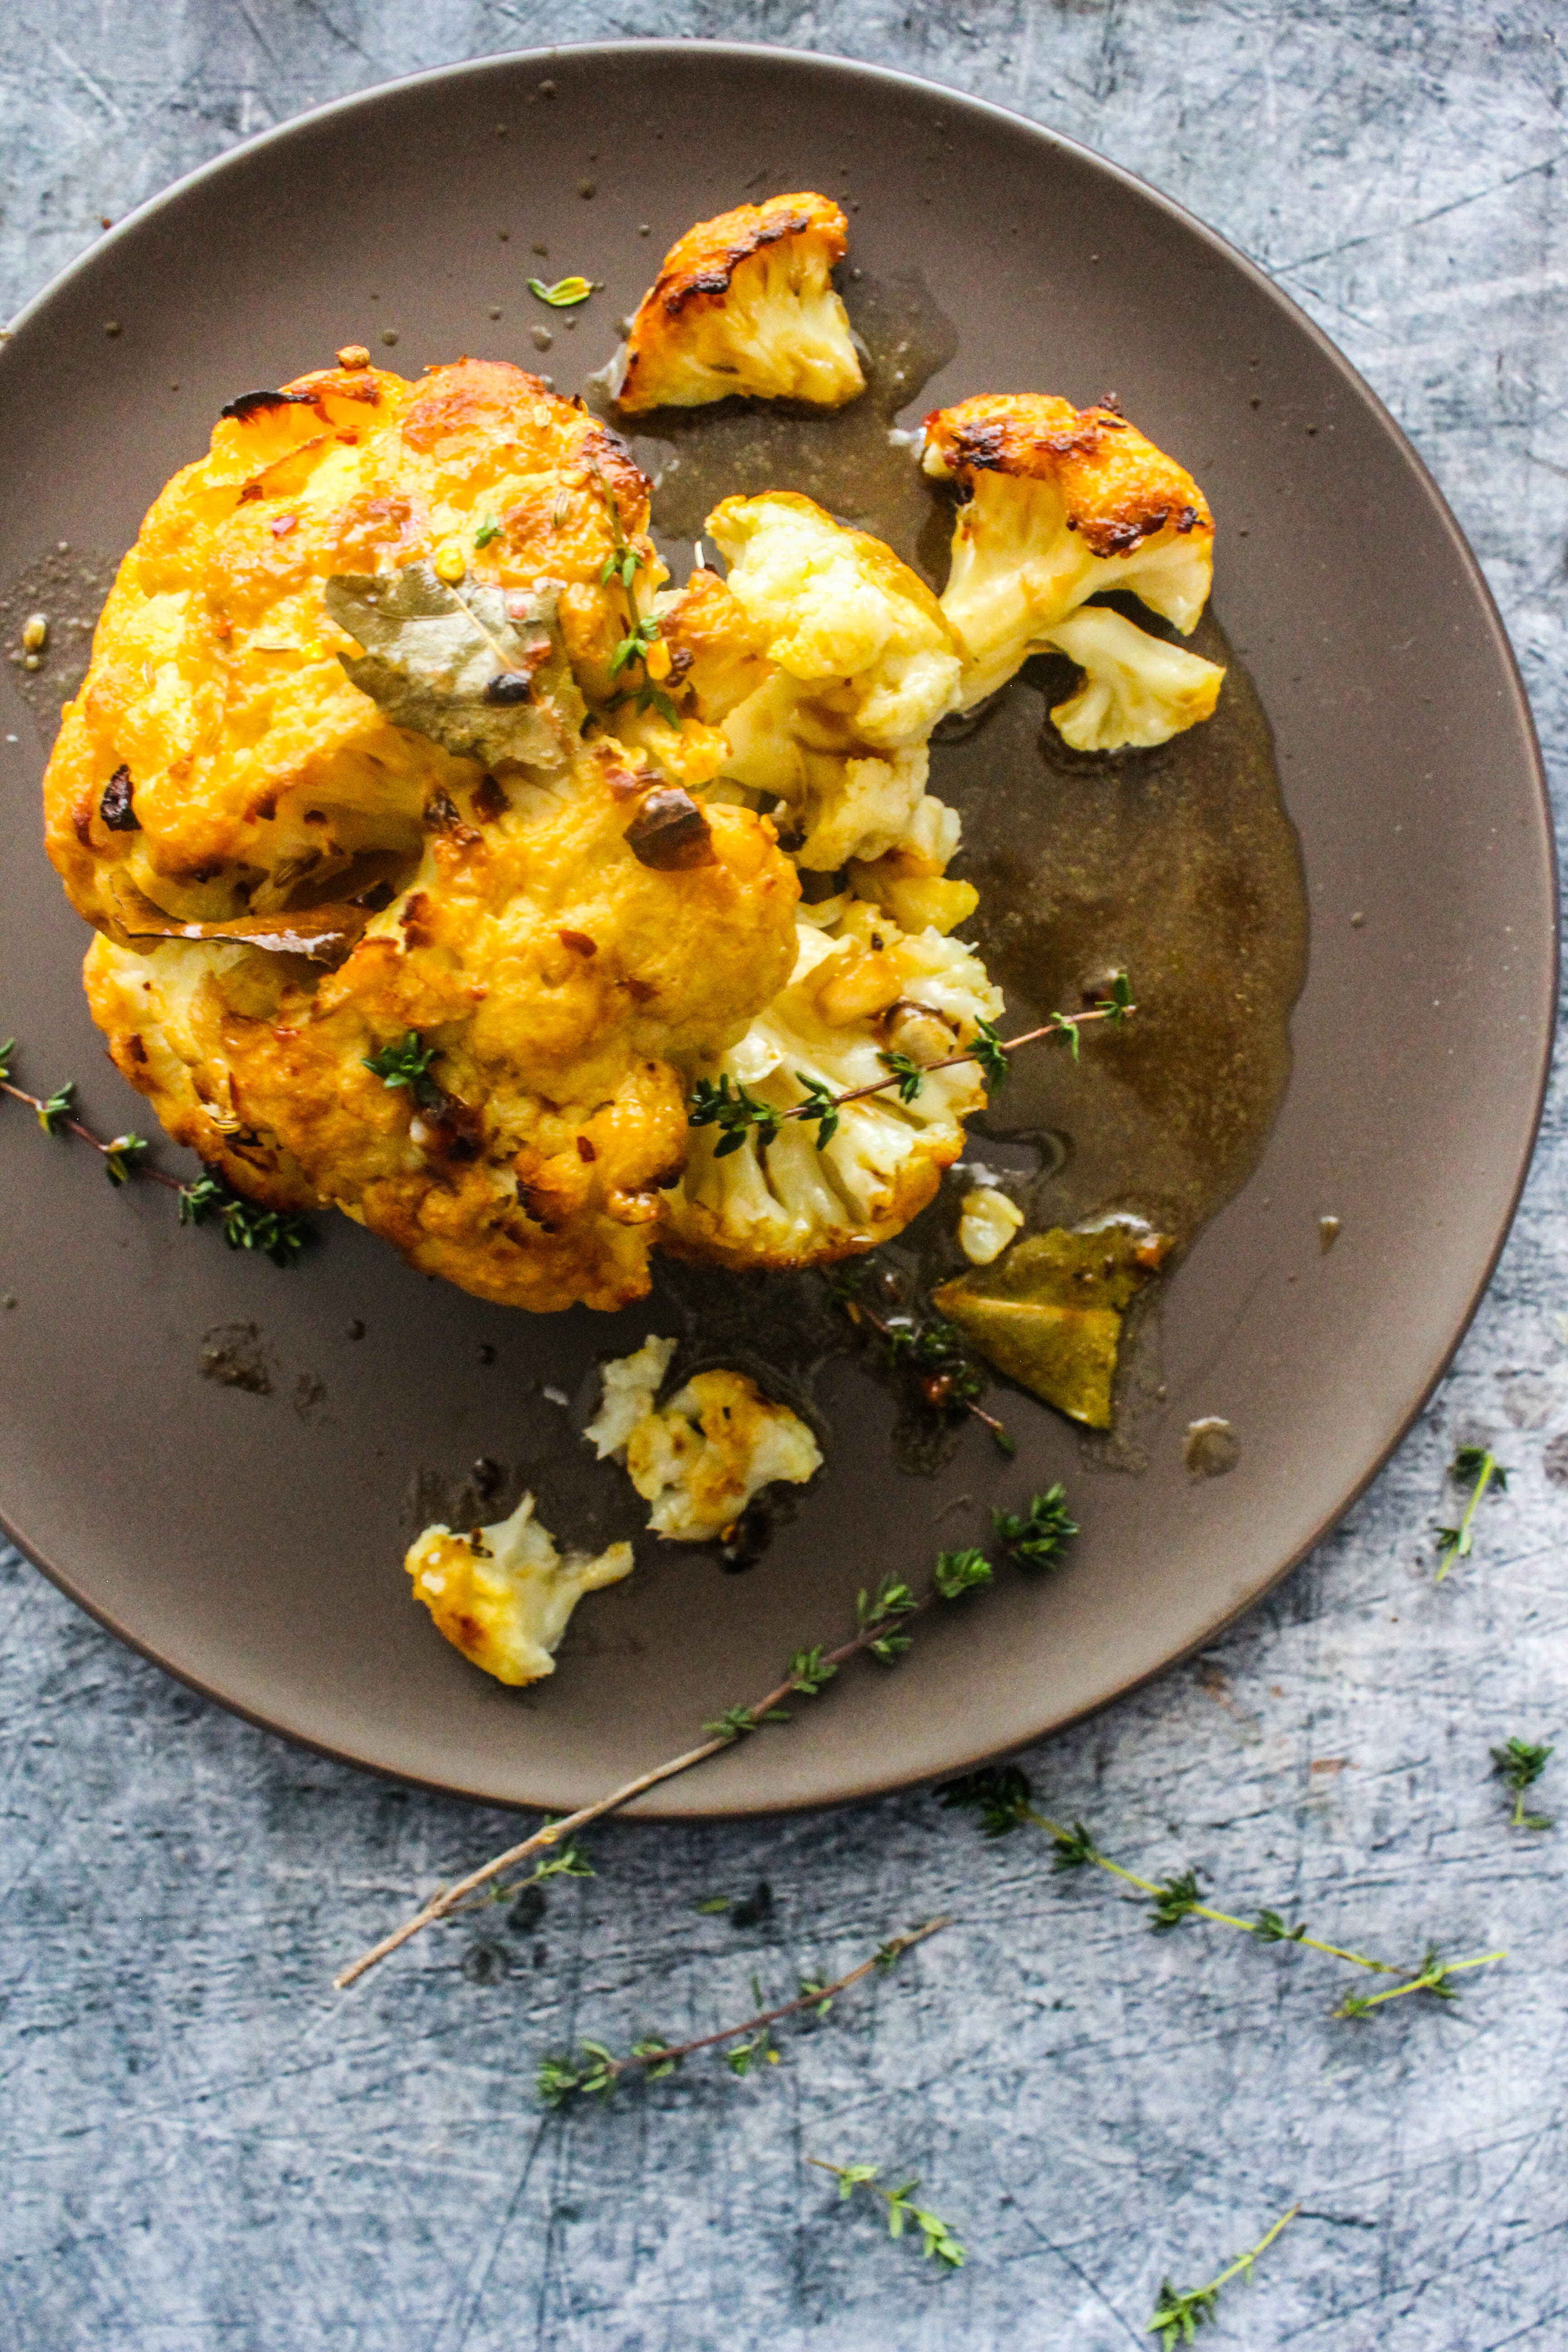
IMG_0677

I have roasted cauliflower florets in so many different ways before…basically experimenting with a variety of marinades. Roasting an entire cauliflower head not only sounded interesting but such an amazing dish to share on the table. Roasting not only sweetens the florets but gives it a crispy, nutty texture that is absolutely delicious. The chilli flakes provide the perfect amount of heat to balance the sweetness.The recipe involves cooking the cauliflower head in two stages. First, boiling it in a flavourful stock to tenderise it. Then finishing it in the oven to get the charred caramel brown crispy exterior.

IMG_0680

There are many recipes that involve only the roasting method and parboiling is not necessary but I can say that the flavours are so much more intense in this two-stage recipe. The florets are crunchy yet melt-in-your mouth. The resulting dish not only looks but tastes spectacular as well. This would make a great side to go with meat or fish dishes or a delicious main for vegetarians served on its own with a light salad.

IMG_0679

Whole Spice Roasted Cauliflower (adapted with variation From Donna Hay magazine, June edition)
Serves 4-6

1.5 litres vegetable stock
50 g unsalted butter
1/4 cup extra virgin olive oil
2 tsp dried chilli flakes
1 bay leaf
1 tbsp. fennel seeds
Salt and pepper to taste
1 large cauliflower head (approx. I kg)
fresh sprigs of thyme

Place the stock, butter, olive oil, chilli, bay leaf, fennel seeds, salt and pepper in a medium saucepan over high heat and bring to a boil. Add the cauliflower, reduce the heat to medium, cover with a tight fitting lid and cook for 20-25 minutes or until the cauliflower is just tender when tested with a skewer. Drain, reserving the cooking liquid (I had about a cup left).

Preheat oven to 200 degree C. Place the cauliflower and thyme sprigs in a deep baking dish that has been lined with non-stick baking paper or aluminium foil. Pour half the reserved cooking liquid over the cauliflower and roast for 20 minutes. Pour over the remaining cooking liquid and roast for a further 20-25 minuts or until golden.

Fish Cake Salad with Chilli Caramel Dressing

1|07|2014

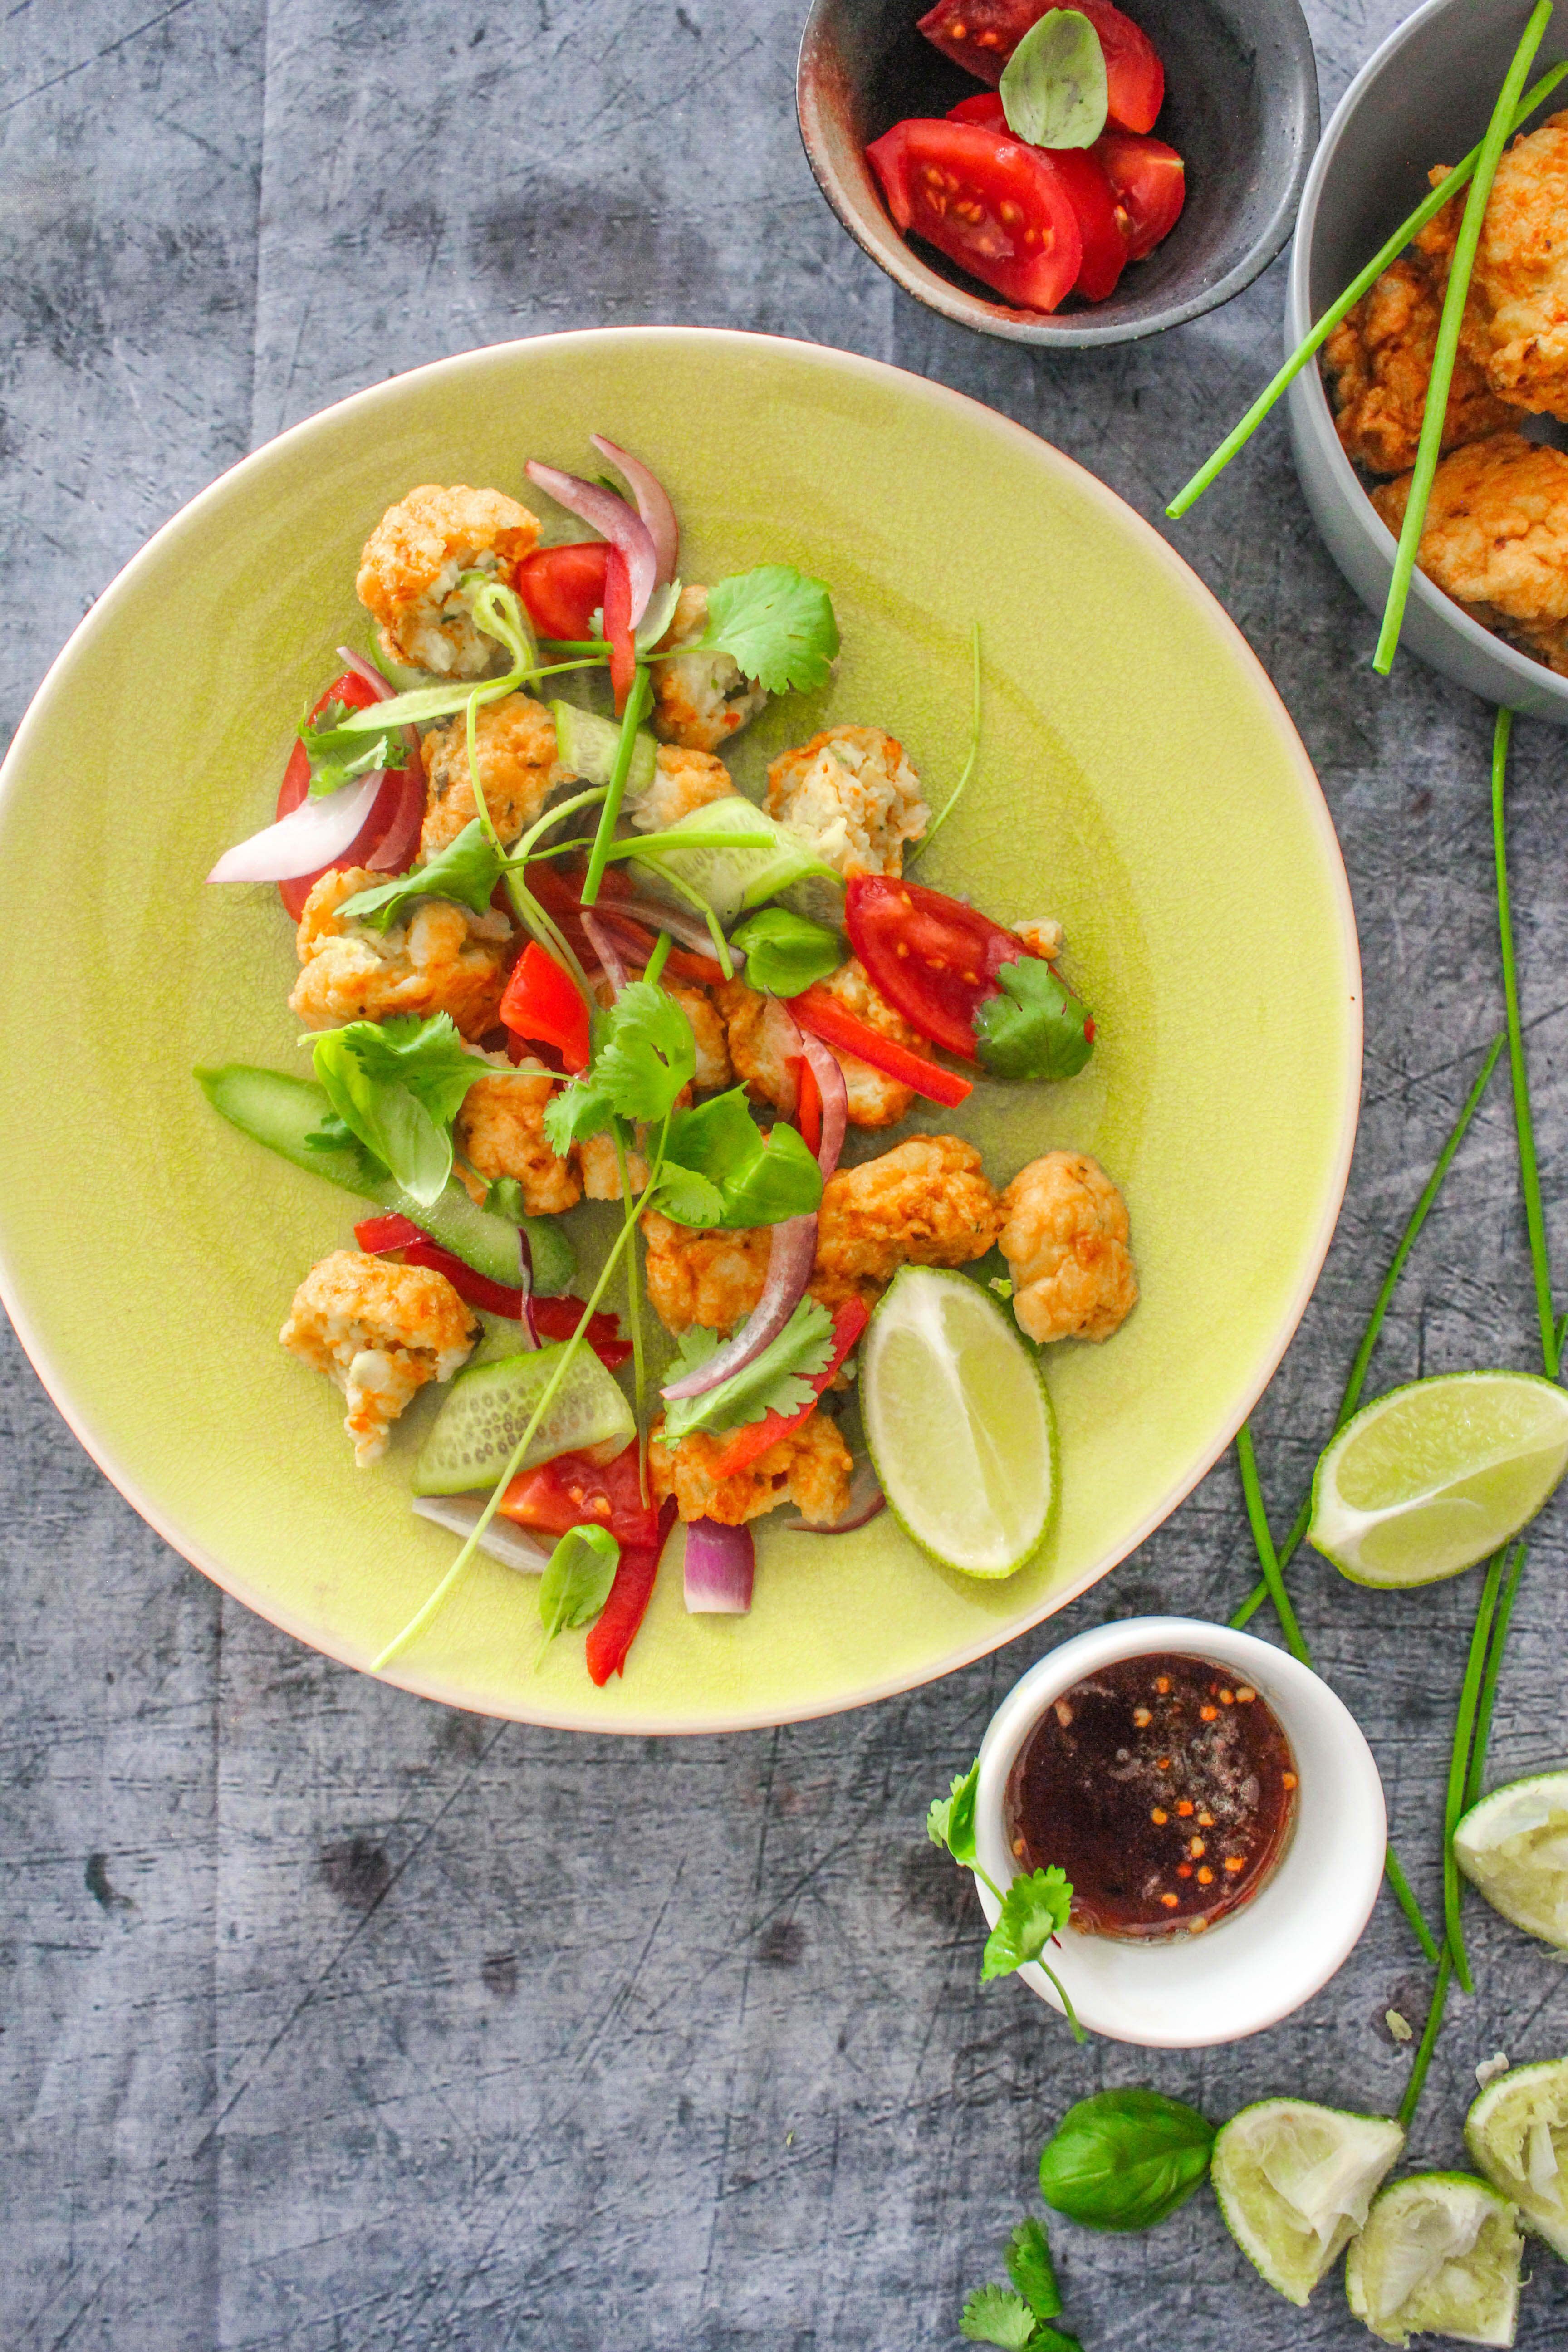
I absolutely adore Asian fish cakes. I make them often and if you happen to visit me, chances are high that they are the first thing you will be served at my place. My husband is pretty sure it has something to do with the name:-) I can’t deny that (I couldn’t stop smiling when my little one victoriously retorted ‘C is for Cake’ while learning alphabets) but the truth is that the balance of sweet, sour, spicy flavours is what make them so unique. Other than eating them with a lovely dipping sauce, I like to add them to sandwiches, wraps, salads or atop fried rice.

IMG_0668-2

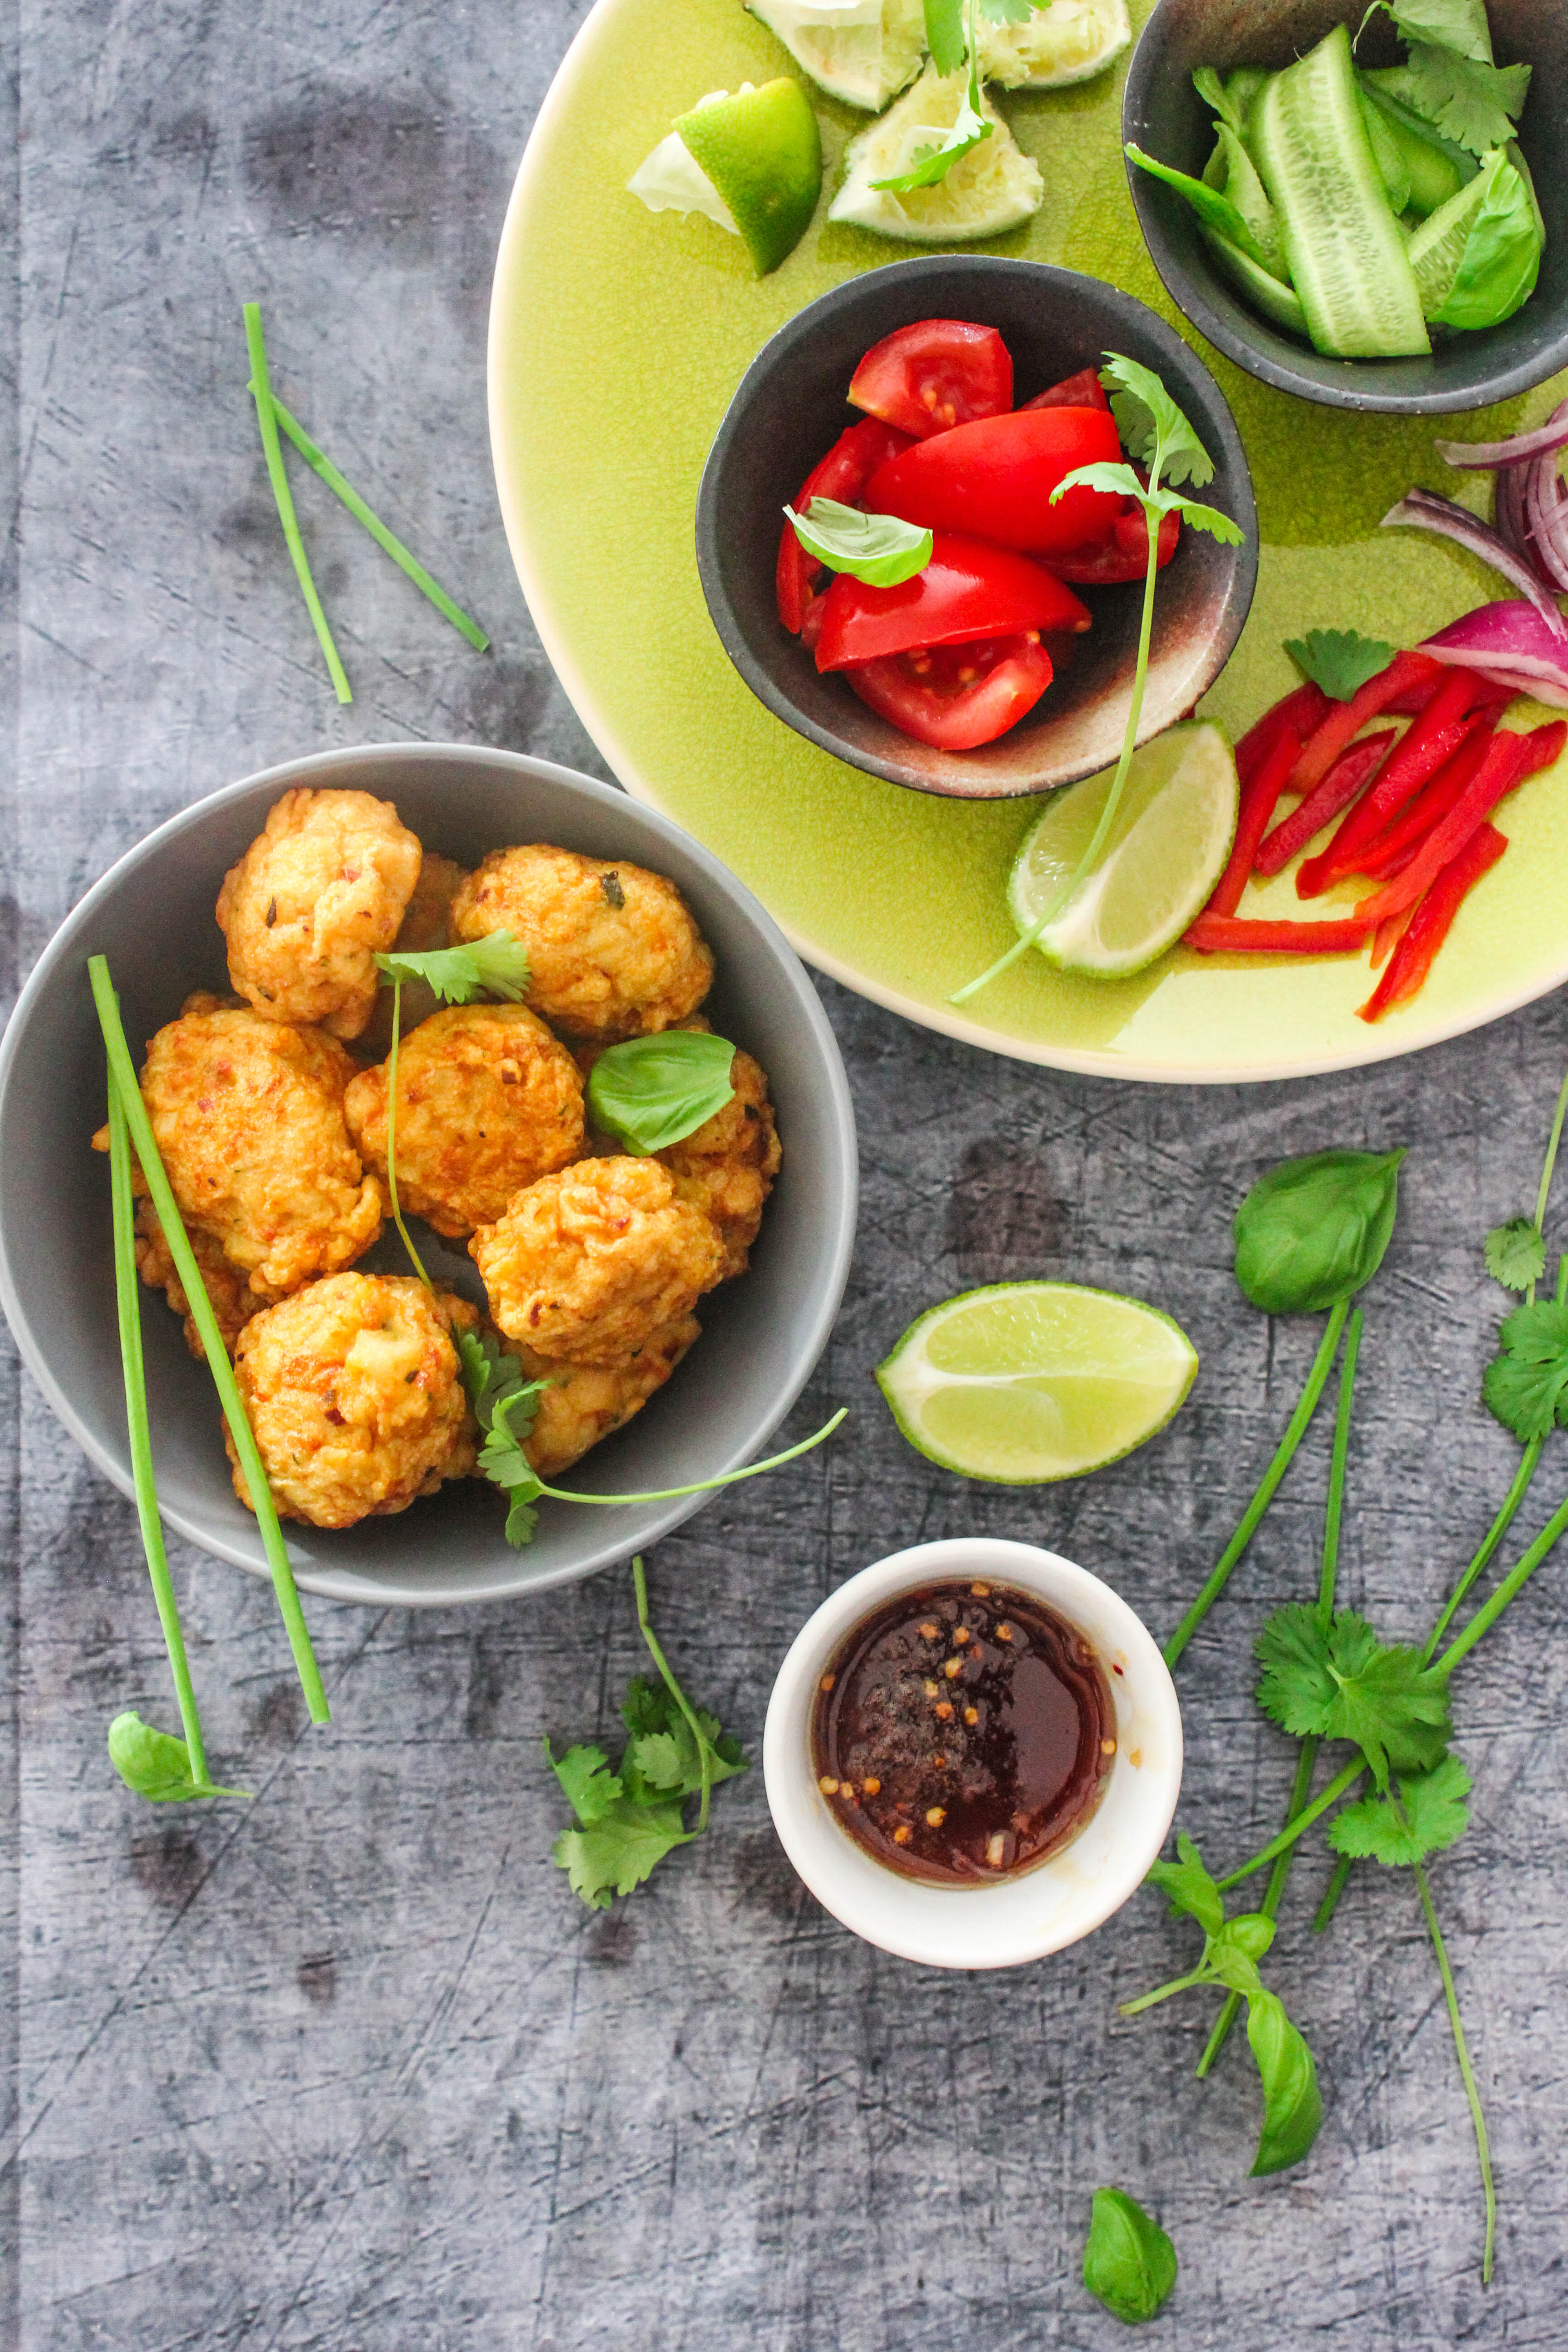
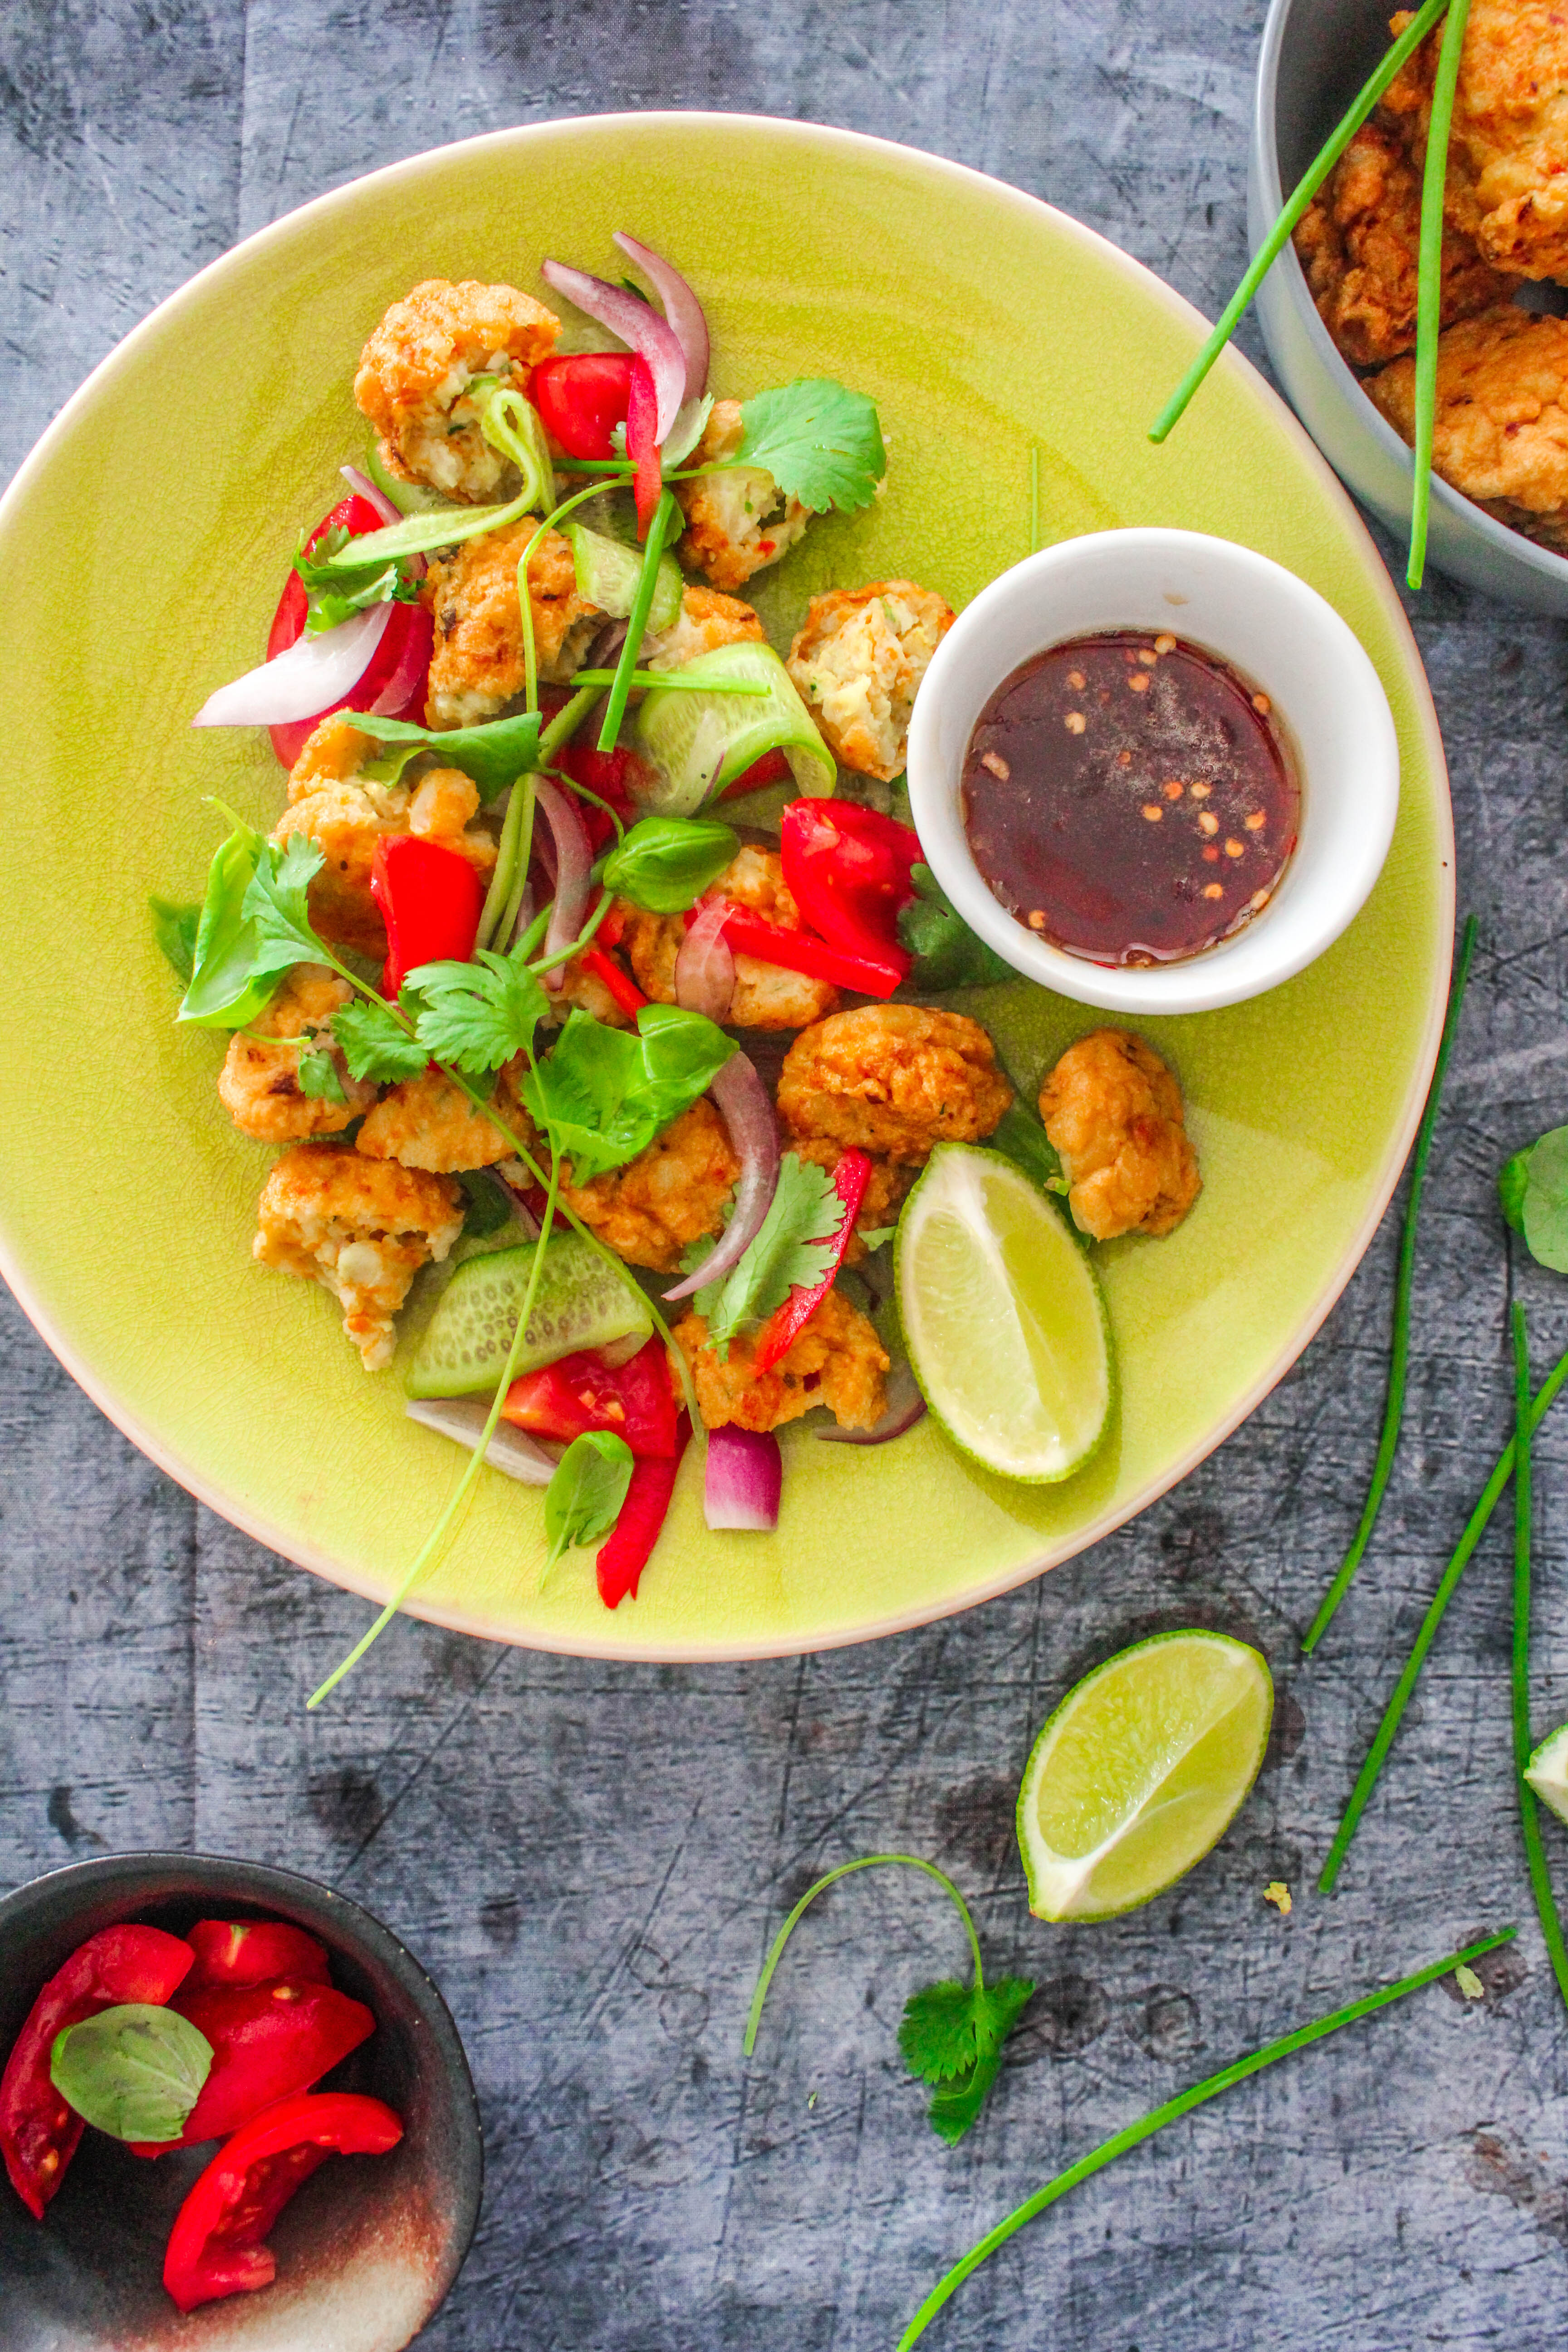
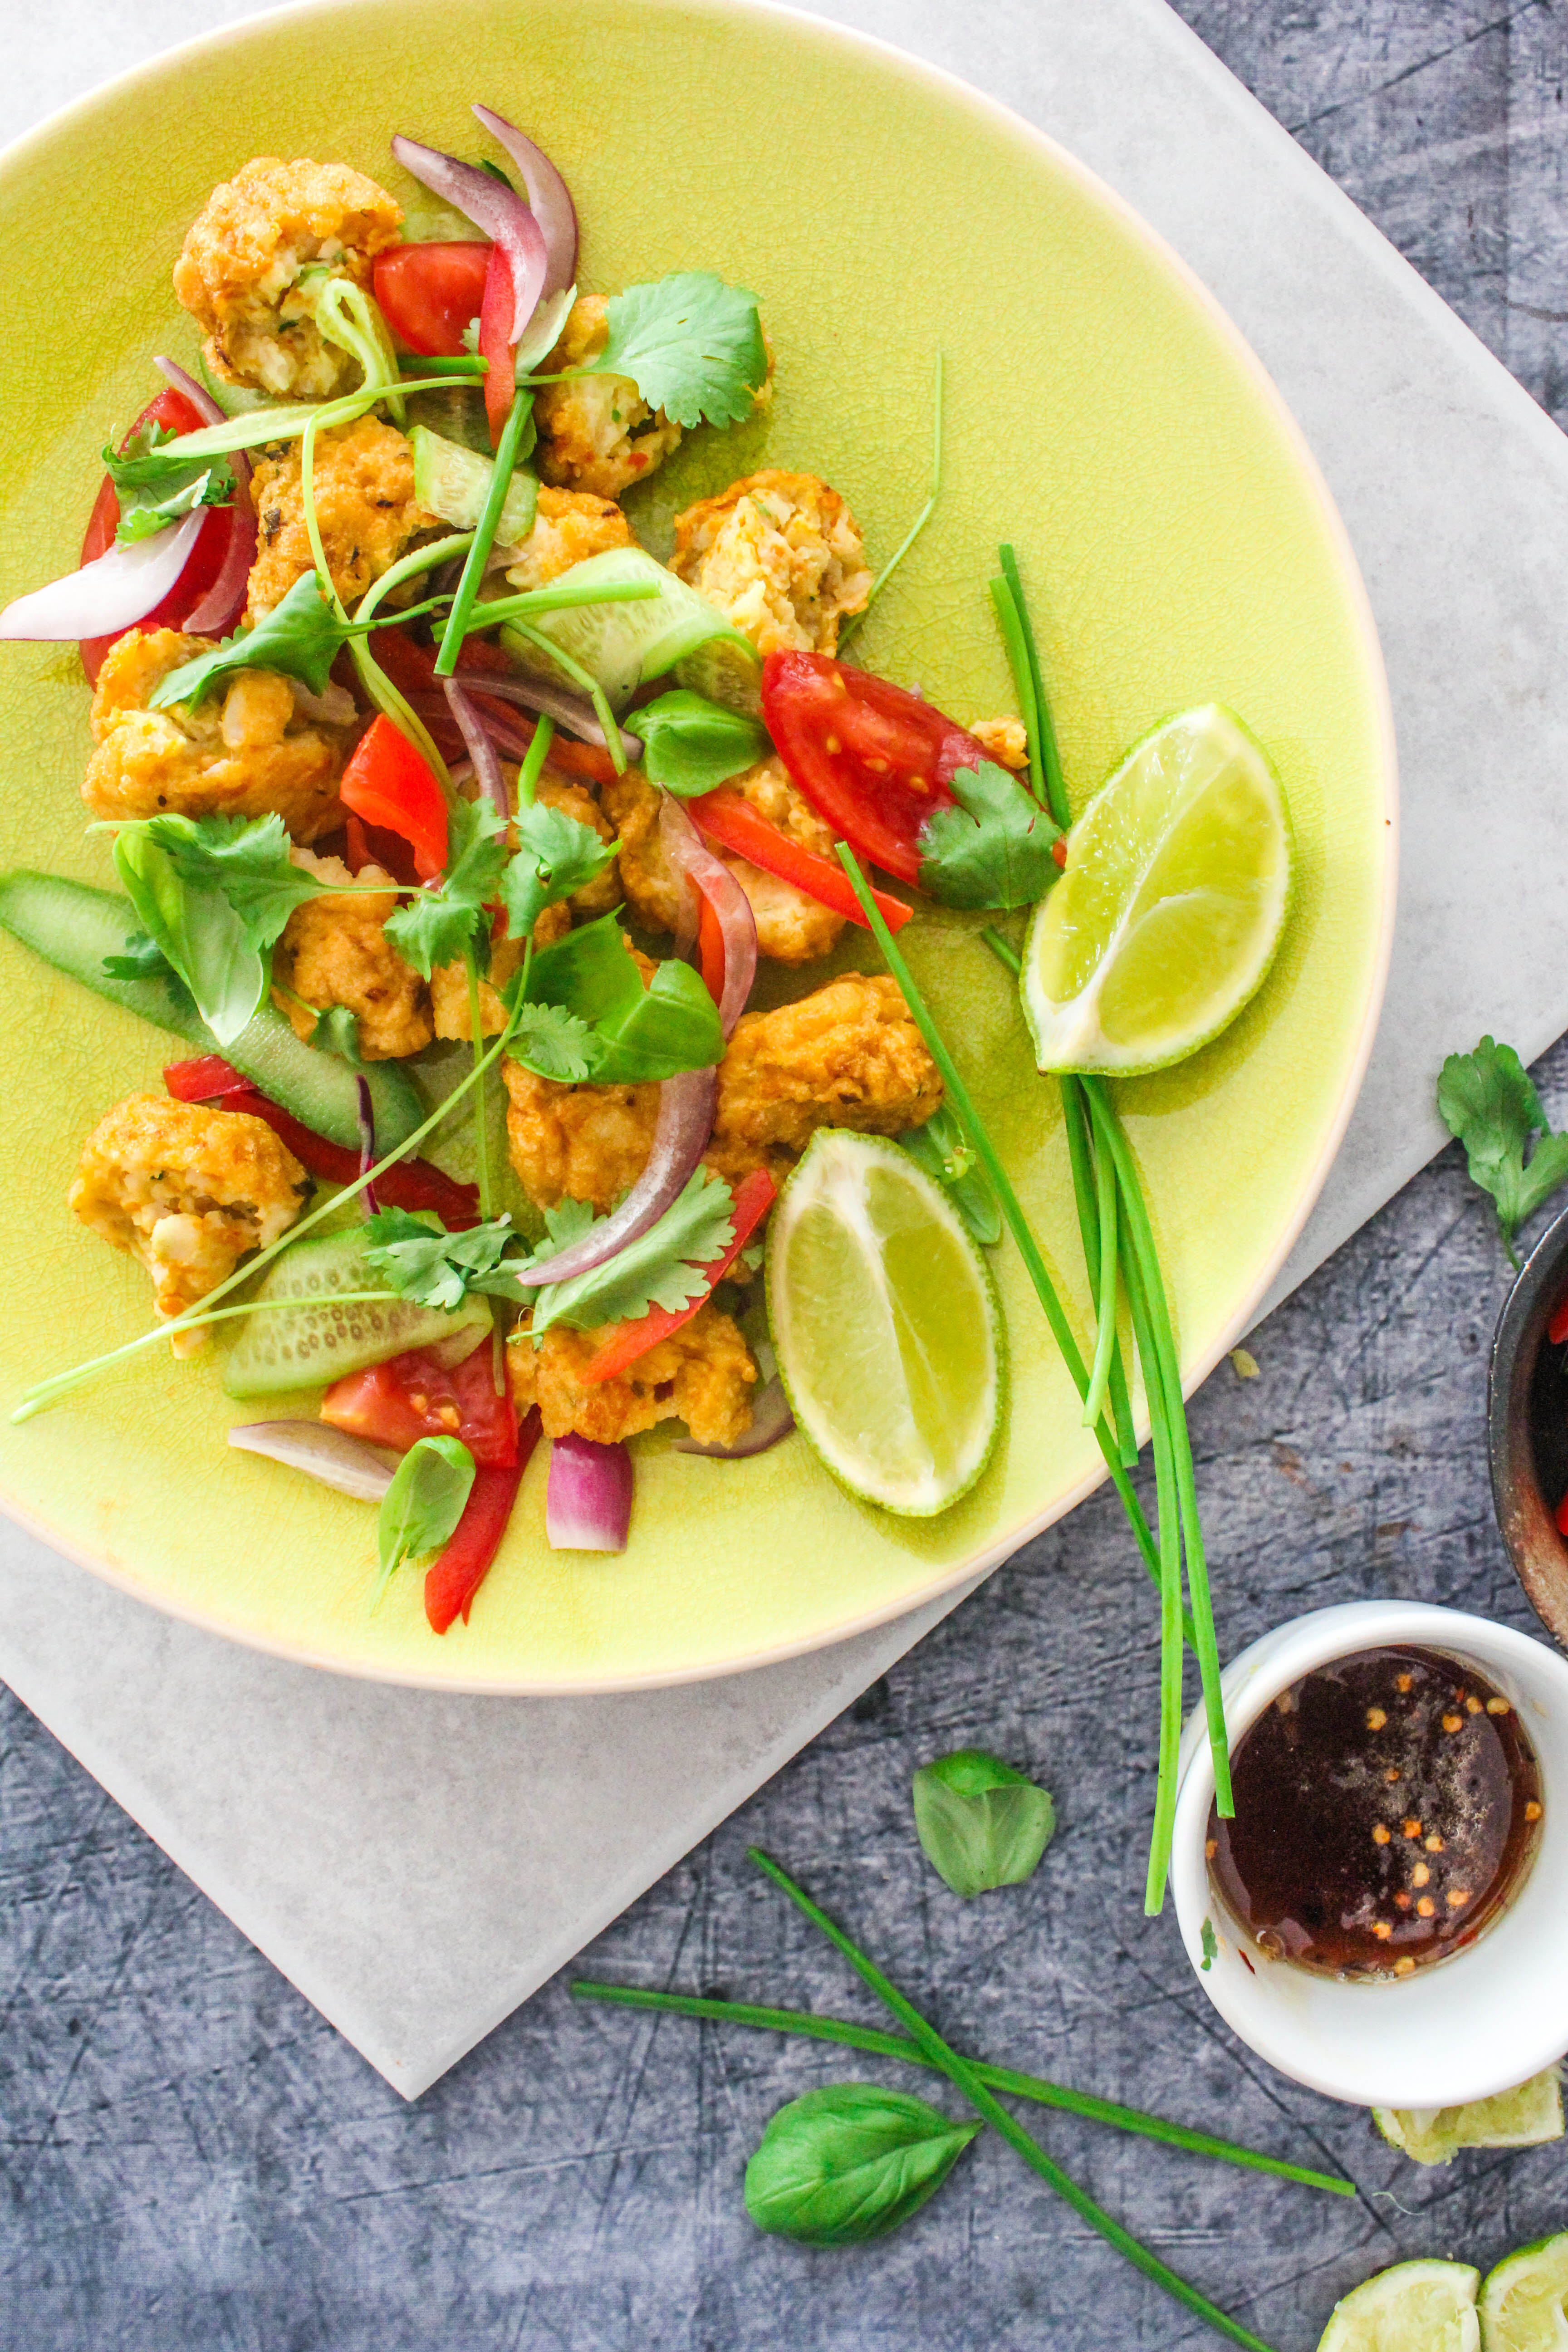
The beauty of this salad is in the fish cakes and the dressing. It sounds like a lot of work for a salad but really it isn’t. The ingredients for the fish cakes are thrown into the food processor, mixed together, shaped into cakes and fried. The chilli caramel dressing is also easy to make by heating the ingredients together in a saucepan till they thicken up in to a sticky caramel. You can go with any vegetable and herbs that you have at hand.

IMG_0650

IMG_0661-2

The best way to enjoy the salad is assembling it when the fish cakes are warm. You can of course make them ahead and warm them up just before serving. The sticky caramel coats the cakes and turns into the most amazing dressing that is so typical of Asian flavours. These fish cakes can also be served on their own with the salad on the side. If doing so, the cakes can be made larger in size. I have made them smaller for the purpose of adding them to salad.

IMG_0671-4

Fish Cake Salad with Chilli Caramel Dressing
Serves 4

500 g firm white fish fillets
3 cloves garlic
1 inch ginger
1 red chilli (optional)
1/2 cup coriander leaves
a handful, chives
1 tsp ground turmeric (optional)
1 tbsp. fish sauce
salt, to taste
1 egg
shaved baby cucumber, to serve
2 medium tomatoes, deseeded and chopped
1/2 red pepper, thinly sliced
1/2 red onion, thinly sliced (optional)
fresh herbs (coriander, basil, chives), to serve

Chilli Caramel Dressing( makes about 1/2 cup)
1/2 cup brown sugar
1/4 cup white vinegar
2
 cloves garlic, thinly sliced
1/2 teaspoon chilli flakes
1tbsp fish sauce
juice from 1 lime


For the fish cakes: Place fish, garlic, ginger, chilli, coriander, chives, turmeric, fish sauce and egg in a food processor. Process until well combined. Place in a bowl and season with salt.
Using 2 tablespoons of mixture at a time, shape mixture into small patties.

Fill a wok with oil till 1/3 full. Heat over medium heat until hot. Cook fish cakes, in batches, turning, for 5 minutes or until golden and cooked through. Remove with a slotted spoon and drain on paper towels.

To make the dressing: combine sugar, vinegar, garlic, chilli and 1 cup  water in a saucepan over medium heat. Bring to a simmer and cook for 8 minutes or until thickened and reduced. Remove from heat, then stir in fish sauce and lime juice. Loosely cover and leave to cool.

To assemble, slice the fish cakes in half and place on a plate (or bowl). Add the vegetables and herbs and gently toss to combine. Add dressing just before serving. Combine.

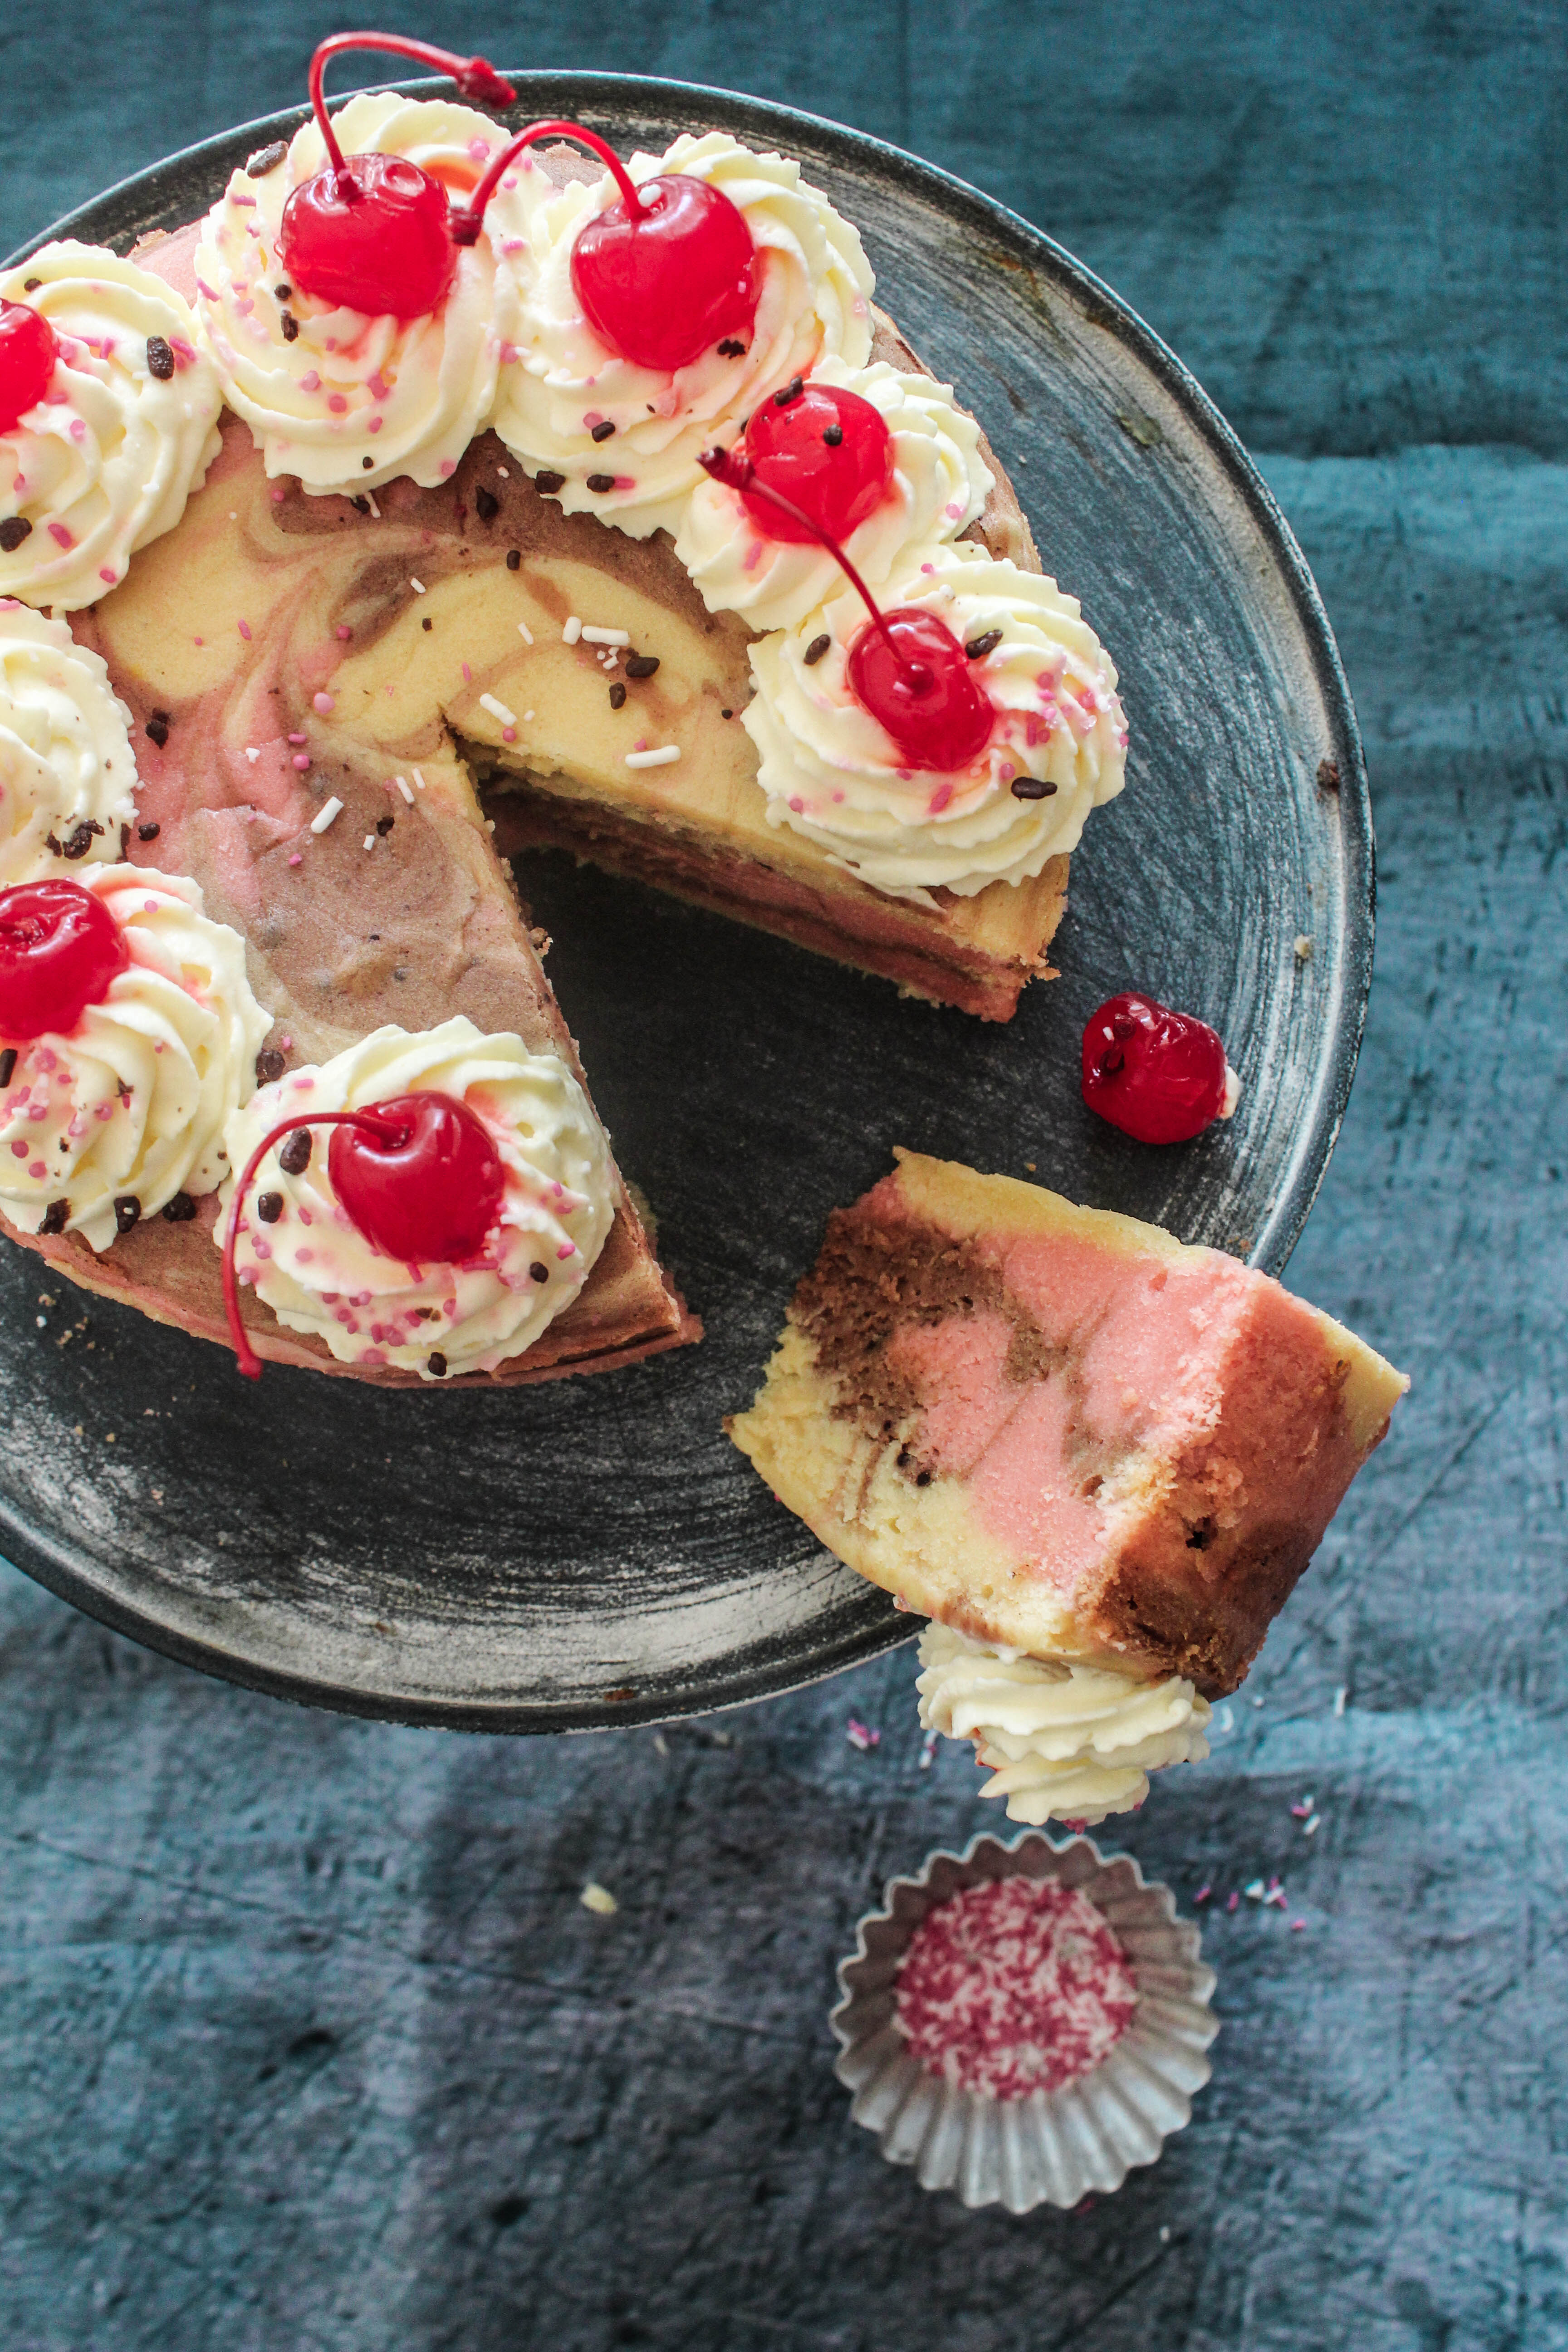
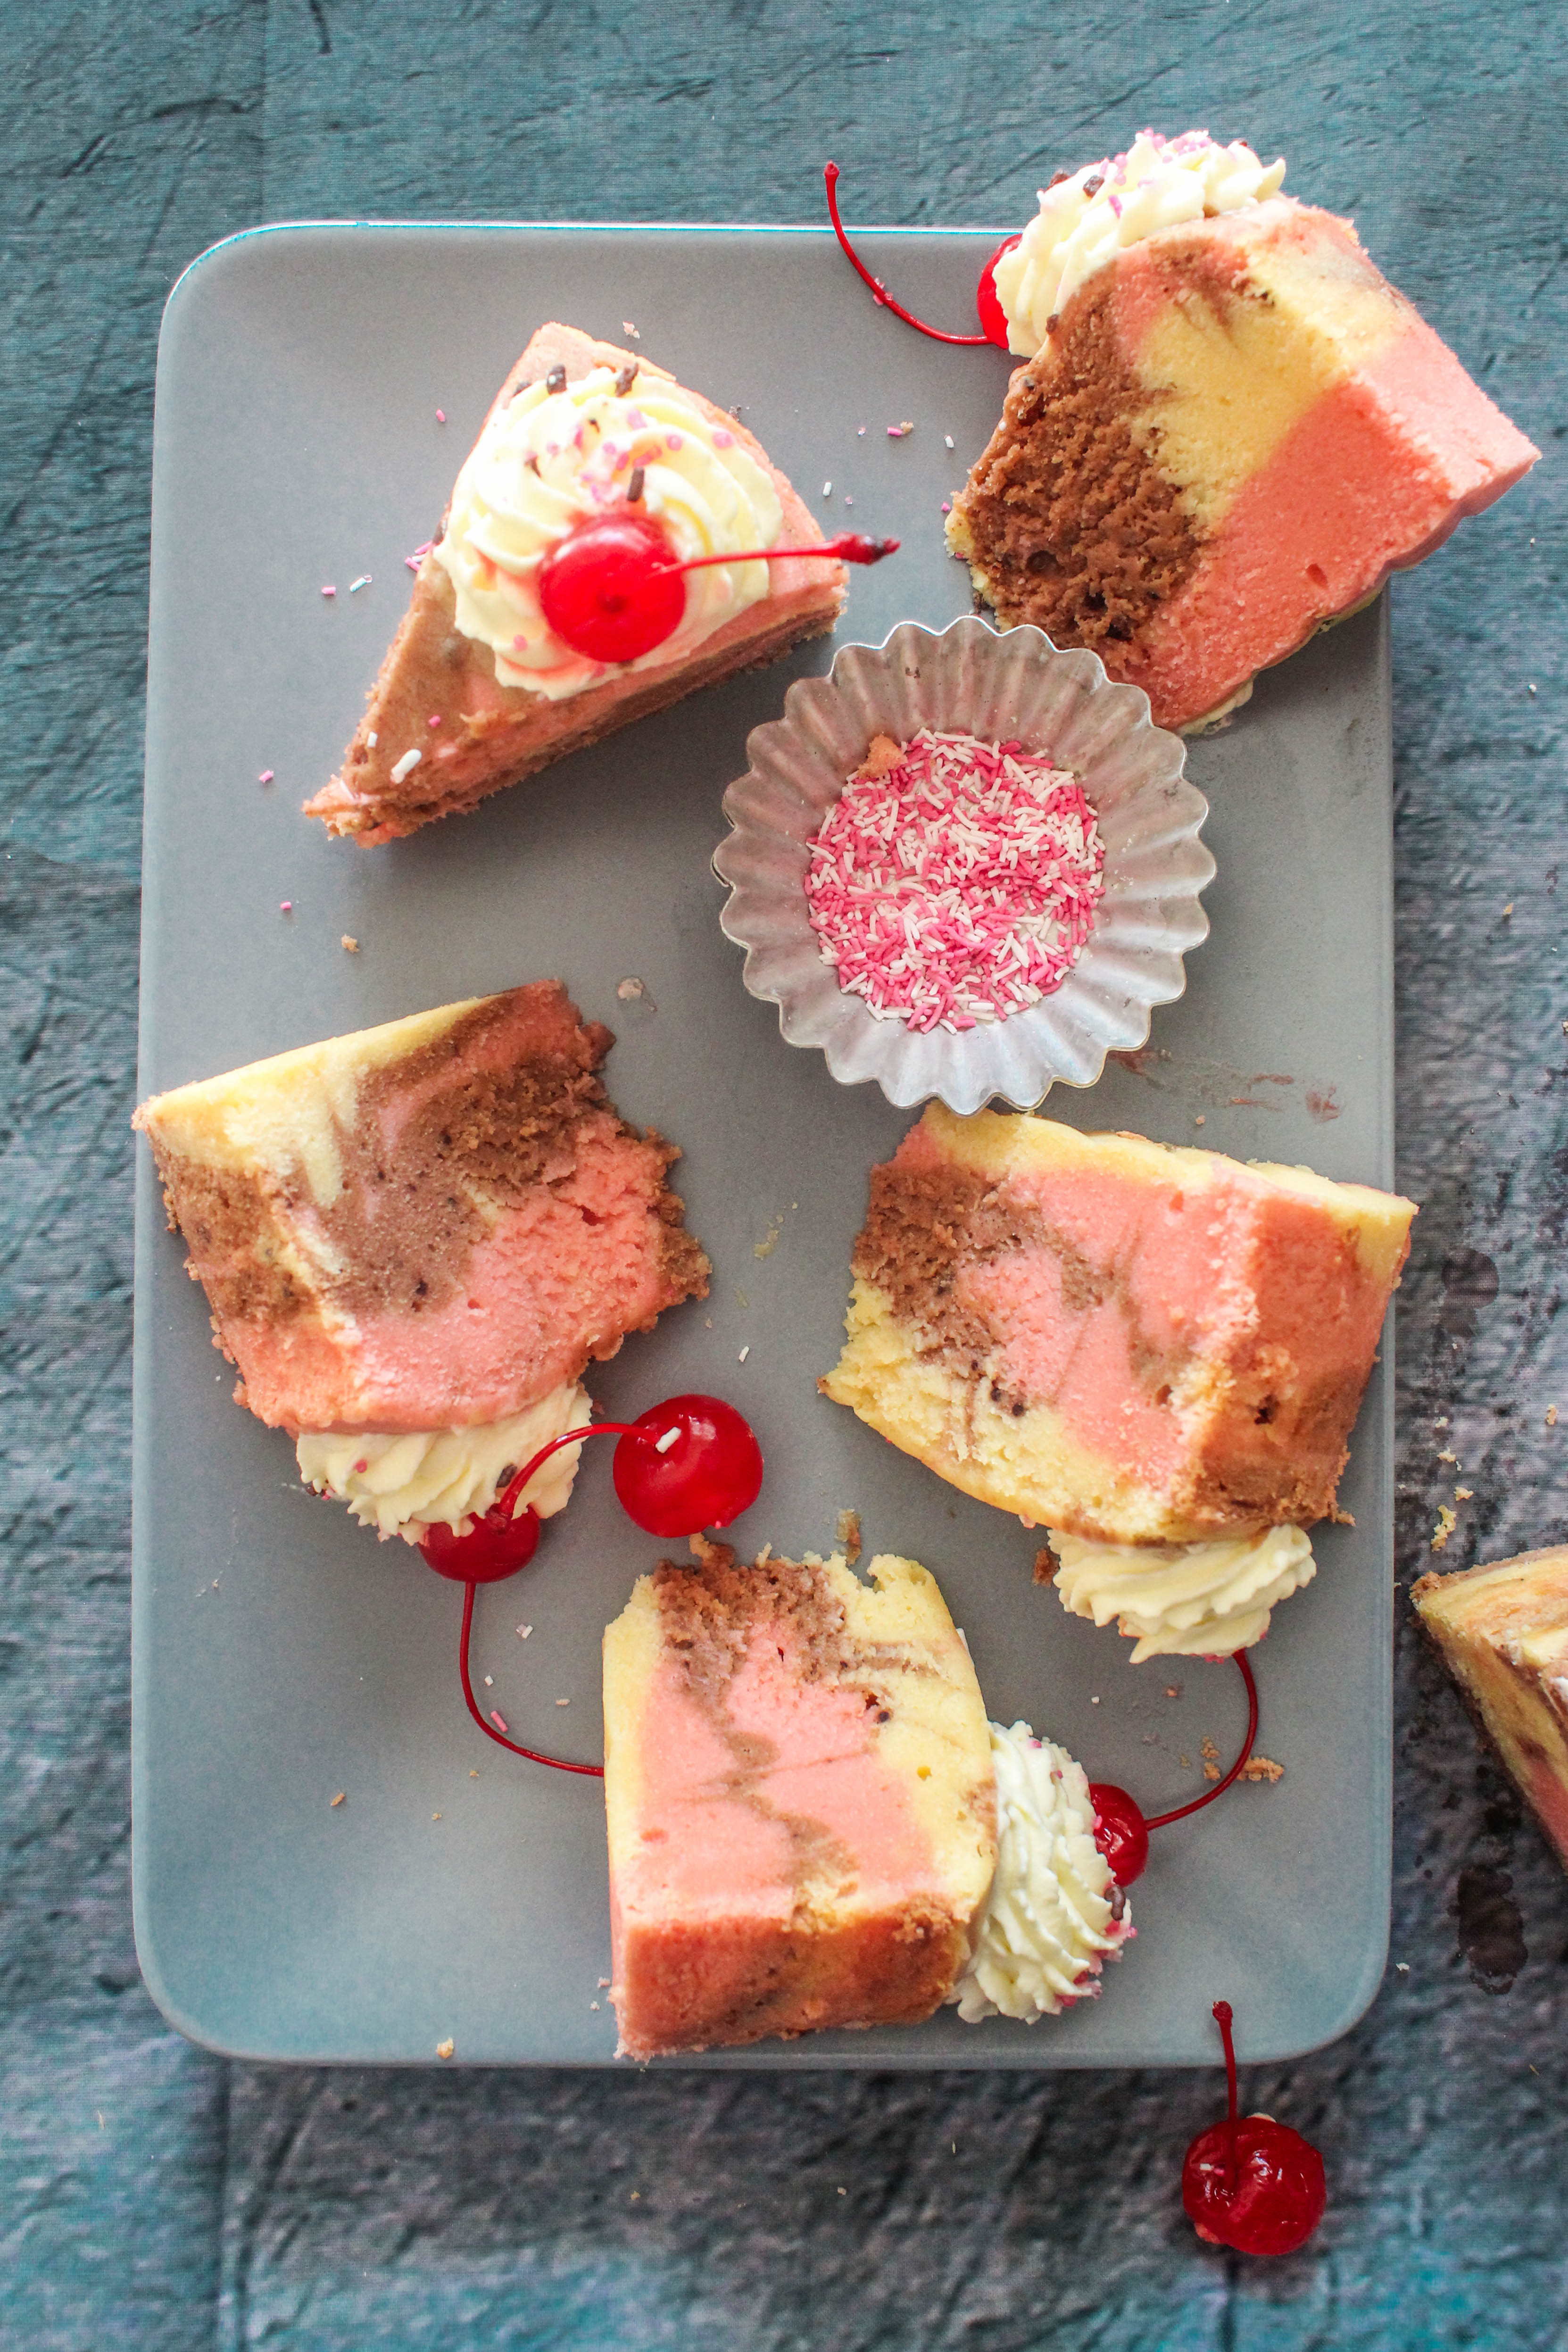
Neopolitan Marble cake

27|06|2014

Life is all about choices. Blogging is no different. Sweet or Savory. Healthy or indulgent. Hot or cold. Moody pictures or bright images. To post or not to post. And so on. Choices can be confusing. Also overwhelming. A Neopolitan cake at least saves you some choices.

IMG_0506

My twin boys have very different personalities and palates. They make different choices when it comes to food and I think they secretly enjoy that. When it comes to cake, one of them wants a strawberry cake while the other one loves chocolate. Thankfully, I have a solution to that now. This cake has 3 flavours- strawberry, chocolate and vanilla, present individually but mixed together in a marbled effect. It starts with a single batter that is later divided into 3 different bowls and flavoured with the respective ingredients.

IMG_0512-2

It is actually fun to make this cake, especially with kids. When I saw condensed milk in the recipe I was a bit concerned if the cake would be too sweet. On the contrary it wasn’t like that at all. The texture was dense almost like a mud cake. I found the chocolate part of the batter too subtle for my liking and I might increase the amount of cocoa next time. On it’s own, the cake tasted alright. I thought it might benefit from a little bit of frosting, ganache or even whipped cream. So I piped whipped cream which lifted the appearance as well.

IMG_0514

Neopolitan Marble Cake (adapted with variation from Nestle recipes)
Serves 12

250 g butter, room temperature
395 g can sweetened condensed milk
2 eggs
21/4 cup plain flour, sifted
1 tbsp. baking powder
3/4 cup milk
1/2 tsp vanilla essence
Pink food colouring
1 tsp strawberry essence
1/4 cup cocoa powder
1 tbsp. milk, extra
1/2 cup heavy cream, whipped to stiff peaks and sweetened to your taste
maraschino cherries, to decorate
sprinkles, to decorate

Preheat oven to 150 degrees C. Grease and line the base a 19 cm round pan with baking paper.
Beat butter and condensed milk until thick and creamy. Add eggs, beating well. Fold in sifted flour, baking powder alternately with milk.

Divide mixture among 3 bowls. Add vanilla essence to the first bowl, mix, leave aside. Using pink food colouring, tint the second bowl pink and add the strawberry essence. Mix. To the last bowl, add the cocoa powder and milk and mix.

Drop alternate spoonfuls of mixture into pan. Swirl mixture with a skewer to create a marbled effect. Bake for 11/4 hours or until a skewer inserted into the centre comes out clean. Stand for 5 minutes before turning onto a wire rack to cool.

Once completely cooled down, pipe swirls of whipped cream onto the top of the cake. Decorate with cherries and sprinkles.


  • « Previous Page
  • 1
  • …
  • 31
  • 32
  • 33
  • 34
  • 35
  • …
  • 45
  • Next Page »
Hey Sugar
Cake
Link to my Facebook Page
Link to my Instagram Page
Link to my Pinterest Page
Link to my Mail Page
Subscribe to this site
Fresh Awards
2019 Aus mumpreneur
2019 aus mumpreneur
Mumbrella

Copyright © 2026 · Sugar Et Al · Designed by Smitten Blog Designs · Log in