• Home
  • Recipe Index
    • Recipe Index
    • Breakfast/Brunch
    • Cakes and Puddings
    • Chocolate
    • Cookies and cupcakes
    • Custard and Mousse
    • Gluten Free
    • Ice Cream
    • Mains
    • Other Sweet Treats
    • Snack/Appetizers
    • Soups and Salads
    • Tarts and Pies
    • Vegetarian
  • About
  • Cookbook
  • Portfolio
  • Store
  • Press
  • Work with Me

Sugar et al

Because Life is a blend of flavours...

Lemon, Coconut and Strawberry Cake

27|01|2015

Over the long weekend we ticked off the final items on the twin’s school to-do checklist. School is now less than a week away. I am not ready. They however,seem to be ready which is a relief. Where has time flown away? I wish I could hold on to the next few days and make them last a bit longer. Or tuck away the sound of their laughter and endless innocent conversations in a safe place to be treasured forever.

IMG_5054-3
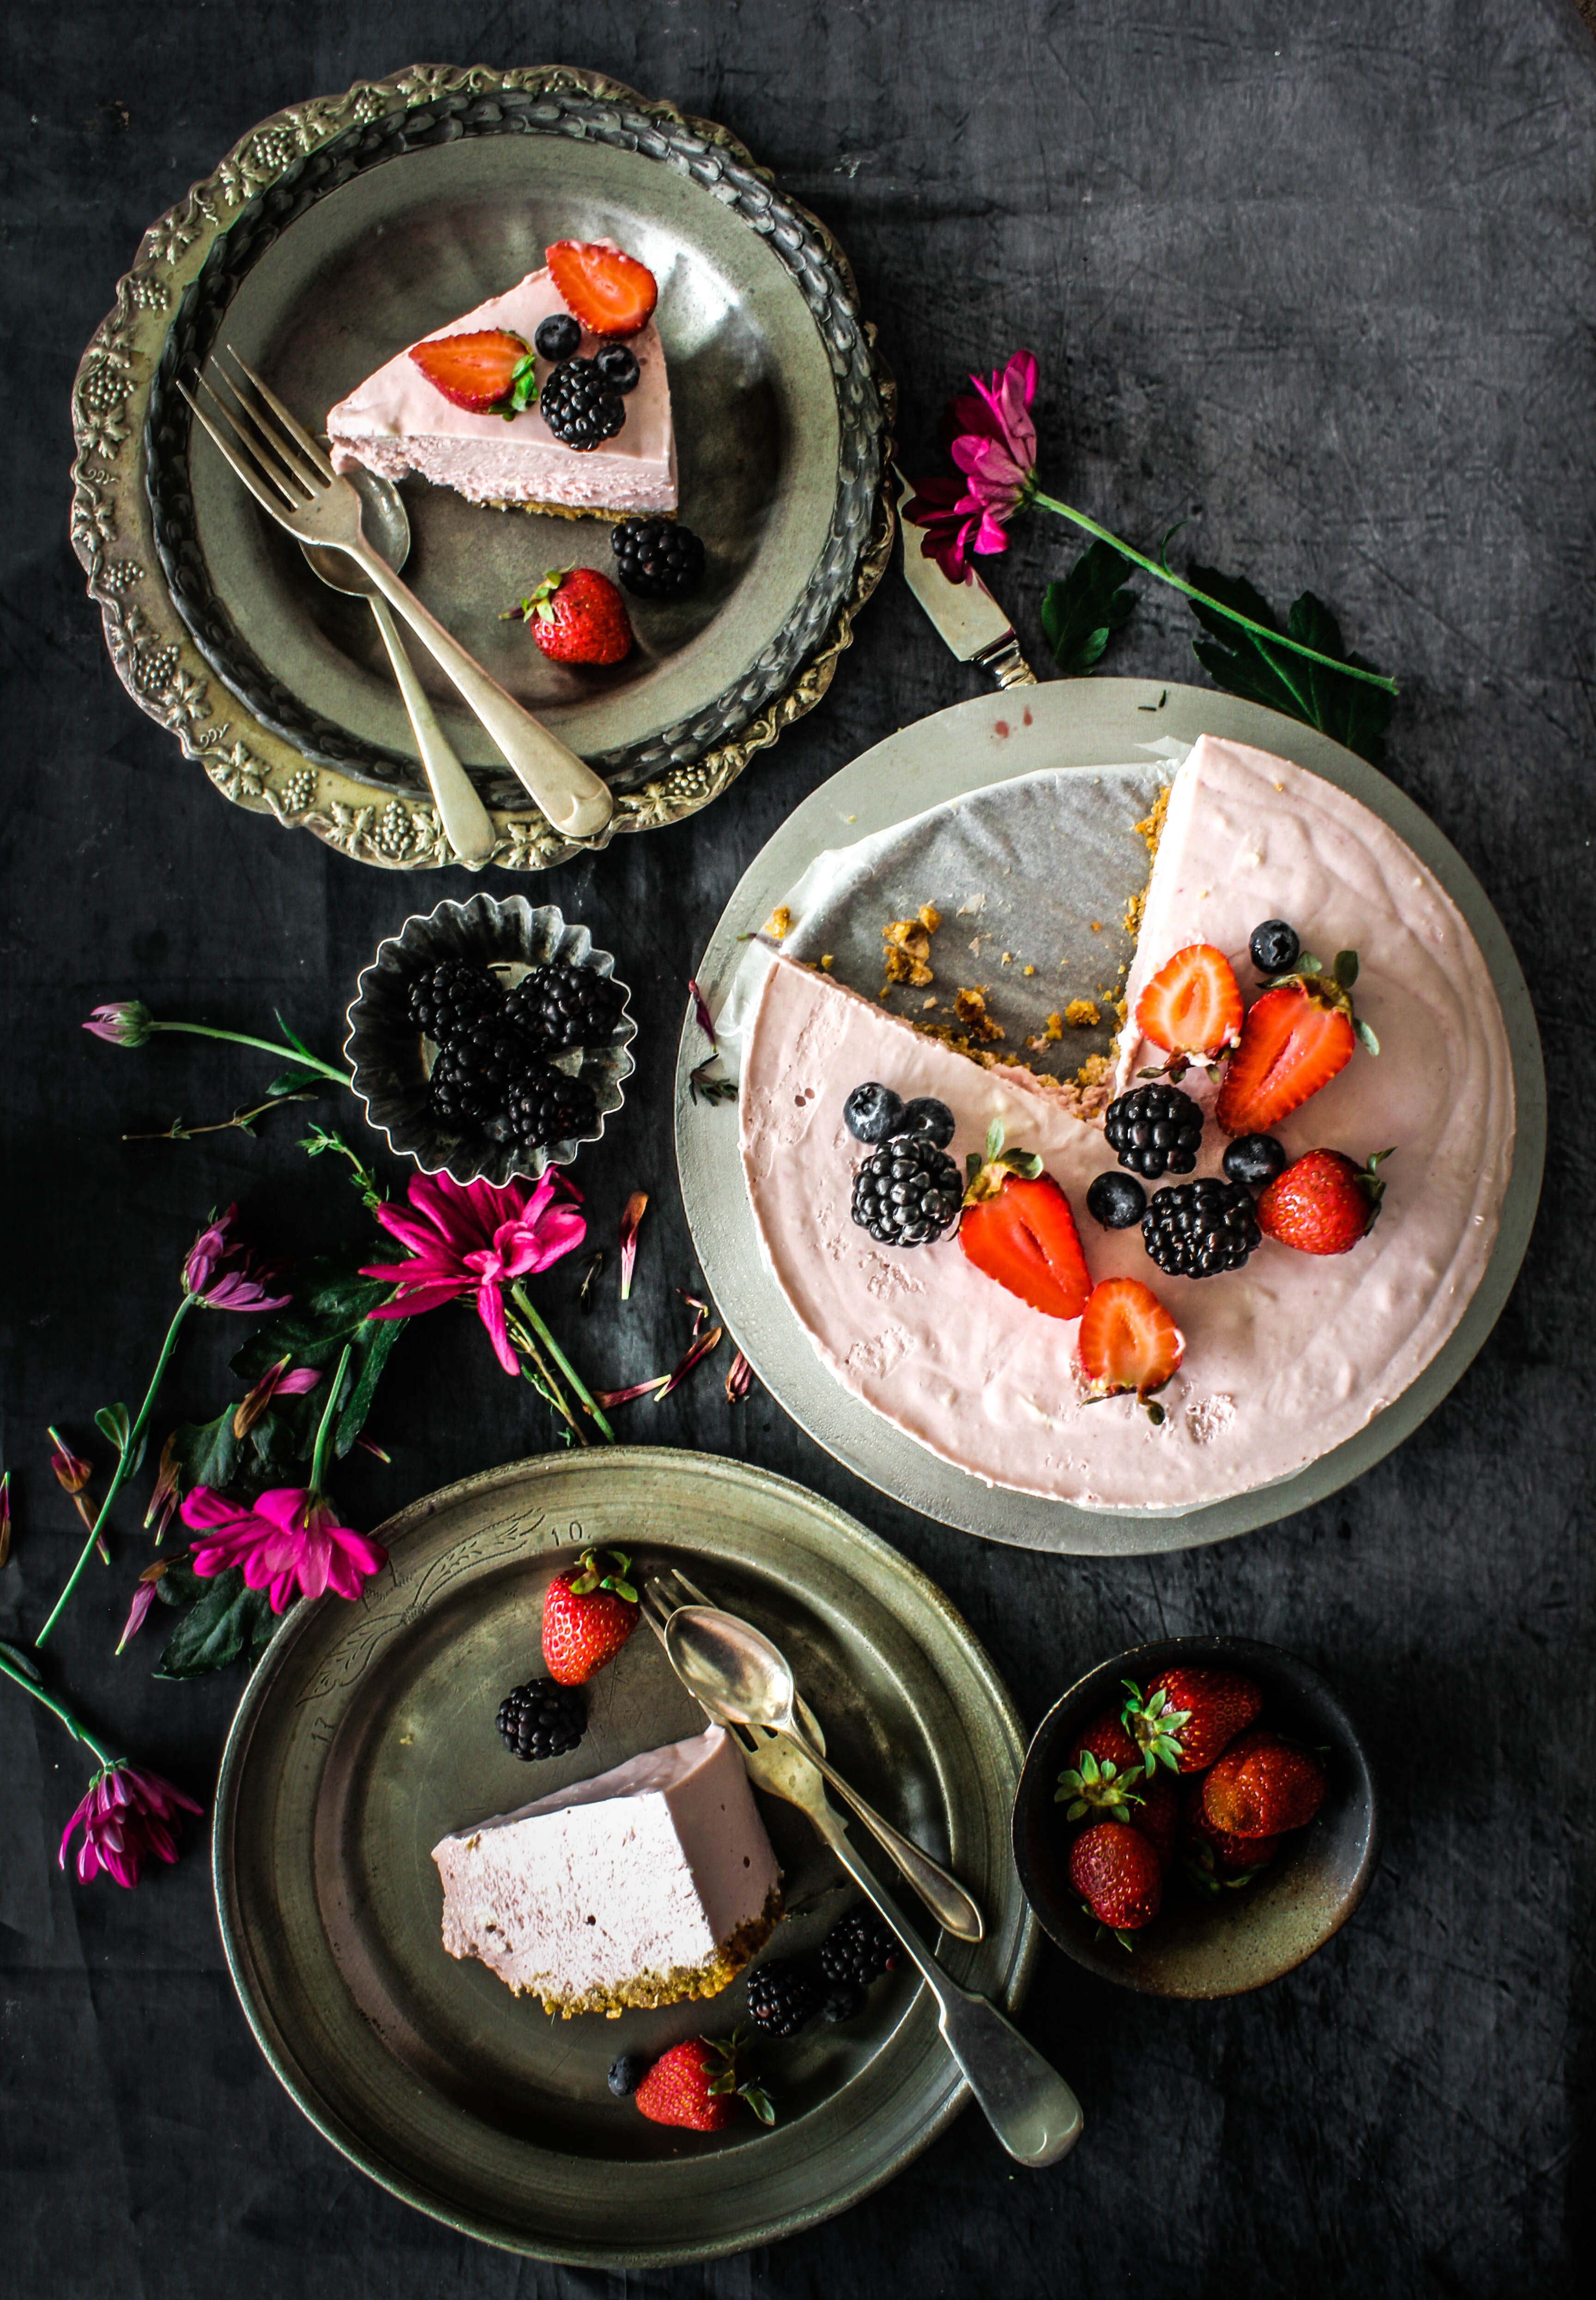
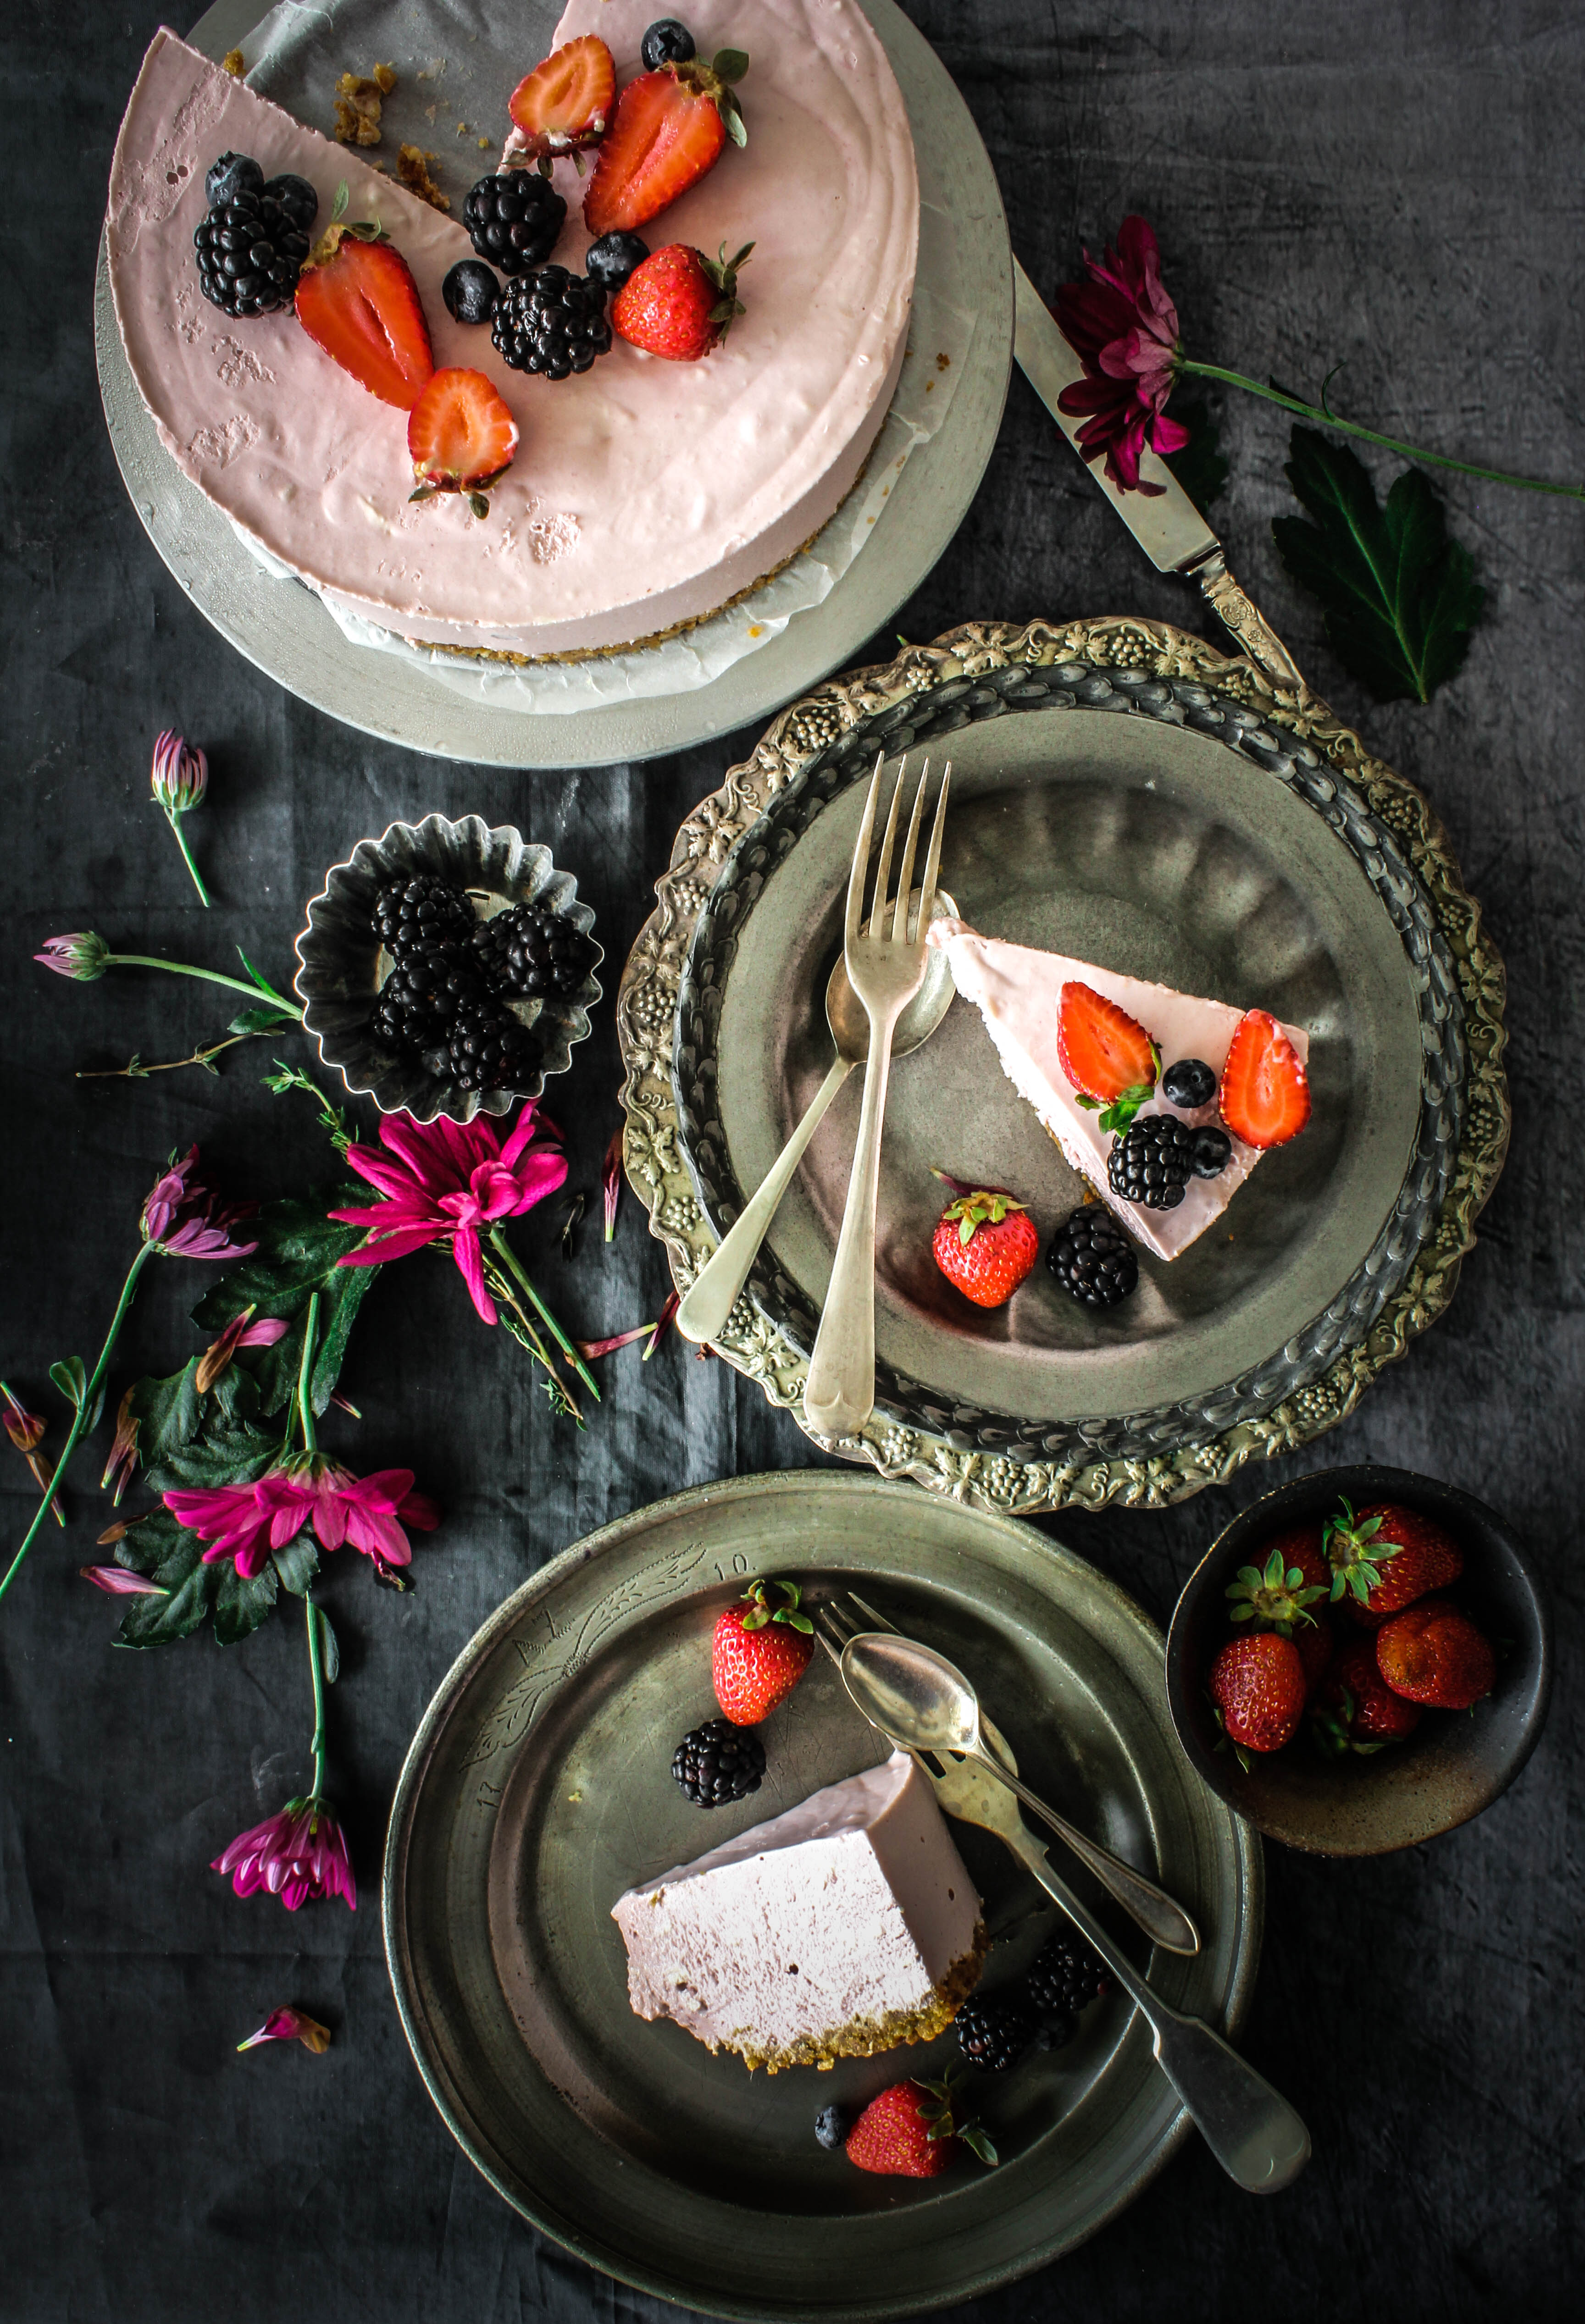
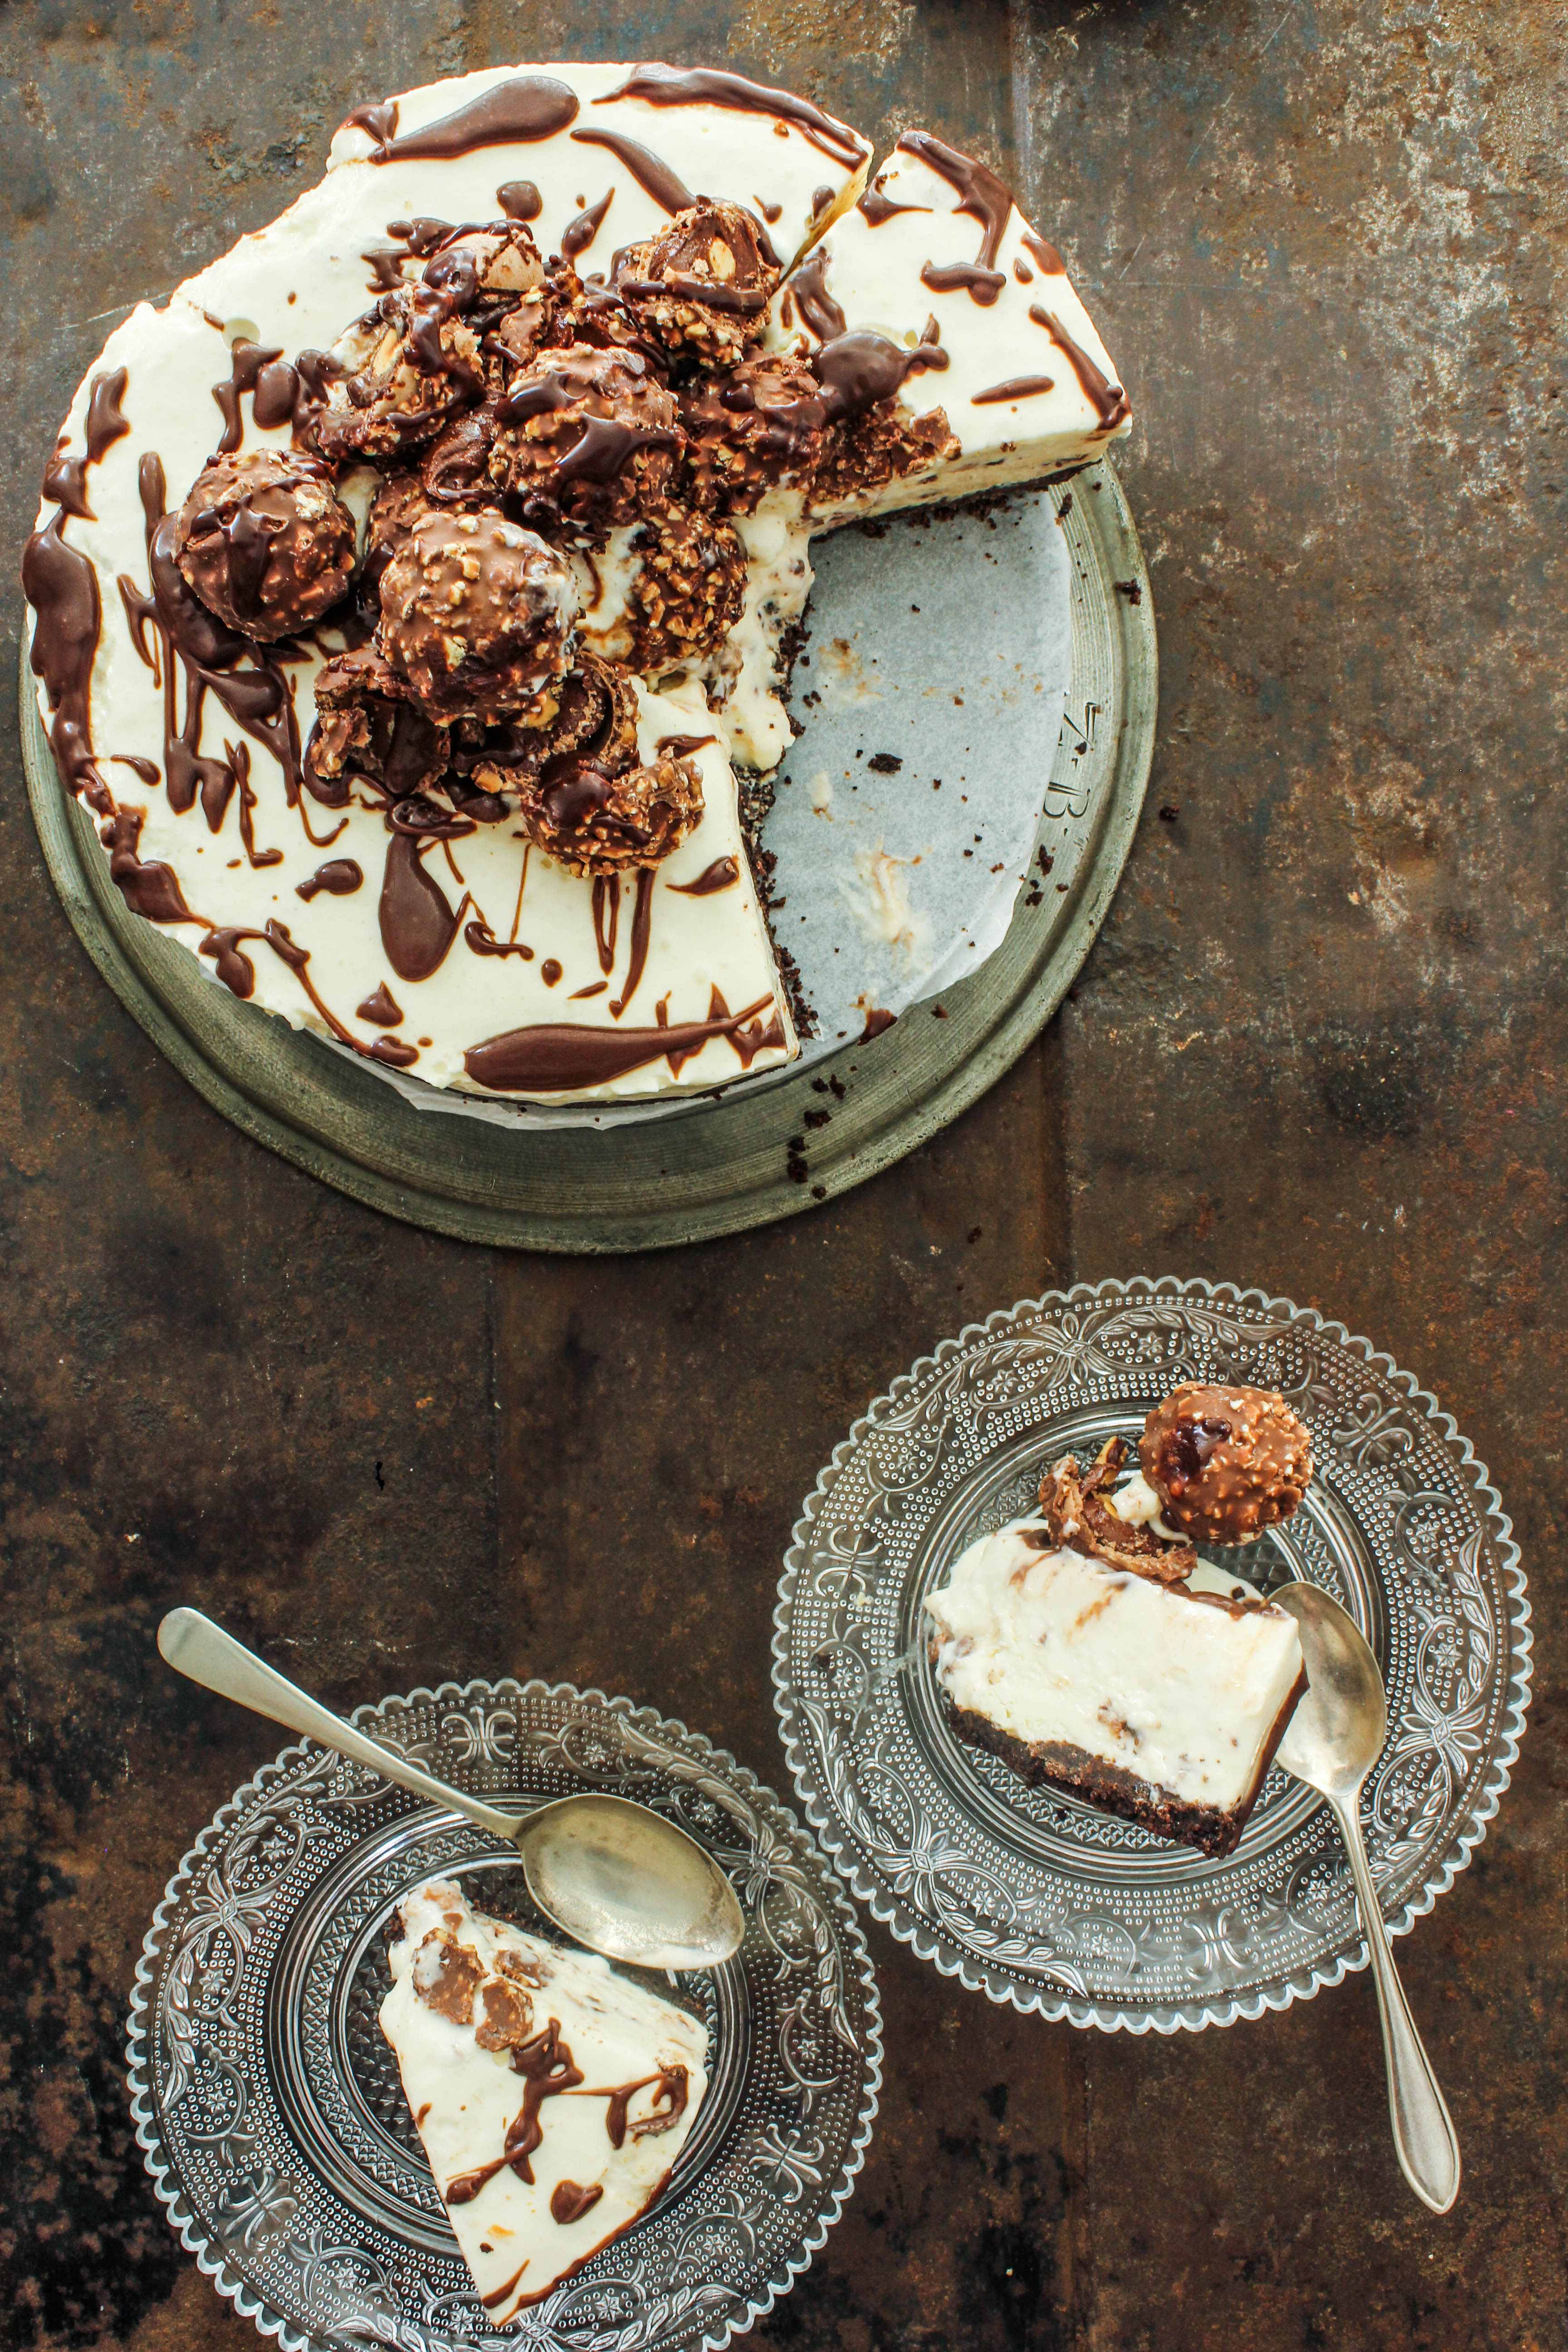
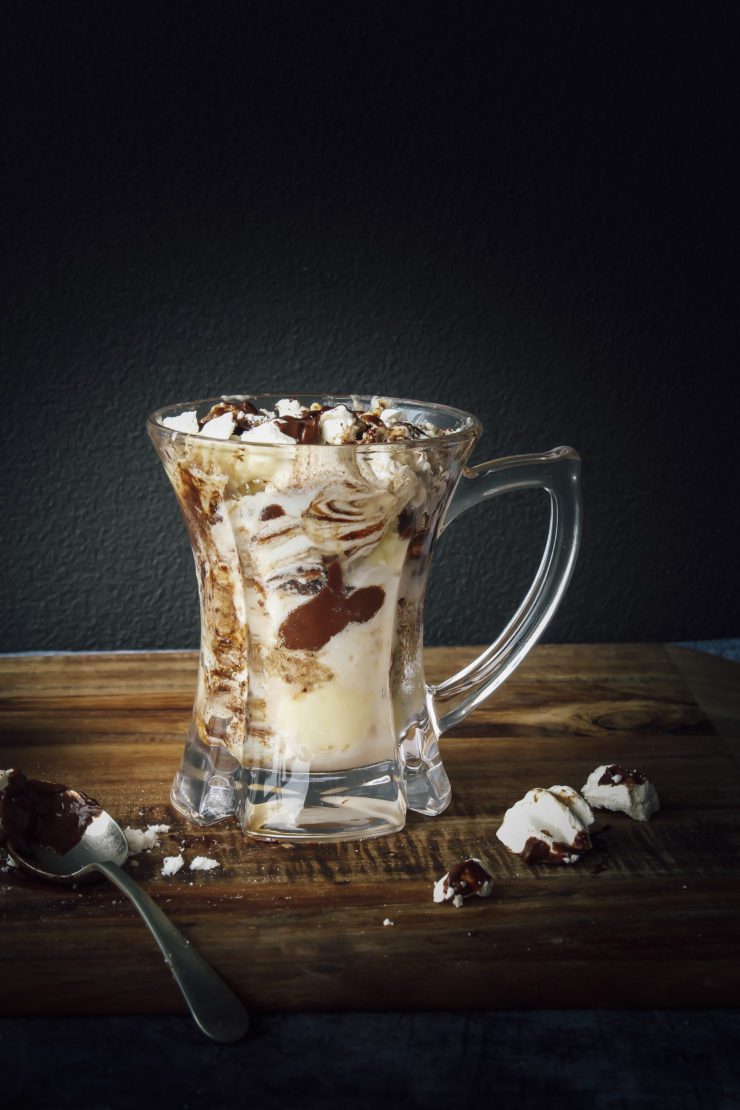
We were blessed with great weather yesterday after a sizzling 38 degrees C on Sunday. Since we didn’t go out anywhere, just sitting together over a small barbecue lunch while watching the rain made perfect sense. Deep inside,I knew such occasions wouldn’t come by as easily and frequently as our lives begin to embrace routines in a bigger sense in future. We had this cake for dessert. I haven’t baked a lot this month and have been mainly creating frozen recipes so it was a refreshing change to be able to switch on the oven and do things that are more therapeutic for me.

IMG_5085


IMG_5048

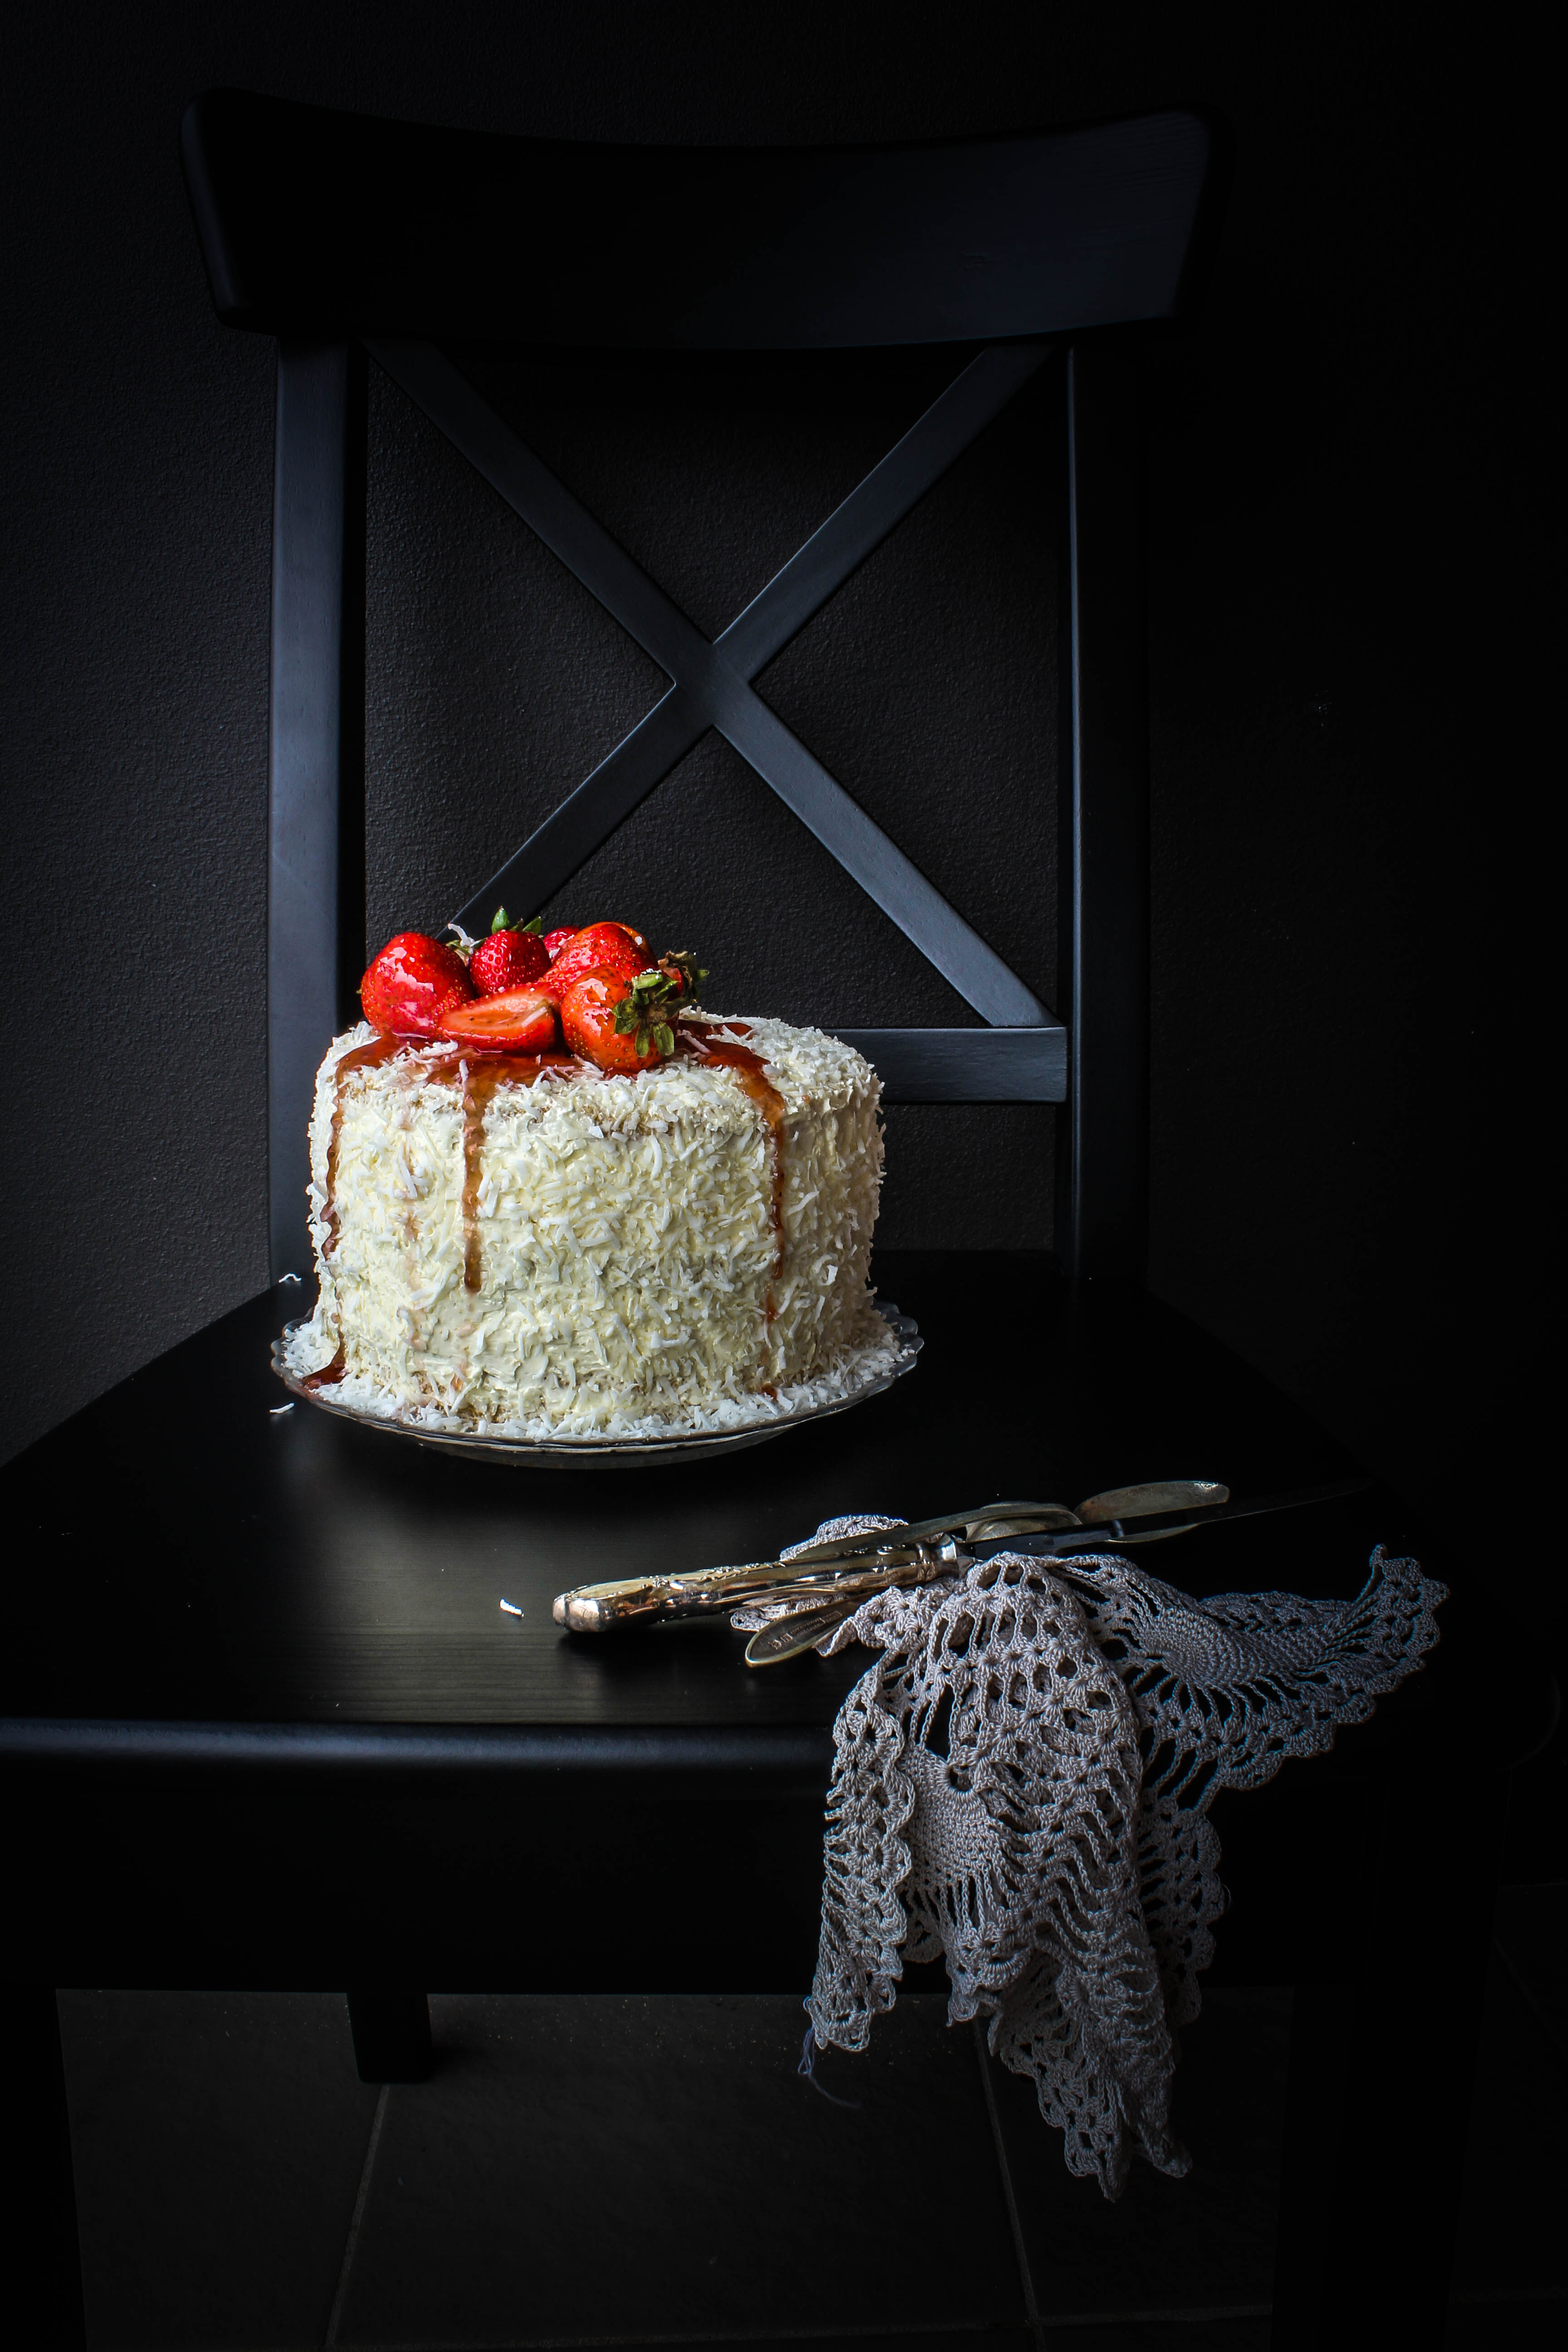
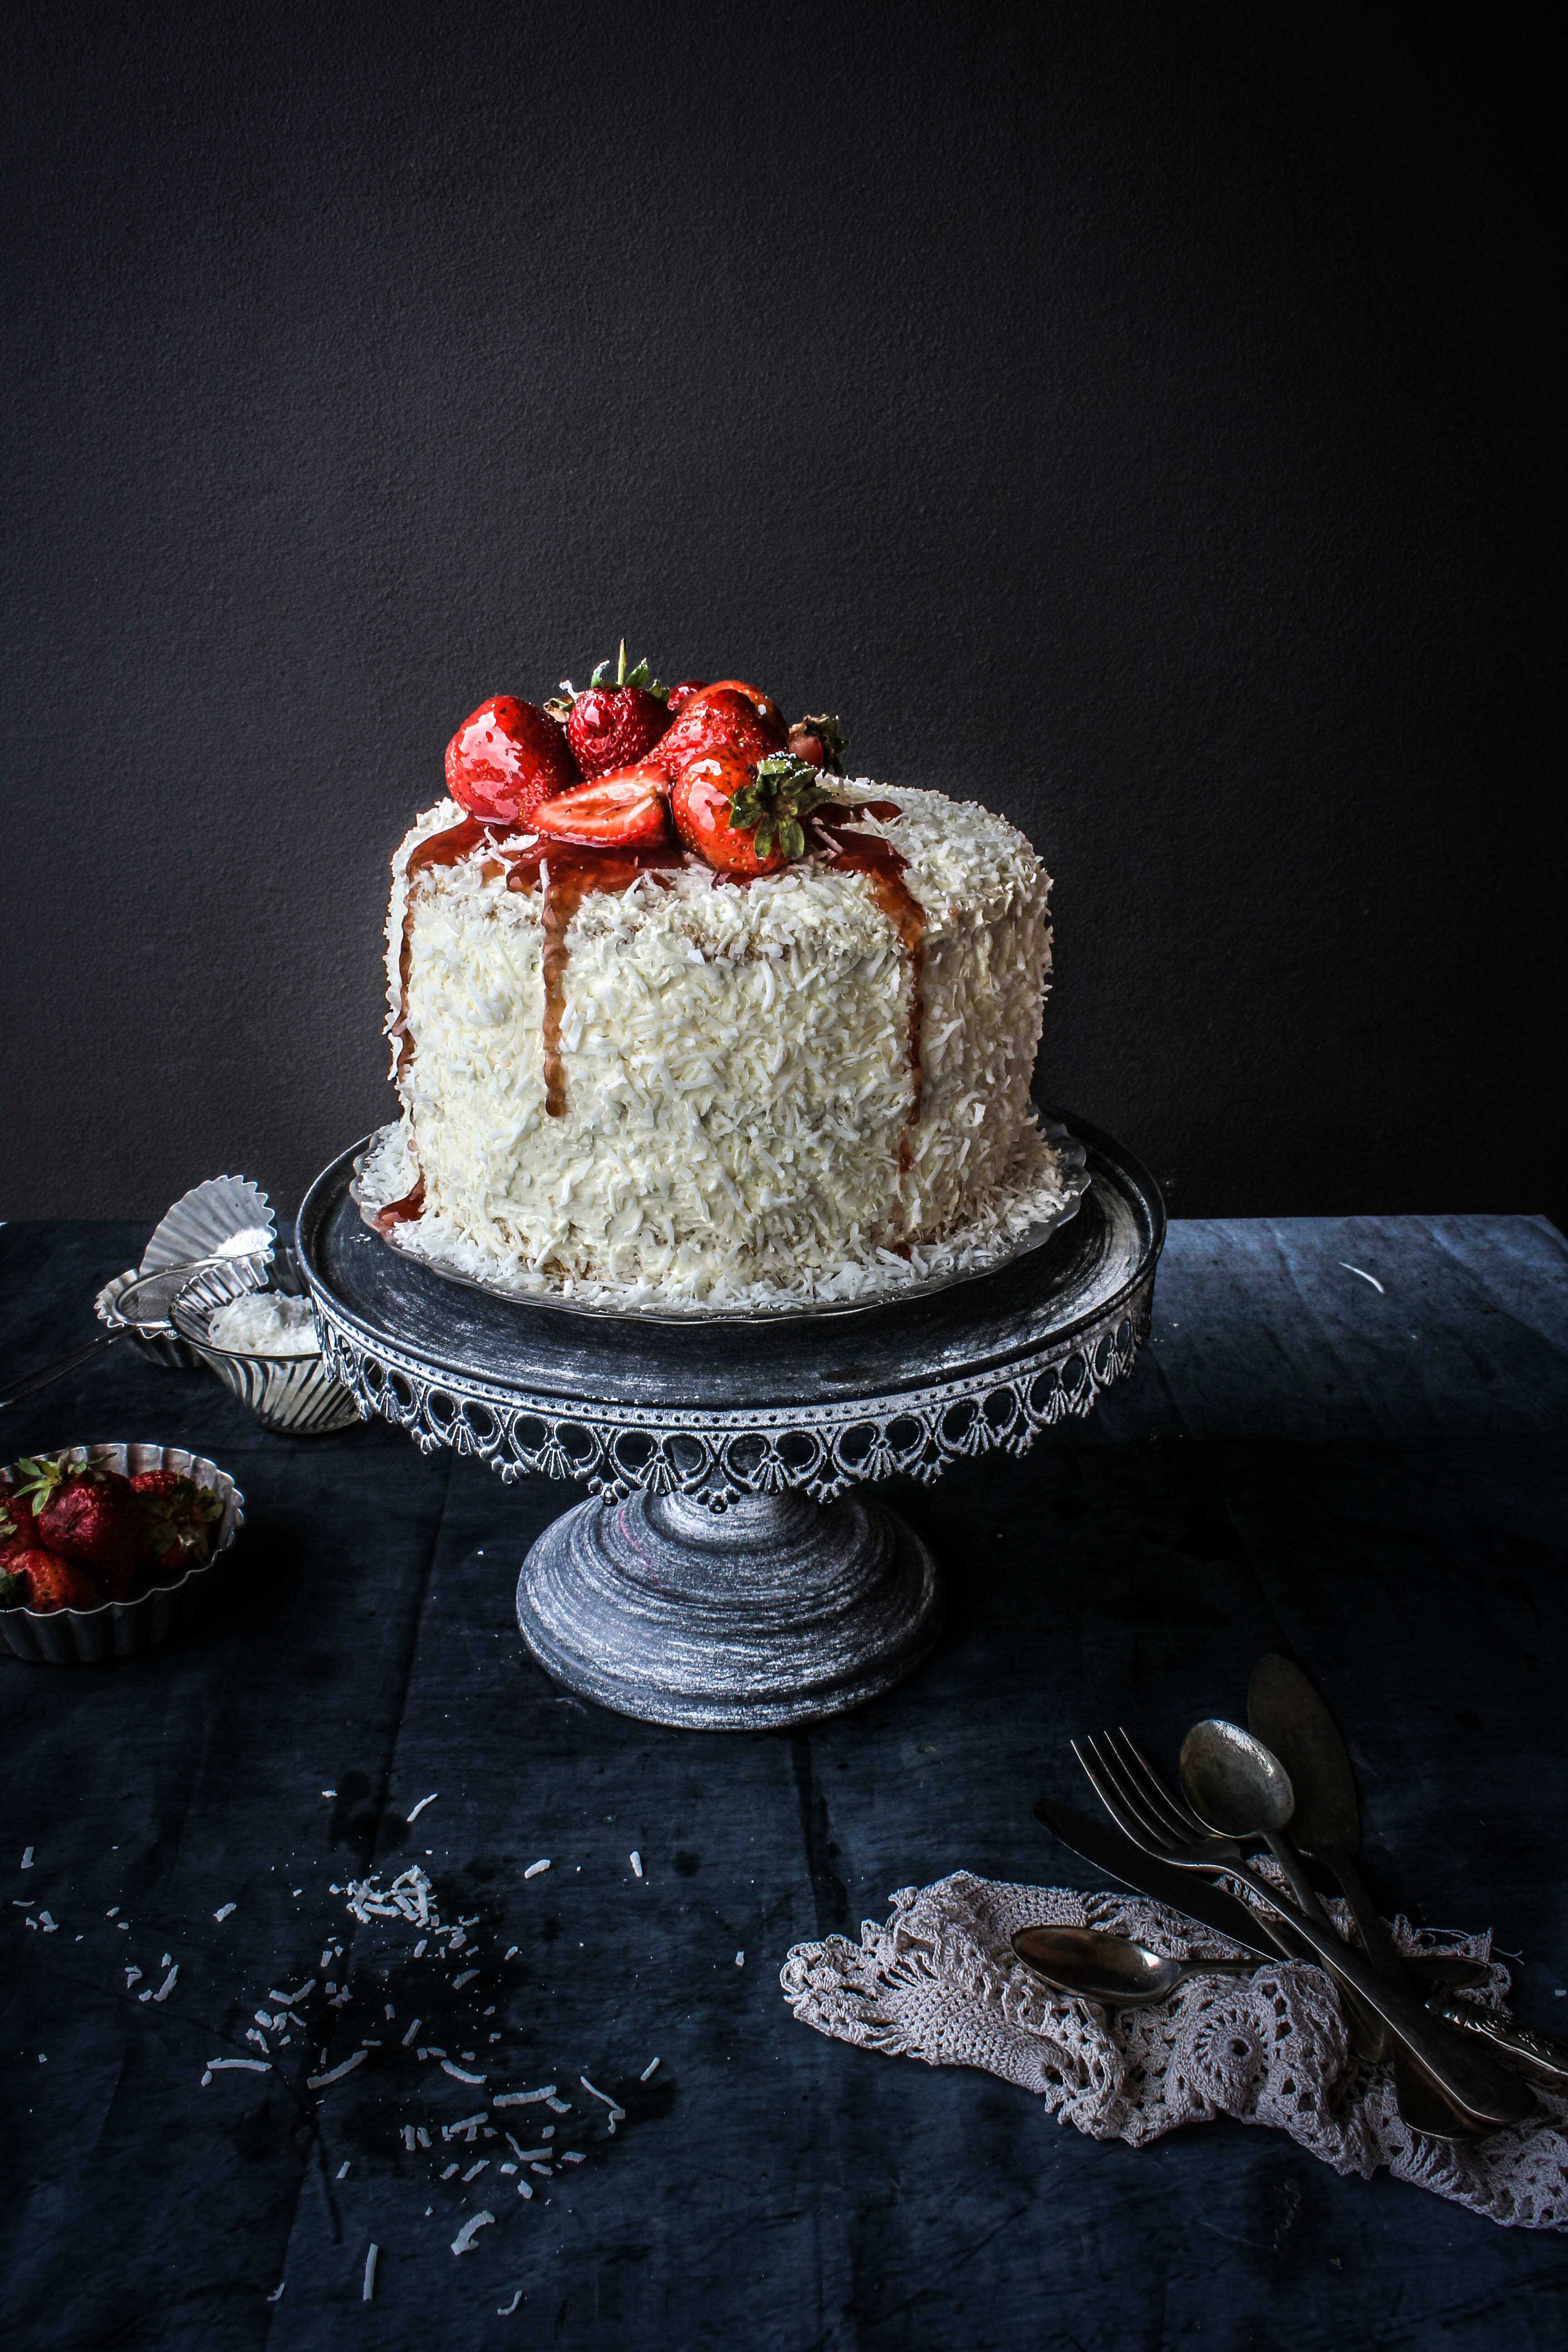
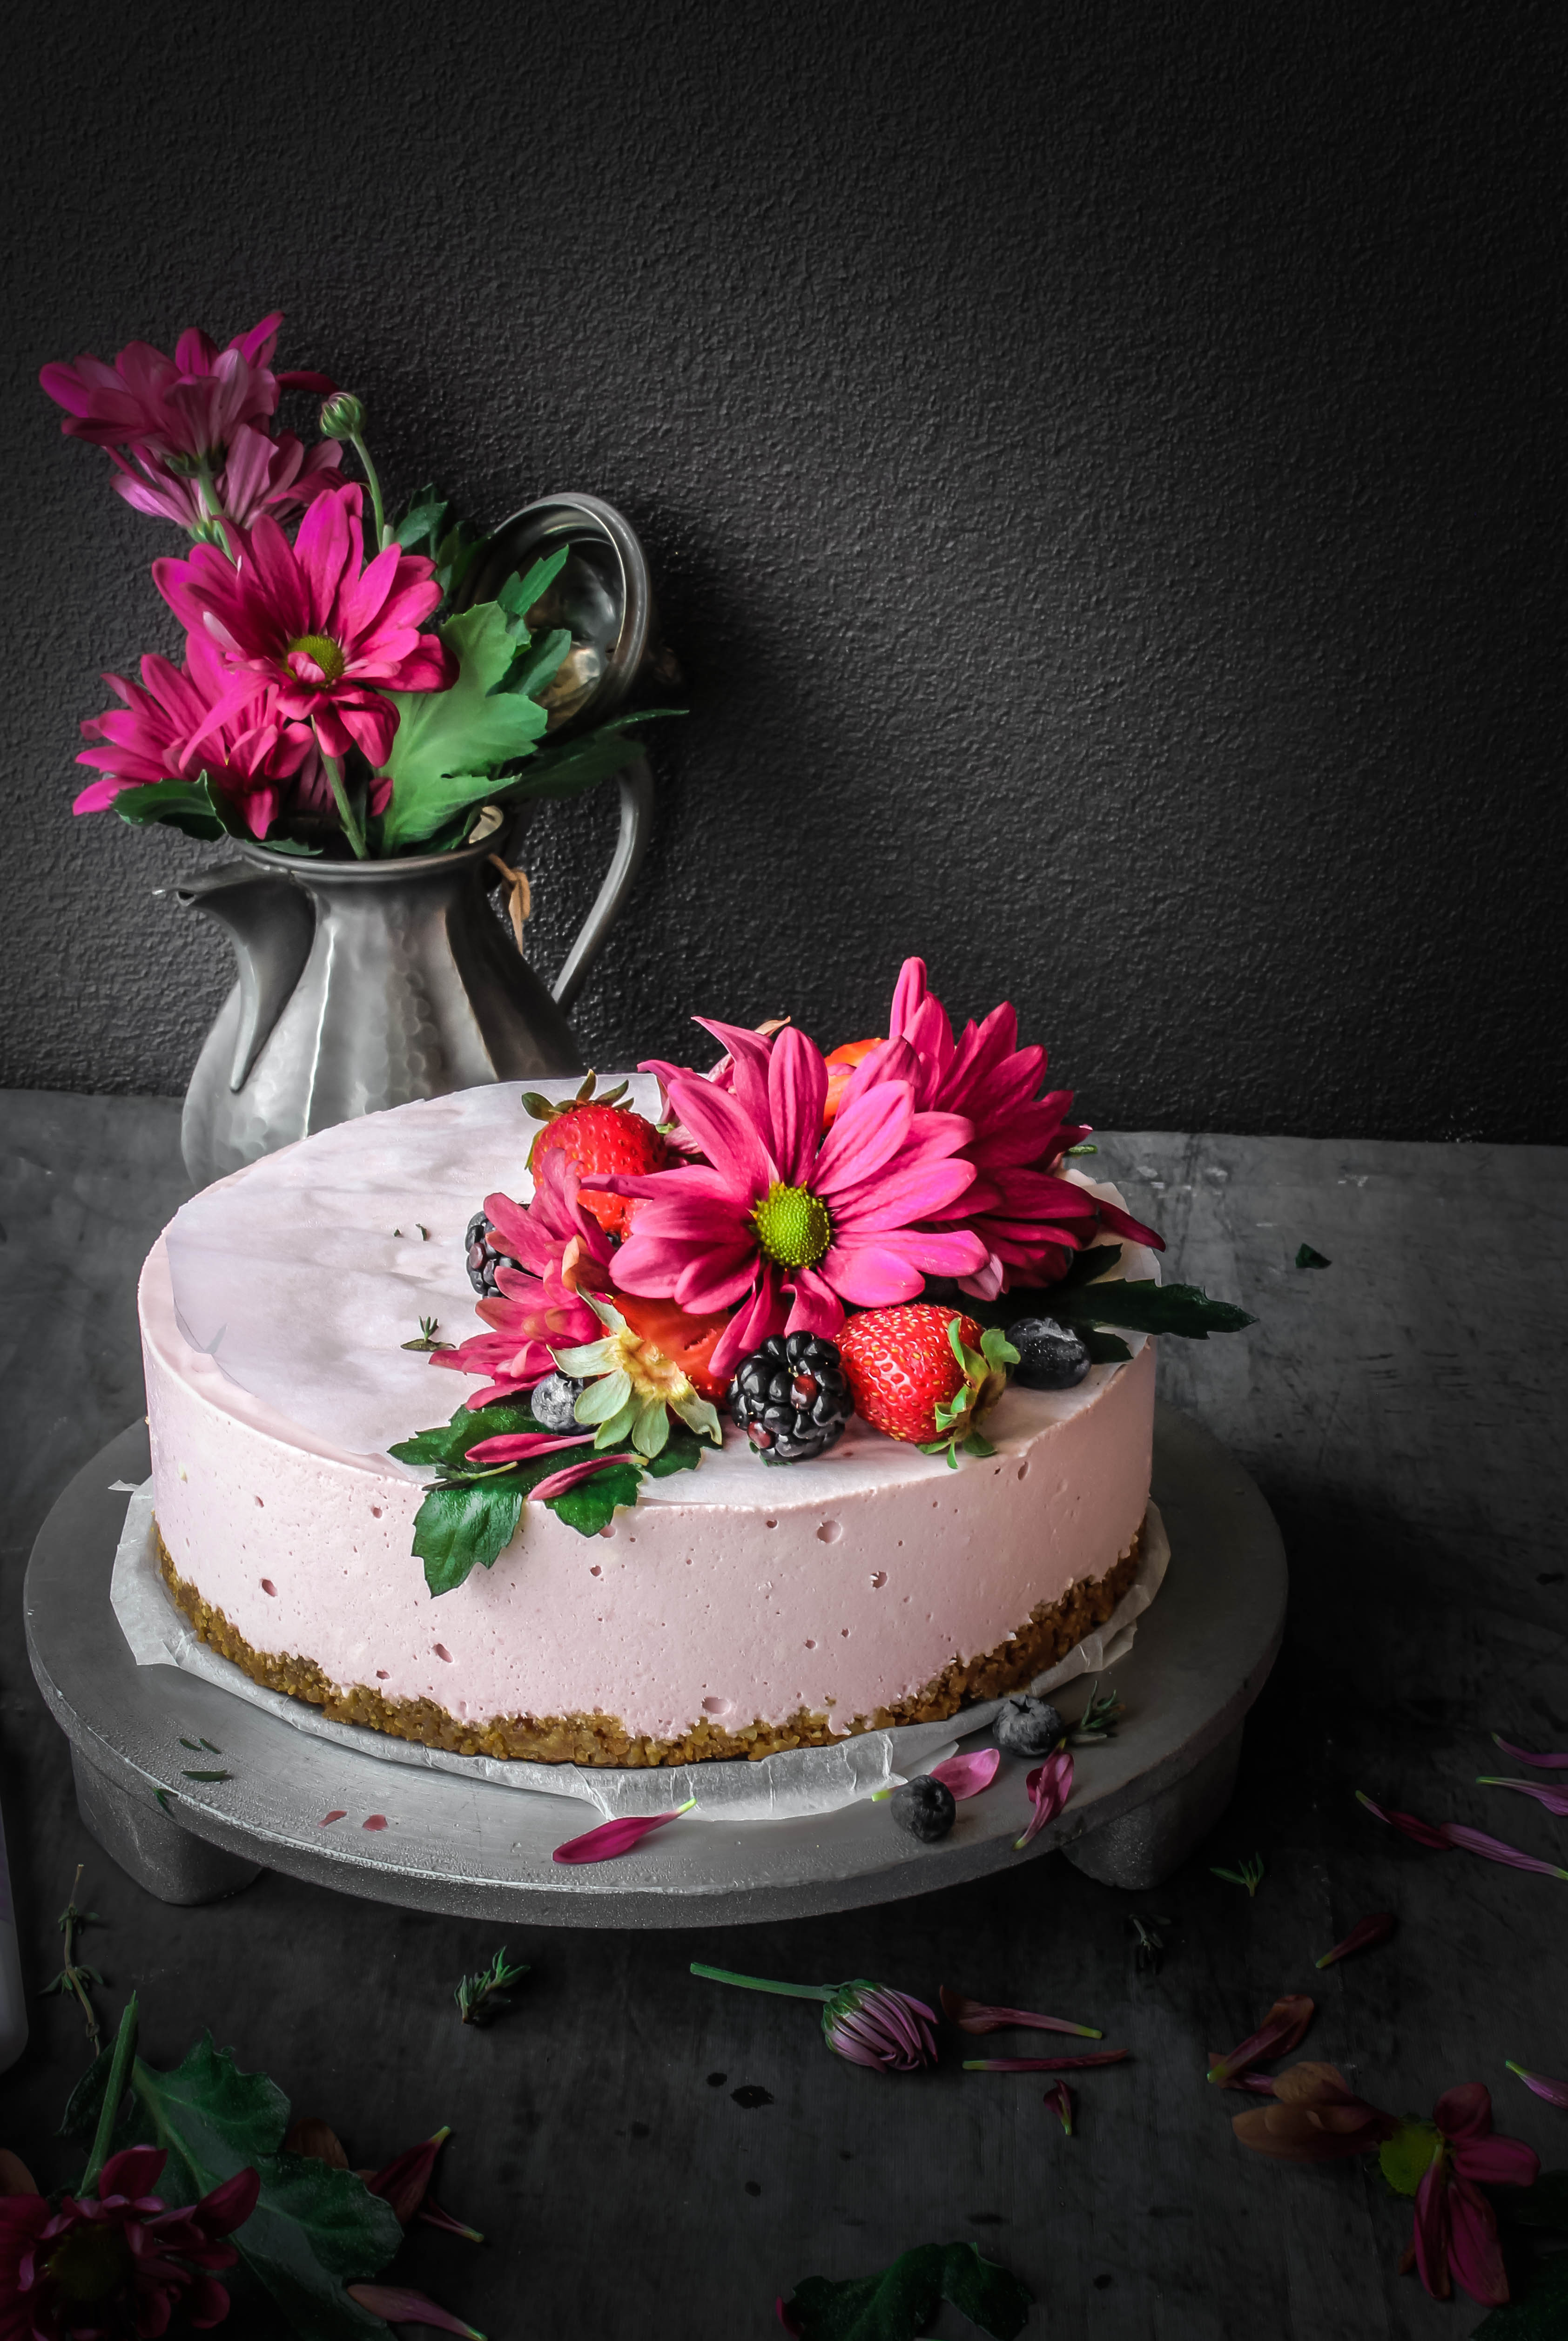
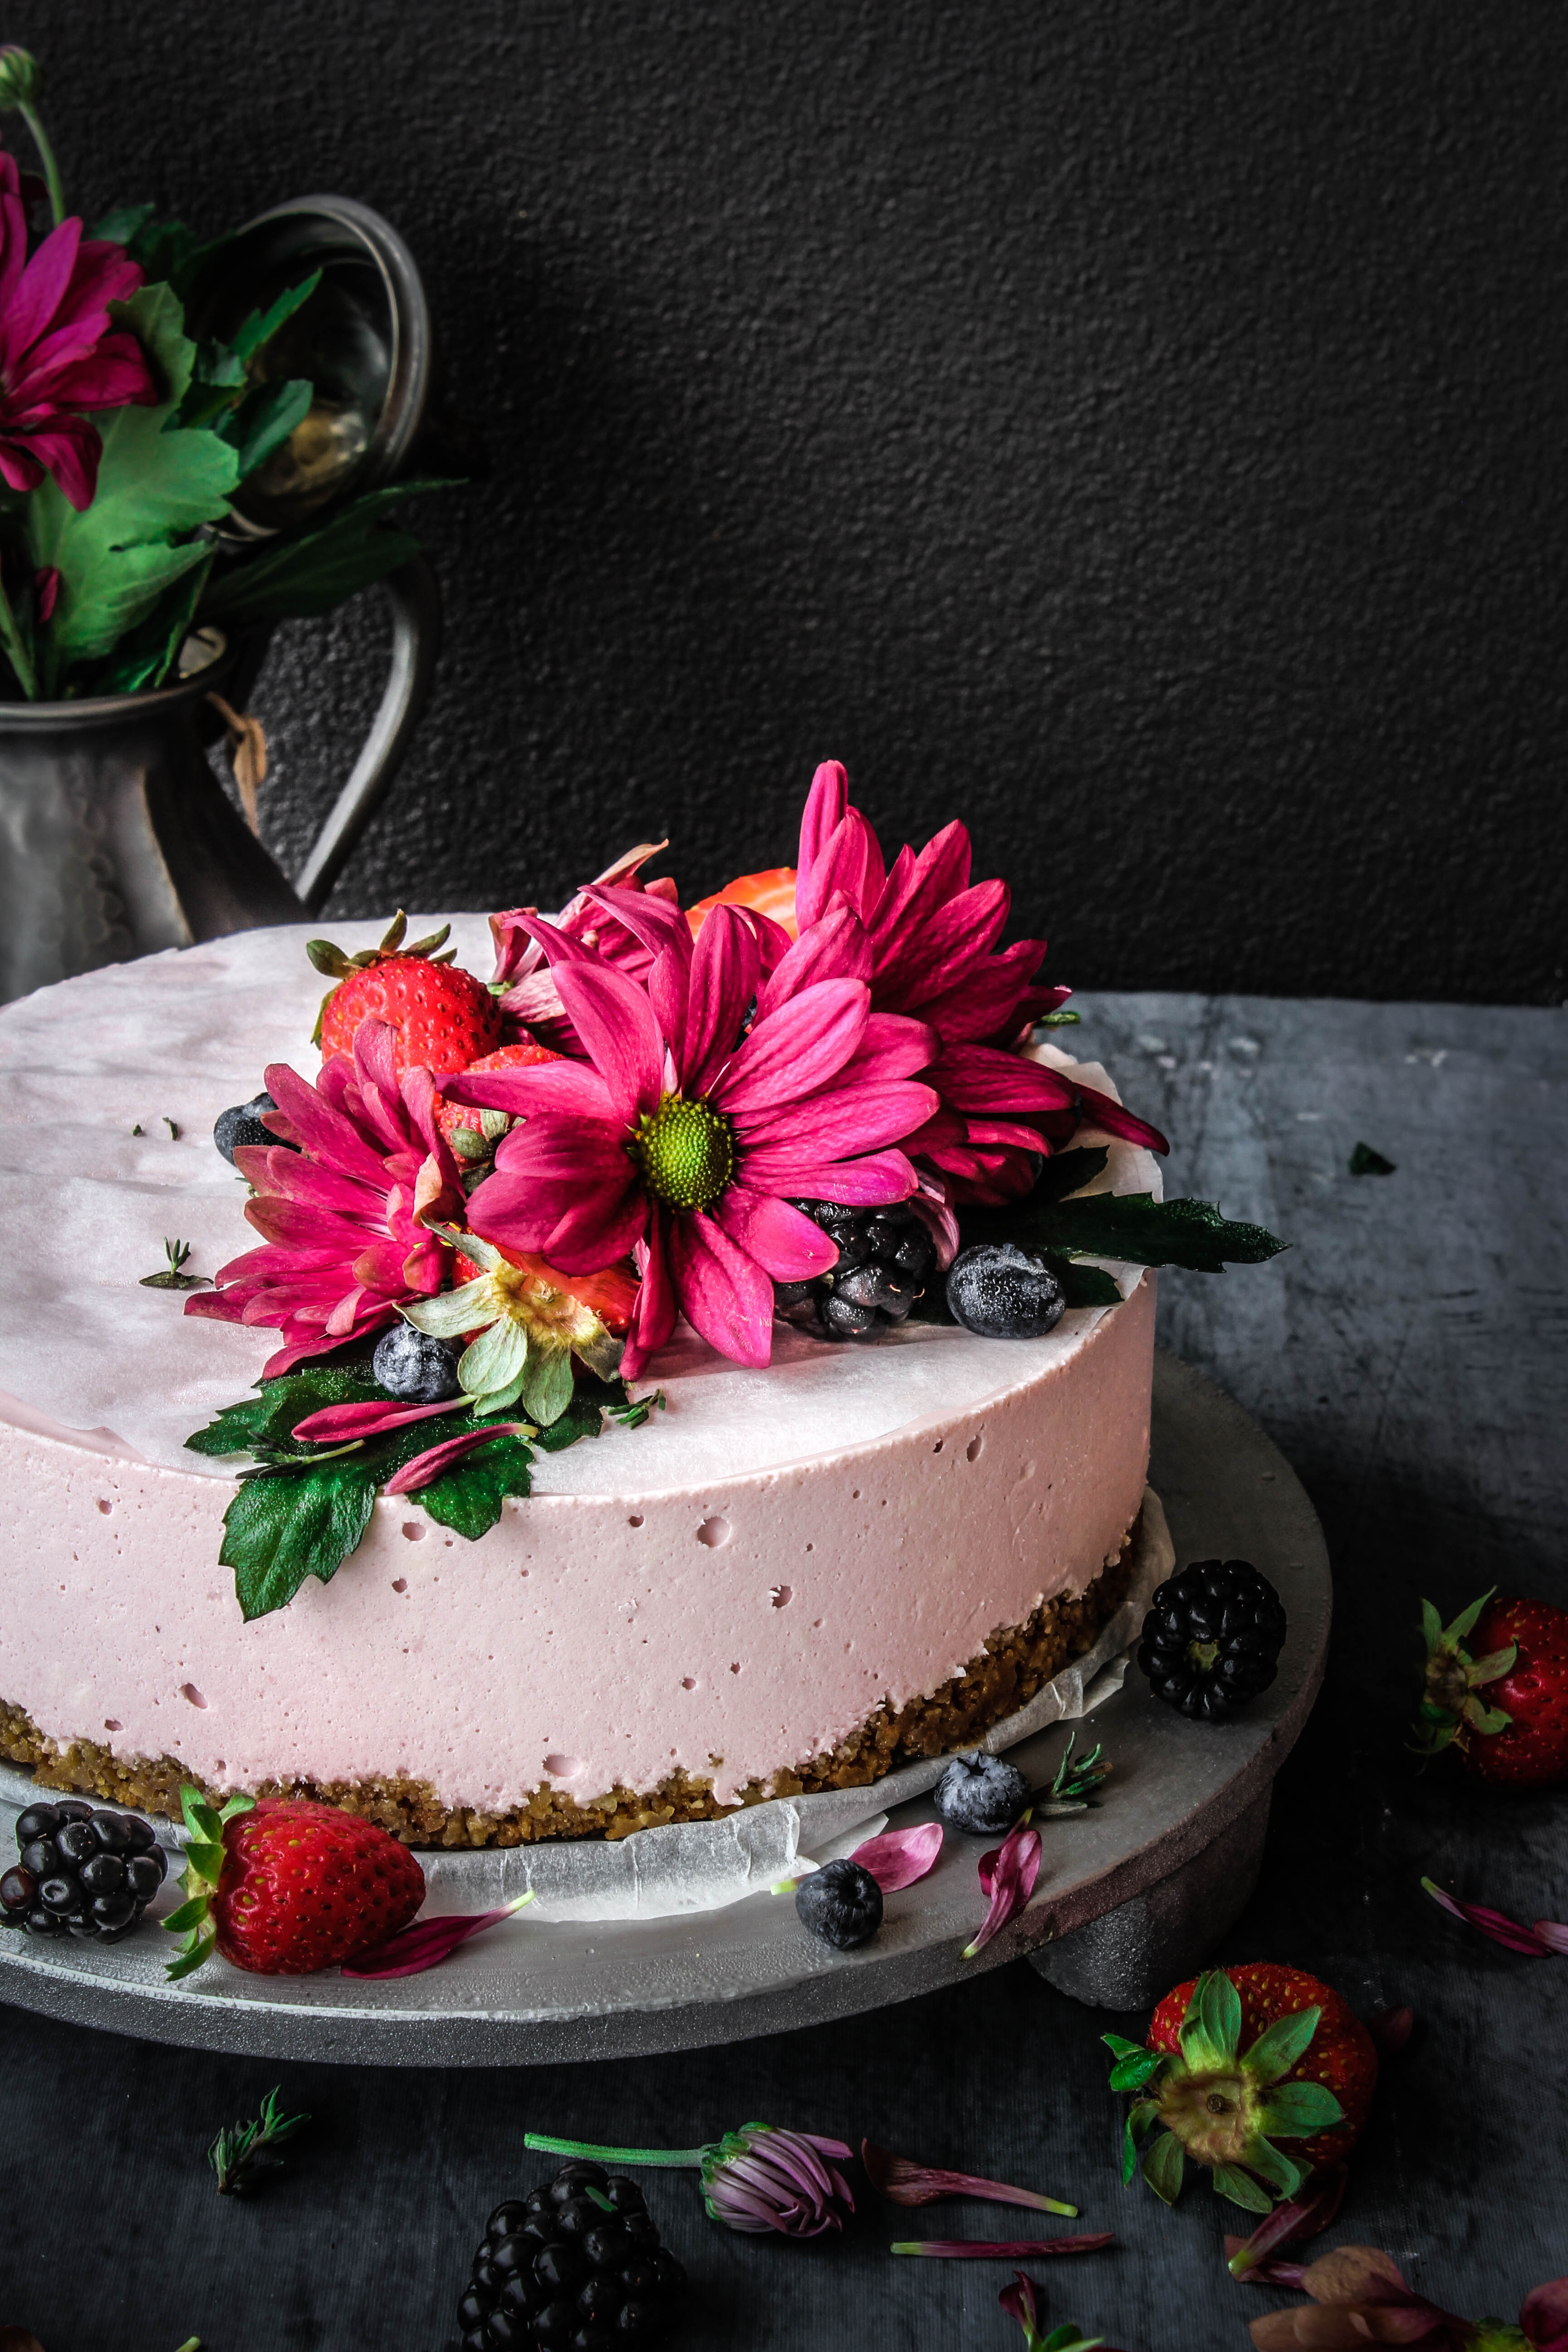
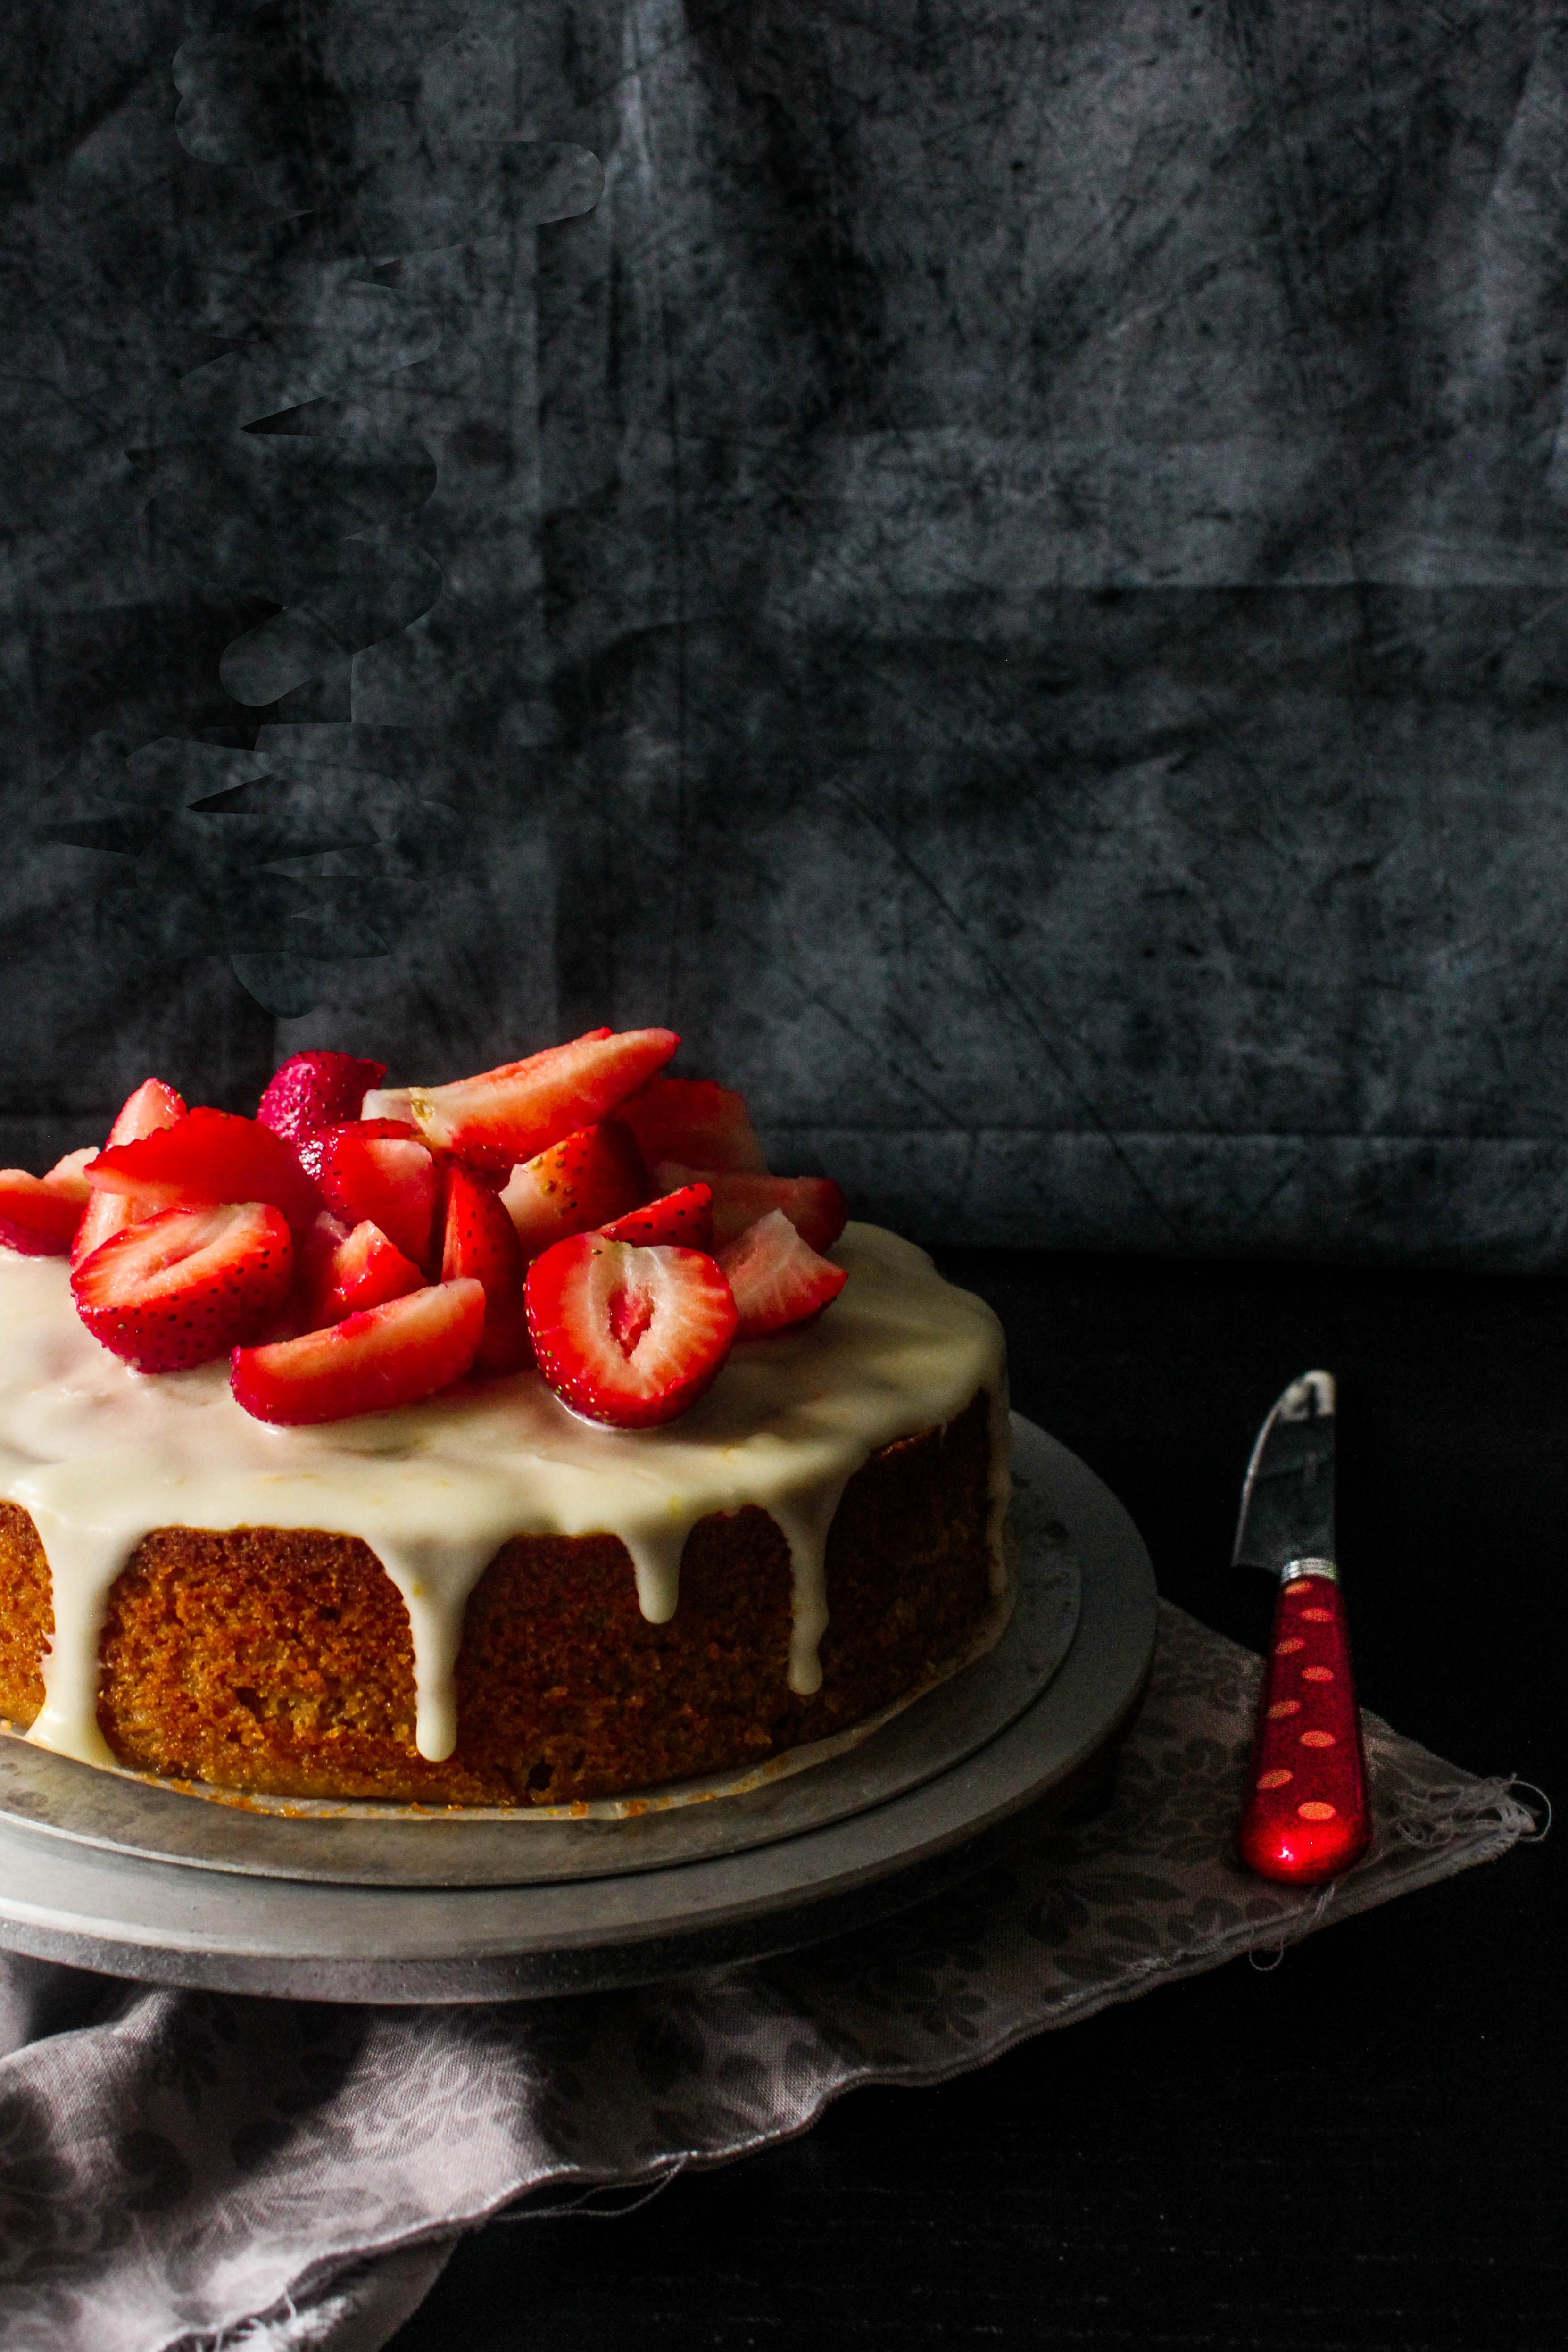
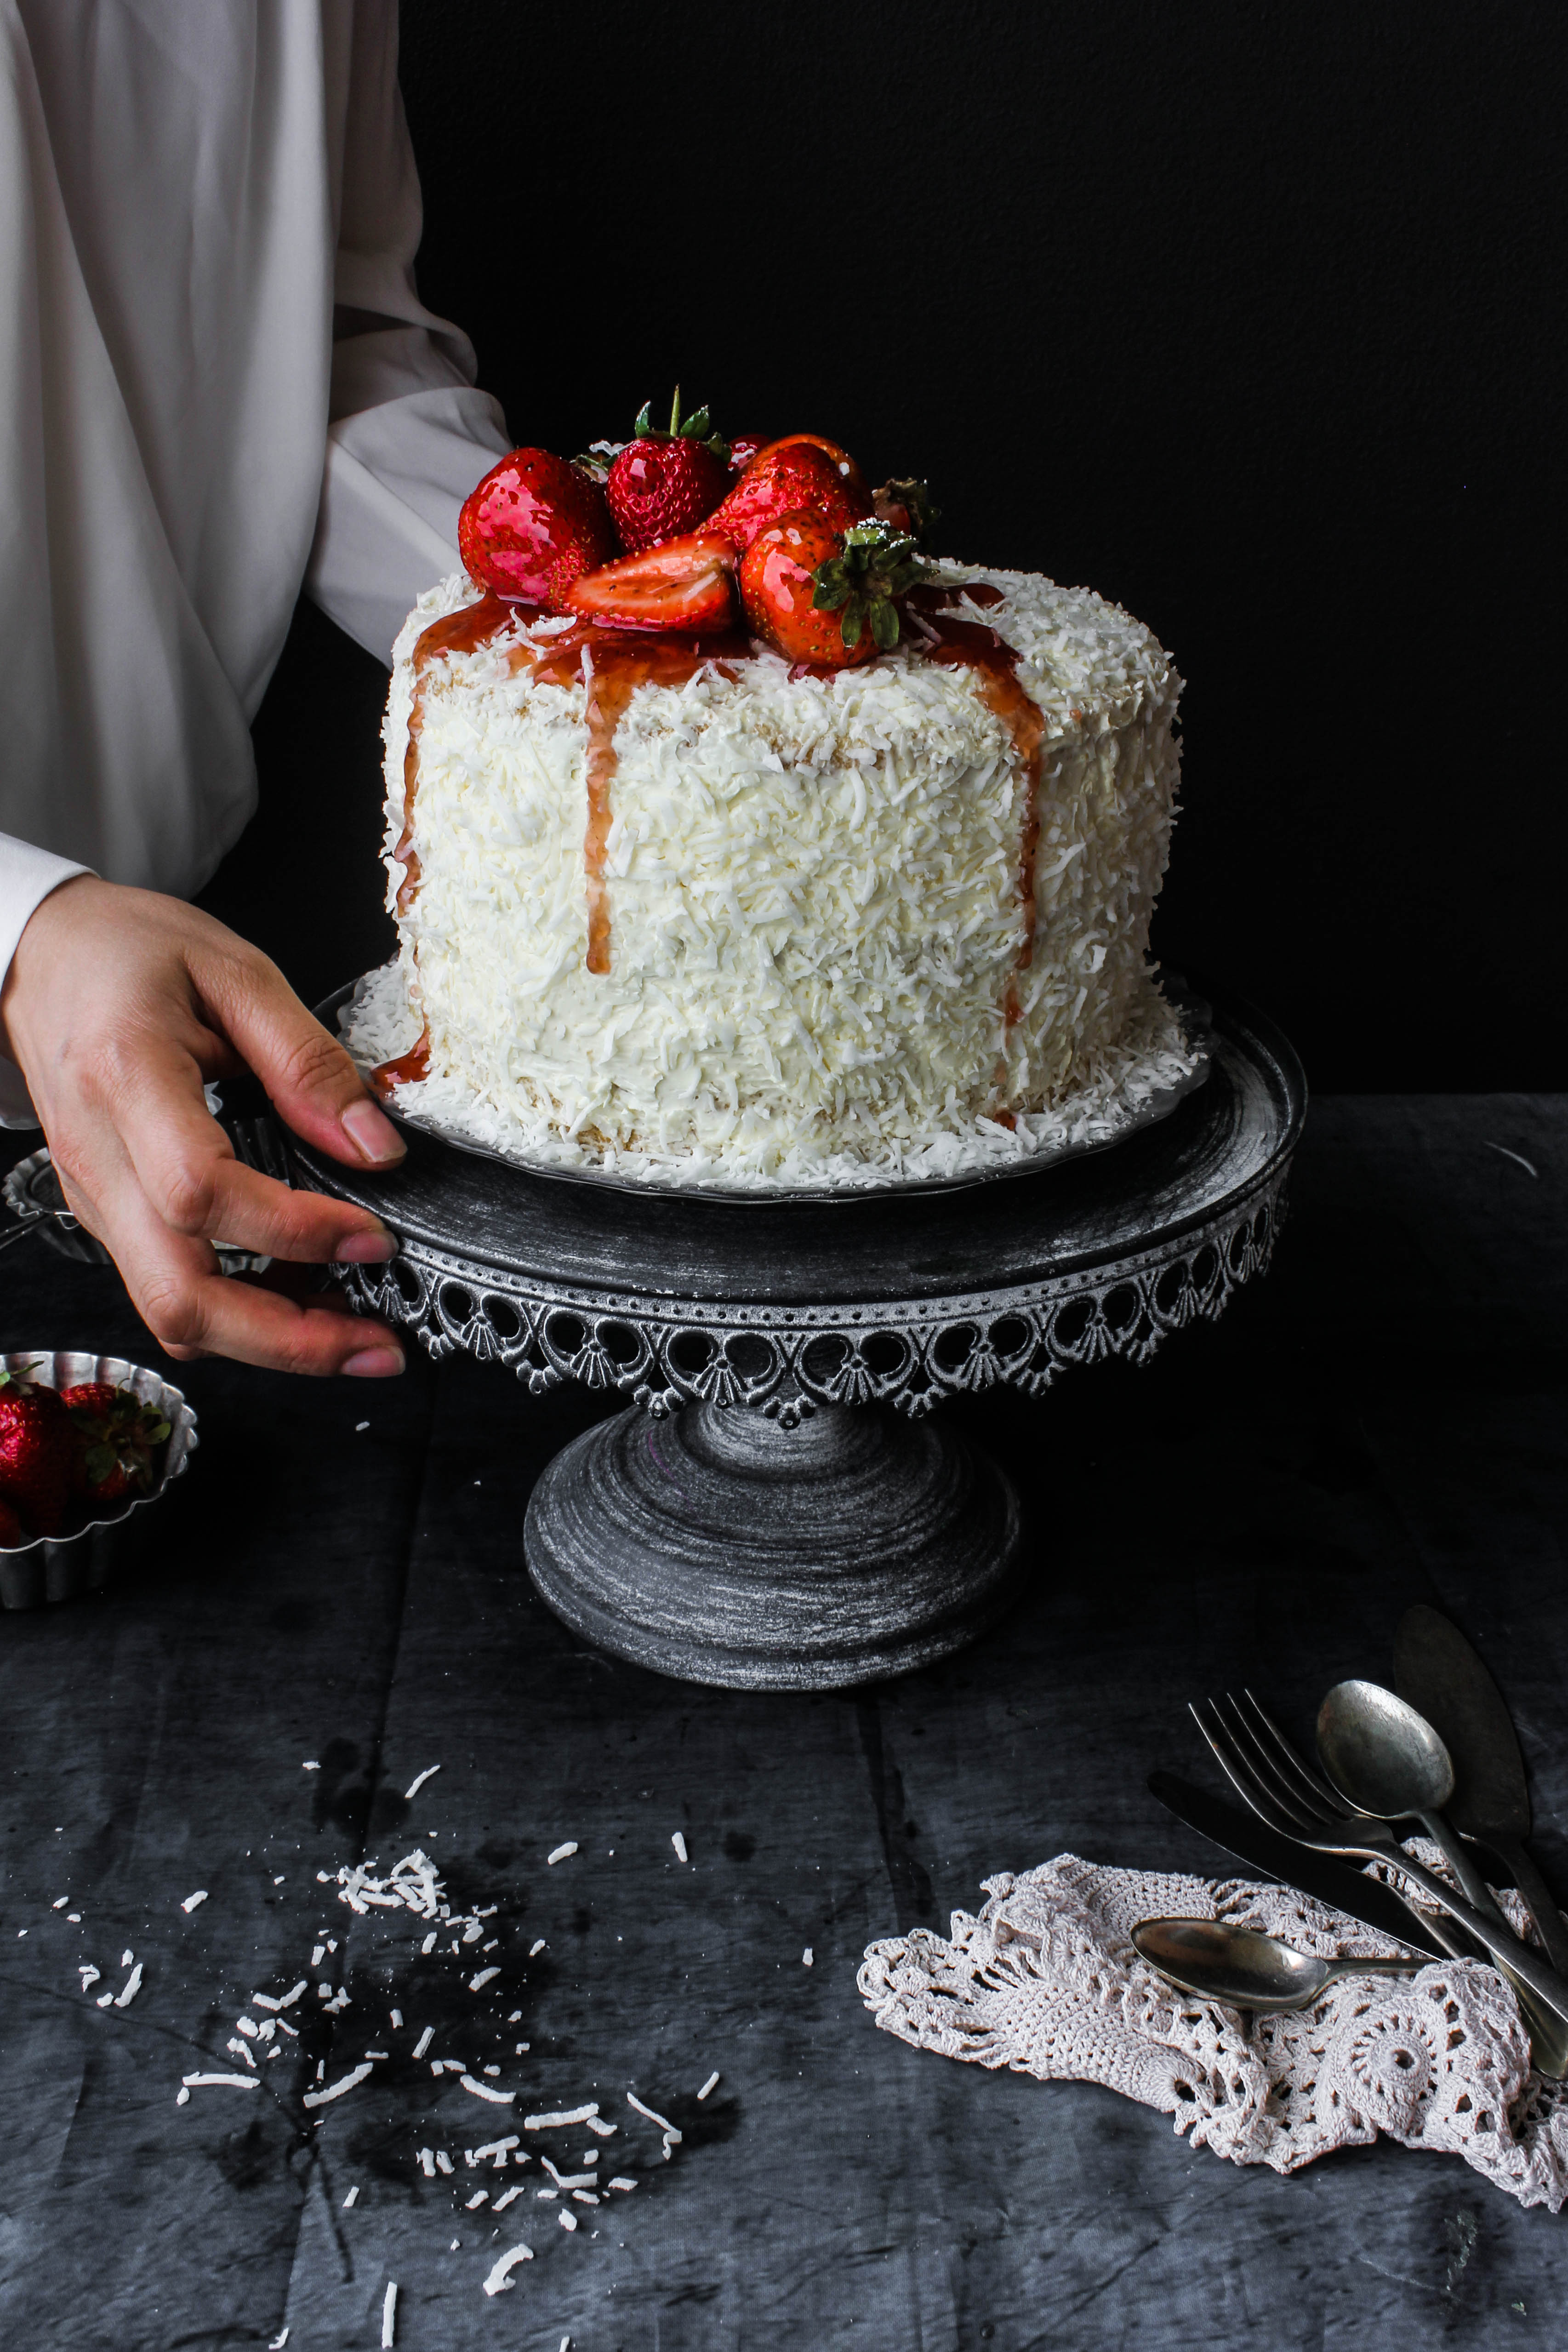
What I like about this cake is that it combines simple, every day flavors and turns them into something totally delicious and refreshing. The cake batter has been infused with lemon zest for a citrus flavor and mixed with desiccated coconut for texture. Sandwiched between the layers are strawberry jam and lemon Swiss meringue buttercream. Then it is frosted with more buttercream, covered in flaked coconut, topped with fresh strawberries and drizzled with strawberry sauce (made by diluting the jam itself) The cake is moist and soft with a crunch from the coconut and the flavours nicely balance each other out. As you can see, I have put a thin layer of frosting in between the cake layers because I don’t give the boys a lot of richly frosted cake. But you will have enough buttercream left with this recipe to apply a thicker layer if you choose to.

IMG_5115

IMG_5135


Lemon, Coconut and Strawberry Cake
Serves 10-12

375 g butter, softened
2 tbsp lemon zest
11/2 cup castor sugar
43 cups self-raising flour
3/4 cup desiccated coconut
11/2 cup coconut milk (can use regular milk)
1/2 cup strawberry jam+ 3 tbsp to make strawberry sauce
lemon Swiss meringue buttercream (recipe below)
1 cup flaked coconut (unsweetened)
Fresh strawberries to decorate

Preheat oven to 180 degrees C ( 160 degrees C for fan-forced). Grease and line the base of three 7 inch round cake pan with baking paper.
Place butter, lemon zest and sugar in a bowl. Using an electric mixer, beat until light and fluffy. Add the eggs, 1 at a time, beating after each addition. Add half the flour and coconut. Stir to combine. Add half the milk. Stir to combine. Repeat with remaining flour, coconut and milk.

Divide the mixture between the prepared pan. Bake for 45- 55 mins or until a skewer inserted in the centre comes out clean. Stand in pan for 10 minutes. Turn out onto a wire rack to cool.

Once cakes have cooled completely, frost the cake. Place one layer onto a cake plate or stand. Spread 1/2 the strawberry jam all over the base. Dollop or pipe some of  buttercream on top of the strawberry jam. Sandwich with another cake layer. Repeat.

Frost the top and sides of the cake with the remaining buttercream. Press the flaked coconut onto the sides with your palm. Sprinkle the top with more flaked coconut. Decorate with fresh strawberries and drizzle with strawberry sauce (made by mixing 3 tbsp strawberry jam with 1 tbsp warm water).

Lemon Swiss Meringue Buttercream
4 egg whites
1 cup castor sugar
300 g unsalted butter, softened and cut into cubes
1/4 cup freshly squeezed lemon juice
1 tsp finely grated lemon zest

Clean the bowl of your electric mixer with a paper towel to remove any traces of grease. Place the egg whites and sugar in the bowl that is placed over a saucepan of simmering water. Whisk constantly but gently till the sugar has completely dissolved and the egg whites are warm to touch.  Remove from heat.
Using the whisk attachment of your mixer, whip the egg whites till they are smooth, glossy and form stiff peaks. By this time the bowl should have cooled down and feel neutral to touch. Using the paddle attachment of your mixer, add in the butter, slowly (2 cubes at a time) and mix until a smooth consistency is reached. Add in the lemon juice and zest and mix till well blended.


Ice Cream Cheesecake with Mixed Berry and Thyme

5|01|2015

This New Year is moving at a faster pace than I had anticipated. We are already 5 days down and I am writing my first post for 2015. I am excited that I have not had the time to look at the calender or worry about the day of the week. It has been relaxed sort of busy this side. I have spent a good amount of time playing with the boys and baking cakes to take to picnics and friend’s. I like it when a whole cake is consumed in a day and there are people to share it with. Time is precious. The boys start school at the end of the month. The date is suddenly so close. The 2015 of my imagination and once future plans is here and it gives me a firm nudge every time I say ‘Twenty Fifteen’ reminding me that a few days from now, I will be packing lunchboxes. Actually, eating lunch alone. And baking without my little helpers.

IMG_4655-2

I am aware that this is just so normal and every Mum possibly has dealt with it and will be dealing every year. But I feel a little sad when I think about it. I guess, when the time comes, I will cope. And then there is this little cosy patch on the Internet to give me company. This year I made a resolution. To do all the things I want to do..say the things that are on my mind and say it without worrying whether I will be judged. To spend time with the people I care about. To just be..to not hold back! To not restrict myself…my ideas or creativity. On the recipe development front, I have ventured  into new areas last year and it worked. This year, I hope to do the same with my photography and writing. That is when we move forward, we grow..we out do ourselves. How about you all..did you make resolutions?

IMG_4647-2

Ice cream cakes and frozen desserts have been my go-to this summer. Christmas entertaining aka summer entertaining for us in Australia, just gets easier. Obviously they are all make-ahead which can simply life for up to a month in most cases. Even if if you are not in the Southern Hemisphere and probably drinking hot chocolate whilst being curled up in your favourite blanket on the couch, the prospect of eating ice cream does sound exciting at any point in the year, doesn’t it? I know it does for me.

IMG_4663-2

IMG_4665-2

The good news is that I have used frozen berries to flavour the cheesecake. It should not be difficult to get hold of some in your local supermarket. The puree had such an intense red-purplish colour, that I was fooled into thinking that the cake would tint into a brighter mauve or pink than it actually did. So if you are making this and want a brighter shade, double up on the quantity of mixed berries. When you strain the berry puree, what you will get is less than half the amount to be used for the cheesecake, so by all means add more if you like. Thyme leaves add an extra punch of flavour when simmered with the berries. Other than that, this is like any other no-bake cheesecake with the bonus of not having to whip up cream. Because, we are adding store bought vanilla ice cream to the cheesecake mixture. And so, one bowl less to clean. Yay!
As you can see, I have decorated the cake with fresh flowers and berries. I had the flowers at home and they seemed to complement the colour of the cheesecake so I added them. You could go with whichever berry you have at hand. With or without the flowers. The texture is soft, creamy with a mild taste of berries, thyme and vanilla.

IMG_4679

IMG_4645-2

You might be noticing a lot of berries in my recipes lately..I am just trying to make the most of our gorgeous Australian summer bounty. For me, summer is short with too many things on my list to make. This year, I hope to not have regrets and use every possible summer produce in my creations.

IMG_4686-2

Ice cream Cheesecake with Mixed Berry and Thyme
Serves 8-10

180 g Butternut Snap cookies (oats and coconut cookies)
75 g unsalted butter, melted
11/2 cup frozen berries, thawed (strawberries, raspberries, blueberries, blackberries) (Increase quantities for more flavour and colour)
1/2 tsp fresh thyme leaves
3/4 cup castor sugar
500 g cream cheese, room temperature
500 ml vanilla ice-cream, softened (I used store bought)
Fresh Berries +Flowers to decorate

Line the base of a 19 cm round Spring-form pan with baking paper.
Place the cookies in a food processor. Process until fine crumbs. Add melted butter and mix to combine. Alternatively, you could crush the biscuits with a rolling pin inside a zip-lock bag. Using your fingertips, press biscuit mixture over base of prepared pan. Place in the freezer for 30 minutes or until required.

Meanwhile, place the frozen berries, thyme leaves and 2 tbsp of castor sugar (from the 3/4 cup sugar) in a saucepan over low heat. Cook, stirring, and using the back of a spoon to gently crush, for 2-3 minutes or until they break down and sugar is dissolved. Remove from heat. Strain through a fine sieve into a bowl, using the back of a spoon to push through as much pulp as possible. Set aside to cool.

Beat the cream cheese and remaining sugar in a large bowl (with a mixer or a whisk) until well blended. Add the ice cream and mix well. Gently fold in the mixed berry puree. Pour over the prepared crust. Freeze for 4 hours or until firm. Remove from freezer 10 minutes before serving.


A Year in Cakes and A very Happy New Year to You

30|12|2014

I remember sitting between boxes and cartons exactly a year ago with a cup of coffee in one hand and a plate of store bought cookies in the other, telling my husband ‘I hope this never happens again…it is that time of the year and I am not baking’ I had moved houses and I was not particularly happy that my baking trays and cake pans were packed away somewhere. It had affected me in some way that I never believed it could. My husband replied ‘Trust me! You will have plenty of opportunities to bake in the New Year’

new year 2014 collage

And so it came true. I baked a lot. I experimented and shared. I learnt from my own mistakes. Sometimes I made the mistakes again because I forgot to take notes on paper. Then I got a notebook that was kept permanantly in the kitchen. Before I realised it was stained with chocolate and butter and made me smile every time I looked at it. And over and above everything else were/are those wonderful people who kept me on my toes..who made me feel inspired and valued and belonged. YOU. My dearest readers, followers…people who pin from my site…people who put their trust in me and make the recipes I develop. I want to thank each and every one of you for being there with me and supporting this space. To be honest, it has never been easy for me to maintain this blog or post at a regular pace. With two young kids to look after and very little free time, on many occasions it came down to making a choice between a little nap vs a blog post. We know who won and probably always will. But at times it did take it’s toll on my health. But I can tell you nothing has ever made me happier than to come back and share snippets of my life and creations here with you. I hope you liked it just as I did. I hope every time you came here, you found something that made you happy.

This has been the year of cakes for me. Though I did post quite a few savoury recipes that did amazingly well, the highlight has been the cakes. Here are some of your favourite cakes that have been my favourite too. Wishing you and your family the bestest New Year yet. I hope all your dreams come true this year and you look back with fond memories when it is over. Like I am doing today.

No Bake Caramelised White Chocolate Cheesecake

IMG_8373

Ferrero Rocher Mousse Cake

IMG_8941

Chocolate Raspberry  Brownie Cake

IMG_8603

No Bake Mocha Peppermint Cheesecake

IMG_3343-2

Strawberry Almond Cake with Lemon Cream Cheese Frosting

IMG_0346-4

Flourless Snickers Torte

IMG_1653-2

White Chocolate Raspberry Cake with Orange Buttercream

IMG_4365-3

Chocolate Beetroot Cake + Chocolate Sour Cream Frosting + Candied Beetroot Leaves

IMG_2879


Ginger Cake with Meringue

IMG_4111-2

Ferrero Rocher Ice Cream Cheesecake

IMG_3964-2

Chocolate Fudge Cake with Red Berry Ganache

IMG_9121


Thank you so much for stopping by-)


Tira-Mess. When Tiramisu met Eton Mess…

26|12|2014

This is the most decadent, delicious and to-die-for dessert I have made this year. The year is just about over so there is great scope that the statement will remain unchanged. I think the holiday eating has just started and before we move on to detox smoothies and leafy green salads, there’s enough reason to end the year on a sweet note. Yes?

IMG_4530-2

This Tiramisu inspired dessert has the flavours of the Tiramisu combined with crispy meringue and vanilla ice cream making it the perfect ‘Mess-y’ treat that you can put together quickly and without having to worry about perfection. The perfection here is the ‘Mess’ that consists of Chocolate swirl coffee meringue, Mascarpone cheese, Vanilla Ice cream and Mocha sauce. All you do is just make the meringue and layer the ingredients in glasses. The taste is totally reminiscent of the Tiramisu. And I haven’t even come to the most amazing part…because we are replacing the sponge fingers with coffee meringues, it becomes a gluten free treat that you can make for friends and family who avoid flour.

IMG_4533-2


IMG_4518

If you have never  made meringue before, worry not! We are not looking for perfect exteriors or beautifully piped swirls. You just whip the egg whites to stiff peaks (when the meringue peaks holds shape as you lift the beaters), gently fold in the coffee and chocolate and bake. This can be done up to a day in advance and stored in air tight containers. Our weather is really warm at the moment so I made it the same morning before assembling. The recipe is just so forgiving. Even if your meringues don’t turn out great and are more marshmallow-y than crispy (like my first batch turned out), it won’t make a difference in the taste at all.

Make yourself this little treat this year. I can tell you, you deserve it!

IMG_4512


Tira-Mess
Serves 2

10 Chocolate Swirl Coffee Meringue, whole or crushed (recipe below)
3/4 cup Mascarpone Cheese, (room temperature) mixed with 2 tbsp castor sugar till smooth
3/4 cup vanilla ice cream
Mocha sauce (recipe below)

Place 2 of the meringues at the base of the serving glasses. Spoon half the Mascarpone over the meringues. Add half the vanilla ice cream. Pour some Mocha sauce. Repeat once more till you reach the top of the serving glass.

Chocolate Swirl Coffee Meringue (Makes approx 10)

2 large egg whites

1/2 cup castor sugar (superfine sugar)
1/4 tsp cream of tartar (optional)
1 tsp instant coffee powder
50 g dark chocolate, melted and cooled

Preheat oven to 160 degree C (140 degrees for fan-forced) . Line a baking tray with  baking paper. Use an electric beater to beat the egg white and cream of tartar (if using) in a clean, dry bowl until firm peaks form. Gradually add the sugar, 1 tablespoon at a time, whisking well after each addition, until the mixture is thick and glossy. Fold in the coffee powder.

Drizzle with chocolate sauce and gently scoop up meringue with a tablespoon and place them on the prepared tray, leaving space between each meringue.

Bake in oven for 30 minutes until crisp. Turn oven off. Leave meringues in the oven, with door ajar, for 1 hour to cool completely.

Mocha Sauce

100 g dark chocolate, coarsely chopped
1/2 cup single/pouring cream
1 tsp instant coffee powder

To make the mocha sauce, place the dark chocolate, thickened cream and coffee in a medium saucepan over low heat.

Use a metal spoon to stir until the chocolate melts and the mixture is smooth. Cool to room temparature. Store excess in refrigerator and warm up before serving.


  • « Previous Page
  • 1
  • …
  • 37
  • 38
  • 39
  • 40
  • 41
  • …
  • 57
  • Next Page »
Hey Sugar
Cake
Link to my Facebook Page
Link to my Instagram Page
Link to my Pinterest Page
Link to my Mail Page
Subscribe to this site
Fresh Awards
2019 Aus mumpreneur
2019 aus mumpreneur
Mumbrella

Copyright © 2025 · Sugar Et Al · Designed by Smitten Blog Designs · Log in